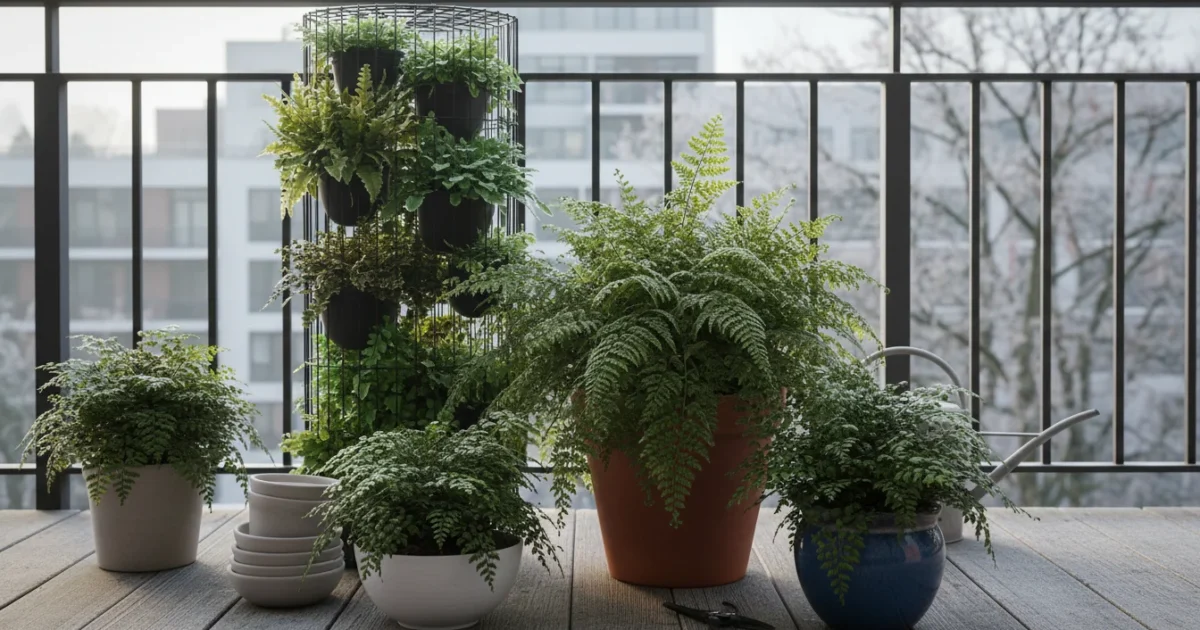
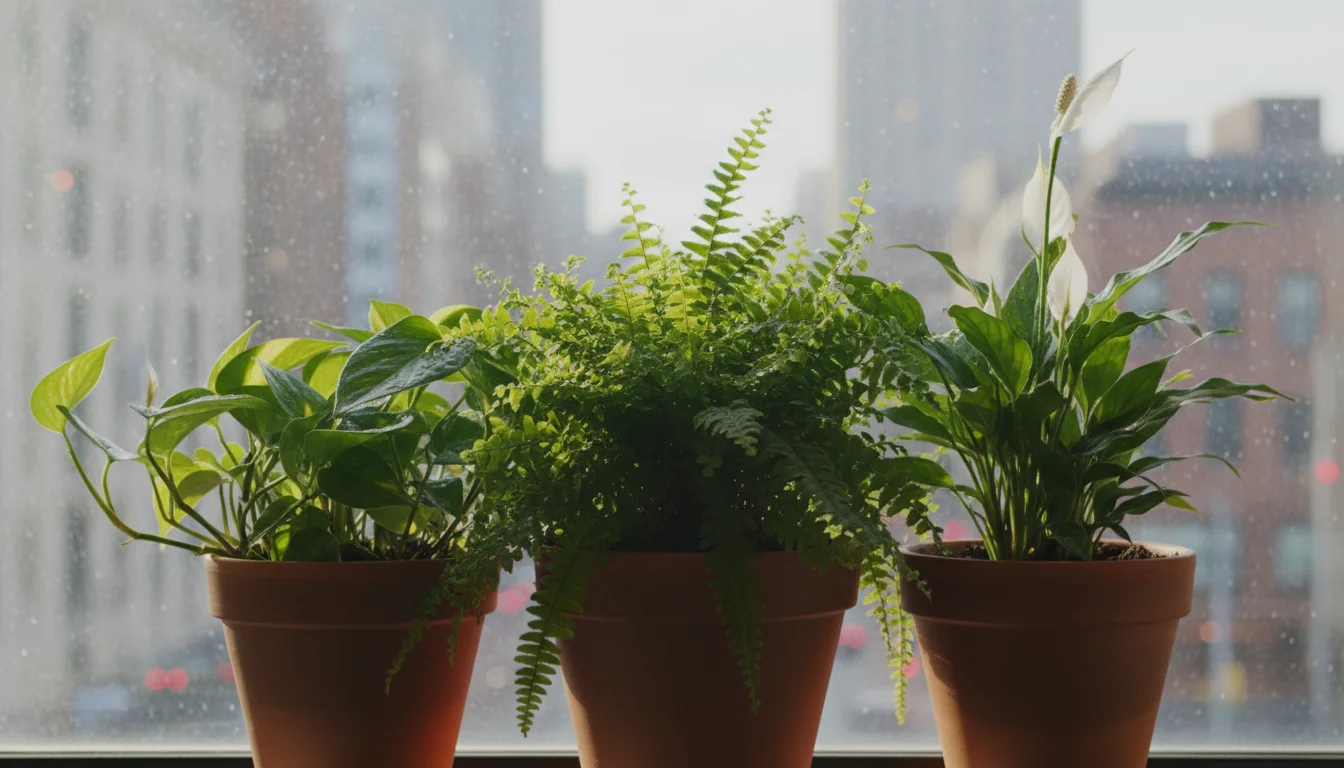
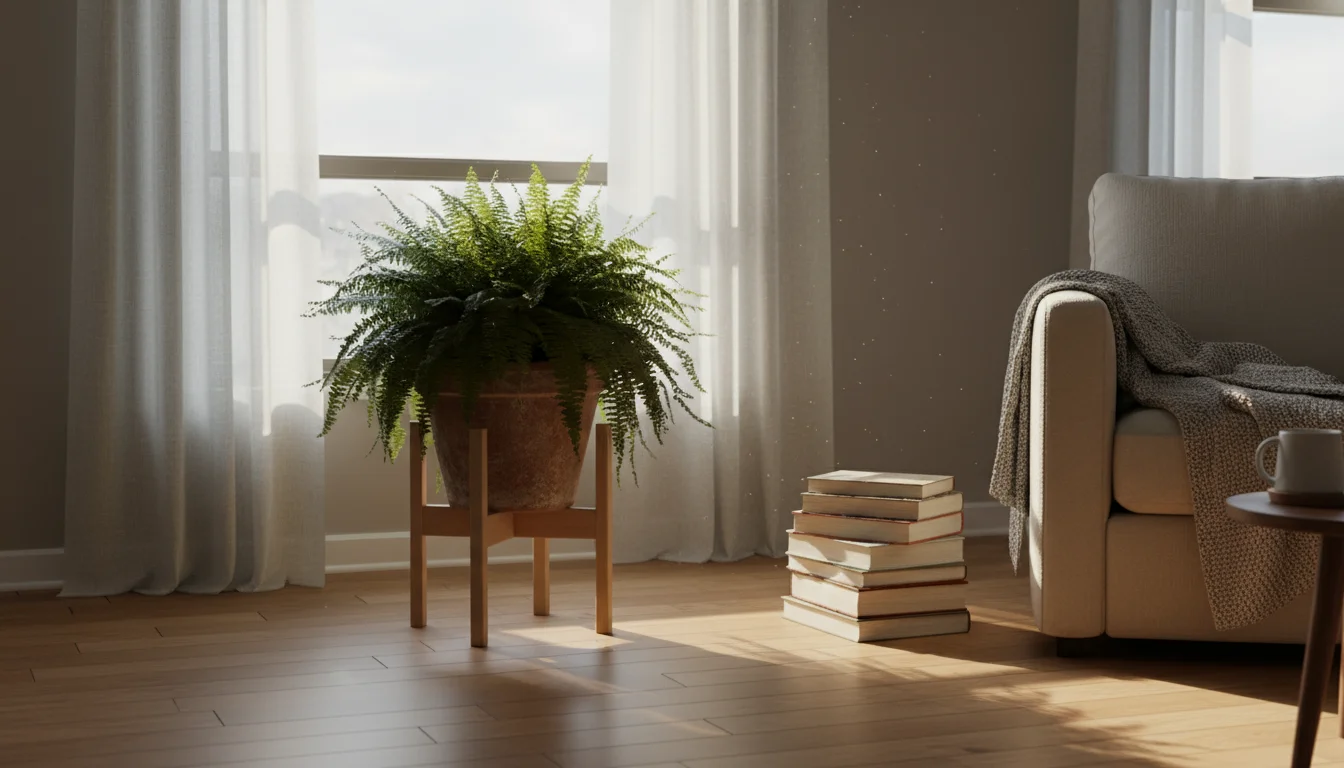
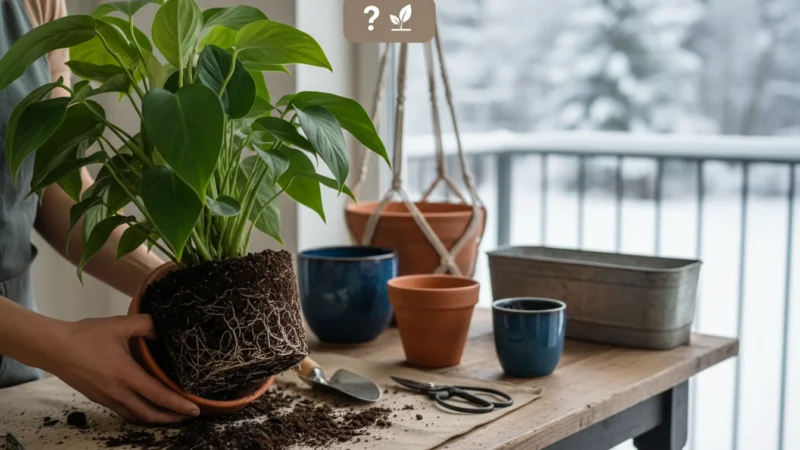
Winter brings unique challenges for indoor gardeners, especially for those who cherish the lush, vibrant presence of ferns in their urban sanctuaries. As the days shorten and heating systems dry out our living spaces, your once-thriving fern might start to show signs of distress. Browning fronds, crispy edges, and a general air of unhappiness become common complaints. You love your ferns, particularly that elegant Boston fern or the delicate maidenhair, but winter makes them incredibly fussy. This guide equips you with the practical knowledge and actionable steps to ensure your ferns not only survive the colder months but thrive, transforming your small space into a verdant oasis year-round.
Understanding Winter Woes: Why Your Fern Struggles Indoors
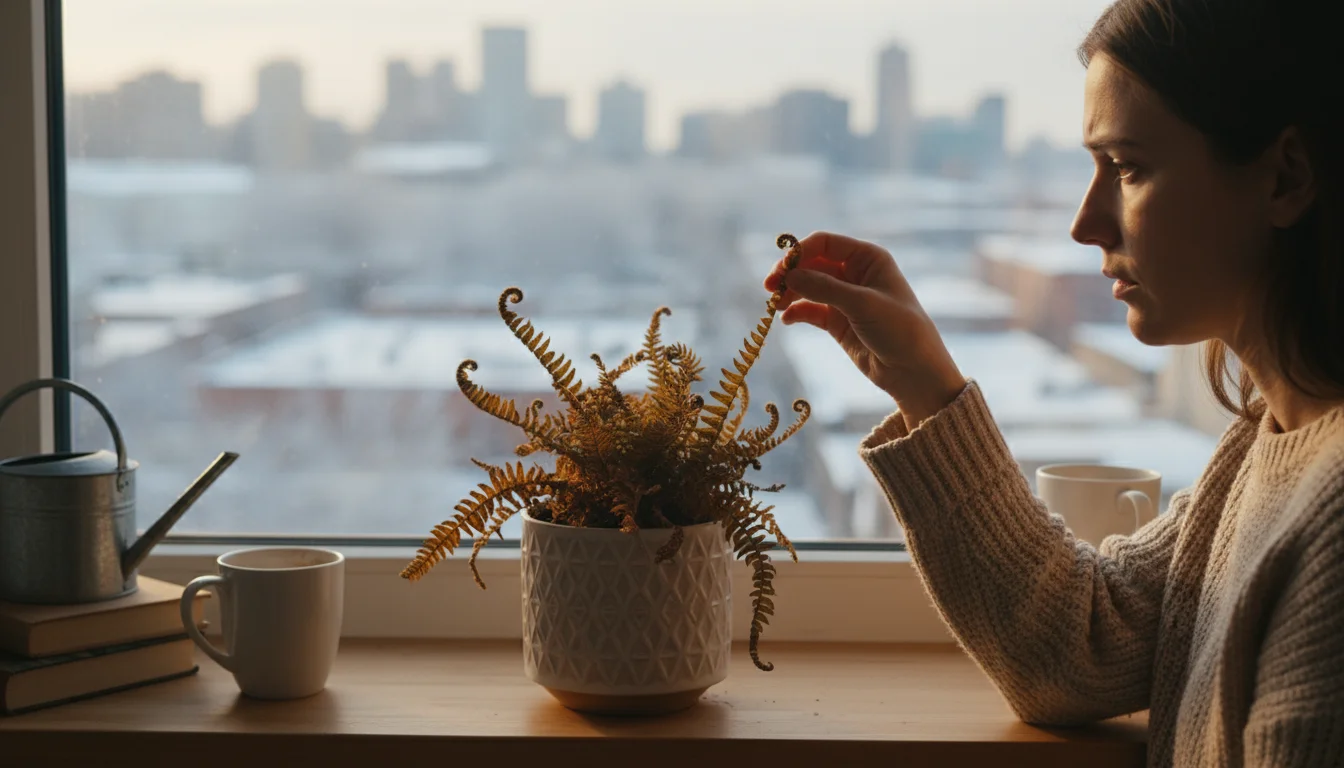
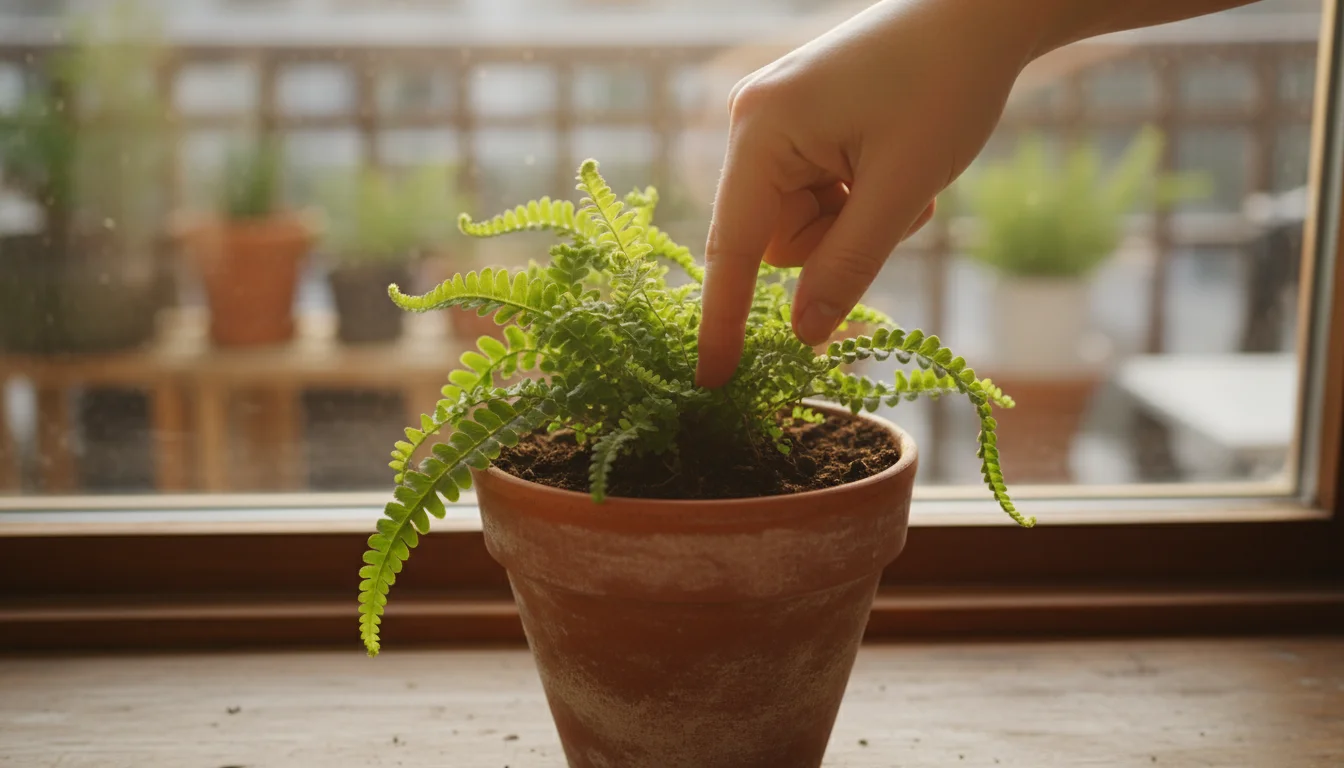
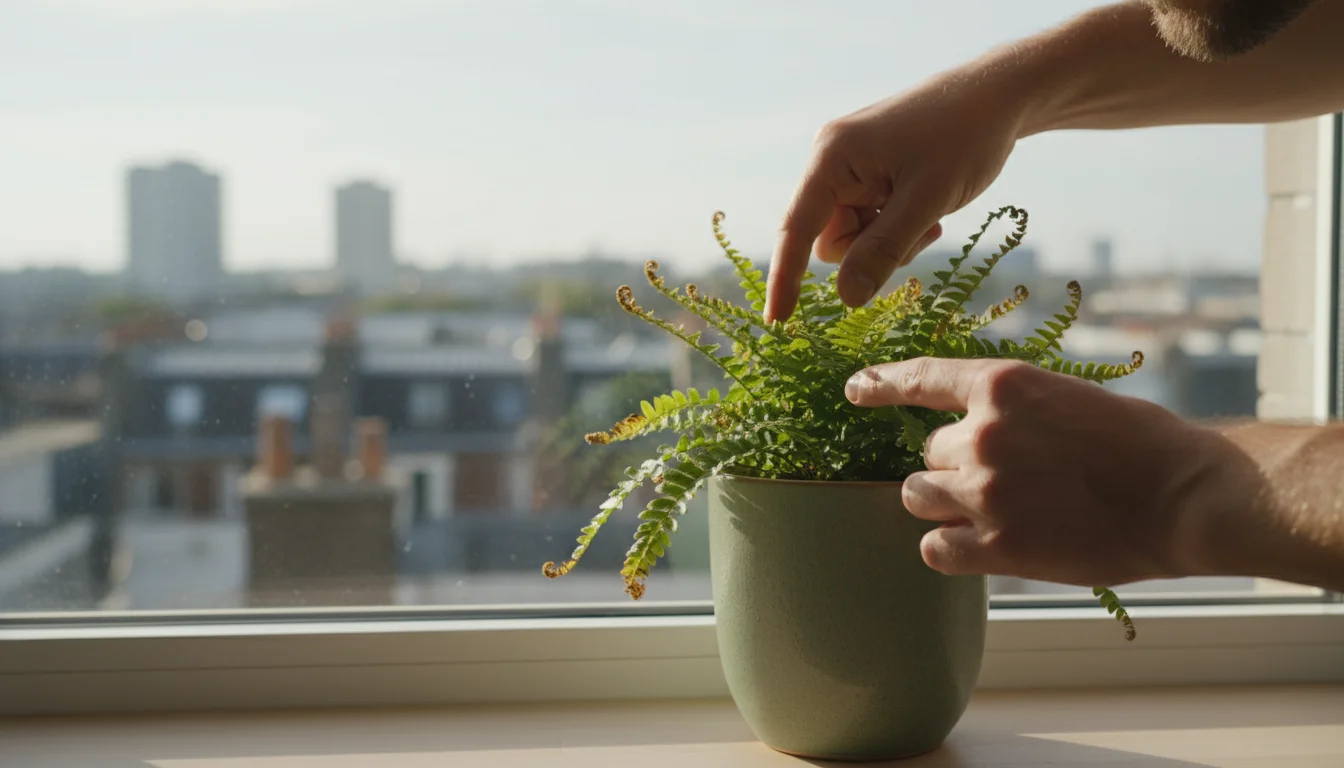
Ferns originate from humid, forested environments, places where dappled light, consistent moisture, and high atmospheric humidity are the norm. When you bring these plants indoors, especially into an urban apartment during winter, you disrupt their natural preferences. The primary culprit for distressed ferns in winter is a dramatic drop in humidity. Central heating systems, prevalent in most apartments, strip moisture from the air, creating an environment that feels desert-dry to a fern. This low indoor fern humidity leads directly to those frustrating symptoms: fronds turning brown and crispy. Think about it: a tropical rainforest averages 70% to 90% humidity, while a heated apartment often dips below 30%. This significant difference stresses your plant, making it vulnerable to various issues.
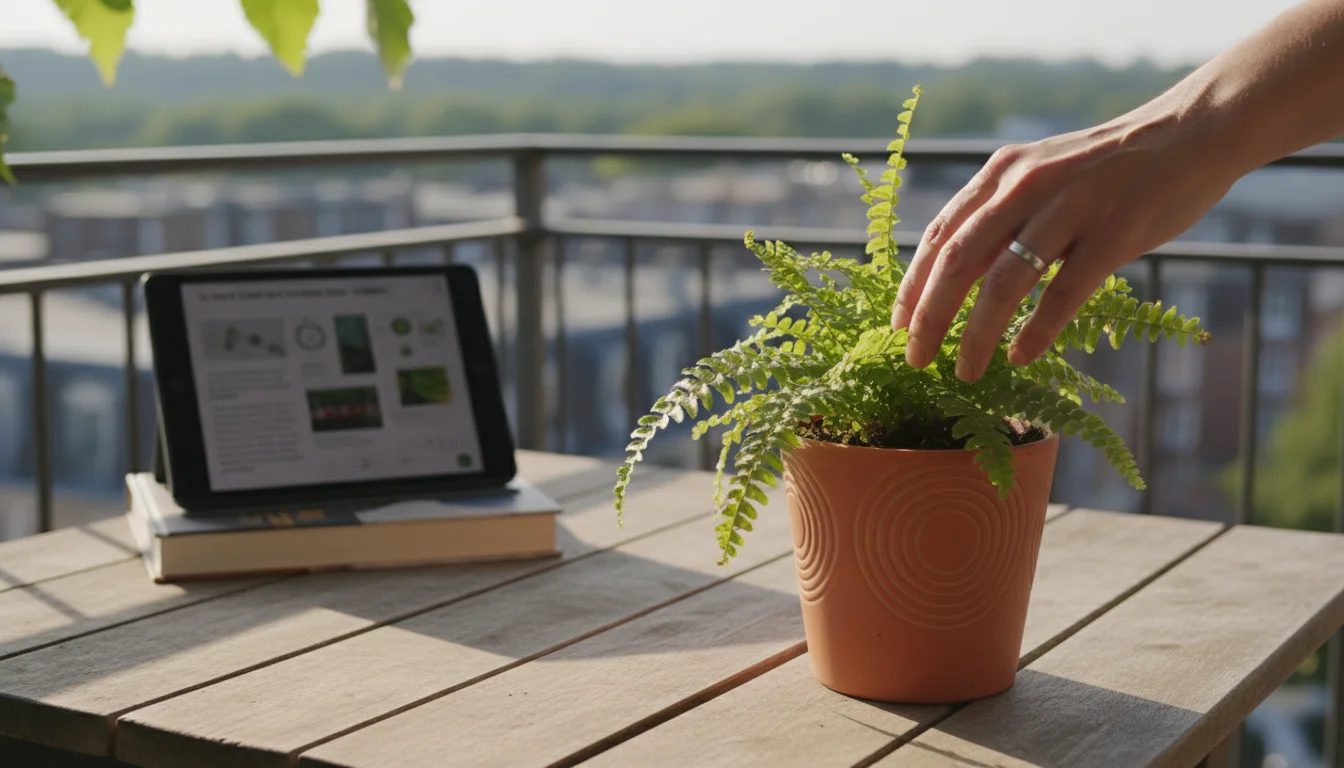
To keep ahead of these issues, it helps to perform a regular winter plant health check on your entire indoor collection.
Keep in mind that the dry conditions that stress your ferns also create the perfect environment for a winter spider mite invasion.
Beyond humidity, other factors contribute to winter fern challenges. Drafts from windows or doors, sudden temperature fluctuations, and even changes in light intensity as the sun’s angle shifts can impact your fern’s health. Understanding these core environmental differences empowers you to implement targeted solutions. Your goal is to recreate a slice of their native habitat within your small space, focusing on stable conditions rather than extreme interventions. For instance, rather than battling drafts, you strategically place your fern away from direct air currents.
Consider the delicate structure of fern fronds. They possess numerous stomata, tiny pores that regulate gas exchange and moisture release. In low humidity, these stomata close to conserve water, but prolonged closure impedes photosynthesis and respiration, leading to cellular damage and the dreaded browning. This physiological response explains why simply watering more does not solve the problem when indoor fern humidity is too low; the issue is airborne moisture, not necessarily soil moisture.
Many ferns, like the popular Boston fern, are particularly sensitive to these environmental shifts. Their dense foliage presents a large surface area for moisture loss, making them excellent indicators of low indoor humidity. When you see your Boston fern fronds turning brown and crispy in winter, it directly signals an urgent need to adjust your approach to winter fern care.
A proactive approach saves your fern from prolonged suffering. By anticipating these winter challenges, you can implement preventative measures instead of reacting to declining health. This article provides a comprehensive strategy, moving beyond generic advice to give you specific, actionable steps tailored for urban gardeners and their fussy ferns.
The Humidity Imperative: Crafting a Tropical Microclimate for Your Ferns
Increasing indoor fern humidity is perhaps the most critical step in successful winter fern care. Low humidity causes fronds to turn brown and crispy. Fortunately, several effective methods exist, suitable for any small-space gardener.
While ferns are notoriously picky, many of these humidity-boosting techniques are also essential for keeping air plants alive during the coldest months.
Learning how to create a humidity haven for your indoor garden is essential when radiators are running full blast.
Method 1: Pebble Trays for Localized Humidity
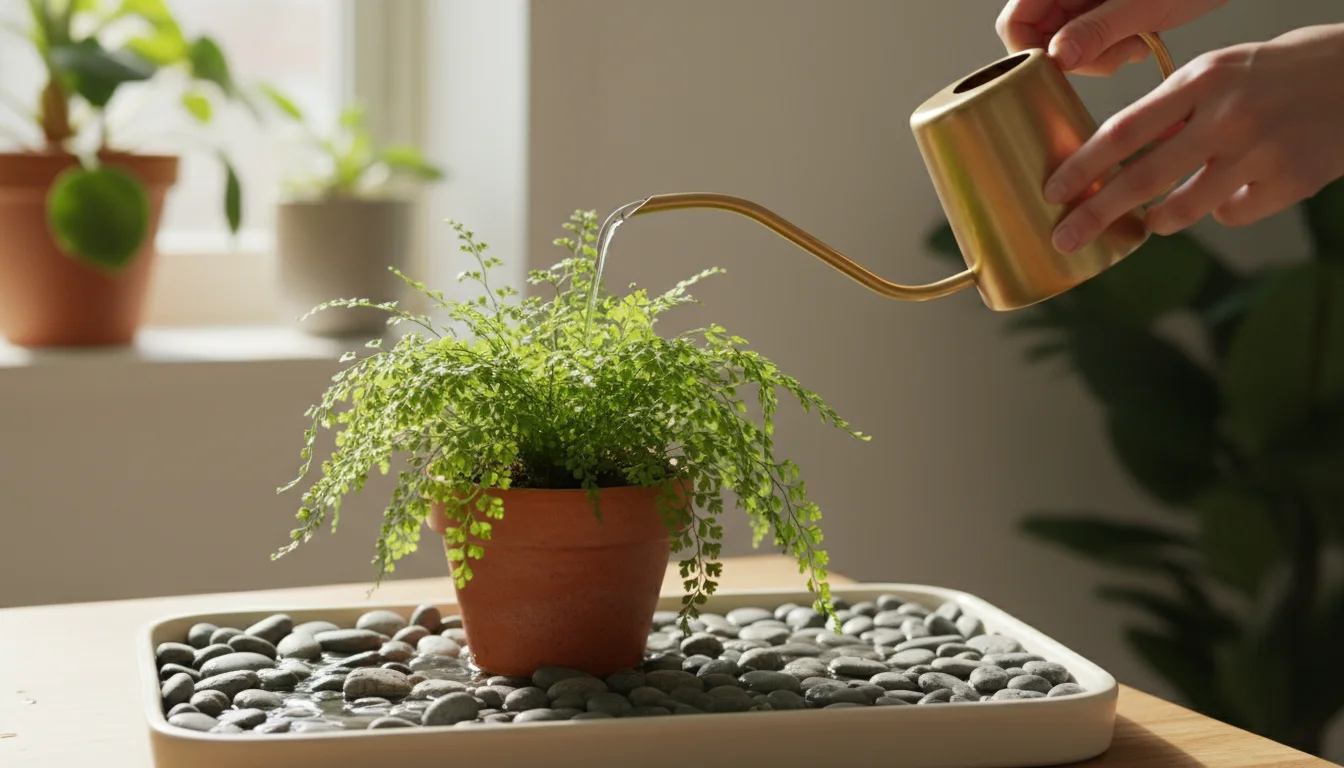
Pebble trays create a microclimate of higher humidity immediately around your plant. This method is simple, inexpensive, and effective. Choose a shallow tray wider than your fern’s pot. Fill the tray with a layer of pebbles or gravel. Add water until it reaches just below the top of the pebbles. Place your fern’s pot directly on the pebbles, ensuring the pot base does not sit in standing water. The evaporating water from the tray increases the humidity in the air directly surrounding the fern. You must refill the tray regularly as the water evaporates, typically every few days depending on your home’s dryness. For optimal results, use multiple pebble trays around several plants, creating a larger humid zone.
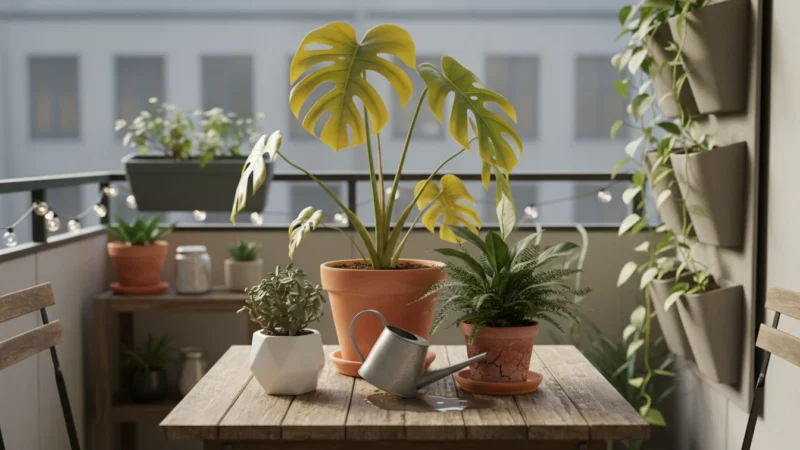
Method 2: Grouping Plants Together
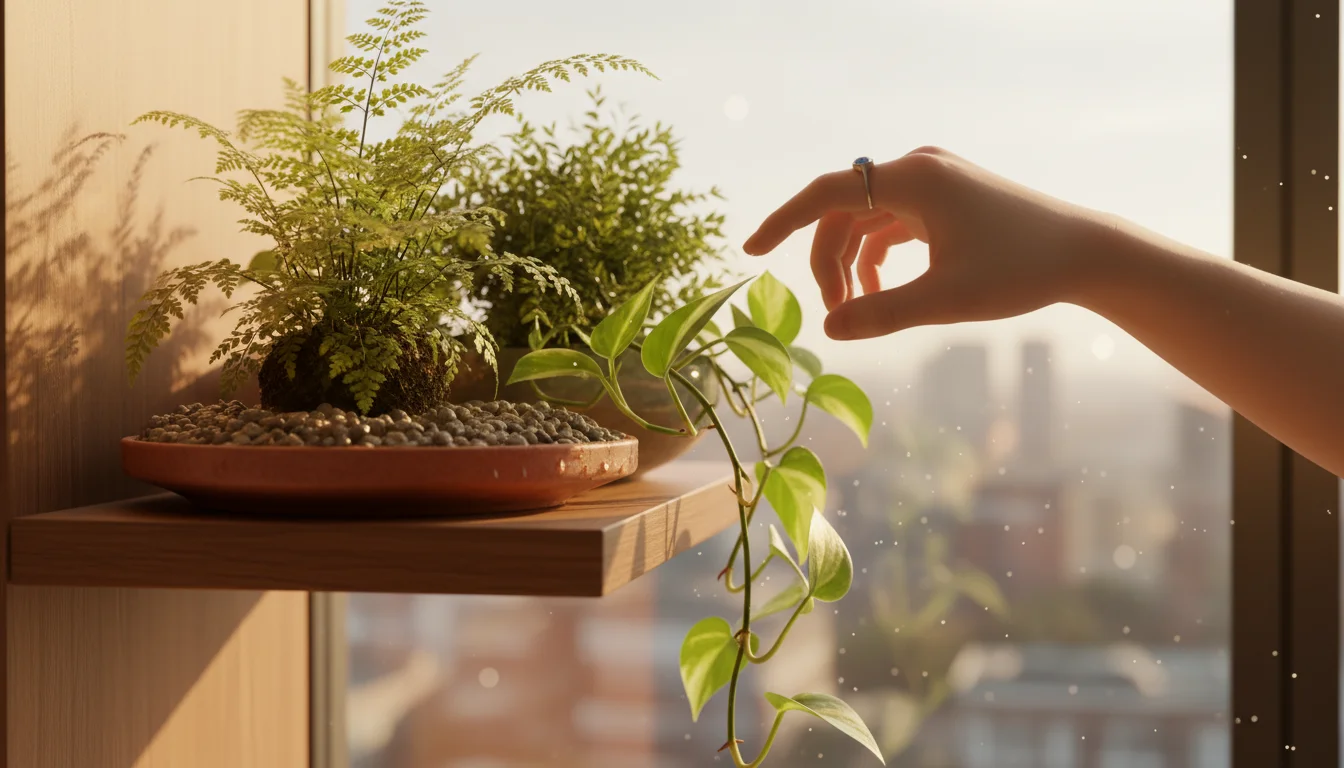
Plants naturally release moisture into the air through a process called transpiration. Grouping several plants together, especially humidity-loving plants, creates a small, localized zone of elevated humidity. This collective transpiration significantly boosts the ambient moisture levels compared to a single isolated plant. Place your ferns close to other plants, particularly those with dense foliage, to maximize this effect. This strategy works particularly well for small apartments where space might limit other large-scale humidity solutions.
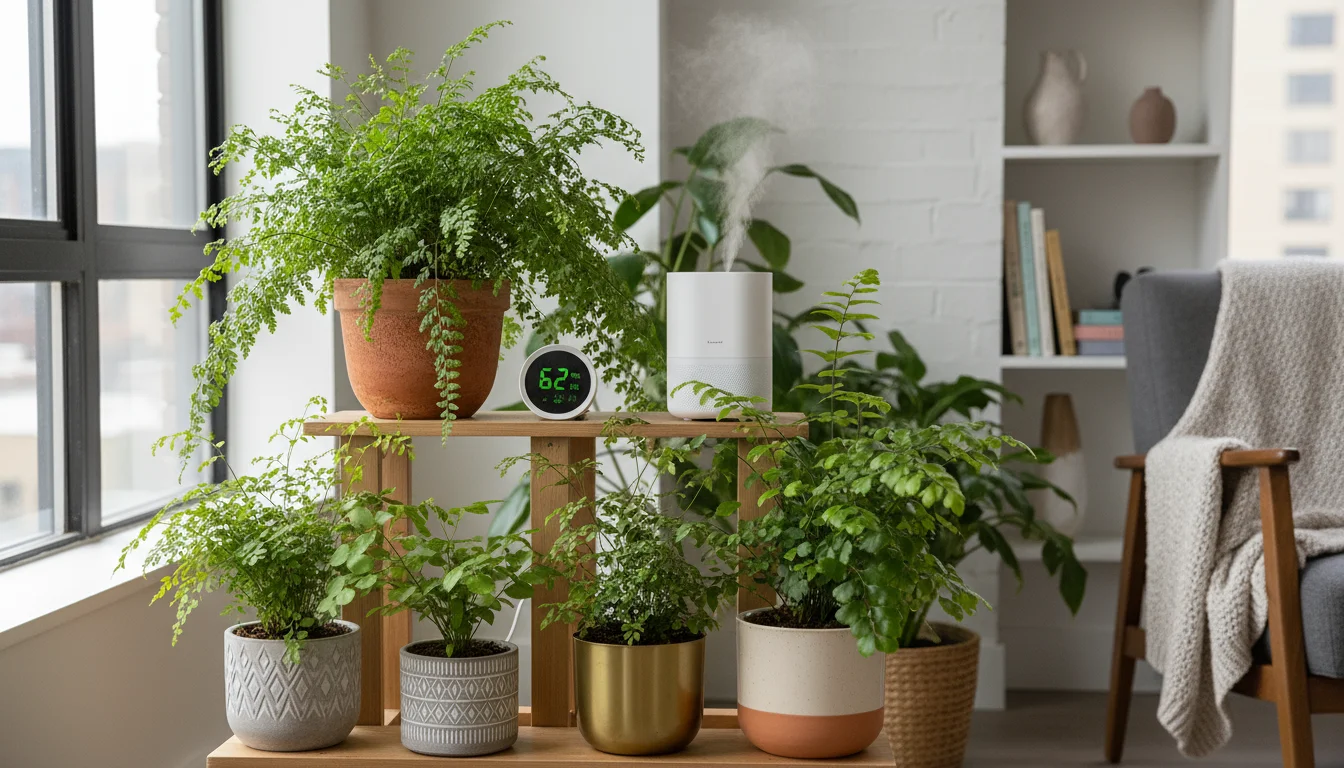
Method 3: Humidifiers: The Most Effective Solution
A dedicated room humidifier offers the most consistent and effective way to increase overall indoor fern humidity. For urban dwellers with multiple ferns or plants, a small, quiet humidifier makes a significant difference. Place the humidifier near your ferns, but not so close that direct mist drenches the foliage. Aim for a humidity level between 50% and 70%. Many humidifiers come with a built-in humidistat, allowing you to set and maintain your desired humidity. This investment provides a stable environment for your ferns and can benefit your own comfort during dry winter months. Clean your humidifier regularly to prevent mold and bacterial growth, following the manufacturer’s instructions. Distilled water helps prevent mineral buildup.
You can purchase a small hygrometer, a device that measures humidity, to monitor the precise levels in your fern’s environment. This data empowers you to fine-tune your humidity-increasing strategies. Data from horticultural studies consistently shows that maintaining relative humidity above 50% significantly reduces stress on epiphytic plants like many ferns, preventing common issues like brown tips and crispy fronds. For example, research published by the University of Florida’s Institute of Food and Agricultural Sciences (UF/IFAS) highlights humidity as a critical factor in indoor plant success, particularly for tropical varieties. You find valuable information regarding humidity requirements for various plants on their Gardening Solutions website.
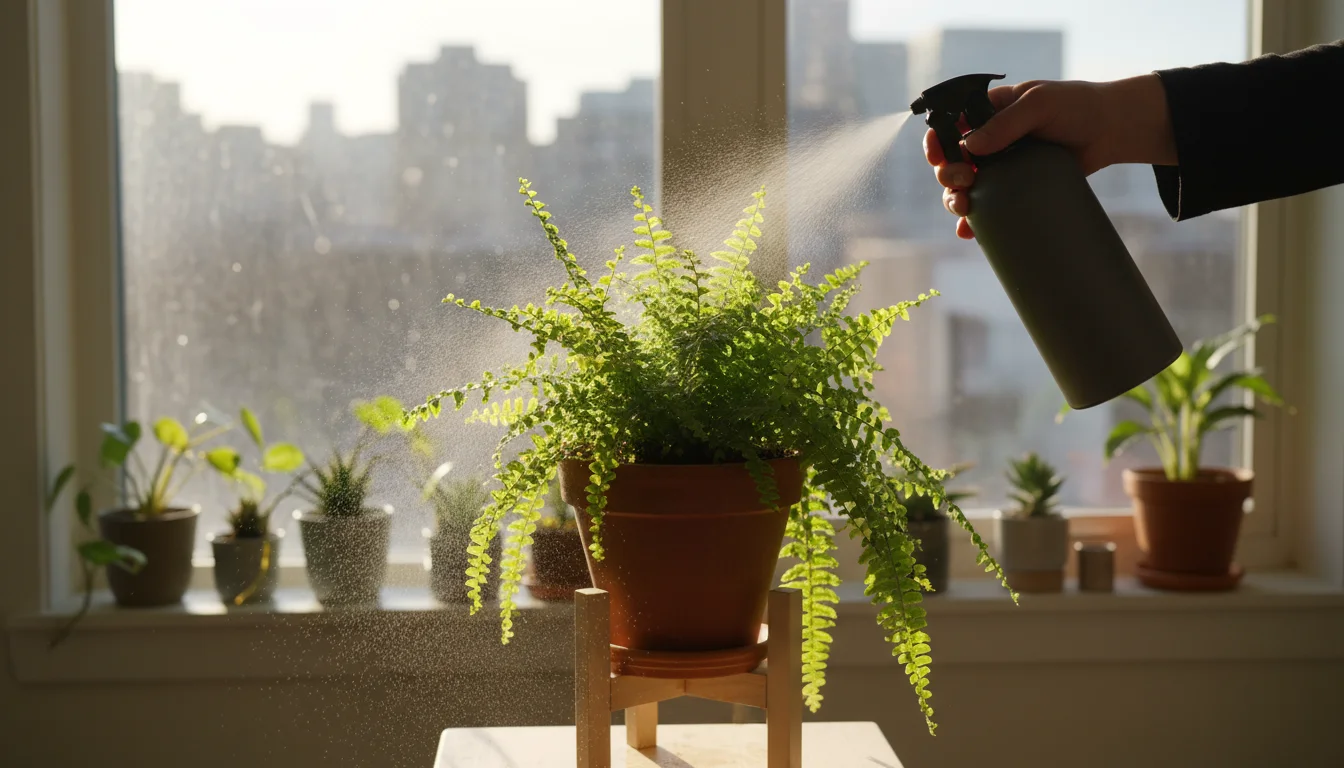
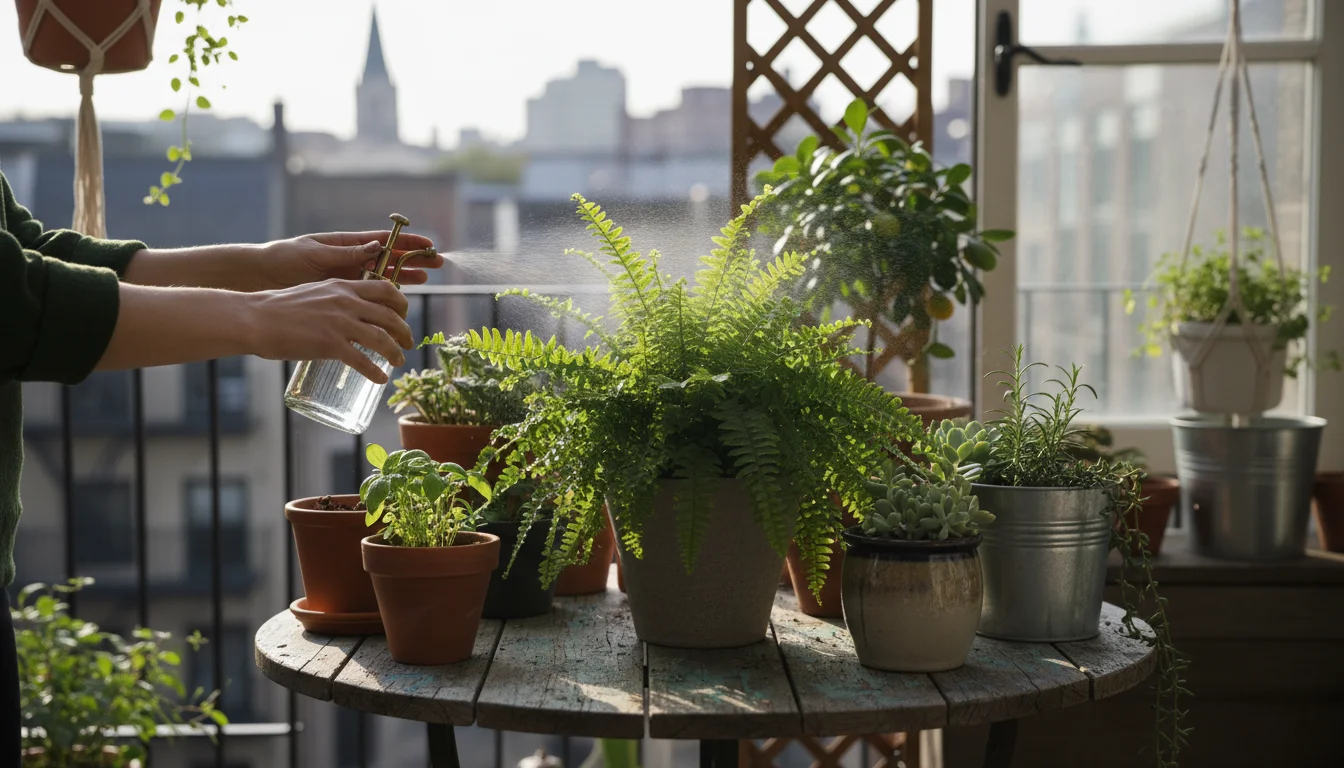
Method 4: Misting – A Temporary Boost
While often recommended, misting ferns offers only a temporary increase in humidity, lasting minutes rather than hours. The water quickly evaporates, providing a brief reprieve but not a sustained solution. If you choose to mist, use a fine spray bottle and mist lightly early in the day. Excessive misting, especially in the evening, creates an environment conducive to fungal diseases. Think of misting as a supplement to other, more effective methods, not a primary strategy for how to increase humidity for ferns in an apartment.
Remember, consistency is key. Sporadic efforts yield minimal results. Choose one or a combination of these methods and integrate them into your regular winter fern care routine. Your ferns will reward you with vibrant green fronds and sustained health.
Watering Wisdom for Winter: The Art of Hydration Without Drowning
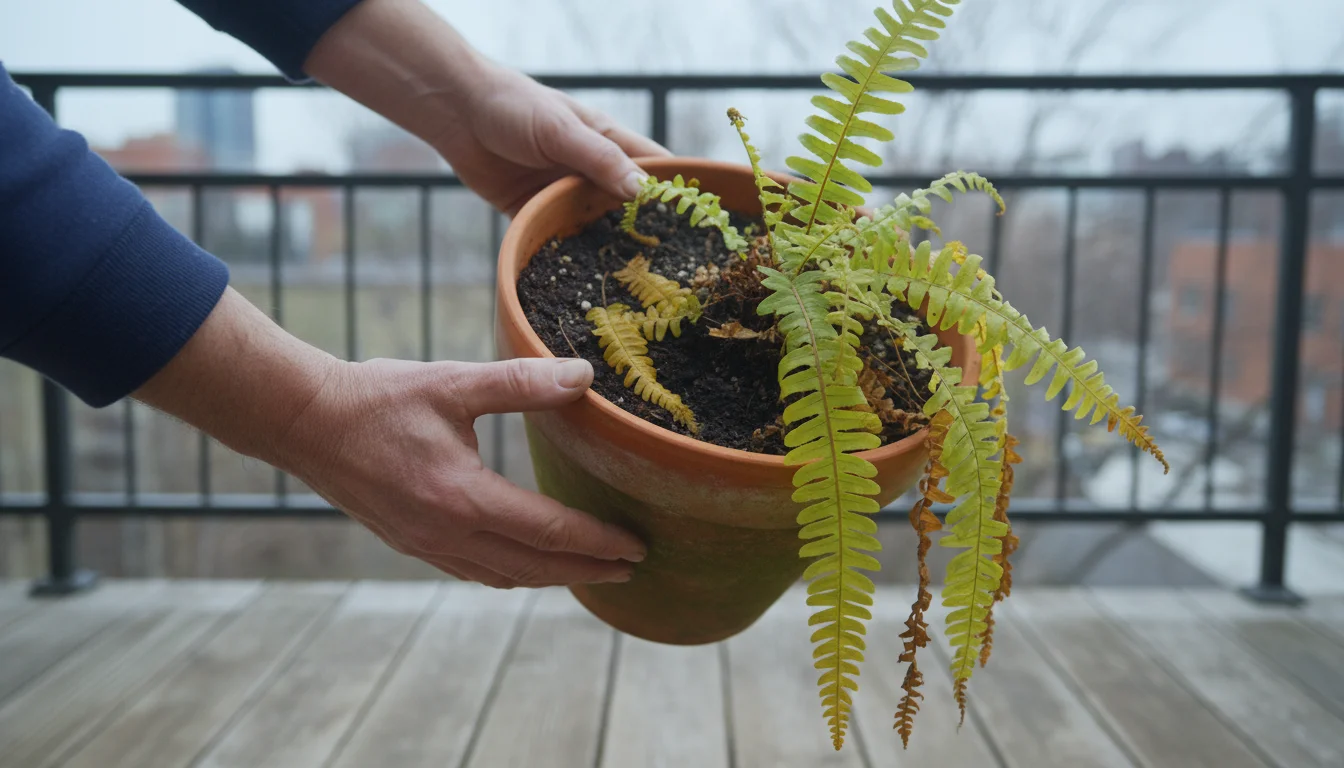
Winter changes everything, including your fern’s watering needs. Many beginner gardeners make the mistake of overwatering out of concern for dryness, especially when they see brown fronds and immediately attribute it to thirst. Remember, brown and crispy fronds often signal low humidity, not necessarily a lack of soil moisture. Overwatering, particularly in winter when plants are less actively growing, leads to root rot, a deadly condition for ferns.
Assembling a dedicated winter plant care kit with moisture meters and spray bottles will help you stay on top of these tasks efficiently.
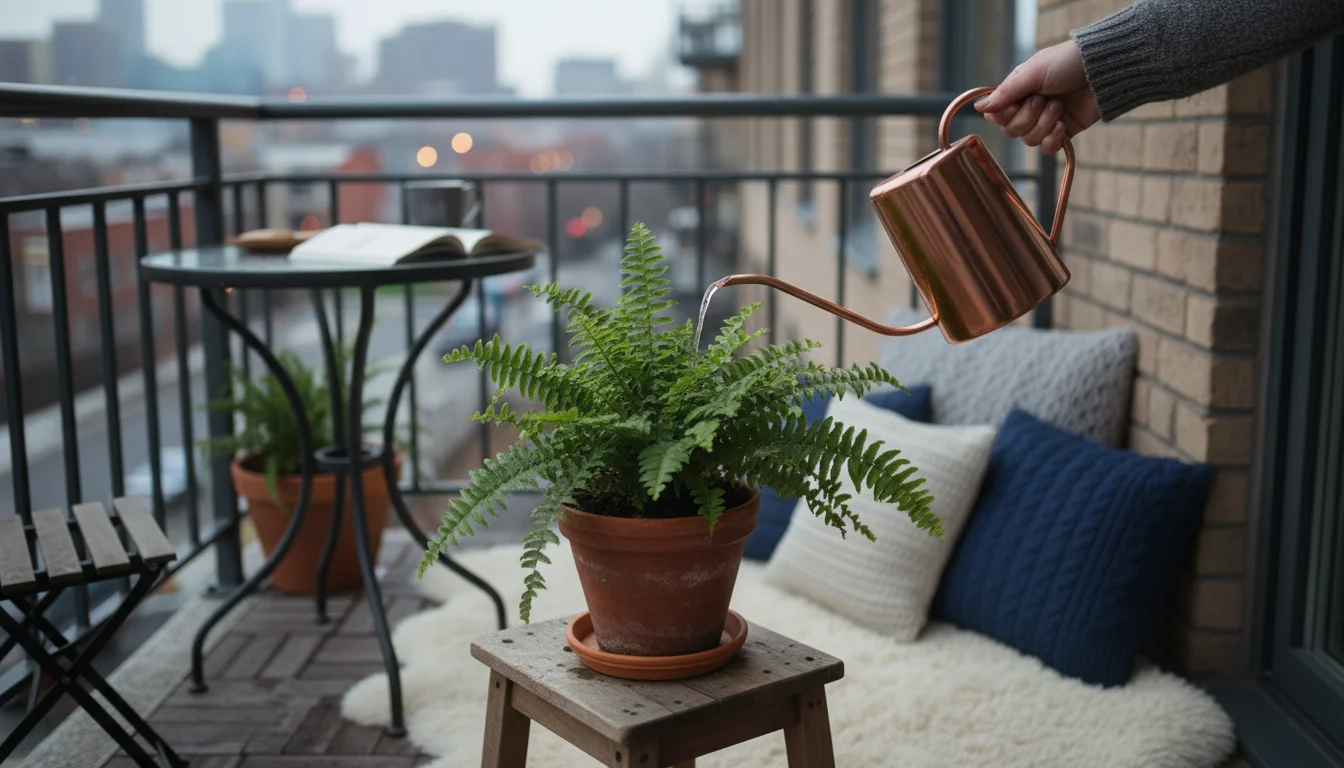
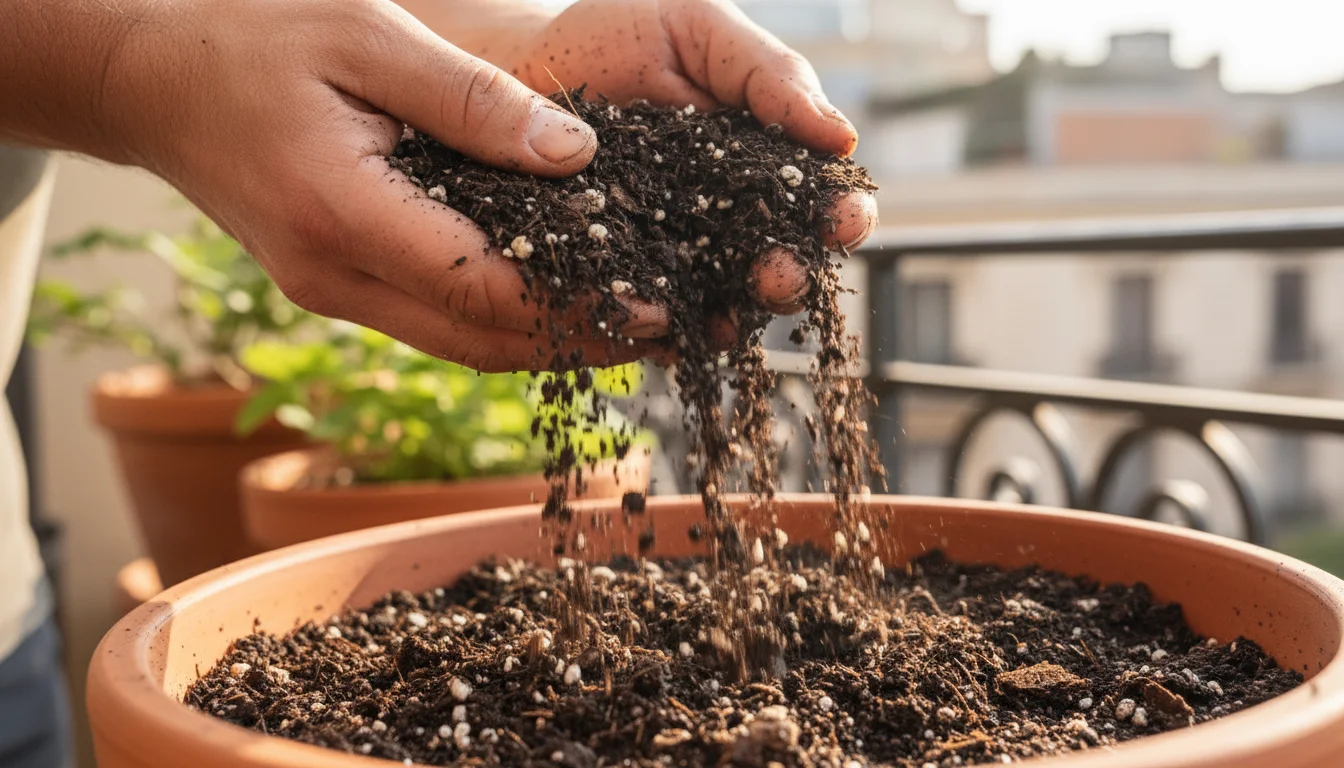
Ferns prefer consistently moist soil, but not soggy soil. The key word here is “moist.” This means the soil should feel damp to the touch but never waterlogged. During winter, plants enter a period of slower growth or semi-dormancy, requiring less water. Their metabolic processes slow down, and they transpire less moisture through their leaves. This reduced activity means the soil dries out much more slowly.
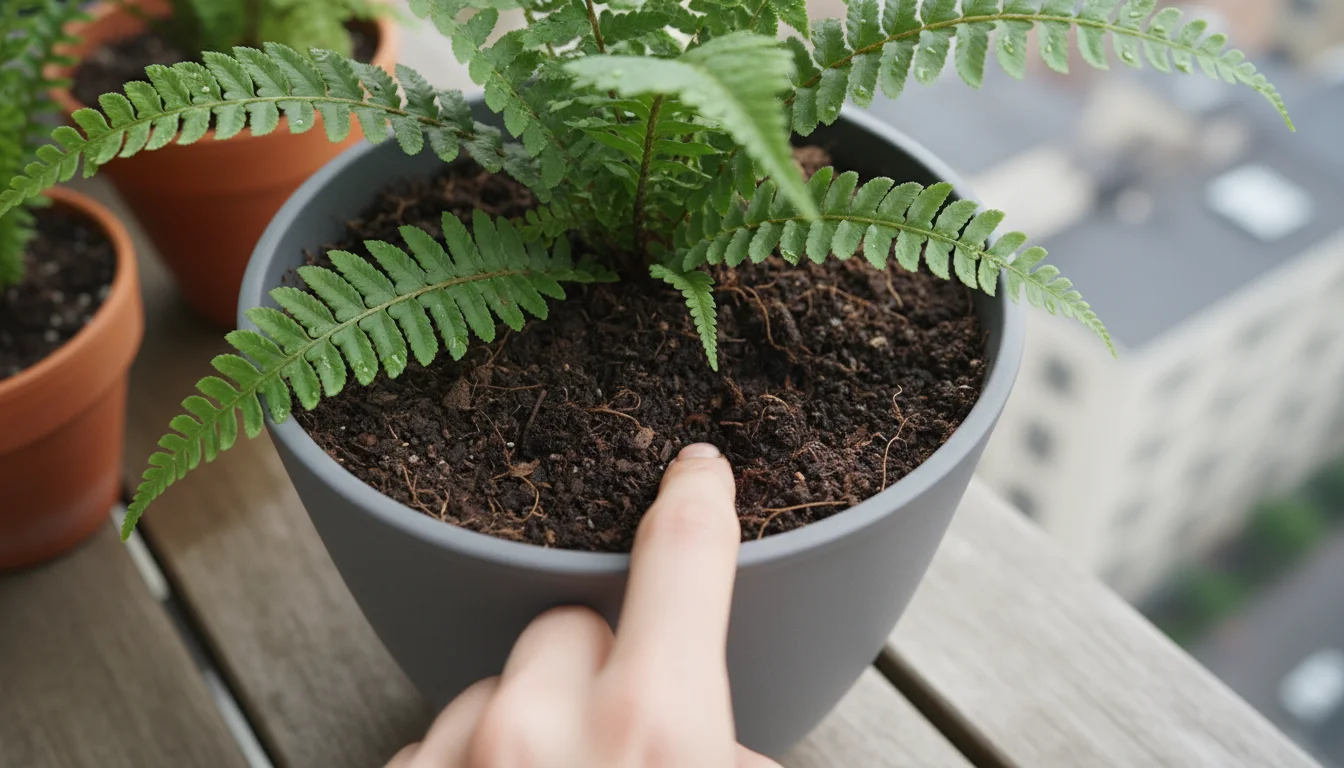
The Finger Test: Your Best Indicator
You must always check the soil before watering. Stick your finger about an inch into the potting mix. If it feels dry, it is time to water. If it still feels damp, wait a few more days and check again. Do not rely on a fixed schedule. Environmental factors like room temperature, humidity, and pot size all influence how quickly the soil dries.
Proper Watering Technique
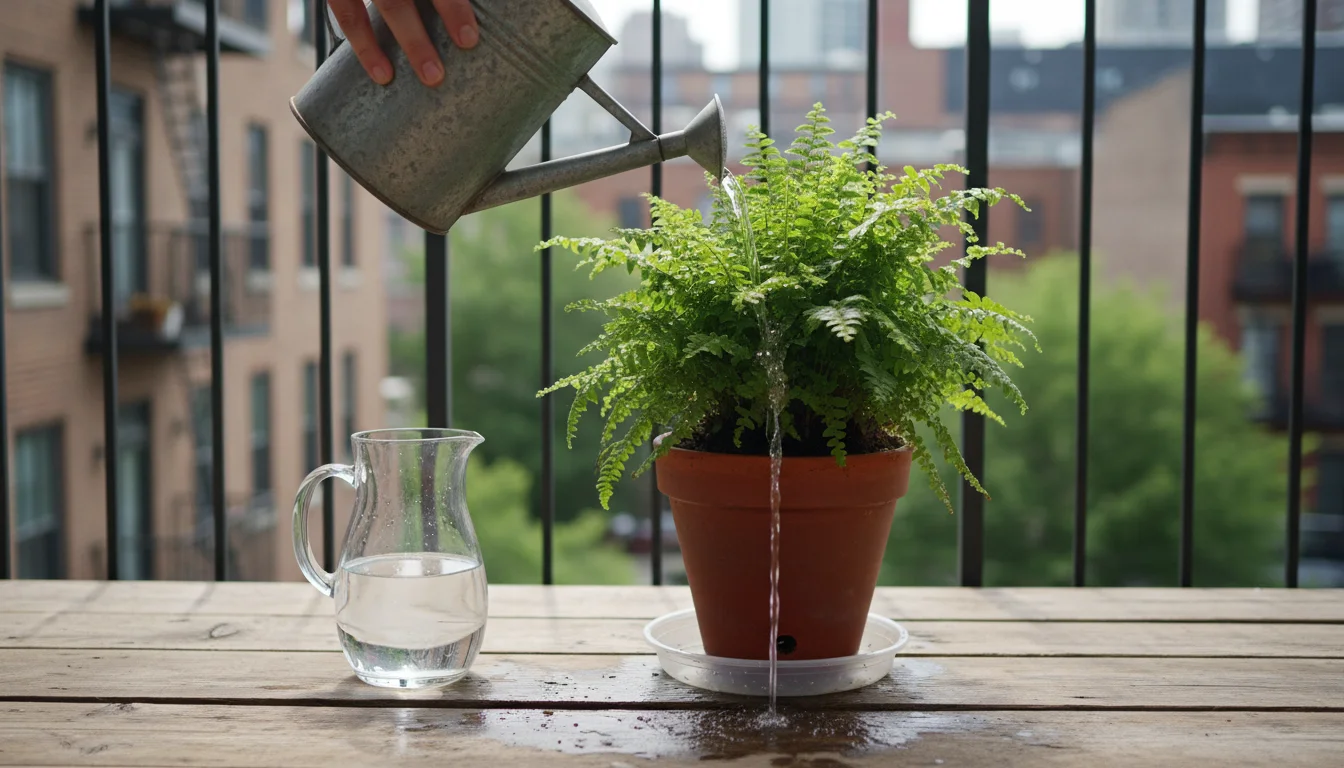
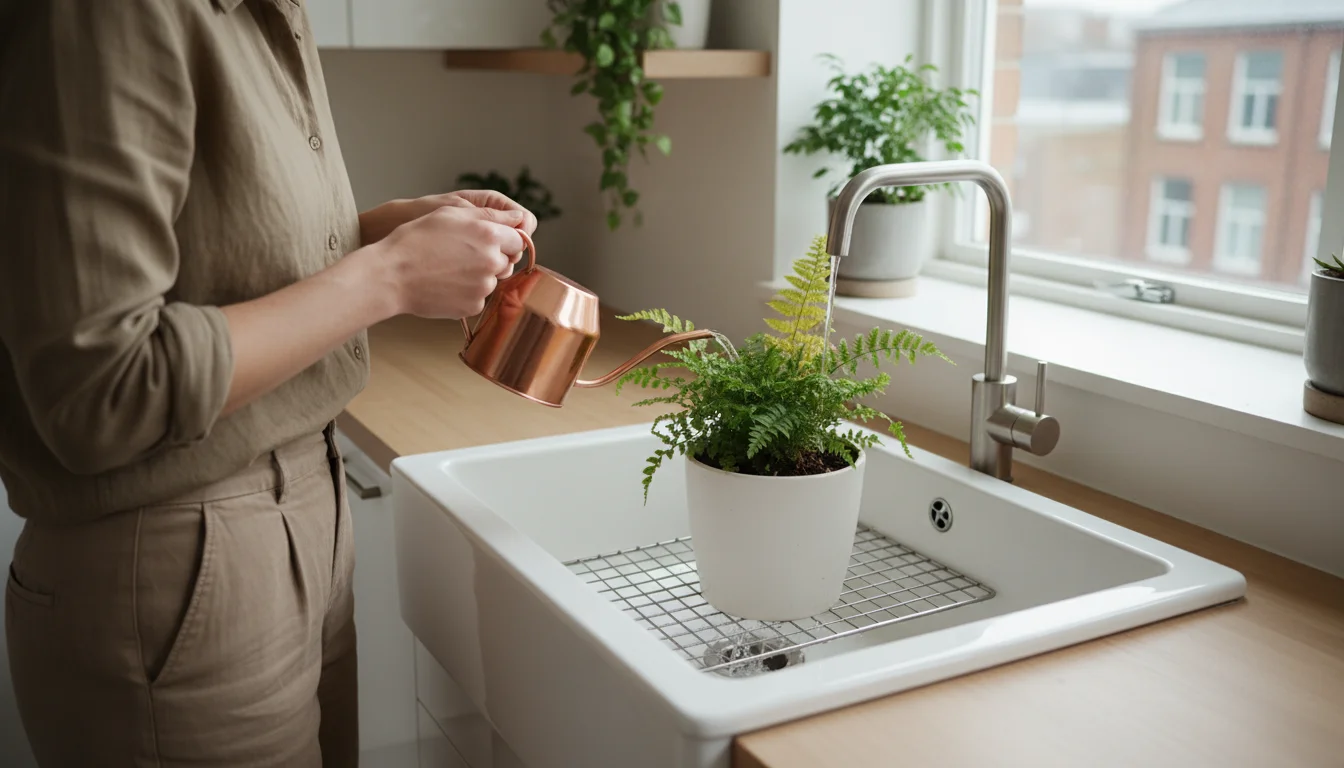
- Water thoroughly: When you do water, water deeply until water drains from the bottom of the pot. This ensures all the roots receive moisture.
- Empty drainage trays: Never let your fern sit in standing water. This suffocates the roots and promotes root rot. Always empty the drainage saucer promptly. Good drainage is crucial. Drainage refers to how easily water moves through the soil and out of the pot. Without it, roots literally drown.
- Use room temperature water: Cold tap water can shock sensitive fern roots. Allow water to sit out for a few hours to reach room temperature before using it. This also allows chlorine to dissipate, which benefits your fern.
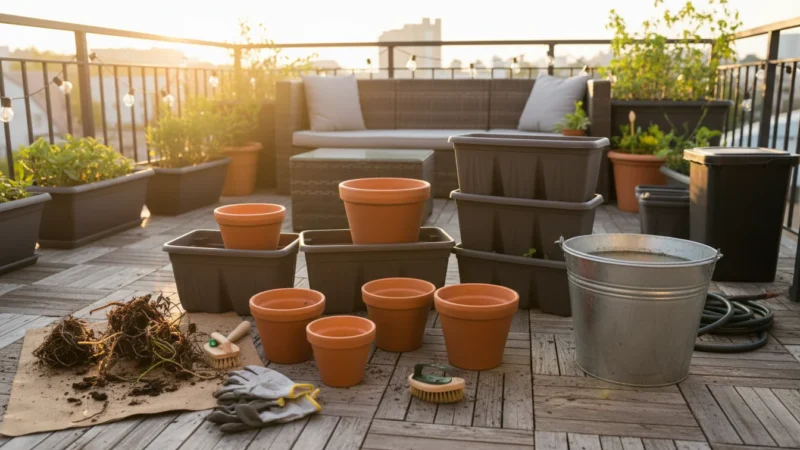
The type of pot also influences watering frequency. Terracotta pots are porous and allow water to evaporate more quickly, meaning you might need to water more often. Plastic or glazed ceramic pots retain moisture longer, so you might water less frequently. Always consider your specific pot and environment. For those delicate maidenhair ferns, known for their love of consistent moisture, you might find yourself watering slightly more often than a robust Boston fern, even in winter, but always after checking the soil. Observing your specific plant and its environment is paramount for effective winter fern care.
Underwatering, while less common than overwatering in winter, also causes problems. If the soil becomes bone dry for too long, fronds will wilt, turn brittle, and eventually die back. Find that balance between consistently moist and waterlogged to ensure your fern’s roots remain healthy and functional throughout the dormant season.
By mastering your winter watering routine, you eliminate a major source of stress for your ferns and significantly improve their chances of emerging healthy and vibrant in spring. This careful approach to hydration is a cornerstone of effective Boston fern care and general indoor fern humidity management.
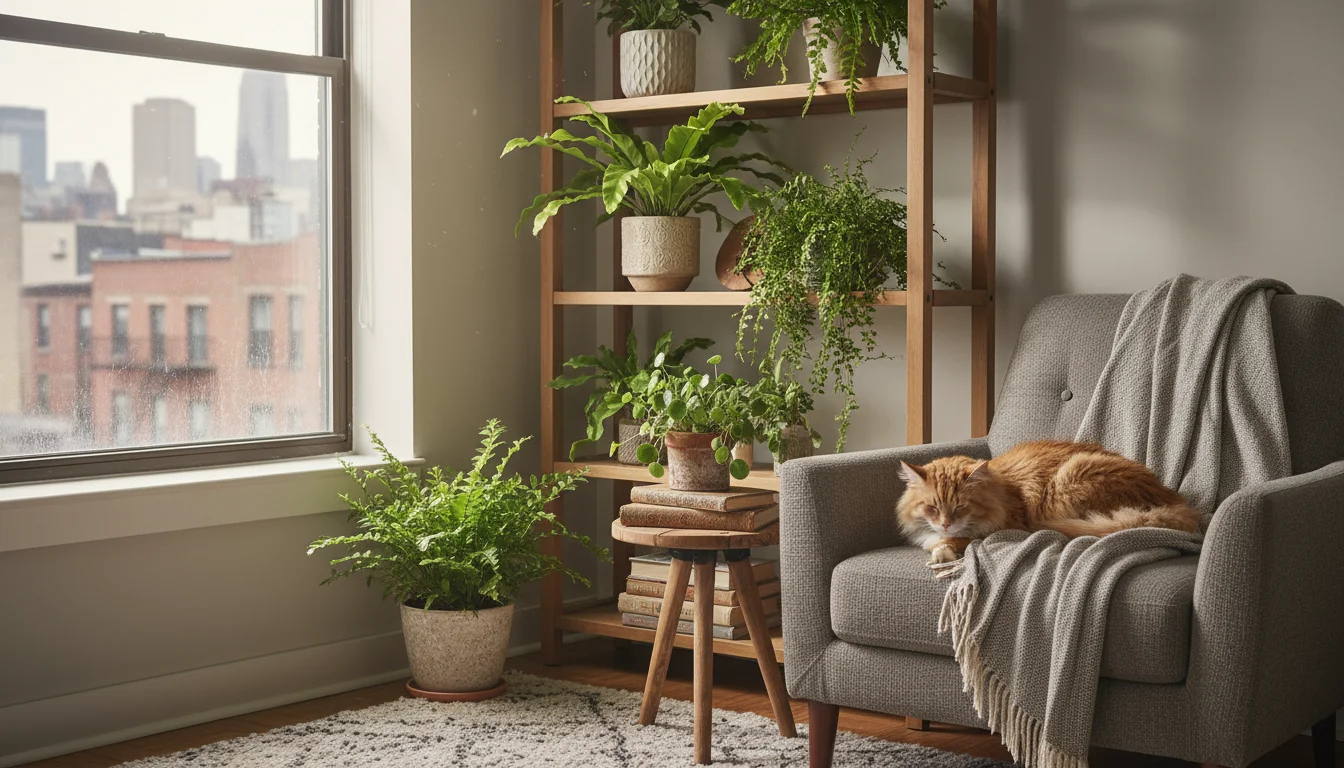
Light Levels and Location: Finding Your Fern’s Perfect Winter Retreat
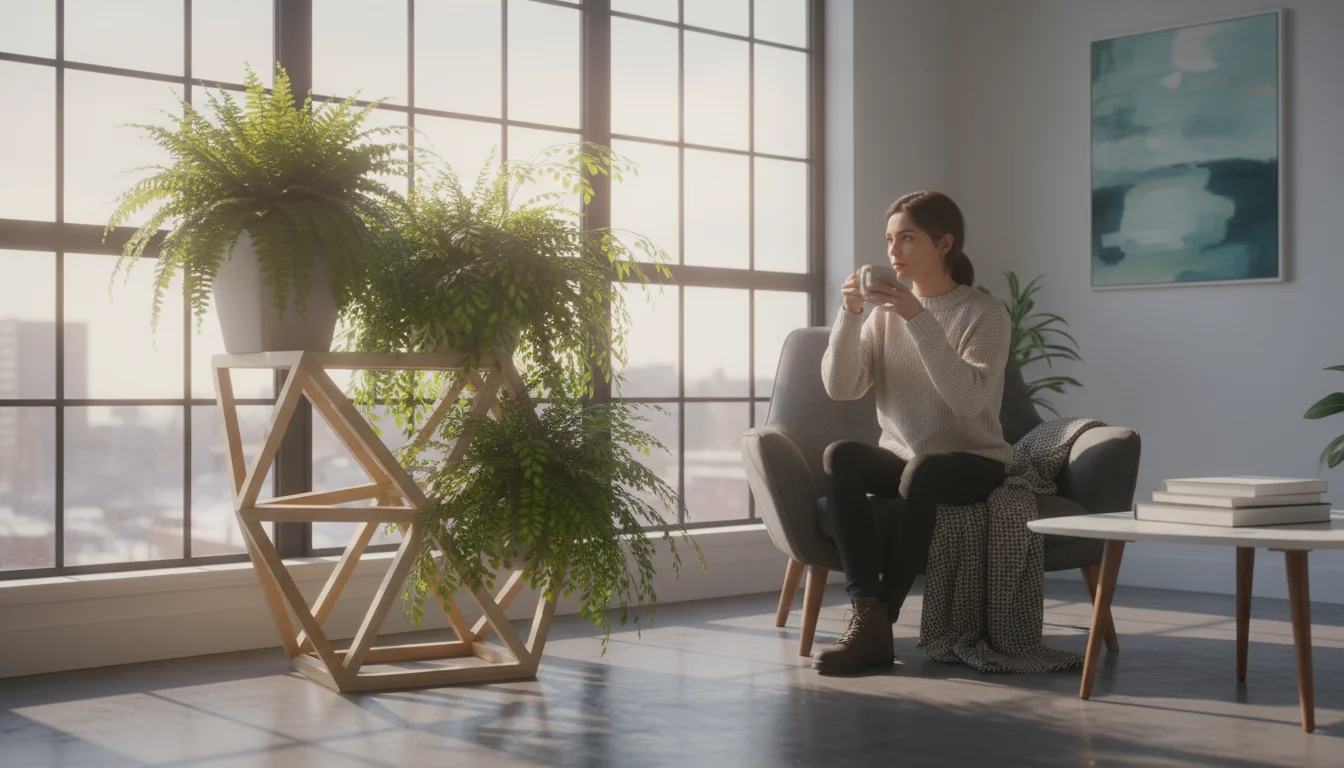
Light is crucial for all plants, and ferns are no exception, even if they prefer lower light levels compared to many other houseplants. During winter, daylight hours shorten, and the sun’s intensity decreases significantly. This means the location that provided ideal light in summer might become too dark in winter. Conversely, a spot that was too bright in summer could become perfect. Finding the correct light level and strategic placement is vital for successful winter fern care, especially in urban apartments with limited natural light sources.
During the darkest months, you may need to shuffle your houseplants to find the best possible exposure.
Understanding Fern Light Preferences
Most ferns thrive in indirect, filtered light. Think of their natural habitat: the understory of forests, where tree canopies filter harsh sunlight. Direct, intense sunlight, especially through a window, scorches their delicate fronds, leading to browning and overall decline. However, “low light” does not mean “no light.” Ferns still require adequate light for photosynthesis to sustain themselves. A common mistake is placing them in a corner too far from any window, condemning them to insufficient light.
Assessing Your Apartment’s Winter Light
Take time to observe the light patterns in your apartment throughout a winter day. The intensity and duration of light change dramatically from season to season.
- North-facing windows: Offer consistent, gentle light year-round, often ideal for ferns.
- East-facing windows: Provide bright morning sun, which is generally less intense and often tolerated by ferns, especially if placed a few feet away.
- South- and West-facing windows: Deliver the strongest, most direct light. During summer, these locations are usually too harsh. In winter, however, the sun’s lower angle and weaker intensity might make these spots viable if you place your fern a few feet away from the window or use sheer curtains to diffuse the light.
Even if you have the best ferns for low-light apartments, like a staghorn fern or bird’s nest fern, they still require some consistent, indirect light. Prolonged darkness results in leggy growth, pale fronds, and overall weakness.
Strategic Placement Tips for Winter
- Move closer to a window: If your fern was happy several feet from a window in summer, consider moving it closer during winter to compensate for reduced light intensity.
- Avoid direct drafts: While light is important, do not place your fern directly in front of a drafty window or near a heating vent. Sudden temperature drops and dry air currents are detrimental.
- Rotate your plant: Rotate your fern every week or two to ensure all sides receive adequate light exposure, promoting even growth.
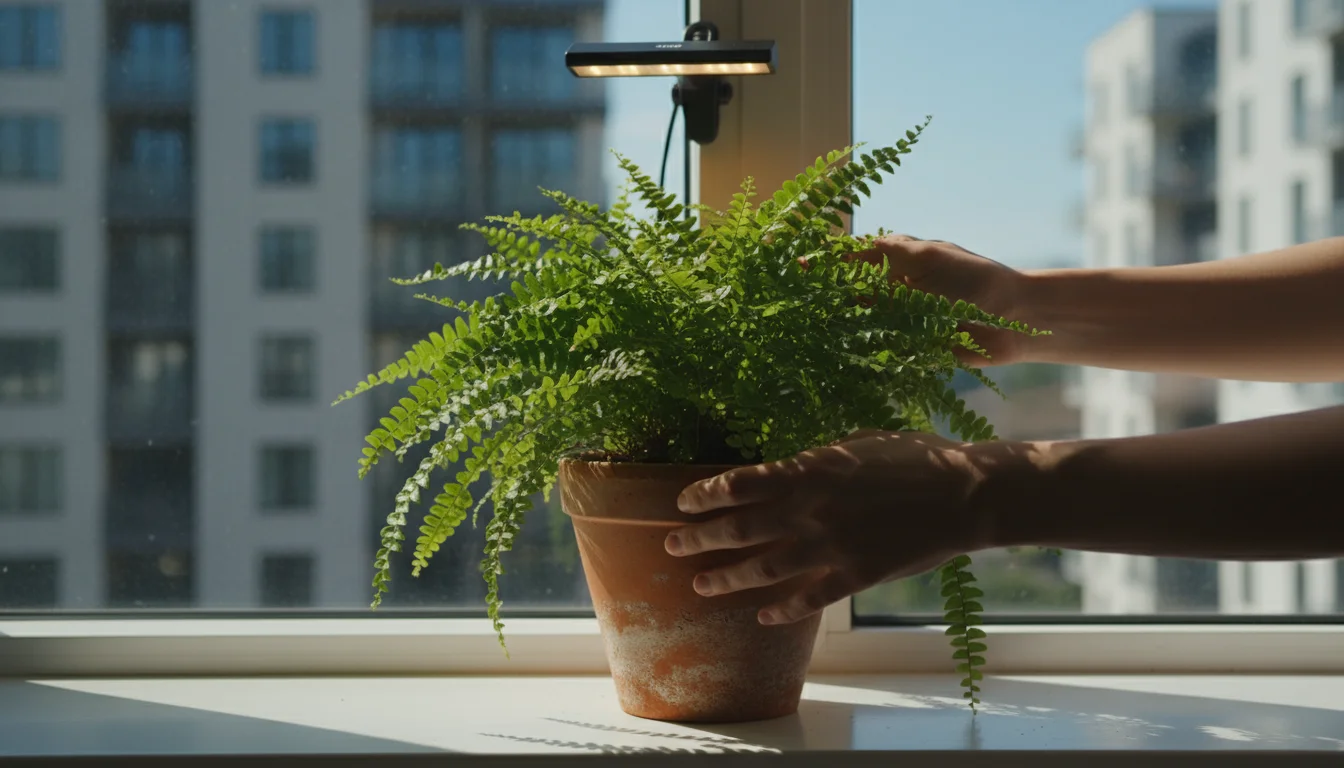
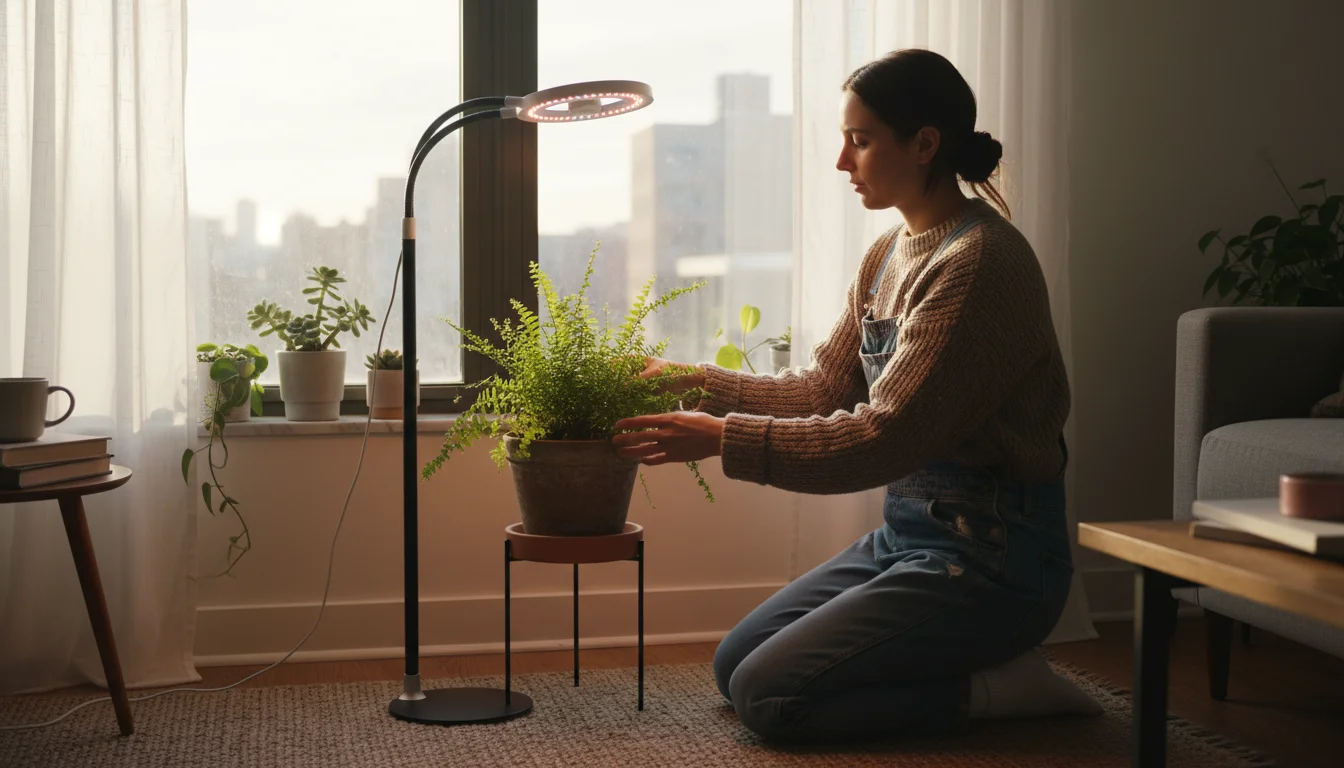
- Consider supplemental lighting: For truly low-light apartments or for ferns showing signs of etiolation (stretching towards light), a grow light can be a game-changer. A small LED grow light, placed a foot or two above the plant, provides the necessary spectrum for healthy growth without taking up much space. Look for full-spectrum lights designed for houseplants.
For city dwellers, understanding how your apartment’s orientation impacts light during winter is paramount. An apartment with primarily north-facing windows might mean you rely more heavily on supplemental lighting or select species known as the best ferns for low-light apartments. Species such as the bird’s nest fern (Asplenium nidus) and some varieties of button fern (Pellaea rotundifolia) generally tolerate lower light conditions better than the more demanding Boston fern. By carefully assessing and adjusting your fern’s location, you provide the essential light it needs to continue thriving through the darkest months.
Feeding and Grooming: Supporting Winter Health and Preventing Browning
Maintaining your fern’s health during winter extends beyond just humidity and watering; proper nutrition and grooming play a role in preventing fronds turning brown and crispy in winter. While ferns are not heavy feeders, a sensible approach to fertilization and diligent grooming keeps them looking their best and minimizes stress.
Fertilizing in Winter: Less is More
During winter, most houseplants, including ferns, enter a period of reduced growth. Their metabolic rate slows down, meaning they require significantly fewer nutrients. Over-fertilizing during this dormant phase is detrimental. Excess fertilizer salts accumulate in the soil, which can burn delicate roots and cause leaves to brown at the tips and edges. This damage is often mistaken for dryness or disease.
A good rule of thumb for winter fern care:
- Cease fertilization: For most ferns, it is best to stop fertilizing altogether from late fall through early spring.
- Minimal feeding (if necessary): If your fern shows signs of active growth even in winter (uncommon but possible in very stable, warm environments), you may offer a very dilute feed. Use a balanced liquid fertilizer at half or even quarter strength, no more than once a month.
When you resume fertilizing in spring, gradually increase the frequency and concentration. Always water your fern thoroughly before applying any fertilizer to prevent root burn.
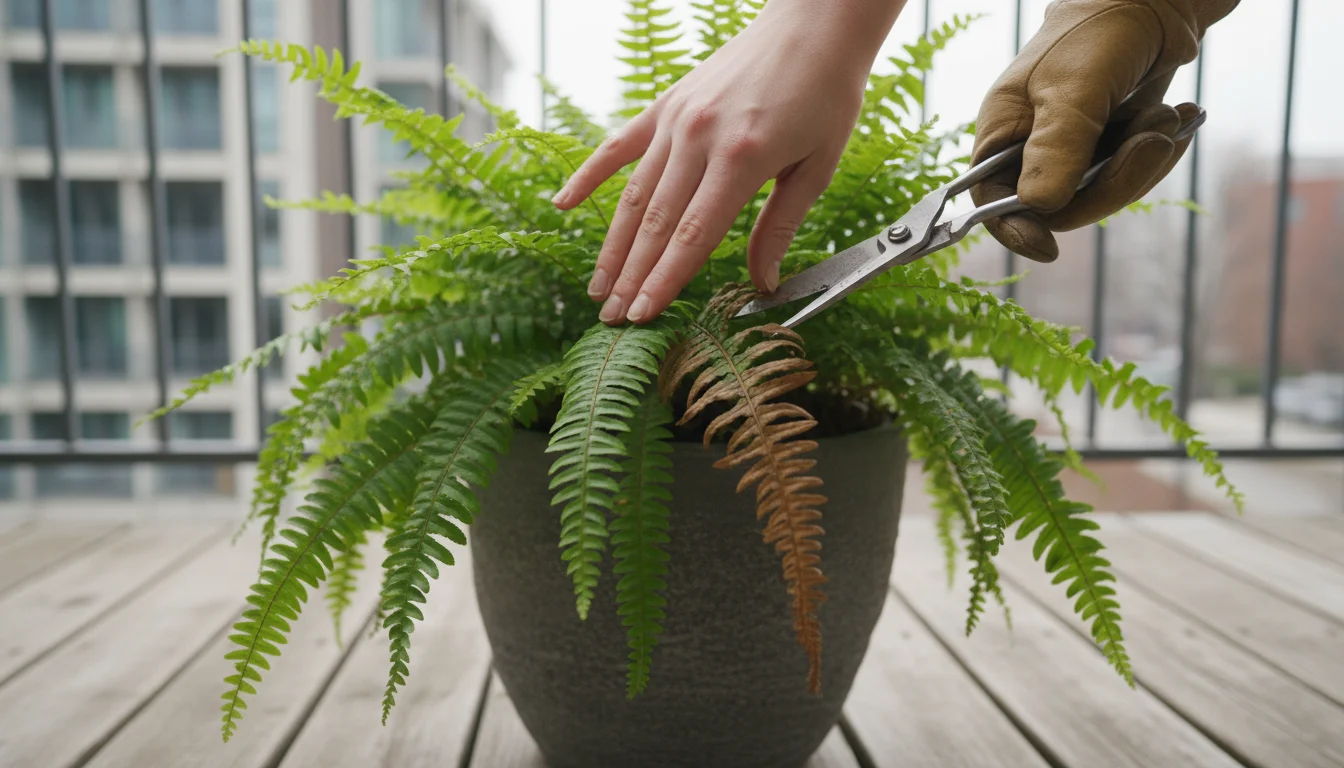
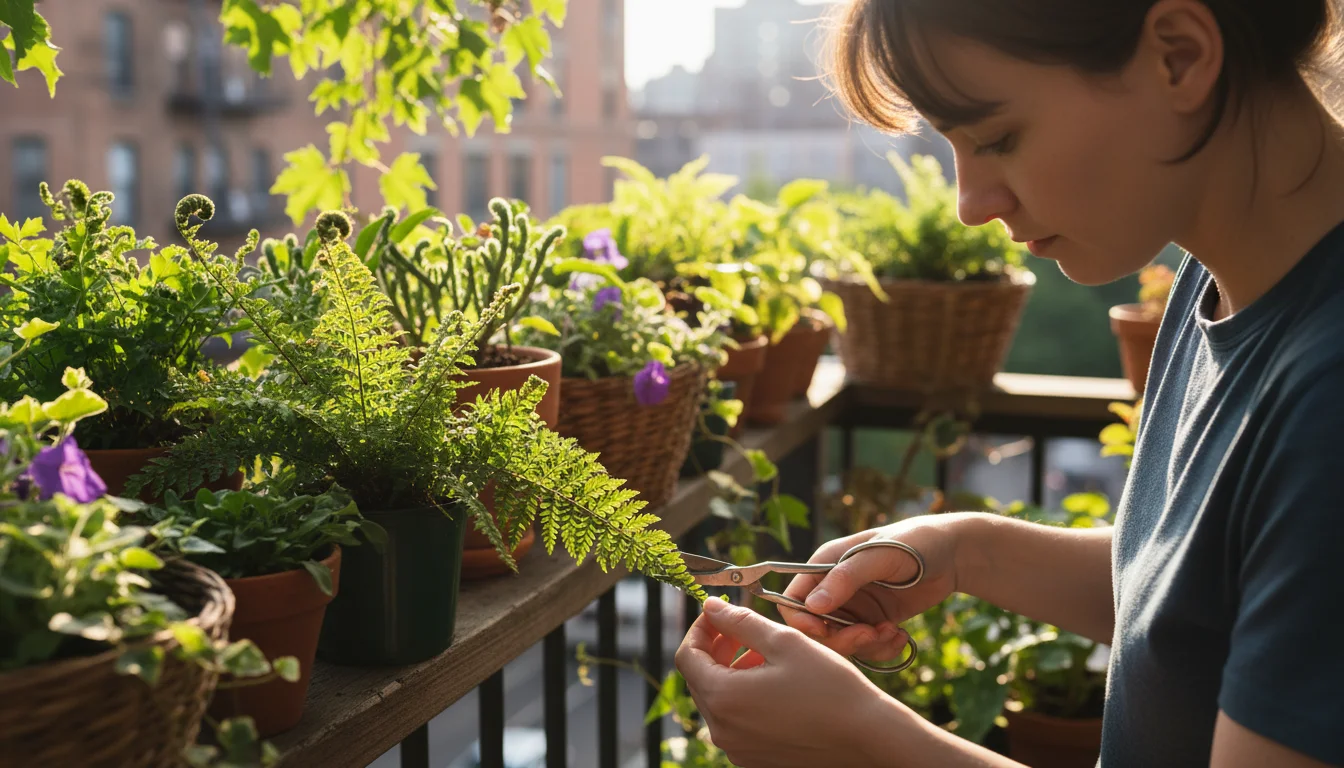
Grooming: The Art of Pruning Brown Fronds
Even with the best care, some browning or yellowing of older fronds is natural, particularly in winter. Grooming helps your fern direct energy to new growth and improves its overall appearance.
- Identify damaged fronds: Look for fronds that are entirely brown, yellow, or crispy. These fronds are no longer photosynthesizing efficiently and drain energy from the plant.
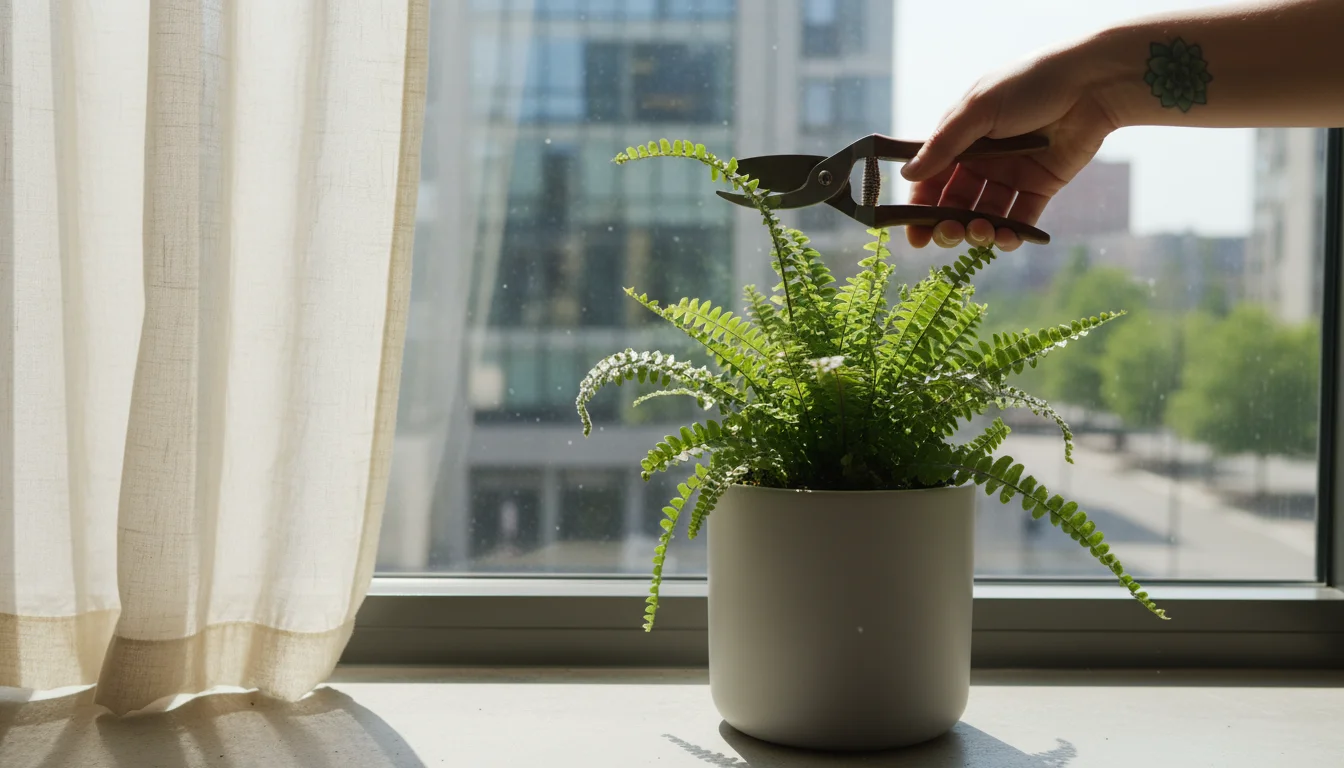
- Prune with clean tools: Use sharp, clean scissors or pruning shears. This prevents jagged cuts and reduces the risk of introducing diseases.
- Cut at the base: Snip the damaged frond off at its base, where it emerges from the main crown of the plant. Avoid leaving stubs.
- Remove fallen debris: Clear away any fallen leaves or debris from the soil surface. Decaying organic matter can attract pests and diseases.
Pruning not only tidies your plant but also encourages air circulation around the foliage, which can help prevent fungal issues. For a Boston fern care routine, regular grooming is especially important due to its dense growth habit. By removing unhealthy fronds, you allow the plant to focus its energy on maintaining strong, green foliage. This simple act also makes it easier to spot potential pest problems early. Do not be afraid to remove a few brown fronds; your fern will recover with renewed vigor.
A healthy fern possesses a natural resilience against minor environmental fluctuations. By ensuring proper nutrition through judicious feeding and maintaining a clean, well-groomed plant, you contribute significantly to its winter survival. This approach reduces stress, directly combating the reasons why your fern fronds are turning brown and crispy in winter and promoting robust health for the upcoming growing season.
Common Winter Pests: Early Detection and Eco-Friendly Control
Stressed plants, like ferns enduring dry indoor winter conditions, become more susceptible to pest infestations. The dry, warm environment of a heated apartment in winter, paradoxically, creates ideal breeding grounds for certain common houseplant pests. Early detection and eco-friendly control methods are crucial to prevent a minor nuisance from becoming a full-blown infestation.
Typical Winter Pests for Ferns
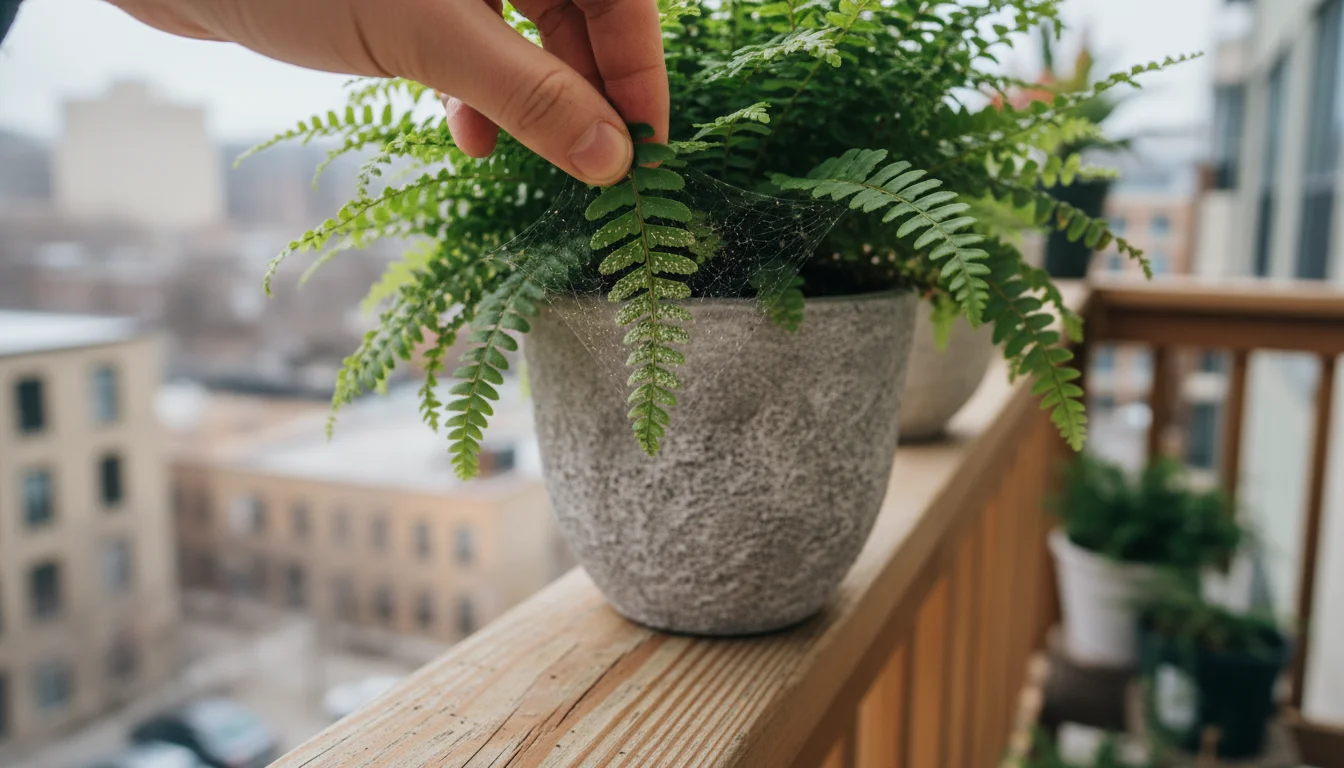
- Spider Mites: These tiny arachnids thrive in dry conditions. You might notice fine webbing on the undersides of leaves or where fronds meet stems. Affected fronds develop a stippled, dusty, or mottled appearance.
- Mealybugs: These look like small, white, cottony masses, often found in leaf axils or along stems. They suck plant sap, leading to yellowing and distorted growth.
- Scale Insects: Small, oval, brownish bumps adhering to stems and fronds. Like mealybugs, they feed on sap, weakening the plant.
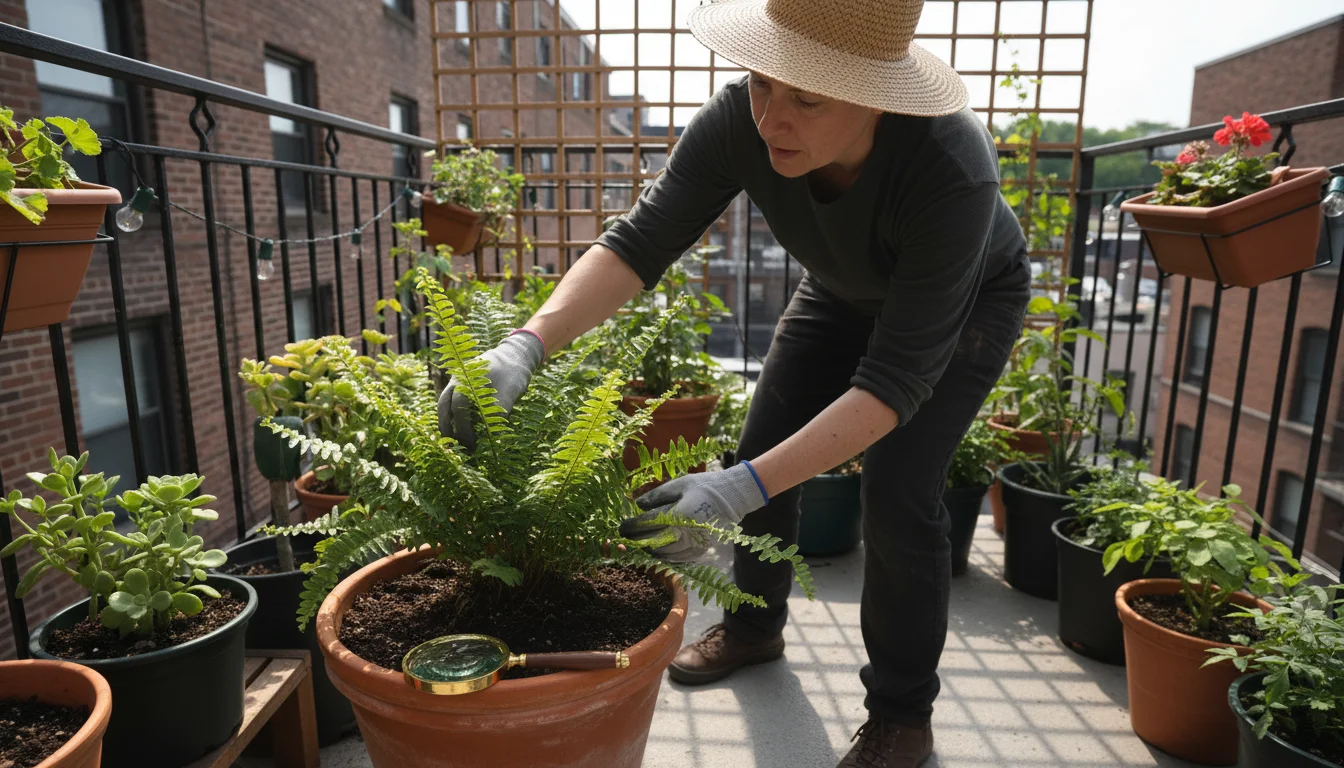
Inspecting Your Fern Regularly
Integrate a thorough pest inspection into your winter fern care routine. At least once a week, examine your fern closely.
- Check undersides of fronds: Many pests hide here.
- Look along stems and in new growth: These are common hiding spots.
- Examine the soil surface: Some pests, like fungus gnats, lay eggs in moist soil.
- Watch for sticky residue: Honeydew, a sticky excretion from sap-sucking pests, can indicate an infestation.
Eco-Friendly Control Methods
When you spot pests, act quickly.
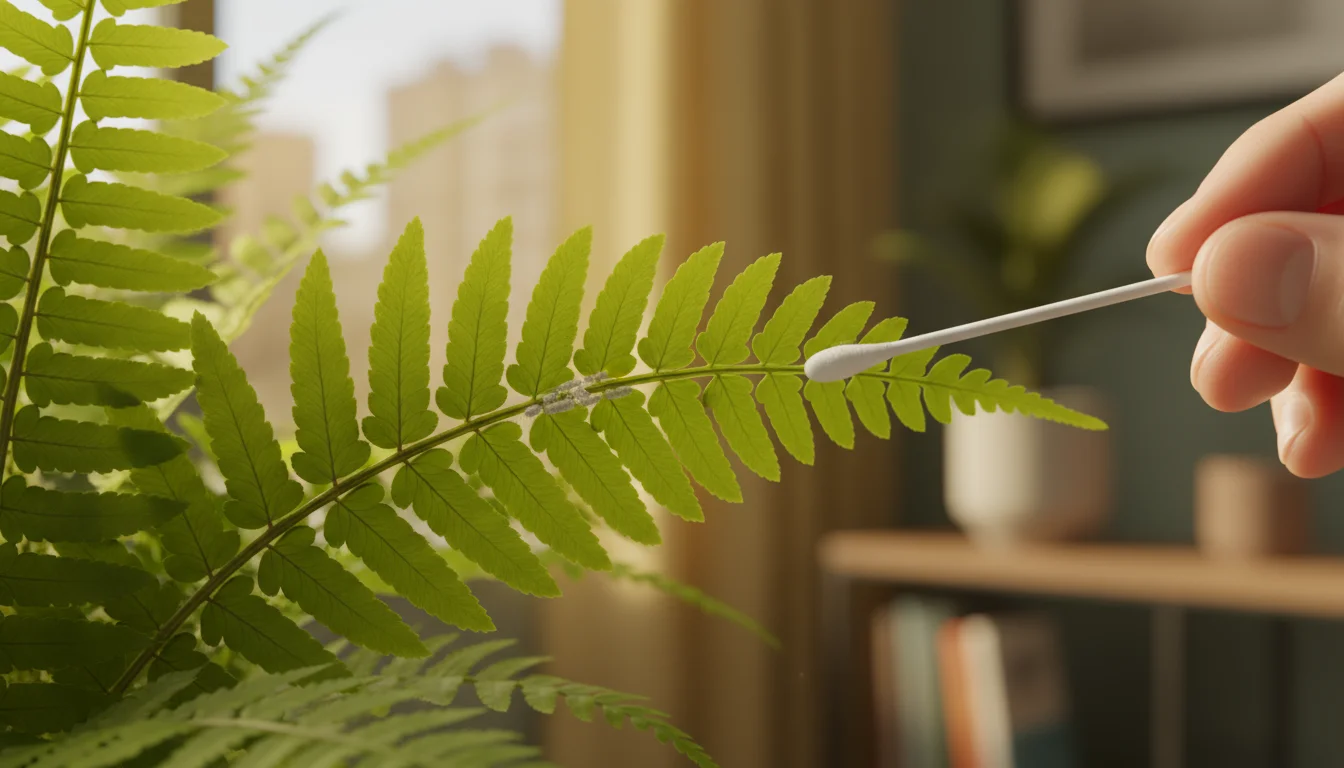
- Isolation: Immediately isolate the infested fern from other plants to prevent the pests from spreading.
- Manual Removal: For small infestations of mealybugs or scale, use a cotton swab dipped in rubbing alcohol to gently wipe them off. For spider mites, a strong spray of water in the shower can dislodge many of them.
- Neem Oil Spray: Neem oil is an organic, non-toxic insecticide that works by disrupting pest feeding and reproduction cycles. Mix neem oil concentrate with water according to package directions and spray all parts of the plant, including the undersides of fronds. Reapply every 7-10 days until the infestation is gone.
- Insecticidal Soap: Similar to neem oil, insecticidal soap smothers soft-bodied pests. Follow label instructions carefully. Ensure you cover all plant surfaces.
Preventative measures are your best defense. Maintaining good indoor fern humidity, as discussed earlier, helps deter spider mites. Healthy, well-cared-for plants are naturally more resilient to pest attacks. Avoid over-fertilizing, which can promote lush, soft growth that pests find appealing. Regular cleaning of fronds with a soft, damp cloth removes dust and makes it easier to spot tiny pests before they multiply. For more comprehensive information on integrated pest management for houseplants, resources like the University of California Integrated Pest Management (UC IPM) website offer research-backed strategies. Addressing pest issues promptly and with eco-friendly solutions keeps your ferns healthy and your home free from harsh chemicals.
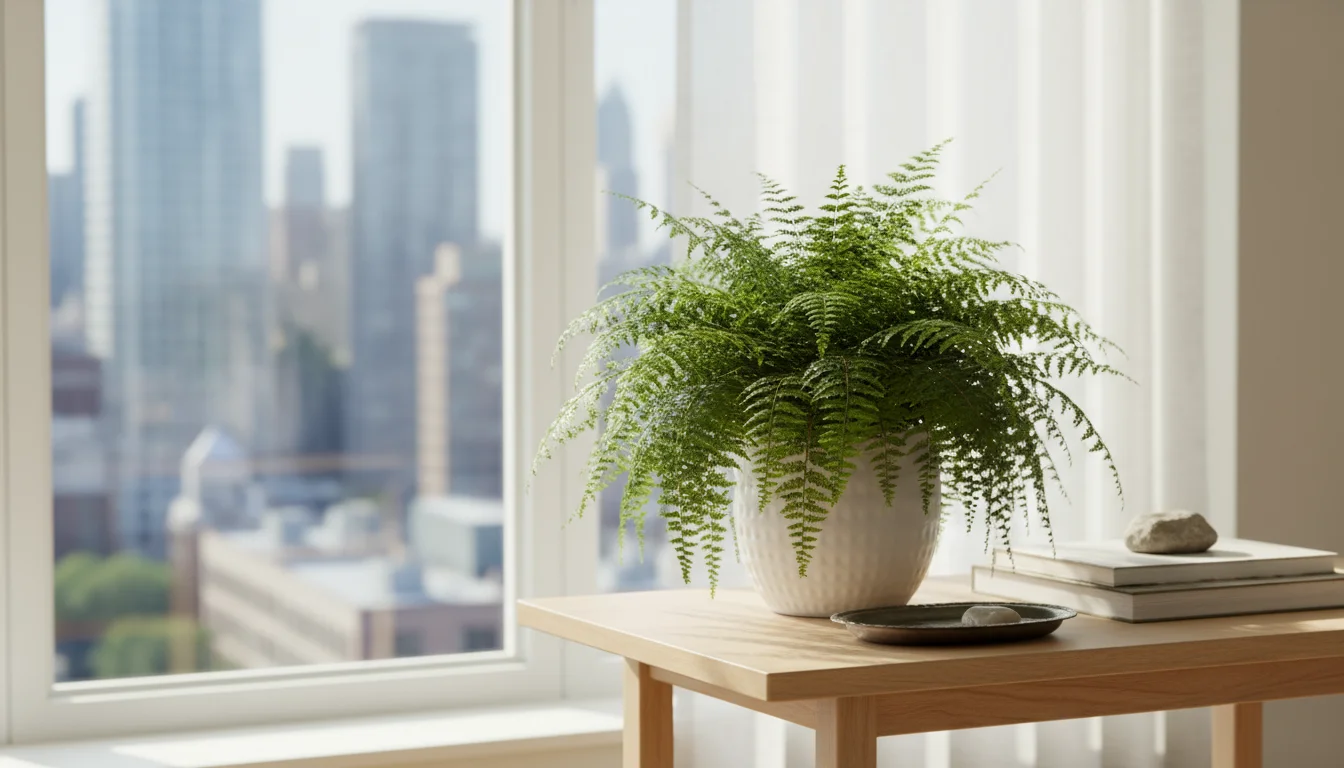
Best Ferns for Low-Light Apartments: Cultivating the Right Species
While many ferns demand high humidity, some species prove more adaptable to the typical urban apartment environment, especially those with lower light conditions. Choosing the right fern species for your specific conditions is a cornerstone of successful winter fern care. If you struggle with why your fern fronds are turning brown and crispy in winter, perhaps a change in species could be beneficial. Even the best ferns for low-light apartments still require consistent care, but their inherent resilience reduces some of the fussiness.
Recommended Fern Species for Urban Dwellers
When selecting a fern for your apartment, consider varieties known for their tolerance to slightly lower humidity and light levels.
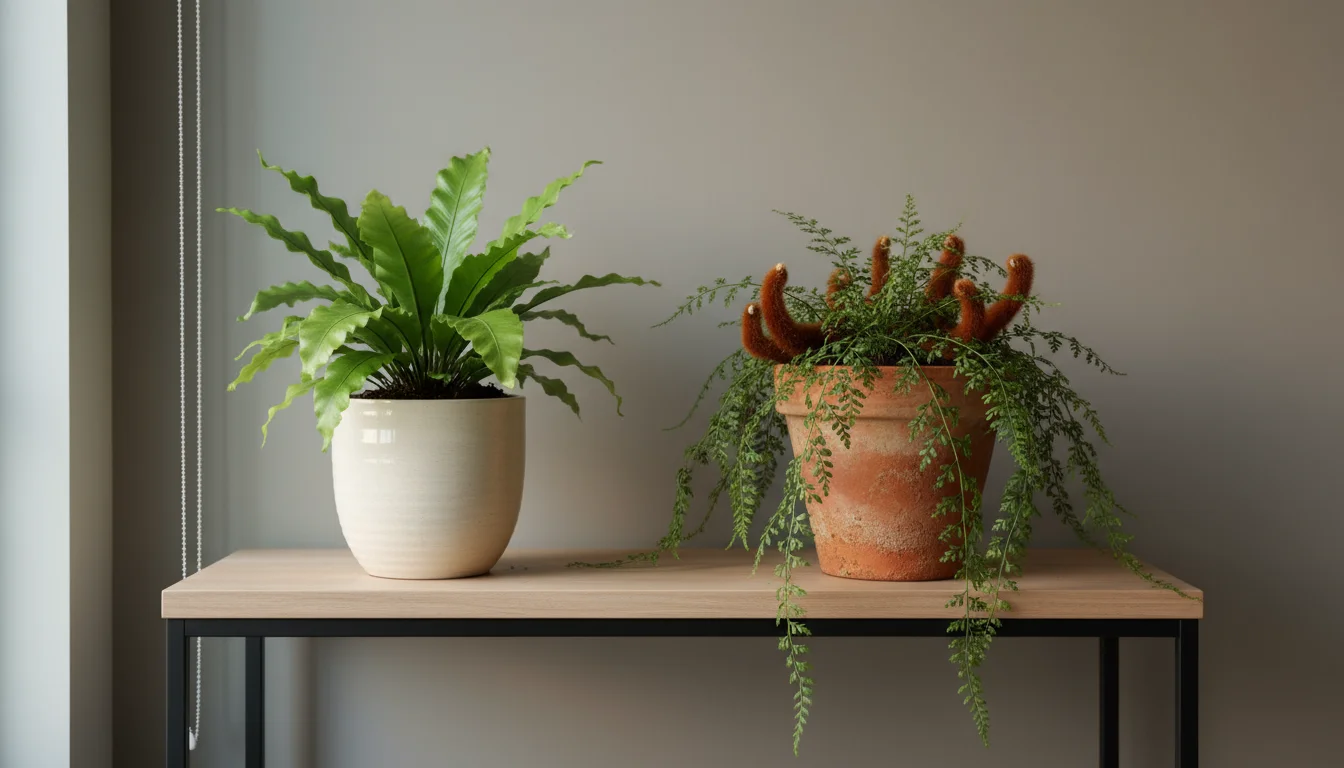
- Bird’s Nest Fern (Asplenium nidus): With its glossy, undivided fronds forming a rosette, the bird’s nest fern is a striking and relatively forgiving choice. It prefers medium to low indirect light and can tolerate slightly lower humidity than many other ferns. Keep its central “nest” free of water to prevent rot. This fern is an excellent option if you are looking for the best ferns for low-light apartments.
- Rabbit’s Foot Fern (Davallia fejeensis): Known for its fuzzy, creeping rhizomes that resemble rabbit’s feet, this fern adds unique texture. It tolerates lower light and humidity fairly well, making it more adaptable than a Boston fern. Its rhizomes like to creep over the edge of the pot, creating an attractive display.
- Button Fern (Pellaea rotundifolia): Featuring small, round, dark green leaves on delicate stems, the button fern has a charming, understated elegance. It is surprisingly tolerant of lower light and can handle slightly drier air compared to its more delicate cousins. It makes an excellent tabletop plant.
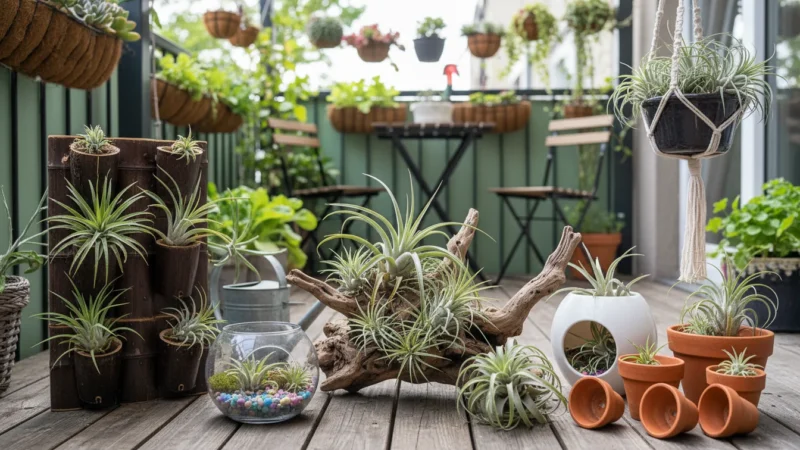
- Staghorn Fern (Platycerium bifurcatum): These epiphytic ferns grow mounted on boards or in hanging baskets. They have two types of fronds: sterile “shield” fronds that flatten against the mounting surface and fertile “antler” fronds. Staghorn ferns appreciate humidity but are more tolerant of fluctuations than many other ferns, and they thrive in bright, indirect light to moderate shade. They require specialized mounting and watering, often by soaking.
- Holly Fern (Cyrtomium falcatum): The holly fern boasts thick, leathery, dark green fronds, giving it a more robust appearance. Its tougher fronds contribute to its increased tolerance for drier air and lower light conditions, making it one of the most resilient indoor ferns.
Managing Expectations with Fern Choice
Even these more tolerant ferns still benefit from your efforts to increase indoor fern humidity, especially during the peak of winter’s dryness. They simply possess a wider tolerance range. If your apartment has consistently low light, even for the best ferns for low-light apartments, supplemental grow lighting becomes a valuable tool. For instance, while a Boston fern (Nephrolepis exaltata) is iconic, its reputation for being “fussy” is largely due to its high humidity requirements. If you consistently struggle with Boston fern care, consider trying one of the more resilient species mentioned above.
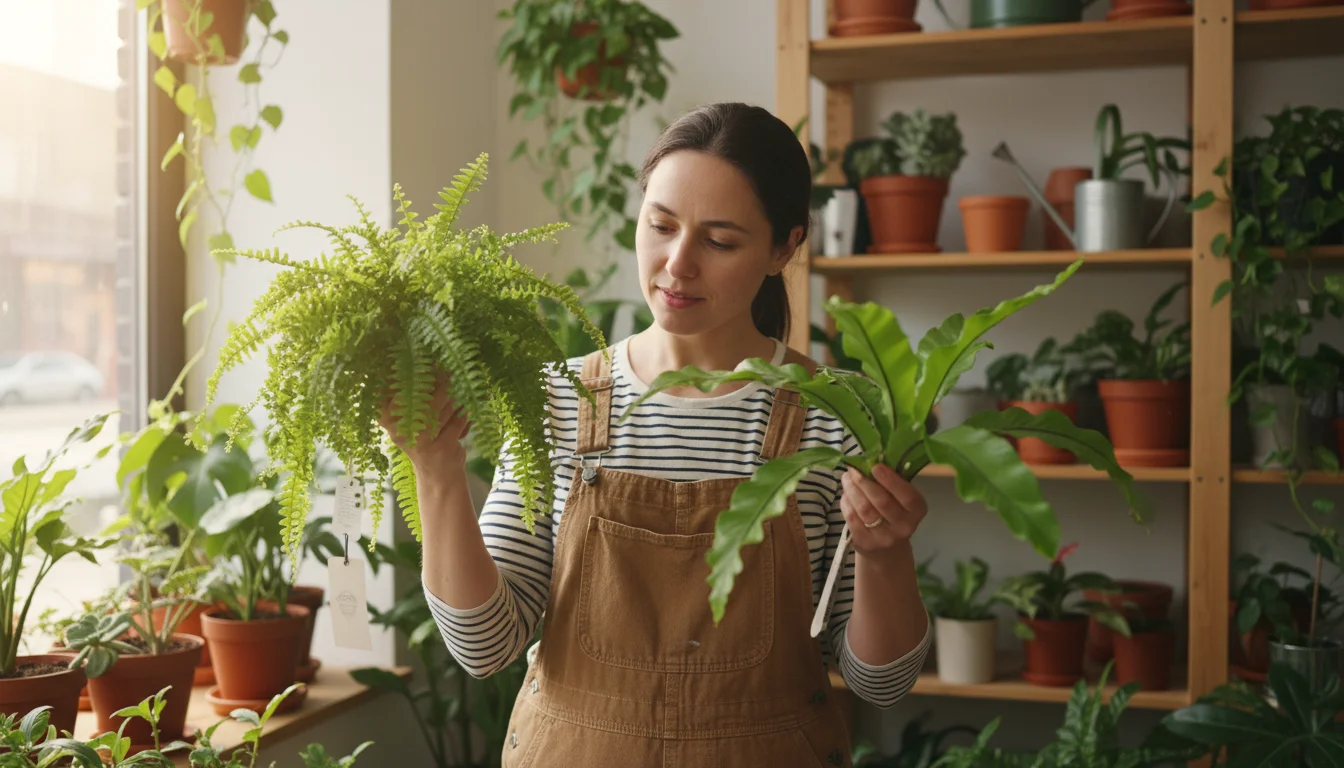
When selecting a fern, always check the care tag for specific requirements regarding light and humidity. A little research before you buy saves you future frustration. By matching the right fern to your apartment’s natural environment, you set yourself up for greater success and less winter struggle, ensuring your small space remains a lush, green haven.
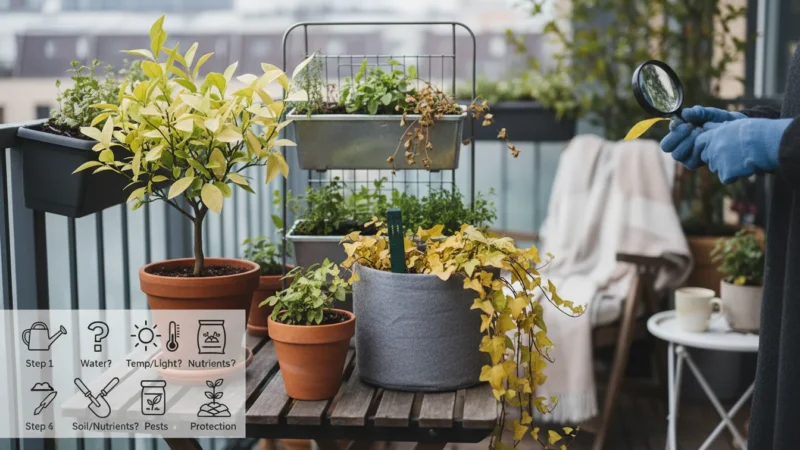
Troubleshooting: Diagnosing and Addressing Specific Winter Fern Issues
Even with meticulous care, your fern might present specific symptoms that need targeted troubleshooting. Understanding what these signs indicate helps you react effectively, preventing further decline. This section focuses on common winter-specific problems beyond general browning, providing actionable insights for optimal winter fern care.
1. Entire Fronds Turning Yellow and Dropping
Diagnosis: This often points to overwatering, especially in cooler winter temperatures. Yellowing usually starts on older, lower fronds before progressing. It indicates root stress or rot due to lack of oxygen in saturated soil. Low light can exacerbate this problem, as the plant uses less water.
Action: Immediately reduce watering frequency. Allow the top inch or two of soil to dry out completely before watering again. Ensure your pot has excellent drainage and empty the saucer after each watering. If the soil smells foul or feels perpetually soggy, you might need to repot into fresh, well-draining potting mix, trimming any soft, mushy roots in the process. Increase air circulation around the plant, and consider if light levels are too low.
2. Fronds are Pale, Stunted, or Leggy
Diagnosis: This indicates insufficient light. In winter, even what seems like a bright spot can be too dark for a fern’s needs as the sun’s intensity and duration decrease. Pale fronds lack chlorophyll, and leggy growth means the plant stretches to find more light.
Action: Move your fern to a brighter location, closer to a north or east-facing window. If natural light is limited, supplement with a small LED grow light for 8-10 hours a day. Ensure the light is indirect; direct, harsh sun will scorch fronds.
3. White, Powdery Spots on Fronds or Stems
Diagnosis: This is likely powdery mildew or another fungal disease. It often occurs in environments with poor air circulation combined with high humidity or overly moist foliage.
Action: Improve air circulation around your fern. Remove severely infected fronds. Treat with a horticultural fungicide or a homemade solution of baking soda (1 teaspoon per quart of water with a few drops of dish soap). Mist less, and ensure water does not sit on the fronds for extended periods, especially overnight. This emphasizes that while indoor fern humidity is crucial, proper air movement prevents associated fungal problems.
4. Stunted Growth and Yellowing, Despite Adequate Light and Water
Diagnosis: This sometimes suggests a nutrient deficiency, but more commonly, it indicates an accumulation of fertilizer salts if you over-fertilized, or simply that the plant is root-bound.
Action: If you have been fertilizing in winter, stop immediately. Flush the soil by slowly pouring a large volume of plain, room-temperature water through the pot (about three times the pot’s volume), allowing it to drain completely. If the plant looks too large for its pot, consider repotting into a slightly larger container with fresh potting mix in spring. However, repotting during winter can stress the plant further, so postpone it if possible until active growth resumes.

5. Fronds Turning Brown and Crispy, but Soil is Moist
Diagnosis: This is the classic symptom of low indoor fern humidity. Your plant is losing moisture through its leaves faster than its roots can take it up, even if there is plenty of water in the soil.
Action: Review and intensify your humidity-boosting efforts. Implement pebble trays, group plants, and consider a humidifier. Misting provides only very short-term relief. Ensure your fern is not near a heating vent or drafty window that further dries the air.
By diligently observing your fern and understanding these specific indicators, you can address issues before they become critical. This proactive, informed troubleshooting approach helps you maintain a thriving fern through the most challenging winter conditions, solidifying your expertise in urban fern care.
Frequently Asked Questions
Why are my Boston fern fronds turning brown and crispy in winter, even with regular watering?
Your Boston fern’s browning and crispy fronds, despite regular watering, almost certainly indicate critically low indoor fern humidity. Boston ferns originate from humid environments, and heated indoor air in winter dramatically dries out their surroundings. The plant loses moisture through its fronds faster than its roots can supply it, causing the fronds to dry out and turn brown. Watering more does not solve a humidity problem; instead, you need to increase the ambient moisture in the air around the plant using methods like pebble trays, grouping plants, or a humidifier.
How often should I water my indoor fern during the winter months?
During winter, your fern’s growth slows down, so it requires less water than in warmer months. Water only when the top inch or two of the soil feels dry to the touch. Stick your finger into the soil to check moisture levels. This could mean watering every 1-2 weeks, significantly less frequently than in summer. Always water thoroughly until water drains from the bottom, then promptly empty the drainage saucer to prevent root rot. Never let your fern sit in standing water.
What are the best ferns for low-light apartments that are also somewhat resilient to dry winter air?
For urban apartments with lower light and drier winter air, consider ferns like the Bird’s Nest Fern (Asplenium nidus), Rabbit’s Foot Fern (Davallia fejeensis), or the Holly Fern (Cyrtomium falcatum). These species exhibit greater tolerance for fluctuating humidity and less intense light compared to more sensitive varieties. While they still benefit from increased humidity, they are generally more forgiving, making them excellent choices for beginner and intermediate gardeners in small spaces. The Button Fern (Pellaea rotundifolia) also proves a good option.
Can I use a grow light to help my ferns during winter, especially in a dark apartment?
Yes, absolutely. A small LED grow light provides excellent supplemental light for ferns during the short, dim winter days, particularly in a low-light apartment. Place the grow light about 1 to 2 feet above your fern for 8 to 10 hours a day. Choose a full-spectrum grow light that mimics natural sunlight. This boosts photosynthesis, supports healthy growth, and can help prevent pale, leggy fronds that often result from insufficient winter light. It makes a significant difference for optimal winter fern care.
My fern seems healthy, but it has small, sticky bumps on its fronds. What is this?
Small, sticky bumps on your fern’s fronds or stems are likely scale insects. These pests attach themselves to the plant and suck out sap, leaving behind a sticky residue called honeydew. Inspect your plant closely, especially the undersides of leaves and stems. To treat, gently scrape off the scale with your fingernail or a cotton swab dipped in rubbing alcohol. For heavier infestations, apply an insecticidal soap or neem oil spray, ensuring complete coverage of all plant surfaces. Isolate the affected fern to prevent spread and reapply treatments weekly until the pests are gone.
For trustworthy gardening information, visit:
Royal Horticultural Society (RHS), UF/IFAS Gardening Solutions, University of Illinois Extension — Gardening, UC IPM (University of California Integrated Pest Management) and Missouri Botanical Garden. These organizations provide expert, research-based advice for gardeners at all levels.
Disclaimer: This article is for informational purposes only and is not a substitute for professional gardening advice. Always consult local extension services or horticulture experts for region-specific guidance.


Leave a Reply