For research-based plant care guidance, visit Cornell Garden-Based Learning, UF/IFAS Gardening Solutions, Missouri Botanical Garden and Oregon State Extension — Gardening.
Developing a consistent routine is a vital step in any indoor plant survival guide aimed at keeping your urban garden healthy and vibrant.
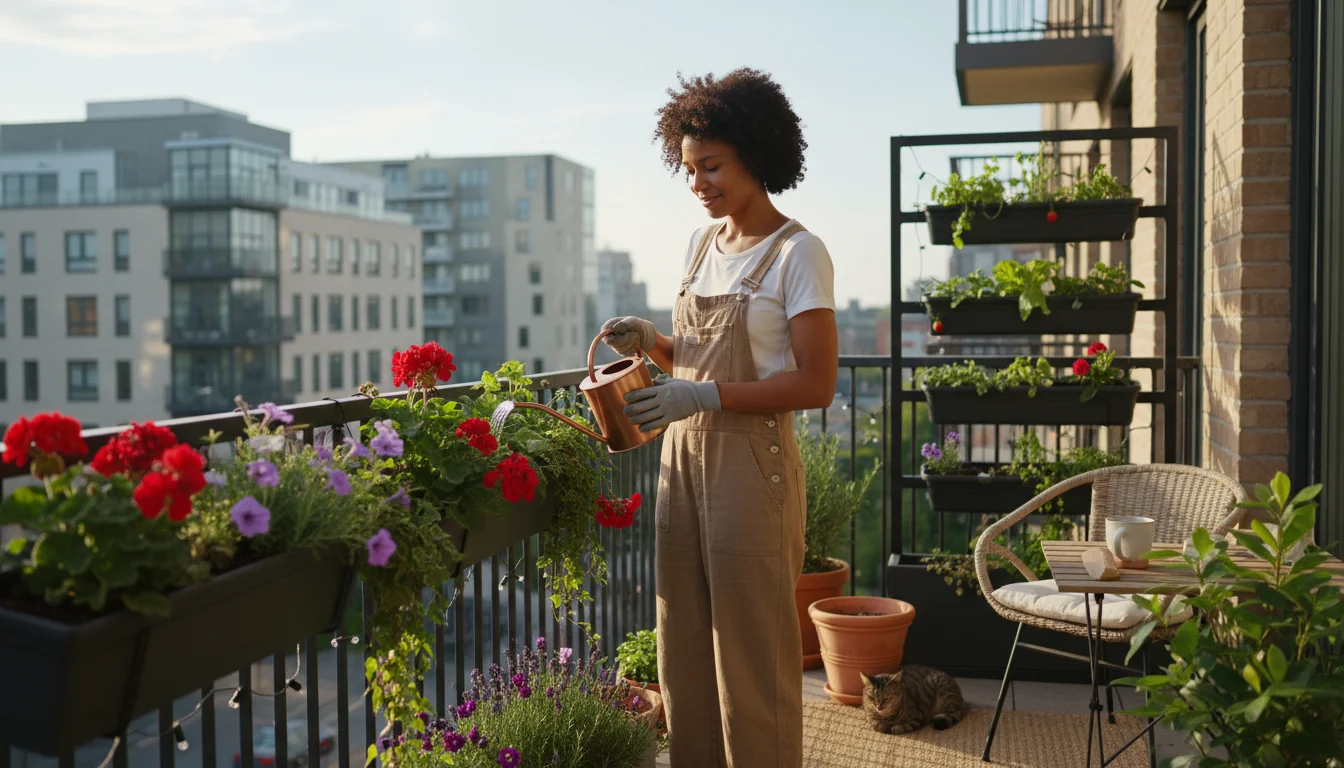
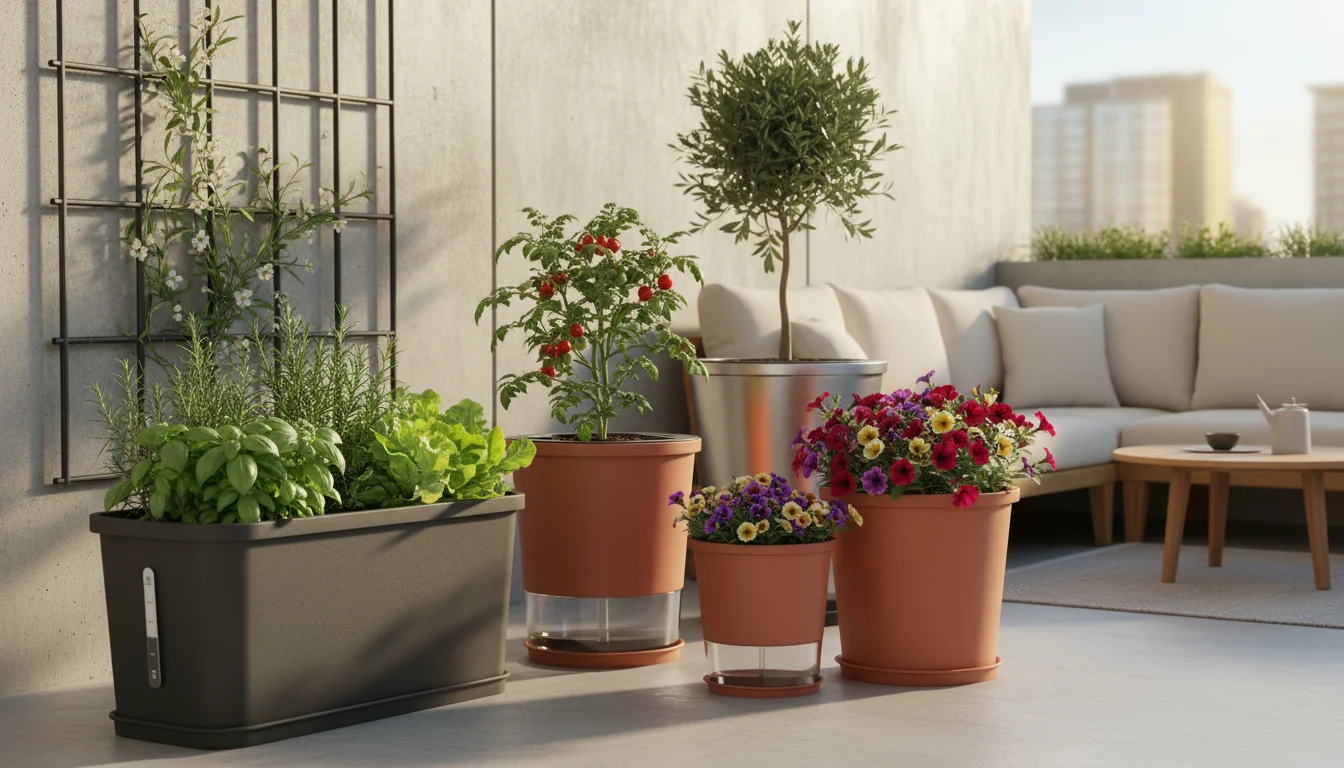
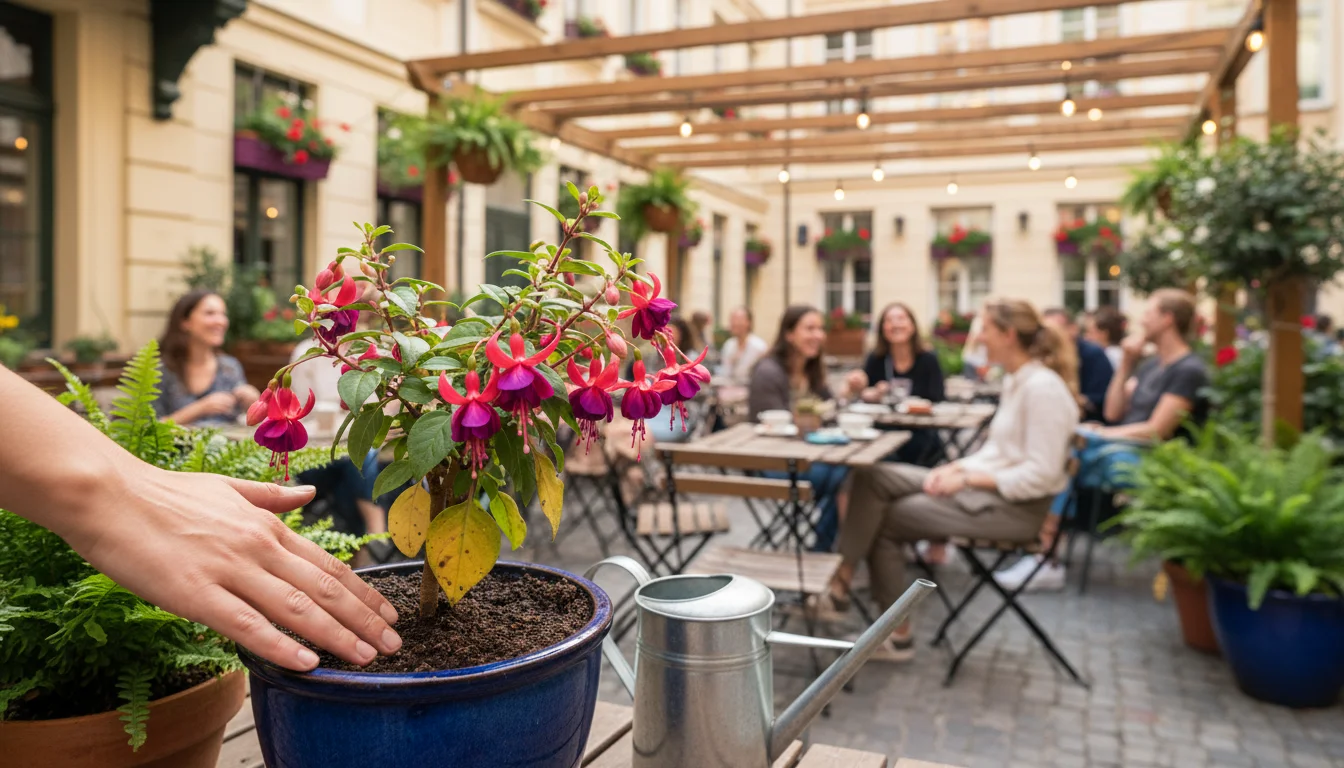
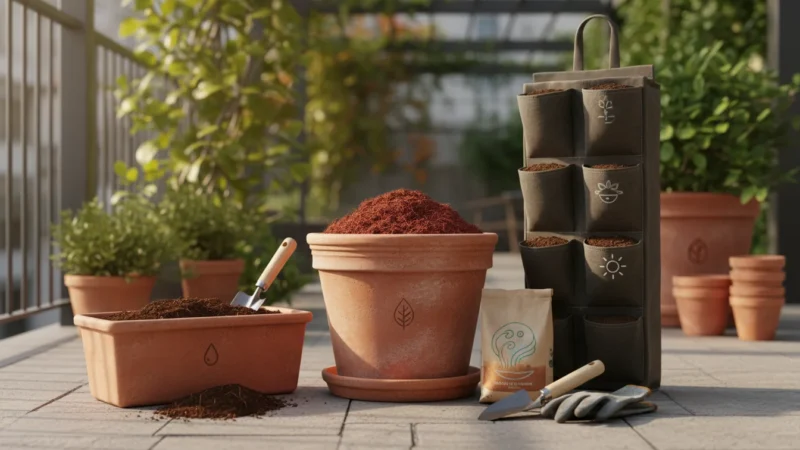
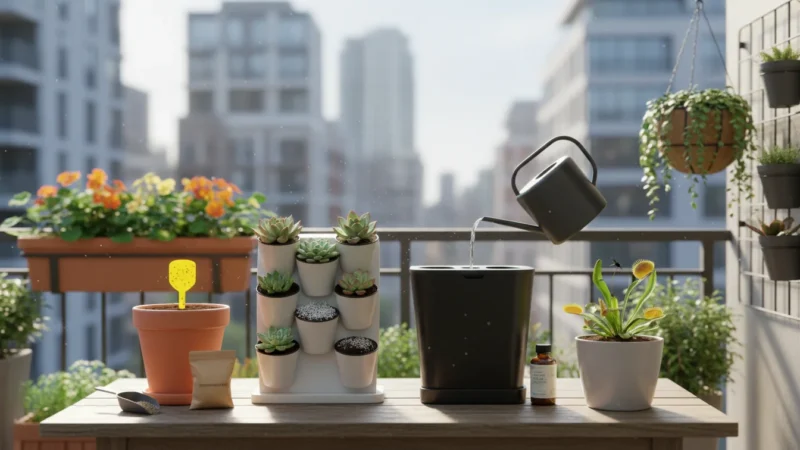
Selecting the right watering tools and equipment for your space makes maintaining a consistent schedule much easier.
Disclaimer: This article is for informational purposes only and is not a substitute for professional advice. Consult local extension services for region-specific recommendations.
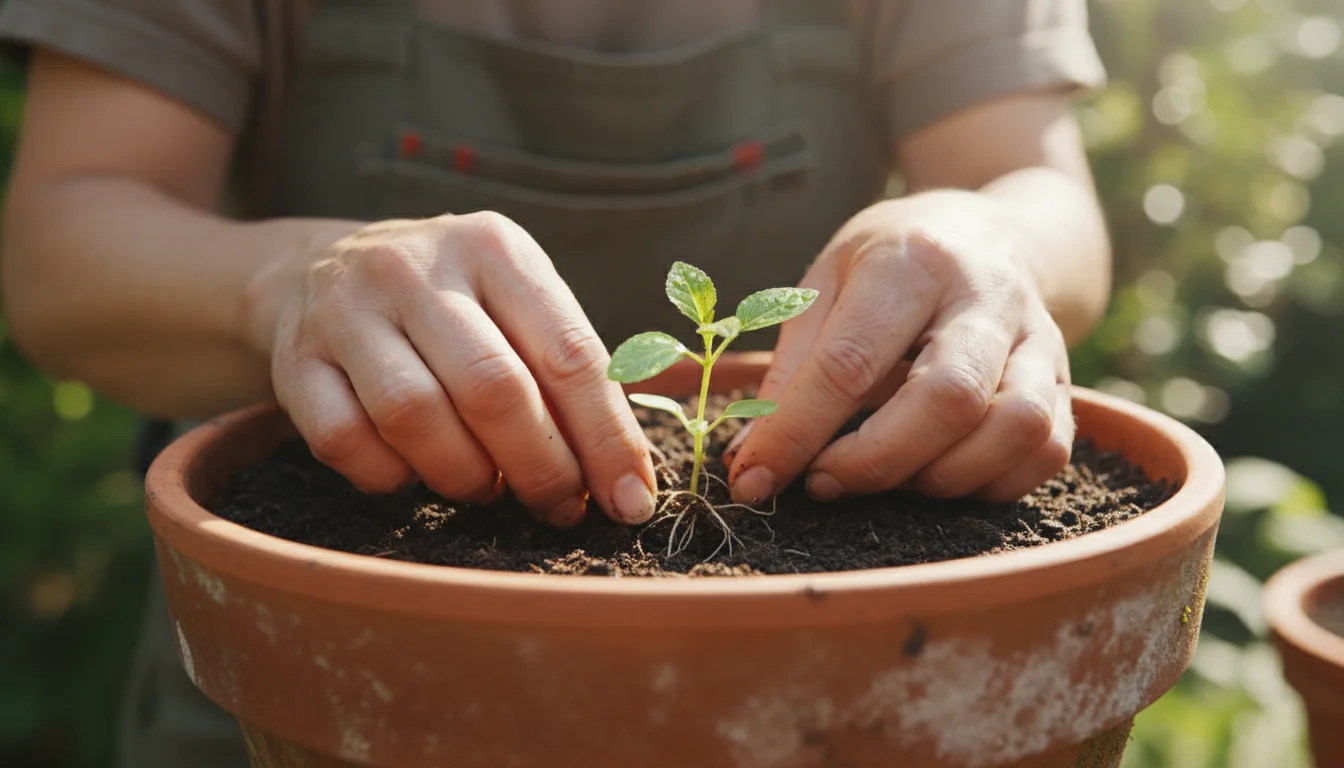
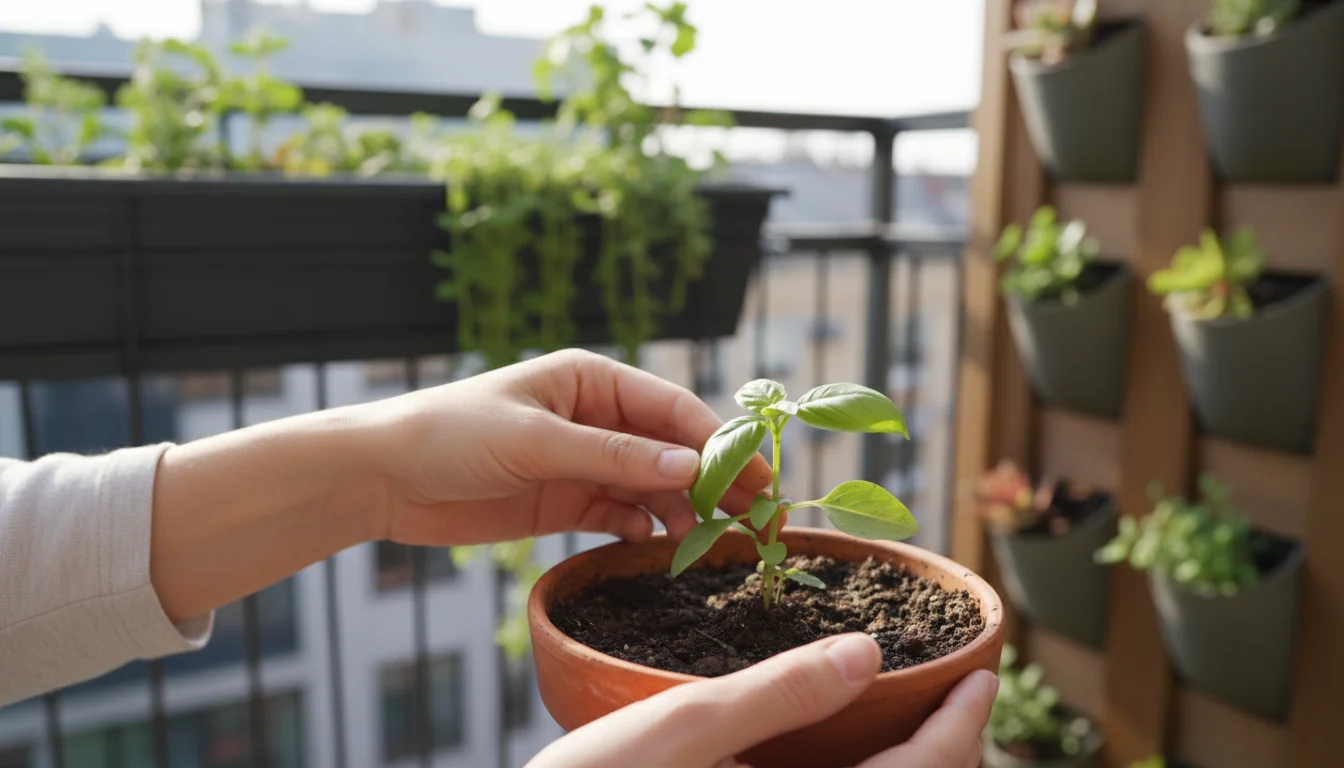
As a busy plant parent, you know the struggle: you love your green companions, but finding time for intricate plant care can feel like another item on an already overflowing to-do list. Watering often feels like the most daunting task, leading to overwatered tragedies or underwatered wilts. But what if you could establish a reliable, simple watering schedule that actually works for your lifestyle? This guide empowers you to ditch the guesswork and develop a routine that keeps your plants thriving without demanding constant attention. We will focus on understanding your plants’ needs, using practical tools, and adopting sustainable habits, transforming watering from a chore into a rewarding part of your low-maintenance gardening journey.
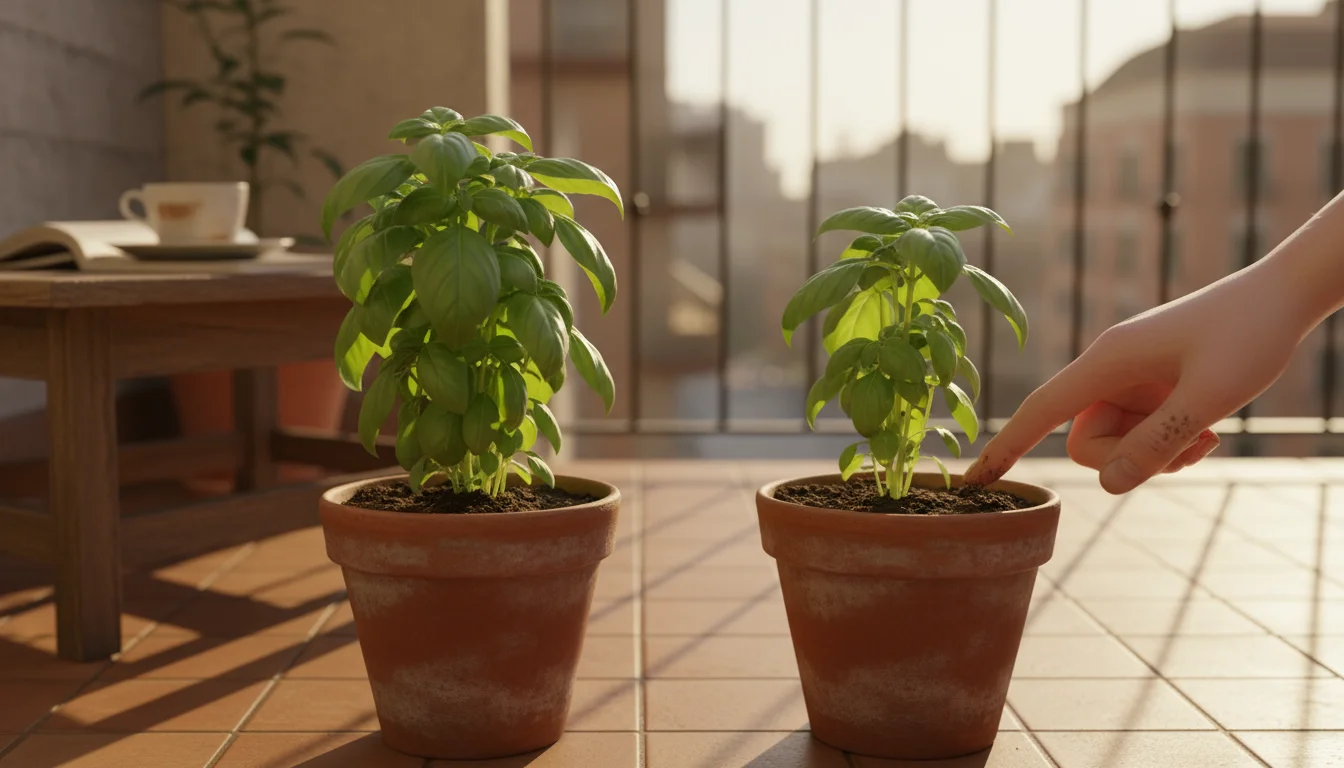
Understanding Your Plant’s Thirst: The Basics of Plant Watering
Effective watering begins with understanding how plants use water. Your plants absorb water through their roots, transporting it up to their leaves where it facilitates photosynthesis, the process by which they create their food. Water also helps maintain turgor, giving stems and leaves their structure and preventing wilting. Providing the right amount of water at the right time is crucial for their survival and growth. Too much water drowns roots, leading to rot, while too little causes dehydration and stress.
To maintain this balance longer, many gardeners use mulching for containers, which significantly slows evaporation from the top layer of soil.
Why Conventional Wisdom Can Be Misleading
You often hear advice like “water once a week” or “water every other day.” This approach, however, often leads to problems because plant water needs vary dramatically based on numerous factors. A fixed schedule fails to account for changes in environmental conditions, plant size, or species. Instead of adhering to a rigid timetable, you must learn to read your plant and its environment. This guide will equip you with the skills to do just that, creating a flexible yet effective watering routine.
The “Sufficiently Moist” Concept
Your goal is to keep the soil “sufficiently moist,” meaning damp enough for roots to access water but not so saturated that air pockets disappear. Roots need oxygen to function. Waterlogged soil deprives them of this essential air, creating an anaerobic environment where harmful pathogens thrive. You need to achieve a balance: thorough watering when needed, followed by a period where the topsoil dries out slightly, allowing roots to breathe.
Different plant types have varying preferences for soil moisture. Succulents and cacti, for example, thrive in dry conditions and prefer their soil to dry out completely between waterings. Tropical plants, on the other hand, often prefer consistently moist soil, though never soggy. Knowing your specific plant’s preference forms the foundation of a successful watering schedule. Research your plant’s native habitat; it offers valuable clues about its water requirements.
Factors Influencing Your Watering Schedule
Many elements influence how quickly your plants use water and how often they need a drink. Ignoring these variables means risking over or underwatering. You control some of these factors, while others require observation and adaptation. Let’s break down the key influencers.
If managing these variables feels overwhelming, you can explore tech for gardeners, such as smart moisture sensors that send alerts directly to your phone.
Plant Type and Species
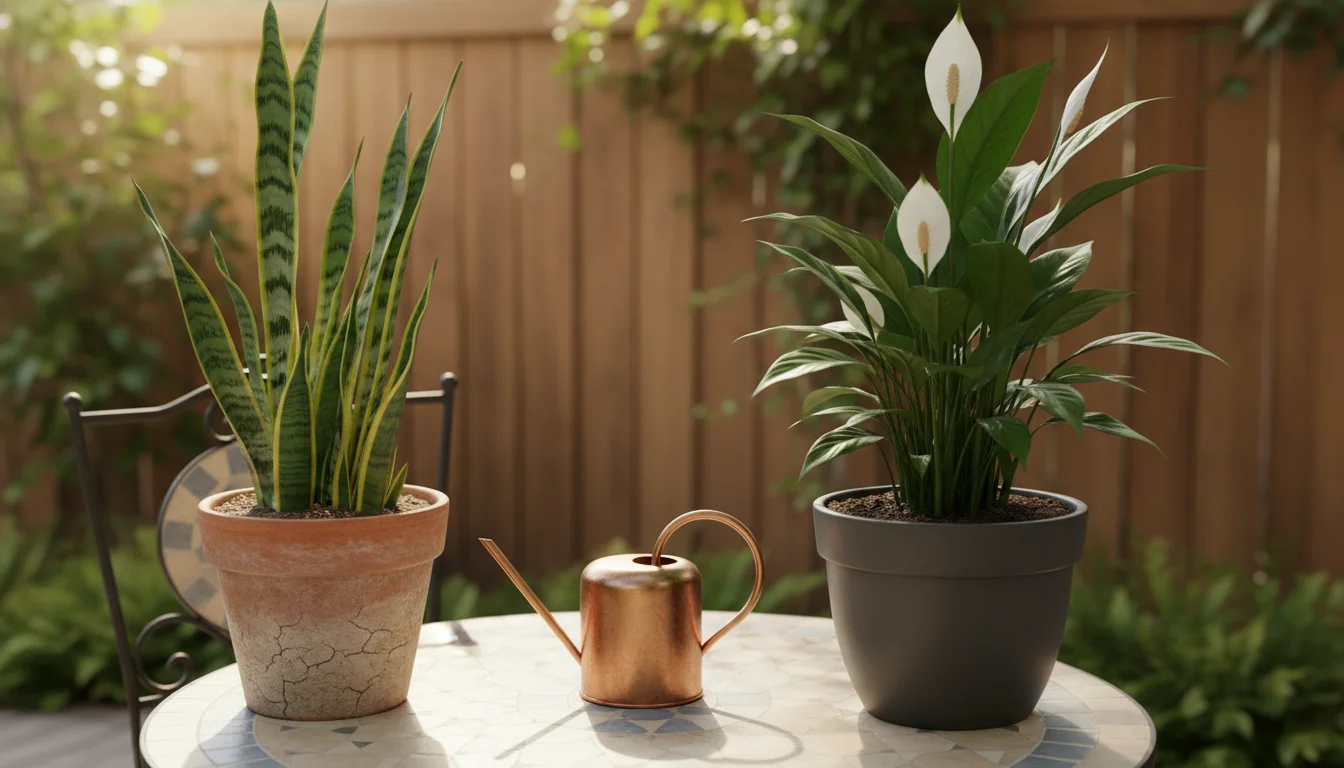
This is perhaps the most significant factor. As mentioned, a cactus and a fern have entirely different water requirements. Succulents, like a Z Z plant or a snake plant, store water in their leaves or stems, allowing them to tolerate longer periods of dryness. They prefer deep, infrequent watering. Conversely, moisture-loving plants such as a peace lily or Boston fern require more consistent moisture. For these, the soil should remain lightly moist but never waterlogged. Always identify your plant species and understand its specific needs. A quick online search for “[plant name] watering needs” provides a solid starting point.
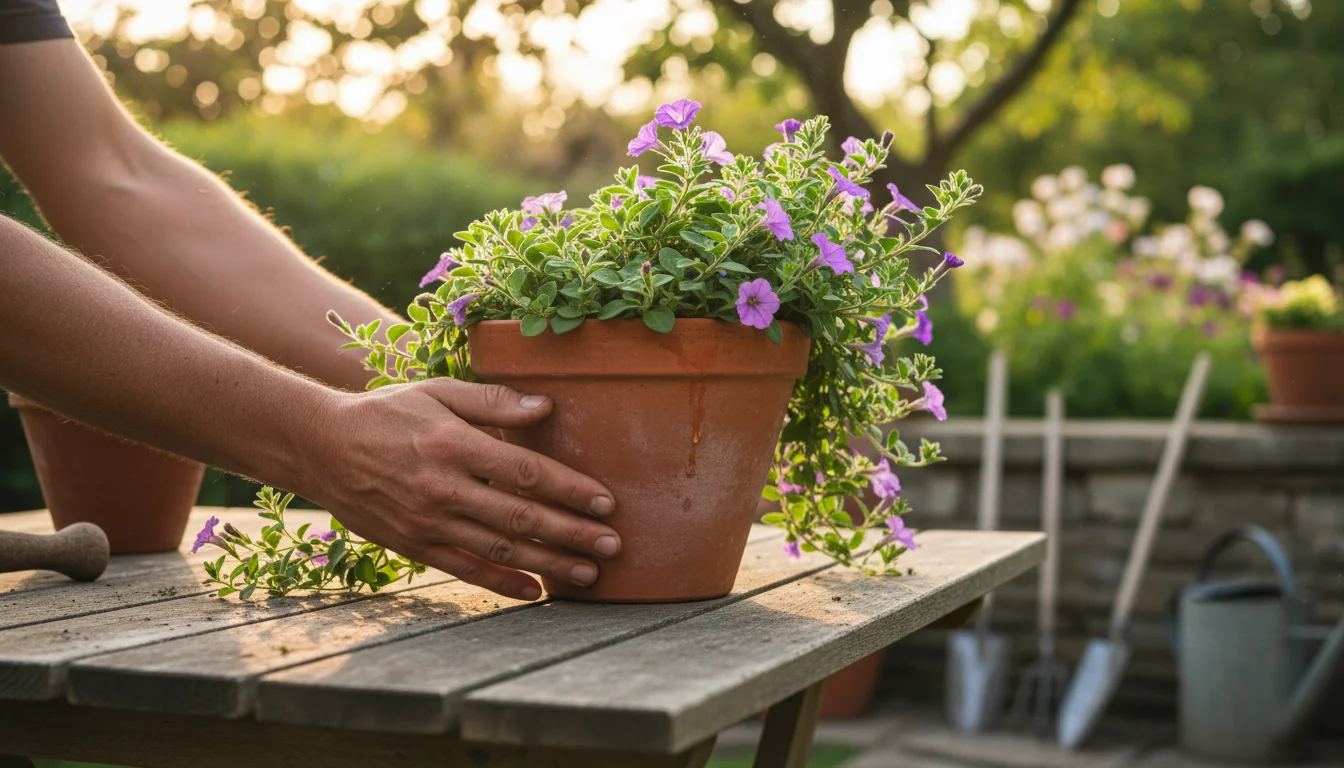
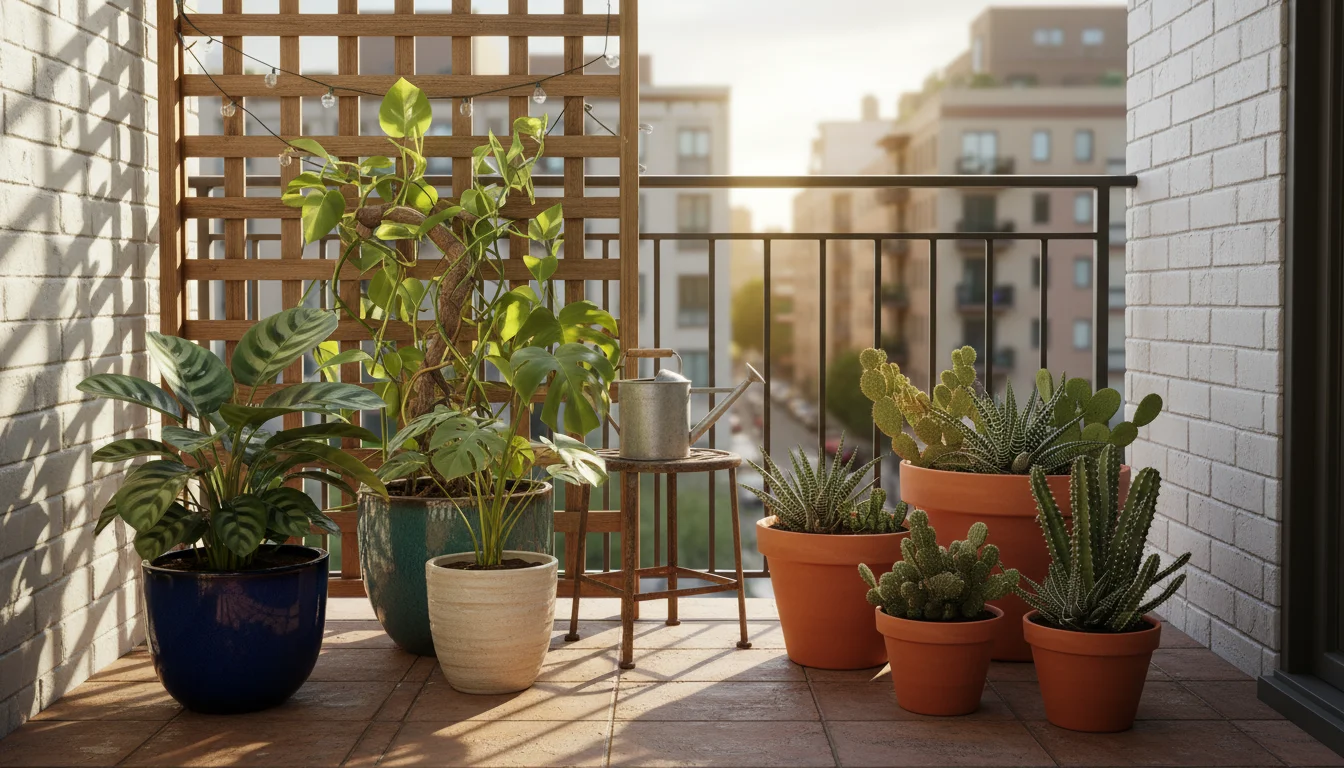
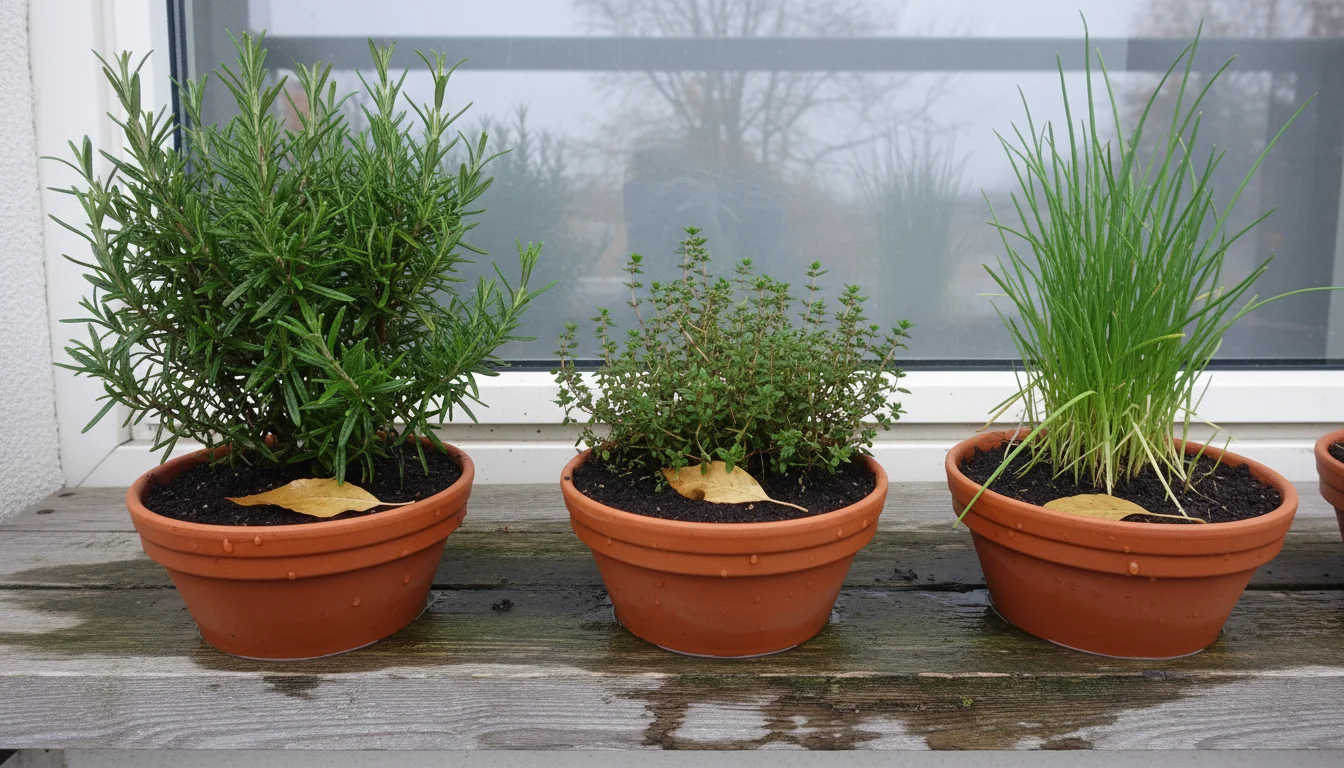
Container Material and Size
The pot your plant lives in plays a crucial role. Terracotta pots are porous, meaning they allow water to evaporate from their sides, leading to faster soil drying. This can be beneficial for plants prone to root rot or those that prefer drier conditions. Plastic and glazed ceramic pots, conversely, retain moisture much longer because they are non-porous. You will water plants in terracotta pots more frequently than those in plastic pots. Pot size also matters: a small pot holds less soil and dries out much faster than a large pot containing the same plant. As your plant grows, its water demands increase, and you might find yourself watering more frequently even in the same pot, signaling a potential need for repotting.
Soil Type and Drainage
The growing medium determines how well water drains and how much moisture it retains. A good quality potting mix for most houseplants contains a blend of components that provide both drainage and water retention. Peat-free mixes, which are environmentally friendly, often include coco coir, perlite, and pine bark. Coco coir holds moisture well, while perlite and bark improve drainage and aeration, preventing compaction. Heavy, dense soils retain too much water, suffocating roots. Sandy soils drain too quickly, leaving roots parched. You need a well-draining soil that retains enough moisture to keep your plant hydrated but allows excess water to escape freely. When you water, ensure water drains out of the bottom of the pot. If it sits in the saucer, pour it out after 15-30 minutes to prevent roots from sitting in stagnant water.
Environmental Conditions: Light, Temperature, and Humidity
Your plant’s immediate environment significantly impacts its watering needs:
- Light: Plants in bright, direct light photosynthesize more actively and transpire (release water vapor through leaves) at a higher rate, thus using more water. Plants in low light conditions use less water. Adjust your watering frequency based on the light exposure.
- Temperature: Warmer temperatures increase evaporation from the soil and transpiration from the plant. Your plants will dry out faster in a warm room or during hot summer months. Conversely, in cooler conditions, they need less frequent watering.
- Humidity: Higher humidity reduces the rate of transpiration, meaning plants lose less water through their leaves. In dry environments, especially during winter when indoor heating runs, your plants will dry out faster and require more water. You might mist humidity-loving plants, but this only offers temporary relief. A pebble tray or humidifier provides more consistent humidity.

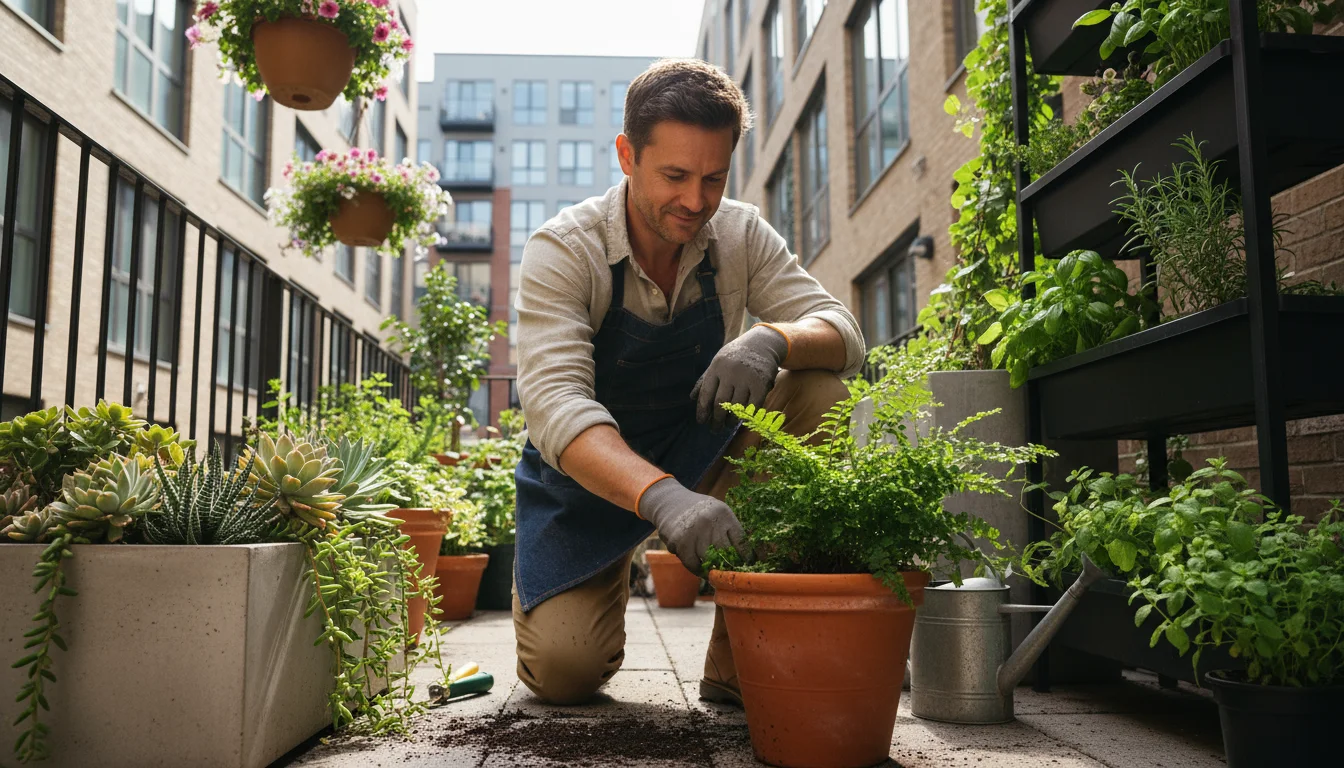
Plant Growth Stage and Health
Actively growing plants, especially during spring and summer, require more water to support new leaf and stem development. A plant that is root-bound (its roots have filled the pot and are circling tightly) struggles to absorb water efficiently and often dries out very quickly, needing more frequent watering. Repotting a root-bound plant often alleviates this. Dormant plants, typically during winter, slow their growth and need significantly less water. Always consider your plant’s current life stage and overall health when assessing its water needs.
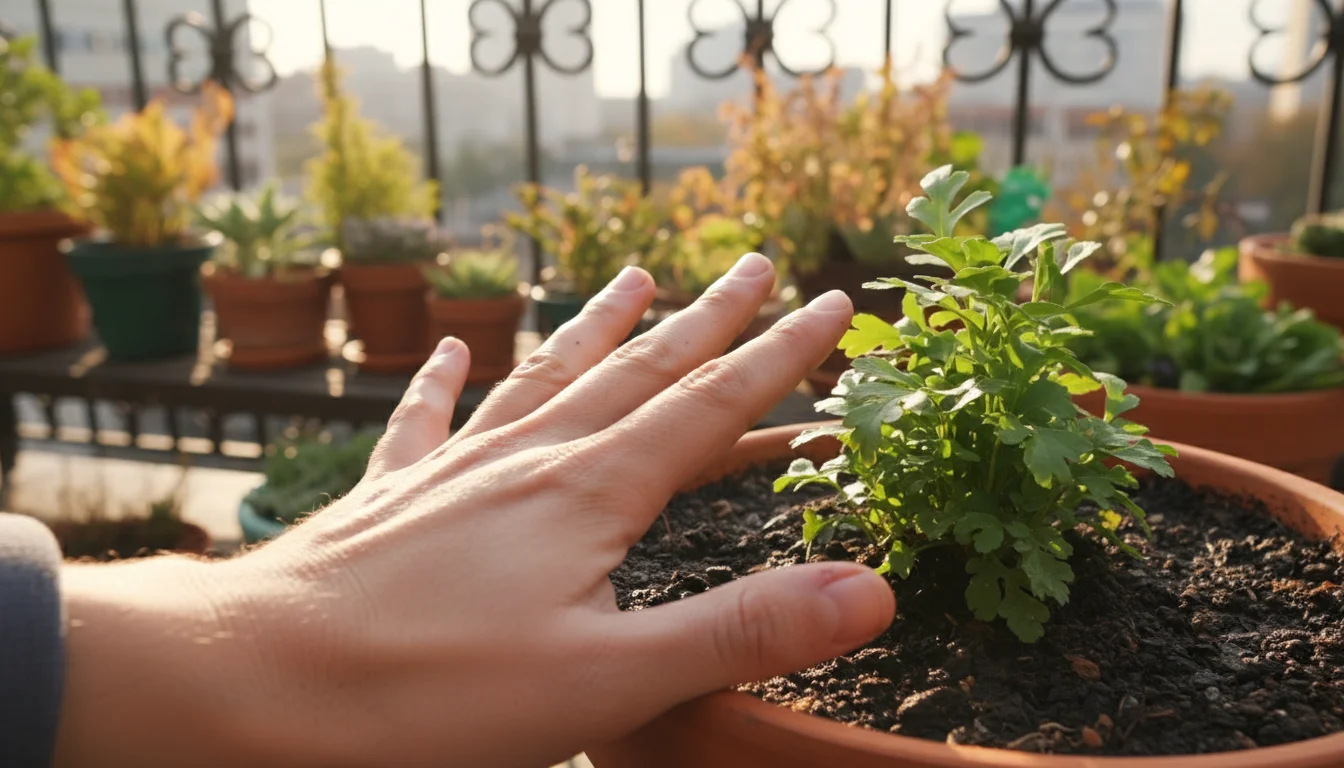
The Ultimate Guide to Checking Soil Moisture
This is the most critical skill you will develop for successful plant watering. Instead of guessing or sticking to a calendar, you will learn to assess the soil’s moisture level directly. Three primary methods help you determine if your plant needs a drink.
While often used as a standard, the manual finger test can sometimes be misleading during seasonal changes when moisture levels deep in the pot differ from the surface.
Keep in mind that the classic finger test can be misleading when the weather turns cool and damp, requiring a more nuanced approach.
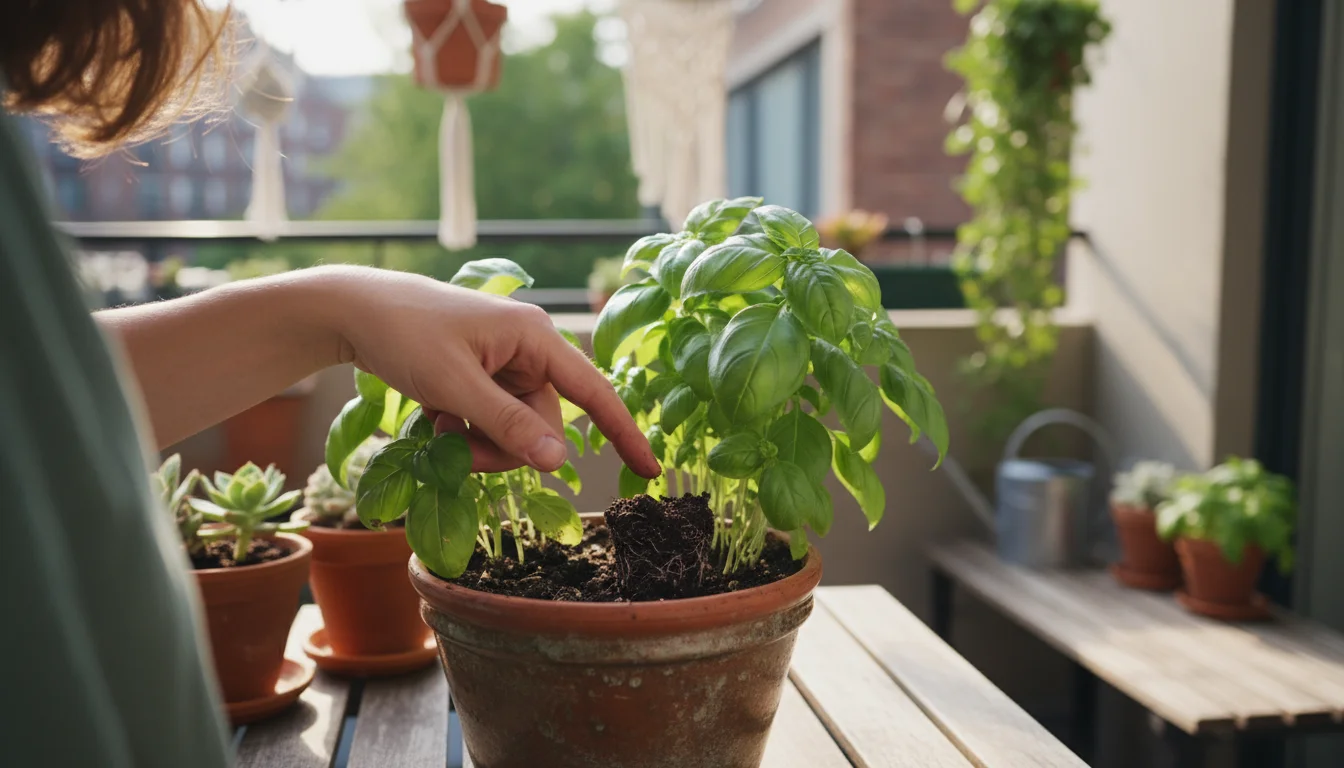
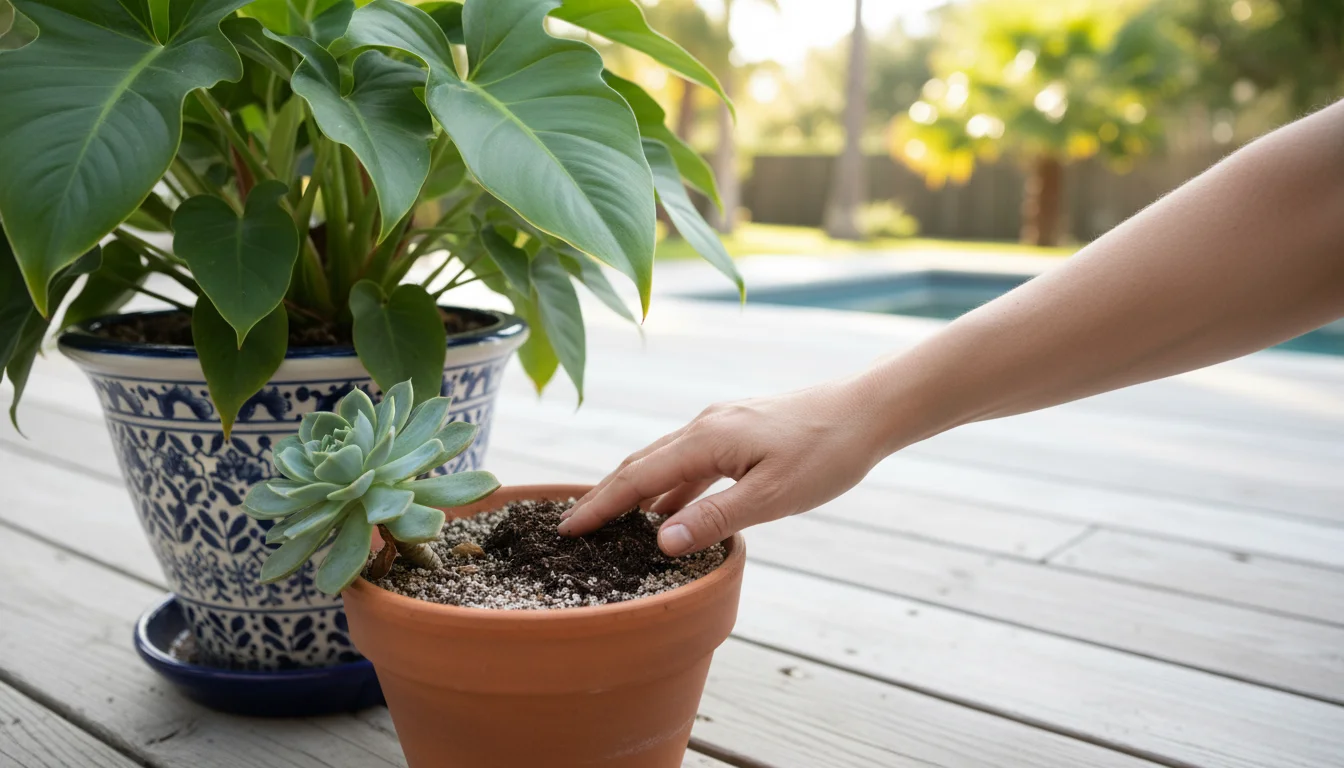
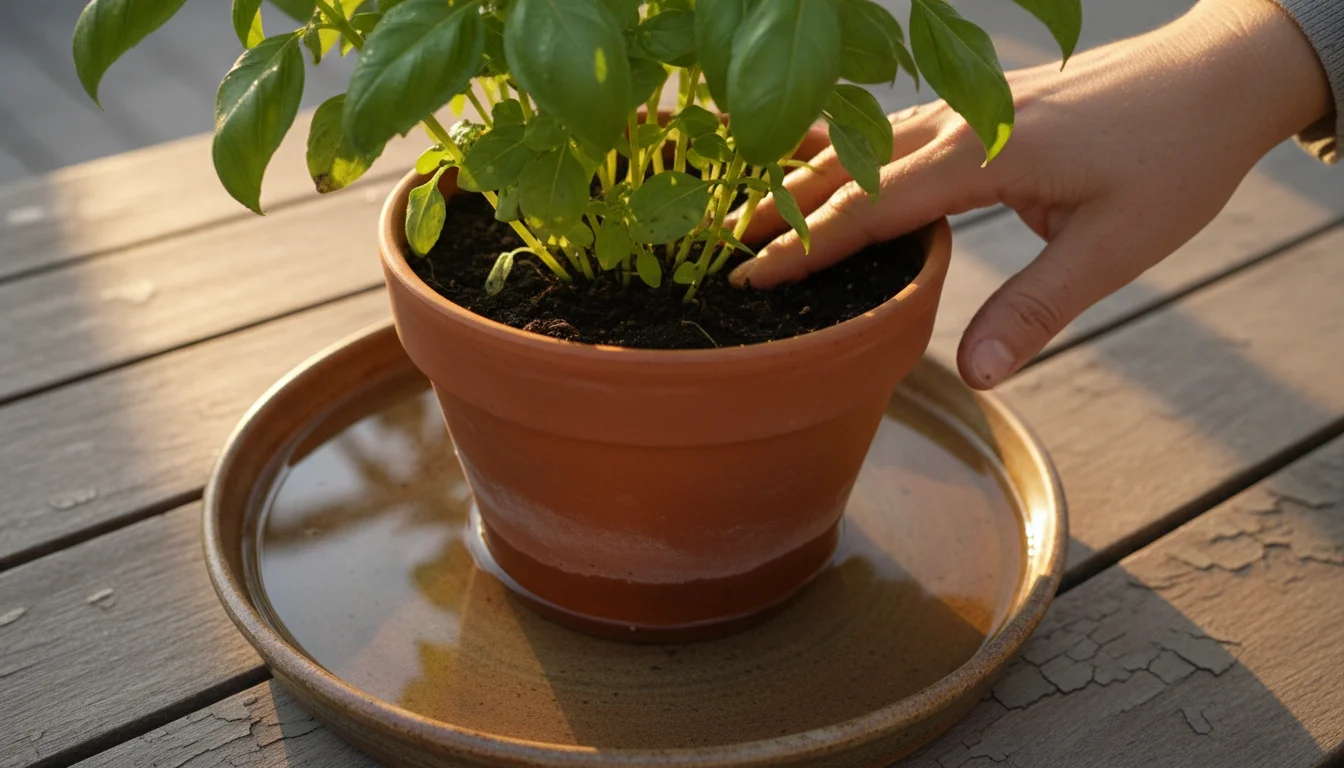
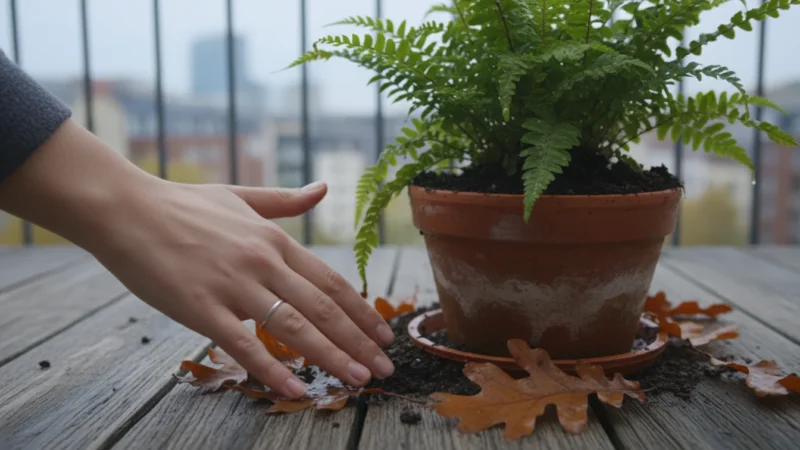
The Finger Test: Your Most Reliable Tool
Your finger is an excellent moisture sensor. It is simple, free, and highly effective.
- Insert Your Finger: Gently push your index finger about 1-2 inches deep into the soil. For larger pots or thirsty plants, go deeper, perhaps 3-4 inches.
- Feel the Soil:
- Dry: If the soil feels crumbly, powdery, and no moisture clings to your finger, it’s dry. Your plant likely needs water.
- Moist: If the soil feels cool and damp, and a few particles cling to your finger, it’s moist. Most plants prefer this state, especially after watering.
- Wet/Soggy: If the soil feels squishy, muddy, and your finger comes out covered in wet soil, it’s too wet. Do not water. Wait until it dries out significantly.
- Know Your Plant’s Preference: For most houseplants, you want the top 1-2 inches of soil to dry out before watering again. Succulents and cacti prefer the soil to dry out completely, often several inches deep, before their next drink. Tropical plants might prefer the top inch to remain slightly moist.
Practicing the finger test consistently builds your intuition and helps you recognize your plant’s unique needs.
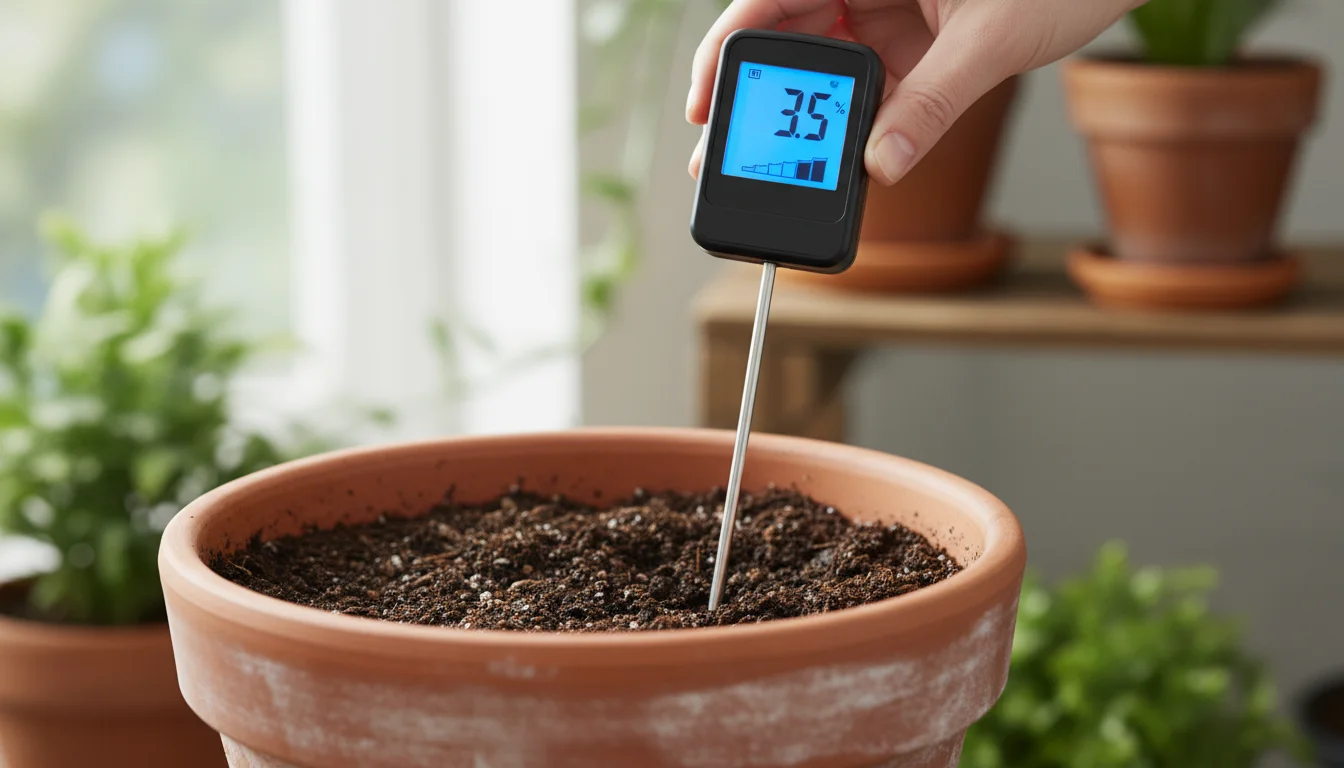
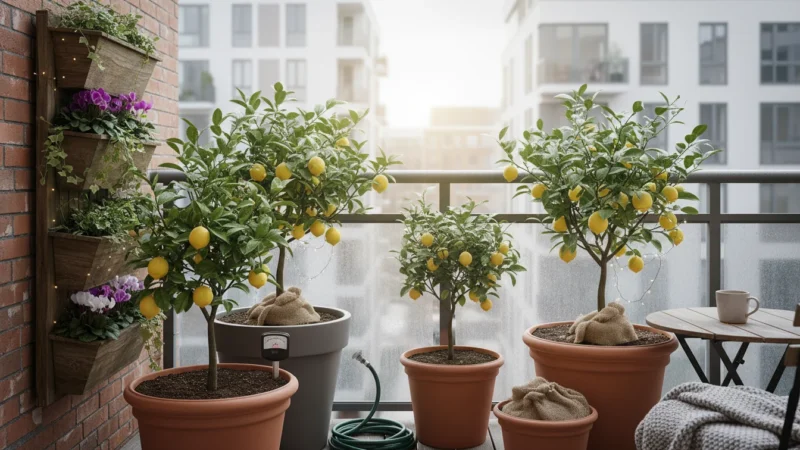
Using a Moisture Meter
Moisture meters are handy gadgets that provide a numerical reading of soil moisture. While not foolproof, they offer a good supplemental check, especially for larger pots or if you are unsure about your finger test results.
- Insert the Probe: Push the meter’s probe deep into the soil, ideally about two-thirds of the way down the pot, avoiding major root systems.
- Read the Display: Most meters have a scale from 1 (dry) to 10 (wet). A common recommendation for many houseplants is to water when the meter reads between 3-4. Again, adjust based on your specific plant’s preference.
- Test Multiple Spots: Soil can dry unevenly. Test different areas of the pot for a more accurate overall reading.
Remember, moisture meters measure electrical conductivity, which can be affected by fertilizer salts or minerals in your water. Use it as a guide, not the absolute truth.
Assessing Pot Weight
This method requires a bit of practice but becomes incredibly accurate with experience. Pick up your plant’s pot when it’s completely dry and note its weight. Then, water it thoroughly until water drains from the bottom, and pick it up again. The difference in weight is significant. As the soil dries, the pot becomes noticeably lighter. When it feels significantly lighter than its “just watered” state, it’s likely time to water again. This method works particularly well for smaller to medium-sized plants and helps you quickly gauge moisture levels without disturbing the soil.
Combining these methods gives you the most accurate assessment. Start with the finger test, confirm with pot weight if feasible, and use a moisture meter for tricky situations or larger plants. Over time, you will develop an instinct for your plants’ watering needs.
Crafting a Low-Maintenance Watering Schedule
Now that you understand the factors influencing watering and how to check soil moisture, let’s create a personalized, flexible watering strategy. The goal is to build a routine that fits your busy life while keeping your plants hydrated and happy.
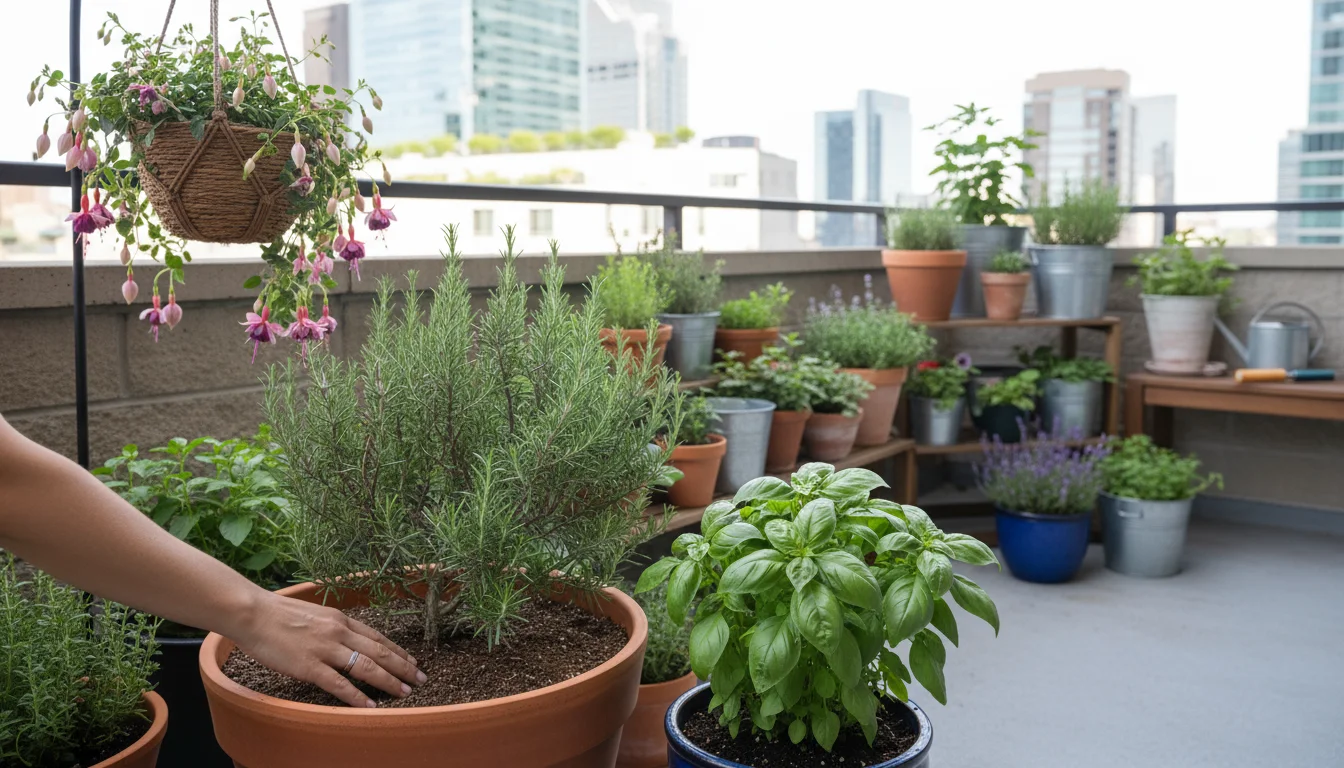
Step 1: Grouping Plants by Needs
This is foundational for efficient watering. Group plants with similar water requirements together. For example, all your succulents and cacti could be on one watering day, while your moisture-loving tropicals are on another. This reduces the time you spend individually assessing each plant.
- Dry-Loving Group: Succulents, cacti, Sansevieria (snake plant), Z Z plant. These need soil to dry out completely.
- Moderately Moist Group: Pothos, Philodendron, Fiddle Leaf Fig, Monstera, Peace Lily. These prefer the top 1-2 inches of soil to dry before watering.
- Consistently Moist Group: Ferns, Calatheas, high-humidity plants. These prefer soil to stay lightly moist, but never soggy.
Place plants with similar light and humidity needs together as well, as these factors also influence drying times.
Step 2: Establish a Weekly Check-In Day
Instead of a rigid “water on Tuesdays” schedule, designate one or two days a week as “plant check” days. For example, Sunday might be your primary plant care day. On this day, you perform your finger test (or moisture meter check) for all your plants. Water only those that genuinely need it. This systematic approach ensures you do not miss anyone, but you are not overwatering based on an arbitrary schedule.
You might find that your succulents only need water every two weeks, while a small fern needs it twice a week. Your check-in day prompts you to assess, not automatically water.
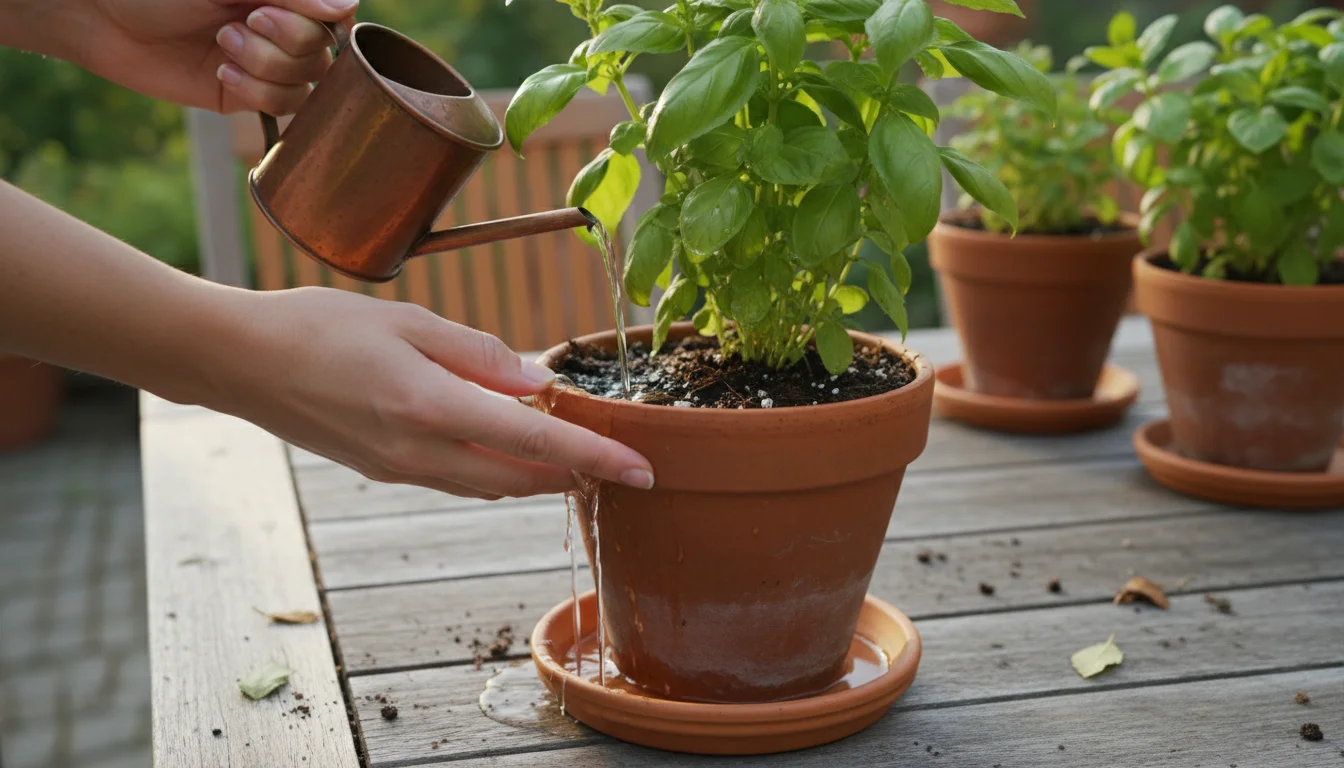
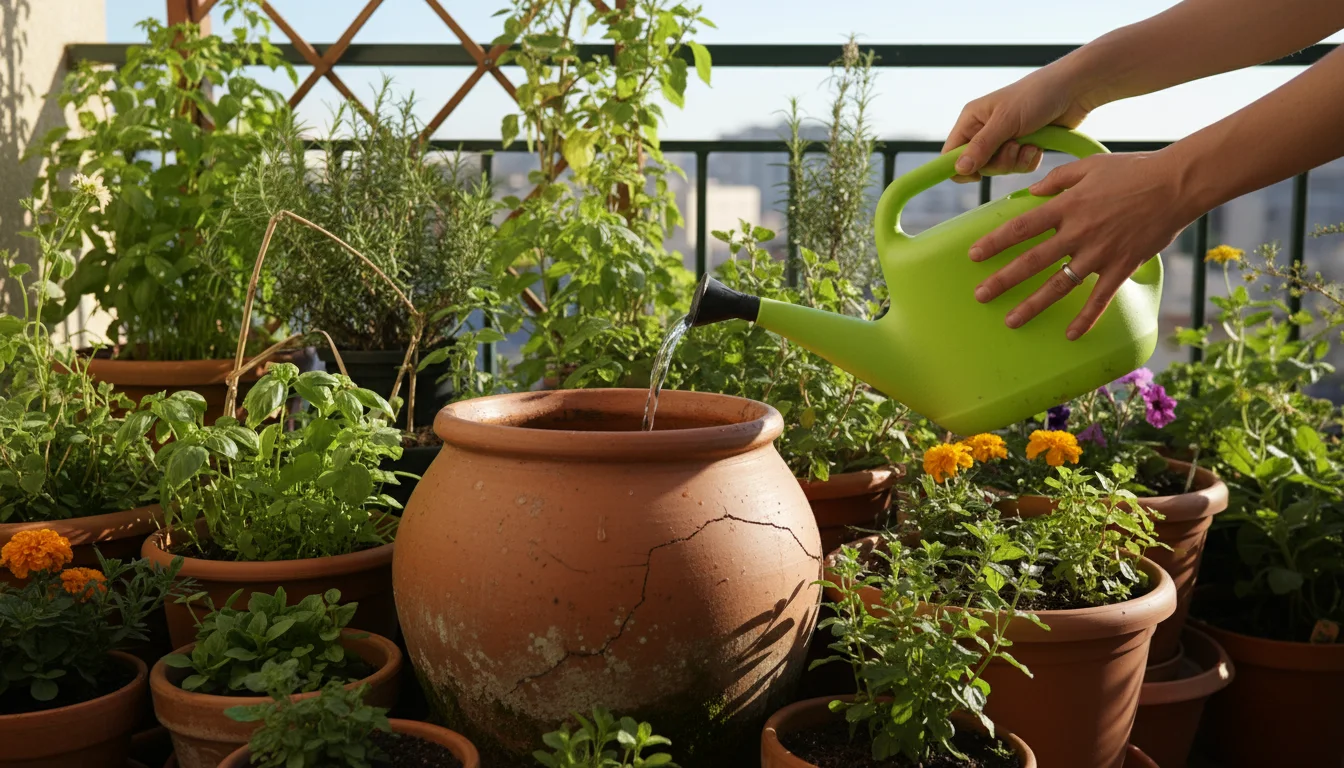
Step 3: Deep and Thorough Watering
When you do water, water thoroughly. Pour water slowly over the soil surface until it drains freely from the pot’s drainage holes. This ensures the entire root ball gets hydrated. For plants in terracotta pots, you might notice water soaking in slower initially; continue until it drains. For very dry soil that has become hydrophobic (repels water), bottom watering can be beneficial: place the pot in a tray of water and let it absorb water from the bottom up for 20-30 minutes. Always remove any standing water from the saucer after 15-30 minutes to prevent root rot.
Watering Depth Guidelines (General):
For most plants, aim to wet the entire root zone. This usually means watering until water flows from the drainage holes. For outdoor gardens, the general rule of thumb is to water deeply enough to penetrate 6-8 inches into the soil for established plants. For containers, the drainage hole is your indicator.
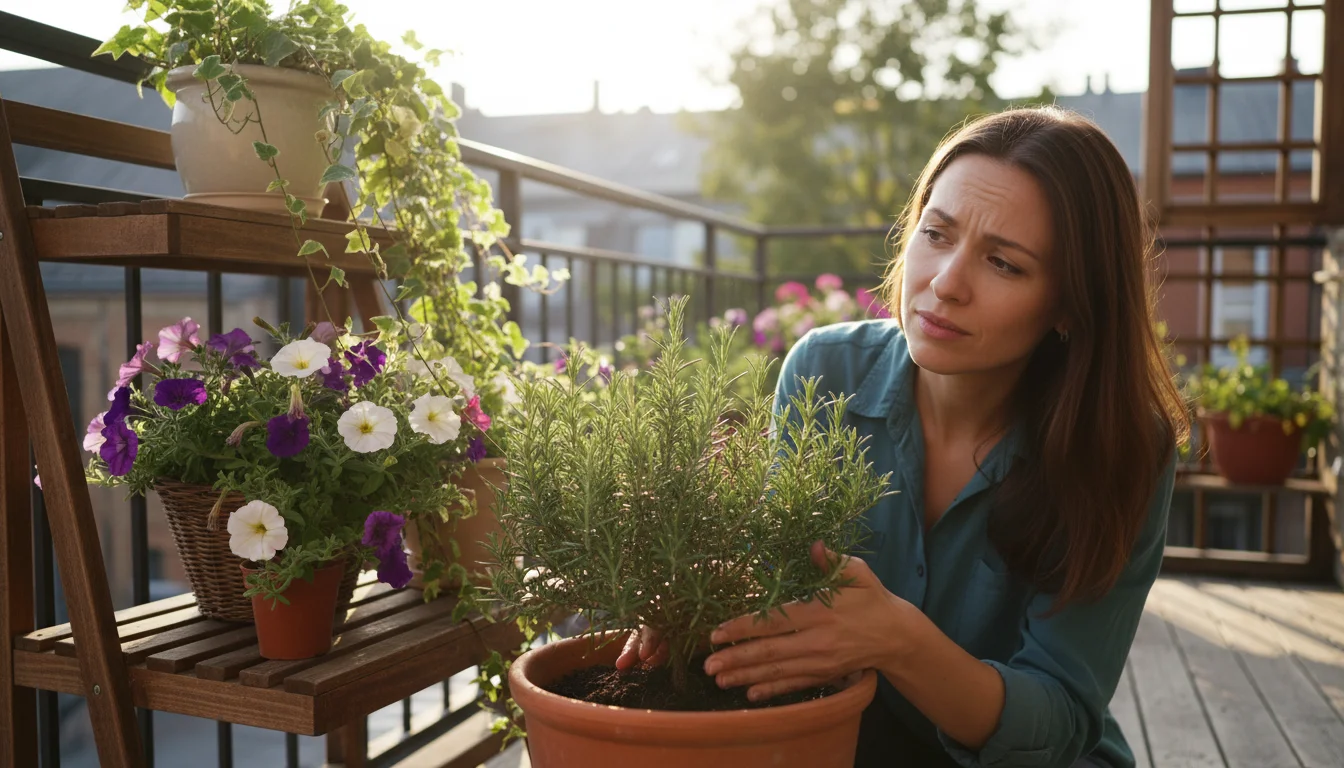
Step 4: Observe and Adjust
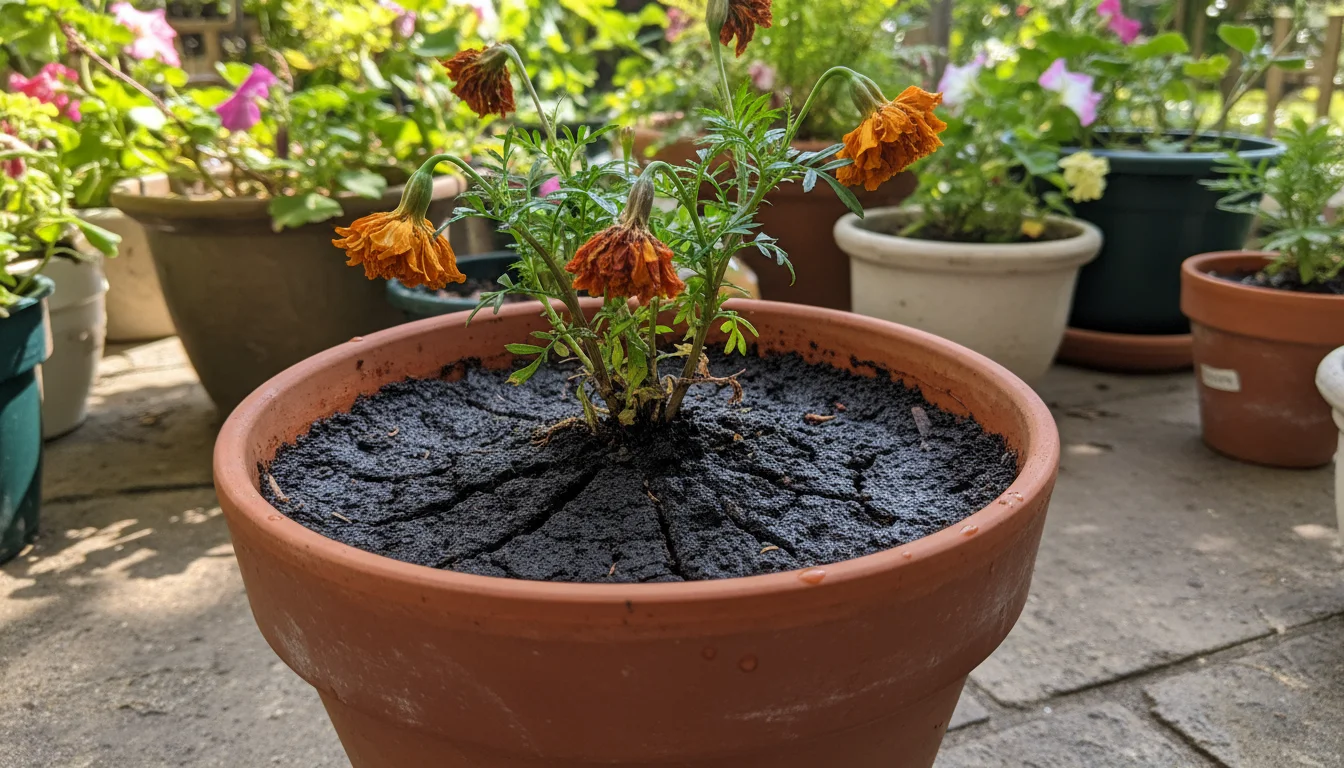
Your watering schedule is not set in stone. It is a living, breathing routine that adapts. Observe your plants for signs of stress:
- Wilting leaves: Often a sign of underwatering, but can also be overwatering (root rot prevents water uptake). Check soil moisture.
- Yellowing leaves: Can indicate overwatering (older leaves first) or underwatering (often crisp).
- Crispy leaf edges: Usually points to underwatering or low humidity.
- Mushy stems: A strong indicator of severe overwatering and root rot.
During hotter months, you will likely need to water more frequently. In winter, reduce frequency significantly. Adjust your check-in days or the amount of water you give based on these observations and environmental changes.

Example Low-Maintenance Watering Table
This table offers a general guideline for common plant types. Always use the finger test as your primary assessment.
| Plant Type | Soil Moisture Preference | General Watering Frequency (Estimate) | Signs of Underwatering | Signs of Overwatering |
|---|---|---|---|---|
| Succulents/Cacti | Dries out completely (2-3+ inches deep) | Every 2-4 weeks (or less) | Wrinkled, shriveled leaves | Mushy, translucent leaves; rotting base |
| Tropical Foliage (Pothos, Philodendron) | Top 1-2 inches dry | Every 1-2 weeks | Drooping, dull leaves; crispy edges | Yellowing leaves (bottom first); soggy soil |
| Ferns/Calatheas | Consistently lightly moist (top inch barely dry) | Every 3-7 days | Crispy leaf edges; wilting | Yellowing leaves; brown spots; moldy soil |
| Flowering Plants (e.g., Peace Lily) | Top 1 inch dry | Every 5-10 days | Dramatic wilting; flowers drop | Yellow leaves; flower bud rot |
Embracing Self-Watering Solutions for Busy Lives
For the ultimate low-maintenance gardening experience, self-watering systems offer an excellent solution. These systems provide a consistent supply of moisture to your plants, reducing the frequency of manual watering and preventing both over and underwatering. They are particularly beneficial for thirsty plants, during vacation, or for gardeners with very hectic schedules.
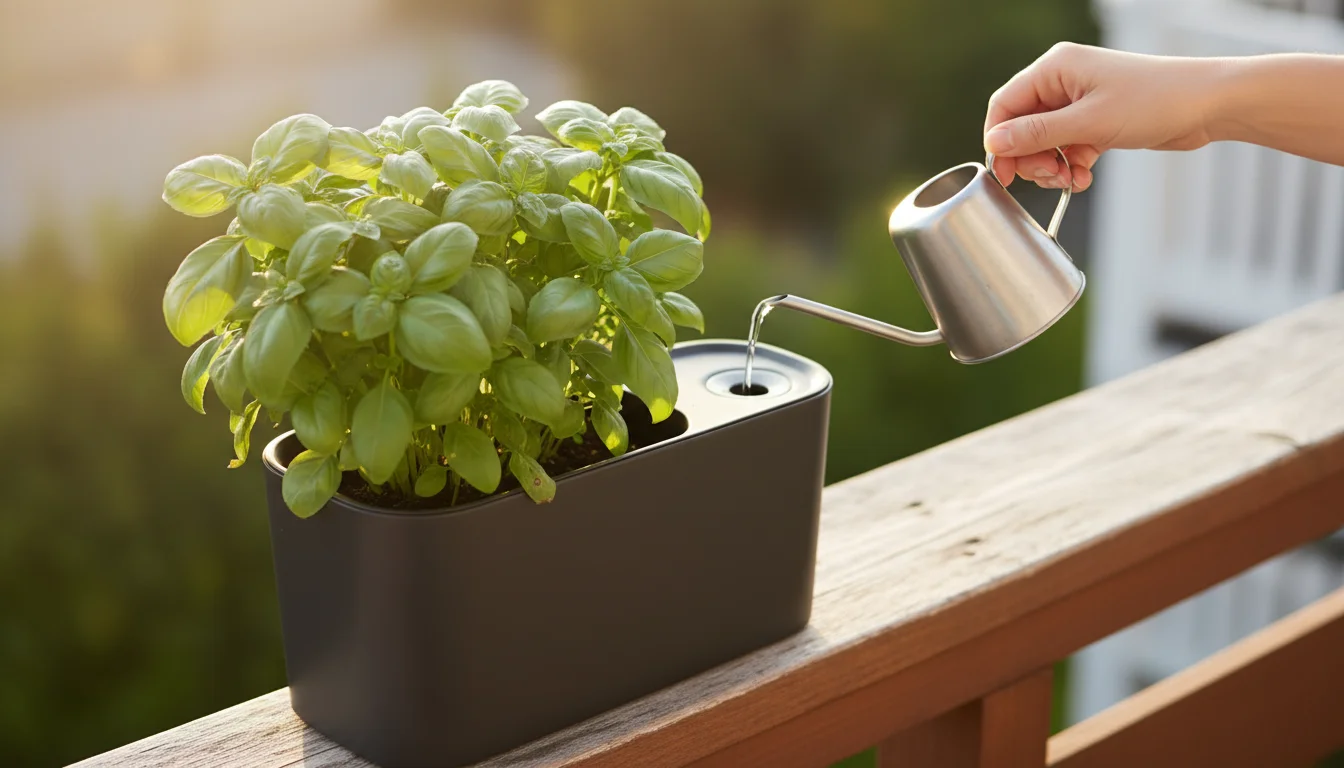
Self-Watering Pots
Self-watering pots consist of two main components: a reservoir at the bottom that holds water and a growing area above. A wicking system (often a wick or a portion of the soil itself) draws water up from the reservoir to the plant’s roots as needed. This allows the plant to drink at its own pace.
Benefits:
- Consistent Moisture: Prevents the “feast or famine” cycle of manual watering.
- Reduced Frequency: You only need to refill the reservoir, often every 1-4 weeks, depending on plant size and environment.
- Prevents Overwatering: Roots only draw what they need, minimizing the risk of soggy soil.
- Improved Growth: Consistent moisture often leads to healthier, more robust plants.
Considerations:
- Initial Setup: Requires transplanting your plant into the self-watering pot.
- Not for All Plants: Succulents and cacti, which prefer prolonged dry periods, typically do not thrive in consistently moist self-watering systems. They might tolerate it if the reservoir is filled less often.
- Salt Buildup: Over time, mineral salts can accumulate at the top of the soil as water evaporates. Periodically flush the pot by watering from the top until water drains, or remove the plant to flush.
When selecting a self-watering pot, ensure it has a large enough reservoir for your plant’s needs and good wicking capabilities. Many types are available, from decorative indoor planters to larger outdoor containers.
Wicking Systems and Capillary Mats
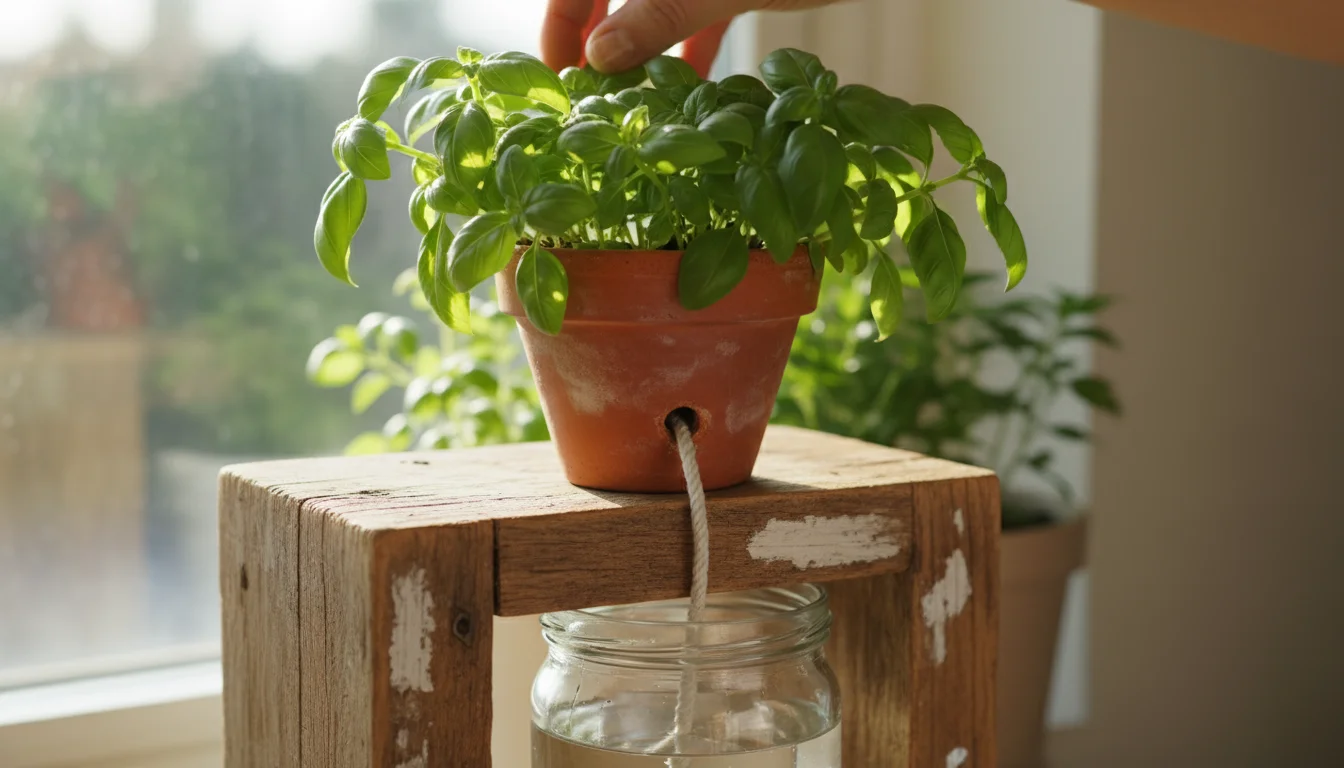
You can create DIY self-watering solutions or purchase simple systems.
- Wick Watering: For existing pots with drainage holes, you can insert a synthetic wick (like nylon rope) through the drainage hole, with one end in the soil and the other in a water reservoir placed below the pot. This system works well for individual plants.
- Capillary Mats: A capillary mat is a piece of absorbent fabric placed on a waterproof surface. You saturate the mat with water, and then place potted plants (with drainage holes) directly on top. The mat draws water up into the pots by capillary action. This is excellent for propagating seedlings or for vacation watering multiple plants simultaneously. You simply keep the mat saturated.
These methods are particularly useful for small-space gardeners and those aiming for low-maintenance gardening. They free up your time and provide peace of mind.
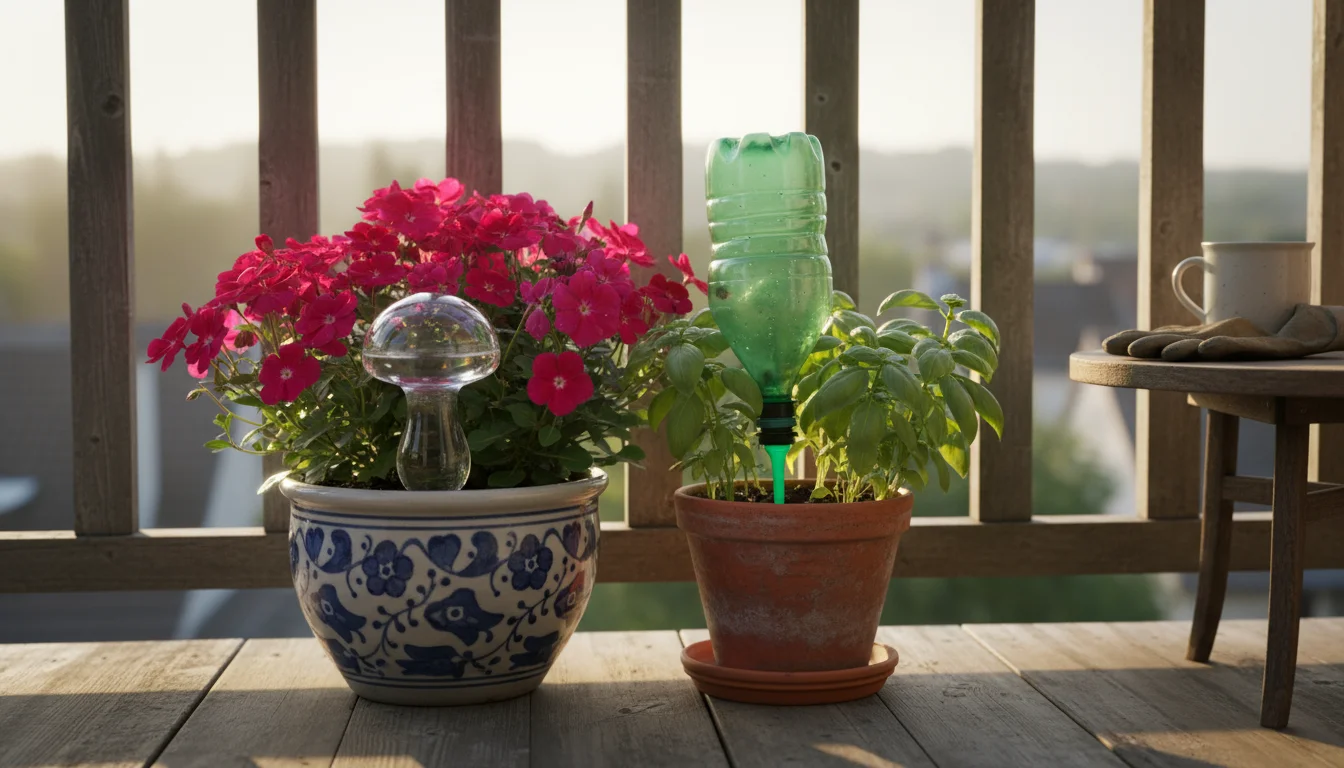
Watering Globes and Spikes
Watering globes and spikes offer another layer of self-watering convenience, especially for short-term needs or plants with consistent thirst.
- Watering Globes: These are decorative glass or plastic bulbs with a long stem. You fill the globe with water and insert the stem into the soil. As the soil dries, it releases air into the globe, allowing water to slowly seep out. They typically provide water for several days to a week.
- Watering Spikes: These are cone-shaped devices that attach to plastic bottles. You fill a bottle with water, screw it onto the spike, and then insert the spike into the soil. Water slowly releases from the spike as the soil dries. These are often more discreet than globes and can provide water for longer periods, depending on the bottle size.
While effective, these systems can sometimes deliver water inconsistently. Monitor your plants, especially initially, to ensure they receive adequate moisture without becoming waterlogged. They are best as supplementary tools or for temporary solutions.
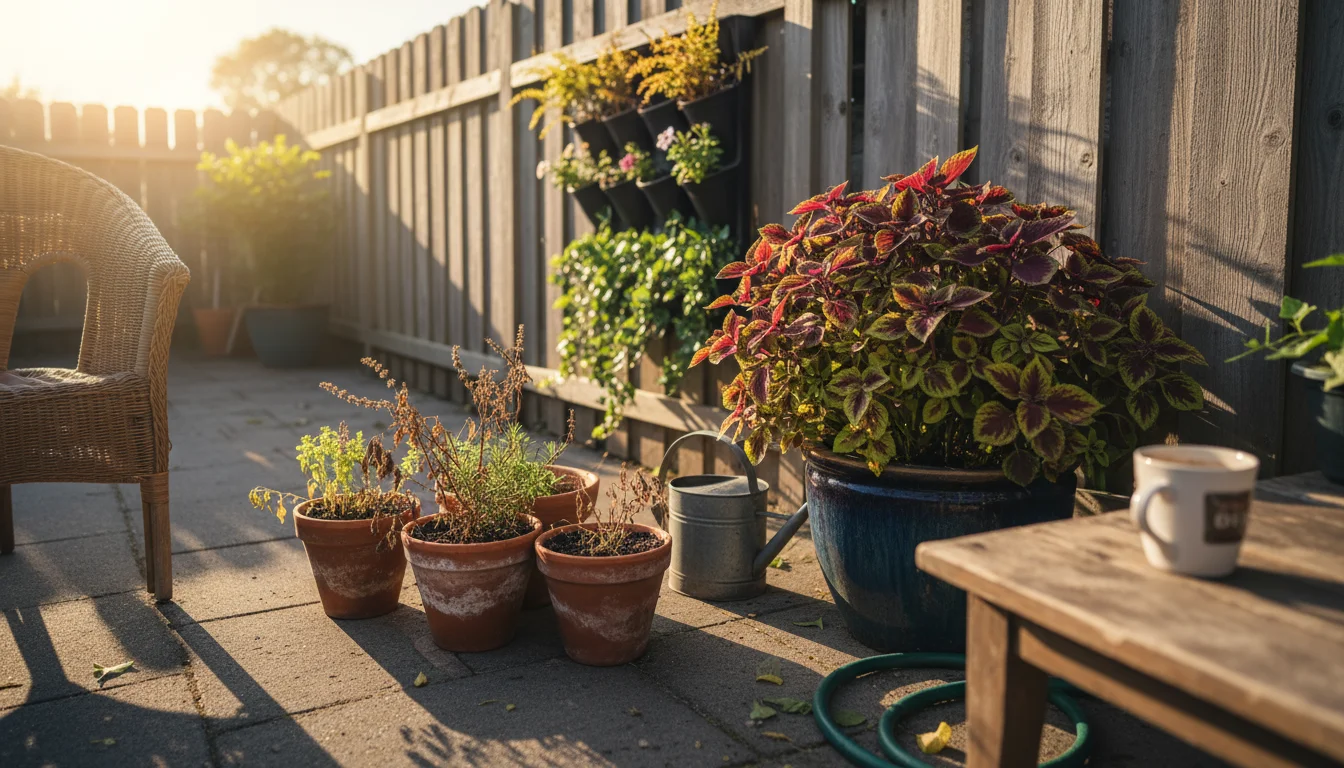
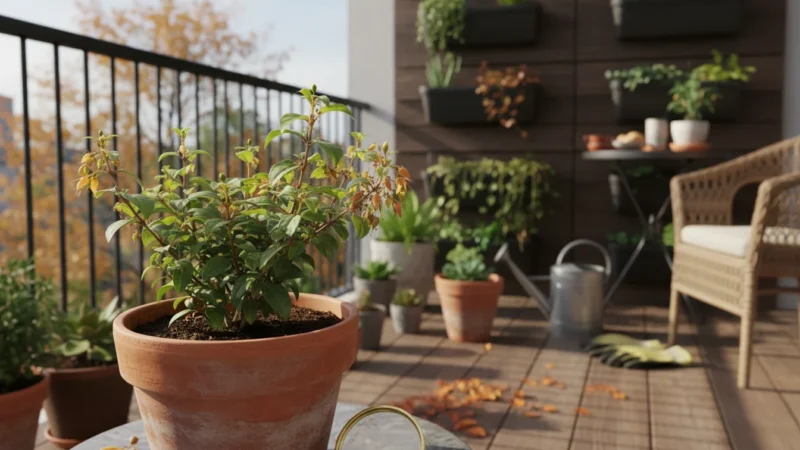
Seasonal Adjustments for Thriving Plants
Your plants’ water needs fluctuate significantly with the seasons. Ignoring these changes is a common mistake that leads to plant stress. By understanding and adapting to seasonal shifts, you maintain a truly low-maintenance watering schedule.
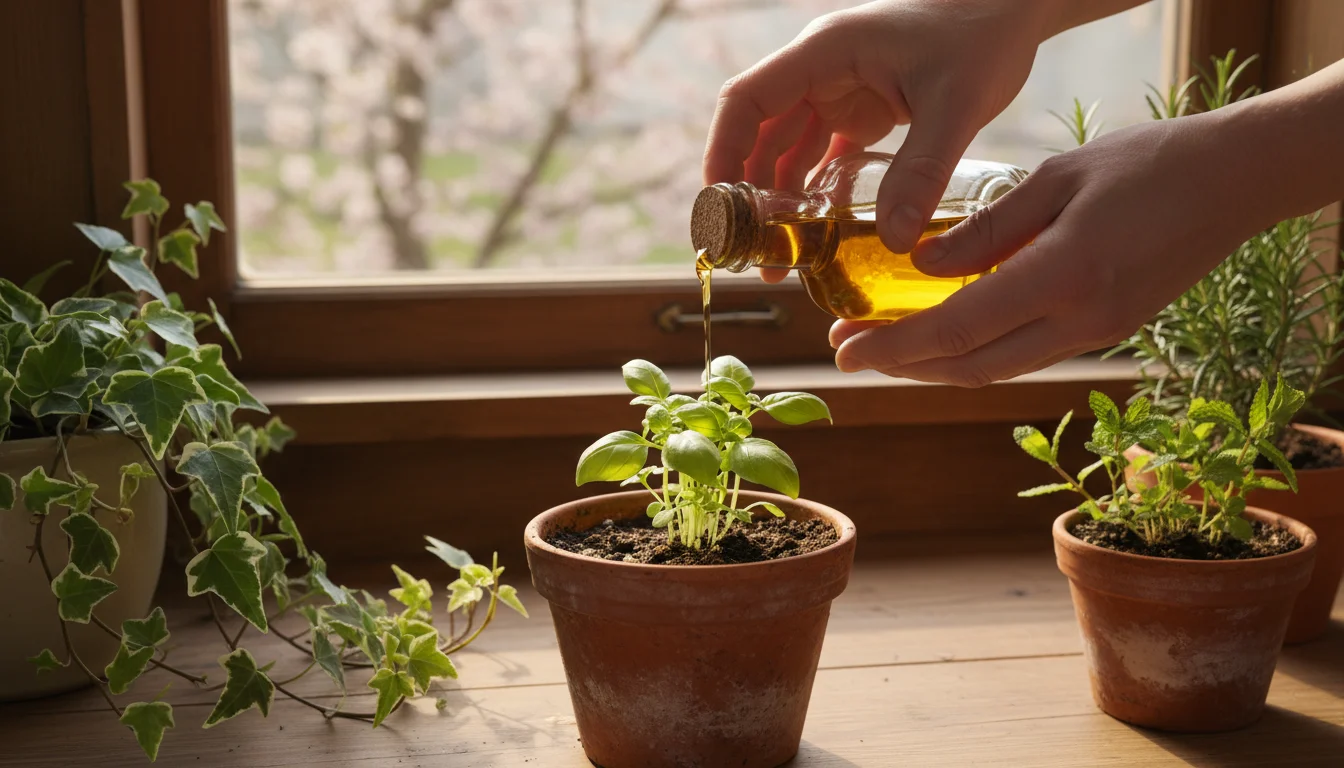
Spring: Awakening and Growth
As daylight hours lengthen and temperatures rise, your plants emerge from dormancy. This is a period of active growth, meaning they require more water and nutrients.
- Increase Frequency: Gradually increase your watering frequency as you observe new growth. Your weekly check-in might become twice a week for some plants.
- Fertilize: This is a good time to begin a light fertilizing routine, as water helps transport nutrients to the roots. Consider a balanced, organic liquid fertilizer.
- Repotting: If a plant is root-bound (roots are circling tightly around the pot), spring is an ideal time to repot it into a slightly larger container, which also impacts its watering needs.
Pay close attention to indoor plants near windows; increased light intensity and warmth can dry them out faster.
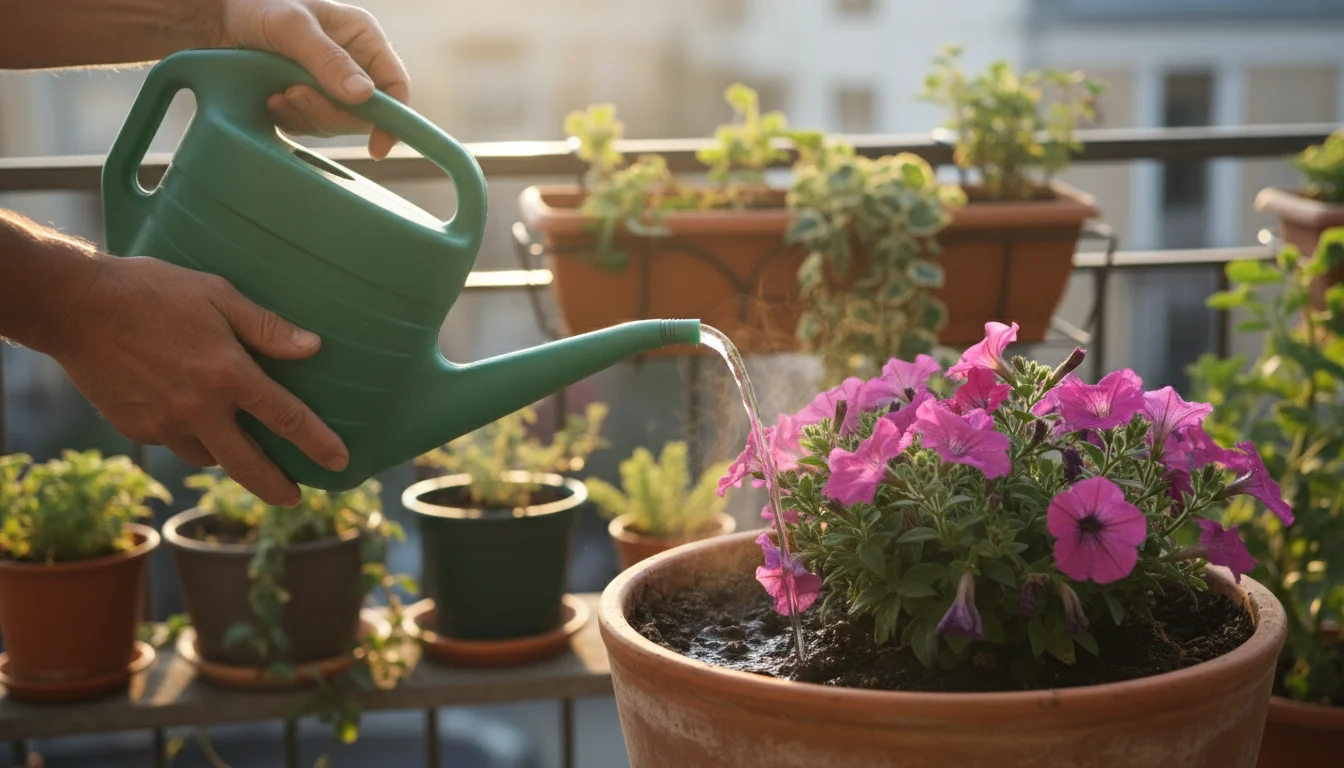
Summer: Peak Thirst
Summer brings the longest, hottest days, and your plants are at their peak water consumption. High temperatures, intense sunlight, and low humidity accelerate evaporation and transpiration.
- Frequent Watering: Expect to water most plants more frequently, potentially every few days. The finger test becomes even more vital.
- Early Morning Watering: Water in the early morning to minimize evaporation. This allows the plant to absorb water before the midday sun intensifies. Watering in the evening can leave foliage wet overnight, potentially promoting fungal diseases.
- Deep Watering: Ensure you are watering deeply to encourage strong root development, especially for outdoor plants.
- Humidity Boost: For indoor tropicals, consider using a humidifier or pebble trays to counteract dry summer air conditioning.
Container plants, both indoors and outdoors, dry out much faster in summer heat, often needing daily attention.
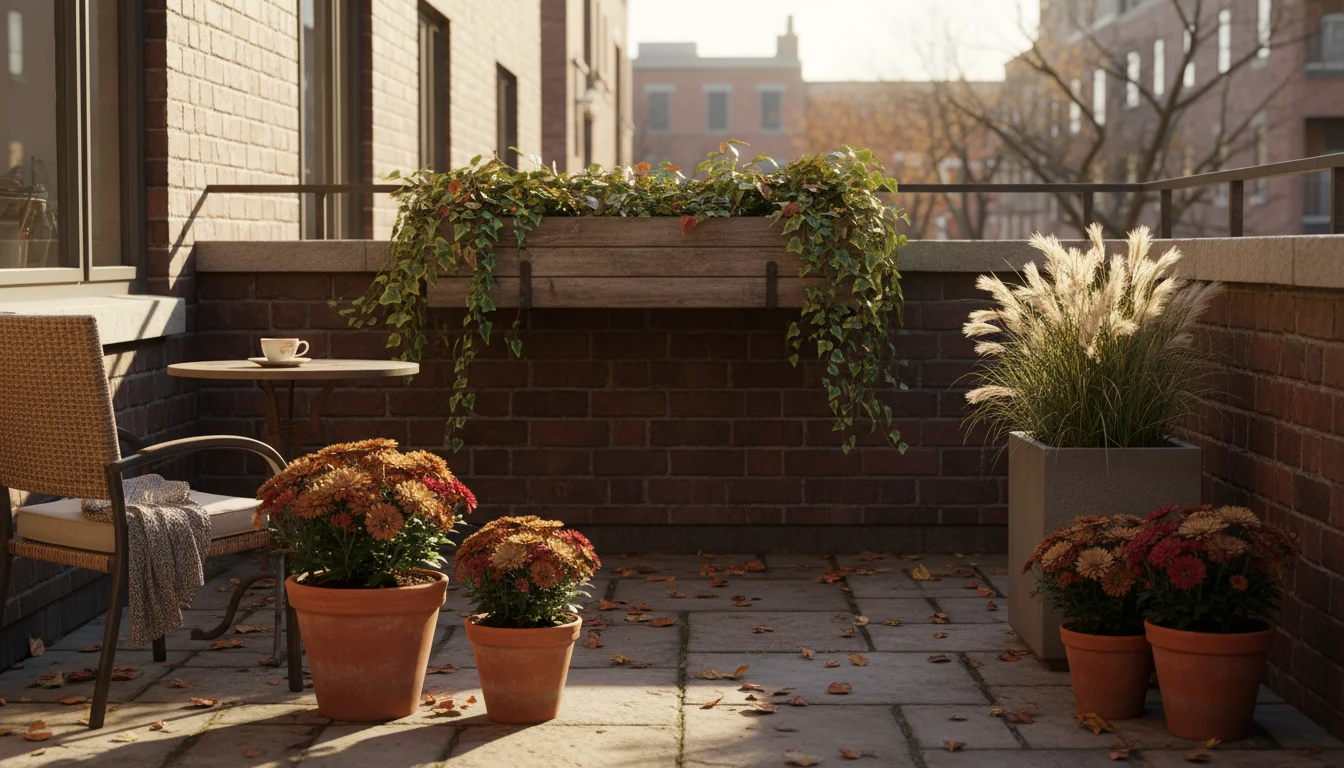
Autumn: Slowing Down
As days shorten and temperatures begin to drop, your plants naturally slow their growth in preparation for dormancy. Their water needs decrease significantly.
- Gradual Reduction: Slowly decrease your watering frequency. The soil will stay moist for longer. Continue using the finger test; you will notice it takes longer for the soil to dry out.
- Stop Fertilizing: Discontinue fertilizing as plants no longer actively use these nutrients.
- Prepare for Indoors: If you bring outdoor plants inside for winter, check them for pests and adjust to the lower light and humidity of your home.
This is a transitional period, so gradual adjustments prevent shock.
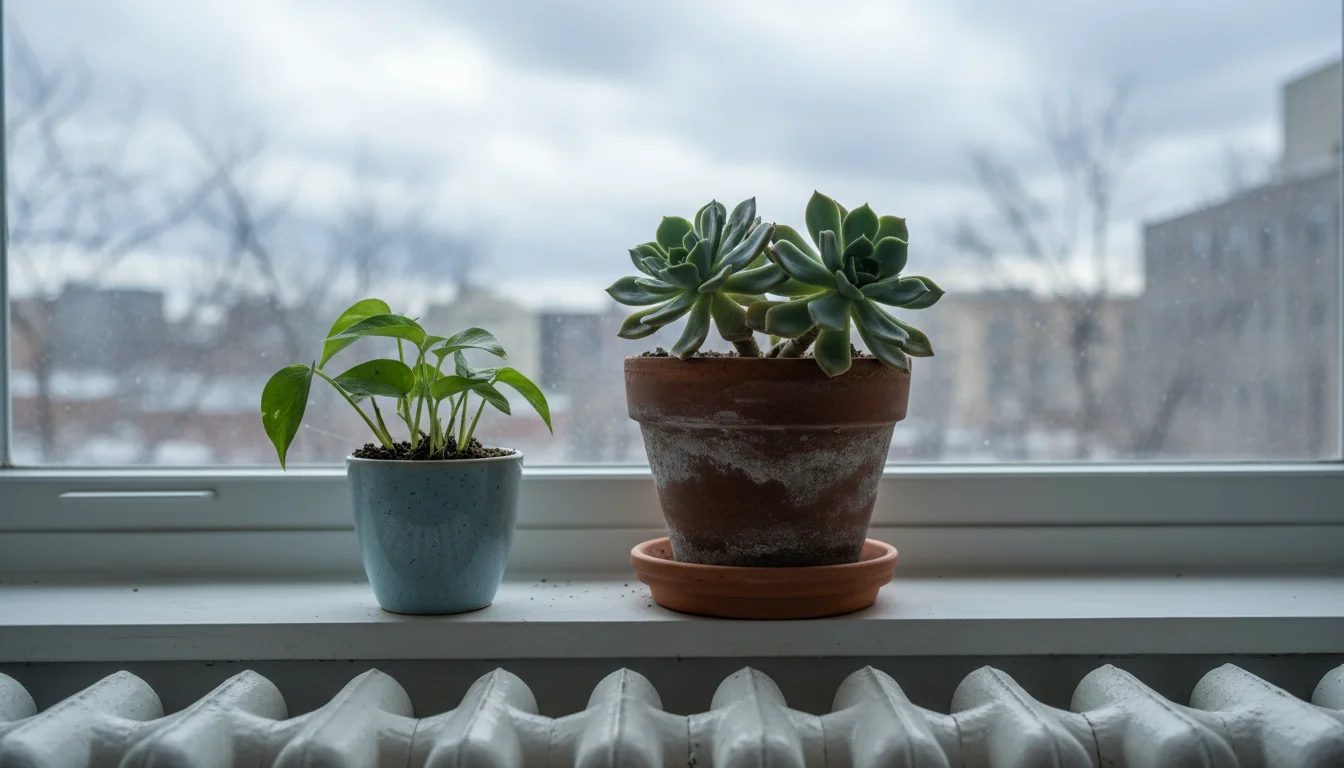
Winter: Dormancy and Minimal Needs
Winter is often the trickiest season for watering, especially for indoor plants. Short days, low light, and cool indoor temperatures (unless near a heat source) mean plants are in a state of reduced activity or dormancy.
- Drastically Reduce Watering: This is the time when overwatering becomes most dangerous. Plants use very little water. Allow the soil to dry out significantly, often several inches deep for many plants, before watering again. For succulents, they might go a month or more without water.
- Monitor Heating: While general indoor temperatures are cooler, plants near heating vents or radiators will dry out rapidly. Monitor these closely.
- Avoid Cold Water: Use room temperature water to avoid shocking roots.
- Humidity: Indoor heating systems drastically lower humidity. While you reduce watering frequency, you might need to increase ambient humidity for tropicals using pebble trays or humidifiers.
Always prioritize the finger test in winter. Err on the side of underwatering rather than overwatering during this period.
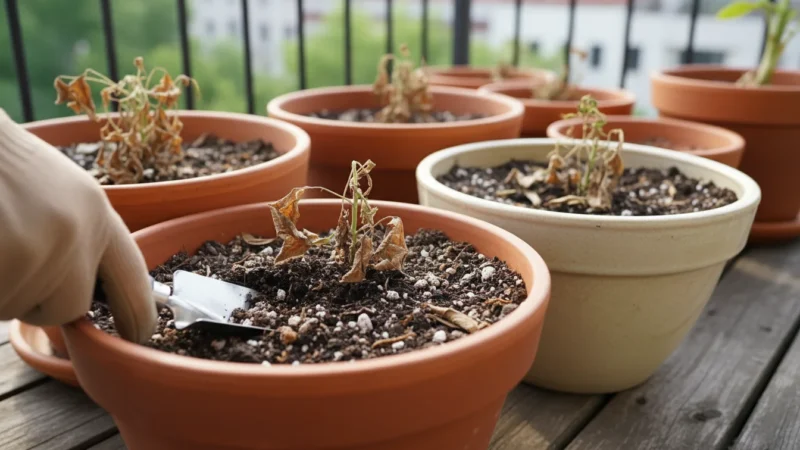
Common Watering Mistakes and How to Fix Them
Even with the best intentions, you can make mistakes. Recognizing these common pitfalls helps you troubleshoot problems and keep your plants healthy. Here are the most frequent errors and how to correct them.
Mistake 1: Watering on a Schedule, Not by Need
This is the most common and damaging mistake. You establish a “water every Wednesday” routine, ignoring whether the plant actually needs it. This often leads to chronic overwatering or underwatering.
The Fix:
Ditch the rigid schedule. Embrace the “finger test” or a moisture meter. Check the soil moisture for each plant before you even think about watering. Only water when the plant genuinely needs it, based on its specific requirements and current environmental conditions. Your plants will thank you for this personalized approach.
Mistake 2: Shallow Watering
Giving your plant sips of water that only moisten the top inch or two of soil. This encourages shallow root growth, making the plant less resilient and more susceptible to drying out quickly. The deeper roots remain dry and unused.
The Fix:
Always water thoroughly until you see water draining from the bottom of the pot. This encourages roots to grow deep and strong, accessing a larger volume of soil moisture. For very large pots, you might need to water in stages, letting the first pour soak in before adding more.
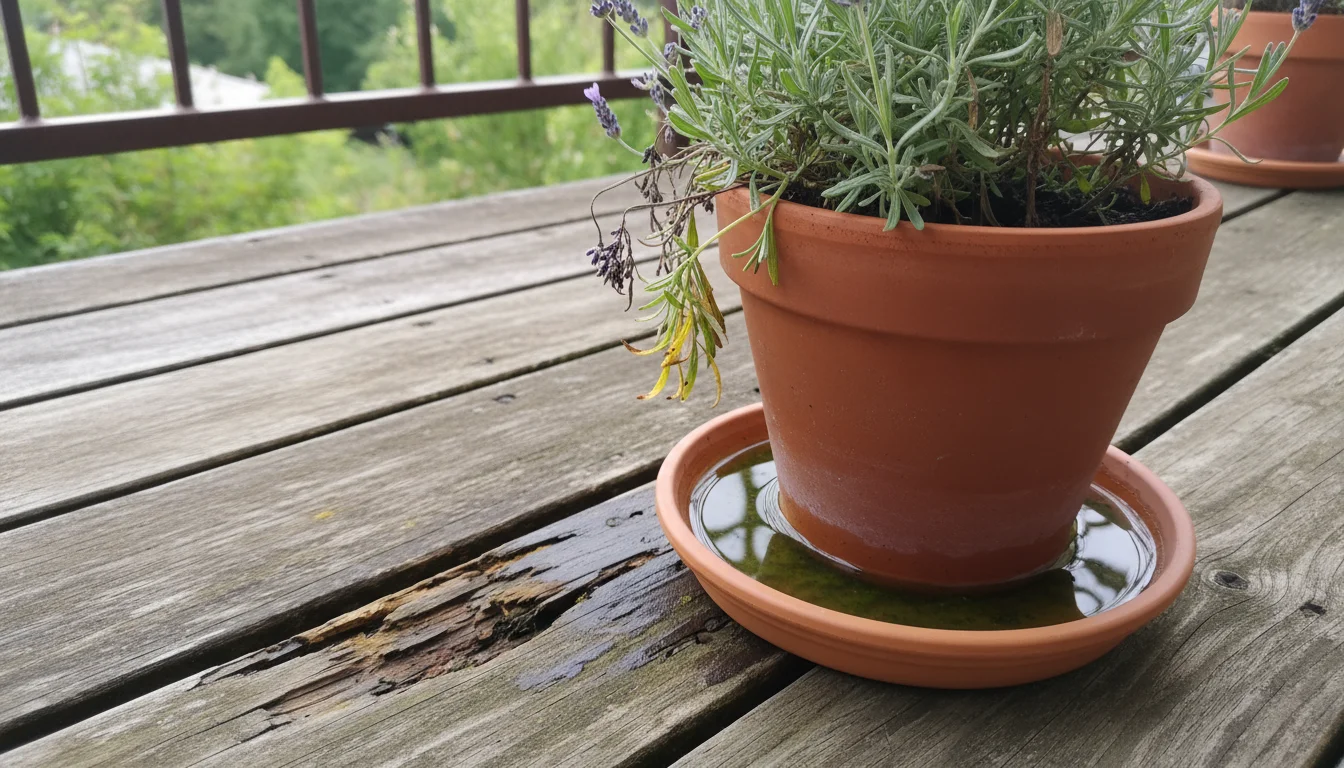
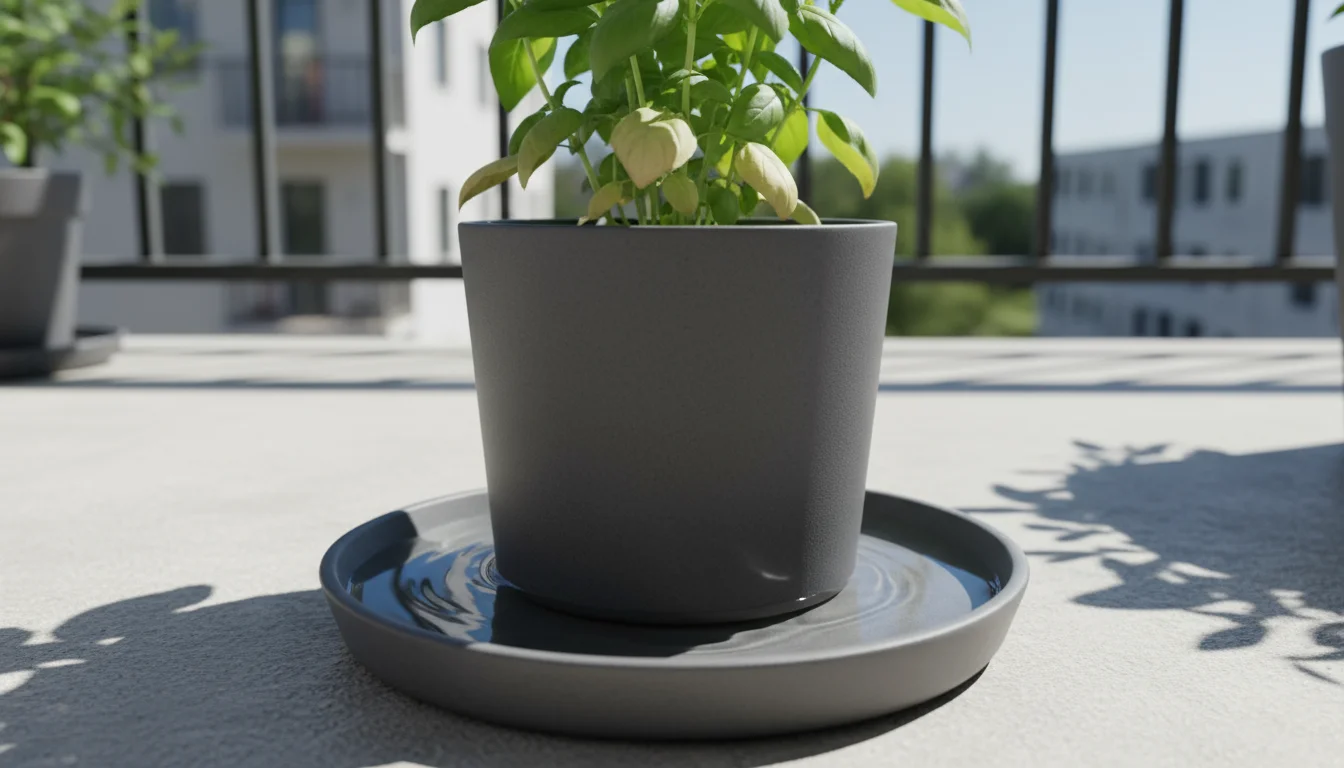
Mistake 3: Letting Plants Sit in Standing Water
Leaving a plant’s pot sitting in a saucer full of drained water for extended periods. This suffocates the roots, creating an anaerobic environment that leads to root rot.
The Fix:
After watering, wait 15-30 minutes for excess water to drain out, then empty the saucer completely. If your pot sits directly on the floor or a surface, ensure it is raised slightly (e.g., on pot feet) to allow proper airflow around the drainage hole and prevent water accumulation.
Mistake 4: Using Water That Is Too Cold or Has Too Many Chemicals
Extremely cold water can shock plant roots, especially for sensitive tropical plants. Tap water containing high levels of chlorine or chloramines can also be detrimental over time, affecting beneficial soil microbes and root health.
The Fix:
Always use room temperature water. Fill your watering can the day before and let it sit out to allow chlorine to dissipate. If your municipal water contains chloramines (which do not evaporate), consider using filtered water or rainwater. Rainwater is excellent for plants, offering natural nutrients and a balanced pH. Collecting rainwater for your plants is a sustainable practice that benefits both your garden and the environment.
Mistake 5: Neglecting Drainage Holes
Using pots without drainage holes or allowing drainage holes to become blocked. This traps water in the bottom of the pot, leading inevitably to root rot.
The Fix:
Always use pots with drainage holes. If you love a decorative pot without holes, use it as a cachepot: plant your plant in a slightly smaller nursery pot with drainage holes, and place that pot inside the decorative one. When watering, remove the nursery pot, water thoroughly, let it drain, and then place it back in the cachepot. Regularly check drainage holes to ensure they are not blocked by roots or compacted soil.
Mistake 6: Not Adjusting for Seasonal Changes
Continuing the same watering routine year-round. As discussed, plant needs change dramatically with light, temperature, and humidity shifts across seasons.
The Fix:
Be a seasonal observer. Significantly reduce watering in winter when plants are dormant. Increase it in summer during active growth. Your weekly check-in day is crucial here; it reminds you to assess the current needs, not just follow a past routine.
Sustainable Watering Practices for an Eco-Friendly Garden
Being a responsible gardener means adopting practices that conserve resources and minimize your environmental footprint. Sustainable watering is not just good for your plants; it is good for the planet. Here is how you can incorporate eco-friendly habits into your watering routine.
Collect Rainwater
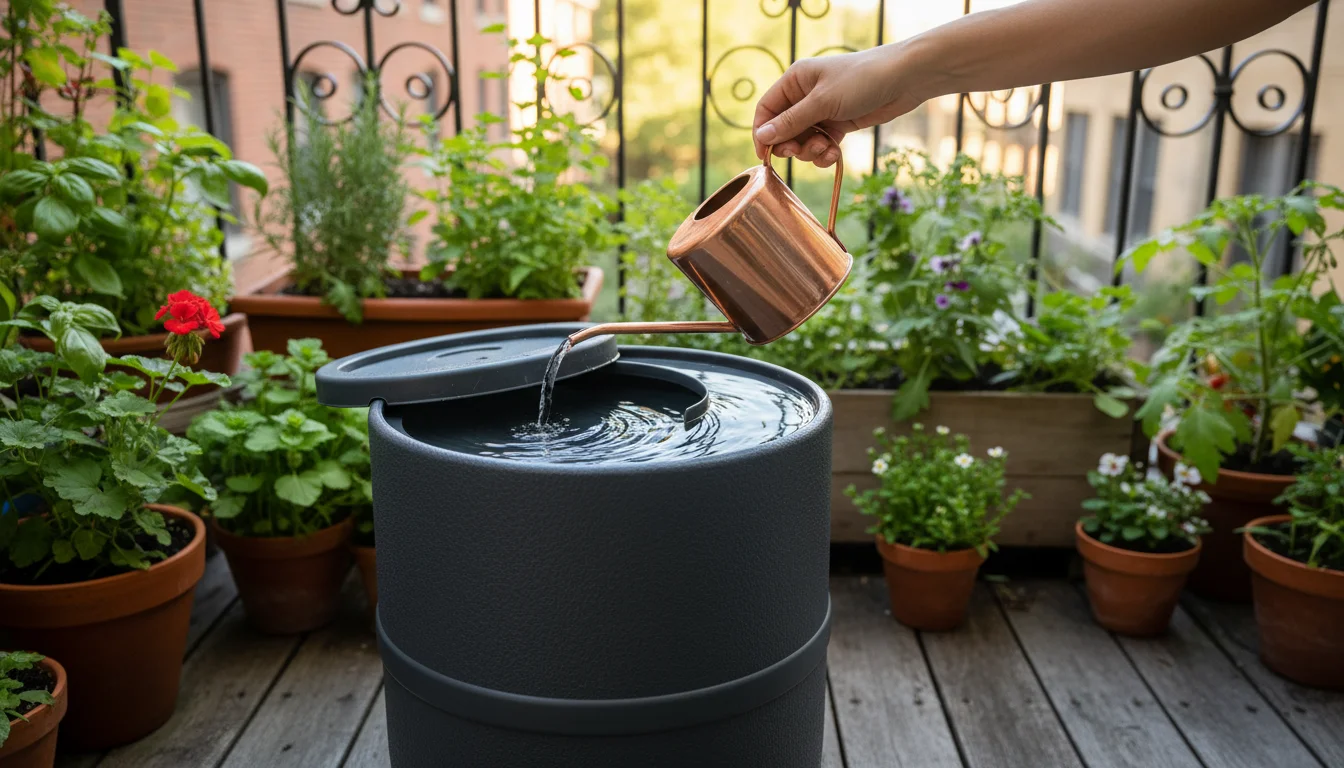
Rainwater is superior to tap water for most plants. It is naturally soft, free of chlorine and other chemicals found in municipal water, and contains beneficial trace minerals. Collecting rainwater reduces your reliance on treated tap water, saving resources and potentially lowering your water bill.
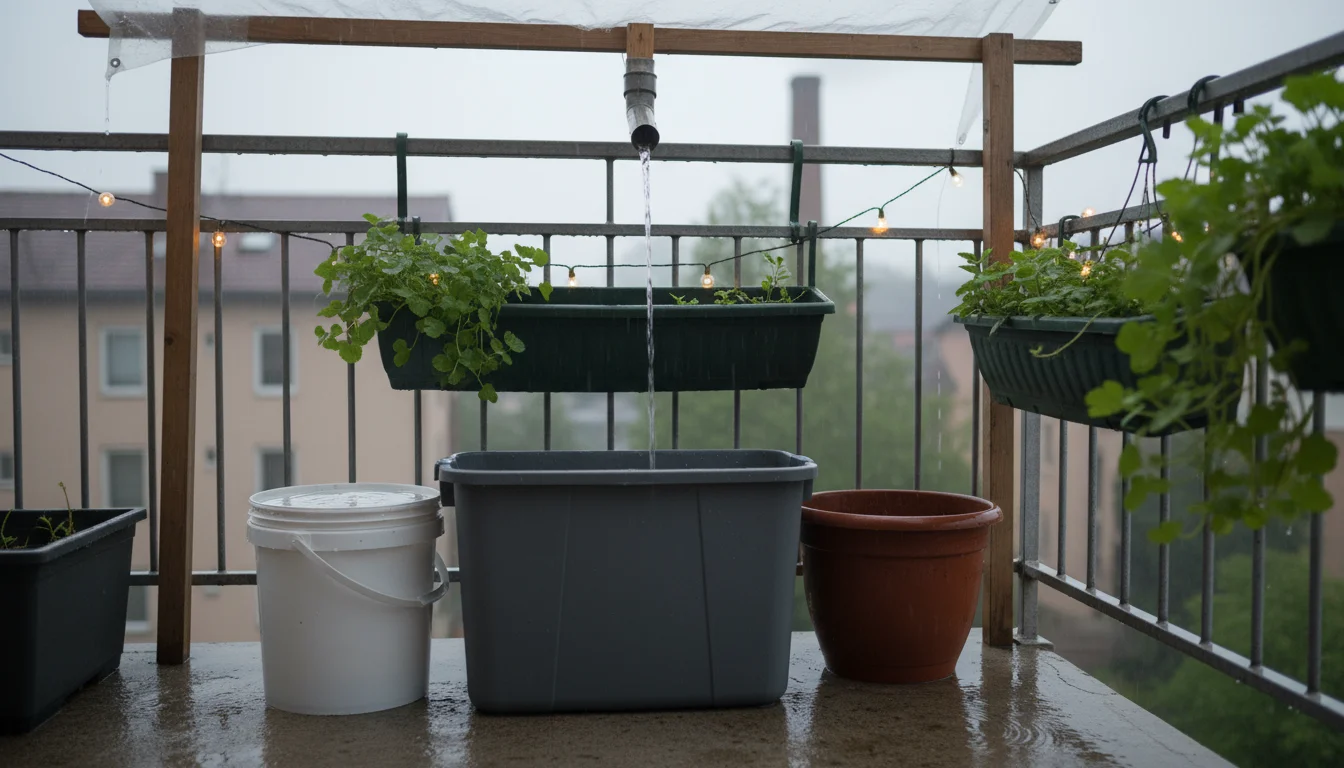
- Rain Barrels: Install a rain barrel connected to your downspout. These collect and store large quantities of rainwater, perfect for outdoor gardens and larger indoor plant collections. Ensure your barrel has a lid to prevent debris and mosquitoes.
- Simple Collection: For small-space gardening, simply place buckets or clean containers outside during rain showers. Even a few gallons of rainwater can make a big difference for your houseplants.
Regularly cleaning your rain collection systems prevents algae growth and ensures fresh water for your plants.
Water Efficiently and Deeply
As covered earlier, deep, infrequent watering is generally better than shallow, frequent watering. This encourages deep root growth, making plants more resilient to dry spells. It also minimizes water loss through evaporation from the soil surface.
- Target Roots: Apply water directly to the soil surface around the base of the plant, avoiding wetting foliage unnecessarily (which can promote fungal diseases).
- Avoid Runoff: Water slowly to allow the soil to absorb moisture. If water starts pooling or running off, pause, let it soak in, and then continue.
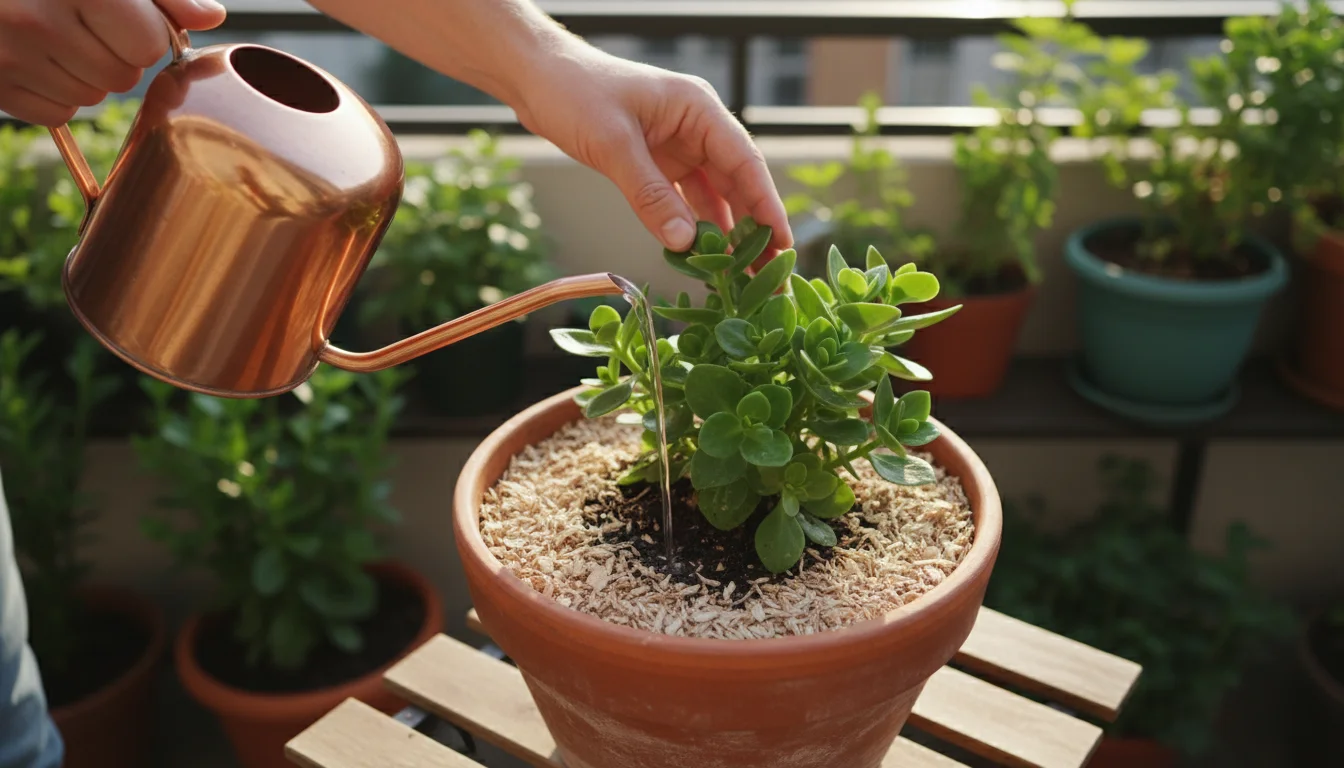
- Mulch: For outdoor plants and larger containers, apply a layer of organic mulch (like wood chips, straw, or shredded leaves) over the soil. Mulch significantly reduces water evaporation from the soil surface, suppresses weeds (which compete for water), and moderates soil temperature. You can reduce watering frequency by 20-30% with a good layer of mulch.
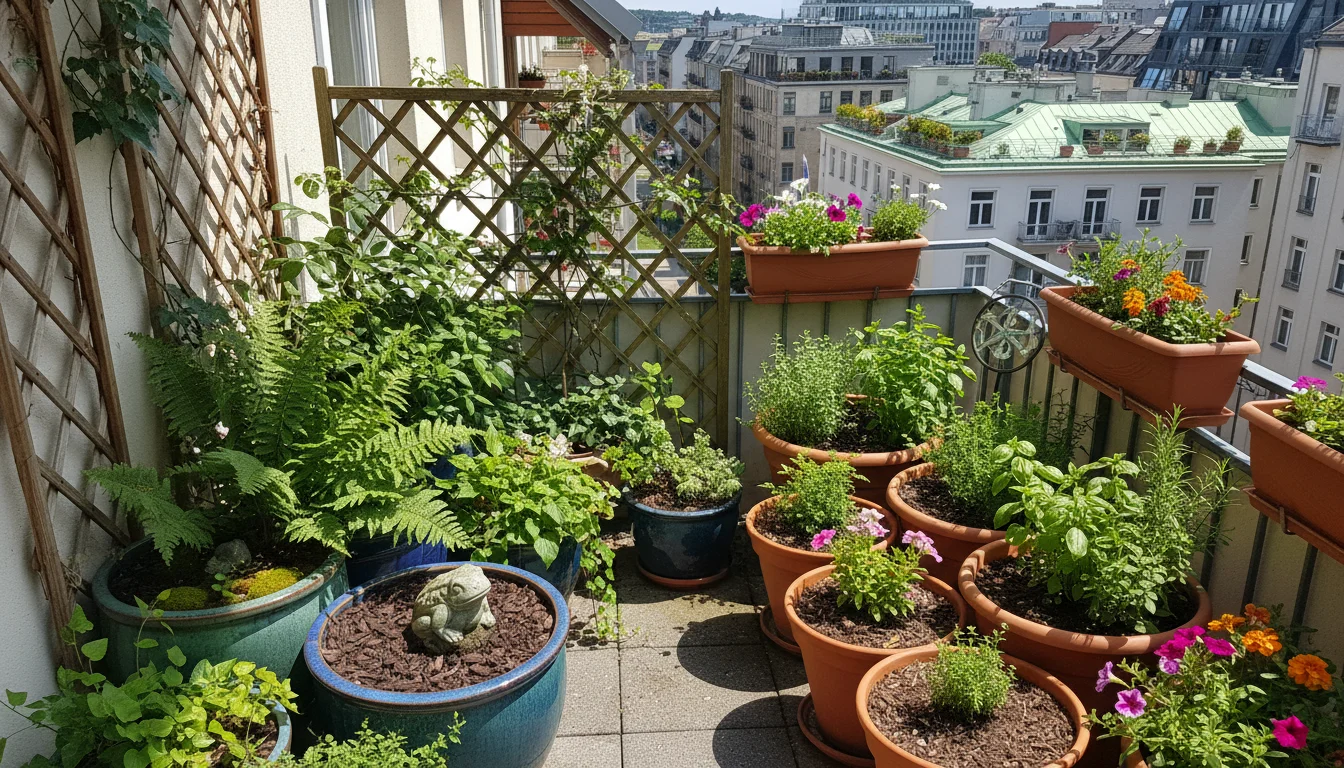
Choose Water-Wise Plants
Selecting plants that naturally require less water is a cornerstone of low-maintenance, sustainable gardening. Xeriscaping principles, often applied to outdoor landscaping, can also inspire your indoor choices.
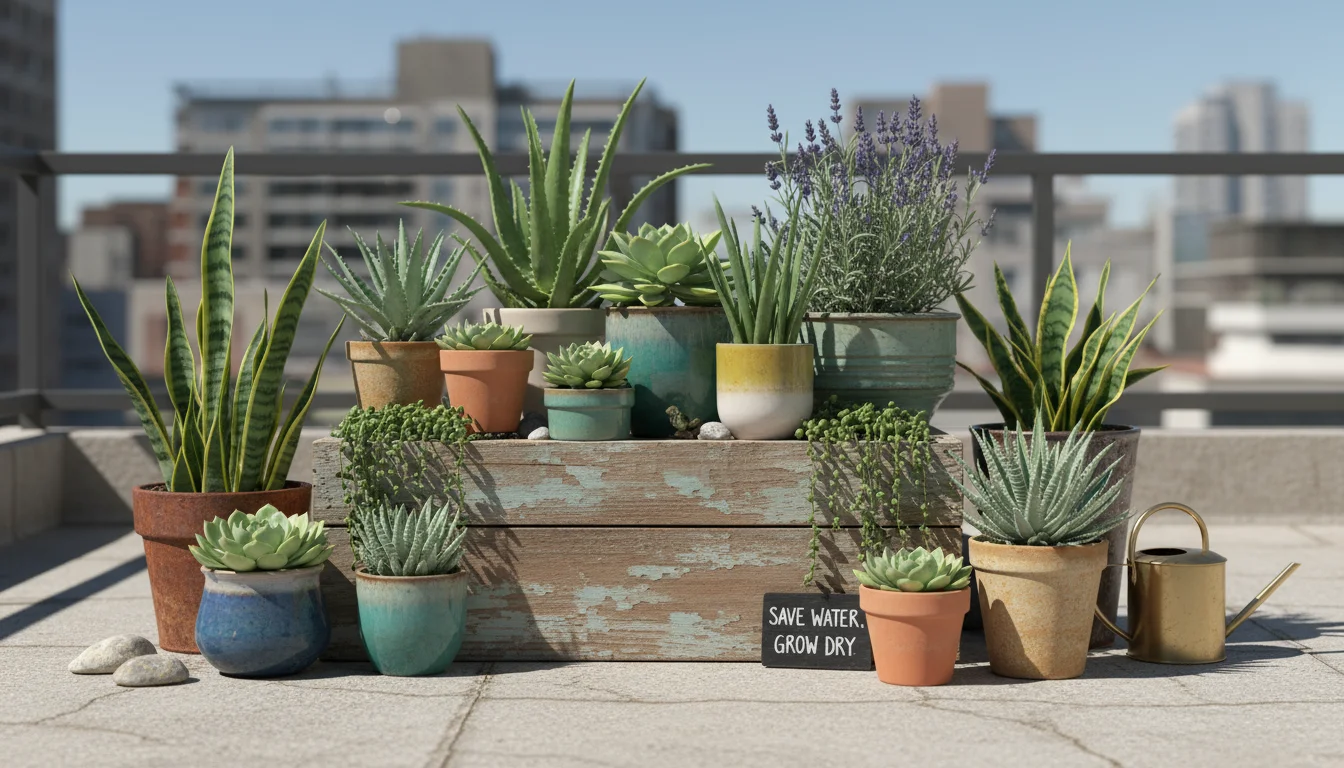
- Succulents and Cacti: These are champions of water conservation, storing water in their specialized leaves and stems.
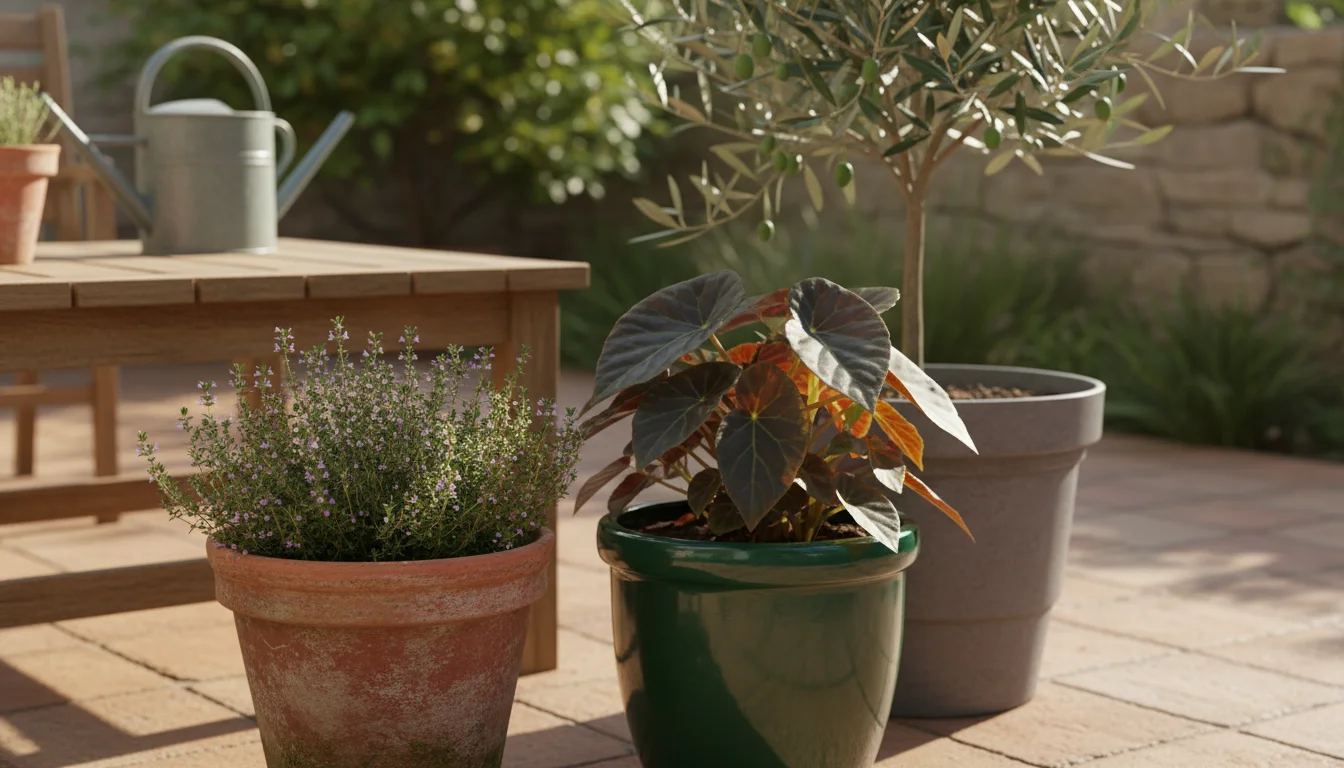
- Mediterranean & Drought-Tolerant Plants: Many herbs like rosemary and lavender, or houseplants like Sansevieria and Aloe Vera, originate from arid regions and thrive on less water.
- Group Similar Needs: As discussed, grouping plants with similar water needs prevents overwatering drought-tolerant species and underwatering thirsty ones.
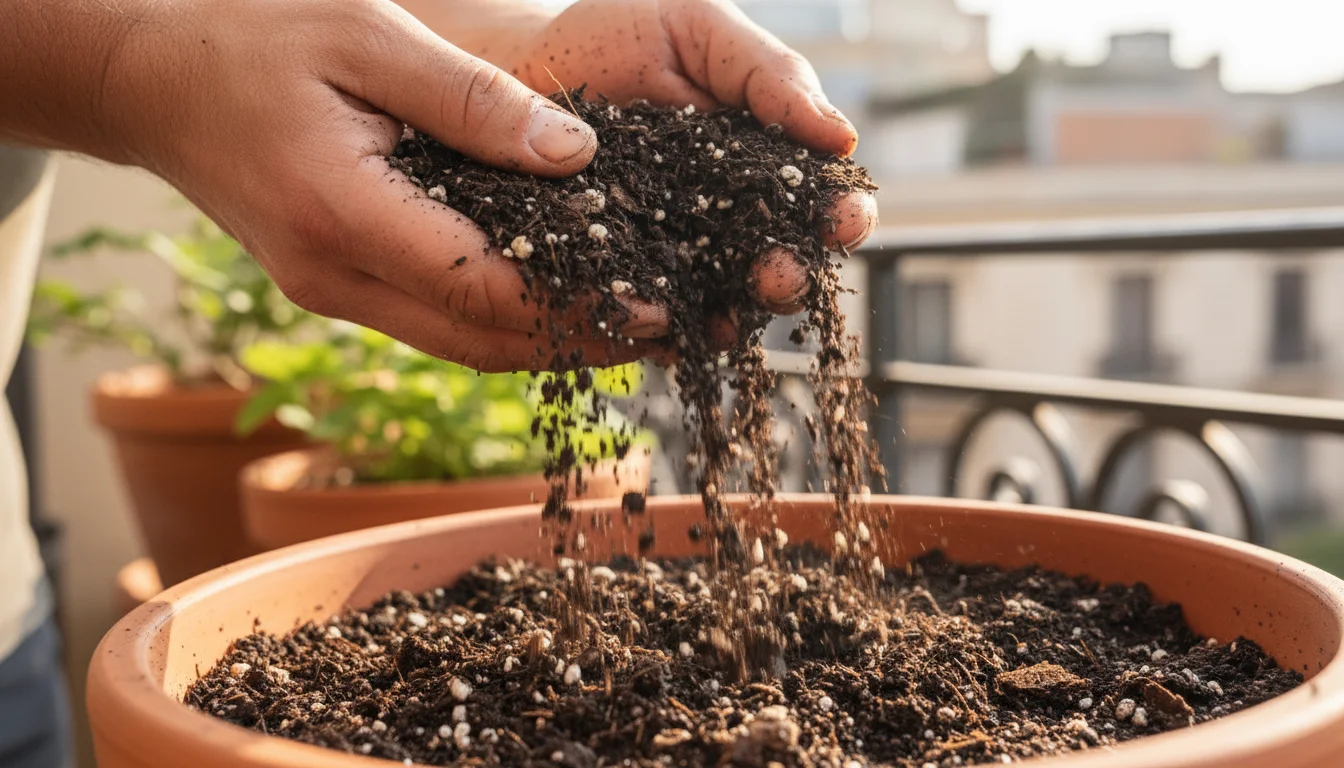
Improve Soil Health with Peat-Free Mixes
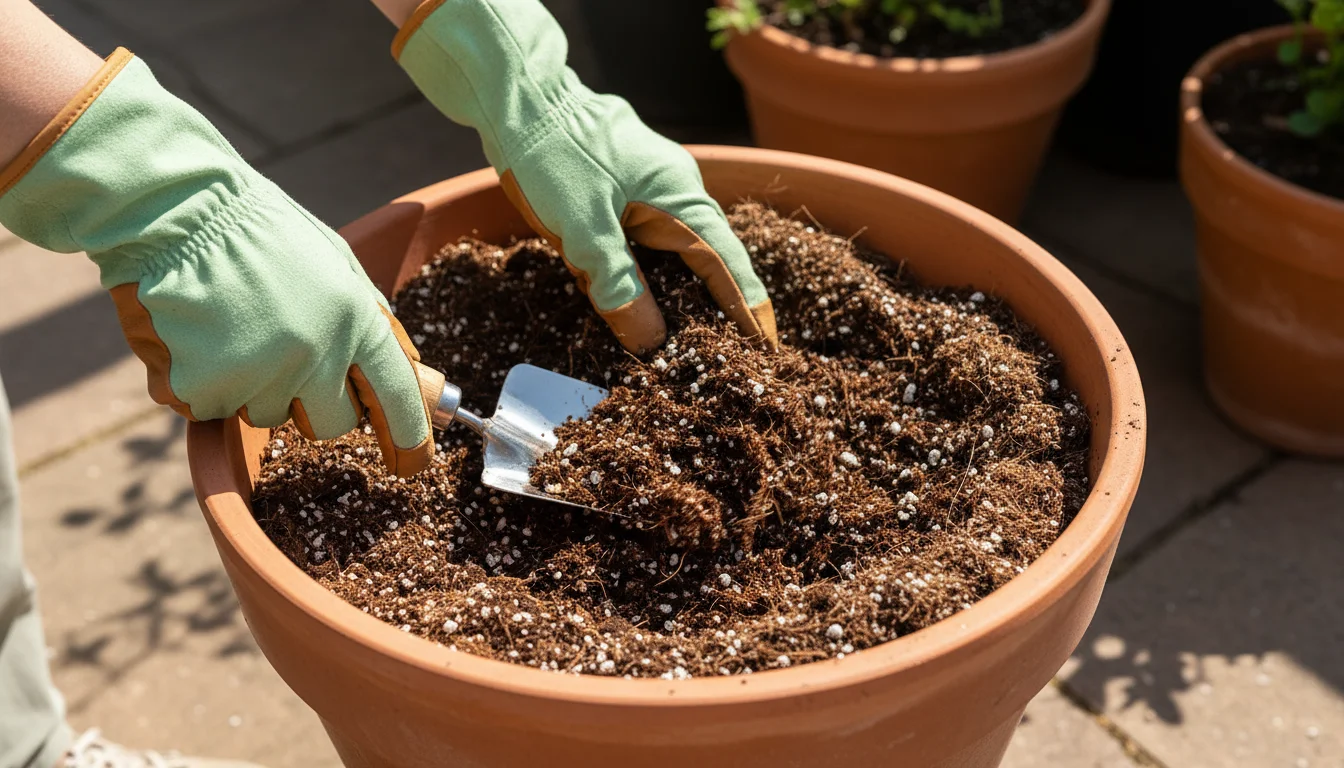
Healthy soil is living soil that retains moisture effectively while providing good drainage and aeration. Using peat-free potting mixes is a sustainable choice because peat harvesting damages sensitive wetland ecosystems. Peat-free alternatives often use coco coir, compost, pine bark, and perlite, which also offer excellent water retention and drainage properties.
- Coco Coir: A renewable resource, coco coir holds moisture exceptionally well and provides good aeration.
- Compost: Enriches soil structure, improving both water retention in sandy soils and drainage in clayey soils.
- Perlite/Pumice: Lightweight, porous materials that enhance drainage and aeration, preventing compaction.
Well-structured soil means less water is wasted, and your plants have better access to both moisture and oxygen.
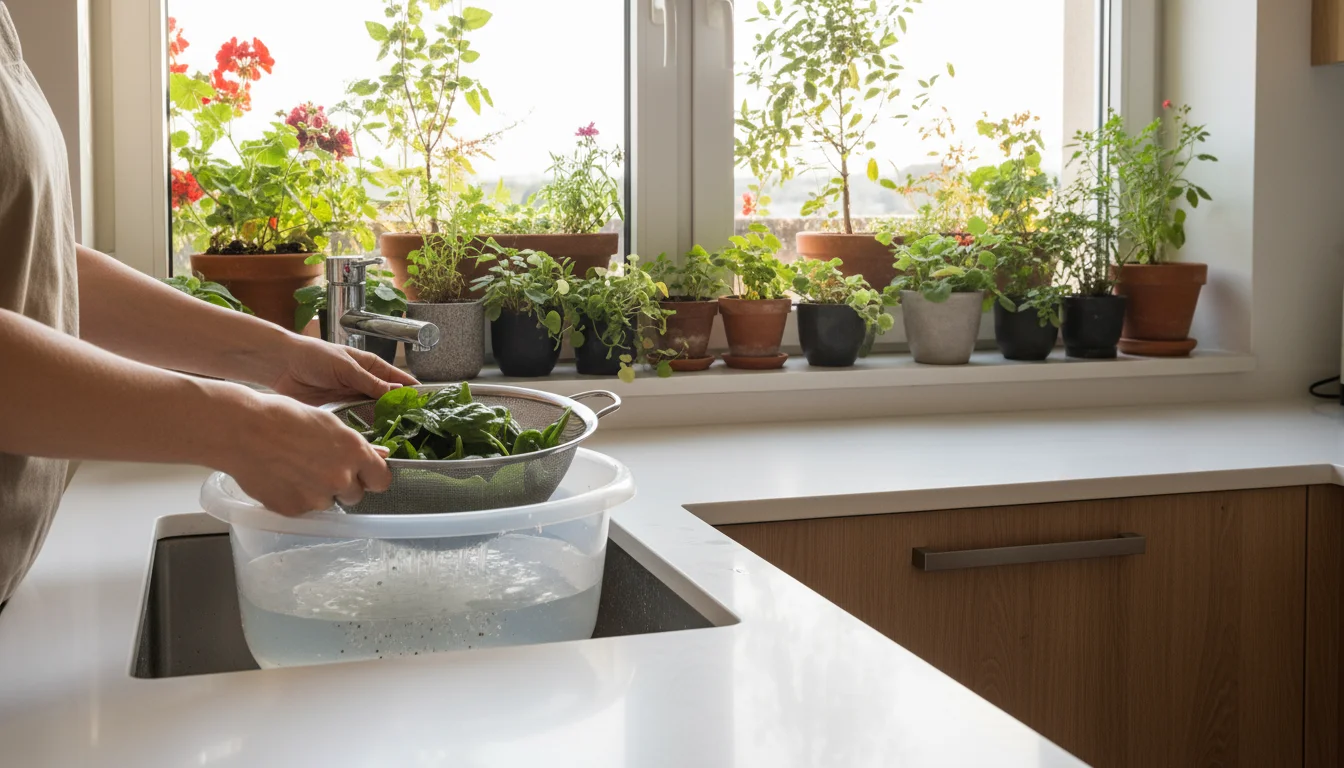
Reuse Household Water (Greywater)
For outdoor plants, consider collecting “greywater” from certain household activities. This includes water from rinsing vegetables, cooled cooking water (without salt or heavy grease), or water used to rinse dishes (if using biodegradable soap). Always avoid greywater that contains harsh chemicals, bleaches, or significant amounts of soap, as these can harm plants and soil. Use greywater sparingly and for outdoor plants only, checking its quality. For instance, water from a dehumidifier is pure distilled water and excellent for any plant. Be cautious and research local regulations regarding greywater use.
By implementing these sustainable watering practices, you not only ensure your plants thrive but also contribute positively to a healthier environment. Low-maintenance gardening inherently lends itself to eco-conscious choices, making it a win-win for you and the planet.
Frequently Asked Questions
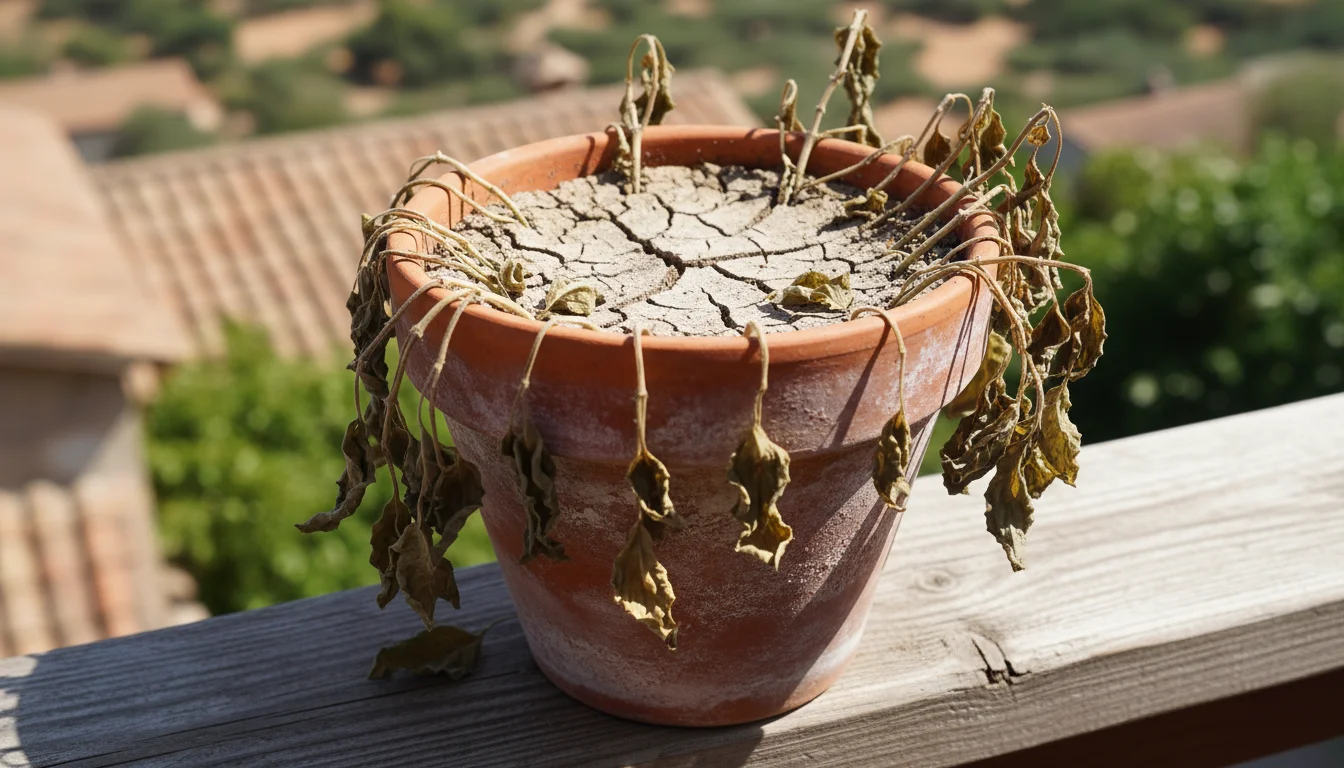
How do I know if my plant is overwatered or underwatered?
Both overwatering and underwatering can cause wilting, which confuses many gardeners. The key difference lies in the soil moisture. If your plant is wilting and the soil is bone dry, it’s underwatered. If it’s wilting and the soil is soggy, it’s overwatered. Overwatered plants often show yellowing leaves (especially older, lower leaves), mushy stems, or a foul odor from the soil due to root rot. Underwatered plants typically have crisp, dry leaves, sometimes with browned edges, and the soil pulls away from the pot sides.
What is “root-bound” and how does it affect watering?
“Root-bound” means your plant’s roots have grown so extensively that they fill the entire pot, often circling tightly around the inner edges. This condition limits the amount of soil available to hold moisture and nutrients. A root-bound plant will dry out much faster than a properly potted plant, requiring more frequent watering. You will notice water quickly running through the pot without soaking in. Repotting into a slightly larger pot with fresh soil usually resolves this issue.
Is it better to water from the top or bottom?
Both methods have benefits. Top watering (applying water to the soil surface) helps flush out accumulated mineral salts and ensures even saturation if done slowly and thoroughly. Bottom watering (placing the pot in a tray of water and letting it absorb from below) is excellent for very dry, hydrophobic soil or for plants that dislike having wet foliage. For most plants, a combination works best. Regularly top water to prevent salt buildup, and use bottom watering as needed for hydration or when you need a break from manual top watering.
Can I use ice cubes to water my orchids or other plants?
While some sources suggest using ice cubes for orchids, this practice is generally not recommended for most plants. Extremely cold water can shock plant roots and slow growth. More importantly, it often leads to shallow watering, as the melting ice might not provide enough water to saturate the entire root ball deeply. It is better to use room temperature water and water thoroughly, ensuring complete saturation and drainage.
How long can plants go without water when I am on vacation?
This depends entirely on the plant species, pot size, soil type, and environmental conditions. Succulents can often go for weeks or even a month without water. Thirsty tropicals might only last a few days. For short trips (a few days), thorough watering before you leave might suffice. For longer vacations (over a week), consider self-watering solutions like wicking systems, self-watering pots, or asking a trusted friend to check on them. Grouping plants together can also create a microclimate that reduces water loss.

Leave a Reply