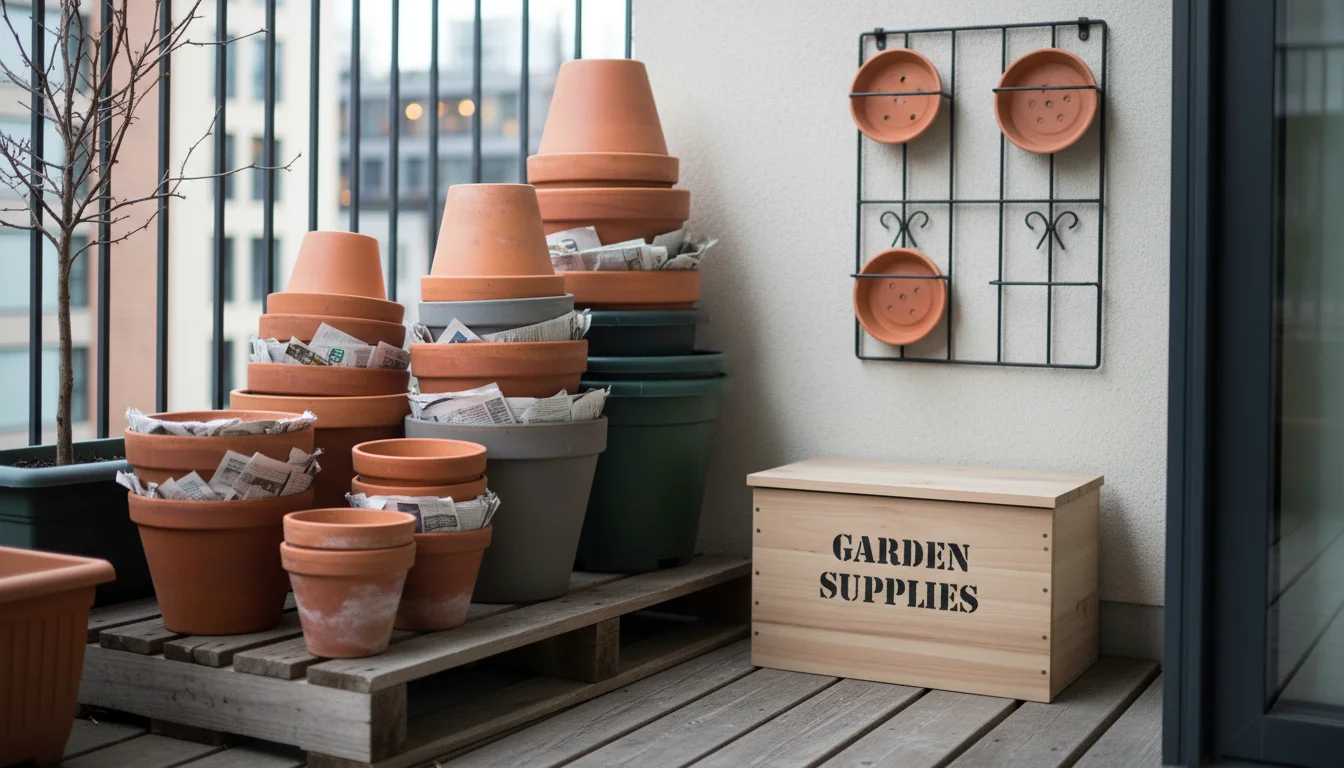
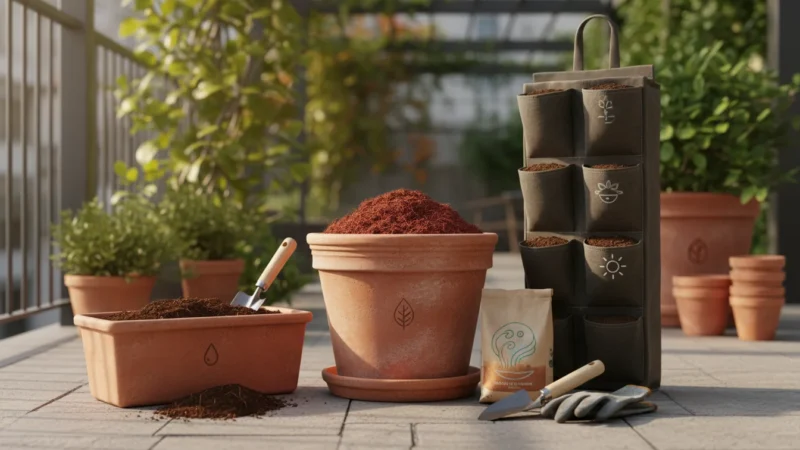
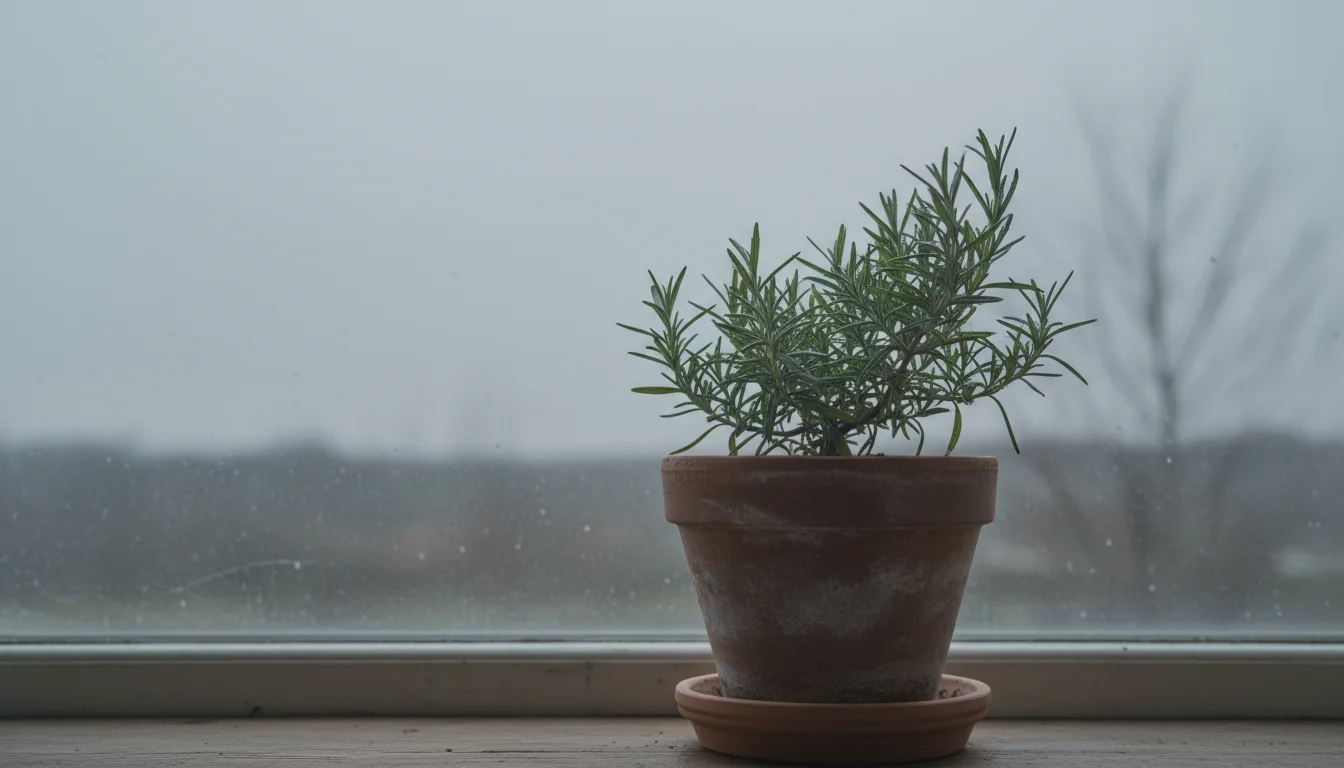
As summer’s bounty fades and temperatures cool, your container garden might look a little tired. Empty pots sit, sometimes filled with spent soil and the remnants of last season’s roots. Many gardeners wonder what to do with these used vessels, particularly when preparing for the next growing cycle. Fall presents the perfect opportunity to address these forgotten containers. A thorough deep-clean of your garden pots now offers significant benefits for your plants, your time, and the health of your small garden space next spring.
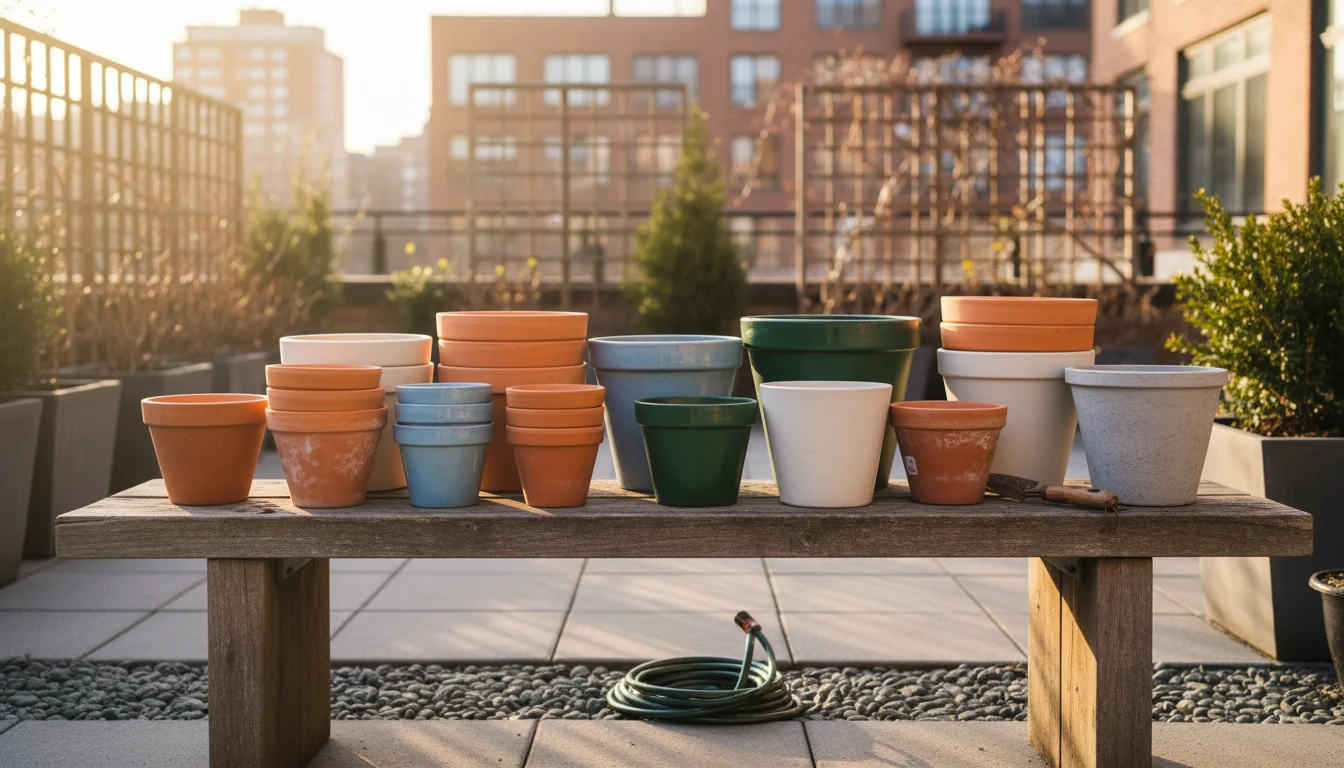
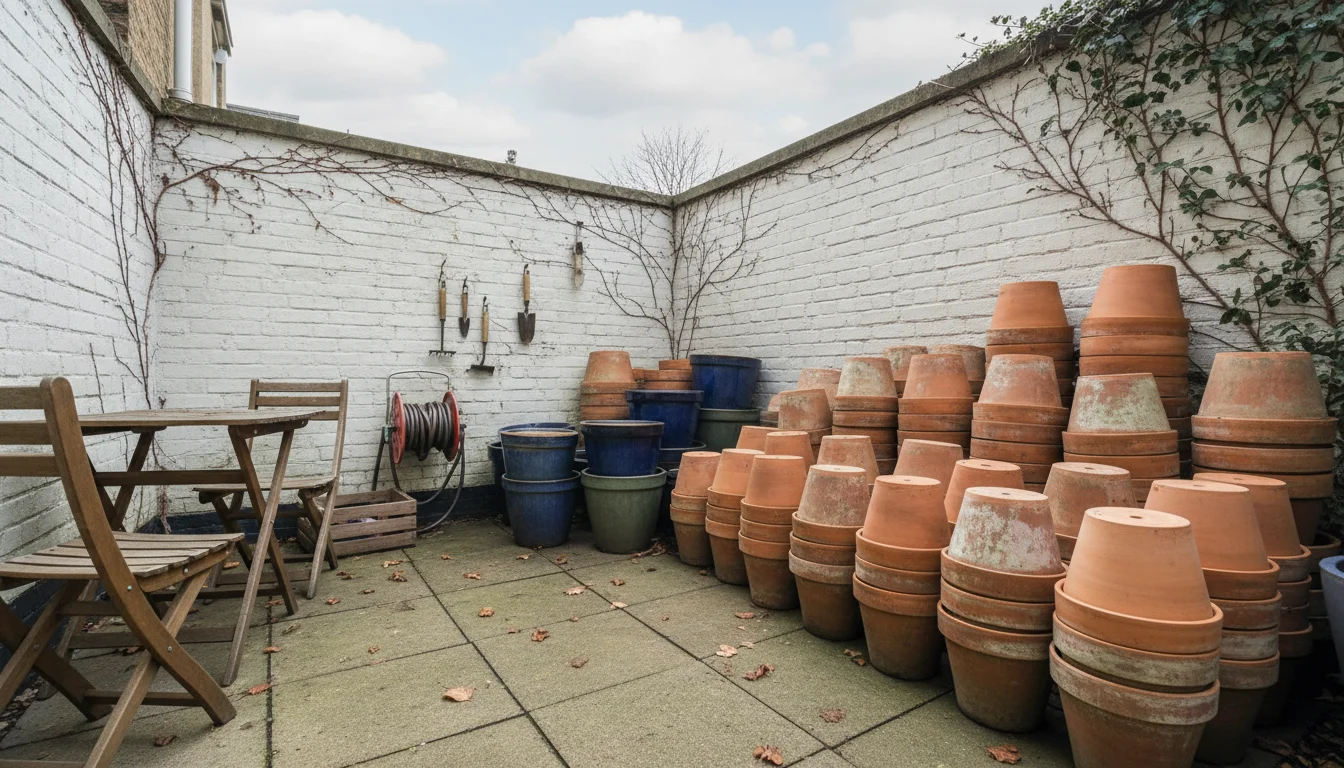
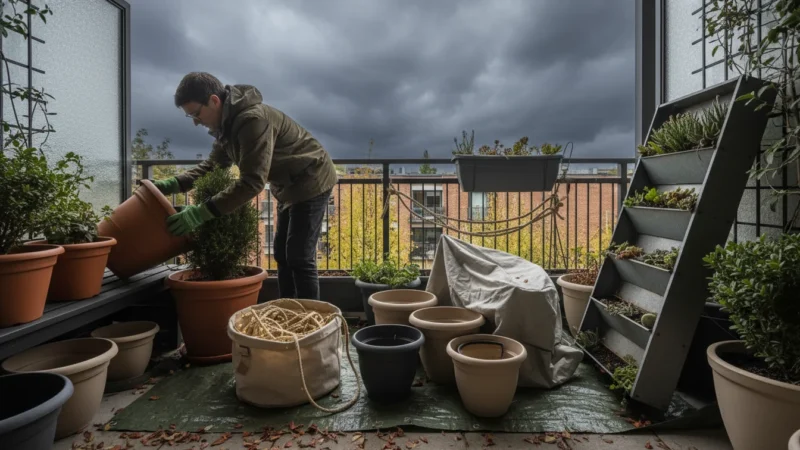
Before you start scrubbing, it’s helpful to perform a pot purge to see which containers are still in good enough shape to keep.
Think of it as preparing a fresh canvas for your future green masterpieces. Cleaning garden pots is not merely about aesthetics. This essential fall garden chore directly impacts plant health, disease prevention, and overall garden success. You eliminate potential threats to new seedlings and ensure your plants thrive from the moment you place them into their revitalized homes. Let’s walk through why this process matters and how you can efficiently tackle it, transforming those dusty containers into pristine homes for your next season’s growth.
Why Cleaning Your Garden Pots Matters: Preventing Future Problems
You might wonder if scrubbing old pots is truly necessary. After all, plants grew in them before, right? While some gardeners skip this step, doing so carries significant risks that can undermine your future gardening efforts. Cleaning garden pots proactively tackles these issues before they manifest as unhealthy plants or diminished yields.
Stopping the Spread of Disease and Pests
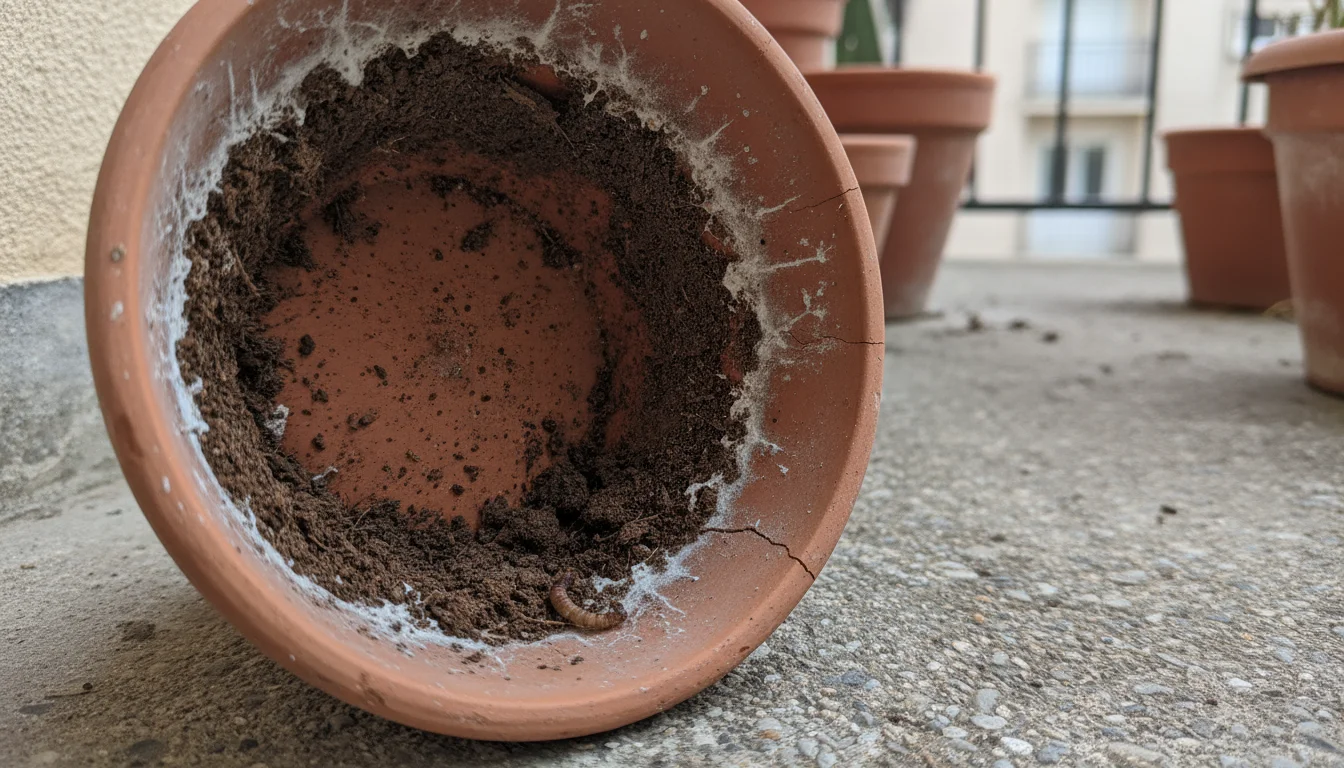
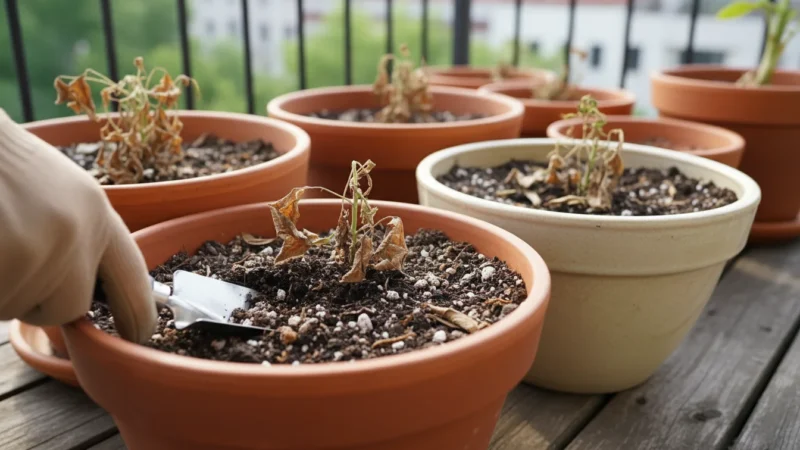
Old soil, especially from plants that struggled, can harbor pathogens, insect eggs, and fungal spores. For instance, if your tomatoes suffered from early blight or your petunias succumbed to damping-off disease, those disease-causing agents often remain in the soil and adhere to the pot’s interior surfaces. When you reuse an uncleaned pot, you provide a ready-made home for these issues to resurface. New, vulnerable seedlings encounter these persistent threats immediately, increasing their chances of infection. Many common plant diseases, like powdery mildew or root rot, thrive in these leftover conditions, potentially spreading to your new plants and even other containers.
Preventing Nutrient Depletion and Salt Buildup
Over a growing season, mineral salts from fertilizers and tap water accumulate on the inner walls of your pots. These white or yellowish crusts, particularly visible on terracotta pots, indicate a buildup that affects soil chemistry. High salt concentrations can draw moisture away from plant roots, leading to dehydration and nutrient lockout, where plants cannot absorb essential elements even if they are present in the soil. Furthermore, old soil becomes compacted and loses its structure, reducing essential aeration and drainage. Drainage refers to how easily water moves through soil. Good drainage prevents waterlogging and ensures roots receive adequate oxygen. Removing old roots and cleaning the pot eliminates these detrimental buildups, preparing used pots for spring planting with a truly fresh start.
Improving Drainage and Root Health
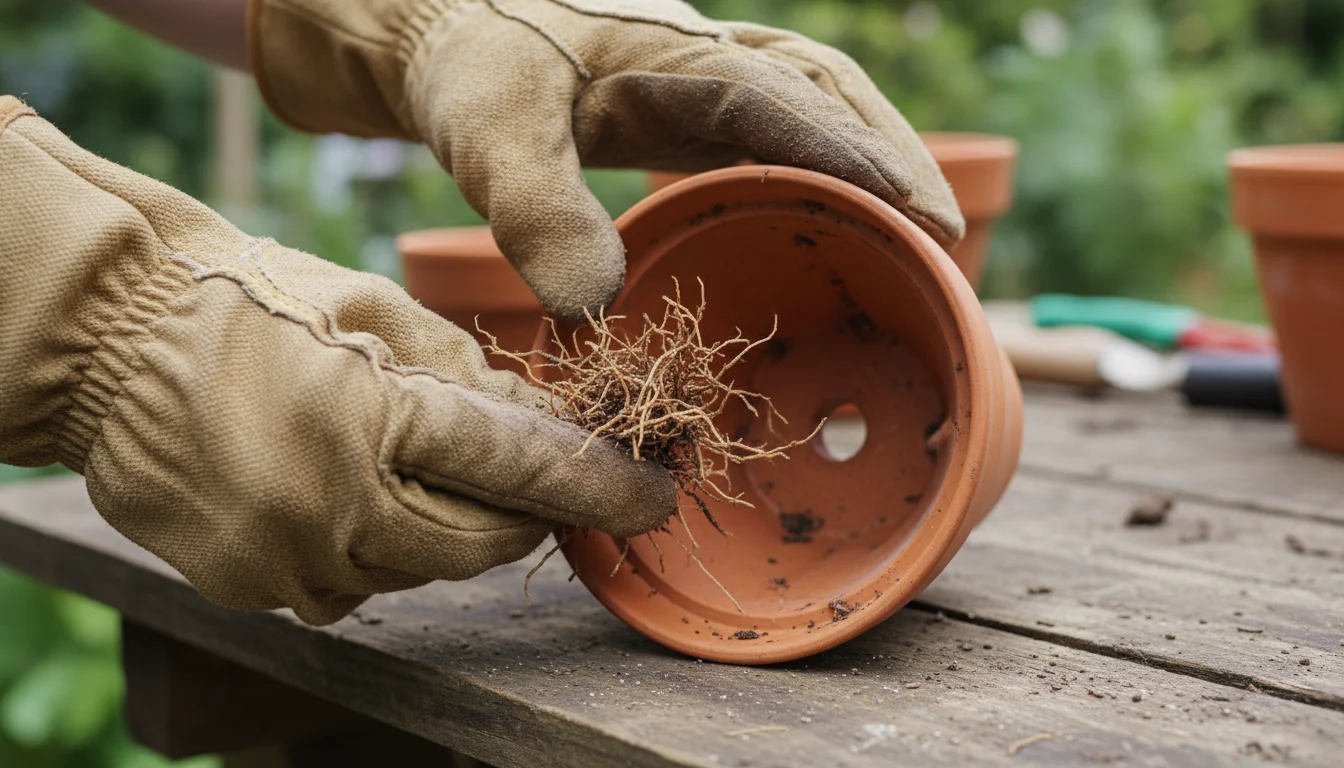
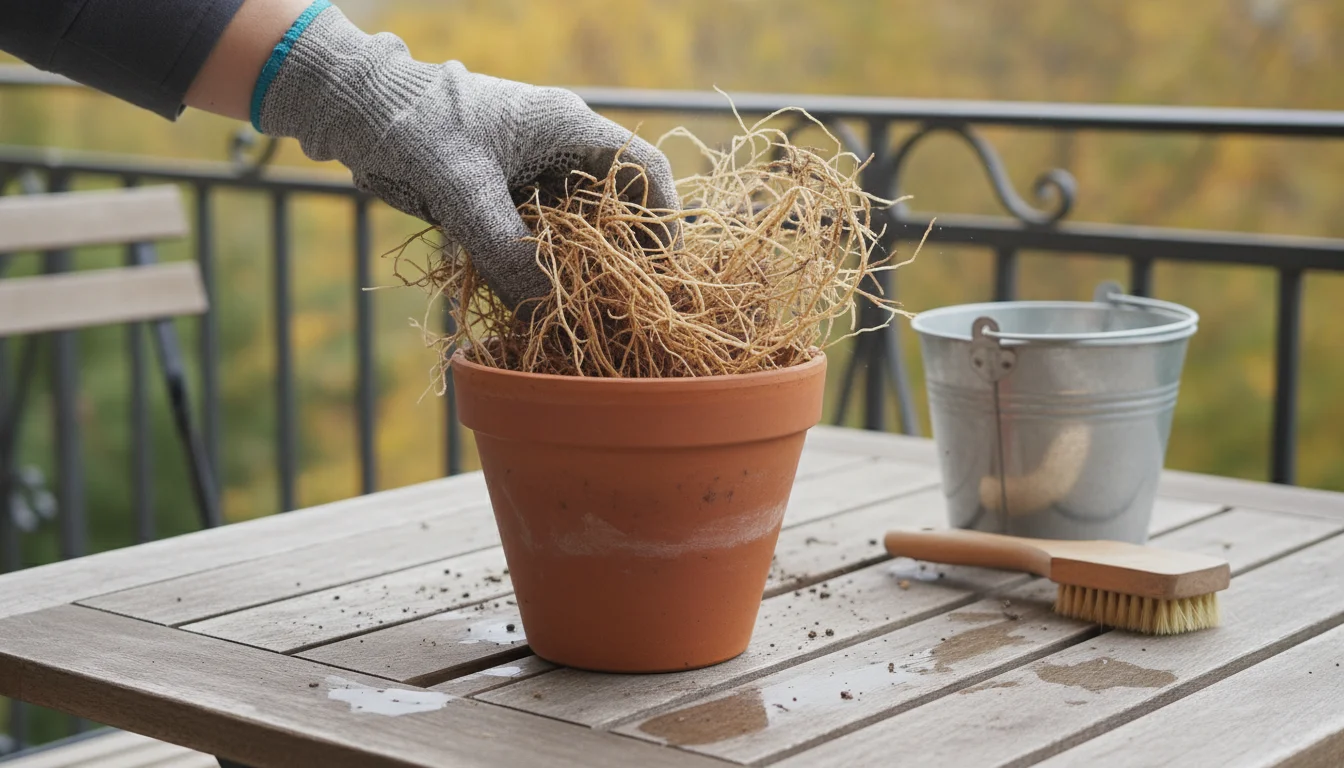
Last season’s roots, even after the plant dies, can partially decompose or simply remain as a dense network. This leftover root mass can clog drainage holes, hindering proper water flow. Impaired drainage leads to waterlogged soil, depriving plant roots of oxygen and encouraging root rot. By thoroughly removing old roots from pots, you ensure that drainage holes remain clear and water can exit freely, which is crucial for healthy root development and overall plant vitality. This simple action significantly boosts your chances of success, especially in small-space gardening where every plant counts.
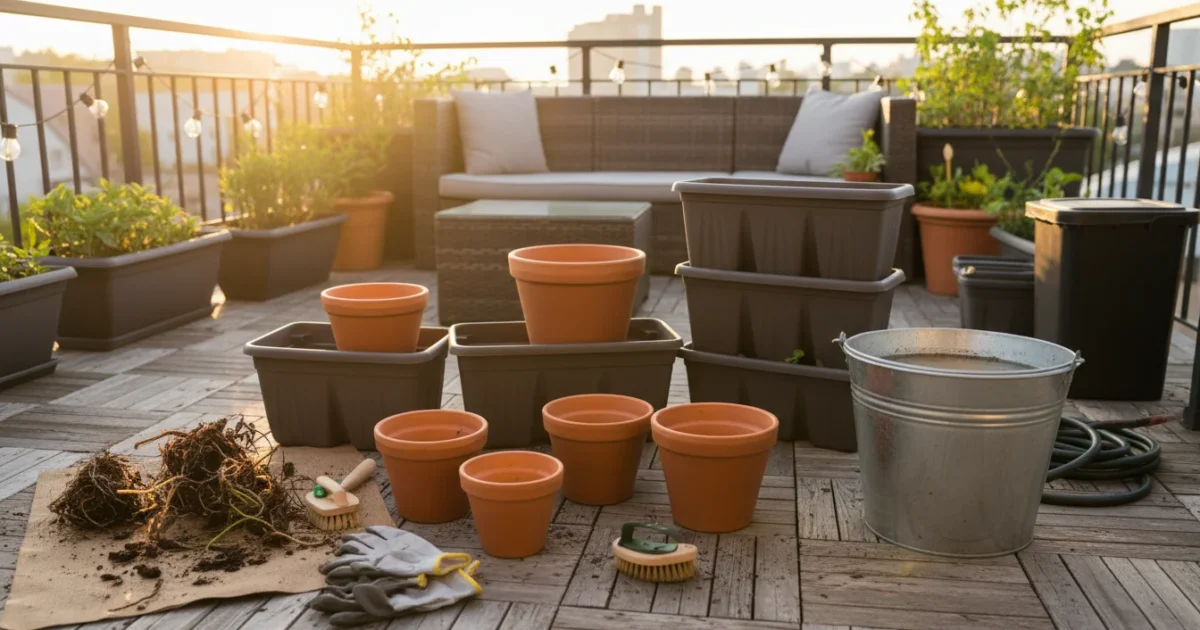
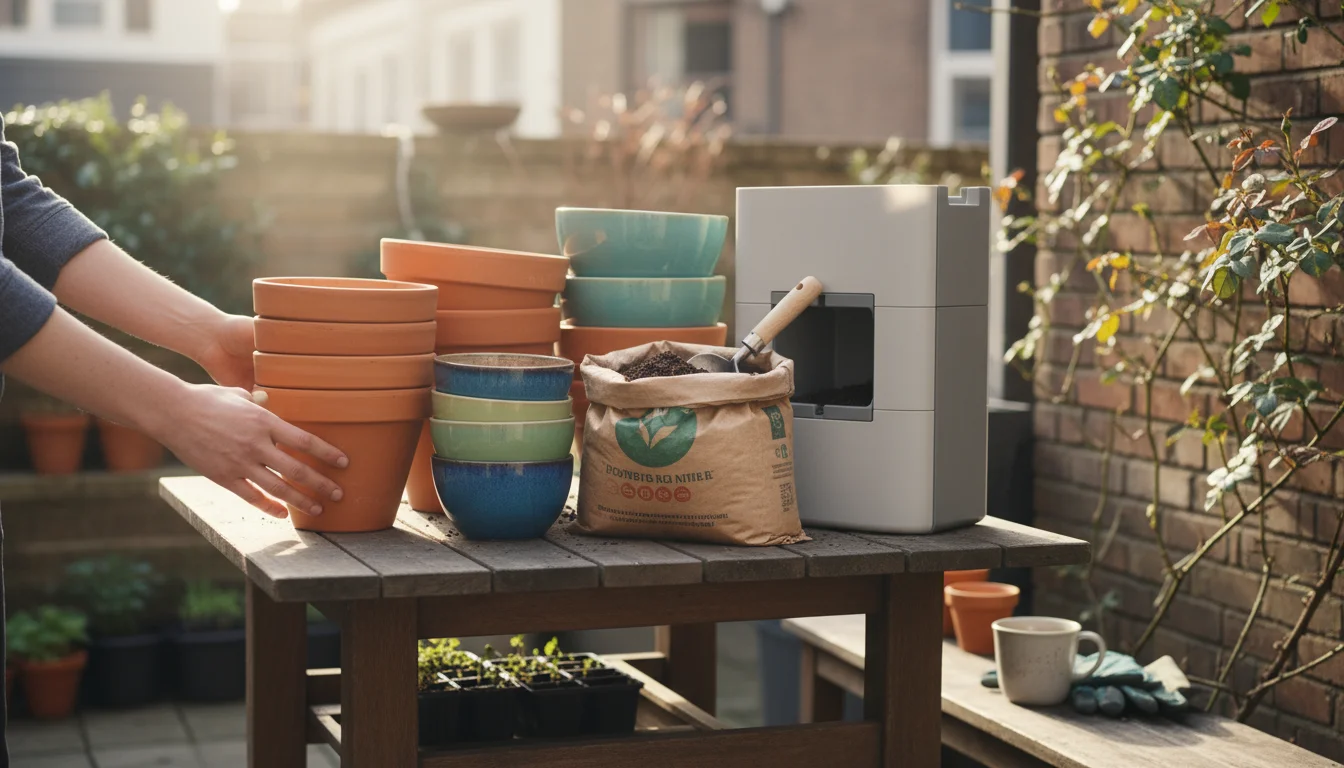
Your Essential Tool Kit for Fall Pot Cleaning
Gathering your tools before you start streamlines the process of cleaning garden pots. You likely have most of these items already, making this an accessible fall garden chore. Having everything ready prevents interruptions and ensures you can work efficiently.
While you’re cleaning your containers, don’t forget that a fall tool tune-up is also necessary to keep your equipment ready for spring.
- Stiff-bristled brush or scrub brush: Essential for removing stubborn soil, algae, and mineral deposits from pot surfaces. Choose one with durable bristles that can handle rough textures.
- Plastic scraper or old butter knife: Excellent for dislodging dried soil and old roots that cling to the pot’s interior. Avoid metal scrapers on plastic or glazed pots, as they can scratch surfaces.
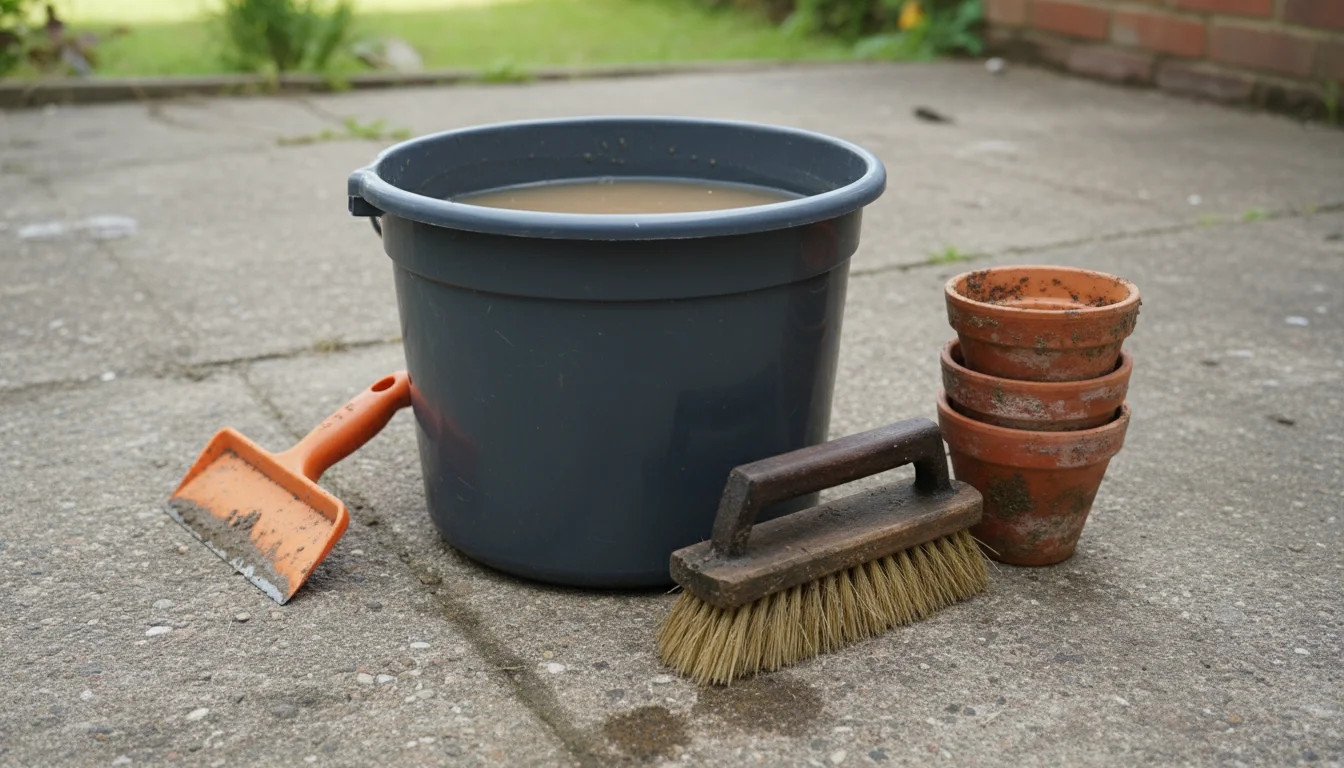
- Buckets or large tubs: You will need these for soaking pots, especially terracotta. One bucket for initial rinsing and another for a disinfectant solution works well.
- Garden hose with a spray nozzle: Powerful water pressure helps dislodge loose soil and residue.
- Protective gloves: Protect your hands from dirt, cleaning solutions, and any sharp edges on broken pots.
- Safety glasses (optional but recommended): Protect your eyes from splashes, especially when using cleaning solutions.
- Cleaning solutions: Options include bleach, white vinegar, or hydrogen peroxide. We will discuss specific concentrations and uses later.
- Old rags or sponges: For wiping down cleaned surfaces and applying solutions.
- Tarp or designated cleaning area: Contains the mess, making cleanup easier.
- Wheelbarrow or compost bin: For disposing of old soil and plant debris.
With these items ready, you are well-equipped to tackle your container garden maintenance and prepare your used pots for spring planting.
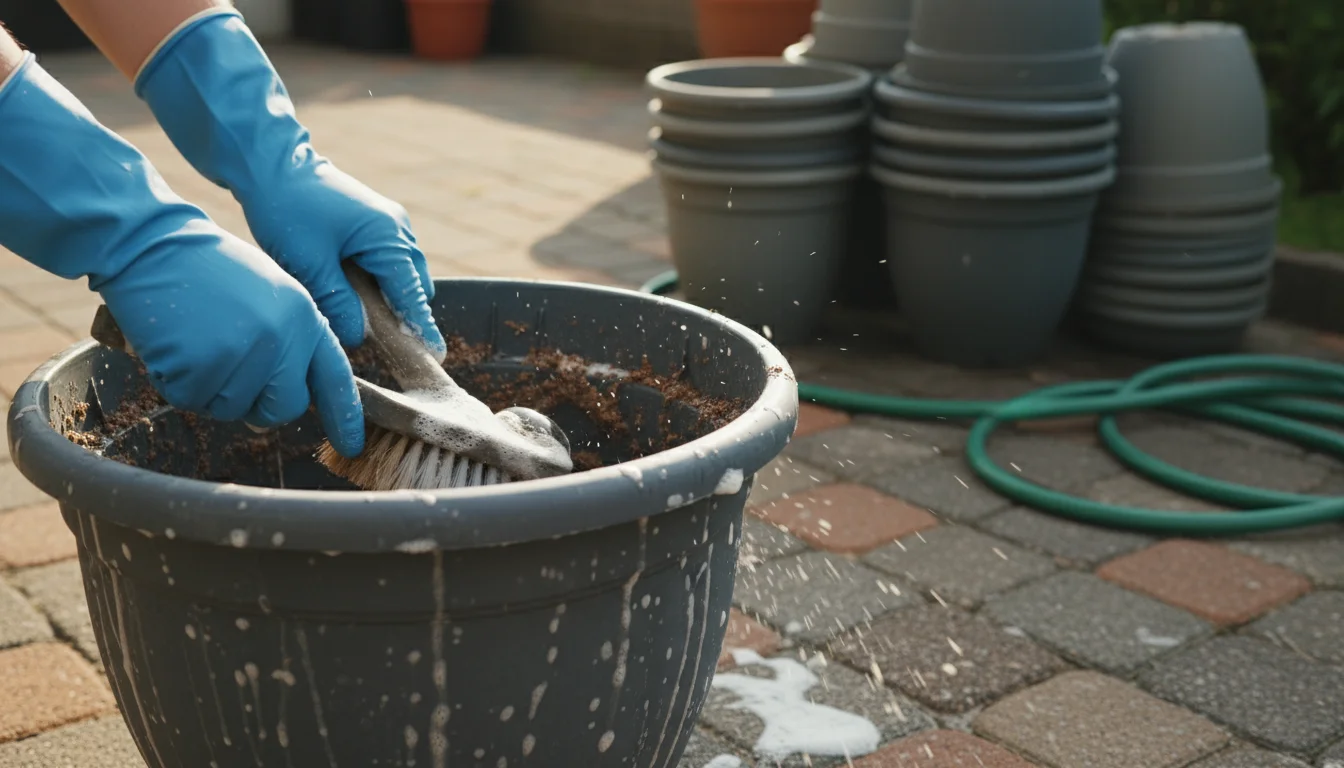
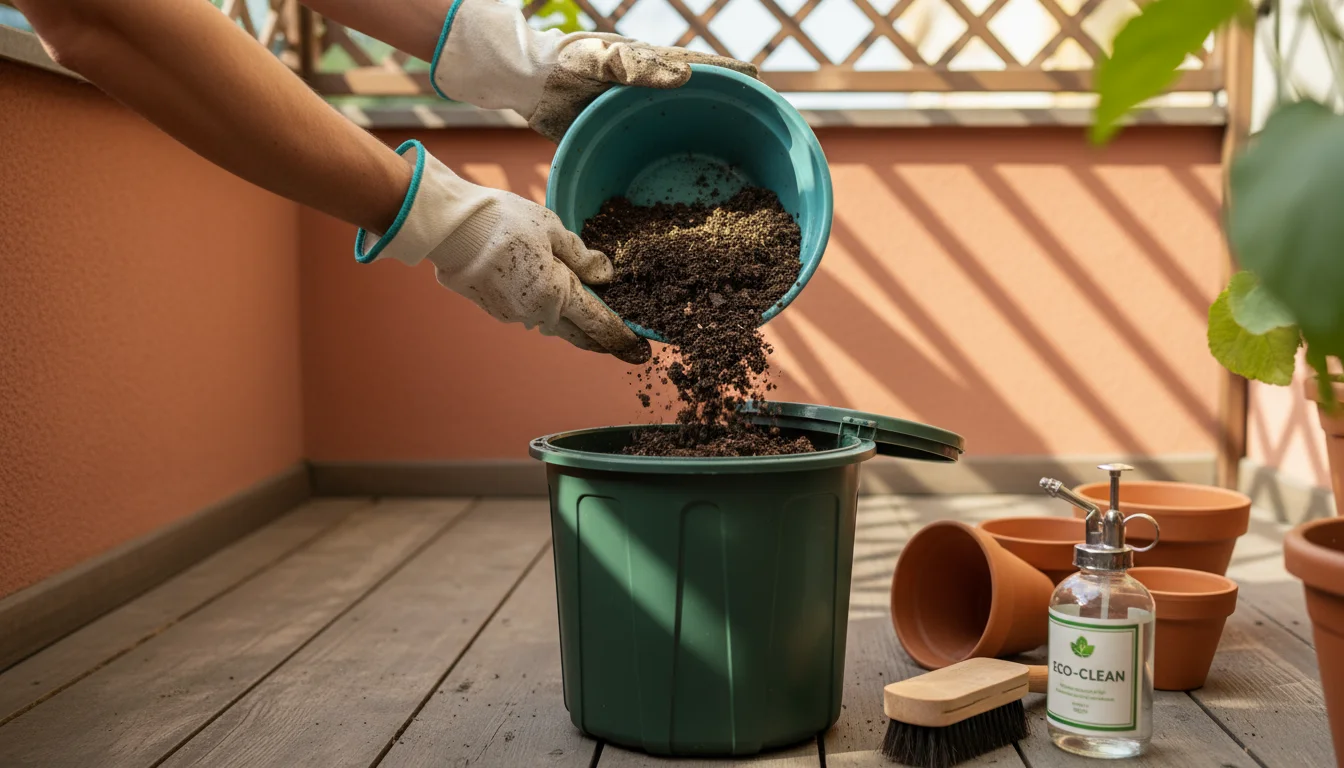
Step-by-Step Guide: Emptying and Initial Rinse
This initial phase removes the bulk of the old soil and roots, preparing the pots for a deeper clean. Follow these steps for an organized and effective start to cleaning garden pots.
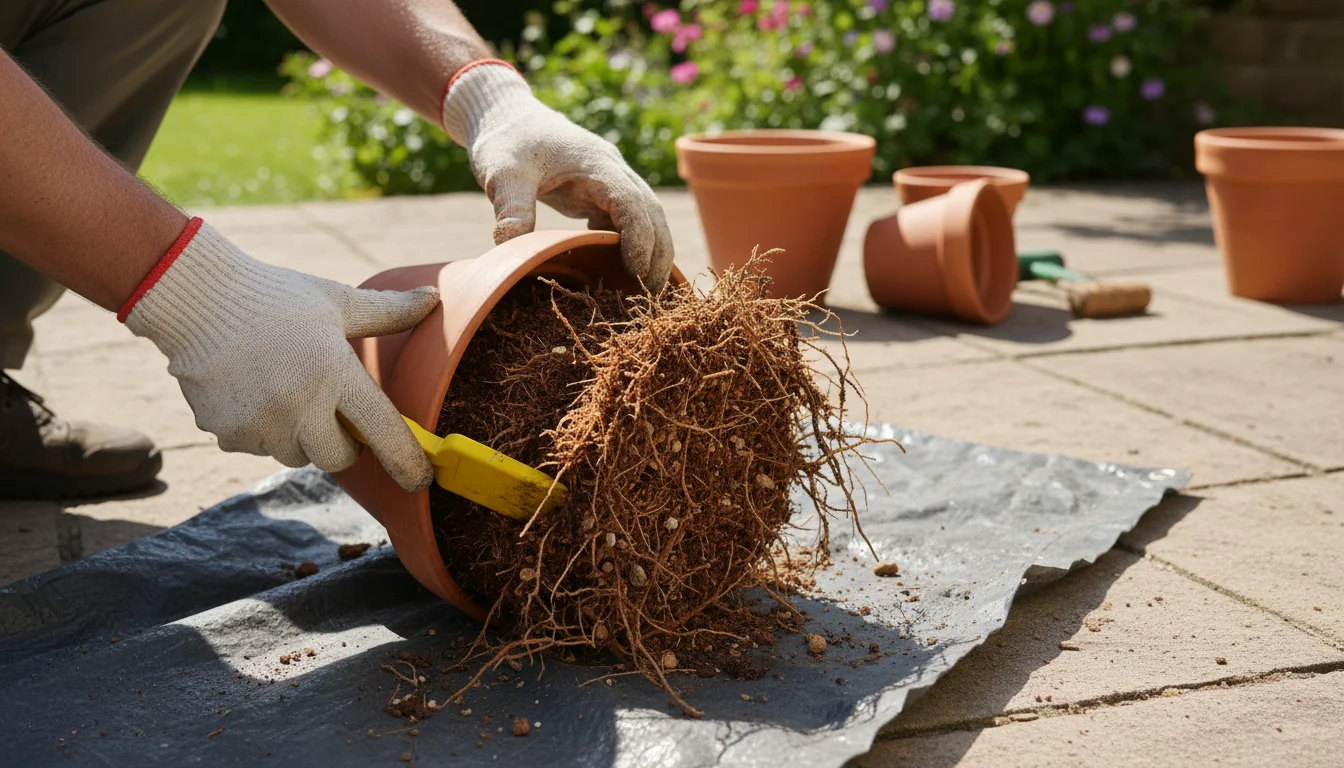
- Empty the Contents:
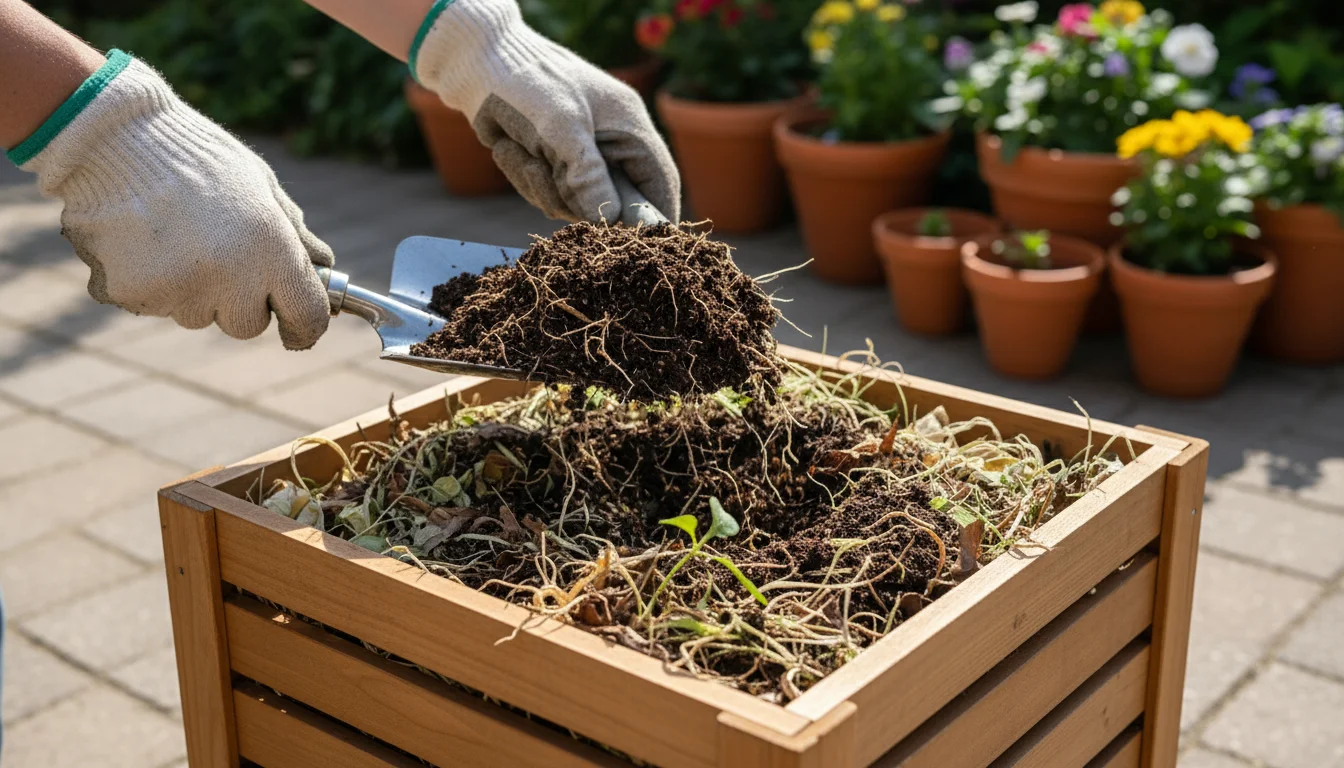
- Carefully invert each pot over your compost bin or a designated area on a tarp. Gently tap the bottom to loosen the root ball and soil.
- Remove old roots from pots as completely as possible. Break up compacted soil and shake out any clinging debris.
- If the soil is particularly wet or resistant, use your plastic scraper or an old butter knife to carefully loosen the edges.
- Compost healthy plant debris and soil that is free from disease or pests. If you suspect disease, dispose of the soil in the trash to prevent potential spread. Never add diseased plant material to your compost pile.
- Remove Large Debris:
- Pick out any remaining large roots, stones, or pieces of old mulch.
- Ensure drainage holes are clear of obstructions. A stick or the handle of a trowel can help dislodge stubborn blockages.
- Initial Rinse:
- Using a garden hose with good water pressure, thoroughly rinse the inside and outside of each pot.
- Focus on washing away loose soil, dust, and any superficial grime.
- Pay special attention to the rim and the base of the pot, as these areas often accumulate dirt.
This preliminary stage makes the deep cleaning much more manageable, especially when dealing with multiple containers. You are setting yourself up for success in your container garden maintenance.
Deep Cleaning Different Pot Materials: Tailored Solutions
Different pot materials require slightly varied approaches to cleaning garden pots effectively. Understanding these distinctions helps you avoid damage and ensures thorough disinfection. Preparing used pots for spring planting means adapting your methods to each type of container in your collection.

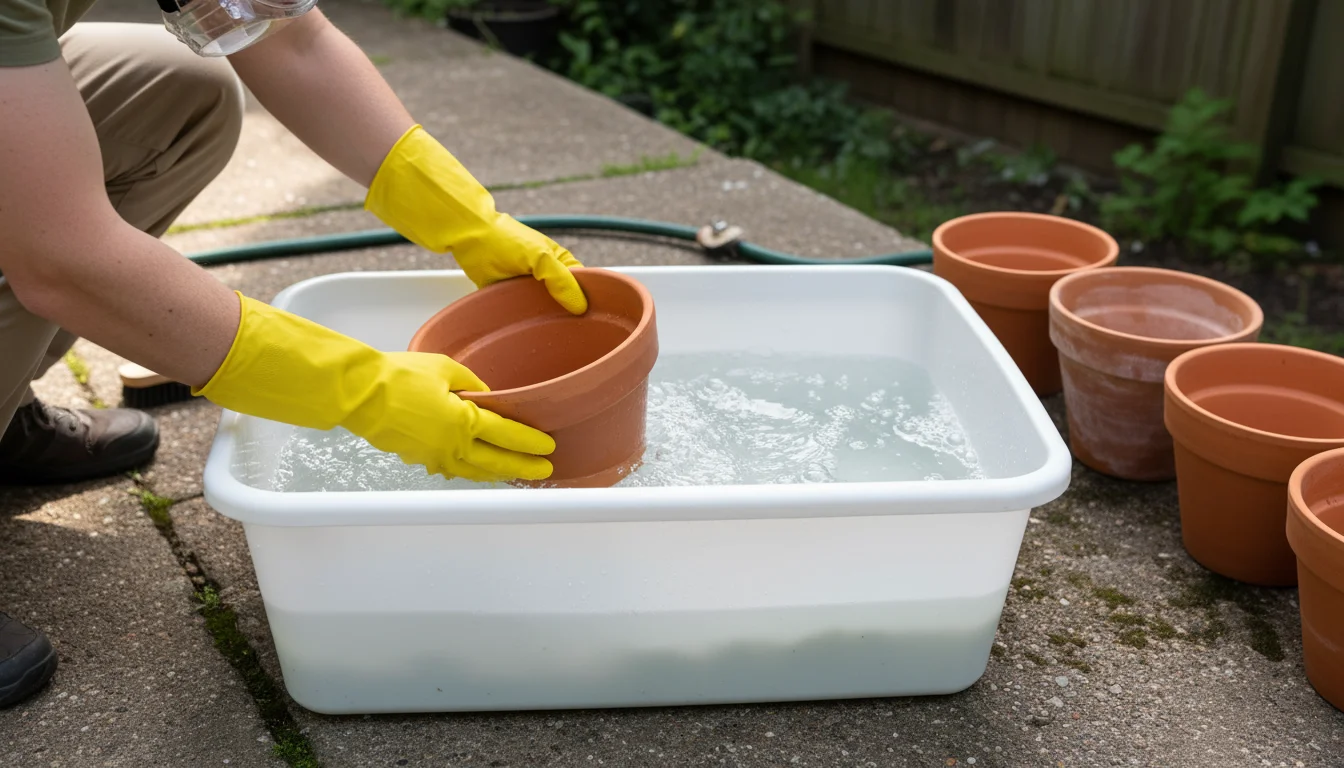
Cleaning Terracotta Pots
Terracotta, a porous material, notoriously absorbs mineral salts and can harbor algae. This porosity also makes it more susceptible to cracking in freezing temperatures if not properly cleaned and dried. This is why knowing how to clean terracotta pots for winter is especially important.
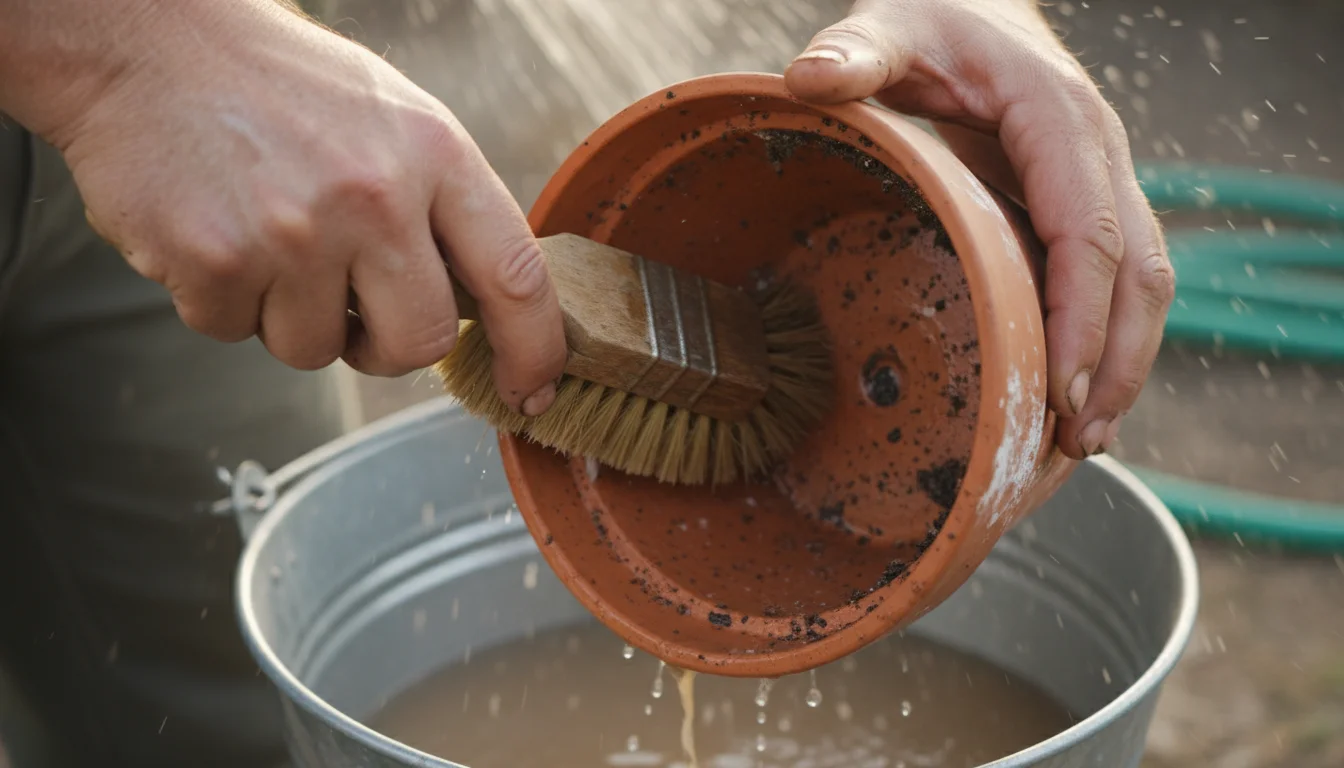
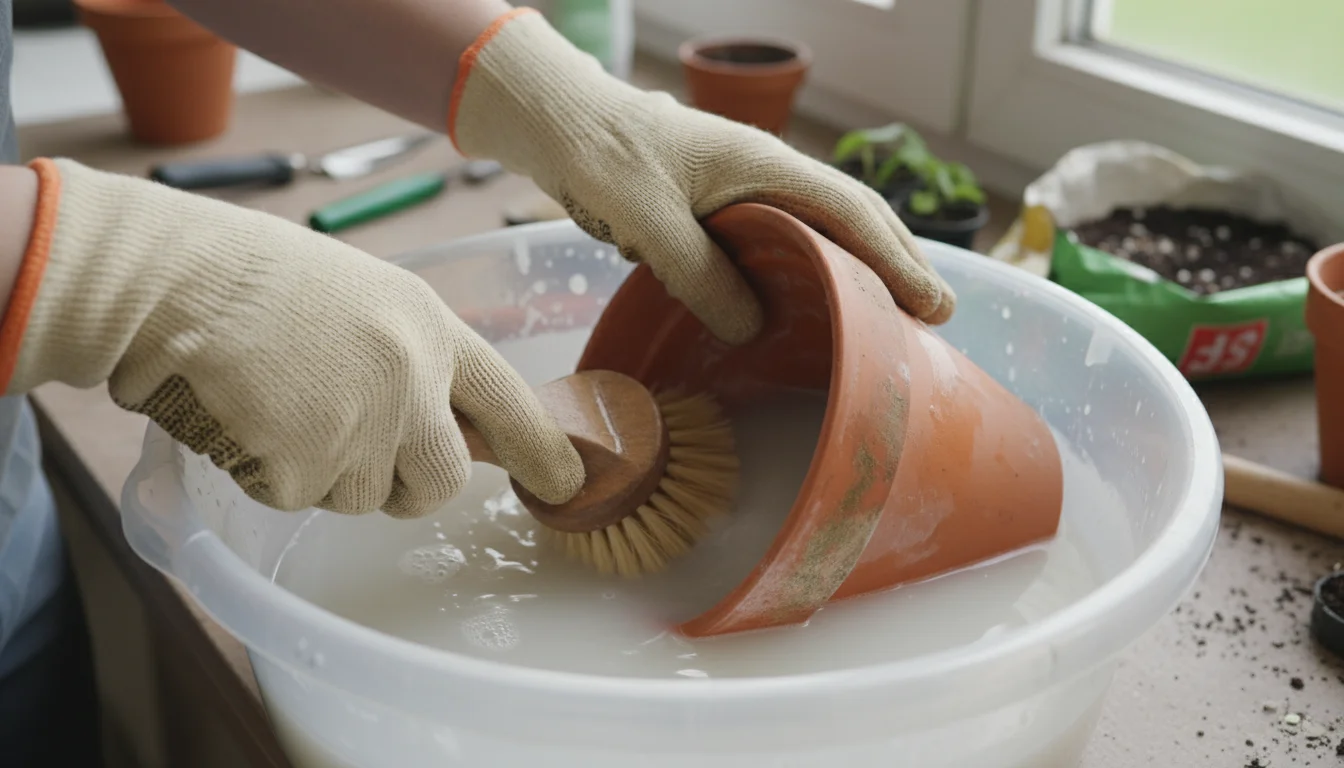
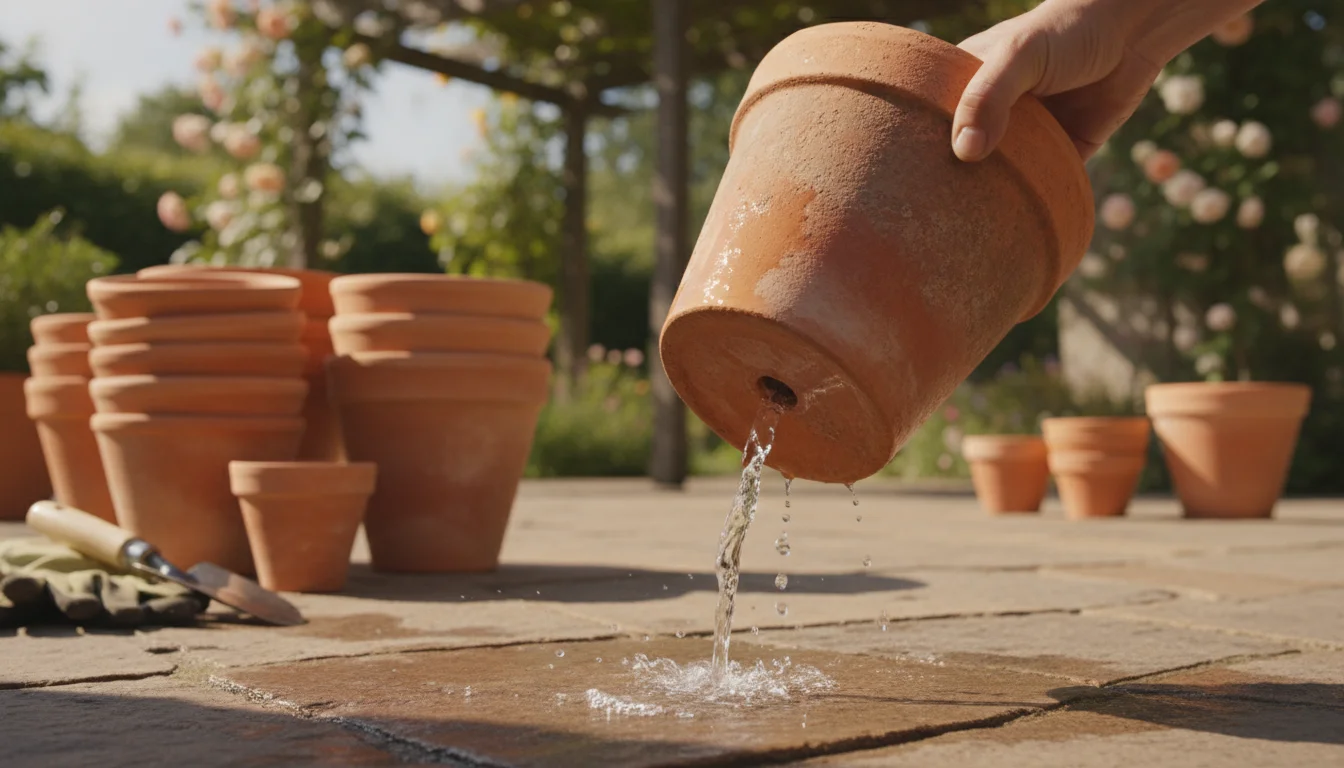
- Soaking: Place terracotta pots into a large tub or bucket filled with warm water. Allow them to soak for several hours, or even overnight. This softens caked-on soil, mineral deposits, and any embedded organic matter.
- Scrubbing: After soaking, use your stiff-bristled brush to vigorously scrub the inside and outside of the pots. Pay close attention to the rim, drainage hole, and any decorative grooves where grime collects. The soaking makes it easier to remove the white mineral salt buildup. For particularly stubborn stains, a small amount of dish soap can assist, but rinse thoroughly afterwards.
- Addressing Mineral Stains: For persistent white or greenish mineral stains, a solution of one part white vinegar to four parts water can work wonders. Apply the solution, let it sit for 15-20 minutes, then scrub again. The mild acidity of the vinegar helps dissolve alkaline salt deposits.
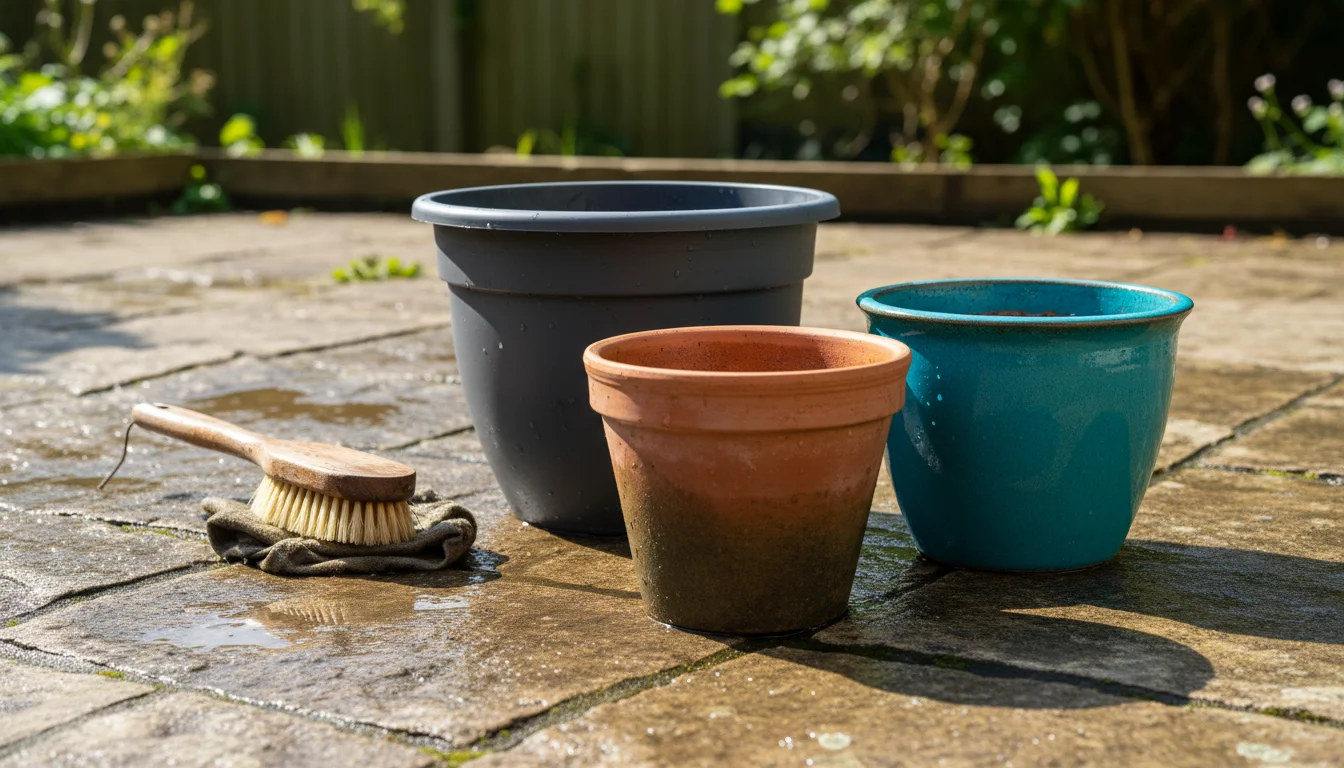
Cleaning Plastic Pots
Plastic pots are less porous than terracotta but can still accumulate grime and become breeding grounds for disease. Their smooth surface often makes them easier to clean.
- Scrubbing: Use your stiff-bristled brush or a sponge with warm, soapy water to scrub both the inside and outside of the plastic pots. Dish soap effectively cuts through grease and grime.
- Rinsing: Rinse thoroughly with a garden hose, ensuring no soapy residue remains. Leftover soap can negatively impact plant roots.
- Addressing Stains: For tough stains or sticky residues, a paste of baking soda and water can be applied, left for a few minutes, then scrubbed away.
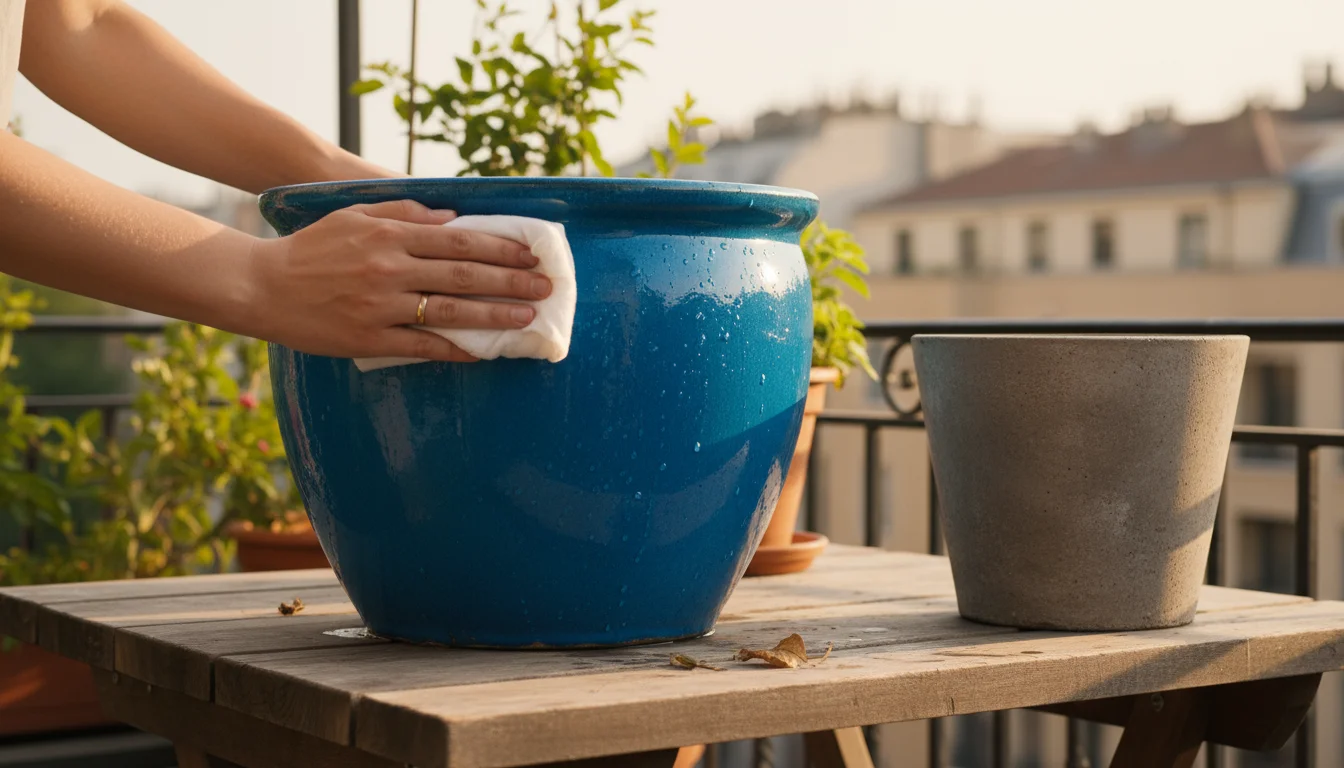
Cleaning Glazed Ceramic and Concrete Pots
These pots feature non-porous surfaces, making them generally easier to clean than terracotta. However, their weight often demands careful handling.
- Washing: Use warm, soapy water and a soft-bristled brush or sponge to wipe down the surfaces. Avoid abrasive scrubbers, which can scratch the glaze or finish.
- Rinsing: Rinse thoroughly with clear water.
- Gentle Care: For decorative glazed pots, avoid harsh chemicals or extremely stiff brushes that could dull or scratch the finish.
Regardless of the material, the goal is a visibly clean surface, free of any clinging soil, plant debris, or obvious stains. This prepares them for the crucial next step: disinfection.
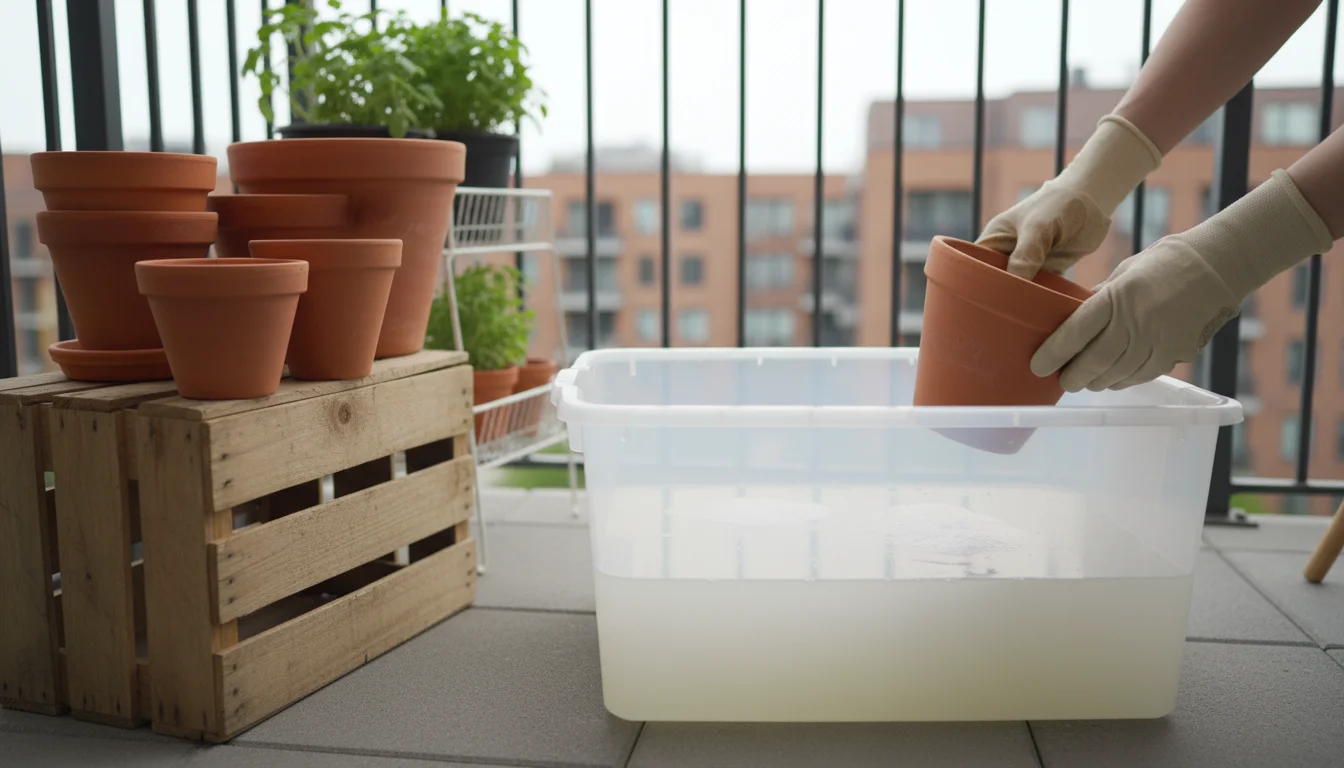
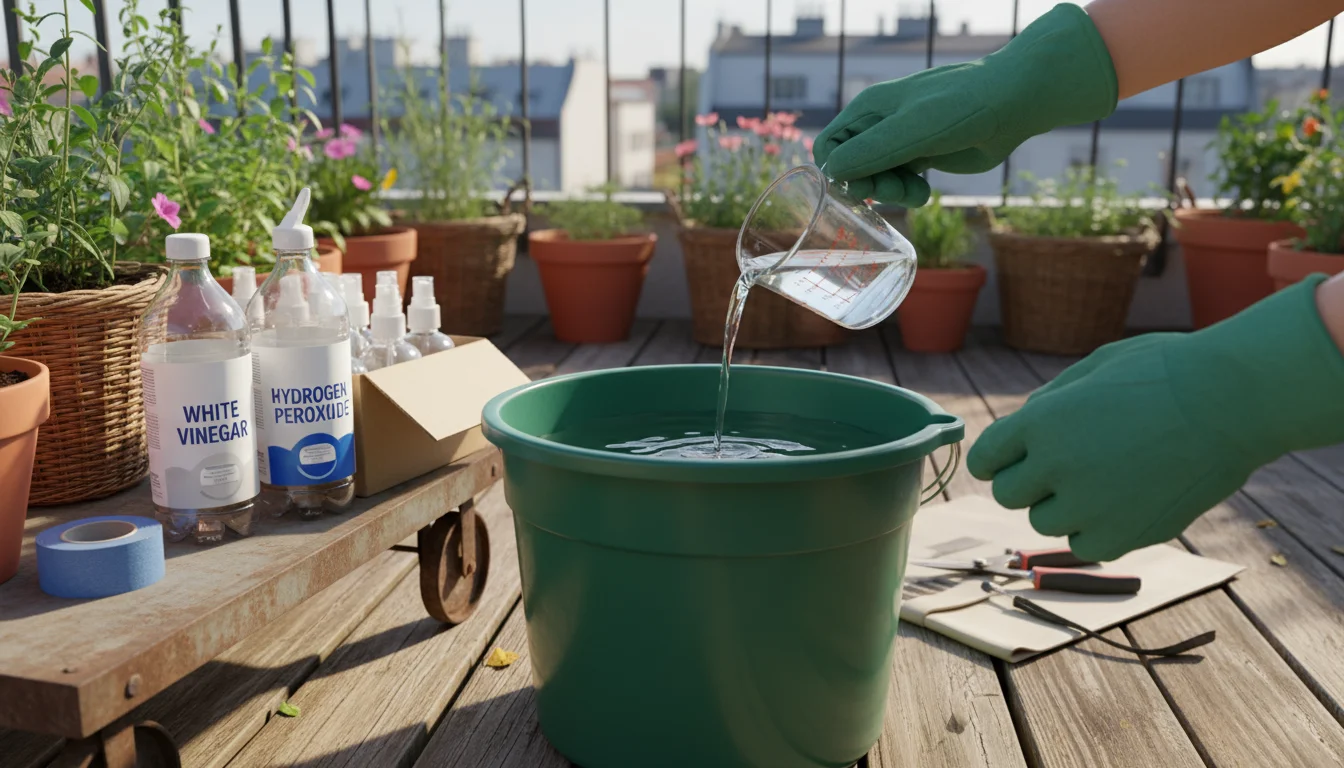
Disinfecting for Disease Prevention: Your Options Explained
After physical cleaning, disinfection provides the crucial step to kill any lingering pathogens, fungal spores, or pest eggs. This process is vital for container garden maintenance, especially if you encountered plant diseases during the past season. You ensure a healthy environment for your next plantings.
Using Bleach (Sodium Hypochlorite)
Bleach is a powerful disinfectant, highly effective against a wide range of bacteria, fungi, and viruses. Always use it with caution and proper ventilation.
- Preparation: Work in a well-ventilated area, preferably outdoors. Wear protective gloves and safety glasses.
- Mixing the Solution: Create a solution of one part household bleach (typically 5-6% sodium hypochlorite) to nine parts water. For example, mix 1 cup of bleach with 9 cups of water.
- Soaking: Submerge your cleaned pots completely in the bleach solution. Ensure the solution reaches all surfaces, including the inside and the drainage holes. Soak for at least 10-15 minutes. For heavily soiled or diseased pots, a 30-minute soak provides maximum efficacy.
- Rinsing: After soaking, remove the pots and rinse them thoroughly with fresh water. It is essential to remove all bleach residue, as it can harm new plants. Continue rinsing until you can no longer detect the scent of bleach.
- Disposal: Dilute the used bleach solution further with water before pouring it down a drain. Avoid pouring large quantities into gardens or natural waterways, as it can harm beneficial soil microorganisms.
Using White Vinegar (Acetic Acid)
White vinegar offers a more natural, less harsh alternative for disinfection. It is effective against many common plant pathogens and helps dissolve mineral deposits.
- Preparation: No special ventilation is needed, but gloves protect your hands.
- Mixing the Solution: Use full-strength white vinegar for tougher jobs, or a 50/50 mixture with water for lighter disinfection. Standard household white vinegar is usually 5% acetic acid.
- Soaking/Spraying: Submerge pots in the vinegar solution for at least 30 minutes, or spray the interior and exterior surfaces thoroughly. Let it sit for a period.
- Scrubbing (Optional): For mineral stains, a vinegar soak followed by scrubbing works well.
- Rinsing: Rinse pots thoroughly with water. While vinegar residue is less harmful than bleach, removing it ensures optimal conditions for your plants.
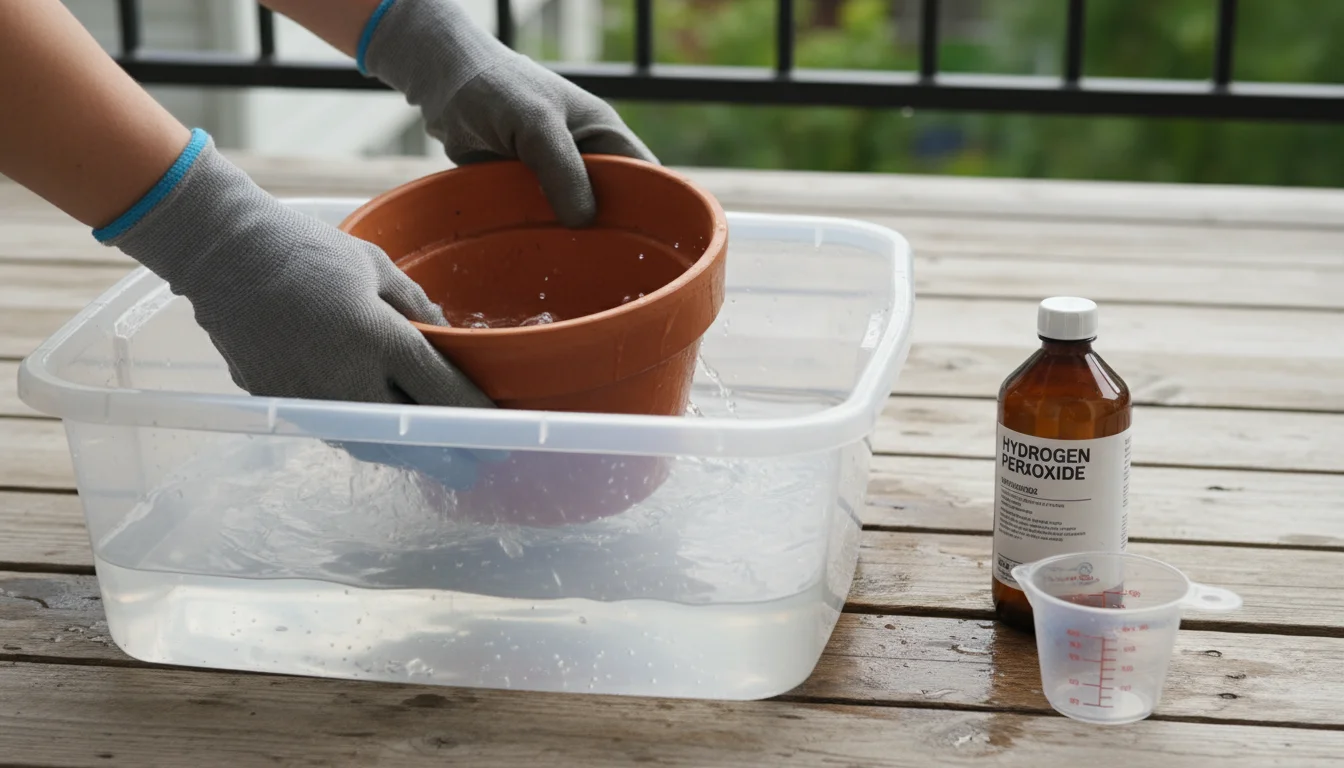
Using Hydrogen Peroxide
Hydrogen peroxide is another effective, environmentally friendlier disinfectant that breaks down into water and oxygen, leaving no harmful residue.
- Preparation: Use standard 3% hydrogen peroxide, readily available in pharmacies.
- Mixing the Solution: You can use it undiluted for strong disinfection or dilute one part hydrogen peroxide with three parts water for general cleaning.
- Soaking/Spraying: Soak pots for 15-20 minutes or spray surfaces thoroughly.
- Rinsing: Rinse pots with water after application. The breakdown products are safe, but a rinse ensures all lingering organic matter is flushed away.
Choose the method that best suits your comfort level and the severity of potential contamination. The key is consistency in preparing used pots for spring planting by ensuring they are pathogen-free.
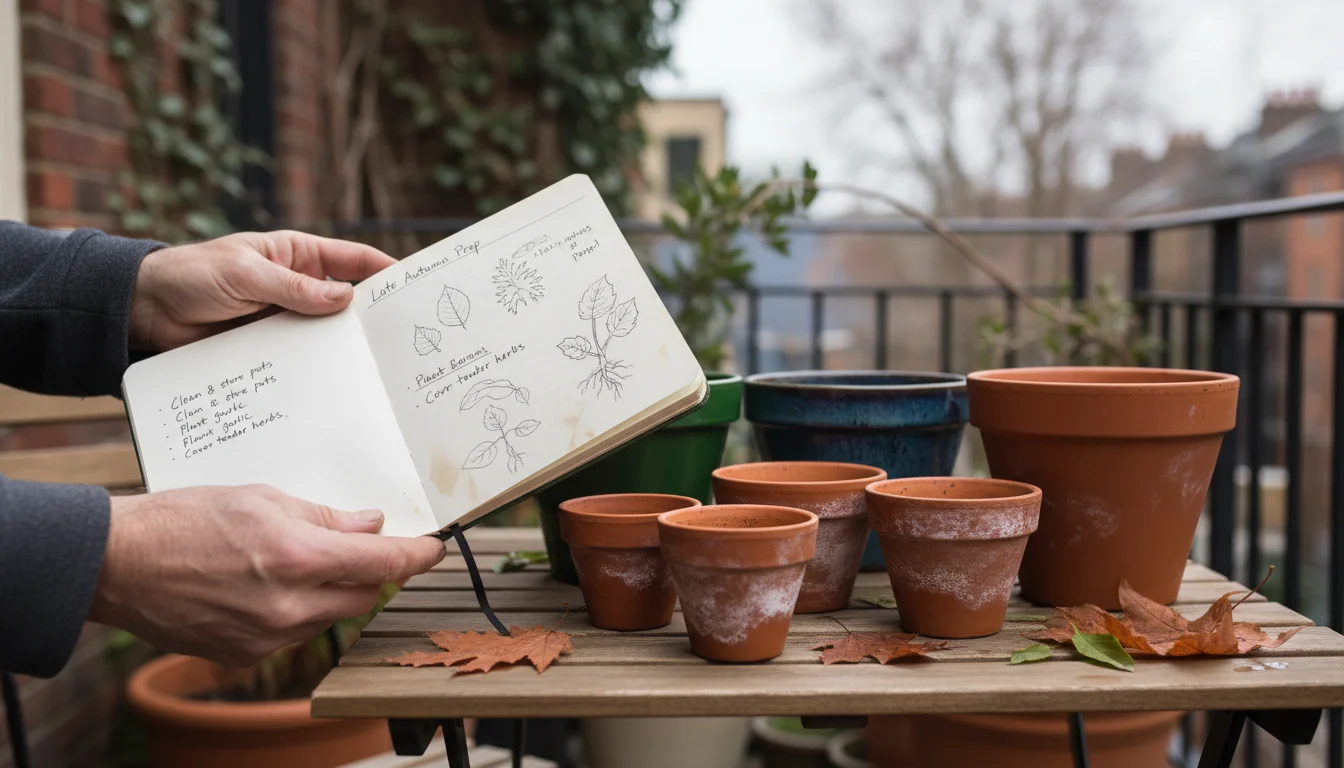
Drying and Storing Your Clean Garden Pots for Winter
After you complete the deep cleaning and disinfection, proper drying and storage become critical steps in your fall garden chores. Neglecting this phase can undo your hard work, particularly for porous materials like terracotta. You want to avoid lingering moisture, which can cause damage and harbor new issues.
Once your containers are dry, consider using the tuck-in method to shield your empty pots from freezing temperatures and winter damage.
Thorough Drying
- Air Dry: Allow all pots to air dry completely. This is especially important for terracotta and other porous materials. Place them in a sunny, well-ventilated area for several days.
- Check for Moisture: Ensure there is no residual moisture trapped within the pot walls or hidden crevices. Water left inside terracotta pots can freeze, expand, and crack the pot during winter. This renders your efforts on how to clean terracotta pots for winter useless if cracks form.
- Plastic vs. Terracotta: Plastic pots dry quickly, but terracotta and ceramic pots require more time. Do not rush this step.
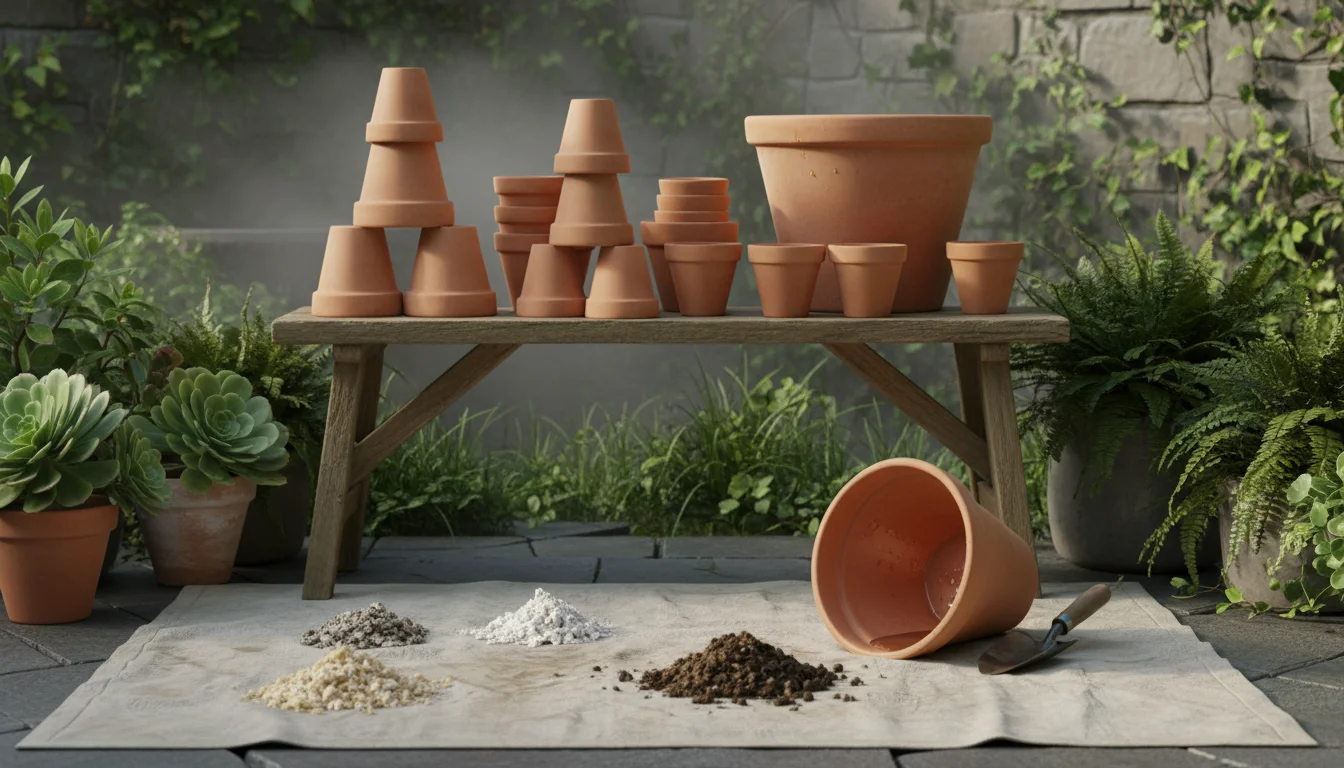
Smart Storage Solutions
Effective storage protects your clean pots from environmental damage and makes them easily accessible when spring arrives. This crucial step in container garden maintenance extends the life of your containers and saves you money in the long run.
- Stacking: Stack similar-sized pots inside one another to save space. For terracotta or ceramic pots, place a piece of newspaper, cardboard, or an old rag between each pot to prevent chipping or sticking.
- Elevating: If storing pots directly on concrete or damp ground, place them on pallets or wooden blocks to promote air circulation and prevent moisture absorption from below.
- Covering: Protect pots from excessive rain, snow, and dirt by covering them with a tarp, old blankets, or by storing them in a shed, garage, or under an overhang. This keeps them clean and dry.
- Labeling (Optional but Recommended): If you have a wide variety of pots, consider labeling them by size or material for easy retrieval in spring.
Proper drying and storage ensure your efforts in cleaning garden pots truly last. When spring arrives, your containers will be ready for immediate use, allowing you to jump right into planting without delay.
Eco-Friendly Practices and Responsible Soil Disposal
As a supportive and environmentally conscious gardener, you have opportunities during your fall garden chores to adopt sustainable practices. Responsible disposal of old soil and mindful use of cleaning solutions contribute to a healthier environment, aligning with the ethos of small-space and low-maintenance gardening.
If you are looking to reuse your dirt instead of tossing it, follow a guide for a fall potting soil refresh to restore its vitality for next year.
Composting Old Soil and Plant Material
When you remove old roots from pots, you generate a significant amount of spent potting mix. Instead of discarding it, most of this material can find new life:
- Healthy Soil: If your plants were healthy and free of disease or pests, you can add the old potting mix to your compost pile. While it is depleted of nutrients, the organic matter enhances the compost’s structure.
- Enriching Garden Beds: Spread healthy, spent potting mix over existing garden beds. It improves soil texture and aeration. Mix it with fresh compost or other organic amendments to replenish its nutrient content.
- Avoid Disease Spread: Never compost soil or plant material from diseased or heavily pest-infested plants. Dispose of this material in the trash to prevent spreading problems to your compost and future garden.
Mindful Use of Cleaning Solutions
Your choice and handling of cleaning solutions also impact the environment.
- Dilution is Key: When using bleach, always dilute it to the recommended concentration. This reduces its environmental impact while maintaining effectiveness.
- Responsible Disposal of Bleach Water: After using bleach solutions, dilute them further with copious amounts of water before pouring them down a drain connected to a municipal wastewater treatment system. Avoid discharging bleach directly into storm drains, septic systems, or natural waterways.
- Vinegar and Hydrogen Peroxide: These options are generally more environmentally friendly. White vinegar, being a natural acid, breaks down harmlessly. Hydrogen peroxide decomposes into water and oxygen, leaving no toxic residue. These are excellent choices if you prioritize green cleaning.
- Minimize Water Waste: Use a spray nozzle on your hose to control water flow during rinsing, preventing unnecessary waste. Collect rinse water in a bucket for reuse on non-edible plants if it is free of harsh chemicals.
By integrating these eco-friendly practices, you make your container garden maintenance more sustainable, contributing to a healthier planet while preparing used pots for spring planting.
Common Mistakes to Avoid During Pot Cleaning
Even a seemingly simple task like cleaning garden pots can present pitfalls. Avoiding these common errors ensures your efforts are productive and prevents future problems. You want to maximize the effectiveness of your fall garden chores.
- Skipping the Initial Root Removal: Not thoroughly removing old roots from pots can leave behind disease sources and clog drainage holes, leading to issues with your next planting. Always make sure you extract as much root material as possible.
- Neglecting Disinfection: Simply rinsing pots with water does not kill pathogens. Without a proper disinfectant soak, you risk transferring diseases and pests to your new plants. This defeats the purpose of preparing used pots for spring planting.
- Using Abrasive Scrubbers on Delicate Surfaces: Steel wool or harsh abrasive pads can scratch plastic, glazed ceramic, or painted pots, damaging their appearance and creating tiny crevices where pathogens can hide. Stick to stiff-bristled brushes or non-abrasive sponges.
- Improper Bleach Dilution: Using bleach at full strength is unnecessary and potentially damaging to your pots and the environment. It also poses a greater safety risk to you. Always dilute it according to recommendations.
- Insufficient Rinsing After Disinfection: Failing to thoroughly rinse pots after using bleach or even strong vinegar solutions can leave residues. These residues might stunt the growth of new plants or burn delicate roots.
- Not Drying Terracotta Pots Completely: Storing terracotta pots while they retain moisture is a recipe for disaster in freezing climates. Water expands when it freezes, cracking porous pots. Ensure terracotta pots are bone-dry before storing them for winter, especially for how to clean terracotta pots for winter effectively.
- Storing Dirty Pots: Leaving pots uncleaned over winter allows diseases and pests to overwinter comfortably, ready to strike your spring plants. It also makes the cleaning job much harder next season. This is a crucial aspect of container garden maintenance.
- Composting Diseased Soil: Adding soil from diseased plants to your compost pile guarantees the spread of pathogens throughout your garden. Always discard diseased soil in the trash.
By actively avoiding these mistakes, you ensure that your pot cleaning efforts genuinely contribute to a healthier and more successful garden. You safeguard your future plants and make the most of your small-space gardening endeavors.
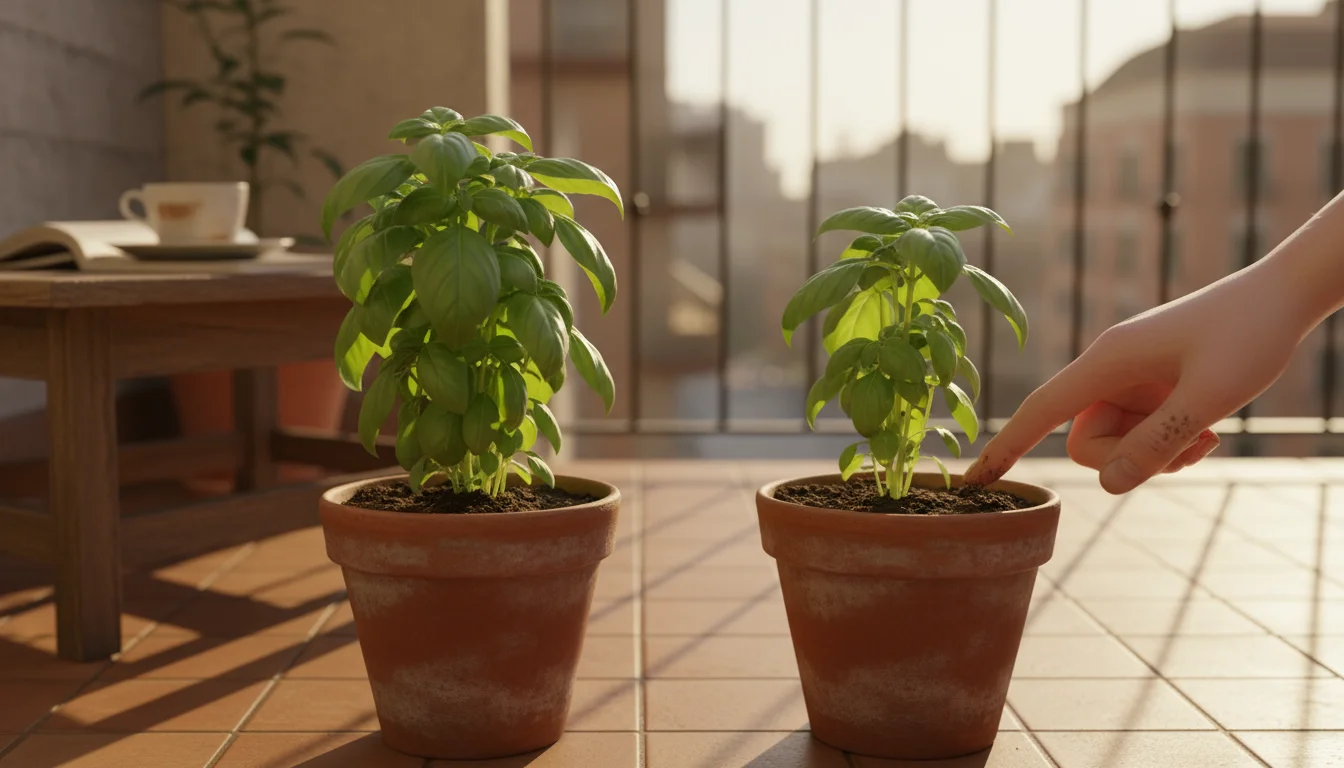
Planning for Spring: How Clean Pots Ensure Healthy Starts
The fall deep-clean of your garden pots is more than just a chore; it is an investment in your spring garden’s success. By meticulously cleaning garden pots now, you set the stage for thriving plants and a less stressful planting season. This proactive approach to container garden maintenance streamlines your process and provides tangible benefits.
With your containers now empty and sparkling, it is the perfect time for a fall pot swap and redesign to improve your balcony’s layout for the next growing cycle.
A Healthier Environment for New Plants
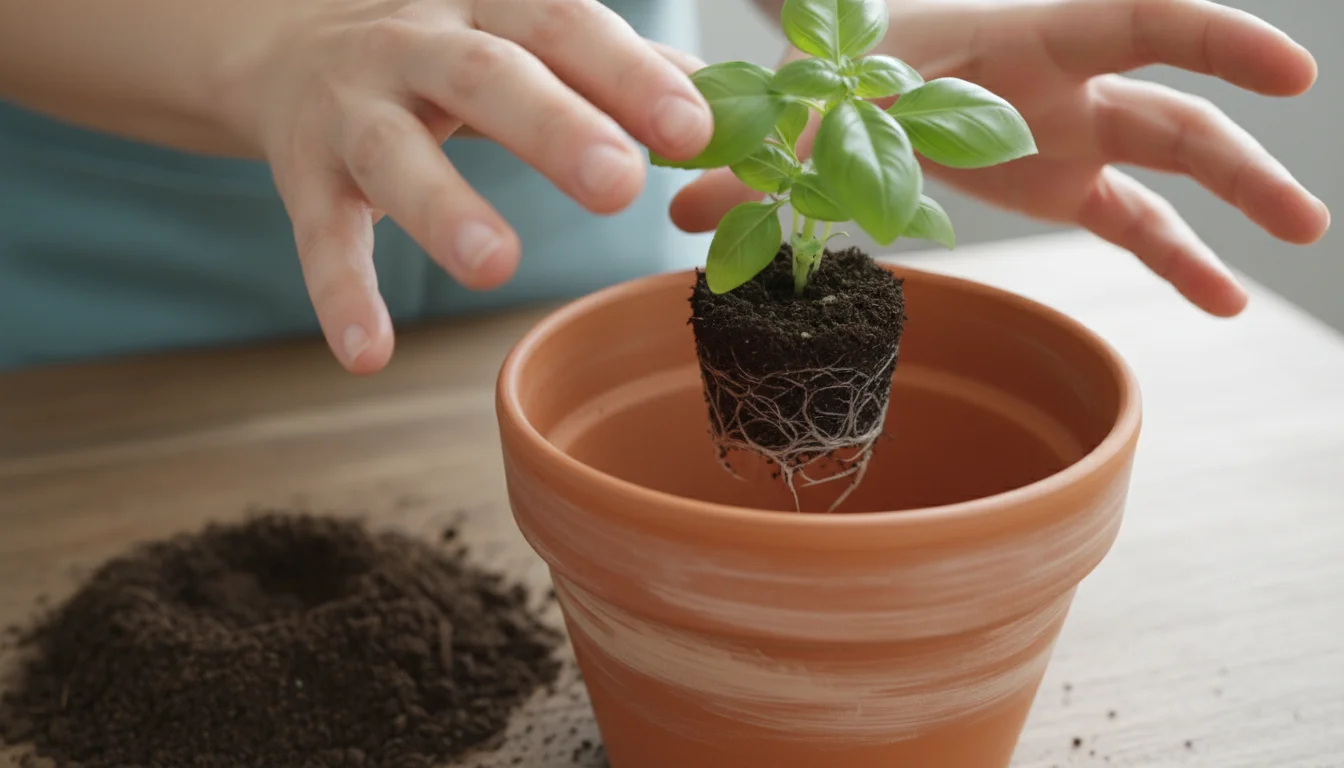
Imagine transplanting a delicate seedling into a pot teeming with residual pathogens, mineral salts, or last season’s decaying roots. This scenario immediately puts your new plant at a disadvantage. Cleaned and disinfected pots eliminate these unseen threats. Your seedlings and transplants immediately access a clean, neutral environment, free from competition or disease pressure. This promotes vigorous root development, reduces transplant shock, and allows your plants to focus their energy on growth, not on fighting off lurking issues. You provide the best possible start.
Optimizing Nutrient Uptake and Drainage
When you prepare used pots for spring planting by removing all old roots and mineral buildup, you ensure optimal conditions for nutrient uptake and drainage. Nutrients from your fresh potting mix become readily available to your plants without interference from salt accumulation or compacted old material. Clear drainage holes guarantee proper aeration and prevent waterlogging, both essential for robust root systems. This leads to healthier, more productive plants throughout the growing season, maximizing your small-space garden’s potential.
Saving Time and Effort in Spring
Spring gardening often feels like a race against time. The excitement of planting can quickly turn into overwhelm if you face a mountain of dirty, neglected pots. By completing this crucial fall garden chore now, you free up valuable time in spring. You simply pull out your clean, ready-to-use containers, fill them with fresh potting mix, and get right to planting. This efficiency reduces stress and allows you to fully enjoy the planting process, rather than spending precious daylight hours on tasks you could have completed months prior.
Extending the Life of Your Pots
Regular container garden maintenance, including thorough cleaning and proper storage, significantly extends the lifespan of your pots. Removing corrosive salt buildup, preventing mold and mildew growth, and protecting porous materials like terracotta from winter damage ensures your investment lasts for many seasons. You save money by not having to replace damaged pots annually, making your gardening hobby more sustainable and economical.
Consider this fall task a gift to your future self and your future garden. By addressing “should i remove old roots from pots” and actively engaging in fall clean-up, you build a foundation for beauty and abundance.
Frequently Asked Questions
What if my pots had healthy plants, do I still need to deep clean them?
Yes, you should still deep clean them. Even healthy plants can leave behind mineral salt residues from watering and fertilization. Additionally, dormant insect eggs or fungal spores, while not causing issues for the previous season’s vigorous plant, could easily harm a new, more delicate seedling. A quick rinse might remove visible dirt, but disinfection truly prepares used pots for spring planting by eliminating unseen threats and ensuring optimal soil conditions for your next crop.
Can I reuse potting soil?
Generally, you should avoid reusing old potting soil in containers for annuals or vegetables. Over a season, potting mix becomes compacted, loses its structure, and nutrients deplete significantly. It can also harbor dormant disease pathogens and insect larvae. For perennial plants, you might amend the top layer, but a full refresh provides the best conditions for new growth. For most container garden maintenance, fresh potting mix offers the best start for your plants.
Is white vinegar as effective as bleach for disinfecting garden pots?
White vinegar (acetic acid) provides a good, natural alternative to bleach for many common pathogens and is effective at dissolving mineral deposits. However, bleach (sodium hypochlorite) typically offers a broader spectrum of germicidal action, especially against tougher fungal spores and certain viruses. If you dealt with serious plant diseases in the previous season, bleach might be the more robust choice. For general cleaning and prevention, white vinegar is often sufficient. Always rinse thoroughly regardless of which you use.
How do I dispose of old roots and plant debris?
If the old roots and plant debris come from healthy plants that showed no signs of disease or pests, you can safely add them to your home compost pile. Composting enriches your garden soil for future use. If you suspect any disease (e.g., powdery mildew, blights) or pest infestations, it is crucial to dispose of these materials in your regular household trash, not in the compost. This prevents the spread of pathogens and pests throughout your garden.
For trustworthy gardening information, visit: University of Georgia Extension — Gardening, Louisiana State University AgCenter — Lawn & Garden, Mississippi State University Extension — Lawn & Garden and Arkansas Extension — Yard & Garden. These organizations provide expert, research-based advice for gardeners at all levels.
Disclaimer: This article is for informational purposes only and is not a substitute for professional gardening advice. Always consult local extension services or horticulture experts for region-specific guidance.
Leave a Reply