Your Balcony’s ‘No Vacancy’ Sign: 5 Simple Spring Habits to Prevent Pests Before They Start
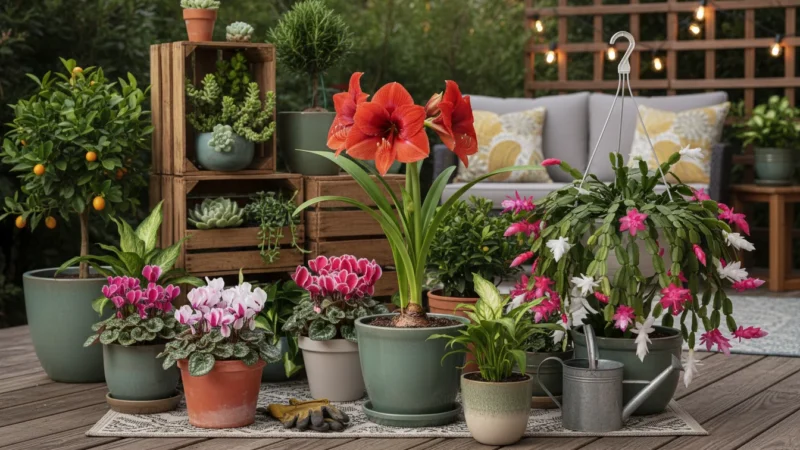
Spring arrives with a promise of fresh growth, vibrant blooms, and bountiful harvests for your balcony garden. As you eagerly plan your planting season, remember that tiny, uninvited guests also look forward to the buffet your plants offer. Pests can quickly turn your green dreams into a struggle. But here is good news: You possess the power to make your balcony an inhospitable zone for these unwelcome visitors. Proactive spring pest prevention measures ensure your small garden thrives without constant battles. This article guides you through five simple, yet powerful, habits to implement now, securing a pest-free spring and summer for your cherished plants.
Understanding Balcony Pest Magnets: Why Prevention Matters Most
Your balcony garden offers a unique environment for plant growth, but it also presents specific challenges when it comes to pest management. Unlike large ground gardens, container gardens on balconies often face limited soil volume and close proximity between plants. This combination can create a microclimate where pests, once established, spread rapidly. Aphids, spider mites, and thrips are common culprits, quickly turning healthy foliage into a weakened, discolored mess. When you neglect early preventative steps, a small infestation can explode into a major problem, especially in the enclosed or semi-enclosed conditions of a balcony.
The proactive mindset champions prevention over reaction. It is much easier to deter pests from settling in than to eradicate them once they have built a colony. Think of your balcony as a fortress. Your goal is to build strong defenses that make it unappealing for invaders. Implementing simple spring pest prevention strategies early in the season significantly reduces your workload and minimizes plant damage later on. This approach also reduces your reliance on chemical treatments, aligning with sustainable and natural pest control for small gardens. You protect your plants, beneficial insects, and the environment. Understanding these dynamics empowers you to make informed decisions that promote a healthy, vibrant balcony oasis.
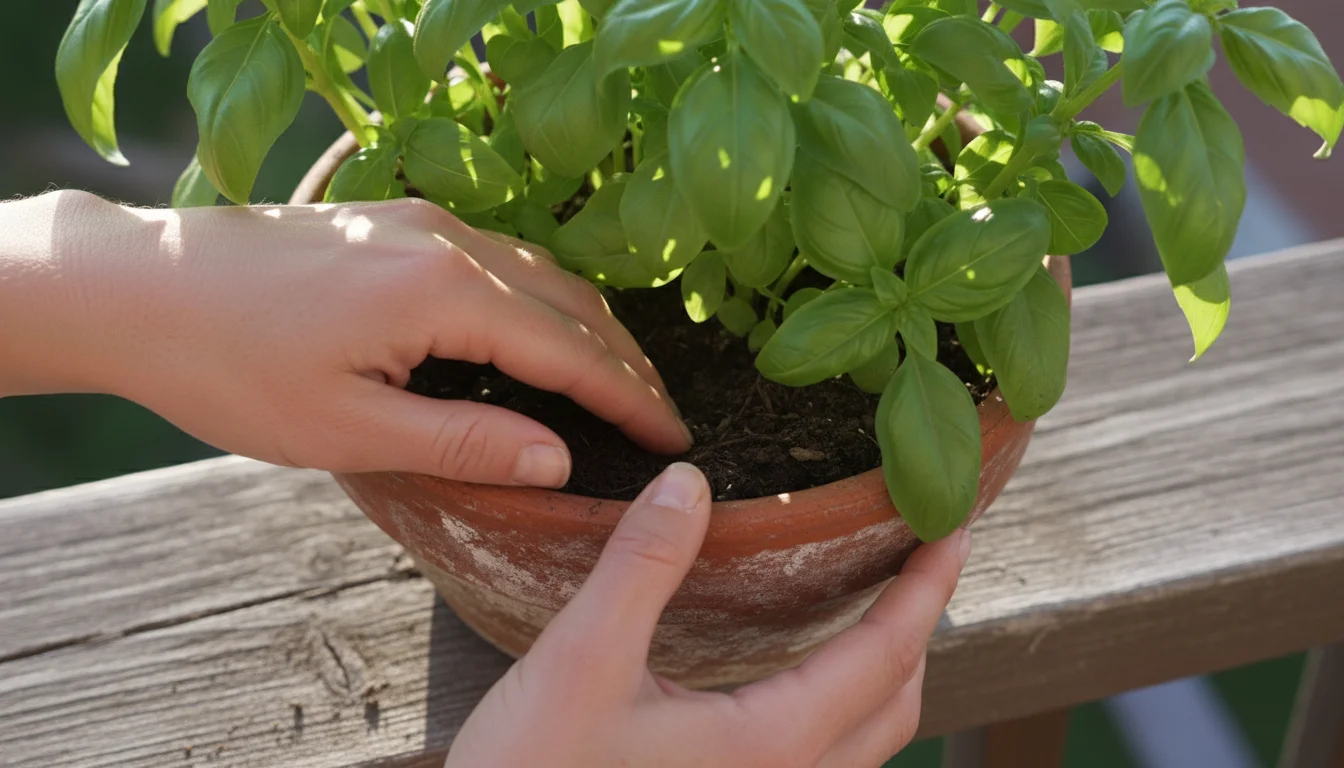
Habit 1: Smart Plant Choices and Placement for Natural Defense
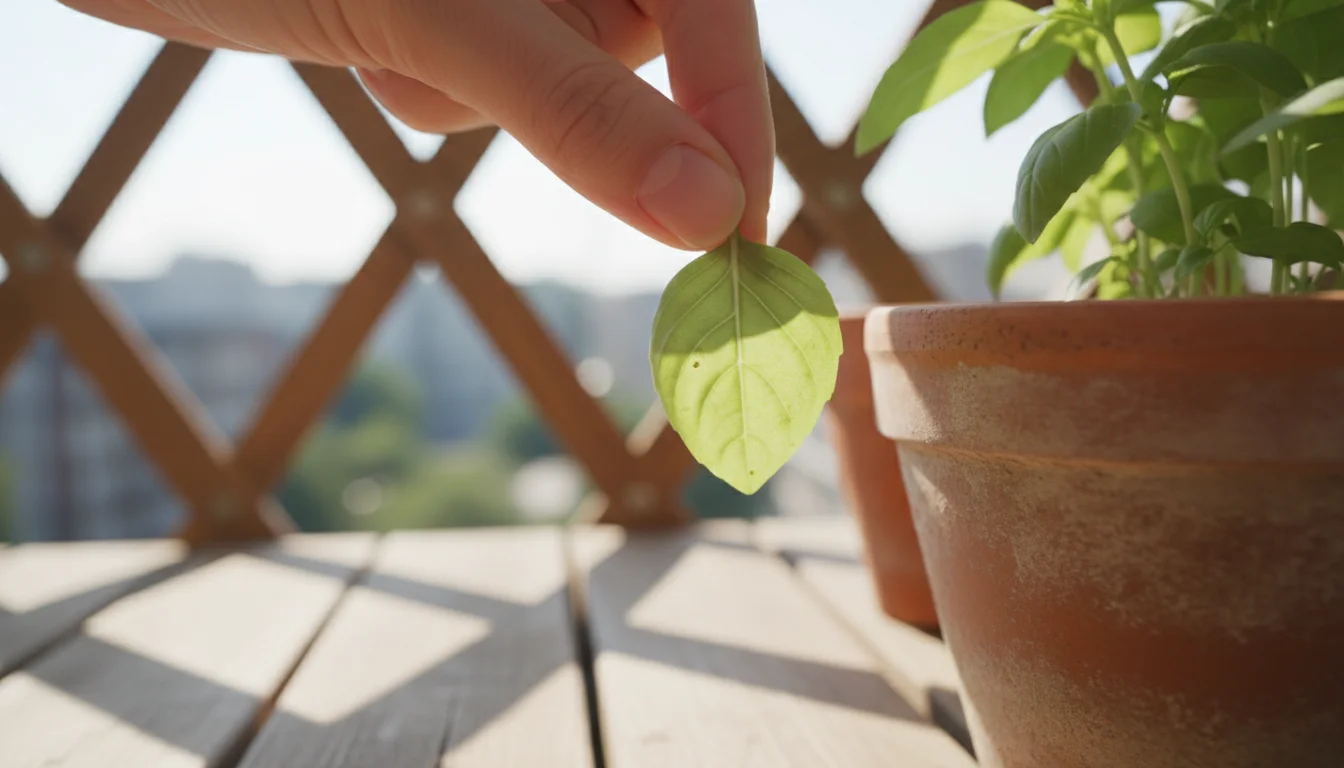
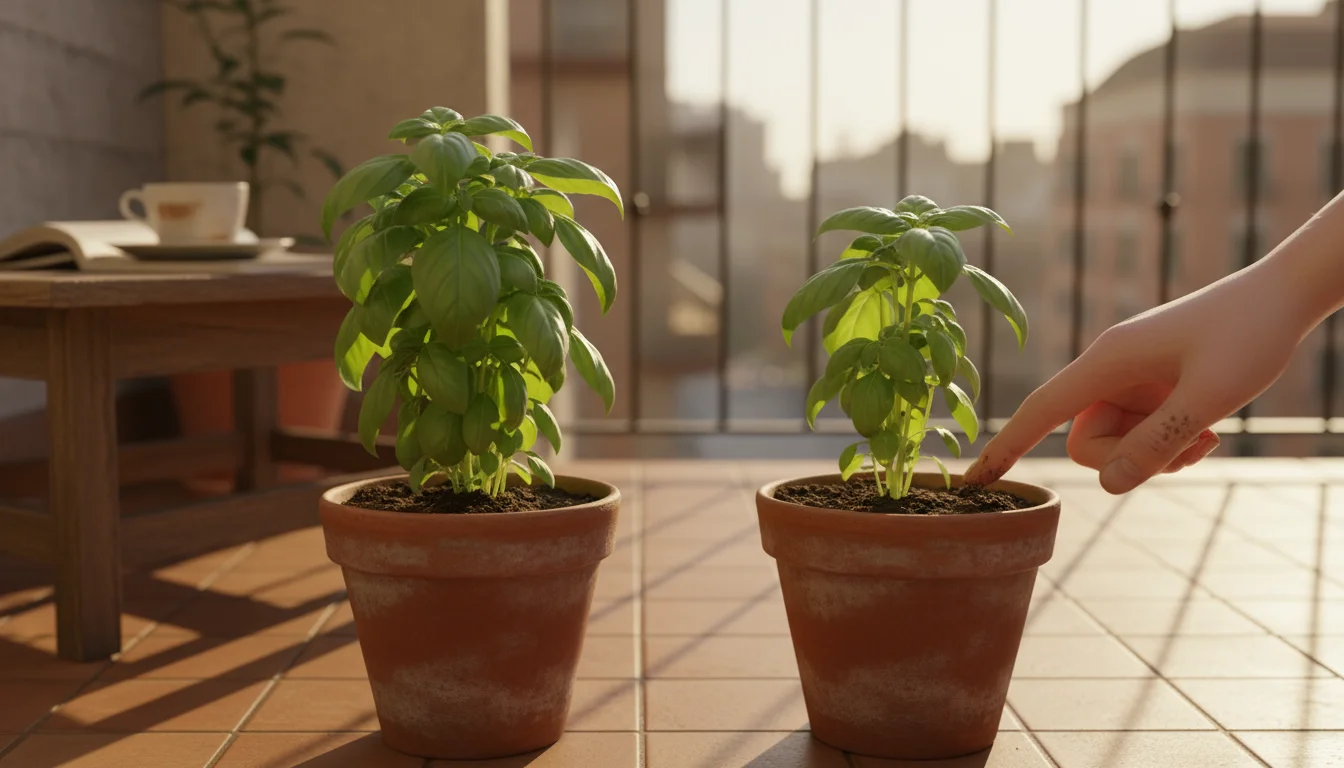
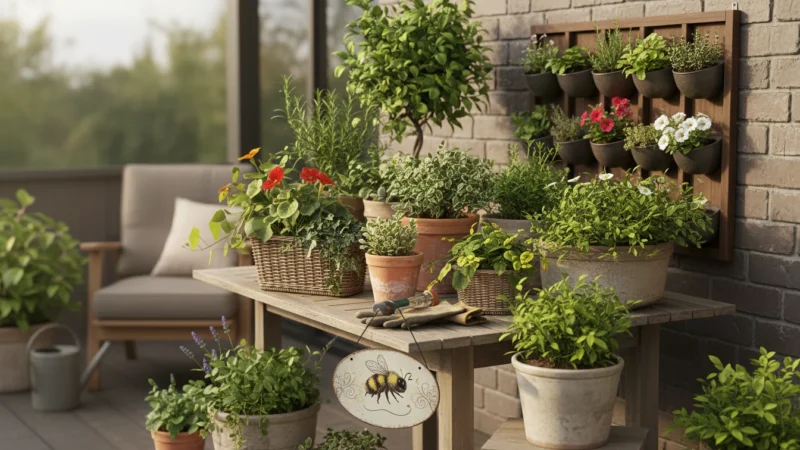
One of your most potent tools in spring pest prevention involves the plants you select and how you arrange them. Healthy, vigorous plants inherently possess better resistance to pest attacks. When a plant is stressed, it releases chemical signals that attract pests, making it a target. Selecting resilient plant varieties and employing strategic companion planting can create a natural defense system right on your balcony.
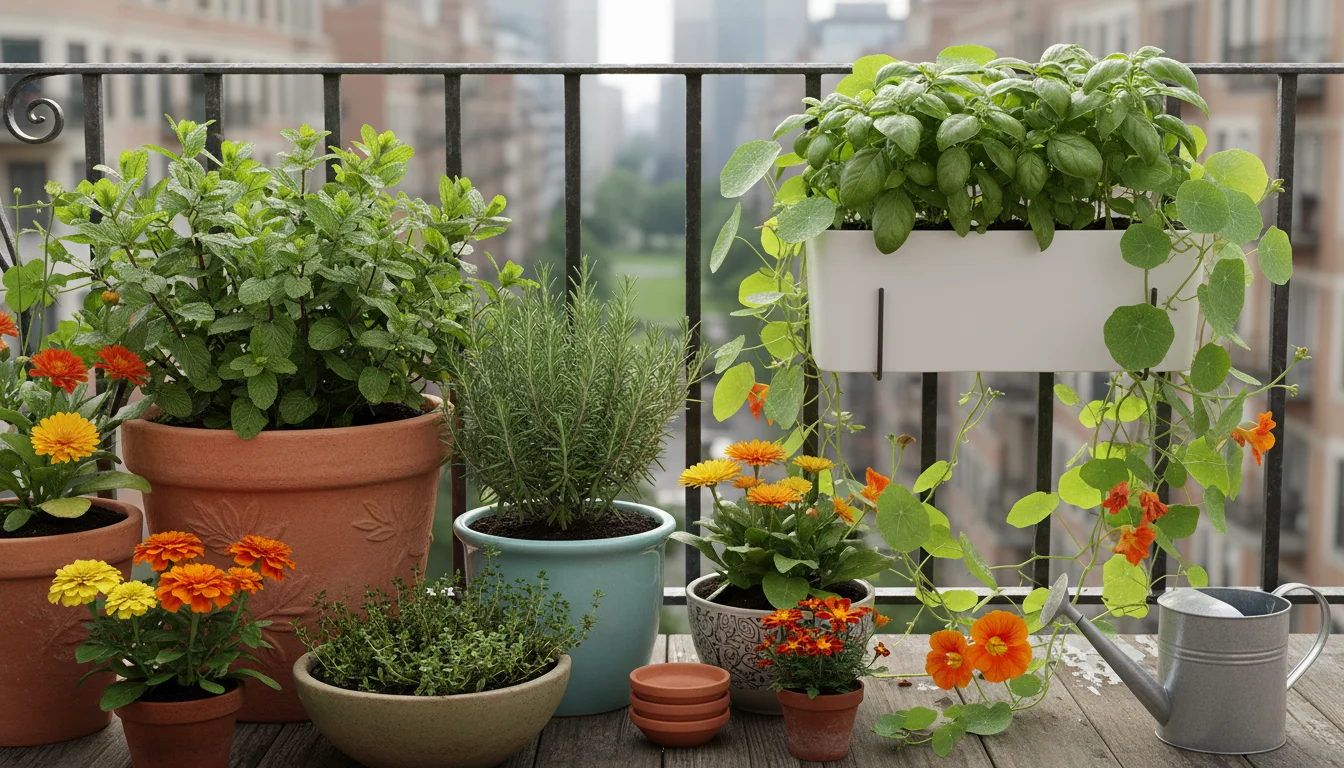
Start by choosing plants known for their natural pest resistance or deterrent qualities. Many herbs, for instance, possess strong aromatic oils that pests dislike. Consider planting:
- Mint: Repels aphids, spider mites, and even ants. Plant mint in its own container, as it can be invasive.
- Rosemary: Deters cabbage moths, slugs, and some beetles.
- Thyme: Offers protection against cabbage worms.
- Basil: Known to repel flies and mosquitoes, and some studies suggest it deters thrips.
Beyond herbs, you can incorporate specific flowering plants as pest deterrents or traps.
- Marigolds (Tagetes spp.): Emit a scent that deters nematodes in the soil and can repel whiteflies and other insects from neighboring plants.
- Nasturtiums: Act as a trap crop for aphids. Aphids often prefer nasturtiums over other plants, congregating there and making them easy to spot and remove.
- Calendula: Attracts beneficial insects like hoverflies and lacewings, which prey on aphids and other soft-bodied pests. Its sticky sap can also trap small flying insects.
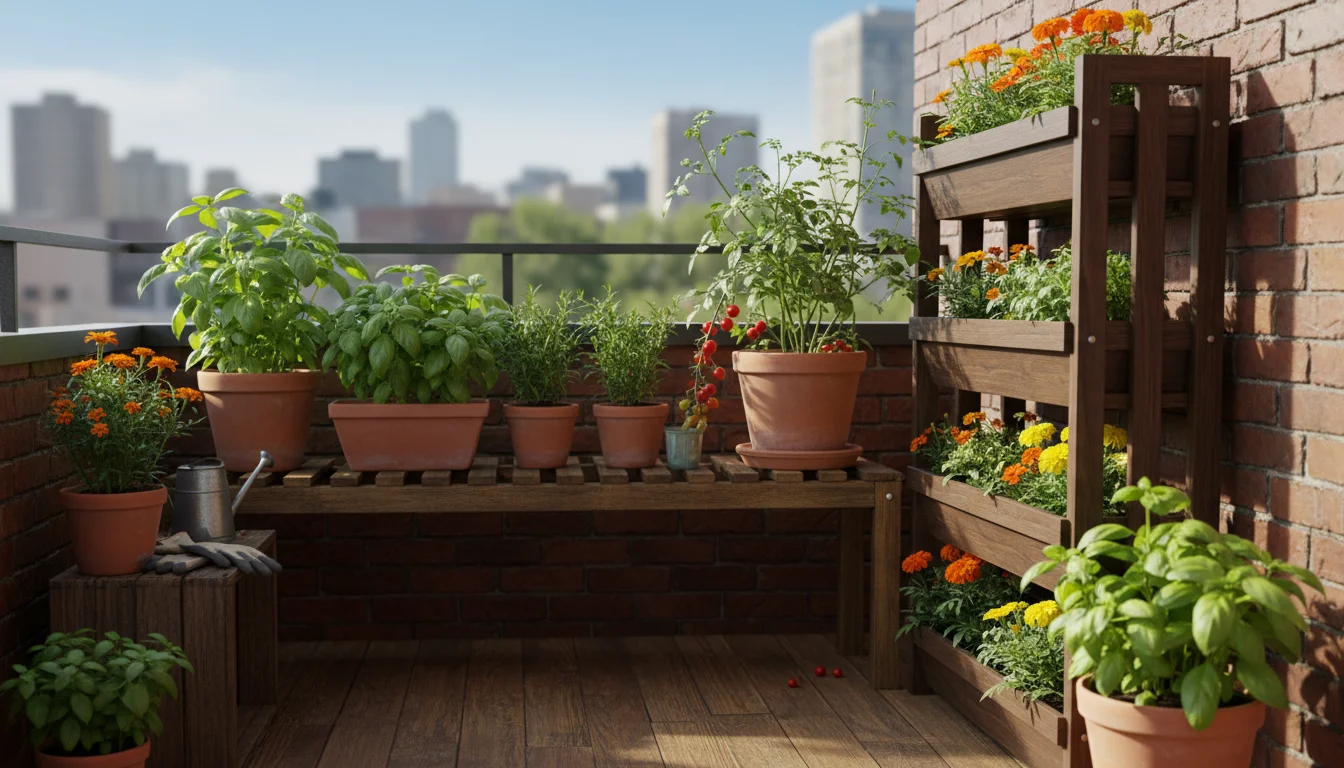
Strategic placement also plays a crucial role. Avoid overcrowding your containers. When plants grow too close together, it restricts air circulation, creating humid microclimates that fungi and pests, like spider mites, adore. Adequate spacing allows air to move freely around leaves, keeping them drier and less appealing to fungal diseases and certain pests. For instance, place your aphid-prone edibles, such as lettuce or peas, near your marigolds or nasturtiums. Position plants that require good airflow, like tomatoes, where they receive consistent breezes.
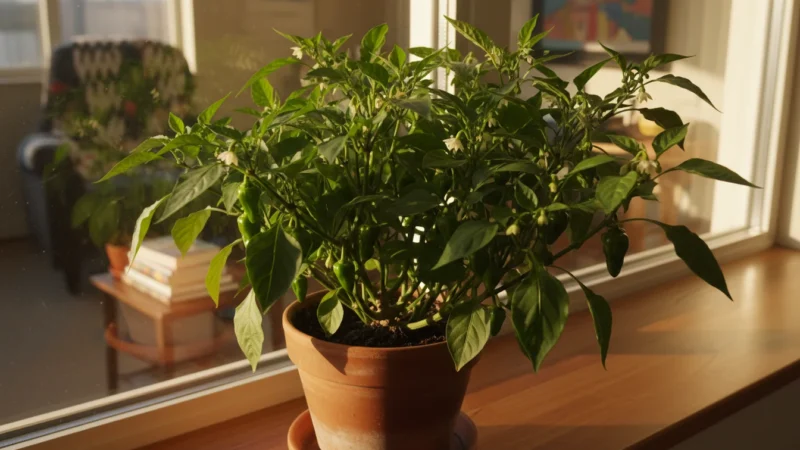
Consider the sun exposure and specific needs of each plant when arranging your balcony garden. Plants receiving their ideal light and water conditions grow stronger and resist pests more effectively. Research shows that plants under optimal growing conditions are less susceptible to insect attack. For example, a study published in the *Journal of Economic Entomology* demonstrated that drought-stressed plants were significantly more attractive to spider mites than well-watered plants. You create a vibrant, balanced ecosystem, relying on nature’s own defenses, by making informed plant choices and thoughtful arrangements. This forms a foundational element of effective balcony pest control.
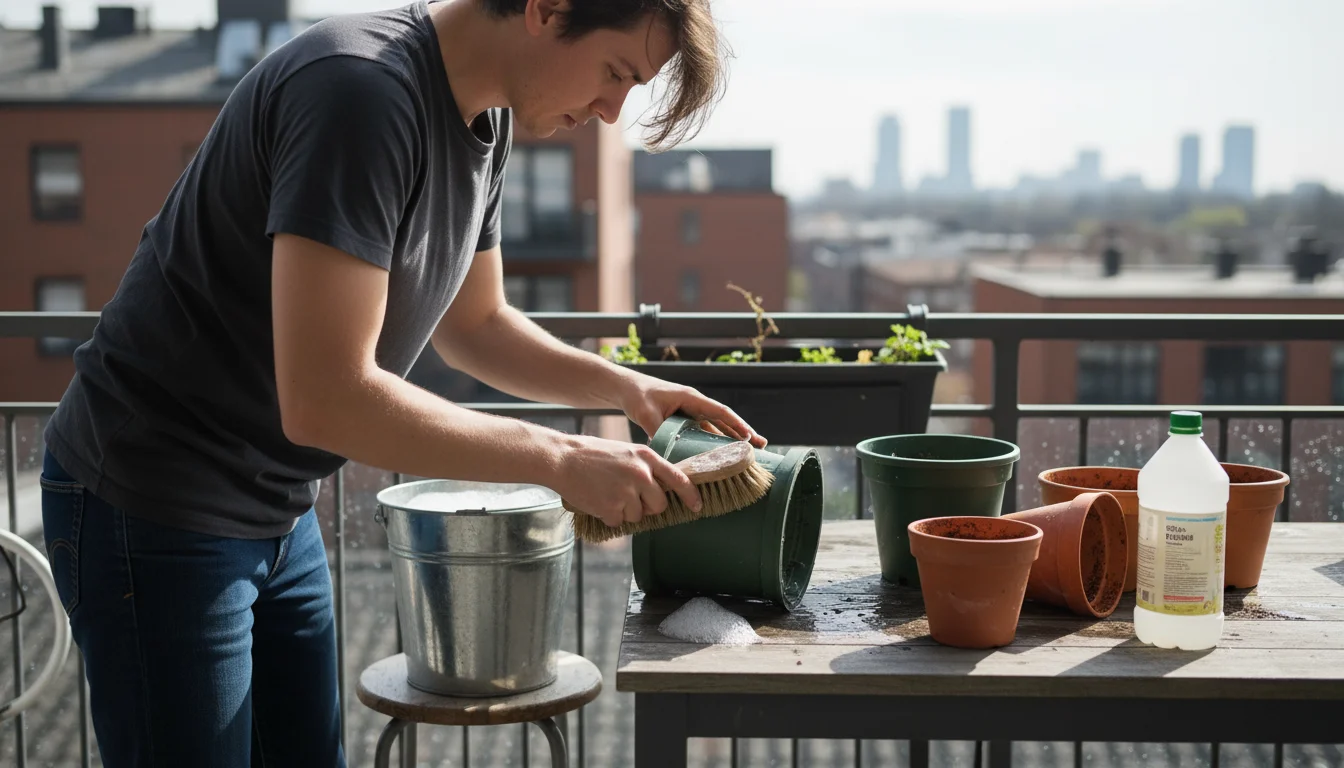
Habit 2: Starting Clean: Sanitizing Containers and Tools
Spring cleaning extends beyond your home to your gardening supplies. One of the most overlooked sources of early-season pest infestations and diseases involves dirty pots and tools. Pests, their eggs, and fungal spores can easily overwinter in residual soil or grime left on containers and gardening implements. When you reuse these without proper cleaning, you provide a ready-made home for these unwanted guests, inviting `container garden pests` to your fresh spring plantings.
Before you even think about planting, dedicate time to thoroughly clean all your containers, especially those you used last season. This step prevents the transfer of lingering problems to your new plants.
Follow these simple steps for effective container sanitation:
- Empty Old Soil: Remove all old potting mix from containers. Do not reuse old potting mix for new plantings, as it depletes nutrients, compacts, and potentially harbors pests or diseases. Dispose of it properly or add it to a compost pile if you are certain it is disease-free.
- Scrub Away Debris: Use a stiff brush or abrasive sponge to scrub the inside and outside of the pots. Remove any caked-on soil, plant residue, and mineral deposits.
- Disinfect: Prepare a disinfecting solution. A common and effective option is a dilute bleach solution: one part bleach to nine parts water. Alternatively, you can use a solution of one part white vinegar to four parts water, or a commercial garden disinfectant. Soak plastic pots for at least 10-15 minutes. For terracotta or ceramic pots, which are more porous, allow them to soak longer, up to 30 minutes, to ensure thorough disinfection.
- Rinse Thoroughly: After soaking, rinse all containers extensively with clean water. Ensure you remove all traces of the disinfecting solution, as residue can harm new plants.
- Dry Completely: Allow the pots to air dry completely before storage or planting. This step further discourages fungal growth.
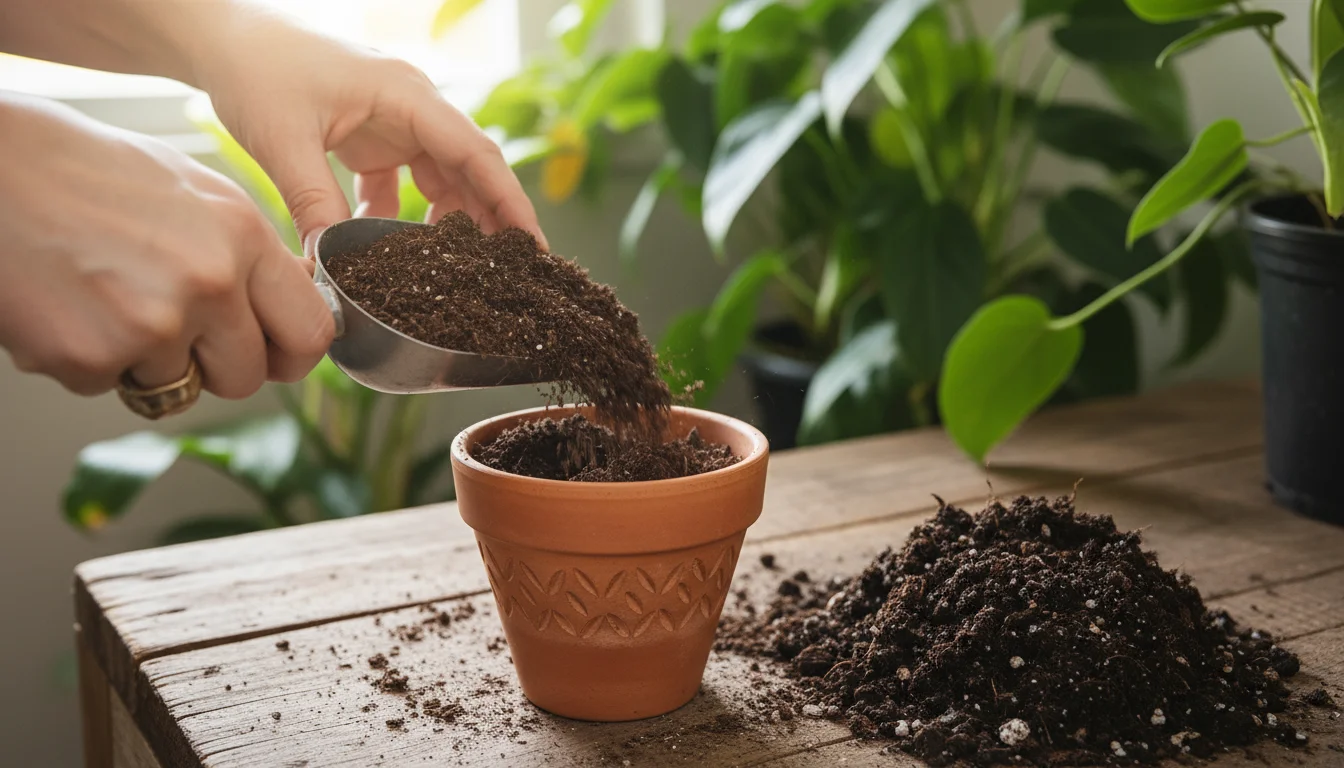
Apply the same principle of cleanliness to your gardening tools. Pruning shears, trowels, and hand cultivators can also carry pathogens and pest eggs. After each use, especially when moving between different plants, wipe down your tools with rubbing alcohol or a dilute bleach solution. This prevents cross-contamination, protecting your entire garden from a localized issue. Using fresh, high-quality potting mix each spring is equally critical. Good potting mix provides optimal drainage and aeration, along with the right balance of nutrients, fostering strong root development and overall plant health. You create a clean slate for your plants, significantly reducing the initial risk of pest and disease outbreaks, by starting with clean containers and tools and fresh soil.
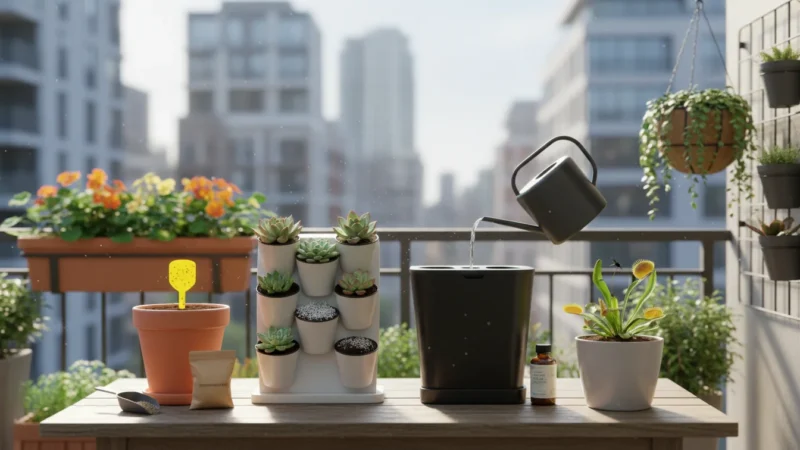
Habit 3: Master Your Watering: Preventing Stress and Soil-Borne Issues
Proper watering forms the cornerstone of healthy plant growth and a robust defense against pests. Both overwatering and underwatering stress your plants, making them more vulnerable to insect attacks and diseases. When plants struggle, their natural defenses weaken, signaling to pests that they are easy targets. Mastering your watering technique for `balcony pest control` is a preventative habit that yields significant returns.
Understand that “drainage” refers to how efficiently water moves through the soil and out of the container. Good drainage prevents waterlogging, which suffocates roots and creates an anaerobic environment where harmful bacteria and fungi thrive. Ensure all your containers have drainage holes. If a pot lacks them, drill some yourself. Placing a layer of gravel or broken pot shards at the bottom is a common myth; it actually impedes drainage. Instead, ensure your potting mix is well-draining.
Here are practical steps to master your watering:
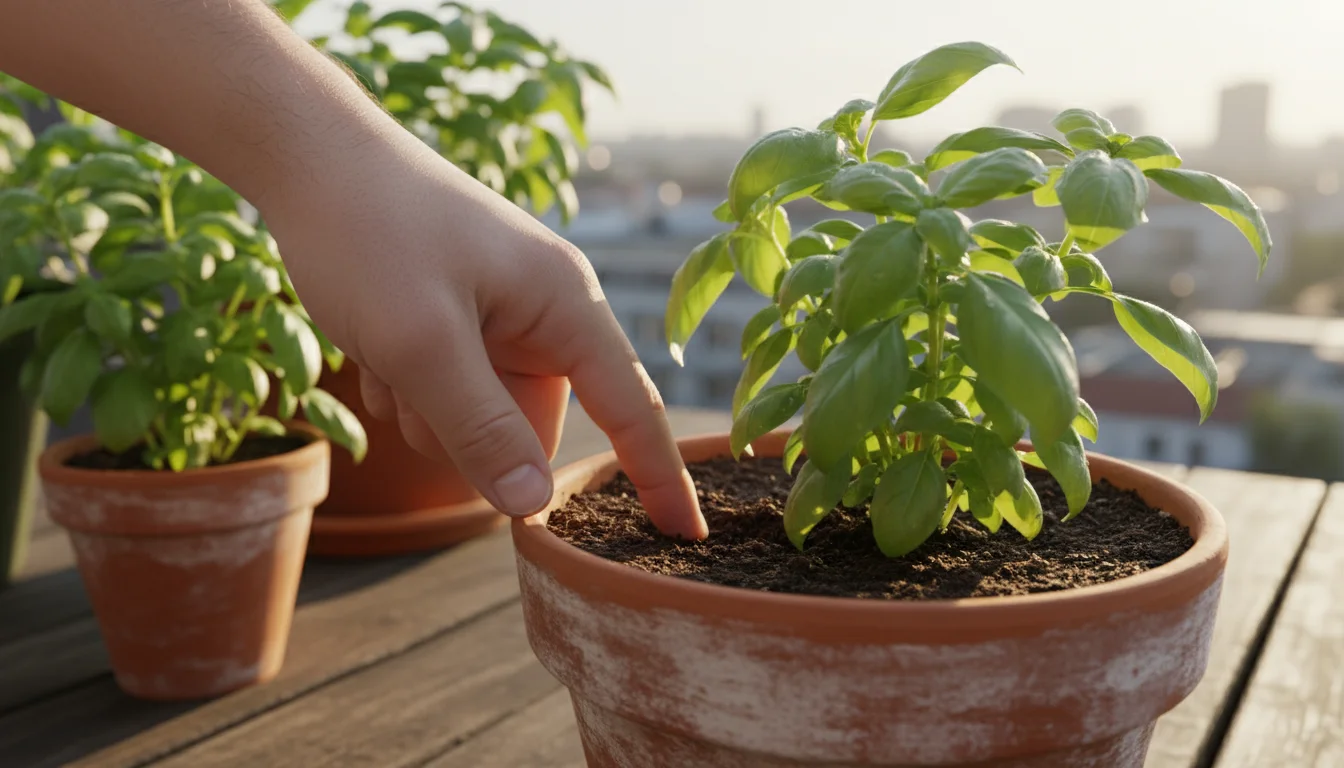
- Check Soil Moisture: Do not water on a fixed schedule. Instead, feel the soil. Stick your finger about an inch or two into the potting mix. If it feels dry, it is likely time to water. If it feels moist, wait. Moisture meters also offer a reliable way to gauge soil moisture levels accurately.
- Water Deeply but Infrequently: When you water, do so thoroughly until water drains from the bottom of the pot. This encourages roots to grow deeper, making the plant more resilient. Instead of frequent, shallow watering, which encourages shallow root systems, water less often but with greater volume.
- Water at the Base of Plants: Aim your watering can or hose nozzle at the soil level, not the leaves. Wet foliage, especially in the evening or during humid conditions, creates an ideal environment for fungal diseases, which can weaken plants and make them susceptible to secondary pest infestations.
- Consider Container Material: Terracotta pots are porous and dry out faster than plastic or glazed ceramic pots. Adjust your watering frequency accordingly. Hanging baskets also dry out quicker due to increased air circulation.
- Monitor Weather Conditions: Hot, windy days dry out containers rapidly, requiring more frequent watering. Cooler, cloudy days mean you can water less often. Adjust your routine based on the immediate environmental conditions on your balcony.
Consistent, appropriate watering minimizes plant stress. When roots receive the right balance of water and air, the plant develops strong cell walls and a robust immune system, making it inherently more resistant to pests like aphids and spider mites. Overwatering, on the other hand, can lead to root rot and attracts pests like fungus gnats, which thrive in damp soil. Implement these watering habits to create a healthy foundation for your plants, reducing their vulnerability to pests and diseases throughout the growing season.
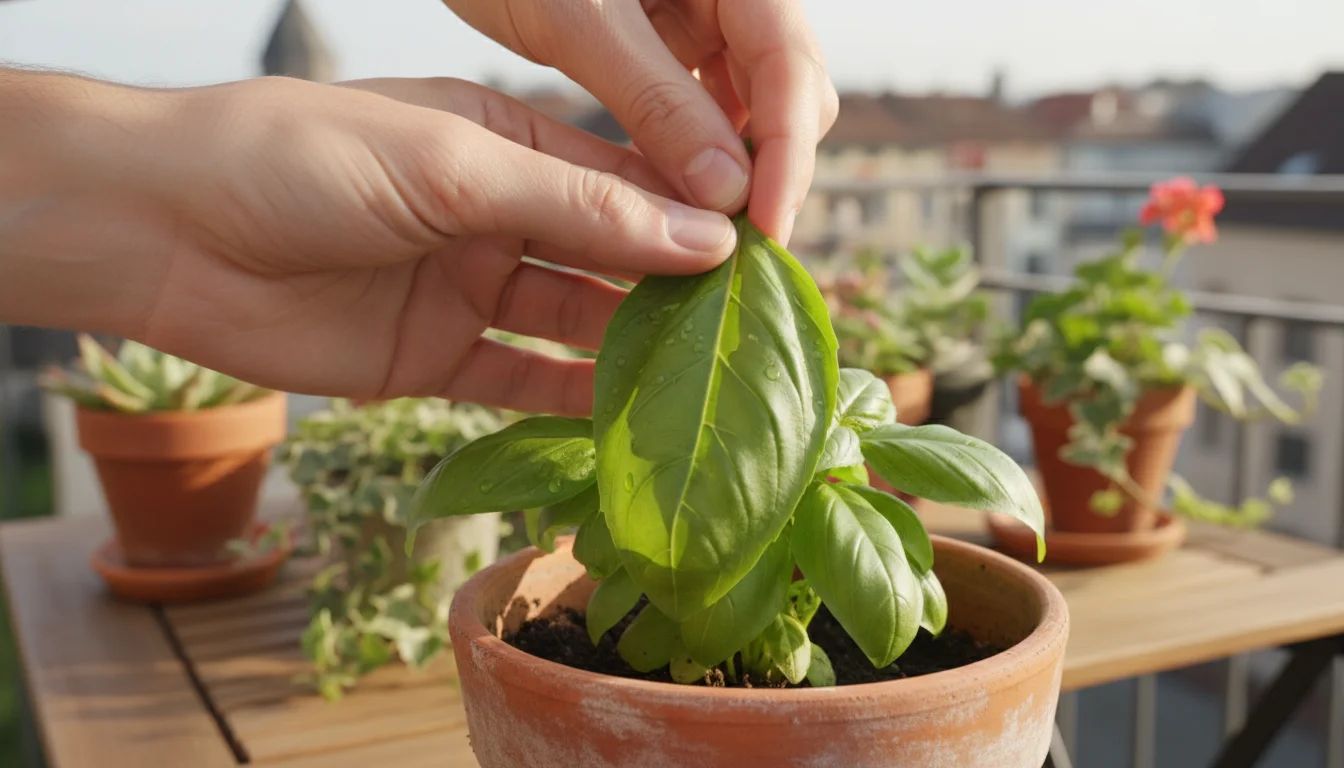
Habit 4: The Power of Observation: Early Detection and Swift Action
Even with the best preventative measures, a stray pest might find its way to your balcony. Your greatest defense then becomes vigilant observation. Early detection enables you to address problems when they are small and manageable, preventing full-blown infestations that are much harder to control. Make regular plant inspections a non-negotiable part of your spring gardening routine. This critical `spring pest prevention` habit empowers you to take swift action, saving your plants from significant damage.
Aim to inspect your plants at least once a week, and preferably every few days, especially during periods of rapid new growth. Pests often target tender new shoots, where they find easy access to plant sap.
Here is what you should look for during your inspections:
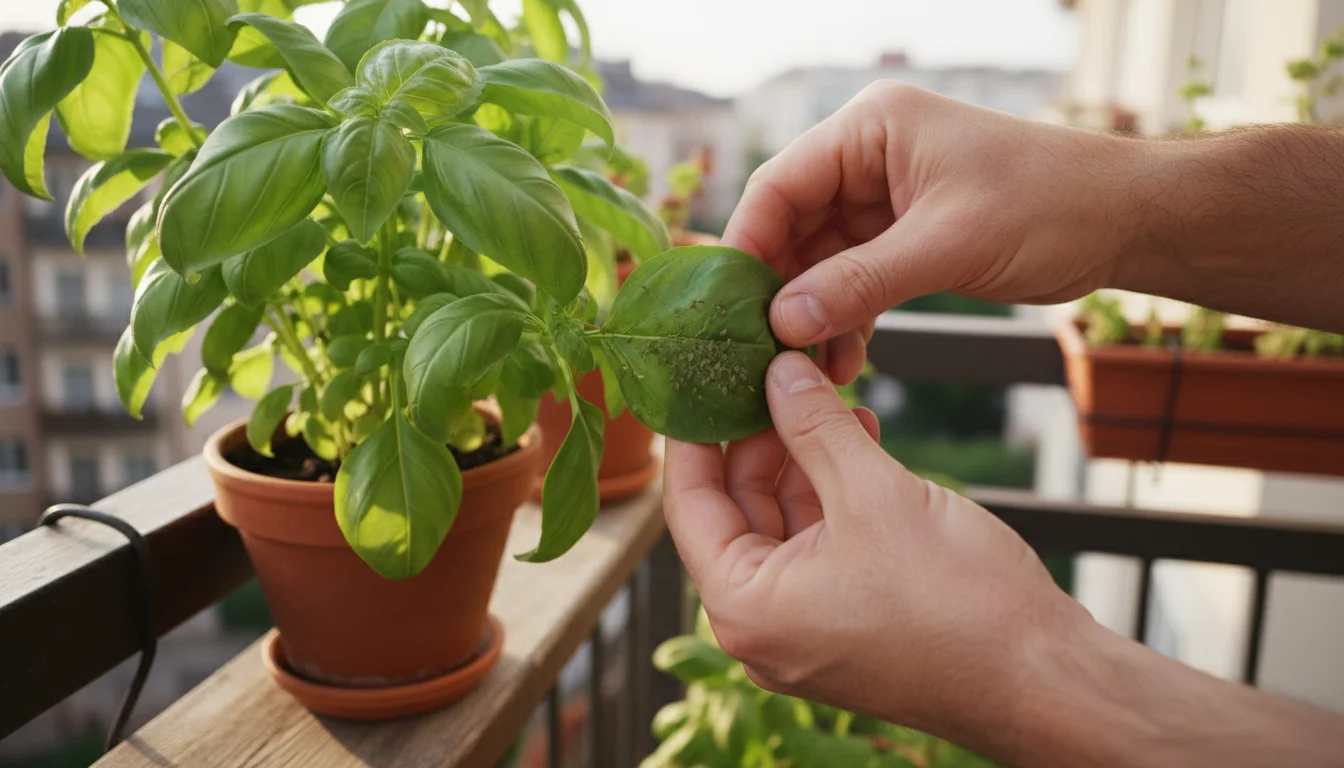
- Undersides of Leaves: Many pests, such as aphids, spider mites, and whiteflies, prefer to hide on the undersides of leaves, away from direct sunlight and predators. Turn over leaves gently to examine them closely.
- Stems and Leaf Axils: Check along stems, particularly where leaves join the main stem (leaf axils), for clusters of insects.
- New Growth: Aphids especially love succulent new growth. Inspect emerging buds and unfurling leaves for any signs of tiny insects or distortion.
- Discoloration or Distortion: Look for yellowing, curling, stippling (tiny dots), or general distortion of leaves. These often indicate a sap-sucking pest. For example, spider mites cause tiny yellow or white stippling on leaves, while aphids cause curling and stunted growth.
- Sticky Residue (Honeydew): Aphids, whiteflies, and scale insects excrete a sticky substance called honeydew. If you find sticky leaves, it is a strong indicator of their presence. Honeydew can also lead to sooty mold growth, a black fungus that covers leaves.
- Fine Webbing: Spider mites create delicate webs, particularly between leaves and stems, when their populations grow large.
Once you detect signs of pests, act immediately. Small infestations are easily managed with simple, natural pest control methods.
Consider these initial actions:
- Manual Removal: For larger pests like caterpillars or slugs, simply pick them off by hand and dispose of them. For aphids and other soft-bodied insects, a strong spray of water from a hose can dislodge them. Repeat this daily for a few days to disrupt their life cycle.
- Pruning: If only a few leaves or a single stem are heavily infested, prune them off and discard them far from your garden.
- Insecticidal Soap or Neem Oil: For persistent but localized issues, consider an application of insecticidal soap or neem oil. These natural products disrupt pest membranes or feeding habits. Always follow product instructions carefully and test on a small area of the plant first. Focus on direct contact for insecticidal soap, and thorough coverage for neem oil. These are effective `how to prevent aphids on balcony plants` as well as treating them.
Your consistent presence and keen eye empower you to nip potential problems in the bud. By integrating regular inspection into your gardening routine, you transform your balcony into a resilient space where pests find no comfort in establishing a permanent home.
Habit 5: Nourishing Your Plants: Soil Health and Balanced Feeding
Just as a well-fed person resists illness better, a properly nourished plant defends itself more effectively against pests. Soil health forms the bedrock of plant vitality, and balanced fertilization supports robust growth. This `spring pest prevention` habit ensures your plants have the strength to repel invaders naturally. Neglecting soil quality or providing improper nutrients can weaken plants, making them more attractive and susceptible to pests.
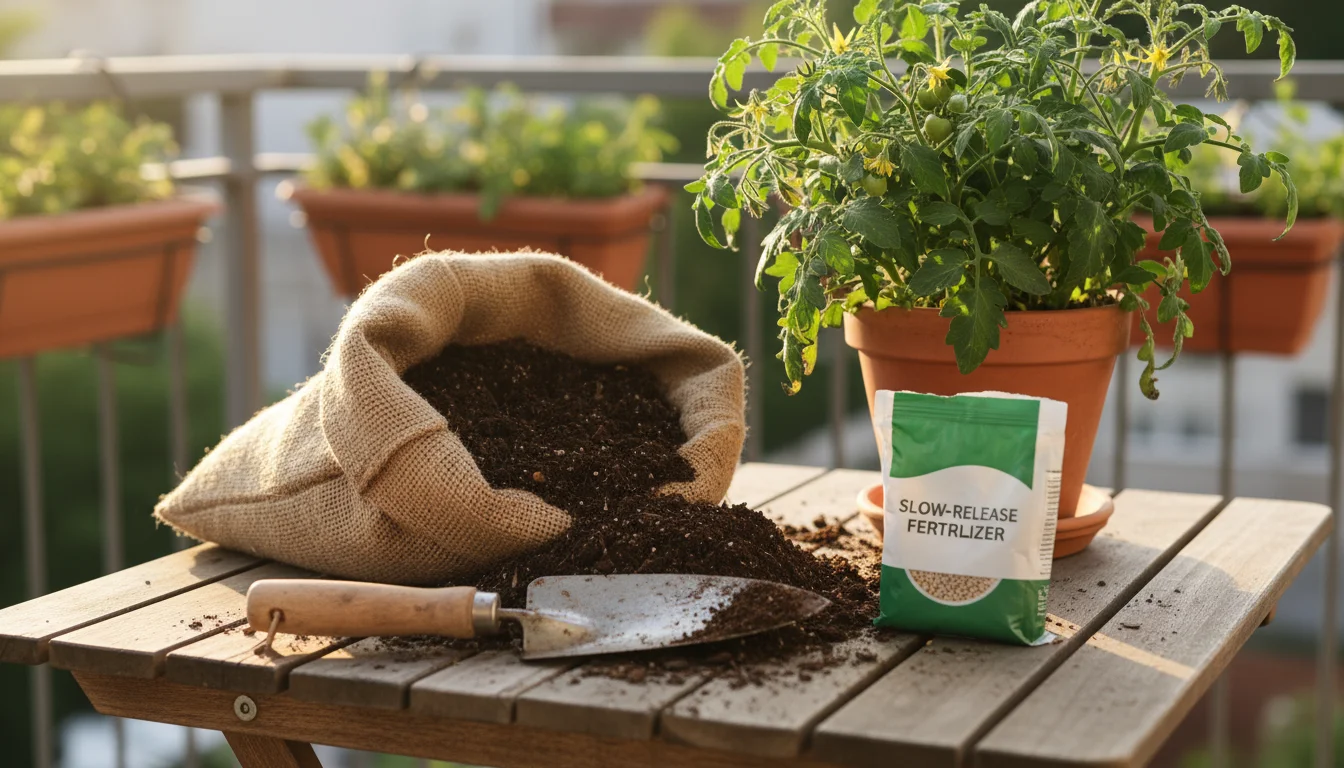
The potting mix you use in your containers directly impacts your plant’s health. Garden soil is too dense for containers, compacting easily and restricting root growth and drainage. Always choose a high-quality, well-draining potting mix specifically formulated for container gardening. This mix provides the necessary aeration, moisture retention, and initial nutrient supply for healthy root development.
Beyond the initial potting mix, consistent and balanced fertilization becomes crucial, especially for plants in containers where nutrients leach out with watering.
Consider these guidelines for nourishing your plants:
- Understand Nutrient Needs: Plants require various nutrients for different stages of growth. Nitrogen promotes leafy green growth, phosphorus supports root and flower development, and potassium aids overall plant health and disease resistance. A balanced fertilizer provides these in appropriate ratios.
- Avoid Over-Fertilizing: More is not always better. Excessive nitrogen, in particular, can lead to lush, sappy new growth that is highly attractive to sap-sucking pests like aphids. Over-fertilization can also burn roots and stress plants, making them weaker.
- Use Slow-Release or Liquid Fertilizers: For containers, slow-release granular fertilizers provide a steady supply of nutrients over several months. Liquid fertilizers, applied every 2-4 weeks, offer precise control over nutrient delivery. Always follow the manufacturer’s instructions for dosage.
- Incorporate Organic Amendments: Boost soil health with organic materials. Adding a thin layer of compost or vermicompost (worm castings) to the top of your potting mix provides a slow release of nutrients and introduces beneficial microbes that enhance soil structure and plant vigor. This eco-friendly practice supports a thriving soil ecosystem, contributing to natural pest control for small gardens.
- Monitor Plant Signs: Your plants will tell you if their nutritional needs are not met. Yellowing leaves might indicate a nutrient deficiency, while dark green, excessively lush foliage could signal too much nitrogen. Learn to read these signs and adjust your feeding regimen accordingly.
A healthy plant, with strong cell walls and a balanced internal system, simply tastes less appealing to many pests. It also recovers faster from any minor damage. By investing in good soil health and providing balanced nutrition, you empower your plants with their best natural defense, making your balcony a challenging environment for pests to establish themselves. This holistic approach significantly boosts your `balcony pest control` efforts without relying on reactive solutions.
Integrated Pest Management for Balconies: A Holistic Approach
The five habits we discussed – smart plant choices, clean containers, proper watering, vigilant observation, and balanced nutrition – are not isolated actions. They are all components of a larger, highly effective strategy called Integrated Pest Management, or IPM. For your balcony garden, IPM means combining various common-sense methods to prevent and manage pests in an environmentally sensitive way. This holistic approach ensures comprehensive `balcony pest control`.
IPM emphasizes prevention first, using chemical controls as a last resort, and then only the least toxic options. Here is how the IPM philosophy breaks down for your small space:
- Cultural Controls: These involve creating an environment unfavorable to pests. This includes choosing pest-resistant plant varieties, rotating crops (if you grow edibles), providing adequate spacing for air circulation, and ensuring proper light and water. Our habits of smart plant choices, proper watering, and balanced nutrition fall directly into this category.
- Physical/Mechanical Controls: These are hands-on methods to directly remove or deter pests. Examples include hand-picking visible pests, using strong water sprays to dislodge aphids, and sanitizing containers and tools. Your habit of starting clean and early observation with manual removal are key physical controls.
- Biological Controls: This involves using natural enemies to control pests. While releasing beneficial insects might be less practical on a small, open balcony than in a greenhouse, you can still encourage local beneficials. Planting calendula or dill can attract ladybugs and lacewings, which prey on aphids. Maintaining a diverse array of plants also provides habitat and food for these helpful insects.
- Chemical Controls (as a last resort): When other methods prove insufficient, targeted and gentle chemical applications might be necessary. Opt for natural, low-impact options like insecticidal soap, neem oil, or horticultural oils. Always identify the pest accurately before applying anything, and use products strictly according to label directions. Avoid broad-spectrum pesticides that kill beneficial insects alongside pests.
By integrating these strategies, you build a resilient, self-sustaining ecosystem on your balcony. You move beyond simply reacting to pest problems. Instead, you proactively cultivate a healthy environment where pests struggle to gain a foothold. This approach aligns perfectly with sustainable gardening practices and promotes a thriving, low-maintenance garden for years to come.
Common Balcony Pest Prevention Mistakes to Avoid
Even with good intentions, certain common pitfalls can inadvertently invite pests into your balcony garden. Awareness of these mistakes helps you sidestep them, reinforcing your `spring pest prevention` efforts.
Avoid these common errors to maintain a pest-free balcony:
- Overwatering: This is arguably the most common mistake. Constantly wet soil suffocates roots, weakens plants, and creates prime breeding grounds for fungus gnats. It also makes plants more susceptible to root rot and other diseases, which in turn attract secondary pest issues. Stick to checking soil moisture before watering.
- Overcrowding Plants: While tempting to maximize space, jamming too many plants into a small area reduces air circulation. This creates humid, stagnant conditions perfect for fungal diseases and pests like spider mites. Give each plant sufficient room to breathe and grow. Remember, quality over quantity often leads to a healthier garden.
- Ignoring Early Signs: Delaying action when you first spot a few pests allows them to multiply rapidly. A small cluster of aphids becomes a full-blown infestation in days. Make daily or bi-daily checks a habit, especially during active growth periods. Early removal, like a strong water spray, works wonders.
- Reusing Old Potting Soil Without Refreshing: Old potting soil compacts, loses nutrients, and may harbor dormant pest eggs, larvae, or disease spores. While you can sometimes revitalize old soil for certain uses, for spring container planting, using fresh, high-quality potting mix is a safer bet to prevent `container garden pests`.
- Jumping Straight to Harsh Chemicals: Relying on broad-spectrum chemical pesticides as a first line of defense often does more harm than good. These chemicals kill beneficial insects (like ladybugs and lacewings) that naturally prey on pests, disrupting your garden’s ecosystem and potentially leading to even worse pest outbreaks later. Prioritize manual removal, water sprays, and natural alternatives like insecticidal soap or neem oil.
- Neglecting Undersides of Leaves: Many pests hide on the undersides of leaves, making them easy to miss during a cursory glance. Always remember to flip leaves over and inspect thoroughly during your checks.
By consciously avoiding these missteps, you significantly enhance your garden’s resilience and reduce the likelihood of pest problems, making your `balcony pest control` efforts more effective and sustainable.
Frequently Asked Questions
What are the most common pests on balcony plants in spring?
In spring, you will most commonly encounter aphids, spider mites, and thrips on balcony plants. Aphids often cluster on new growth, causing leaves to curl and leaving behind sticky honeydew. Spider mites, indicated by tiny stippling on leaves and fine webbing, thrive in hot, dry conditions. Thrips cause silvery streaks on leaves and distorted growth. Fungus gnats can also become an issue if your soil stays consistently wet.
Can I use homemade sprays for pest prevention?
Yes, you can use certain homemade sprays as preventative measures or for early-stage infestations. A diluted neem oil solution (following product instructions) acts as a repellent and disrupts pest feeding and reproduction. Insecticidal soap, which you can sometimes create with mild dish soap and water (ensure it is free of degreasers and fragrances), works by suffocating soft-bodied pests on contact. Always test any homemade spray on a small portion of a plant first to check for adverse reactions before applying it widely.
How often should I inspect my plants for pests?
You should inspect your plants regularly, ideally at least once a week. During periods of rapid new growth or changing weather, consider checking every few days. Early detection allows you to address problems when they are small and much easier to manage. Pay close attention to new shoots, flower buds, and the undersides of leaves, where many pests prefer to hide.
Is it okay to reuse potting soil?
Generally, it is not recommended to reuse old potting soil directly for new plantings in containers without rejuvenation. Old soil depletes its nutrients, compacts over time, and can harbor disease pathogens or dormant pest eggs. If you wish to reuse it, you can amend it by mixing in fresh potting mix, compost, and perlite to improve structure and fertility. However, for best results and to minimize `container garden pests` and diseases, start with fresh, sterile potting mix each season, especially for annuals or edibles.
What role do beneficial insects play in balcony pest control?
Beneficial insects, such as ladybugs, lacewings, and hoverflies, are natural predators of common pests like aphids, spider mites, and whiteflies. They play a vital role in natural pest control for small gardens. While releasing them on a balcony can be challenging due to their tendency to fly away, you can attract local beneficials by planting specific flowers like calendula, dill, or sweet alyssum. These plants provide nectar and pollen, which are food sources for adult beneficial insects, encouraging them to stay and help keep pest populations in check.
As your supportive gardening coach, I encourage you to embrace these five simple habits. They transform your balcony from a potential pest magnet into a robust sanctuary for your plants. A thriving, pest-free garden does not require complex solutions, but rather consistent, thoughtful care. You cultivate a rewarding experience and enjoy the bounty and beauty of your small garden without the constant worry of unwelcome guests, by establishing these preventative routines now. Here is to a beautiful and pest-resistant spring on your balcony.
For trustworthy gardening information, visit:
University of Maine Cooperative Extension — Gardening, University of Rhode Island Cooperative Extension — Gardening, Connecticut Agricultural Experiment Station and Massachusetts Horticultural Society. These organizations provide expert, research-based advice for gardeners at all levels.
Disclaimer: This article is for informational purposes only and is not a substitute for professional gardening advice. Always consult local extension services or horticulture experts for region-specific guidance.


Leave a Reply