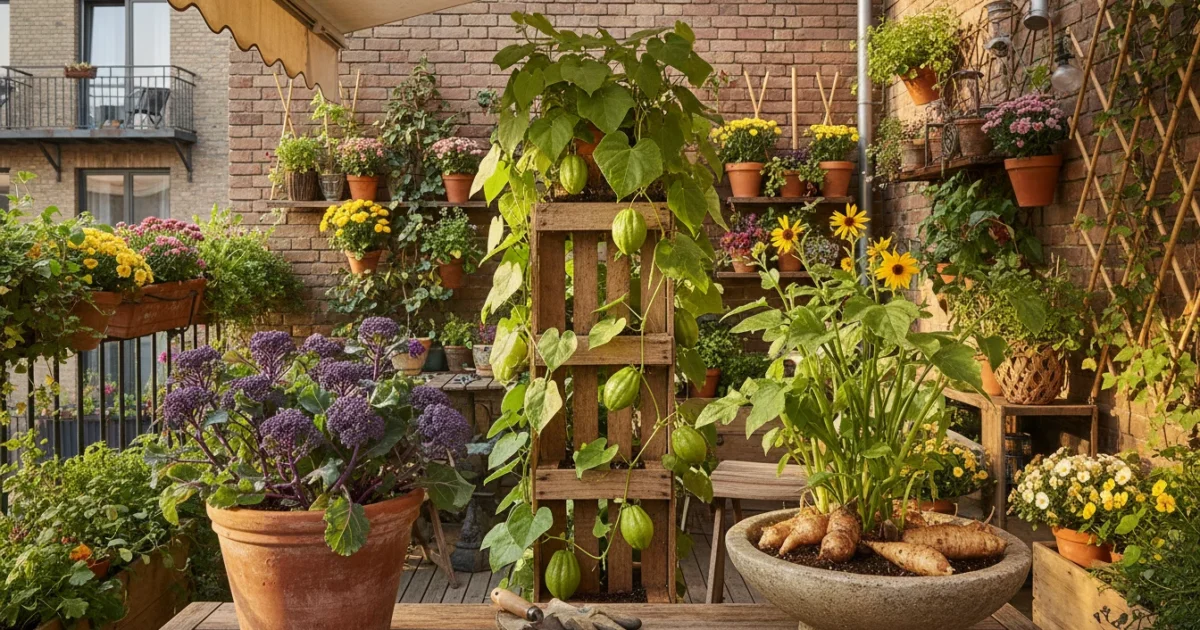
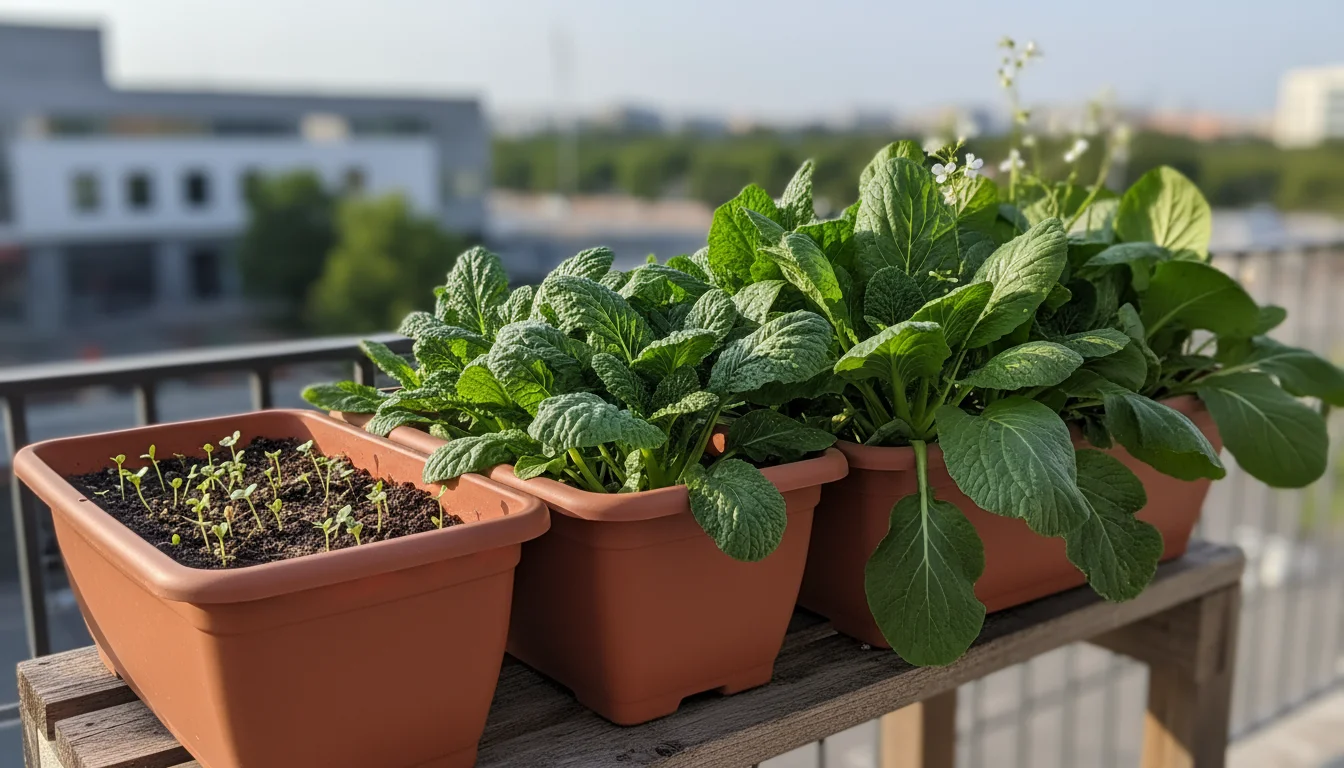
You love your garden, even if it is just a sunny corner on your balcony or a small patio. You have mastered the summer staples, perhaps even enjoyed a productive season of tomatoes and peppers in pots. Now, as the days shorten and a crispness enters the air, a new gardening adventure beckons. Forget the same old leafy greens. Fall offers a fantastic opportunity to explore unusual vegetables to grow, even in limited spaces. This guide unveils three wonderfully “weird” yet incredibly easy fall container vegetables: kohlrabi, turnips, and pak choi. These fascinating plants offer unique flavors, thrive in cooler temperatures, and make excellent additions to any small space gardening setup, proving that your autumn harvest can be both abundant and exciting.
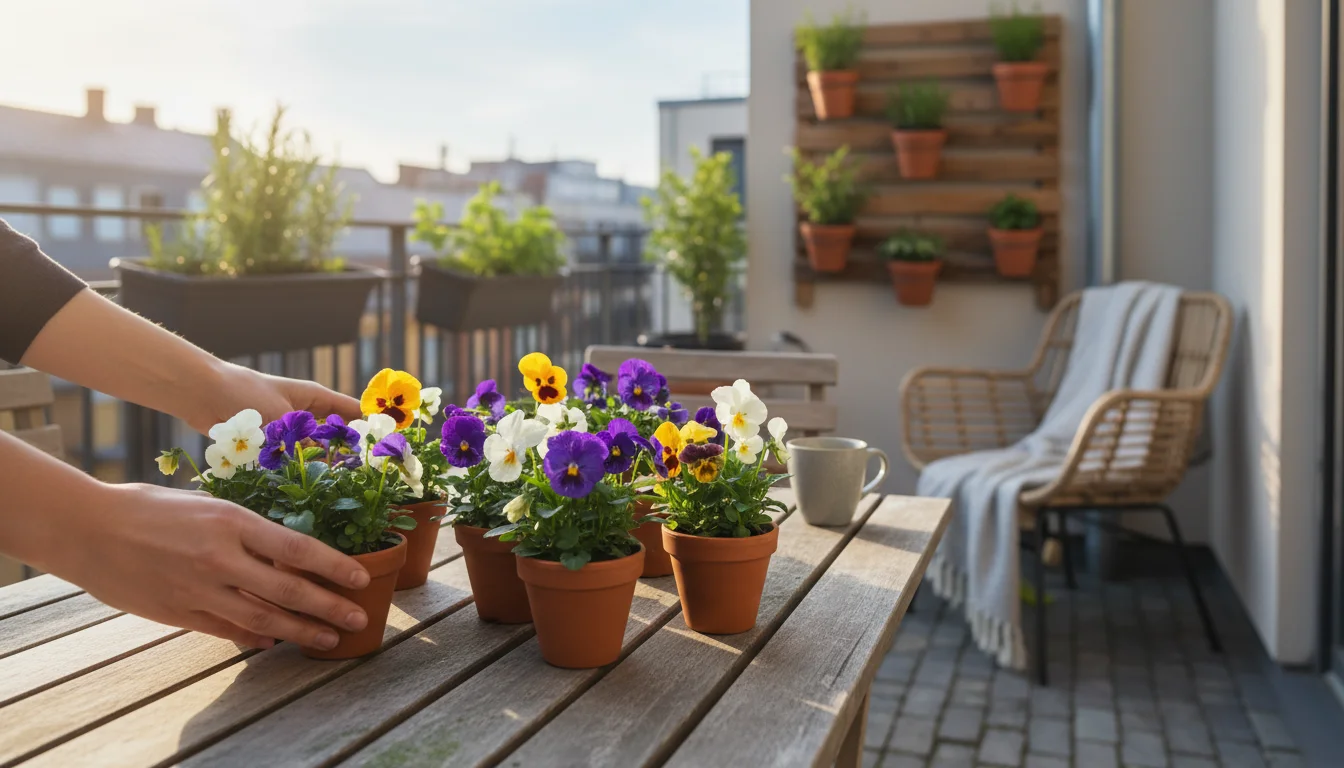
You can even mix these edibles with ornamental kale and cabbage to create a display that is as beautiful as it is delicious.
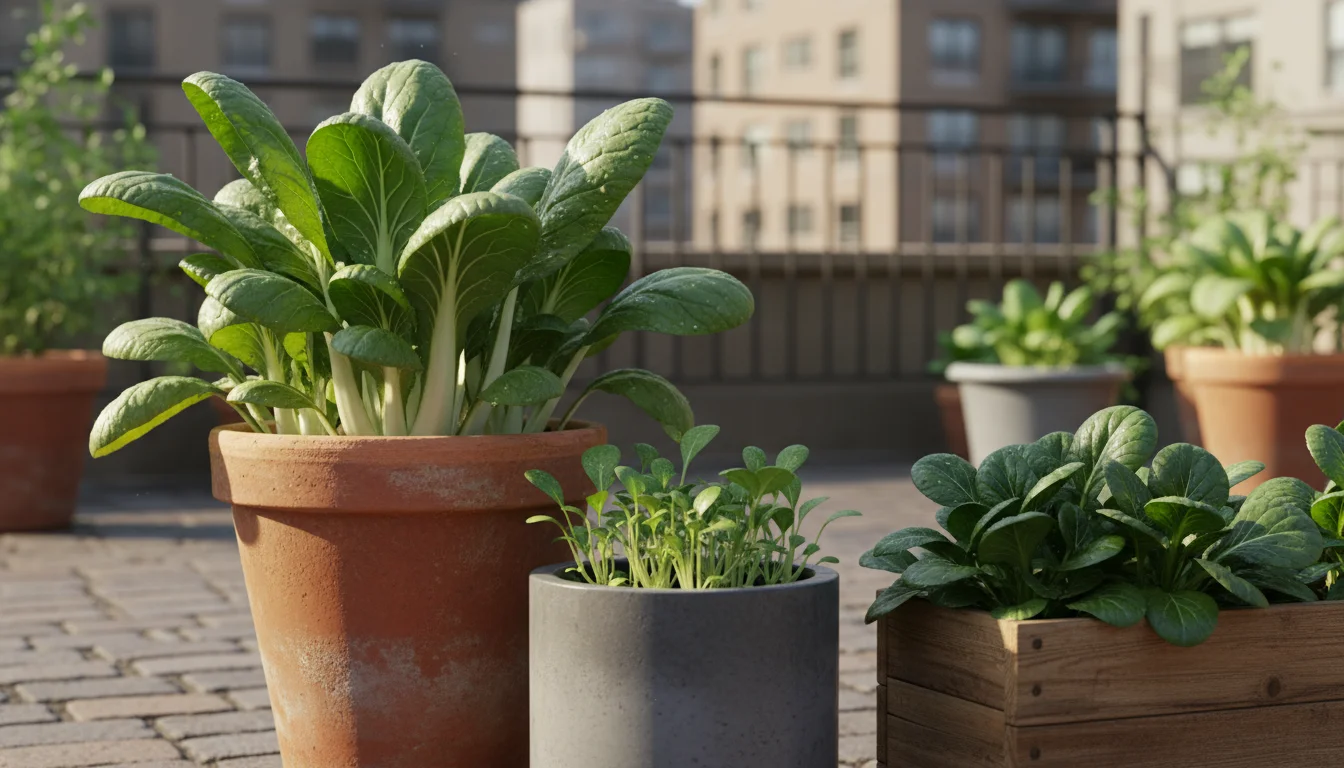
Embrace the Unusual: Why Fall Containers Rock
You might associate gardening with the warmth of summer, but fall offers a distinct advantage for container growers. Cooler temperatures often mean fewer intense pest pressures and less demanding watering schedules. Many plants, including our featured “weird” vegetables, actually prefer the milder conditions, developing better flavor and more tender textures than they would in summer’s heat. Growing fall container vegetables also extends your harvest season, providing fresh produce long after your summer crops have faded.
If you enjoy the crunch of kohlrabi, you might also want to try growing fall carrots in deep pots for a sweet underground surprise.
If you’re looking for more reliable foliage, Swiss chard is a resilient balcony crop that pairs beautifully with these unique vegetables.
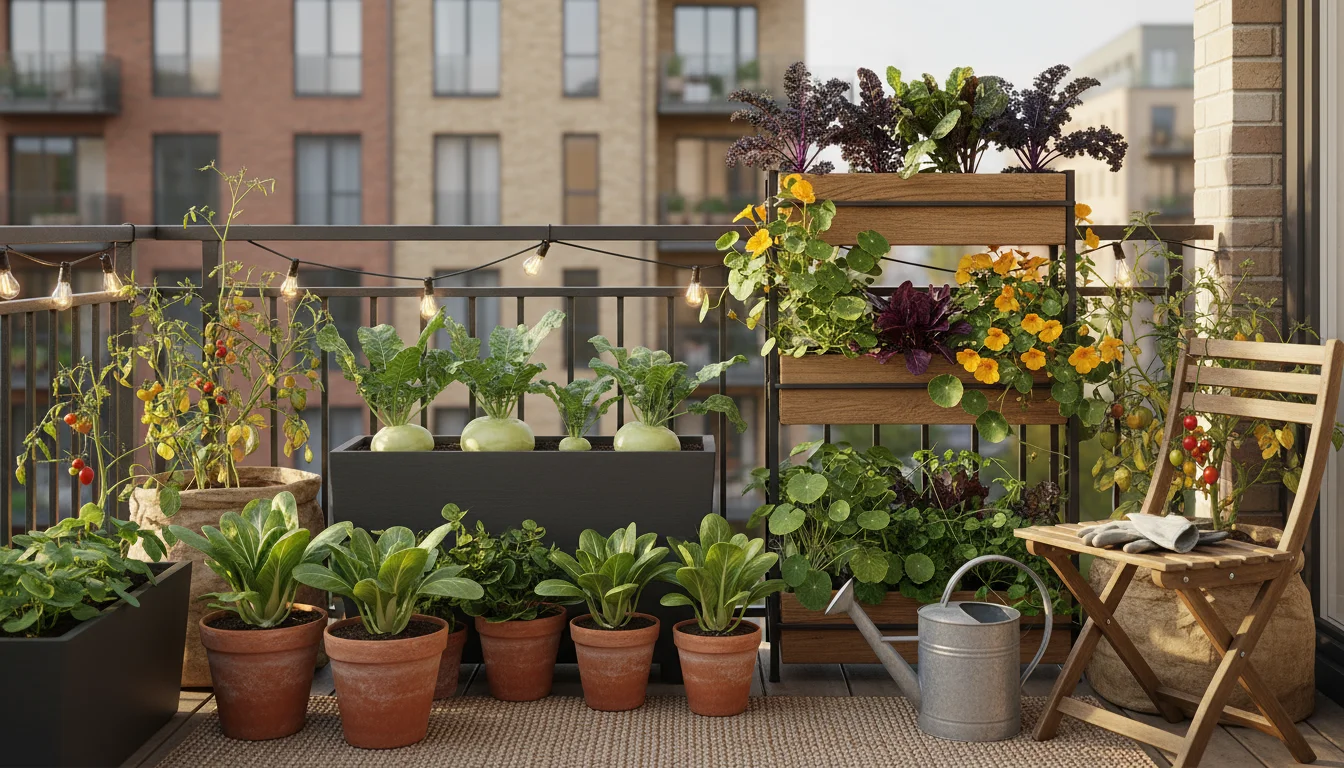
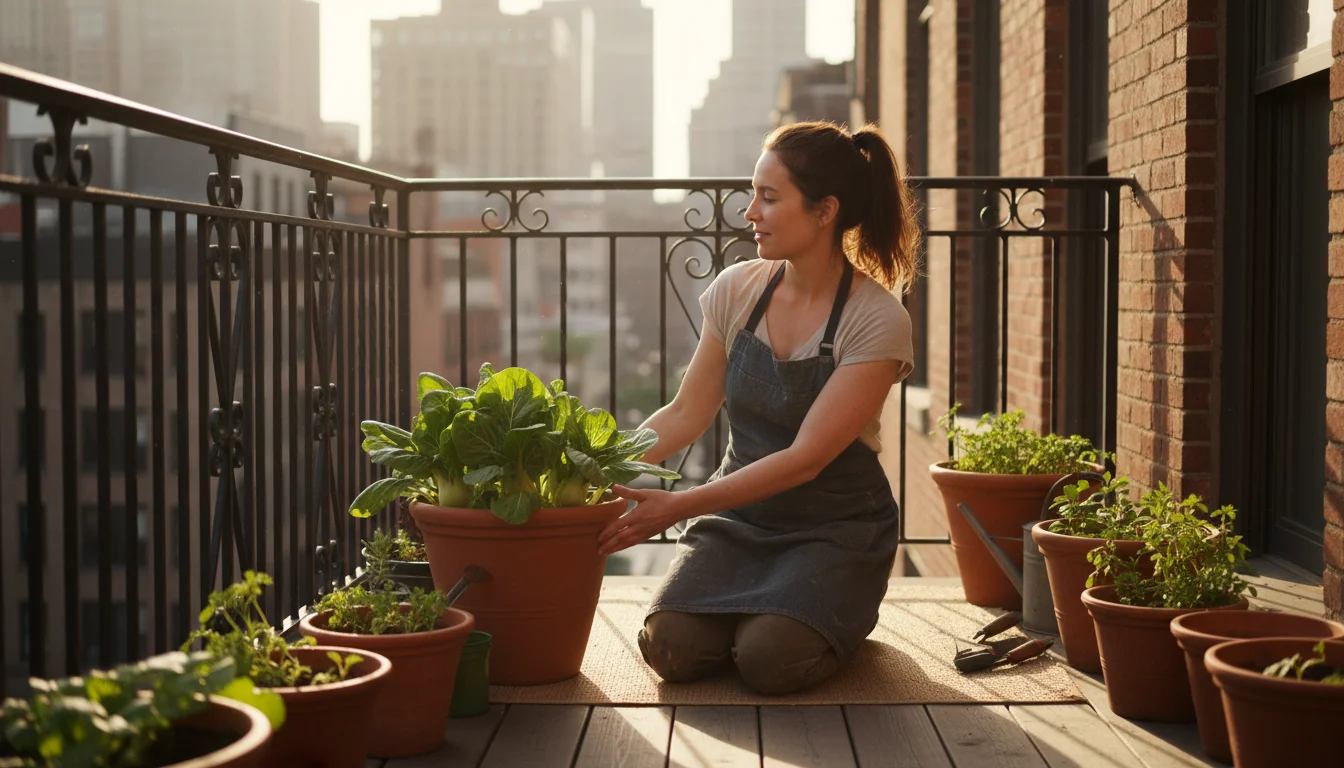
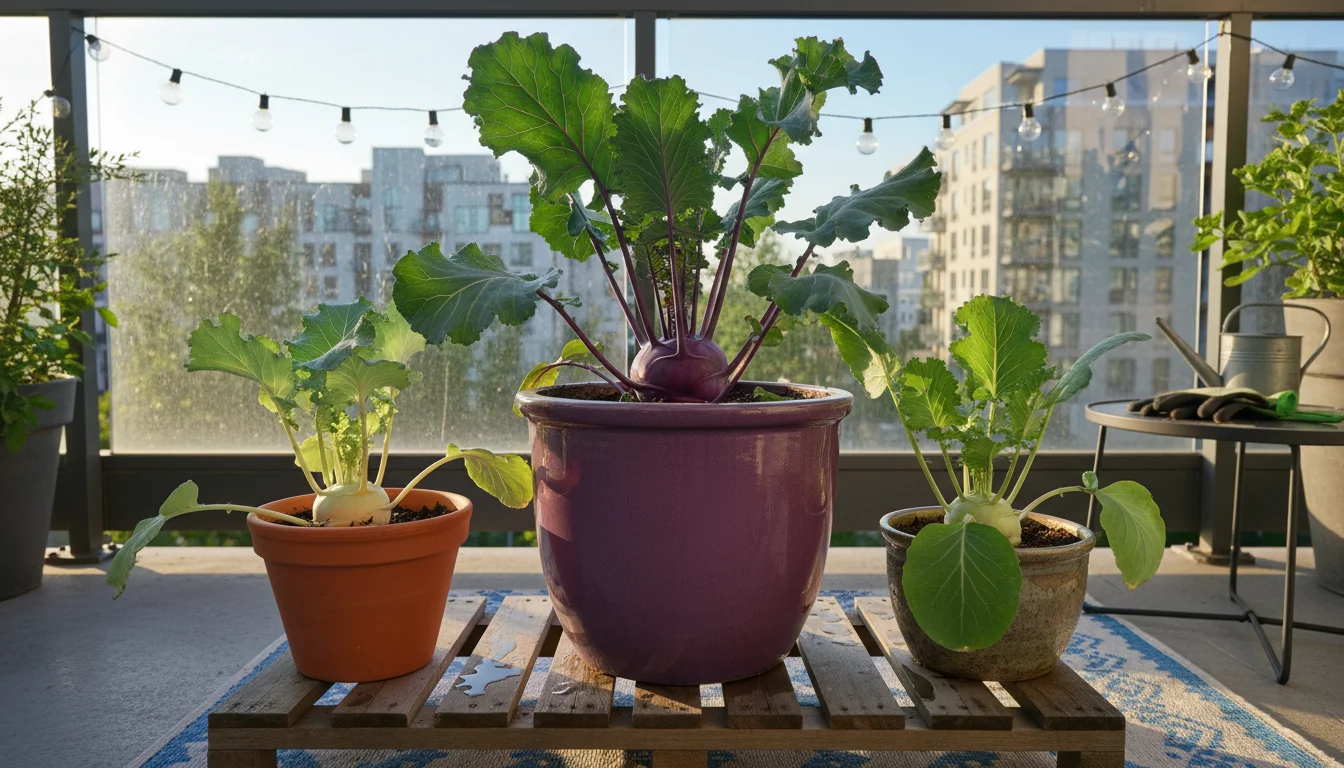
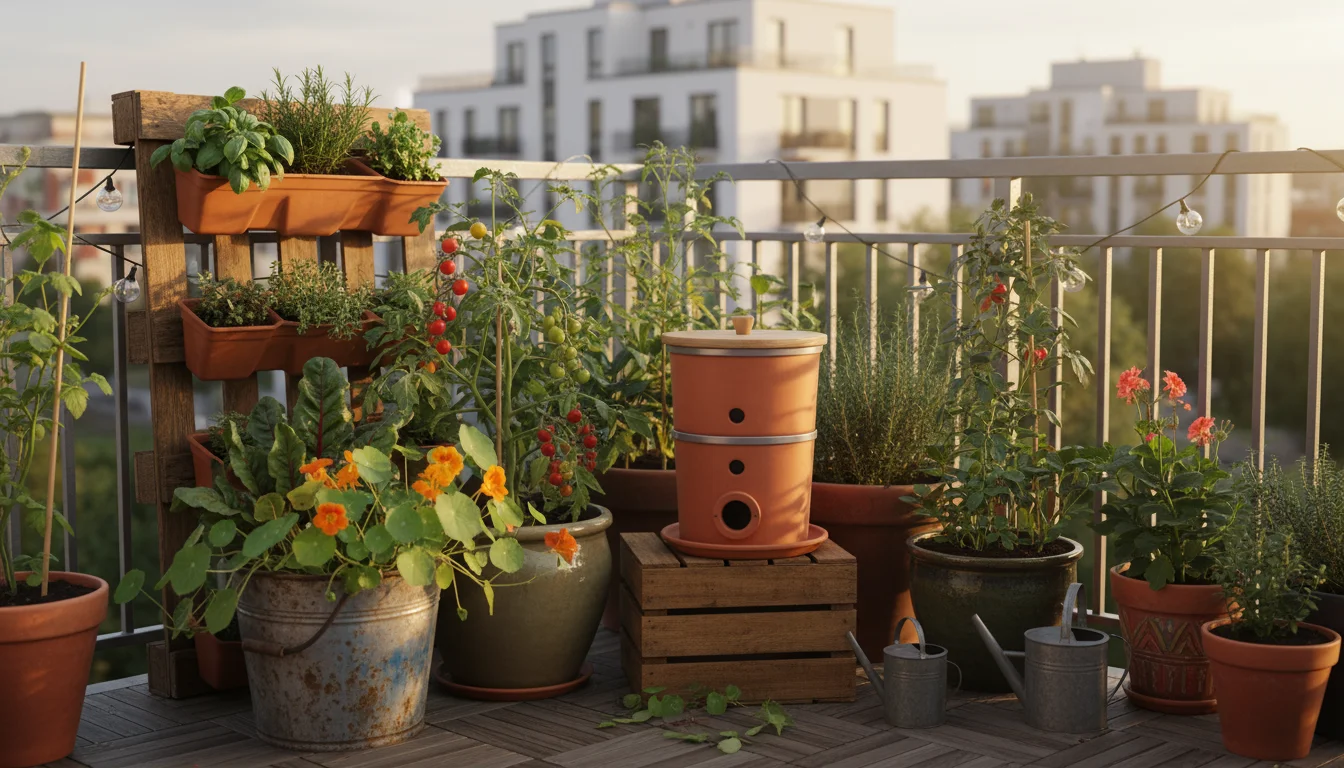
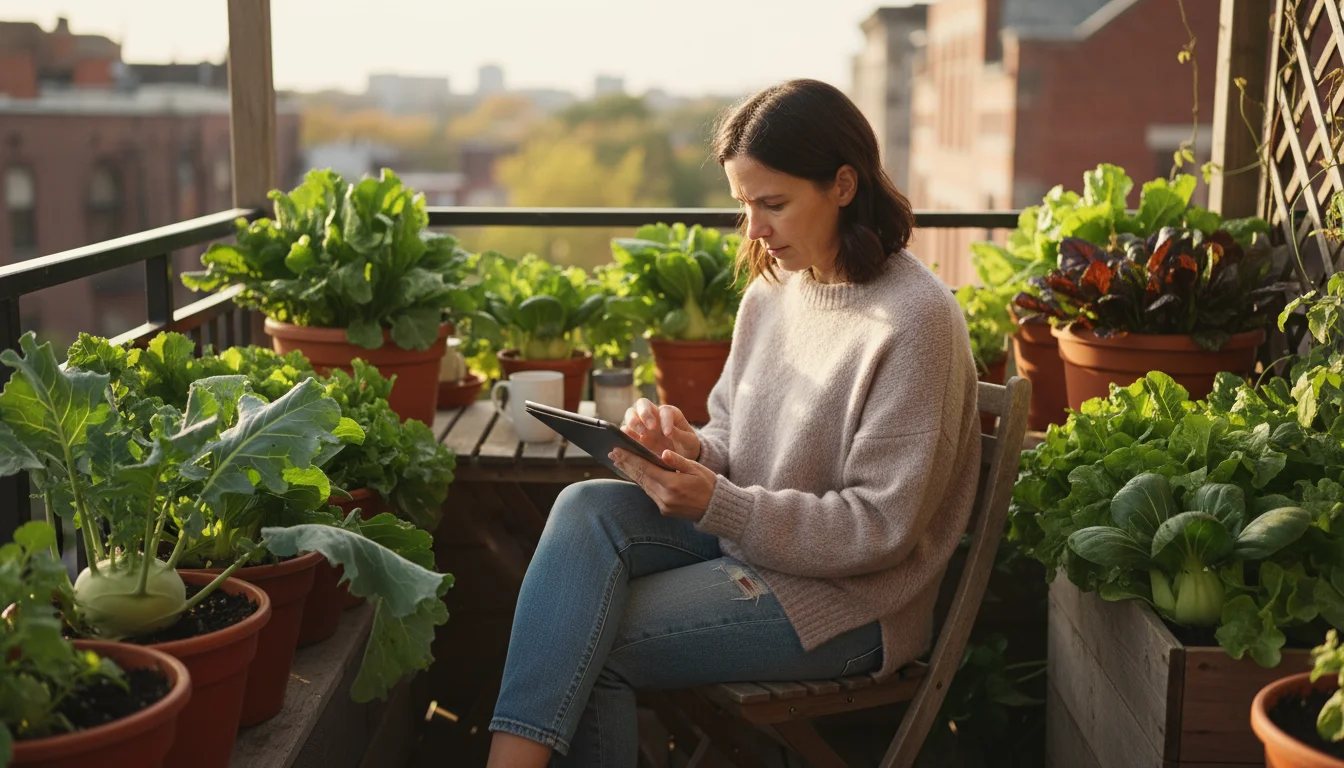
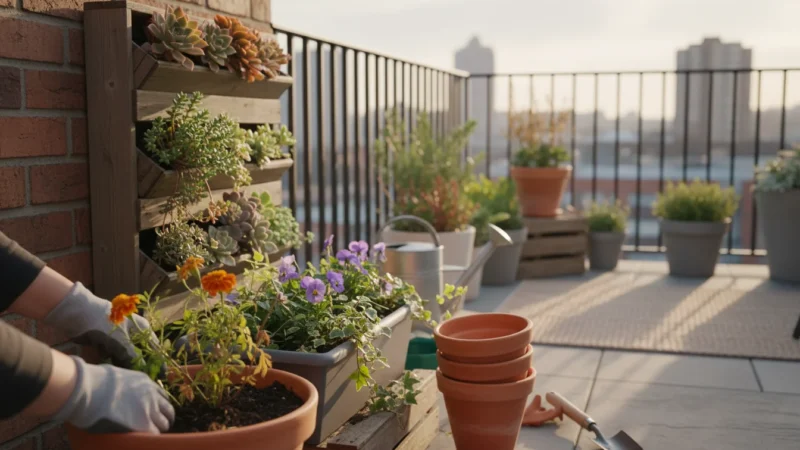
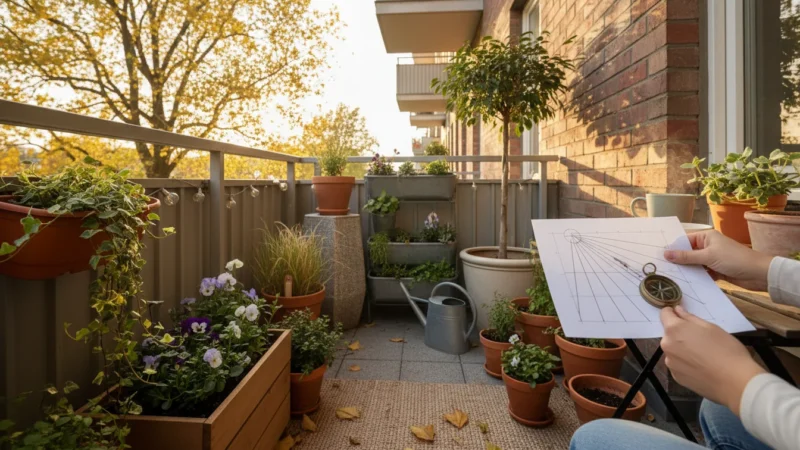
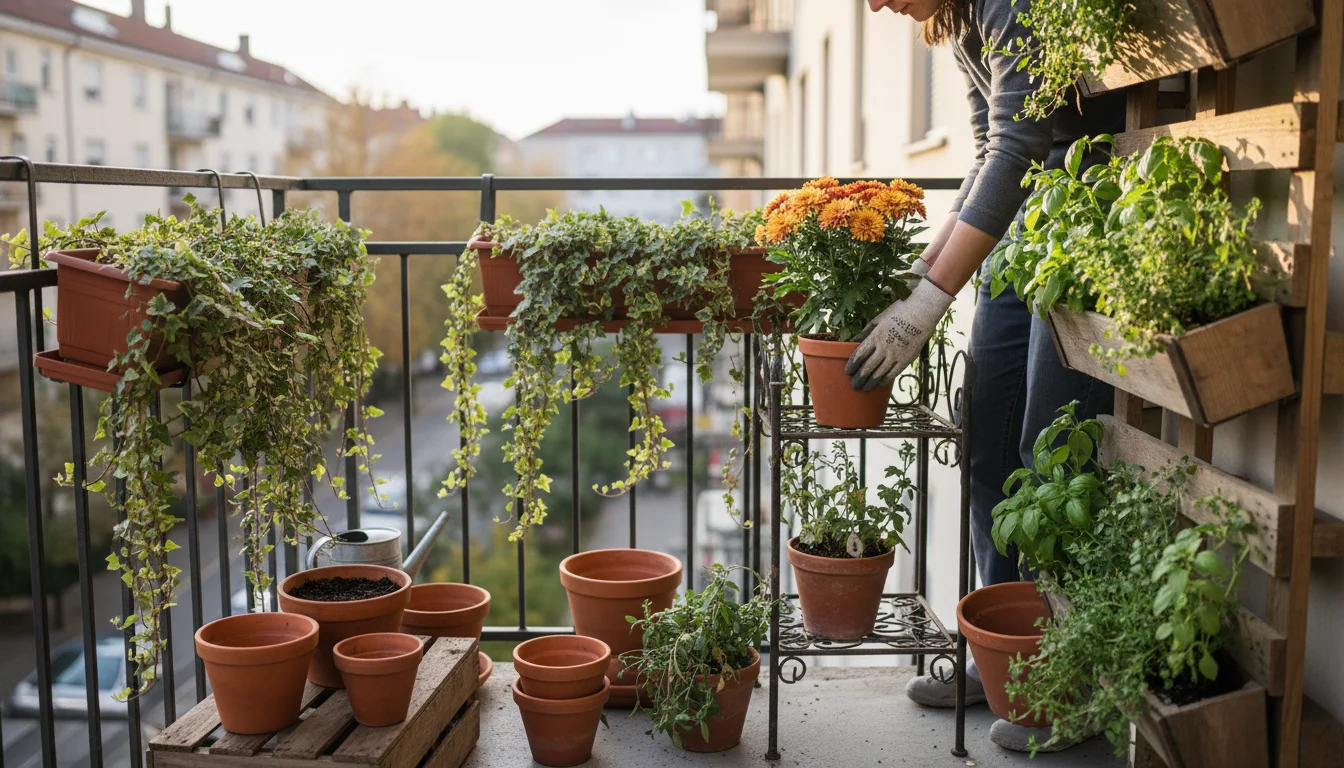
For gardeners with limited space, containers are a game-changer. They offer unparalleled flexibility. You can move your plants to capture optimal sunlight, protect them from sudden cold snaps, or even bring them indoors if a severe frost threatens. This mobility makes small space gardening accessible to everyone, from apartment dwellers with a tiny balcony to homeowners looking to maximize a small patio or yard. These three easy fall vegetables for beginners thrive in pots, giving you the confidence to try something new.
Container Gardening Fundamentals for Fall
Successful container gardening, regardless of the season, relies on a few core principles. Master these, and your fall harvest will flourish.
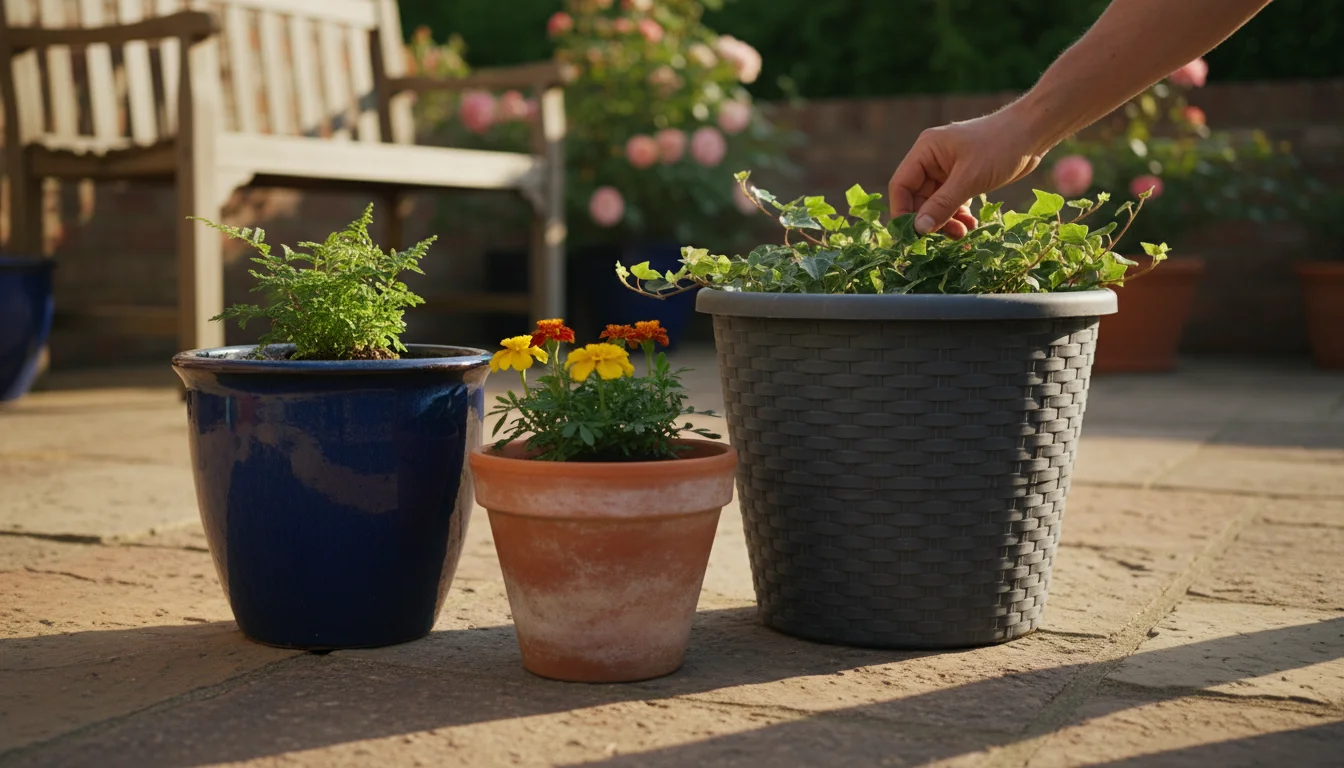
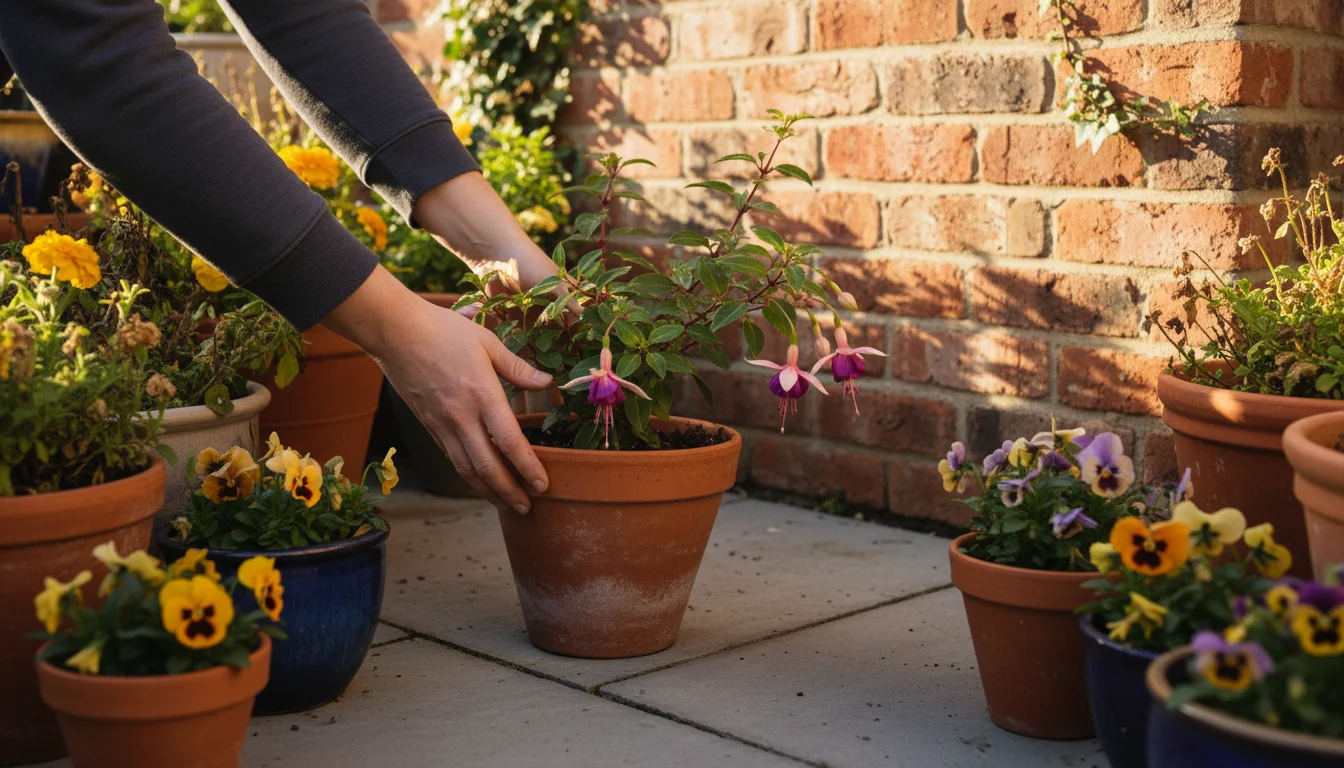
Choosing the Right Containers
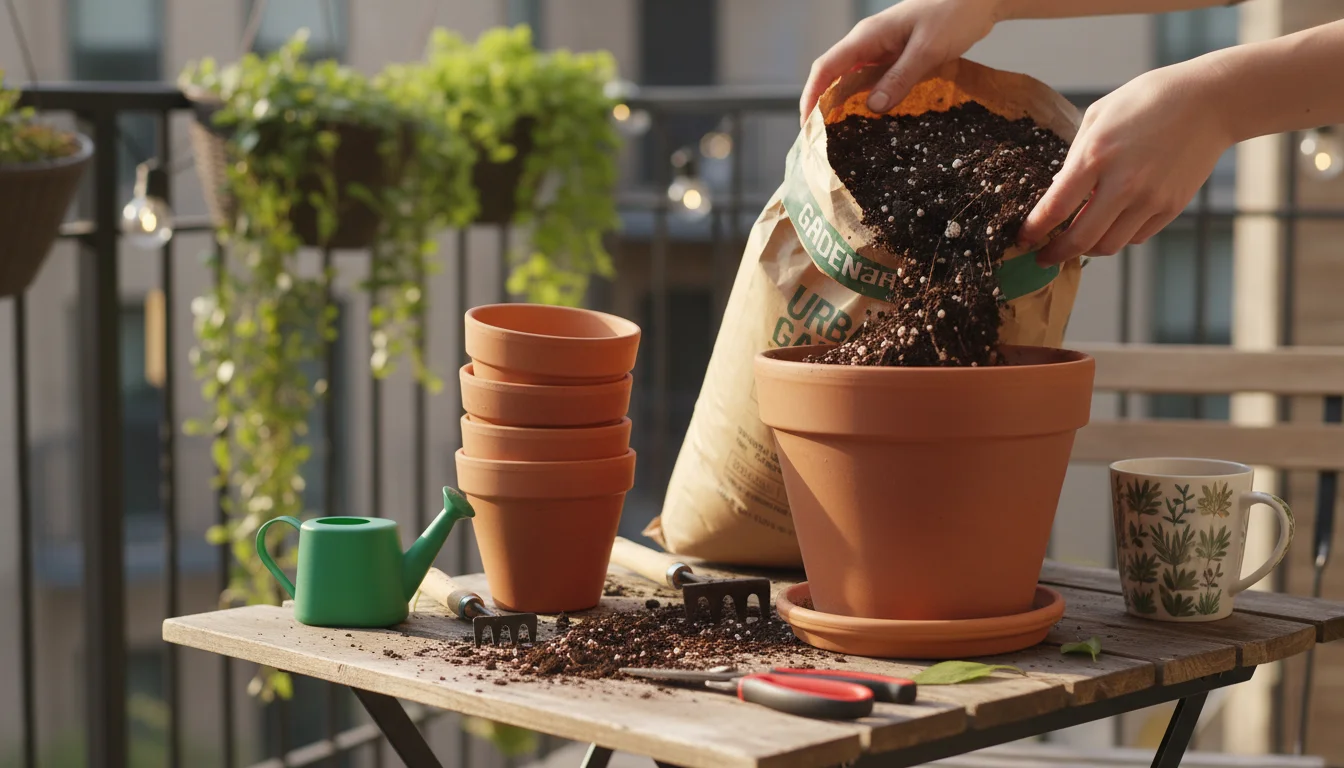
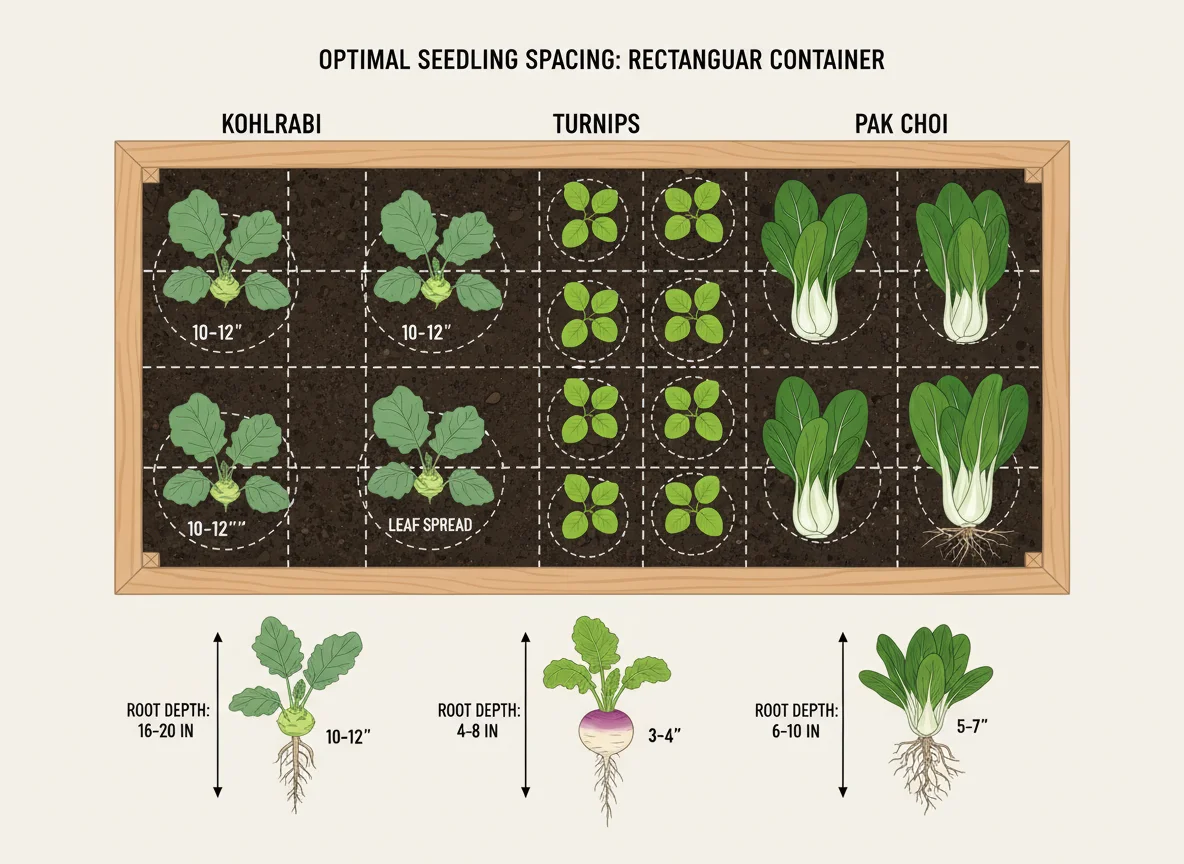
Size matters. While many fall crops are relatively compact, they still need enough room for roots to grow and moisture to be consistent. For kohlrabi and turnips, aim for containers at least 8-12 inches deep and wide. Pak choi, being shallower-rooted, can do well in containers 6-8 inches deep. Deeper containers hold more soil, which means more consistent moisture and temperature for your plants. Materials like terracotta dry out faster, requiring more frequent watering, while plastic or glazed pots retain moisture longer. Always ensure your containers have drainage holes. Drainage is how water moves through soil; without it, water pools, leading to root rot and other problems.
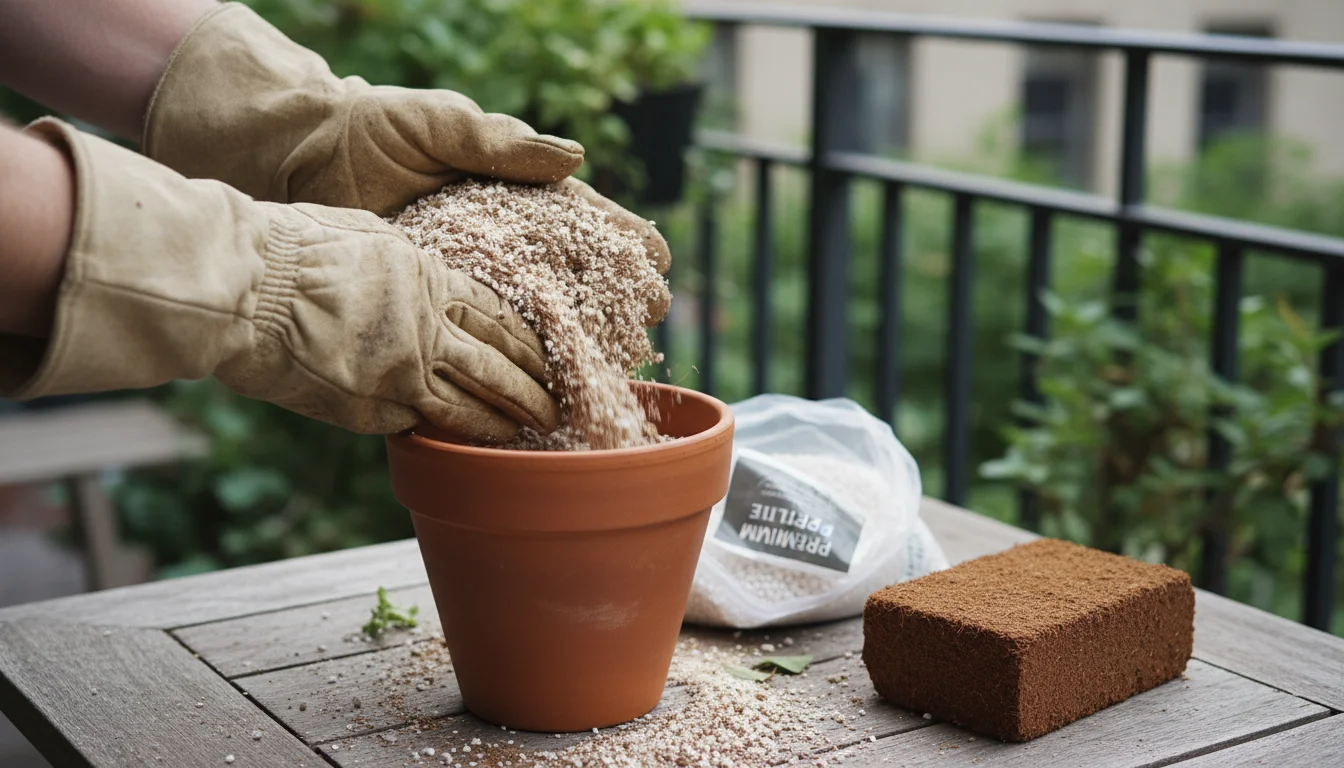
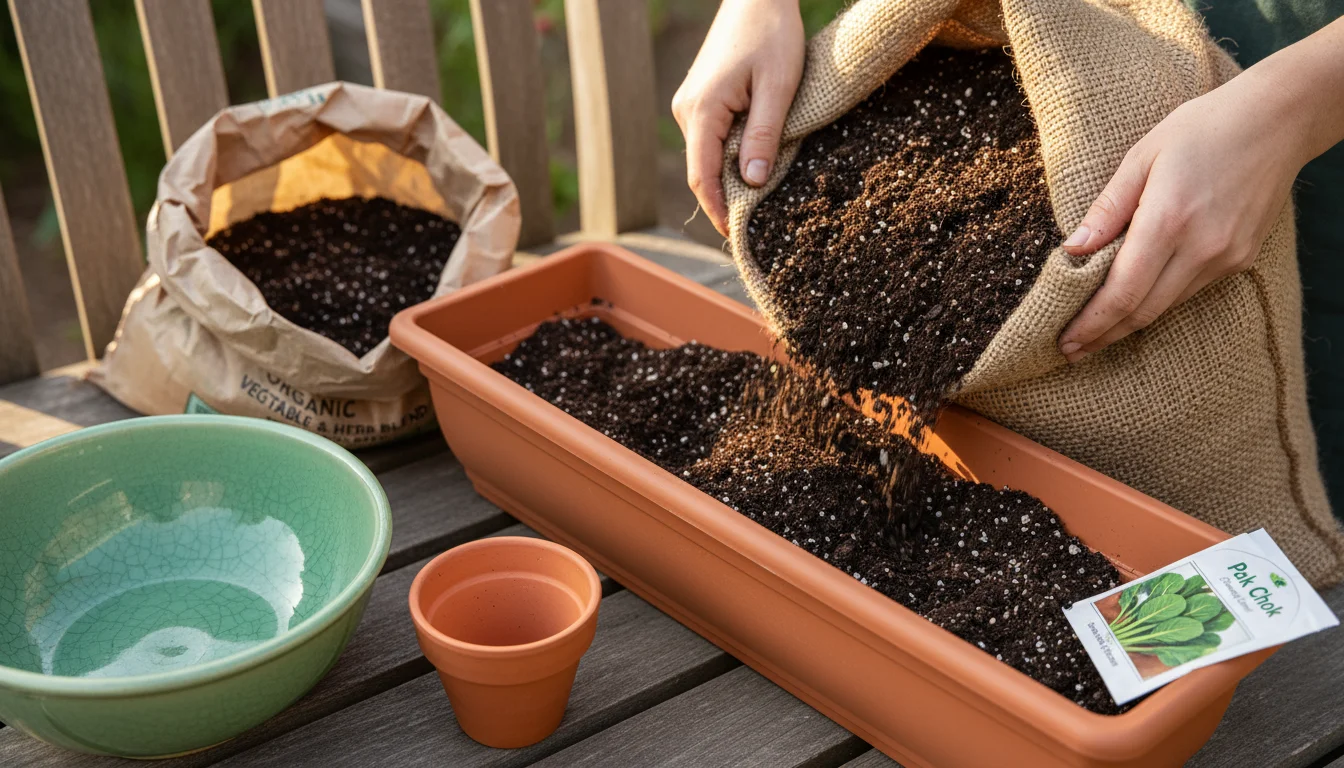
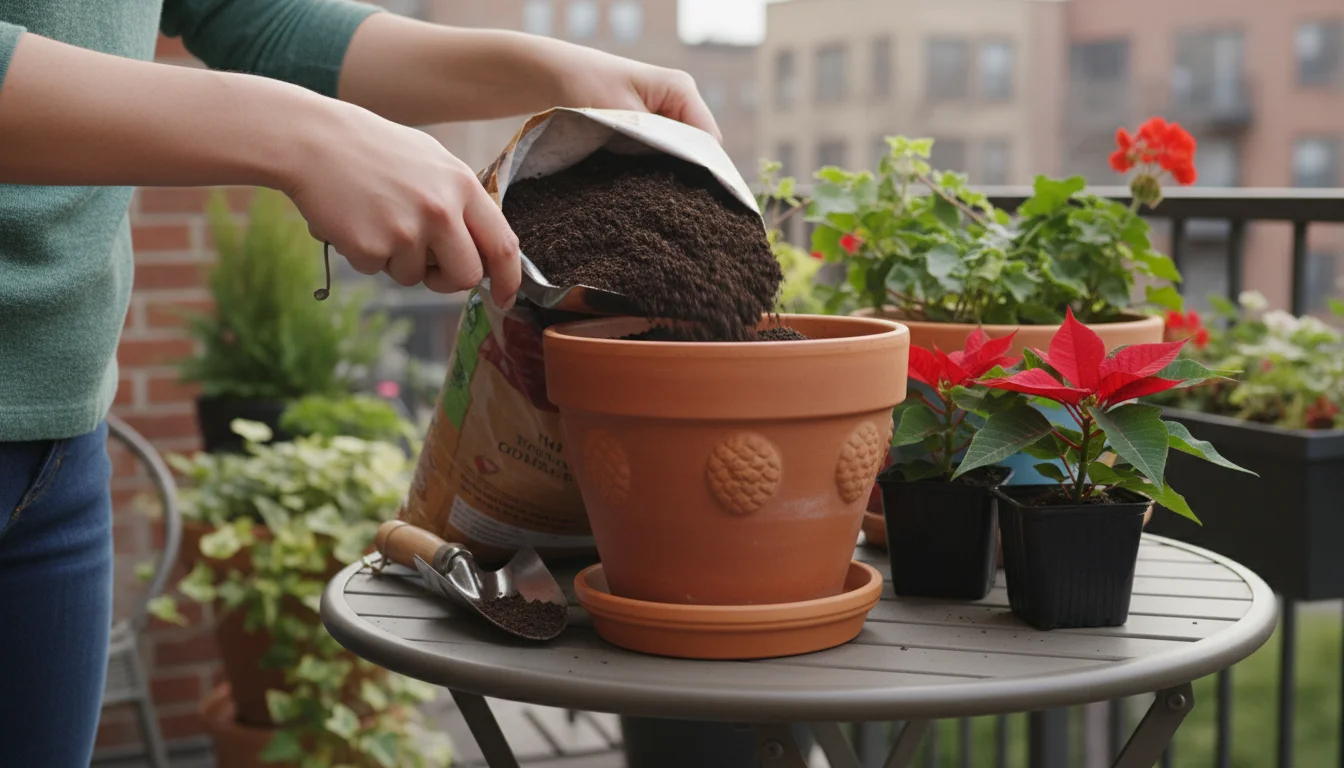
Selecting the Perfect Soil
Garden soil from your yard is too heavy for containers. It compacts easily, restricting root growth and drainage. Instead, use a high-quality potting mix. These mixes are specifically formulated for containers, offering excellent drainage while retaining enough moisture and providing essential nutrients. Look for mixes that include components like peat moss or coco coir for moisture retention, perlite or vermiculite for aeration and drainage, and some slow-release fertilizer to give your plants a strong start. A good potting mix is the foundation for healthy plants.
Light Requirements
Fall sunlight is less intense than summer light, so most fall vegetables still appreciate a good amount of it. Aim for at least 4-6 hours of direct sunlight per day. If you have a spot that gets more, your plants will likely grow faster and produce more. Observe your space throughout the day to identify the sunniest spots for your containers. You can always move containers if the light shifts with the season.
Watering Wisely
Container plants dry out faster than garden beds. Check your soil moisture daily by sticking your finger about an inch or two into the soil. If it feels dry, it is time to water. Water thoroughly until you see water draining from the bottom of the pot. Avoid overwatering, which can lead to root rot, but also prevent the soil from drying out completely. Consistent moisture is key for healthy growth and preventing issues like bolting (when a plant prematurely produces flowers and seeds, often making the edible parts bitter), especially in pak choi.
Feeding Your Fall Crops
Potting mixes often come with some initial nutrients, but these deplete over time as your plants grow and you water them. After about 3-4 weeks, begin feeding your plants with a balanced liquid fertilizer, diluted to half strength, every 2-3 weeks. This provides the necessary nutrients for robust growth and a strong harvest.
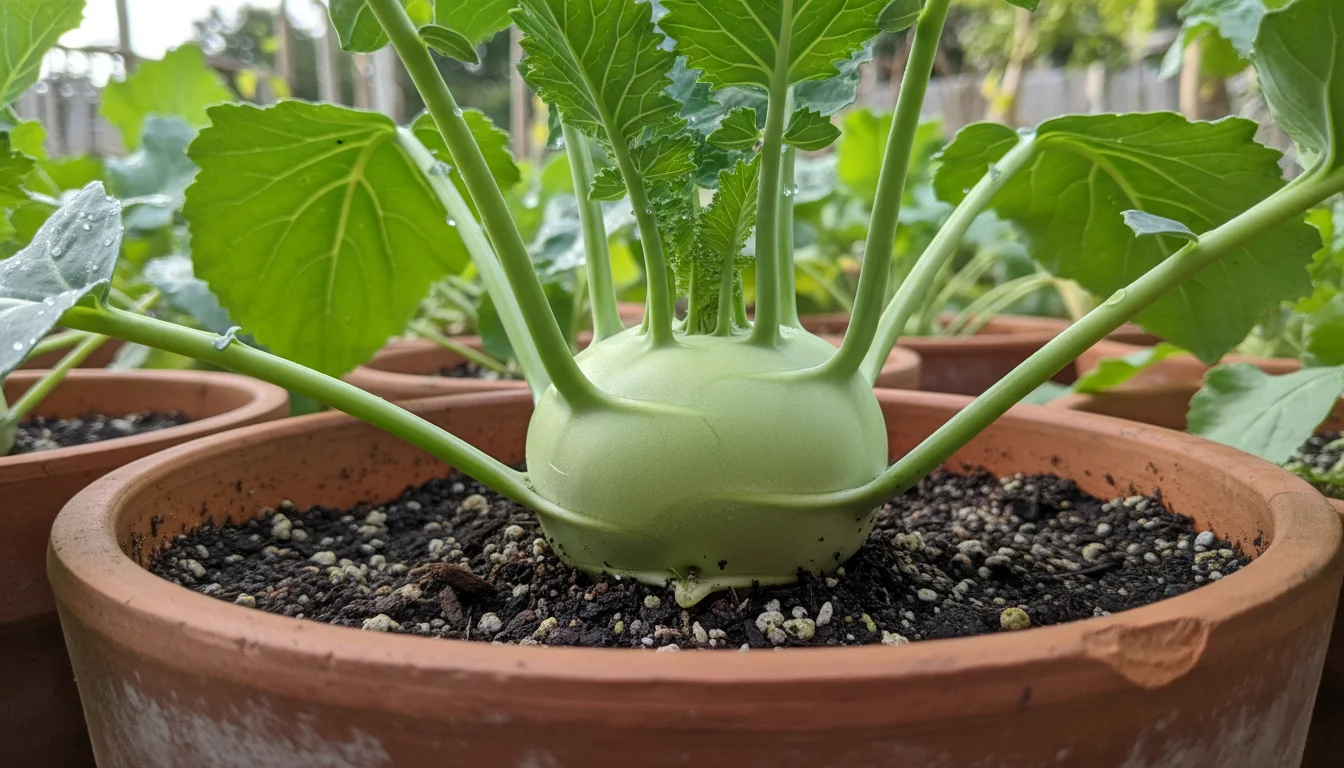
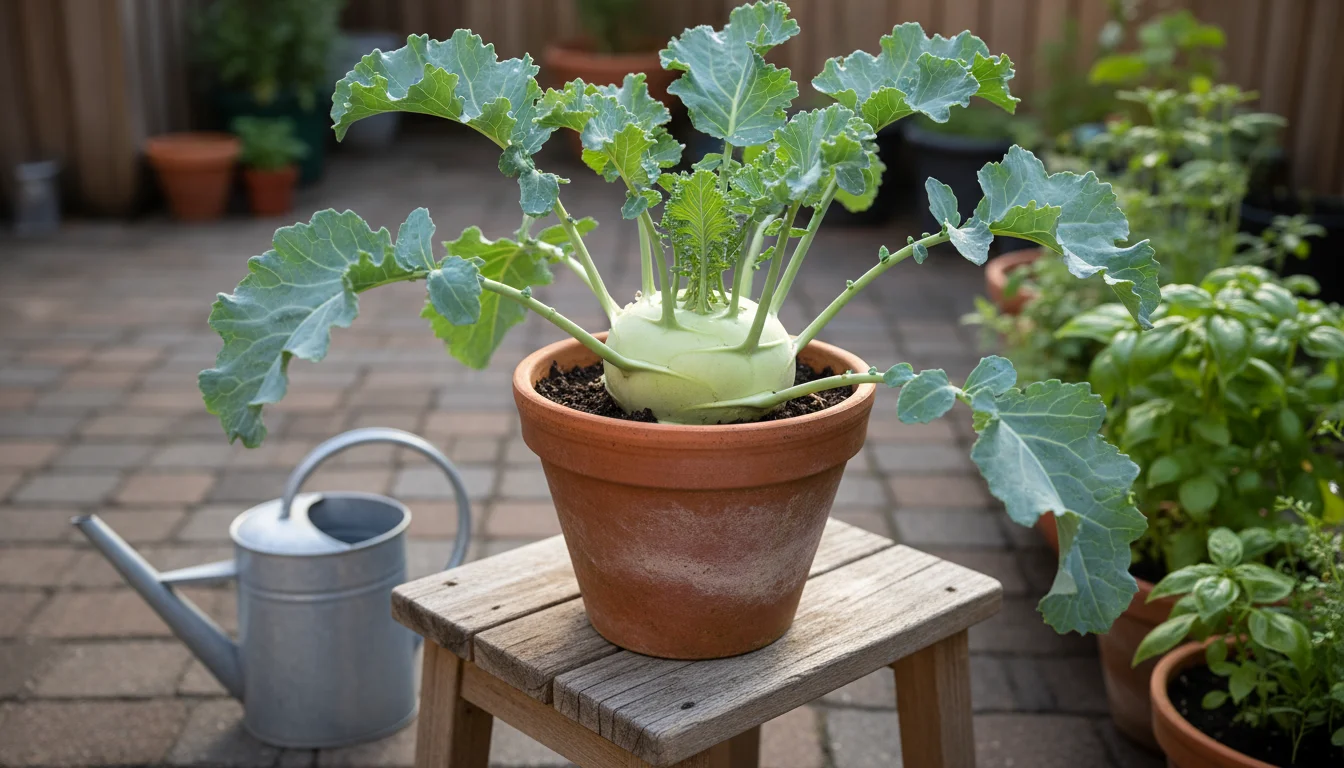
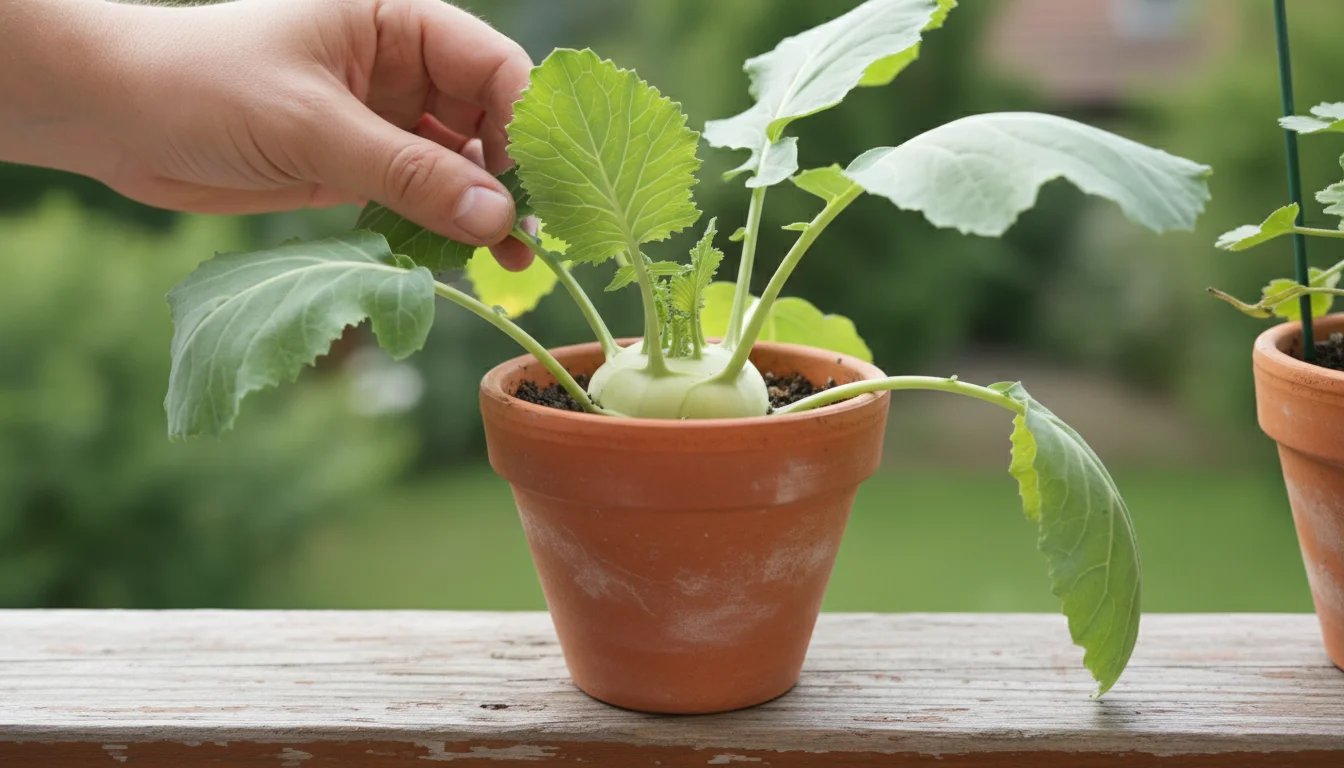
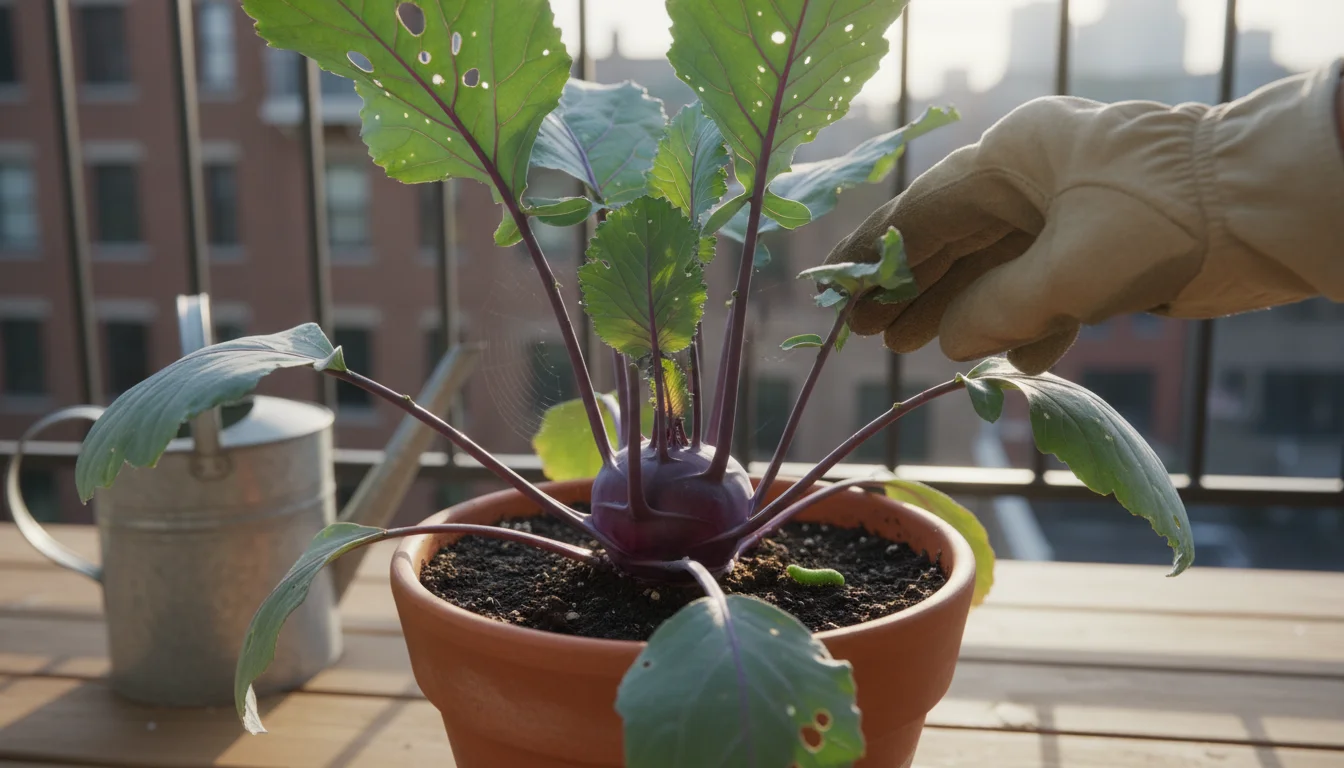
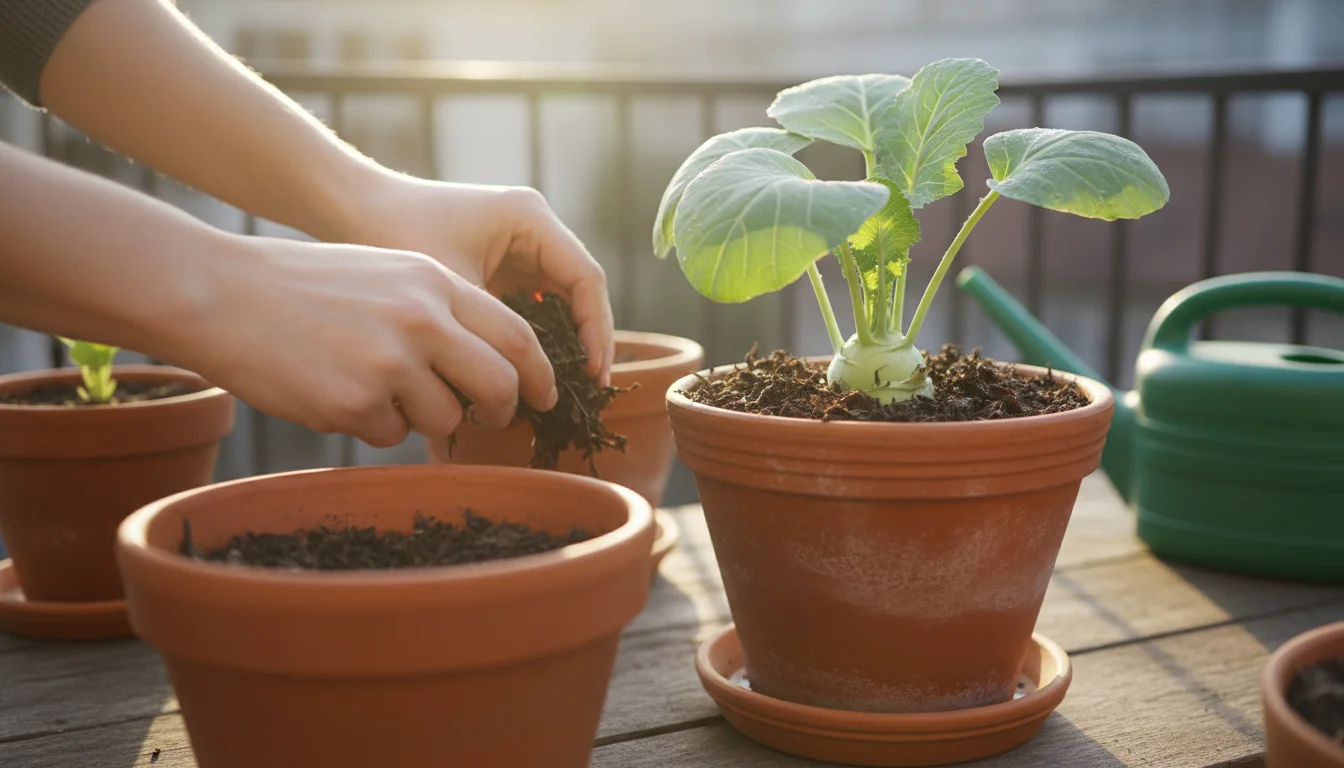
Kohlrabi: The Space-Age Cabbage for Your Pots
Kohlrabi looks like something from a sci-fi movie, with its swollen, spherical stem sitting atop the soil, sporting leafy stalks. Despite its unusual appearance, growing kohlrabi in a pot is surprisingly straightforward. It offers a crisp, mild, slightly sweet flavor, often compared to a broccoli stem or a very mild turnip, but with its own unique crunch.
For another fast grower that fits in narrow spaces, try planting fall radishes in a window box alongside your kohlrabi.
If you missed the early window, check out these last-minute crops for containers that still have time to mature.
Why Grow Kohlrabi?
Kohlrabi matures quickly, often in 45-60 days, making it an ideal choice for fall container vegetables. It tolerates light frosts, which can even sweeten its flavor. Its compact growth habit makes it perfect for small space gardening, allowing you to maximize your harvest even in limited areas.
Popular Varieties for Containers
- ‘Early Purple Vienna’: A beautiful purple-skinned variety that matures quickly.
- ‘Early White Vienna’: The classic pale green variety, very reliable.
- ‘Kossak’: A larger variety, but still manageable in a sufficiently sized container, offering a bigger harvest.
Container and Soil Preparation for Kohlrabi
Choose containers at least 8-10 inches deep and wide. A standard 2-gallon pot can comfortably hold one kohlrabi plant. If you use wider, shallower containers, ensure they are at least 8 inches deep and allow 6 inches between plants. Fill your chosen pots with a high-quality, well-draining potting mix.
Planting Kohlrabi: Step-by-Step
- Start Seeds Indoors (Optional): For an earlier start, sow seeds indoors 4-6 weeks before your desired outdoor planting date. Plant seeds 1/4 inch deep in seed-starting mix.
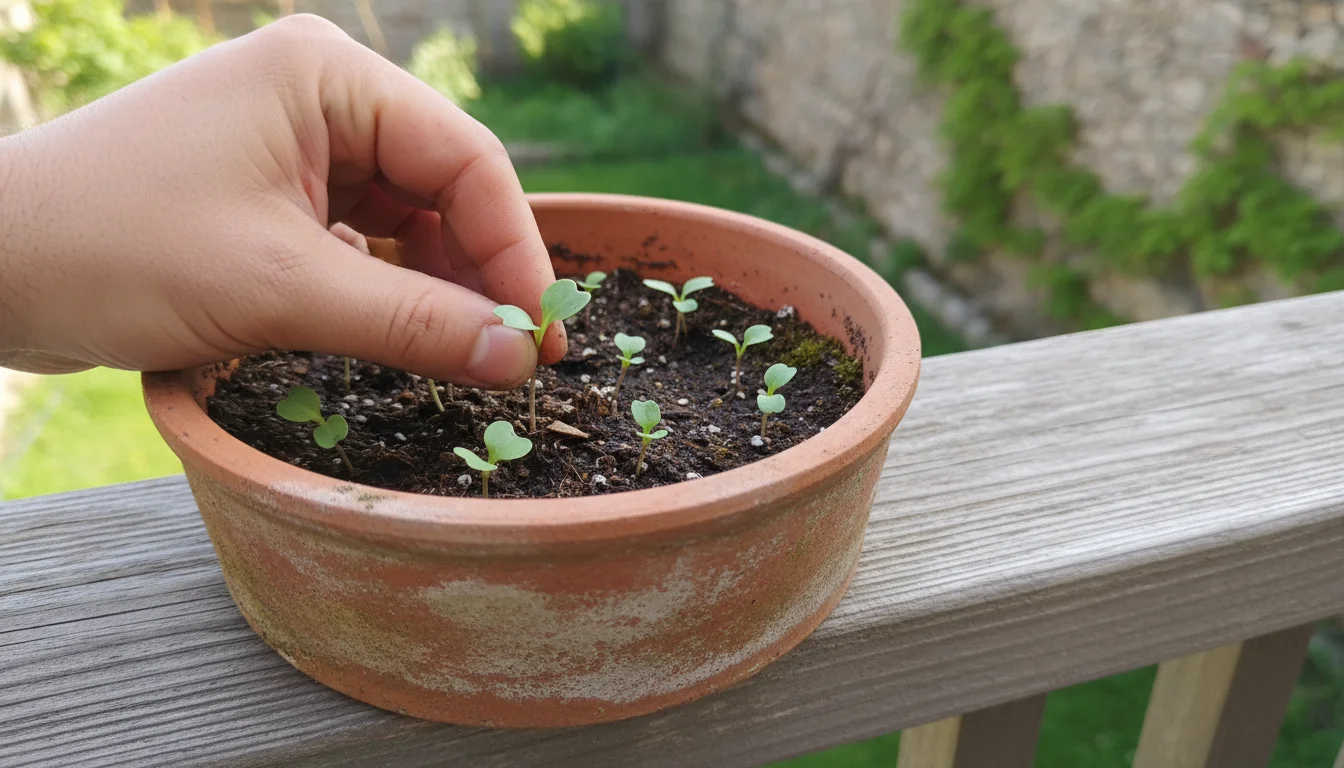
- Direct Sow Outdoors: In fall, direct sow seeds into your prepared containers 1/4 to 1/2 inch deep, spacing them about 2-3 inches apart.
- Thin Seedlings: Once seedlings emerge and have their first set of true leaves, thin them to 6 inches apart. This gives each plant enough room to develop its characteristic swollen stem.
- Transplant (If started indoors): Gently transfer seedlings into their permanent containers, ensuring you do not disturb the roots too much. Plant at the same depth they were growing in their seed tray.
Kohlrabi Care and Maintenance
- Watering: Keep the soil consistently moist. Inconsistent watering can lead to woody, tough bulbs.
- Fertilizing: Begin feeding with a balanced liquid fertilizer every two weeks once the plant establishes, following package directions.
- Sunlight: Provide at least 4-6 hours of direct sunlight.
- Pest Watch: Keep an eye out for common brassica pests like cabbage worms. Hand-picking or using an organic insecticidal soap can manage these.
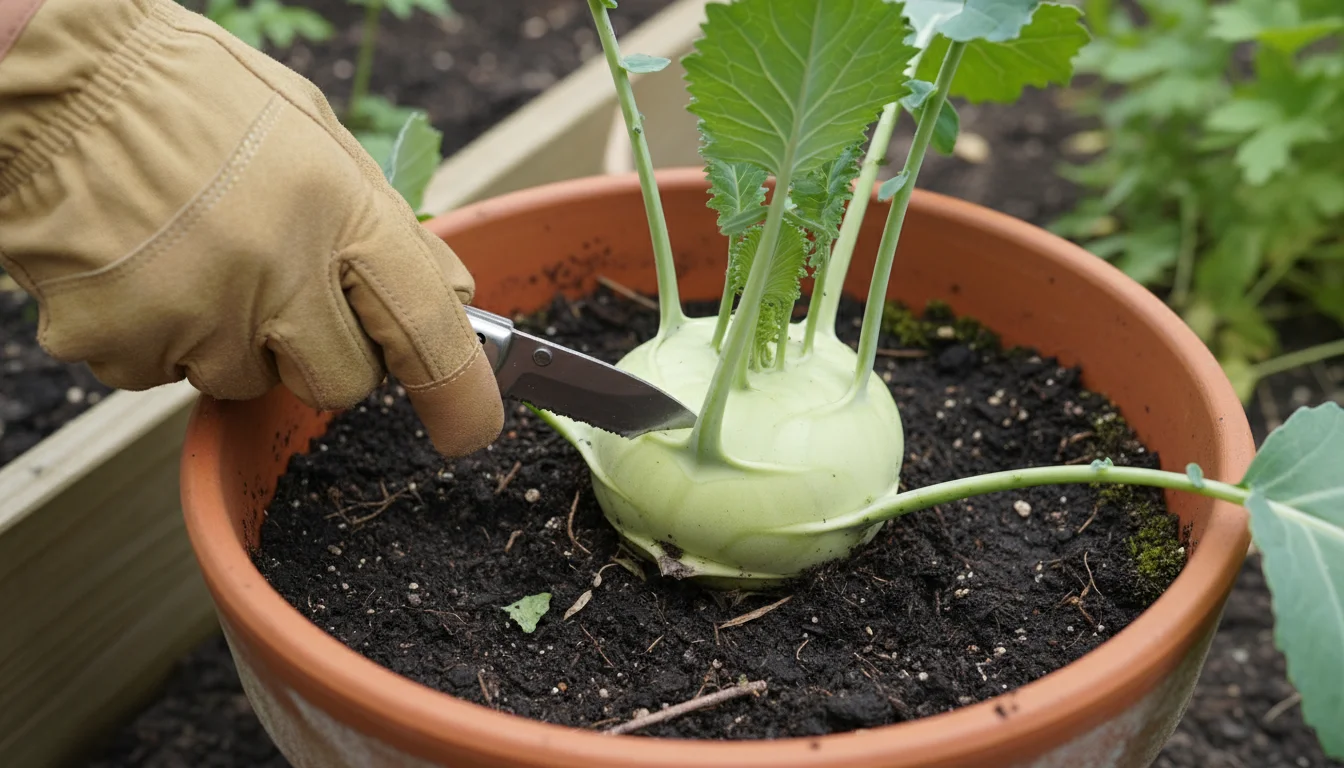
Harvesting Kohlrabi
Harvest kohlrabi when the swollen stem reaches 2-4 inches in diameter. At this size, it is most tender and flavorful. Use a sharp knife to cut the stem at the base of the plant, just above the soil line. You can also harvest the young leaves, which taste similar to collard greens or kale, for an added bonus. Smaller kohlrabi is typically more tender; larger ones can become woody.
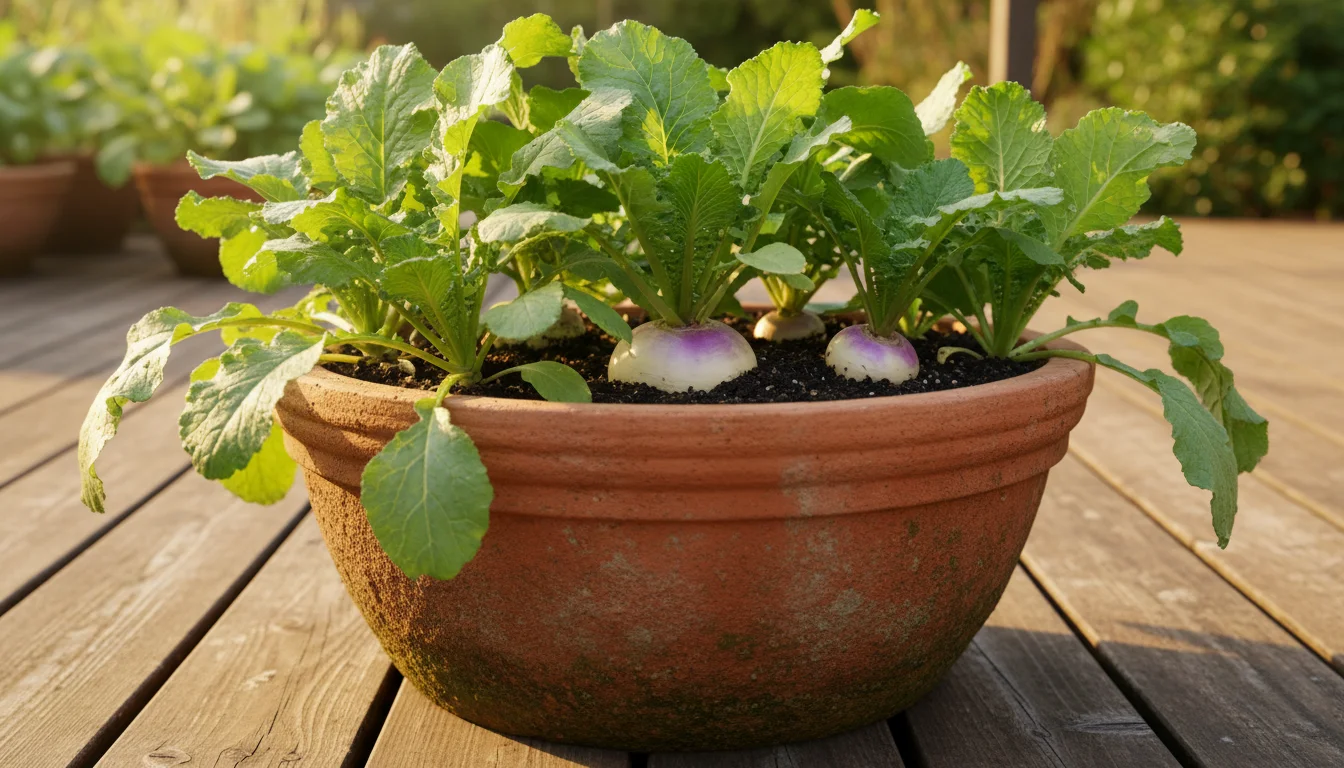
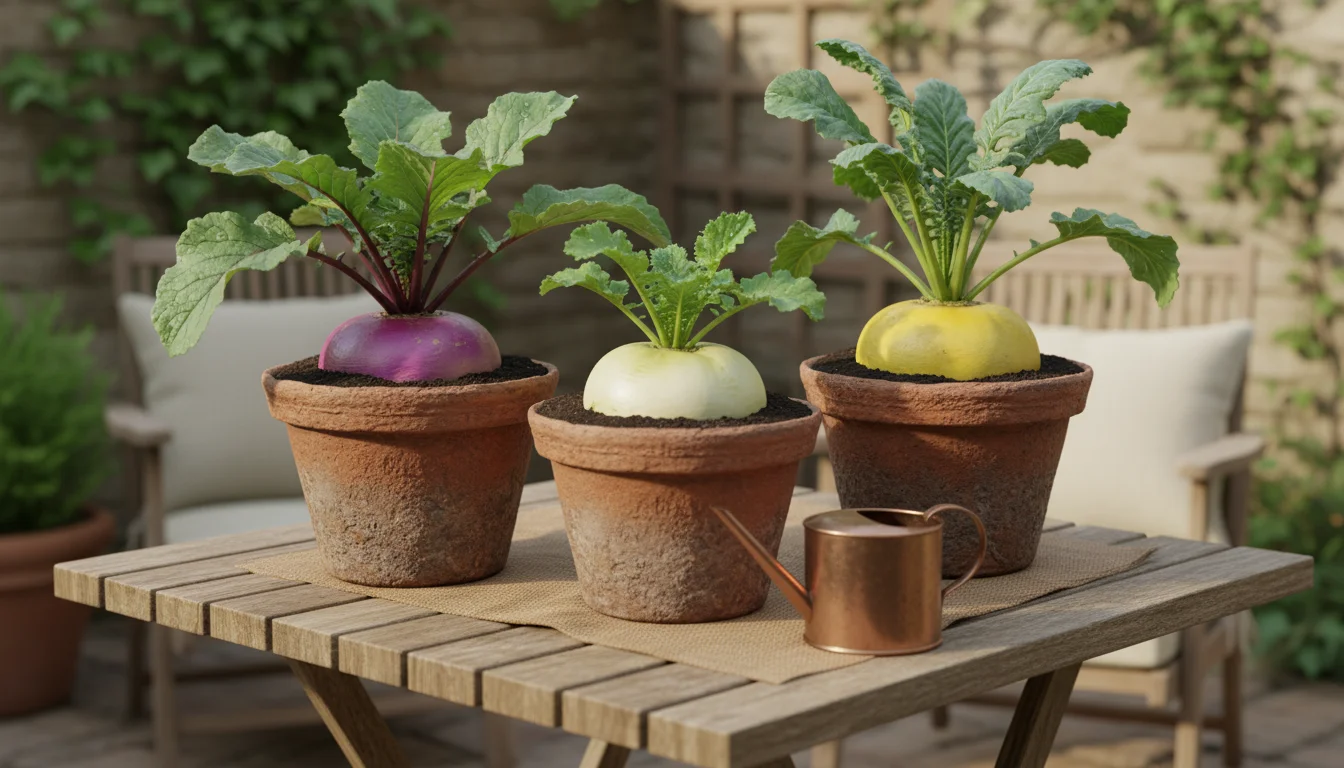
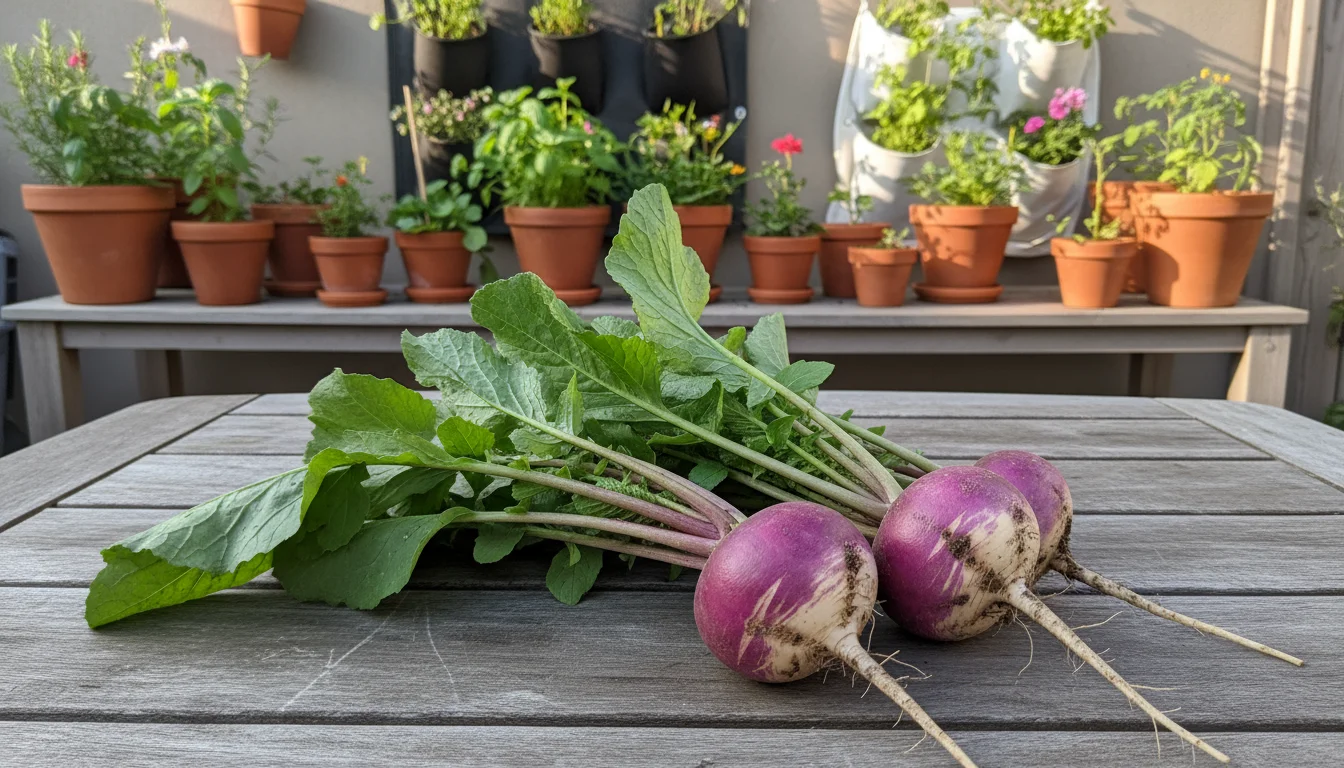
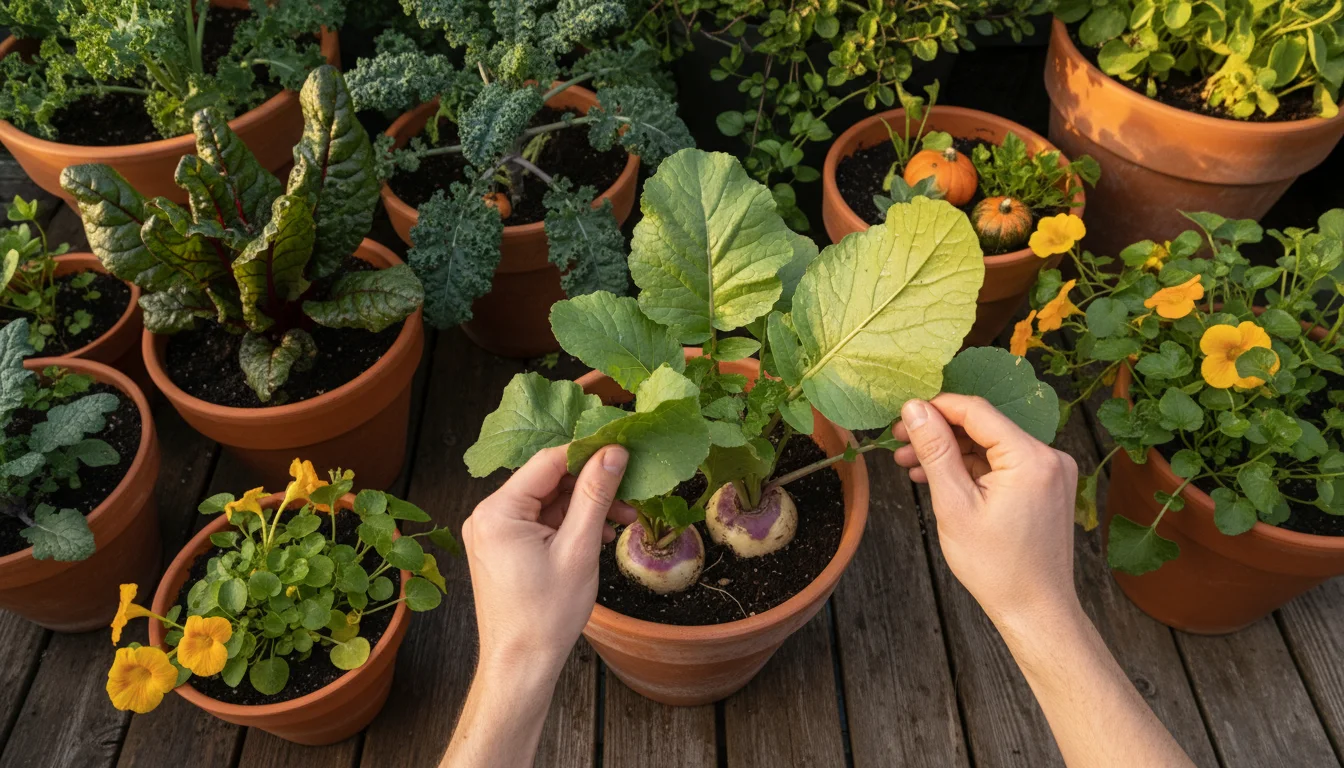
Turnips: Roots and Greens, a Double Delight in Containers
Turnips are incredibly versatile fall container vegetables, offering both nutritious roots and flavorful greens. Often overlooked, these easy fall vegetables for beginners thrive in cool weather and provide a quick harvest. The roots have a peppery, slightly sweet flavor, while the greens are similar to mustard greens or collards.
Why Grow Turnips?
Turnips are fast growers, ready for harvest in 30-60 days depending on whether you are harvesting greens or roots. They tolerate light frost, enhancing their sweetness. Their dual-purpose nature, providing both root and leafy greens, makes them highly efficient for small space gardening.
Popular Varieties for Containers
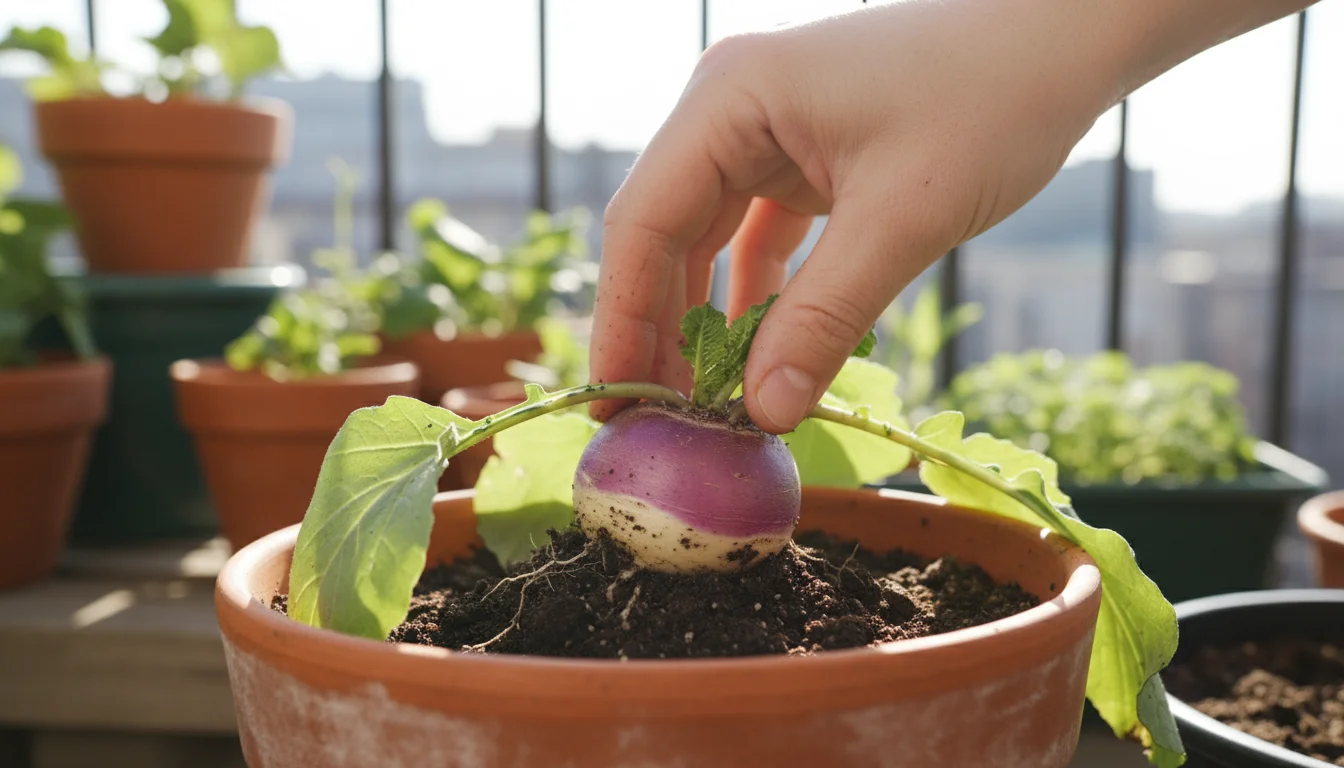
- ‘Purple Top White Globe’: The classic turnip, known for its distinctive purple shoulders and sweet white flesh.
- ‘Hakurei’ (Tokyo Market Turnip): A smaller, very tender, and sweet white turnip, often eaten raw, excellent for containers.
- ‘Seven Top’: Grown specifically for its greens, though it will produce small roots.
Container and Soil Preparation for Turnips
Turnips need consistent moisture and enough room for their roots to develop. Choose containers at least 10-12 inches deep and wide. A 5-gallon fabric pot or a window box can work well for multiple plants. Ensure good drainage. Fill your containers with a rich, well-draining potting mix.

Planting Turnips: Step-by-Step
- Direct Sow: Turnips do not transplant well, so direct sowing is best. Plant seeds 1/2 inch deep, spacing them about 1 inch apart in rows or a grid pattern.
- Water Gently: After sowing, gently water the soil to settle the seeds.
- Thin Seedlings: Once seedlings emerge and are a few inches tall, thin them. For root production, thin to 4-6 inches apart. For greens, you can thin to 2-3 inches apart and enjoy the thinnings in salads.
Turnips are a great example of a plant that performs well in the cooler temperatures of fall, which helps them develop their characteristic flavor without becoming woody or overly pungent. Their ability to produce edible roots and greens makes them an economical and satisfying choice for your small garden.
Turnip Care and Maintenance
- Watering: Maintain consistent soil moisture. Dry spells can cause roots to become tough or cracked.
- Fertilizing: Apply a balanced liquid fertilizer every 2-3 weeks, especially if you are harvesting both greens and roots.
- Sunlight: Provide 4-6 hours of direct sunlight daily.
- Weed Control: Though less of an issue in containers, remove any weeds that compete for nutrients and water.
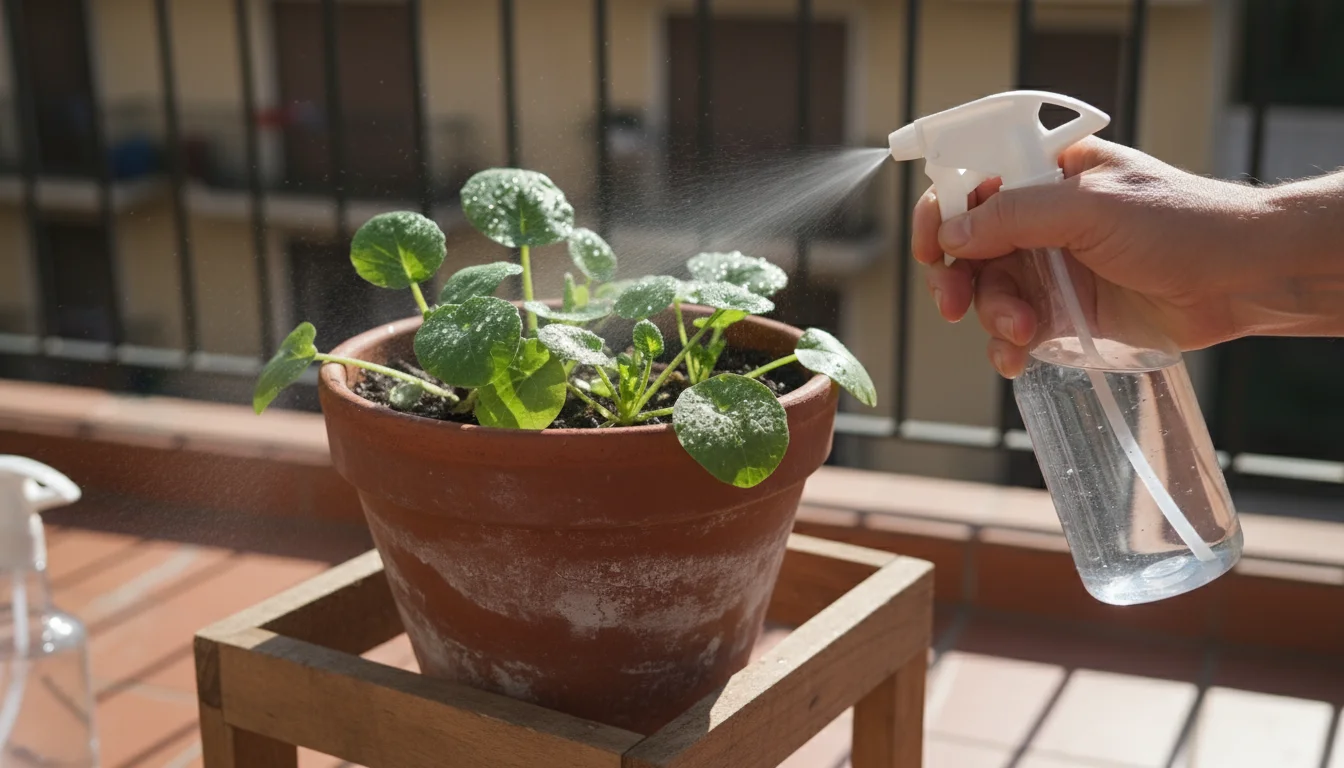
- Pest Watch: Watch for flea beetles or aphids. A strong spray of water can dislodge aphids, and protective row covers can deter flea beetles.
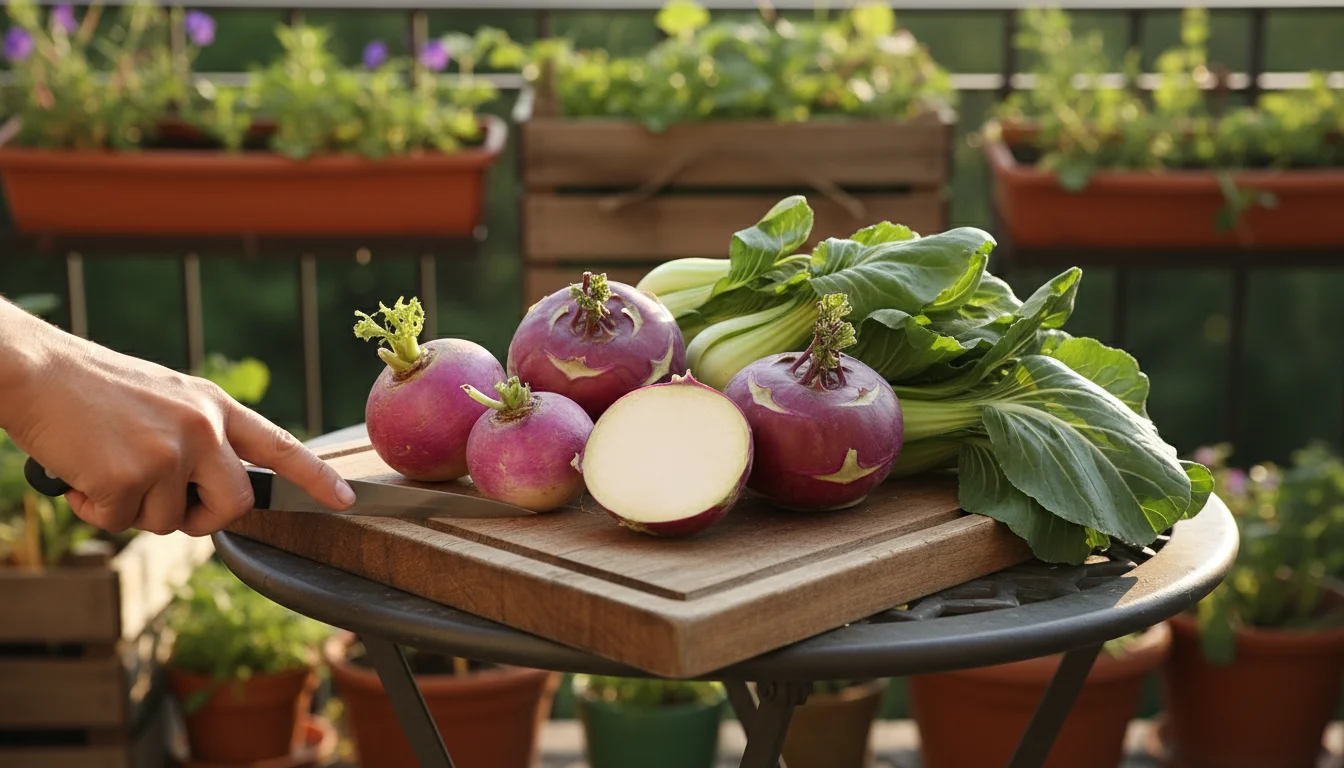
Harvesting Turnips
You can start harvesting turnip greens when they are 4-6 inches tall. Simply snip the outer leaves, allowing the inner leaves to continue growing. For roots, harvest when they are 2-3 inches in diameter. Pull the entire plant from the soil. The smaller roots are generally more tender and sweeter. Do not let them get too large, or they can become woody and bitter.
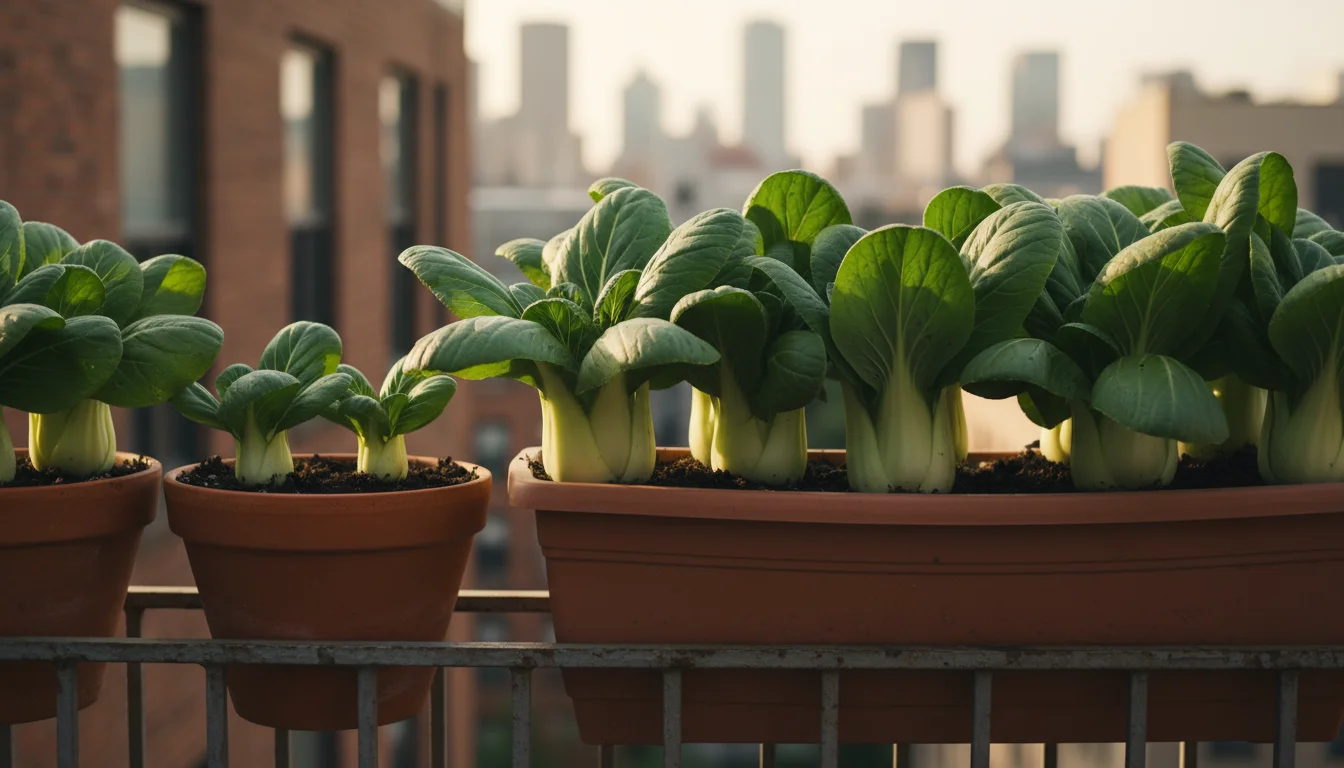
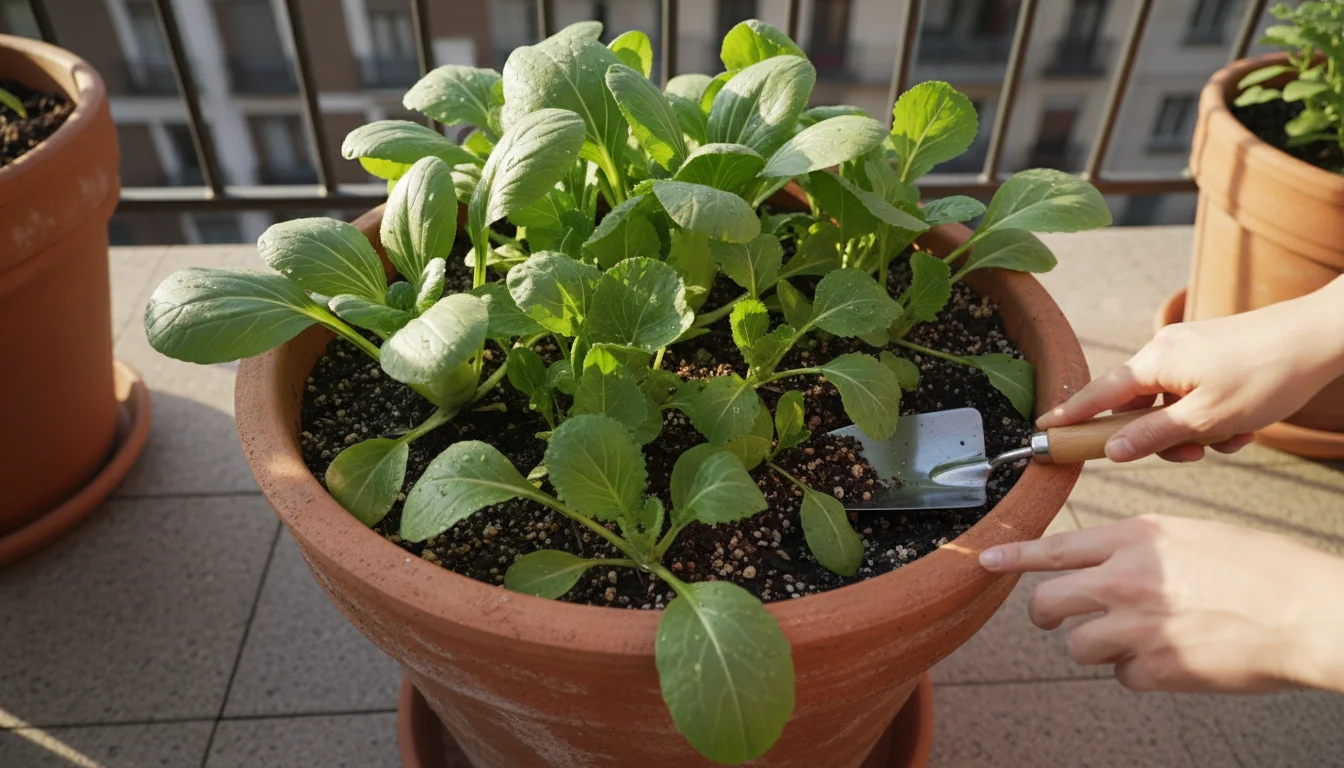
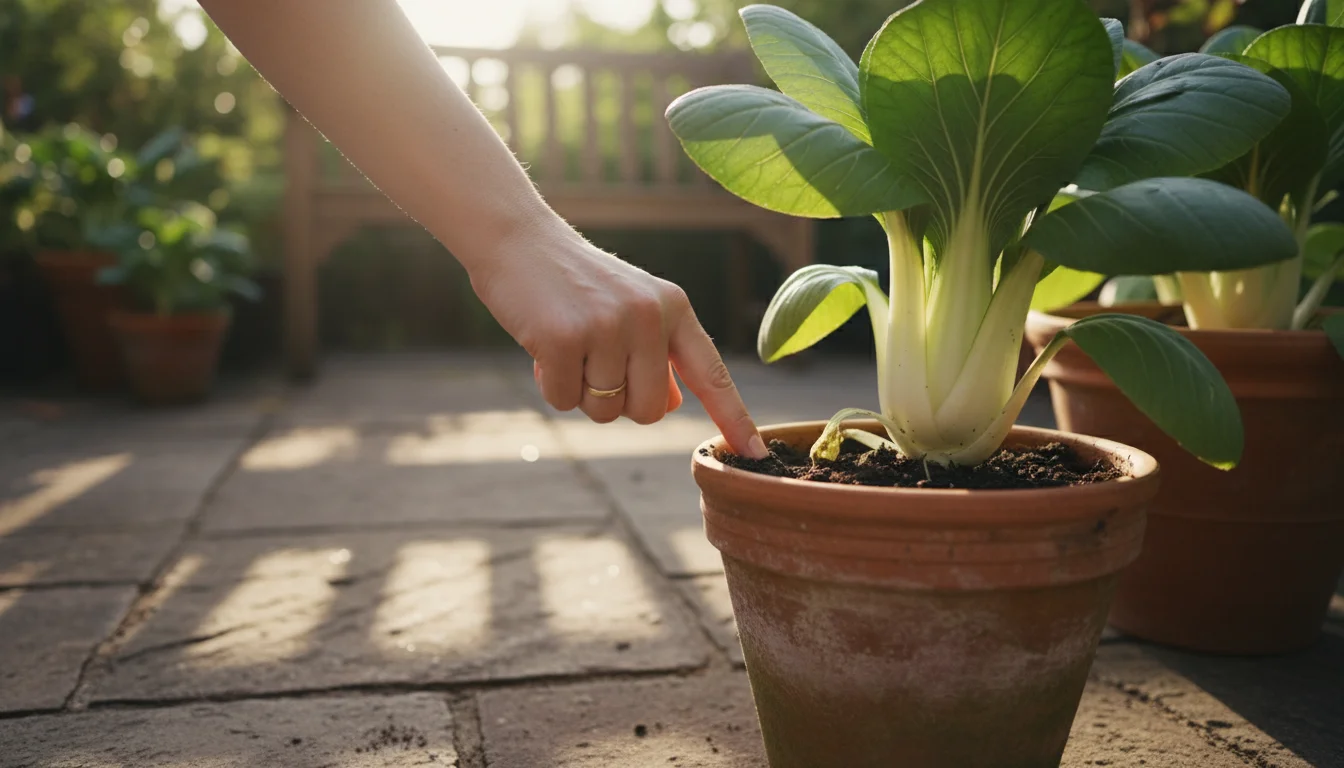
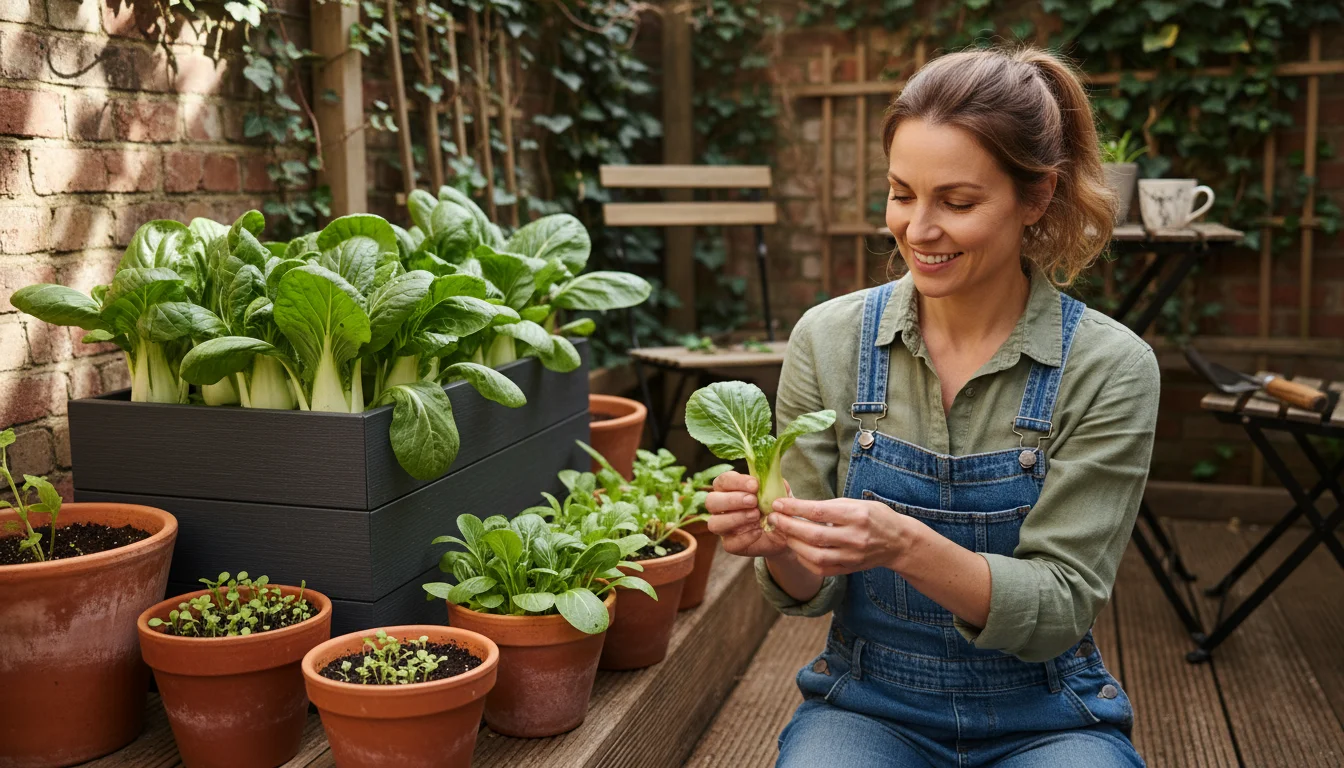
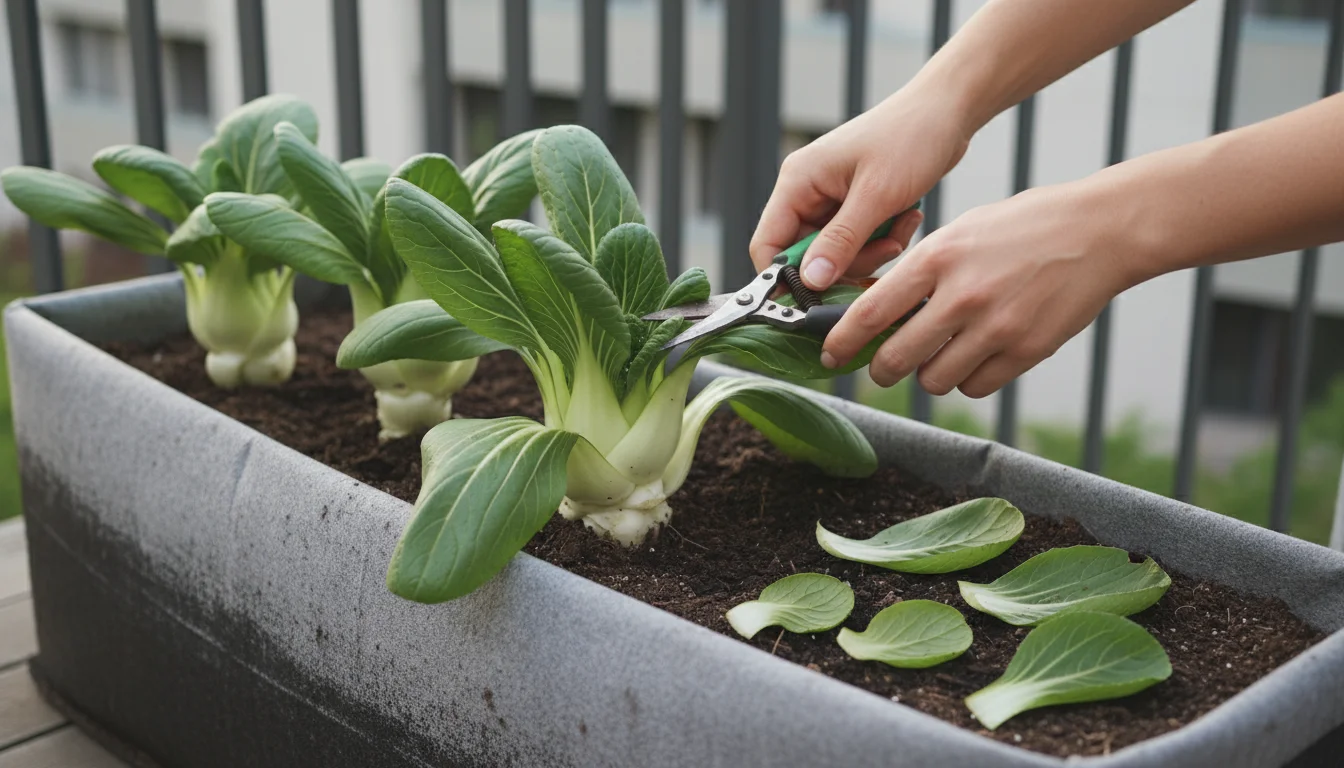
Pak Choi: The Speedy Asian Green Perfect for Balconies
Pak choi, also known as bok choy, is a fast-growing, tender Asian green perfect for how to grow pak choi on a balcony or any small space. It has crisp white stalks and dark green leaves, offering a mild, slightly sweet, and peppery flavor. It cooks quickly and adds wonderful texture to stir-fries, soups, or can be eaten fresh.
Why Grow Pak Choi?
Pak choi is incredibly quick to mature, often ready in 30-45 days for baby pak choi and 45-60 days for full-sized heads. This rapid turnaround allows for multiple succession plantings, giving you a continuous harvest. It thrives in cool fall temperatures, which prevents it from bolting prematurely, a common problem in warmer weather. This makes it an ideal choice for fall container vegetables and for anyone seeking easy fall vegetables for beginners.
Popular Varieties for Containers
- ‘Joi Choi’: A popular standard pak choi with broad, white stalks.
- ‘Baby Choi’: A compact variety perfect for small containers and quick harvests.
- ‘Tatsoi’: A related Asian green with spoon-shaped leaves that forms a compact rosette, also excellent for containers and cool weather.
Container and Soil Preparation for Pak Choi
Pak choi has a relatively shallow root system, making it well-suited for various container sizes. You can use window boxes, wide shallow bowls, or individual pots. Aim for containers at least 6-8 inches deep for full-sized plants, and 4-6 inches for baby pak choi. Ensure adequate drainage. Fill your containers with a light, fertile, well-draining potting mix.
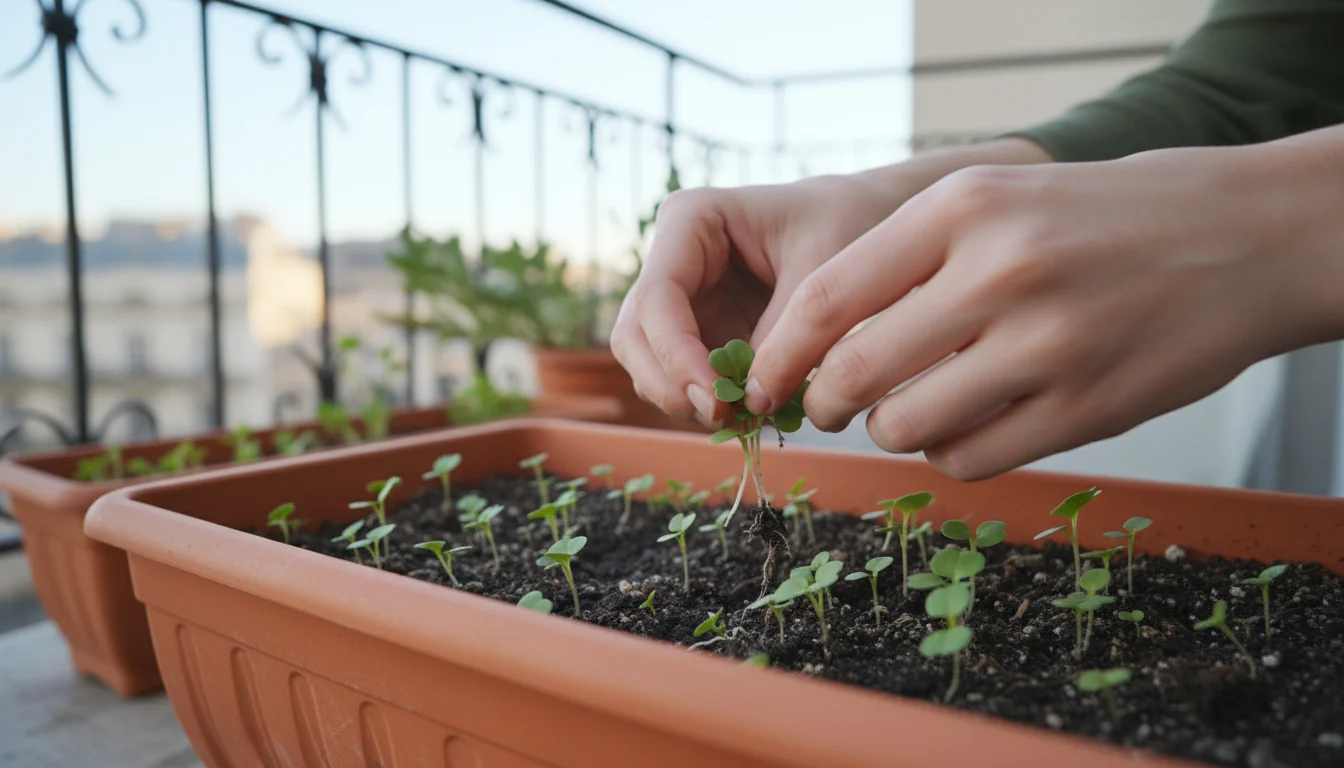
Planting Pak Choi: Step-by-Step
- Direct Sow: Pak choi seeds are tiny. Sow them about 1/4 inch deep and 1 inch apart.
- Water Gently: Lightly water the soil after sowing.
- Thin Seedlings: Once seedlings develop a few true leaves, thin them. For baby pak choi, thin to 4-6 inches apart. For full-sized heads, thin to 8-10 inches apart. You can eat the thinnings in salads.
Pak Choi Care and Maintenance
- Watering: Consistent moisture is crucial for pak choi. Allow the top inch of soil to dry slightly between waterings, but avoid letting it dry out completely. Drought stress can cause bolting and bitterness.
- Fertilizing: Feed every 2-3 weeks with a balanced liquid fertilizer, especially if you plan multiple harvests from the same plant.
- Sunlight: Pak choi prefers 3-5 hours of direct sunlight, especially in warmer fall climates. In cooler areas, it can handle more sun. It benefits from some afternoon shade if fall days are still warm.
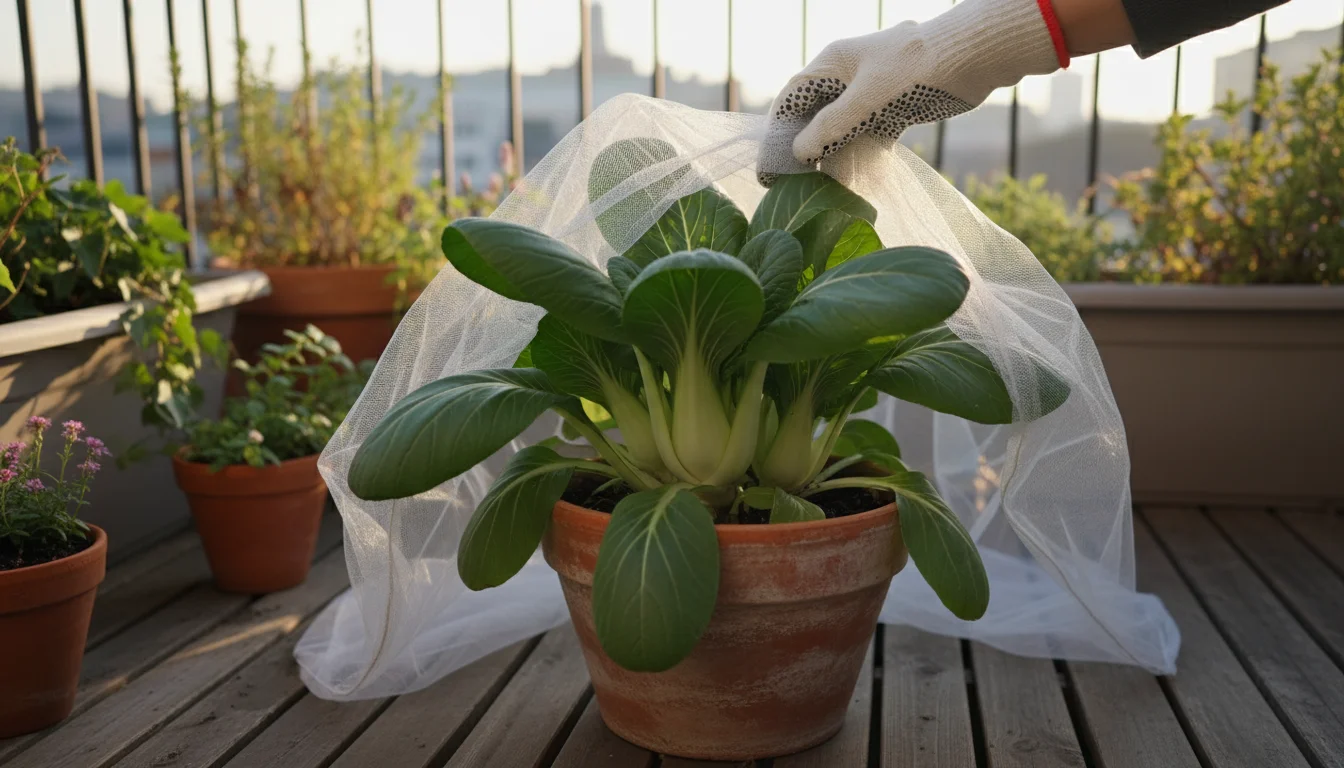
- Pest Watch: Slugs, snails, and flea beetles can be issues. Use organic slug baits, hand-pick pests, or use fine mesh covers to protect young plants.
Harvesting Pak Choi
You can harvest pak choi in two ways:
- Cut-and-Come-Again: For baby leaves or a continuous harvest, snip the outer leaves when they are 4-6 inches tall, leaving the central growing point intact. The plant will produce more leaves.
- Full Head Harvest: For full heads, harvest when the plant is mature (often 6-12 inches tall, depending on variety), cutting the entire plant at the soil line.
Harvesting regularly encourages more growth and prevents the plant from bolting.
Pest and Disease Patrol: Keeping Your Fall Bounty Safe
While fall often brings fewer pest problems than summer, you still need to stay vigilant. Early detection and organic prevention are your best tools.
Common Fall Container Pests
- Aphids: Small, soft-bodied insects that cluster on new growth. They suck plant sap, causing distorted leaves. Blast them off with a strong stream of water or use insecticidal soap.
- Flea Beetles: Tiny, jumping beetles that chew small holes in leaves, giving them a “shot-hole” appearance. Use fine mesh row covers to physically block them, especially on young seedlings.
- Cabbage Worms (and other caterpillars): These green caterpillars munch holes in leaves. Hand-pick them off plants. Bacillus thuringiensis (Bt) is an organic spray that specifically targets caterpillars.
- Slugs and Snails: These slimy creatures leave ragged holes and silver trails on leaves. Set out beer traps or use organic slug baits around your containers.

Preventative Measures and Organic Solutions
- Inspect Regularly: Check your plants daily, especially the undersides of leaves, for any signs of pests or disease.
- Good Air Circulation: Space your plants adequately to ensure good air movement, which helps prevent fungal diseases.
- Cleanliness: Remove any fallen leaves or plant debris from your containers, which can harbor pests and diseases.
- Healthy Soil: Strong, healthy plants are more resilient to pest and disease attacks. Provide good soil and consistent care.
- Companion Planting (Container-Style): Consider placing containers of marigolds or nasturtiums nearby. They can deter some pests or act as trap crops.
Maximizing Your Harvest and Enjoying the Flavors
You have put in the effort, now enjoy the reward. These unusual vegetables to grow offer exciting culinary possibilities.
To keep the momentum going after your fall harvest, consider planting fava beans in pots for an early spring reward.
Staggered Planting for Continuous Harvest
Do not plant all your seeds at once. Sow a small batch of seeds every 2-3 weeks. This strategy, known as succession planting, ensures a continuous supply of fresh vegetables rather than a single large harvest. It works wonderfully for quick-growing crops like pak choi and turnips.

Culinary Delights
- Kohlrabi:
- Peel and slice it raw into salads or serve with a dip for a crunchy snack.
- Grate it into slaws.
- Roast it with other root vegetables.
- Lightly steam or stir-fry it.
- Use the young leaves like kale in sautés or smoothies.
- Turnips:
- Enjoy young, tender roots raw or lightly steamed.
- Roast larger roots with herbs.
- Mash them with potatoes.
- Sauté the greens with garlic and a splash of vinegar.
- Add diced roots to stews and soups.
- Pak Choi:
- Quickly stir-fry with garlic and ginger.
- Add to miso soup or other brothy dishes.
- Steam and serve with a drizzle of sesame oil.
- Use young leaves in fresh salads.
Eco-Friendly Practices for a Sustainable Container Garden
Your small space garden can also be a model of environmental consciousness. Incorporate these sustainable practices into your routine.
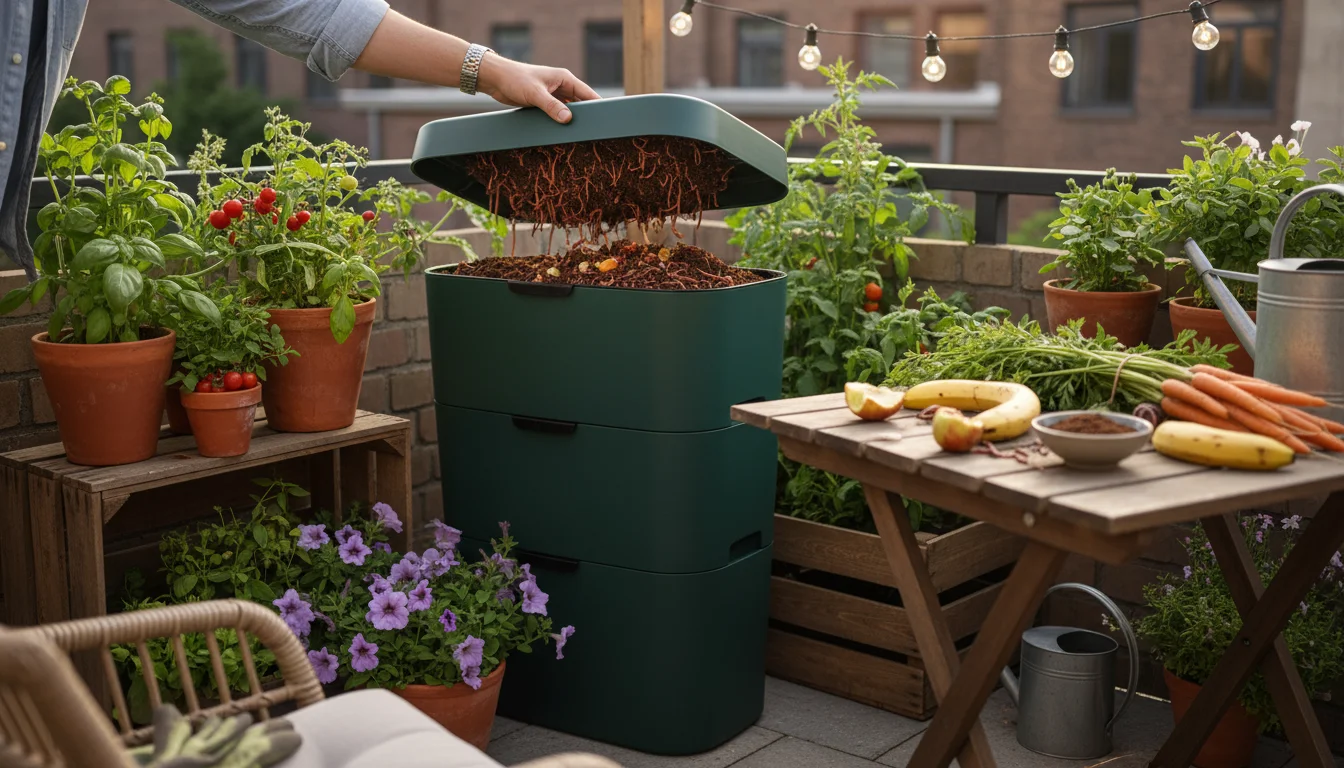
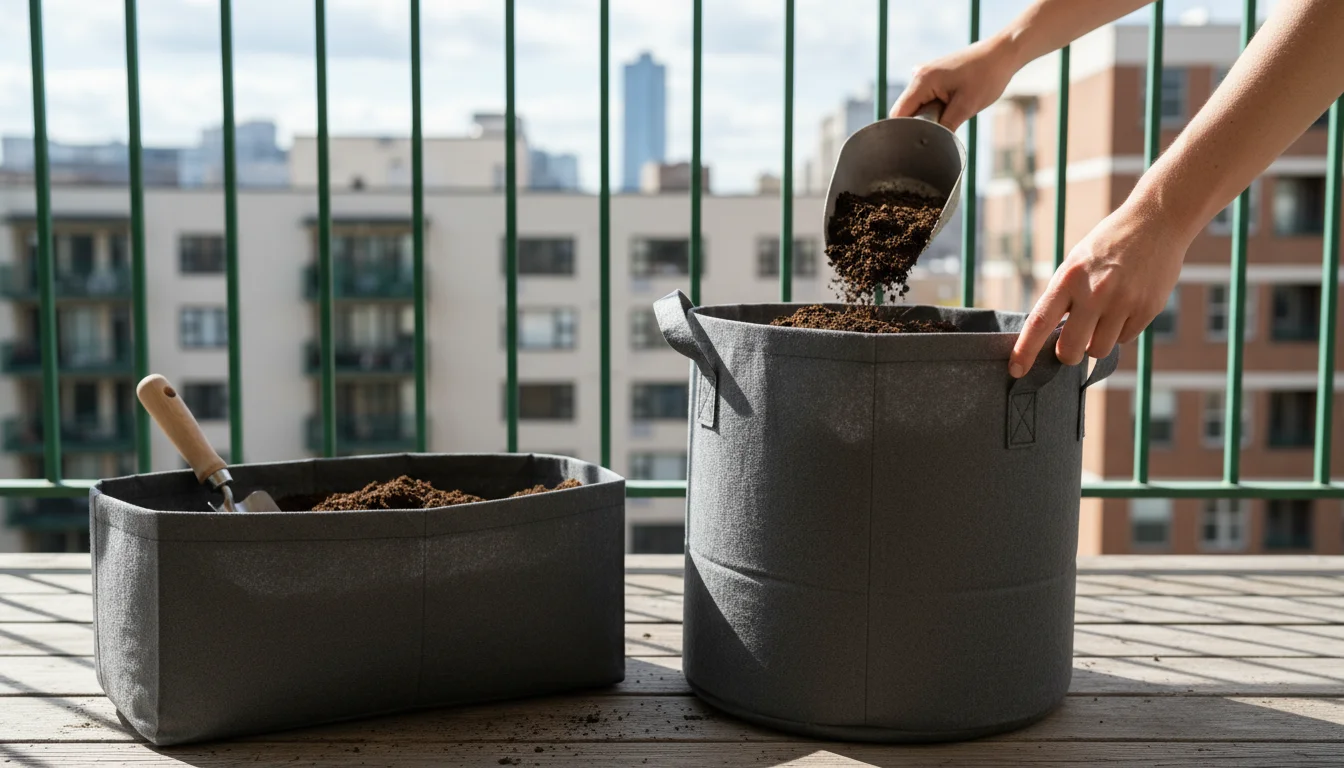
Composting (Even in a Small Space)
You do not need a sprawling compost pile to compost. A small countertop compost bin or a worm bin can process kitchen scraps and plant trimmings, turning them into nutrient-rich compost. Use this “black gold” to amend your potting mix next season, enriching the soil naturally and reducing waste. Many local municipalities also offer composting programs or drop-off points for organic waste.
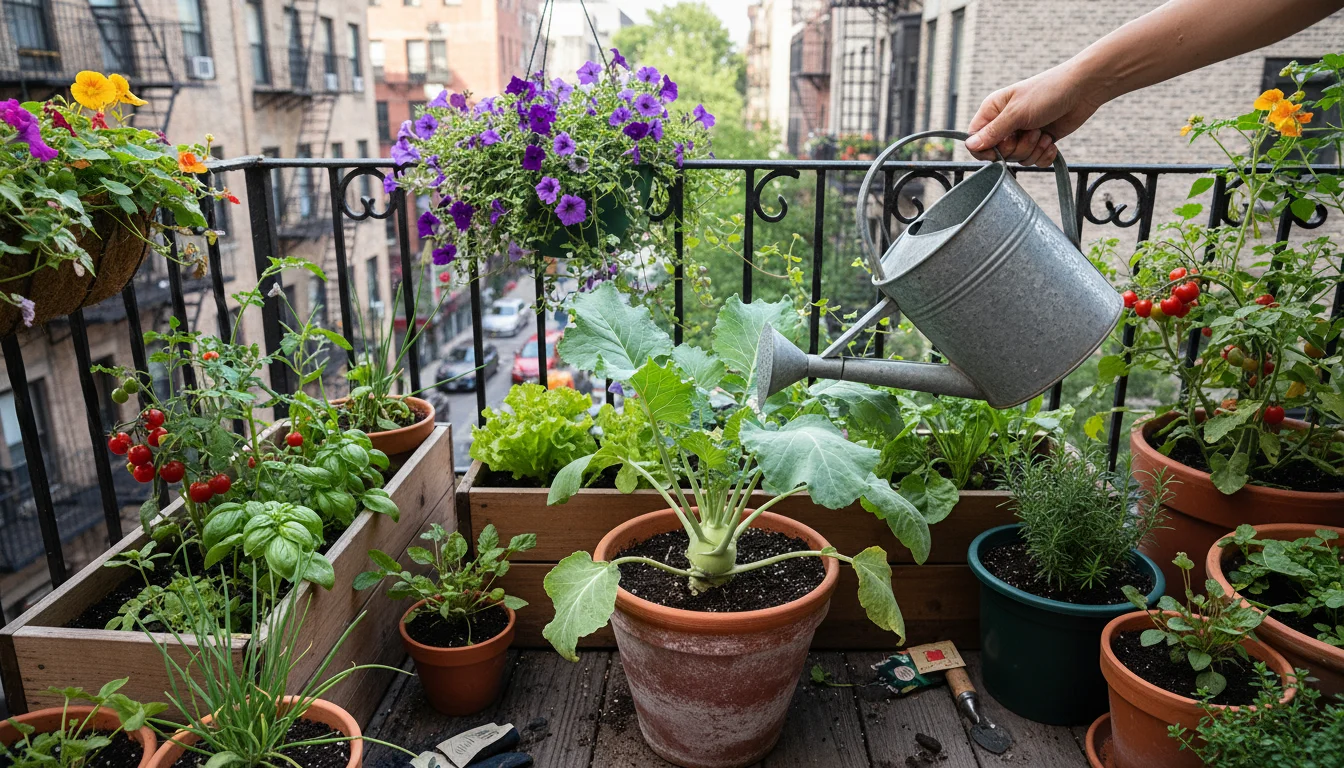
Water Conservation
Water is a precious resource. Implement smart watering techniques:
- Use a Watering Can with a Fine Rose: This delivers water gently and precisely, reducing runoff and evaporation.
- Water in the Morning: Watering early in the day allows plants to absorb water before the sun gets too strong, minimizing evaporation.
- Mulch Containers: A thin layer of shredded leaves, straw, or wood chips on the soil surface in your containers helps retain moisture, suppresses weeds, and regulates soil temperature.
- Consider Self-Watering Planters: These containers have a reservoir at the bottom, wicking water up to the plants as needed, reducing watering frequency.
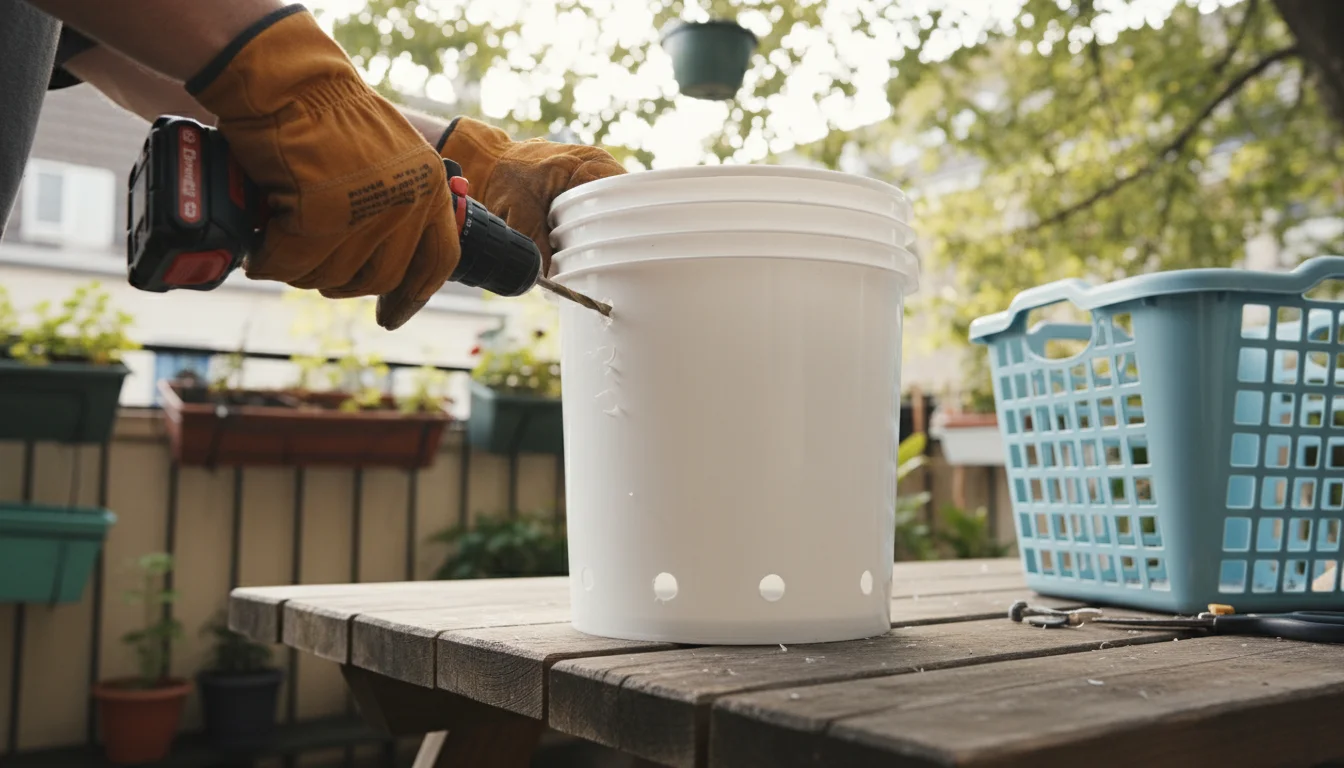
Reusing and Repurposing Materials
Look around your home for potential containers. Old laundry baskets, sturdy buckets, or even large food-grade tubs can be repurposed into planters. Just ensure you clean them thoroughly and drill ample drainage holes. You are giving materials a second life and saving money.
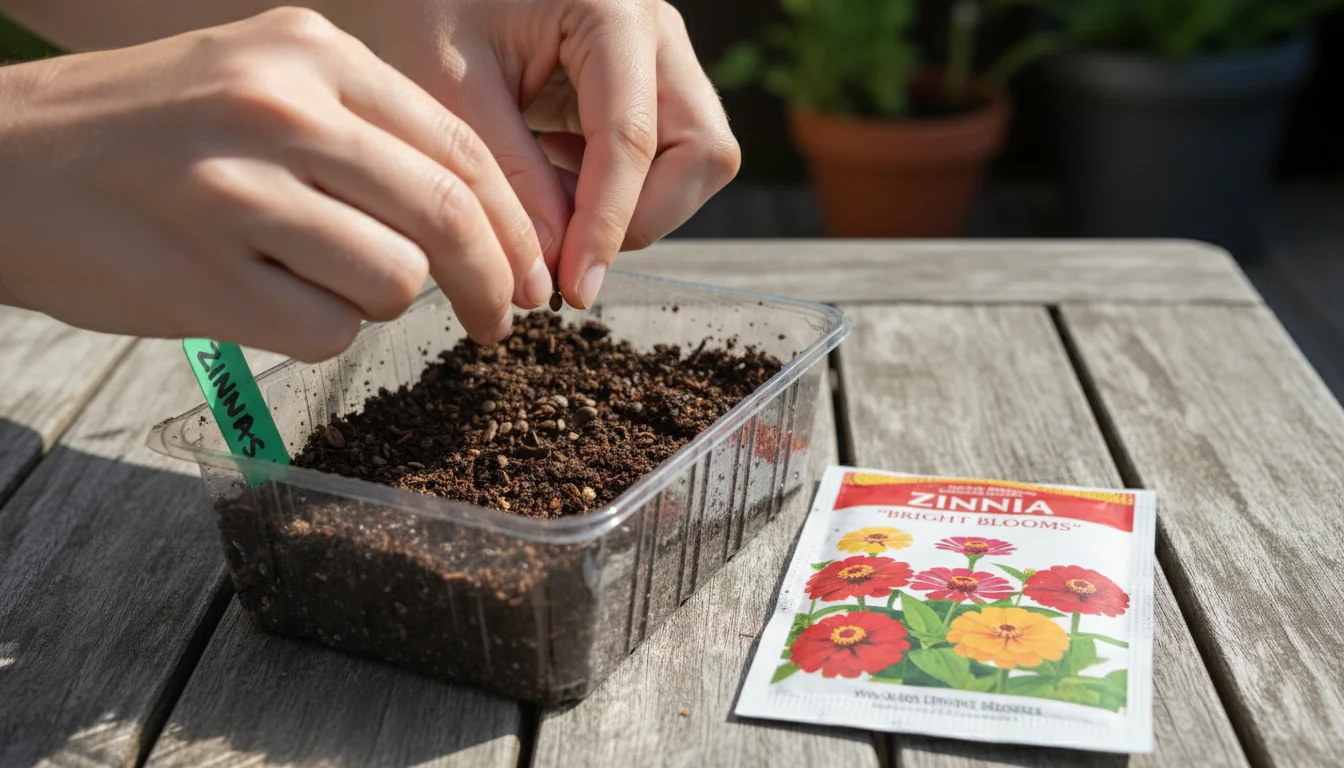
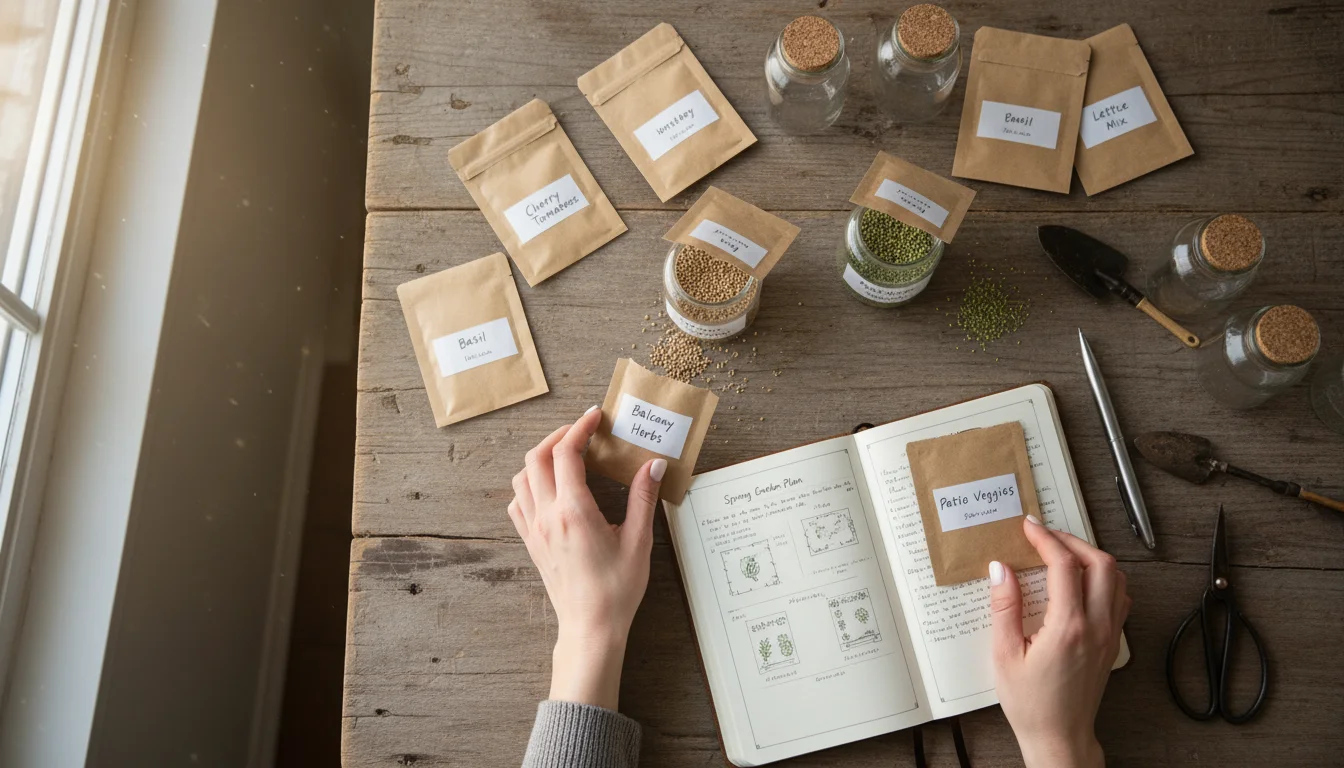
Growing from Seed
Starting from seed is generally more environmentally friendly than buying seedlings from a nursery, as it often reduces packaging and transportation costs. Plus, seeds offer a much wider variety of choices, allowing you to experiment with many unusual vegetables to grow.
Frequently Asked Questions
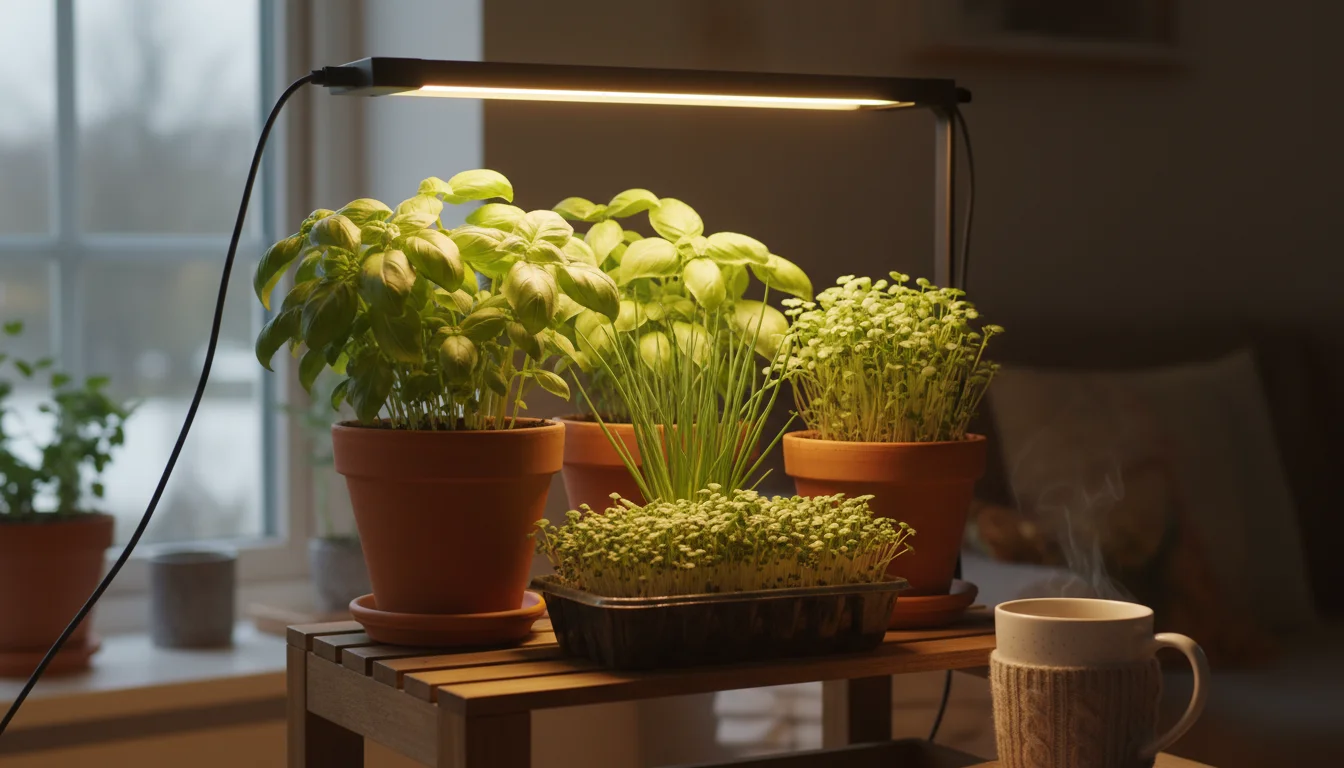
Can I grow these vegetables indoors?
You can, but it is challenging. They require significant light, often more than a typical window provides in fall. You would likely need supplemental grow lights to succeed indoors. While some greens can tolerate lower light, root crops like kohlrabi and turnips need strong light to develop properly.
What happens if there is an early, hard frost?
Light frosts actually improve the flavor of kohlrabi and turnips, making them sweeter. Pak choi is more sensitive. For all three, if a hard freeze (temperatures below 28 degrees Fahrenheit) is predicted, protect your containers. You can move them indoors temporarily, cover them with old blankets or frost cloth, or even harvest everything before the freeze hits. Container plants are more vulnerable to freezing than in-ground plants because their roots are less insulated.
Can I reuse potting mix for my next fall crop?
It is generally best to refresh your potting mix. Over time, nutrients deplete, and soil structure can break down. You can amend existing potting mix by adding fresh compost, some new potting mix, and a slow-release granular fertilizer. This revitalizes the soil for your next planting cycle. Avoid reusing potting mix if your previous plants suffered from disease, as pathogens can linger.
How do I know when to plant these in my specific region?
Timing is crucial for fall gardening. The best time to plant fall crops is typically 6-10 weeks before your first average frost date. This gives plants enough time to mature before truly cold weather arrives. To find your local frost dates, contact your local extension office or use online resources. They provide precise, region-specific guidance for gardeners at all levels.
For trustworthy gardening information, visit: Washington State University Hortsense, University of Minnesota Extension and Penn State Extension — Trees, Lawns and Landscapes. These organizations provide expert, research-based advice for gardeners at all levels.
Your gardening journey expands beyond the ordinary with these three fantastic, easy-to-grow fall container vegetables. Kohlrabi, turnips, and pak choi offer unique flavors, thrive in compact spaces, and provide a satisfying harvest during the cooler months. You have the knowledge and tools to transform your balcony, patio, or small yard into a thriving autumn foodscape. Embrace the “weird,” enjoy the fresh flavors, and discover the joy of a diverse, homegrown fall bounty.
Disclaimer: This article is for informational purposes only and is not a substitute for professional gardening advice. Always consult local extension services or horticulture experts for region-specific guidance.
Leave a Reply