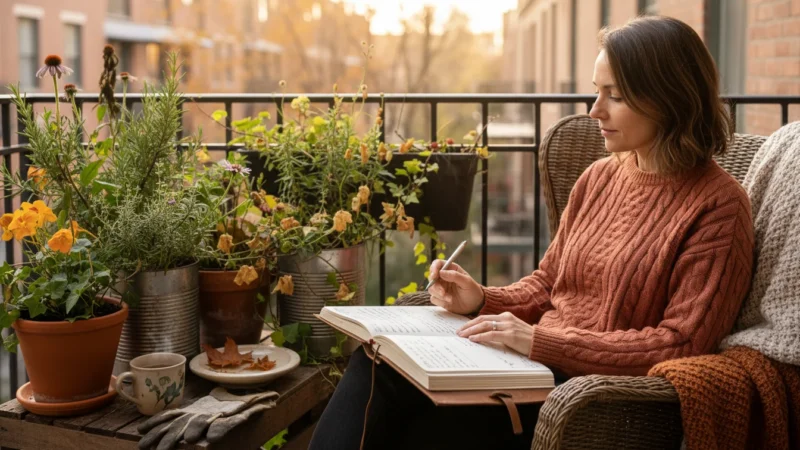
You love the idea of a vibrant, low maintenance garden, even with limited space. Imagine a garden that offers continuous beauty without needing replanting every season. This dream becomes reality when you embrace fall planting of winter-hardy perennials in your small pots. Perennials are true garden workhorses, plants that return year after year, saving you time and money compared to annuals. Fall provides ideal conditions for these resilient plants to establish strong root systems before winter, setting them up for spectacular displays in spring and beyond. You are about to discover how simple it is to create a long-lasting, beautiful container garden that thrives with minimal fuss.
Beyond the visual appeal, you can also design a fall container garden that smells amazing by choosing fragrant, winter-hardy varieties.
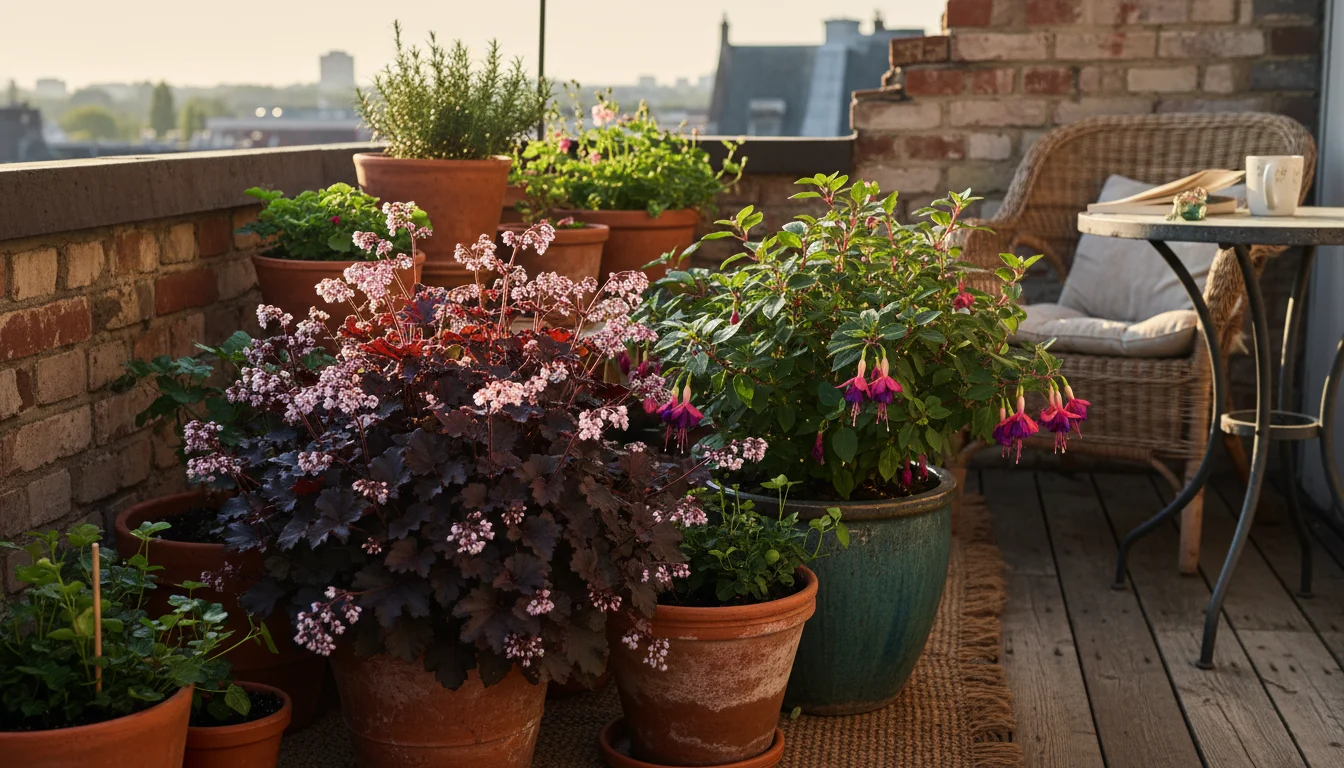
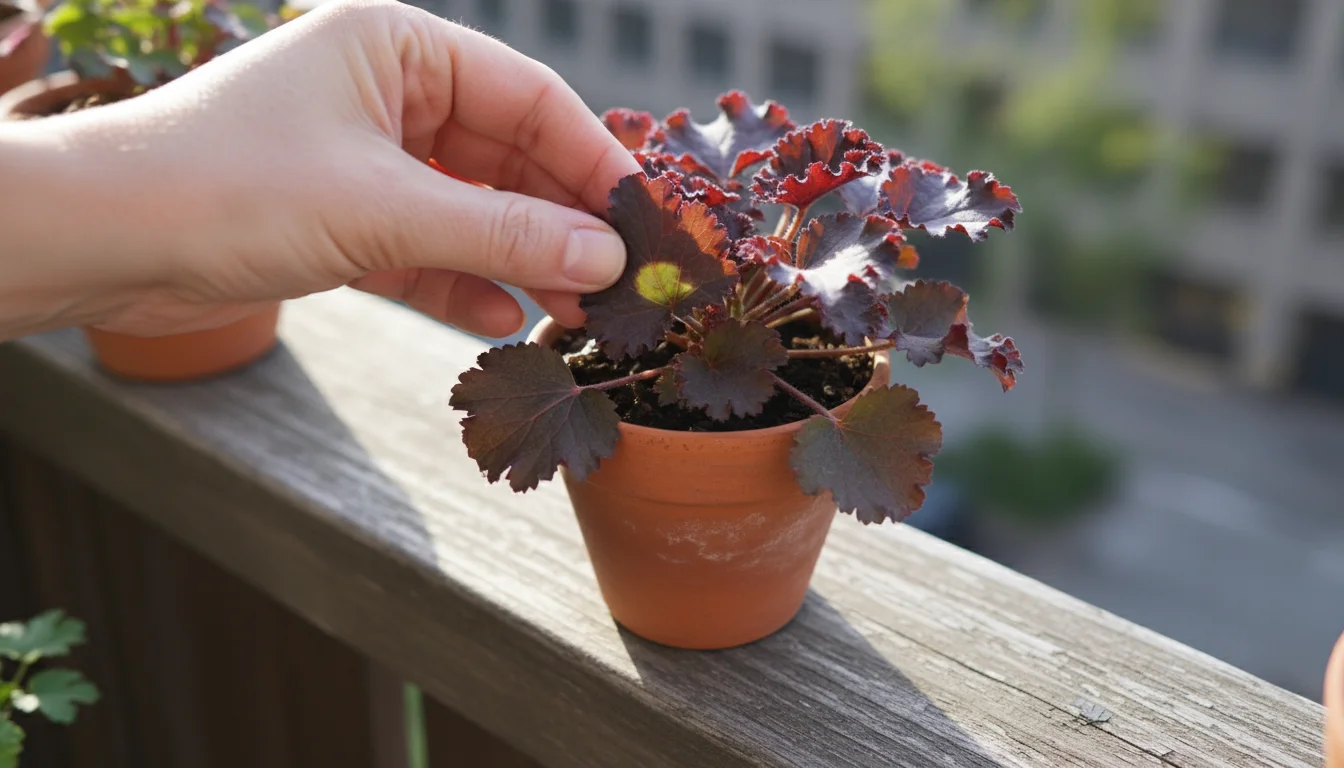
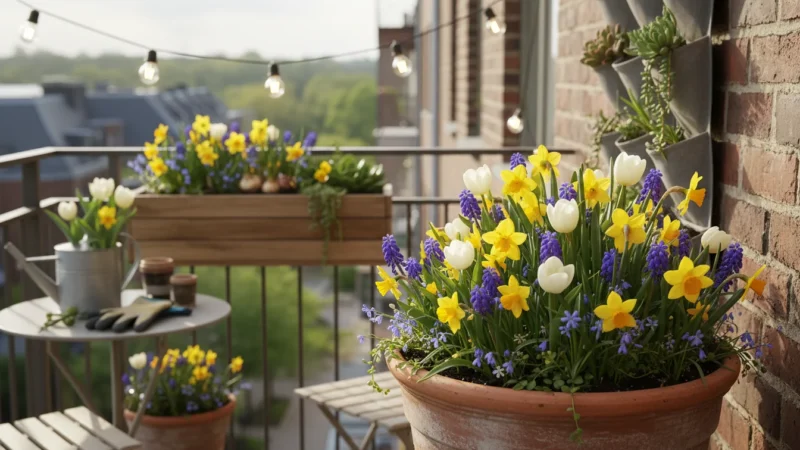
Using plants like low-maintenance Heuchera can provide stunning foliage color that returns year after year.
Why Choose Perennials for Small Pots? An Investment in Beauty
You often hear about the joy of annuals, plants that complete their life cycle in one season. They offer immediate, intense bursts of color. However, for a truly low maintenance approach that saves you both effort and expense, container perennials are a superior choice. Picture this: you plant once, and your plants return reliably each spring, sometimes for decades. This is the core benefit of planting perennials. You invest your time and resources initially, but then you reap the rewards of sustained beauty with minimal replanting.
If you want to grow more than just flowers, consider how to plant berry bushes in containers during the autumn for years of future harvests.
If you’re just starting out, our beginner’s guide to container gardening covers the basics of getting your first pots set up.
Consider the economic aspect. While the initial cost of a perennial might be slightly higher than an annual, you purchase it only once every several years, or even just once. An annual, by definition, requires repurchase and replanting every single spring. Over time, the savings from perennials become significant. For instance, if you spend $50 on annuals for a container garden each year, over five years you have spent $250. You could easily stock a beautiful perennial container garden for a fraction of that cost over the same period, perhaps $100-$150, and enjoy consistent blooms.
Beyond the financial savings, perennials often develop robust root systems, making them more resilient to minor fluctuations in watering or temperature once established. They grow stronger and often produce more blooms each successive year. This maturity translates into a more established, lush look for your small pots, adding character and depth that young annuals often lack. You create a foundation for your container garden that builds on itself rather than starting from scratch every season. This approach perfectly aligns with your desire for a simple, joyous garden experience.
Understanding Winter Hardiness: Your Guide to Zone Success
When you choose plants that return year after year, understanding winter hardiness is paramount. This concept refers to a plant’s ability to withstand cold temperatures during winter months. The United States Department of Agriculture (USDA) developed a Plant Hardiness Zone Map, which divides North America into zones based on average annual extreme minimum winter temperatures. Each zone represents a 10-degree Fahrenheit difference, further broken down into ‘a’ and ‘b’ subzones. For example, Zone 6a averages a minimum of -10 to -5°F, while Zone 6b averages -5 to 0°F.
While focusing on survival, don’t forget that certain plants can provide stunning winter interest on your balcony through their architecture and frost-covered foliage.
You find a plant’s hardiness zone listed on its tag or in its description, often as “Hardy to Zone X.” This number indicates the coldest zone in which the plant typically survives winter in the ground. For container gardening, you must adjust your thinking. Plants in pots experience colder temperatures than those planted directly in the ground. The surrounding soil in the ground provides insulation for roots, protecting them from extreme cold. A pot, however, exposes roots to ambient air temperatures on all sides. This means a plant hardy to Zone 7 in the ground might only survive winter in a pot if you live in Zone 8 or 9, or if you provide additional protection.
A general rule of thumb for container plants is to select varieties that are hardy two zones colder than your actual hardiness zone. If you live in Zone 6, for instance, look for plants hardy to Zone 4. This provides an adequate buffer for the increased cold exposure your container plants will face. You also need to consider pot material; terracotta pots allow more heat exchange, making them colder, while plastic or glazed pots offer slightly more insulation. Ultimately, choosing wisely based on hardiness zones ensures your fall planting efforts pay off with returning blooms.
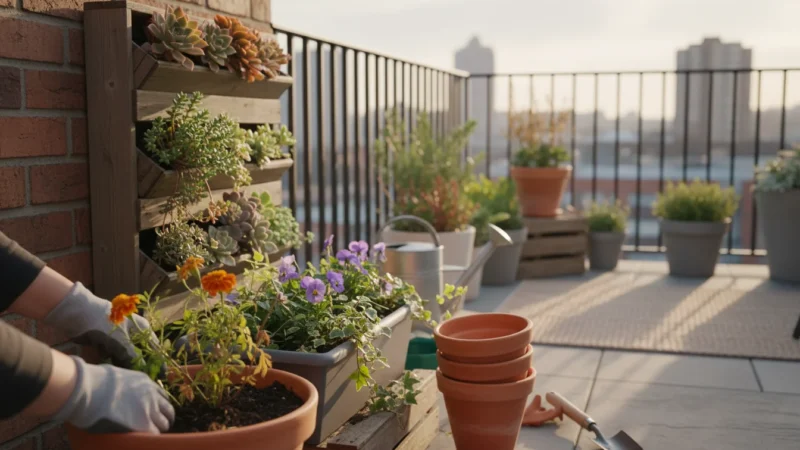
Setting Up for Success: Pots, Soil, and Placement
Your journey to a thriving container perennial garden begins with making smart choices about your containers, potting mix, and where you place your plants. These foundational decisions directly impact your plants’ health and their ability to endure winter.
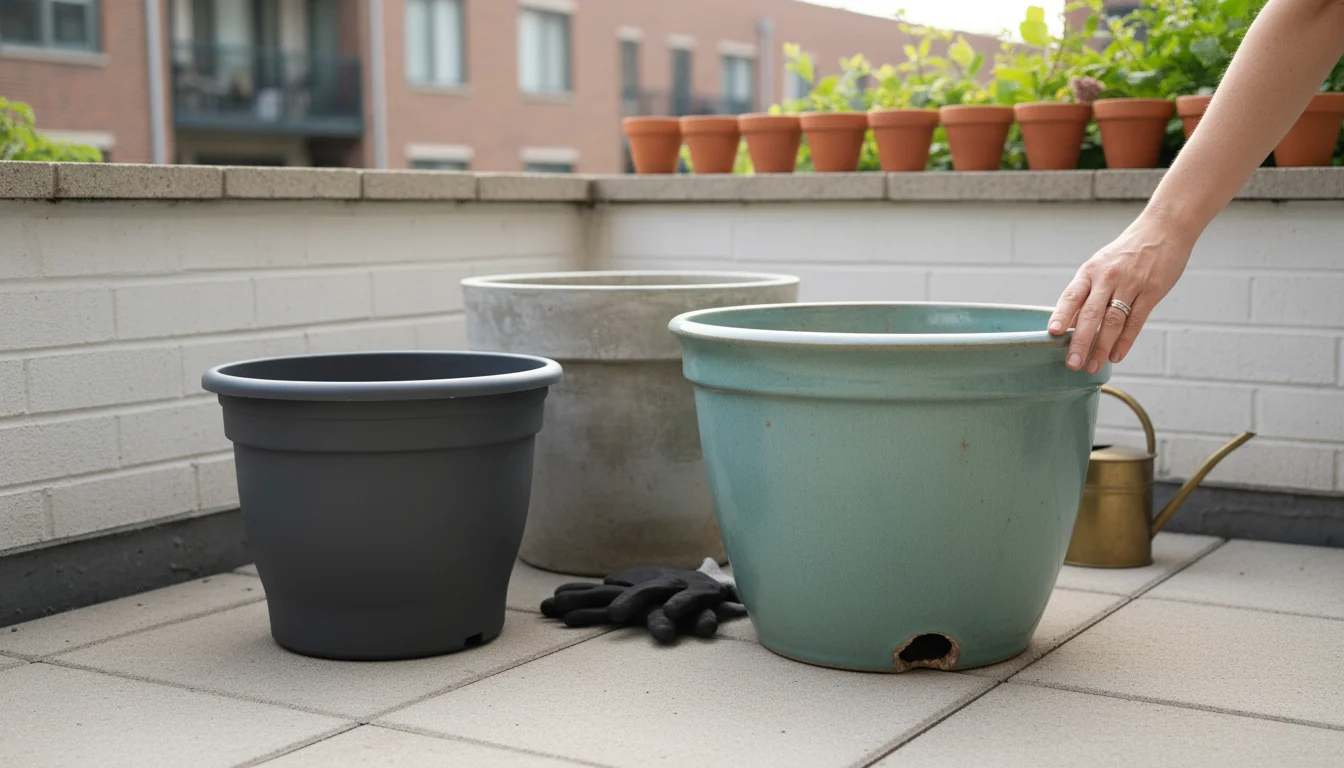
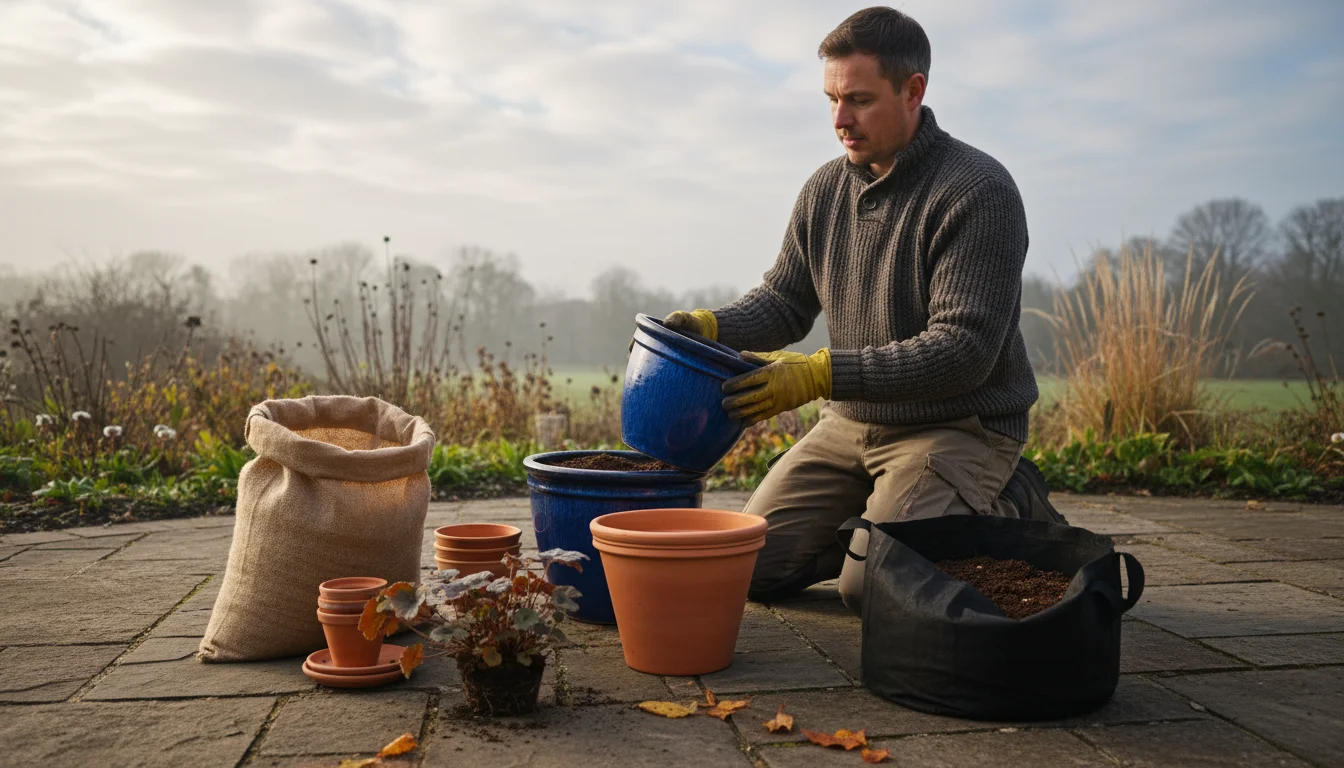
Choosing the Right Pots
You want pots that are both aesthetically pleasing and functional. Size is critical for perennials. While you might start with a small plant, it grows, and its root system expands. Choose pots that are at least 10-12 inches in diameter for most of the perennials discussed here, with larger options (14-16 inches) being even better for long-term health. Deeper pots protect roots from temperature extremes more effectively than shallow ones.
Drainage is non-negotiable. Every pot must have drainage holes at the bottom. Without them, water accumulates, suffocating roots and leading to root rot. If a pot lacks holes, you can often drill them yourself or choose another container.
Consider the material:
- Plastic or Glazed Ceramic: These materials retain moisture longer and offer better insulation against temperature fluctuations than terracotta, making them good choices for overwintering perennials.
- Terracotta: While charming, terracotta is porous, allowing moisture to evaporate quickly and roots to cool down faster. If you use terracotta, you might need to water more frequently and provide extra winter protection.
- Wood: Wood offers good insulation and a natural look. Ensure any wooden planters are treated for outdoor use and have proper drainage.
Selecting the Ideal Potting Mix
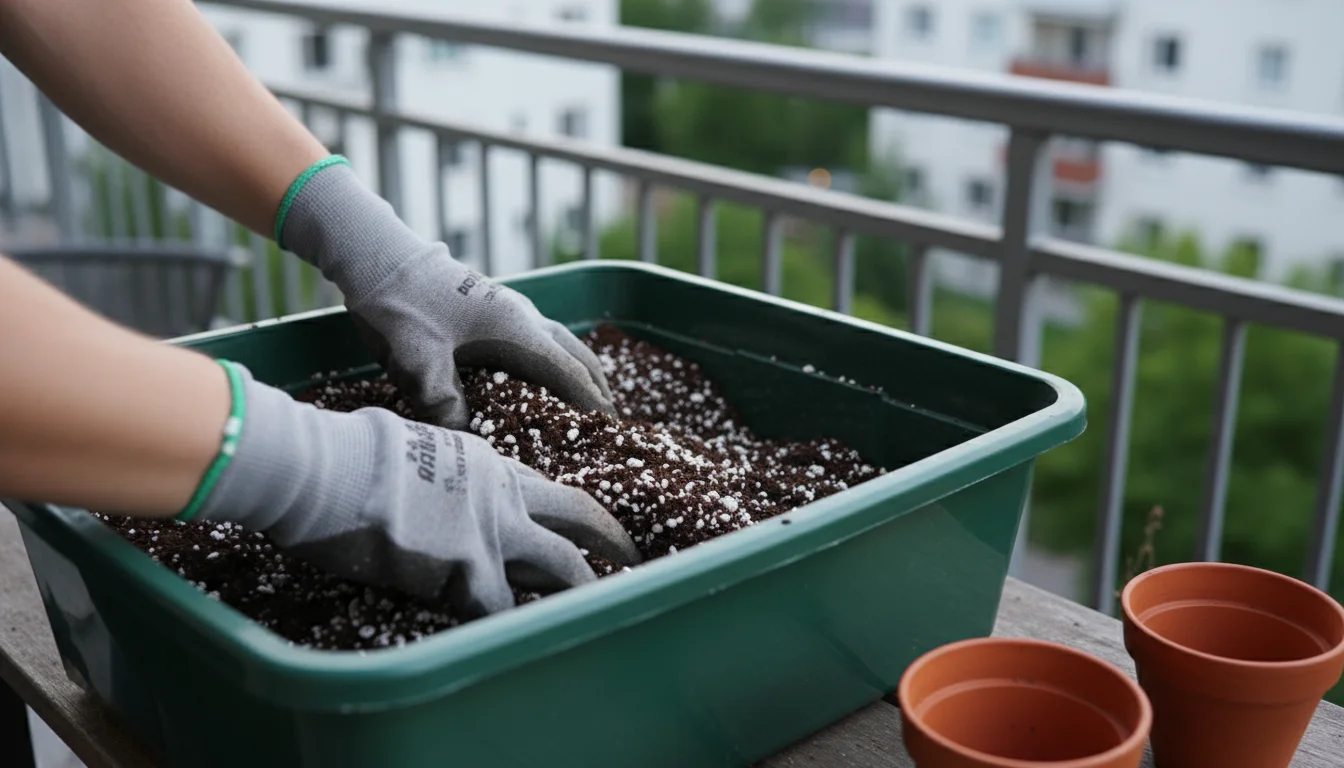
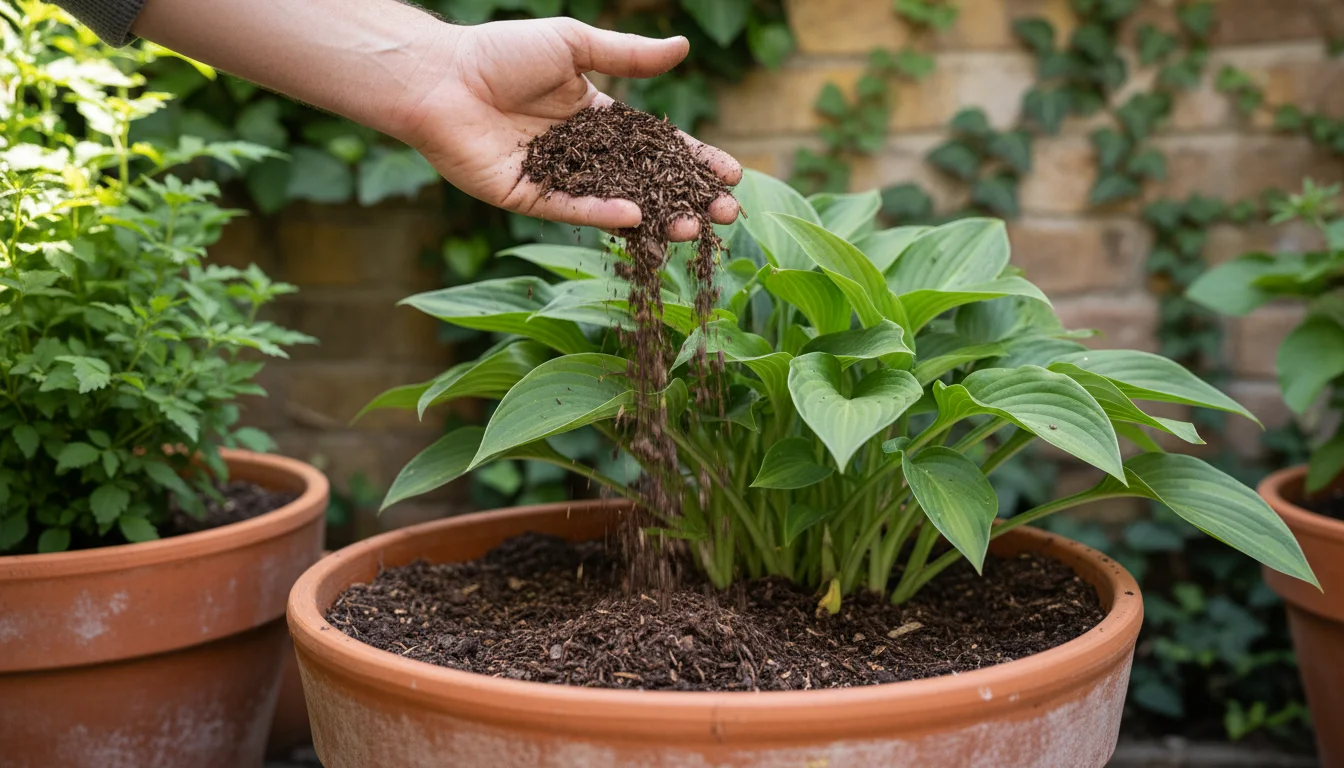
The right potting mix provides aeration, drainage, and nutrients. Garden soil is too dense for pots, compacting and restricting root growth. You need a specialized potting mix designed for containers.
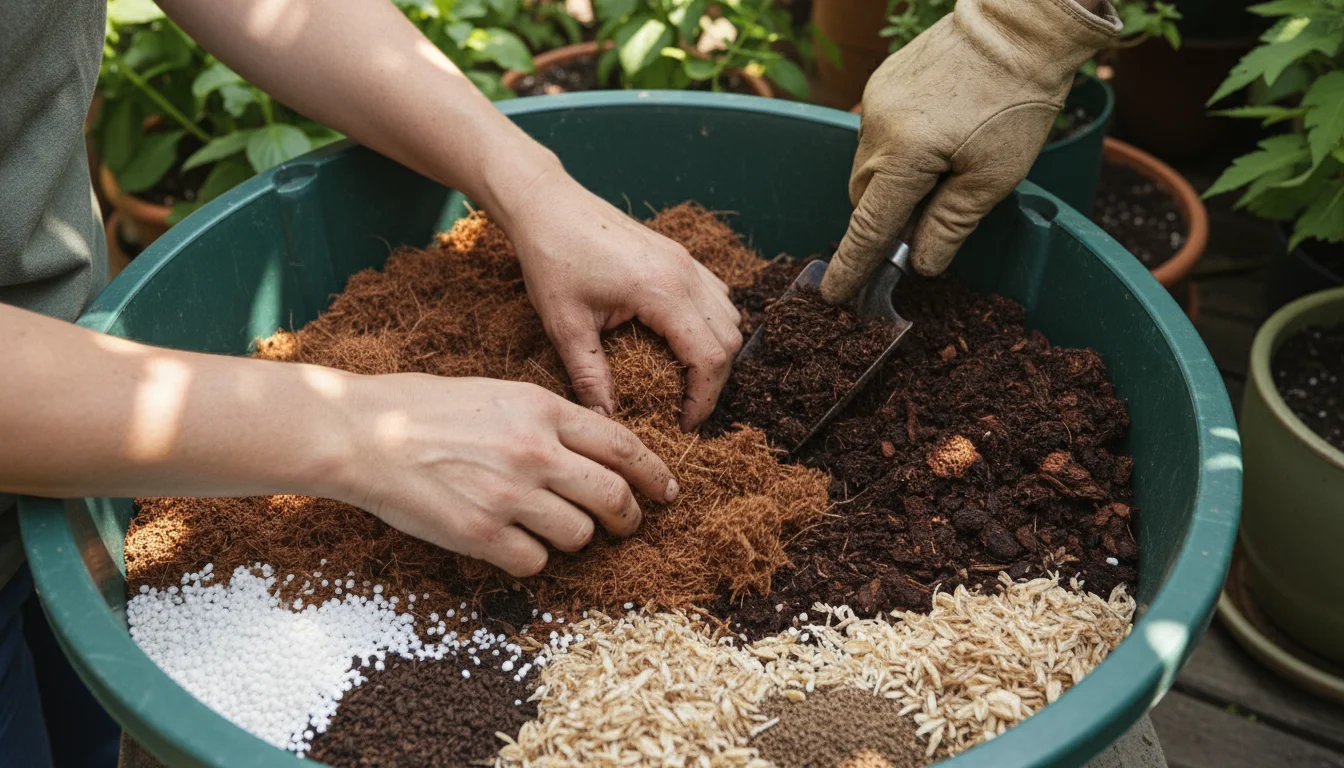
Look for a high-quality, peat-free potting mix. Peat harvesting has environmental concerns, so choosing sustainable alternatives supports your eco-conscious ethos. Peat-free mixes often use coir, compost, or rice hulls as base ingredients. A good potting mix will:
- Drain well: It prevents waterlogging.
- Retain some moisture: It keeps roots hydrated between waterings.
- Provide aeration: It allows oxygen to reach roots.
- Offer initial nutrients: Many mixes include slow-release fertilizers or compost.
You can enhance your potting mix by adding perlite or coarse sand to improve drainage, especially if you find your chosen mix too heavy. A ratio of 4 parts potting mix to 1 part perlite often works well.
Strategic Placement for Sun and Protection
Most of the winter hardy flowers for pots thrive in full sun, meaning at least 6 hours of direct sunlight per day. Observe your space throughout the day to identify the sunniest spots for your container perennials. Proper sun exposure promotes vigorous growth and abundant blooms.
For winter protection, consider placement again. Moving pots closer to your house’s foundation, under an overhang, or grouping them together can provide a few degrees of extra warmth and shelter from harsh winds. This small effort can make a big difference in ensuring your plants return healthy in spring.
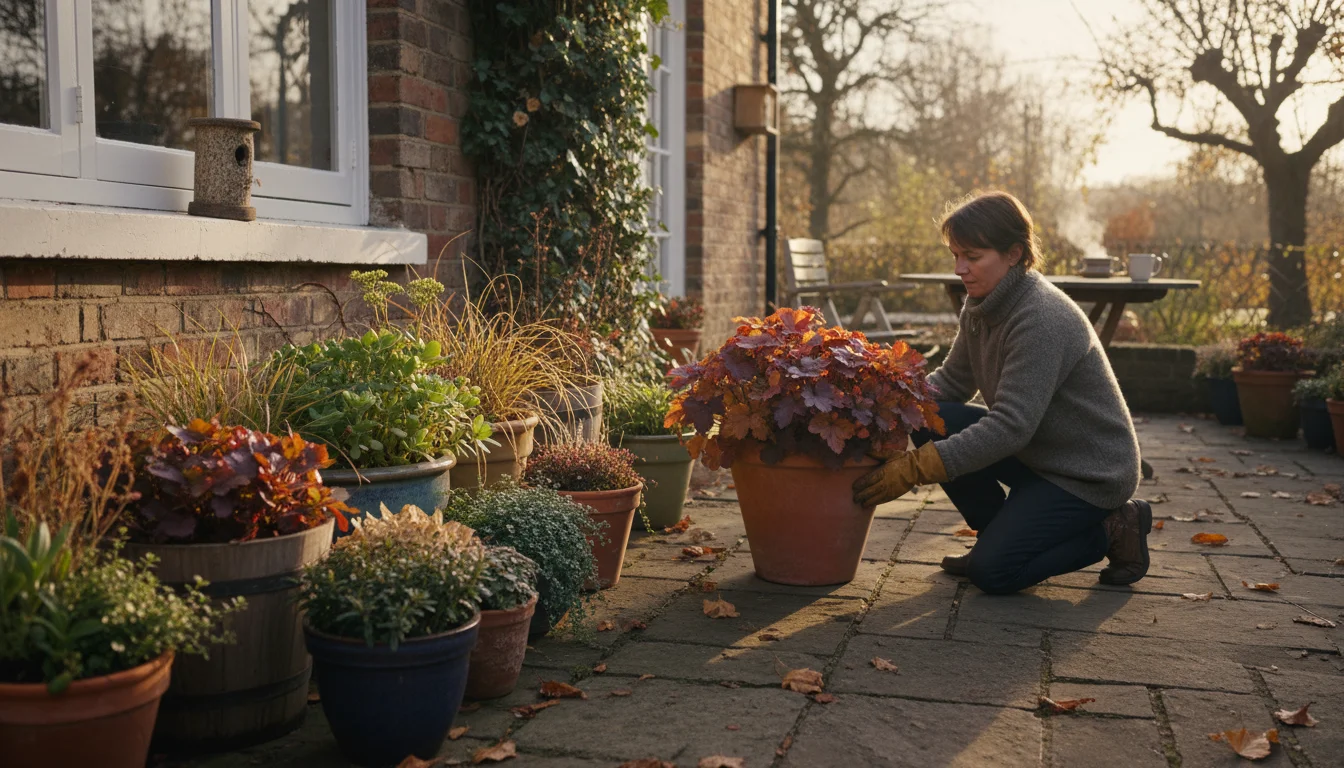
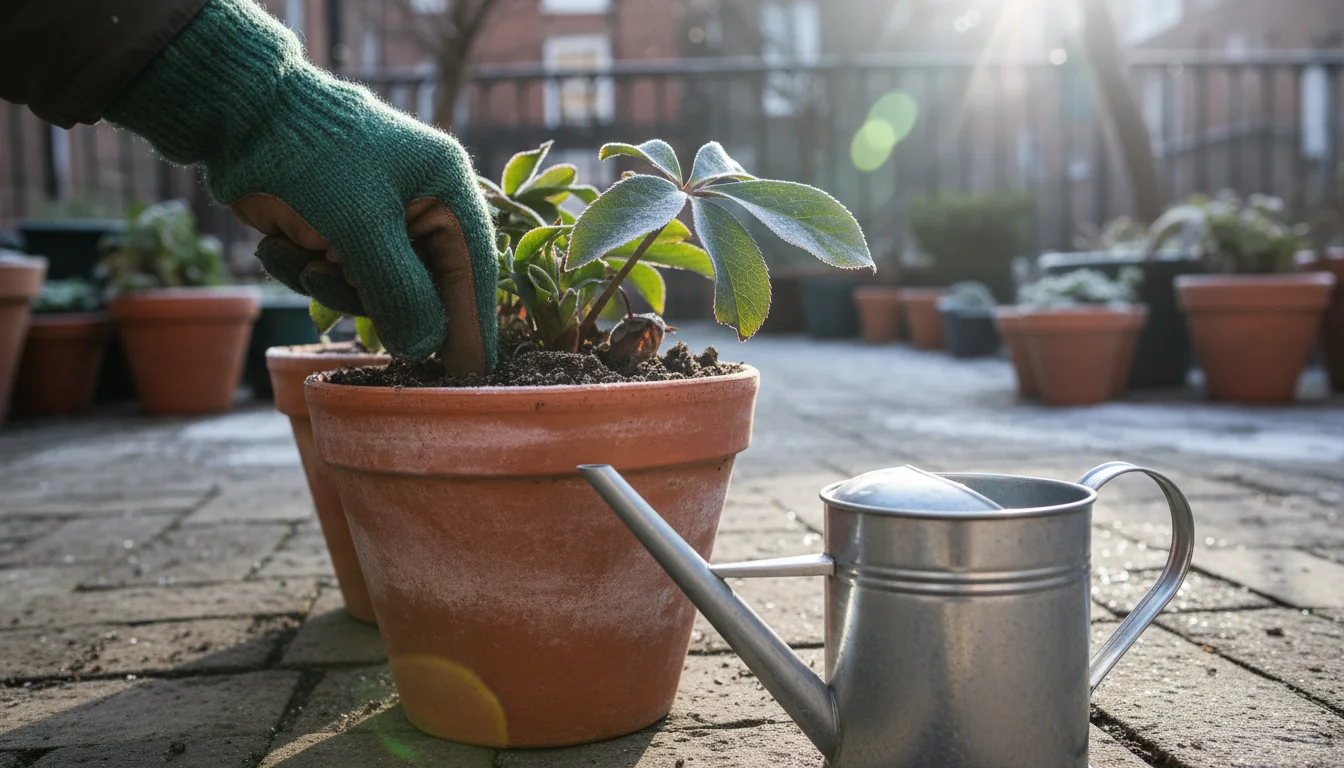
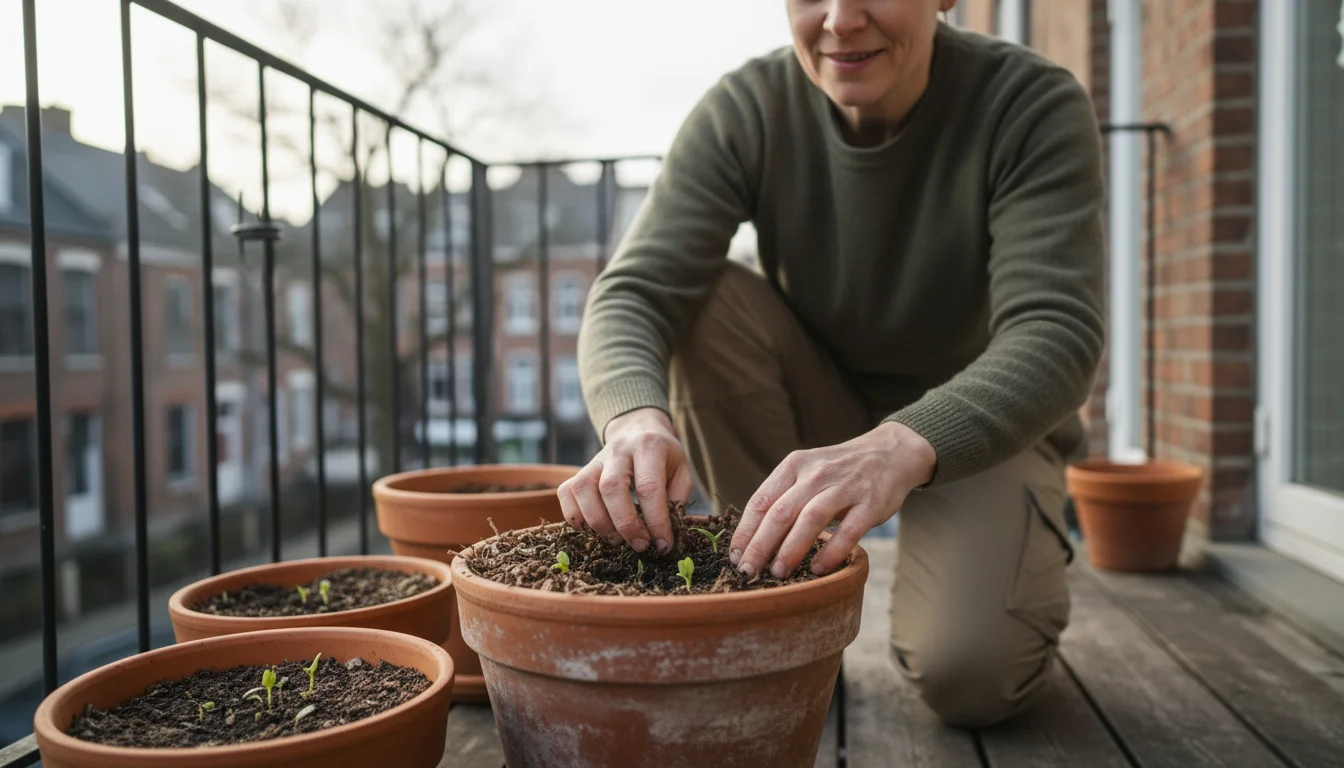
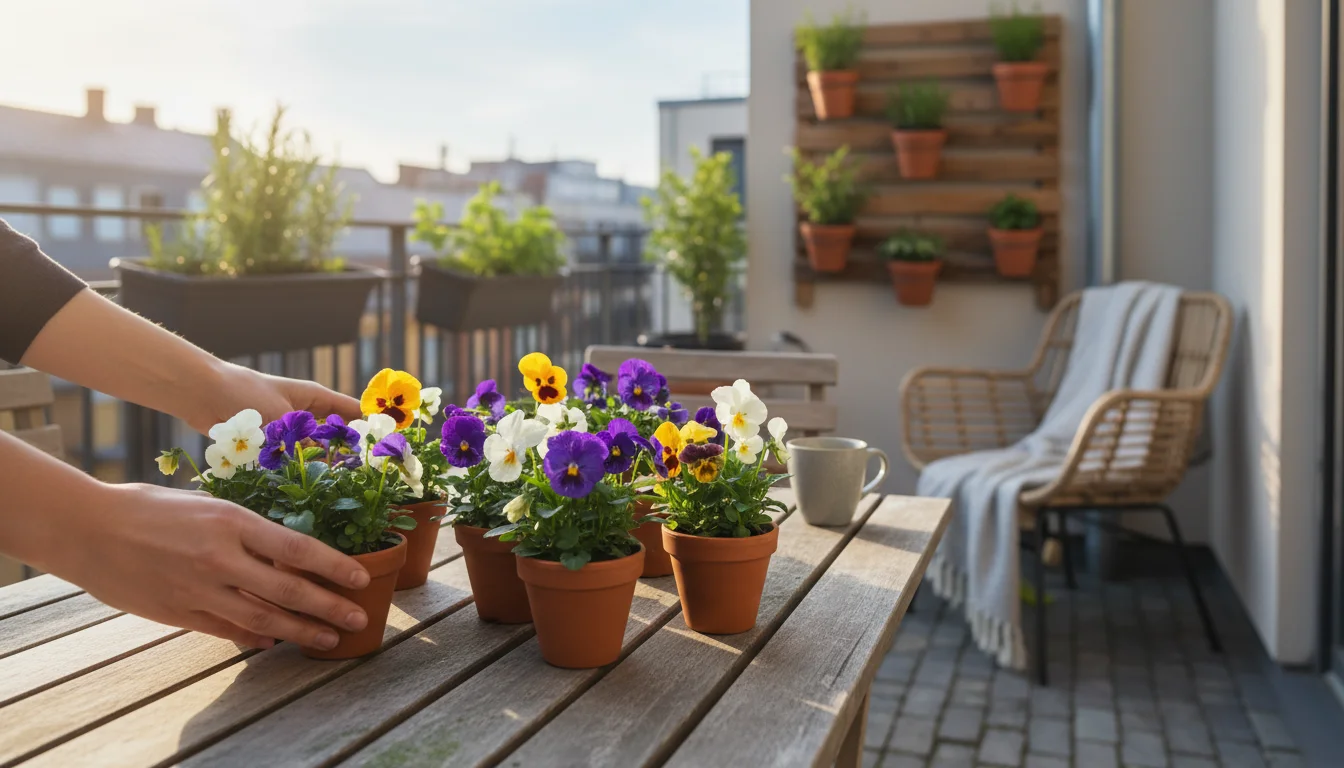
Planting Your Perennials: A Step-by-Step Guide for Fall
Fall planting is incredibly rewarding. The cooler temperatures and increased rainfall reduce plant stress, allowing roots to establish without the intense heat of summer. Follow these simple steps to ensure your winter-hardy perennials get the best start in their new container homes.
You can also maximize your spring floral display by planting a ‘lasagna’ bulb pot underneath your perennials during the fall setup.
Even if you forgot about fall planting early on, late autumn is still a great time for these hardy varieties.
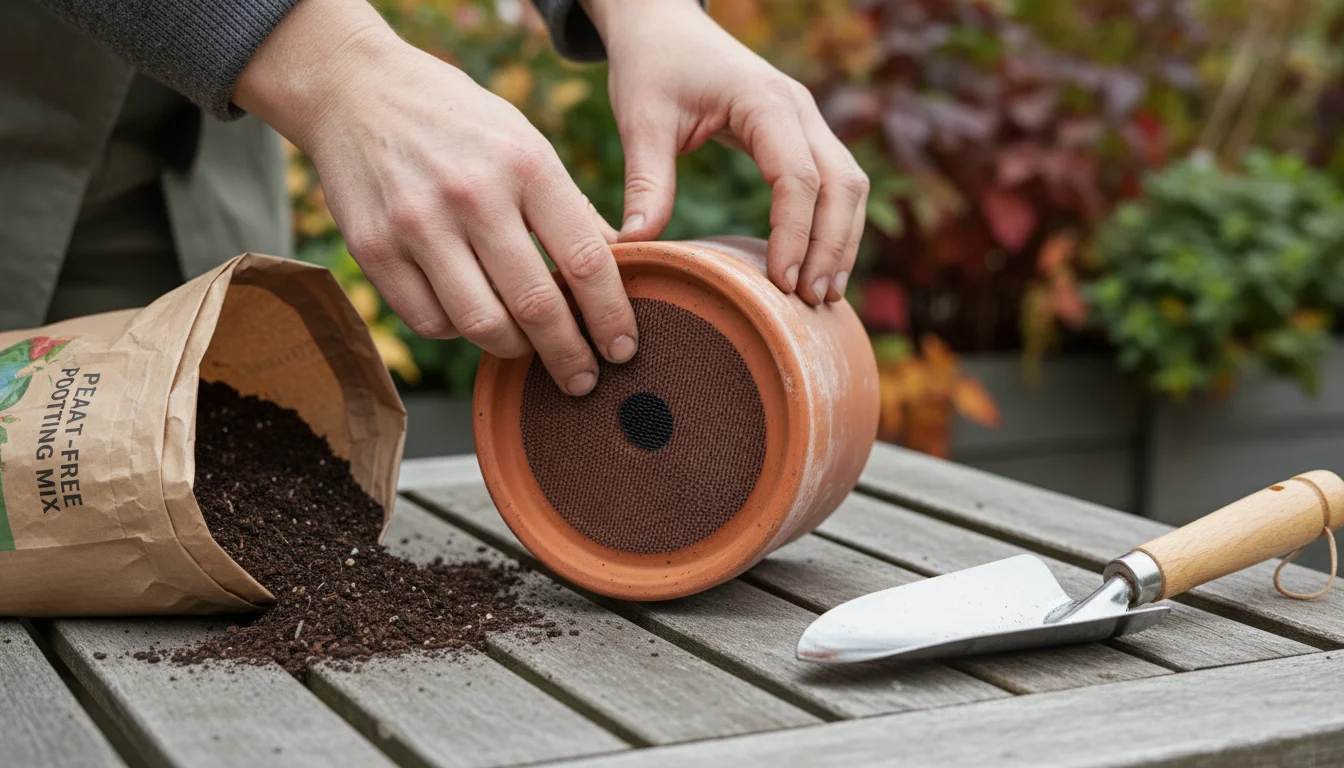
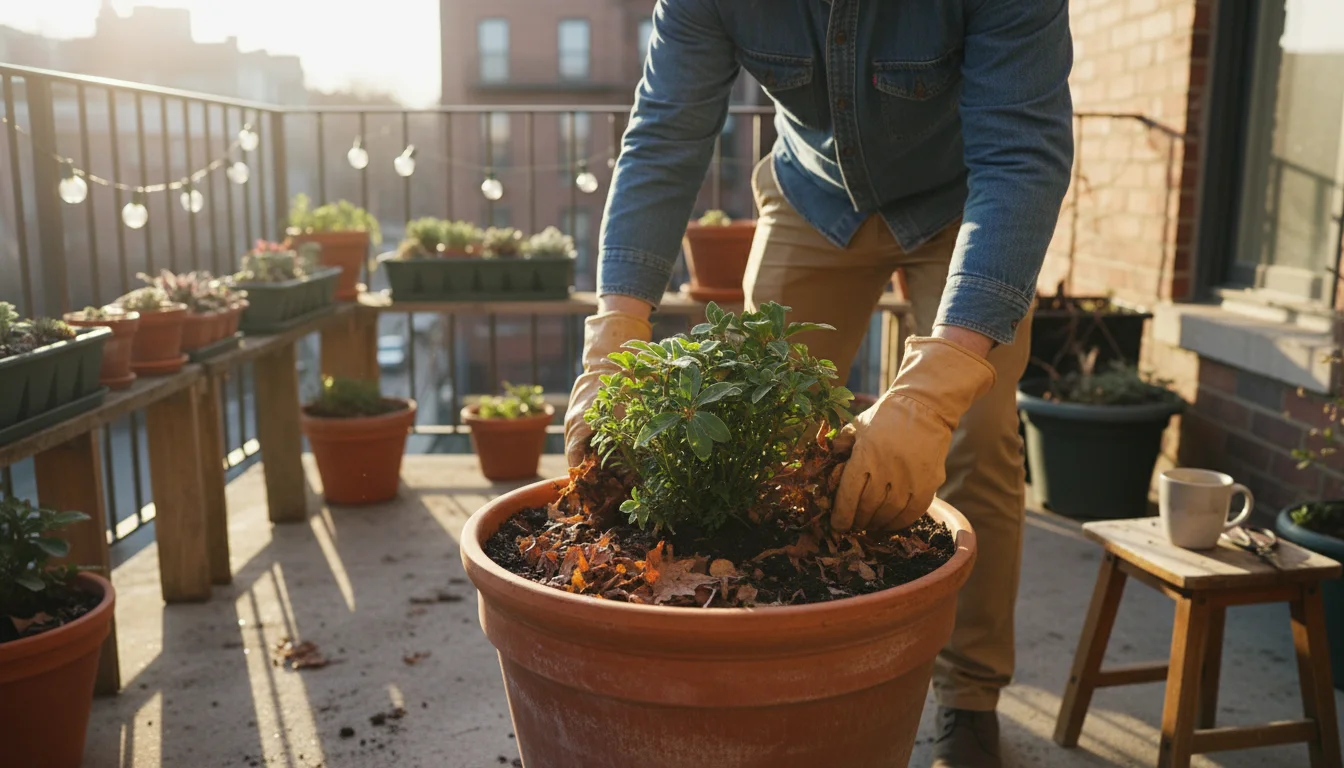
- Gather Your Supplies: You need your chosen pots with drainage holes, high-quality peat-free potting mix, your perennial plants, a small trowel or spade, and a watering can.
- Prepare the Pot: Place a small piece of mesh screen or a coffee filter over the drainage holes. This prevents soil from washing out while still allowing water to escape. Avoid using gravel or broken pot pieces at the bottom, as this can impede drainage rather than improve it.
- Add Potting Mix: Fill your pot partially with potting mix. The amount depends on the plant’s root ball size. You want the top of the root ball to sit about 1-2 inches below the rim of the pot once planted.
- Remove the Plant from its Nursery Pot: Gently squeeze the nursery pot to loosen the soil. Invert the pot and support the base of the plant with your hand. The plant should slide out easily. If roots appear tightly circled at the bottom (this is called being root-bound), gently tease them apart with your fingers or make a few vertical cuts with a clean knife to encourage outward growth.
- Position the Plant: Place the perennial in the center of your prepared pot. Ensure the top of the root ball is level with the soil line you intend to establish, allowing for that 1-2 inch gap from the rim. This space is crucial for watering, preventing overflow.
- Fill with Potting Mix: Backfill around the root ball with more potting mix, gently tamping it down to remove large air pockets. Do not compact the soil too firmly, as roots need air.
- Water Thoroughly: Water your newly potted perennial until water drains freely from the bottom holes. This settles the soil around the roots and eliminates any remaining air pockets. You may need to add a bit more potting mix after the first watering if the soil level drops significantly.
- Provide Initial Care: Place your pot in its desired location, ensuring it receives appropriate sunlight. Monitor moisture levels closely for the first few weeks, keeping the soil consistently moist but not soggy.
By following these steps, you give your perennial the best chance to establish a robust root system before the deep cold arrives, ensuring it returns year after year with vigor.
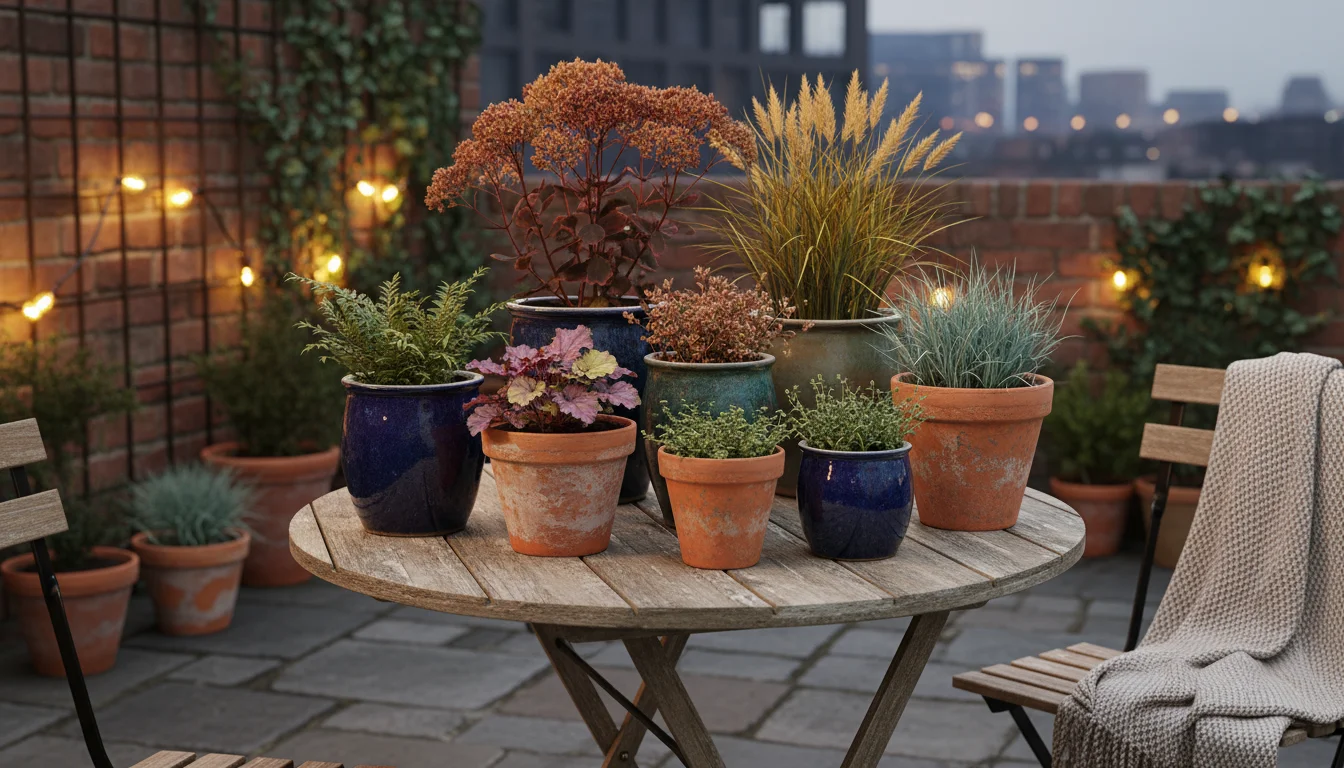
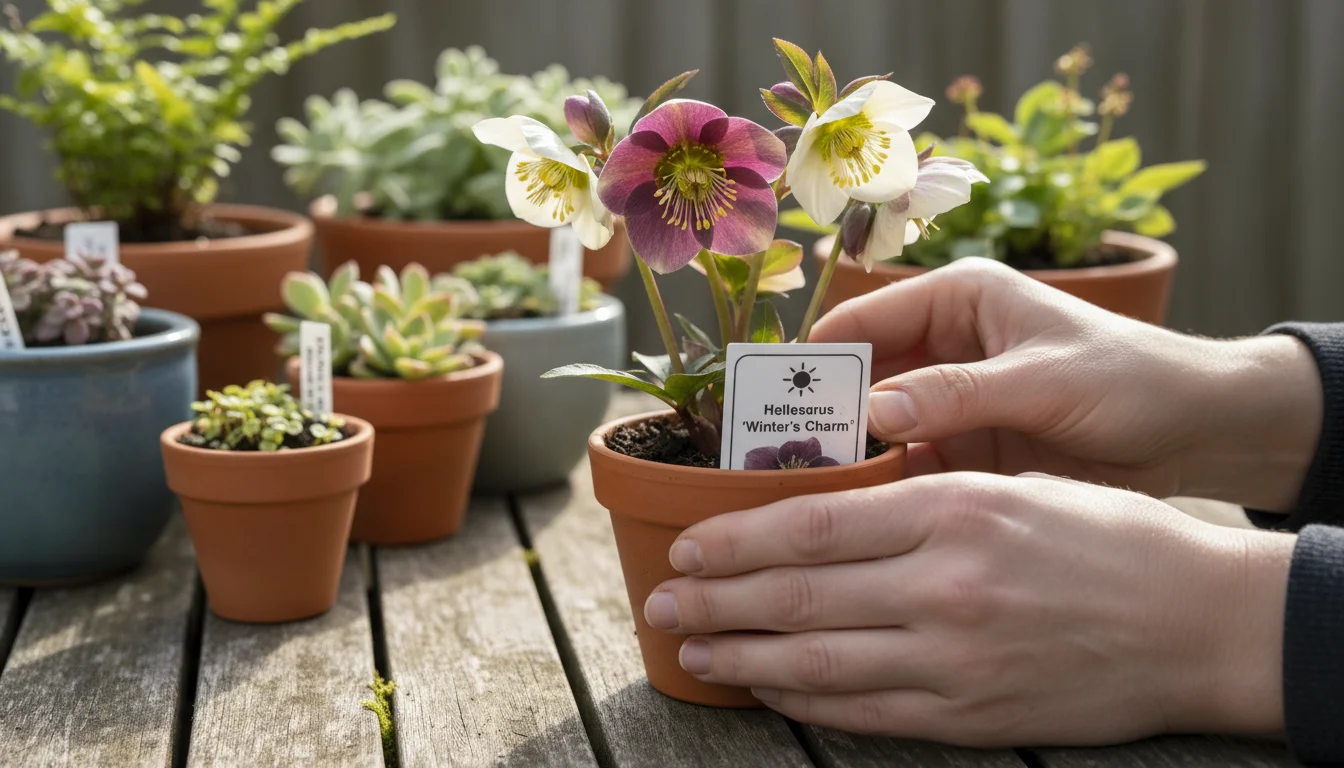
8 Winter-Hardy Perennials That Thrive in Small Pots
You can achieve stunning, long-lasting displays in your small containers with these reliable, winter-hardy perennials. Each offers unique charm and stands up to chilly temperatures, promising a return performance every spring. Remember to choose varieties hardy two zones colder than your own for container success.

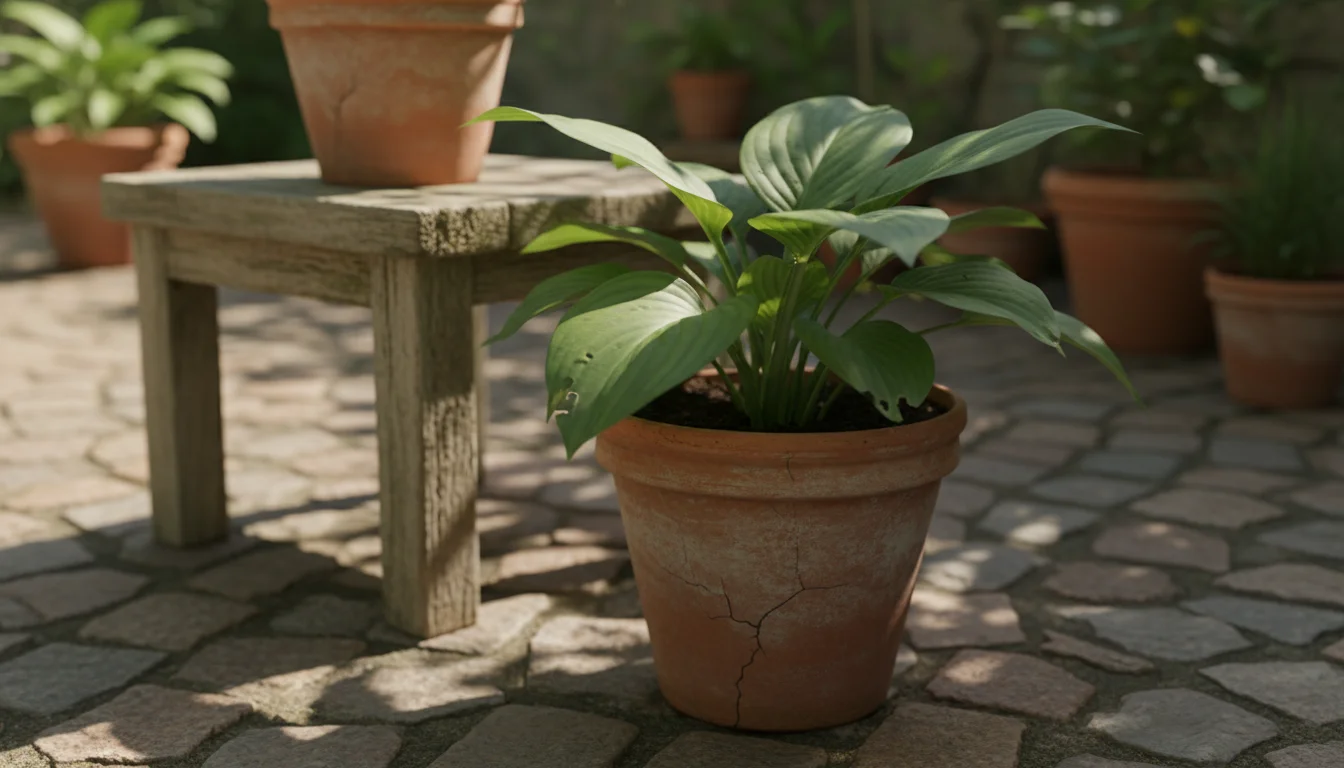
1. Hosta (Hosta spp.)
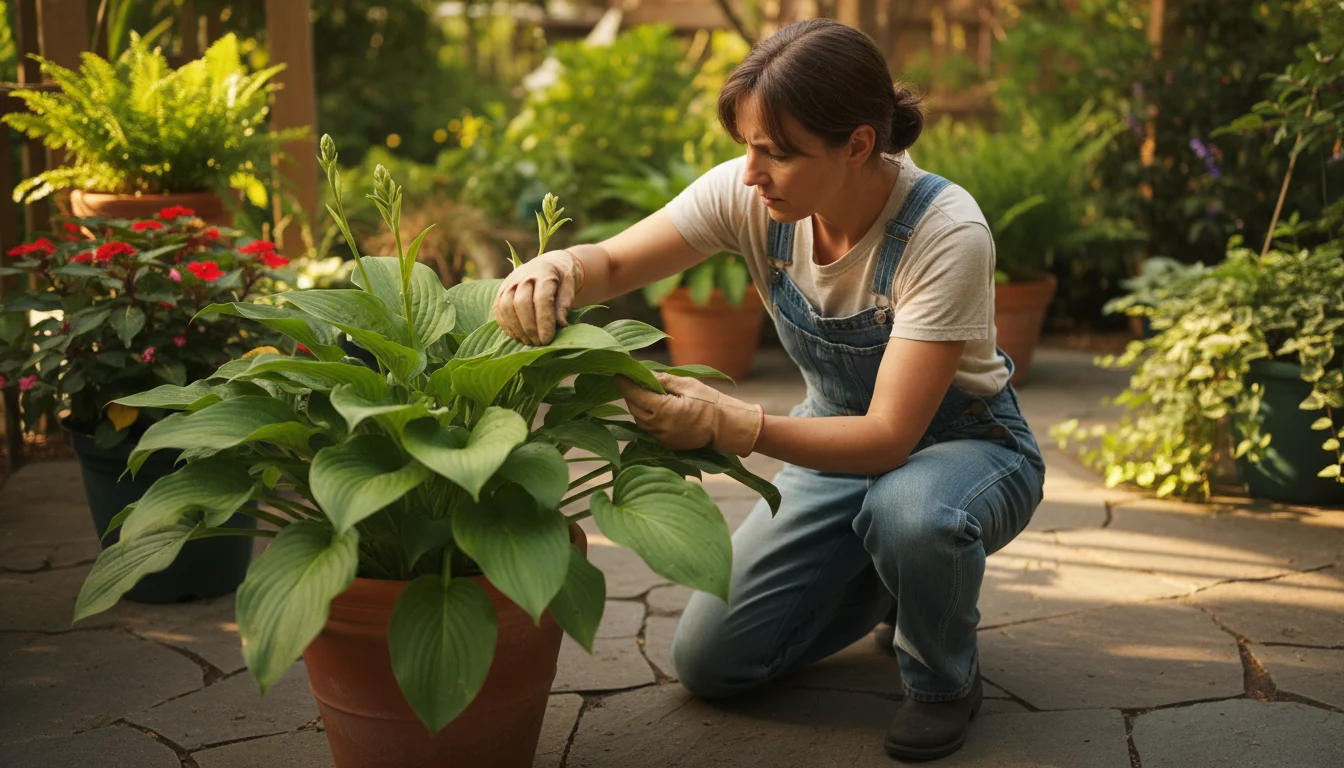
- Why it works: Known for their incredible foliage, hostas provide lush greens, blues, and variegated patterns. Their mounding habit fills a pot beautifully. Many varieties are extremely winter-hardy, even in containers. They are fantastic container perennials.
- Sun: Shade to partial shade (morning sun is usually fine, but avoid harsh afternoon sun).
- Water: Keep soil consistently moist, but not waterlogged.
- Hardiness: Zones 3-9, depending on the cultivar. Choose varieties hardy to Zone 3 or 4 for container planting in Zone 6.
- Size: Varies greatly by cultivar, from miniature (4-6 inches tall and wide) to very large (30+ inches). ‘Blue Mouse Ears’ or ‘Hadspen Blue’ are excellent small-pot choices.
- Care: Hostas go dormant in winter, their leaves yellowing and disappearing. You can trim away dead foliage in late fall.
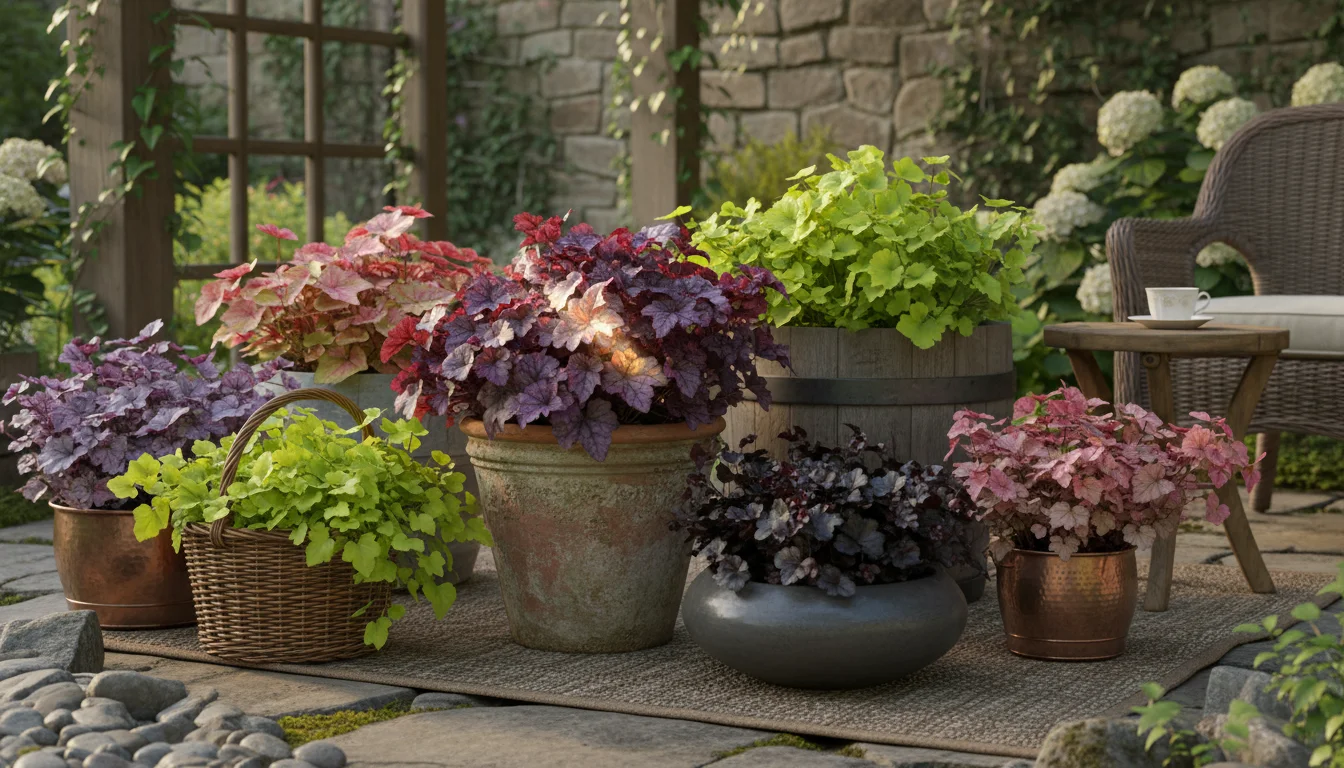
2. Coral Bells (Heuchera spp.)
- Why it works: Prized for their striking, colorful foliage that ranges from lime green to deep purple, bronze, and even nearly black. They form attractive clumps and often produce delicate flower spikes. Many are evergreen in milder climates, offering year-round interest.
- Sun: Partial shade to full shade (some varieties tolerate more sun if kept consistently moist).
- Water: Regular watering, allow top inch of soil to dry before rewatering.
- Hardiness: Zones 4-9. Look for ‘Palace Purple’ or ‘Obsidian’ for vibrant color.
- Size: 1-2 feet tall and wide, depending on the variety.
- Care: Minimal care needed. Remove spent flower stalks.
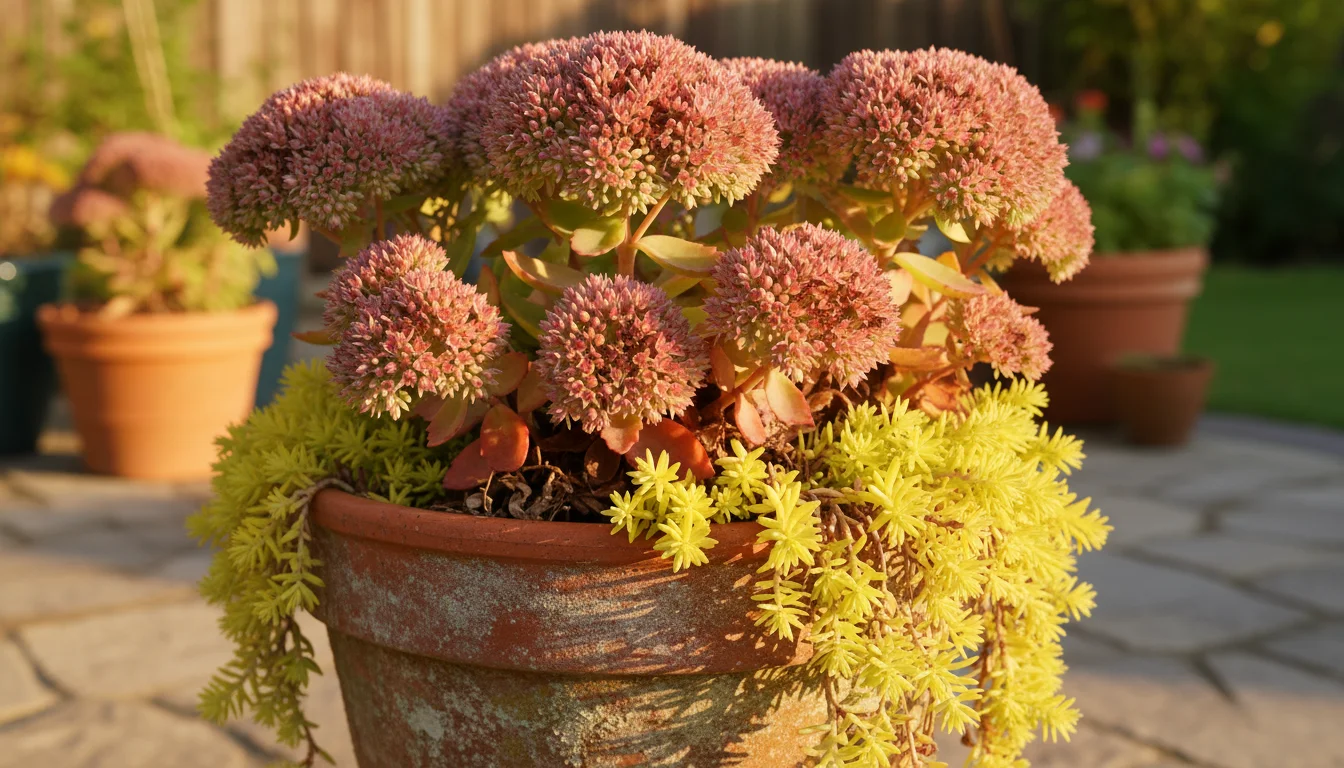
3. Sedum (Sedum spp.) Stonecrop
- Why it works: Succulent leaves and sturdy stems characterize sedum. Varieties like ‘Autumn Joy’ or ‘Autumn Fire’ offer late-season interest with their broccoli-like flower heads that turn from pink to russet red. Many smaller sedums drape beautifully over pot edges. They are incredibly drought-tolerant once established.
- Sun: Full sun is ideal for best growth and flowering.
- Water: Drought-tolerant; allow soil to dry out between waterings. Overwatering is a common mistake.
- Hardiness: Zones 3-9, depending on the variety. Many are extremely cold-hardy.
- Size: ‘Autumn Joy’ type sedums grow 1-2 feet tall. Trailing varieties like ‘Angelina’ are much shorter.
- Care: Very low maintenance. Leave spent flower heads through winter for structural interest, then cut back in early spring.
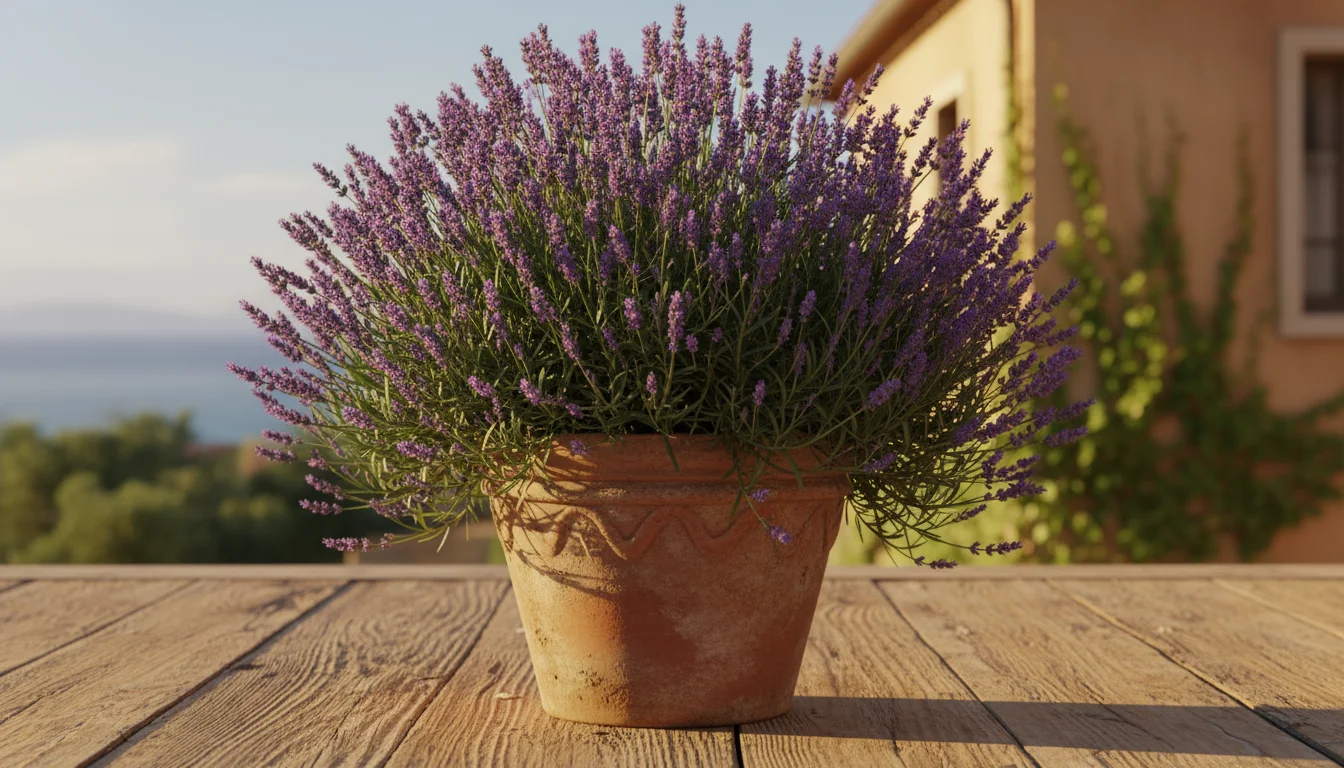
4. Lavender (Lavandula angustifolia)
- Why it works: English Lavender is beloved for its fragrant purple flowers and silvery-green foliage. It thrives in pots as long as it gets plenty of sun and excellent drainage. Its compact, bushy form is perfect for sunny low maintenance pots.
- Sun: Full sun (6+ hours per day). Essential for vigorous growth and abundant blooms.
- Water: Drought-tolerant once established. Allow soil to dry out completely between waterings. Avoid overwatering.
- Hardiness: Zones 5-9 for English Lavender (L. angustifolia).
- Size: 1-2 feet tall and wide.
- Care: Prune after flowering to maintain shape and encourage new growth. Ensure excellent drainage, especially in winter.
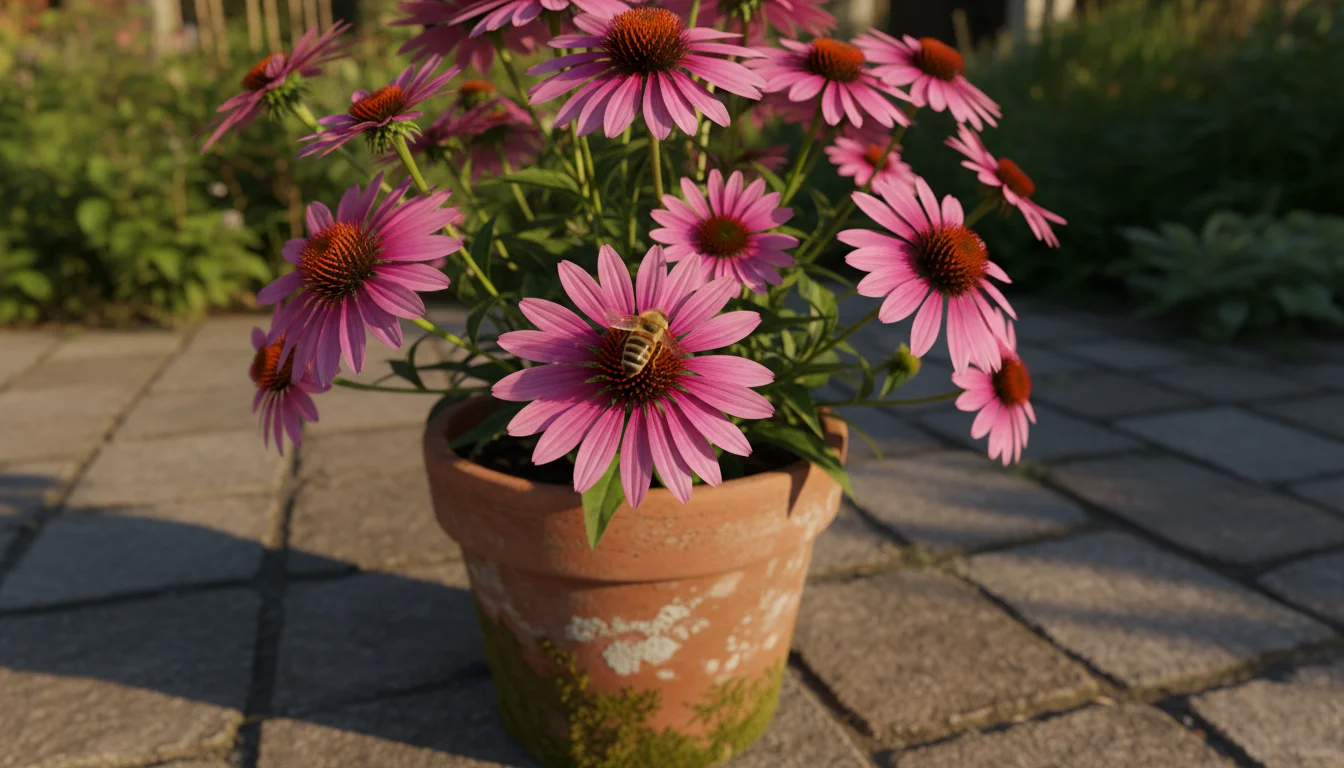
5. Coneflower (Echinacea purpurea)
- Why it works: These cheerful, daisy-like flowers with prominent central cones are pollinator magnets and excellent for adding color from summer into fall. Purple Coneflower is highly adaptable and resilient, making it a reliable winter hardy flower for pots.
- Sun: Full sun to partial sun (at least 4-6 hours of direct sun).
- Water: Moderate. Tolerates some drought once established, but performs best with regular watering.
- Hardiness: Zones 3-9.
- Size: 2-4 feet tall, 1-2 feet wide. Smaller cultivars are available for container use.
- Care: Deadhead spent blooms to encourage more flowers. You can leave some seed heads for winter interest and bird food.

6. Creeping Phlox (Phlox subulata)
- Why it works: This low-growing, mat-forming perennial creates a carpet of vibrant flowers in spring. While often seen in rock gardens, it cascades beautifully over the edges of containers, adding early season color. It is a fantastic choice for low maintenance pots.
- Sun: Full sun is preferred for best flowering.
- Water: Moderate, tolerates some drought once established. Avoid soggy conditions.
- Hardiness: Zones 3-9.
- Size: 4-6 inches tall, spreads 1-2 feet.
- Care: Shear back lightly after flowering to encourage dense growth and potential rebloom.
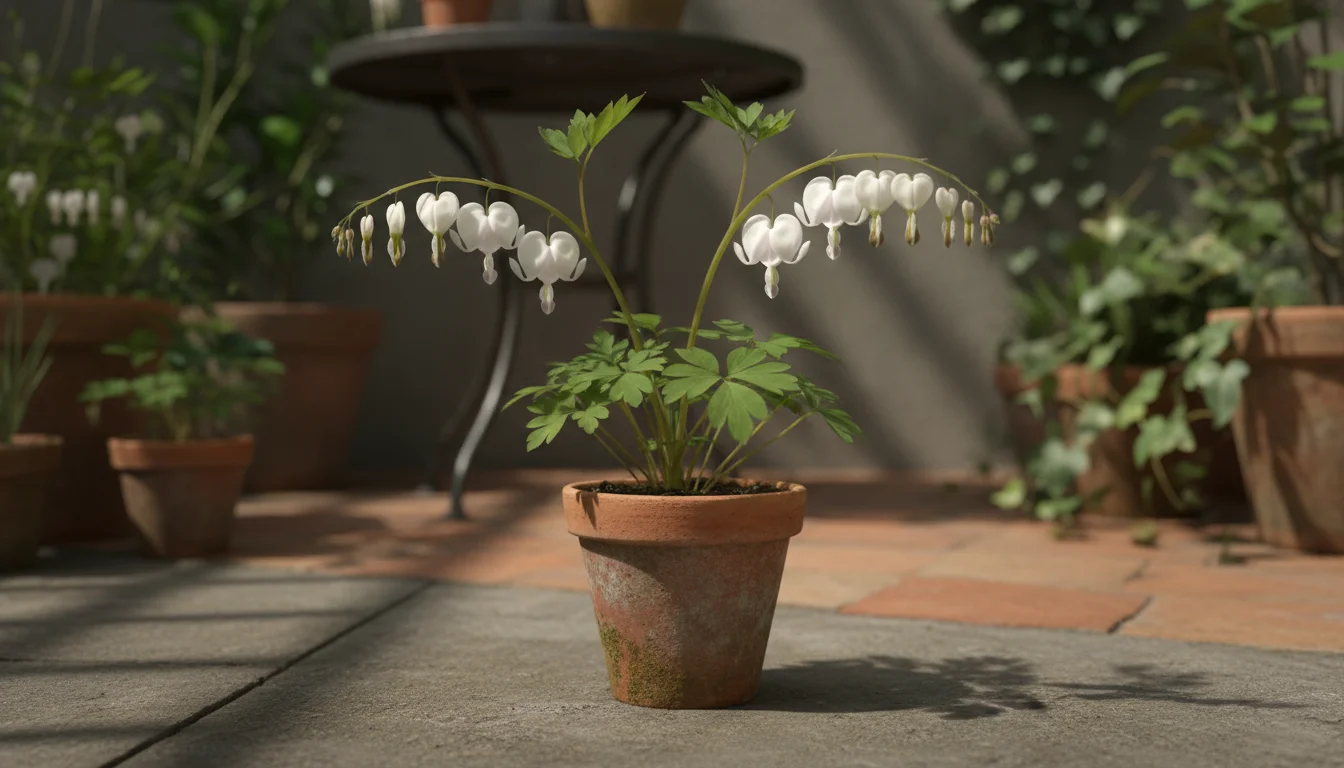
7. Dwarf Bleeding Heart (Dicentra spectabilis ‘Alba’ or ‘King of Hearts’)
- Why it works: While the classic Bleeding Heart can be quite large, dwarf varieties offer the same charming heart-shaped flowers and delicate foliage in a more compact form suitable for small pots. They bring unique elegance to shaded container gardens.
- Sun: Partial shade to full shade.
- Water: Keep consistently moist, especially during bloom time.
- Hardiness: Zones 3-9.
- Size: Dwarf varieties are typically 8-12 inches tall and wide.
- Care: They often go dormant in summer, especially in warmer climates, so don’t be alarmed if the foliage dies back. Trim spent flower stalks.
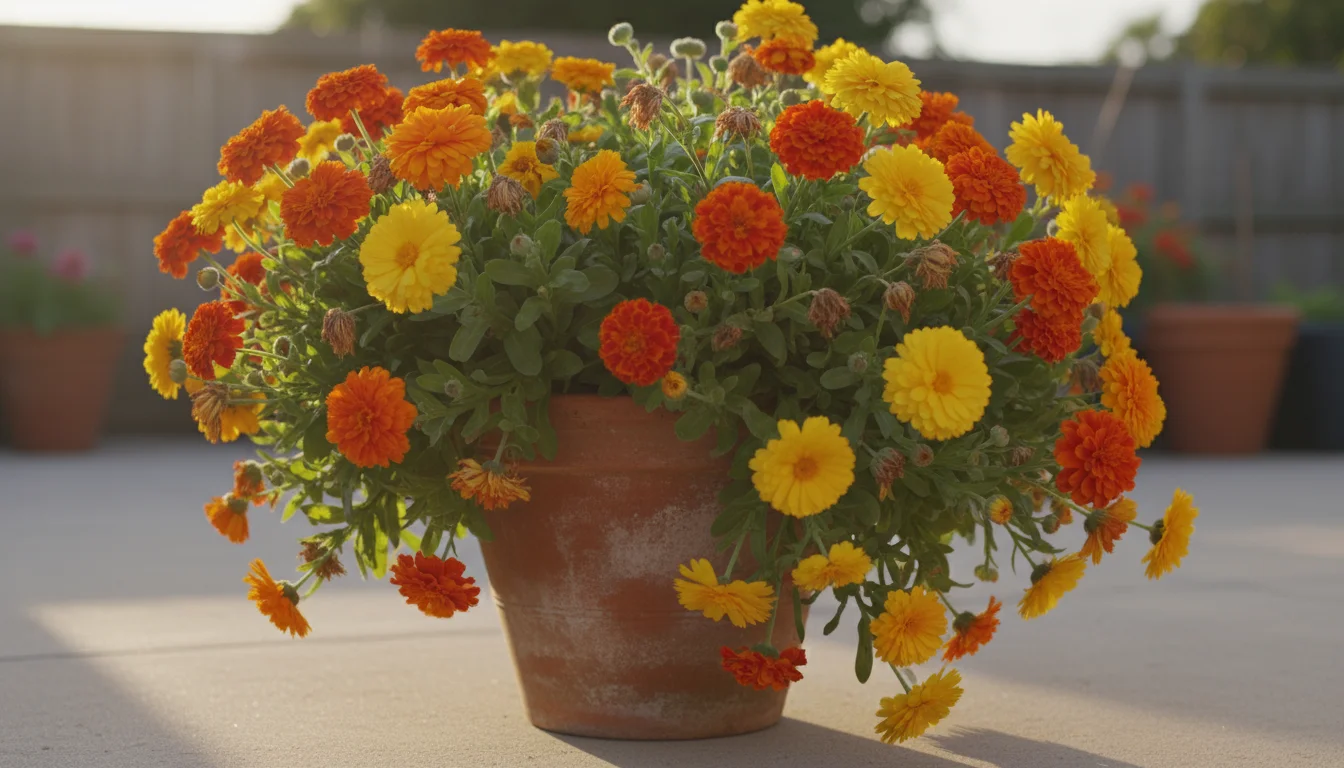
8. Pot Marigold (Calendula officinalis)
- Why it works: While often grown as an annual, Calendula can behave as a short-lived perennial in milder zones (7-10) or readily self-seed, giving the impression of returning year after year. For fall planting, its resilience to cooler temperatures and bright, cheerful blooms are invaluable. It adds a splash of orange and yellow, and its petals are edible.
- Sun: Full sun.
- Water: Moderate. Water when the top inch of soil feels dry.
- Hardiness: Zones 2-10 (often treated as an annual or short-lived perennial).
- Size: 1-2 feet tall and wide.
- Care: Deadhead regularly to encourage more blooms. You can collect seeds for next year.

Essential Winter Care for Container Perennials
You have taken the step of planting winter-hardy perennials in fall. Now, you need to provide them with the right care to ensure they not only survive but thrive through the colder months. Container plants are more vulnerable to winter damage than their in-ground counterparts, but simple actions make a significant difference.
Watering in Winter: Less is More, But Not Zero
Dormant plants require significantly less water, but they still need some moisture. The biggest winter killer for container plants is often not the cold itself, but dehydration due to frozen soil and dry winter winds. You should:
- Check soil moisture: Stick your finger 2 inches into the soil. If it feels dry, it is time to water.
- Water on warmer days: Only water when temperatures are above freezing (ideally above 40°F/4°C) and the soil is not frozen. This allows the plant to absorb water before it refreezes.
- Avoid overwatering: Saturated soil combined with freezing temperatures can lead to root rot. Good drainage remains crucial.
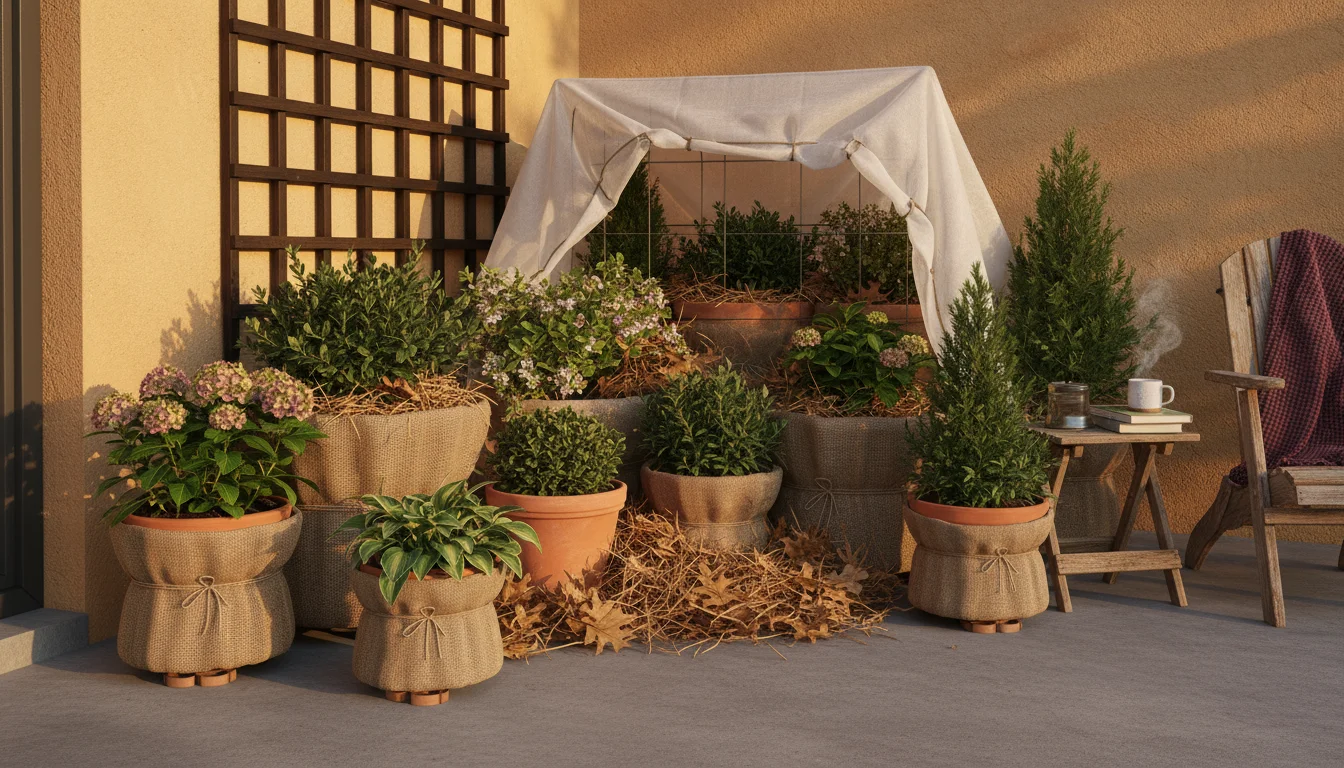
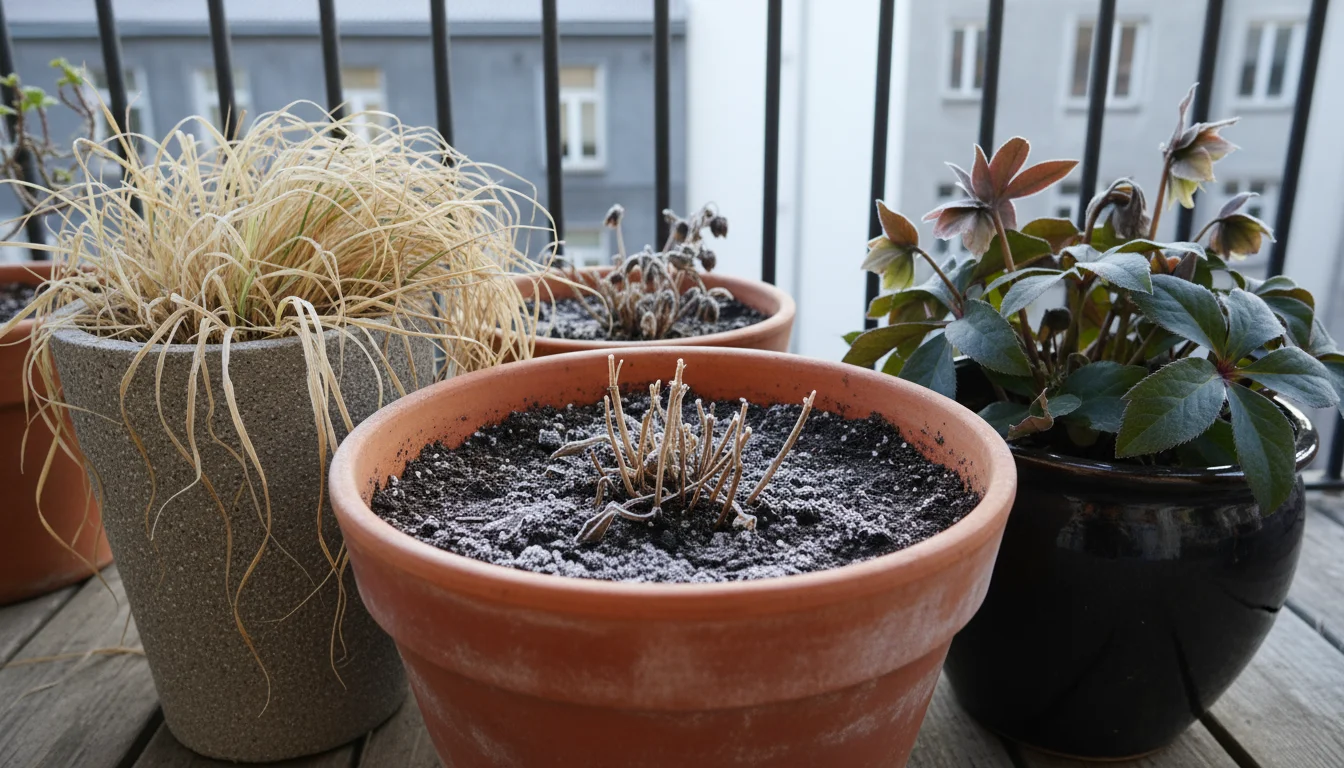
Protecting Roots from Extreme Cold
The insulation provided by the ground is absent for container plants. You need to compensate for this:
- Group pots together: Huddle your containers close to each other. This creates a microclimate, offering collective insulation for roots.
- Move pots to sheltered locations: Place them against the warmth of your house foundation, under eaves, or on a protected porch or patio. These spots offer refuge from harsh winds and extreme temperature drops.
- Insulate pots: You can wrap pots with burlap, bubble wrap, or old blankets. Stuff straw or fallen leaves between grouped pots for added insulation. This helps maintain a more stable soil temperature.
- Elevate pots: If your pots are sitting directly on cold concrete or paving, elevate them slightly using pot feet or wooden blocks. This prevents direct contact with freezing surfaces and ensures drainage is not blocked by ice.
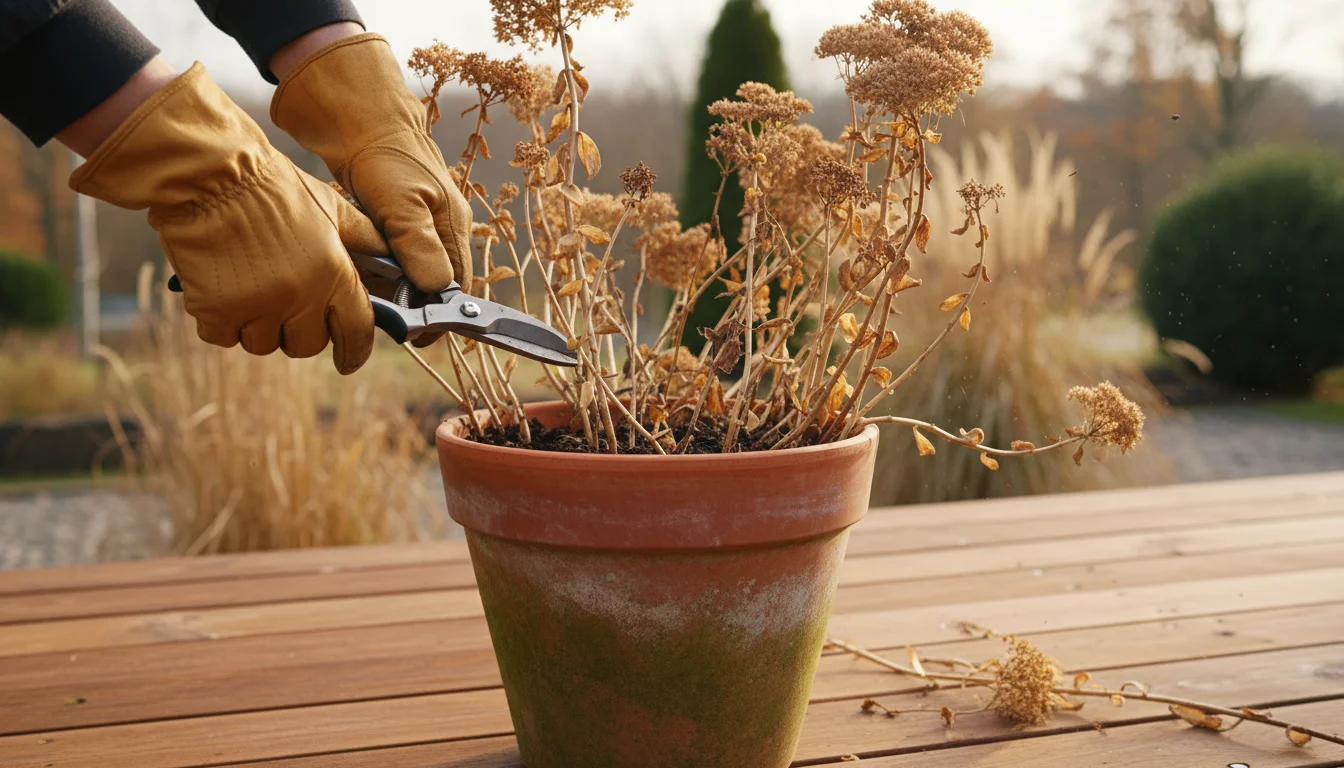
Dormancy and Pruning
Many perennials enter dormancy in winter, meaning their top growth dies back. This is normal and healthy. You can:
- Leave foliage on: For many perennials, leaving the dormant foliage provides additional insulation for the crown of the plant. It also offers winter interest and food for birds.
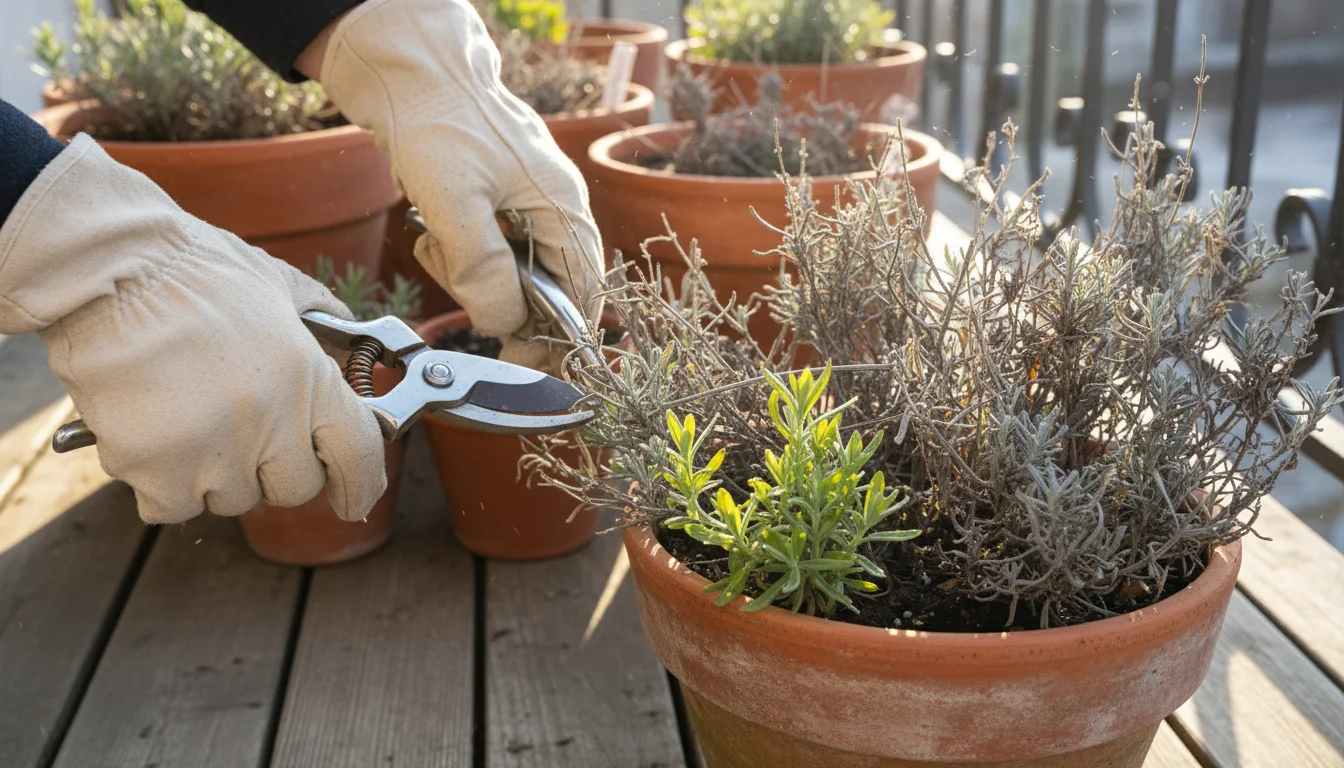
- Cut back in late fall/early spring: If you prefer a tidier look, you can cut back dead foliage in late fall after the first hard frost. For plants that provide winter interest (like Sedum), you might wait until early spring just before new growth emerges. Use clean, sharp pruners to avoid damaging new growth.
No Winter Fertilizing
Dormant plants do not actively grow or require nutrients. Fertilizing in winter encourages tender new growth that will likely be damaged by cold. Resume a gentle feeding schedule in spring when new growth appears.
By implementing these simple winter care habits, you ensure your investment in fall-planted container perennials pays off with robust, returning plants come spring.
From Dormancy to Bloom: Spring Care for Returning Plants
The transition from winter dormancy to vibrant spring bloom is a magical time for your container perennials. You will feel immense satisfaction watching the first signs of life emerge from seemingly empty pots. Your role in spring is to provide gentle encouragement and prepare them for a season of vigorous growth.
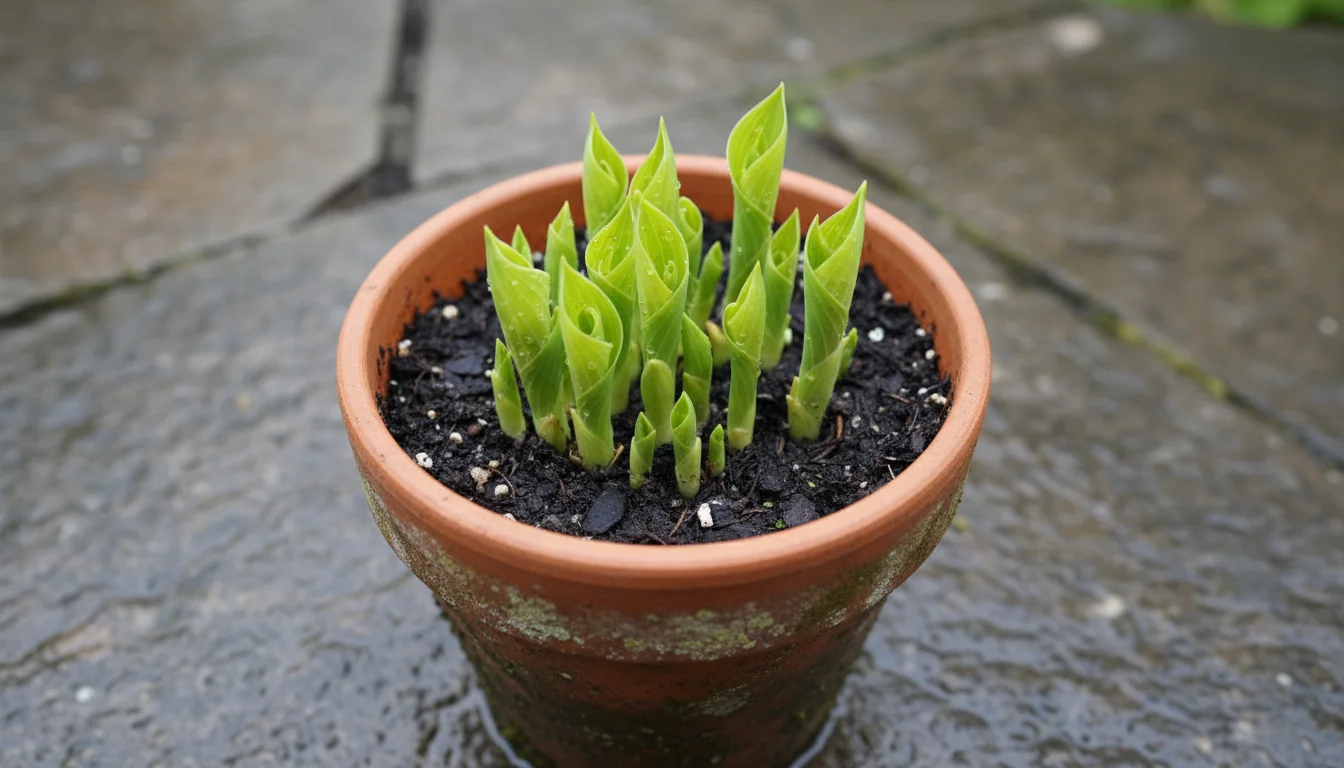
Watching for Signs of Life
As winter’s grip loosens and temperatures rise, begin checking your pots regularly. You might see tiny green shoots emerging from the soil, especially near the crown of the plant. For some plants, like Hostas, leaves will unfurl rapidly. For others, such as Sedum, you might notice new growth at the base of the previous year’s stems. This is your cue that the plant is awakening.
Spring Pruning and Cleanup
If you left any spent foliage or stems on your plants over winter for insulation or interest, now is the time for cleanup. Using clean, sharp pruners, cut back any remaining dead or damaged foliage to about an inch above the soil line. For plants with woody stems, like Lavender, prune back to just above a node where new growth is visible, ensuring you do not cut into old, woody growth unless absolutely necessary to shape the plant. Removing winter-damaged parts diverts the plant’s energy into healthy new growth and improves air circulation.
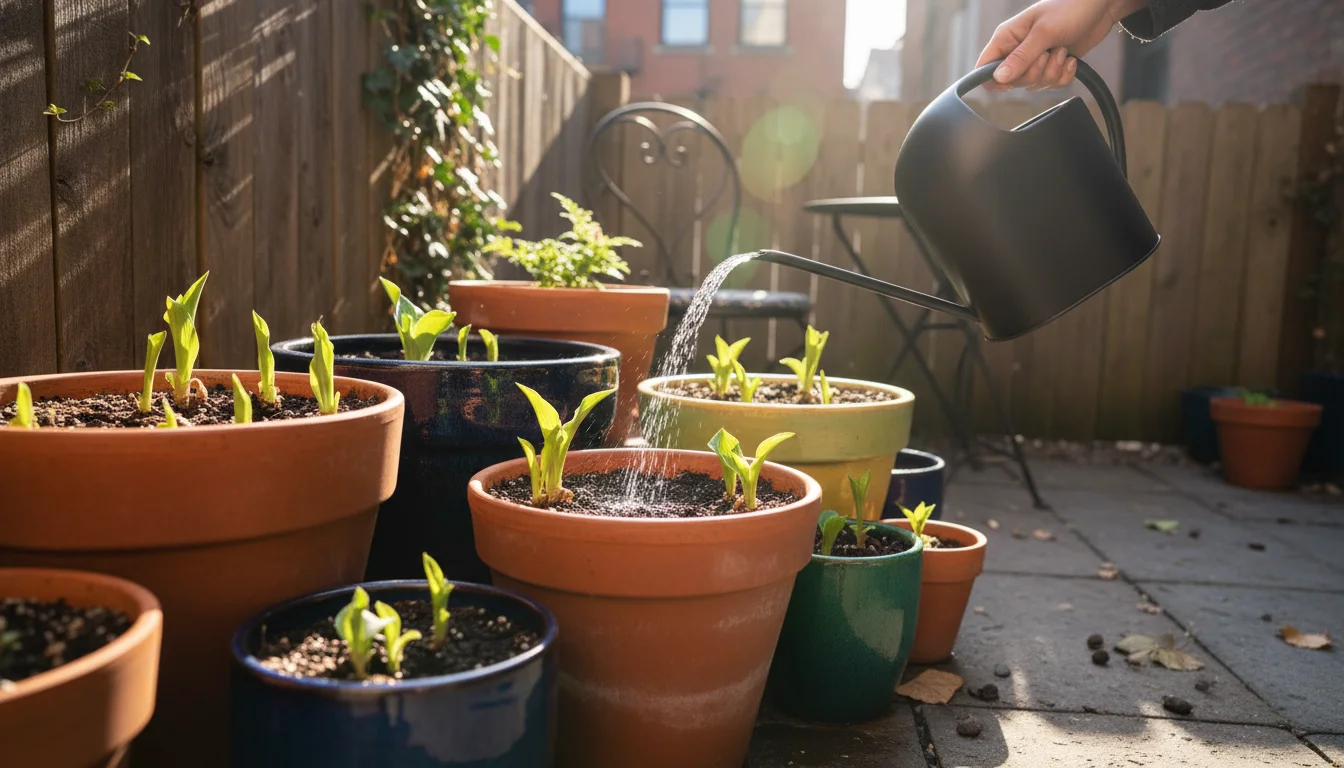
Reintroducing Water and Nutrients
As new growth appears, your perennials will begin to require more water. Increase your watering frequency, ensuring the soil remains consistently moist but never soggy. Always check the top inch of soil before watering. You can also begin a light fertilizing regimen:
- Organic, Slow-Release Options: Incorporate a granular, slow-release organic fertilizer into the top inch of soil. This provides a steady supply of nutrients as the plant wakes up.
- Liquid Feeds: Alternatively, use a diluted liquid organic fertilizer (like fish emulsion or compost tea) every 2-4 weeks, following product instructions carefully. Start at half strength to avoid shocking tender new roots.
Prioritizing sustainable fertilizers supports your environmentally conscious gardening practices. Look for products that are OMRI-listed for organic use.
Pest and Disease Checks
Spring is also when pests and diseases can become active. Regularly inspect your plants for any unusual spots, discoloration, or tiny insects. Addressing issues early makes treatment much simpler:
- Common Pests: Watch for aphids on new growth, slugs or snails munching on Hosta leaves, or spider mites in dry conditions.
- Simple Treatments: Often, a strong jet of water dislodges pests. For persistent issues, use insecticidal soap, neem oil, or organic pest control sprays.
Considering Repotting (Every Few Years)
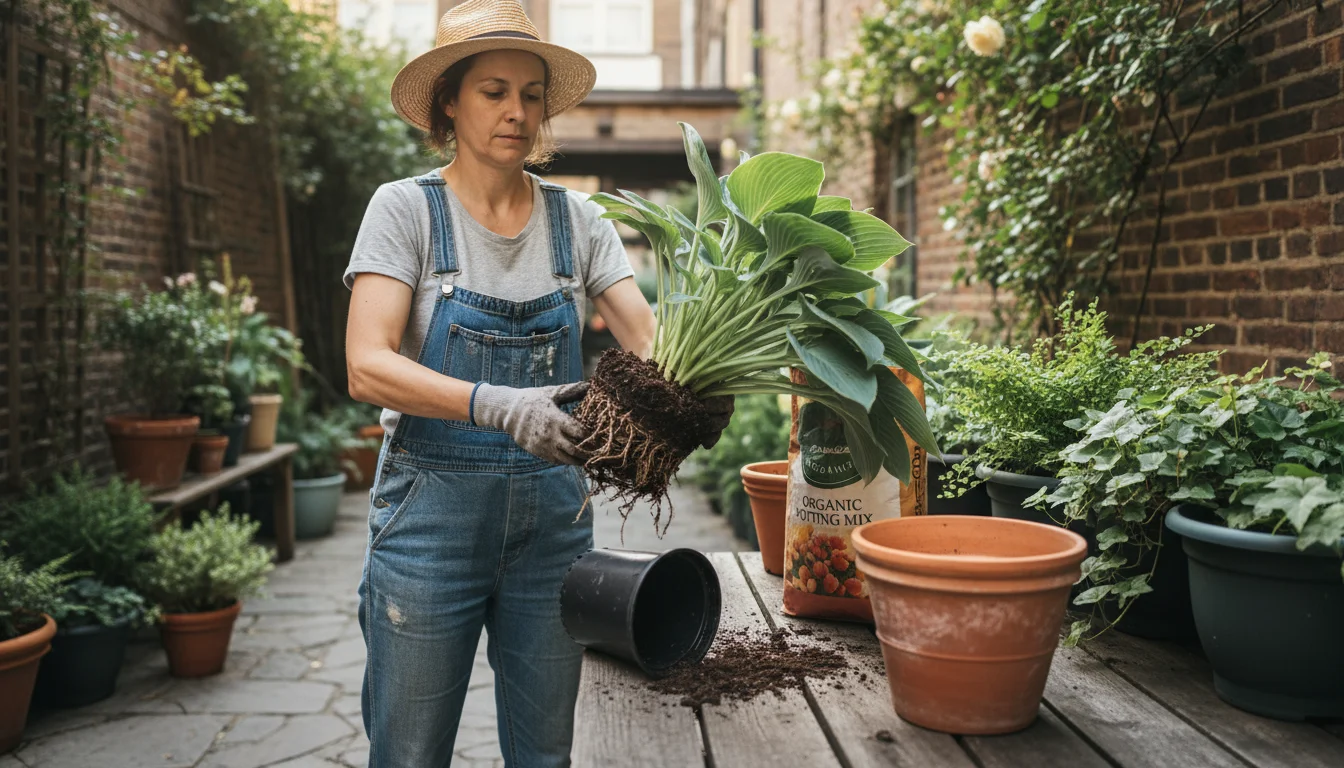
While perennials return annually, they do not stay in the same pot indefinitely. Every 2-3 years, or when you notice signs of your plant being root-bound (roots circling tightly, water running through too quickly, or stunted growth), it is time to repot. You can either:
- Upsize the pot: Move the plant to a container that is 2-4 inches larger in diameter.
- Divide the plant: For clump-forming perennials like Hostas or Coral Bells, you can gently divide the root ball into two or more sections and repot them into separate containers with fresh potting mix. This rejuvenates the plant and gives you more plants for free.
By proactively caring for your container perennials in the spring, you ensure they rebound beautifully from winter and continue to provide you with years of enjoyment.
Troubleshooting Common Container Perennial Challenges
Even with the best intentions, you might encounter issues with your container perennials. Knowing how to identify and address common problems helps you keep your plants healthy and thriving. Remember that patience and observation are your best tools.
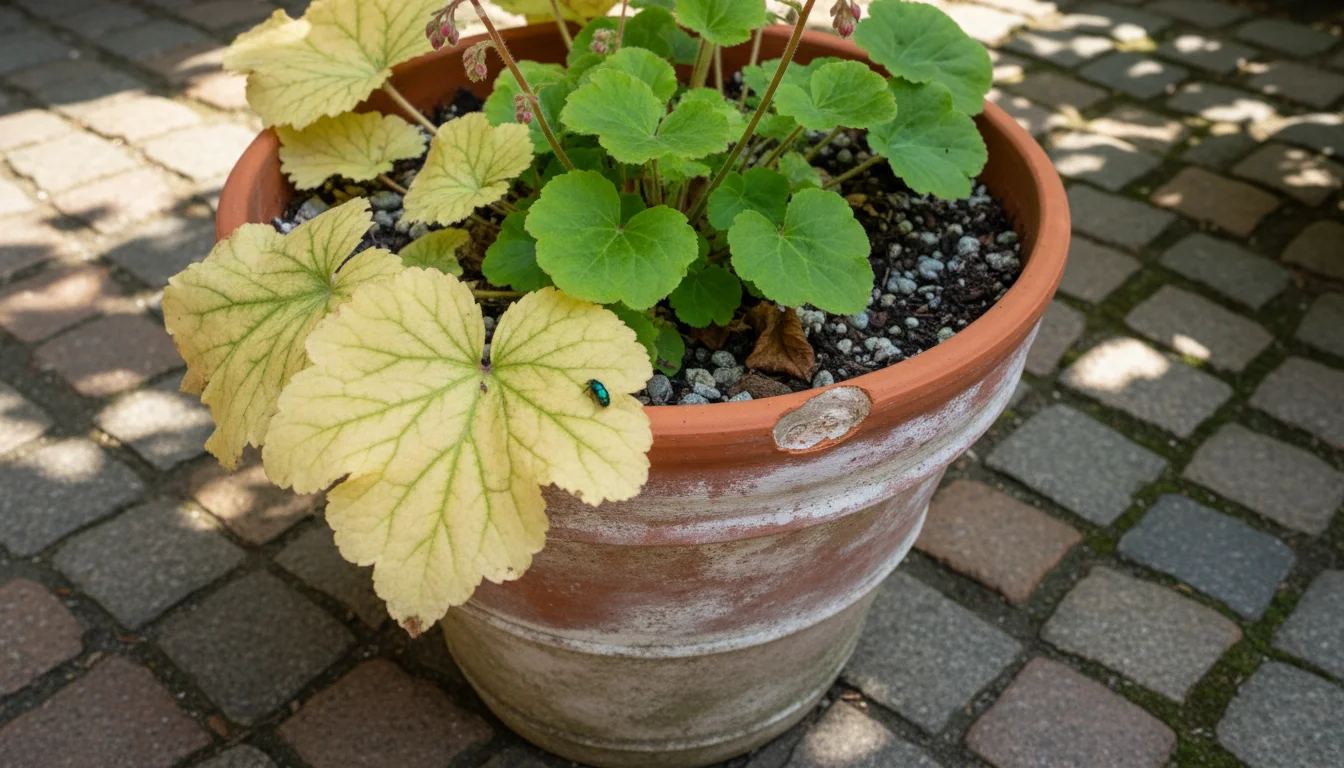
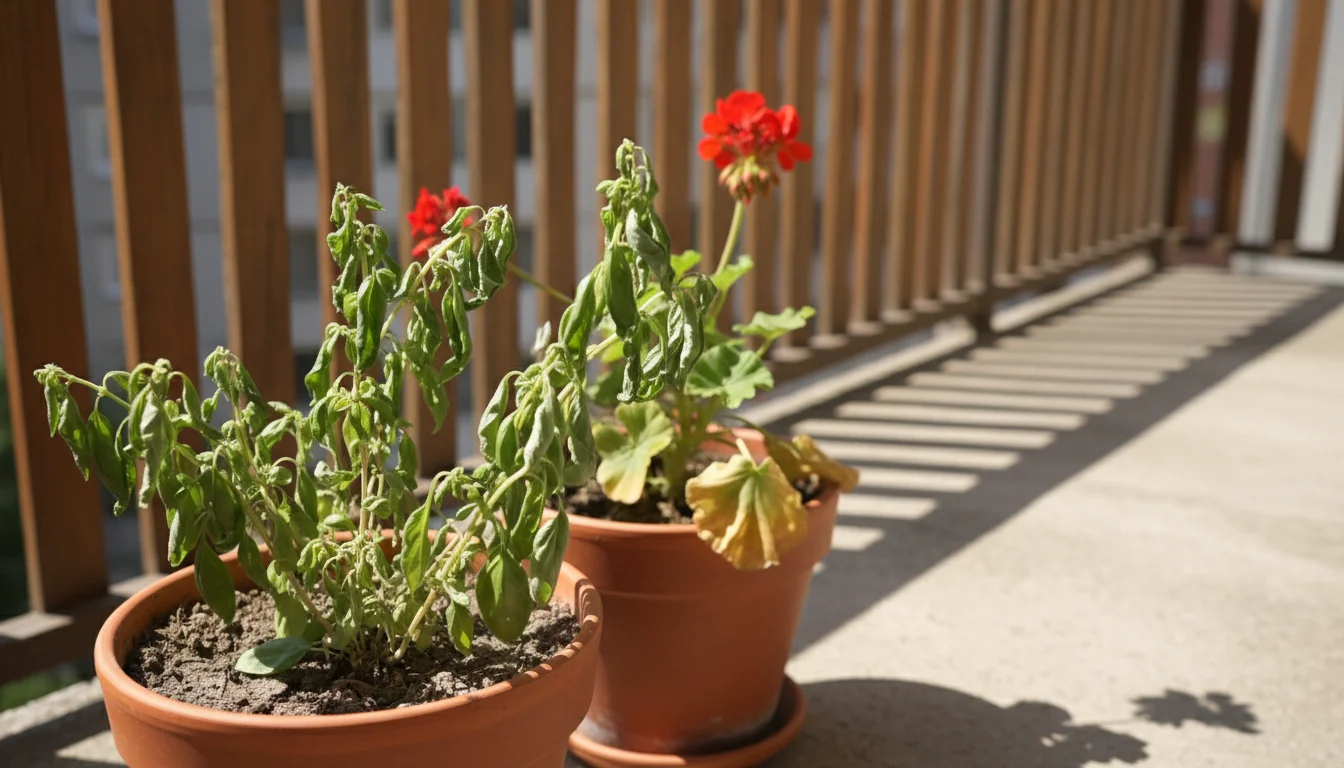
Yellowing Leaves
Yellow leaves are a common symptom with various causes:
- Overwatering: This is a frequent culprit in containers. If the soil stays constantly soggy, roots suffocate and turn yellow. Ensure proper drainage and let the top inch or two of soil dry out between waterings.
- Underwatering: While less common for yellowing, extreme dryness can cause leaves to yellow and wilt. Check soil moisture.
- Nutrient Deficiency: Older leaves yellowing can indicate a nitrogen deficiency. Apply a balanced liquid organic fertilizer. If yellowing occurs between veins with green veins, it might be an iron deficiency, which can be corrected with a chelated iron supplement or by adjusting soil pH.
- Too Much Sun: Some shade-loving plants, like Hostas, can develop yellow or scorched leaves in intense direct sun. Relocate the pot to a shadier spot.
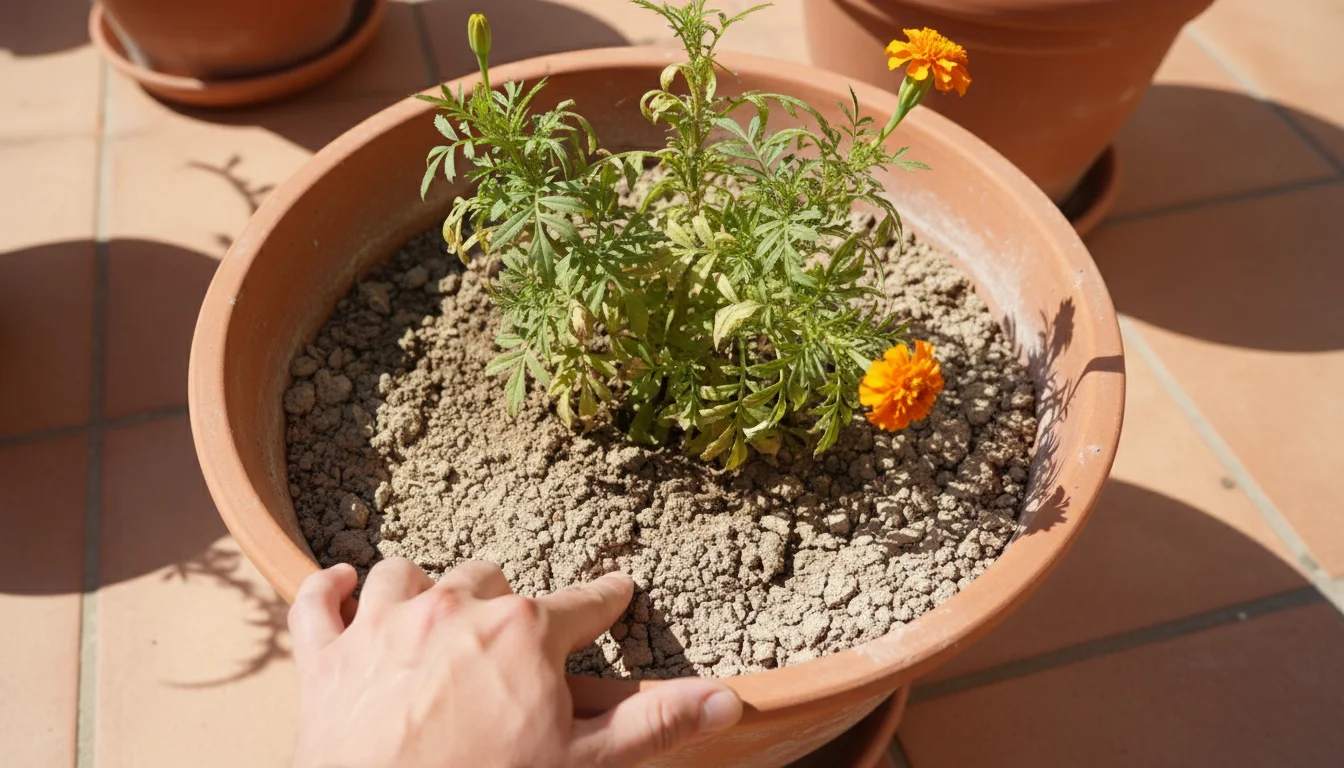
Wilting Plants
Wilting means your plant is struggling to get enough water to its leaves. It is often a sign of:
- Underwatering: The most straightforward cause. Check the soil. If it is dry, water thoroughly until it drains from the bottom.
- Overwatering/Root Rot: Paradoxically, overwatering can also cause wilting. If roots are rotting, they cannot absorb water, even if the soil is wet. Check the pot’s drainage. If you suspect root rot, gently remove the plant, trim off any mushy, discolored roots, and repot into fresh, well-draining soil.
- Heat Stress: On very hot days, plants might wilt temporarily to conserve moisture. They usually perk up in the evening. Provide some afternoon shade during heatwaves.
Lack of Blooms
You have planted your perennials for their beautiful flowers, so a lack of blooms can be disappointing:
- Insufficient Sunlight: Most flowering perennials require full sun (6+ hours) to produce abundant blooms. Ensure your pot is in the sunniest possible spot.
- Too Much Nitrogen Fertilizer: Fertilizers high in nitrogen encourage leafy growth at the expense of flowers. Use a balanced fertilizer or one higher in phosphorus and potassium (the middle and last numbers in NPK).
- Maturity: Some perennials, especially when young, might take a season or two to establish before blooming profusely. Be patient.
- Incorrect Pruning: Pruning at the wrong time (e.g., cutting off flower buds) can prevent blooms. Research the specific pruning needs of your plant.
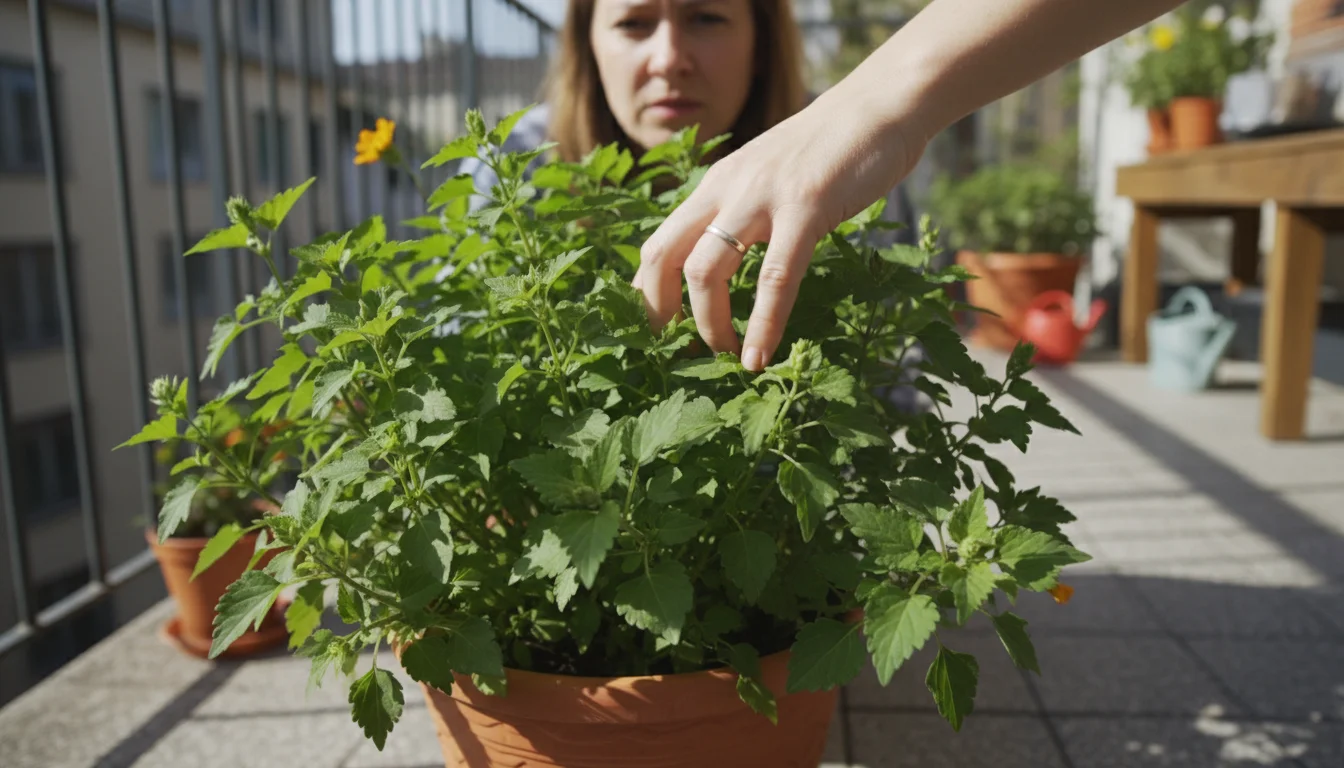
Pests and Diseases
Container perennials are generally resilient, but pests and diseases can still appear:
- Aphids, Spider Mites, Mealybugs: These small insects feed on plant sap. Look for sticky residue, distorted new growth, or tiny webbing. Treat with insecticidal soap, neem oil, or a strong spray of water.
- Slugs and Snails: Especially problematic for Hostas. Look for irregular holes in leaves. Use organic slug bait or hand-pick them.
- Fungal Diseases (e.g., Powdery Mildew): Appears as white, powdery patches on leaves. Often caused by high humidity and poor air circulation. Improve air circulation, water at the soil level (avoid wetting leaves), and use organic fungicides if necessary.
By regularly observing your plants and understanding these common signs, you can proactively address issues and maintain a healthy, vibrant container perennial garden. Many problems have simple solutions once you identify the root cause.
Sustainable Practices for Your Ever-Returning Garden
Your passion for a beautiful, low maintenance garden extends to caring for our planet. Embracing sustainable practices in your container perennial garden is simple, effective, and aligns perfectly with the ethos of SimpleGardenJoy. You contribute to a healthier environment while enjoying your vibrant plants.
Choosing Peat-Free Potting Mixes
The vast majority of conventional potting mixes contain peat moss. While effective, peat is a non-renewable resource harvested from fragile peatlands, which are vital carbon sinks and ecosystems. You can make an immediate positive impact by choosing peat-free potting mixes. These mixes often use sustainable alternatives like coco coir (from coconut husks), composted bark, rice hulls, or other plant-based materials. They perform just as well, often better, and support ecological balance.
Water-Wise Watering Techniques
Water conservation is a cornerstone of sustainable gardening, especially in containers which can dry out quickly. You can significantly reduce water waste:
- Water deeply and less frequently: Instead of light, daily sprinkles, water until moisture drains from the bottom of the pot. This encourages roots to grow deeper, making the plant more drought-tolerant.
- Water in the early morning: Watering before the heat of the day minimizes evaporation, ensuring more water reaches the plant’s roots.
- Mulch your pots: Add a layer of organic mulch (shredded leaves, pine needles, or bark chips) to the top of your potting mix. Mulch reduces water evaporation, suppresses weeds, and helps regulate soil temperature. For instance, a 1-inch layer of mulch can reduce evaporation by up to 30%.
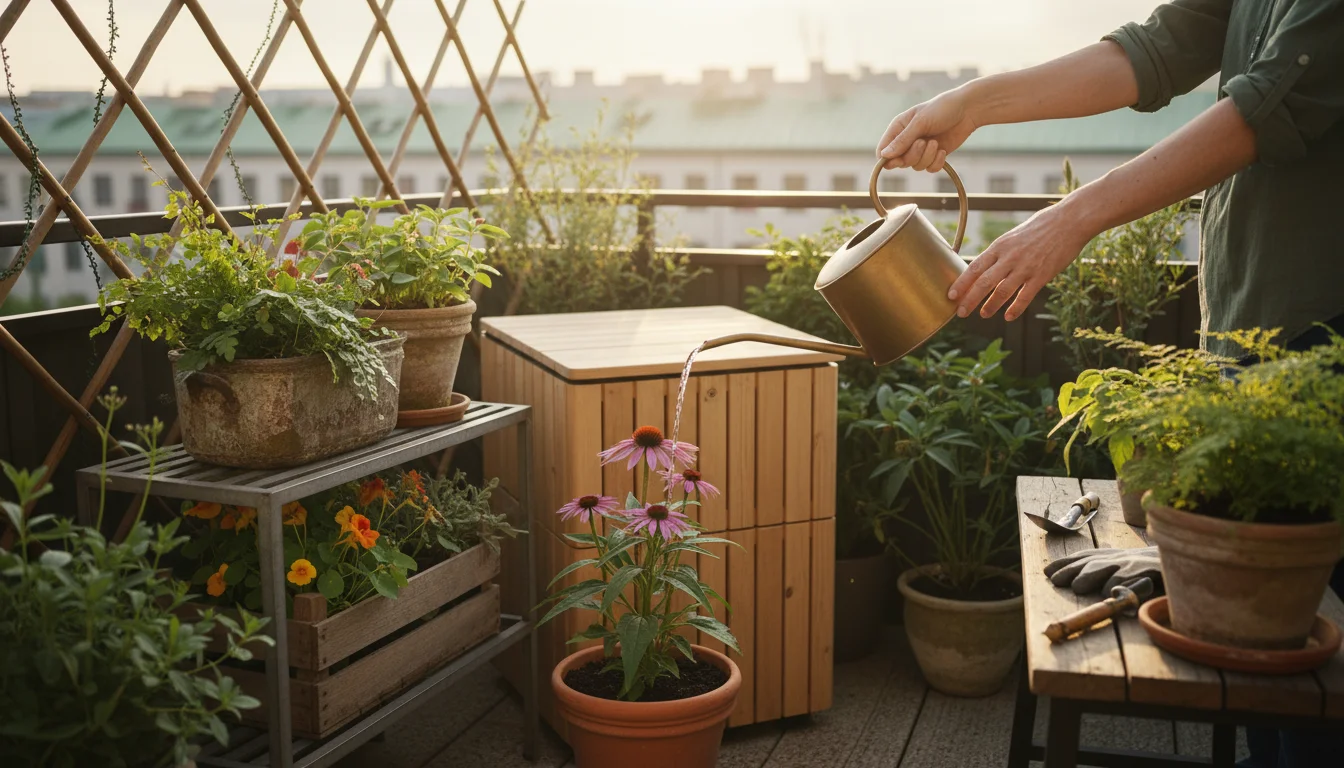
- Collect rainwater: Install a simple rain barrel. Rainwater is free, naturally soft, and perfect for your plants.
Composting and Nutrient Cycling
You can turn kitchen scraps and garden waste into valuable plant food. Composting food scraps (vegetable and fruit peels, coffee grounds) and yard trimmings (dead leaves, spent plant material) creates nutrient-rich compost. Incorporate compost into your potting mix when repotting or use it as a top dressing. This closes the loop, returning organic matter and nutrients to your plants, reducing the need for synthetic fertilizers, and diverting waste from landfills.
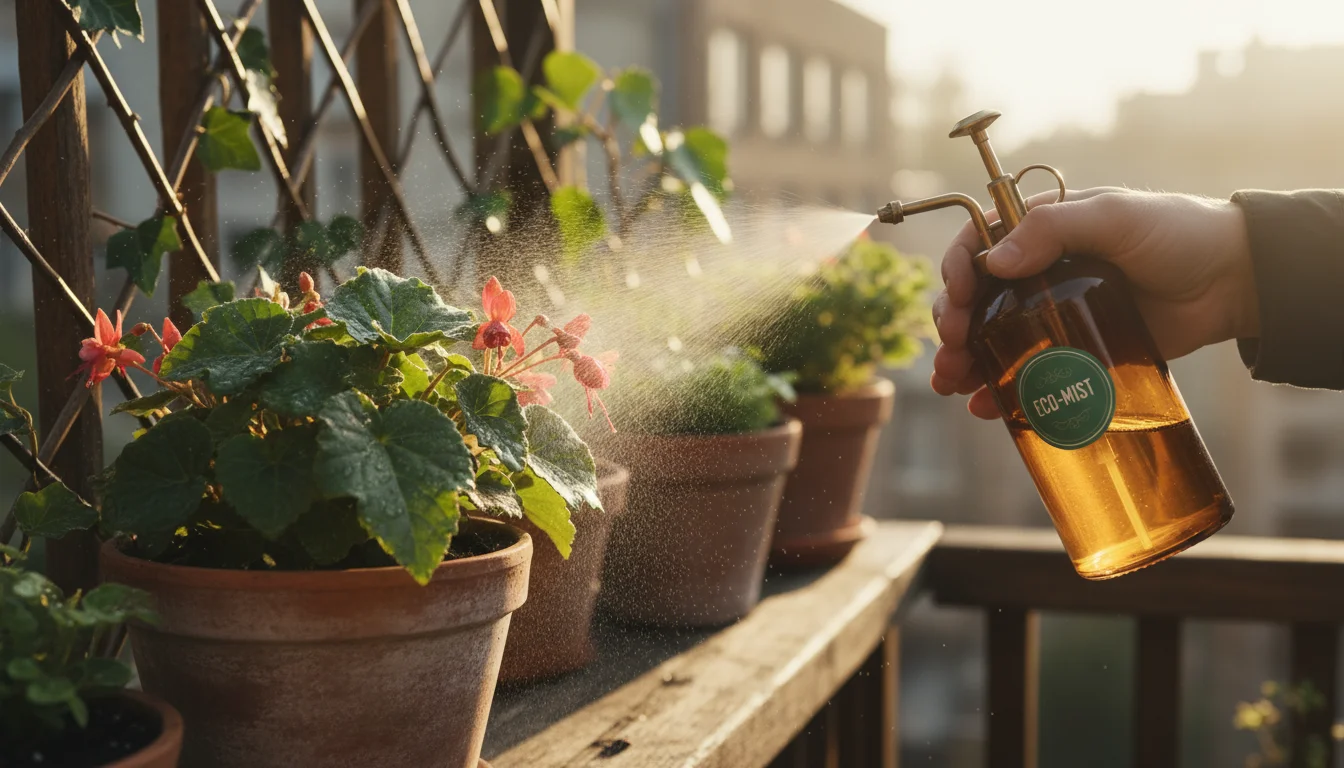
Eco-Friendly Fertilizers and Pest Control
Opt for organic and natural solutions whenever possible. Instead of chemical fertilizers, use:
- Organic slow-release fertilizers: These feed the soil microbes, which in turn feed your plants, creating a healthier, more resilient system. Examples include kelp meal, alfalfa meal, or worm castings.
- Compost tea: Brew your own nutrient-rich liquid from compost.
For pest control, start with prevention and simple physical methods. If treatment becomes necessary, choose biological controls, insecticidal soaps, or neem oil over broad-spectrum pesticides that can harm beneficial insects and the environment.
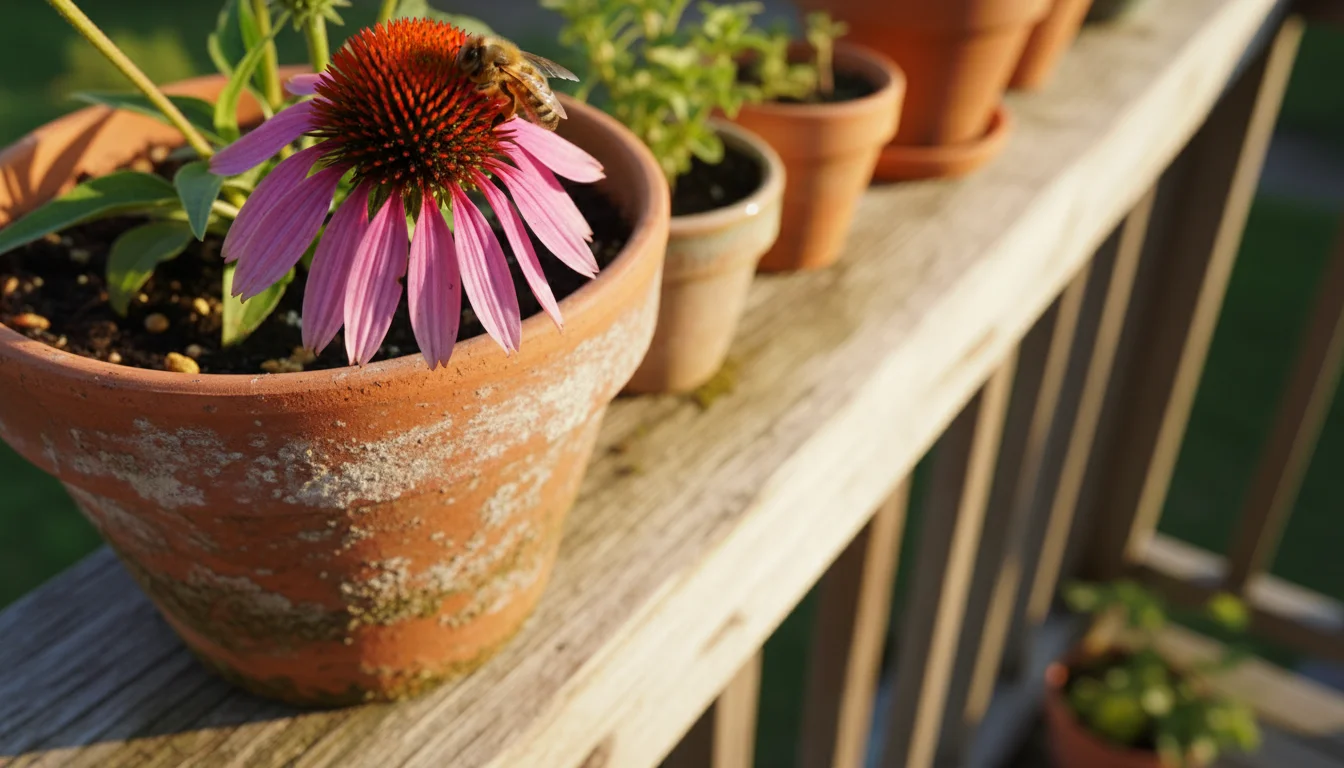
Choosing Native and Pollinator-Friendly Plants
When selecting your perennials, consider varieties native to your region. Native plants are adapted to your local climate and soil conditions, requiring less water and intervention. Many perennials, like Echinacea and Sedum, are excellent sources of nectar and pollen for local pollinators such as bees and butterflies. Your container garden can become a small but mighty ecological haven.
By integrating these sustainable practices, you create a garden that is not only beautiful and low maintenance for you but also beneficial for the wider environment. It demonstrates that small spaces can make a big impact.
Frequently Asked Questions
What is the biggest mistake people make with container perennials in winter?
The most common mistake is assuming winter-hardy means indestructible. Container perennials are more exposed to cold than those in the ground. Forgetting to provide insulation, grouping, or appropriate winter watering often leads to loss. Always remember the “two zones colder” rule for hardiness and give roots extra protection.
Can I bring my container perennials indoors for winter?
While possible, it is generally not recommended for true winter-hardy perennials that require a dormancy period. Bringing them into a warm, dry indoor environment can disrupt their natural cycle, causing them to struggle. If you must bring them in, opt for an unheated garage, shed, or cool basement where temperatures stay above freezing but cool enough for dormancy.
How often should I repot my container perennials?
Most container perennials benefit from repotting every 2 to 3 years. You will notice signs like roots circling the pot, water running through too quickly, or a decline in vigor. When you repot, you can either move them to a slightly larger pot or divide larger clumps to rejuvenate them and create new plants.
My perennial didn’t come back this spring. What went wrong?
Several factors might lead to a perennial not returning. The most common reasons include insufficient hardiness for your specific container conditions (remembering container plants are less hardy than in-ground), overwatering leading to root rot during dormancy, extreme cold exposure without enough insulation, or severe dehydration during a dry winter. Review your winter care and hardiness zone choices for your next planting.
For research-based plant care guidance, visit Kew Science — Plants of the World, Brooklyn Botanic Garden, Chicago Botanic Garden, New York Botanical Garden and ASPCA Animal Poison Control.
Disclaimer: This article is for informational purposes only and is not a substitute for professional advice. Consult local extension services for region-specific recommendations.
Leave a Reply