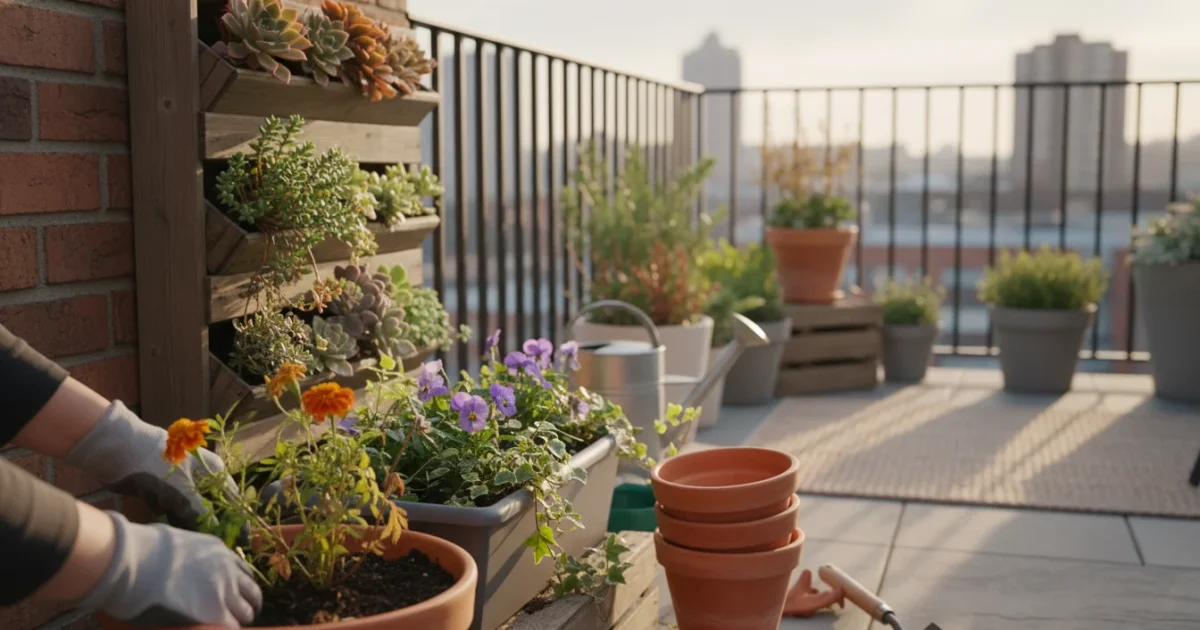
Goodbye, Summer Annuals: A Mindful Guide to Transitioning Your Balcony Planters from Summer to Fall
As the days shorten and a crispness enters the air, your vibrant summer annuals might begin to look a little weary. The dazzling petunias, cheerful impatiens, and trailing calibrachoa that brightened your balcony for months have completed their spectacular show. Rather than viewing this as an ending, embrace it as an exciting opportunity for a fresh start. This guide empowers you to mindfully transition your balcony planters, transforming them into stunning autumn displays that offer new textures, colors, and a renewed sense of purpose. You will discover practical, actionable steps to refresh your containers, ensuring beauty and vitality through the cooler months.
If you aren’t ready to let go completely, you can preserve your final balcony flowers as a lasting memento of your summer success.
Understanding the Seasonal Shift: Why Your Planters Need a Fall Refresh
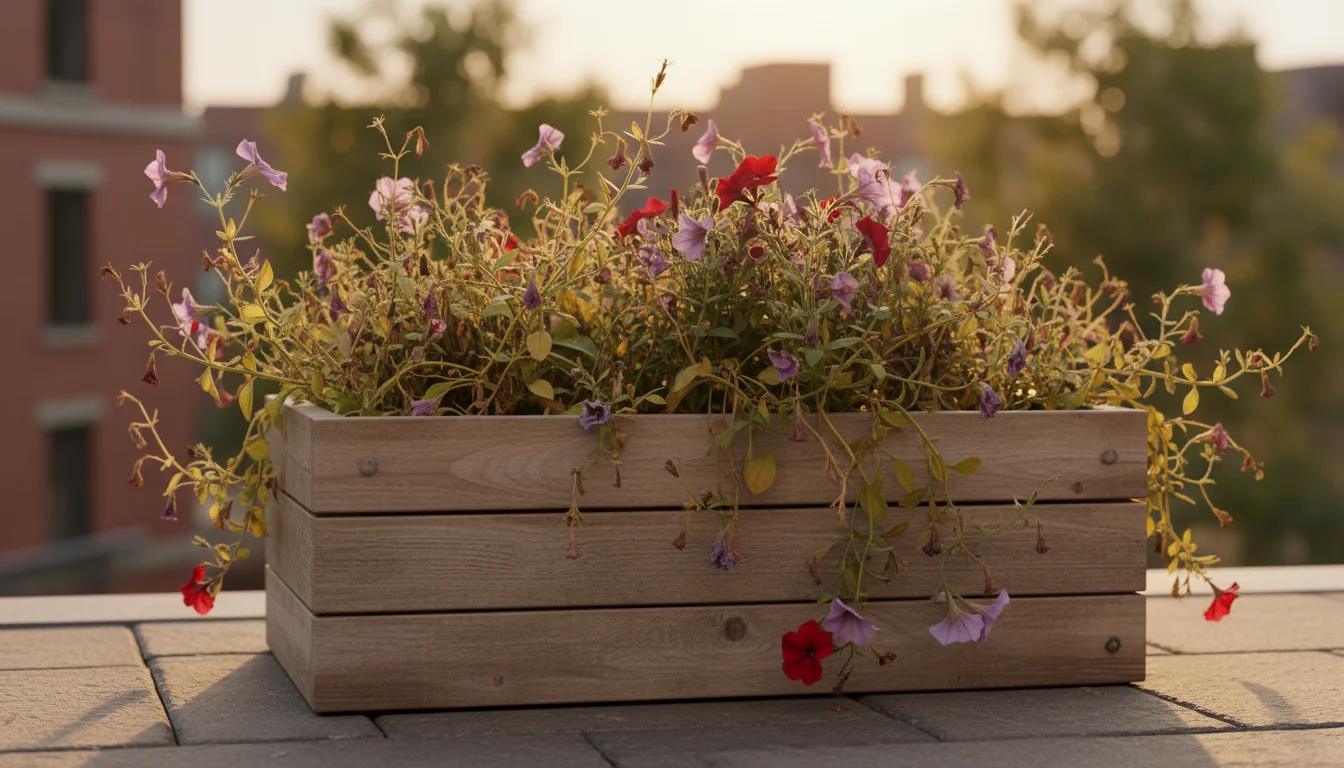
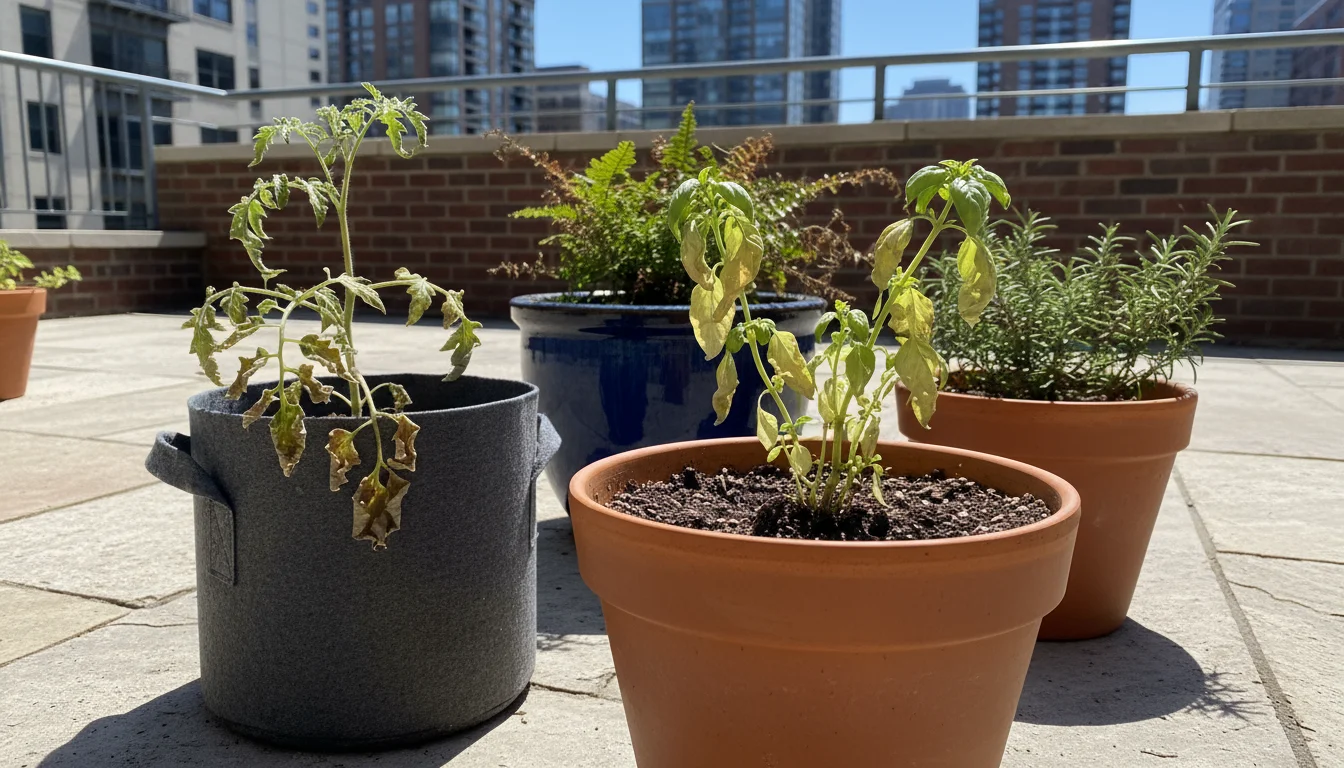
Summer annuals, by their very nature, complete their life cycle within one growing season. They expend all their energy producing flowers and seeds, culminating in a spectacular display before naturally declining. As autumn approaches, cooler temperatures, shorter daylight hours, and often reduced humidity signal the end of their peak performance. You will notice their vigor decreasing, fewer new blooms appearing, and foliage potentially yellowing or developing brown spots. This natural progression means their purpose is fulfilled, and holding onto them past their prime often results in less attractive, struggling plants.
Before you begin clearing out the old, conducting a fall regret audit can help you identify which summer plants struggled and why.
Transitioning your planters for fall offers several key benefits. First, it significantly enhances the aesthetic appeal of your small space. Replacing tired summer plants with vibrant, cool-season varieties instantly revitalizes your balcony or patio, creating an inviting atmosphere that reflects the beauty of the season. Imagine deep purples, fiery oranges, and rich greens adorning your containers, a stark contrast to the faded pastels of summer. Second, a proactive end of season garden cleanup promotes better plant health. Removing dead or dying foliage eliminates potential breeding grounds for pests and diseases that could otherwise overwinter in your containers and affect future plantings. This preventative measure contributes to a healthier growing environment overall.
Furthermore, refreshing your planters allows you to prepare for winter. By removing old root balls and amending your soil, you create an optimal foundation for hardy fall plants or even early spring bulbs. This systematic approach ensures your containers remain productive and beautiful year-round, aligning perfectly with a low-maintenance gardening philosophy. You are not just changing plants; you are actively nurturing your small garden ecosystem, adapting it to the changing climate and maximizing its potential.
When to Bid Farewell: Timing Your Summer Annuals’ Departure
Knowing when to remove summer annuals from pots is a crucial step in your seasonal transition. Many beginner gardeners hesitate, hoping for one last burst of bloom, but delaying the inevitable can actually diminish your enjoyment and create more work later. The optimal time for farewell depends on your specific climate and the condition of your plants, but several clear indicators tell you it is time to act.
Learning how to mindfully end your balcony season helps you transition without the usual end-of-summer stress.
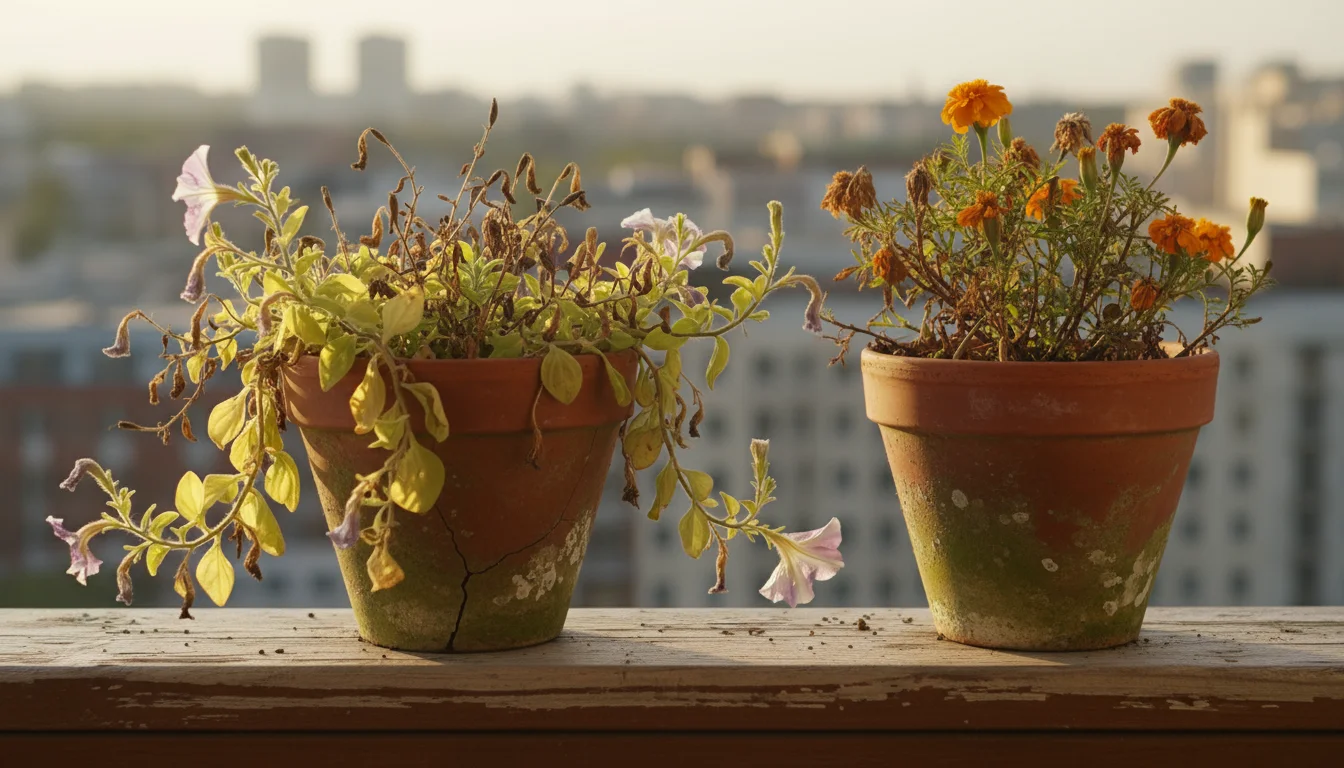
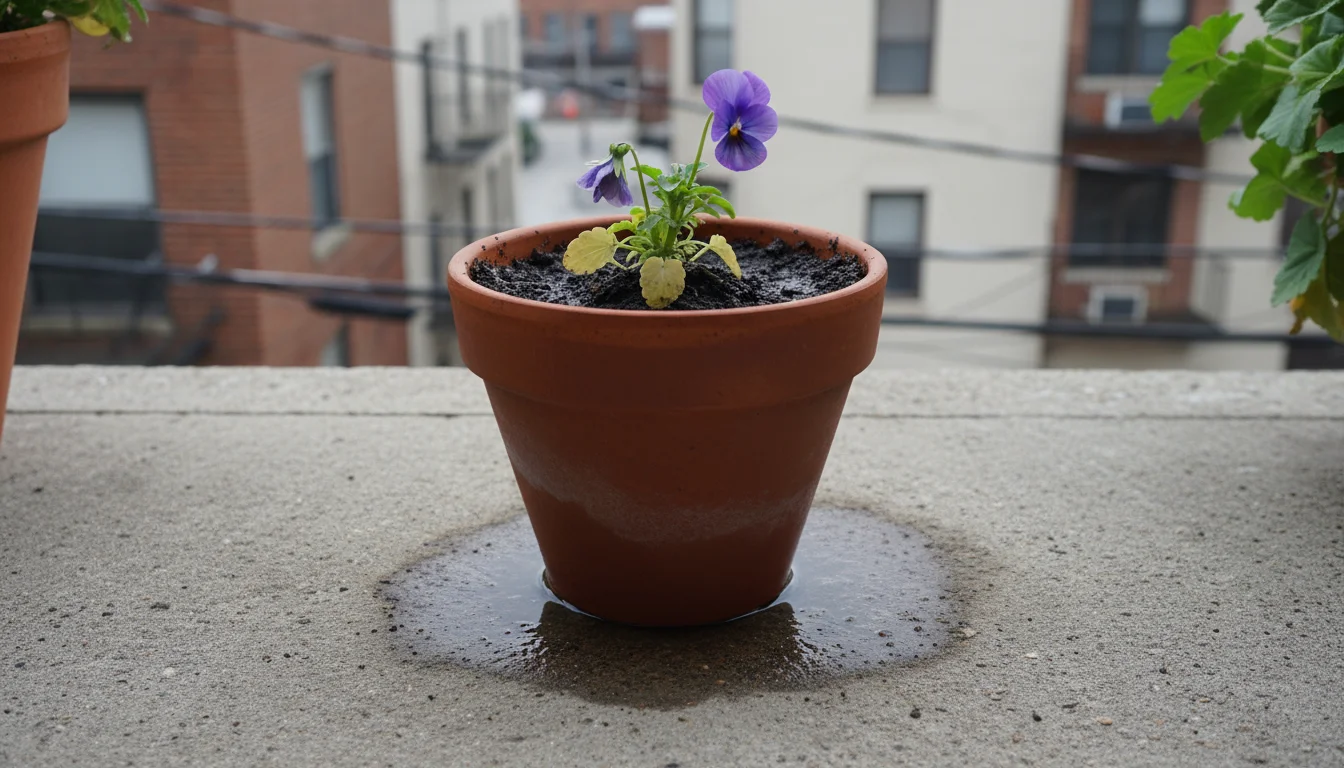
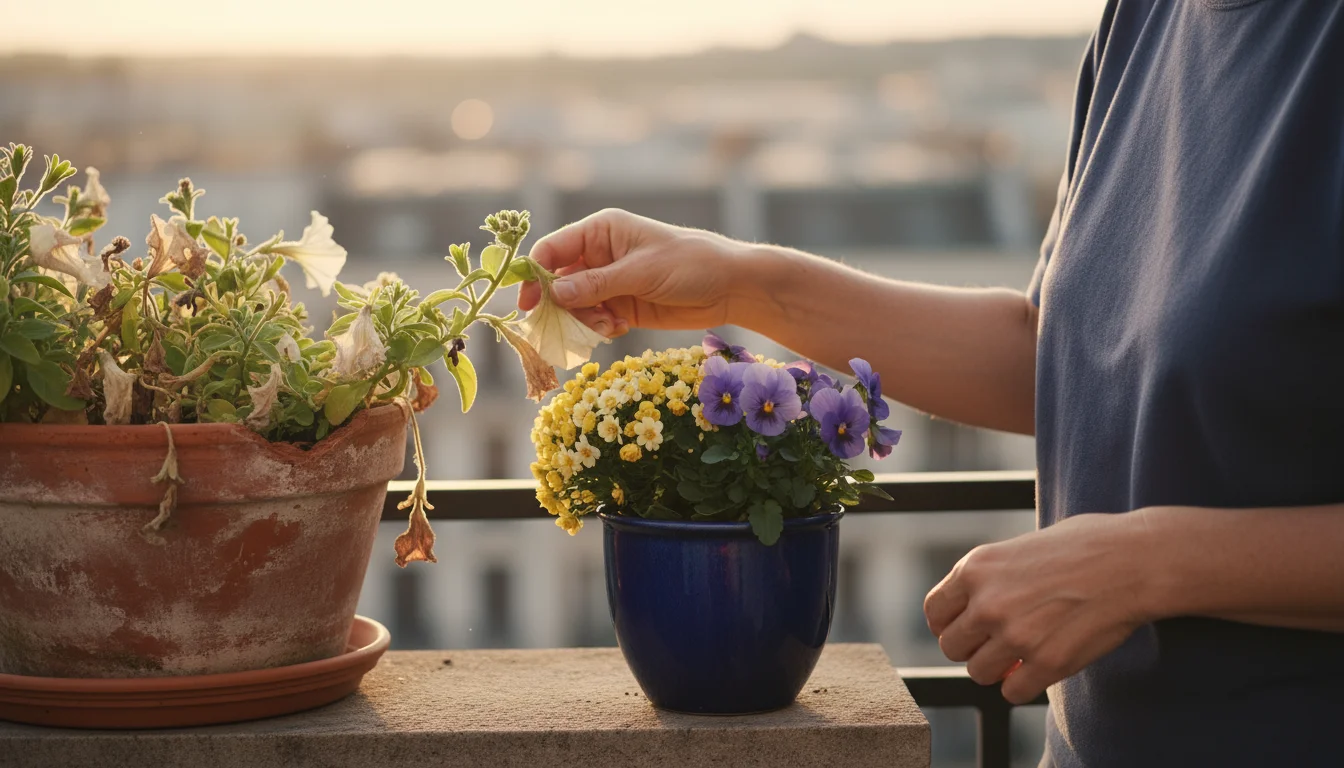
First, observe the plants themselves. You will see noticeable signs of decline. Flowers become sparse, smaller, or stop appearing altogether. Foliage might turn yellow, brown, or develop a generally withered appearance. Some plants might become leggy, with long, scraggly stems and few leaves, indicating they have passed their prime. For example, if you are wondering what to do with dying petunias in fall, look for these specific signals. Petunias often become sticky, less floriferous, and develop yellowed lower leaves as temperatures drop and their life cycle concludes.
Second, monitor the weather. While your plants might tolerate a few cool nights, the first sustained cold snaps or light frosts will quickly turn tender annuals into mush. Most summer annuals are not frost-tolerant. A good rule of thumb is to begin your transition when daytime temperatures consistently fall below 60 degrees Fahrenheit (15 degrees Celsius) and nighttime temperatures dip into the 40s (4-9 degrees Celsius) or lower. If a hard frost is predicted, act swiftly to remove your summer annuals to prevent them from decaying in your pots, which can lead to unpleasant odors and potential disease issues.
Consider your local growing zone. Gardeners in warmer climates might enjoy a longer summer annual season, sometimes even into late fall. However, even in these regions, plants will show the signs of fatigue mentioned above. Conversely, those in colder zones will need to transition earlier, often in late September or early October, to beat the first severe frosts. Consulting your local extension office for specific frost dates can provide valuable, region-specific guidance on precise timing.
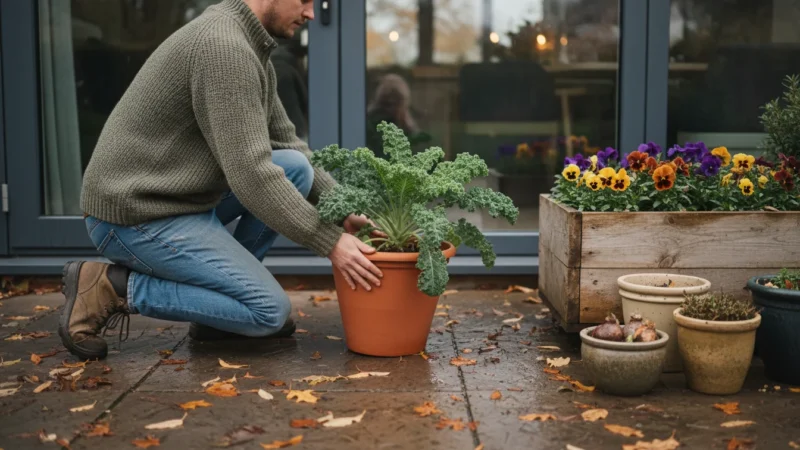
The Mindful Unplanting: Clearing Out Your Summer Displays
Once you have decided it is time for your summer annuals to go, approach the task with intention. This is not merely about clearing space; it is about preparing for new life and practicing sustainable gardening. A thorough container garden cleanup sets the stage for healthy fall plantings.
Clearing out your pots also presents an ideal opportunity to redesign your balcony layout to better suit your needs for the upcoming spring.
Here is a step-by-step guide to mindfully unplanting your summer displays:
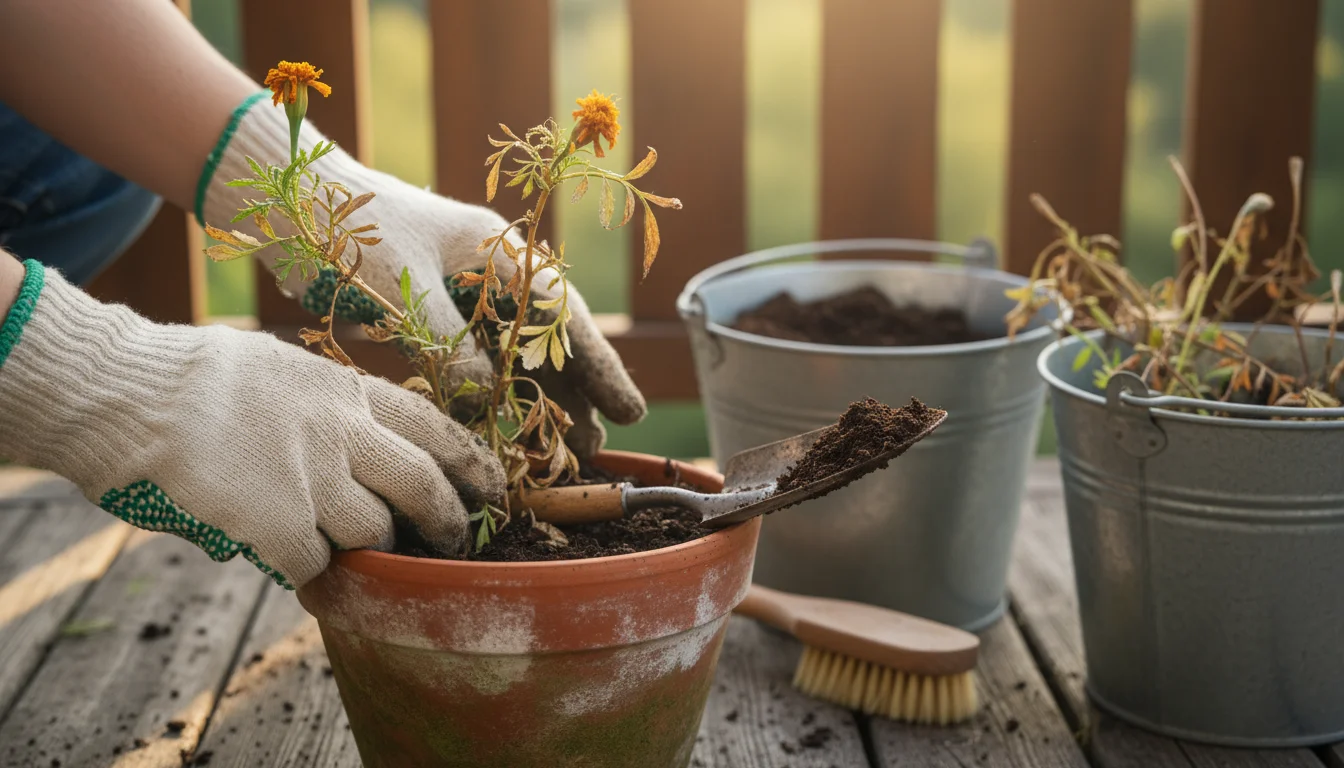
- Gather Your Tools: You will need gardening gloves, a trowel or small spade, a sturdy brush for cleaning pots, and two receptacles: one for plant debris and one for excess soil. A small hand pruner can be useful for stubborn roots.
- Remove the Plants: Gently loosen the soil around the base of each plant with your trowel. Grab the plant firmly at its base and pull upward, trying to remove as much of the root ball as possible. For very root-bound plants, you might need to use your trowel to cut through the roots or even carefully tip the pot on its side to extract the entire mass. Place the spent plants into your debris container.
- Inspect for Pests and Diseases: As you remove each plant, take a moment to inspect its roots and foliage. Look for any signs of lingering pests, such as aphids, spider mites, or mealybugs, or fungal diseases like powdery mildew or root rot. If you find any severe infestations or diseases, avoid composting those specific plants. Instead, dispose of them in the general waste to prevent the spread of issues to your compost pile or future garden. This vigilance is a critical part of maintaining a healthy garden ecosystem.
- Separate Soil from Roots: Gently shake off excess potting mix from the removed root balls. The goal is to salvage as much potting soil as possible, especially if it is still healthy. The roots themselves, if healthy, can go into your compost pile.
- Assess Your Planters: After emptying the pots, inspect them for any damage, cracks, or excessive mineral buildup. If you notice white, crusty deposits, those are mineral salts from fertilizers and hard water. Clean them thoroughly before their next use.
- Sustainable Disposal: For plants free of disease and severe pests, composting is the most eco-friendly option. Your spent annuals will break down, enriching your compost and ultimately returning nutrients to your garden. If you do not have a compost pile, check with your local waste management services for green waste recycling options. Avoid sending healthy plant material to the landfill if possible.
This careful removal process helps you transition seamlessly, preventing problems and conserving resources. You are not just ending one season; you are consciously preparing for the next, acting as a responsible steward of your small garden space.
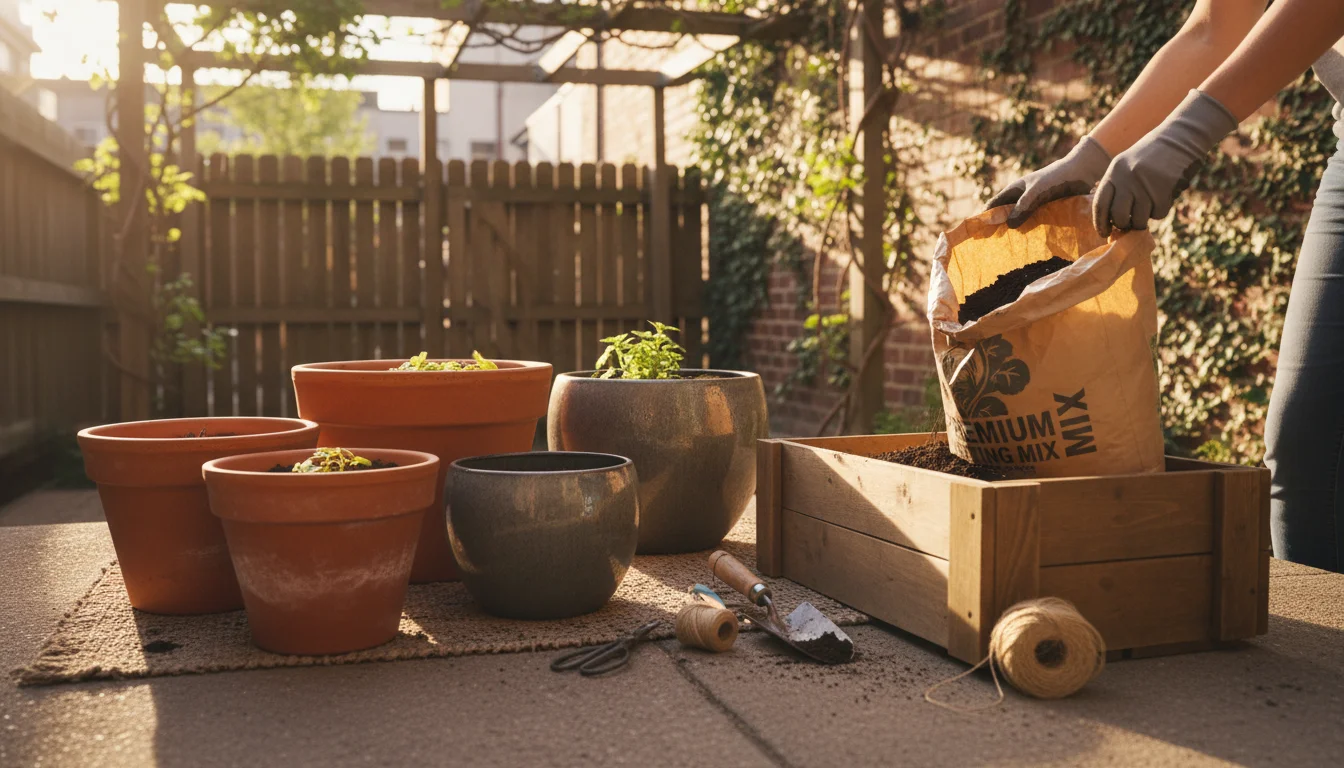
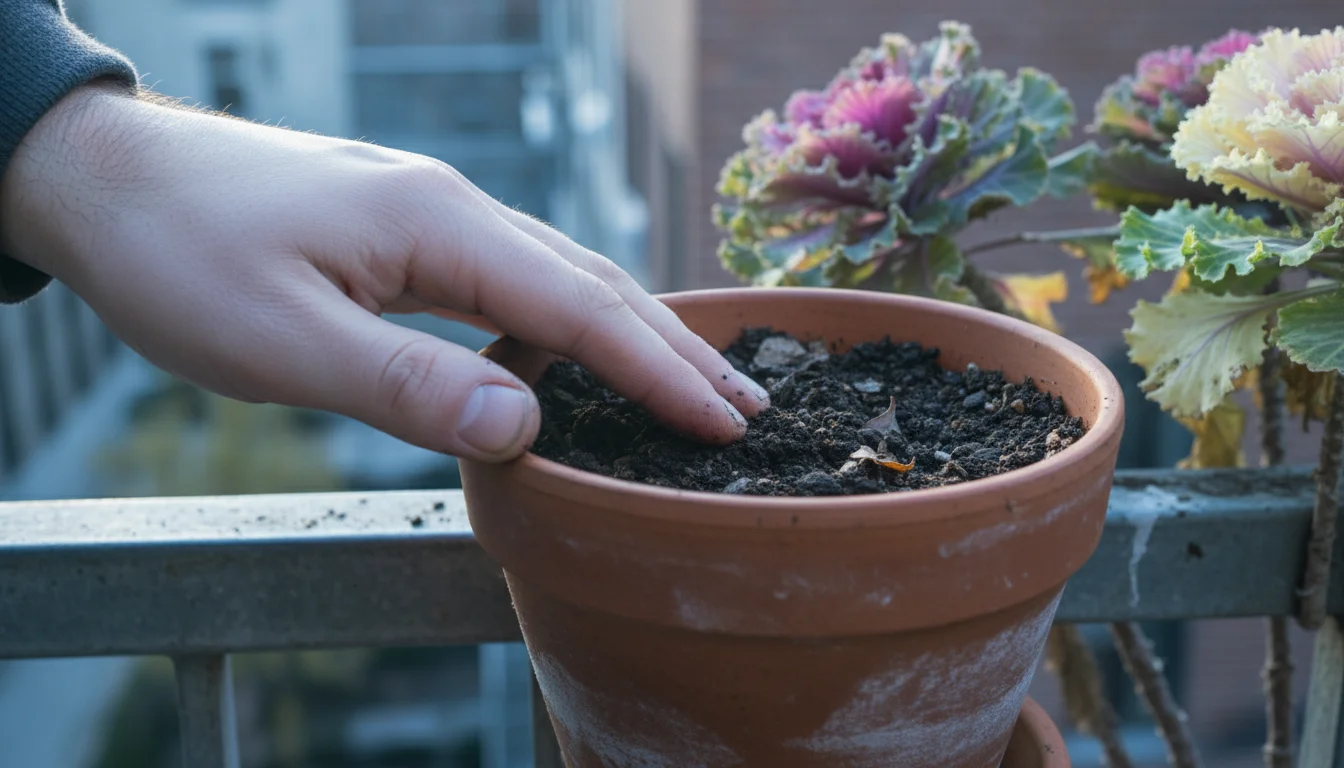
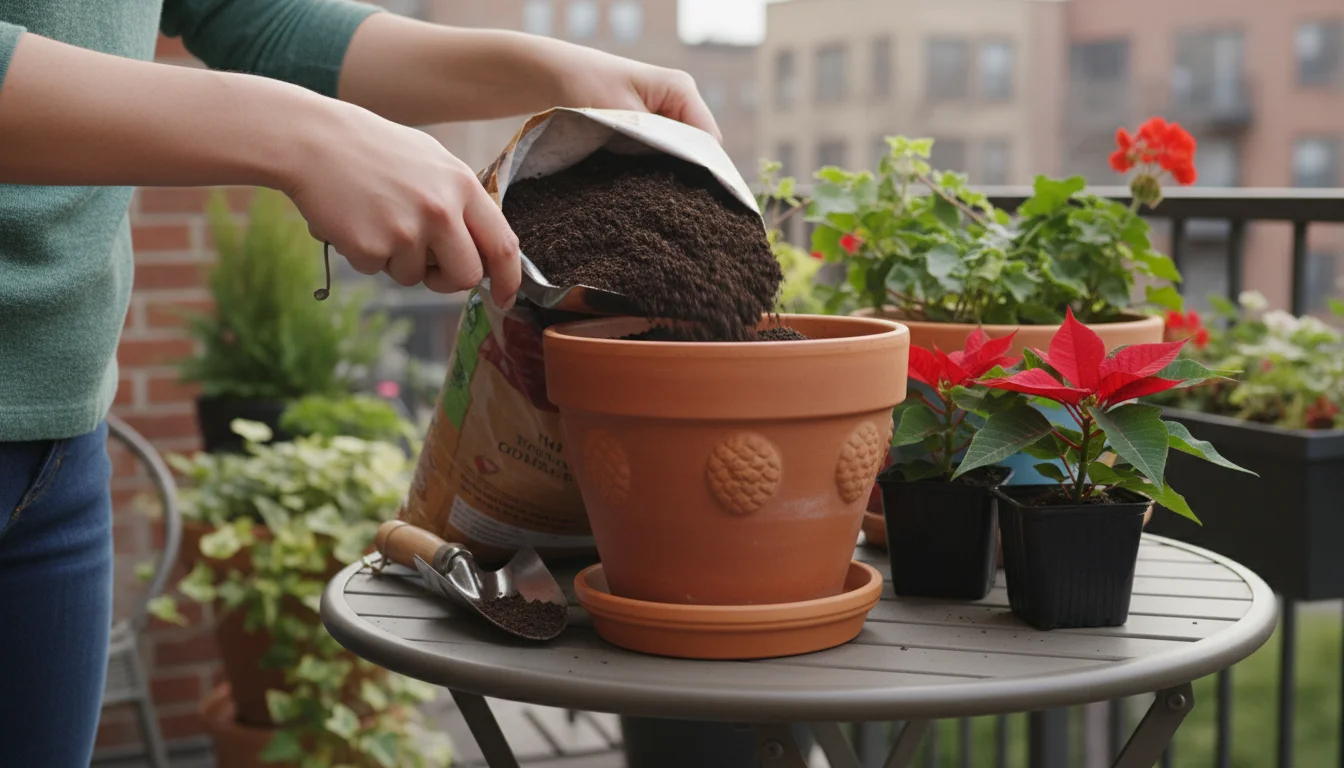
Revitalizing Your Foundation: Preparing Planters and Soil for Autumn
With your summer plants cleared, the next crucial step in how to refresh a planter for autumn involves preparing your containers and soil. This foundational work ensures your new fall plantings thrive.
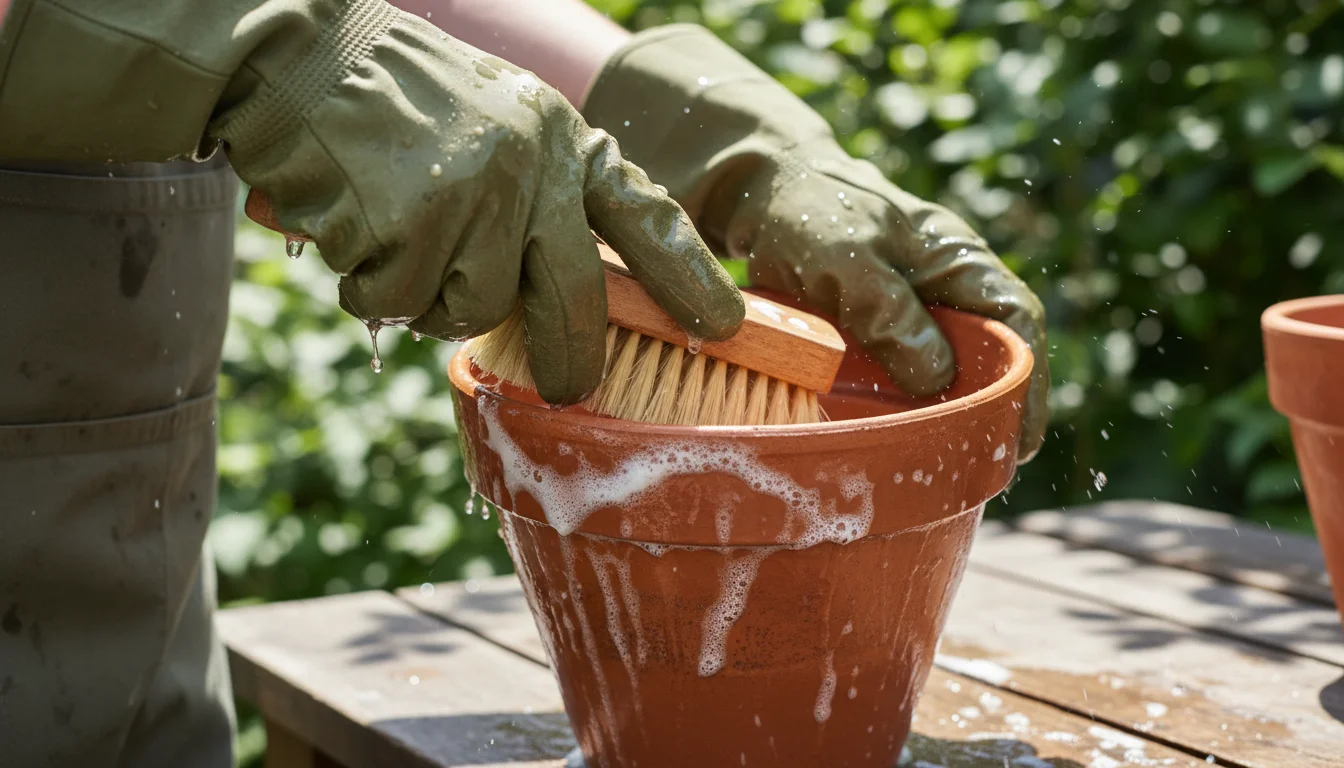
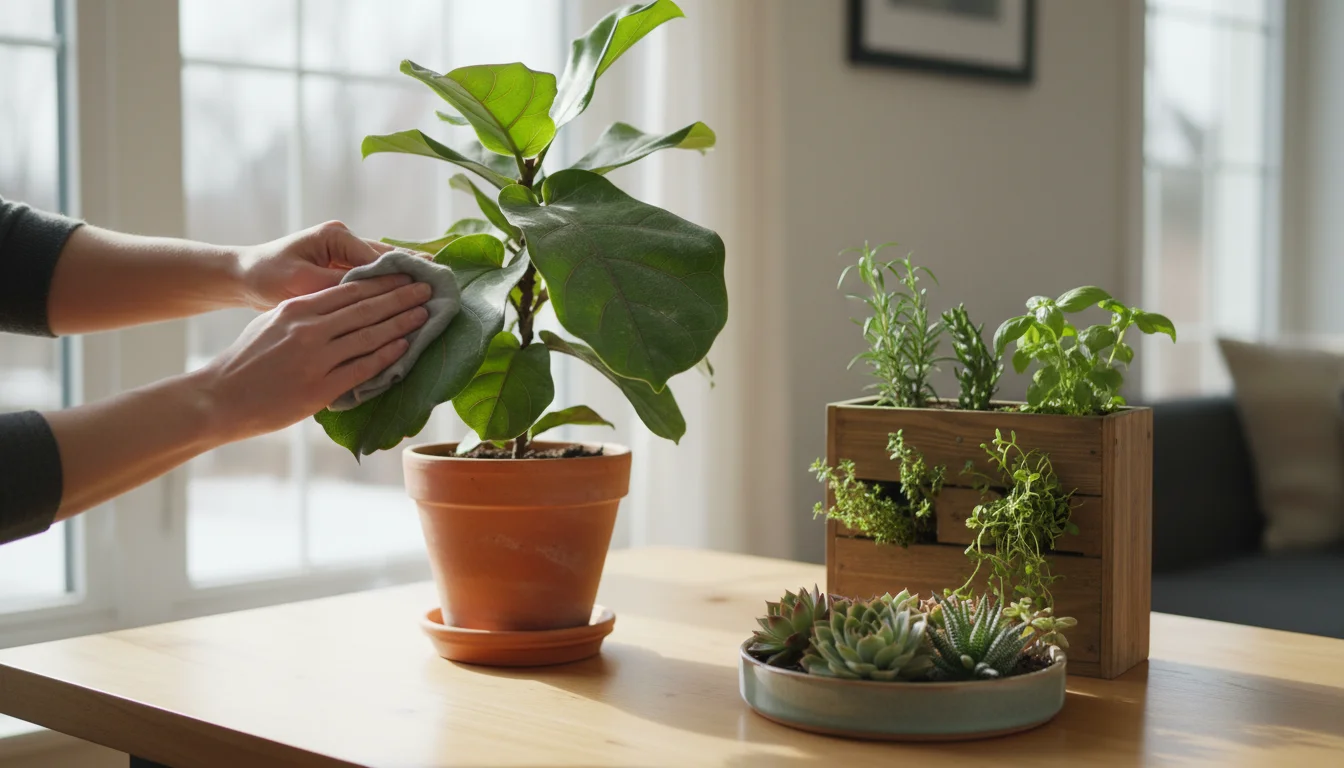
Cleaning Your Planters
Cleanliness is vital for preventing the spread of diseases and pests. Old soil can harbor pathogens, and mineral salts can accumulate on pot surfaces. Thoroughly cleaning your pots extends their life and provides a healthy start for new plants.
- Scrub Away Residue: Use a stiff brush or scrub pad and warm, soapy water to remove any remaining soil, plant debris, and mineral deposits from both the inside and outside of your pots. For stubborn white mineral rings, a solution of one part white vinegar to nine parts water can help loosen them.
- Disinfect (Optional but Recommended): For plastic or glazed ceramic pots, a diluted bleach solution (one part bleach to nine parts water) can sanitize them. Rinse thoroughly afterward to remove all traces of bleach. For terracotta pots, which are porous, scrubbing with just soap and water is usually sufficient, as bleach can be absorbed and difficult to rinse out completely.
- Check Drainage Holes: Ensure drainage holes are clear and unobstructed. Good drainage is how water moves freely through the soil, preventing waterlogging and root rot, which are particularly detrimental in cooler, wetter autumn conditions. If holes are blocked, clear them with a stick or a small drill bit.
- Inspect for Damage: Look for any cracks or weaknesses. Repair small cracks with waterproof sealant or consider retiring severely damaged pots to prevent future issues.
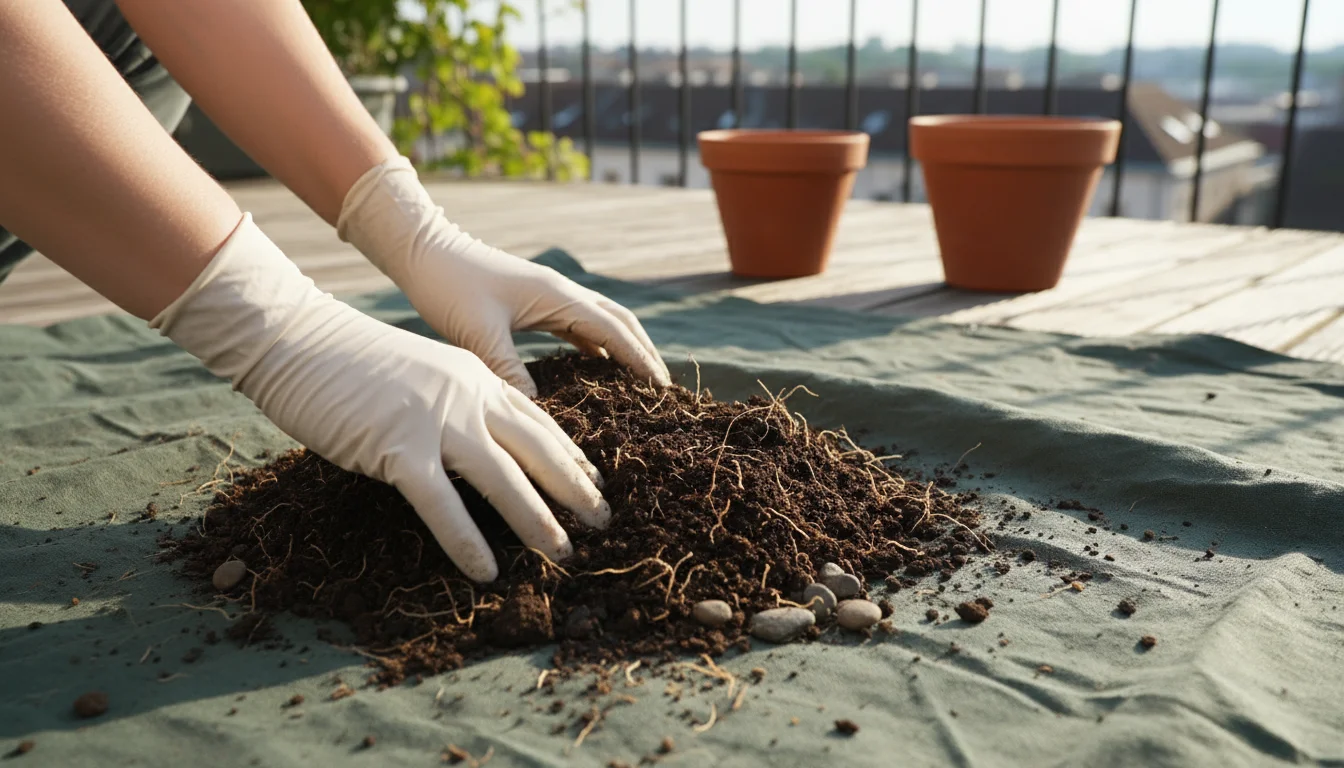
Managing Your Potting Soil
Your potting soil has worked hard all summer, and it is likely depleted of nutrients and might have compacted. Reusing and amending it mindfully is an eco-friendly practice.
- Assess the Existing Soil: Examine the soil left in your pots. Does it look healthy? Is it crumbling, or is it a solid, root-bound mass? If the soil appears heavy, waterlogged, or full of old roots, it might be best to discard a significant portion or all of it. However, if it looks reasonably fresh and crumbly, you can reuse much of it.
- Remove Old Roots: Sift through the soil with your hands, breaking up any large clumps and removing all remaining plant roots and debris. This process aerates the soil and removes potential hiding spots for pests.
- Amend and Refresh: Potting soil loses its structure and nutrients over time. You will need to amend it. A good rule of thumb is to replace about one-third to one-half of the old soil with fresh, high-quality potting mix. Then, thoroughly mix in organic amendments.
- Compost: Add a generous amount of finished compost. Compost enriches the soil with vital nutrients, improves drainage, and enhances soil structure. Aim for a ratio of about one part compost to three or four parts soil.
- Perlite or Vermiculite: If your soil feels compacted or heavy, mix in some perlite or vermiculite to improve aeration and drainage. These lightweight materials prevent soil from becoming too dense.
- Slow-Release Fertilizer: Incorporate a slow-release granular fertilizer formulated for containers. This provides a steady supply of nutrients for your new fall plants. Follow product instructions carefully.
- Consider a Complete Soil Change: If your existing soil is heavily diseased, infested with persistent pests, or has lost all its structure, a complete change to fresh potting mix is the safest and most effective option. While more resource-intensive, it guarantees a clean slate for your fall display.
By investing this time in cleaning and soil preparation, you give your fall plants the best possible start, promoting robust growth and vibrant displays that will last well into the cooler season.
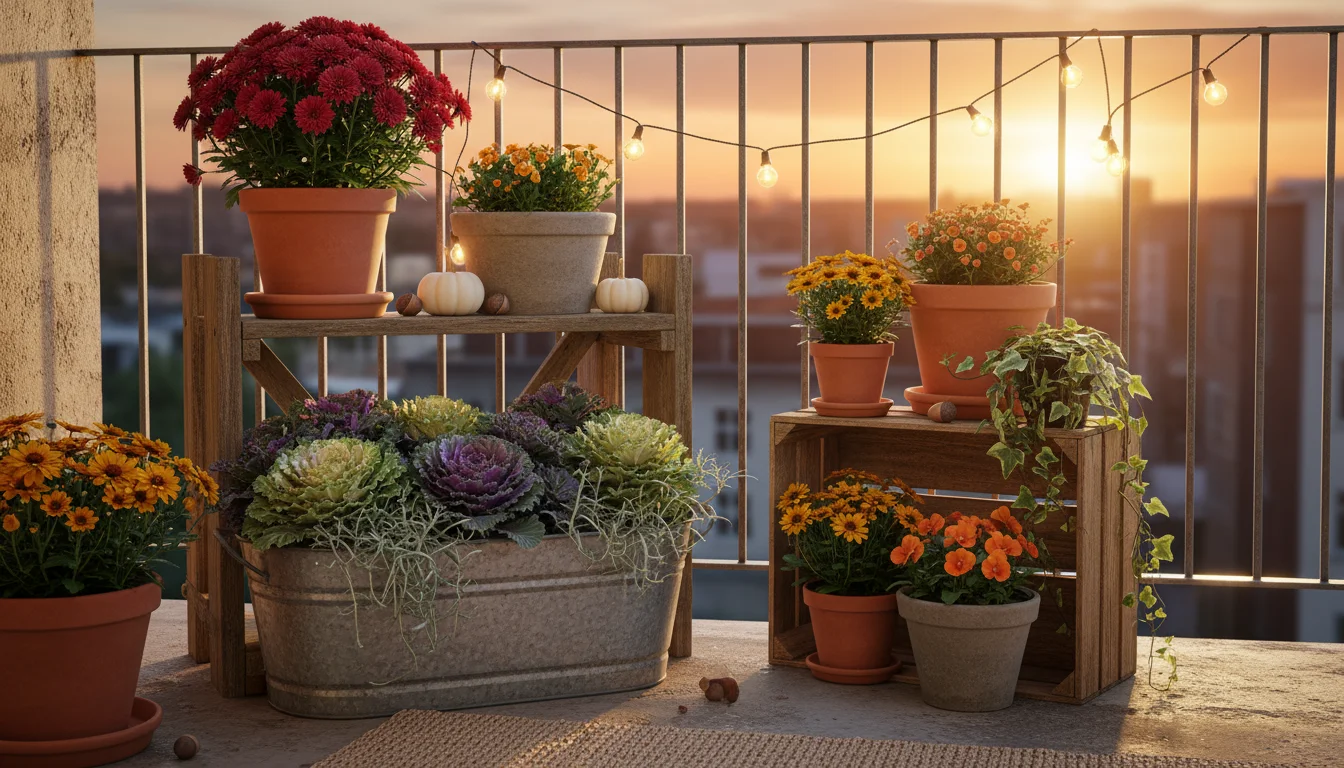
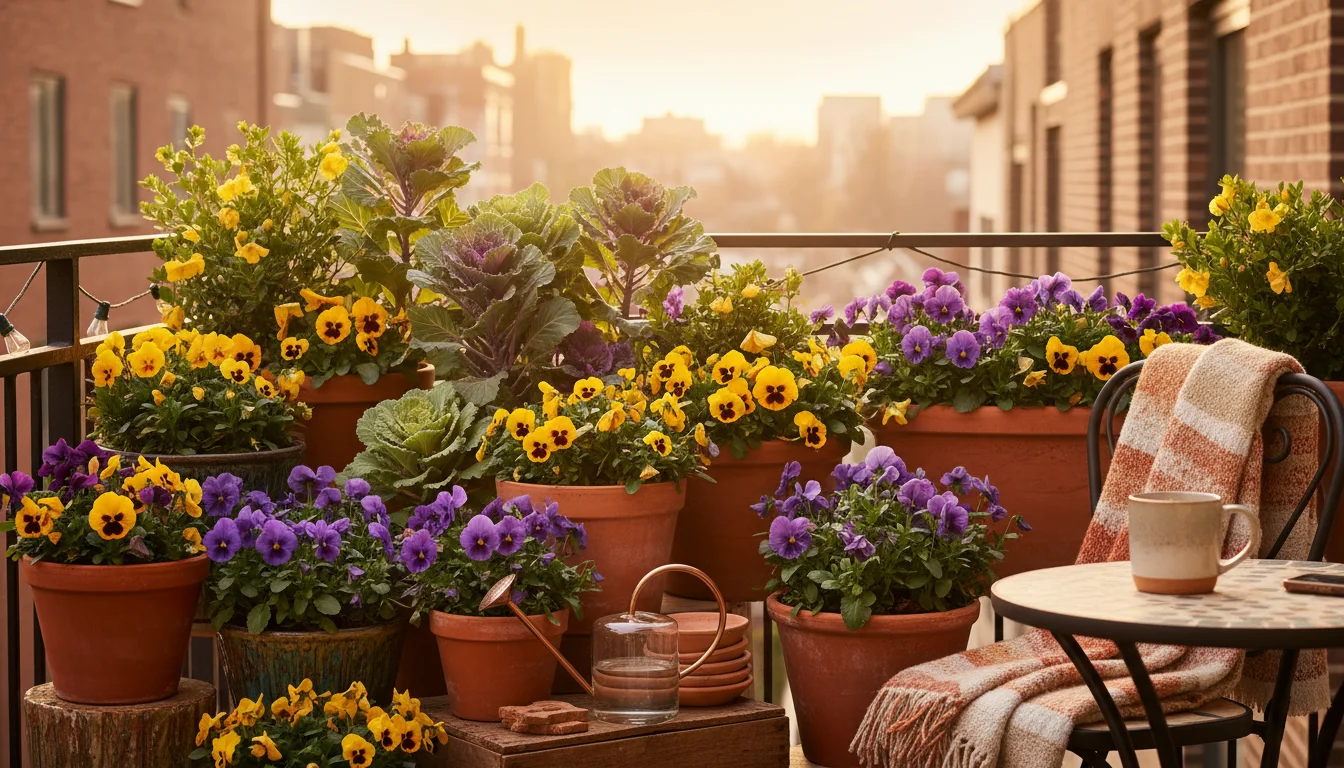
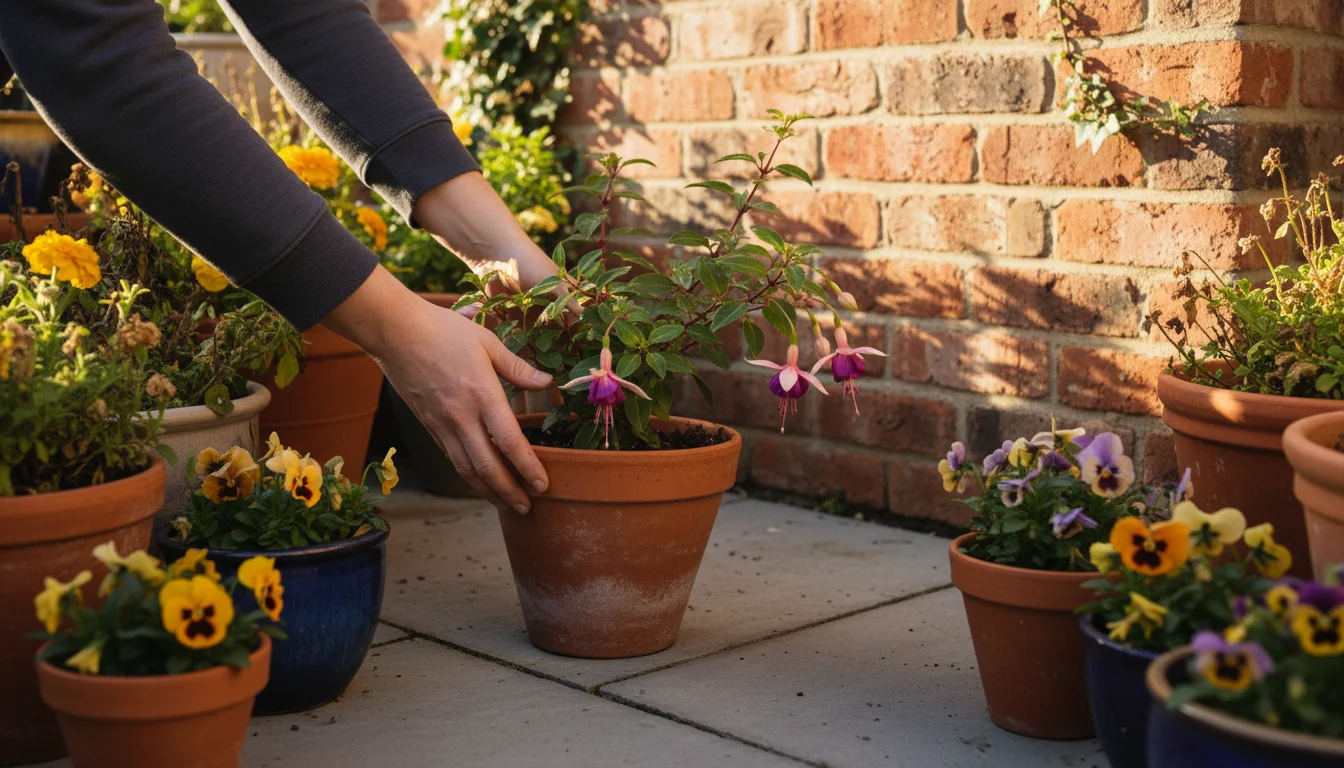
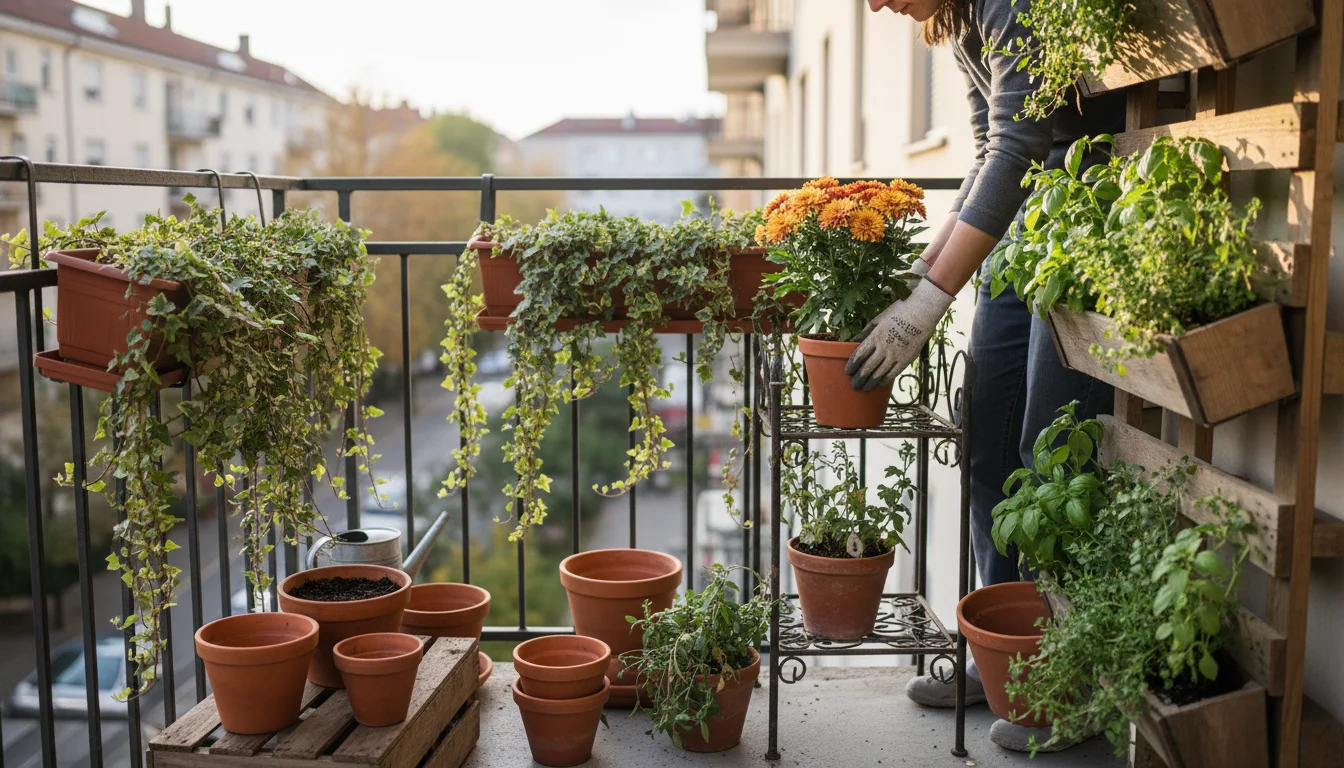
Crafting Your Autumn Tapestry: Inspiring Fall Planter Ideas
Now comes the creative and exciting part: designing your new fall planters. This is where your balcony transforms with the rich palette of autumn. Focus on plants that thrive in cooler temperatures and offer visual interest beyond just flowers.
To make your outdoor space even more immersive, consider designing an autumn scent-scape with fragrant plants that capture the essence of the season.
To complete your seasonal transformation, you can also style your small space with cozy lighting and textiles that complement your new fall colors.
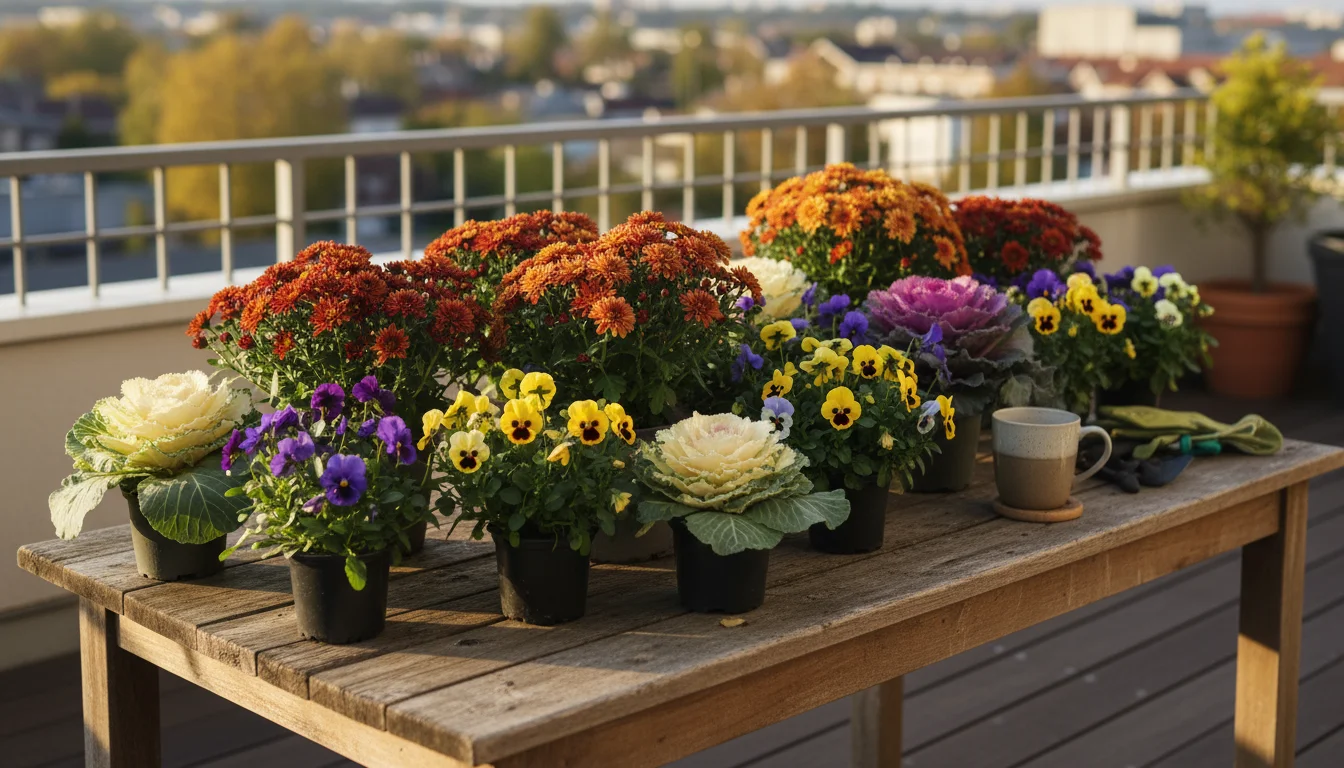
Selecting Your Fall Stars
Choose plants known for their resilience and beauty in the fall. These typically include cool-season annuals, ornamental edibles, and small, hardy evergreens.
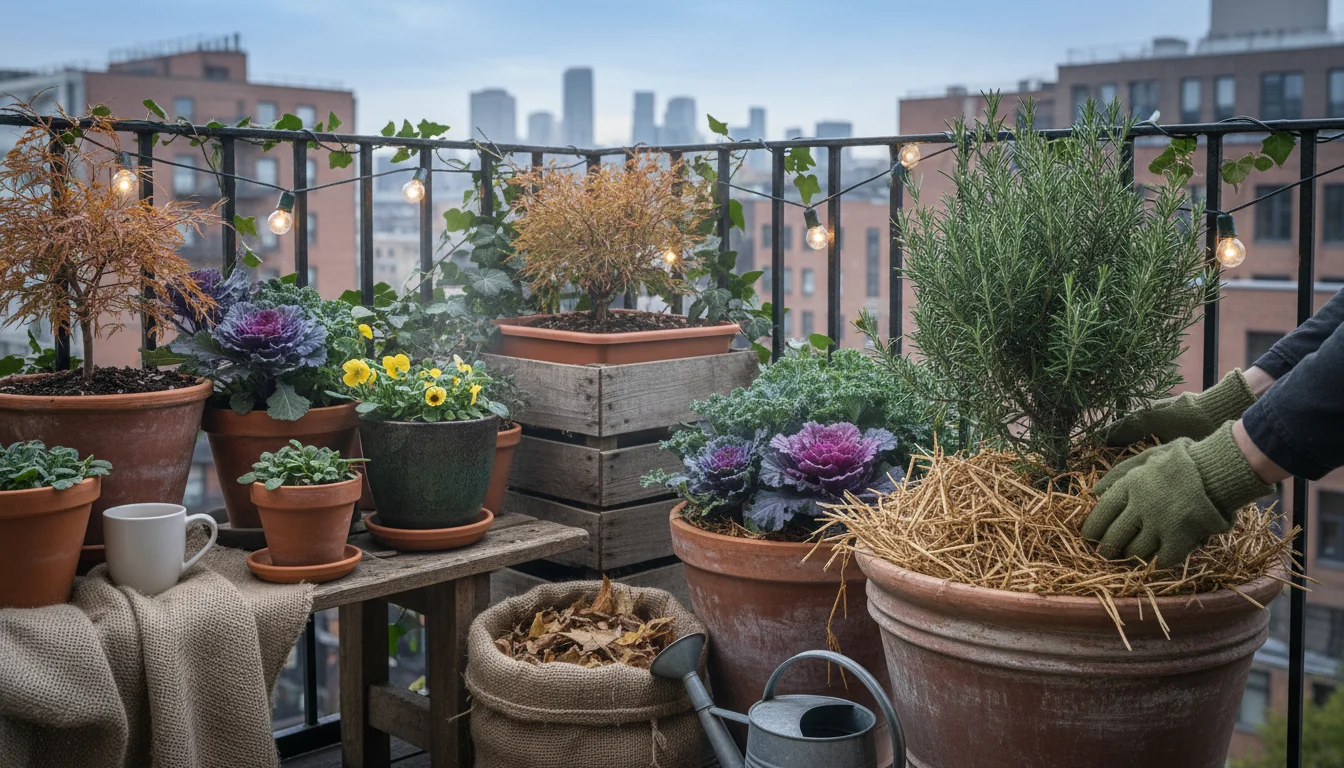
- Pansies and Violas: These cheerful, frost-tolerant annuals are classic fall choices. They come in a vast array of colors, from bright yellows and oranges to deep purples and blues, and they often continue blooming through mild winters. Pansies offer larger blooms, while violas provide more numerous, smaller flowers.
- Mums (Chrysanthemums): Garden mums are quintessential fall flowers, providing a burst of color from late summer through the first hard frosts. They are available in various sizes and colors, perfect for a strong focal point.
- Ornamental Cabbage and Kale: These plants offer incredible texture and color, with ruffled leaves in shades of green, white, pink, and purple. They become even more vibrant as temperatures drop, creating a dramatic, long-lasting display.
- Cool-Season Herbs: Consider adding hardy herbs like sage, thyme, rosemary, or parsley. These not only provide fresh culinary ingredients but also offer attractive foliage and structure.
- Small Evergreens: Dwarf conifers, small boxwood, or juniper can provide year-round structure and texture. Their evergreen foliage offers a beautiful contrast to deciduous elements and can serve as a “thriller” that stays in the planter for multiple seasons.
- Ornamental Grasses: Varieties like ‘Fireworks’ fountain grass (Pennisetum setaceum ‘Fireworks’) or small sedges offer graceful movement and fine texture. Many ornamental grasses have beautiful fall color or seed heads.
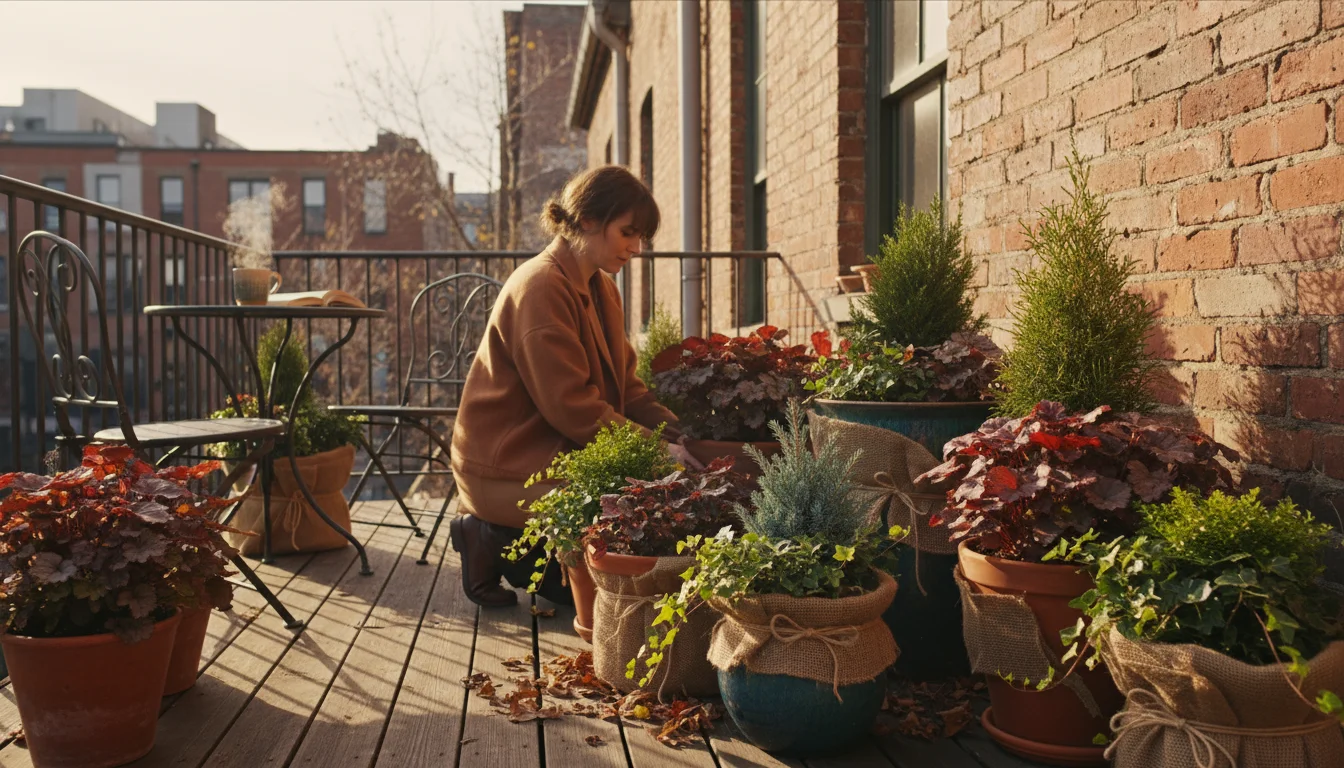
- Heuchera (Coral Bells): Known for their stunning foliage in shades of purple, bronze, lime green, and variegated patterns, heucheras are excellent for adding color and texture. Many varieties are hardy perennials and can overwinter in containers in certain zones.
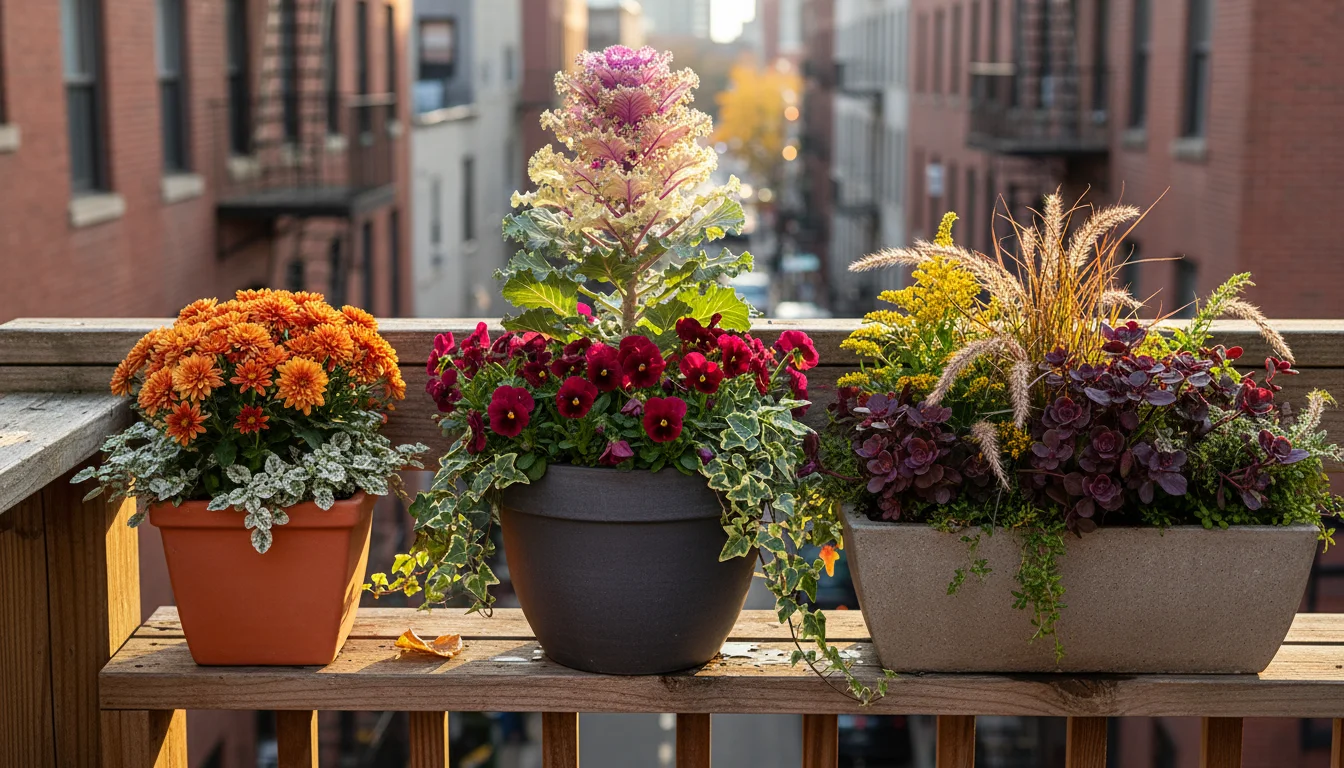
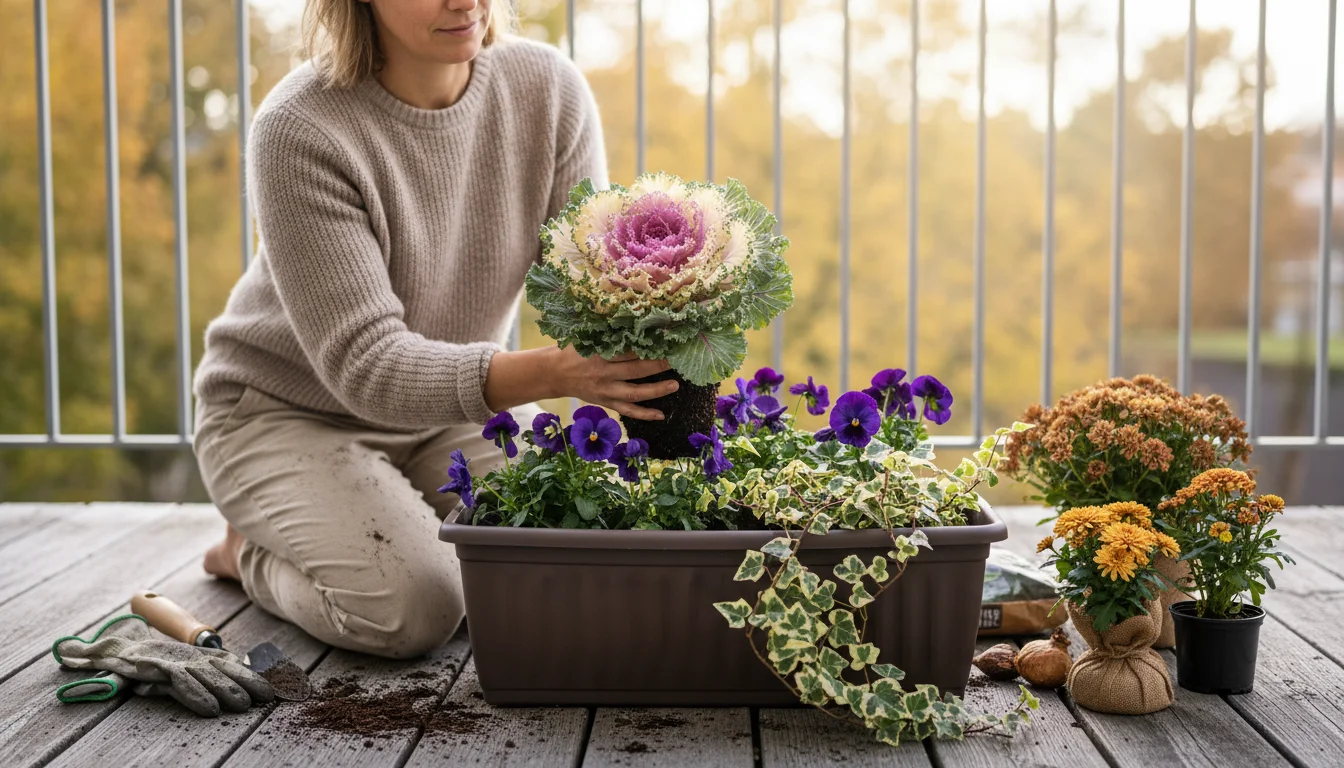
Designing Your Autumn Masterpiece: The “Thriller, Filler, Spiller” Concept
The “thriller, filler, spiller” design approach works wonderfully for fall planters, creating balanced and dynamic arrangements.
- Thriller: This is your focal point, the tall, upright plant that provides vertical interest. Think a mum, ornamental grass, a small evergreen, or a tall ornamental kale. Place your thriller in the center or slightly to the back of the pot.
- Filler: These plants provide bulk and fill out the middle ground of your planter, surrounding the thriller. Pansies, violas, heuchera, or smaller ornamental kale varieties work well here. Choose plants with contrasting textures and colors to add depth.
- Spiller: Spillers are plants that cascade over the edges of the container, softening its lines and adding a graceful touch. Trailing ivy, creeping Jenny, sweet potato vine (if you have an Indian summer or mild fall), or even a small creeping thyme are excellent choices.
Sustainable Design Choices for Your Balcony
When selecting your plants, consider sustainability. Many fall plants are perennials or biennials that can be transplanted into your garden beds (if you have one) after the season, rather than being discarded. For instance, hardy mums can often be overwintered and planted in the ground in suitable zones. Small evergreens are perfect candidates for long-term container growth or eventual transplanting. Choosing plants with long-lasting appeal, like ornamental kale or sedum, reduces the need for frequent replacement, aligning with a low-maintenance ethos.
Think about the overall color scheme. Earthy tones, warm oranges, deep reds, and vibrant purples evoke the season beautifully. Combine these with unexpected pops of lime green or silvery gray for contrast. Your balcony will become a welcoming and seasonally appropriate extension of your living space.
Nurturing Your Fall Display: Ongoing Care and Troubleshooting
Your beautiful fall planters require thoughtful care to remain vibrant and healthy through the cooler months. While often more forgiving than summer annuals, these plants still benefit from attentive watering, minimal feeding, and protection from early frosts.
Remember that cooler air means less evaporation, so you will need to adjust your container watering schedule to avoid overwatering.
One of the most important care steps is to adjust your container watering schedule, as plants require significantly less water during the cooler months.
Watering Wisdom for Cooler Weather
As temperatures drop, your plants’ water needs change significantly. Cooler weather means less evaporation from the soil and less transpiration (water loss through leaves). Overwatering is a common mistake in fall, leading to root rot.
- Feel the Soil: The golden rule remains: check the soil moisture before watering. Stick your finger about an inch or two into the soil. If it feels dry, it is time to water. If it is still damp, wait.
- Reduce Frequency, Not Volume: You will likely water less often than in summer, but when you do water, do so thoroughly. Allow water to drain freely from the bottom of the pot, ensuring the entire root ball receives moisture.
- Morning Watering is Best: Water early in the day. This allows foliage to dry before nightfall, reducing the risk of fungal diseases, which thrive in cool, damp conditions.
- Consider Rainfall: If your balcony is exposed to rain, factor natural precipitation into your watering schedule. Containers often dry out faster than garden beds, but consistent rainfall can still keep them sufficiently moist.
Fertilizing: Less is More
Most fall plants, especially pansies, violas, and ornamental kale, do not require heavy feeding. If you incorporated a slow-release fertilizer when preparing your soil, that should be sufficient for the initial weeks. If your plants show signs of nutrient deficiency (e.g., pale leaves), you can apply a half-strength liquid fertilizer once a month. However, excessive fertilization can lead to leggy growth and reduced flowering, particularly for mums.
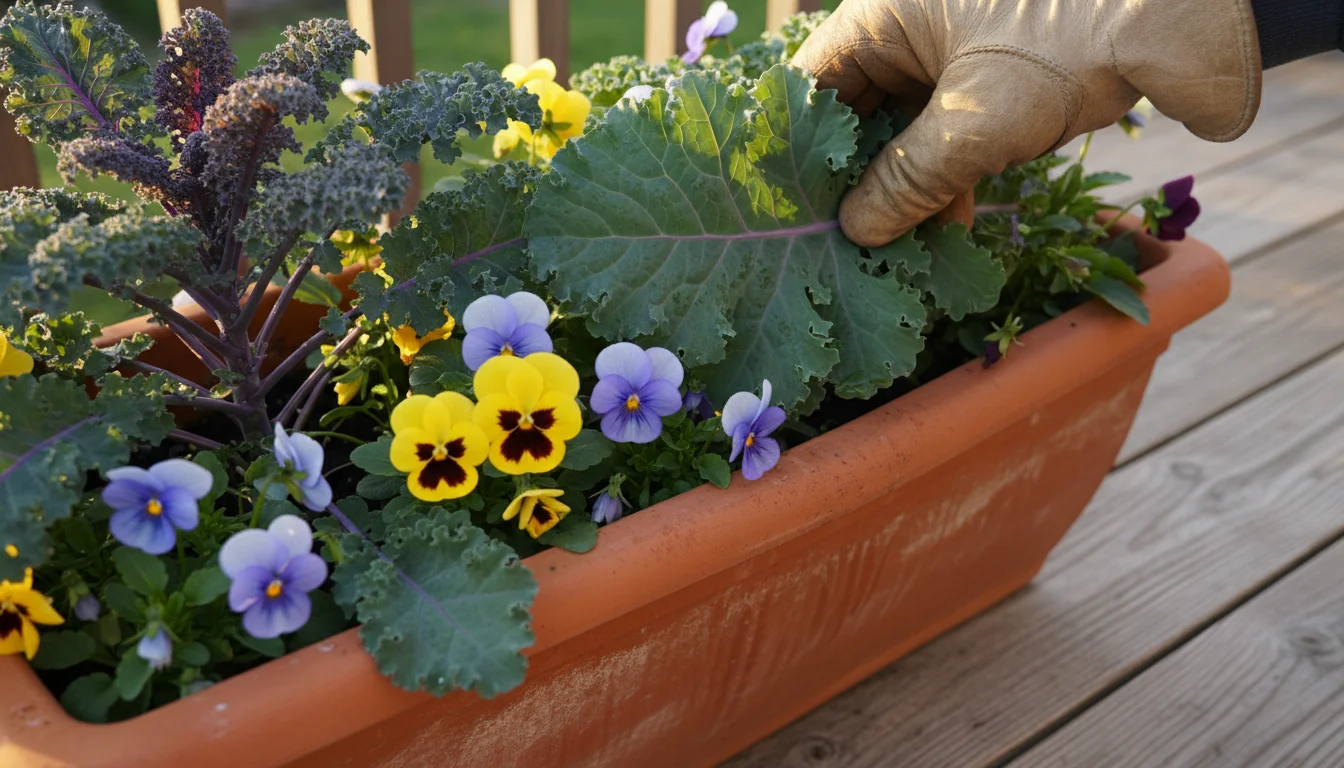
Pest Watch and Disease Prevention
While cooler weather generally reduces pest activity, stay vigilant. Aphids can still be a problem on pansies and kale. Inspect your plants regularly. If you spot pests, address them promptly with insecticidal soap or a strong spray of water. Good air circulation between plants helps prevent fungal diseases. Ensure your planters are not too crowded.
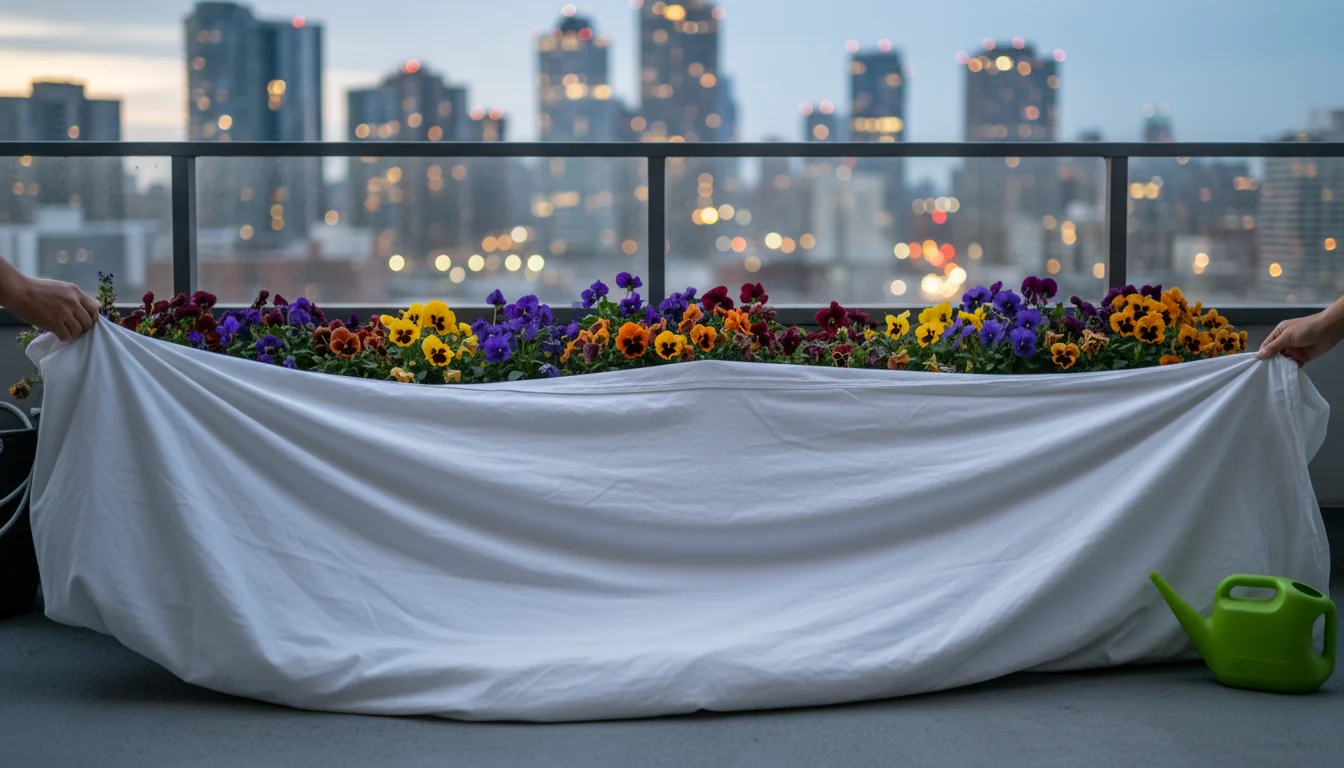
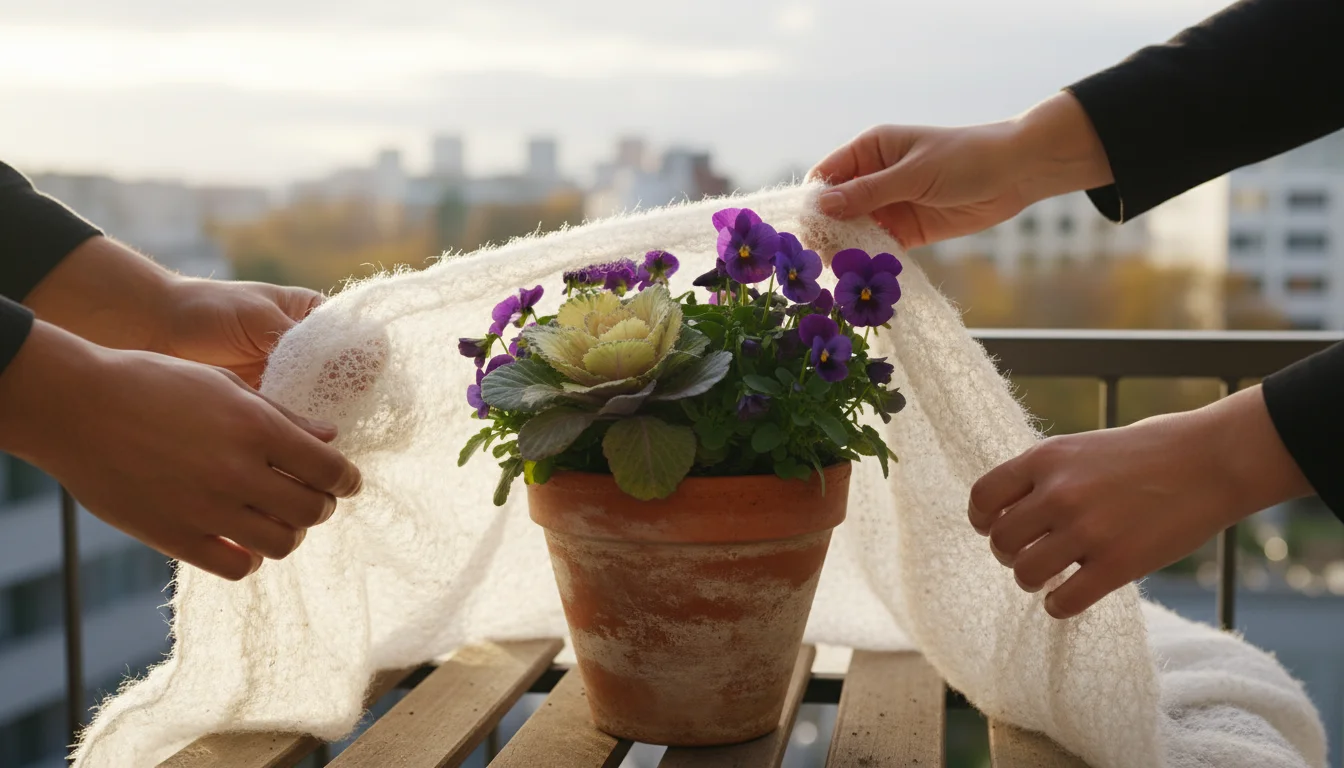
Protecting from Early Freezes
Many fall plants can tolerate light frost, but a hard freeze (temperatures consistently below 28 degrees Fahrenheit or -2 degrees Celsius) can damage or kill tender foliage. If a hard freeze is predicted, take protective measures:
- Move Indoors: If your planters are small and manageable, move them into a sheltered area, such as a garage, shed, or even indoors overnight.
- Cover Plants: For larger planters, cover your plants with burlap, a frost cloth, or even an old bedsheet. Drape the cover over the plants, ensuring it reaches the ground to trap warmth. Remove covers in the morning once temperatures rise.
- Water Before a Freeze: Well-hydrated plants tolerate cold better than dry ones. Water your plants thoroughly the day before a predicted freeze, allowing the soil to absorb moisture.
Common Mistakes to Avoid
- Overwatering: As mentioned, this is the biggest fall culprit for plant demise. Always check soil moisture before adding more water.
- Neglecting Drainage: Ensure your pots have adequate drainage holes. Blocked holes trap water and lead to root rot.
- Ignoring Plant Needs: While some fall plants are tough, they still have specific needs. Do not assume all cool-season plants are identical in their care requirements.
- Planting Too Late: Give your fall plants enough time to establish before truly cold weather sets in. Aim to plant at least 4-6 weeks before your average first hard frost date.
By following these guidelines, you ensure your fall balcony display remains a source of beauty and joy, thriving through the autumn season.
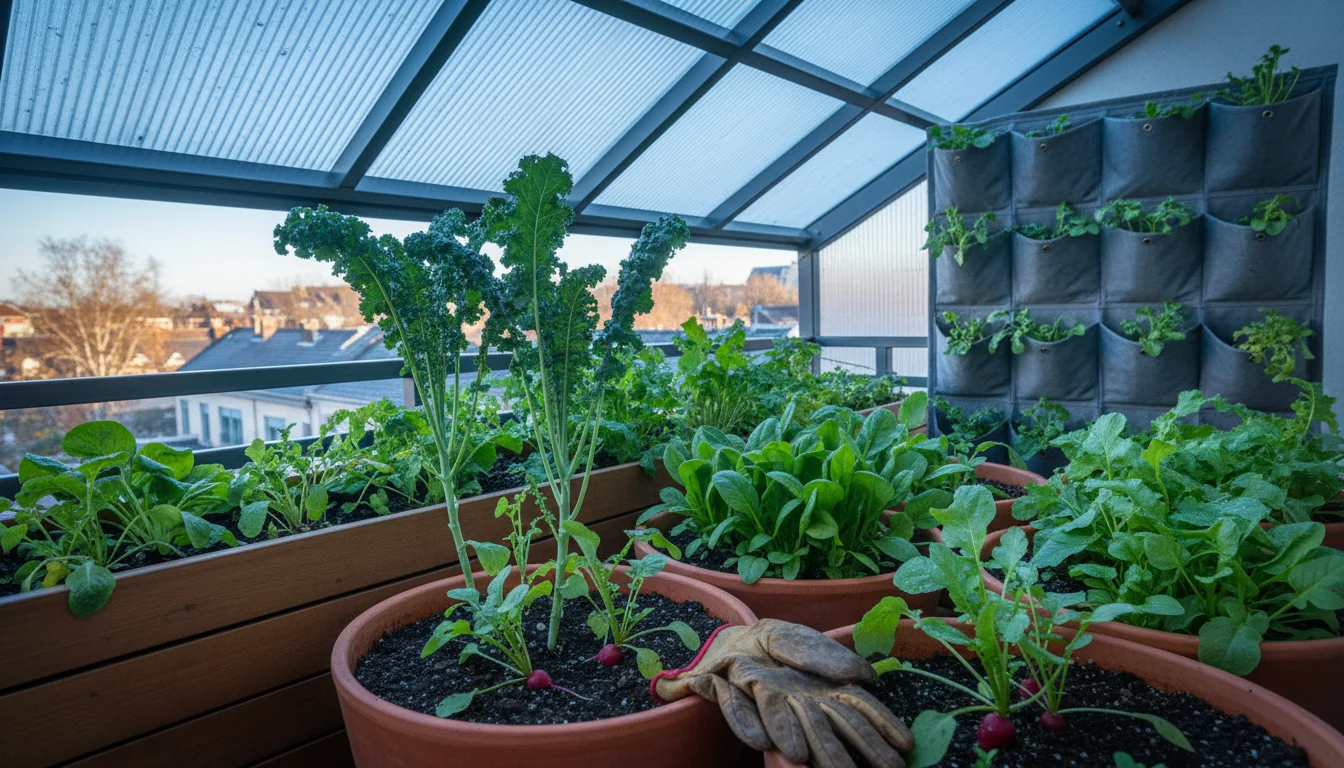
Preparing for Winter’s Embrace: Extending Your Planters’ Life
As fall transitions into winter, your approach to balcony planters evolves again. This stage focuses on protecting existing hardy plants, preparing for dormancy, and ensuring your containers are ready for spring. Even in small-space gardening, you can extend the life of your plants and containers through thoughtful winter preparation.
Strategies for Overwintering Hardy Plants
If you included hardy perennials like Heuchera, small evergreens, or certain herbs (e.g., rosemary, thyme) in your fall planters, you have options for keeping them through winter.
- Insulate Containers: Container plants are more vulnerable to freezing temperatures than those in the ground because their root systems are exposed on all sides. Insulate your pots by wrapping them with burlap, bubble wrap, or old blankets. You can also place smaller pots inside larger, empty pots, filling the space between with leaves or straw for insulation.
- Group Pots: Cluster your containers together against a sheltered wall. This creates a microclimate where plants can share warmth and offers protection from harsh winds, which can desiccate foliage.
- Elevate Pots: Lift pots off cold concrete or pavement using “pot feet” or bricks. This improves drainage and prevents roots from sitting in icy water.
- Water Judiciously: Even dormant plants need some moisture, especially evergreens, to prevent desiccation. Water sparingly on warmer winter days when the soil is not frozen. Avoid watering when freezing temperatures are imminent.
- Move to a Protected Location: For tender perennials or those you really want to save, move them to an unheated garage, shed, or a very cool, bright room indoors. They will go dormant or semi-dormant and require minimal watering until spring. Ensure they have good air circulation to prevent mold.
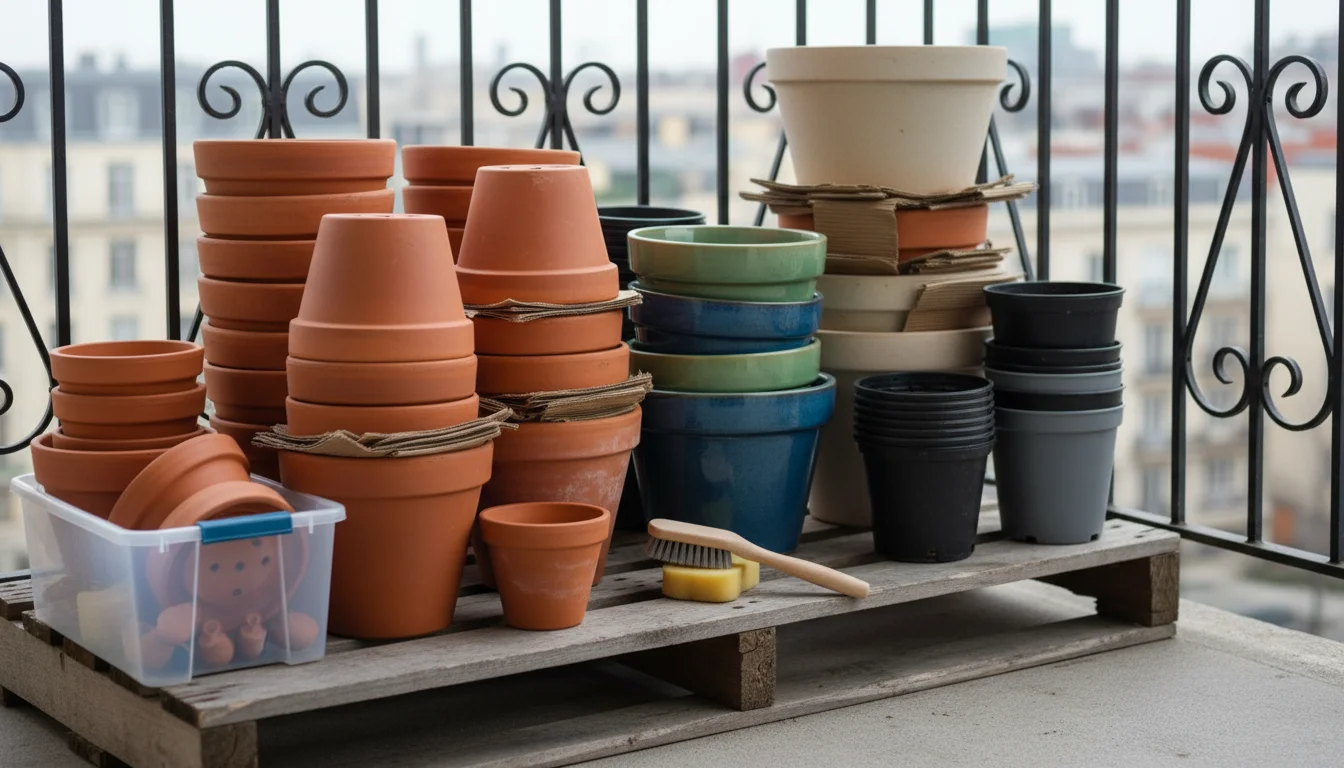
Storing Empty Pots
For any annuals that complete their life cycle or tender plants that cannot overwinter, you will eventually have empty pots. Proper storage prevents damage and ensures they are ready for spring planting.
- Clean Thoroughly: Always clean pots as described earlier before storing them. Removing soil and debris prevents disease and pest carryover.
- Drainage Consideration: Store pots upside down or on their sides to prevent water from collecting inside, freezing, and potentially cracking the material, especially terracotta or ceramic.
- Stacking: Stack similar-sized pots to save space. Place a piece of cardboard or newspaper between pots to prevent them from sticking or scratching.
- Location: Store pots in a sheltered location, like a shed, garage, or even under a balcony overhang. This protects them from extreme winter weather.
Thinking Ahead to Spring
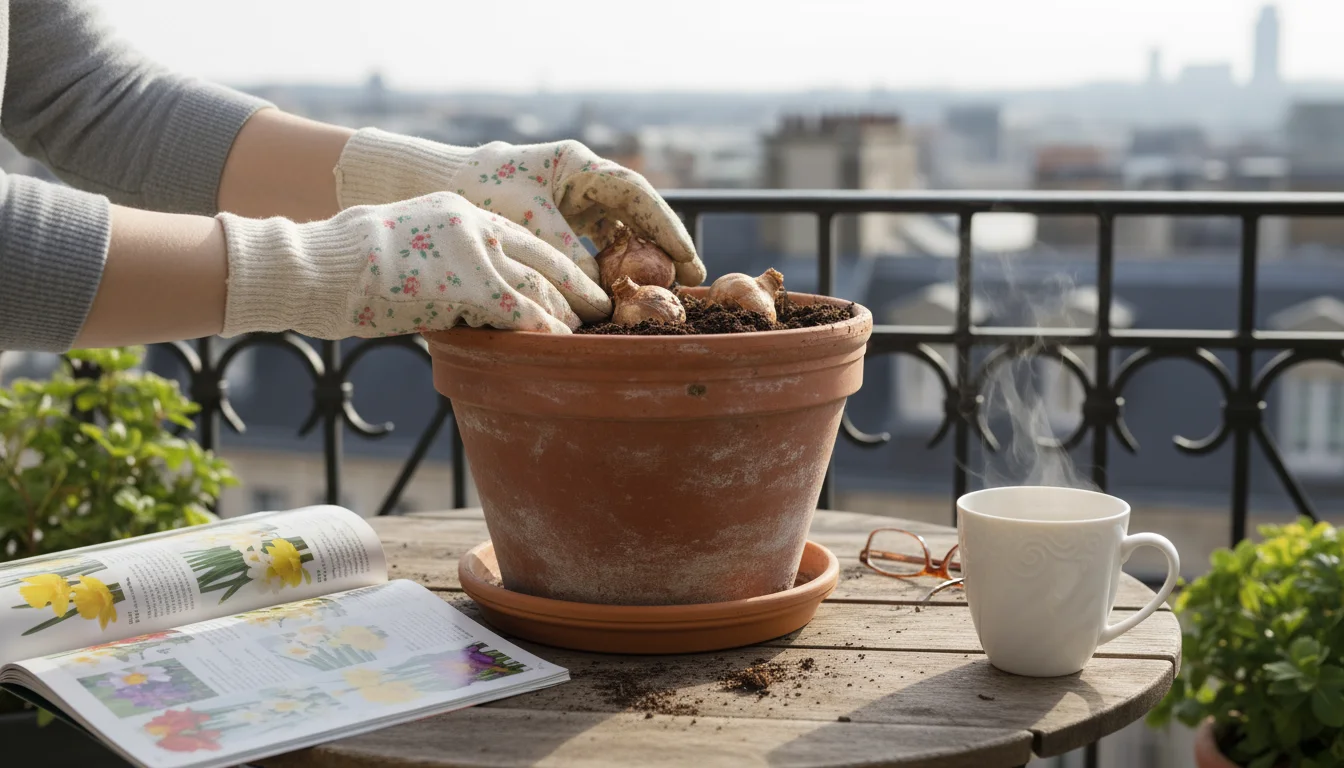
Winter is a time for rest and planning. Use this period to reflect on what worked well in your small-space garden. Browse seed catalogs, research new plant varieties suitable for containers, and sketch out ideas for your spring displays. You might consider planting early spring bulbs, like crocuses or daffodils, in your fall-prepared planters. These can be tucked beneath your fall annuals or planted in empty pots, providing a cheerful surprise as winter recedes. This foresight ensures your balcony remains a continuous source of joy, moving from one beautiful season to the next with minimal effort.
Frequently Asked Questions
Can I reuse all of my old potting soil from summer containers?
You can reuse a significant portion of your old potting soil, but it is not recommended to use it entirely unchanged. Potting soil loses its structure and nutrients over a season, and can compact. Always amend it by removing old roots, adding about 30-50 percent fresh potting mix, and incorporating rich organic matter like compost. This revitalizes the soil, replenishes nutrients, and improves drainage and aeration for your new plants.
What if I find pests or signs of disease on my summer annuals as I remove them?
If you encounter pests or diseases, it is best to be cautious. Severely infested or diseased plants should be discarded in your household waste, not your compost pile. This prevents the spread of pathogens to your compost and future plantings. Thoroughly clean and disinfect the affected planter with a diluted bleach solution (one part bleach to nine parts water) or a strong soap and water scrub before reusing it to eliminate any lingering issues.
My fall plants look great, but how can I make them last through a mild winter?
To extend the life of hardy fall plants through a mild winter, focus on insulation and careful watering. Group pots together against a protected wall to create warmth. Elevate pots to prevent direct contact with cold surfaces. Wrap containers with insulating materials like burlap or bubble wrap. Water sparingly on warmer, non-freezing days, only when the top inch or two of soil is dry. Many fall favorites like pansies, violas, and ornamental kale can tolerate light frosts and may continue to thrive in milder winter conditions.
Should I fertilize my fall planters throughout the entire season?
Generally, fall planters require less fertilizer than their summer counterparts. If you amended your soil with a slow-release granular fertilizer during planting, your plants should have sufficient nutrients for several weeks. If plants show signs of nutrient deficiency, apply a half-strength liquid fertilizer once a month. Over-fertilizing can lead to leggy growth rather than robust, compact plants, especially for mums. Always prioritize consistent watering over excessive feeding in the cooler months.
What is “drainage” in simple terms, and why is it so important for container gardening?
Drainage simply refers to how well water moves through the soil and out of the bottom of your pot. Good drainage means water flows freely, preventing it from pooling around plant roots. This is crucial because plant roots need air as much as water. If roots sit in waterlogged soil, they effectively drown, leading to root rot, which is a common cause of plant death. Proper drainage ensures healthy root development by allowing excess water to escape and preventing the soil from becoming too dense or soggy, especially important in containers where roots are confined.
For trustworthy gardening information, visit:
University of Arizona Cooperative Extension — Gardening, University of Alaska Fairbanks Extension — Gardening, University of Georgia Extension — Gardening, Louisiana State University AgCenter — Lawn & Garden and Mississippi State University Extension — Lawn & Garden. These organizations provide expert, research-based advice for gardeners at all levels.
Disclaimer: This article is for informational purposes only and is not a substitute for professional gardening advice. Always consult local extension services or horticulture experts for region-specific guidance.
Leave a Reply