Winter brings shorter days and colder temperatures, prompting many of us to retreat indoors. But for plant enthusiasts, this season offers a unique opportunity: a chance to dive deep into indoor gardening projects, nurturing your green companions and expanding your botanical horizons. Instead of letting your gardening passion hibernate, embrace these colder months as a prime time for engaging, low-maintenance indoor plant care. You can use this period to tackle essential plant maintenance, experiment with new growing techniques, and even learn how to grow food indoors, ensuring a fresh supply of herbs and vegetables even when snow blankets the ground. These winter plant projects keep your hands dirty, your mind active, and your home vibrant with life.
For research-based plant care guidance, visit
University of Minnesota Extension, Cornell Garden-Based Learning, UF/IFAS Gardening Solutions, Missouri Botanical Garden and Oregon State Extension — Gardening.
Disclaimer: This article is for informational purposes only and is not a substitute for professional advice. Consult local extension services for region-specific recommendations.
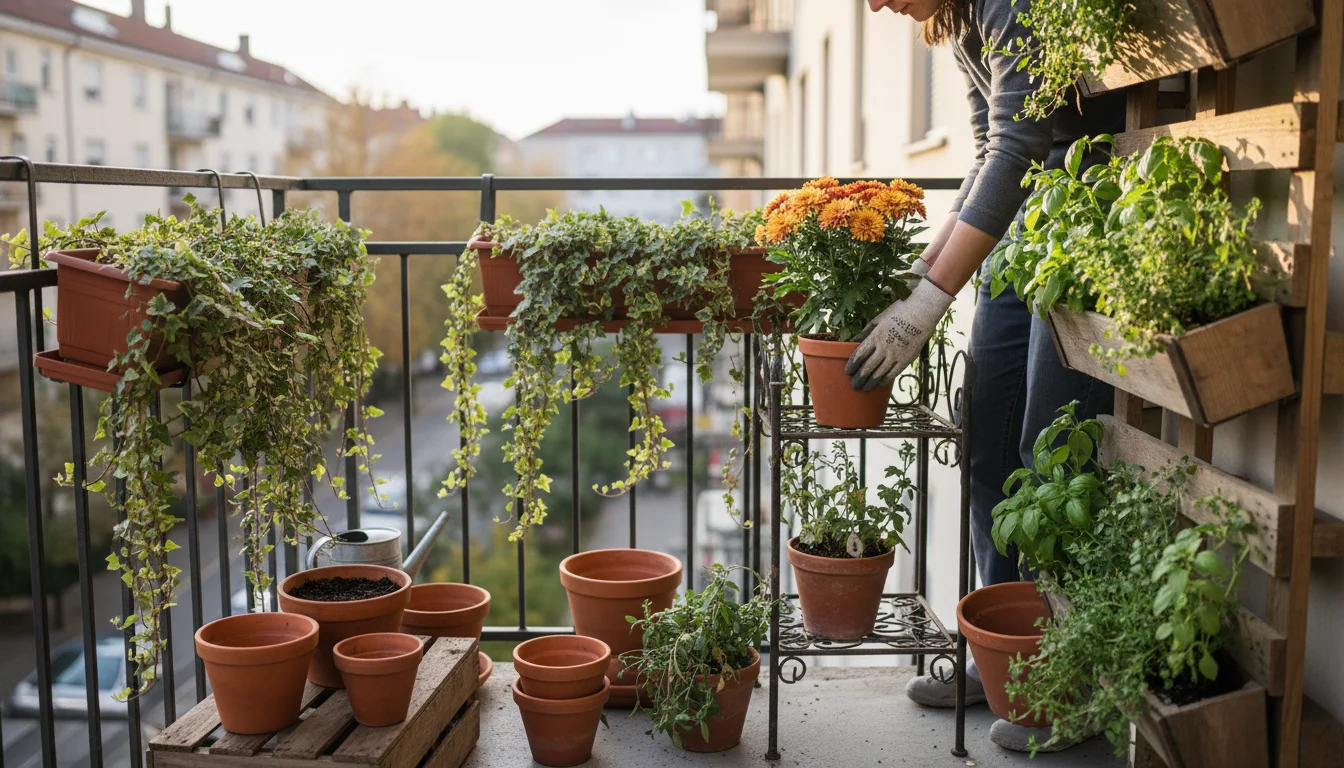
Transform Your Space: Winter Plant Projects
Winter often ushers in a period of slower growth for many indoor plants, making it an ideal time for focused care and preventative measures. Think of these colder months as your personal plant retreat, an opportunity to assess, clean, and rejuvenate your indoor garden. This approach transforms routine maintenance into engaging winter plant projects, ensuring your plants emerge from winter stronger and healthier. You can address lingering issues, prepare for the spring growth spurt, and solidify your understanding of each plant’s unique needs.
Understanding common winter care mistakes is the first step toward maintaining a healthy indoor oasis during the colder months.
Assess and Clean Your Plant Collection
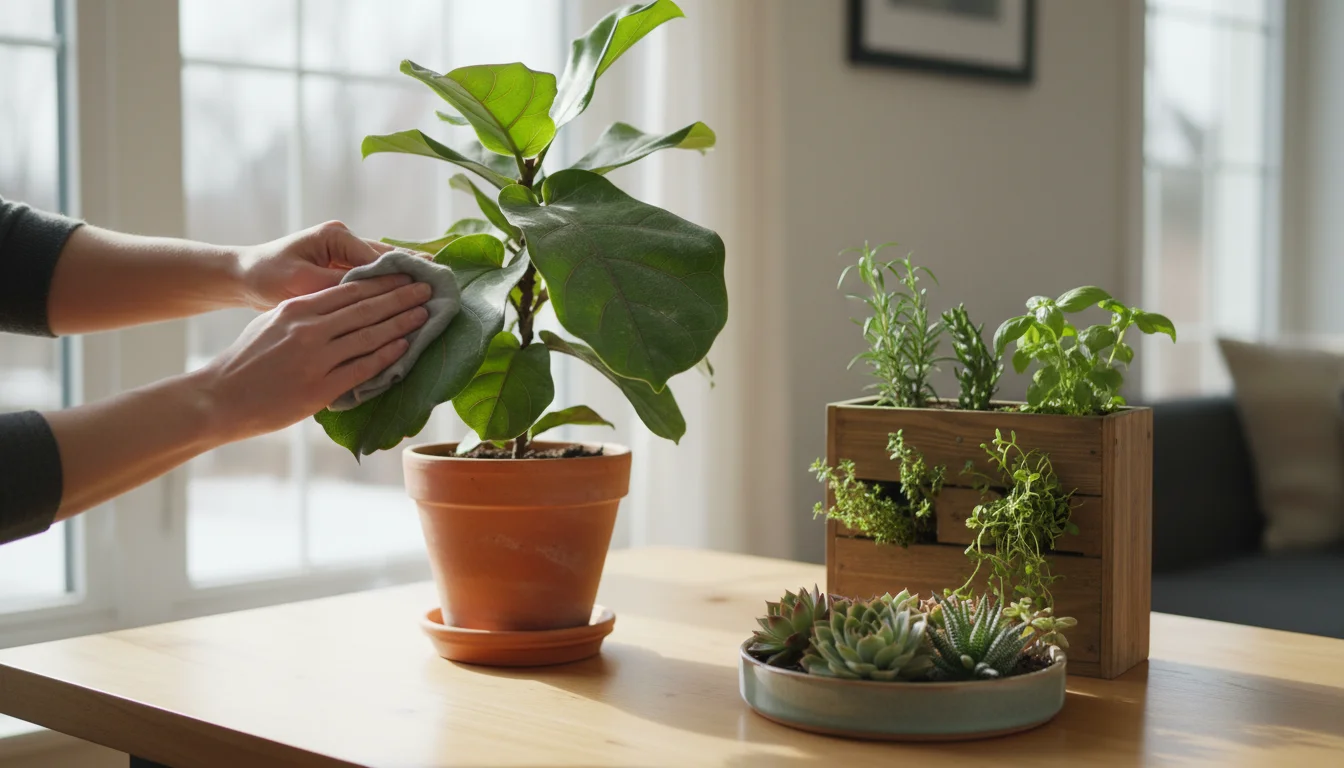
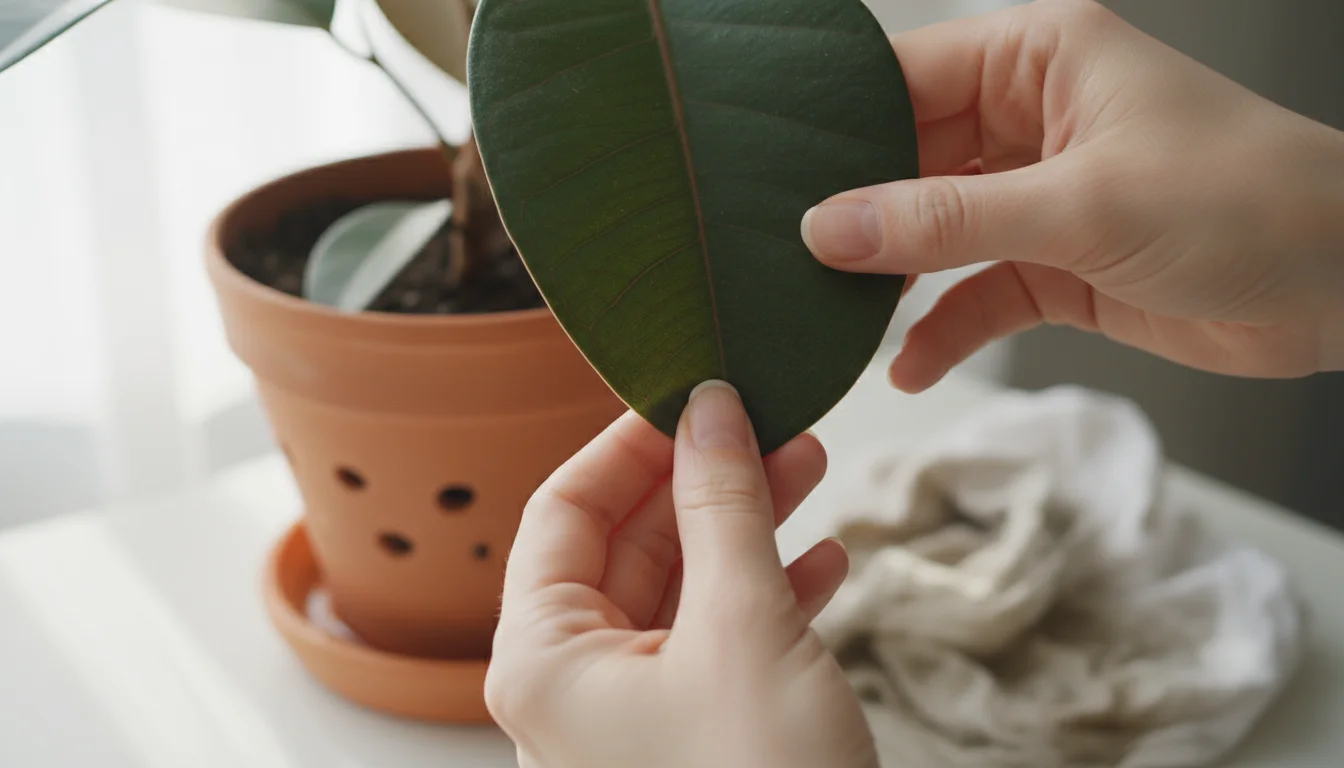
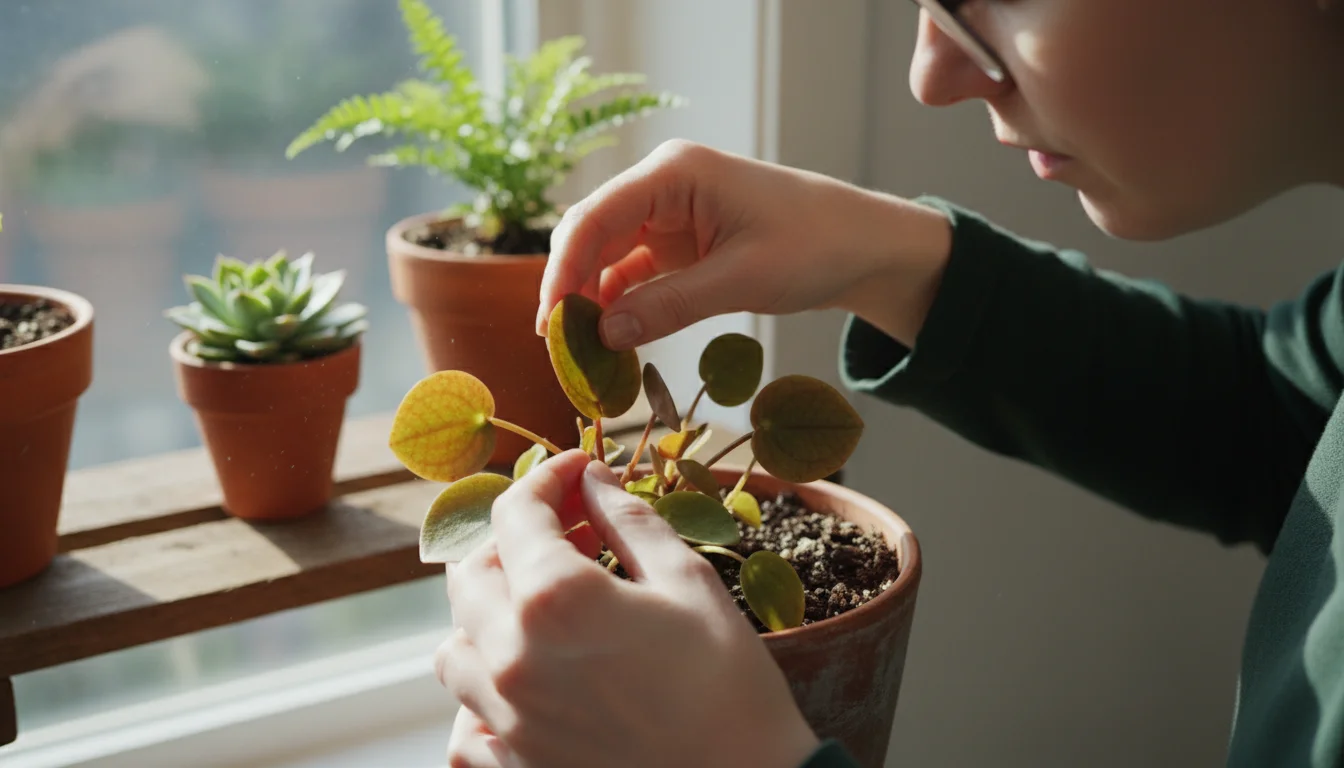
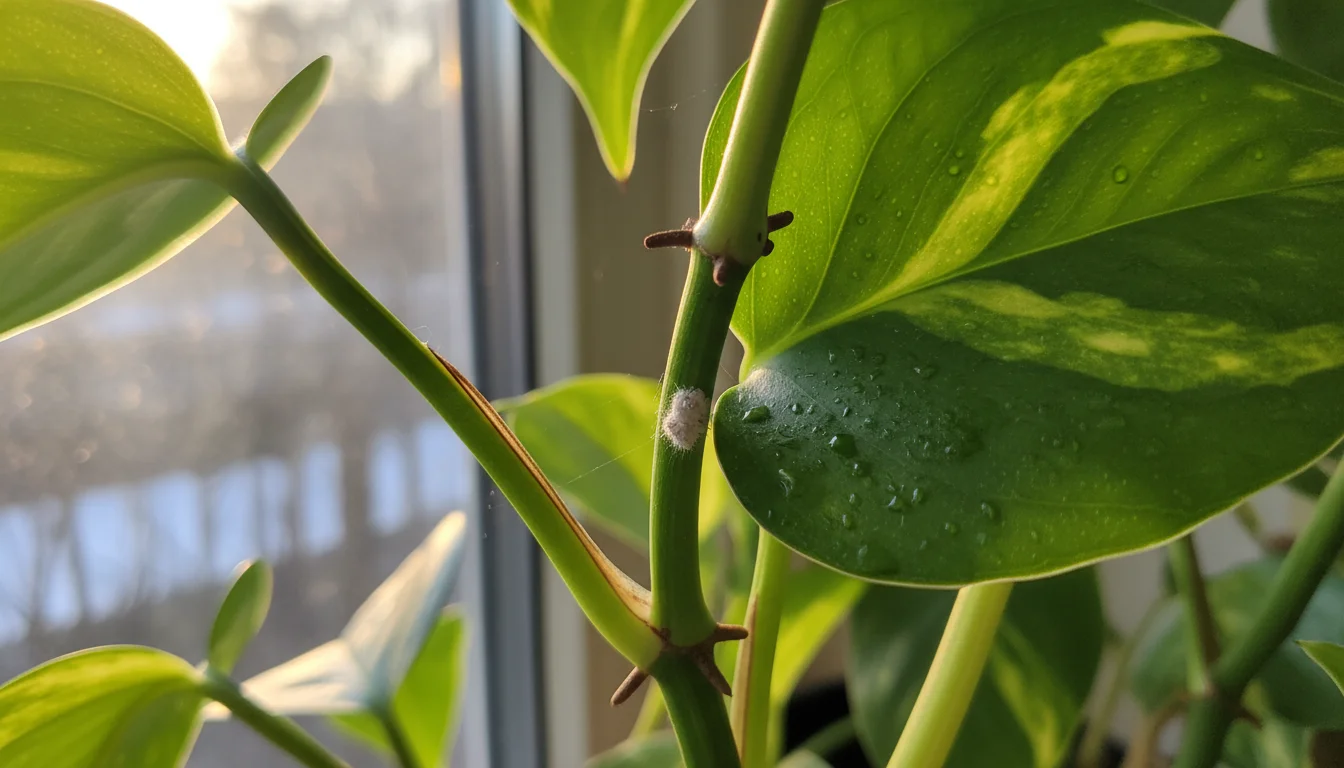
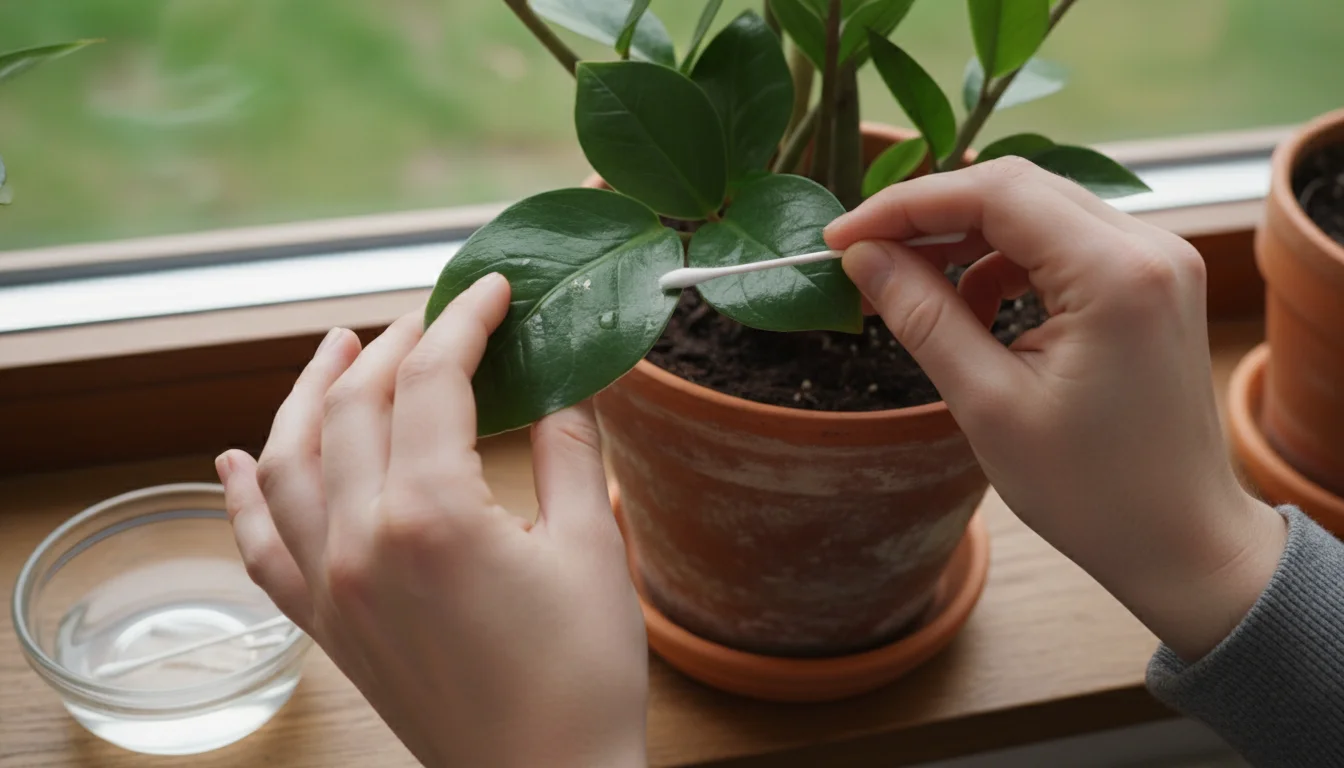
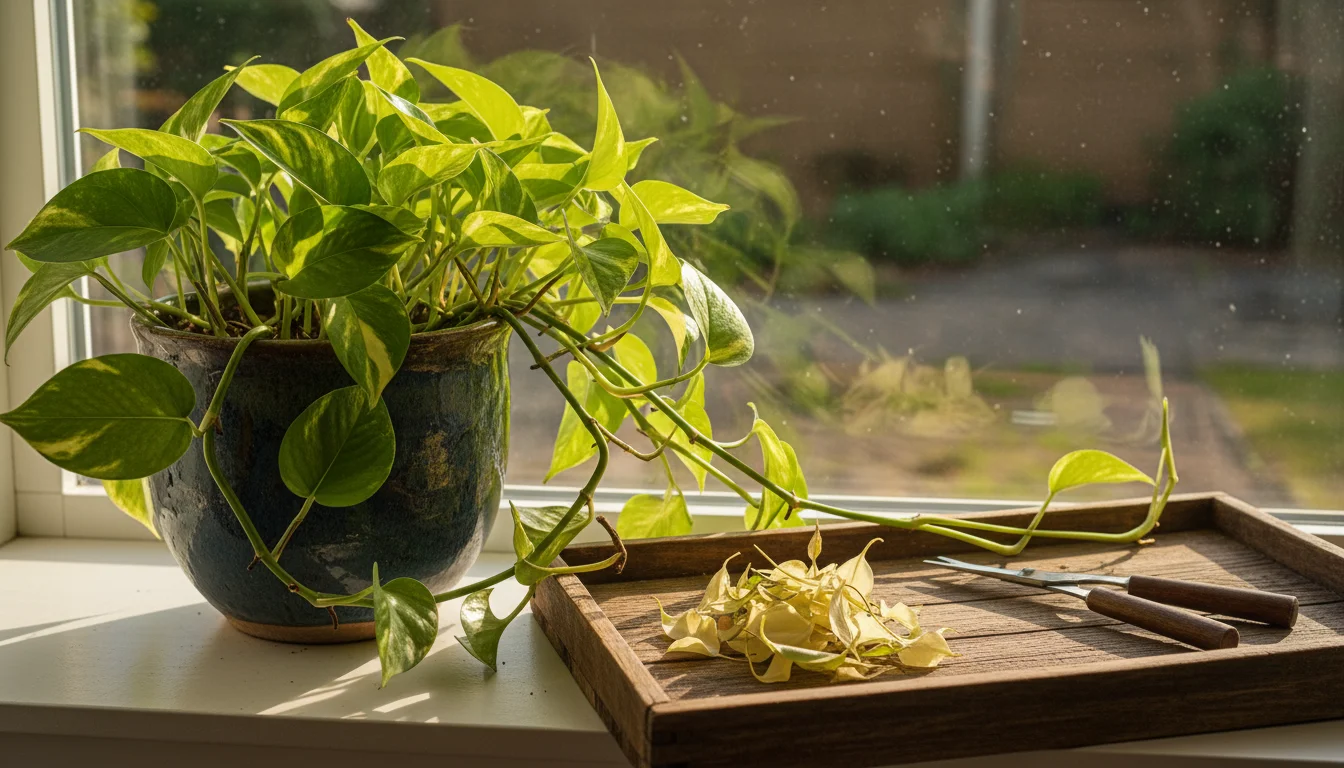
Begin by taking a critical look at each plant. Do any leaves appear yellowed, brown, or dusty? Dust accumulation on leaves hinders photosynthesis, the process plants use to convert light into energy. Wipe down broad-leafed plants with a damp cloth. For plants with smaller leaves, consider a gentle shower or misting. This simple act not only improves your plant’s ability to absorb light, it also makes it easier to spot potential problems, such as early signs of pests.
While cleaning, inspect the undersides of leaves and along stems. Look for any unusual spots, webbing, or tiny insects. Early detection is your best defense against a full-blown infestation. Remove any dead or dying leaves; these only drain the plant’s energy and can harbor pests or diseases. A clean, well-maintained plant collection reflects a dedicated gardener and creates a more aesthetically pleasing environment in your home.
Consider Repotting for Root-Bound Plants
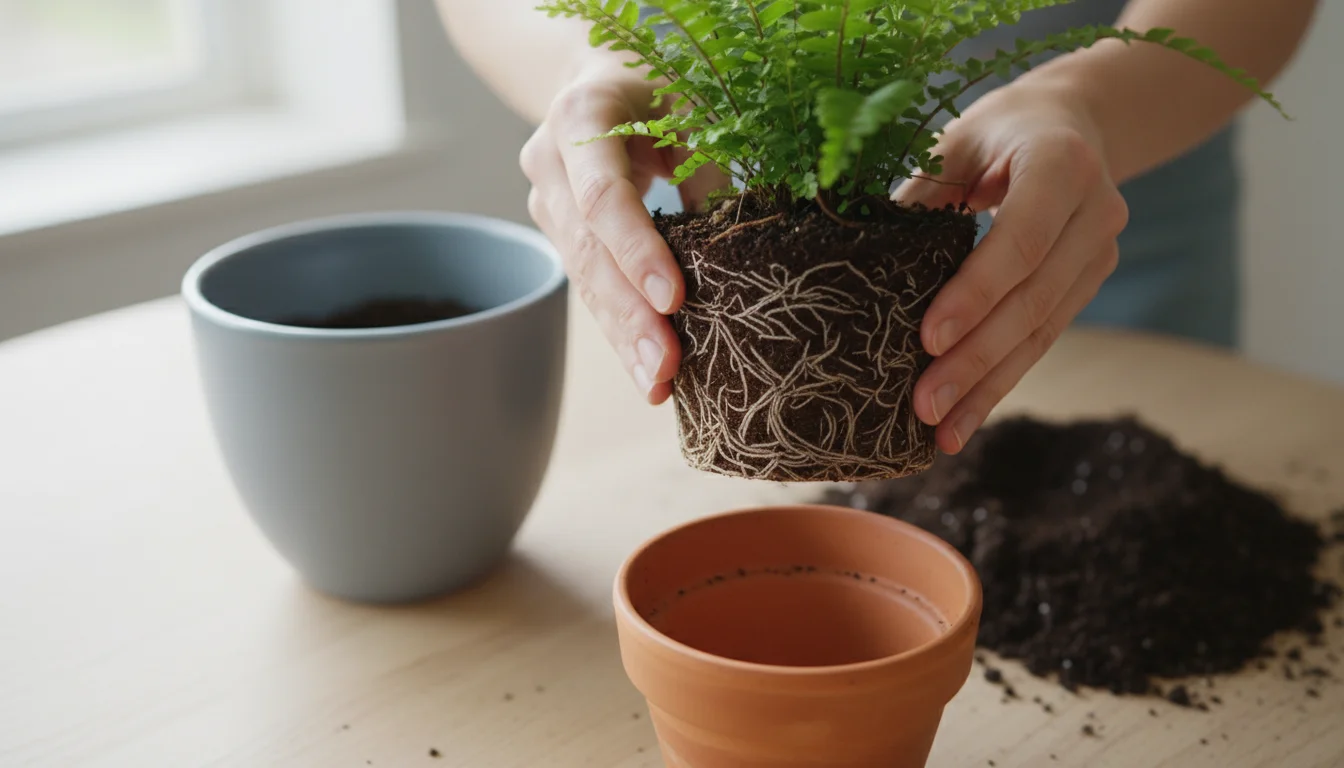
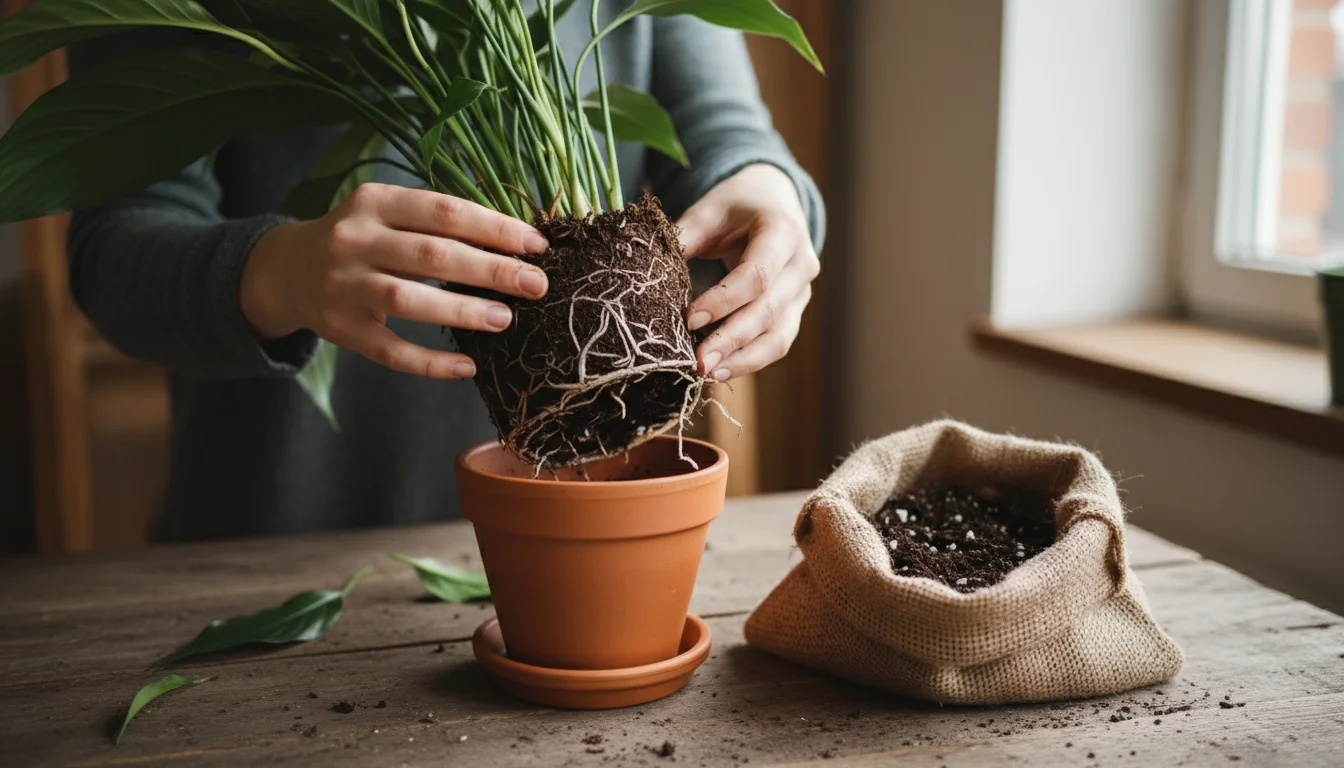
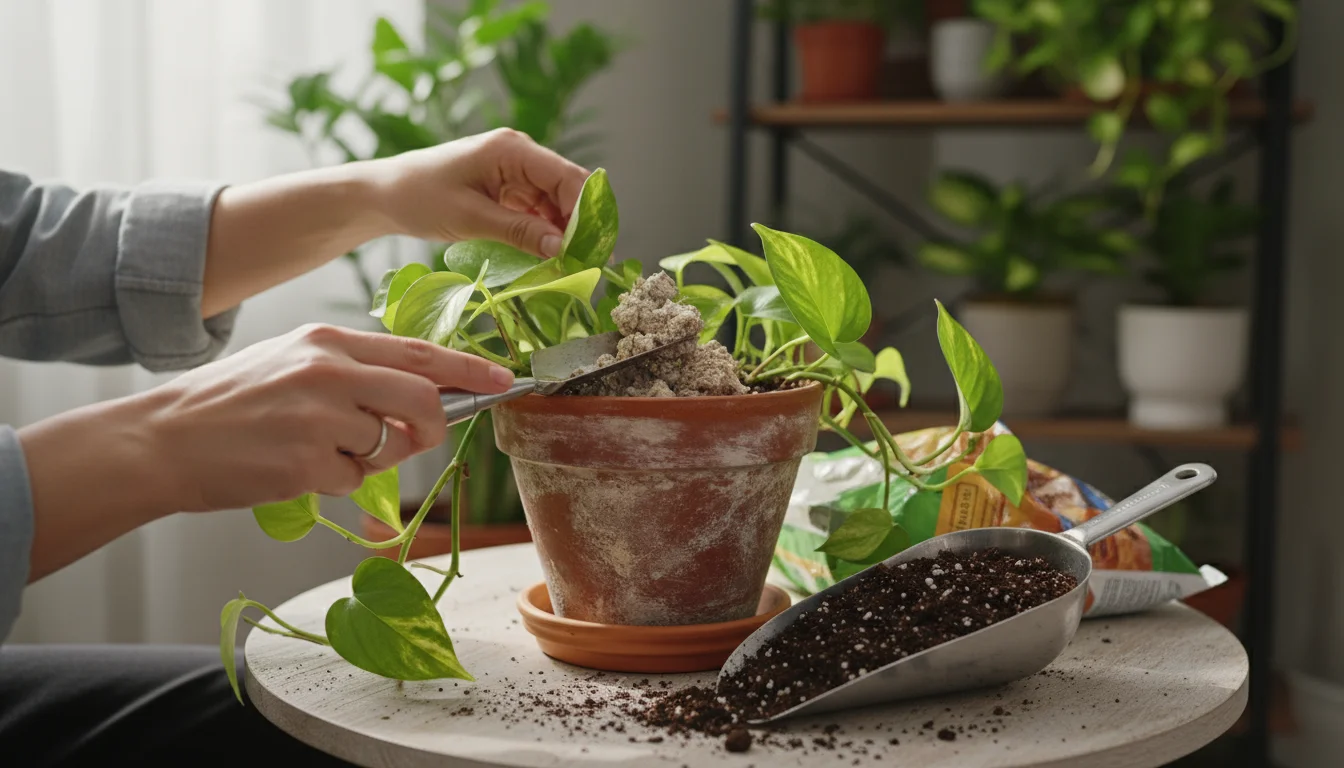
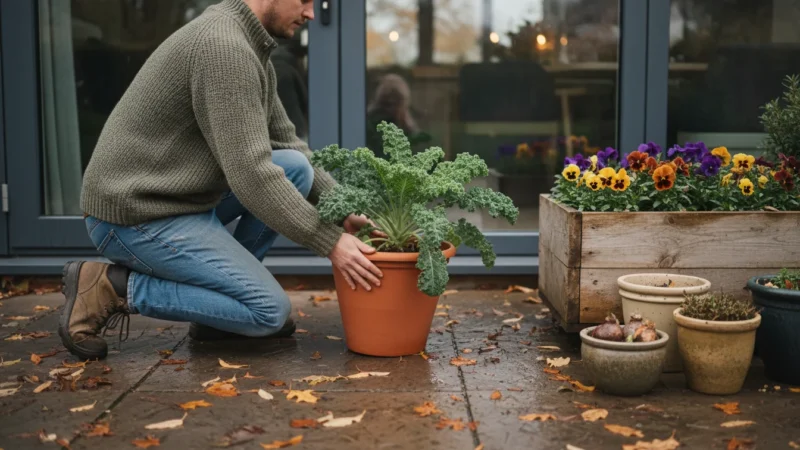
Many plants slow their growth in winter, but some may still be ready for a larger home. If you notice roots circling tightly around the soil ball, growing out of the drainage holes, or if water runs straight through the pot without soaking into the soil, your plant is likely root-bound. Repotting a root-bound plant into a slightly larger container gives its roots room to grow, improves nutrient uptake, and encourages healthier foliage. Choose a pot only one to two inches wider in diameter than the current one to avoid over-potting, which can lead to excessive moisture retention and root rot.
When repotting, use fresh, high-quality potting mix. Gently loosen the circling roots at the bottom of the root ball before placing the plant in its new pot. This encourages the roots to grow outward into the new soil. After repotting, water thoroughly. Monitor the plant closely for a few weeks, as it adjusts to its new environment. This project revitalizes your plant and prevents future stress, proving a valuable use of your winter indoor gardening time.
Optimize Lighting and Humidity
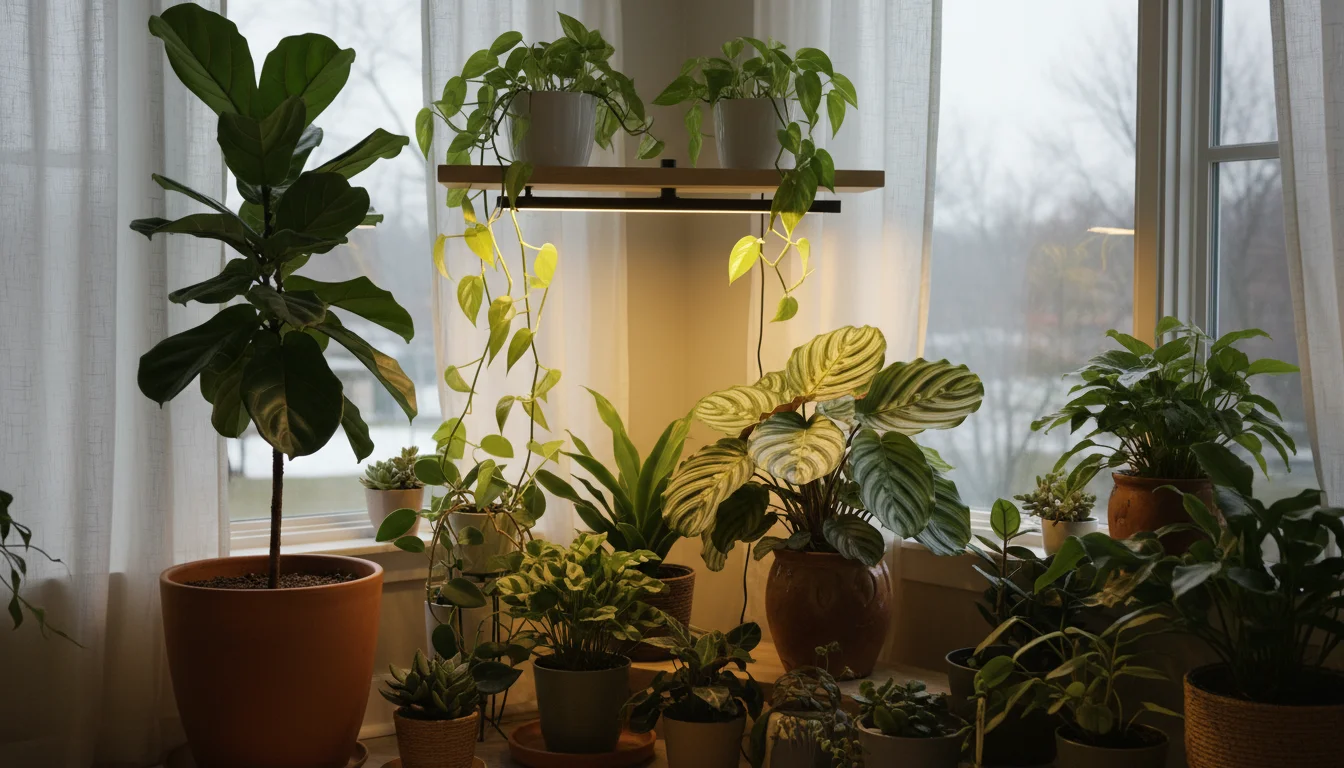
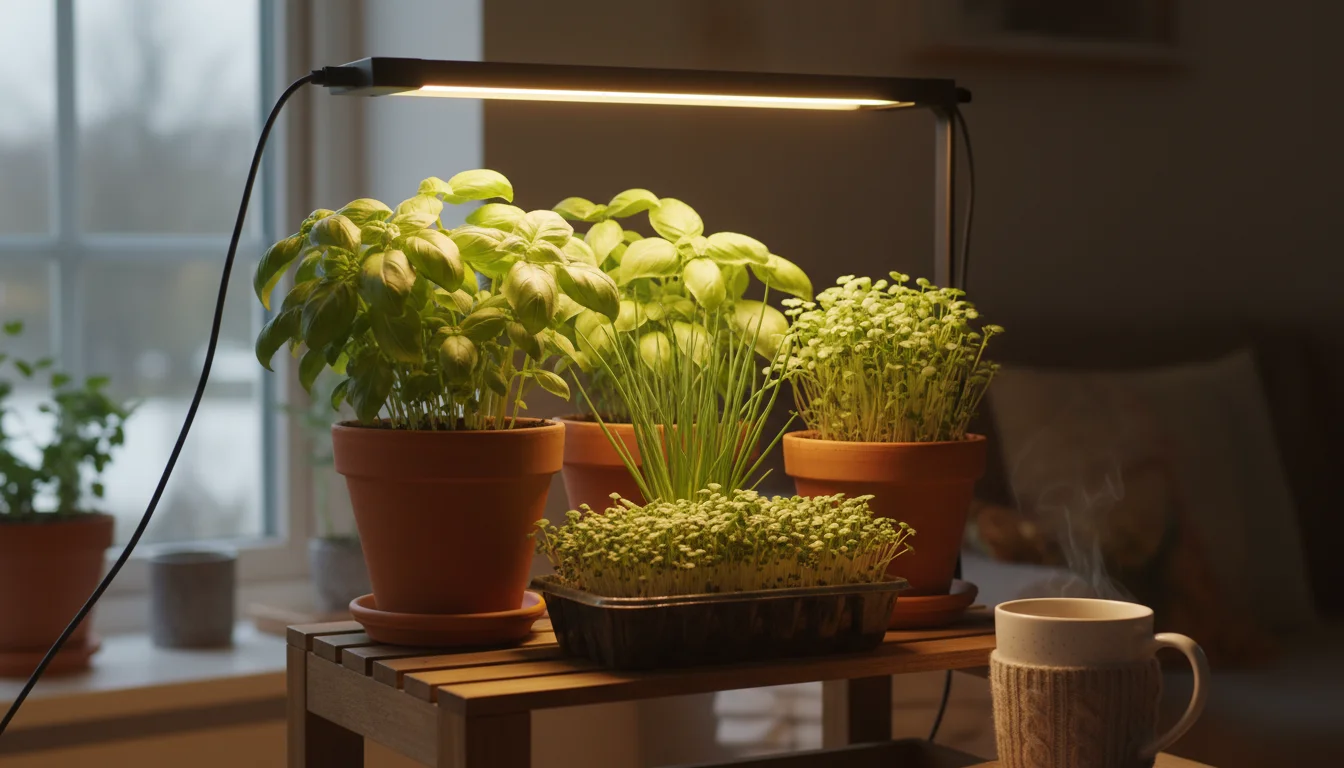
Winter days are shorter, and natural light levels significantly decrease. Your plants, especially those that typically thrive in bright, indirect light, will feel this change. Consider rotating your plants to ensure even light exposure, or move them closer to windows. For plants needing more light, supplementing with grow lights can make a dramatic difference. Even a simple LED grow light can provide the spectrum necessary for healthy growth, preventing leggy, stretched-out stems. Leggy growth describes plants that grow tall and spindly with sparse foliage, often due to insufficient light.
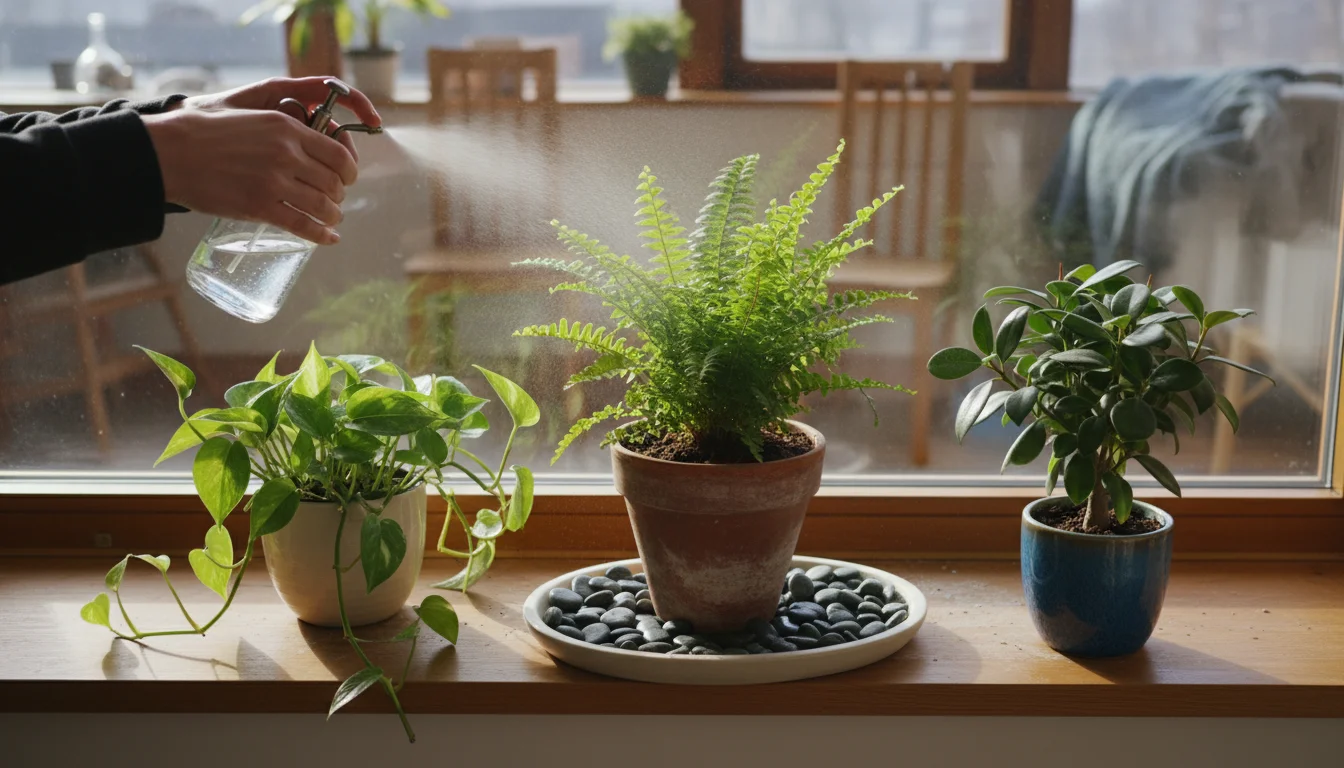
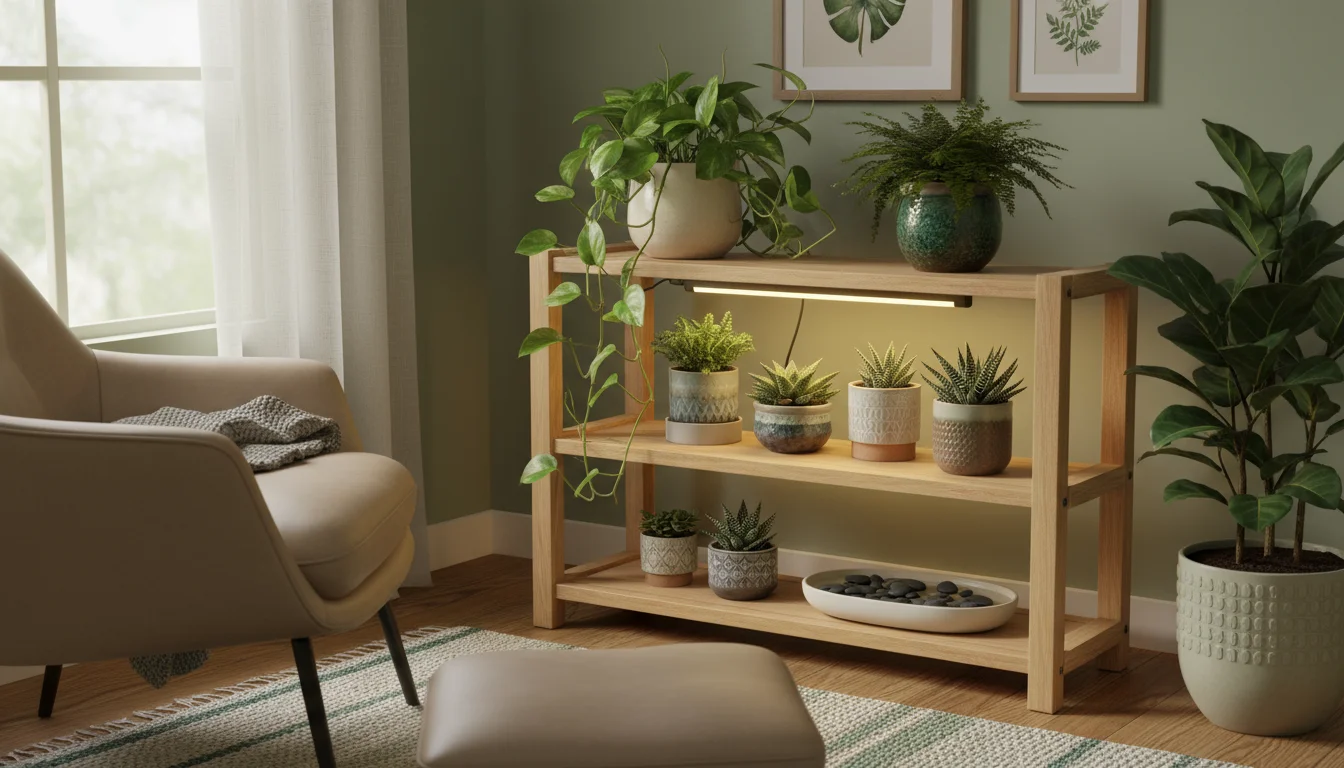
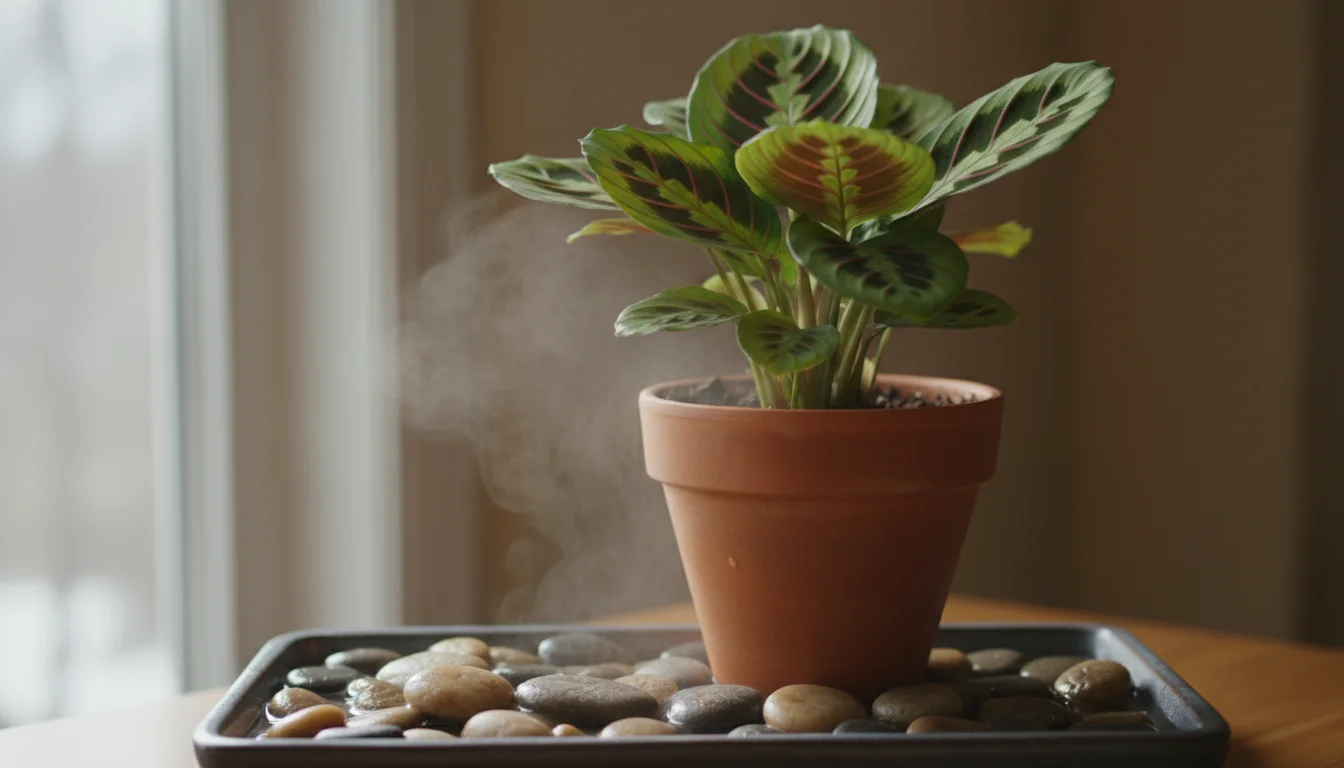
Indoor heating also drastically reduces humidity levels. Many tropical houseplants prefer higher humidity than typical homes offer in winter. Grouping plants together can create a localized microclimate with increased humidity. Placing plants on pebble trays filled with water, ensuring the pot does not sit directly in the water, provides a continuous source of moisture evaporation. You can also use a small room humidifier. Maintaining optimal humidity helps prevent brown leaf tips and supports overall plant vigor, transforming your living space into a thriving winter indoor gardening haven.
Propagation and Starting Seeds: Expanding Your Indoor Garden
Winter offers a quiet yet productive period for expanding your plant collection without stepping outside. Propagation and seed starting are rewarding winter plant projects that let you multiply your favorite plants or grow new ones from scratch. This process provides a deeper understanding of plant life cycles and offers a sustainable way to increase your indoor greenery or prepare for spring planting.
Remember that established plants have different needs than seedlings; following a specific winter watering and feeding schedule will keep them healthy until spring.
Propagating from Cuttings
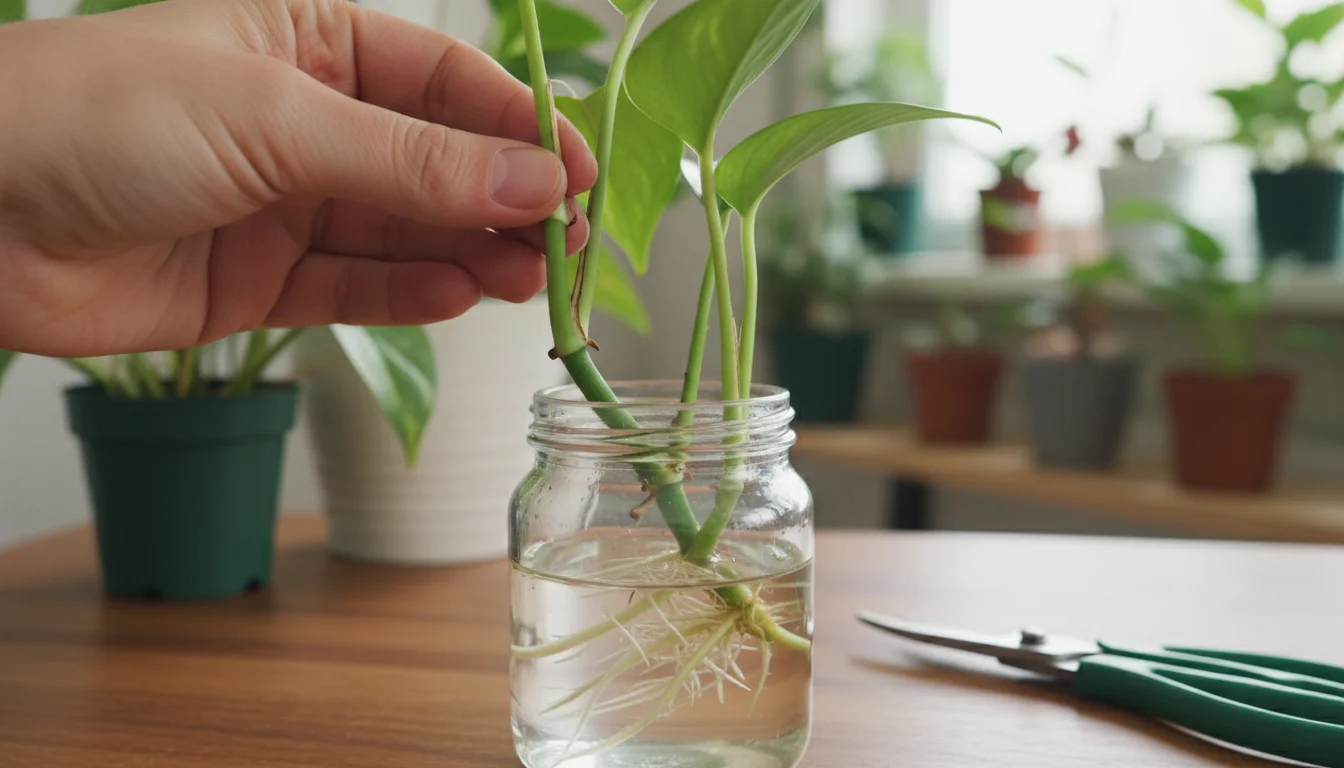
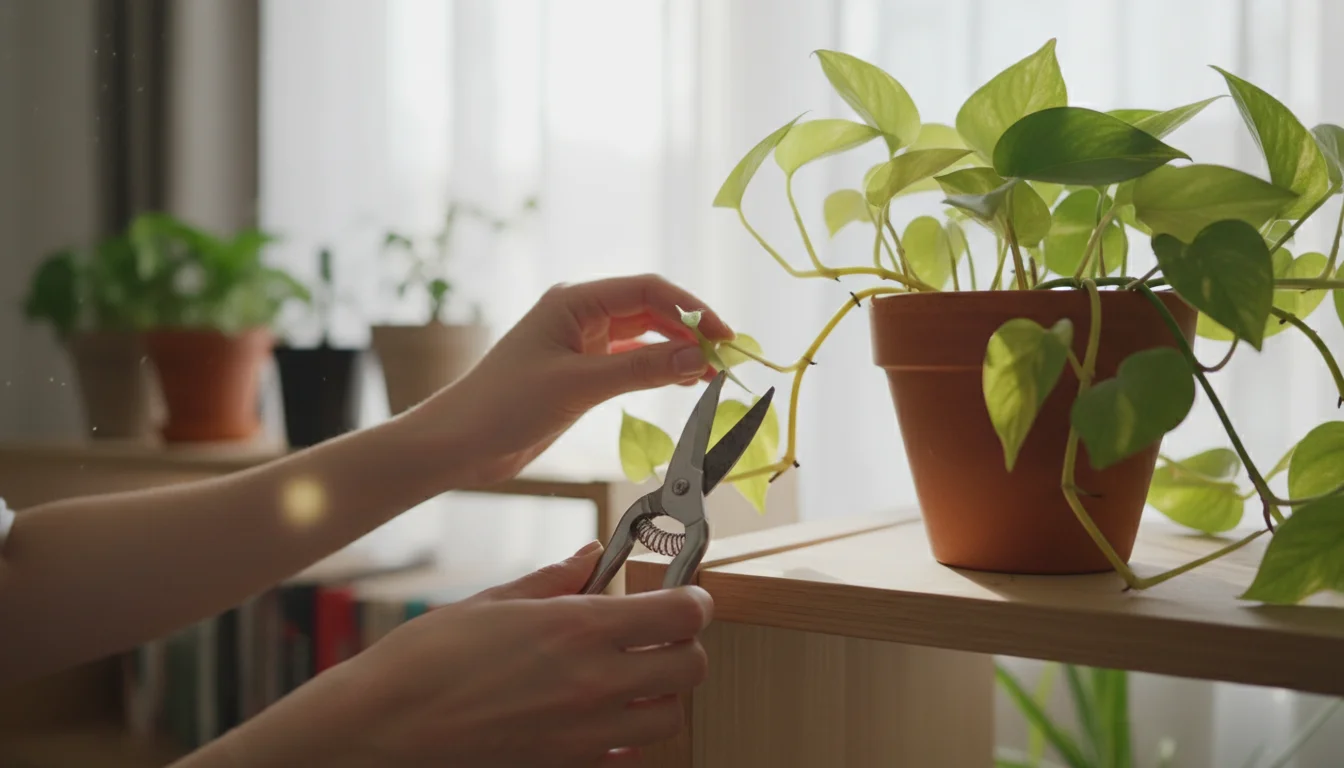
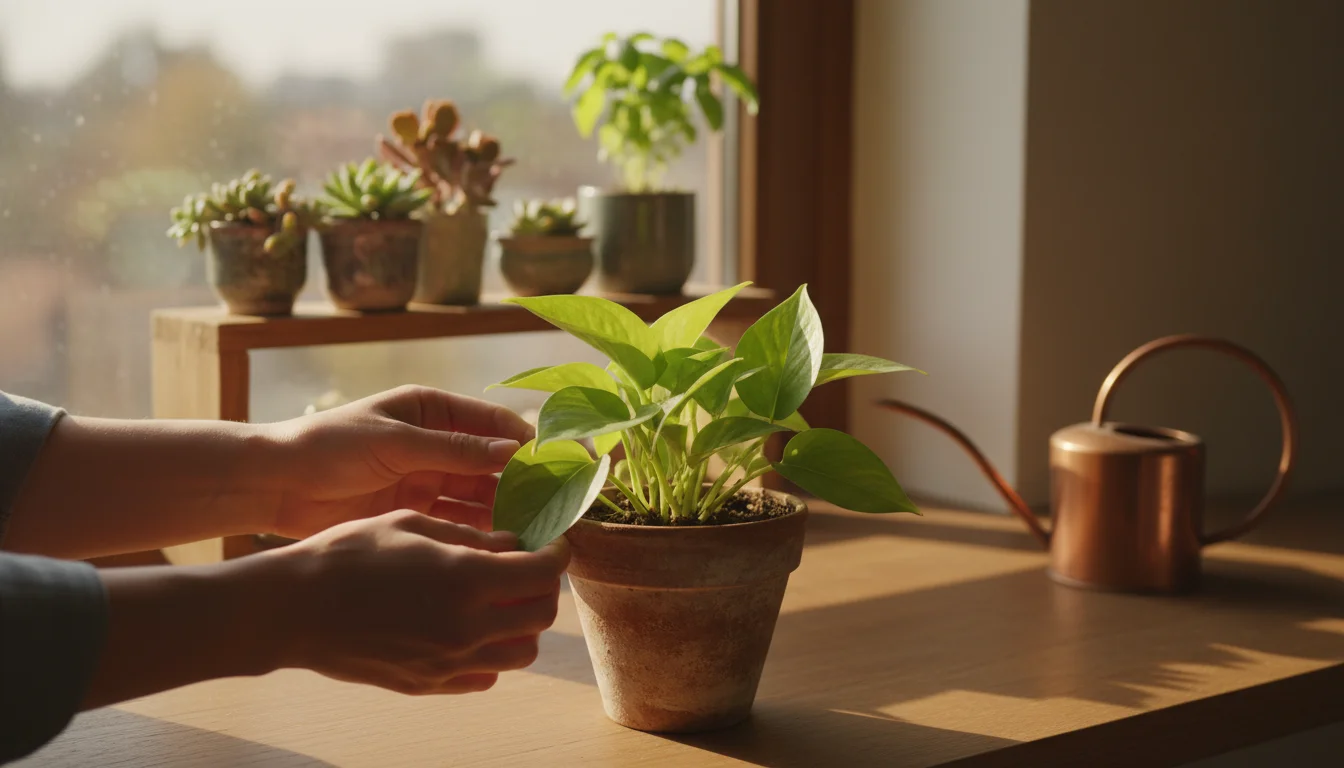
Many common houseplants propagate easily from stem or leaf cuttings. This is a straightforward and satisfying project that yields new plants from existing ones. Popular choices include Pothos, Philodendron, ZZ Plant, Snake Plant, and many herbs. You can root cuttings in water or directly in a moist potting mix.
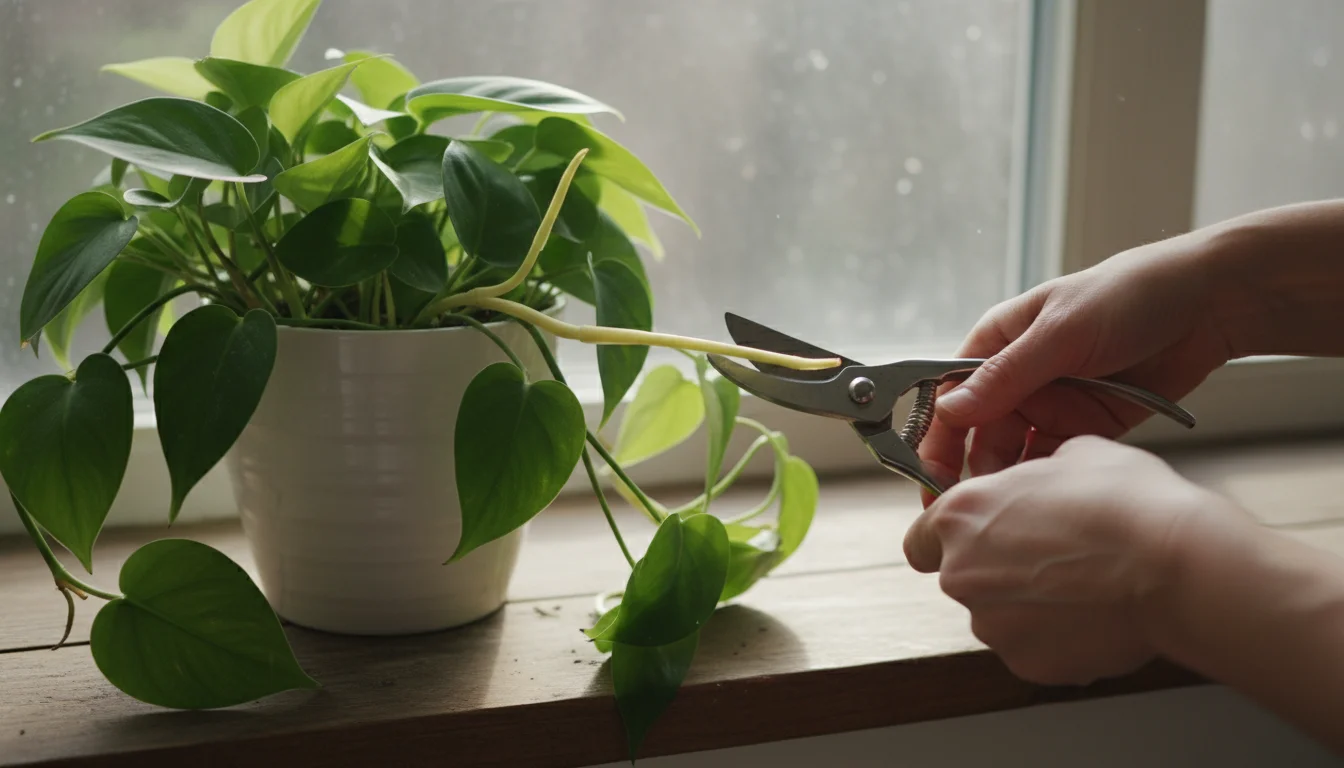
- Stem Cuttings: Using sharp, clean shears, take a stem cutting that has at least two nodes (the bumps on the stem where leaves or roots emerge). Remove the leaves from the bottom node. Place the cutting in a glass of water, ensuring the node is submerged, or directly into a light, well-draining potting mix. Keep the water fresh, changing it every few days, or keep the soil consistently moist. Roots typically emerge within a few weeks to a month.
- Leaf Cuttings: Succulents like Sansevieria (Snake Plant) and Echeveria often root well from individual leaves. Allow the cut end of the leaf to callus over for a few days before placing it on top of or slightly inserted into moist soil.
Once roots are established and a new plantlet begins to form, you can pot up your new plant. This method is incredibly cost-effective and helps you share your plant passion with friends and family.
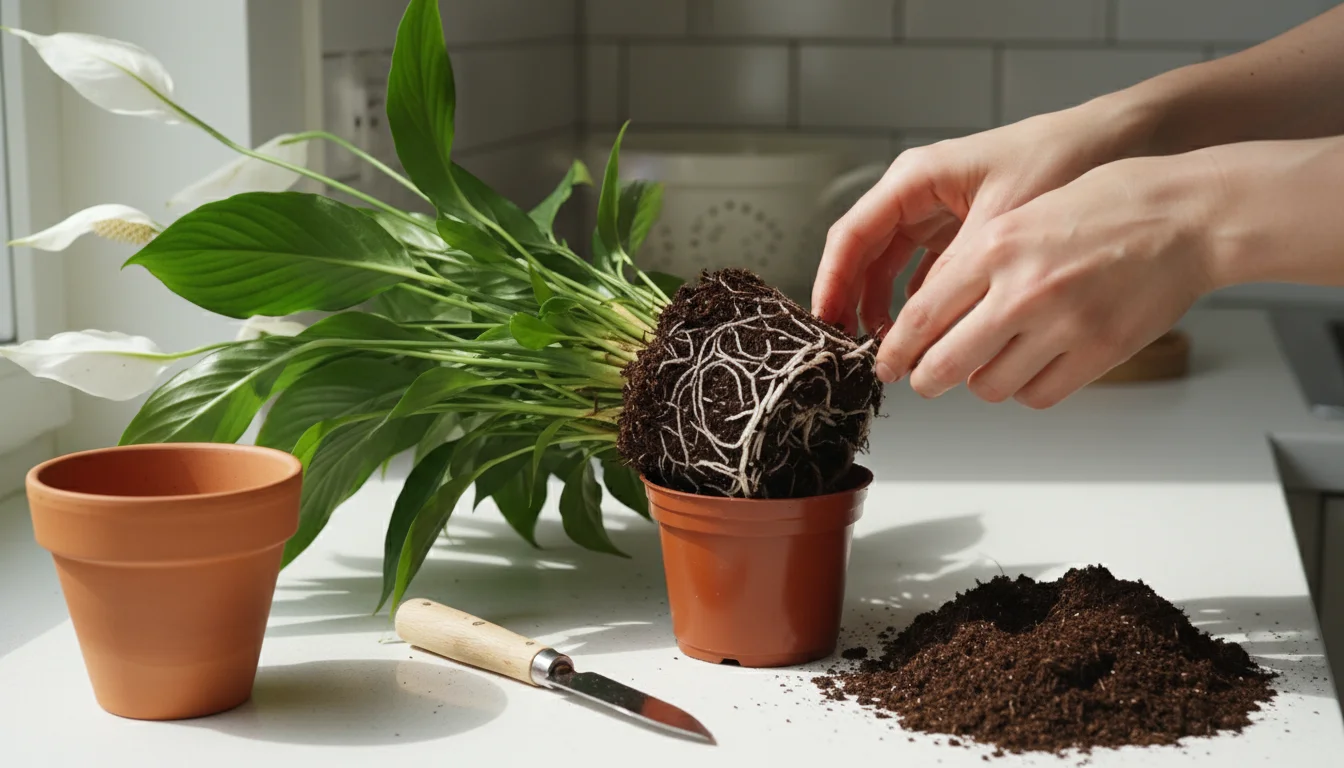
Division for Bushier Plants
Some plants, like Peace Lilies, Ferns, and many types of Calatheas, grow in clumps and benefit from division. This project rejuvenates the mother plant and creates multiple new plants. When you divide a plant, you gently separate its root ball into smaller sections, each with its own root system and foliage.
- Carefully remove the plant from its pot.
- Gently tease apart the root ball, looking for natural divisions. You may need to use a clean, sharp knife for tougher roots.
- Ensure each new section has a healthy portion of roots and at least a few leaves.
- Pot each division into its own container with fresh potting mix.
Water the newly potted divisions thoroughly. This process can be stressful for plants, so keep them in a slightly shadier spot for a week or two to help them recover.
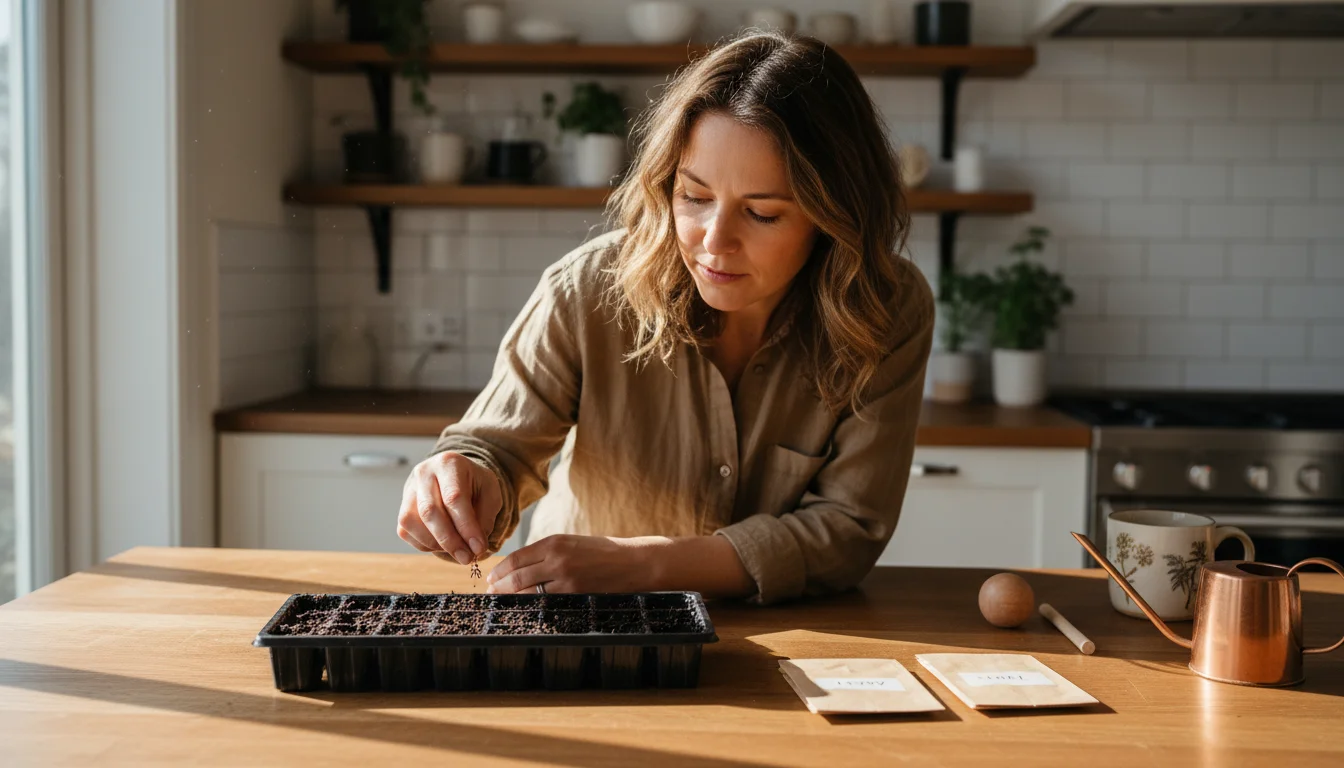
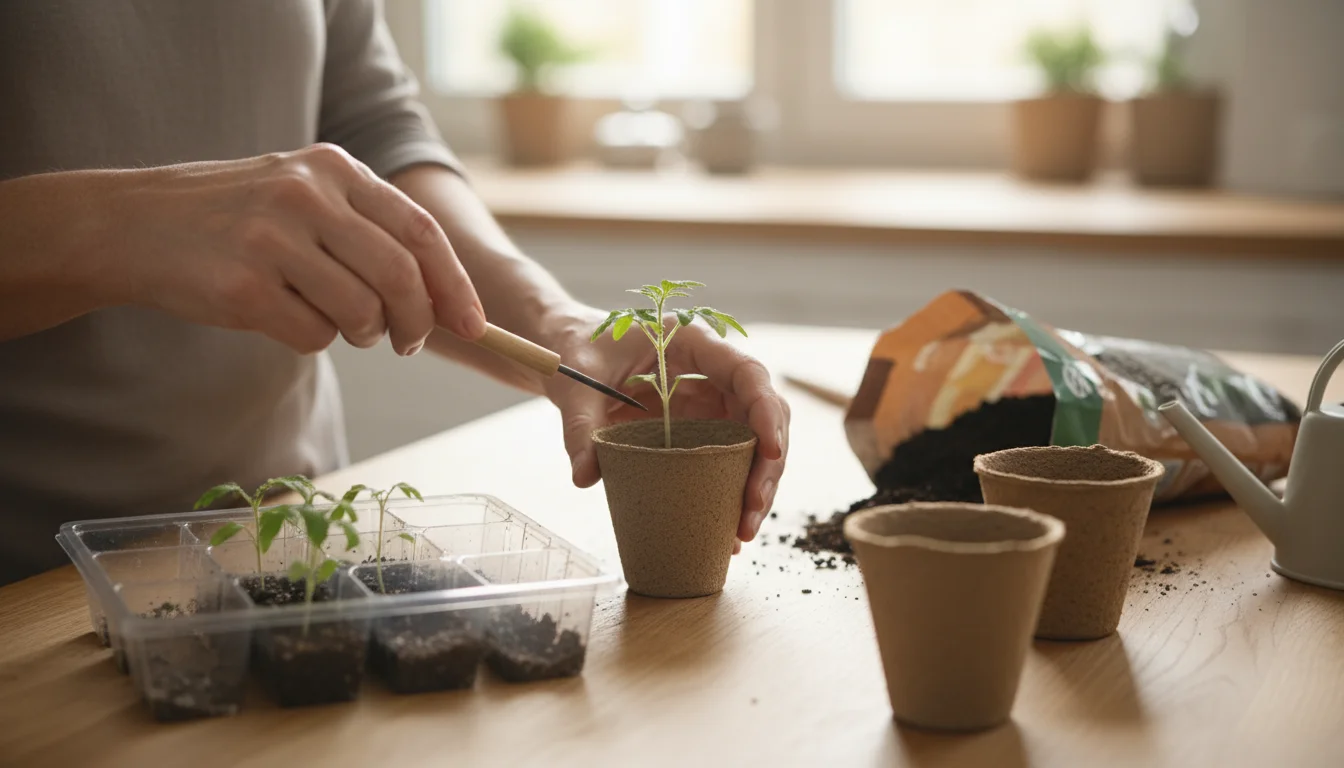
Starting Seeds Indoors
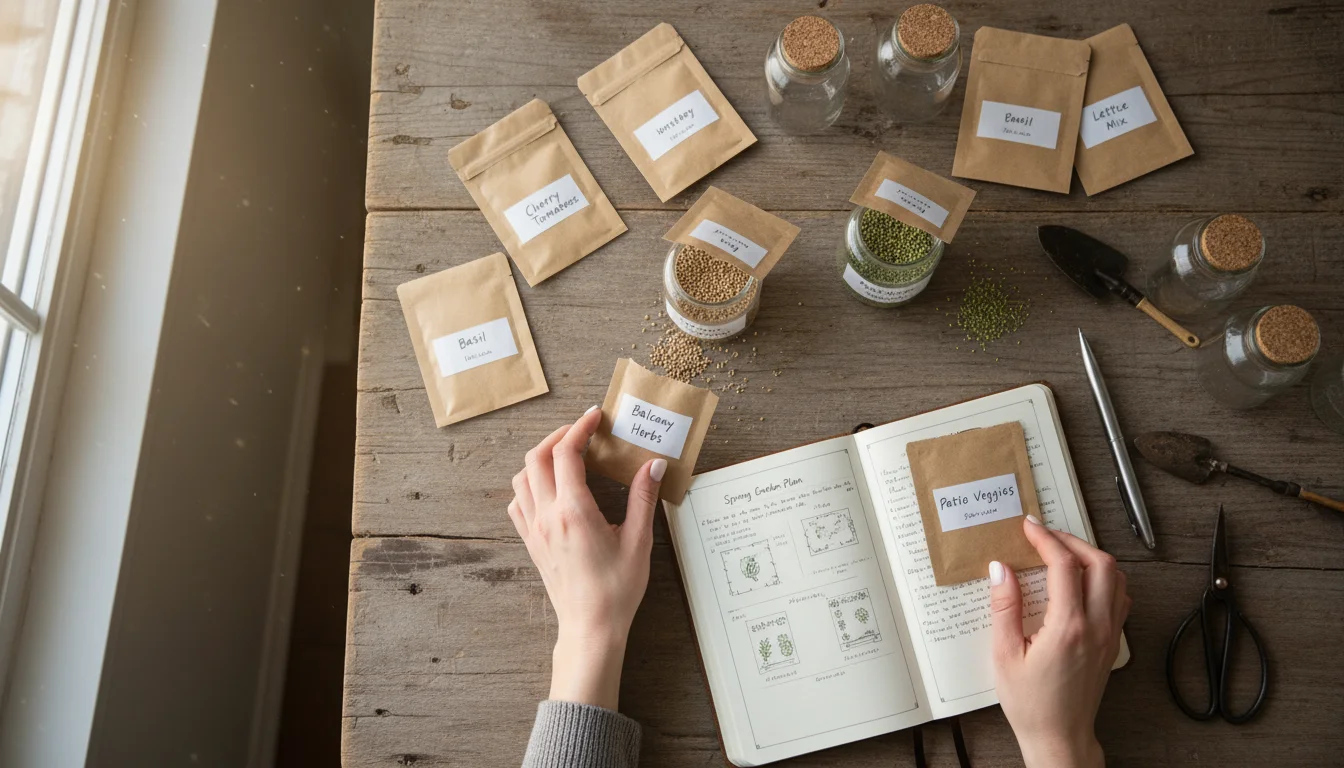
Winter is the perfect time to start seeds indoors, especially if you plan to grow food indoors or transplant seedlings into an outdoor garden in spring. Seed starting allows you to get a head start on the growing season, offers a wider variety of plant choices, and is an incredibly rewarding winter indoor gardening activity. You can start anything from herbs like basil and cilantro to vegetables like tomatoes, peppers, and leafy greens.
Steps for Seed Starting:
- Choose Your Seeds: Select varieties suited for indoor growing or those that benefit from an early start.
- Prepare Your Setup: Use clean seed-starting trays or small pots with drainage holes. A sterile, peat-free seed-starting mix prevents damping-off disease.
- Planting: Follow specific seed packet instructions for planting depth and spacing. Generally, plant seeds two to three times as deep as their diameter.
- Watering: Keep the soil consistently moist but not waterlogged. Misting or bottom watering helps prevent disturbing tiny seeds.
- Light and Warmth: Most seeds germinate best with warmth (using a heating mat can help) and require bright light immediately after sprouting to prevent legginess. A simple shop light or dedicated grow light works wonders.
- Ventilation: Provide good air circulation to prevent fungal issues.
As seedlings grow, you may need to “pot up” into slightly larger containers before transplanting outdoors or allowing them to continue growing indoors. This valuable project gives you complete control over your plants’ early life and is a cornerstone of sustainable gardening.
Growing Edibles Indoors: Fresh Harvests All Winter
The thought of fresh herbs and vegetables during the coldest months often seems like a dream, but you can absolutely grow food indoors year-round. This is one of the most practical and rewarding winter indoor gardening projects, offering a continuous supply of ingredients for your kitchen and a vibrant, green touch to your home. With a little planning and the right conditions, you can enjoy a personal harvest regardless of the weather outside.
Best Plants for Indoor Edible Gardens
Not all edibles thrive indoors, but many common kitchen staples adapt beautifully to an indoor environment. Focus on plants that do not require extensive space, pollination, or intense sunlight.
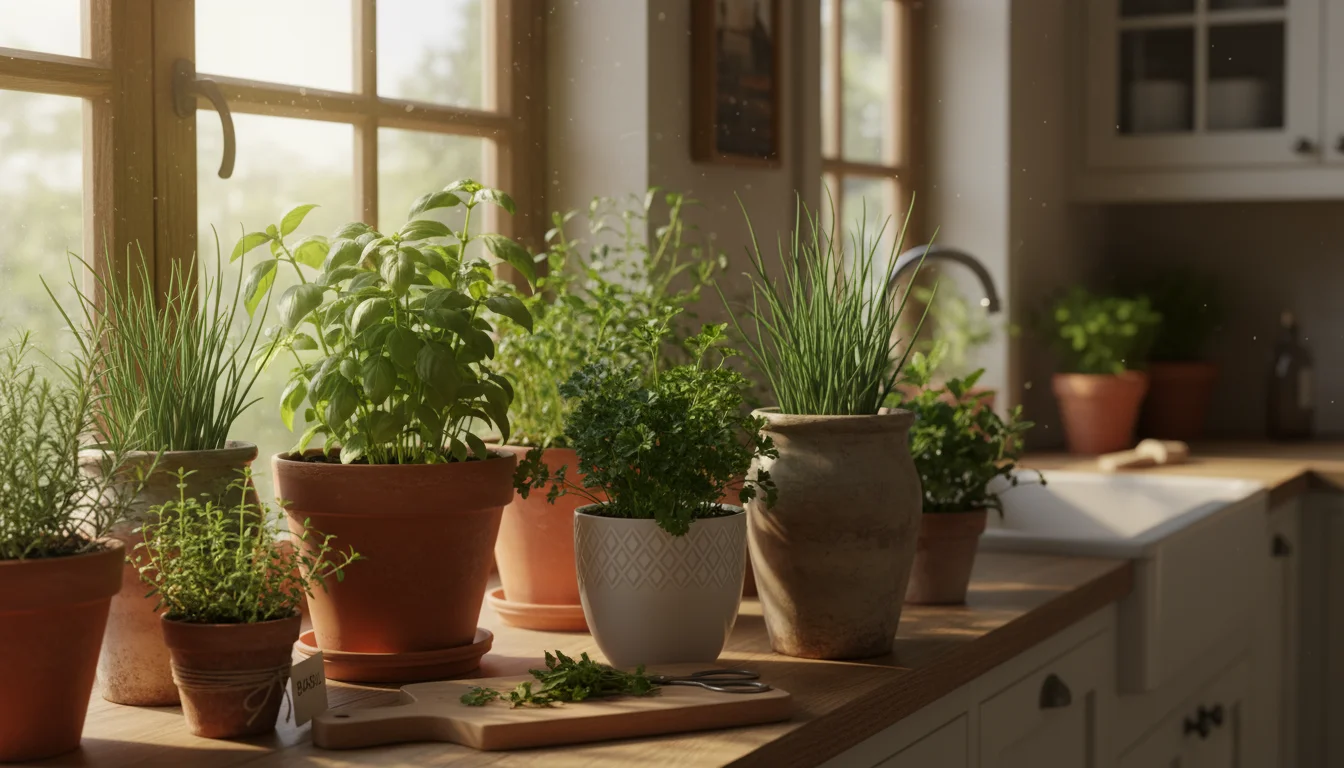
- Herbs: Basil, mint, chives, parsley, oregano, thyme, and rosemary are excellent choices. They generally need bright light, good drainage, and regular watering. Place them on a sunny windowsill or under a grow light for best results.
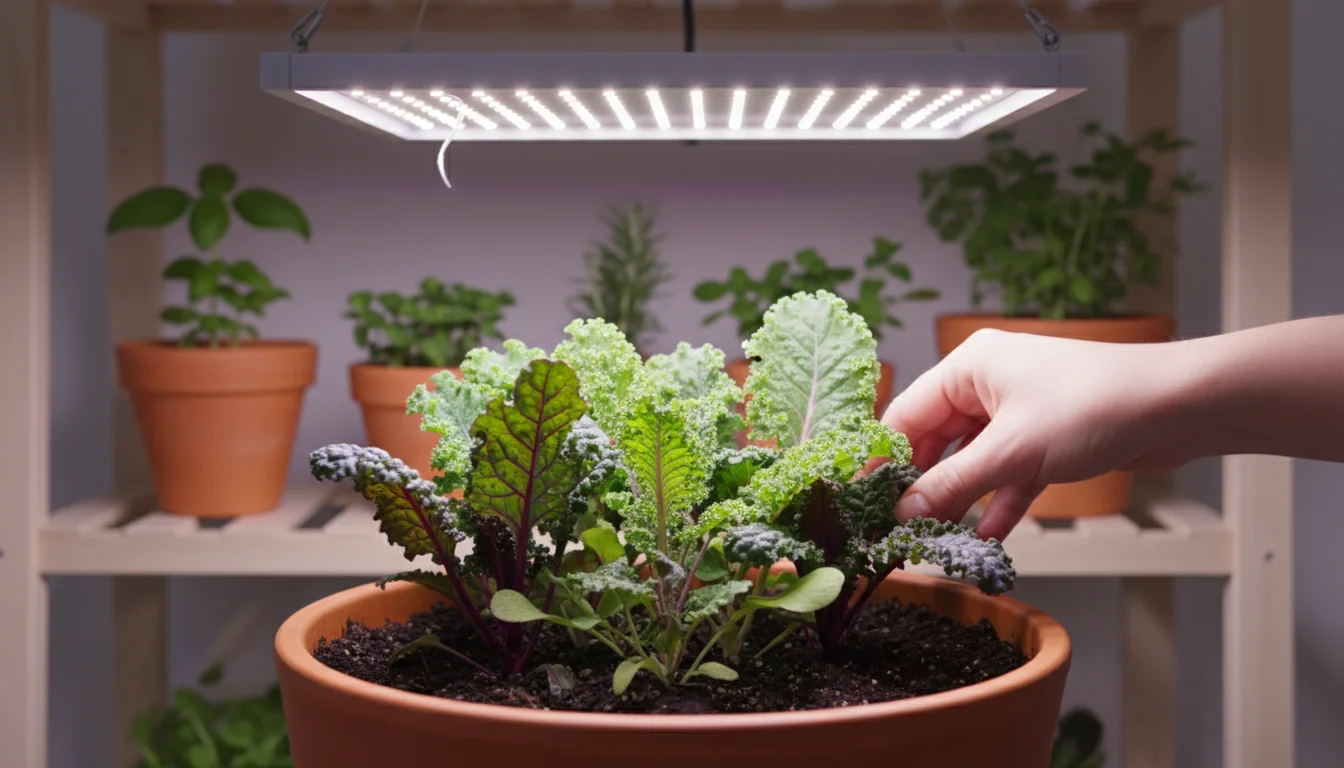
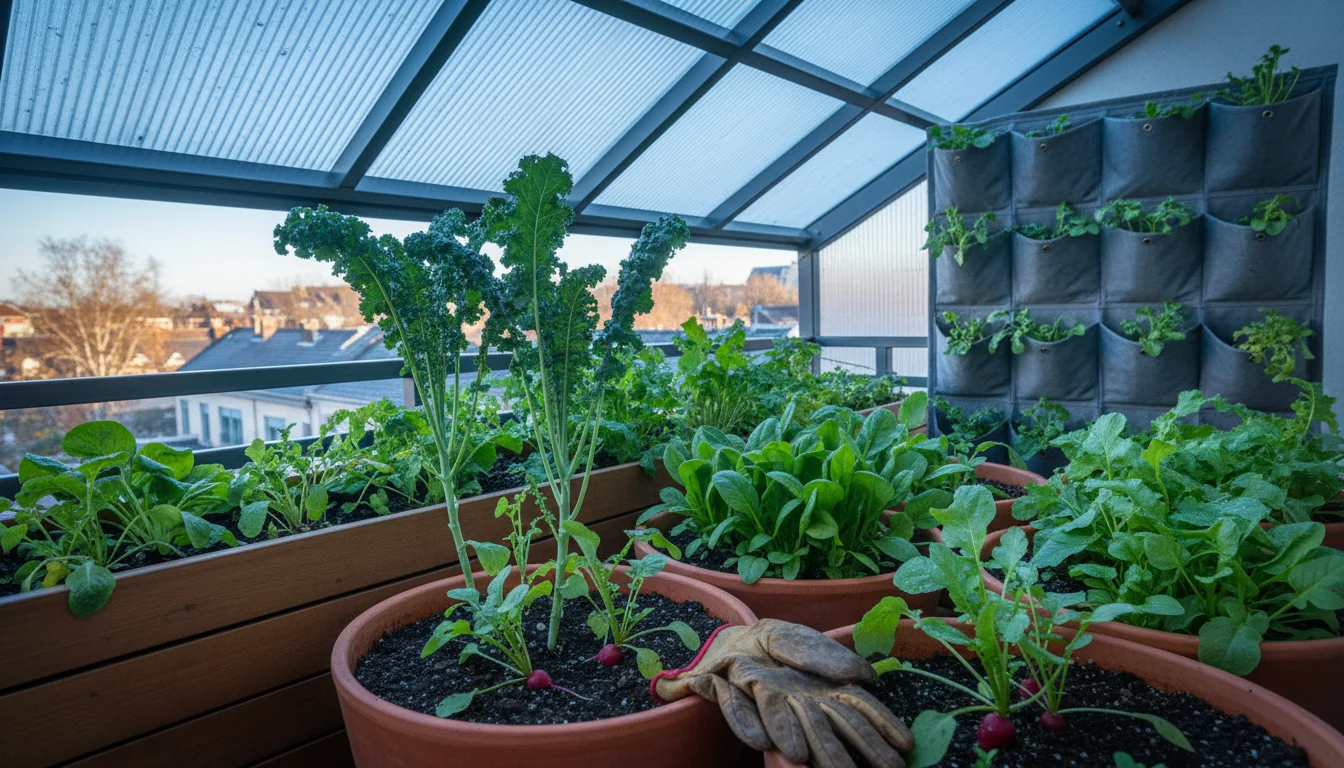
- Leafy Greens: Lettuce (especially loose-leaf varieties), spinach, arugula, and kale can be grown in containers. Harvest outer leaves as needed, and the plant continues to produce. These benefit greatly from supplemental grow lights to prevent bolting, which means going to seed prematurely.
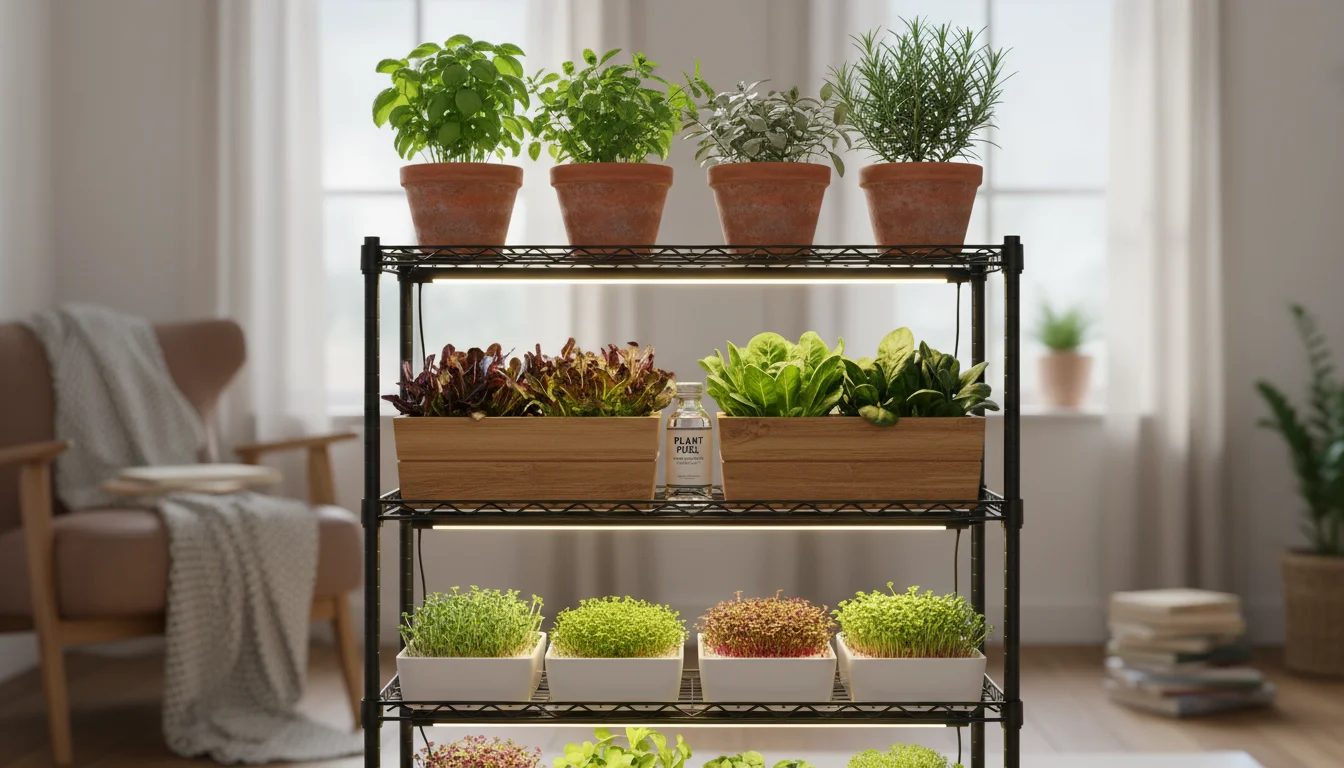
- Microgreens: These nutrient-dense seedlings are perhaps the easiest and quickest way to grow food indoors. Radish, broccoli, kale, and mustard microgreens are ready to harvest in 7-14 days. You only need shallow trays, seed-starting mix, and a sunny spot or grow light.
- Scallions/Green Onions: You can regrow these indefinitely from their root ends. Simply place the white root ends in a shallow glass of water, then transfer to soil once new green shoots appear. Keep harvesting the green tops.
- Small Fruiting Plants: While more challenging, certain dwarf varieties of tomatoes, peppers, and even strawberries can produce indoors with adequate light (often requiring dedicated grow lights) and consistent care.
Creating Optimal Growing Conditions
Success with an indoor edible garden hinges on providing the right environment. Light, water, and nutrients are critical.
- Light: Edibles generally require more light than ornamental houseplants. A south-facing window is ideal, but for consistent growth, especially during winter, invest in a full-spectrum LED grow light. Position the light close to the plants, usually 6-12 inches above them, and provide 12-16 hours of light daily.
- Water: Water regularly, allowing the top inch of soil to dry out between waterings. Use pots with drainage holes to prevent root rot. Overwatering is a common killer of indoor edibles.
- Nutrients: Since you frequently harvest edibles, they require regular feeding. Use a balanced, organic liquid fertilizer diluted to half strength every two to four weeks. Peat-free potting mixes rich in organic matter also provide a good starting point.
- Air Circulation: Good air flow helps prevent fungal diseases. A small fan can gently circulate air around your plants.
- Temperature and Humidity: Most edibles prefer temperatures between 65-75°F (18-24°C). Aim for moderate humidity, around 40-60%.
Growing your own food provides immense satisfaction and contributes to a sustainable lifestyle. By turning part of your home into an edible garden, you engage in meaningful winter plant projects that deliver tangible, delicious results.
Revitalizing Your Plant Soil and Nutrition
Just like you benefit from a balanced diet, your indoor plants rely on healthy soil and adequate nutrients to thrive. Over time, potting mixes degrade, nutrients deplete, and soil can become compacted. Winter offers an excellent opportunity to address these issues, ensuring your plants have the best foundation for robust growth. This isn’t just routine maintenance, it’s a vital winter plant project that directly impacts plant health and longevity.
Understanding Soil Health
Your potting mix serves several crucial functions: it anchors the plant, retains moisture, allows for aeration, and holds nutrients. Good soil drainage is paramount for indoor plants; standing water quickly leads to root rot. Aeration, the presence of air pockets in the soil, ensures roots receive oxygen. Without it, roots suffocate. Over time, watering can compact soil, reducing both drainage and aeration.
When you repot, always use fresh potting mix. For plants that are not ready for a full repot, you can perform “top-dressing.” This involves removing the top inch or two of old soil and replacing it with fresh mix. This simple act replenishes some nutrients and improves soil structure without the stress of a full repot.
Choosing the Right Potting Mix
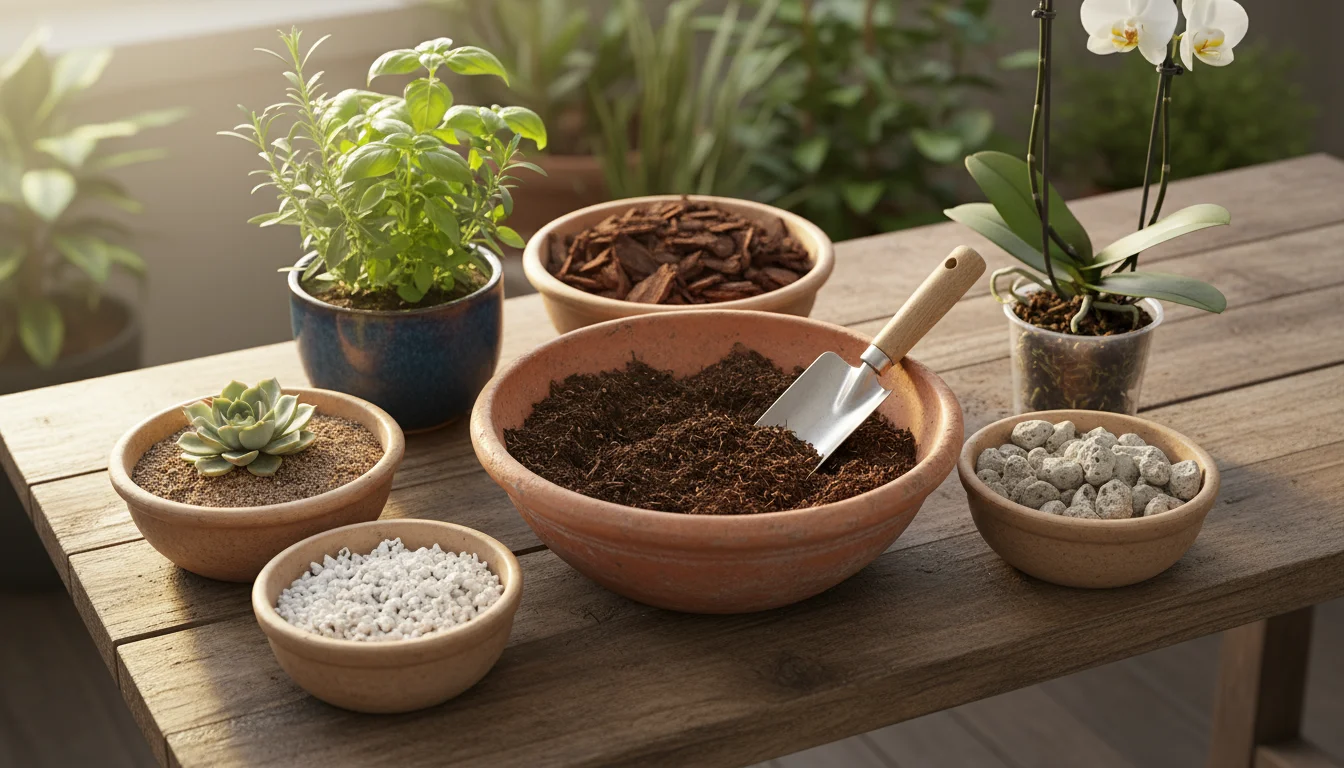
Not all potting mixes are created equal. Opt for a high-quality, peat-free potting mix. Peat moss harvesting raises environmental concerns due to its impact on vital wetland ecosystems. Sustainable alternatives like coco coir, composted bark, and perlite offer excellent drainage, aeration, and water retention without the environmental footprint.
- General All-Purpose Mix: A blend of coco coir, perlite, and compost works well for most houseplants.
- Cactus and Succulent Mix: Requires even faster drainage. Look for mixes with higher proportions of perlite, pumice, or coarse sand.
- Orchid Mix: Consists of bark chips, charcoal, and perlite to support their epiphytic nature.
You can also customize your potting mix. For example, add extra perlite or pumice to an all-purpose mix for plants that prefer sharper drainage. Incorporating worm castings or compost tea provides a gentle, slow-release nutrient boost.
Feeding and Fertilizing Your Plants
Indoor plants exhaust the nutrients in their potting mix over time. Fertilizing replenishes these essential elements. Winter is often a period of reduced growth, so scale back your feeding schedule. However, for plants actively growing under supplemental lights or those you are trying to grow food indoors, consistent, albeit lighter, feeding is necessary.
Fertilizer Types and Application:
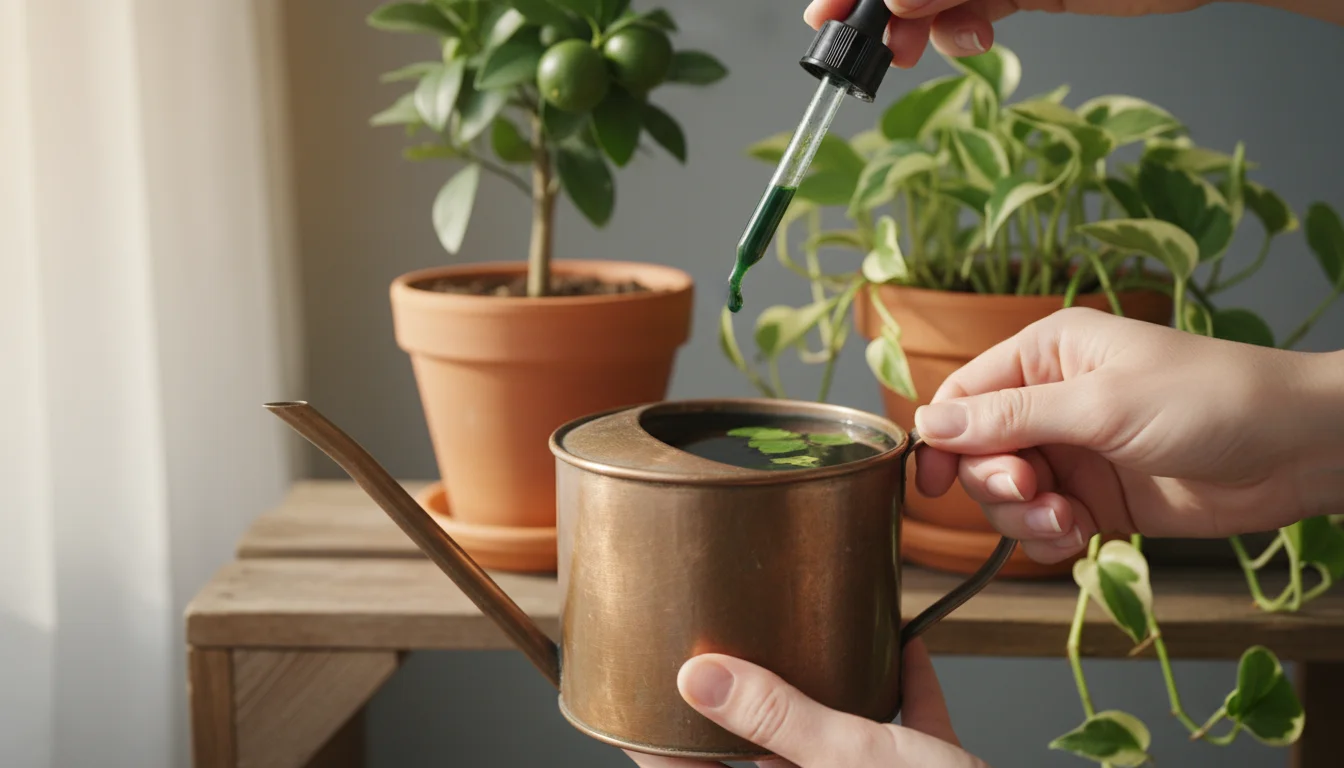
- Liquid Fertilizers: These provide a quick nutrient boost and allow for precise control over dosage. Dilute them to half or quarter strength during winter to prevent over-fertilization, which can burn roots. Apply every 4-6 weeks for actively growing plants, or less frequently for dormant ones.
- Slow-Release Granules: Incorporated into the soil, these release nutrients gradually over several months. They offer a convenient, low-maintenance option. Follow product instructions for application rates.
- Organic Options: Consider using organic fertilizers like fish emulsion (diluted for indoor use), kelp meal, or worm castings. These not only feed your plants but also improve soil structure and microbial activity. Always research and choose products specifically formulated for indoor plants.
Always water your plant before fertilizing to prevent root burn. Observe your plants for signs of nutrient deficiency, such as yellowing leaves or stunted growth, to guide your feeding schedule. By proactively managing soil health and nutrition during winter, you set your plants up for success throughout the year, making it a critical aspect of thoughtful winter indoor gardening.
Pest Management and Prevention: A Winter Checklist
Indoor plants face unique challenges in winter, including increased susceptibility to pests. Dry indoor air, reduced light, and plants clustered together can create ideal breeding grounds for common houseplant invaders. Addressing these potential threats proactively forms a crucial winter plant project. Early detection and consistent, gentle intervention save your plants from significant stress and damage. You can protect your entire collection by implementing a robust pest management routine.
Common Winter Pests and Their Signs
Knowing what to look for makes prevention and treatment much more effective:
- Spider Mites: Tiny, spider-like pests often found on the undersides of leaves. Look for fine webbing, especially near leaf axils, and tiny yellow or brown stippling on leaves. They thrive in dry conditions.
- Mealybugs: White, cottony masses found in leaf axils, on stems, or along leaf veins. They secrete a sticky substance called honeydew.
- Aphids: Small, pear-shaped insects, often green, black, or brown, clustered on new growth or flower buds. They also produce honeydew.
- Fungus Gnats: Small, dark, mosquito-like flies that hover around the soil surface. Their larvae feed on decaying organic matter and sometimes plant roots, especially in overly wet soil.
- Scale: Small, immobile, dome-shaped insects that attach to stems and leaves, often blending in. They also excrete honeydew.
Your Winter Prevention Checklist
Prevention is always easier than eradication. Incorporate these habits into your winter indoor gardening routine:
- Regular Inspection: Every time you water, take a moment to closely examine your plants. Check the tops and undersides of leaves, stems, and the soil surface. Early detection allows you to address a small problem before it becomes an infestation.
- Quarantine New Plants: Always isolate new plants for at least two to three weeks before introducing them to your existing collection. This prevents hitchhiking pests from spreading.
- Maintain Humidity: Spider mites, in particular, prefer dry conditions. Increase humidity around your plants using pebble trays, grouping plants, or a humidifier.
- Proper Watering: Avoid overwatering, which creates an ideal environment for fungus gnat larvae. Allow the top inch or two of soil to dry out between waterings.
- Cleanliness: Regularly wipe down leaves to remove dust and potential pests. Remove any dead or decaying plant material from the pot and soil surface, as this can attract pests and harbor disease.
- Clean Tools: Sterilize your pruning shears or scissors with rubbing alcohol between uses to prevent spreading disease or pests.
Safe and Effective Treatments
Should pests appear, act quickly with environmentally friendly solutions:
- Physical Removal: For small infestations, simply wipe off pests with a damp cloth or a cotton swab dipped in rubbing alcohol. A strong spray of water can dislodge many pests, especially spider mites and aphids.
- Insecticidal Soap: A non-toxic option that suffocates soft-bodied pests. Follow product instructions carefully. Ensure complete coverage of the plant, especially leaf undersides.
- Neem Oil: An organic pesticide derived from the neem tree. It disrupts insect feeding and reproduction. Mix according to instructions and spray thoroughly. Apply it in the evening to avoid leaf burn from sun exposure.
- Diatomaceous Earth (DE): A natural powder made from fossilized diatoms. It works by abrading the exoskeletons of crawling insects, causing dehydration. Sprinkle a fine layer on the soil surface to deter fungus gnats and other crawling pests. Use food-grade DE.
Consistency is key. You may need to repeat treatments every 5-7 days for several weeks to break pest life cycles. By diligently implementing these strategies, you can maintain a healthy, pest-free indoor garden all winter long, making this a pivotal winter indoor gardening project.
Pruning and Shaping for Healthier Plants
Pruning often feels intimidating, but it is a fundamental winter plant project that promotes stronger, bushier growth and overall plant health. Think of it as giving your plants a haircut, removing old, weak, or leggy parts to encourage new, vibrant development. Winter, when many plants are in a period of slower growth, provides an opportune time to undertake this maintenance with minimal stress to the plant. You can revitalize your plants and maintain their desired shape, contributing to a more attractive and healthier indoor garden.
Why Prune Your Indoor Plants?
Pruning serves several vital purposes for your indoor greenery:
- Encourages Bushier Growth: When you remove the growing tip of a stem, the plant diverts energy to dormant buds along the stem, causing them to sprout and create a fuller, denser appearance. This is especially useful for vining plants like Pothos or Philodendron that tend to get leggy.
- Removes Dead or Damaged Foliage: Brown, yellow, or diseased leaves drain energy from the plant and can harbor pests or fungal issues. Removing them allows the plant to focus its resources on healthy growth.
- Maintains Shape and Size: Pruning helps you control your plant’s size and shape, preventing it from overgrowing its space or becoming unwieldy.
- Promotes Air Circulation: Thinning out dense foliage improves air circulation within the plant canopy, reducing the risk of fungal diseases.
- Encourages Flowering/Fruiting: For some plants, pruning can stimulate new flower or fruit production, a crucial step if you aim to grow food indoors.
When and How to Prune
While light pruning can happen any time, a more substantial trim is often best done during the plant’s slower growth period, like winter, or just before its active growing season begins in late winter/early spring. This timing minimizes stress and allows the plant to recover quickly once new growth starts.
Tools and Hygiene:
- Always use sharp, clean pruning shears or scissors. Dull tools can crush stems, causing more damage.
- Sanitize your tools with rubbing alcohol or a 10% bleach solution between plants, and even between cuts on a diseased plant, to prevent the spread of pathogens.
Step-by-Step Pruning Techniques:
- Identify What to Remove: Start by removing any dead, yellow, or diseased leaves and stems. Cut back to healthy tissue.
- Address Leggy Growth: For plants with long, spindly stems, cut just above a node or a leaf joint. This encourages new growth to emerge from that point, leading to a bushier plant.
- Shape the Plant: Step back and assess the plant’s overall shape. Make cuts to achieve your desired form, ensuring cuts are made at a 45-degree angle just above a node or side branch, facing away from the bud.
- Don’t Overdo It: As a general rule, avoid removing more than 25-30% of a plant’s foliage at any one time, especially during slower growth. Excessive pruning can shock the plant.
After pruning, give your plant a good watering. The pruned cuttings can often be used for propagation, another rewarding winter plant project that allows you to expand your collection sustainably. By mastering the art of pruning, you actively participate in your plants’ health and aesthetics, making it a valuable skill for any winter indoor gardening enthusiast.
Optimizing Winter Plant Conditions: Light, Humidity, and Temperature
Winter presents a distinct set of environmental challenges for indoor plants. Shorter days mean less natural light, while indoor heating systems drastically reduce humidity, and drafts can create fluctuating temperatures. Addressing these factors transforms the typical struggle of winter indoor gardening into a successful winter plant project. By proactively adjusting your indoor environment, you ensure your plants not only survive but thrive during the colder months.
Battling Low Light Levels
Natural light is a scarce commodity in winter. Even a south-facing window provides significantly less intensity and duration than during summer. Plants respond to insufficient light by stretching out, becoming “leggy” with sparse foliage and long, weak stems. Flowers may fail to form, and variegated leaves might lose their patterns.
- Rotate Your Plants: Regularly rotate your plants a quarter turn every week or two. This ensures all sides receive adequate light, promoting even growth.
- Relocate: Move light-loving plants closer to your brightest windows. If necessary, rearrange furniture to accommodate their needs.
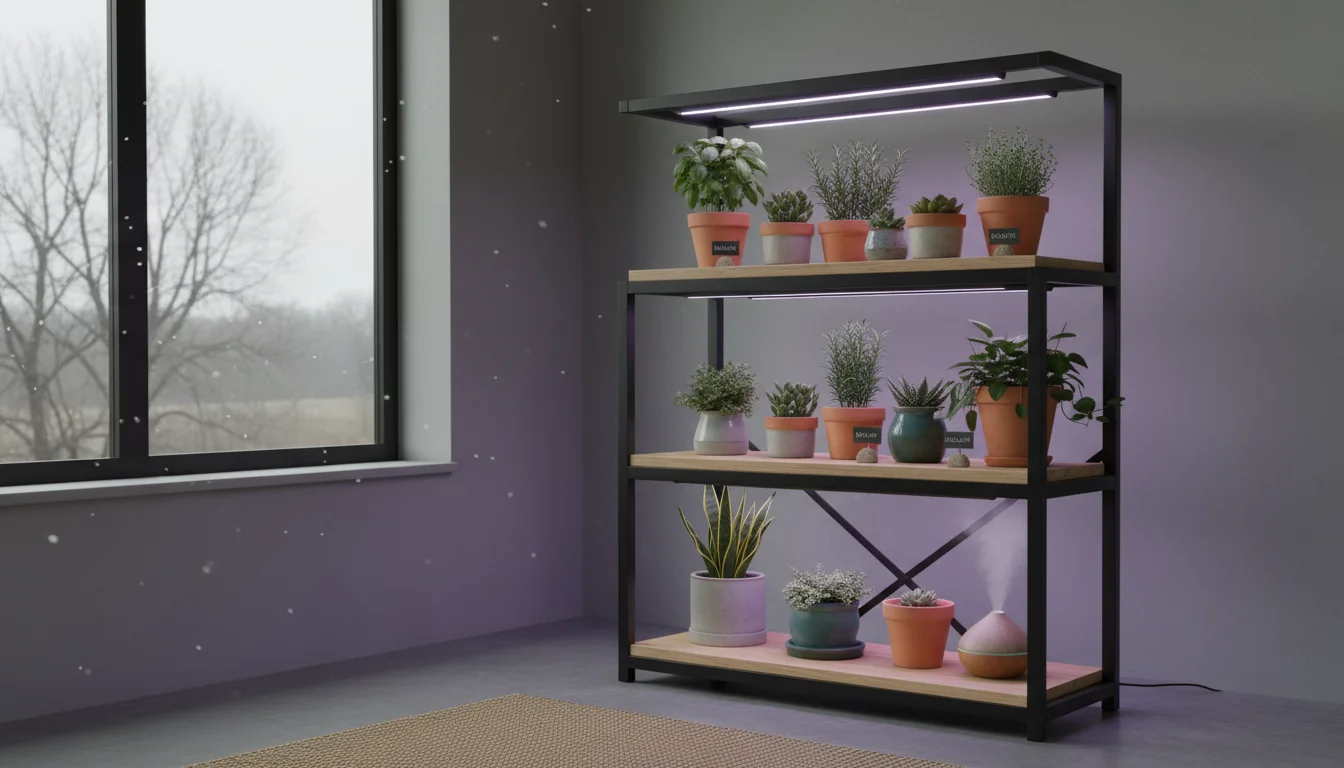
- Introduce Supplemental Lighting: For serious winter indoor gardening, grow lights are a game-changer. Full-spectrum LED grow lights are energy-efficient and provide the specific wavelengths plants need. Position them 6-12 inches above your plants, providing 12-16 hours of light daily. Even a simple LED shop light can make a difference for leafy greens and many houseplants. This is particularly important if you plan to grow food indoors.
- Clean Windows: Dust and grime on windows can block a surprising amount of light. Give your windows a good cleaning to maximize natural light penetration.
Boosting Indoor Humidity
Central heating systems dry out indoor air, often dropping humidity levels to a plant-stressing 10-20%. Many tropical houseplants, accustomed to lush, humid environments, suffer in these conditions. Signs of low humidity include brown, crispy leaf tips, curling leaves, and increased susceptibility to pests like spider mites.
- Humidifiers: The most effective way to increase ambient humidity is with a dedicated room humidifier. A cool-mist humidifier can significantly improve conditions for your plants and even benefit your own respiratory health.
- Pebble Trays: Fill a shallow tray with pebbles and water, ensuring the plant pot sits above the water level. As the water evaporates, it creates a localized pocket of humidity around the plant. This is a low-tech, effective solution.
- Group Plants: Plants naturally release moisture through transpiration. Grouping several plants together creates a small, humid microclimate that benefits all of them.
- Mist Regularly: While misting offers a temporary humidity boost, it can be beneficial. Mist fine-leafed plants or those prone to spider mites. Avoid misting fuzzy-leafed plants, as water can get trapped and cause fungal issues. Use filtered or distilled water to prevent mineral deposits on leaves.
Managing Temperature Fluctuations
Indoor temperatures generally remain stable, but cold drafts from windows or doors, or proximity to heat vents, can stress plants. Most houseplants prefer consistent temperatures between 65-75°F (18-24°C).
- Avoid Drafts: Keep plants away from exterior doors, leaky windows, and active heating vents. Sudden temperature drops or blasts of hot, dry air cause leaf drop and general stress.
- Consistent Temperatures: Aim for a relatively stable temperature. While some temperature dip at night is natural, extreme fluctuations are detrimental.
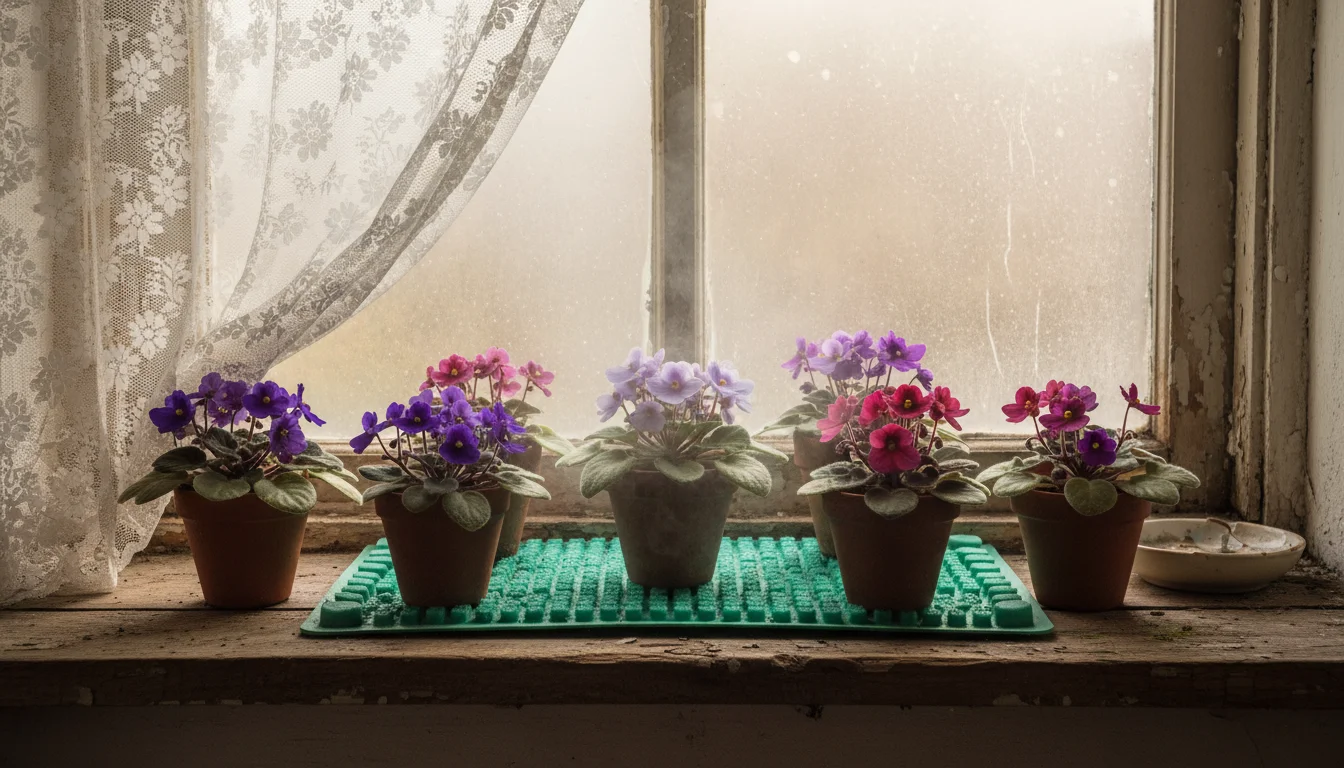
- Check Soil Temperature: For plants like African Violets or those you are starting from seed, placing them on a seedling heat mat can maintain optimal soil temperatures, encouraging root growth and germination.
By consciously managing light, humidity, and temperature, you transform your home into an ideal environment for your plants. This proactive approach to winter indoor gardening not only preserves the health of your existing plants but also creates the perfect conditions for new winter plant projects, from propagation to growing your own fresh produce.
Frequently Asked Questions
What are the easiest plants to grow indoors during winter?
Many common houseplants thrive indoors during winter with minimal fuss. Pothos, Snake Plants (Sansevieria), ZZ Plants, and Spider Plants are incredibly resilient and tolerate lower light and humidity. For edibles, consider herbs like mint and basil, or quick-growing microgreens and scallions. These plants require less specialized care, making them perfect winter indoor gardening choices for beginners.
How often should I water my indoor plants in winter?
You generally need to water less frequently in winter compared to summer. Plants often enter a period of slower growth, and the reduced light means they use less water. Always check the soil moisture before watering. Stick your finger two inches into the soil; if it feels dry, then water. Never water on a strict schedule. Overwatering is the most common cause of plant death, especially in winter. You can read more about proper watering techniques by visiting UF/IFAS Gardening Solutions.
Can I really grow vegetables indoors in winter without a greenhouse?
Absolutely, you can grow food indoors without a dedicated greenhouse. While a sunny south-facing window helps, investing in full-spectrum LED grow lights significantly boosts your success. Focus on compact, fast-growing edibles such as leafy greens (lettuce, spinach, arugula), herbs, microgreens, and even small varieties of peppers. These thrive in containers and provide fresh harvests throughout the cold months, making it a highly rewarding winter plant project.
My plant leaves are turning yellow in winter. What does this mean?
Yellowing leaves can indicate several issues, often related to winter conditions. The most common cause is overwatering, especially when combined with lower light levels and slower plant growth. Ensure you allow the soil to dry out between waterings. Yellow leaves can also signal nutrient deficiency (which winter fertilization can address), insufficient light, or cold drafts. Inspect your plant for pests, as some can cause yellowing. Systematically check these factors to identify the specific problem and apply a solution.
Is winter a good time to prune my indoor plants?
Yes, winter is an excellent time for light pruning and shaping. For many plants, their growth slows down, so a trim causes less stress. You can remove any dead, damaged, or leggy growth to tidy up the plant and encourage a bushier form in spring. For more extensive pruning, wait until late winter or early spring just before the plant’s active growing season begins, allowing it to recover quickly. This maintenance is an ideal winter plant project for improving overall plant health and appearance.

Leave a Reply