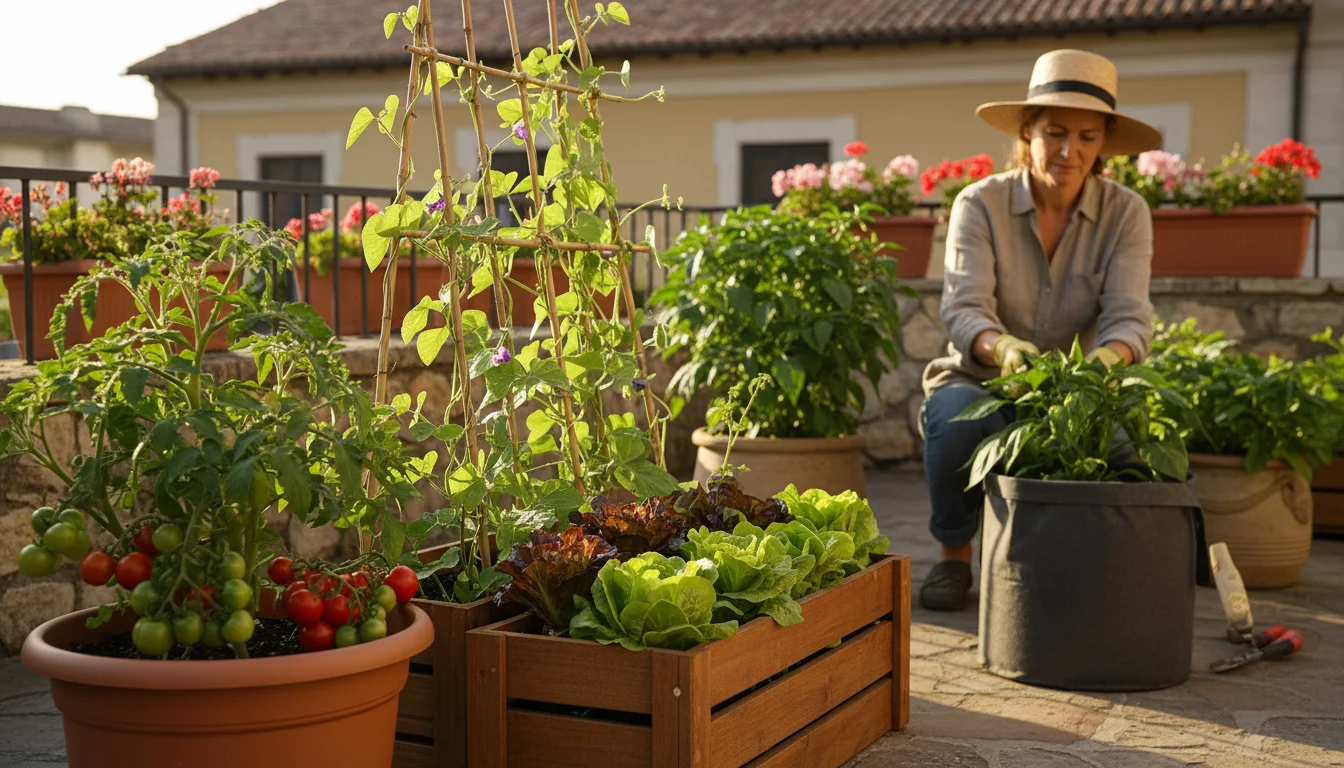
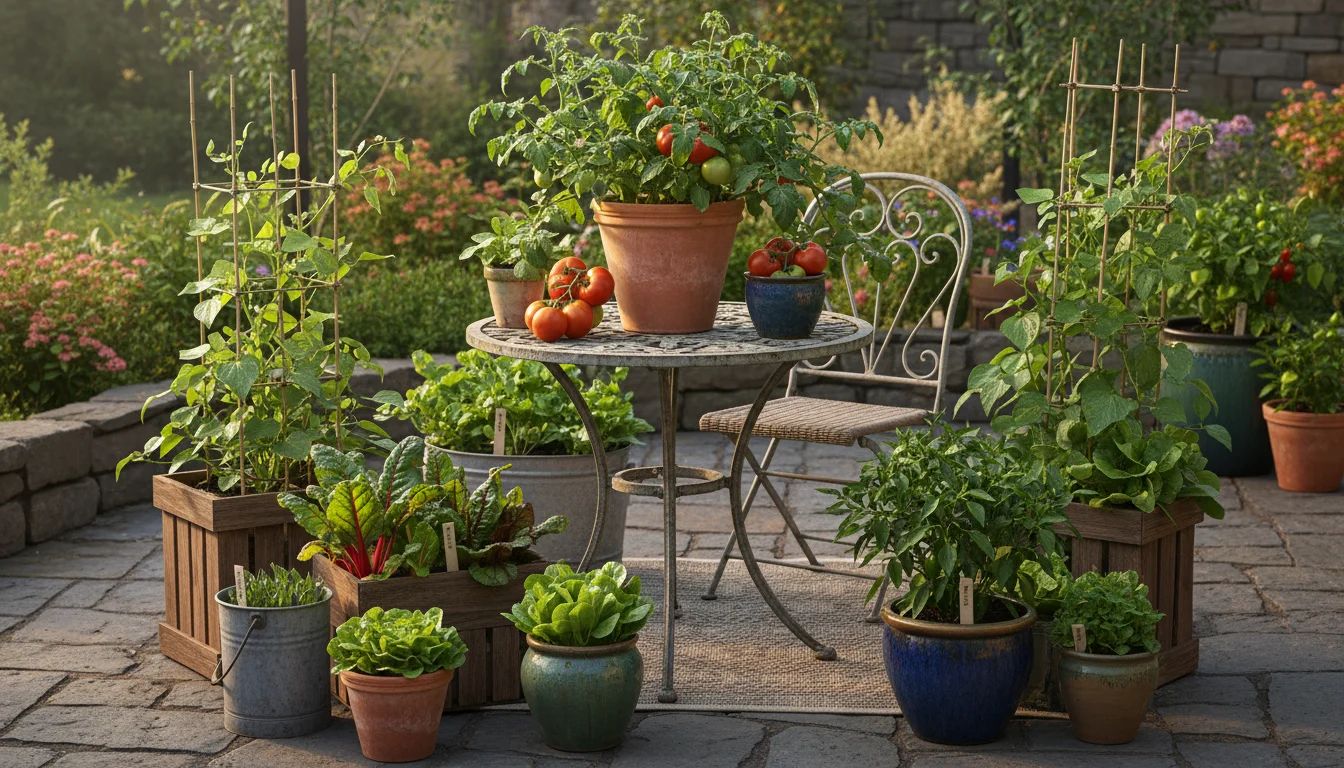
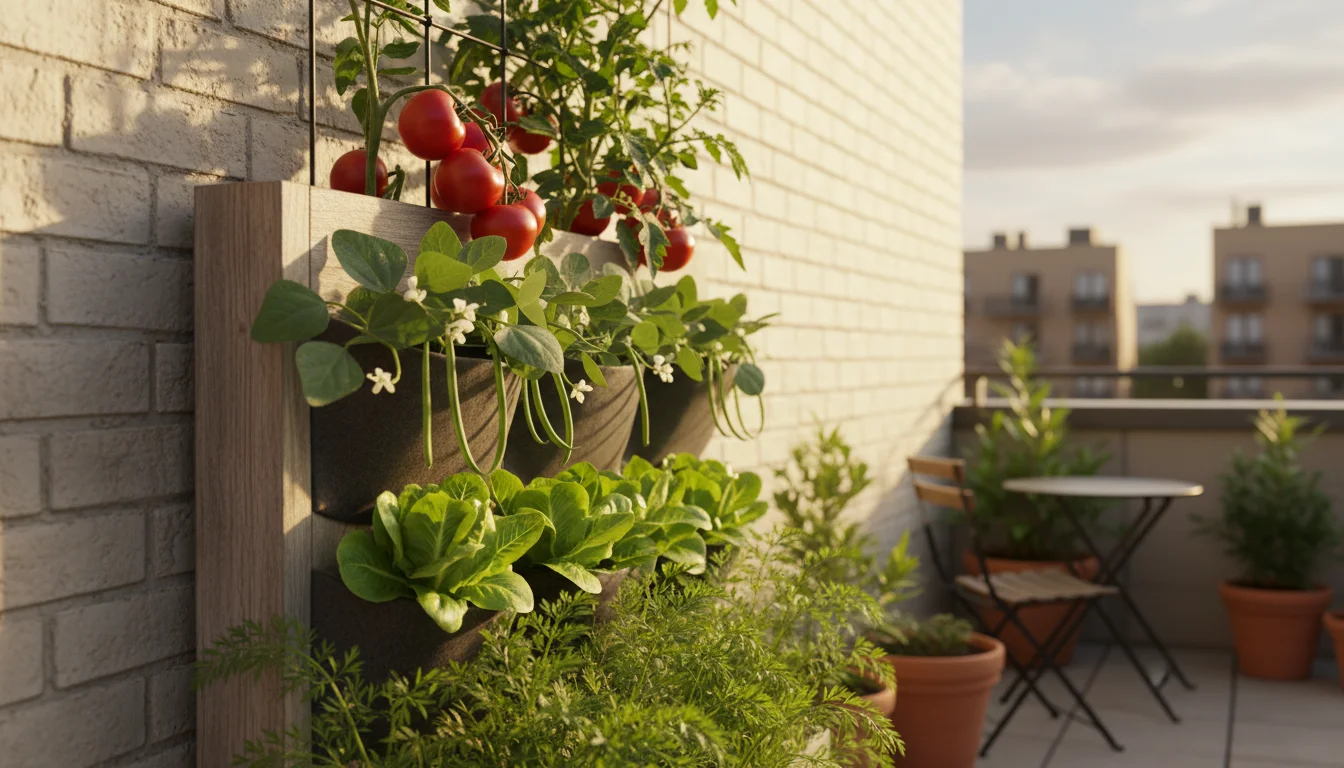
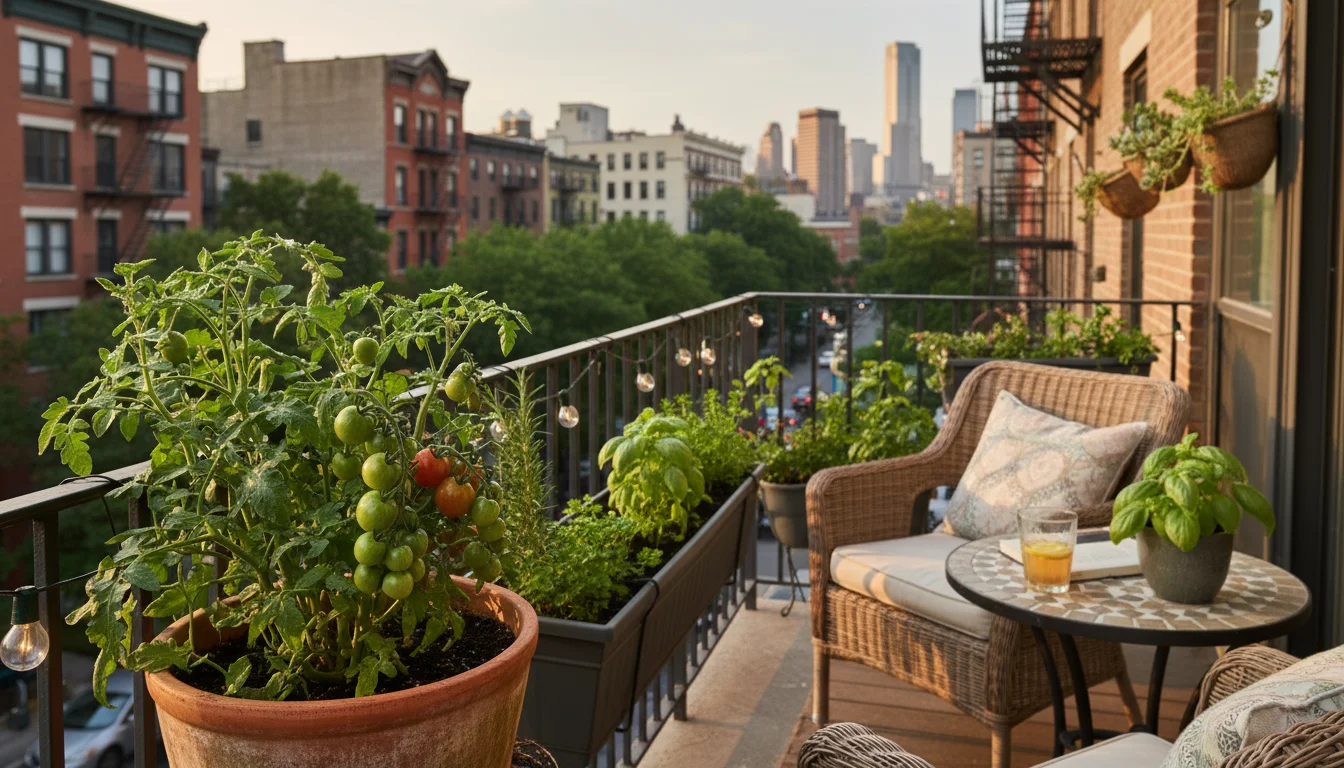
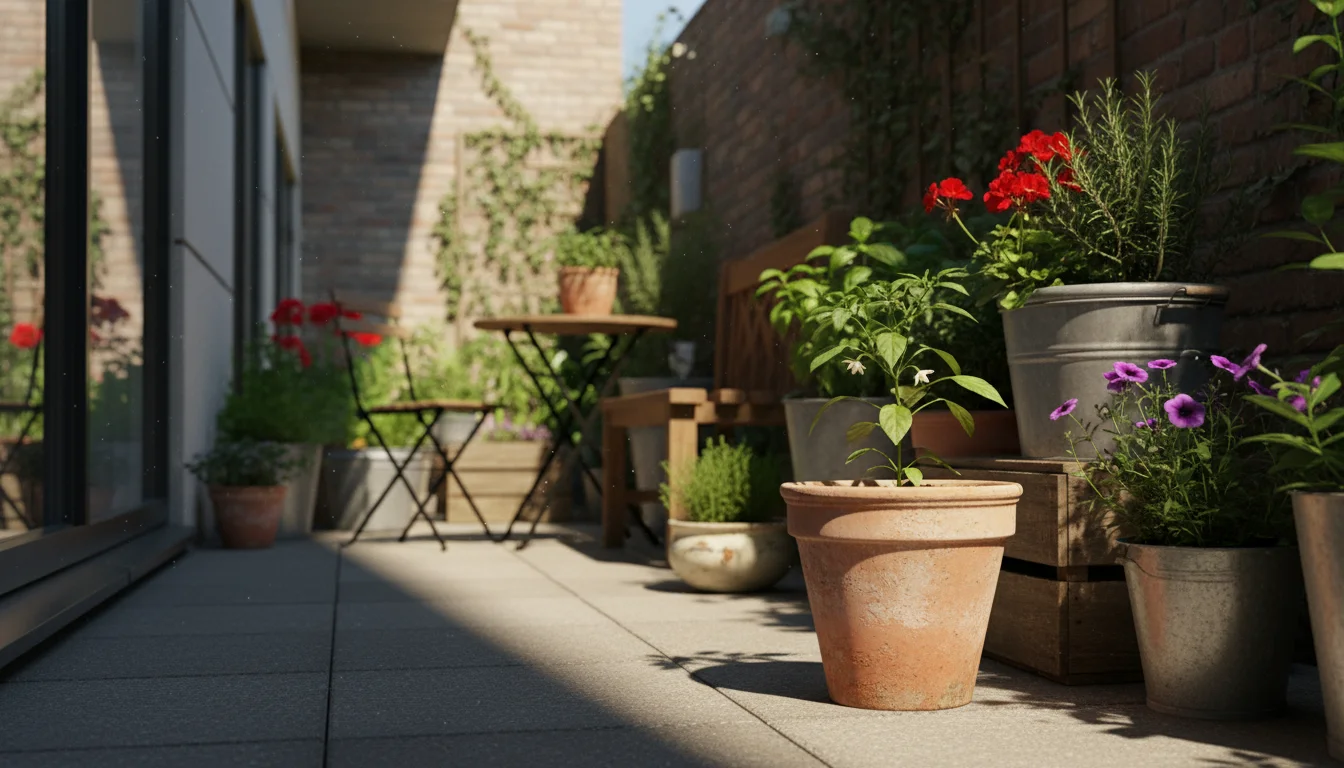
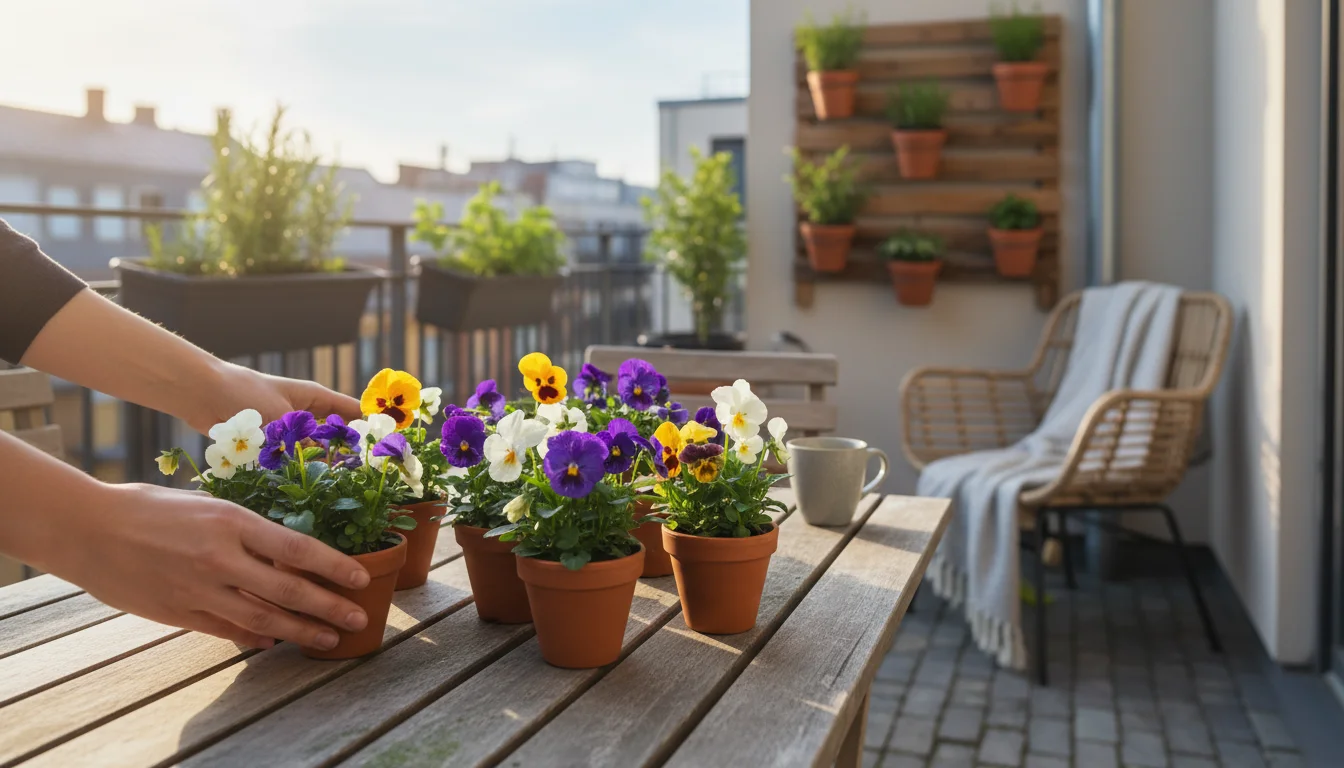
You love growing your own food, even in a small space, and container gardening provides an incredible opportunity for fresh, homegrown produce. Yet, you might wonder how to keep your container plants thriving season after season without your soil getting tired or pests taking over. The secret lies in a practice often associated with large farms but equally powerful for your patio garden: seasonal rotation for container vegetables.
Crop rotation in containers means you change the type of vegetable you grow in a specific pot each season or year. This simple technique revitalizes your soil, outsmarts common pests and diseases, and ensures your plants receive the nutrients they need without complicated routines. This guide delivers practical steps and actionable insights to implement effective crop rotation in your containers, making your seasonal vegetable gardening efforts more productive and sustainable. You will discover how to maintain robust plant health and enjoy bountiful harvests, all while nurturing a healthier garden ecosystem.

Understanding Container Crop Rotation
You might associate crop rotation with vast fields and complicated agricultural schedules. In reality, it simplifies container gardening. Seasonal rotation for container vegetables involves systematically moving different types of plants to different pots each growing season. This prevents the same plant family from depleting specific nutrients or encouraging particular pests in the same container repeatedly. Think of it as giving your soil and your plants a fresh start in a new location.
Knowing the best vegetables to grow in pots helps you choose high-yield varieties that justify the effort of a dedicated rotation schedule.
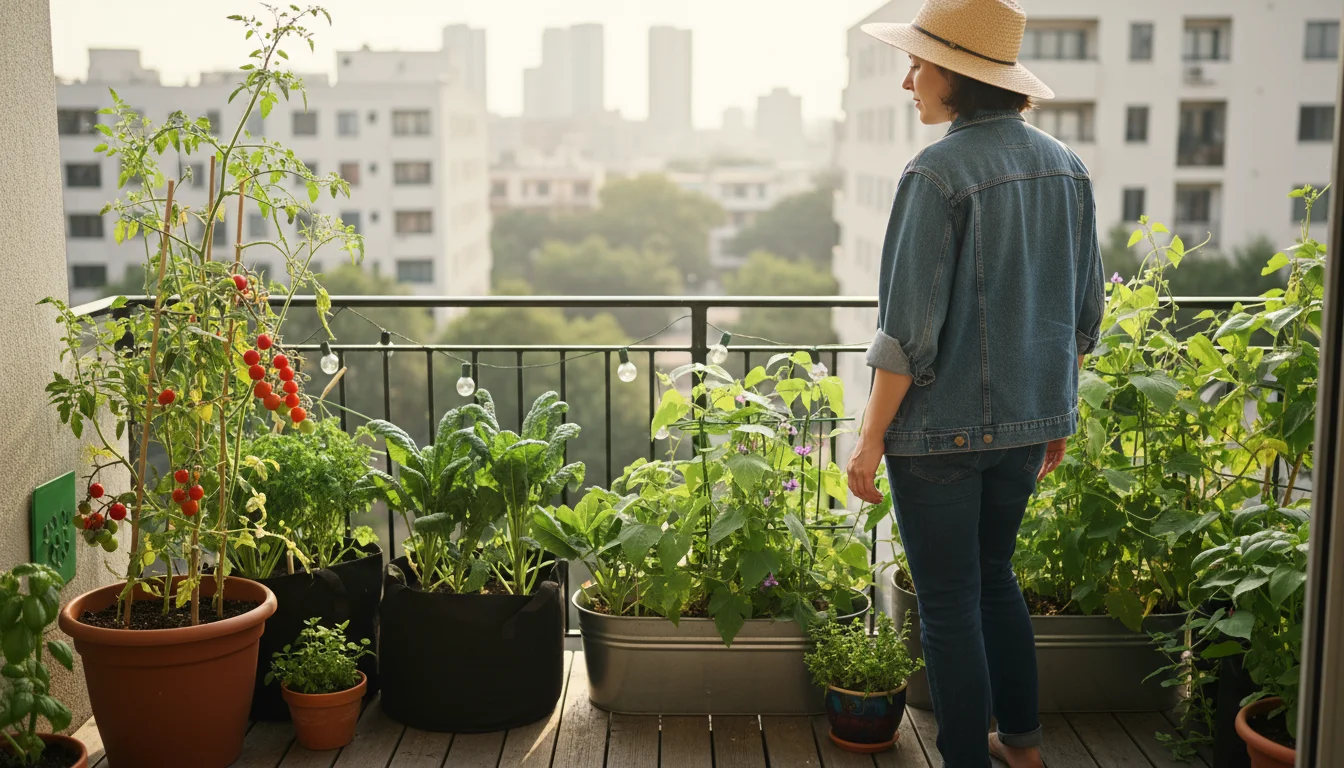
This practice also complements seasonal plant swaps that keep your balcony aesthetically pleasing even as you rotate your edible crops.
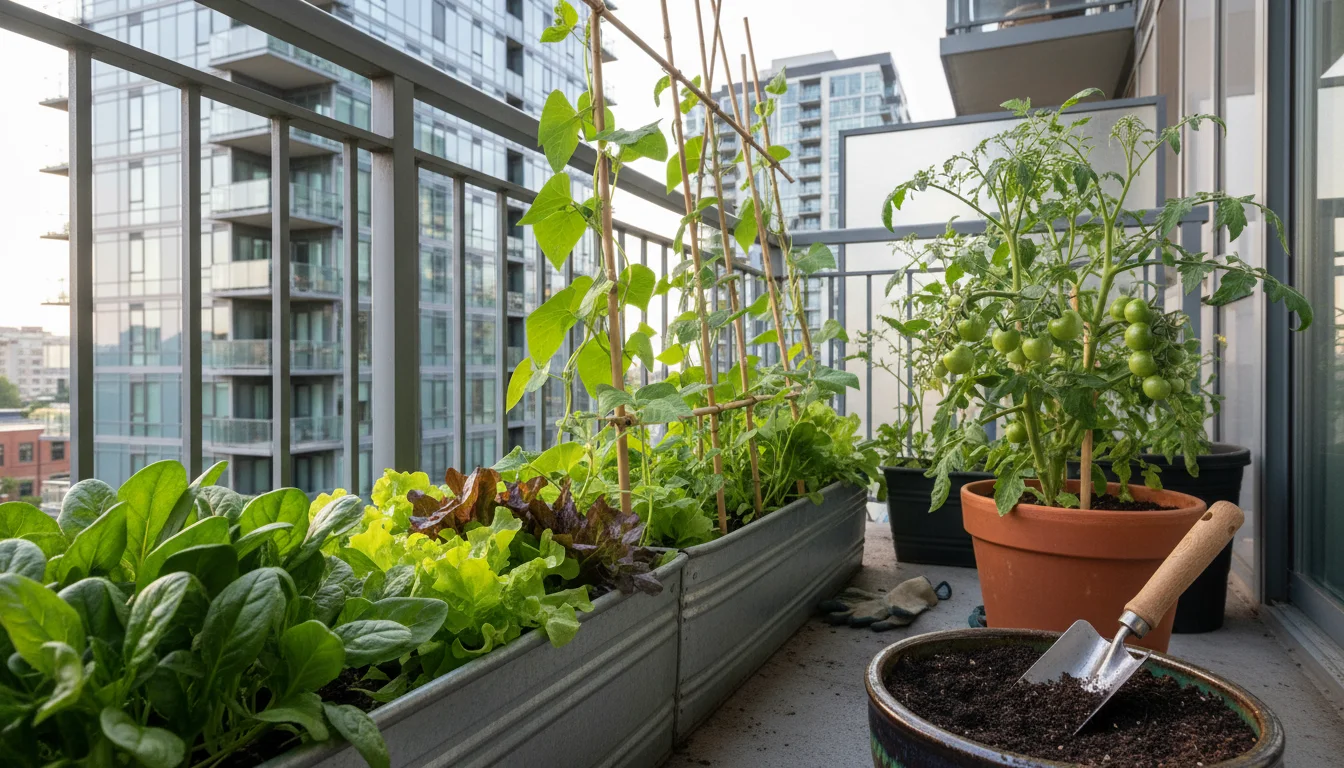
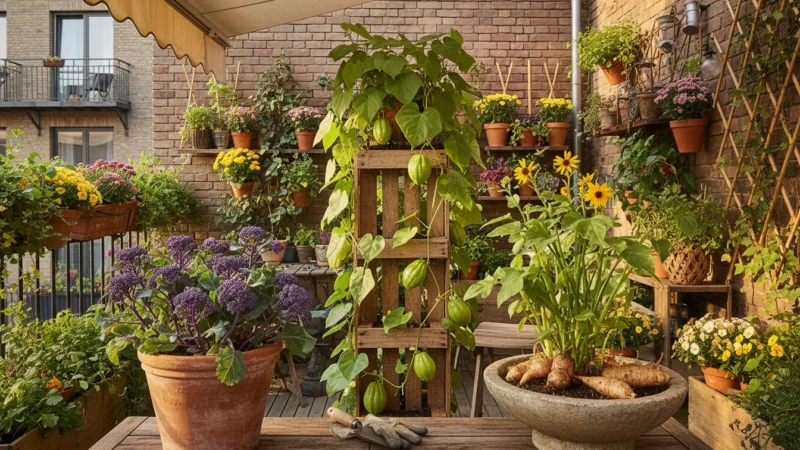
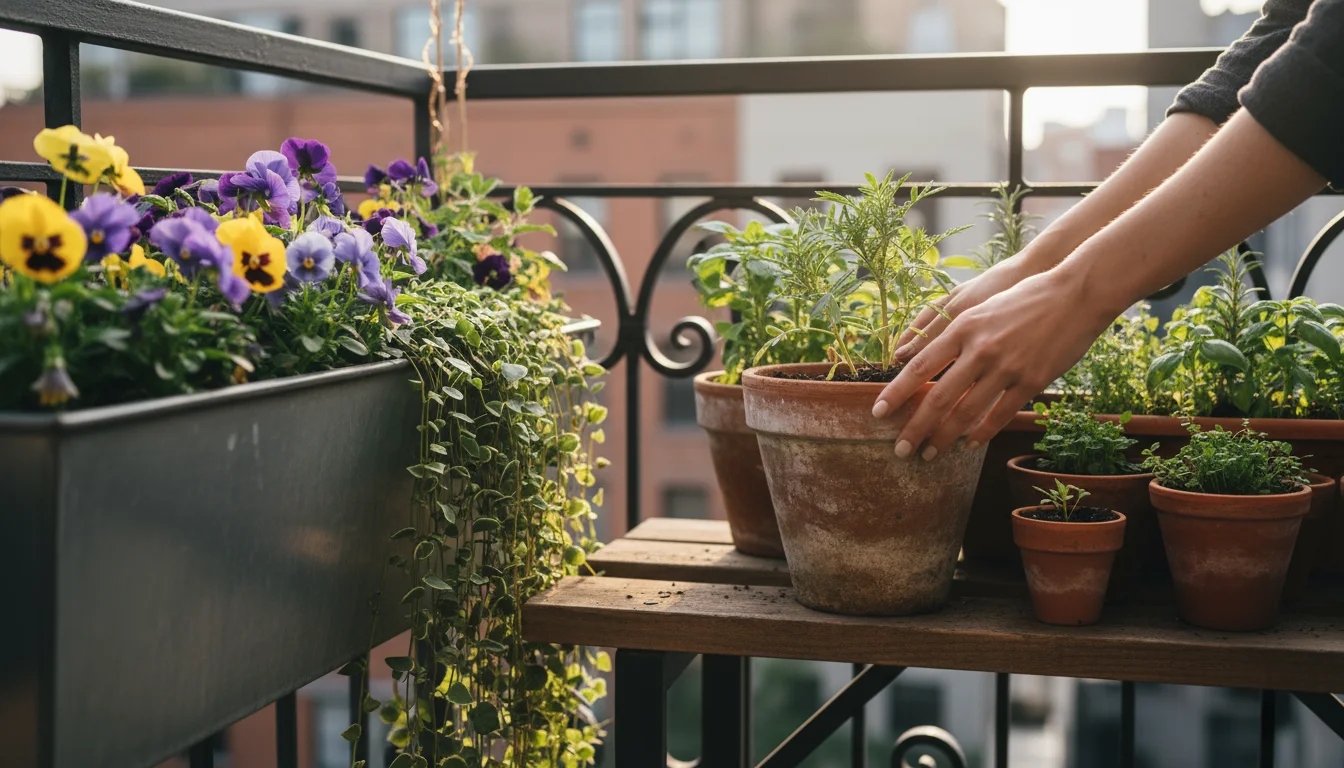
For small-space gardeners like you, this practice is particularly impactful. While you cannot move your garden beds around, you can easily move your containers. This simple act reaps significant benefits for your entire gardening system. You create a dynamic environment for your vegetables, improving their health and your harvest yield.
The core principle is to avoid planting the same crop or crops from the same family in the same soil pot season after season. Instead, you introduce a new family of plants, allowing the previous pot’s soil to recover or benefit from a different nutrient profile. This deliberate shift helps you maintain a balanced soil ecosystem within your limited container space.
Why Crop Rotation Matters for Your Containers
Crop rotation offers several compelling advantages for your container garden, making your seasonal vegetable gardening more resilient and productive. These benefits directly impact your plants’ health and your overall gardening success.
Additionally, learning how to stop pests from overwintering in your soil is a critical part of maintaining a healthy rotation cycle.
Pest and Disease Management
Many garden pests and diseases are host-specific, meaning they target particular types of plants. If you grow tomatoes in the same pot every year, the pathogens or insect eggs that affect tomatoes can build up in that soil. By rotating your crops, you break the life cycle of these persistent problems. For example, if you had a problem with early blight on your tomatoes one year, planting beans or lettuce in that same pot the next season starves the blight fungi, significantly reducing its presence when you eventually return tomatoes to that spot. This proactive approach minimizes the need for chemical treatments, aligning with your desire for low-maintenance and eco-friendly gardening.
Nutrient Management
Different plants have different nutritional needs. Leafy greens like spinach and lettuce are heavy nitrogen feeders, promoting lush foliage. Fruiting vegetables such as tomatoes and peppers require more phosphorus and potassium for flower and fruit development. Root crops like carrots use a balanced nutrient profile. When you plant the same crop in the same container repeatedly, that plant continuously extracts the same nutrients, quickly depleting the soil. Crop rotation allows you to balance nutrient usage. For instance, following a heavy feeder with a lighter feeder or a nitrogen-fixing plant (like beans) helps replenish specific soil components naturally. This strategy reduces your reliance on external fertilizers and promotes overall soil vitality. A study published by the University of Minnesota Extension highlights how crop rotation can improve soil structure and nutrient cycling in various gardening contexts, including raised beds which share similarities with large containers in terms of soil management.
Soil Structure and Health
Constant growth of one type of plant can affect soil structure. Some plants develop shallow roots, while others have deeper, more extensive systems. Alternating crops helps maintain a diverse root network throughout the pot, which contributes to better soil aeration and drainage. This varied root activity prevents compaction and encourages a healthier microbial community. A robust soil microbiome is crucial for nutrient availability and plant immunity, acting as your plants’ first line of defense against stress.
Key Plant Families for Effective Rotation
To effectively rotate your container vegetables, you need to understand plant families. Grouping plants by family helps you avoid planting related crops in the same spot, as they often share similar nutrient requirements, pests, and diseases. Here are the most common vegetable families and their characteristics, which will be essential for your seasonal vegetable gardening plan:
You should also plan for the best crops for fall harvest to ensure your containers remain productive as the temperatures drop.
-
Solanaceae (Nightshade Family):
Includes tomatoes, potatoes, peppers, and eggplants. These are often heavy feeders, especially needing phosphorus and potassium for fruit production. They are susceptible to similar fungal diseases like blight and insect pests such as tomato hornworms and potato beetles. You should avoid planting any of these crops in the same pot for at least two to three seasons.
-
Brassicaceae (Cabbage Family or Cole Crops):
Includes broccoli, cabbage, kale, collards, radishes, turnips, and mustard greens. These are generally heavy nitrogen feeders and can suffer from clubroot disease and pests like cabbage worms and flea beetles. Rotate these crops carefully to prevent pathogen buildup.
-
Cucurbitaceae (Gourd Family):
Includes cucumbers, squash (summer and winter), melons, and pumpkins. These vining plants require consistent moisture and nutrients and are prone to powdery mildew, squash bugs, and cucumber beetles. Their large leaves can create humid microclimates, so proper spacing and rotation are key.
-
Fabaceae (Legume Family):
Includes beans (bush, pole, snap) and peas. These plants are unique because they “fix” nitrogen from the air into the soil through a symbiotic relationship with soil bacteria. This makes them excellent choices to follow heavy feeders, as they naturally enrich the soil with nitrogen. They generally require less external fertilization. Pests like aphids and bean beetles can be an issue.
-
Apiaceae (Carrot Family):
Includes carrots, celery, parsley, and cilantro. These root and leaf crops generally prefer well-drained soil and a consistent moisture level. They are often less demanding nutritionally than fruiting plants but can attract pests like carrot rust flies. They typically make good rotational crops, as their nutrient demands differ significantly from the nightshades or brassicas.
-
Chenopodiaceae (Beet Family):
Includes beets, chard, and spinach. These crops are often moderate feeders, requiring good soil fertility but not as intensely as nightshades or brassicas. They are generally resistant to many common pests but can suffer from leaf miners. They adapt well to various spots in a rotation schedule.
-
Poaceae (Grass Family):
Includes corn. While less common in typical small container gardening, if you grow dwarf corn varieties, recognize its heavy feeding nature, especially for nitrogen. Corn benefits greatly from rotation, often following legumes.
You do not need to memorize every single family member. Focus on the main groups you grow. Knowing these families empowers you to create an intelligent and beneficial seasonal rotation plan for your container garden.
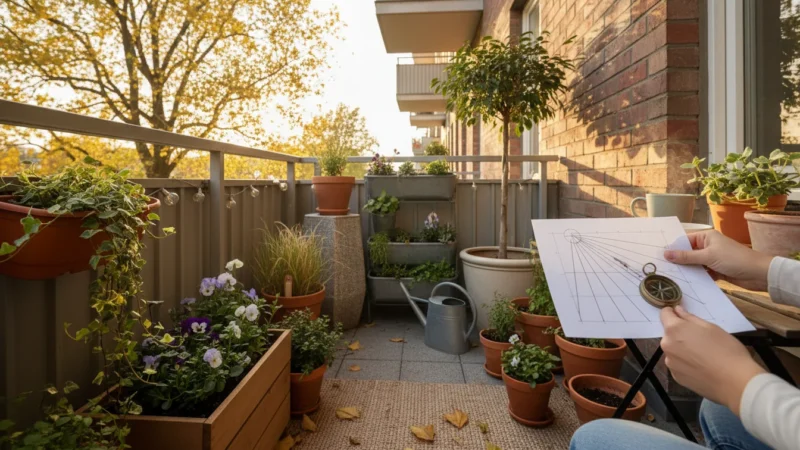
Designing Your Seasonal Rotation Plan
Creating a container crop rotation plan might sound complex, but it can be surprisingly simple for your small space. The goal is to avoid repeating the same plant family in the same pot for at least 2-3 growing seasons. Here’s how you can design an effective plan:
A comprehensive spring planting guide is an essential tool for timing your first rotation of the year correctly.
To get the most out of your limited space, you might also want to explore succession planting alongside your rotation schedule.
Assess Your Container Inventory
First, list all your containers, noting their sizes. You might have large grow bags, medium terracotta pots, and smaller window boxes. Assign a number or label to each unique container location (e.g., “Patio Pot 1,” “Balcony Box A”). This helps you track which plant goes where.
Identify Your Target Vegetables
Next, list the vegetables you plan to grow in the upcoming season. Group them by their plant family using the information above. For example, ‘Tomato,’ ‘Pepper,’ ‘Eggplant’ go under Solanaceae. ‘Bush Beans,’ ‘Pole Beans’ go under Fabaceae.
Create a Simple Rotation Cycle
A common and effective rotation strategy involves a four-group cycle. You can categorize your plants broadly into:
- Fruiting/Root Crops (Heavy Feeders): Tomatoes, peppers, potatoes, squash, cucumbers, corn.
- Leafy Greens (Nitrogen Hogs): Lettuce, spinach, kale, cabbage, broccoli.
- Legumes (Nitrogen Fixers): Beans, peas.
- Others/Root Crops (Moderate Feeders): Carrots, radishes, beets, herbs.
The ideal sequence in a single container would be to follow a heavy feeder with a nitrogen fixer, then perhaps a leafy green, and finally a root crop before returning to a heavy feeder. For example:
- Season 1: Tomato (Fruiting, Solanaceae)
- Season 2: Bush Beans (Legume, Fabaceae)
- Season 3: Lettuce (Leafy Green, Brassicaceae/Chenopodiaceae)
- Season 4: Carrots (Root, Apiaceae)
- Season 5: Return to Tomato
You can adapt this based on your specific plants. The key is to ensure that a plant from the same family does not occupy the same pot within this 3-4 season cycle.
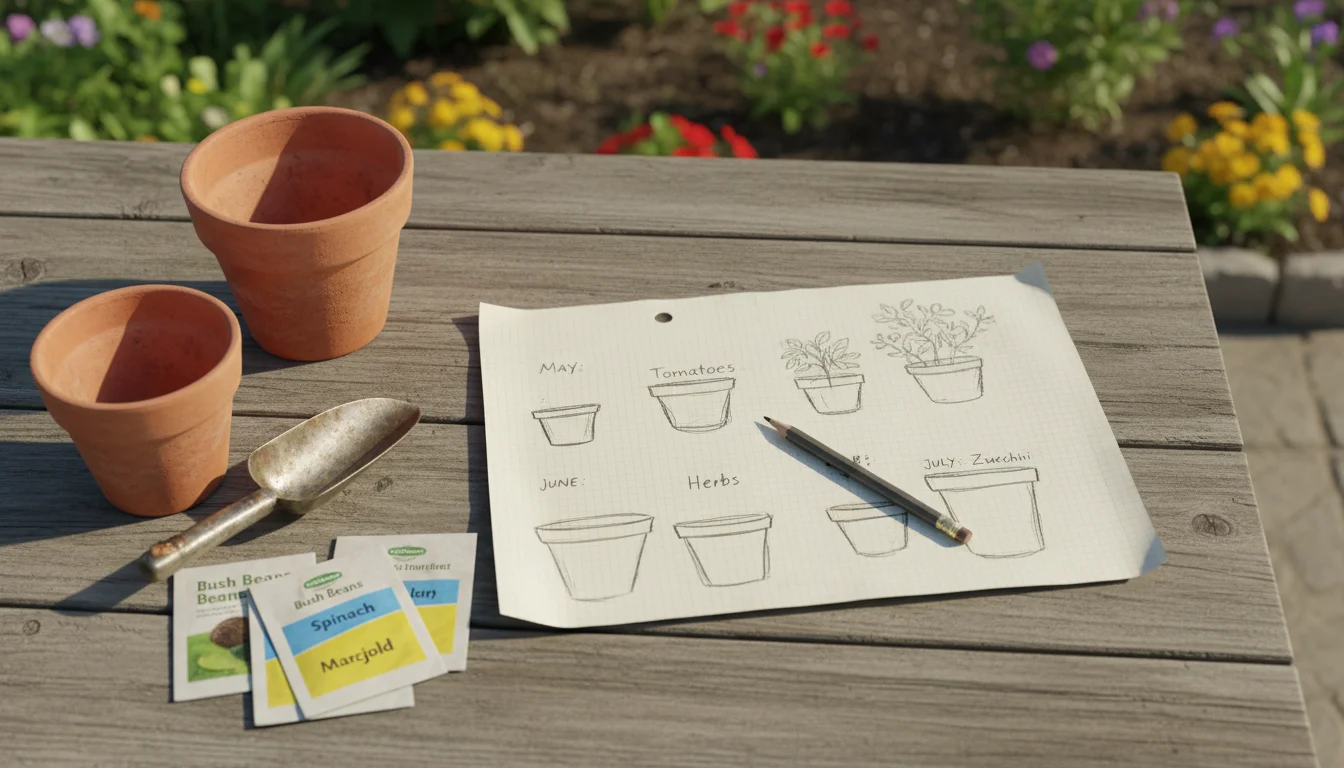
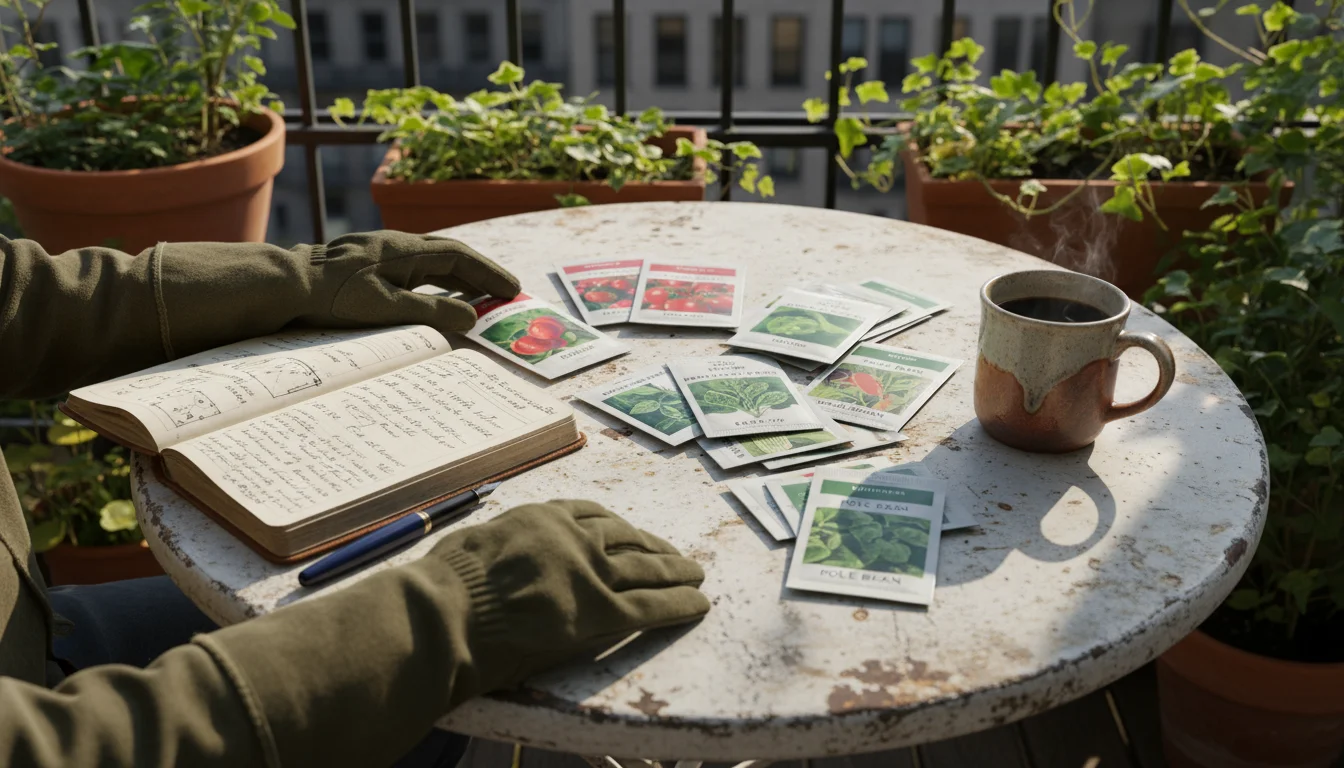
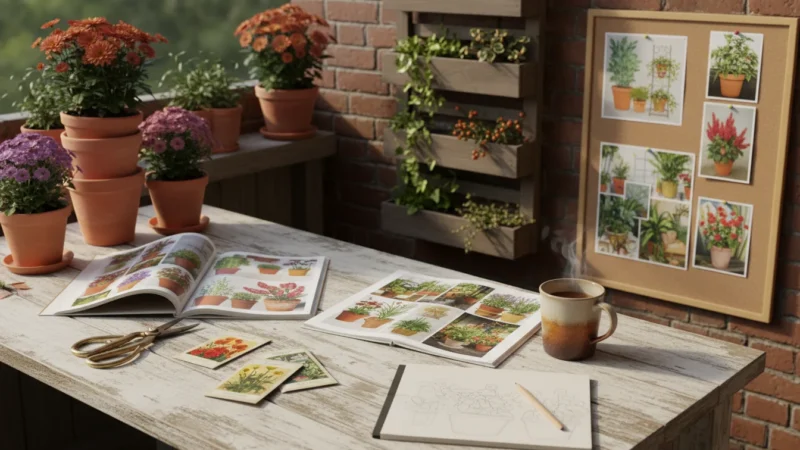
Map Your Containers to Your Plan
Create a simple chart or spreadsheet. List your containers down one side and the seasons across the top. Fill in what you plan to grow in each container for each season. This visual tool helps you keep track and ensures you are rotating correctly. For instance, if you have three containers that you use year-round, you could have a small diagram for each:
Container 1: Spring – Lettuce, Summer – Bush Beans, Fall – Spinach
Container 2: Spring – Carrots, Summer – Tomatoes, Fall – Kale
Container 3: Spring – Peas, Summer – Bell Peppers, Fall – Beets
The next year, you would shift everything, ensuring Container 1 does not get lettuce, Container 2 avoids carrots, and Container 3 avoids peas. This ensures diversity in each pot over time.
Consider Seasonal Needs
Integrate your rotation plan with the specific needs of each season. Cool-season crops like lettuce and spinach thrive in spring and fall, while warm-season crops like tomatoes and peppers need summer heat. Your rotation plan should naturally accommodate these seasonal shifts, allowing you to maximize your harvests throughout the year. For detailed regional planting calendars, consult resources like the Cornell Garden-Based Learning program, which offers excellent guidance for various climates.
Step-by-Step: Implementing Container Rotation
Once you have a plan, implementing seasonal rotation for container vegetables becomes a straightforward process. Follow these steps to ensure a smooth transition and healthy plants:
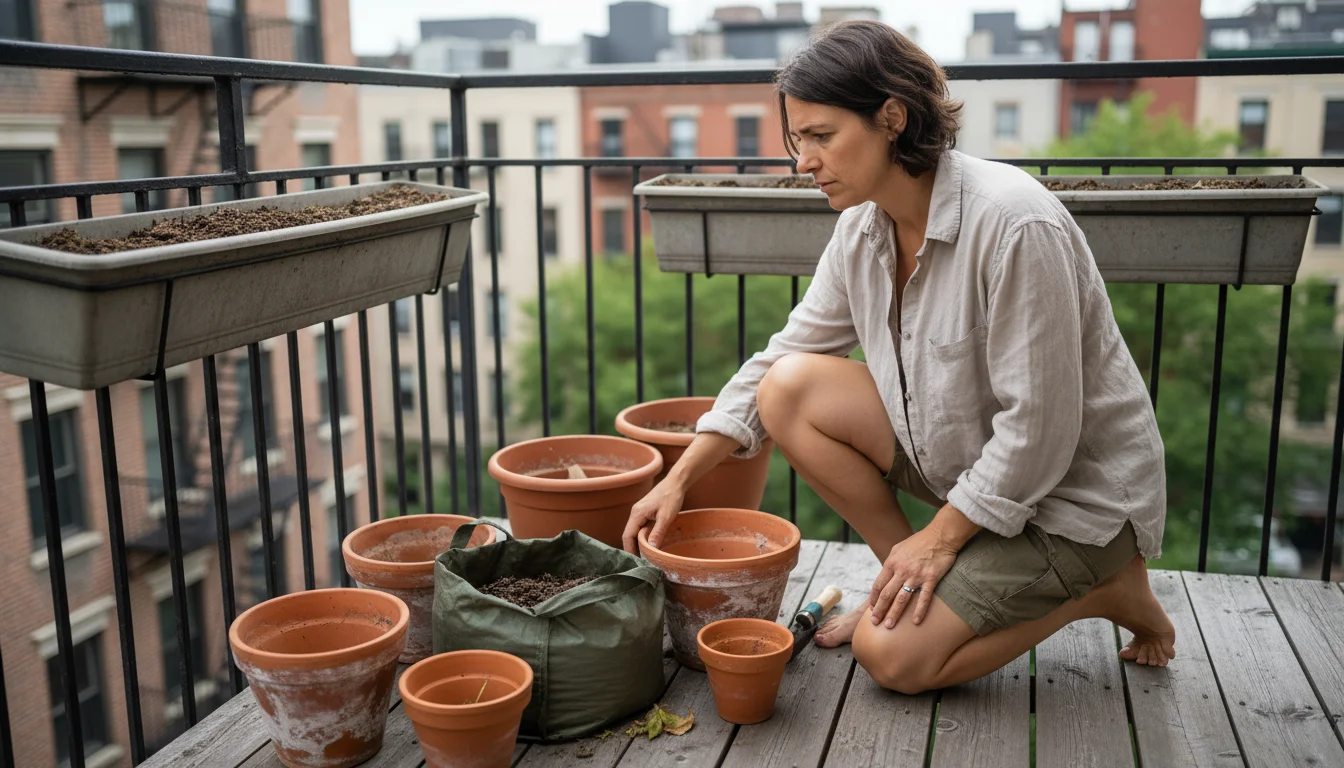
Before you move plants around, it is the perfect time to clean your containers to prevent the transfer of dormant pests between seasons.
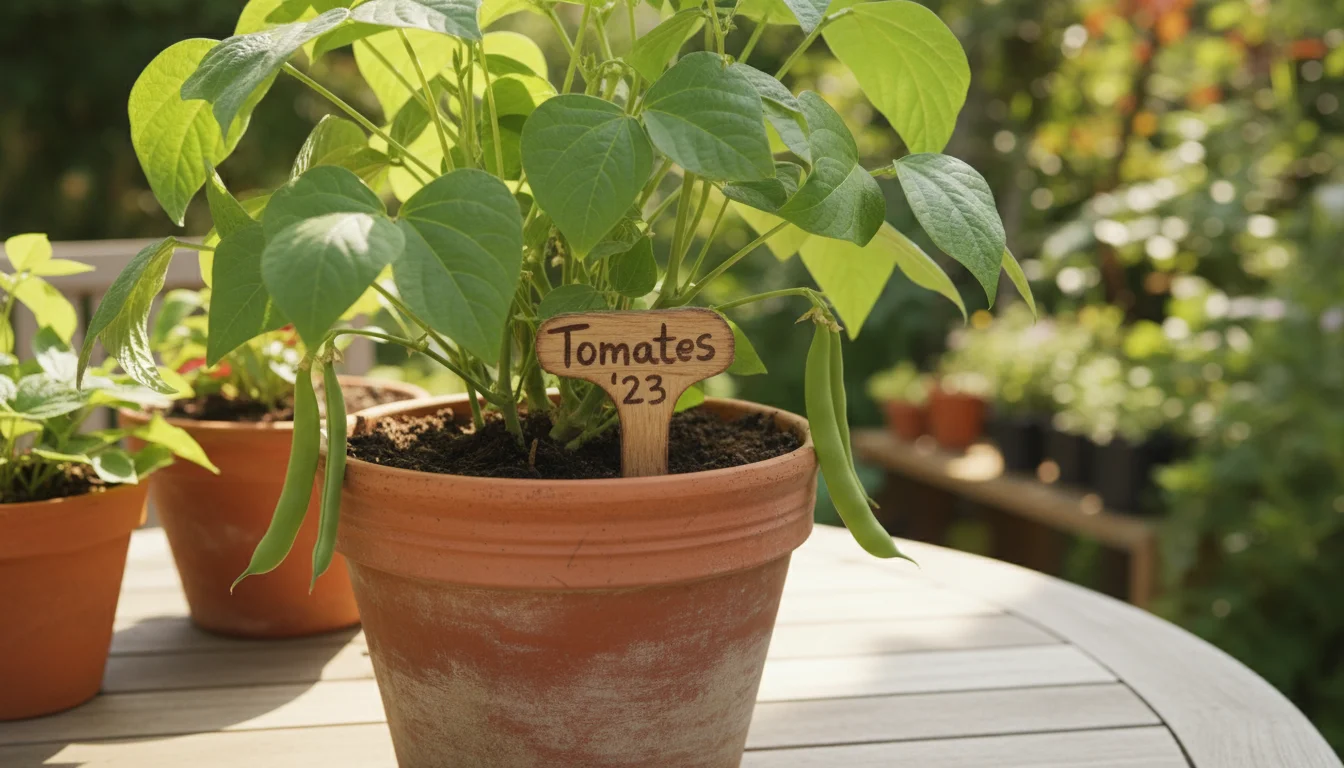
- Record Keeping: Start by noting what you planted in each specific container during the current season. A simple label on the pot or a small journal entry works. Include the plant type and the season (e.g., “Tomato, Summer 2023, Pot A”). This record is invaluable for planning future rotations.
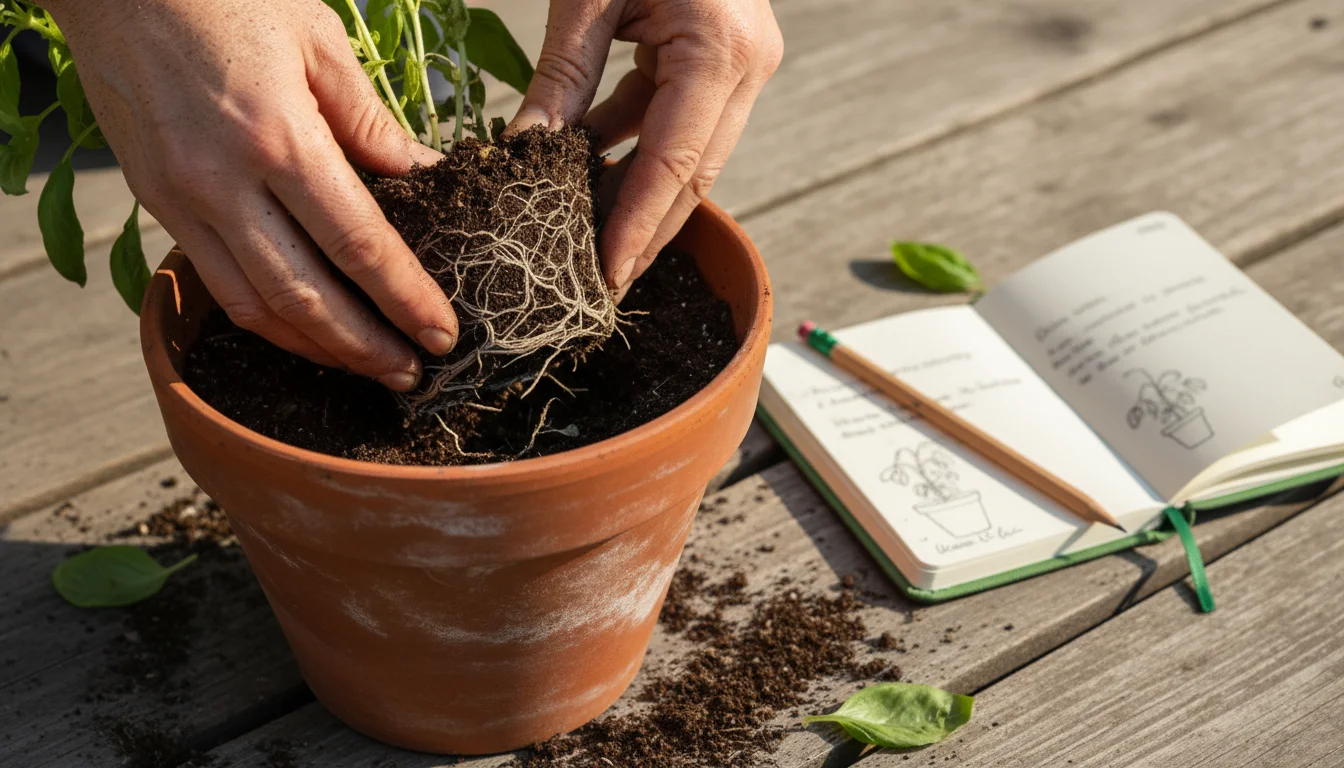
- Harvest and Clear: As each season ends, harvest your crops thoroughly. Remove all plant debris, including roots. Leaving old roots can harbor pests or diseases from the previous crop. Dispose of diseased plant material to prevent spread; do not compost it.
- Evaluate and Refresh Soil: Before planting the next crop, evaluate the soil in each container. Has it compacted? Does it smell fresh and earthy? You will likely need to amend or partially replace the soil, especially after a heavy-feeding crop. This is a critical step for successful seasonal vegetable gardening in containers. You can learn more about this in the “Revitalizing Your Container Soil” section.
- Select the Next Crop: Consult your rotation plan. Choose a plant from a different family than the previous crop for that specific pot. For instance, if you grew tomatoes (Solanaceae) in Pot A, consider planting beans (Fabaceae) or lettuce (Brassicaceae) there next.
- Prepare Your Container: Ensure containers are clean, especially if you suspect disease. A simple wash with soapy water and a rinse can make a big difference. Ensure drainage holes are clear.
- Plant and Monitor: Plant your chosen vegetable according to its specific needs for light, water, and space. Monitor its growth, checking for signs of pests or nutrient deficiencies. Your rotation efforts should lead to more robust plants, but vigilance remains important.
- Iterate Annually: Repeat this process for every growing season. Over time, you will develop a rhythm for your seasonal vegetable gardening, and crop rotation will become a natural and integrated part of your routine. Consistency builds a stronger, more resilient container garden.
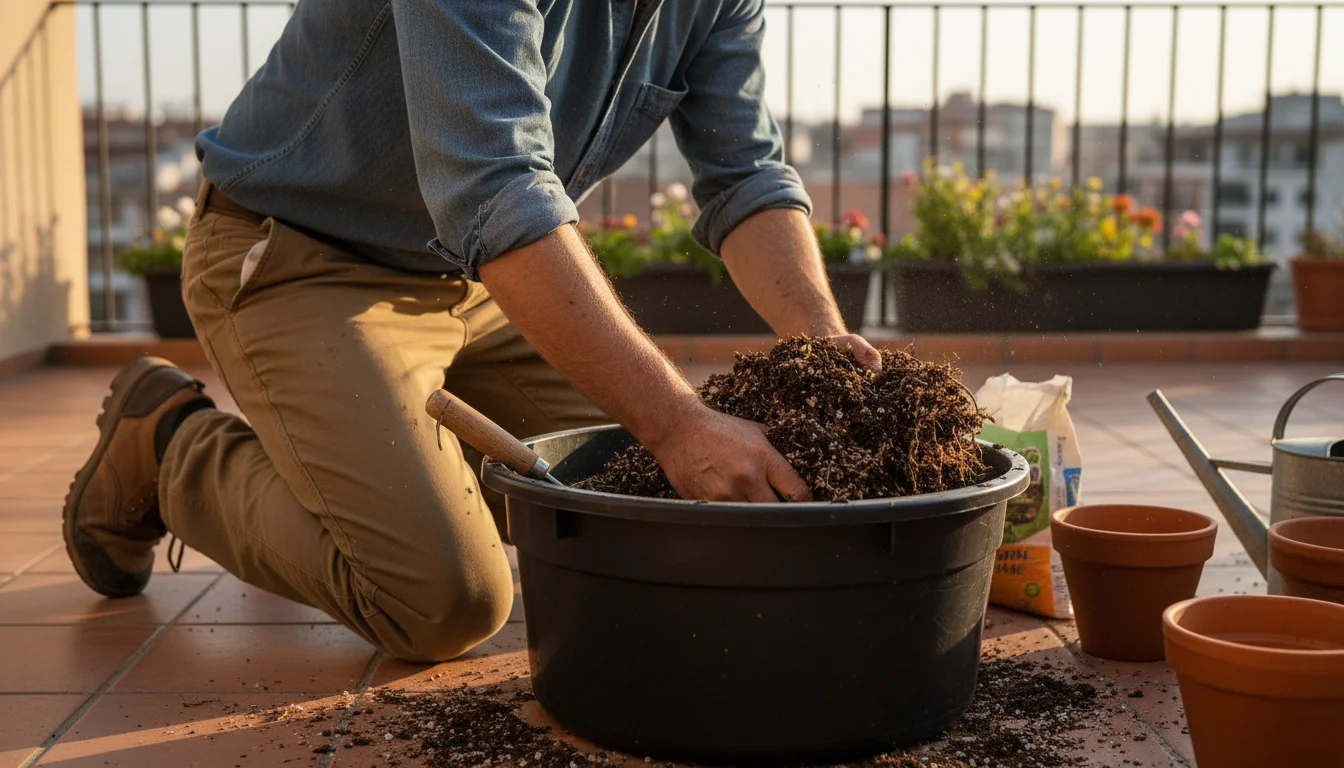
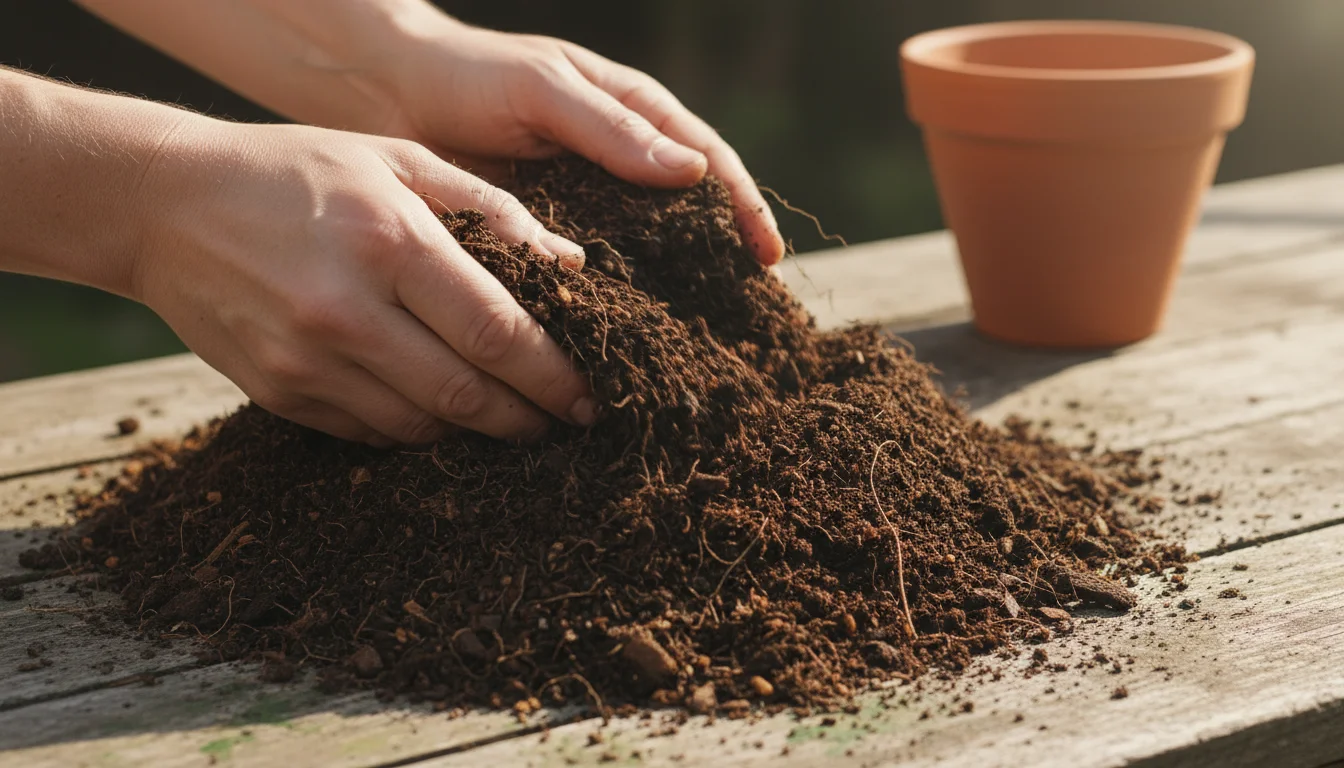
Revitalizing Your Container Soil for Each Season
Your container soil is the lifeline for your vegetables. Unlike garden beds where soil can naturally rejuvenate, container soil depletes more quickly. Refreshing it between rotations is essential for robust seasonal vegetable gardening. This practice ensures your plants receive the nutrients and support they need, maintaining the vitality of your small garden.
For an advanced way to restore your soil, consider cover cropping for containers during the dormant winter months.
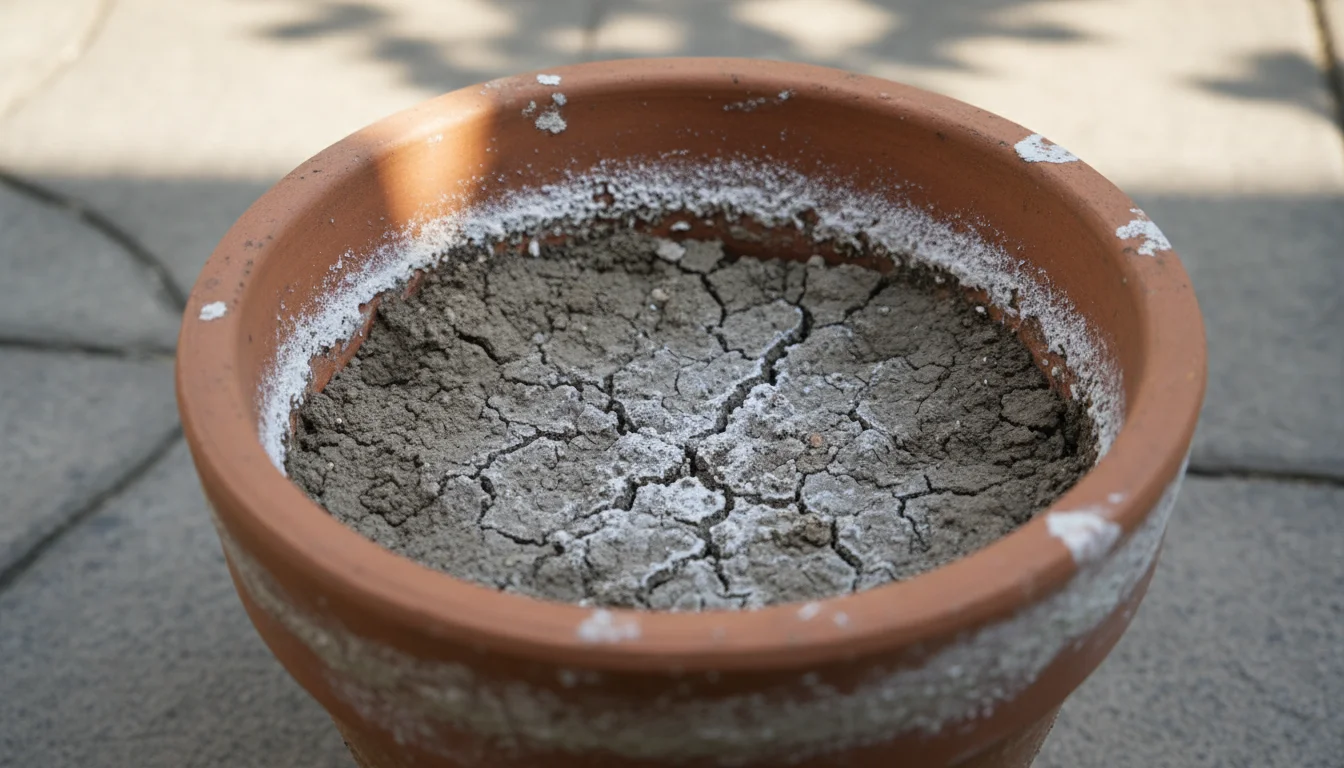
Why Refresh?
Over time, container soil loses its structure, becoming compacted. Nutrients deplete, and salt buildup from fertilizers or hard water can occur. These factors hinder root growth, nutrient uptake, and drainage, all of which directly impact your plants’ health. A proactive approach to soil health is far more effective than trying to rescue struggling plants later.
How to Revitalize Your Soil: A Step-by-Step Guide
When you prepare for the next crop rotation, follow these steps to give your soil a fresh start:
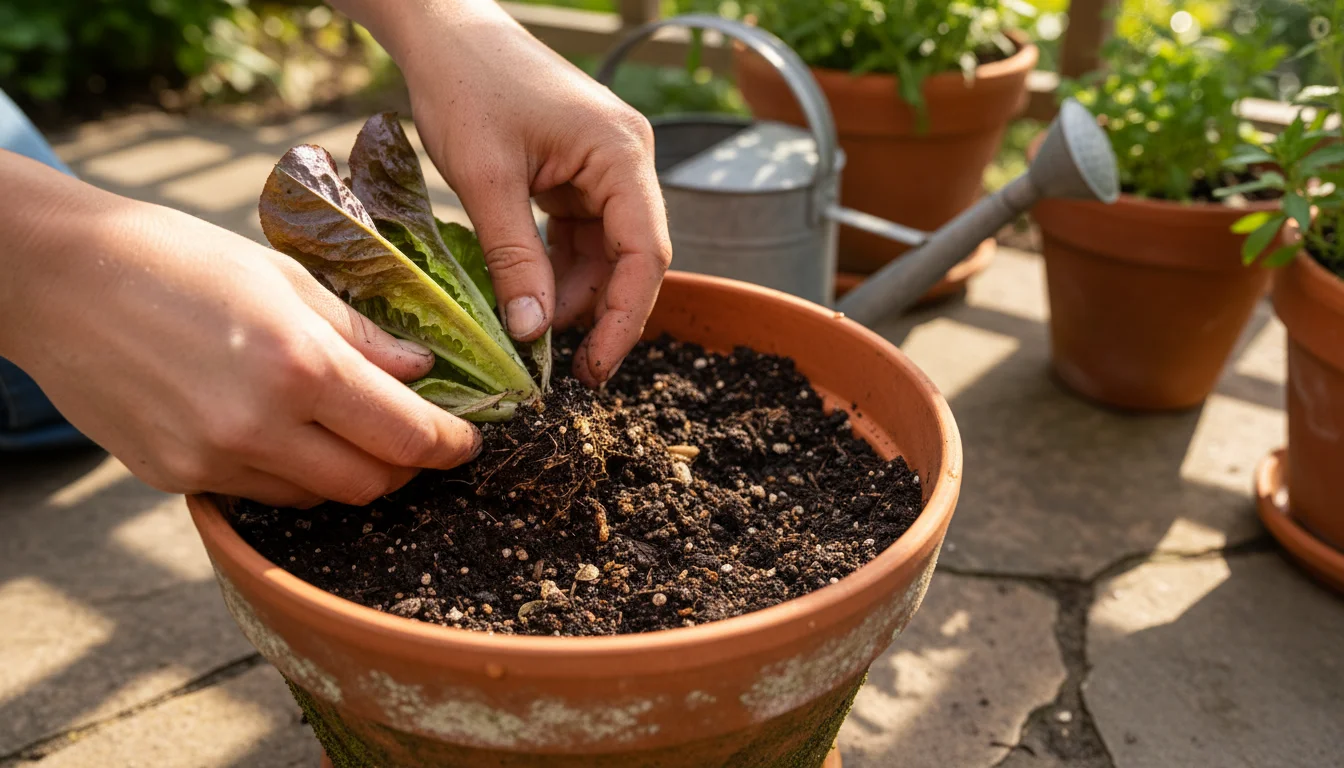
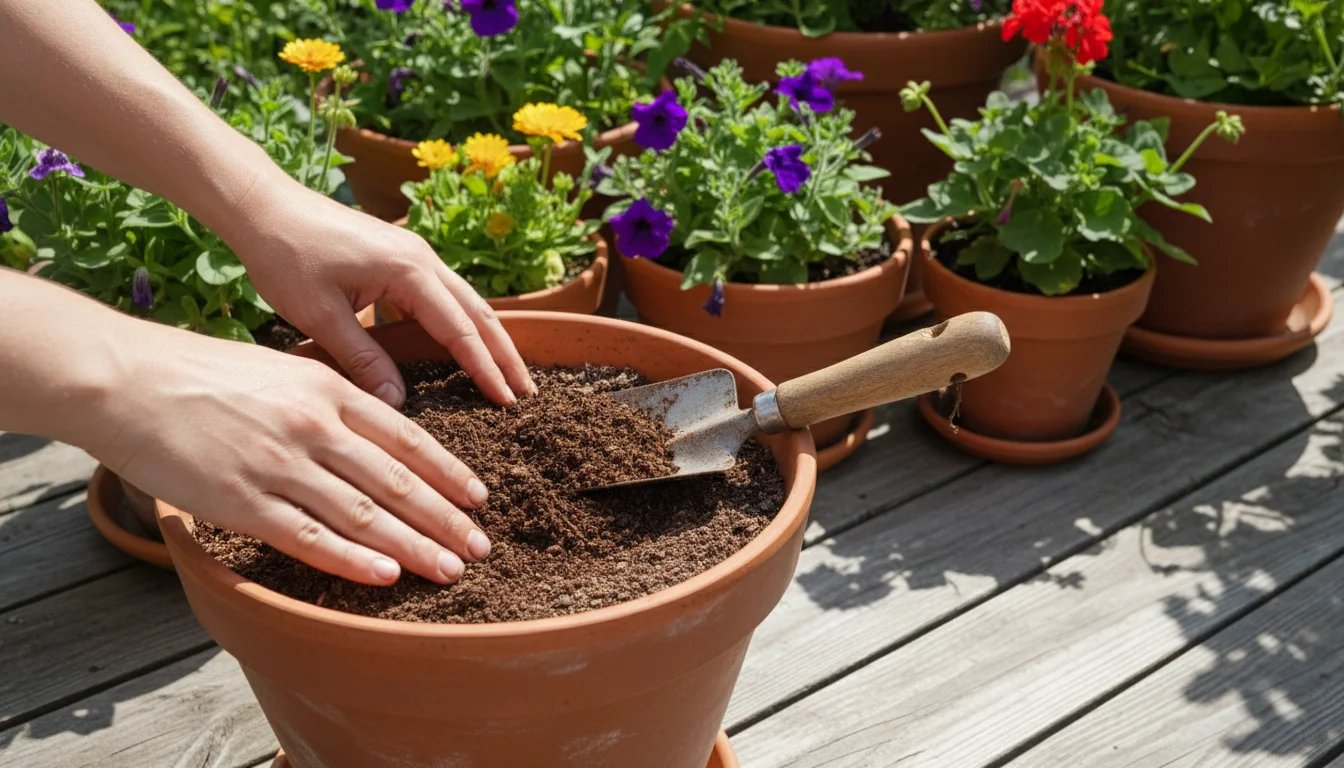
- Remove Old Soil: For small to medium pots, you can remove about one-third to one-half of the old soil mix. For larger containers or if you have a known disease issue, consider replacing all the old soil. Do not reuse soil from pots that had diseased plants; discard it responsibly to prevent spreading pathogens.
- Break Up Clumps: Use a trowel or your hands to break up any large clumps of remaining soil. This helps aerate the mix and improves drainage.
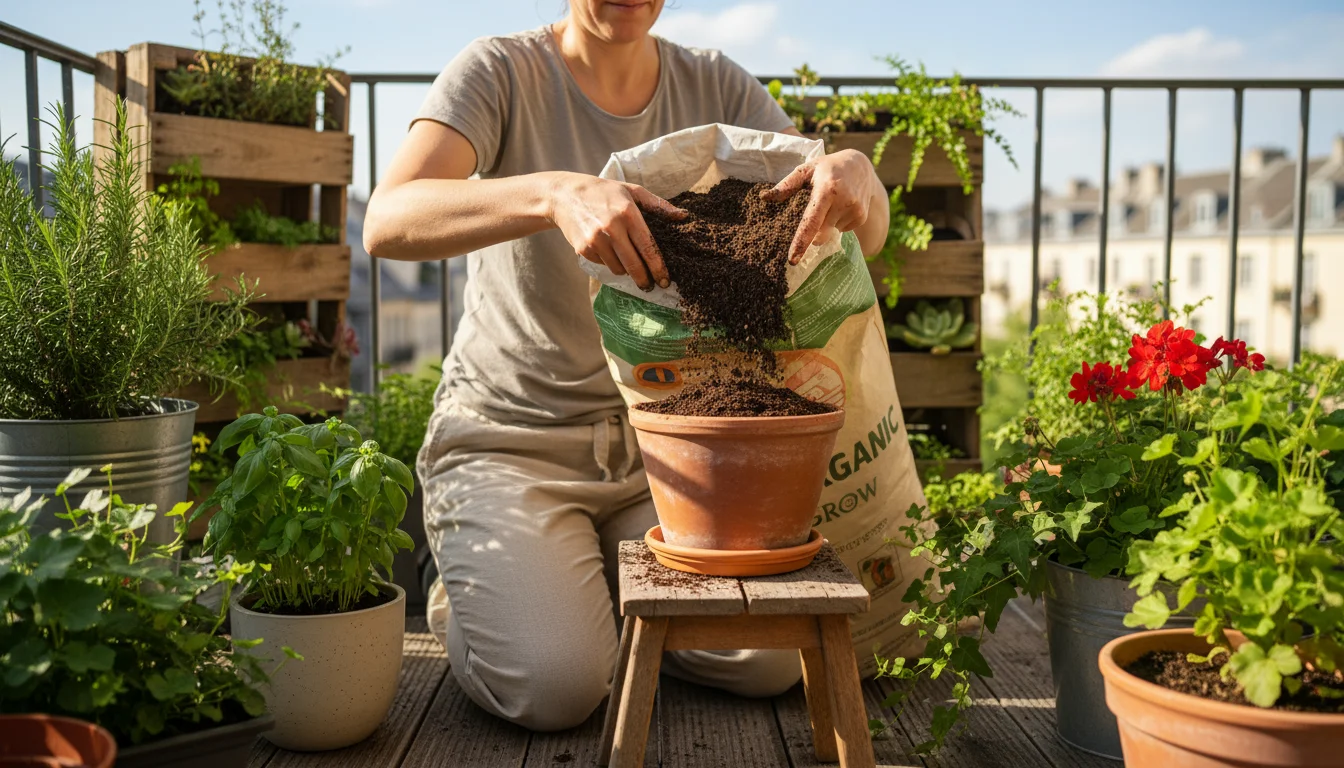
- Add Fresh Potting Mix: Incorporate new, high-quality, peat-free potting mix. Look for mixes designed for containers, offering good drainage and aeration. Peat-free options are more environmentally sustainable. The Royal Horticultural Society (RHS) actively promotes peat-free growing for its environmental benefits, emphasizing responsible sourcing.
- Amend with Organic Matter: Mix in a few handfuls of well-rotted compost or worm castings. These amendments introduce beneficial microorganisms, improve soil structure, and provide a slow release of nutrients. Compost is a cornerstone of sustainable gardening, enriching soil naturally.
- Add Balanced Organic Fertilizer: Incorporate a slow-release granular organic fertilizer appropriate for vegetables. Follow the package instructions for application rates. This provides a baseline of nutrients for your new crop.
- Consider pH Adjustment: Most vegetables prefer a slightly acidic to neutral pH (6.0-7.0). If you suspect your soil pH is off (e.g., plants show persistent nutrient deficiencies despite fertilizing), you can use a simple pH test kit. Adjust with horticultural lime to raise pH or elemental sulfur to lower it, if necessary, but this is often less critical in well-maintained container mixes.
- Moisten and Plant: Lightly moisten the refreshed soil mix before planting. This helps settle the soil and provides a welcoming environment for your new plant’s roots.
By consistently revitalizing your container soil, you create an optimal environment for each new crop, significantly enhancing the effectiveness of your seasonal rotation and the overall health of your container garden.
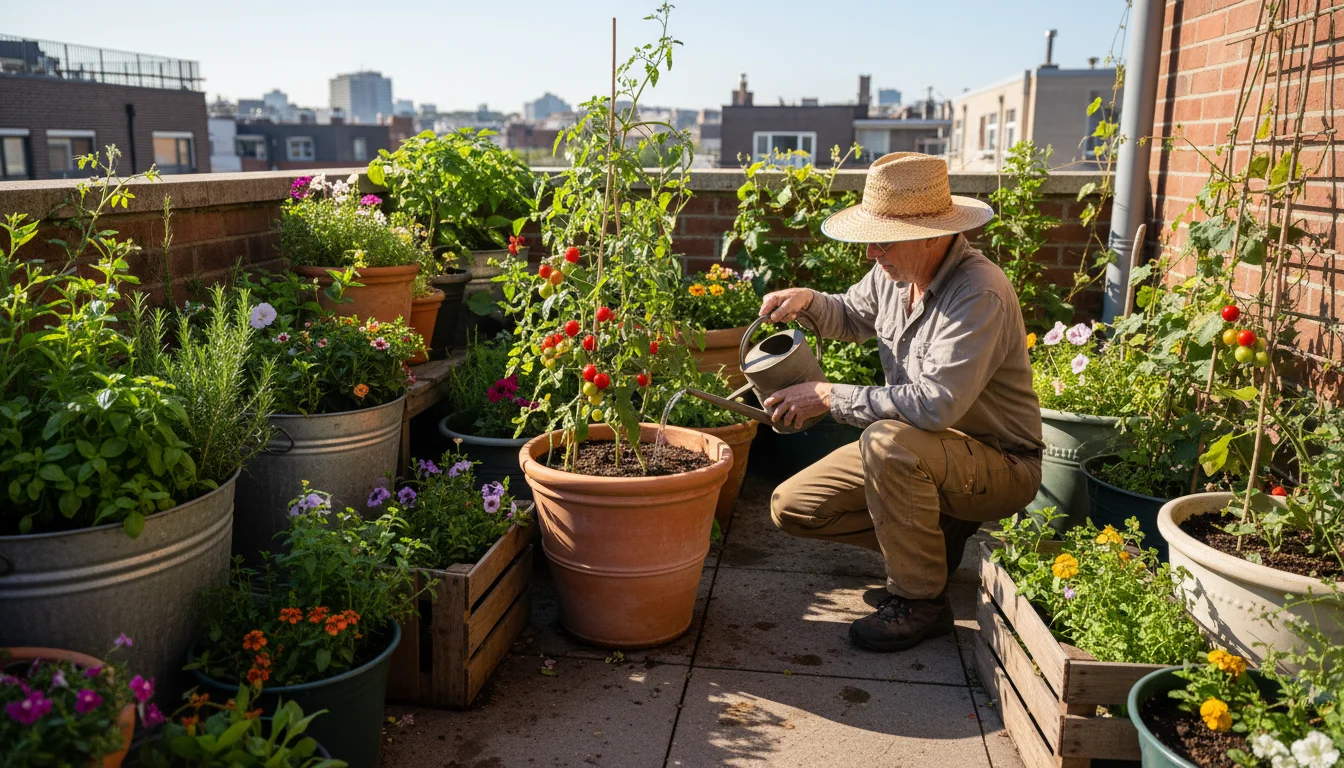
Optimizing Watering and Feeding in a Rotational System
Successful seasonal vegetable gardening in containers demands attentive watering and feeding, especially when practicing crop rotation. Your plants’ needs shift with their growth stage, the season, and the specific crop you are growing. Adapt your routine to match these demands for optimal health and yield.
Smart Watering Practices
Containers dry out faster than garden beds, and inconsistent watering stresses plants. Here is how you can optimize your watering:
- Check Soil Moisture: Do not water on a strict schedule. Instead, check the soil moisture. Stick your finger about two inches deep into the soil. If it feels dry, it is time to water. You can also use a moisture meter for accuracy.
- Water Deeply: When you water, water thoroughly until you see drainage from the bottom of the pot. This encourages deep root growth and flushes out any accumulated salts. Shallow, frequent watering leads to shallow roots and thirsty plants.
-
Seasonal Adjustments:
- Summer: Hot, sunny weather increases water evaporation. You might need to water daily, sometimes even twice a day for smaller pots or thirsty plants like tomatoes.
- Spring/Fall: Cooler temperatures and more moderate sunlight mean less frequent watering.
- Winter: If you grow cool-season crops or overwinter plants, water much less frequently, only when the soil is dry to the touch, to prevent root rot.
- Time of Day: Water in the early morning. This allows plants to absorb water before the heat of the day, and foliage has time to dry, reducing the risk of fungal diseases.
- Mulch: Apply a layer of organic mulch, like straw or shredded leaves, to the soil surface. Mulch helps retain soil moisture, regulates soil temperature, and suppresses weeds, reducing your watering frequency.
Targeted Feeding for Rotational Success
Even with refreshed soil, container plants often need supplemental feeding. Your rotational schedule influences your fertilizing approach:
- Start with a Good Base: As discussed, incorporate compost and a slow-release organic granular fertilizer into your soil at the start of each new rotation. This provides foundational nutrients.
-
Understand Plant Needs:
- Leafy Greens (e.g., lettuce, spinach, kale): Benefit from higher nitrogen fertilizers for lush growth.
- Fruiting Vegetables (e.g., tomatoes, peppers, squash): Require more phosphorus and potassium once flowering and fruiting begin. Switch to a fertilizer formulated for “blooming and fruiting.”
- Legumes (e.g., beans, peas): Need less external nitrogen due to their nitrogen-fixing capabilities. Over-fertilizing with nitrogen can reduce pod production.
- Use Liquid Feeds: Supplement with a diluted liquid organic fertilizer every 2-4 weeks during the active growing season. This provides a quick boost of nutrients. Seaweed or fish emulsion are excellent organic choices. Always follow dilution instructions carefully.
- Avoid Over-Fertilizing: More is not better. Excess fertilizer can burn roots or lead to lush foliage at the expense of fruit production. Signs of over-fertilization include yellowing or browning leaf tips.
By tailoring your watering and feeding practices to your seasonal rotation and specific crops, you ensure your container vegetables have everything they need to flourish, reducing waste and maximizing your harvests.
Troubleshooting Common Container Gardening Challenges
Even with the best seasonal vegetable gardening practices, you might encounter challenges. Knowing how to quickly identify and address common issues keeps your container plants healthy and productive. Crop rotation significantly reduces many problems, but vigilance remains key.

Yellowing Leaves
- Possible Cause: Often indicates a nutrient deficiency (e.g., nitrogen, iron), overwatering, or underwatering. Lower leaves yellowing first can suggest nitrogen deficiency or overwatering. New leaves yellowing might point to an iron deficiency.
-
Action:
- Nutrient Deficiency: Apply a balanced liquid organic fertilizer. For iron deficiency, consider a chelated iron supplement. Ensure your refreshed soil mix contained compost.
- Watering Issues: Check soil moisture before watering. Allow the top two inches of soil to dry out between waterings. Ensure good drainage.
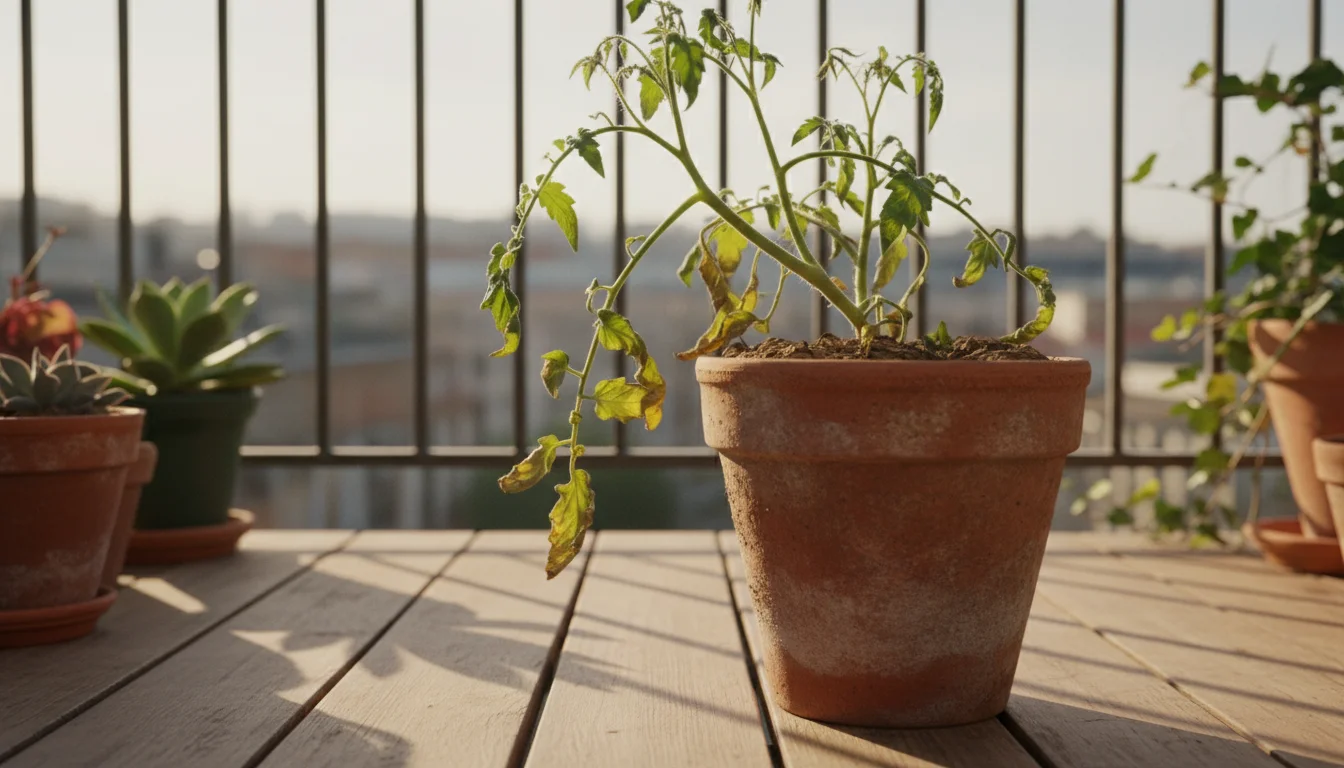
Wilting Plants
- Possible Cause: Usually a sign of underwatering or, less commonly, root rot from overwatering. Extreme heat can also cause temporary wilting during the hottest part of the day.
-
Action:
- Underwatering: Water immediately and deeply until water drains from the bottom. Ensure the pot has not become “root-bound,” where roots circle tightly around the pot, preventing water absorption.
- Overwatering/Root Rot: Reduce watering frequency. If root rot is suspected (soggy soil, foul smell), repotting with fresh, well-draining soil and trimming affected roots might be necessary, though this is difficult for established plants.
- Heat Stress: Provide afternoon shade for plants on very hot days. Ensure consistent moisture.
Stunted Growth or No Flowers/Fruit
- Possible Cause: Lack of adequate light, insufficient nutrients (especially phosphorus for flowering/fruiting), incorrect watering, or excessively high nitrogen encouraging leafy growth at the expense of fruit.
-
Action:
- Light: Move the container to a location receiving at least 6-8 hours of direct sunlight daily for most vegetables.
- Nutrients: Apply a fertilizer higher in phosphorus and potassium for fruiting plants. For leafy greens, ensure sufficient nitrogen. Refer to specific plant family needs.
- Watering: Ensure consistent, deep watering.
- Temperature: Some plants (e.g., tomatoes, peppers) will not set fruit in extremely high temperatures (above 90°F / 32°C). Provide some afternoon shade if possible.
Pest Infestations
- Possible Cause: Common pests include aphids, spider mites, whiteflies, and cabbage worms. Stress plants are more susceptible.
-
Action:
- Regular Inspection: Check your plants regularly, especially the undersides of leaves. Early detection is crucial.
- Manual Removal: For small infestations, pick off larger pests or spray aphids off with a strong jet of water.
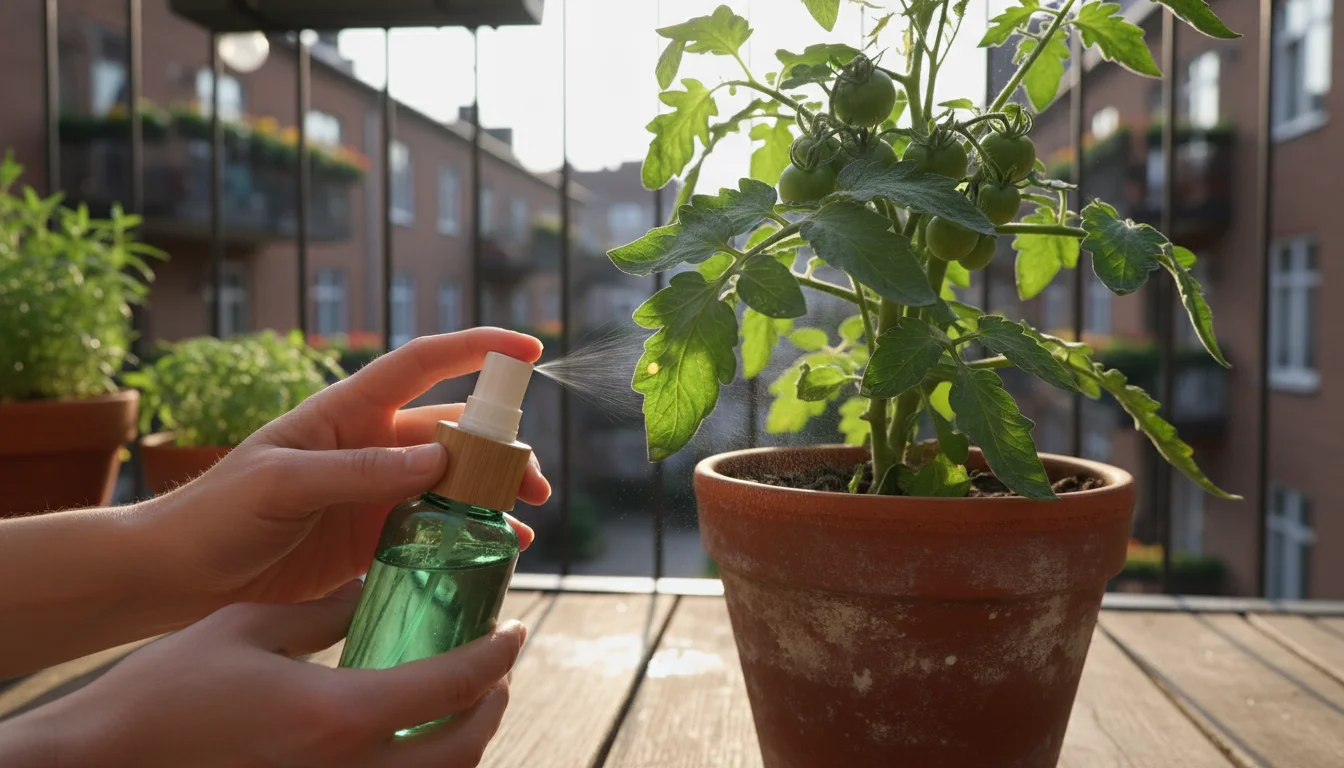
- Organic Treatments: Use insecticidal soap or neem oil for persistent issues. Always follow label directions. These are effective, environmentally friendly options.
- Beneficial Insects: Encourage predatory insects like ladybugs and lacewings by planting flowers nearby or purchasing them.
- Crop Rotation: Your seasonal rotation efforts significantly reduce pest buildup by breaking their life cycles in the soil. Consistent rotation is your best preventative tool.
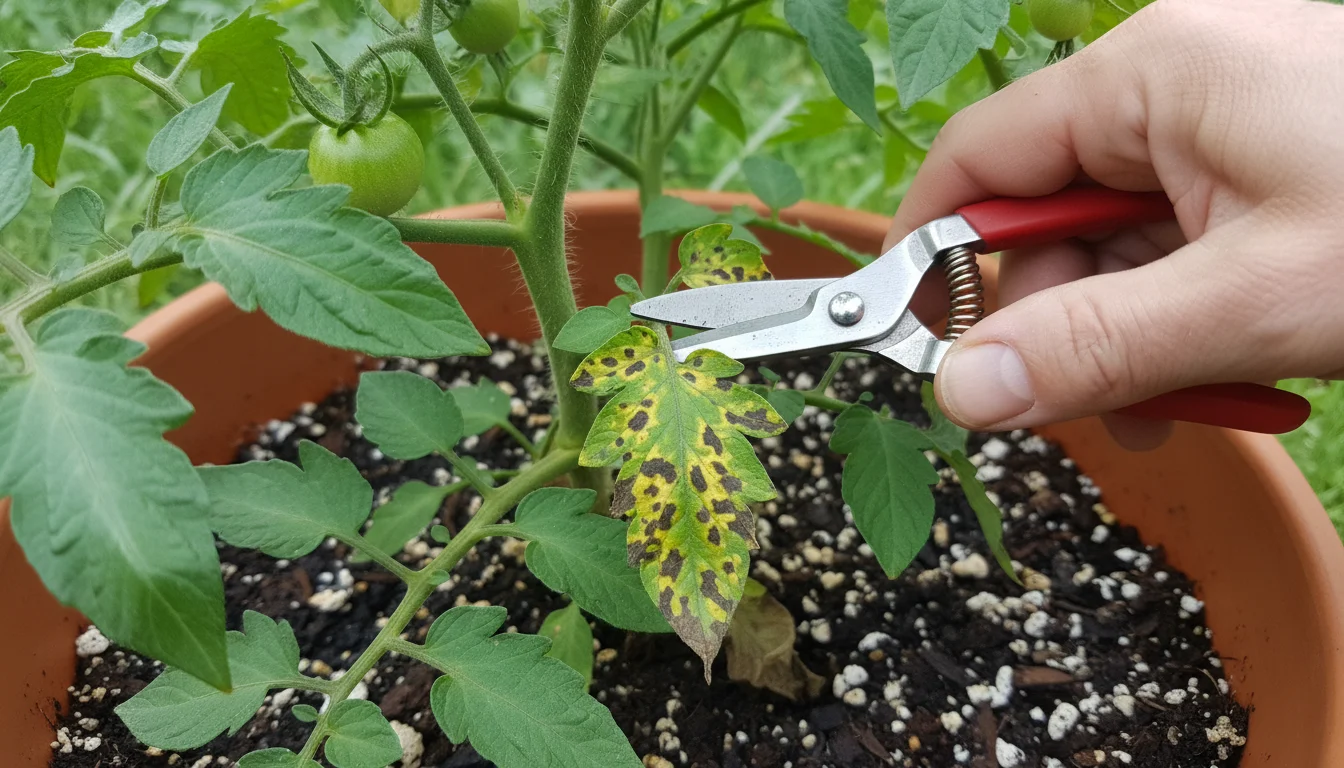
Disease Symptoms (Spots, Mildew)
- Possible Cause: Fungal or bacterial infections like powdery mildew, blight, or leaf spot. Often exacerbated by high humidity, poor air circulation, or contaminated soil.
-
Action:
- Improve Air Circulation: Space containers adequately. Prune lower leaves on vining plants like tomatoes to improve airflow.
- Watering Practices: Water at the base of the plant, avoiding wetting foliage, especially in the evening.
- Remove Affected Parts: Prune and discard diseased leaves or stems immediately. Do not compost diseased material.
- Fungicides: For severe fungal issues, use an organic fungicide (e.g., copper or sulfur-based).
- Sanitation and Rotation: Clean containers thoroughly between crops. Crop rotation prevents the buildup of disease spores in the soil, which is a major advantage for disease prevention.
By understanding these common challenges and implementing timely, appropriate solutions, you maintain a robust and thriving container garden. Your consistent effort in seasonal vegetable gardening pays off with healthy plants and abundant harvests.
Sustainable Practices for Long-Term Container Health
Your passion for gardening extends beyond just growing food; you also want to do it responsibly. Integrating sustainable practices into your seasonal vegetable gardening enhances the health of your plants and contributes positively to the environment. Crop rotation is inherently sustainable, and these additional habits amplify its benefits.
Embrace Peat-Free Potting Mixes
Peat is harvested from peat bogs, which are crucial carbon sinks and unique ecosystems. Opting for peat-free potting mixes helps protect these vital habitats. Modern peat-free alternatives, often made from coir (coconut fiber), composted bark, and other organic materials, perform exceptionally well for container vegetables. They offer excellent drainage, aeration, and water retention, providing a superb environment for root development. Many reputable brands offer high-quality peat-free options that support robust plant growth.
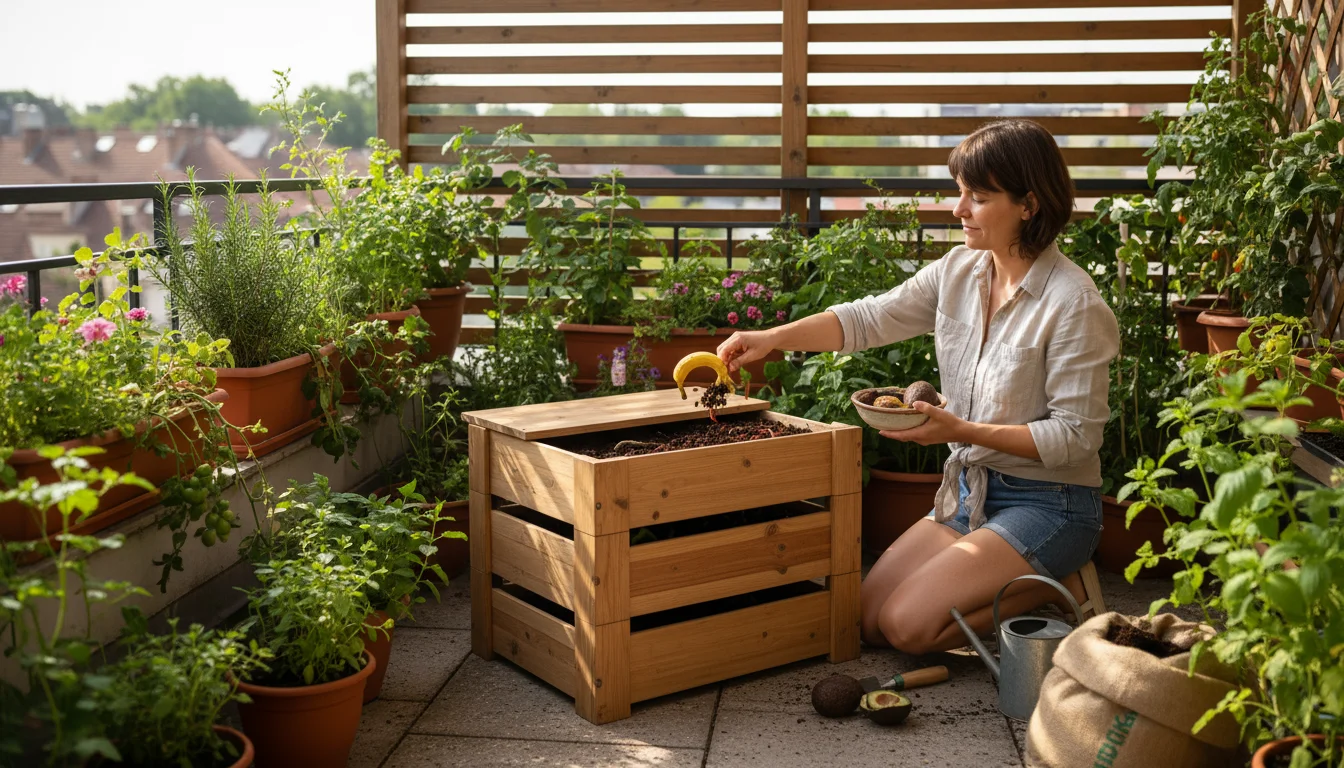
Compost Your Scraps
Start a small-scale composting system for your kitchen scraps and garden waste. Even a worm farm (vermicomposting) works wonderfully in a small space. The compost you create is a powerful soil amendment, rich in nutrients and beneficial microbes. Incorporating homemade compost into your container soil at each rotation reduces your need for external fertilizers and enriches your growing medium naturally. This practice turns waste into a valuable resource, closing the loop on your organic gardening efforts.
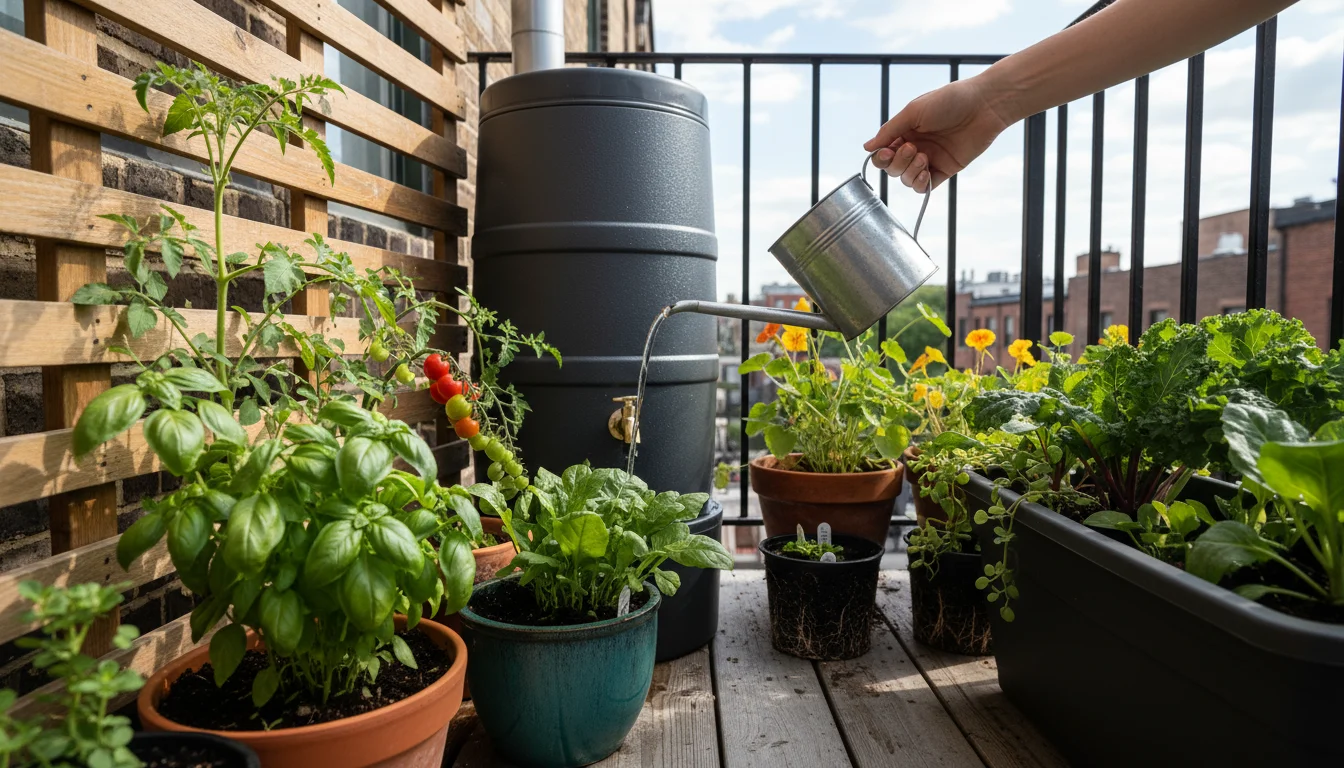
Conserve Water
Water is a precious resource. In container gardening, evaporation can be high. Implement these water-wise strategies:
- Mulch Containers: A layer of straw, shredded leaves, or wood chips on top of your container soil significantly reduces water loss through evaporation.
- Group Similar Plants: Group plants with similar water needs together. This simplifies watering and prevents over or under-watering specific plants.
- Drip Irrigation/Self-Watering Pots: For larger collections of containers, consider a simple drip irrigation system or use self-watering pots. These systems deliver water directly to the roots, minimizing waste.
- Collect Rainwater: A small rain barrel or collection system provides free, chlorine-free water for your plants.
Use Organic Fertilizers and Pest Control
Choose organic fertilizers over synthetic ones. Organic options feed the soil, not just the plant, fostering a healthier microbial ecosystem. Similarly, when pests or diseases arise, reach for organic, non-toxic solutions like insecticidal soap, neem oil, or manual removal. Avoid broad-spectrum pesticides that harm beneficial insects and the environment. Your crop rotation efforts already reduce the reliance on chemical interventions, and these choices further strengthen your sustainable approach.
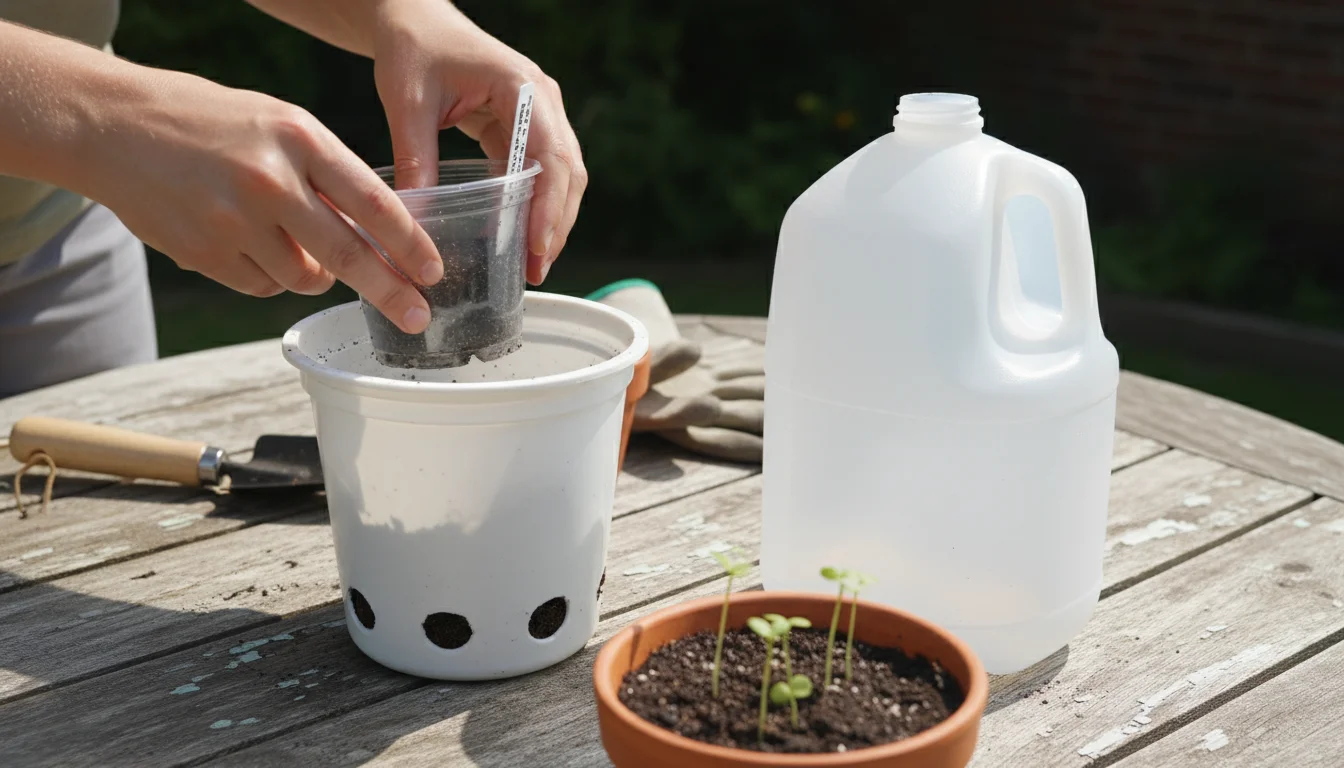
Recycle and Reuse Containers
Give old plastic containers a new life as plant pots. Ensure they have drainage holes. Plastic nursery pots from purchased plants can serve for starting seeds or growing smaller herbs. Clean and disinfect containers between uses, especially if previous plants had disease, to maintain hygiene in your seasonal vegetable gardening.
By integrating these sustainable practices with your seasonal rotation for container vegetables, you cultivate a garden that is not only productive but also environmentally conscious. You create a thriving ecosystem in your small space, benefiting your plants and the planet.
Frequently Asked Questions
What is the easiest way to start crop rotation in containers?
The easiest way is to group your most frequently grown vegetables into broad categories like “fruiting crops” (tomatoes, peppers), “leafy greens” (lettuce, spinach), and “legumes” (beans, peas). Then, ensure you never follow a fruiting crop with another fruiting crop in the same container. For example, if you grew tomatoes in Pot A this summer, plant beans or lettuce in Pot A next season. Keep a simple record of what you plant in each pot each season.
How often should I refresh the soil in my containers with crop rotation?
You should refresh your container soil at the start of each new growing season, especially after a heavy-feeding crop. This involves removing about one-third to one-half of the old soil, breaking up clumps, and mixing in fresh, peat-free potting mix, well-rotted compost, and a balanced organic fertilizer. For small pots, or if you had disease issues, consider completely replacing the soil.
Can I really grow potatoes in containers and rotate them?
Absolutely! Potatoes thrive in large containers like grow bags or large plastic tubs. They belong to the Solanaceae family. To rotate effectively, follow potatoes with a legume like bush beans, which will help replenish nitrogen. Avoid planting other Solanaceae crops (tomatoes, peppers) in that same pot for at least 2-3 seasons after your potato harvest.
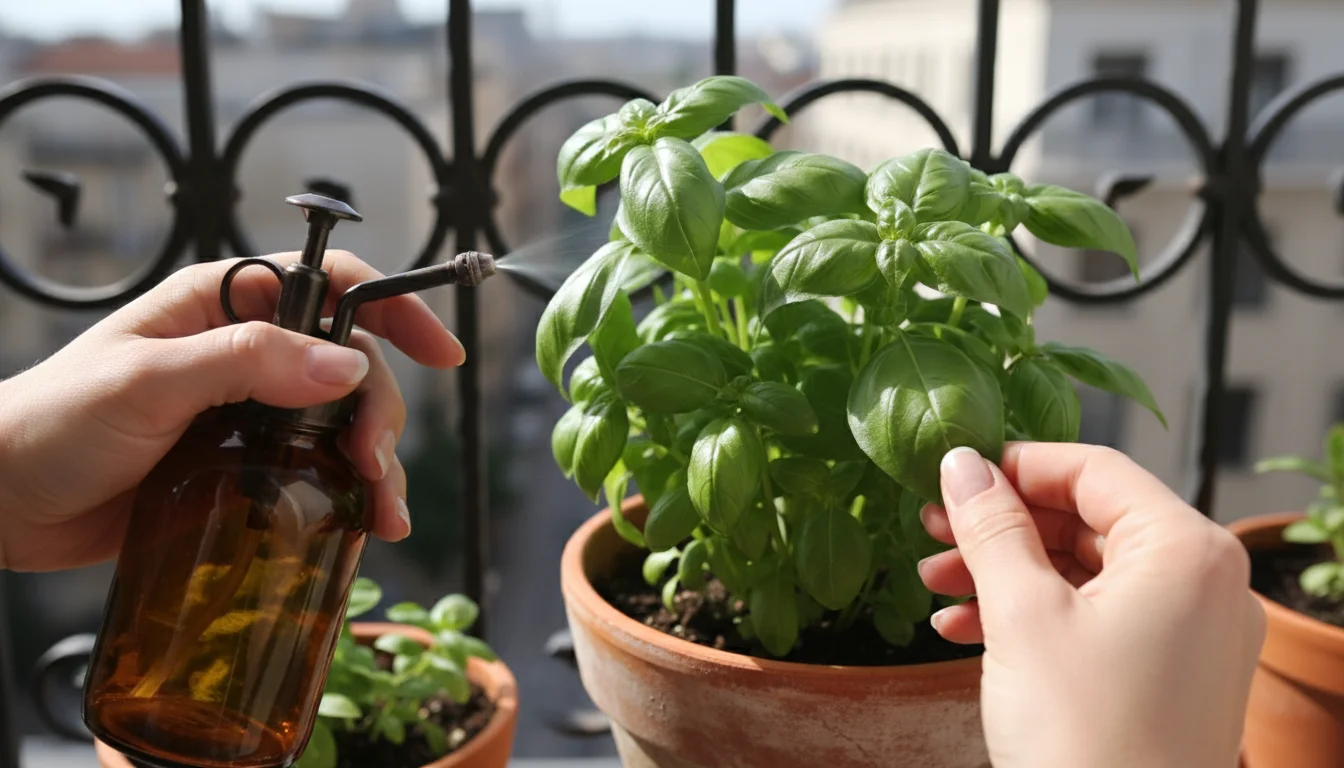
Do herbs need crop rotation in containers?
Most perennial herbs (rosemary, thyme, oregano) do not require strict rotation since they remain in the same pot for years. Annual herbs (basil, cilantro, dill) can benefit from rotation, especially if you grow them in the same spot for multiple seasons. Treat them as leafy greens or “other” categories in your rotation plan to maintain soil health and deter specific pests.
What if I only have a few containers? Is crop rotation still worth it?
Yes, even with only a few containers, crop rotation provides significant benefits. It prevents the rapid depletion of specific nutrients and reduces pest and disease buildup, which is even more critical in limited space. A simple three-pot, three-crop rotation (e.g., fruiting crop, leafy green, legume) still makes a big difference to your seasonal vegetable gardening success and overall plant health.
For research-based plant care guidance, visit New York Botanical Garden, Royal Horticultural Society (RHS), University of Minnesota Extension, Cornell Garden-Based Learning and UF/IFAS Gardening Solutions.
Disclaimer: This article is for informational purposes only and is not a substitute for professional advice. Consult local extension services for region-specific recommendations.


Leave a Reply