Spring bursts with new life, and your small space can join the celebration. Container gardening offers an accessible, rewarding way to cultivate a thriving garden, even if you lack a traditional plot. This guide equips you with practical, actionable insights to transform your patio, balcony, or windowsill into a vibrant oasis. You will discover simple strategies for selecting the right containers, preparing healthy soil, choosing suitable plants, and maintaining your green companions with minimal fuss. Embrace the joy of spring planting and watch your container garden flourish.
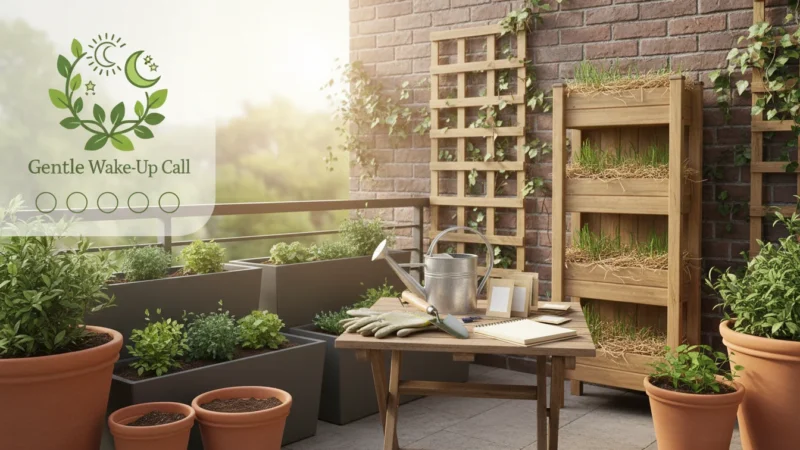
Before you start filling your pots, it is helpful to review an early spring garden prep checklist to ensure your patio or balcony is ready for the season.
For research-based plant care guidance, visit University of Minnesota Extension, Cornell Garden-Based Learning, UF/IFAS Gardening Solutions, Missouri Botanical Garden and Oregon State Extension — Gardening.
Disclaimer: This article is for informational purposes only and is not a substitute for professional advice. Consult local extension services for region-specific recommendations.
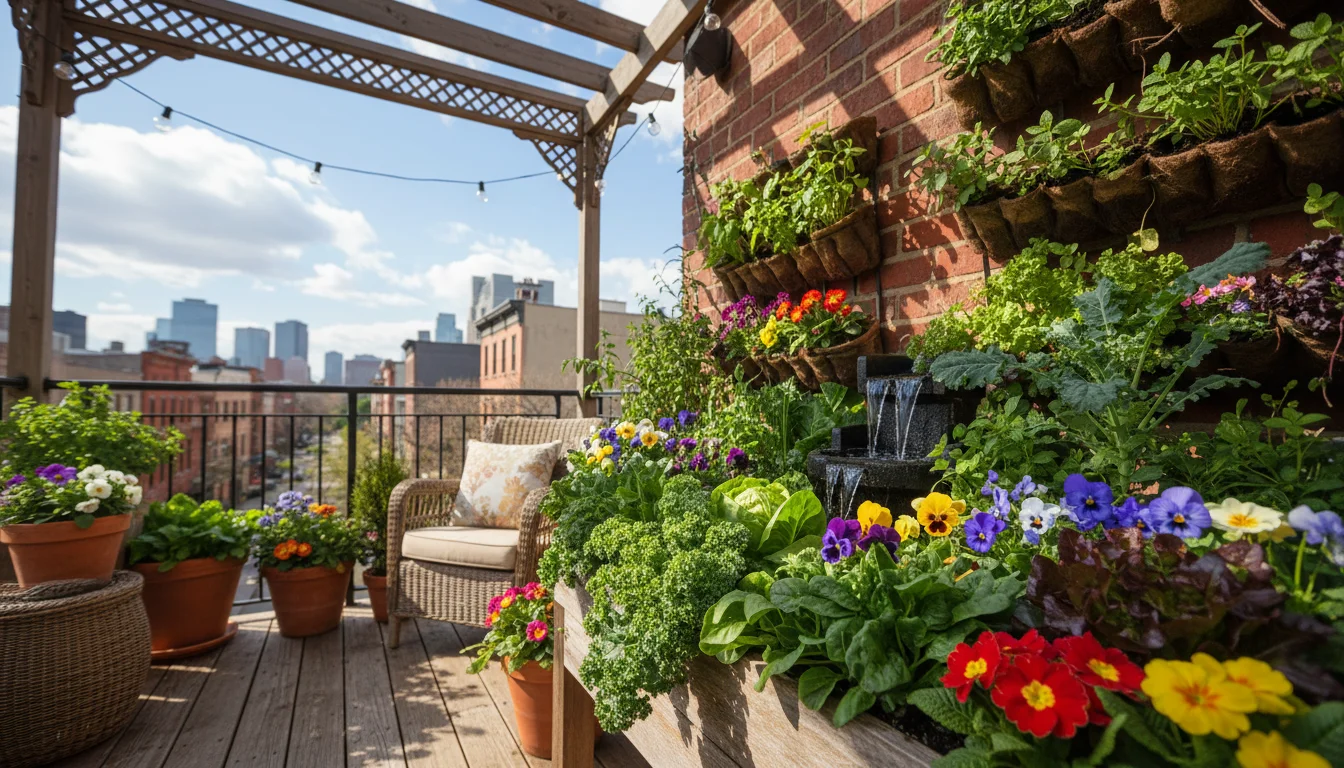
The Lure of Spring: Why Container Gardening Shines
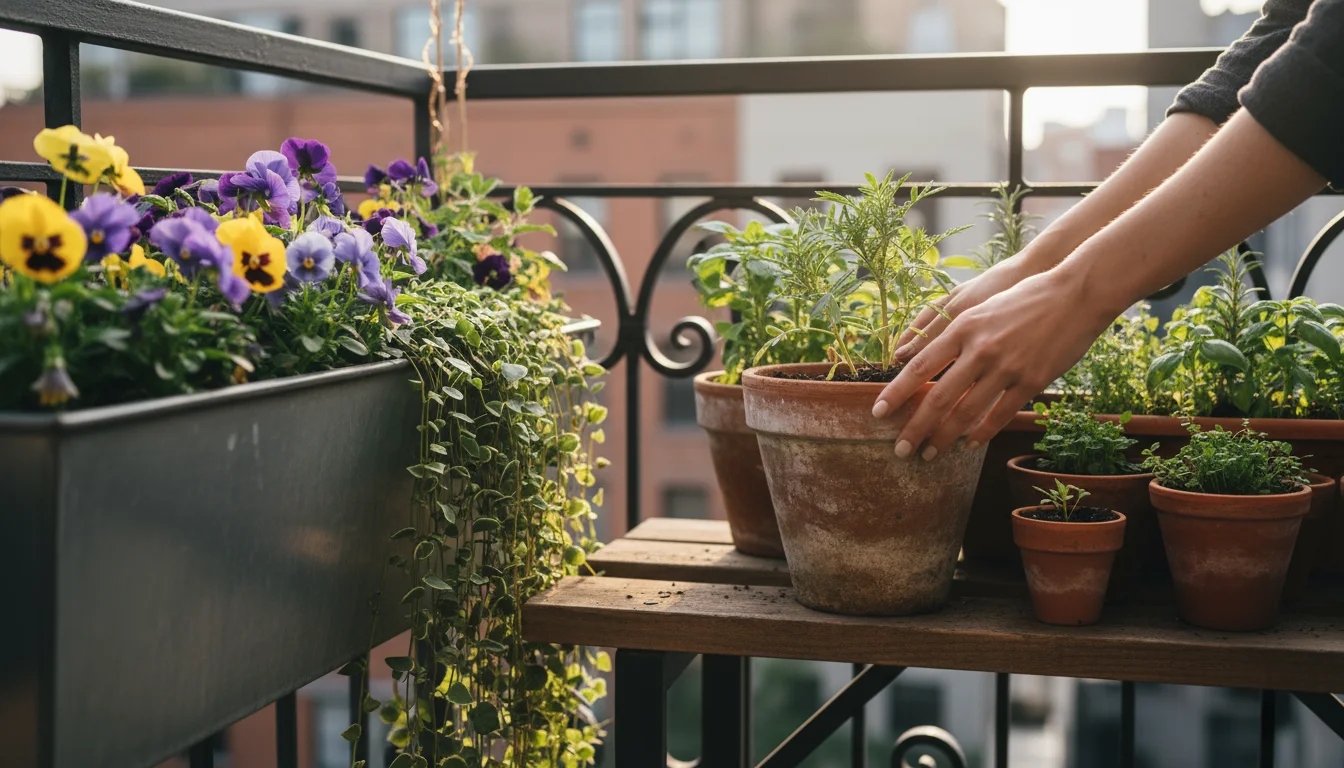
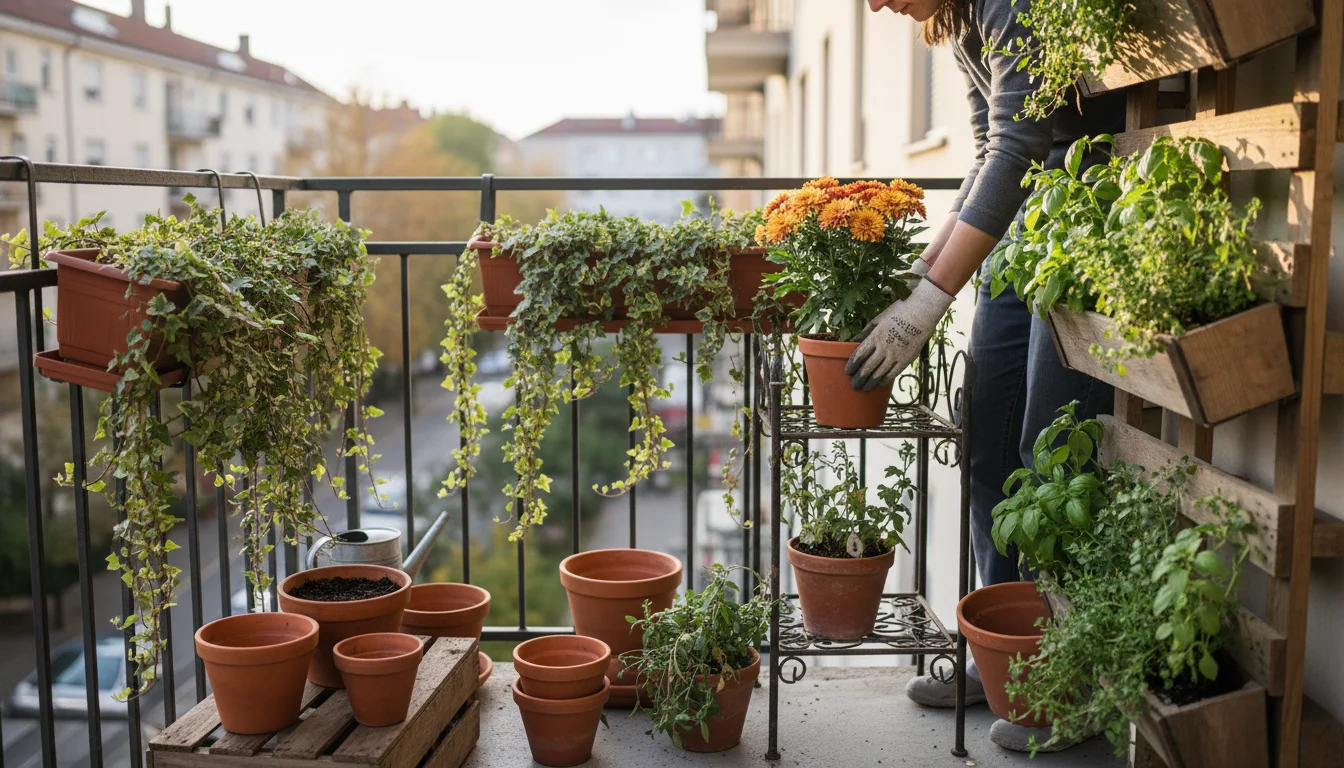
Spring ignites a desire to nurture green life, and container gardening offers an ideal solution for any space. You gain immense flexibility with containers, positioning them to capture optimal sunlight, move them indoors during unexpected frost, or rearrange them for aesthetic appeal. This adaptability proves invaluable for small balconies, patios, windowsills, and even entryways. You control the soil, nutrients, and moisture directly, tailoring conditions precisely to your plants’ needs. You also minimize common garden challenges, such as aggressive weeds or widespread soil-borne pests. The contained environment simplifies care, making container gardening a perfect entry point into seasonal gardening for beginners and a rewarding pursuit for experienced green thumbs.
For gardeners seeking a more relaxed approach, exploring accessible gardening tips for seniors can ensure your spring projects remain joyful and stress-free.
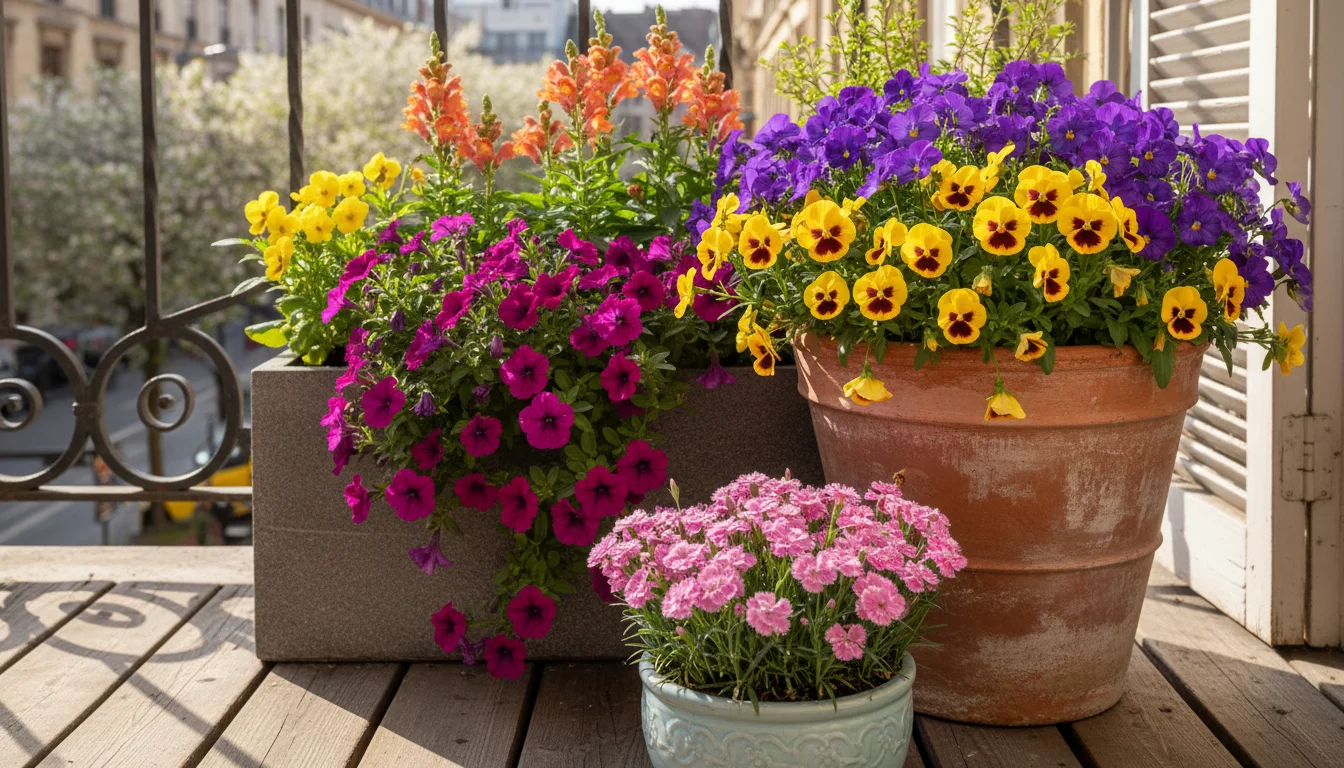
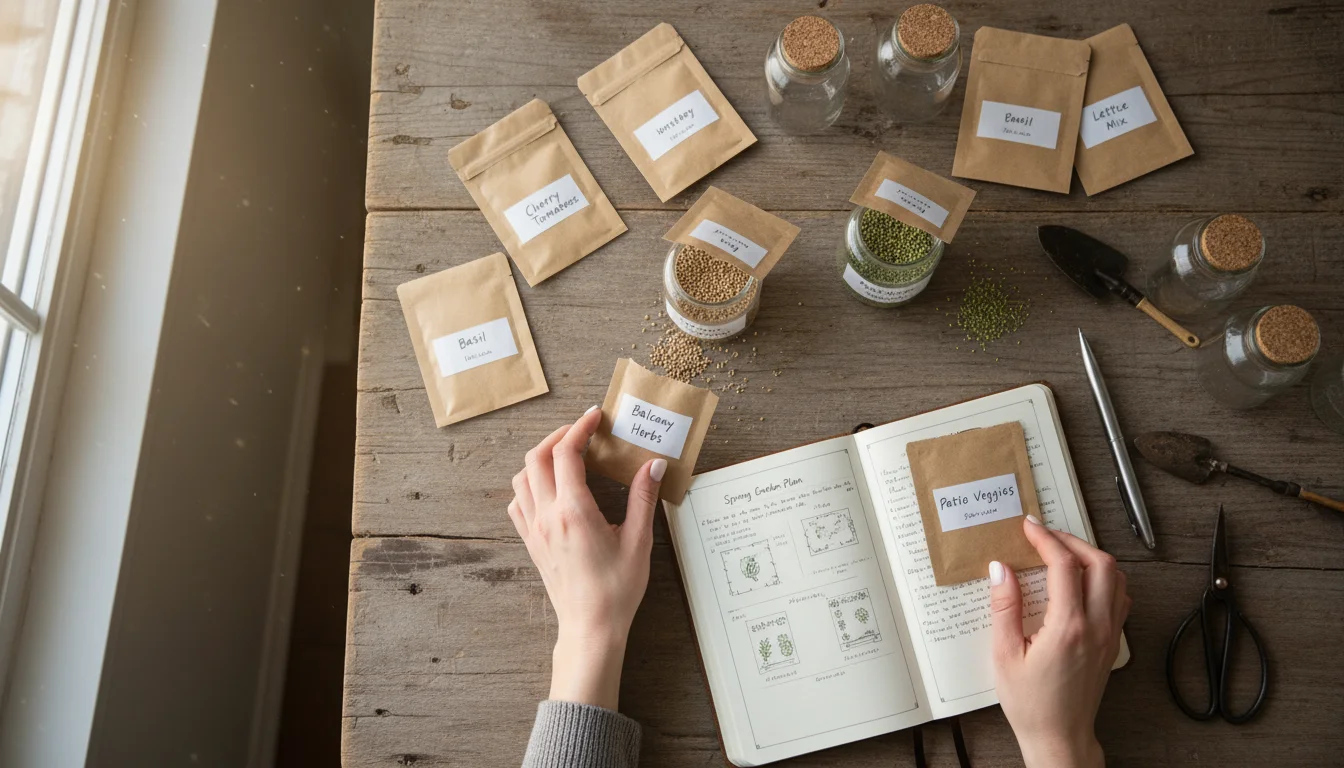
Embracing container planting empowers you to cultivate a diverse range of plants. You can grow vibrant flowers, fresh herbs, and even a surprising variety of vegetables. Imagine harvesting crisp lettuce for your salad, plucking fragrant basil for your pesto, or enjoying a burst of color from cheerful pansies, all within arm’s reach. Your spring planting guide begins here, offering practical steps to ensure your container garden thrives from the first sprout.
Choosing Your Canvas: Containers and Their Quirks
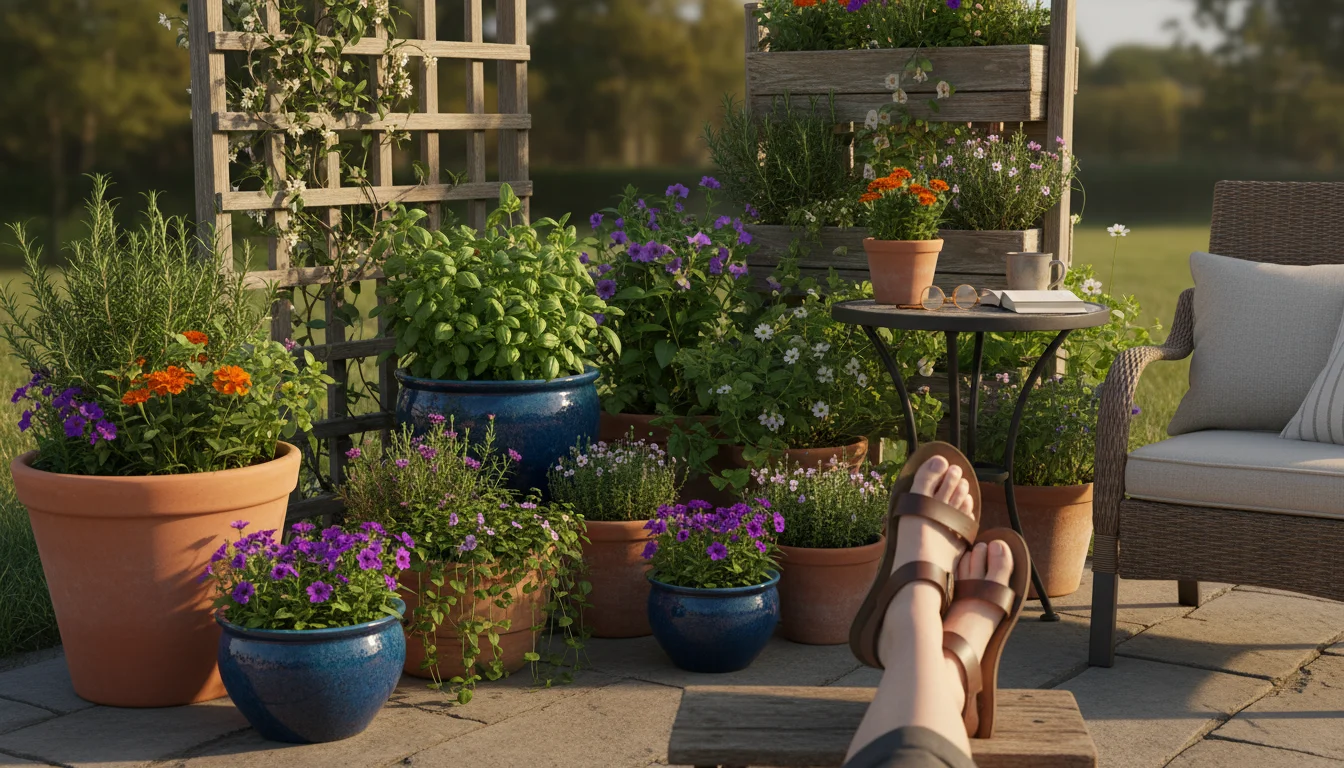
Selecting the right container forms the foundation of a successful container garden. Consider both aesthetics and functionality when making your choices. The material, size, and drainage capabilities of your pots directly impact plant health and your maintenance routine.
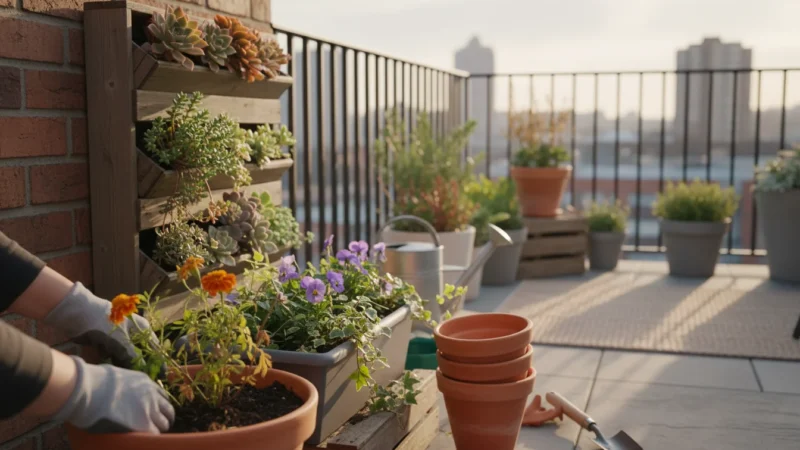
If you are working with a constrained area, you can still create a lush garden oasis by selecting the right mix of vertical and floor-standing containers.
If you are using multiple types of planters, you can learn how to mix and match pots to create a professional and cohesive style for your space.
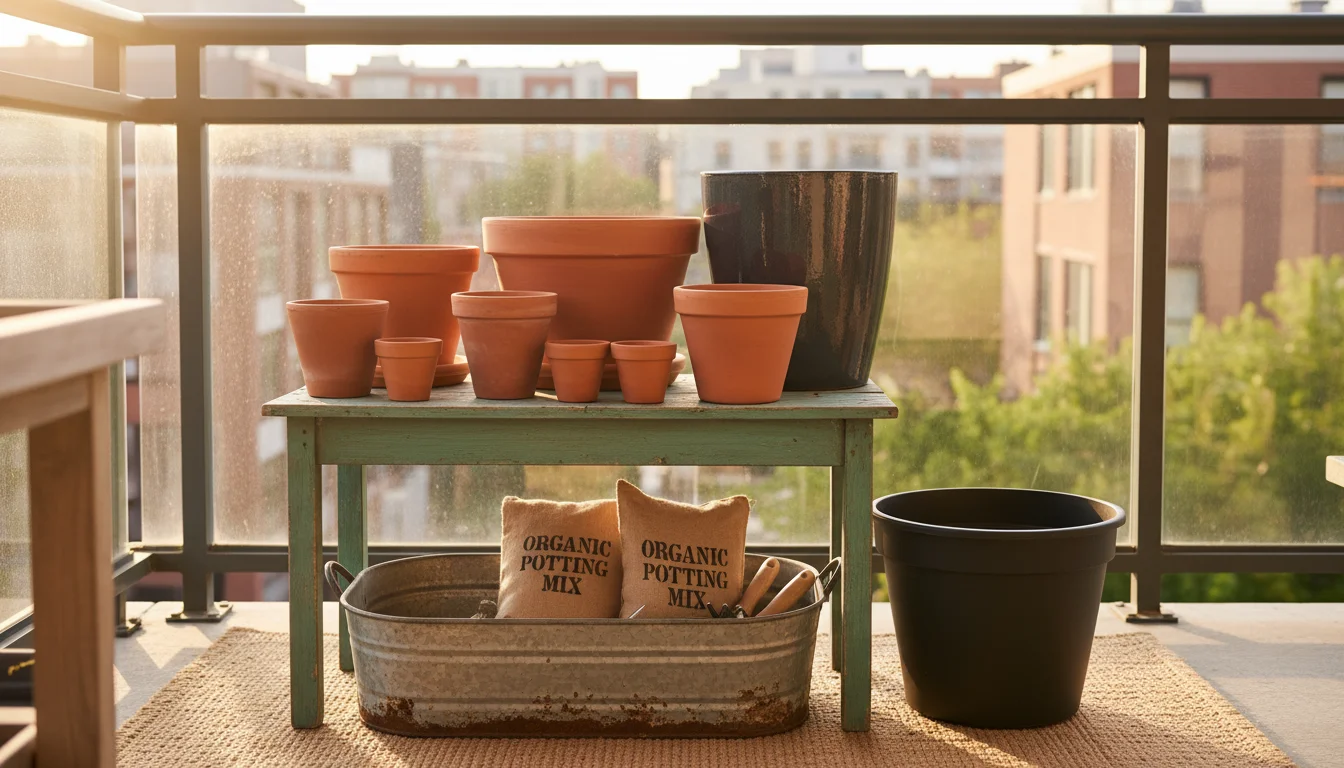
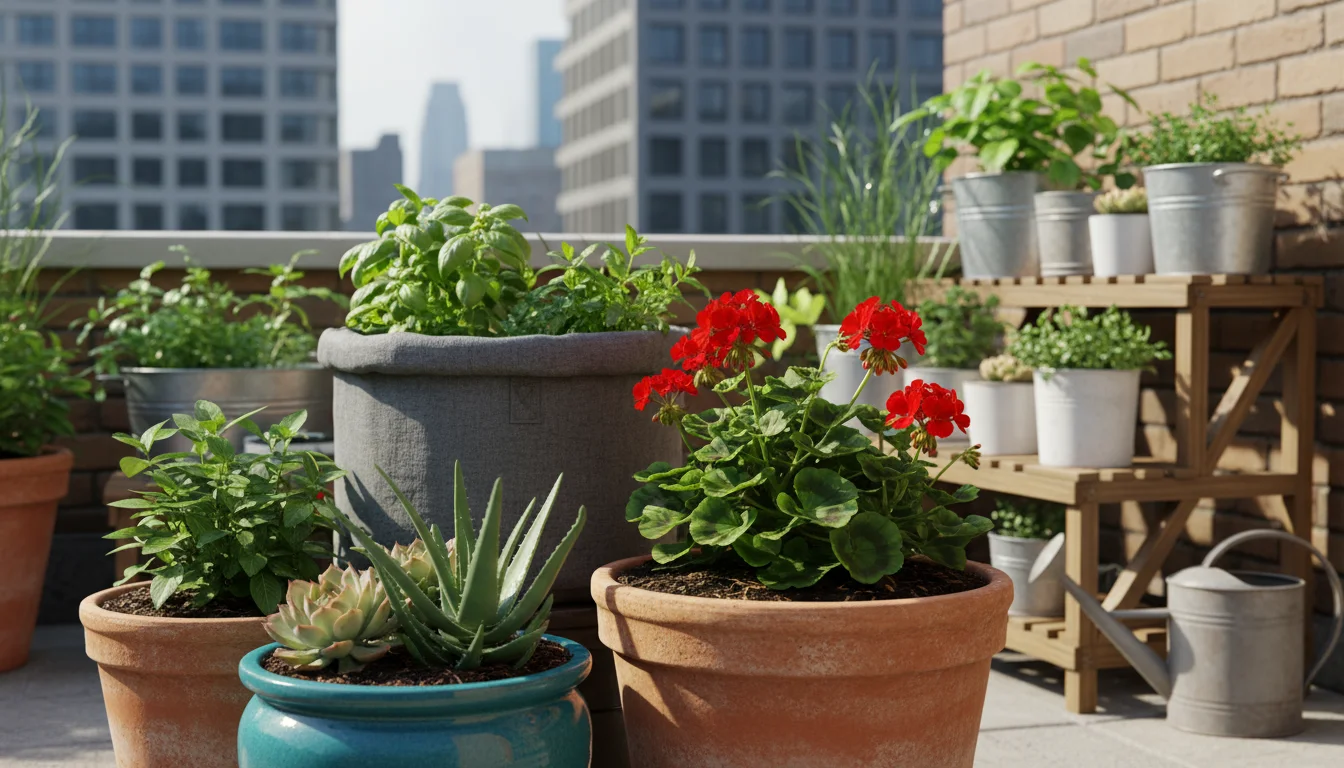
Container Materials and Their Benefits
- Terra Cotta and Clay Pots: These classic options offer a beautiful, natural look. Their porous nature allows air and moisture to pass through, which helps prevent root rot by promoting aeration. However, this porosity also means terra cotta dries out faster than other materials, requiring more frequent watering. This can be beneficial for plants that prefer drier conditions, but it demands attention during hot, sunny spring days.
- Plastic Pots: Lightweight, affordable, and available in a vast array of colors and styles, plastic pots retain moisture efficiently. This reduces your watering frequency, a significant advantage for busy gardeners. Modern plastic pots often incorporate UV stabilizers, preventing them from becoming brittle and cracking in the sun. Choose plastic containers made from recycled materials for a more eco-friendly option.
- Fabric Grow Bags: Increasingly popular, fabric grow bags provide excellent aeration to plant roots, preventing root circling (where roots grow tightly around the inside of the pot) and promoting healthier growth. They are lightweight, foldable for storage, and often made from recycled materials. Fabric pots also help regulate soil temperature, keeping roots cooler in summer and warmer in cooler spring temperatures.
- Ceramic or Glazed Pots: These decorative pots add elegance to any space. The glaze seals the ceramic, making them less porous than terra cotta and therefore better at retaining moisture. Ensure they have adequate drainage holes, as stagnant water can quickly harm plants.
- Wooden Planters: Cedar or redwood planters offer a natural, rustic appeal and provide good insulation for roots. Line wooden containers with a plastic liner or landscape fabric to prolong their lifespan and prevent premature rot, especially if you use untreated wood.

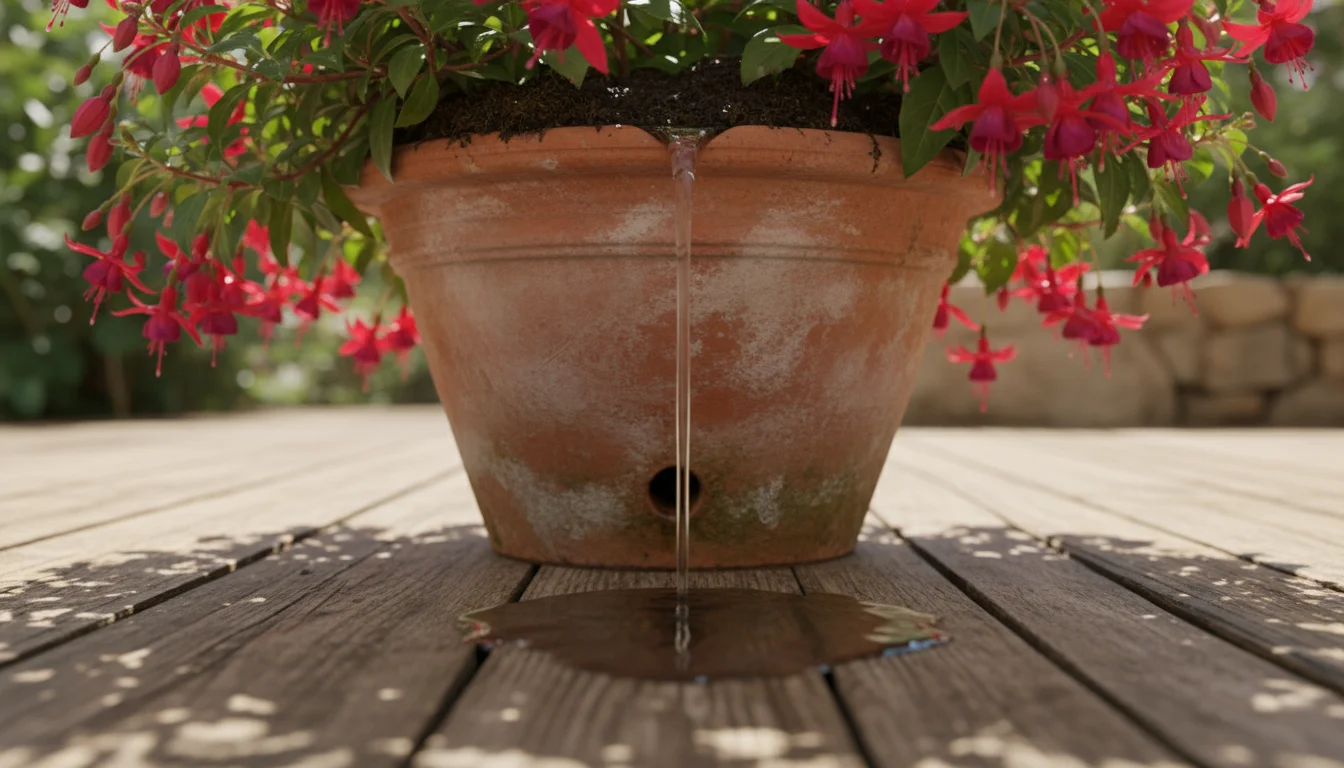
The Crucial Role of Drainage Holes
Regardless of the material, every container absolutely requires drainage holes. Excess water must escape; otherwise, roots suffocate and rot. Without proper drainage, your plants will inevitably struggle and likely perish. A single drainage hole at the bottom usually suffices, but multiple smaller holes provide even better water flow. Avoid placing gravel or broken pot shards at the bottom of containers, as this practice, once popular, actually hinders drainage by creating a perched water table, making it harder for water to escape the root zone.
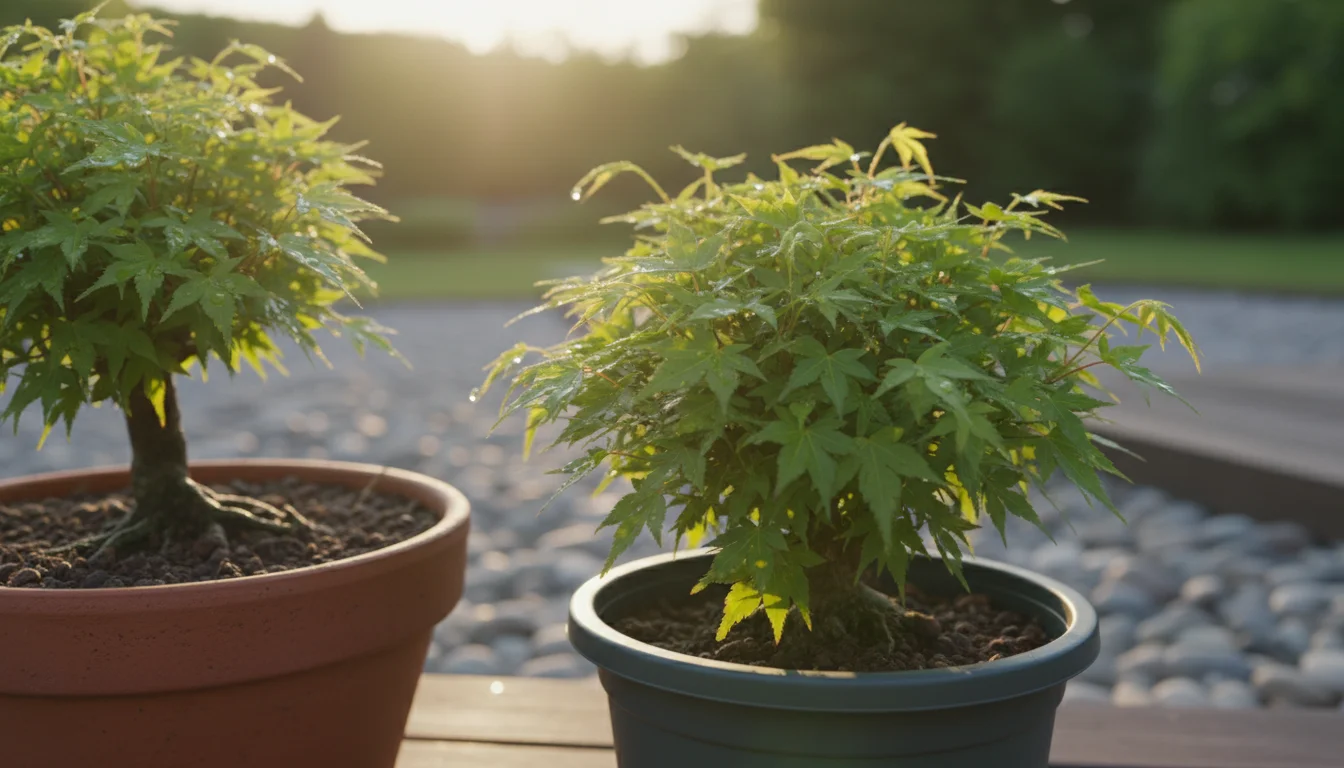
Size Matters: Matching Pot to Plant
Consider the mature size of your plants when choosing a pot. A tiny seedling in a huge pot can suffer from overly wet soil, while a large plant in a small pot quickly becomes root-bound, meaning its roots circle tightly around the inside of the pot, restricting nutrient and water uptake. As a general rule, choose a pot that is at least 6 inches in diameter for most herbs and small annuals. Vegetables like tomatoes or peppers require pots of at least 15-20 gallons (around 18-24 inches in diameter) to thrive. Err on the side of slightly larger containers for better moisture retention and root development. You provide your plants with the space they need to grow strong and healthy.
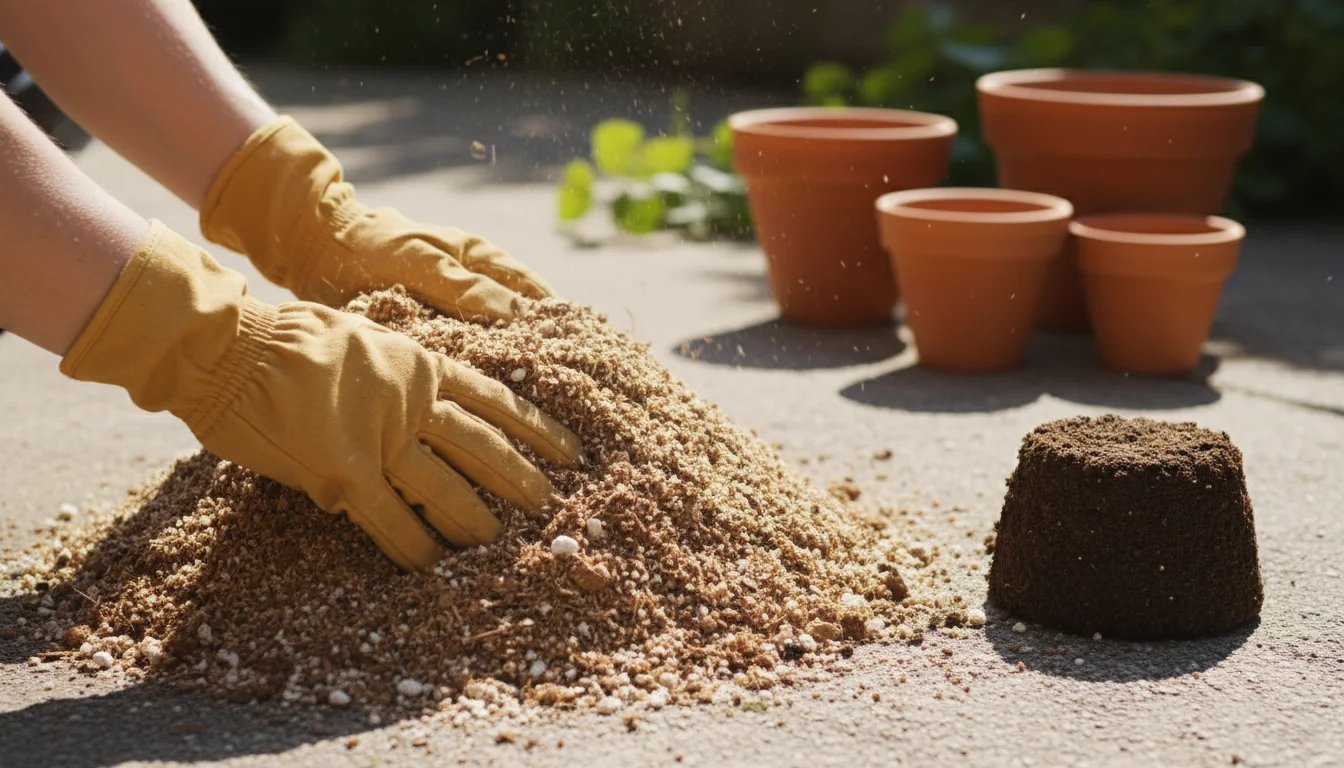
The Right Start: Soil Selection and Preparation
The soil in your containers provides the essential foundation for plant growth. Unlike garden beds, containers demand a specific type of growing medium to ensure proper drainage, aeration, and nutrient availability. You cannot simply use soil from your garden bed; it compacts too readily in a confined space, leading to poor drainage and suffocated roots.
Using native species that adapt well to pots is another great way to ensure your spring garden is both beautiful and eco-friendly.
Choosing the Best Potting Mix
Always opt for a high-quality, lightweight potting mix specifically formulated for containers. These mixes contain a blend of ingredients designed to provide the ideal balance of moisture retention and drainage. Look for mixes that include:
- Peat Moss or Coco Coir: These components retain moisture and nutrients. For an environmentally conscious choice, prioritize peat-free potting mixes, which use sustainable alternatives like coco coir (derived from coconut husks) or ethically sourced wood fibers. Peat extraction contributes to wetland degradation, so choosing peat-free options supports ecological health.
- Perlite or Vermiculite: These lightweight, porous materials improve aeration and drainage, preventing compaction and ensuring roots receive adequate oxygen. Perlite looks like tiny white styrofoam balls, while vermiculite appears more like small, shiny flakes. Both prevent your soil from becoming waterlogged.
- Compost or Other Organic Matter: High-quality potting mixes often include compost, which slowly releases nutrients to your plants and improves soil structure. It also introduces beneficial microorganisms to the soil.
You can also create your own custom potting mix by blending equal parts coco coir or peat-free compost, perlite, and a good quality topsoil or aged compost. This allows you to tailor the mix to your specific plants and ensures you know exactly what goes into your containers. However, for most beginner container gardeners, a reputable bagged potting mix provides an excellent and convenient solution.

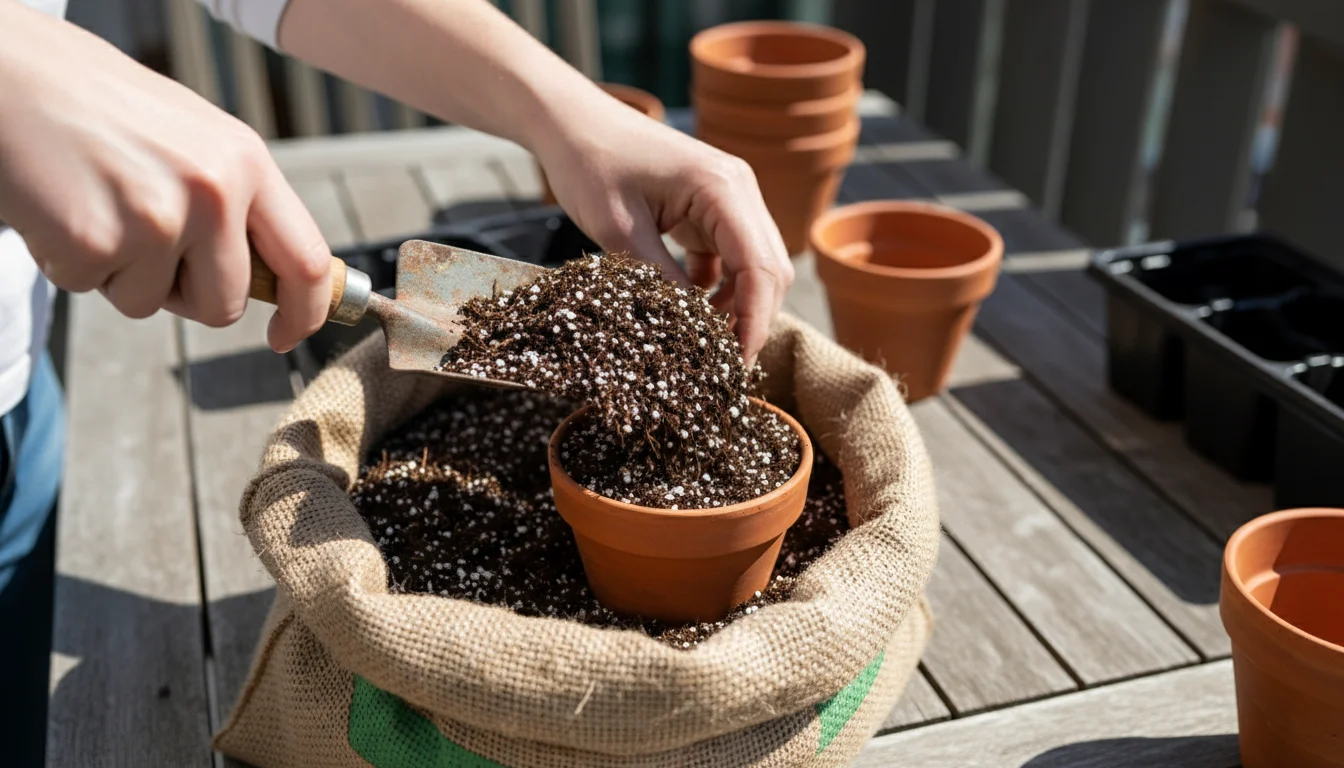
Preparing Your Containers
Before adding soil, ensure your containers are clean. If reusing pots, wash them thoroughly with a stiff brush and a solution of one part bleach to nine parts water to kill any lingering pathogens or pest eggs. Rinse them well and allow them to air dry completely before use. This simple step prevents the transfer of diseases from previous plantings. Fill your containers with potting mix, leaving about an inch or two of space from the rim. This gap, known as the “headspace,” prevents soil and water from overflowing during watering. You create an optimal environment for your spring plants from the very beginning.
What to Plant: Spring’s Bounty for Containers
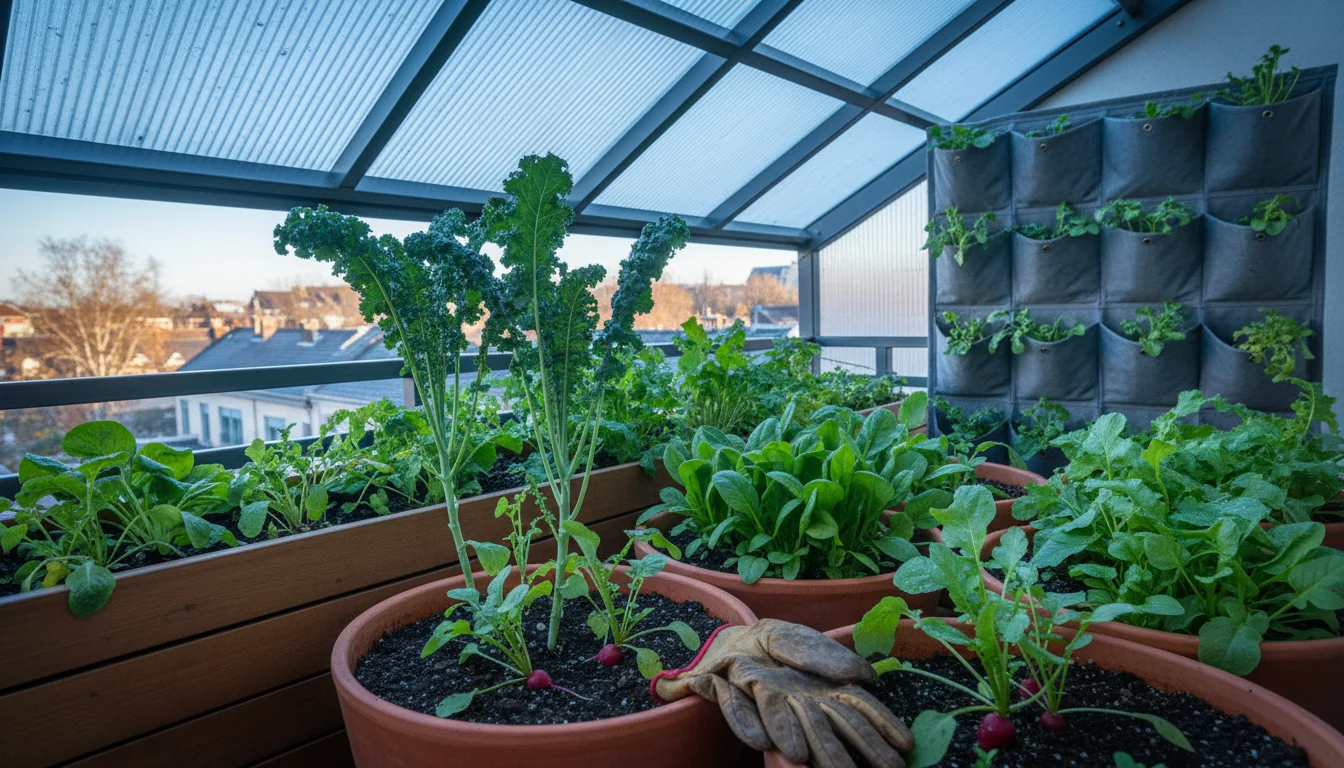
Spring offers a delightful array of plants perfectly suited for container gardening. Focus on cool-season varieties that thrive in mild temperatures and benefit from the gentle warmth of the spring sun. Your spring planting guide for containers should include a mix of edibles and ornamentals to maximize enjoyment and utility.
While choosing your favorites, don’t forget to consider native plants that thrive in containers to help support local wildlife and pollinators.
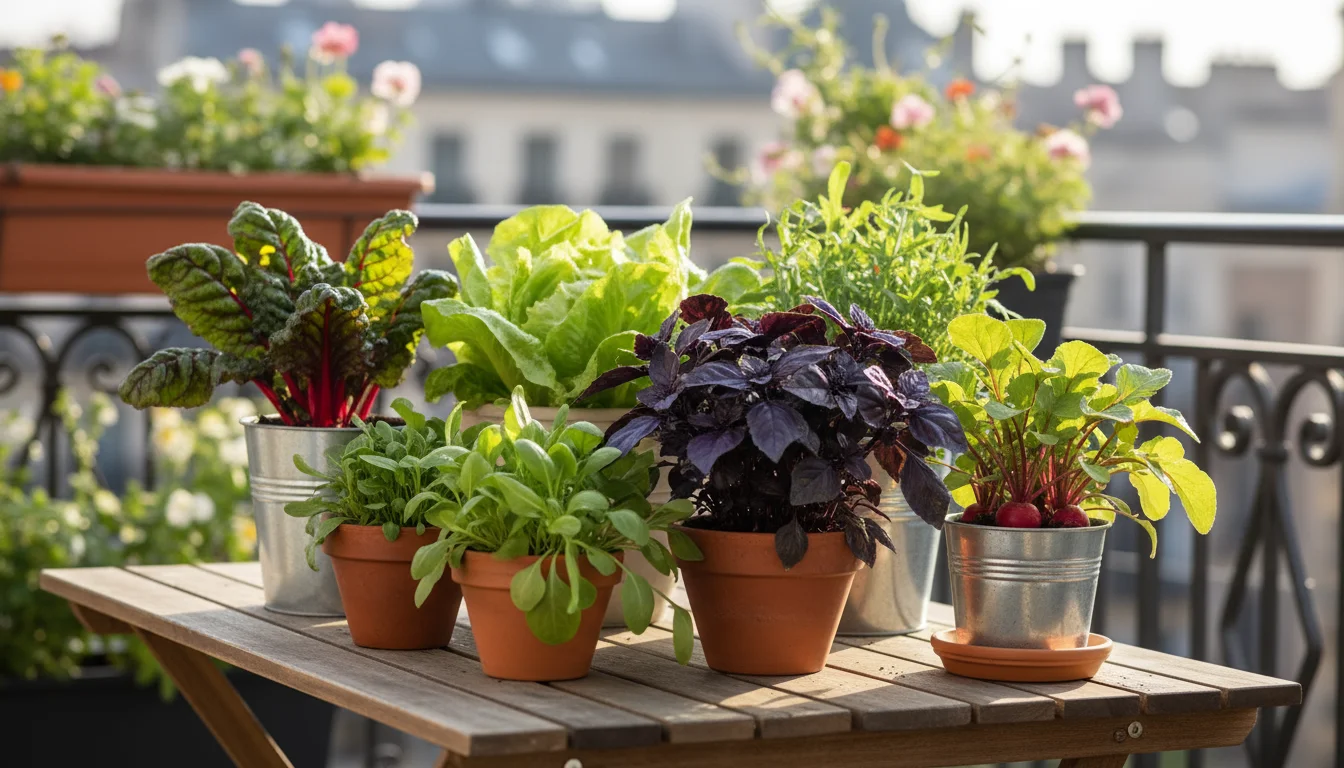
Vibrant Edibles for Your Kitchen
Growing your own food in containers is incredibly rewarding. Consider these spring-friendly edibles:
- Leafy Greens: Lettuce, spinach, kale, arugula, and Swiss chard flourish in containers. They have relatively shallow root systems and produce continuous harvests. Plant them in succession every few weeks for a steady supply. For instance, sow a small batch of lettuce seeds every two weeks from early spring until temperatures consistently exceed 75°F (24°C).
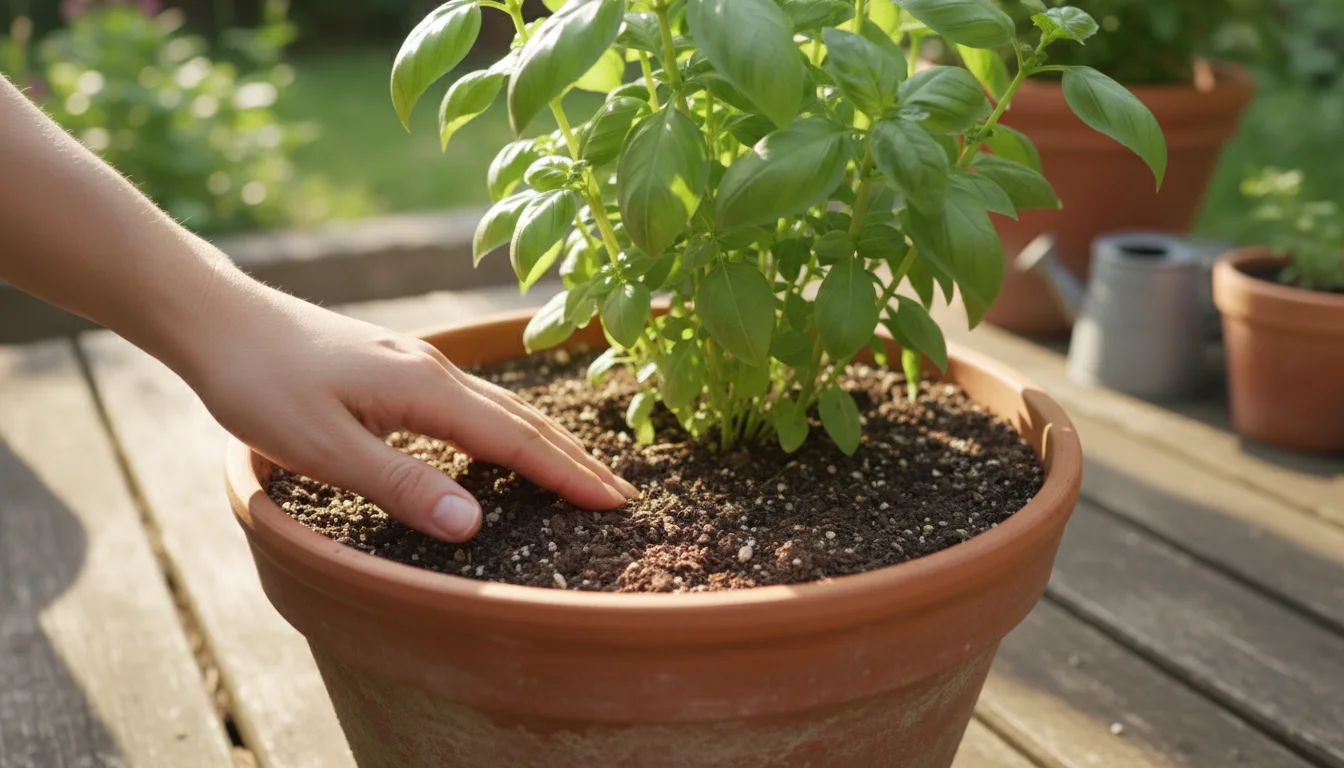
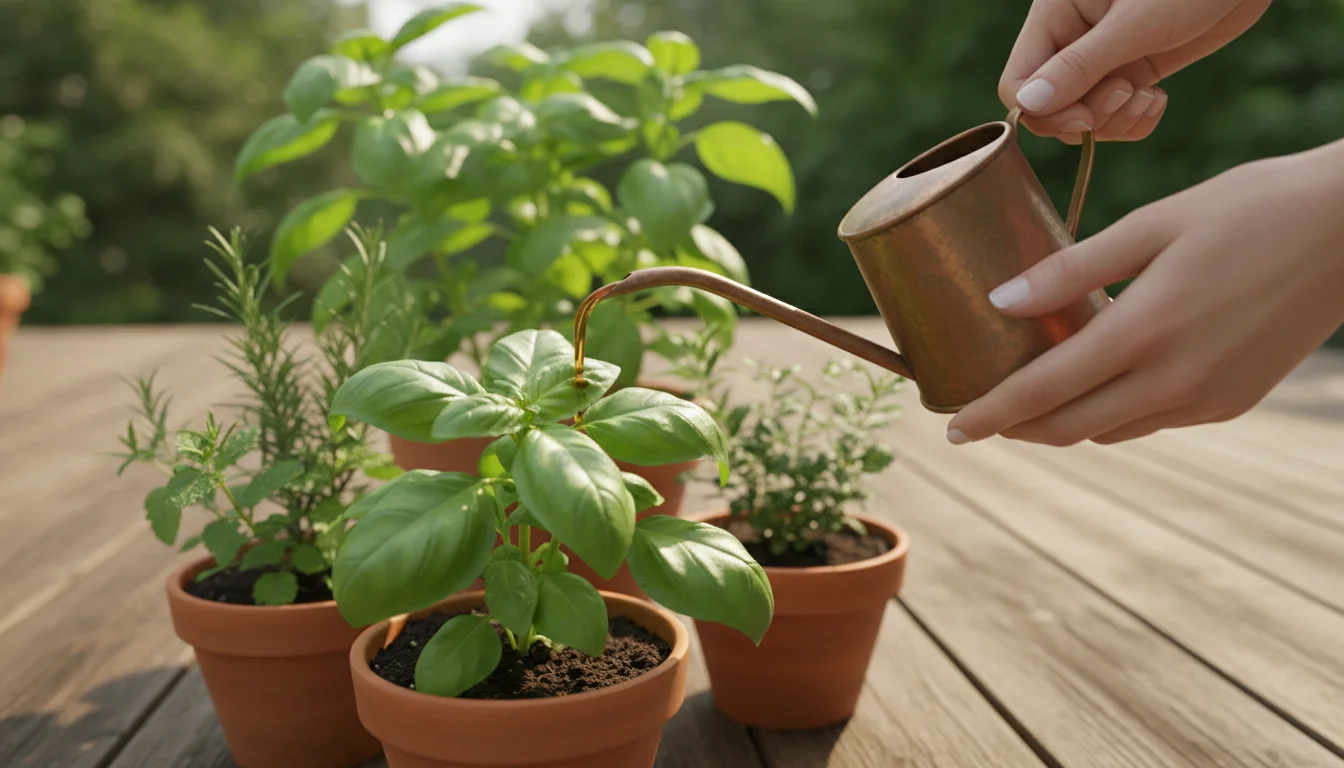
- Herbs: Many popular herbs thrive in pots. Basil, cilantro, parsley, chives, mint, and oregano are excellent choices. Mint needs its own pot, as its vigorous growth can quickly overtake other plants. You benefit from fresh flavors right outside your door.
- Radishes: These fast-growing root vegetables mature quickly, often within 3-4 weeks. Plant seeds directly into containers at least 6-8 inches deep for good root development.
- Bush Beans: Look for “bush” varieties, which are compact and do not require trellising like pole beans. They produce abundant harvests in a relatively small space.
- Dwarf Carrots: Short varieties like ‘Danvers Half Long’ or ‘Paris Market’ perform well in deeper containers (10-12 inches deep). Ensure the soil remains loose and well-draining to prevent misshapen roots.
Beautiful Flowers to Brighten Your Space
Ornamental plants add color, texture, and fragrance to your container garden. Many annuals thrive in spring’s milder weather:
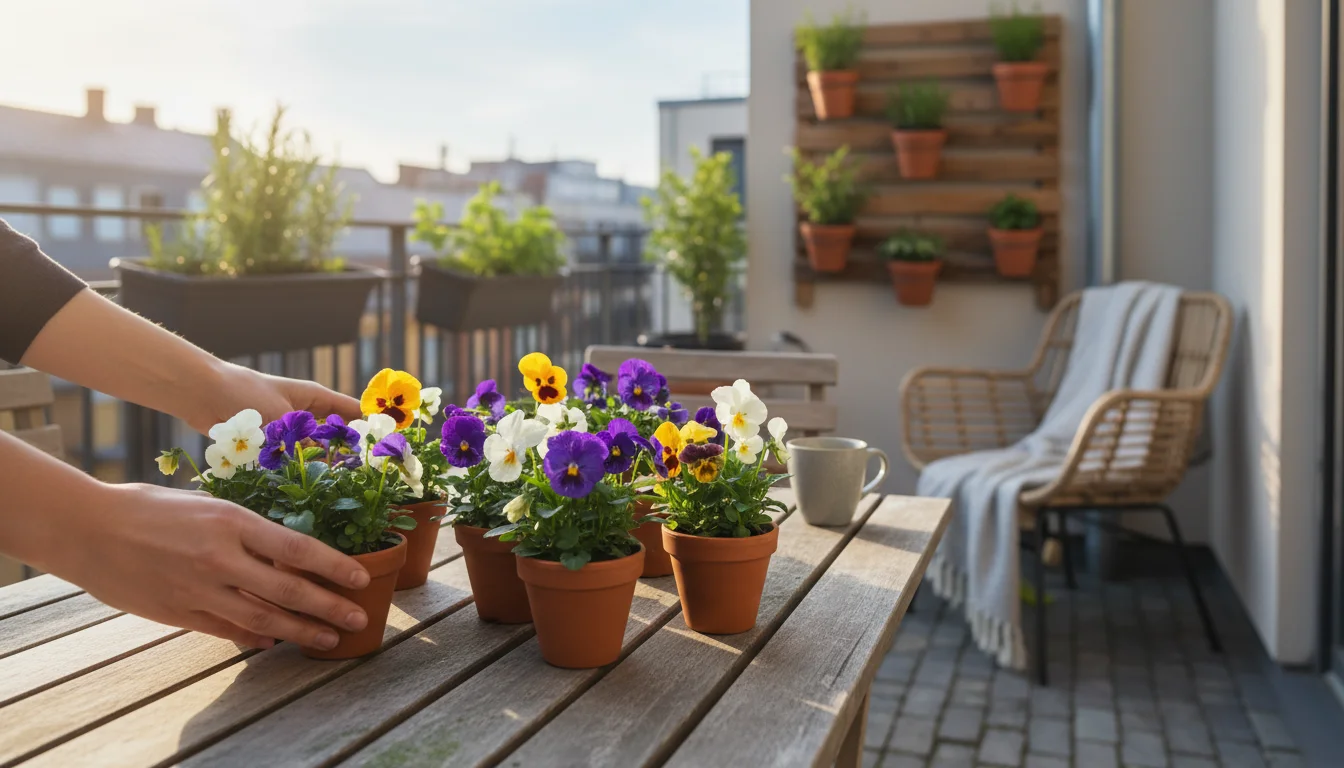
- Pansies and Violas: These cheerful flowers tolerate cool temperatures and offer a wide range of colors. They often bloom from early spring until the summer heat becomes intense.
- Petunias: A classic choice for containers, petunias produce a profusion of blooms. Look for trailing varieties for hanging baskets or container edges. They prefer full sun and consistent moisture.
- Snapdragons: With their unique flower spikes, snapdragons add vertical interest. They prefer full sun and well-draining soil.
- Dianthus: Also known as “pinks,” dianthus offers delicate, often fragrant flowers in shades of pink, red, and white. They prefer full sun and well-drained soil.
- Alyssum: This low-growing, spreading annual produces masses of tiny, fragrant flowers, often used as a “spiller” plant to cascade over the edge of containers.
When selecting plants, consider their sun requirements. Most vegetables and flowering annuals need at least 6-8 hours of direct sunlight per day. If your space offers less sun, choose shade-tolerant options like impatiens, coleus, or leafy greens. You empower your plants to thrive by matching them to their environmental needs.
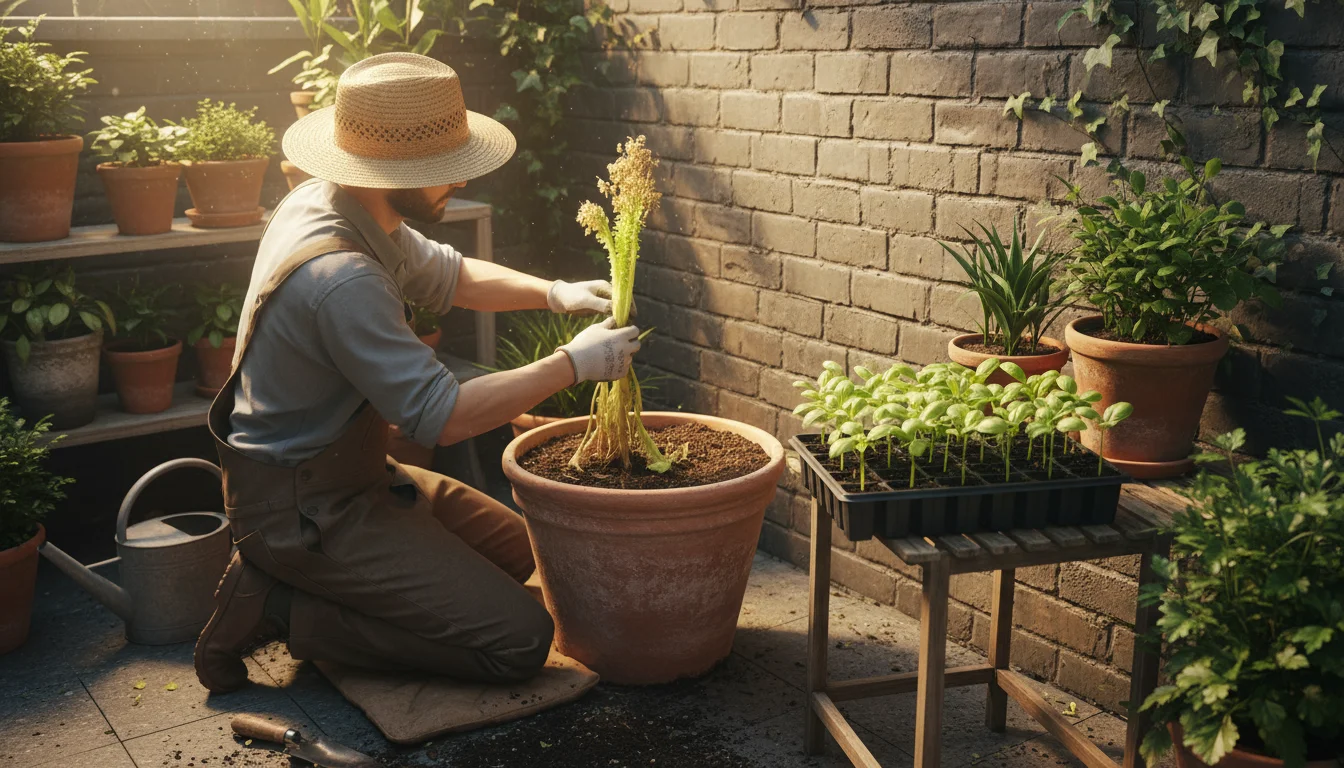
Planting Day: Step-by-Step Success
You have chosen your containers, prepared your soil, and selected your plants. Now comes the exciting part: planting them. Follow these simple steps for a successful spring planting experience. You ensure your plants get the best possible start in their new homes.
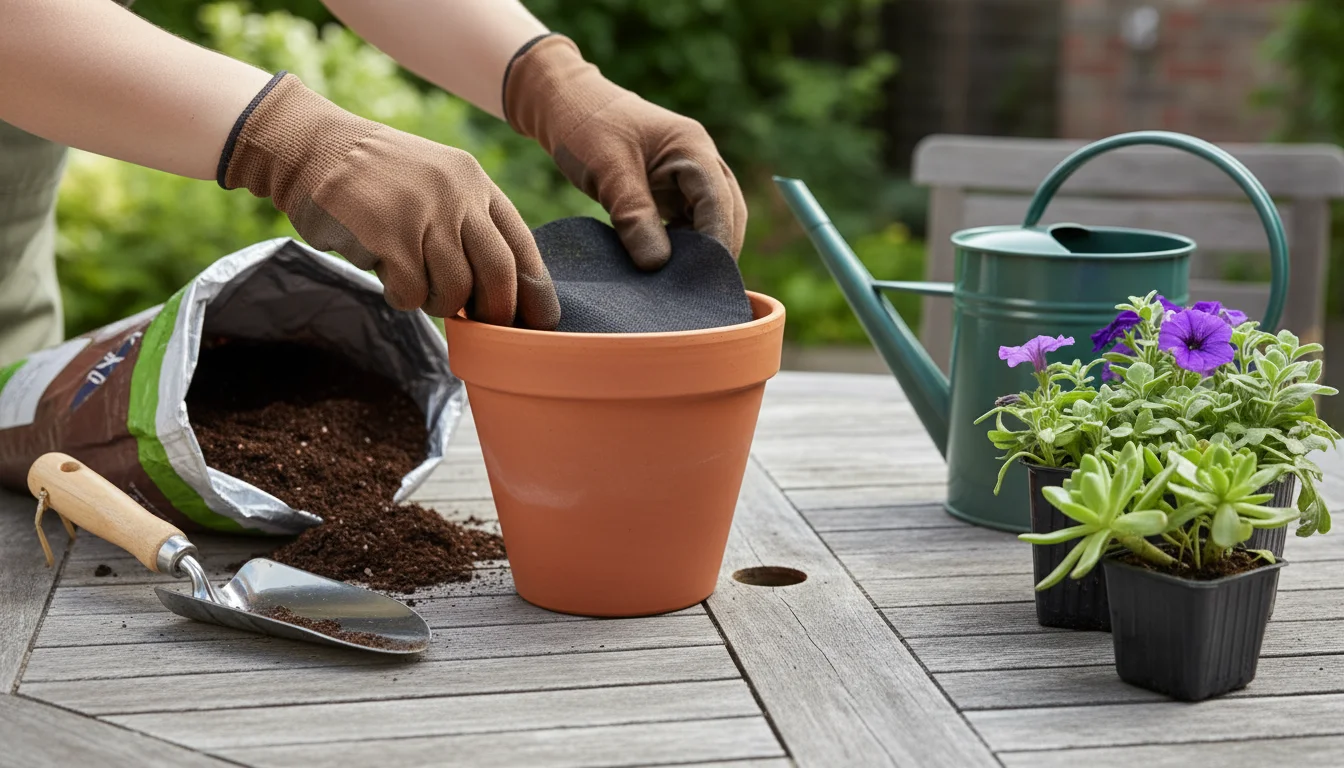
- Gather Your Tools: Collect everything you need before you begin. You will want your chosen containers, fresh potting mix, the plants you intend to pot, a small trowel or scoop, a watering can, and gardening gloves. Having everything organized streamlines the process.
- Prepare the Container: If reusing containers, ensure they are clean and dry, as discussed previously. Place a small piece of landscape fabric or a coffee filter over the drainage hole to prevent soil from washing out while allowing water to escape freely. Do not use gravel or pot shards; they hinder drainage.
- Add Potting Mix: Fill your container loosely with potting mix, leaving enough space for your plant’s root ball. The final soil level should be about 1-2 inches below the rim of the pot. This prevents water and soil from spilling over when you water.
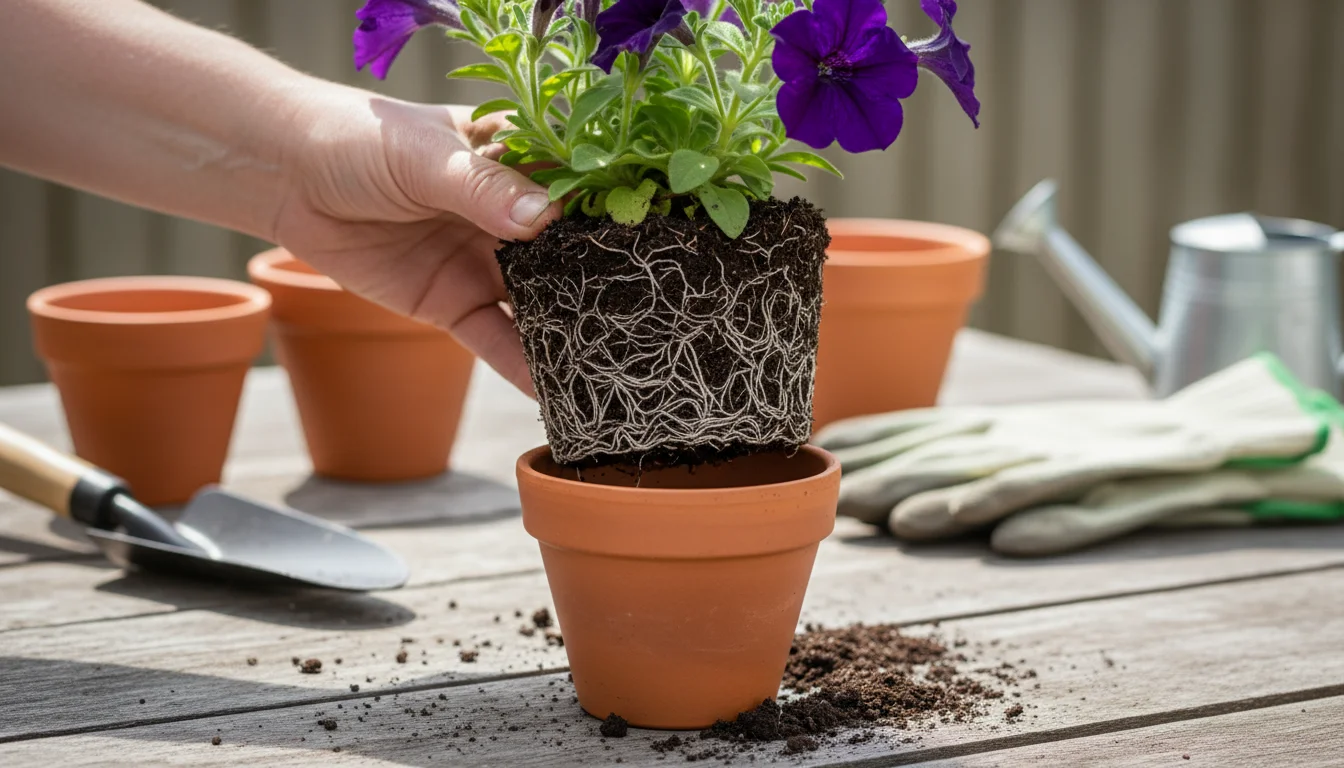
- Remove Plant from Nursery Pot: Gently squeeze the sides of the nursery pot and carefully tip the plant out, supporting the base of the stem. Avoid pulling the plant by its stem. If the roots are circling tightly around the bottom of the pot, your plant is root-bound. Gently tease them apart with your fingers to encourage outward growth into the new potting mix.
- Position the Plant: Place the plant in the center of the container. Ensure the top of the plant’s root ball is level with, or slightly below, the surrounding soil line. This prevents water from pooling around the stem and causing rot. Adjust the amount of potting mix beneath the plant as needed to achieve the correct height.
- Fill with More Potting Mix: Backfill around the root ball with fresh potting mix, gently firming it down to remove large air pockets. Do not compact the soil too tightly; roots need aeration. Ensure the soil covers the entire root ball.
- Water Thoroughly: Immediately after planting, water your container deeply until water drains from the bottom. This settles the soil around the roots and eliminates any remaining air pockets. You provide your new plants with essential hydration.
- Add Mulch (Optional but Recommended): A layer of mulch, such as wood chips, straw, or coco coir, on top of the soil helps retain moisture, regulate soil temperature, and suppress weeds. It can reduce watering frequency and keep your plants happier.
By following these steps, you give your plants a strong foundation for robust growth and a thriving spring season.
Watering Wisdom for Thriving Containers
Proper watering is the single most critical factor for container garden success. Container plants dry out faster than those in garden beds due to increased air exposure around the pot and limited soil volume. You must develop keen observation skills to meet your plants’ hydration needs.
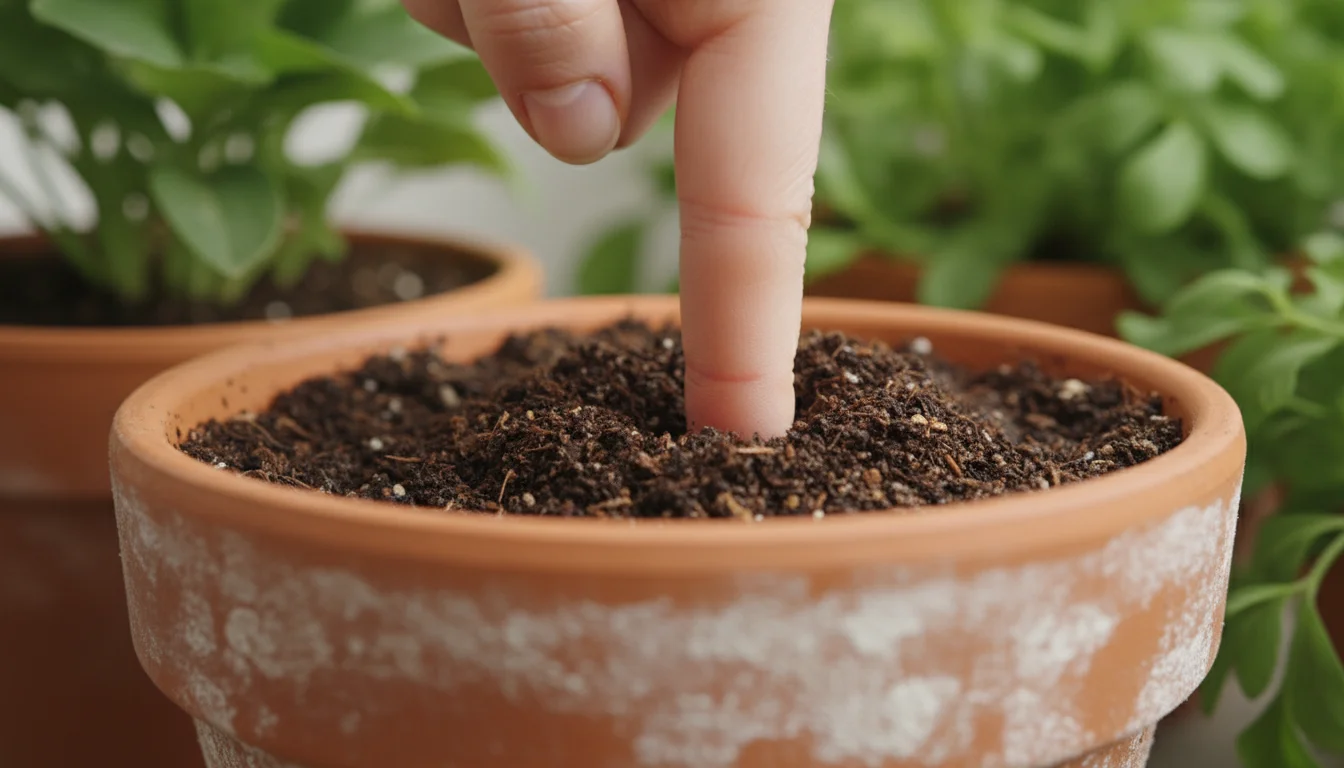
When to Water: The Finger Test
Forget strict schedules. The best way to determine if your plant needs water is to check the soil moisture directly. Stick your finger about 1-2 inches deep into the potting mix. If the soil feels dry at that depth, it is time to water. If it feels moist, wait. This “finger test” is more reliable than visual cues alone.
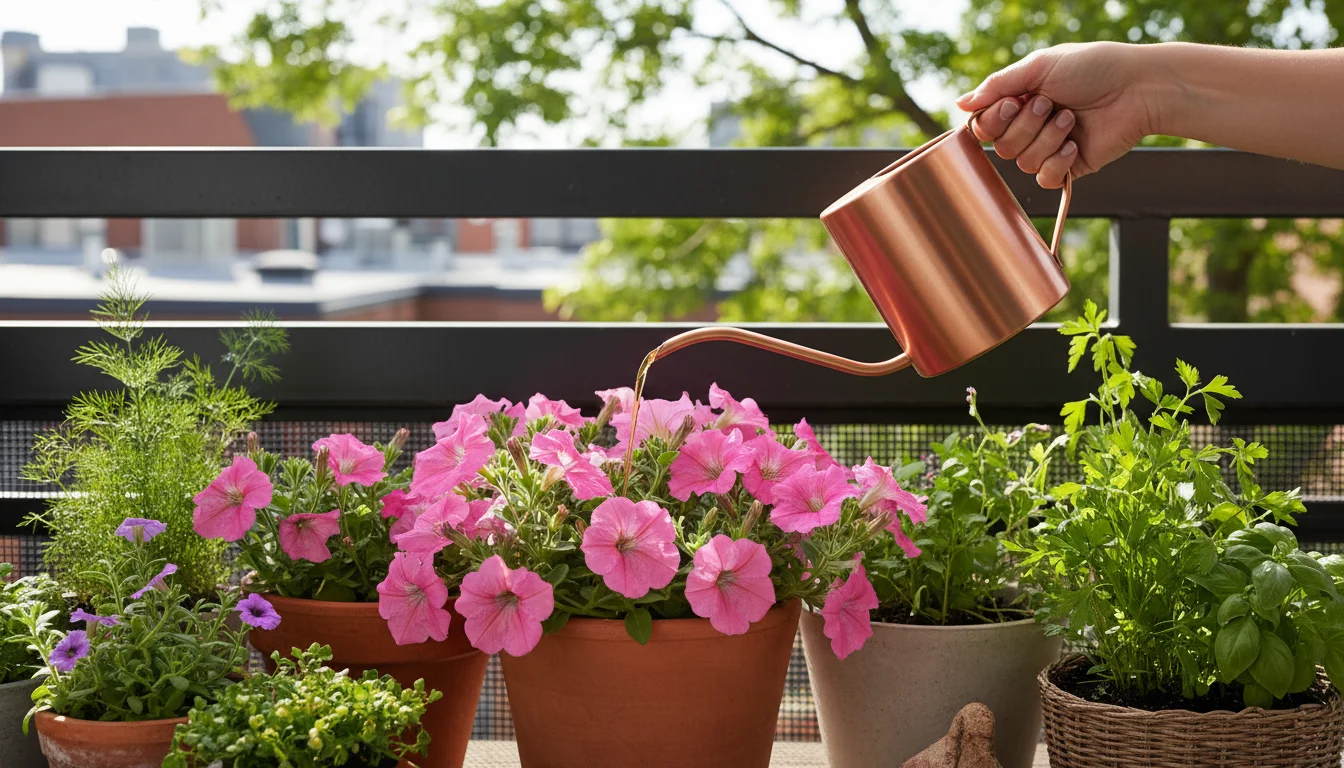
How to Water: Deep and Thorough
When you water, do it thoroughly. Pour water slowly and evenly over the soil surface until it begins to drain from the bottom of the pot. This ensures the entire root ball receives hydration. Avoid light, frequent sprinklings, which only moisten the top layer of soil and encourage shallow root development. Deep watering encourages roots to grow downward, making the plant more resilient.
Understanding Water-Wise Practices
- Monitor Weather: Hot, sunny, and windy conditions accelerate evaporation, meaning your plants will need water more frequently. Cool, overcast weather slows down water loss. Adjust your watering based on daily conditions.
- Container Material Matters: As mentioned, terra cotta dries out faster than plastic or glazed pots. Account for your container type in your watering routine. Fabric grow bags also promote faster drying due to their breathability.
- Plant Size and Type: Larger plants with extensive root systems or plants in bloom typically require more water than smaller plants or those not actively growing.
- Mulch: A 1-2 inch layer of organic mulch significantly reduces water evaporation from the soil surface, helping to maintain consistent soil moisture. You can use straw, coco coir, or wood chips.
- Time of Day: Water in the early morning or late evening. This minimizes water loss through evaporation, especially during warm spring days, and allows plants to absorb moisture before the heat of the day. Watering in the middle of the day can lead to significant water waste.
- Self-Watering Planters: Consider self-watering containers, which have a built-in reservoir that slowly wicks water up to the plant roots. These are excellent for reducing watering frequency, especially for thirsty plants or if you travel frequently.
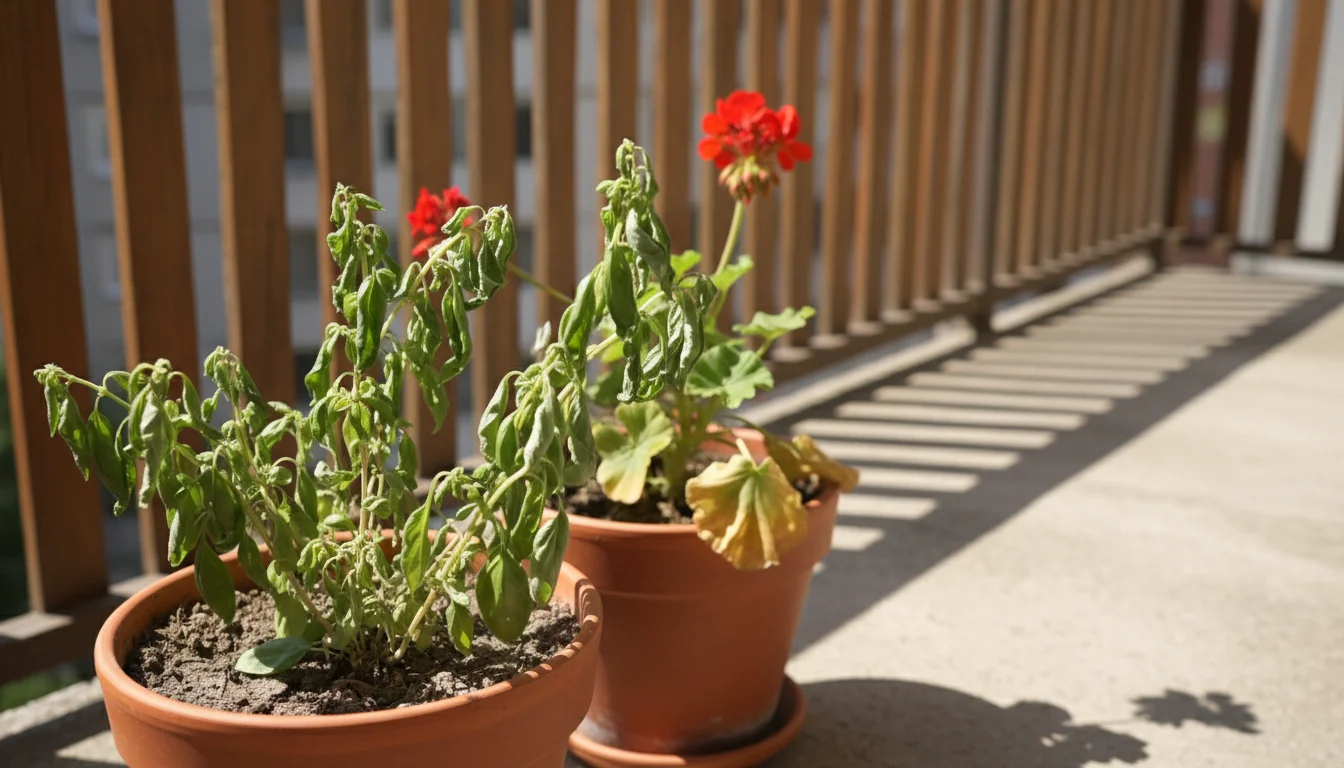
Wilting leaves often signal a plant needs water, but they can also indicate overwatering. If the soil feels dry and the leaves are drooping, water immediately. If the soil feels wet and the leaves are wilting or yellowing, you are likely overwatering, and root rot may be setting in. Always confirm soil moisture with your finger test before reaching for the watering can. You master your container garden’s hydration needs through consistent observation and smart practices.
Feeding Your Spring Garden
Container plants rely entirely on you for their nutritional needs. Unlike garden beds where roots can spread to find nutrients, plants in pots quickly deplete the limited nutrients present in potting mix. Regular feeding ensures vigorous growth and abundant blooms or harvests. You provide your plants with the fuel they need to thrive.
Why Container Plants Need Frequent Feeding
Potting mixes typically contain a small amount of starter fertilizer, but these nutrients are usually exhausted within a few weeks of planting. Additionally, frequent watering, essential for container plants, leaches nutrients from the soil over time. Therefore, you must replenish these vital elements throughout the growing season.
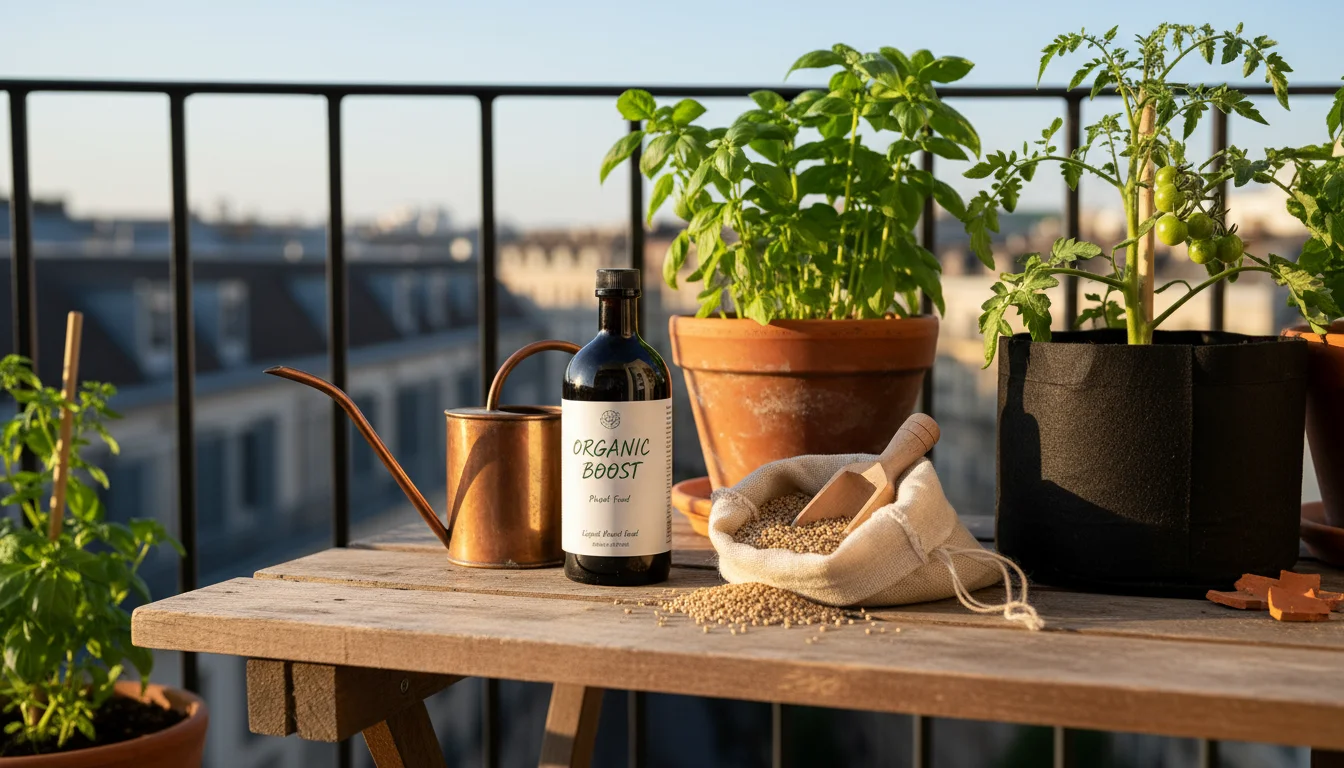
Choosing the Right Fertilizer
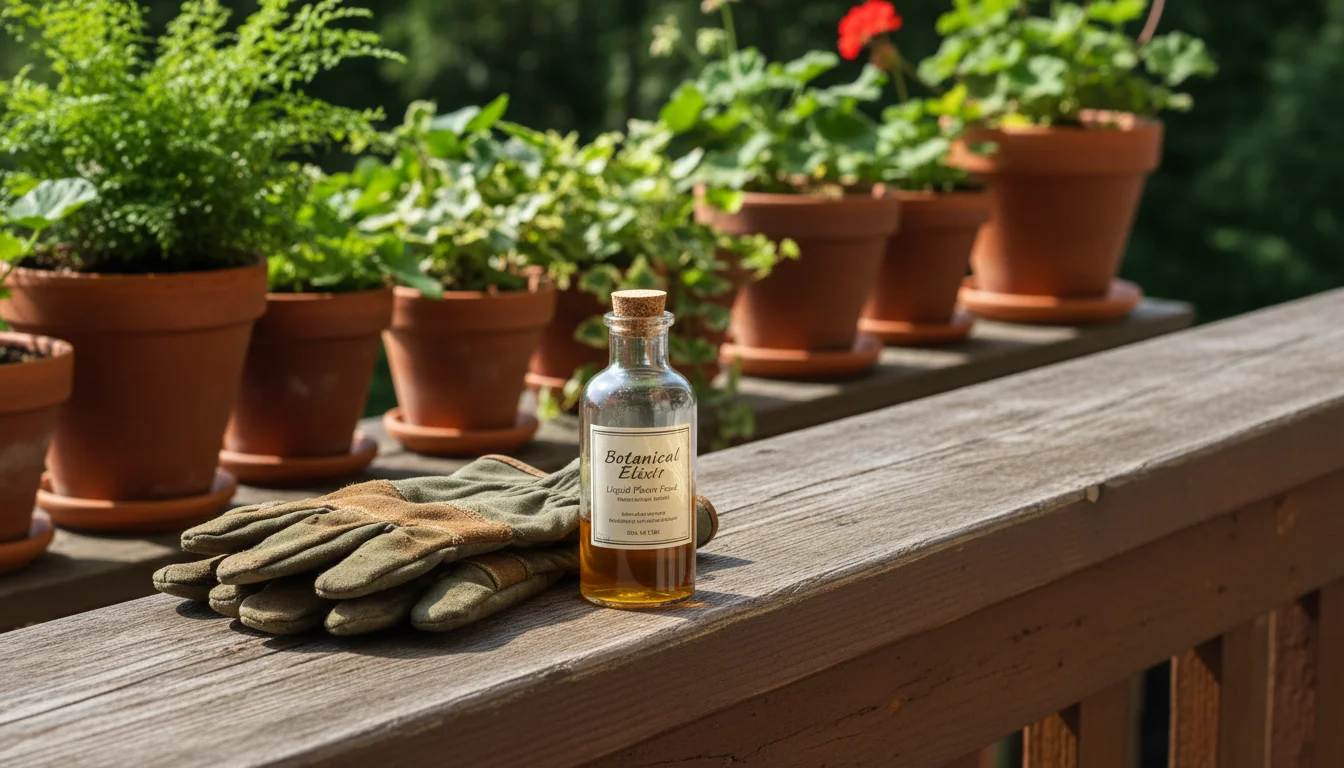
You have several excellent options for fertilizing your spring container garden:
- Organic Liquid Fertilizers: These are often derived from kelp, fish emulsion, or compost tea. They provide a quick boost of nutrients that plants can readily absorb. Liquid fertilizers require more frequent application, typically every 2-4 weeks, as they wash out of the soil relatively quickly. Dilute them according to package directions; over-fertilizing can harm plants.
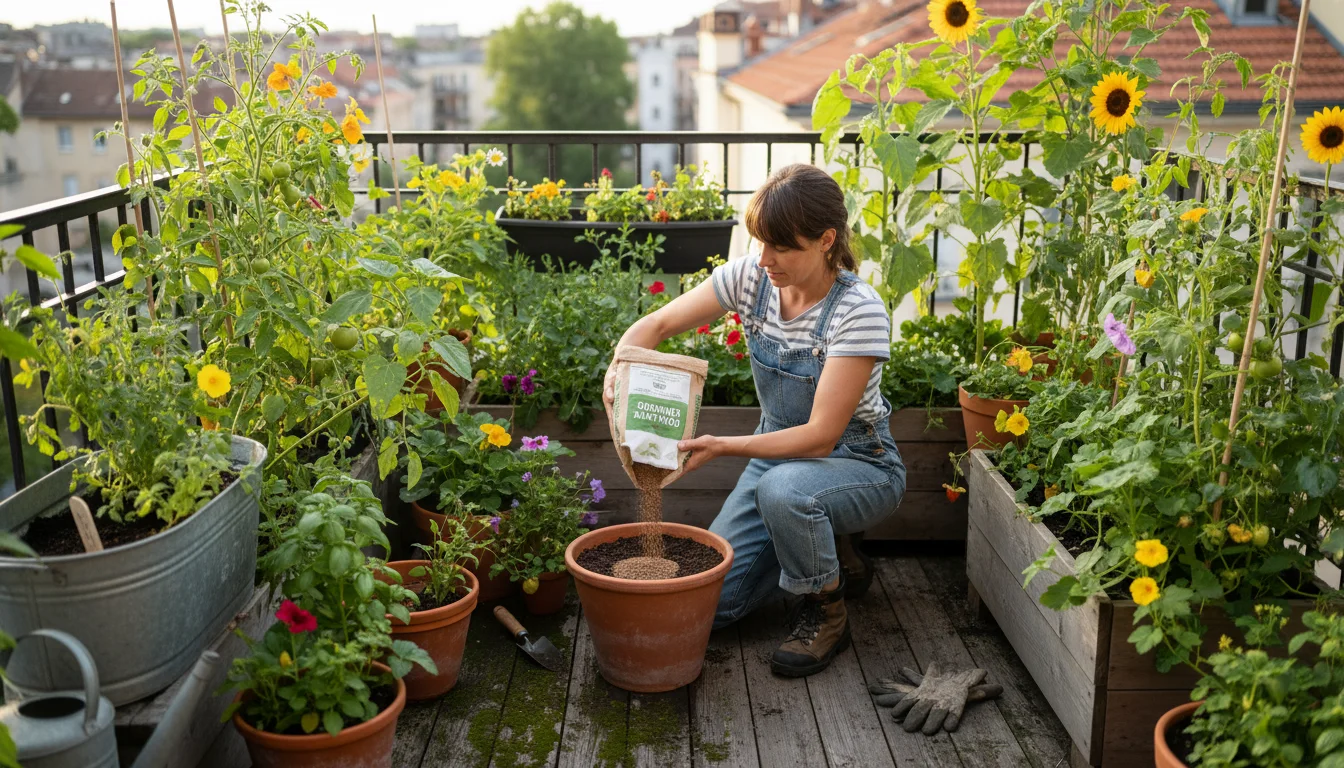
- Slow-Release Granular Fertilizers: These come in pellet form and are incorporated into the potting mix at planting time or sprinkled on the soil surface. They release nutrients slowly over several months, usually activated by moisture and temperature. This “set it and forget it” approach simplifies your feeding routine. Look for organic options.
- Compost: Mixing a handful of well-rotted compost into the potting mix at planting time provides a gentle, slow release of nutrients and improves soil structure. You can also top-dress your containers with a thin layer of compost every few weeks, allowing water to carry nutrients down into the root zone.
Understanding Fertilizer Ratios (N-P-K)
Fertilizer labels display three numbers, representing the percentage of Nitrogen (N), Phosphorus (P), and Potassium (K) by weight. These macronutrients play crucial roles:
- Nitrogen (N): Promotes lush, green leafy growth. Important for herbs and leafy greens.
- Phosphorus (P): Essential for root development, flowering, and fruiting. Good for flowering annuals and fruiting vegetables.
- Potassium (K): Supports overall plant health, disease resistance, and fruit quality.
For most general-purpose container gardening, a balanced fertilizer (e.g., 5-5-5 or 10-10-10) works well. For flowering plants, you might opt for a fertilizer with a higher phosphorus number (e.g., 2-4-2). Always follow the product instructions carefully; more is not better when it comes to fertilizer, and over-application can burn roots.
Timing is Key
Start fertilizing your spring containers about 2-4 weeks after planting, once the initial nutrients in the potting mix have been used up. Continue feeding throughout the active growing season. For most spring annuals and vegetables, this means regular feeding until the heat of summer encourages them to slow down or complete their life cycle. You empower your plants to reach their full potential with consistent, appropriate nutrition.
Pest Patrol and Disease Prevention
Even in a small container garden, pests and diseases can appear. Early detection and proactive prevention are your best defense. You can maintain a healthy, thriving garden without resorting to harsh chemicals.
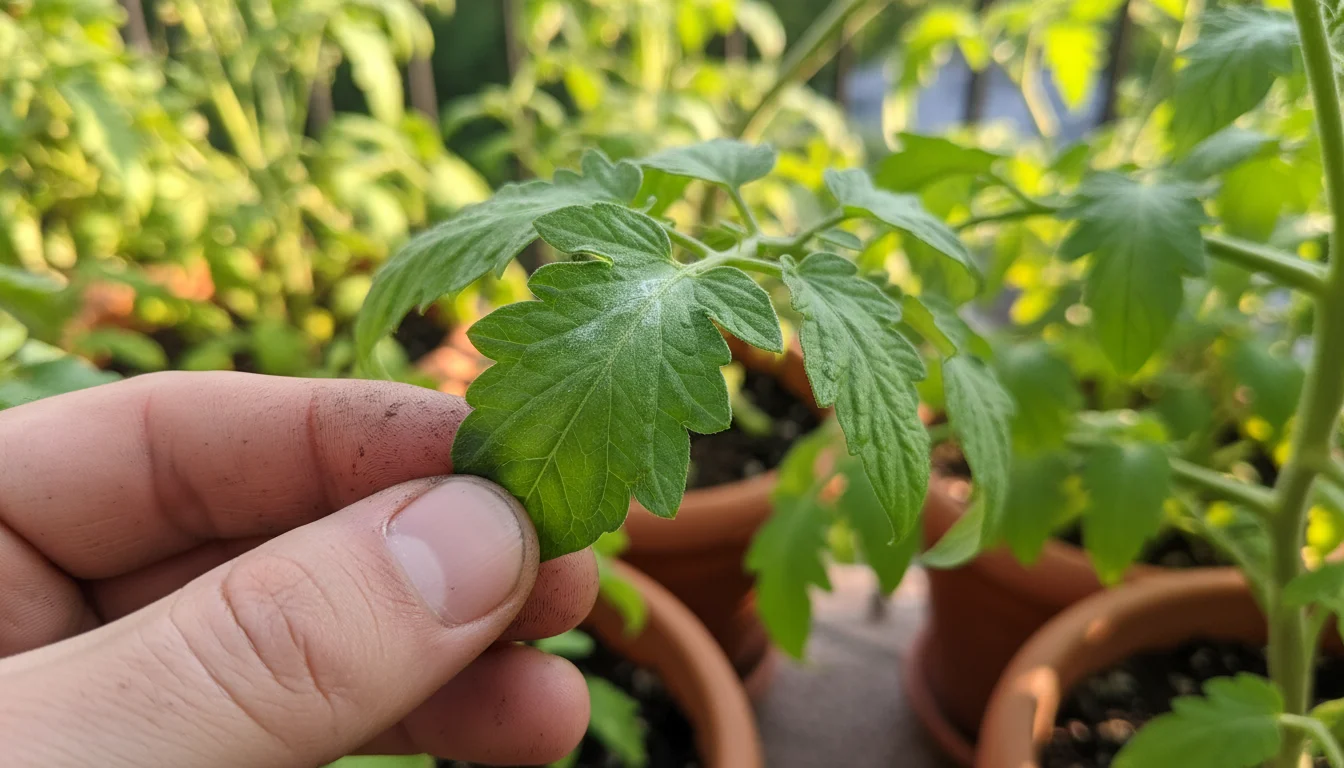
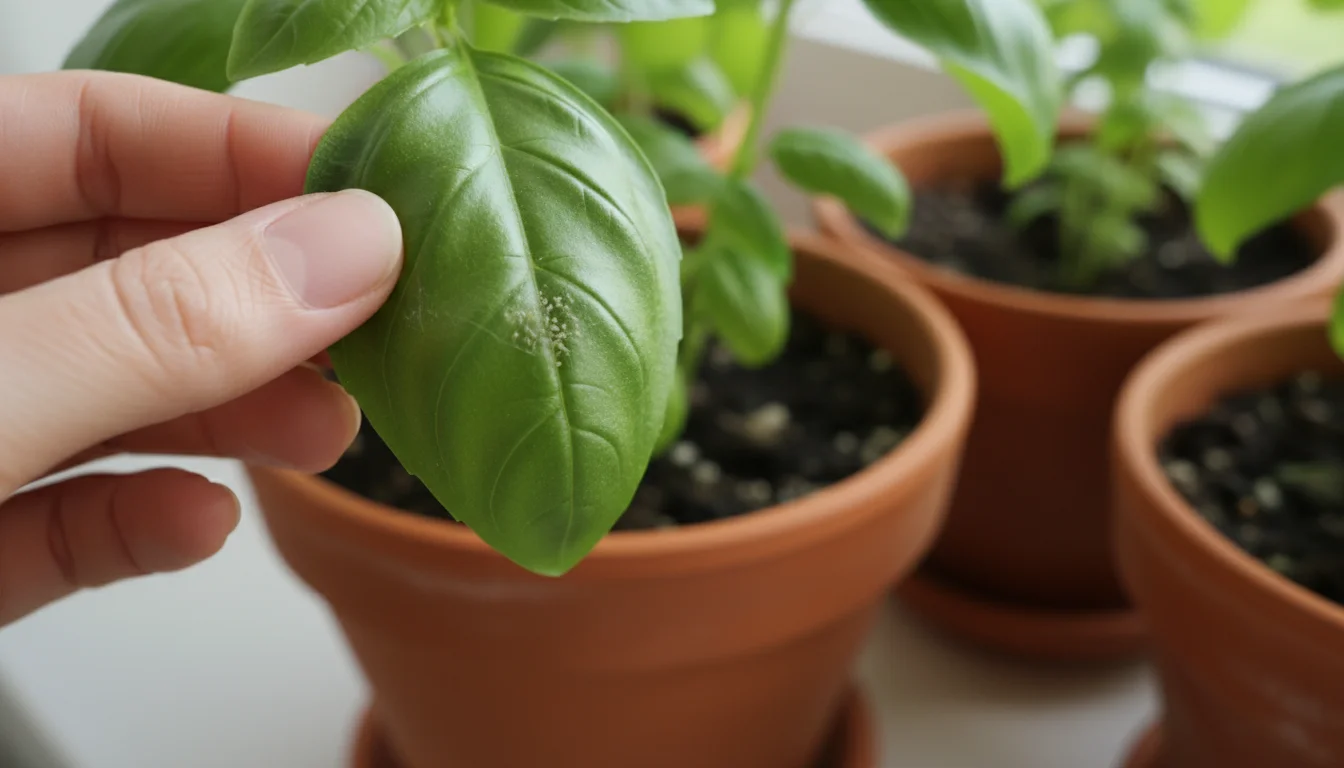
Daily Checks: Your First Line of Defense
Make it a habit to inspect your plants daily. This quick check allows you to spot problems before they escalate. Look for:
- Discolored or damaged leaves: Yellowing, brown spots, chewed edges, or distorted growth.
- Sticky residue (honeydew): Often a sign of sap-sucking insects like aphids.
- Tiny insects: Check both the tops and, importantly, the undersides of leaves, and along stems.
- Unusual growth: Fungal spots, powdery mildew (a white, powdery coating on leaves), or stunted growth.
Common Spring Pests and Simple Solutions
- Aphids: Small, pear-shaped insects often green, black, or red. They cluster on new growth and suck plant sap.
Solution: Spray them off with a strong jet of water. For persistent infestations, use insecticidal soap, ensuring you coat the pests directly. Introduce beneficial insects like ladybugs, which are natural aphid predators.
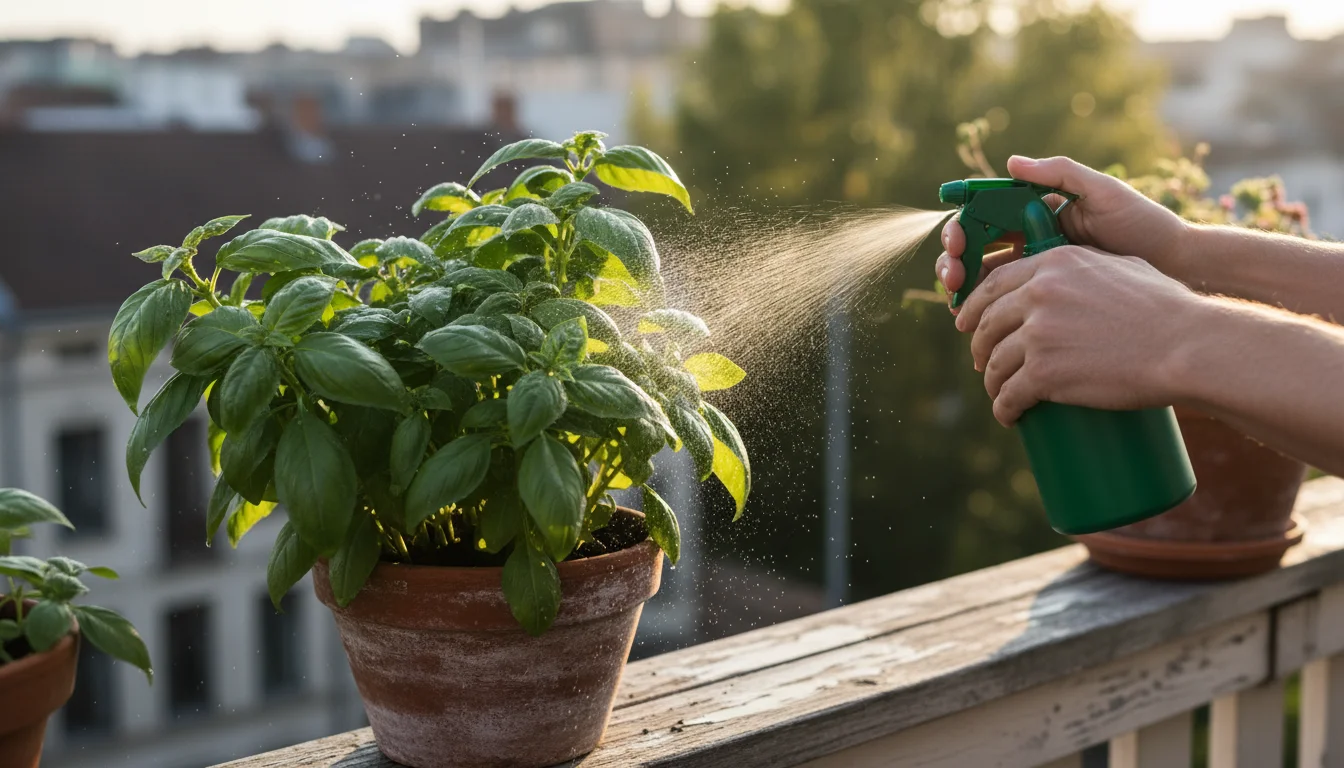
- Spider Mites: Tiny, almost microscopic pests that create fine webbing on plants. They cause stippling (tiny dots) on leaves and can quickly devastate plants in dry conditions.
Solution: Increase humidity around your plants with regular misting. Rinse plants thoroughly with water. Apply insecticidal soap or neem oil for severe cases, focusing on the undersides of leaves.
- Whiteflies: Small, white, winged insects that flutter when disturbed. They feed on plant sap and can spread rapidly.
Solution: Use yellow sticky traps to catch adults. Spray with insecticidal soap or neem oil, ensuring thorough coverage.
Disease Prevention and Management
Many common plant diseases are fungal and thrive in humid, stagnant conditions. You can prevent most diseases with good cultural practices:
- Provide Good Air Circulation: Space your containers adequately to allow air to flow around plants. Avoid overcrowding.
- Water Properly: Water the soil, not the leaves, especially in the evening. Wet foliage, particularly overnight, encourages fungal growth.
- Use Clean Tools: Sterilize your pruning shears or scissors with rubbing alcohol between plants to prevent the spread of diseases.
- Remove Infected Parts: Promptly snip off any leaves or stems showing signs of disease to prevent it from spreading to healthy parts of the plant. Dispose of infected material in the trash, not your compost pile.
- Neem Oil: This natural oil acts as both a fungicide and an insecticide, disrupting the life cycle of many pests and preventing fungal spores from germinating. Apply it preventatively or at the first sign of trouble.
By regularly monitoring your plants and acting quickly at the first sign of trouble, you can manage most pest and disease issues effectively and keep your container garden healthy and vibrant. You become a vigilant guardian of your garden’s well-being.
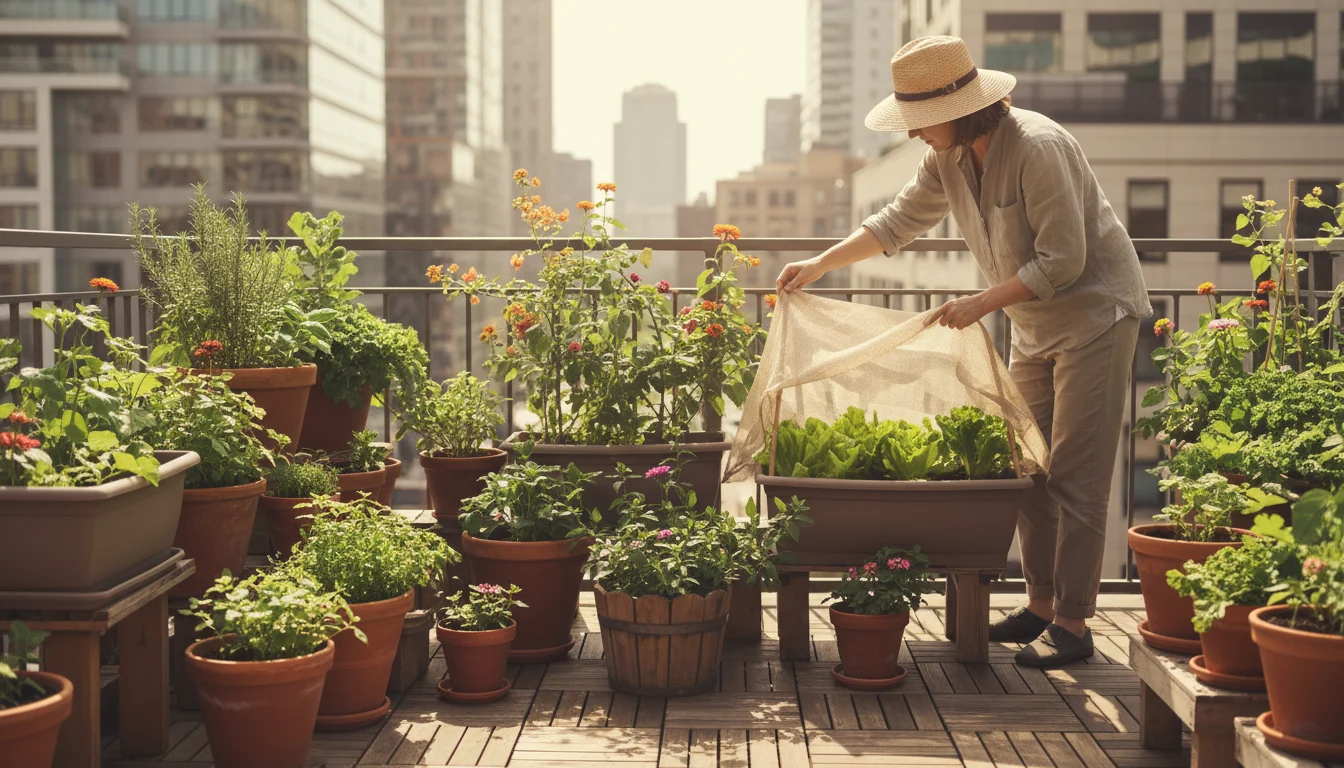
Seasonal Transitions: Preparing for Summer
As spring gives way to summer, your container garden will experience a shift in temperatures and light conditions. You need to adjust your care routines to help your plants thrive through the warmer months. This seasonal gardening approach ensures continuous beauty and productivity.
Embracing Succession Planting
Many cool-season spring plants, like lettuce, spinach, and pansies, tend to “bolt” (go to seed) or simply fade once summer’s intense heat arrives. You can plan for this by engaging in succession planting. As your spring crops finish producing, remove them and replace them with heat-loving plants for summer.
- Summer Vegetables: Consider planting tomatoes (dwarf varieties for containers), peppers, eggplants, bush beans, or cucumbers. These thrive in warm temperatures and full sun.
- Summer Flowers: Swap out cool-season annuals for petunias, marigolds, zinnias, coleus, or impatiens (for shady spots). These plants offer continuous color throughout the summer.
- Herbs: Continue growing heat-tolerant herbs like basil, rosemary, thyme, and oregano.
This approach maximizes the use of your container space and provides a continuous harvest or display of color. You keep your garden dynamic and productive.
Adjusting Your Care Routine for Warmer Weather
Summer’s heat brings increased demands on your container plants:
- Increased Watering: You will likely need to water more frequently, possibly once or even twice a day, especially for plants in smaller containers or terra cotta pots. Continue with the finger test, but anticipate shorter intervals between waterings.
- Fertilization: Continue your regular feeding schedule, as plants actively growing and producing flowers or fruit require consistent nutrients.
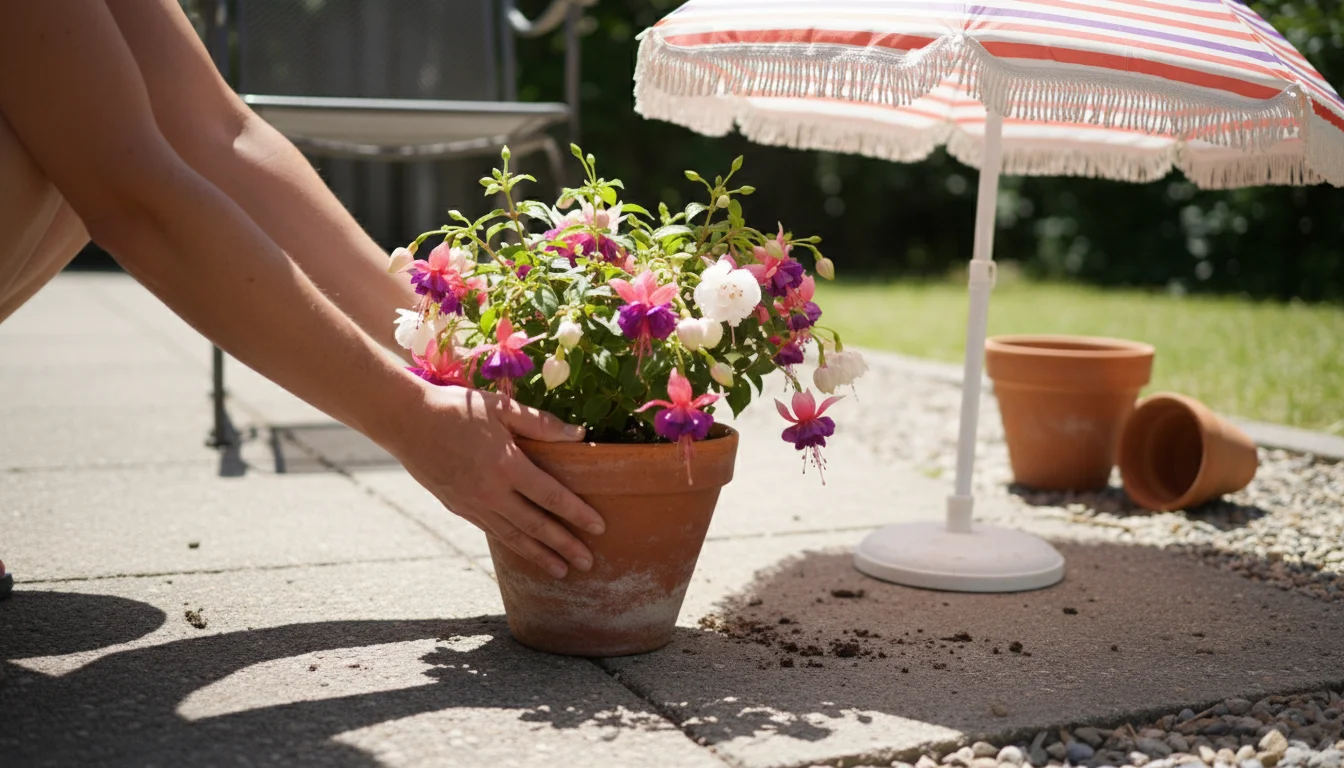
- Sun Protection: Some plants may struggle with intense afternoon sun in hot climates. Consider moving containers to a spot with partial shade during the hottest part of the day or using shade cloth.
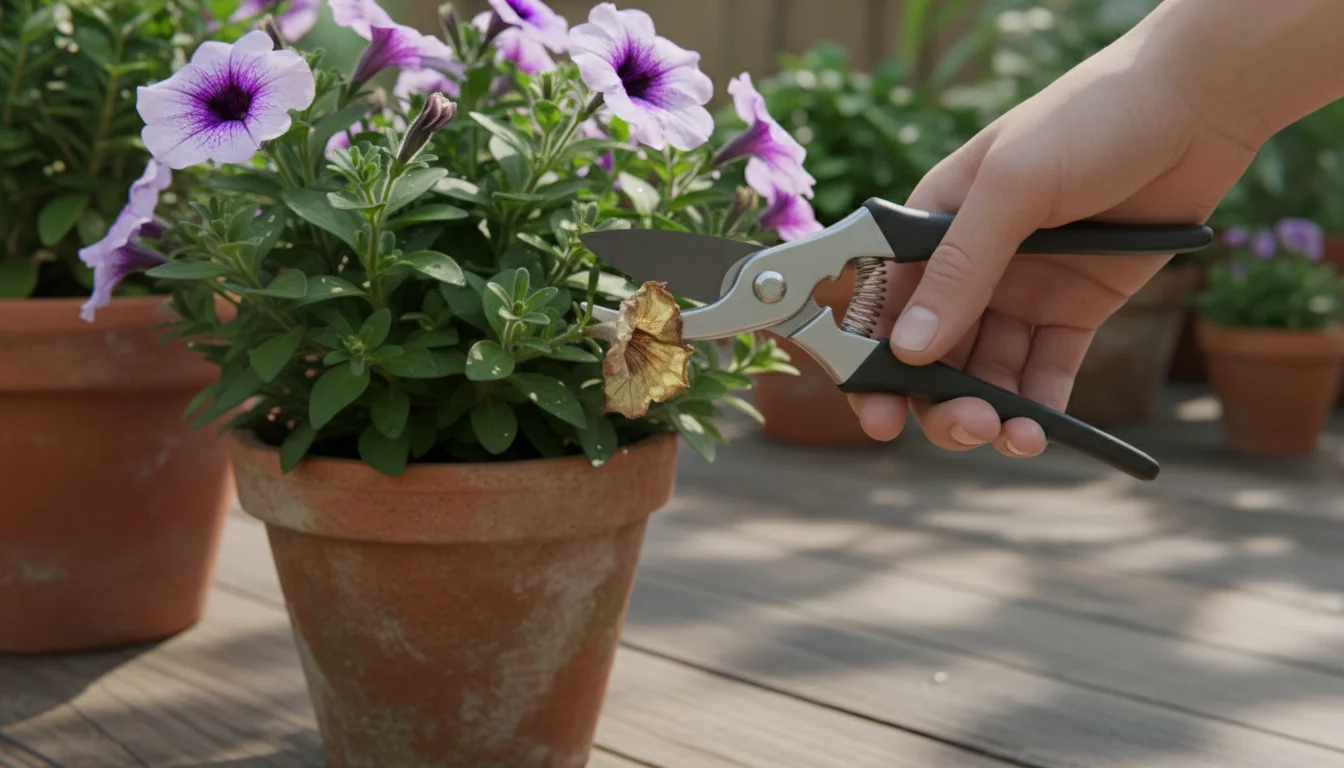
- Pruning and Deadheading: Regularly deadhead (remove spent flowers) your flowering annuals to encourage new blooms. Prune back leggy growth on vegetables or herbs to maintain shape and encourage bushier growth.
By anticipating these seasonal changes and adapting your care, you ensure your container garden remains a vibrant and productive part of your home throughout the year. Your understanding of seasonal gardening makes you a more effective plant parent.
Frequently Asked Questions
How do I know if my plant is root-bound?
You can usually tell if your plant is root-bound by observing its growth or by carefully removing it from its pot. If roots are circling tightly around the inside of the pot, growing out of the drainage holes, or if the plant’s growth seems stunted despite adequate water and fertilizer, it is likely root-bound. You should gently tease the roots apart and repot the plant into a larger container.
Can I use regular garden soil in my containers?
No, you should avoid using regular garden soil in containers. Garden soil is too heavy and dense; it compacts easily in pots, preventing proper drainage and aeration. This suffocates roots and leads to poor plant growth. Always use a lightweight, well-draining potting mix specifically formulated for containers.
My container plants are wilting even after I water them. What is wrong?
Wilting can indicate either underwatering or overwatering. First, check the soil moisture with your finger. If the soil is bone dry, water thoroughly. If the soil is wet or soggy, you are likely overwatering, which starves roots of oxygen and causes them to rot. In this case, ensure your pot has adequate drainage and allow the soil to dry out somewhat before watering again. Root rot can be challenging to recover from, but allowing the soil to dry out is the first step.
How often should I fertilize my container plants?
The frequency depends on the type of fertilizer and the plant. For liquid organic fertilizers, you might fertilize every 2-4 weeks. For slow-release granular fertilizers, they often last for 3-6 months. Always follow the specific instructions on your chosen fertilizer product. You typically begin fertilizing about 2-4 weeks after planting, once the initial nutrients in the potting mix have been consumed.
What is the best way to keep my container garden sustainable?
You can practice sustainable container gardening by choosing peat-free potting mixes, using organic fertilizers, collecting rainwater for irrigation, selecting containers made from recycled or natural materials, composting your plant trimmings, and growing plants that are well-suited to your local climate to minimize resource use. You contribute to a healthier environment through these conscious choices.
Leave a Reply