
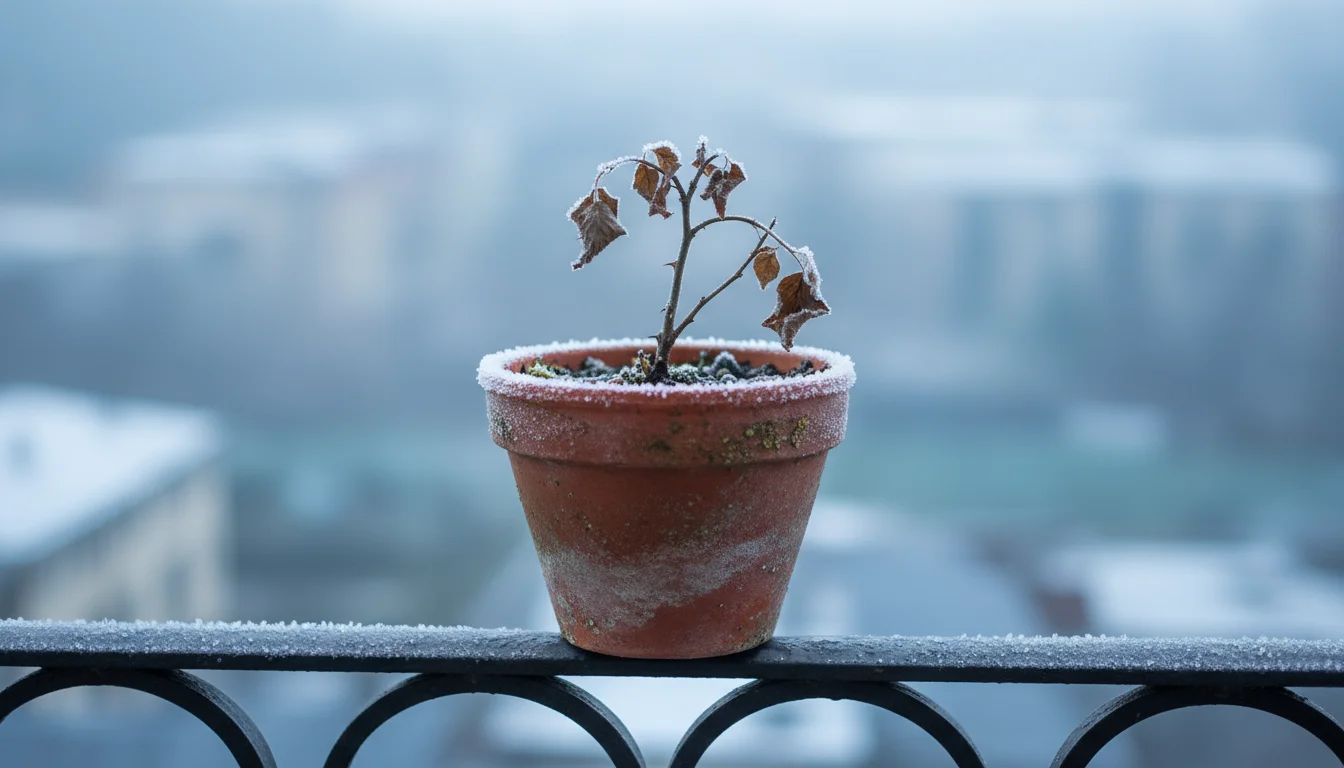
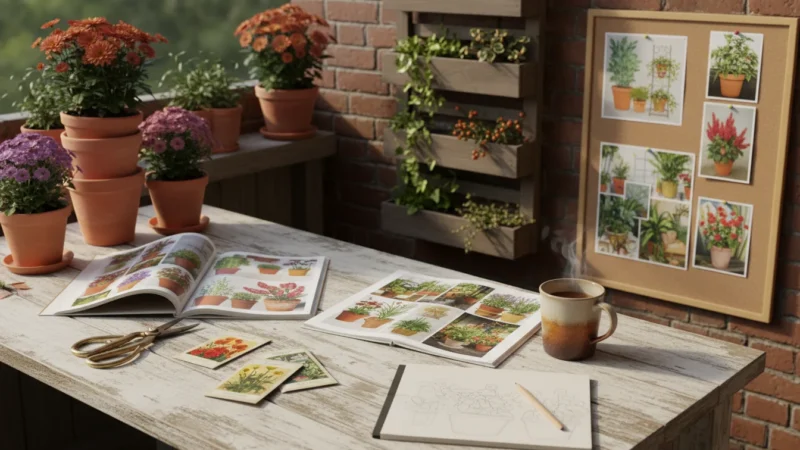
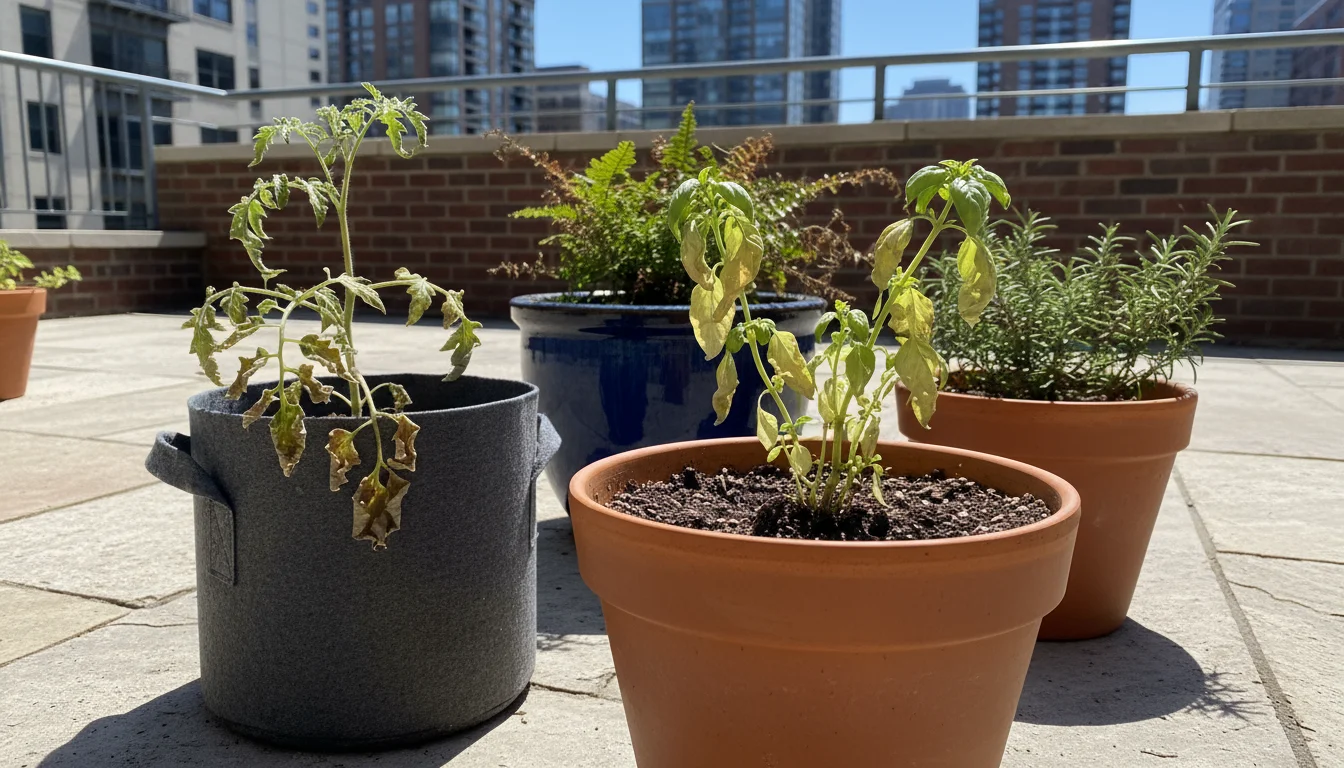
Late winter brings a promise of warmer days and renewed growth. For your beloved potted plants that spent the colder months indoors, this period is crucial. They need a careful transition from their dormant state back to active growth. Think of it as a gentle wake-up call, guiding them slowly towards spring’s vitality. This article provides practical, actionable insights, helping you skillfully transition your overwintered plants, even if you garden in a small space on a balcony or patio. We cover everything from knowing when to start watering dormant plants indoors to preparing overwintered peppers for outdoors, ensuring you have the knowledge for a vibrant growing season.
Waking up plants is just one of many rewarding indoor gardening projects you can tackle while waiting for the frost to clear.
Properly bringing plants out of dormancy ensures their health, encourages robust foliage, and prepares them for a bountiful growing season. Rushing this process causes stress, leading to stunted growth or even plant loss. By following a structured approach, you set your plants up for success. We focus on low-maintenance strategies adaptable to various small-space gardening setups, ensuring you achieve maximum results with minimal fuss. Your careful attention now directly translates into healthier, more productive plants later.
Understanding Dormancy: Why Your Plants Need Rest
Dormancy represents a plant’s natural resting period. Many perennial plants, especially those from temperate climates, enter this state to conserve energy during unfavorable conditions, like the cold and low light of winter. During dormancy, a plant significantly slows its metabolic processes. It ceases or greatly reduces active growth, flowering, and fruit production. You will notice minimal water uptake and nutrient demand. This survival mechanism protects the plant from environmental stress, allowing it to preserve vital resources until conditions improve. For example, a plant’s cells actively decrease their water content and increase solute concentrations, acting as a natural antifreeze and minimizing damage during freezing temperatures.
Keep in mind that while many rest, you should use a different strategy for houseplants that actively grow in winter.
Your overwintered plants, moved indoors or into protected spaces, experienced a form of induced dormancy. While conditions might have been milder than outdoor winter, reduced light, cooler temperatures, and less frequent watering signaled to them that it was time to rest. For instance, a dormant geranium reduces its leaf production and flower development, putting its energy into its roots. This allows it to survive until spring. Understanding this physiological cycle helps you manage the wake-up process effectively. This resting phase is as critical to a plant’s life cycle as its active growth, similar to how animals hibernate.
Bringing plants out of dormancy too quickly shocks their system. Imagine waking someone suddenly from a deep sleep and asking them to run a marathon. Plants need a gradual transition to resume their full metabolic functions. They must reactivate enzyme systems, begin chlorophyll production for photosynthesis, and prepare their root systems for increased water and nutrient absorption. A proper wake-up ensures a strong, healthy start to the growing season, vital for small-space gardeners who rely on every plant performing its best. It minimizes stress, which translates directly to greater resilience against pests and diseases later in the season.
The Gentle Wake-Up: Timing and Initial Steps
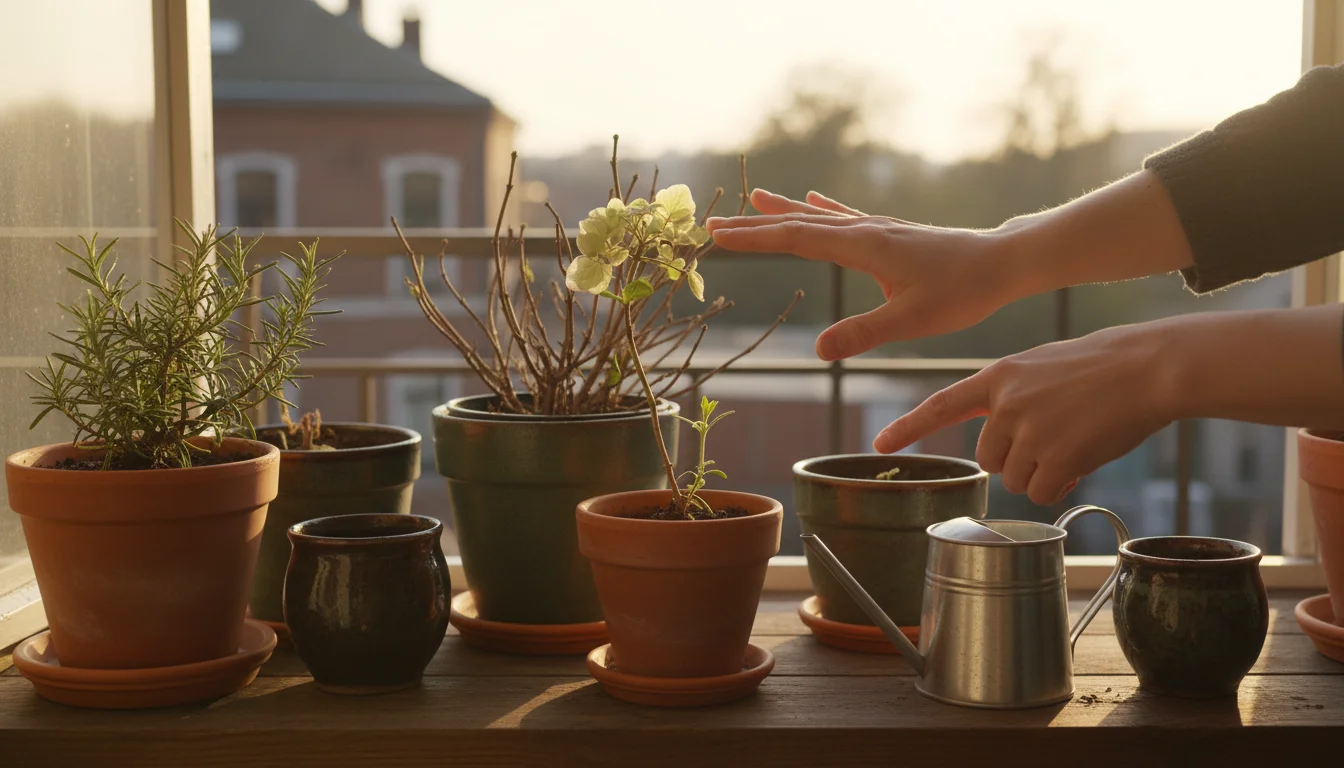
Timing your plants’ wake-up call is critical. Most temperate plants begin to emerge from dormancy in late winter or early spring, typically February or March, depending on your local climate and specific plant needs. Observe signs of natural awakening, such as subtle swelling of buds or very faint new growth. Your goal is to gently reverse the conditions that induced dormancy, preparing plants for outdoor life if applicable. Environmental cues, such as increasing day length and a slight rise in ambient temperature, naturally trigger these changes. You are simply helping them along.
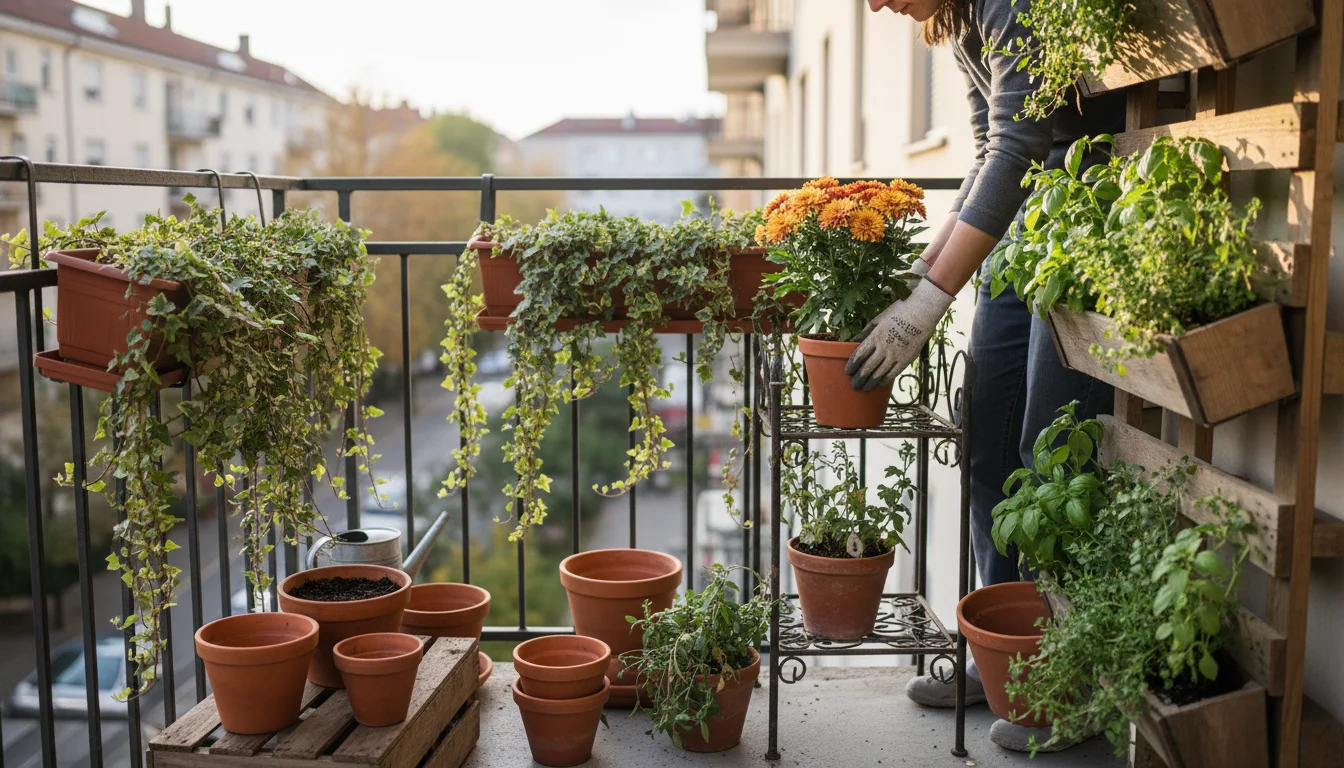
Integrating these refreshed plants into your overall balcony layout is easier with a spring planting guide for container gardeners.
This late-winter period is also the perfect time to consult an apartment seed-starting calendar for your new spring annuals.
As you prepare your containers, following an early spring garden prep checklist will help you manage other tasks like cleaning patio surfaces and checking tools.
Initial Preparations:
- Choose the Right Time: Start the wake-up process 6-8 weeks before your last anticipated frost date. This gives your plants ample time to acclimate indoors before you consider moving them outside. This window allows for gradual adjustment, minimizing shock.
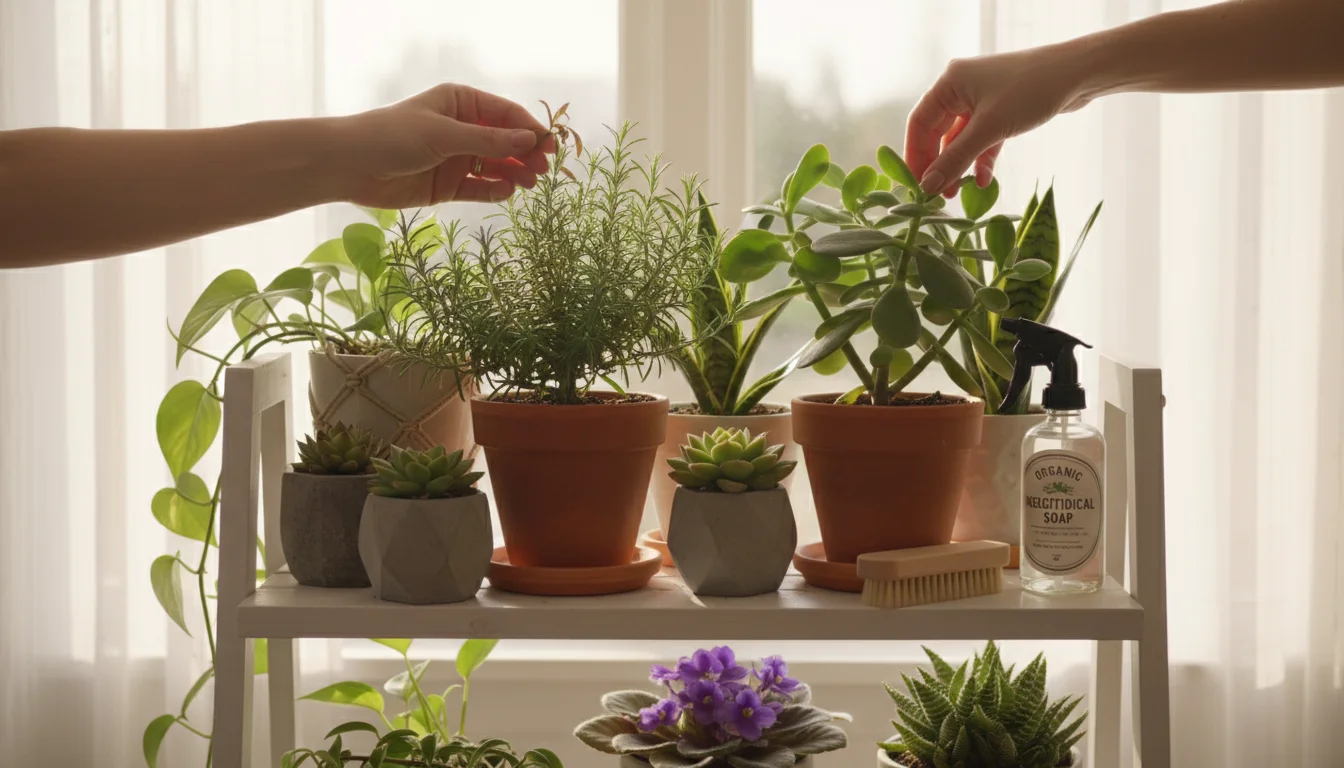
- Inspect Thoroughly: Before you do anything else, give each plant a careful inspection. Look for any signs of pests, diseases, or damaged branches. Early detection prevents problems from spreading to other plants in your collection.
- Isolate Suspects: If you find pests, isolate the affected plant immediately. Treat it with an appropriate organic pest control method, such as insecticidal soap, before integrating it back with healthy plants. This protects your entire plant collection.
- Clean Up Debris: Remove any dead leaves, spent flowers, or other plant debris from the pot and surrounding area. This simple step improves air circulation around the plant base and reduces hiding spots for pests.
These initial steps establish a clean and healthy environment for your plants as they transition. They lay the groundwork for successful reactivation of growth and help prevent potential problems down the line.
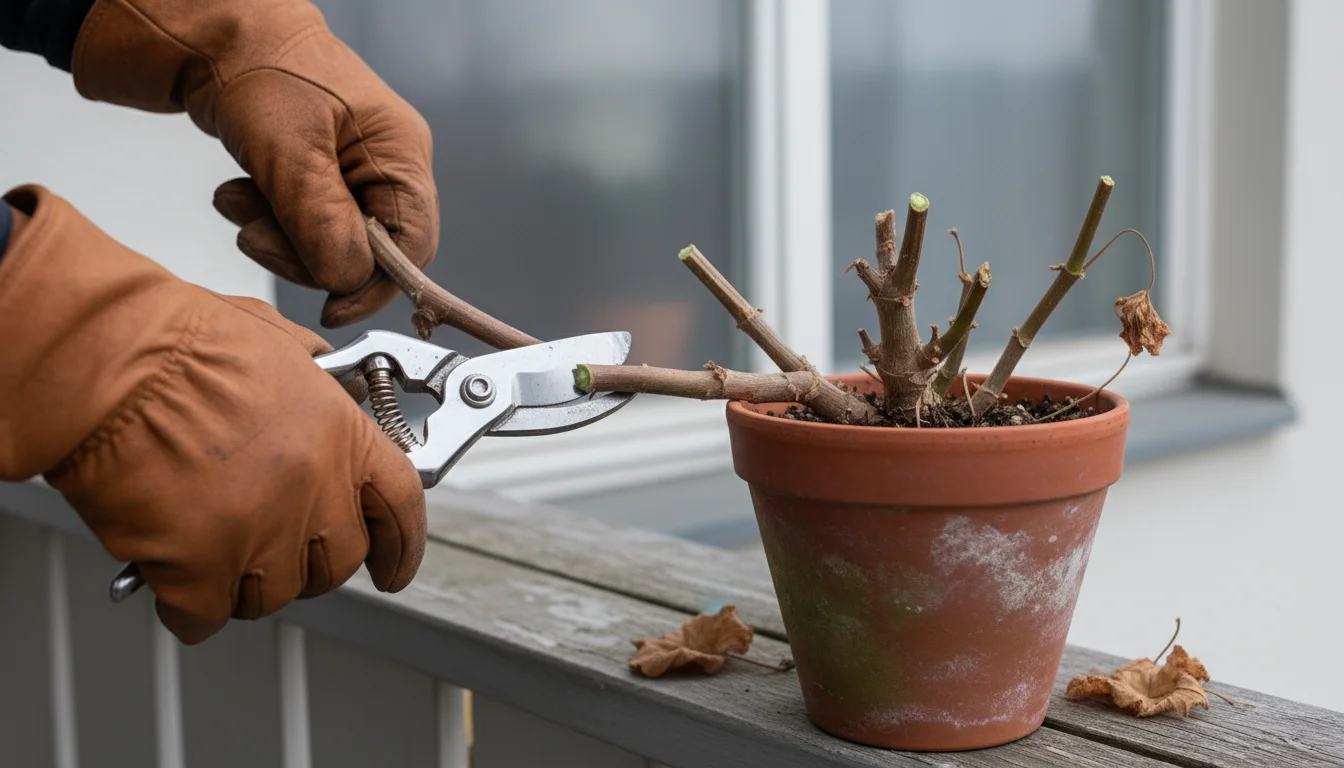
Assessing and Pruning Your Overwintered Plants
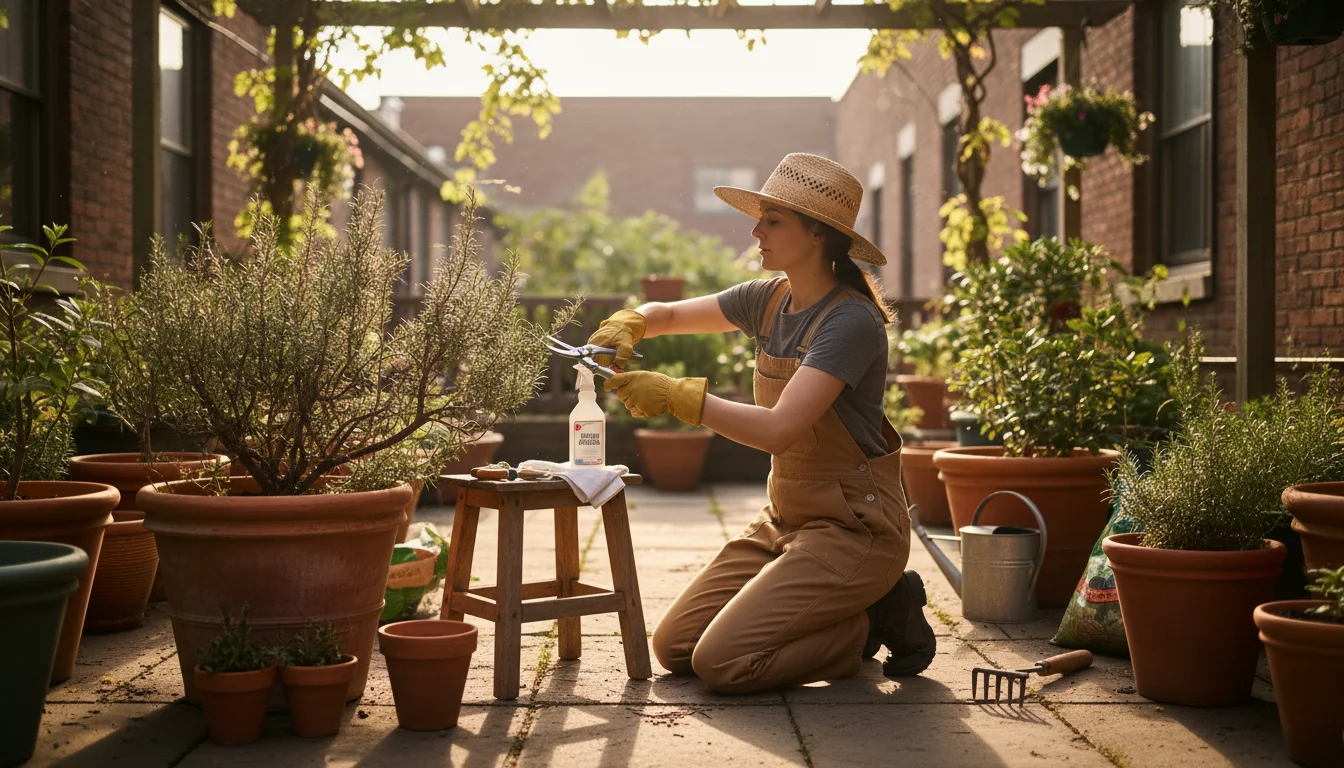
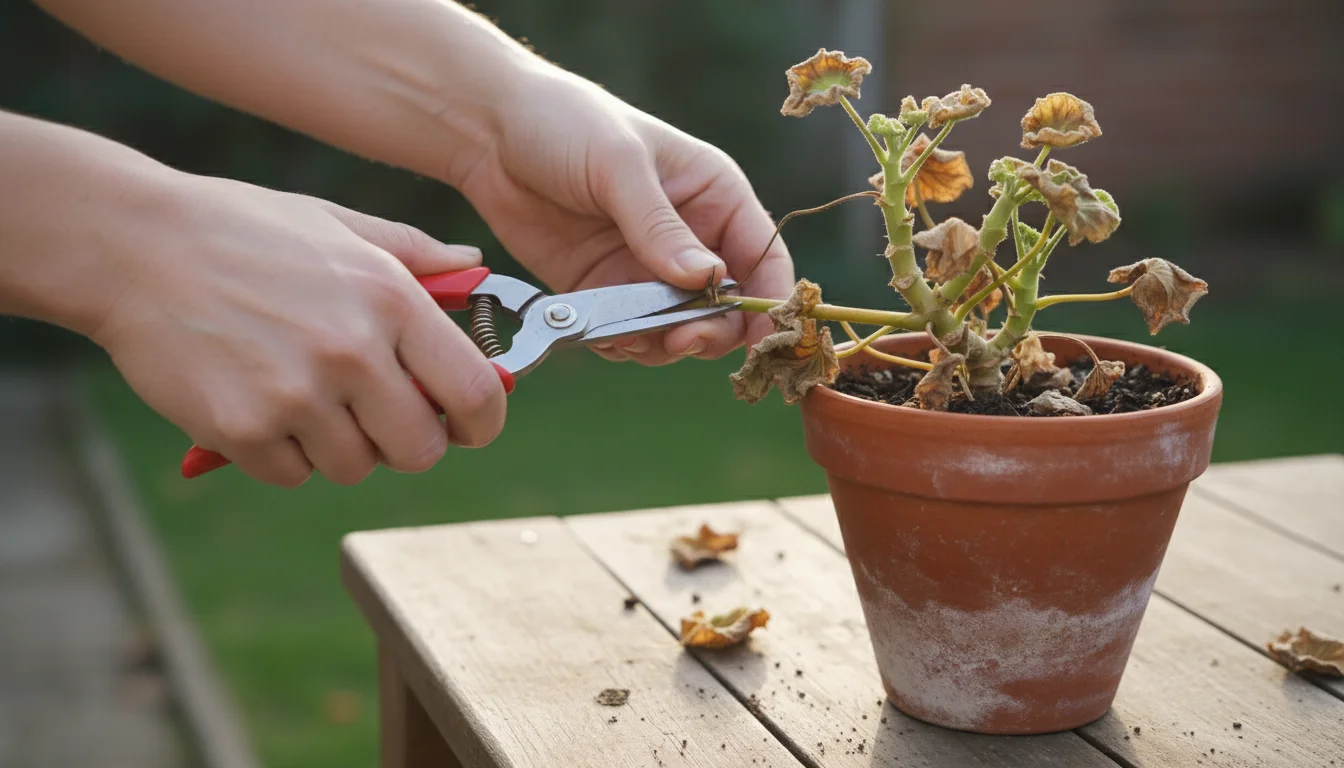
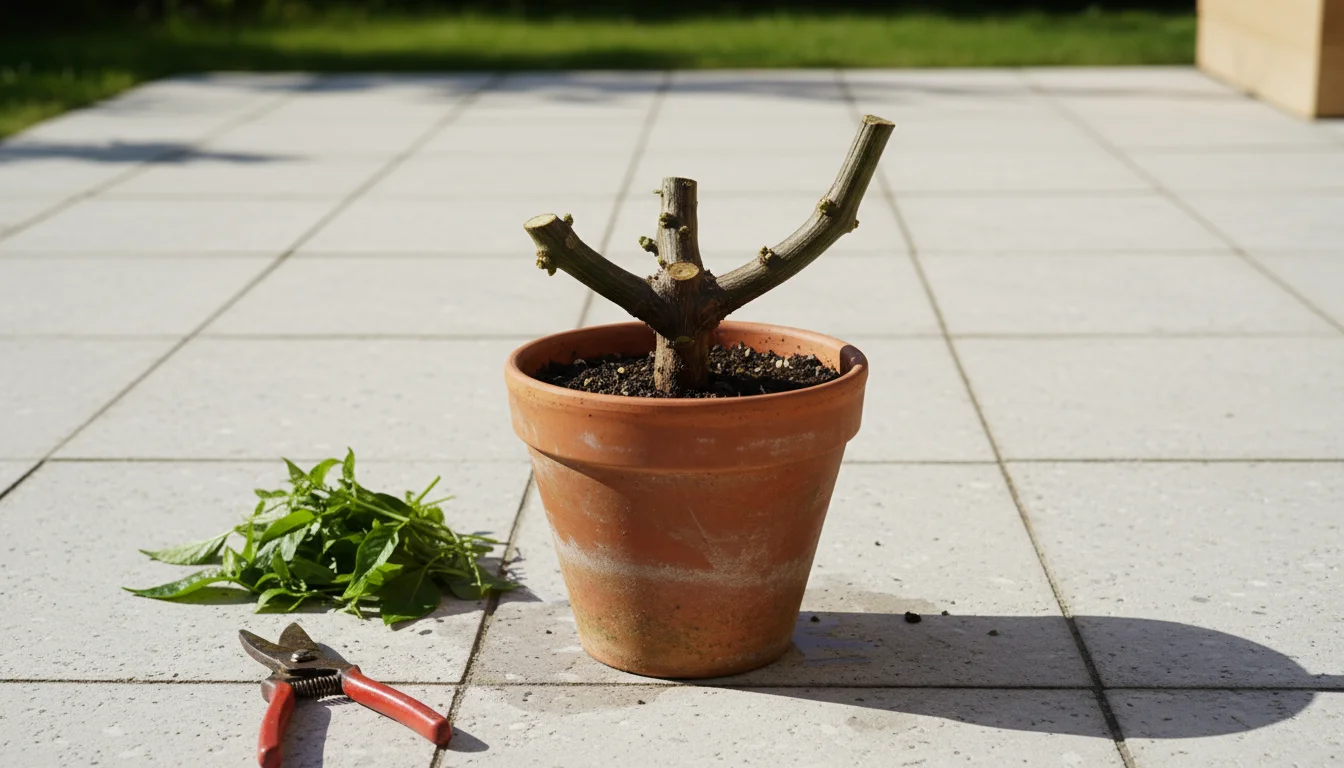
Pruning is a vital step in bringing plants out of dormancy. It removes dead or diseased material, encourages new growth, and shapes the plant. Assess each plant individually before you make any cuts. Always use clean, sharp pruning shears or scissors. Sanitize your tools with rubbing alcohol or a bleach solution before starting and between each plant to prevent the spread of diseases. Dull tools crush stems, leading to slow healing and increased disease susceptibility.
If the root system seems healthy but the plant needs a boost, a mid-winter soil refresh is an excellent low-stress alternative to full repotting.
How to Prune for Rejuvenation:
- Identify Dead or Damaged Stems: Look for brittle, discolored, or shriveled stems. These are dead and will not recover. Make clean cuts just above a healthy bud or main stem. If the stem is entirely dead, cut it back to the soil line.
- Remove Diseased Parts: If you spot any stems with fungal spots, cankers, or other disease symptoms, prune them immediately. Cut well into healthy tissue to ensure removal of all affected parts. Sanitize your pruning shears with rubbing alcohol between each cut, especially when dealing with diseased plants, to prevent spreading pathogens.
- Shape and Reduce Size: For sprawling or leggy plants, like many overwintered geraniums, judicious pruning encourages a bushier, more compact form. Cut back about one-third to one-half of the plant’s overall size. Aim to create an open structure that allows good air circulation, which helps prevent future disease issues. When waking up geraniums, cutting them back stimulates new growth from the base, giving you a fuller plant. Studies show that aggressive pruning on geraniums can increase bloom count by up to 20% compared to unpruned plants.
- Encourage New Shoots: Prune just above an outward-facing bud. This directs new growth away from the center of the plant, promoting better light exposure and air flow within the canopy. This strategic pruning guides the plant’s future growth pattern.
Pruning might seem drastic, but it revitalizes your plants. It tells the plant to redirect its energy from maintaining old, unproductive growth to developing vigorous new shoots, flowers, and foliage. For example, severe pruning of overwintered peppers, leaving only woody stems, often results in stronger, more productive plants once moved outdoors. This practice also saves space, a significant advantage for container gardeners, allowing you to maximize your yield in limited areas.
Gradual Reintroduction to Light and Warmth
After a winter of low light and cooler temperatures, your plants need a slow reintroduction to brighter conditions. A sudden blast of direct, intense sun causes leaf scorch, a condition where the leaves burn and turn brown. This happens because the plant’s cells are not yet prepared for increased photosynthesis. The protective pigments and cuticle layers on the leaves are still in their winter state, unable to handle the intensity of full sun.
Increasing Light Exposure:
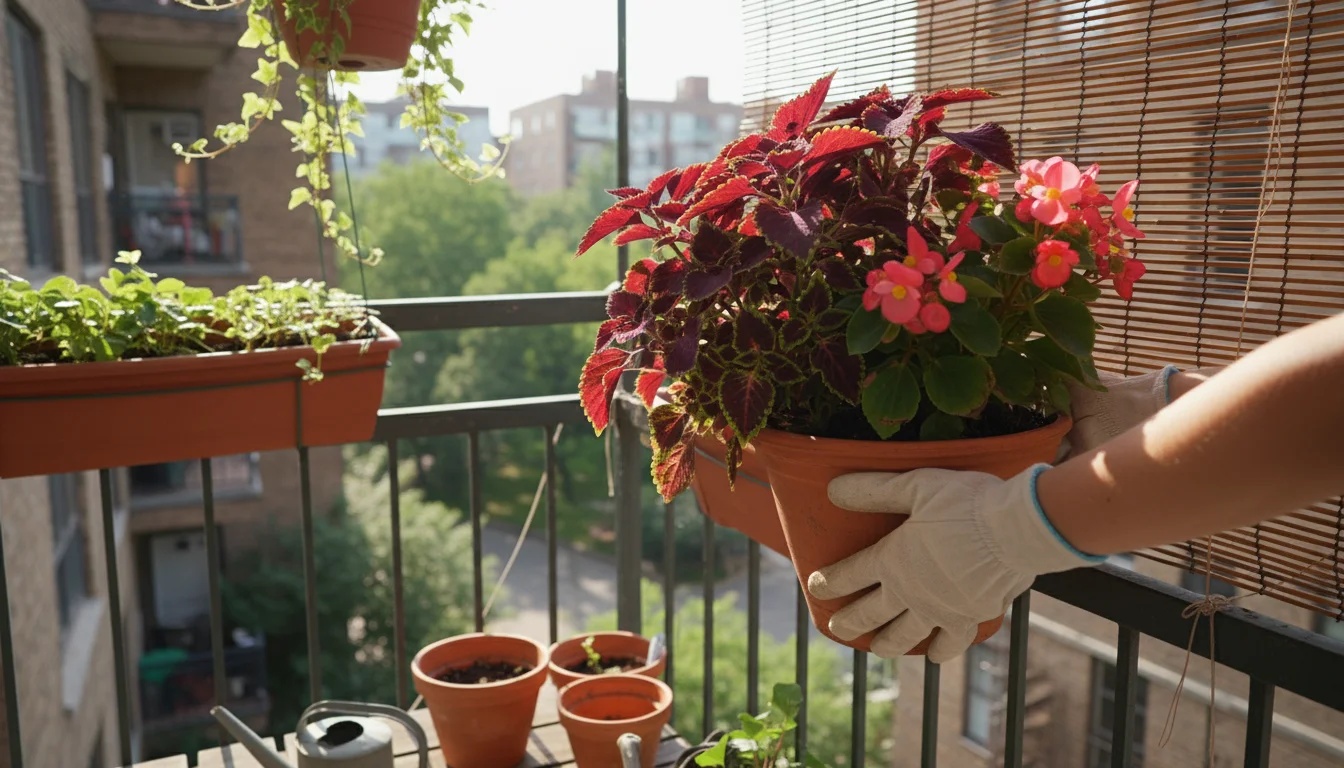
- Start with Indirect Light: Move your plants to a location that receives bright, indirect light. An east-facing window or a spot several feet from a south-facing window works well. Filtered light through a sheer curtain can also provide a good starting point.
- Increase Gradually: Over two to three weeks, slowly move the plants closer to brighter light sources or introduce them to a few hours of morning sun. Observe your plants closely for any signs of stress, such as yellowing leaves or wilting. Adjust their position if you notice any adverse reactions.
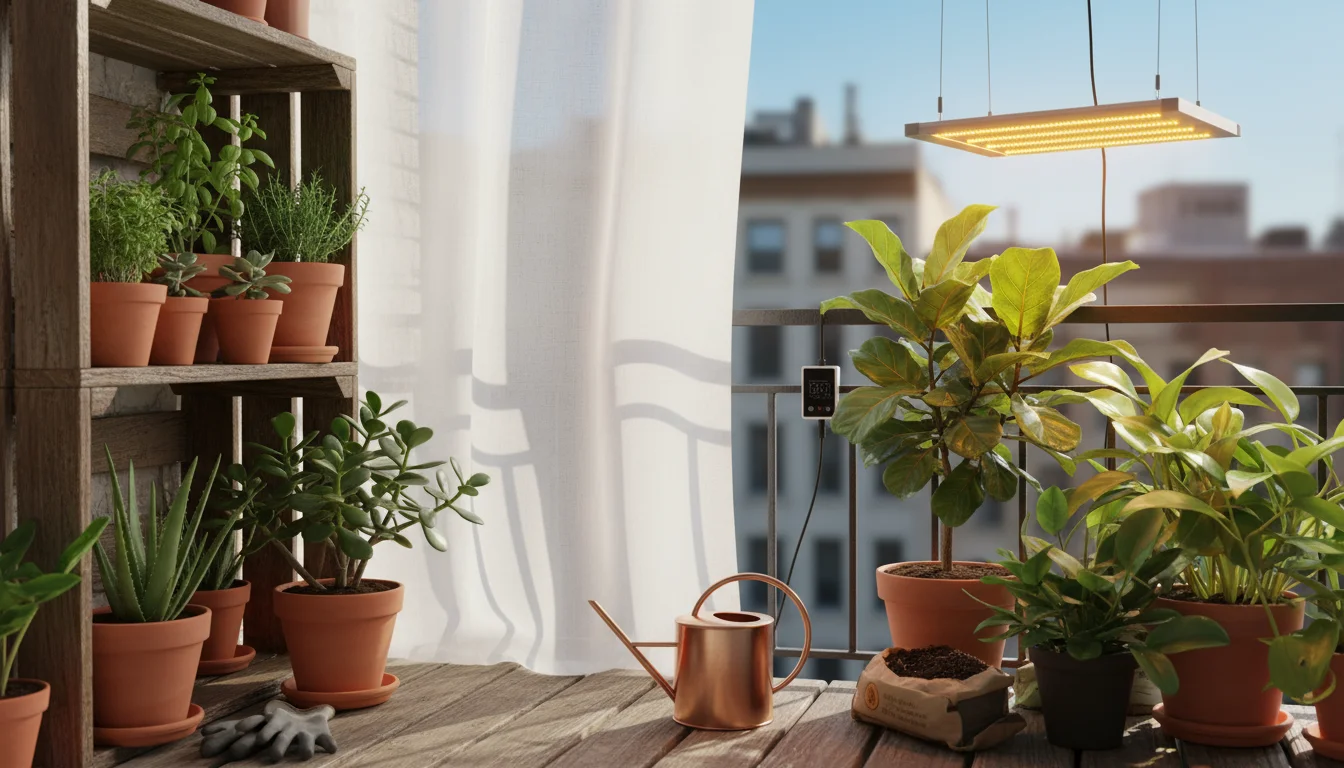
- Supplement if Necessary: If natural light remains insufficient, consider using a grow light for 10-12 hours a day. Small, inexpensive LED grow lights are perfect for balconies or indoor setups, providing the necessary spectrum for active growth without taking up much space. Look for full-spectrum lights, which mimic natural sunlight. Position them a few inches above the plant canopy, adjusting as the plant grows.

Raising Temperatures:
Along with light, a gradual increase in temperature cues plants to emerge from dormancy. If your plants spent winter in a cool basement or garage, move them to a warmer room, ideally between 60-70°F (15-21°C). Avoid placing them directly near heating vents, as the dry, circulating air can stress them. Consistent, moderate temperatures help reactivate their growth hormones and metabolic functions, signaling that spring has arrived. Sudden temperature fluctuations cause stress, so aim for stability.
Remember, consistency matters. Moving plants back and forth between dramatically different light and temperature conditions stresses them. Aim for a steady, incremental change to mimic natural spring progression. This careful approach minimizes shock and ensures a smooth transition to active growth, fostering stronger plant development.
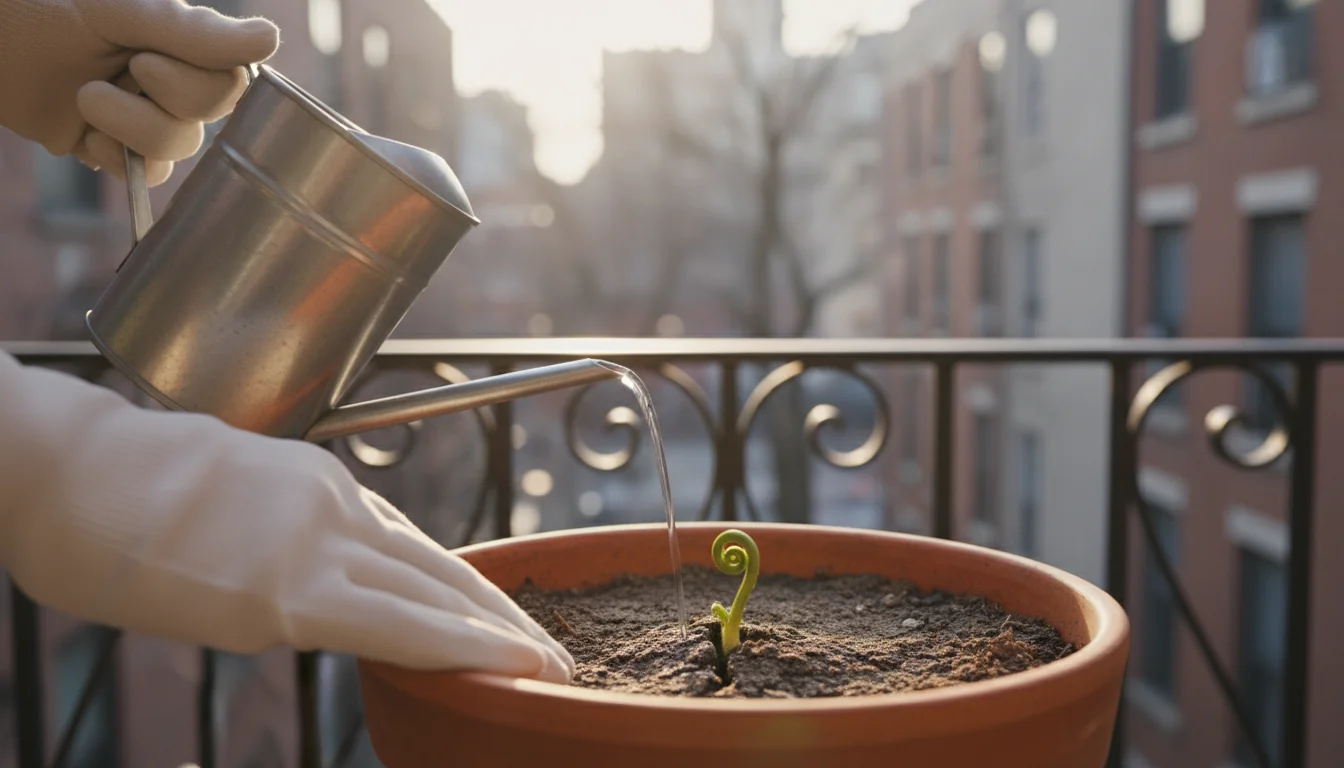
Mastering Your Watering Schedule for Waking Plants
During dormancy, plants require very little water. Overwatering during this period often leads to root rot, a fungal disease that devastates root systems by depriving them of oxygen. As you wake your plants, you must adjust your watering habits, increasing frequency and volume incrementally. Knowing when to start watering dormant plants indoors properly is fundamental to their survival and long-term health.
Adjusting Your Watering Routine:
- Start Small: Begin by giving dormant plants a slightly larger drink than their winter sips. Wait for the top inch or two of soil to dry out completely before watering again. Do not allow plants to sit in standing water, as this almost guarantees root rot.
- Feel the Soil: The most reliable method for determining watering needs is to feel the soil. Insert your finger about an inch or two into the soil. If it feels dry, it is time to water. If it feels moist, wait a day or two and check again. This prevents overwatering, which is a common killer of container plants.
- Increase Gradually: As plants show more signs of active growth, such as new leaves or swelling buds, you can slowly increase both the amount of water you provide and the frequency. The plant’s demands will naturally rise as it awakens and begins photosynthesis.
- Ensure Good Drainage: Excellent drainage is paramount for potted plants. Always use pots with drainage holes to allow excess water to escape. If your pots lack them, consider drilling holes or placing your plant in a nursery pot inside a decorative cachepot. Drainage refers to how easily water moves through the soil and out of the pot, preventing waterlogged roots.
- Use Room Temperature Water: Cold water can shock delicate roots, slowing down their metabolic processes. Use water that sits out for a few hours, allowing it to reach room temperature. This simple step reduces stress on the plant and encourages better water uptake.
Consistent, observant watering practices are more important than following a rigid schedule. Each plant’s needs differ based on its size, the pot material, the type of potting mix, and the environmental conditions in your home. Monitoring your plant and its soil directly provides the best guide to ensuring optimal hydration without oversaturation.
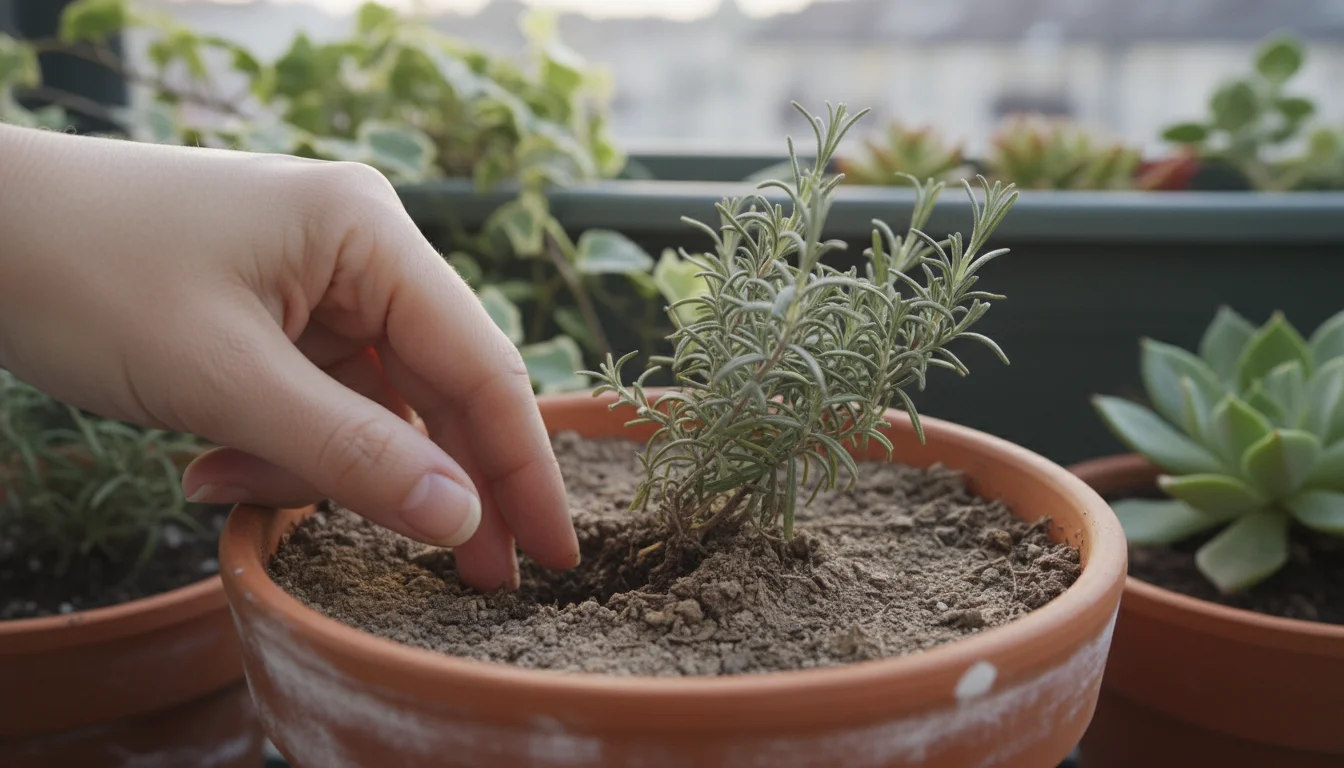
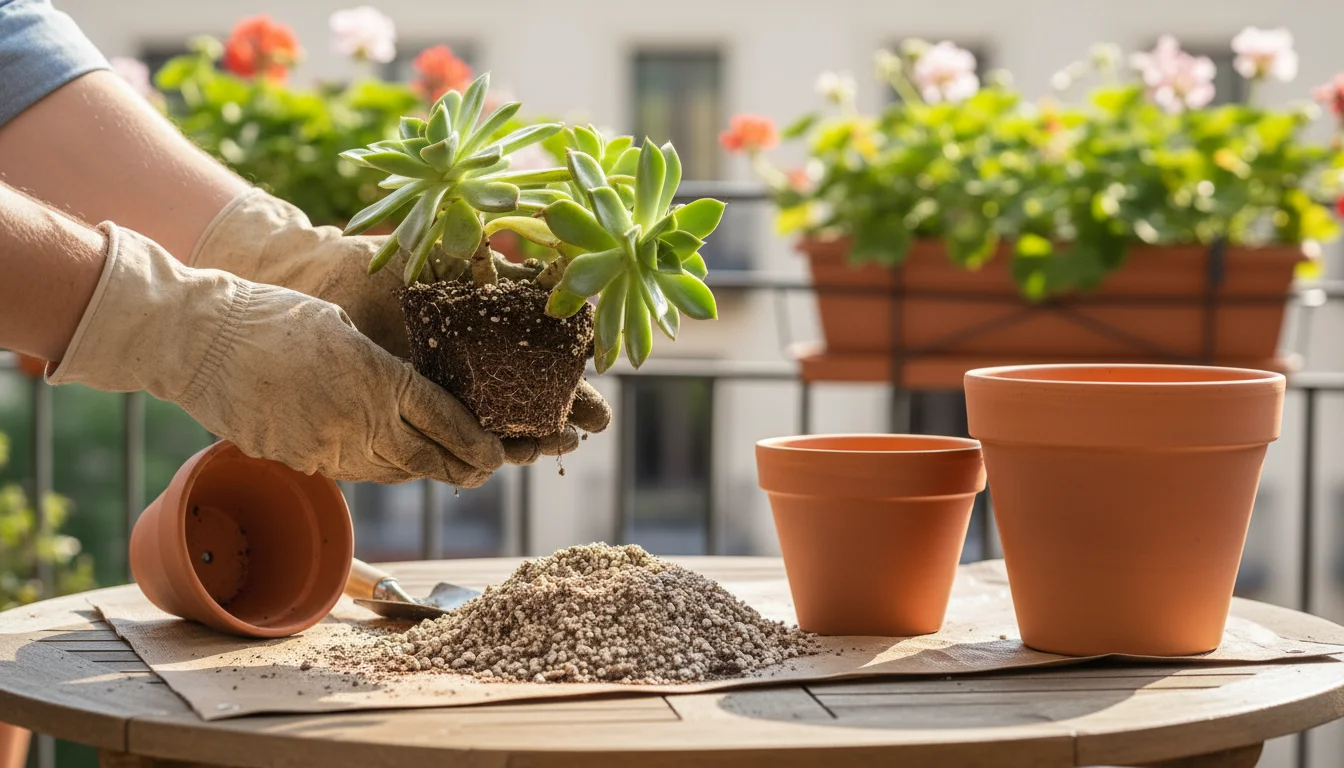
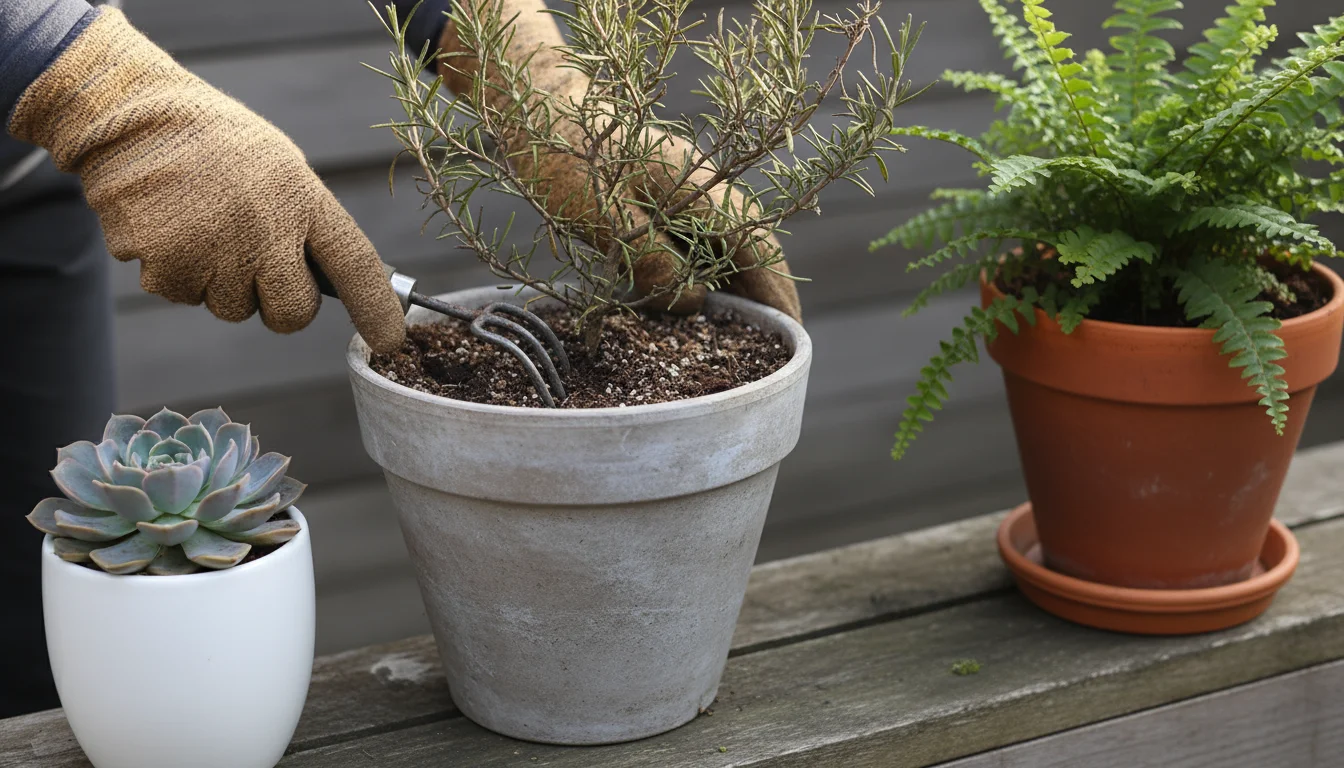
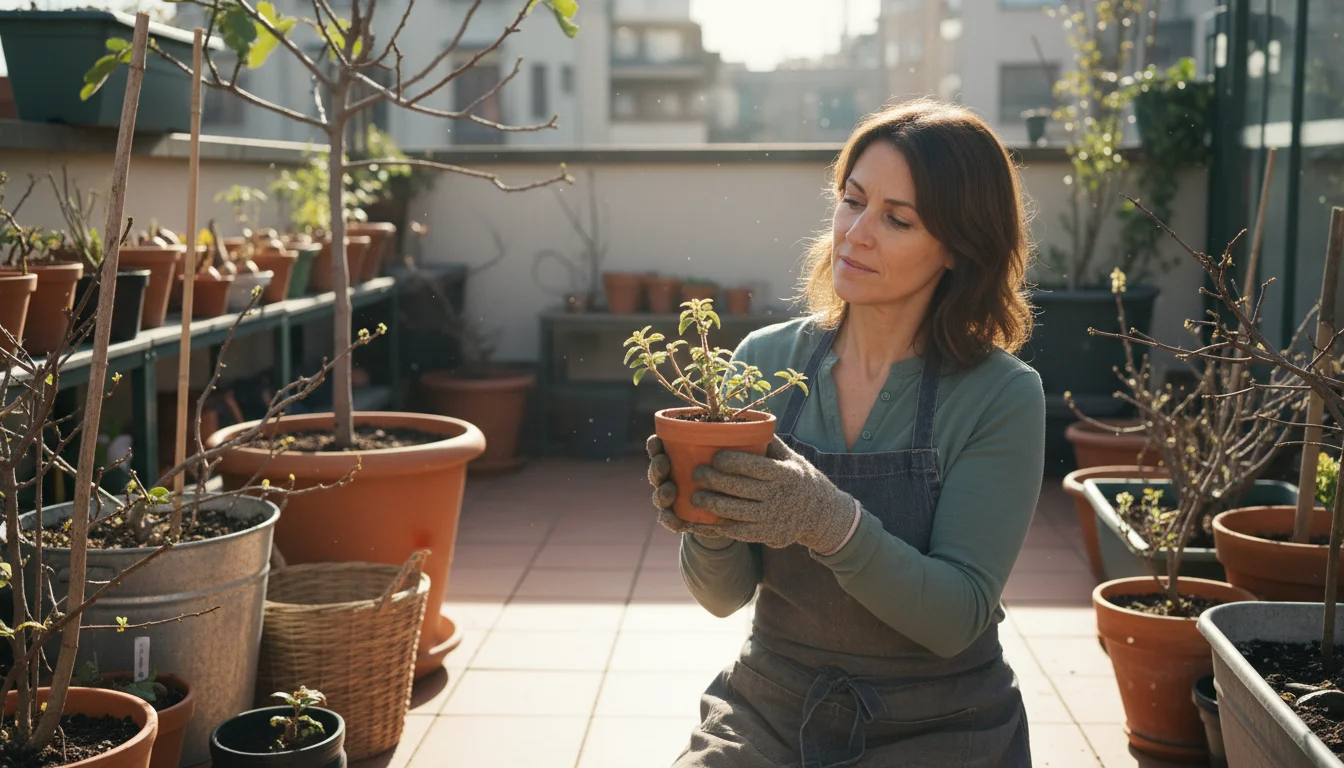
Refreshing Soil and Repotting for Vigorous Growth
Late winter to early spring presents an ideal time to assess your plant’s root system and refresh its growing medium. After months of dormancy, the soil might be compacted or depleted of essential nutrients. Repotting or refreshing the soil provides a fresh start, ensuring your plant has the resources it needs for robust spring growth. This also improves soil structure, enhancing aeration and drainage crucial for root health, preventing conditions that foster fungal diseases.
Before you move a plant to a larger vessel, consider the debate over repotting in winter to ensure the best timing for your green friends.
When to Consider Repotting:
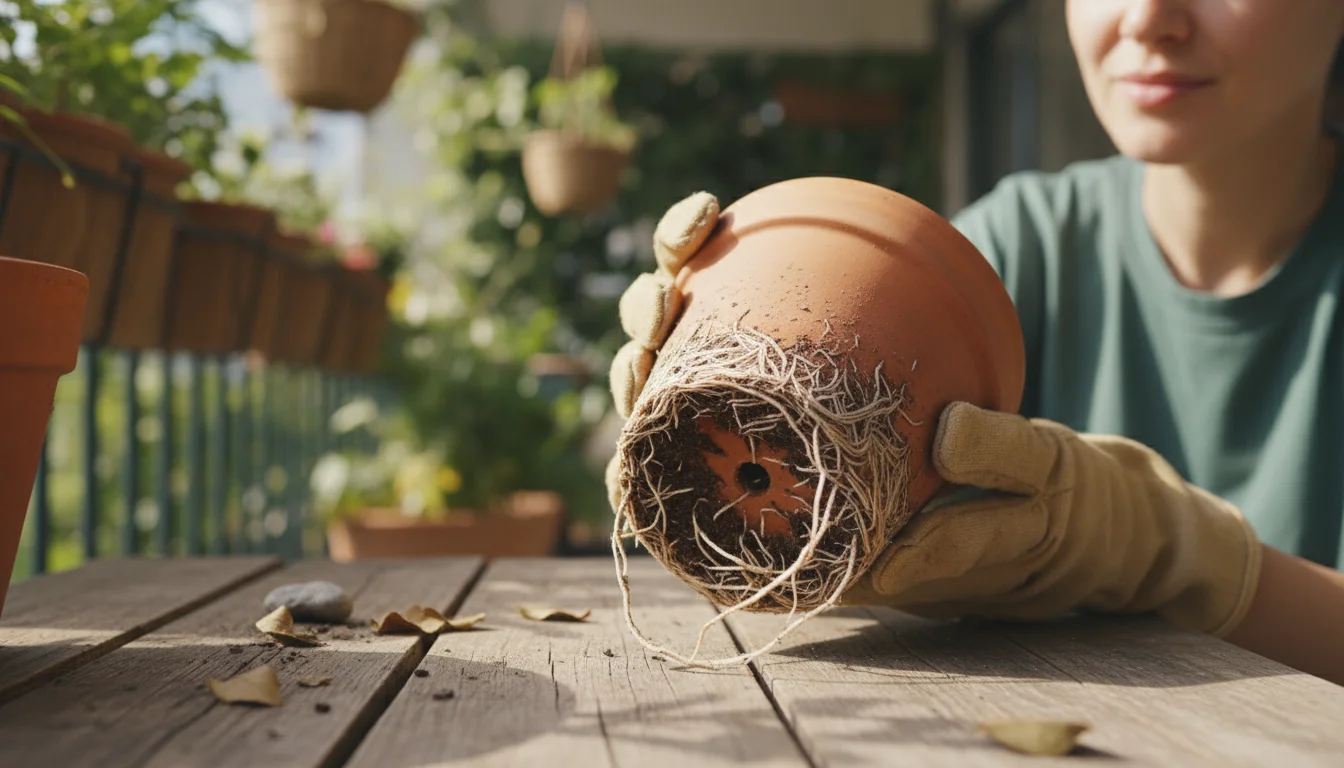
- Root-Bound Plants: If you see roots circling the inside of the pot, growing out of the drainage holes, or pushing the plant up, it is root-bound. This signifies the plant needs a larger home for continued growth.
- Stunted Growth: Even with proper light and water, a plant might struggle if its root system has outgrown its pot or if the soil lacks nutrients. Limited space restricts root development, which in turn limits top growth.
- Depleted Soil: Over time, potting mix breaks down, losing its structure and nutrient-holding capacity. A fresh mix provides a nutrient boost and better aeration. You might notice water running straight through, indicating degraded soil.
Repotting Process:
- Choose the Right Pot: Select a new pot only one size larger than the current one, typically 1-2 inches wider in diameter. Moving to a much larger pot too quickly can lead to overwatering issues, as the excess soil retains too much moisture for the current root mass.
- Prepare Fresh Potting Mix: Use a high-quality, well-draining potting mix. For succulents, a cactus mix works best. For most other plants, a general-purpose potting mix with added perlite or coco coir improves drainage and aeration. Ensure the mix is sterile to avoid introducing pests or diseases.
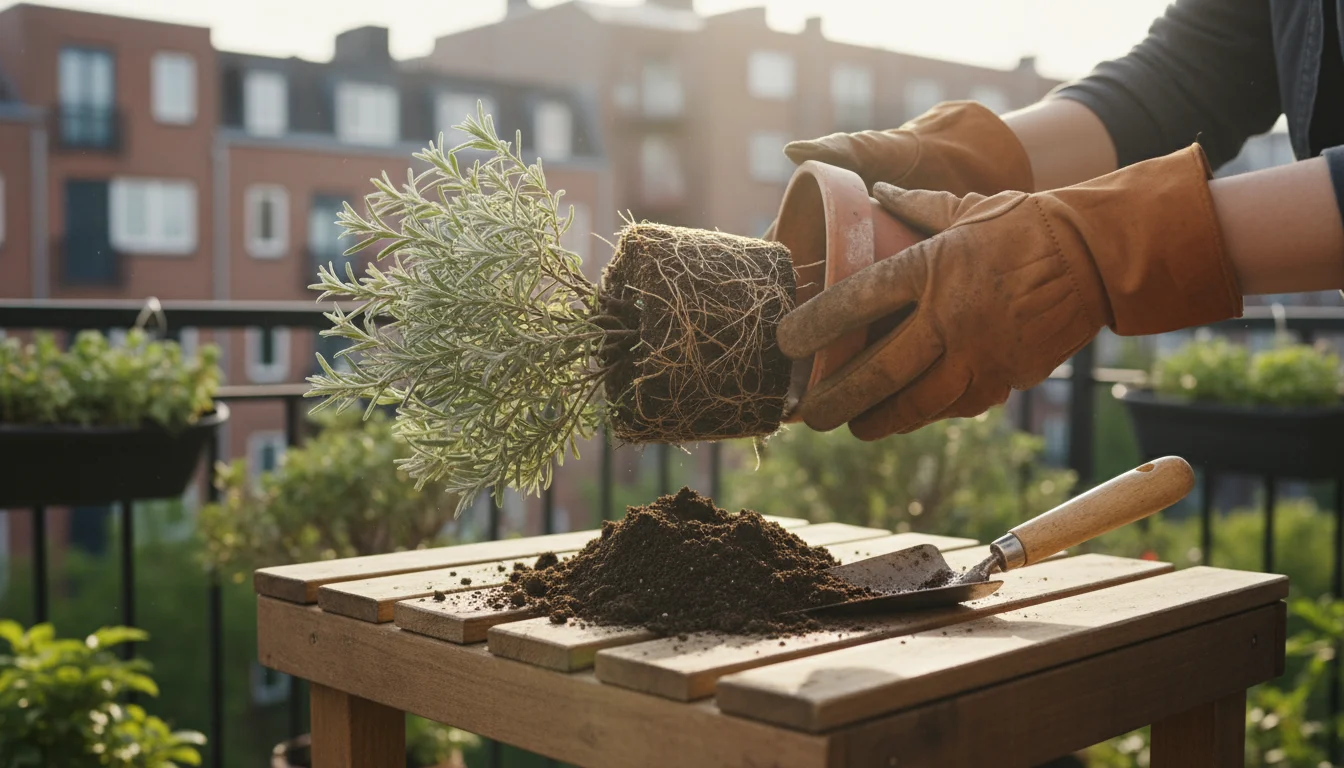
- Gently Remove the Plant: Carefully tip the plant on its side and slide it out of its current pot. If it resists, gently tap the pot sides or use a dull knife to loosen the edges. Avoid pulling the plant forcefully by its stem.
- Inspect and Loosen Roots: Examine the root ball. If roots are tightly circled, gently tease them apart with your fingers or a small tool. Trim any dark, mushy, or damaged roots with clean shears. Healthy roots appear white or light tan and firm.
- Repot: Add a layer of fresh potting mix to the bottom of the new pot. Place the plant in the center, ensuring the top of the root ball sits about an inch below the rim of the pot. Fill around the root ball with more fresh soil, gently tamping it down to remove large air pockets. Do not compact the soil too tightly, as this hinders root growth and drainage.
- Water Thoroughly: Water the newly repotted plant until water drains freely from the bottom. This settles the soil around the roots and removes any remaining air pockets.
If your plant does not need a larger pot, simply remove the top 1-2 inches of old soil and replace it with fresh potting mix. This “top-dressing” technique replenishes nutrients without the stress of full repotting. You can also mix in some slow-release granular fertilizer at this stage for a sustained nutrient supply as the plant wakes up. Remember that good soil quality and proper container size are fundamental for the long-term health of your potted plants, directly impacting their vigor and productivity.
Consider eco-friendly practices during repotting. Reuse old potting soil in outdoor garden beds or compost it if you have a compost pile, returning valuable organic matter to the earth. Clean and sanitize old pots before reusing them to prevent disease transmission. These small actions contribute to sustainable gardening and reduce waste, aligning with environmentally conscious practices.
Tailored Awakening: Specific Plant Care Strategies
While general guidelines apply, different plant types have unique needs when waking up. Adjust your approach based on what you grow to ensure optimal results.
Waking Up Geraniums:
Many gardeners overwinter geraniums (Pelargoniums) as dormant plants. These vigorous bloomers respond well to a late-winter refresh. After their dormant period, typically kept cool and relatively dry, they are ready for their gentle wake-up.
- Pruning: In late winter, aggressively prune your geraniums. Cut back woody stems by half or even more, leaving only a few inches of healthy stem above the soil. This encourages a bushy growth habit rather than leggy stems. Studies show that aggressive pruning on geraniums can increase bloom count by up to 20% compared to unpruned plants. Remove all dead or yellowed leaves.
- Watering: After pruning, give them a good drink, ensuring water drains from the bottom. Then, resume watering only when the top inch of soil feels dry. Geraniums prefer slightly drier conditions and are susceptible to root rot if overwatered.
- Light & Temperature: Move them to a bright location, ideally with direct morning sun or very bright indirect light. Maintain temperatures around 60-70°F (15-21°C). This warmth stimulates new growth.
- Fertilizing: Begin feeding with a balanced liquid fertilizer at half strength every two to four weeks once you see new growth. Gradually increase to full strength as the plant shows robust development.
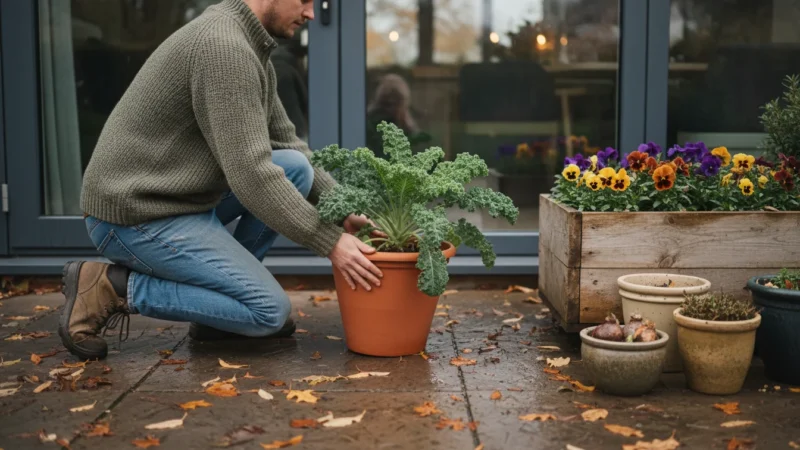
- Outdoor Transition: Once all danger of frost passes and nighttime temperatures consistently stay above 50°F (10°C), gradually acclimate them to outdoor conditions over a week or two.
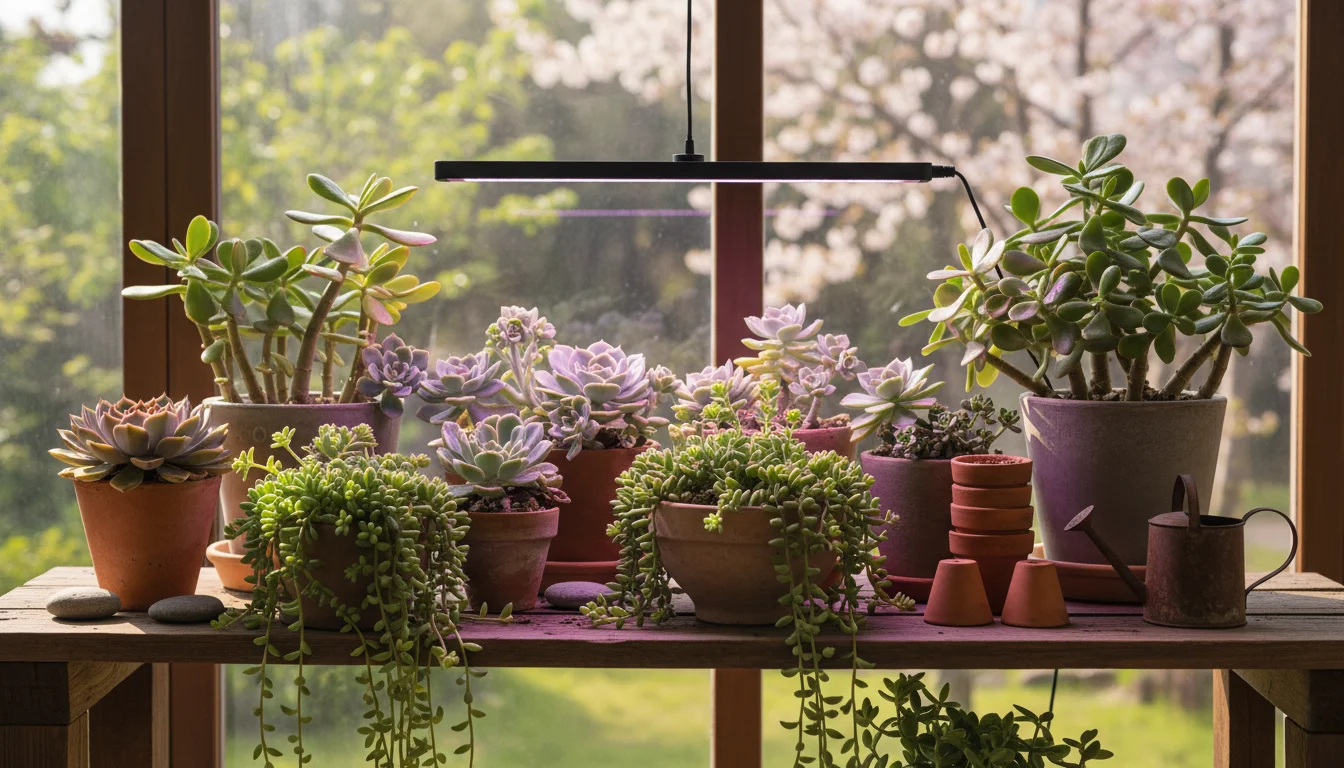
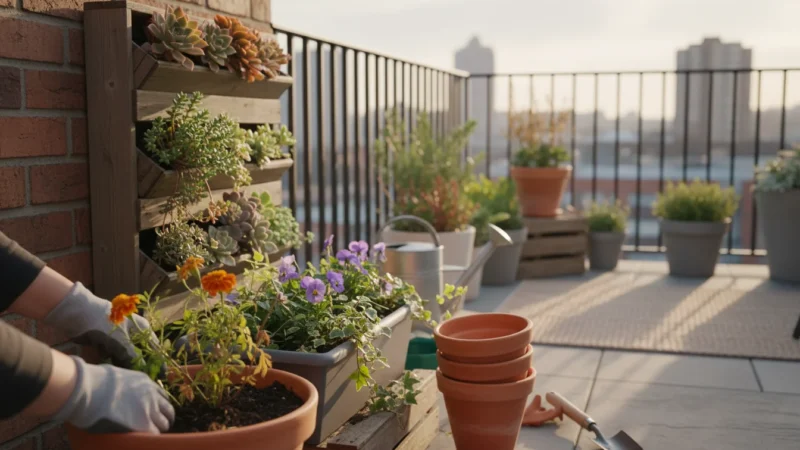
How to Wake Up Succulents for Spring:
Succulents often have different dormancy cycles than other plants, with some being winter dormant and others summer dormant. Most common indoor succulents (e.g., Echeveria, Crassula, Sedum) slow down in winter and are ready to resume growth in spring. Their reduced winter watering means they are particularly sensitive to overwatering during their awakening.
- Light: Gradually increase their light exposure. Succulents thrive in bright light, but a sudden shift to direct, intense sun causes sunburn. Move them to a south or west-facing window, or under a grow light, ensuring a slow transition.
- Watering: Start watering slightly more frequently than their winter dormancy period, but still allow the soil to dry out completely between waterings. Succulents are highly susceptible to root rot from overwatering. Use the “soak and dry” method.
- Temperature: Maintain moderate room temperatures. They tolerate cooler nighttime temperatures, but avoid freezing conditions.
- Soil & Repotting: Ensure they are in a well-draining succulent or cactus mix. Repot only if truly root-bound, as succulents often prefer to be a bit snug in their pots. Refreshing the top layer of soil with fresh mix is often sufficient.
- Fertilizing: Fertilize sparingly. Use a diluted, balanced liquid fertilizer (e.g., 1/4 strength) once a month during their active growing season, from spring to early fall.
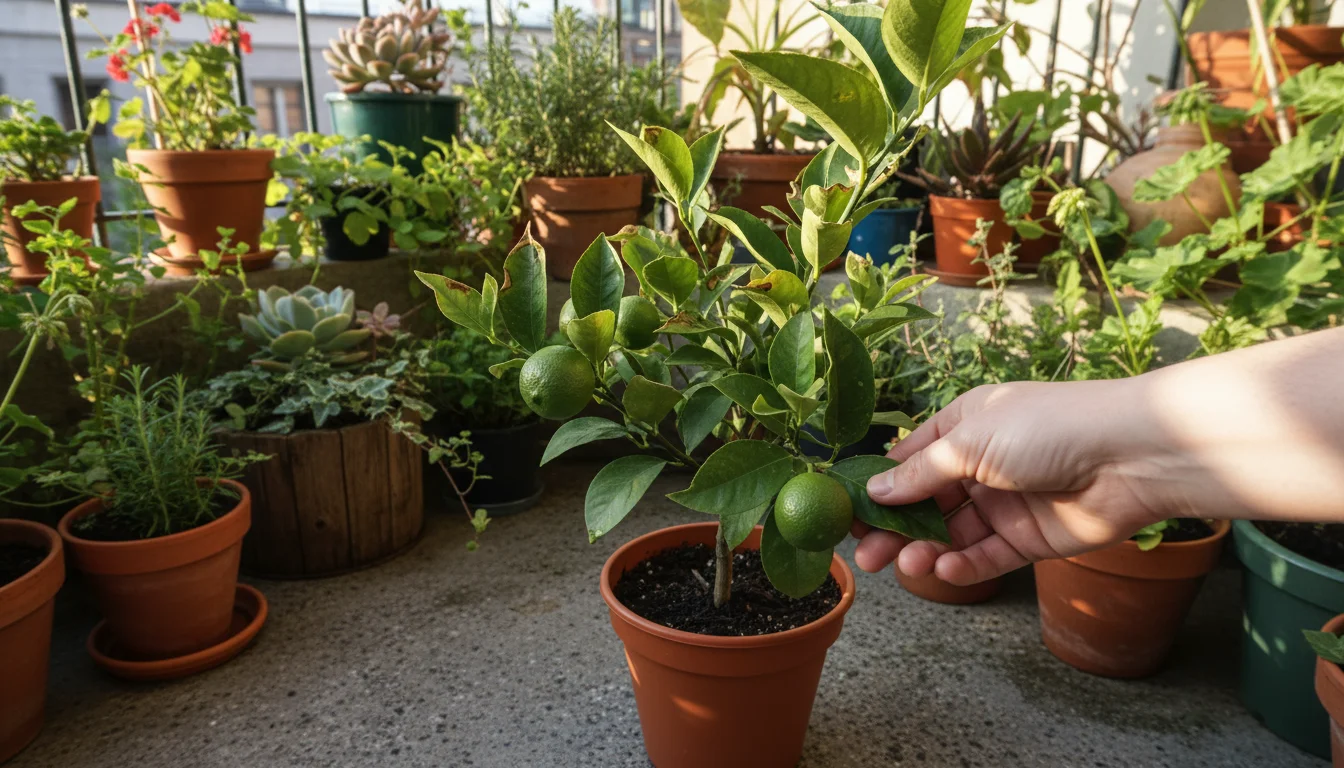
Preparing Overwintered Peppers for Outdoors:
Overwintering pepper plants allows you to get a head start on the growing season, producing earlier and more abundant harvests. Peppers respond very well to a late-winter awakening. Pruning can dramatically increase yield; for example, a pruned overwintered pepper plant often produces fruit weeks earlier than a new seedling, and yields significantly more peppers throughout the season.
- Heavy Pruning: Cut back your pepper plants dramatically in late winter. Remove most of the foliage, leaving only a few nodes on each main stem. This forces the plant to put energy into new, vigorous growth, rather than maintaining old wood.
- Repotting: After pruning, carefully remove the plant from its pot. Inspect the roots and refresh the soil with a nutrient-rich potting mix. If it is root-bound, move it to a slightly larger pot, ensuring good drainage.
- Light & Water: Place the pruned and repotted peppers in a warm, bright location, ideally under a grow light or in a sunny window. Begin watering more consistently, allowing the top inch of soil to dry before rewatering, gradually increasing as growth accelerates.
- Fertilizing: Start a regular feeding schedule with a balanced liquid fertilizer once new growth appears. Peppers are heavy feeders and benefit from consistent nutrients during their active growth phase.
- Hardening Off: This is crucial for peppers. About two weeks before transplanting outdoors, begin hardening them off. Gradually expose them to increasing periods of outdoor sun, wind, and temperature fluctuations. Start with a few hours in a shady, protected spot, slowly increasing exposure each day until they can handle full sun for an entire day. Then transplant them into their final outdoor containers after all danger of frost passes.
Each plant’s response varies, but these tailored strategies provide a solid foundation for successfully bringing your specific overwintered plants back to life. Observing your plants closely and adjusting your care is always the best approach, allowing you to fine-tune conditions for their individual needs.
Avoiding Common Mistakes When Waking Plants
Successfully bringing plants out of dormancy involves patience and careful attention. Many common mistakes cause setbacks and stress your plants. By understanding and avoiding these pitfalls, you set your plants up for thriving growth, minimizing potential issues.
Common Errors and Solutions:
| Mistake | Why It Happens | How to Avoid/Correct It |
|---|---|---|
| Overwatering Too Soon | Plants are still dormant or semi-dormant, with very low water needs. Excess water suffocates roots, leading to root rot before the plant can actively use the moisture. | Increase watering gradually. Always feel the soil before watering, ensuring it feels dry to the touch. Ensure excellent drainage by using pots with holes and well-aerated soil. |
| Sudden Exposure to Bright Light | After winter’s low light, plant cells are not acclimated to intense sunlight. This sudden shock causes leaf scorch, where leaves turn brown and crispy. | Introduce brighter light slowly over 2-3 weeks. Start with indirect light, then morning sun, gradually increasing duration and intensity. Provide shade initially if moving outdoors. |
| Over-Fertilizing Immediately | Plants are not actively growing and cannot utilize excess nutrients. This leads to fertilizer burn, damaging delicate new roots and foliage. | Wait for clear signs of new growth to appear before fertilizing. Start with a half-strength, balanced liquid fertilizer. Gradually increase strength and frequency as the plant establishes vigorous growth. |
| Neglecting Pest Inspection | Pests can hide during dormancy. Once conditions improve and new growth emerges, these pests multiply quickly, causing significant damage. | Thoroughly inspect plants for pests (undersides of leaves, stem junctions) before awakening them. Isolate and treat any infested plants immediately with appropriate organic methods. |
| Repotting into Too Large a Pot | A pot that is too large means excess soil. This extra soil retains too much moisture for the current root mass, leading to prolonged dampness and increased risk of root rot. | Choose a pot only one size larger (1-2 inches wider in diameter). Only repot if truly root-bound, or opt for top-dressing with fresh soil if the pot size is adequate. |
| Skipping Hardening Off | Plants are shocked by the abrupt change to outdoor elements (intense sun, strong wind, temperature swings) if moved out suddenly without acclimatization. | Acclimate plants gradually to outdoor conditions over 1-2 weeks before permanent placement. Start with a few hours in a sheltered, shady spot, increasing exposure daily. |
| Impatience | Expecting immediate lush growth. Rushing steps stresses plants, which can reverse progress and weaken them significantly. | Understand that the wake-up process takes time. Be patient and observe your plants’ responses to each change, adjusting your care as needed. Consistency yields the best results. |
Many of these mistakes stem from eagerness. Remember, the goal is a “gentle wake-up call,” not a sudden jolt. Patience and observation are your best tools during this crucial transition period, leading to healthier, more resilient plants.
Frequently Asked Questions
How do I know if my plant is truly dormant or if it is dying?
A dormant plant typically retains some firm structure, even if it loses leaves. Its stems might still be pliable, and you might see small, dormant buds or nodes waiting to sprout. A simple “scratch test” often helps: gently scratch a small patch of the stem with your fingernail. A green layer underneath indicates it is alive. A dying plant often shows mushy stems, a foul odor, or completely shriveled, brittle growth that snaps or crumbles to the touch, with a brown or dry interior when scratched.
Can I save a plant that I think I overwatered during dormancy?
If you catch it early, yes, you often can save it. Immediately stop watering. Gently remove the plant from its pot and inspect the roots. Trim away any dark, mushy, or foul-smelling roots, which indicate rot, using sterilized shears. Repot into fresh, dry, well-draining soil. Place the plant in a bright, warm spot and avoid watering again until the soil is completely dry to the touch, which might take several weeks. Fungicides can sometimes help, but proper drainage and careful watering are key to recovery.
Is it okay to fertilize my plants as soon as I start waking them up?
No, hold off on fertilizing immediately. Fertilizing too early, before active growth begins, can burn the roots because the plant cannot utilize the excess nutrients. Its metabolic processes are still slow. Wait until you observe clear signs of new growth, such as new leaves or expanding buds, which signal that the plant is actively growing. Then, start with a diluted, balanced liquid fertilizer (half strength or less) and gradually increase as the plant establishes vigorous growth, typically every 2-4 weeks.
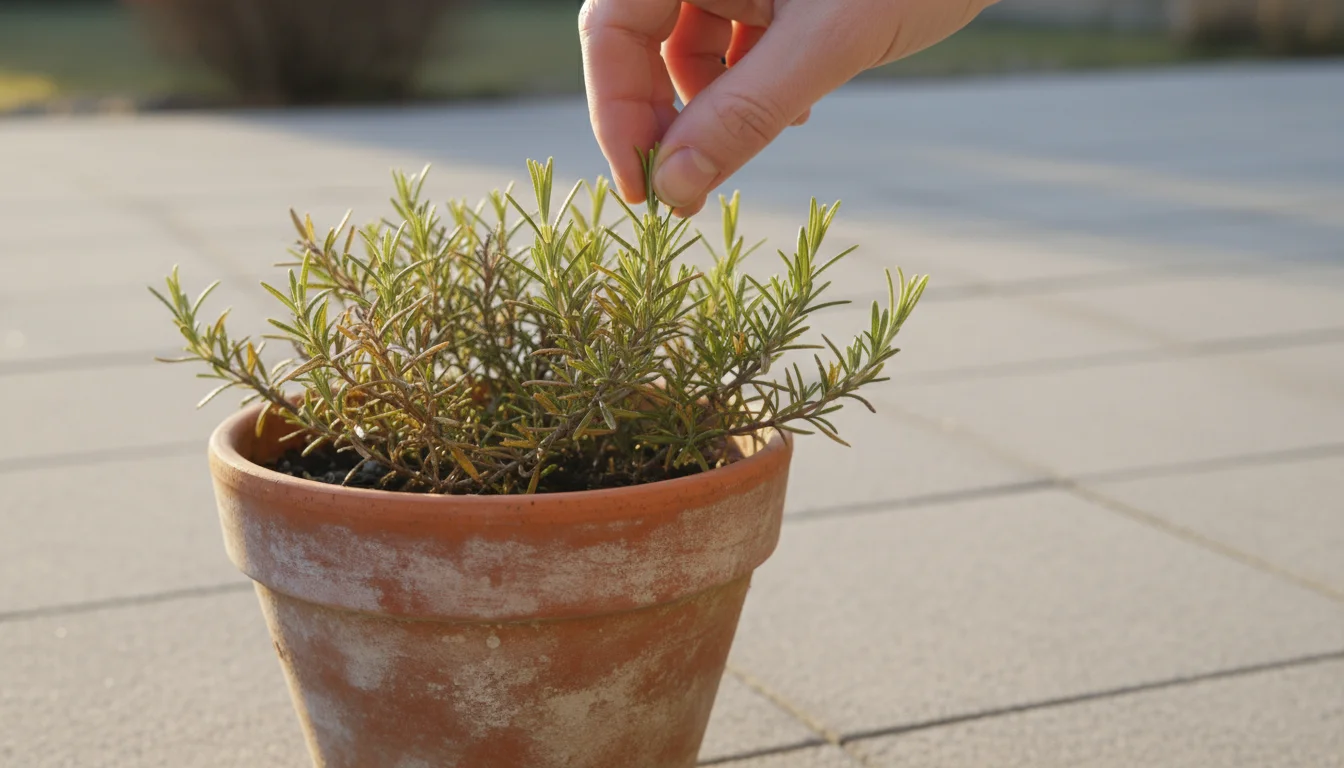
My overwintered plant looks leggy and sparse. Will it recover?
Absolutely. Legginess is very common in plants that overwinter indoors due to lower light conditions. This is where pruning becomes very important. Cut back those leggy stems dramatically, even by half or two-thirds, to a healthy bud or node. This action forces the plant to put energy into developing new, bushier growth from the base or remaining nodes. Pair this with increased light and proper feeding, and your plant will fill out beautifully, becoming more compact and robust for the growing season.
When can I move my overwintered plants outdoors for good?
The timing depends on your local climate and the specific plant’s cold tolerance. Generally, wait until all danger of frost has passed in your area and nighttime temperatures consistently remain above 50°F (10°C) for most plants. Critically, you must harden off your plants for 1-2 weeks before moving them permanently outdoors. This process slowly acclimates them to outdoor sun, wind, and temperature fluctuations, preventing shock. Start with a few hours in a sheltered, shady spot, increasing exposure daily to more sun and wind, until they can handle full outdoor conditions.
Bringing your overwintered potted plants out of dormancy successfully provides immense satisfaction. You invest time and effort in late winter, and your plants reward you with vibrant growth, lush foliage, and abundant blooms or harvests throughout the spring and summer. This ‘gentle wake-up call’ ensures their longevity and maximizes their potential in your small garden space, proving that thoughtful care yields bountiful results.
Disclaimer: This article is for informational purposes only and is not a substitute for professional gardening advice. Always consult local extension services or horticulture experts for region-specific guidance.
For trustworthy gardening information, visit:
Connecticut Agricultural Experiment Station,
Massachusetts Horticultural Society and
Denver Botanic Gardens. These organizations provide expert, research-based advice for gardeners at all levels.


Leave a Reply