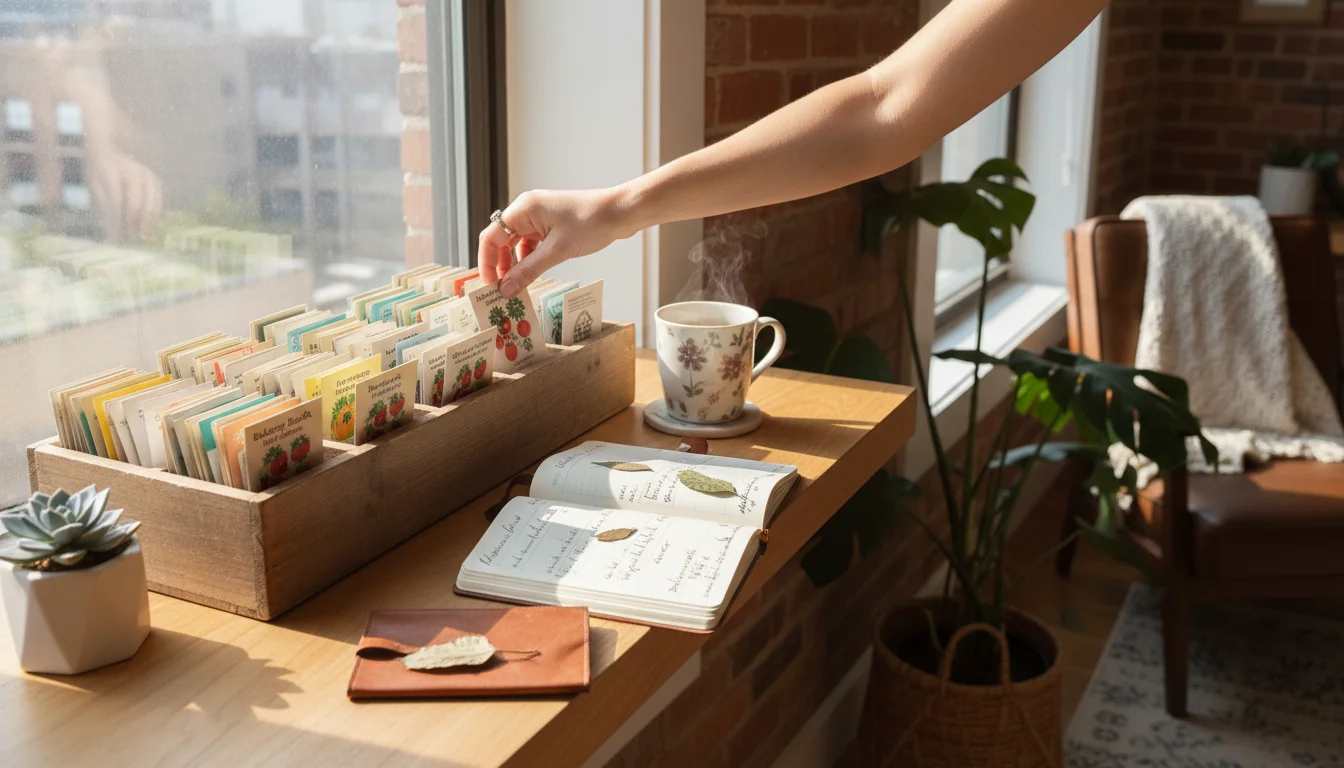
Winter offers a precious pause in the gardening calendar, a perfect time for reflection and preparation. As snow blankets the ground or chilly winds blow, your garden dreams are still very much alive, waiting to burst forth in spring. This is the ideal season to tackle a task that often gets overlooked: organizing your seed collection. For those of you with small spaces, whether a balcony, patio, or compact backyard, efficient seed organization is not just about tidiness, it is a critical step in smart garden planning. It ensures you use your limited resources wisely, avoid unnecessary purchases, and get a head start on a thriving growing season. Let us transform what might seem like a chore into a mindful activity, preparing you for successful planting.
Why a Winter Seed Sort Matters for Your Small Garden
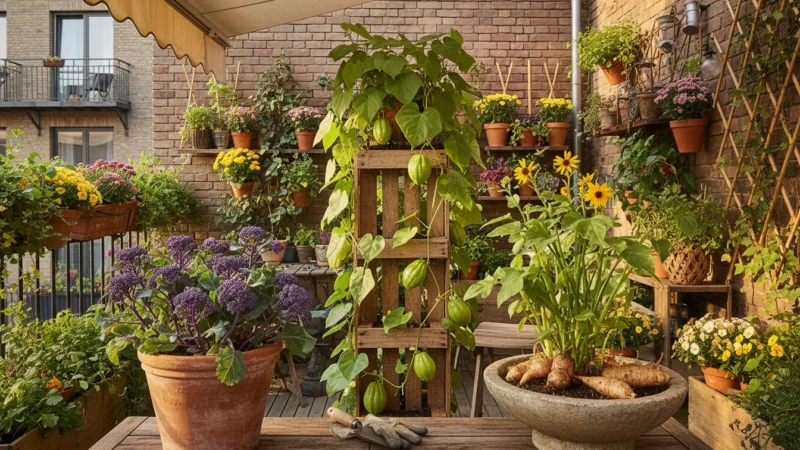
You might wonder why dedicating precious winter hours to organizing seeds holds such importance. The answer lies in efficiency, cost savings, and environmental responsibility, especially when you are gardening in a confined area. Your small garden space, whether it is a collection of pots on a balcony or a raised bed in a tiny yard, demands intentional choices. Every plant counts, and every seed packet represents a potential harvest.
First, an organized seed collection prevents duplicate purchases. How many times have you bought a new packet of basil seeds, only to discover you had two half-used packets tucked away? For small-space gardeners, this means wasted money and valuable storage space for seeds that you already own. A clear inventory tells you exactly what you have, preventing redundant buys and freeing up your budget for new, exciting varieties or essential gardening supplies.
Second, a systematic approach to seed storage ensures seed viability. Seeds are living things. Their ability to germinate, to sprout into a healthy plant, diminishes over time. Proper organization, coupled with appropriate storage conditions, extends their shelf life, giving you a better chance of successful germination. Imagine planning your spring planting, only to find that half your seeds are no longer viable. This leads to disappointment and delays. By knowing your seed inventory and its age, you can prioritize older seeds for early planting or germination testing, maximizing your yield from existing stock. This proactive approach saves you both time and effort during the busy spring season.
Third, organizing your seeds during the colder months allows for mindful garden planning winter. Instead of scrambling in spring, you can thoughtfully decide what you want to grow, where it will go, and how much space it will need. This strategic foresight is invaluable for small gardens where every inch must be productive. You can visualize your plant placements, consider companion planting benefits for your specific container types, and even plan your succession planting schedules. This preparation leads to a more bountiful and less stressful gardening experience. By getting your seed collection in order, you set the foundation for a beautiful and productive garden.
Gather Your Tools: Preparing for the Seed Sorting Process
Before you dive into the joyful chaos of sorting your seed collection, take a moment to gather the necessary tools. Having everything at hand streamlines the process and makes the task feel less daunting. Think of this as preparing your gardening workspace for a focused project.
You do not need fancy equipment. Most of these items are probably already in your home. Here is a simple checklist:
- A Large, Clean Work Surface: Clear off your kitchen table, a desk, or a dedicated crafting area. You will spread out your entire seed collection, so ample space is crucial. A clean surface prevents contamination or loss of tiny seeds.
- Your Entire Seed Collection: Gather every single seed packet, envelope, and jar from all their hiding spots. Check drawers, old toolboxes, shelves, and even forgotten pockets in your gardening apron. No seed left behind!
- Containers for Organization: Consider shoe boxes, plastic storage bins, photo storage boxes, accordion folders, or even large envelopes. The type depends on your preferred organizational system and your available storage space. Labeling these containers will be key.
- Labels and a Marker: Permanent markers are best for clear, long-lasting labels. Index cards, sticky notes, or pre-cut labels will work for temporary or permanent categorization.
- Small Trays or Bowls: These are incredibly helpful for temporarily holding seeds as you sort them, preventing small packets from getting mixed up or lost.
- A Notebook or Spreadsheet and Pen: You will want to record your seed inventory, germination dates, and any planting notes. This creates a valuable reference for future seasons.
- A Magnifying Glass (Optional): Useful for reading tiny print on older seed packets or inspecting very small seeds.
- Paper Towels or Coffee Filters (for Germination Testing): If you plan to test older seeds, have these ready.
- Gloves (Optional): Some seeds can be dusty or treated. Gloves protect your hands if you prefer.
Organizing seeds, or organizing your garden tools for that matter, is much more pleasant when you have everything ready. Setting up your workspace thoughtfully prepares you for a successful and efficient sorting session. This initial preparation allows you to focus solely on the seeds, making the process faster and more enjoyable.
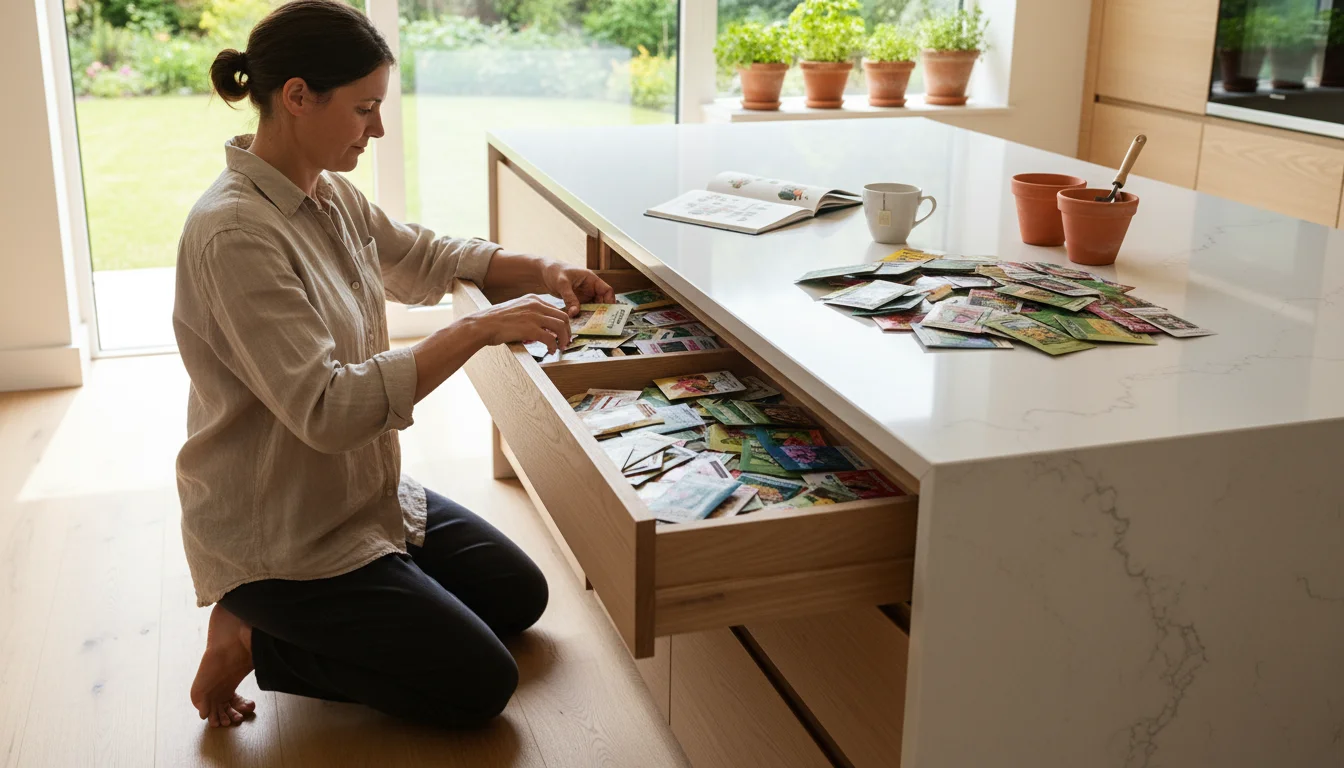
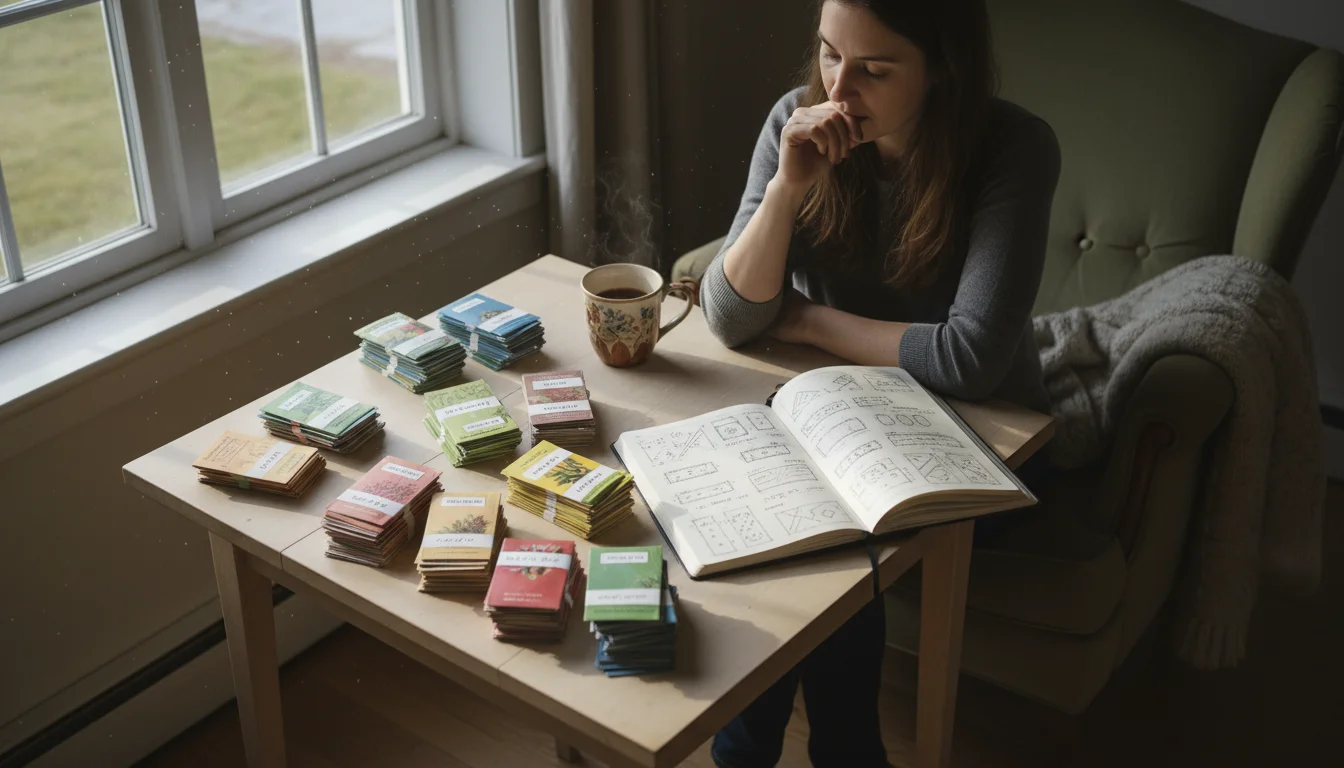
The Initial Purge: Identifying Viable Seeds and Letting Go
Now that you have gathered all your seeds and your tools, it is time for the crucial first step: assessing viability and deciding which seeds stay and which go. This purge is essential for efficient seed storage and future garden success. You do not want to dedicate precious space to seeds that will not germinate. This also plays a direct role in reducing waste, aligning with eco-friendly gardening practices.
For those particularly stubborn perennial varieties, you might also look into the cold stratification experiment to improve your germination success rates.
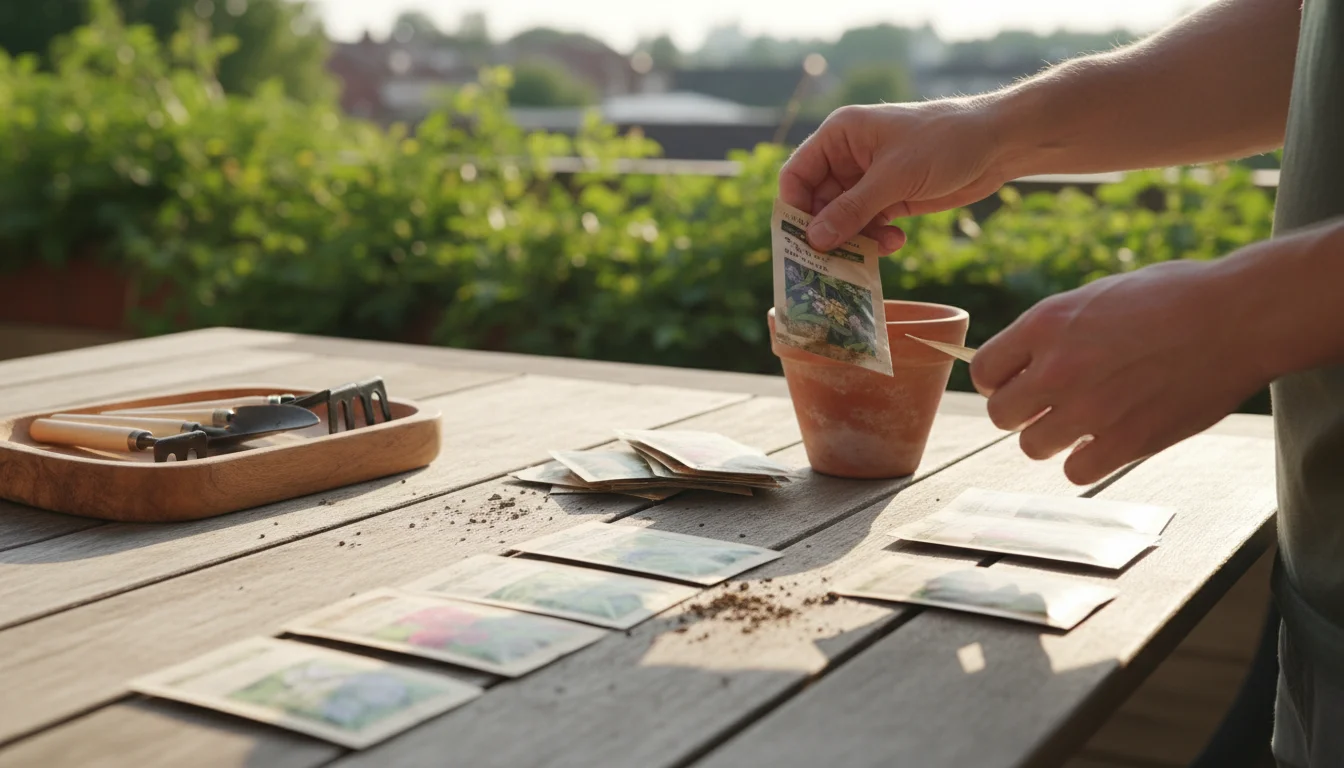
Begin by examining each seed packet. Look for key information: the type of seed, the packed-for date or expiration date, and any special notes.
Here is a step-by-step approach to the purge:
- Discard Compromised Packets: Immediately remove any packets that show obvious signs of damage, such as moisture stains, mold, insect holes, or a strong, unpleasant odor. These seeds are likely non-viable or could introduce pests or diseases to your healthy collection.
- Check “Packed For” Dates: Most seed packets include a “packed for” year or a “use by” date. This is your first indicator of age. While many seeds remain viable beyond this date, their germination rates often decline significantly. Generally, vegetable seeds like onions, parsnips, and corn have shorter lifespans (1-2 years), while tomatoes, beans, and peppers can last 3-5 years or even longer under ideal conditions. You can find comprehensive seed viability charts from university extension services, which often show typical lifespans for various plant types.
- Segregate Old Seeds for Testing: For any seeds that are past their prime but still look visually sound, set them aside for a germination test. This includes seeds that are 2-3 years beyond their “packed for” date for most vegetables, or even older for long-lived varieties. This simple test confirms if they can still sprout, saving you from planting non-viable seeds directly in your garden.
How to Test Old Seeds for Germination (The Paper Towel Method):
- Dampen a paper towel or coffee filter. Do not make it soaking wet; just moist.
- Place 5-10 seeds (the more you test, the more accurate your result) on one half of the paper towel.
- Fold the other half over the seeds.
- Place the folded paper towel inside a plastic baggie or a lidded container to maintain moisture. Label the bag clearly with the seed type and date.
- Keep the bag in a warm spot (around 65-75°F / 18-24°C) out of direct sunlight.
- Check daily, keeping the paper towel moist if needed. Seeds will typically sprout within 5-14 days, depending on the variety.
- Count how many seeds germinate. If 7 out of 10 seeds sprout, you have a 70% germination rate. This is acceptable for many gardeners, though you might plant a few extra seeds to compensate. If only 1 or 2 sprout, it is probably time to discard that packet.
Once you have identified seeds that are definitely non-viable or have very poor germination rates, make the conscious decision to let them go. Discarding them creates space and clarity, focusing your efforts on healthy, promising seeds. This mindful winter guide to organizing your collection for spring ensures every seed packet in your future inventory has a purpose.
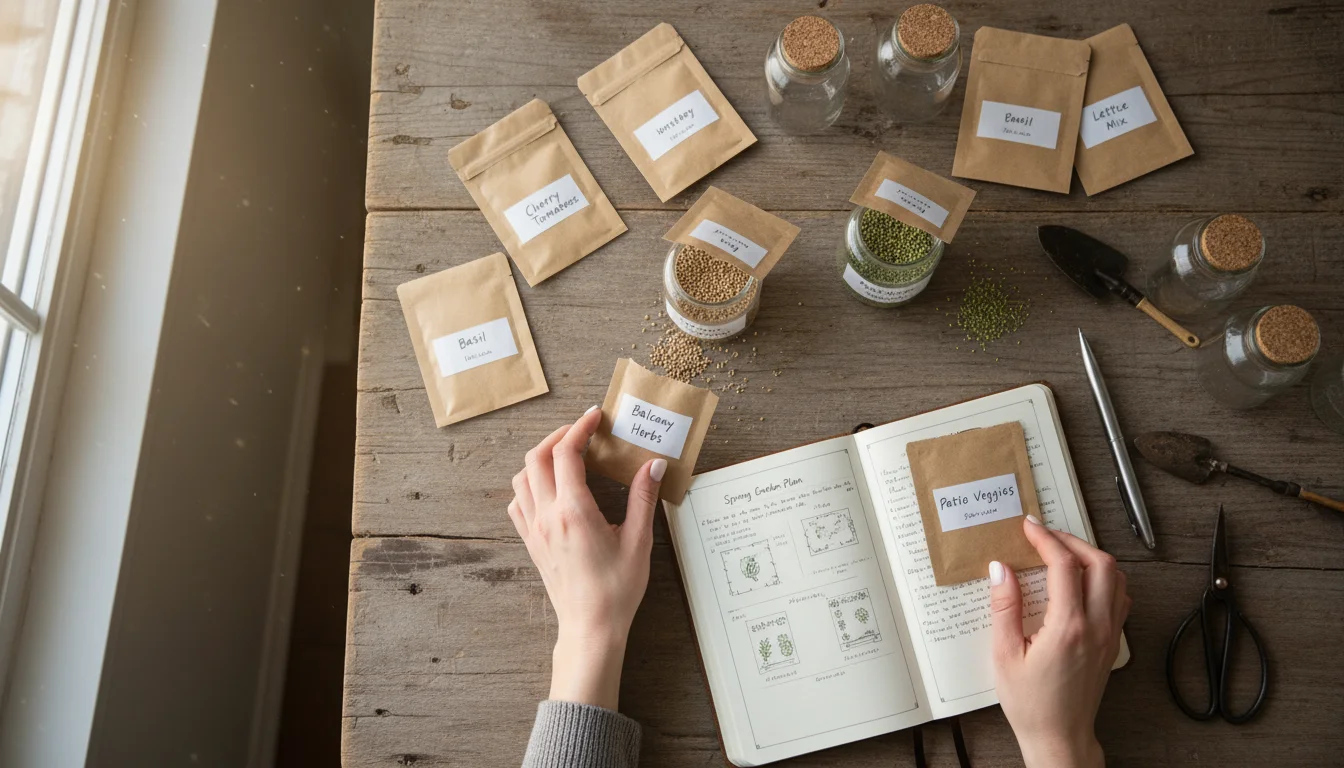
Decoding Seed Packets: Essential Information for Smart Storage
Your seed packets are more than just pretty pictures; they are tiny encyclopedias of vital information. Understanding what each part of the packet means empowers you to make informed decisions about storage and, ultimately, successful planting. For small-space gardeners, this detailed knowledge helps maximize yields and utilize every bit of growing area effectively.
Here is what you should look for and record from each packet:
- Plant Type and Variety: This is obvious, but often specific varieties have different needs. For example, a “Bush Bean” will require less space than a “Pole Bean.”
- Packed For/Harvested Date: As discussed, this is crucial for determining seed age and viability. Always prioritize using older seeds first if their germination rate is still good.
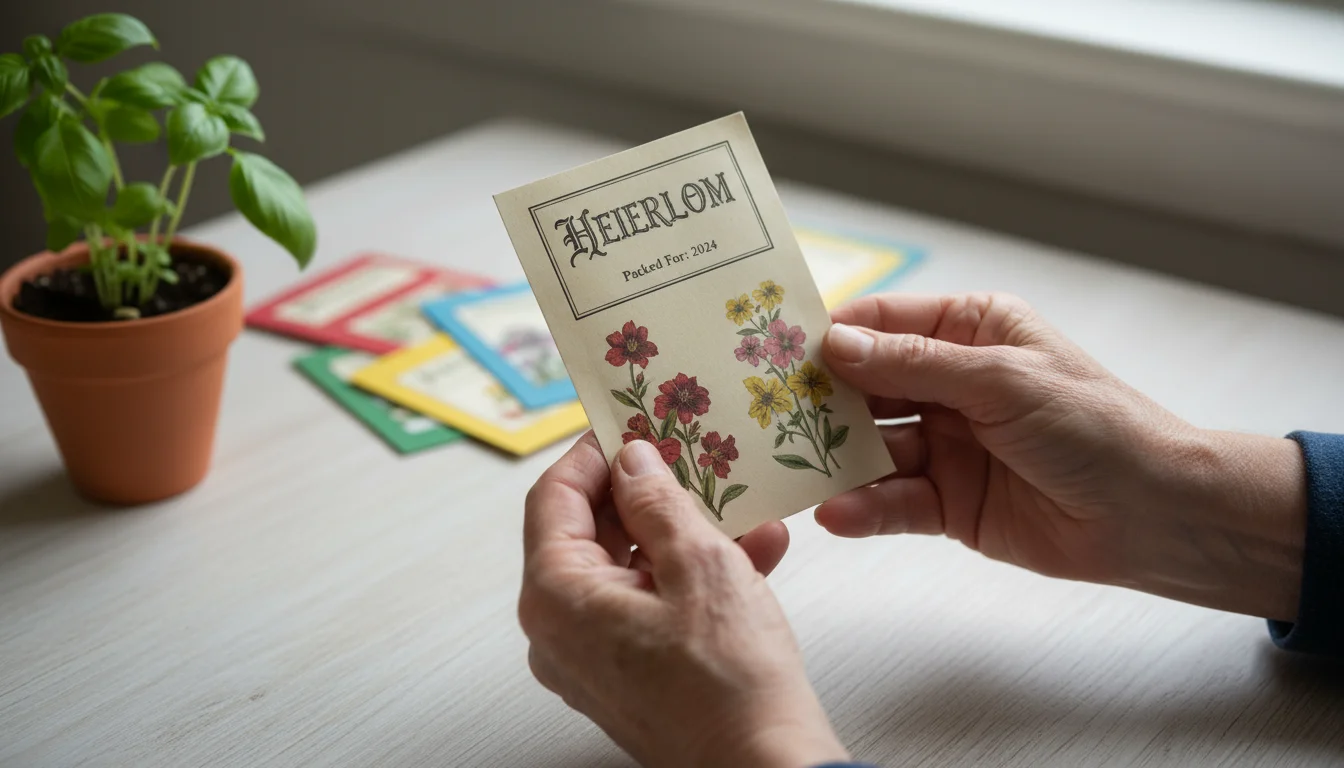
- Open Pollinated, Heirloom, or Hybrid:
- Open Pollinated: These seeds will produce offspring true to the parent plant if pollinated by another of the same variety. This makes them suitable for seed saving.
- Heirloom: A type of open-pollinated seed that has been passed down through generations, often prized for unique flavors or characteristics. Also excellent for seed saving.
- Hybrid (F1): These seeds are a cross between two different parent plants. While they often offer desirable traits like disease resistance or higher yields, saved seeds from hybrids typically do not produce plants true to the parent.
- Days to Maturity: This tells you approximately how long it takes from planting (or transplanting) to harvest. This is critical for succession planting in small spaces, allowing you to plan when one crop will finish and another can begin.
- Depth of Planting: Important for successful germination. Planting too deep or too shallow can hinder sprouting.
- Spacing: Crucial for small gardens. This tells you how far apart to plant seeds or seedlings to allow for optimal growth without overcrowding. Close spacing in small containers can lead to poor drainage and nutrient competition.
- Light Requirements: Full sun, partial sun, or shade. Knowing this helps you place your containers or plants in the best microclimates your small space offers.
- Germination Temperature: The ideal temperature range for seeds to sprout. Some seeds need warmth, others a period of cold (stratification).
- Special Instructions: Look for notes about scarification (scratching the seed coat) or stratification (a cold, moist period) required for certain seeds.
As you examine each packet, transfer this key information into your seed inventory system. A simple notebook or a digital spreadsheet can work wonders. Record the plant name, variety, “packed for” date, quantity of seeds (estimate if not specified), and any specific planting notes relevant to your small space. For example, you might note “good for 5-gallon container” or “needs trellis.” This meticulous record-keeping during the winter months transforms your seed collection from a random assortment into a powerful tool for informed garden planning. It helps you decide which seeds are best suited for your limited growing area and how to store vegetable seeds over winter for maximum effectiveness.
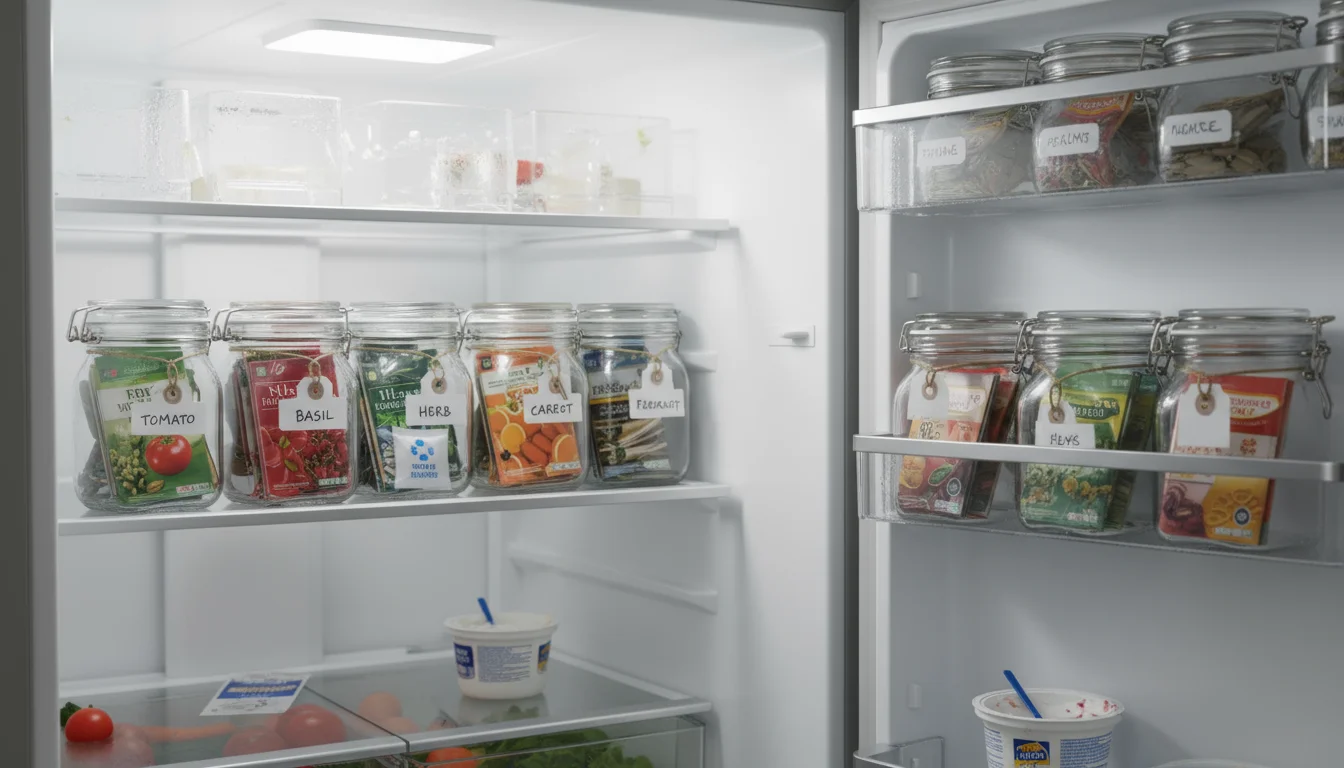
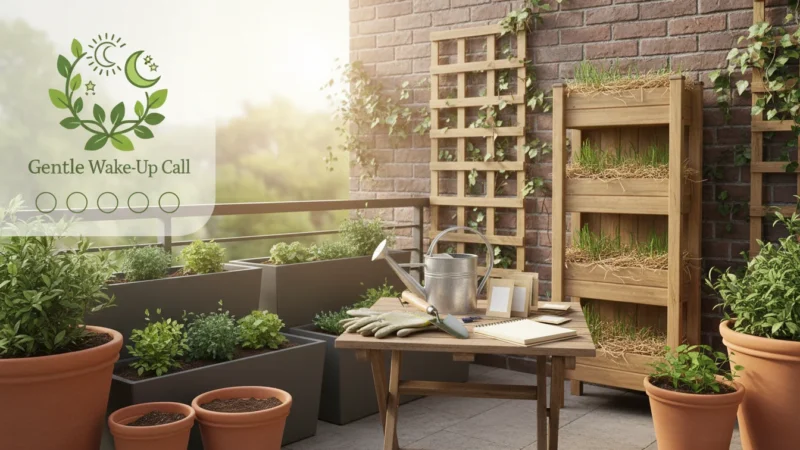
Smart Storage Solutions for Small Spaces: Keeping Your Seeds Happy
Once your seeds are sorted and you understand their needs, the next step is implementing an effective and space-saving storage system. The best way to store vegetable seeds over winter, or any seeds for that matter, is by controlling three critical factors: temperature, humidity, and light. Your goal is to keep seeds dormant, protecting their delicate embryos until planting time. This is especially vital for how to organize seeds for a small garden, where clever solutions make the most of limited room.
To keep your organized packets ready for action, you can even build a space-saving seed starting shelf that fits perfectly in a small apartment.
To keep your balcony gear tidy during the off-season, consider utilizing the garden-in-a-box method to store your supplies efficiently.
For those with limited floor space, building a DIY seed starting shelf can be a game-changer for organizing and starting your garden indoors.
Here are the key principles of proper seed storage:
- Cool Temperatures: Seeds store best in cool conditions, ideally between 35-50°F (2-10°C). Many gardeners store seeds in a refrigerator or an unheated closet. Avoid areas with fluctuating temperatures, like a garage that gets hot in summer and freezing in winter, unless it maintains a consistently cool temperature.
- Low Humidity: Moisture is a seed’s enemy, signaling it to germinate prematurely or encouraging mold growth. Aim for a relative humidity of 20-40%. You can achieve this by storing seeds in airtight containers and, if needed, adding a desiccant like silica gel packets (often found in shoe boxes or electronics) or a tablespoon of powdered milk wrapped in a paper towel.
- Darkness: Light can also stimulate germination and degrade seed viability. Always store seeds in opaque containers or in a dark location.
Now, let us explore practical storage solutions specifically designed with small spaces in mind:
- Photo Storage Boxes: These compact, sturdy plastic boxes are perfect for organizing seed packets by type or planting month. Their individual compartments keep packets upright and easy to browse. You can find them at craft stores.
- Accordion Folders or Binders with Plastic Sleeves: An accordion file lets you create labeled sections for different seed categories (e.g., “Leafy Greens,” “Root Vegetables,” “Herbs”). For binders, use clear plastic baseball card sleeves or photo album pages to hold individual seed packets, making them visible at a glance.
- Airtight Jars with Desiccant: For smaller quantities of seeds or those you have saved yourself, place them in small paper envelopes (not plastic) with a label, then seal them inside a glass jar with a desiccant. Keep the jar in a cool, dark cupboard or your refrigerator.
- Shoe Boxes or Small Plastic Totes: These are classic choices. Line them with paper towels to absorb any stray moisture, then organize your seed packets inside. You can use index card dividers to create sections for different plant families or planting times. Stackable totes are excellent for vertical storage in a closet.
- Old Spice Racks or Toolboxes: Repurpose items you already own. A small spice rack on a shelf can hold small seed packets, while a clean toolbox with compartments offers robust protection and organization.
Labeling is Paramount: No matter which system you choose, clear and consistent labeling is non-negotiable. Label your larger containers (“Vegetables,” “Herbs,” “Flowers”) and individual dividers. On each seed packet, or on a small envelope you place the original packet into, write the purchase date or packed-for date and, importantly, the expected viability date or when you last tested for germination. This mindful approach ensures your best way to store vegetable seeds over winter truly protects your gardening investment.
Linking Seed Organization to Your Spring Garden Plan
Organizing your seed collection in winter is not just about tidiness; it is the cornerstone of effective garden planning winter. For small-space gardeners, this connection is even more critical. A well-organized seed stash directly translates into a more productive, less stressful, and ultimately more enjoyable spring planting season. You are not just storing seeds; you are storing future harvests and garden beauty.
Preparing your inventory now makes it much easier to follow an early spring garden prep checklist when the weather finally turns.
Once you have your seeds organized, integrate them into an early spring garden prep checklist to ensure you are ready the moment the weather warms.
Think of your organized seed collection as a dynamic blueprint for your upcoming garden. Here is how you can use your newly sorted seeds to jumpstart your spring garden plan:
- Visualize Your Small Space: With your seed inventory at hand, consider the specific dimensions of your containers, raised beds, or patio plots. Which seeds fit? How many plants of each can you realistically grow? This helps you avoid over-purchasing or planting too densely, which can hinder growth due to competition for nutrients and sunlight.
- Map Out Your Planting Schedule: Group your seeds by planting time. Create categories like “Early Spring Direct Sow,” “Indoor Seed Starting – 8 Weeks Before Last Frost,” “Late Spring Direct Sow,” or “Summer Succession Planting.” This structured approach allows you to sequence your tasks efficiently. You might even create a simple calendar outlining when each seed type needs attention.
- Consider Companion Planting: Small spaces benefit immensely from companion planting. As you review your organized seeds, think about beneficial plant pairings. For example, marigolds deter pests around tomatoes, or beans fix nitrogen for corn. Your seed inventory helps you identify these synergistic combinations and incorporate them into your compact design.
- Plan for Succession Planting: Maximizing yield in a small garden often means succession planting. This involves planting new seeds or seedlings as soon as one crop is harvested. Your organized seed collection, with clear “days to maturity” noted, makes this planning simple. If your early spring lettuce finishes in 45 days, you know you can immediately follow it with bush beans or another quick crop. This ensures your containers and beds are continuously productive.
- Prioritize and Budget Wisely: Your organized inventory reveals exactly what you have. This allows you to prioritize what to grow based on what you already own and what you genuinely need. This targeted approach prevents impulse purchases and ensures your gardening budget goes towards essential items or new, desired varieties rather than duplicates.
- Design for Aesthetics and Function: Even in a small space, you can combine beauty and productivity. As you review your seeds, consider the mature size and appearance of each plant. Can you create a visually appealing arrangement of different heights, textures, and colors in your containers? For instance, taller pole beans can provide a backdrop for bushier peppers, while herbs spill over the edges.
By integrating your meticulously organized seed collection with your garden planning winter, you gain a powerful advantage. You move from reactive gardening to proactive design, ensuring every seed you sow contributes to a beautiful, productive, and manageable small garden. This mindful approach makes your spring planting season less of a scramble and more of a joyful, anticipated event.
Common Seed Storage Mistakes and How to Avoid Them
Even with the best intentions, it is easy to make mistakes that compromise your seeds’ viability. Knowing these common pitfalls helps you safeguard your collection and ensures your hard work organizing seeds pays off. Avoiding these issues helps maintain the best way to store vegetable seeds over winter and ensures you get the most out of your packets.
Here are some frequent seed storage errors and practical ways to avoid them:
- Storing Seeds in Fluctuating Temperatures:
- Mistake: Keeping seeds in a garage that gets scorching hot in summer and freezing in winter, or near a heating vent indoors. Drastic temperature shifts can break seed dormancy, trigger premature germination, or simply degrade the seed embryo rapidly.
- Solution: Choose a location with stable, cool temperatures. A refrigerator (not the freezer unless specific seeds require it), a cool basement, or an unheated, insulated closet are excellent choices. Consistent conditions are more important than extreme cold for most home gardeners.
- Exposure to Moisture and High Humidity:
- Mistake: Storing seeds in damp basements, kitchens, or simply leaving packets open. Moisture is the number one enemy of stored seeds, leading to mold, rot, or early germination.
- Solution: Always store seeds in airtight containers. Glass jars with tight-fitting lids, sealed plastic containers, or even heavy-duty Ziploc bags are effective. Add a desiccant, like silica gel packets or a small amount of powdered milk wrapped in a paper towel, to absorb excess moisture, especially if storing in a refrigerator where humidity can be higher.
- Direct Sunlight or Bright Light:
- Mistake: Leaving seed packets exposed to light on a windowsill or in a clear container. Light can degrade seed viability and sometimes even trigger germination.
- Solution: Store seeds in opaque containers or in a dark location. If using clear jars, place them inside a dark box or cupboard.
- Relying Solely on Original Packaging:
- Mistake: Trusting flimsy paper seed packets for long-term storage, especially if they are not sealed. Many commercial packets offer minimal protection against humidity.
- Solution: Transfer seeds into small, labeled paper envelopes, then place these into larger, airtight, and opaque containers. This provides a double layer of protection. Always ensure each small envelope is clearly labeled with the plant type, variety, and packed-for date.
- Forgetting to Label Seeds:
- Mistake: Storing unlabeled seeds or letting labels fade. This leads to mystery seeds and frustration when you try to plan your garden.
- Solution: Label everything clearly and permanently. Use a permanent marker on envelopes, containers, and even directly on seed packets if possible. Include the plant name, variety, and the “packed for” date. Consider adding notes about germination test results.
- Ignoring Old or Unknown Seeds:
- Mistake: Holding onto seeds for years without knowing their viability, taking up valuable storage space.
- Solution: Regularly prune your seed collection. Perform germination tests on older seeds. Discard seeds with very low germination rates or those you cannot identify. This keeps your collection efficient and ensures you are working with viable stock.
By being mindful of these common mistakes, you can significantly extend the life of your seed collection. Proper seed storage is a small effort that yields big rewards, ensuring your garden planning winter leads to a thriving spring.
Beyond Storage: Sustainable Seed Practices
Organizing and properly storing your seeds is a fantastic step towards a more sustainable garden. But the journey towards eco-friendly gardening does not end there. For small-space gardeners, every choice matters, and embracing sustainable seed practices allows you to maximize your efforts, reduce waste, and connect more deeply with your growing environment.
If the wait for spring feels too long, remember that winter indoor gardening allows you to keep growing fresh greens even while the ground is frozen outside.
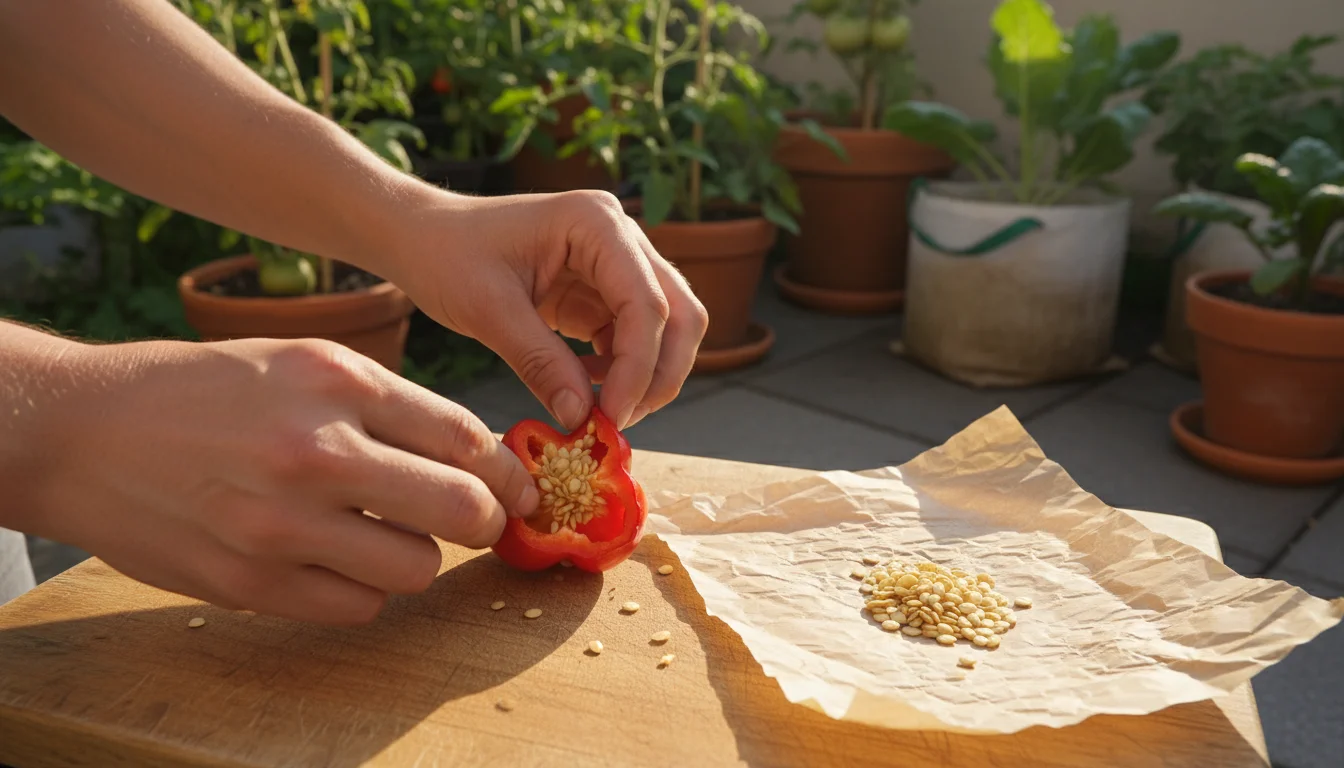
- Embrace Seed Saving: This is perhaps the most impactful sustainable practice. By saving seeds from your own open-pollinated or heirloom plants, you create a self-sustaining cycle. You adapt plants to your specific growing conditions, preserve unique varieties, and eliminate the need to buy new seeds each year. Start with easy-to-save seeds like beans, peas, lettuce, tomatoes, and peppers. Remember to choose healthy, vigorous parent plants. Proper harvesting, cleaning, and drying are crucial steps for successful seed saving. Many university extension services offer excellent guides on this topic.
- Share and Trade Seeds: If you find yourself with an abundance of a particular variety, or if a germination test reveals you have more than you can possibly plant, consider sharing. Seed swaps, community garden groups, or even just trading with gardening friends are wonderful ways to spread plant diversity and reduce waste. This also connects you with other gardeners in your community, fostering a sense of shared abundance.
- Support Local and Organic Seed Companies: When you do need to buy seeds, choose companies that prioritize open-pollinated, heirloom, and organic varieties. These companies often focus on biodiversity, ethical practices, and seeds adapted to regional climates. Supporting them helps ensure a resilient and diverse seed supply for future generations. For example, some companies specialize in varieties that perform exceptionally well in containers, which is perfect for small garden needs.
- Reduce Plastic Waste: Many commercial seed packets come in plastic. While it is hard to avoid entirely, you can minimize your contribution. Choose seeds sold in paper packets, and when you save your own seeds, store them in paper envelopes or glass jars. Reuse plastic containers for organization whenever possible, extending their lifespan.
- Compost Non-Viable Seeds: Instead of simply discarding seeds that fail a germination test or are too old, add them to your compost pile. They will break down naturally, returning their organic matter and nutrients to the soil. This aligns perfectly with a closed-loop gardening system, where everything has a purpose.
By integrating these sustainable seed practices, you elevate your gardening from a hobby to a conscious act of environmental stewardship. Your small garden becomes a vibrant testament to resourcefulness and ecological awareness. This mindful approach to your seed collection, from organizing seeds to their ultimate fate, truly embodies the spirit of SimpleGardenJoy.com.
Frequently Asked Questions
Can I store seeds in the freezer?
While some commercial seed banks freeze seeds for very long-term storage, it is generally not recommended for home gardeners unless you have airtight, moisture-proof containers specifically designed for freezer use. Fluctuations in temperature or even small amounts of moisture can damage seeds when frozen and thawed. For most home collections, a consistently cool, dark, and dry spot like a refrigerator or unheated closet is sufficient and safer.
What does “stratification” mean for seeds?
Stratification refers to a period of cold, moist conditions that some seeds require before they can germinate. This mimics the natural winter chilling process they would experience outdoors. For example, many perennial flowers, herbs like lavender, and fruit trees need stratification. You can often achieve this at home by mixing seeds with moist sand or peat moss in a sealed plastic bag and placing it in your refrigerator for several weeks or months.
How do I know if my saved seeds are viable?
The best way to determine the viability of saved seeds is through a germination test. As described earlier, placing a small sample of seeds on a moist paper towel in a sealed baggie and keeping it warm allows you to see how many sprout. If 70% or more germinate, your seeds are likely still good. If fewer sprout, you will know to plant extra seeds to compensate or to discard the batch.
Should I store all seeds in the refrigerator?
No, not all seeds need refrigerator storage, and some might even be harmed by it if not properly sealed. While cool temperatures are generally beneficial, the most critical factors are consistency and dryness. Common vegetable seeds like beans, peas, corn, and squash often do well in a consistently cool, dark cupboard or basement, provided they are in airtight containers. If your home tends to be warm or humid, or if you want to maximize the lifespan of long-lived seeds like tomatoes or peppers, then refrigerator storage in sealed, desiccant-containing containers is a good choice.
For trustworthy gardening information, visit:
UF/IFAS Gardening Solutions, University of Illinois Extension — Gardening, UC IPM (University of California Integrated Pest Management), Missouri Botanical Garden and Kew Science — Plants of the World. These organizations provide expert, research-based advice for gardeners at all levels.
Disclaimer: This article is for informational purposes only and is not a substitute for professional gardening advice. Always consult local extension services or horticulture experts for region-specific guidance.
Leave a Reply