The ‘One-and-Done’ Bulb Pot: A Low-Maintenance Mix That Needs Zero Chilling for Stunning Spring Blooms
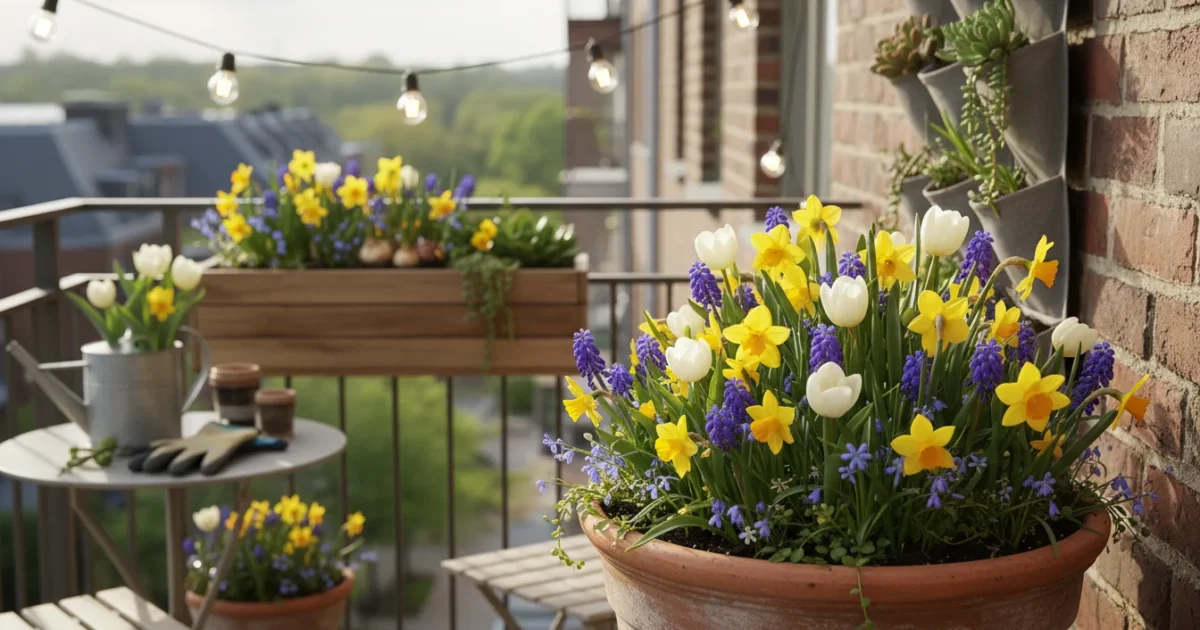
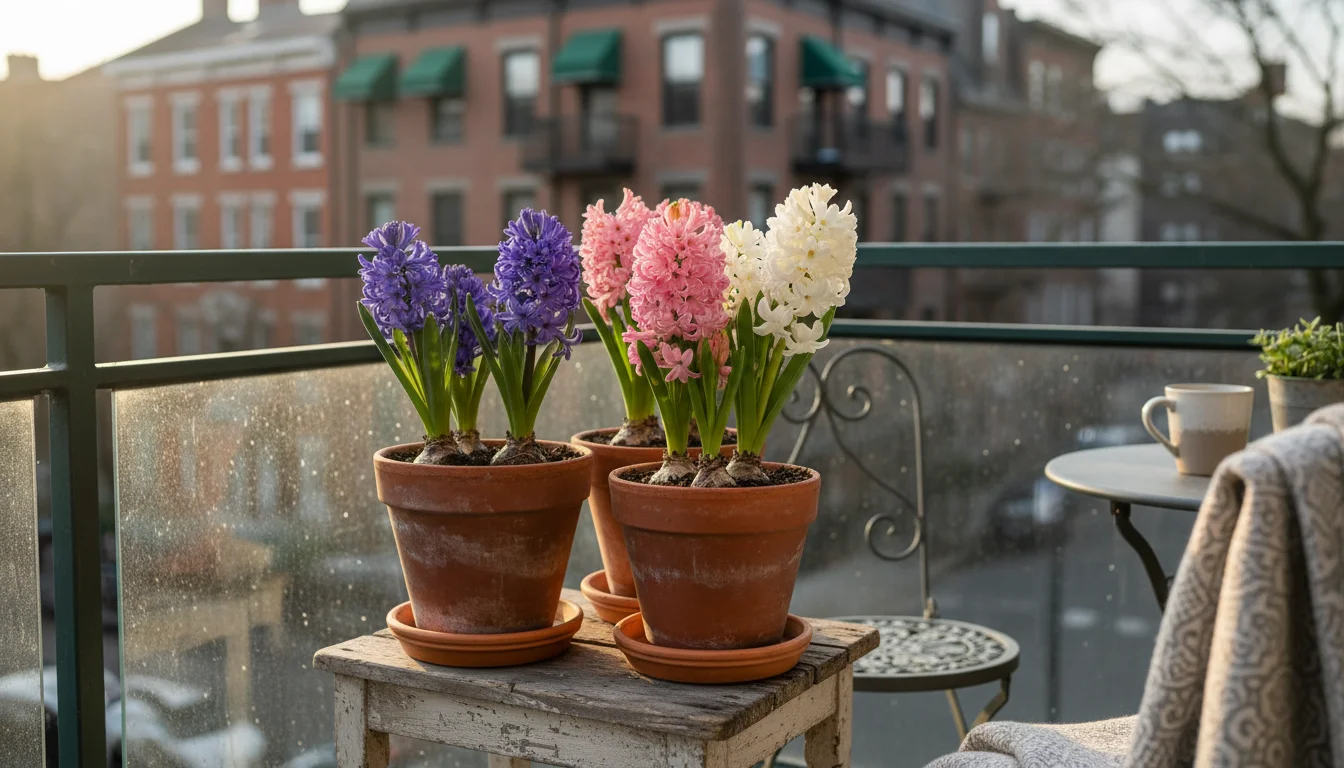
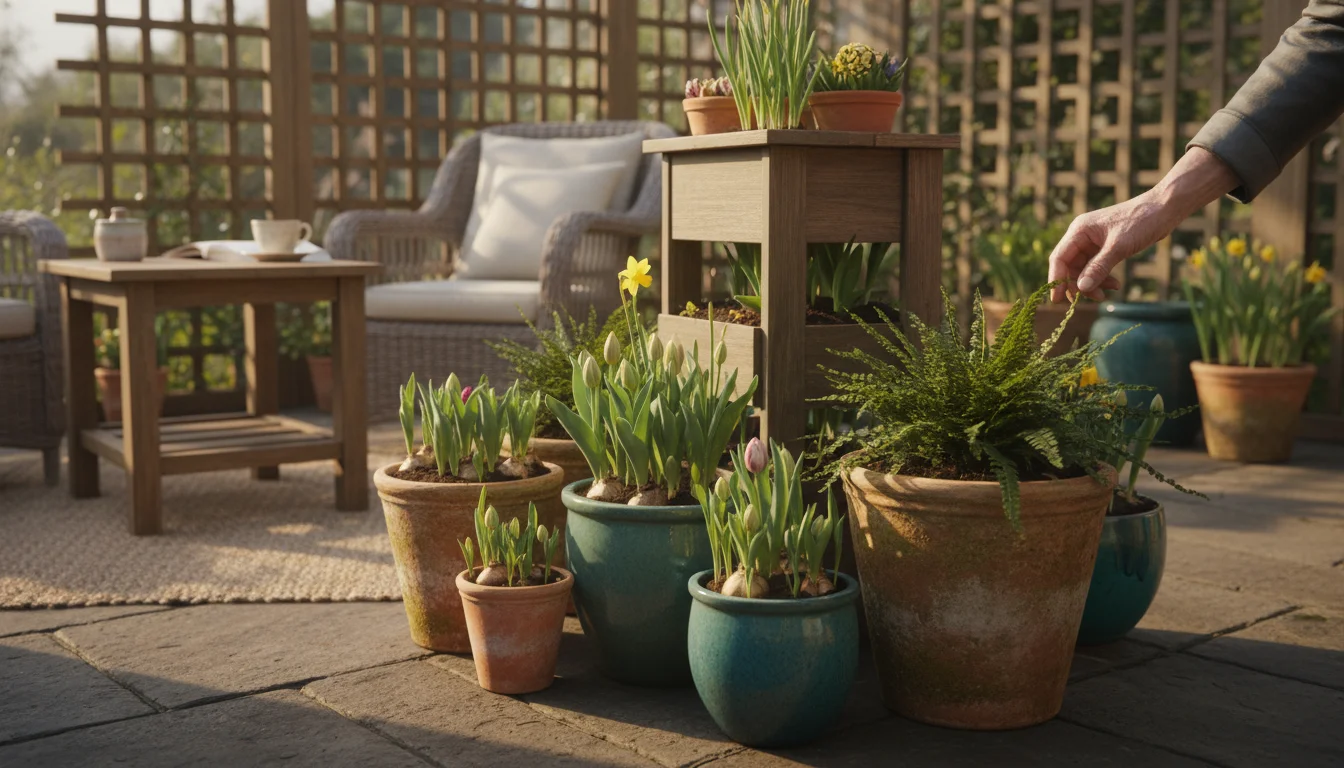
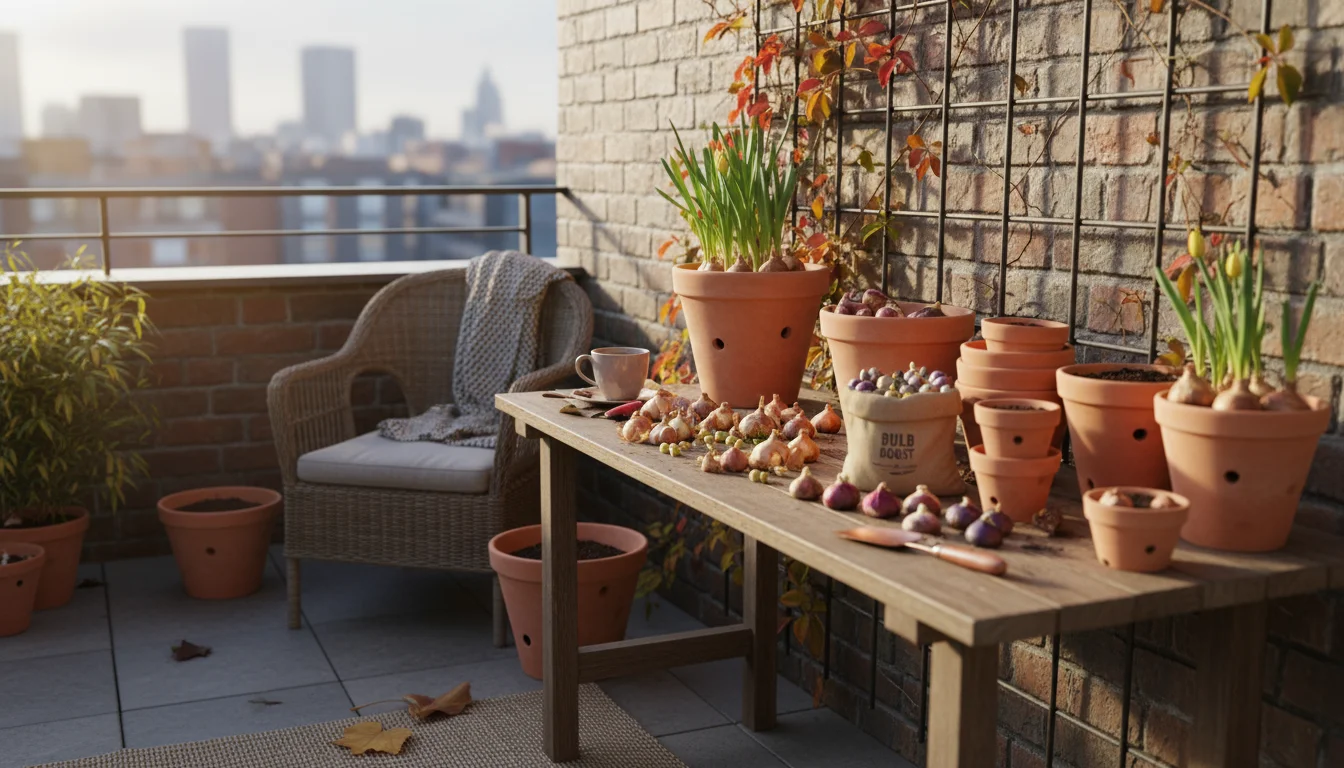
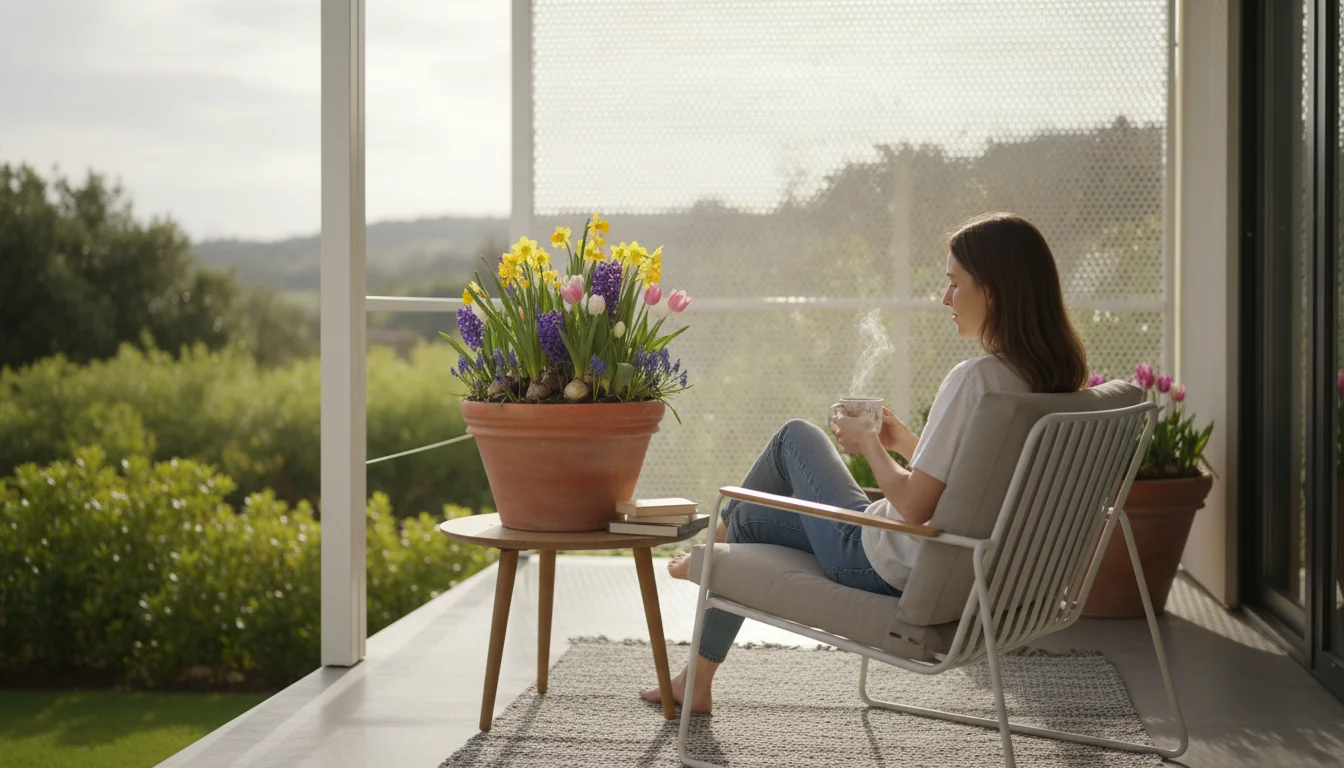
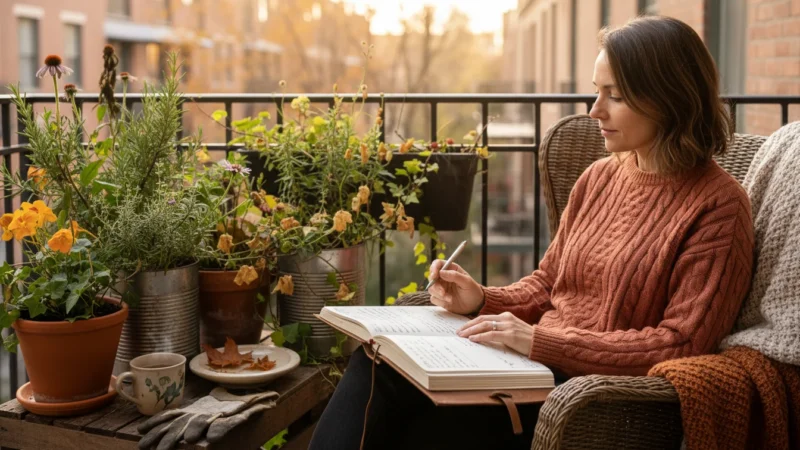
Imagine stepping onto your patio or balcony on a crisp spring morning to find a vibrant burst of color, fragrant blooms spilling from a pot you planted just a few months prior. Picture this beauty without the usual fuss of complex chilling requirements, special storage, or intricate care routines. This dream becomes your reality with the “One-and-Done” Bulb Pot, a revolutionary approach to container gardening designed for the busy, the beginner, and anyone with limited space who craves spectacular spring flowers.
Many aspiring gardeners hesitate to plant spring bulbs because of the intimidating concept of “cold stratification” or chilling periods. You hear about weeks in a refrigerator, precise temperature ranges, and suddenly, the joy of gardening feels like a science project. This article cuts through that complexity. We focus on specific, easy bulbs to plant in pots in fall that genuinely need zero chilling. You simply plant them, provide basic care, and anticipate a breathtaking show.
This foolproof method provides stunning displays with minimal effort, making it ideal for small spaces like balconies, patios, and even sunny windowsills. We empower you to create a beautiful, low-maintenance mix, ensuring your gardening journey remains simple, joyful, and rewarding. Let’s dig in and discover how you can achieve vibrant spring blooms with absolute ease.
Unlocking Spring’s Secret: Your Zero-Chilling Bulb Pot
The “One-and-Done” Bulb Pot represents a shift in thinking for fall planting for beginners. Traditionally, preparing for spring blooms means a significant time investment in understanding and executing cold stratification. This project, however, bypasses that hurdle entirely. It focuses on a select group of no-chill bulbs that thrive in containers with minimal fuss.
If you live in a climate with volatile temperatures, you may want to insulate your pots during the coldest months to protect the developing root systems.
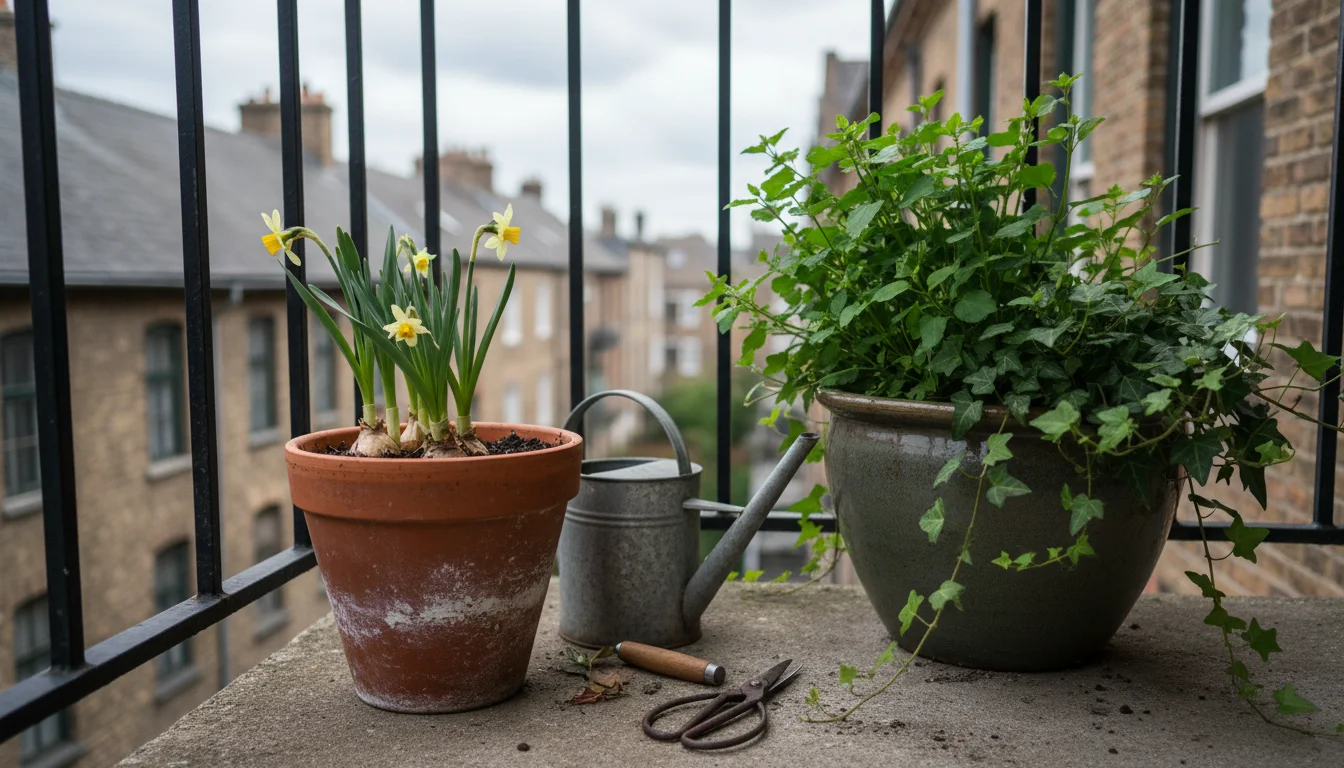
Your goal with this bulb pot is to create a captivating, layered display that emerges effortlessly. Imagine the joy of seeing the first green shoots push through the soil, a harbinger of the bright colors and sweet fragrances to come. This approach works perfectly for container bulbs because it maximizes space and allows you to control the growing environment directly, especially crucial when you have limited ground space. You gain portability, flexibility, and a stunning focal point for any small outdoor area.
Why does this matter to you? First, it simplifies gardening. No more guessing about temperatures or counting weeks in the fridge. Second, it guarantees success with high-impact blooms, boosting your confidence as a gardener. Third, it allows you to enjoy the magic of spring bulbs, even if you live in a warmer climate where natural chilling might not occur, or if your winter is too mild for traditional bulb varieties. This project proves that beautiful gardening can be easy, accessible, and incredibly rewarding.
Understanding Cold Stratification: Why Most Bulbs Need a Chill (and Why Ours Don’t!)
To truly appreciate the simplicity of our no-chill bulbs, let’s briefly understand why most spring-flowering bulbs require cold stratification. Cold stratification is nature’s alarm clock for many plants, especially those native to regions with distinct cold seasons. It is a period of sustained cold temperatures, typically below 45 degrees Fahrenheit (7 degrees Celsius), that mimics winter conditions. This cold period signals to the bulb that winter has passed, triggering the internal biological processes necessary for spring growth and flowering.
For those interested in varieties that do require cold, you can actually use your balcony as a natural ice box to provide the necessary chilling period outdoors.
Without this critical chilling period, many bulbs simply will not bloom. They may sprout leaves, but the energy required to produce flowers remains dormant. This is why gardeners in warmer climates often struggle with traditional tulips, daffodils, and crocuses, which need weeks or even months of cold to perform.
So, which bulbs don’t need cold stratification? This is where the magic of our “One-and-Done” Bulb Pot comes in. We select specific bulb varieties that are naturally adapted to warmer climates or have been specially prepared to bypass this chilling requirement. These bulbs interpret planting as their cue to begin growth, eliminating the need for you to pre-chill them. You get the same stunning blooms with a fraction of the effort, making this an incredibly easy way to enjoy spring flowers, especially when planting bulbs in containers.
This distinction is key for beginner and intermediate gardeners. Knowing that some bulbs are inherently easier prevents frustration and encourages more people to try growing these beautiful plants. You bypass a significant barrier, moving directly to the rewarding part of planting and watching your garden come alive.
Selecting Your ‘One-and-Done’ Stars: The Best No-Chill Bulbs for Containers
The success of your “One-and-Done” Bulb Pot hinges on choosing the right no-chill bulbs. For this project, we focus on varieties that consistently perform without cold stratification, guaranteeing you a stunning display. Your primary stars will be Paperwhites and specific types of Hyacinths. These are easy bulbs to plant in pots in fall and thrive in containers.
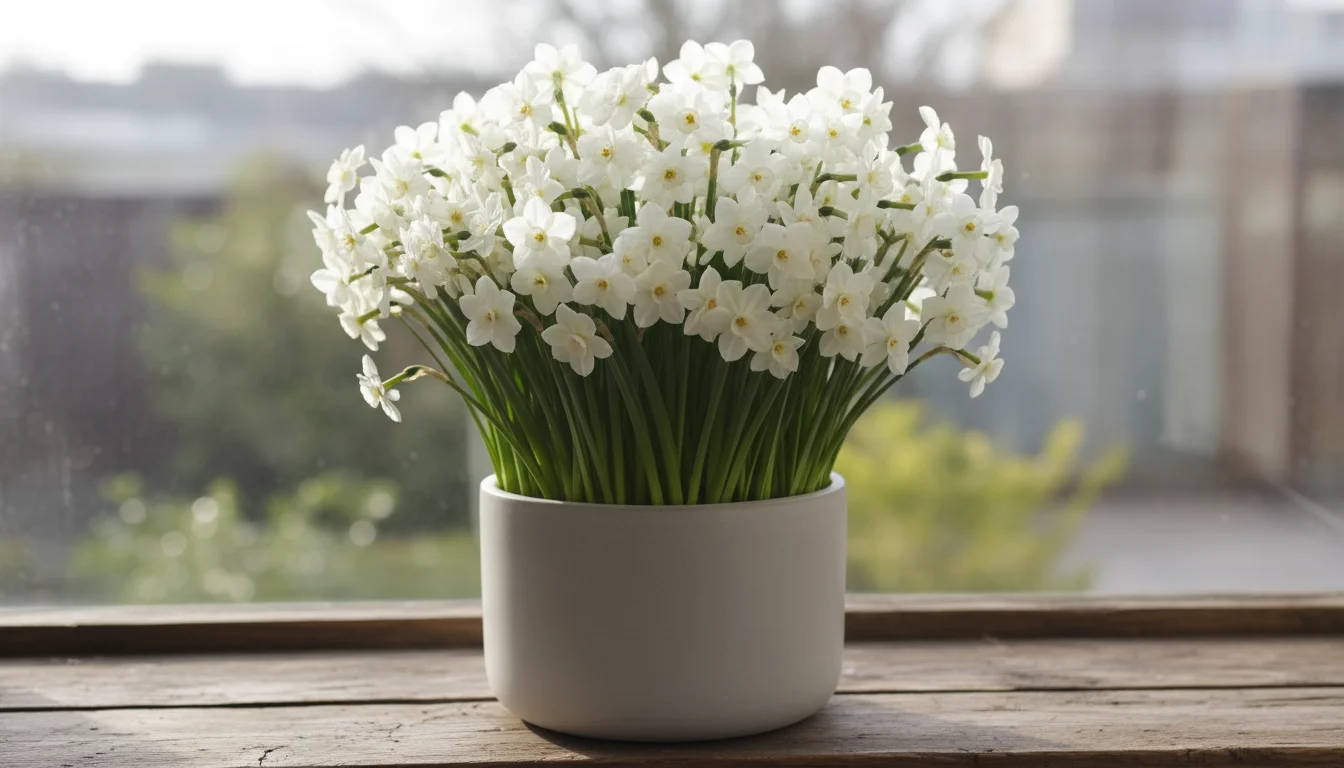
Paperwhite Narcissus (Narcissus tazetta)
Paperwhites are the quintessential no-chill bulb. These fragrant beauties are members of the daffodil family, but unlike most daffodils, they do not require a chilling period to bloom. They are incredibly easy to force, meaning they will readily sprout and flower indoors or outdoors in mild climates. Their clusters of delicate, pure white flowers emit a strong, sweet perfume, making them a sensory delight.
- Why they are perfect: No chilling required, fast growth, strong fragrance, excellent for containers, reliable bloomers.
- Popular varieties: ‘Ziva’ is the most common and robust variety, known for its prolific blooms and quick growth. ‘Inbal’ offers a slightly softer fragrance.
- Design considerations: Their tall, slender stems and white flowers create an elegant, airy feel. Plant them densely for a lush display.
Prepared Hyacinths (Hyacinthus orientalis)
Traditional hyacinths typically need a cold period. However, “prepared” hyacinths undergo a special temperature treatment by growers that tricks them into thinking they’ve experienced winter. This means you can plant them directly without any pre-chilling. They offer dense, fragrant flower spikes in a beautiful array of colors.
- Why they are perfect: No chilling required (when labeled “prepared”), intense fragrance, vibrant colors, sturdy flower spikes.
- Popular varieties: Look for any variety specifically labeled “prepared” or “for forcing.” Common colors include shades of blue (‘Delft Blue’), pink (‘Pink Pearl’), white (‘Carnegie’), and purple (‘Ostara’).
- Design considerations: Hyacinths provide a strong, bold visual impact. Their formal shape contrasts beautifully with the looser form of Paperwhites. Group different colors for a rich tapestry, or stick to one color for a dramatic statement.
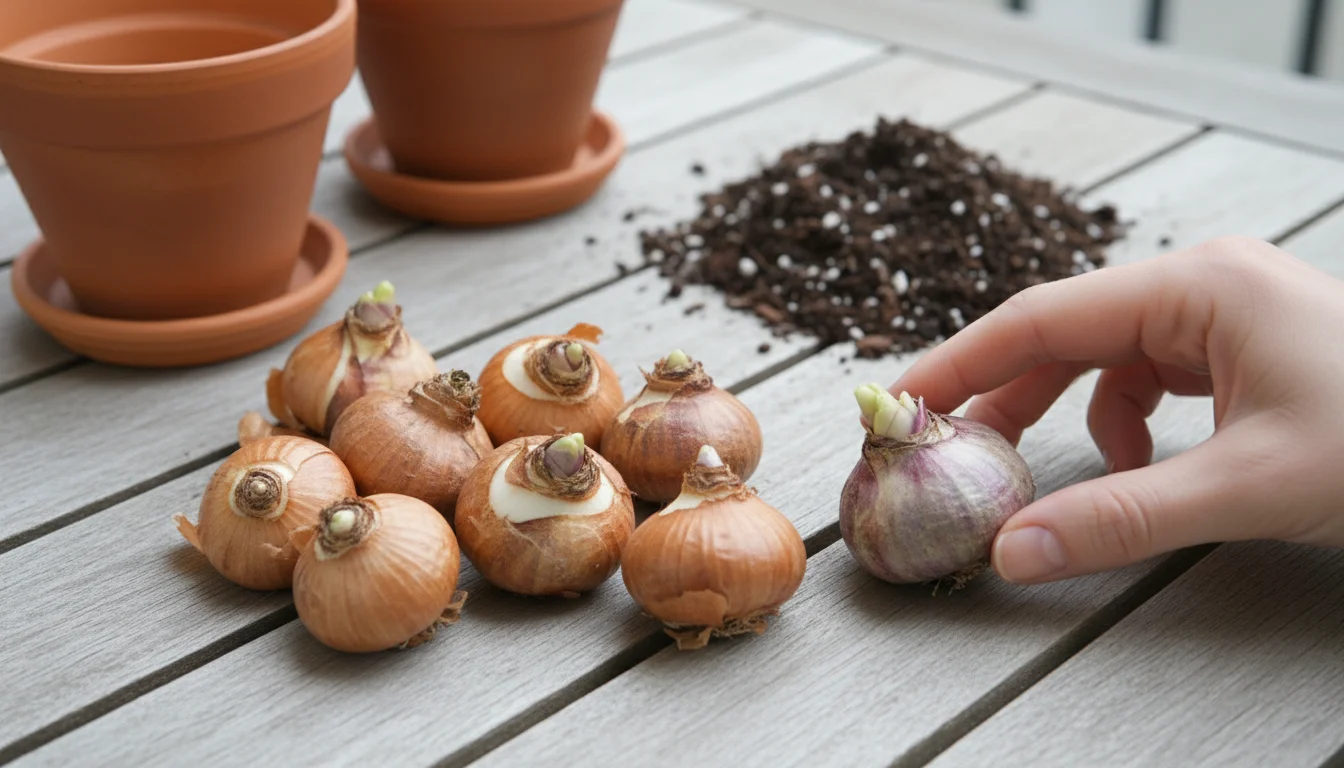
When selecting your bulbs, look for firm, plump bulbs that show no signs of mold, rot, or soft spots. Larger bulbs generally produce more blooms. Plan your purchases for late summer or early fall when bulb selections are at their peak. These specific choices ensure your success with container bulbs that genuinely need zero chilling.
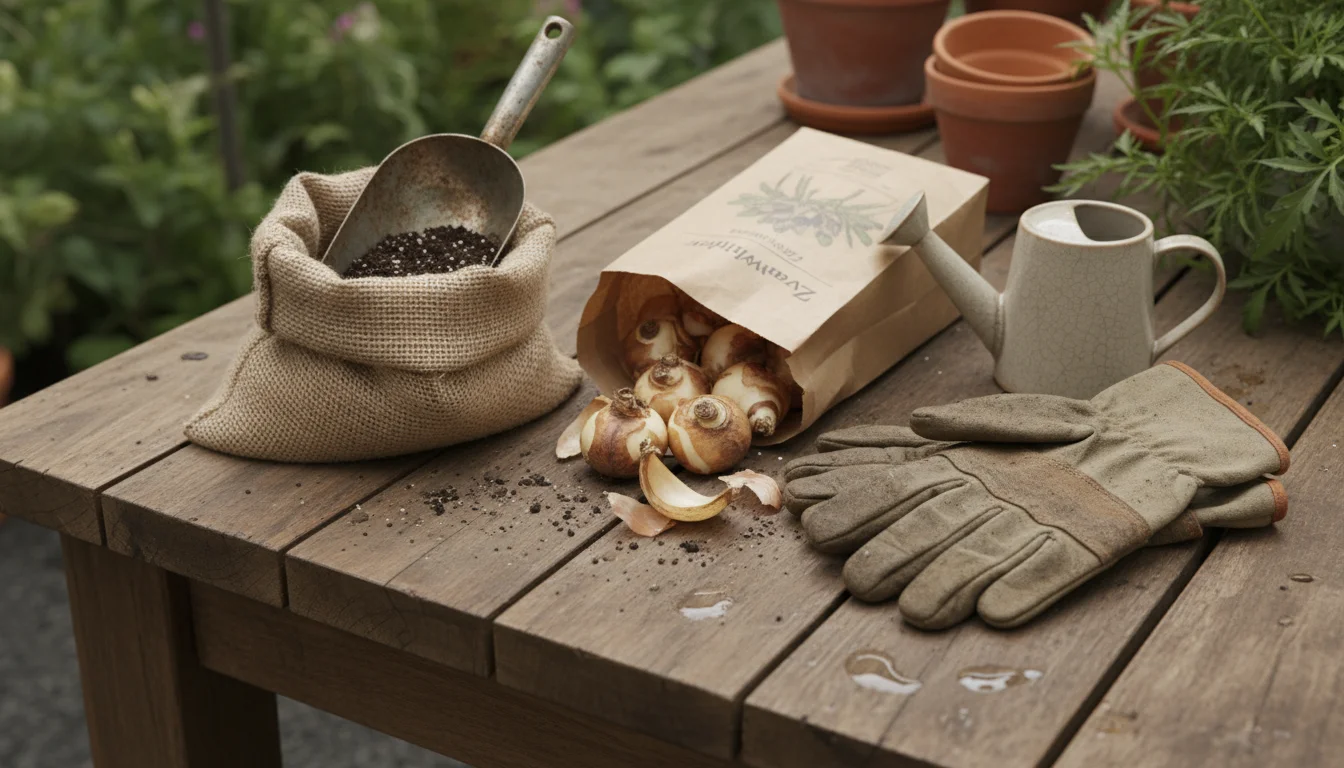
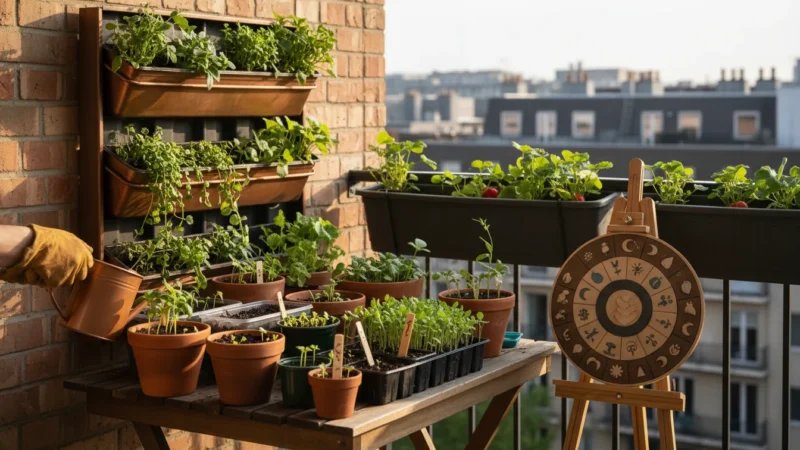
Gathering Your Gardening Gear: What You Need for Success
Before you begin planting, gather all your supplies. Having everything ready simplifies the process and makes for a more enjoyable gardening experience. Here’s a checklist of what you need for your easy bulbs to plant in pots in fall:
Before you start filling containers, it’s the perfect time to clean and organize your pots to ensure a healthy environment for your new bulbs.
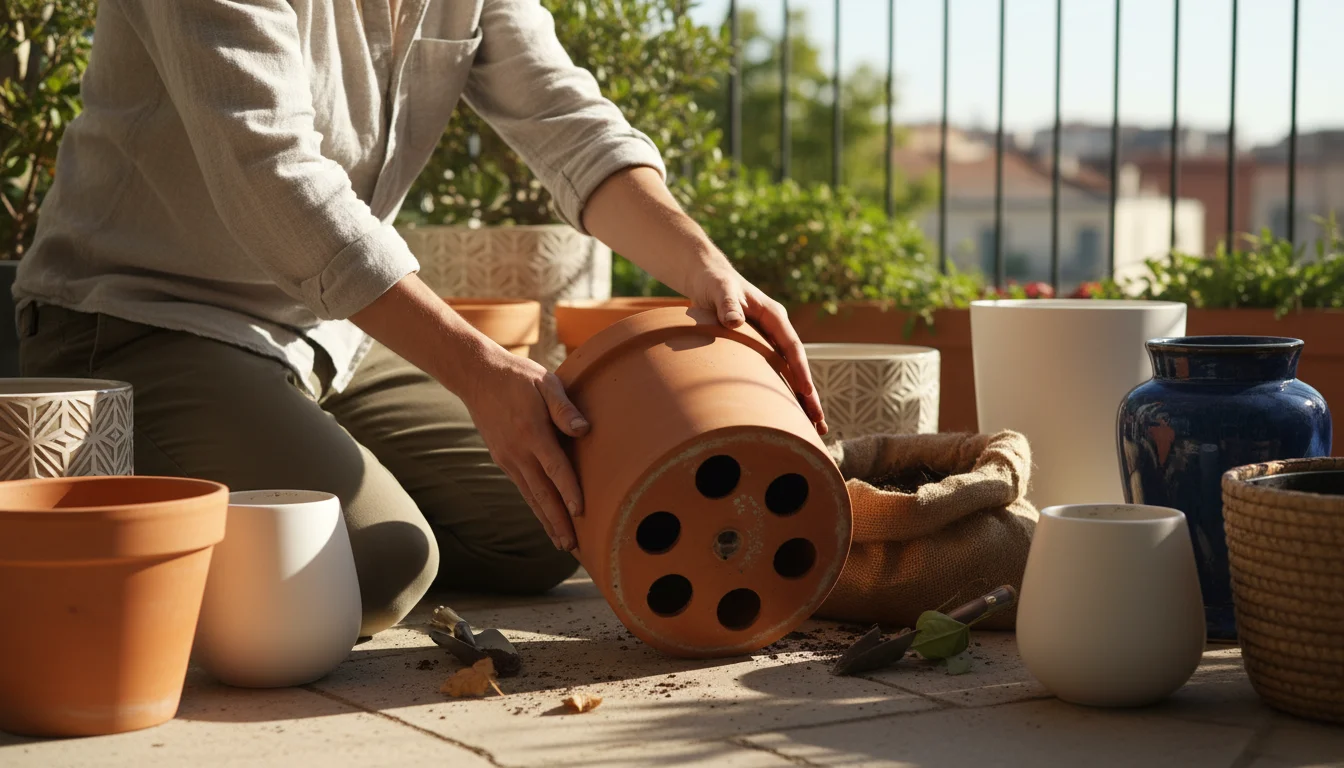
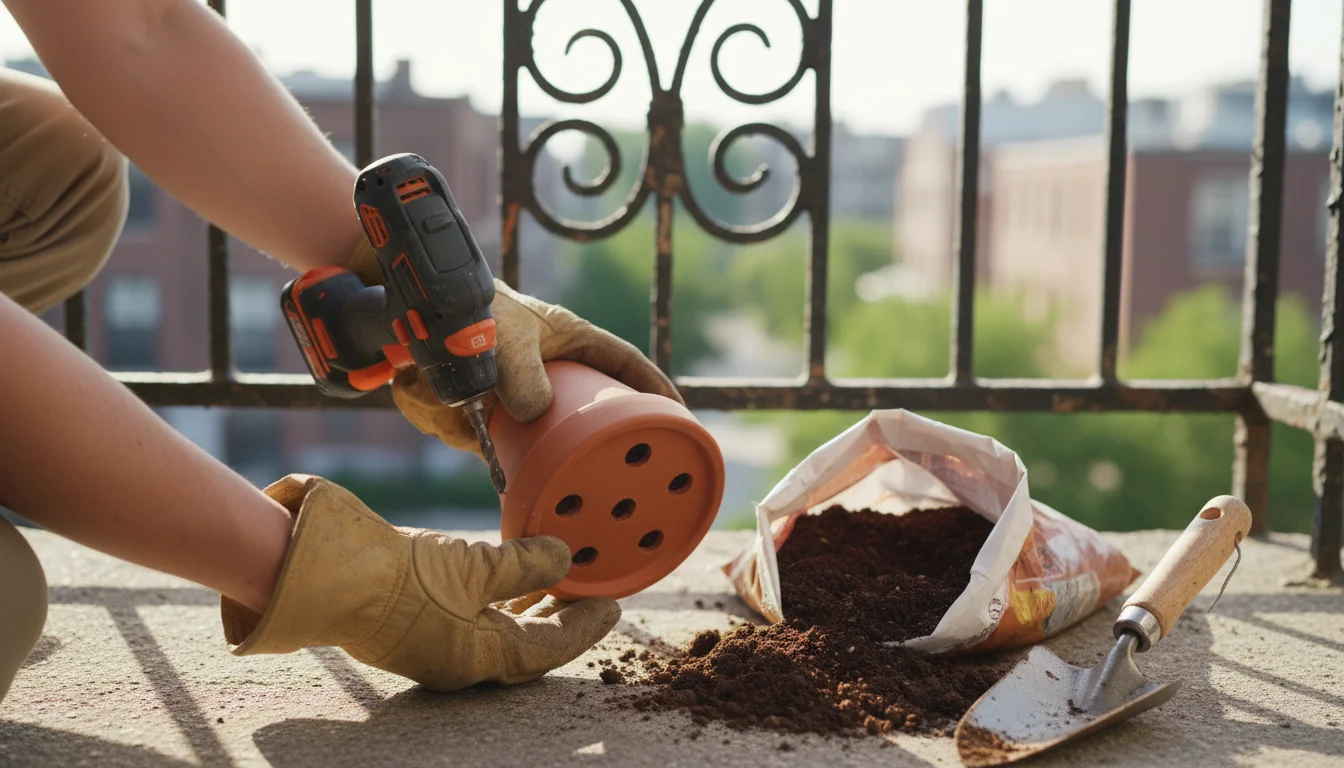
1. The Right Container
- Size: Choose a pot that is at least 8-12 inches in diameter and depth. A larger pot allows for more bulbs and creates a more impactful display.
- Material: Terra cotta, ceramic, plastic, or even galvanized metal containers all work well. Ensure your chosen material complements your outdoor aesthetic.
- Drainage: This is non-negotiable. Your container MUST have drainage holes at the bottom. Without them, water collects, leading to bulb rot. If your pot lacks holes, you must drill some before planting. Proper drainage, meaning how water moves through the soil and out of the pot, prevents waterlogged conditions that harm bulbs.
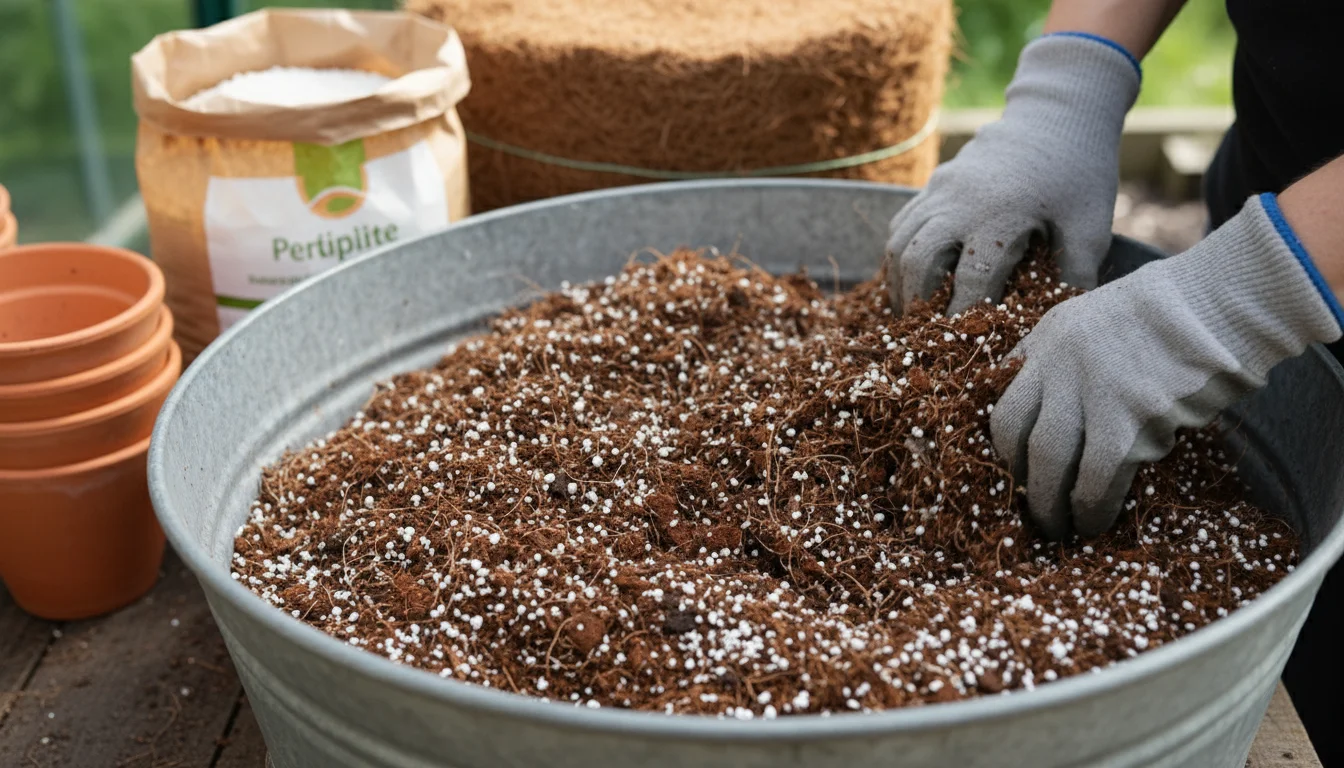
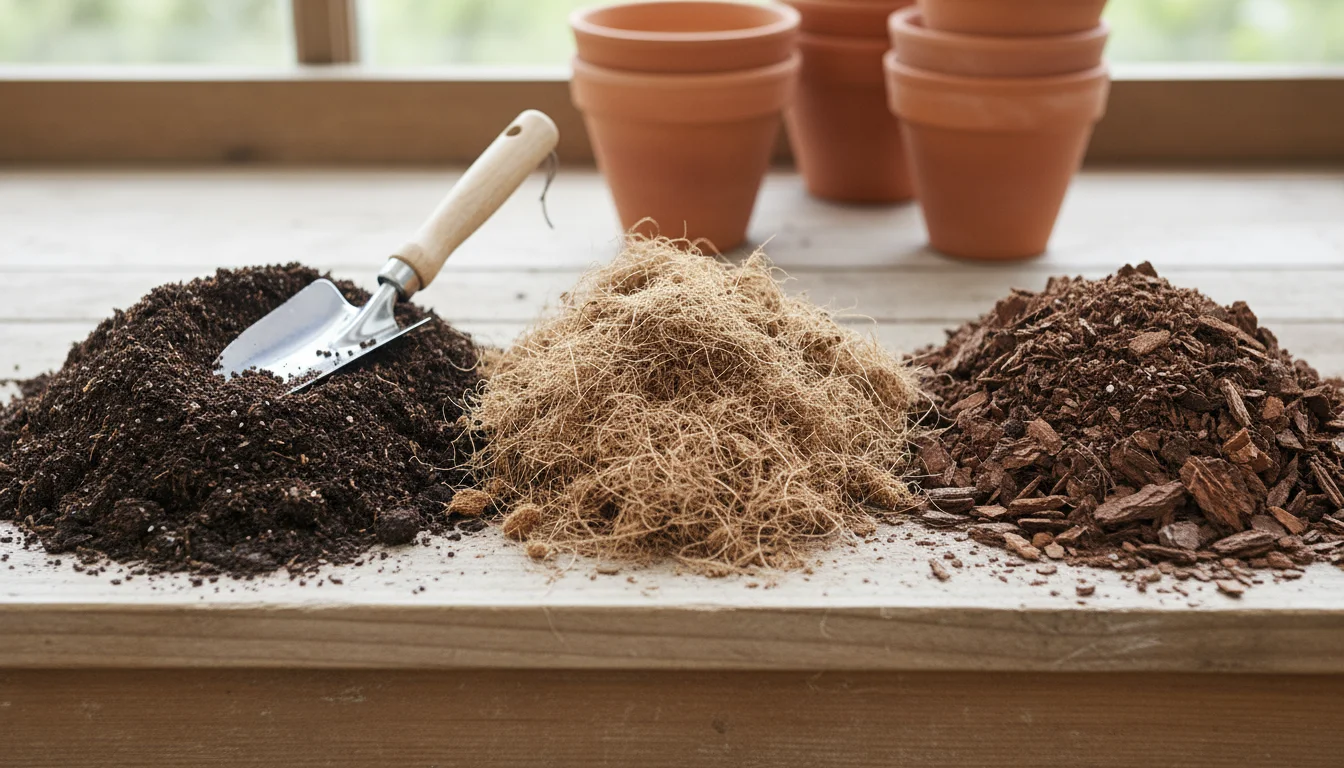
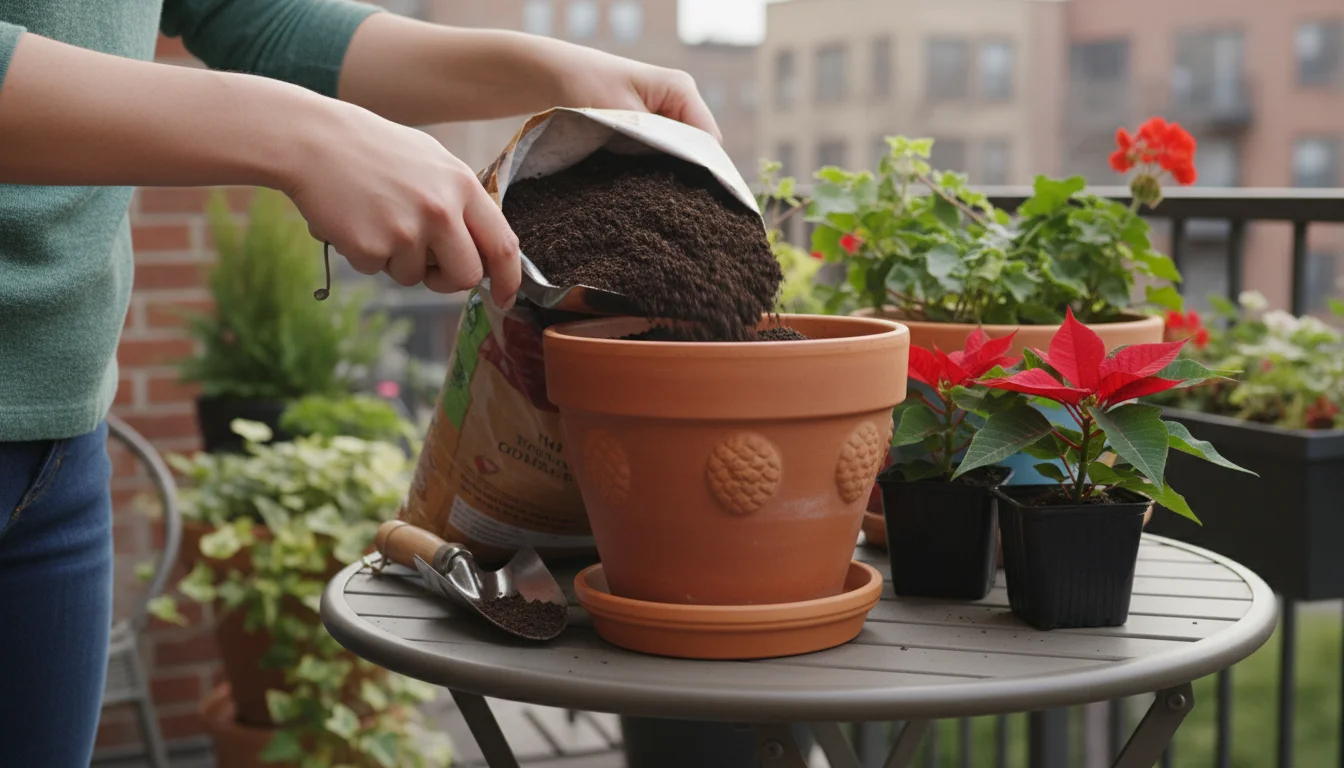
2. High-Quality Potting Mix
- Type: Use a well-draining potting mix, not garden soil. Garden soil is too heavy, compacts easily in containers, and harbors pests and diseases. Look for a mix formulated for containers or all-purpose potting.
- Composition: A good potting mix contains ingredients like peat moss, coco coir, perlite, or vermiculite. These components improve aeration and drainage while retaining enough moisture for your bulbs.
- Enrichment: While not strictly necessary for the first bloom cycle (bulbs contain their own stored energy), you can mix in a slow-release granular fertilizer formulated for bulbs or flowering plants. Follow package directions for application rates.
3. Your Chosen No-Chill Bulbs
- Paperwhite Narcissus: Aim for 5-7 bulbs for an 8-inch pot, increasing quantity for larger containers.
- Prepared Hyacinths: 3-5 bulbs for an 8-inch pot, depending on bulb size.
- Quantity: Plan for a dense planting. When planting in containers, you can place bulbs closer together than you would in the ground, as they only need to perform for one season.
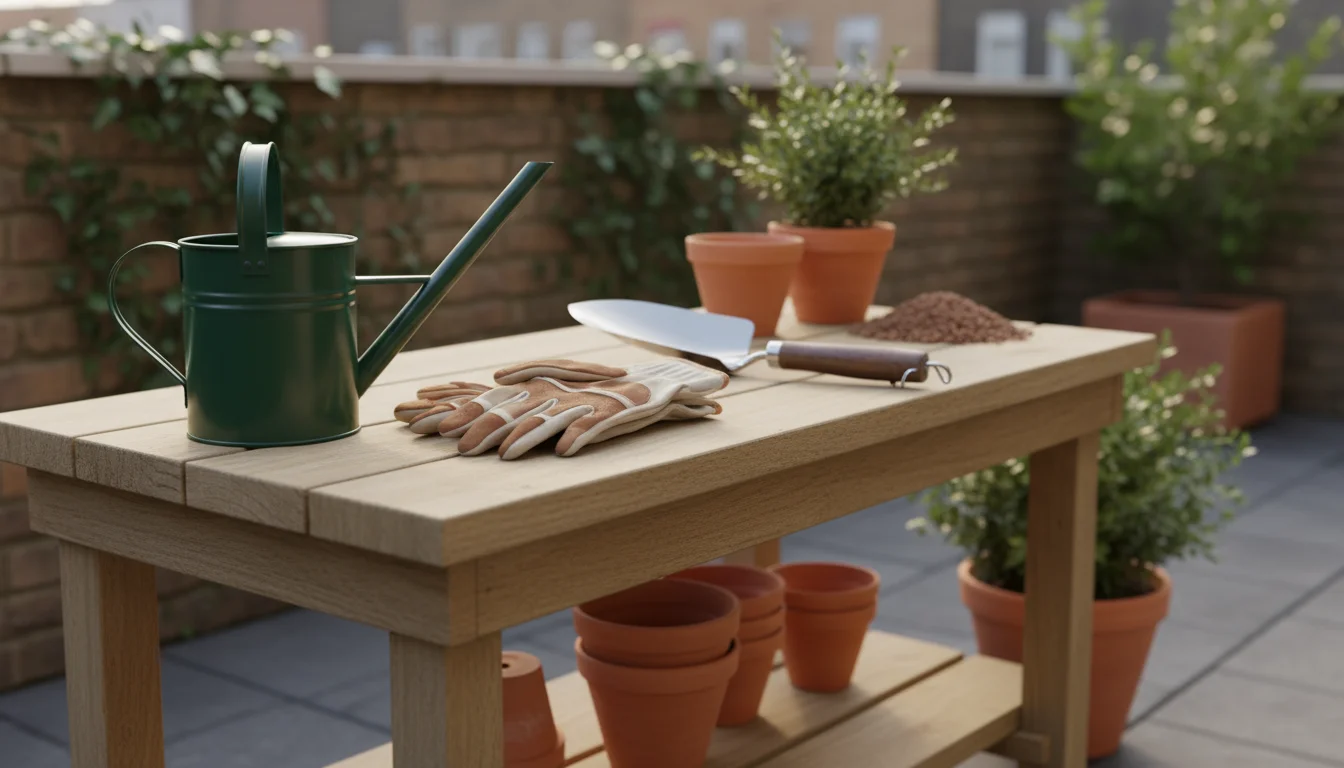
4. Essential Tools
- Gardening gloves: Protect your hands. Some bulbs, like hyacinths, can cause skin irritation.
- Small trowel or scoop: For moving soil and digging planting holes.
- Watering can: For initial watering and ongoing moisture.
- Optional: Small pebbles or pot feet. Placing these under your pot can further improve drainage by lifting the container slightly off the ground, allowing excess water to flow freely from the drainage holes.
Gathering these items before you start ensures a smooth and successful planting process. You equip yourself for a rewarding fall planting for beginners.
Step-by-Step Planting Guide: Creating Your Stunning Spring Display
Creating your “One-and-Done” Bulb Pot is a straightforward and rewarding process. Follow these steps for an easy, impactful display of no-chill bulbs.
While you wait for your bulbs to emerge, you can start planning the next phase of your garden with our spring planting guide for containers.
Step 1: Prepare Your Container
- Ensure Drainage: Double-check that your chosen container has ample drainage holes. If not, drill them now.
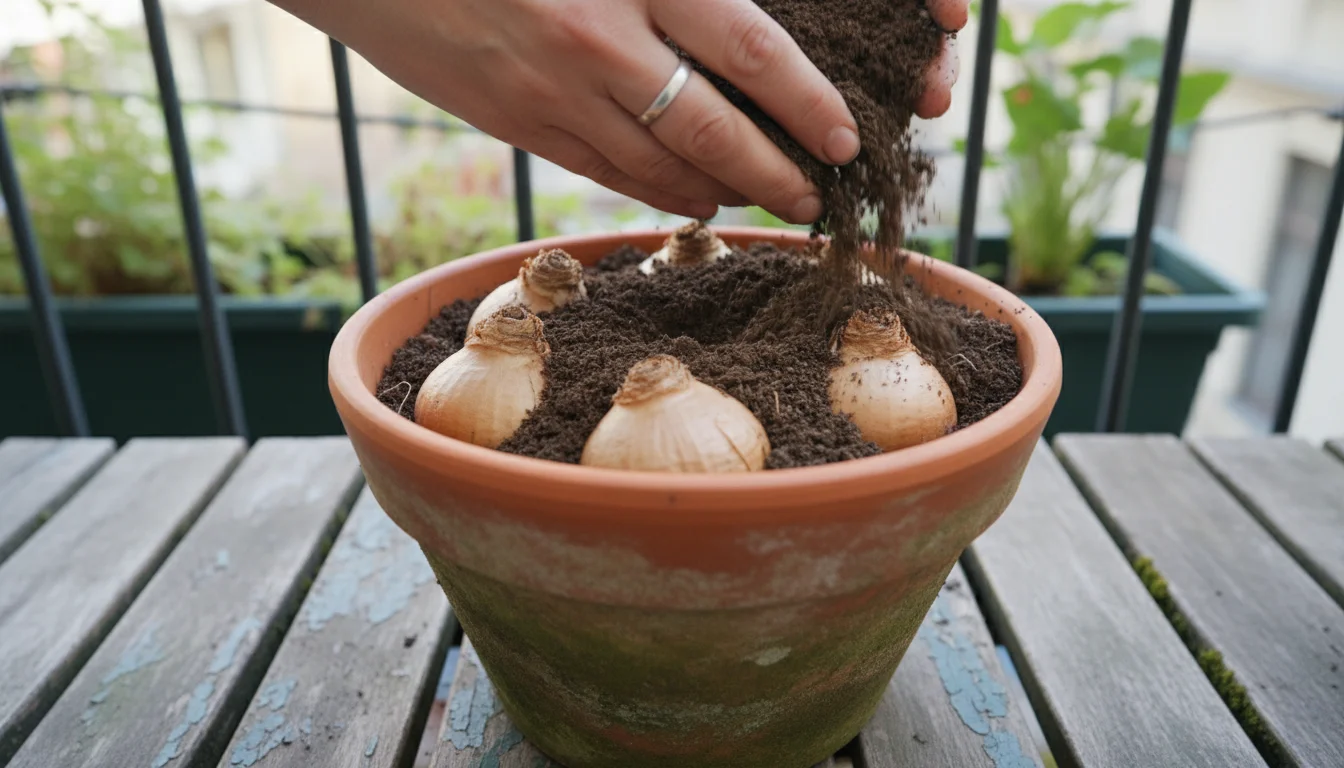
- Add a Base Layer: Fill the bottom of your pot with about 2-3 inches of your well-draining potting mix. Do not add gravel or broken pot shards to the bottom; this actually hinders drainage, contrary to popular belief. Good potting mix alone is sufficient for drainage.
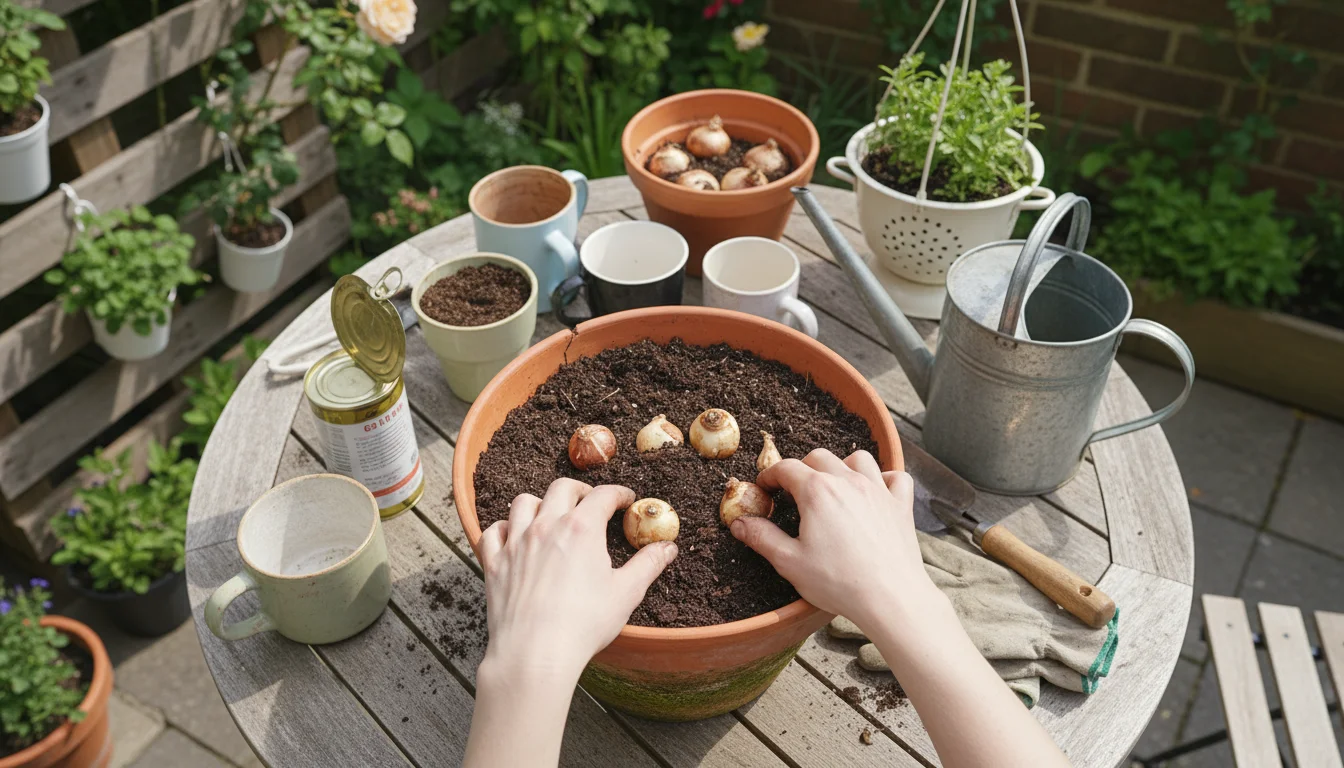
Step 2: Plant the Largest Bulbs (Hyacinths)
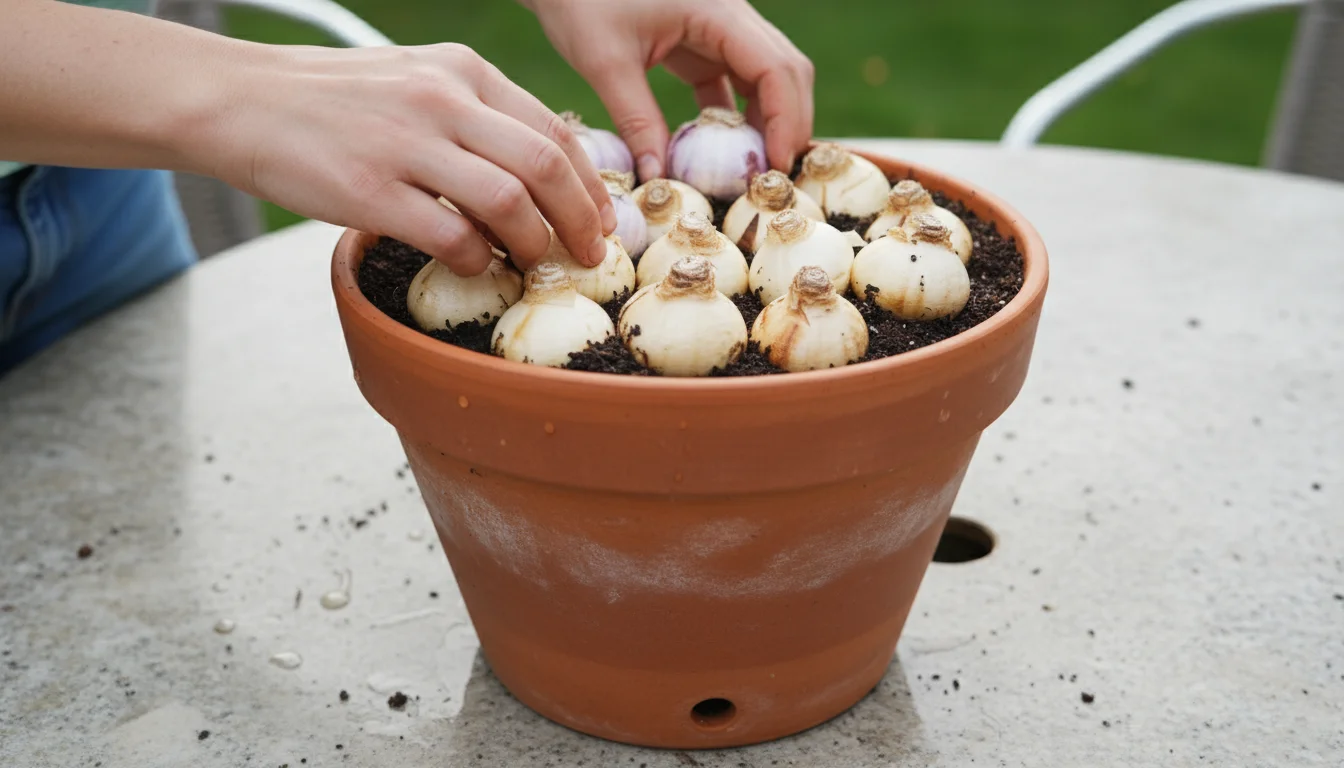
We are going for a “bulb lasagna” effect, layering bulbs to maximize the display and ensure continuous blooms. Since Paperwhites and prepared Hyacinths often bloom at similar times, this layering provides structural interest and density.
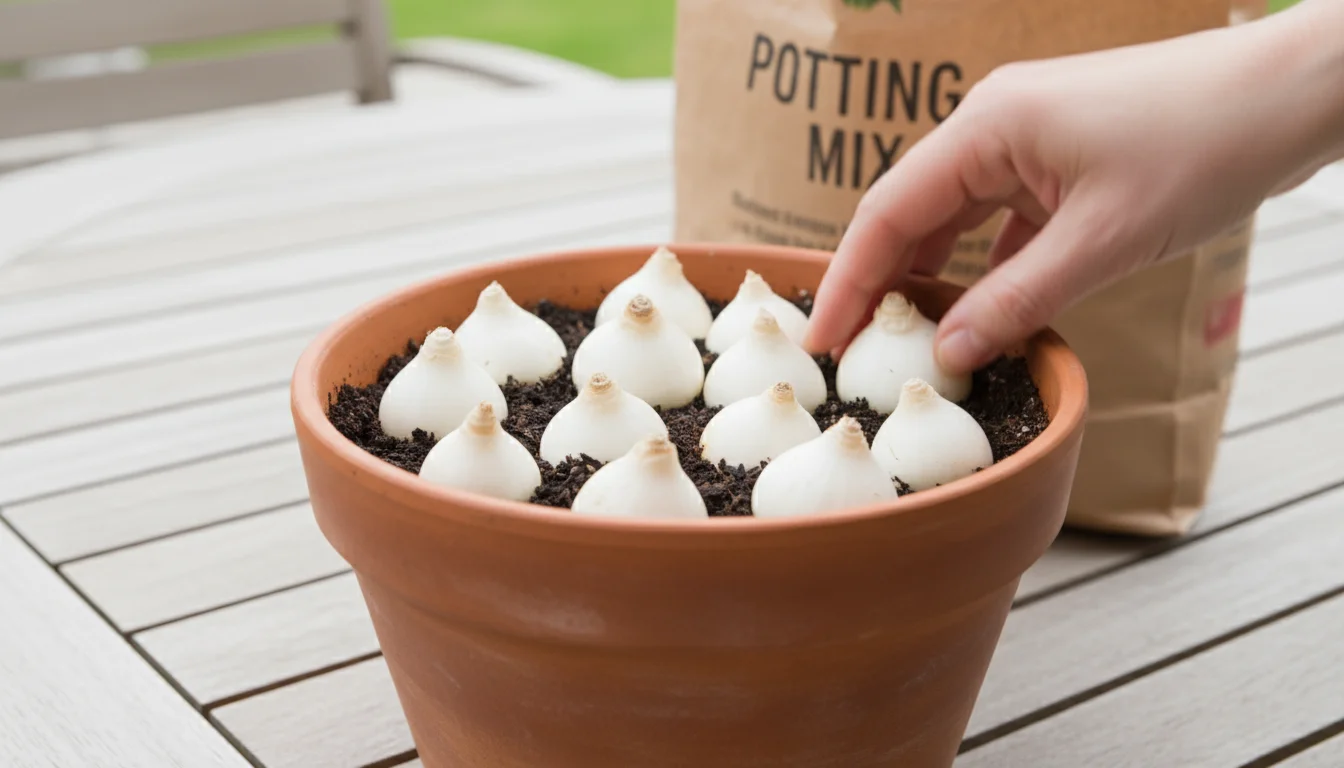
- Position Hyacinths: Place your prepared hyacinth bulbs on top of the soil layer, pointed side up. Space them about 1-2 inches apart. In a typical 8-10 inch pot, you can comfortably fit 3-5 hyacinth bulbs.
- Cover Hyacinths: Add another 2-3 inches of potting mix, just enough to cover the tops of the hyacinth bulbs. Gently press the soil down, but do not compact it too heavily.
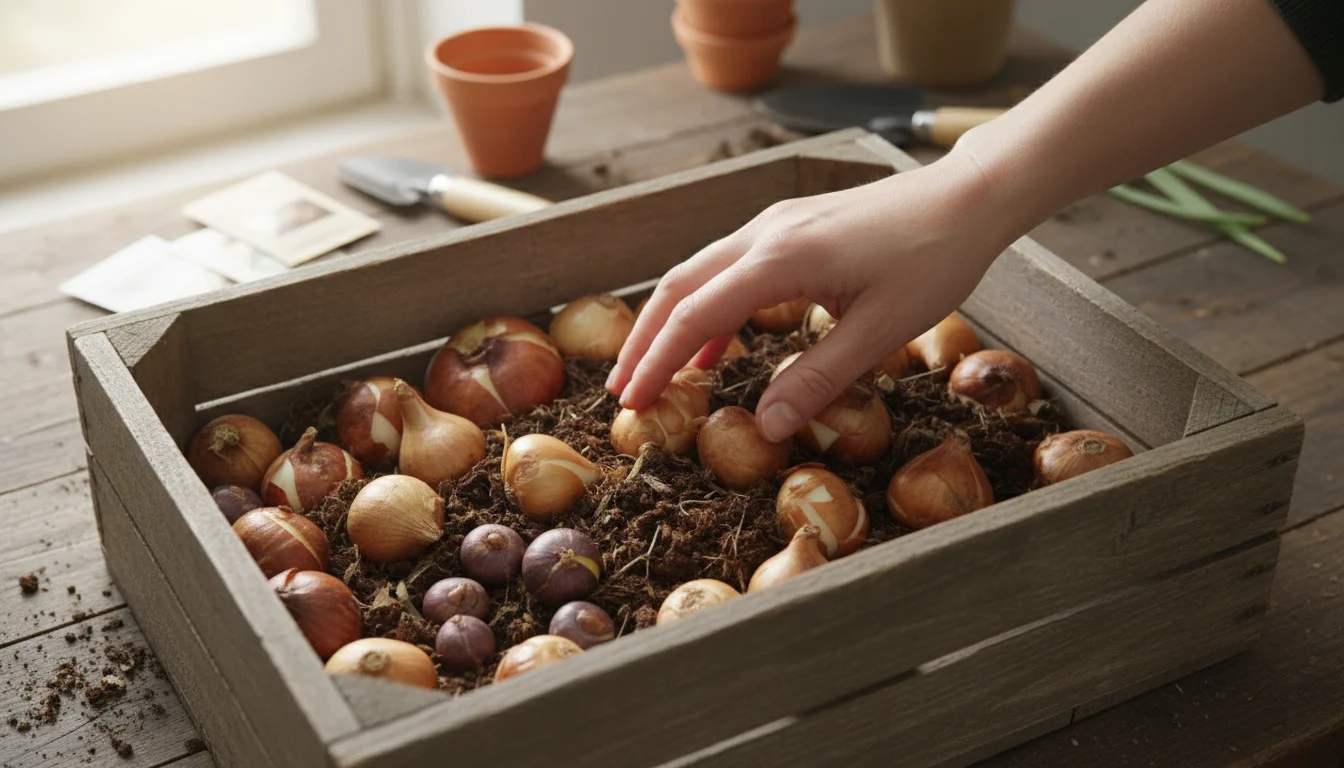
Step 3: Plant the Smaller Bulbs (Paperwhites)
Now it’s time for your prolific Paperwhites.
- Position Paperwhites: Arrange the Paperwhite bulbs on top of the soil covering the hyacinths. Again, pointed side up. You can plant these even more densely, about an inch apart, as they produce multiple flowers per bulb. For an 8-10 inch pot, aim for 5-7 Paperwhite bulbs.
- Cover Paperwhites: Fill the remainder of the pot with potting mix, leaving about 1 inch of space from the rim. This “headroom” prevents soil and water from spilling out when you water.
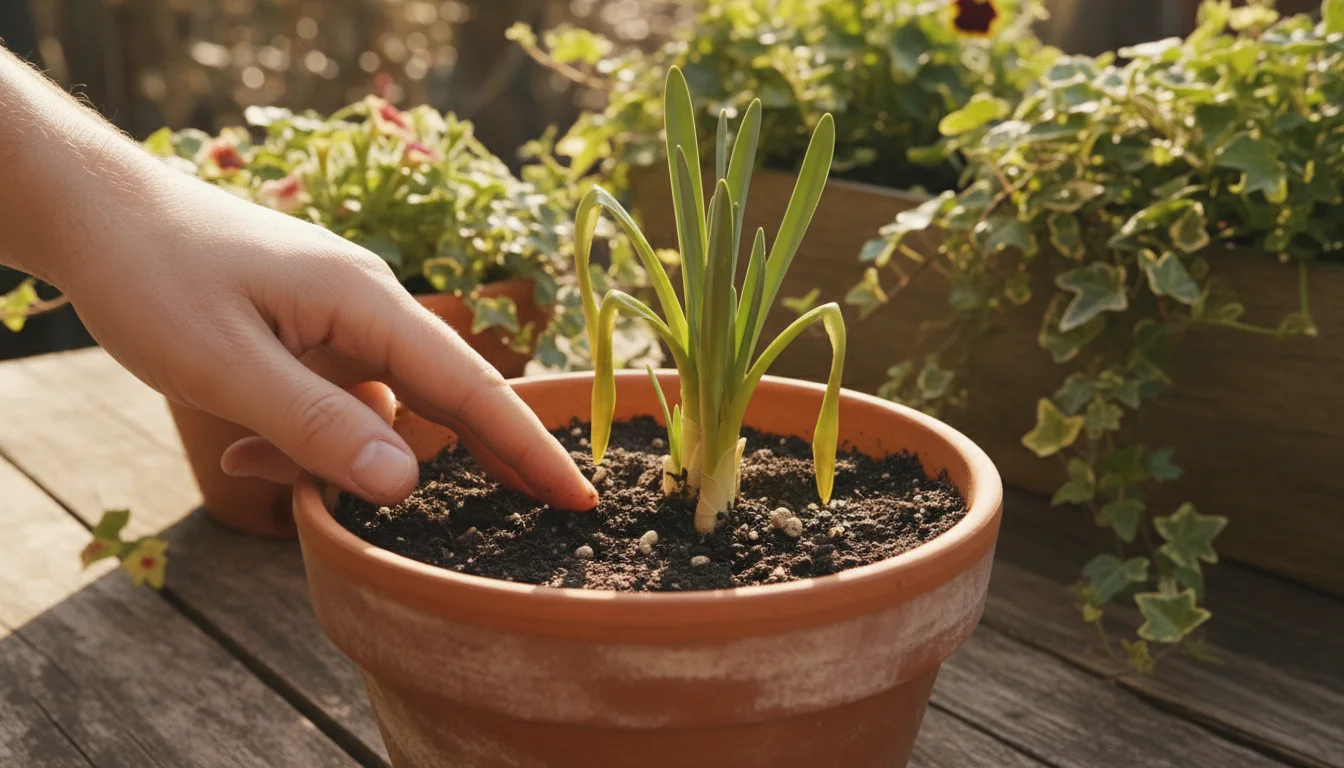
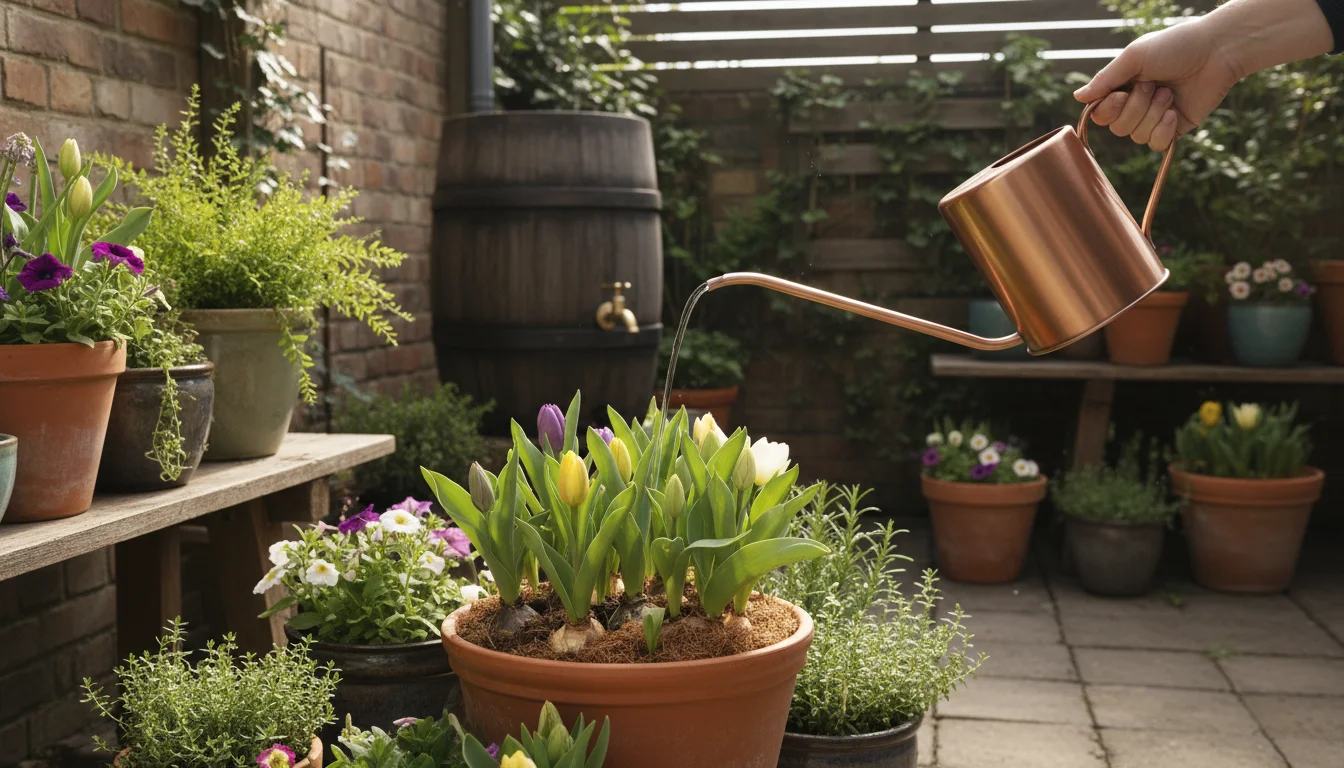
Step 4: Water Thoroughly
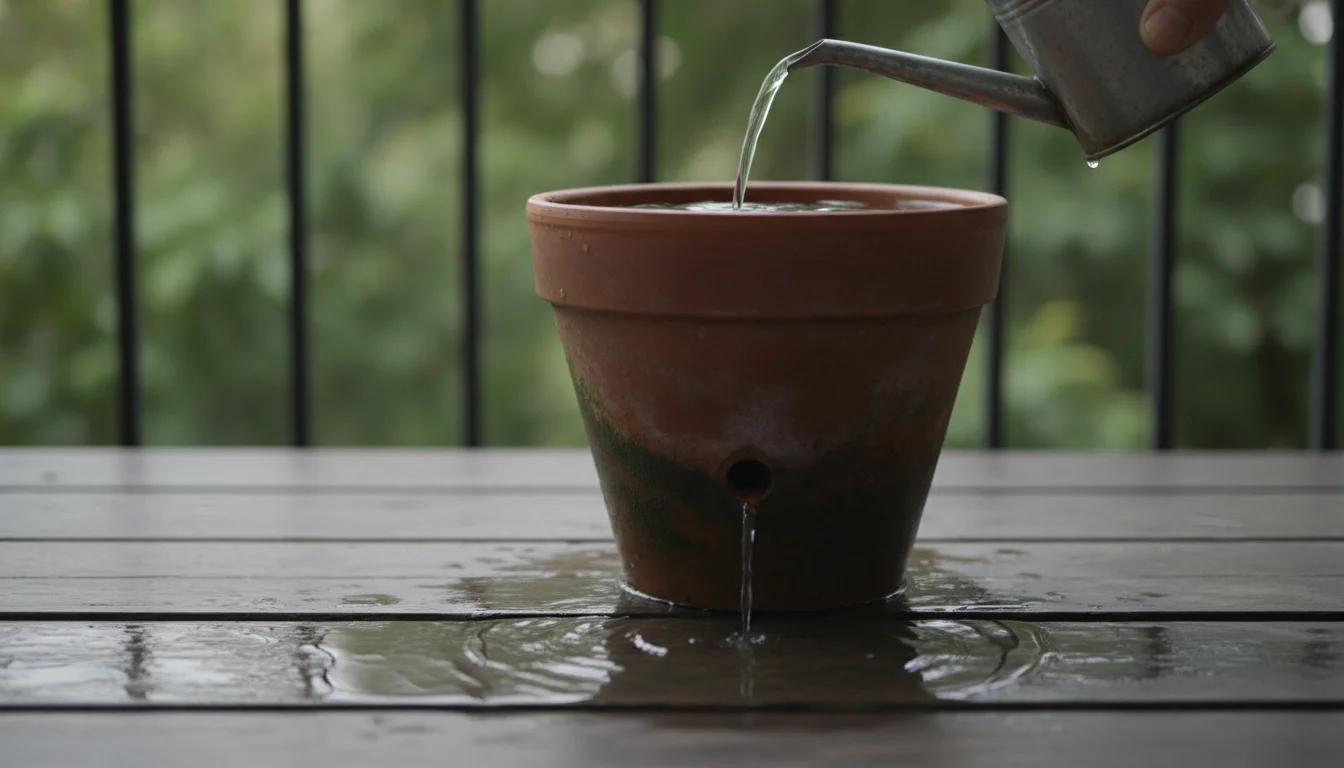
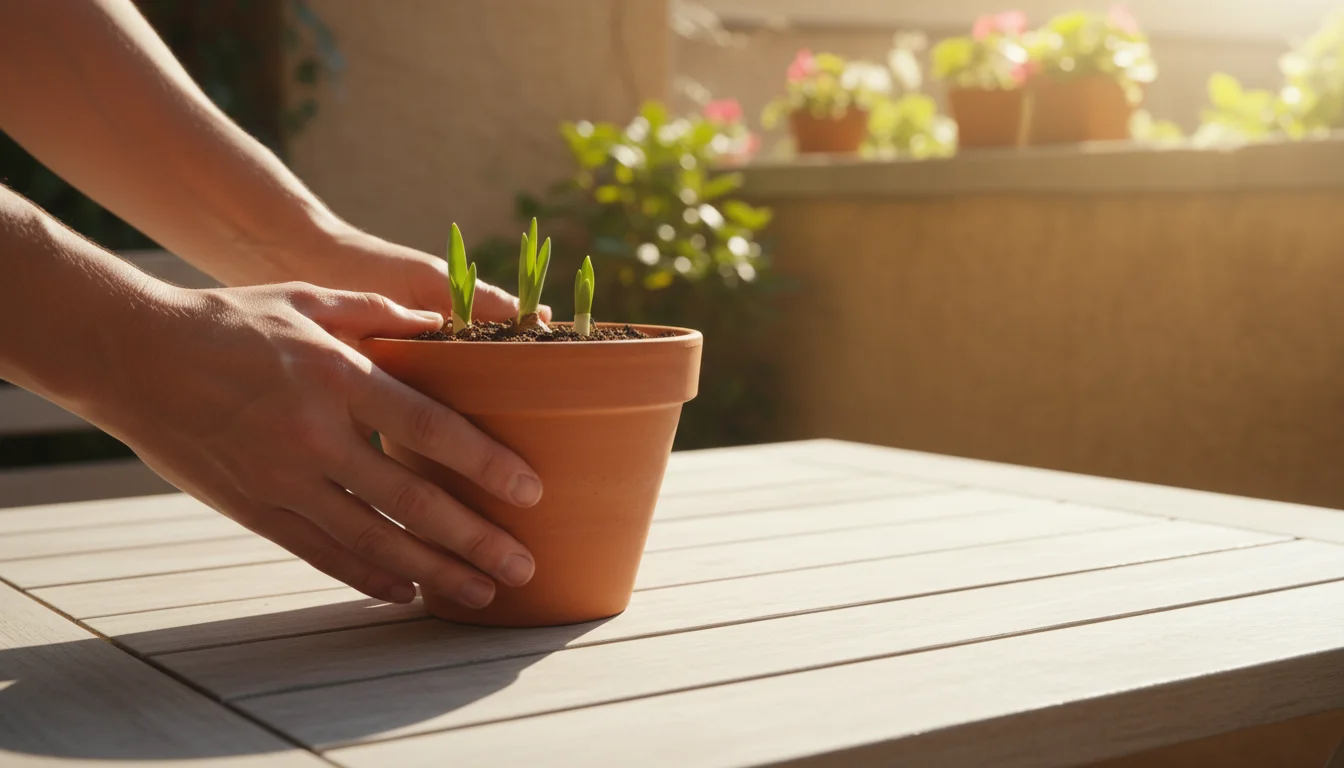
- Initial Watering: Water the pot deeply immediately after planting. You should see water draining from the bottom holes. This settles the soil around the bulbs and kickstarts their growth.
Step 5: Placement and Patience
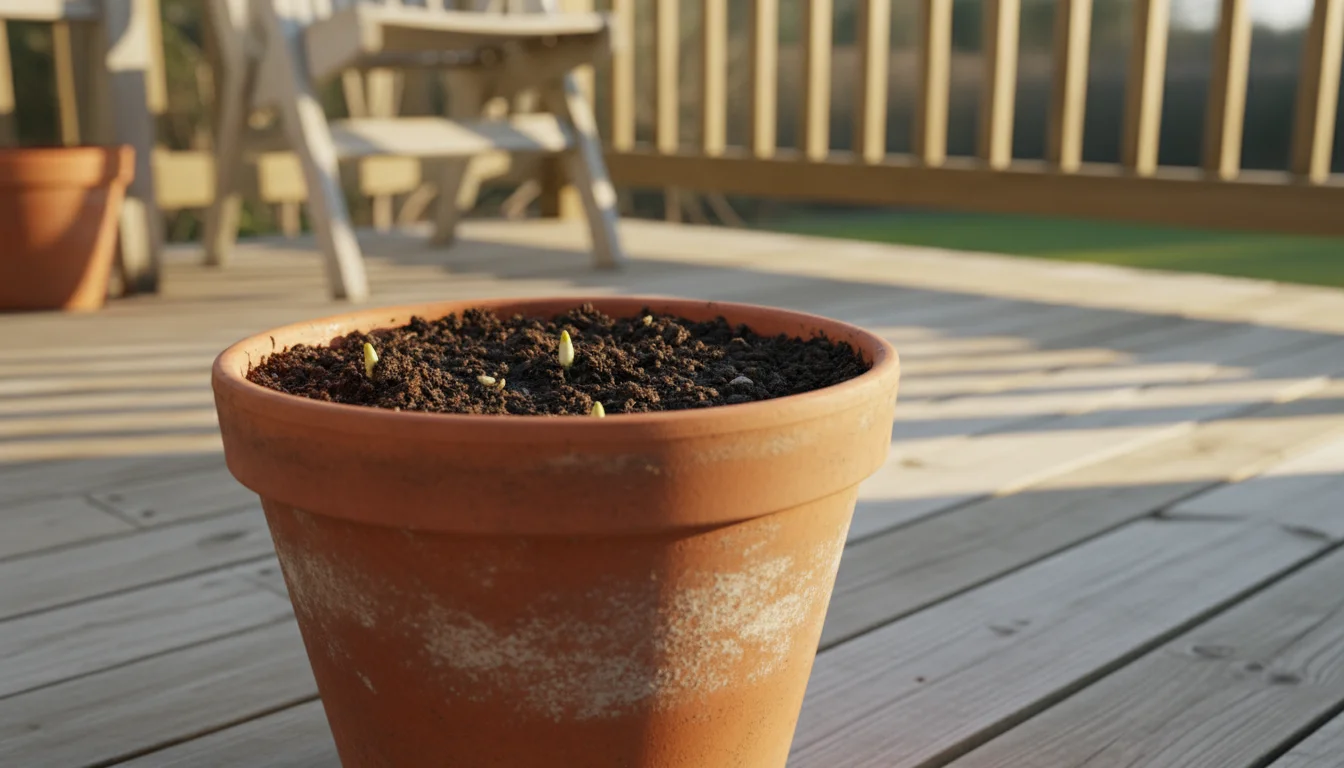
- Location: Place your “One-and-Done” Bulb Pot in a location that receives ample sunlight, at least 6 hours of direct sun per day. If temperatures are still warm, find a cooler, shadier spot initially to prevent premature sprouting. As temperatures drop, move it to its sunny display spot.
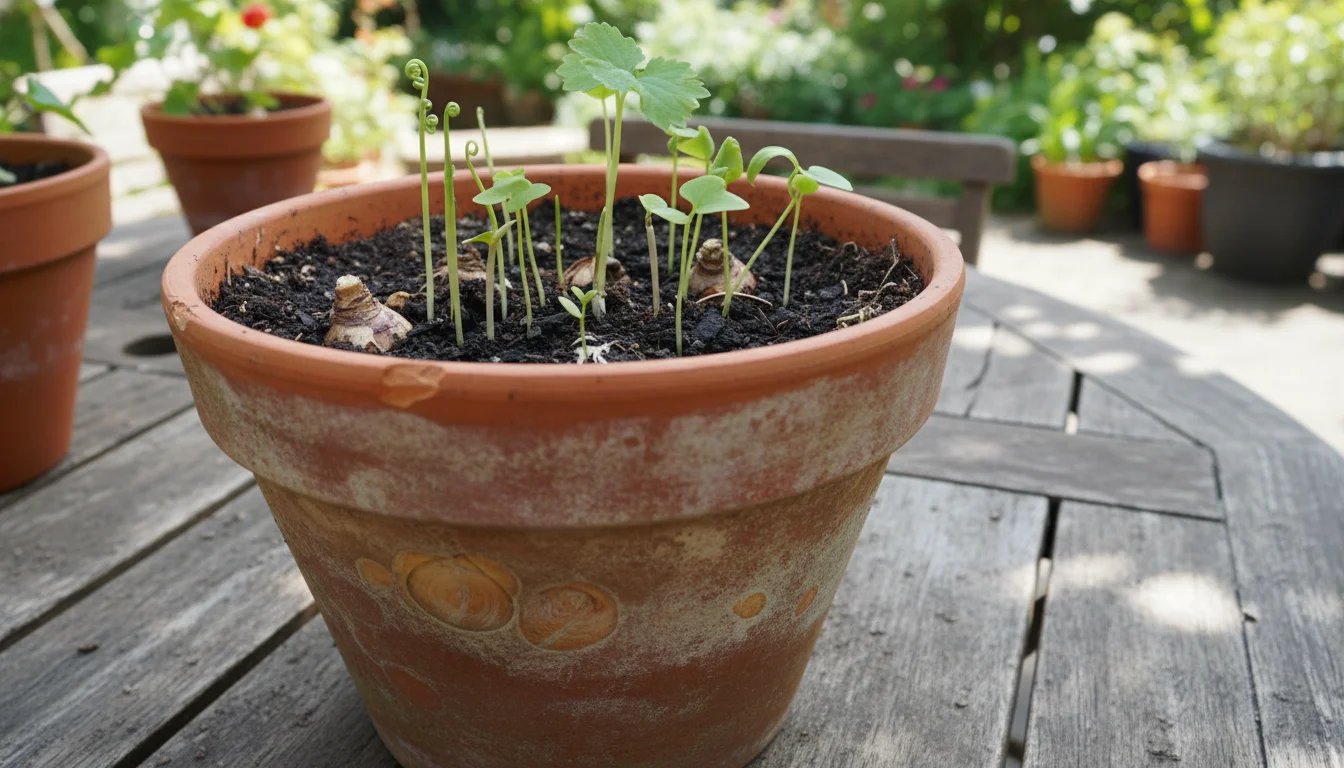
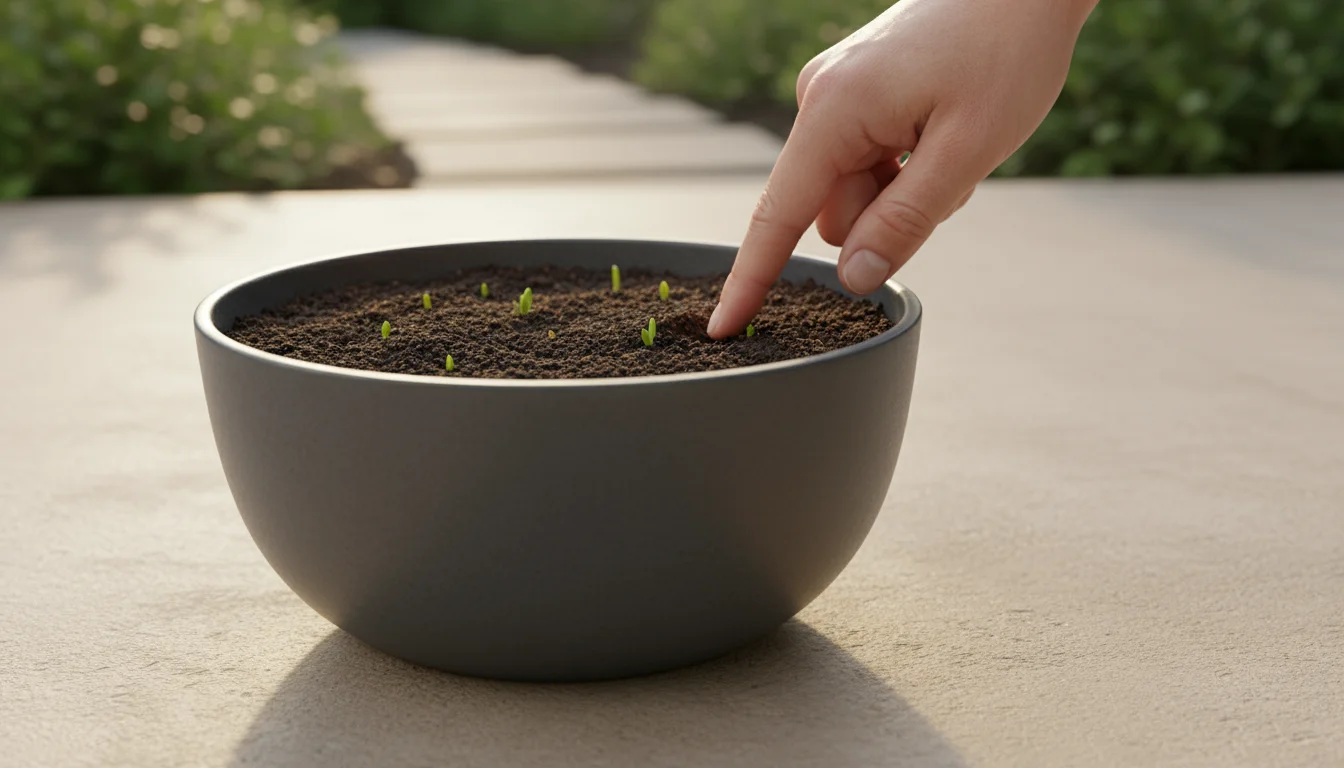
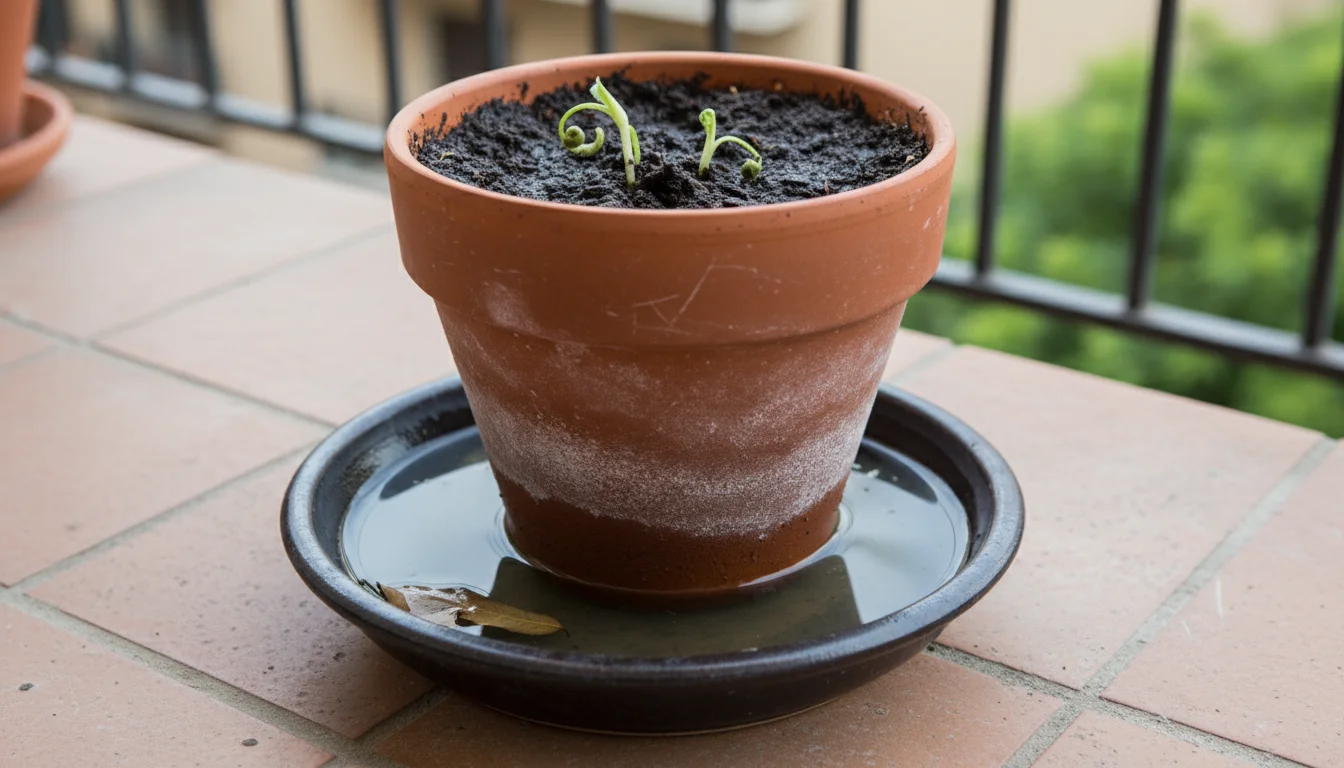
- Observe and Wait: Now, the most challenging part: patience! While these are no-chill bulbs, they still require some time for root development before they push up green shoots. Depending on your local climate and planting time, you should see growth in a few weeks to a couple of months.
You have just successfully planted your easy bulbs to plant in pots in fall! This step-by-step process ensures a vibrant display with minimal effort. Remember, the beauty of these container bulbs is their simplicity and immediate reward.
Care and Cultivation: Nurturing Your No-Chill Blooms to Perfection
Once planted, your “One-and-Done” Bulb Pot requires minimal but consistent care to ensure spectacular blooms. Since you chose bulbs that don’t need cold stratification, you avoid the complex temperature management often associated with other spring bulbs. Here’s how to nurture your easy bulbs to plant in pots in fall:
Watering
- Initial phase (pre-sprouting): After the initial deep watering, check the soil moisture regularly. The soil should remain consistently moist, but never waterlogged. Stick your finger about an inch into the soil; if it feels dry, it’s time to water. Reduce watering as temperatures drop in late fall and winter, allowing the soil to dry out a bit more between waterings to prevent rot. However, never let it become completely bone dry.
- Growth phase (after sprouting): Once you see green shoots emerge, increase watering. Bulbs actively growing and flowering require more moisture. Water thoroughly until water drains from the bottom.
- Flowering phase: Maintain consistent moisture during flowering. Lack of water can shorten bloom time.
Light Requirements
- Pre-sprouting: While the bulbs are developing roots, they do not need intense sunlight. A bright, indirect spot is fine.
- Active growth and flowering: Once shoots appear, move your pot to a location that receives at least 6 hours of direct sunlight per day. Adequate light ensures strong stems and vibrant, long-lasting blooms. For indoor forcing, a bright, south-facing window is ideal.
Temperature
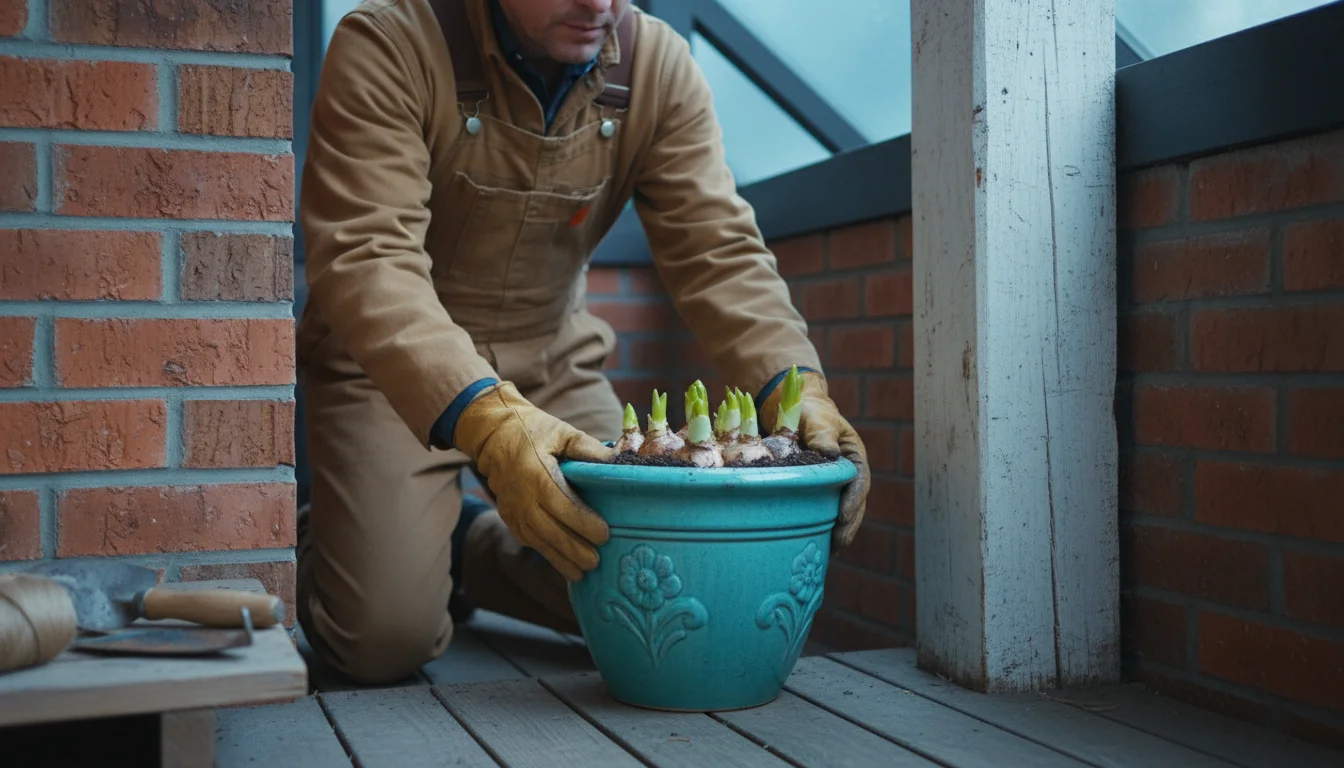
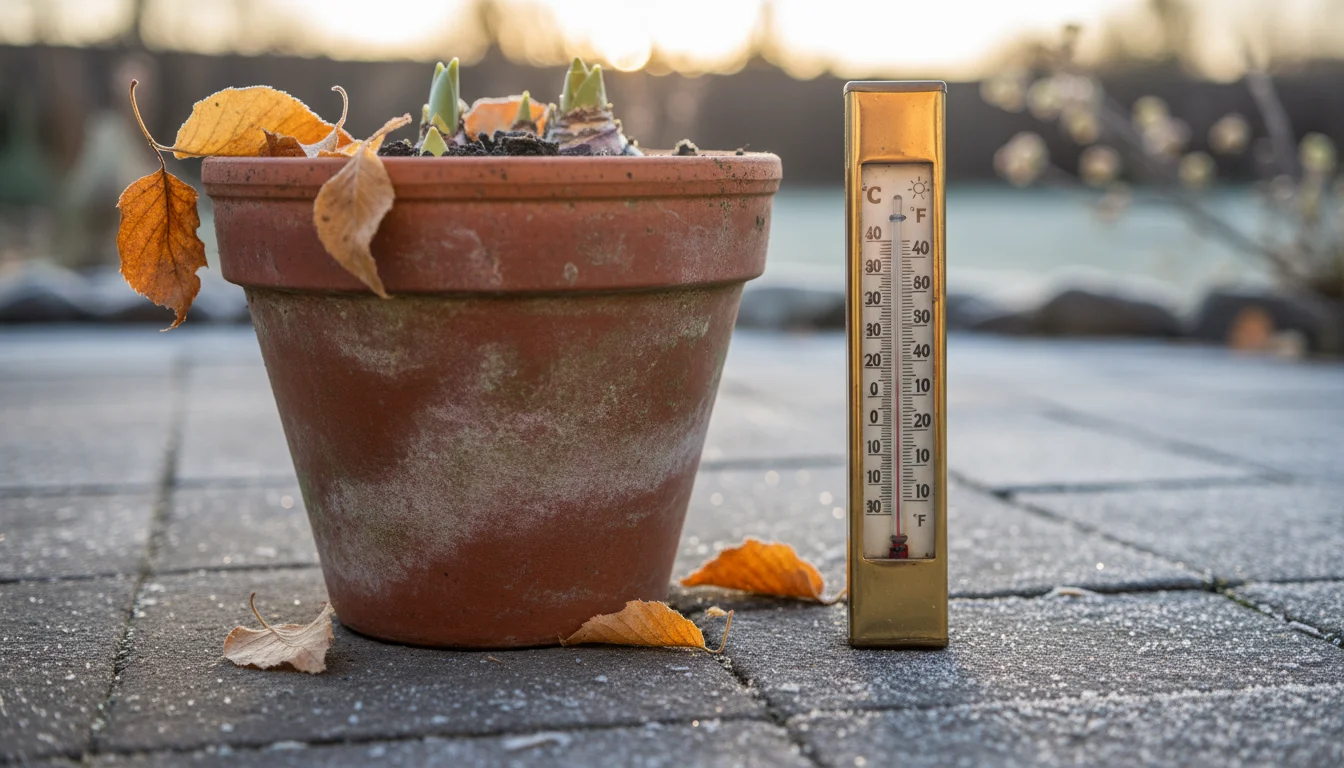
- Outdoor placement: For outdoor pots, our no-chill bulbs perform best in mild to moderate temperatures. They tolerate light frosts, but if a hard freeze is expected (temperatures consistently below 25°F or -4°C), move the pot to a sheltered location like a garage, porch, or against the house. Bring it back out once the extreme cold passes.
- Indoor forcing: If you’re growing Paperwhites or prepared hyacinths indoors, aim for room temperatures between 60-70°F (15-21°C). Cooler temperatures during flowering can extend the bloom time.
Fertilization (Optional)
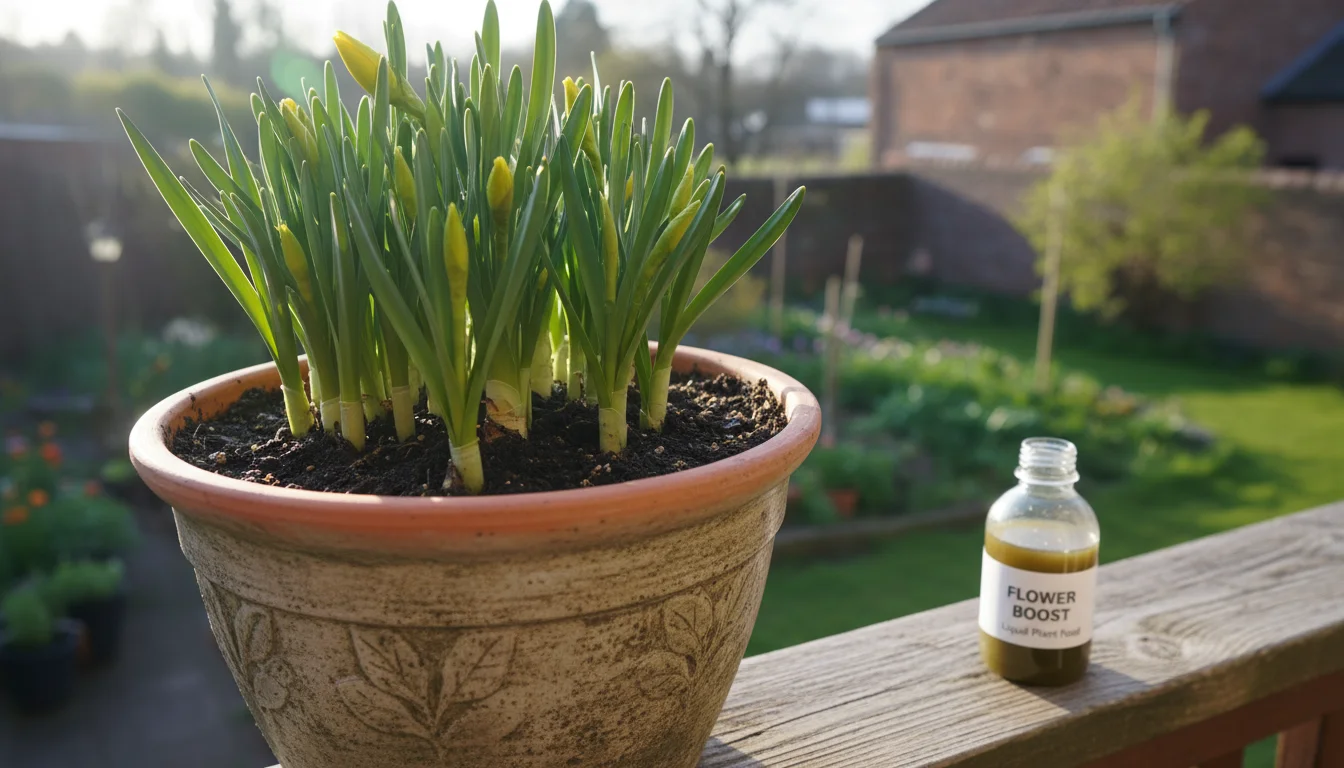
As mentioned, bulbs contain all the energy they need for their first bloom cycle within their structure. Therefore, additional fertilization is often unnecessary for these one-and-done container bulbs. If you incorporated a slow-release fertilizer at planting, that is typically sufficient. If your potting mix was very lean, or you want to give a boost during the active growth phase, a half-strength liquid fertilizer formulated for flowering plants can be applied once every 2-3 weeks, following package instructions carefully.
Post-Bloom Care
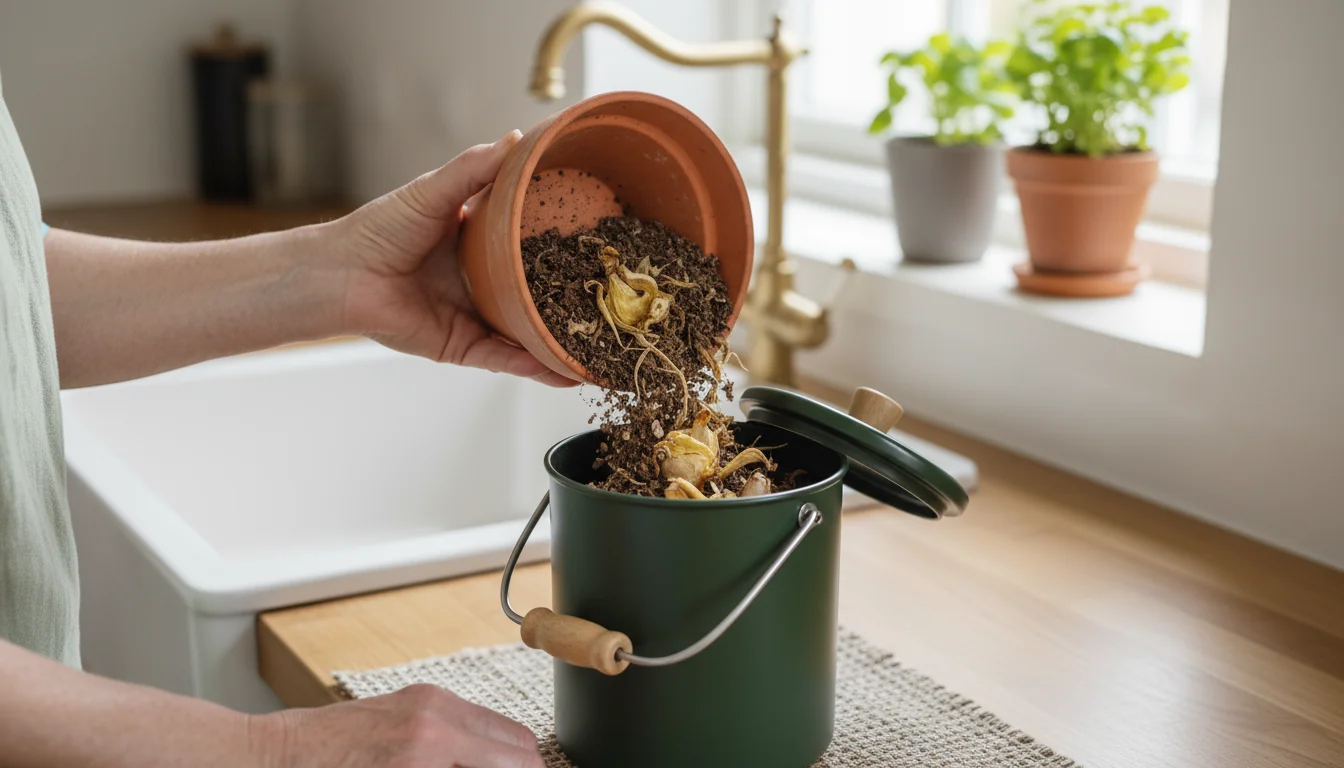
The “One-and-Done” philosophy implies that after your bulbs finish flowering, you treat them as annuals. Paperwhites and prepared hyacinths, especially when forced in containers, often do not re-bloom reliably in subsequent seasons. You can compost the spent bulbs and soil, or add the soil to other container projects. This frees up your pot for new seasonal plantings, aligning perfectly with low-maintenance, small-space gardening. Embrace the transient beauty of these container bulbs.
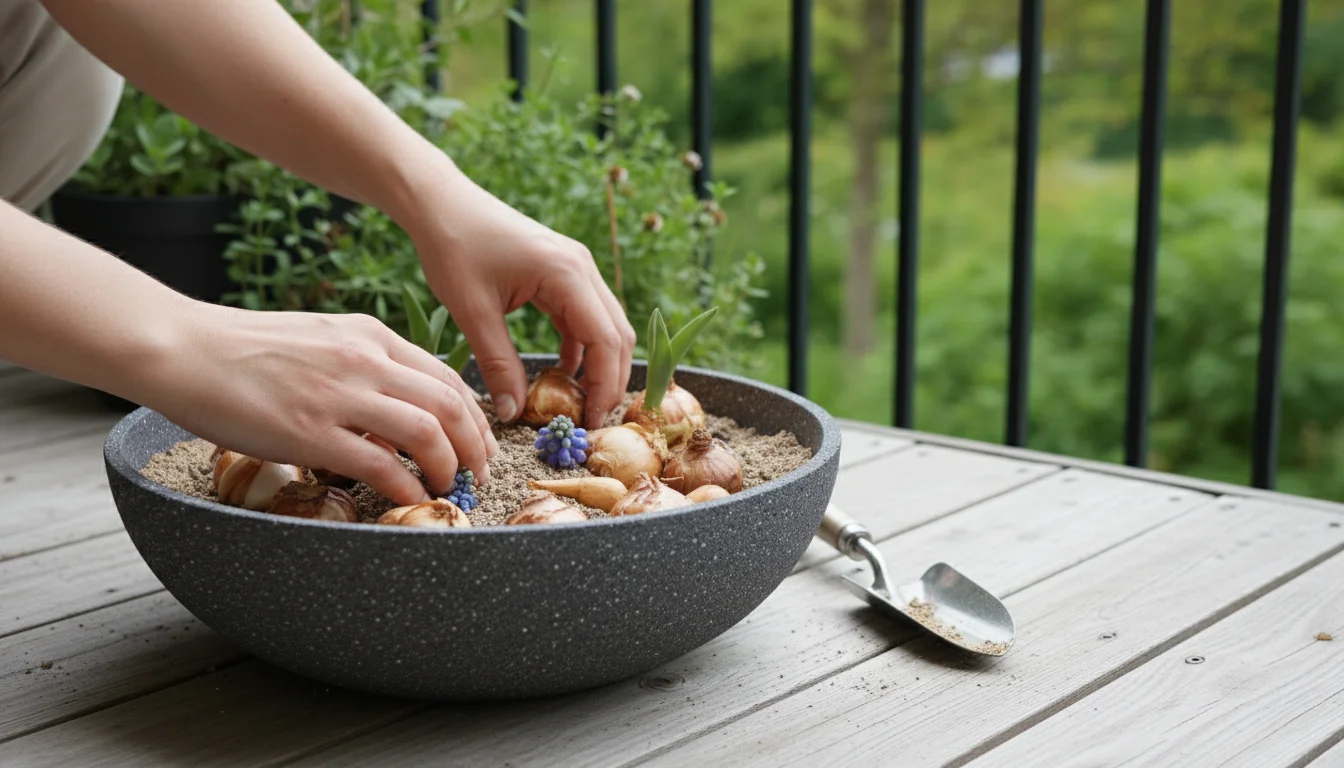
Beyond the Basics: Expanding Your Container Bulb Repertoire (with Chilling in Mind)
While our “One-and-Done” Bulb Pot focuses on no-chill bulbs for guaranteed ease, your journey with container bulbs does not have to end there. Once you master the basics, you might want to explore other stunning spring bloomers. Many traditional spring bulbs, including most daffodils and hyacinths for containers, do require cold stratification. Understanding this difference allows you to expand your repertoire and enjoy an even wider array of spring beauty.
If you have a shaded outdoor area, you can also learn how to use your cold patio to force spring bulbs even during the coldest months.
Understanding Chilling Requirements for Other Bulbs
Most popular spring bulbs, like tulips, crocuses, and the vast majority of daffodils, originate from climates with cold winters. They absolutely need a period of cold dormancy to trigger their flowering cycle. This typically means 12-16 weeks of temperatures between 35-45°F (1-7°C). If you live in a region where winter temperatures consistently drop to and stay within this range for several months, you can plant these bulbs directly into outdoor containers in the fall, and nature will provide the chill. However, if your winters are mild or inconsistent, you will need to provide artificial chilling.
How to Chill Bulbs for Containers
If you wish to grow traditional daffodils, tulips, or other hyacinths that are not “prepared,” you have two main options:
- Refrigerator Chilling: This is the most common method for gardeners in warm climates.
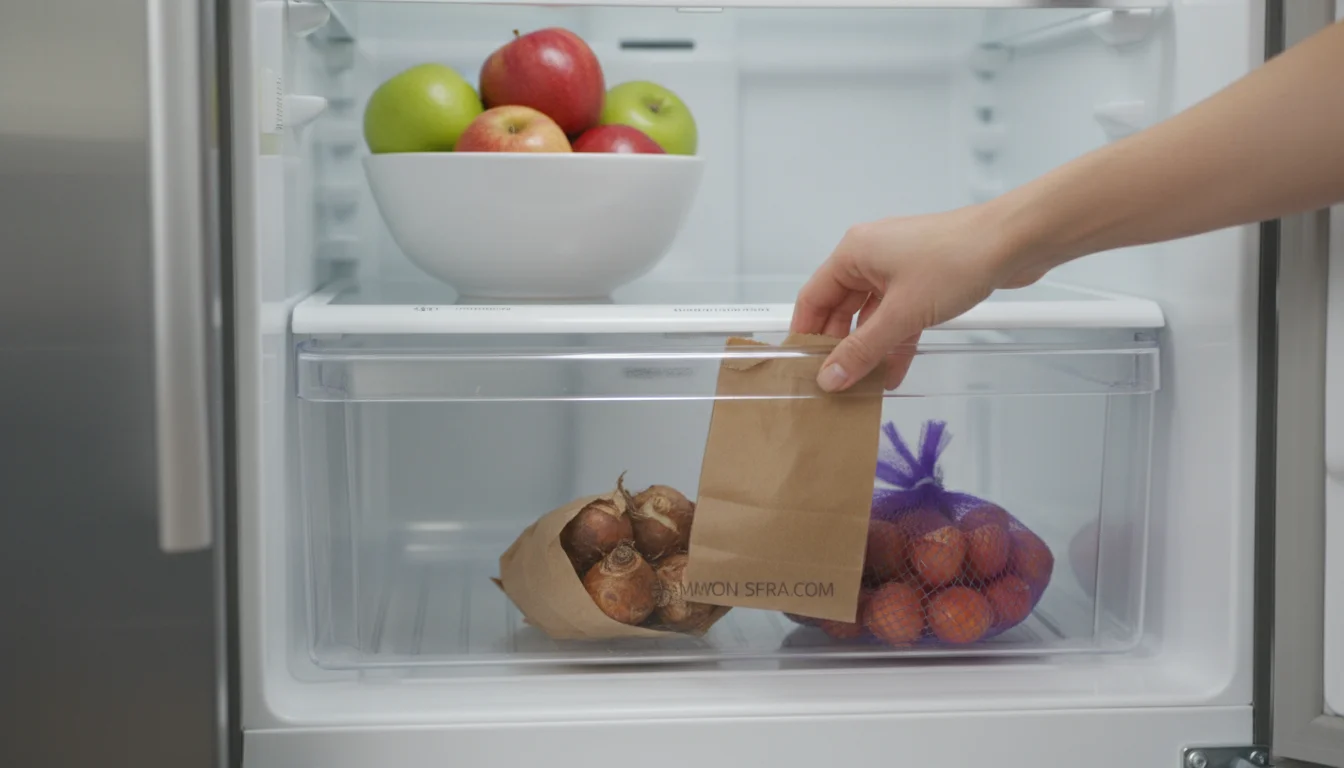
- Step 1: Prep the Bulbs: Purchase fresh, healthy bulbs. Store them in a paper bag or mesh onion sack. Avoid plastic bags, which trap moisture and can lead to rot.
- Step 2: Chill Time: Place the bulbs in your refrigerator’s crisper drawer. Keep them away from ripening fruits, especially apples, as these release ethylene gas which can inhibit flowering.
- Step 3: Duration: Chill bulbs for 12-16 weeks. Mark your calendar!
- Step 4: Plant: After the chilling period, plant the bulbs in containers as you would with no-chill bulbs. Place them pointed side up, at a depth generally three times their height.
- Step 5: Acclimatize: After planting, place the pot in a cool, bright spot for a week or two before moving it to its final sunny location.
- Pre-chilled Bulbs: Some garden centers sell “pre-chilled” bulbs, which growers have already subjected to the necessary cold period. This offers a convenient shortcut, allowing you to bypass the refrigerator step entirely. Just be sure to plant them as soon as you purchase them.
Popular Container Bulbs That Need Chilling
- Daffodils (Narcissus spp.): Beyond Paperwhites, there are hundreds of daffodil varieties perfect for containers. Look for smaller, shorter varieties if your space is particularly constrained. Varieties like ‘Tête-à-Tête’ (miniature), ‘Thalia’ (multi-flowered white), or standard yellow trumpet types are stunning. Remember, these will need chilling.
- Tulips (Tulipa spp.): Tulips offer an incredible range of colors, shapes, and bloom times. From early-blooming species tulips to late-blooming Darwin hybrids, they provide diverse options. They are excellent for layering in pots. All tulips require chilling.
- Crocus (Crocus spp.): These early bloomers provide a splash of color even before other bulbs emerge. Plant them shallowly at the top of a “bulb lasagna” for a delightful surprise. Crocuses require chilling.
- Muscari (Grape Hyacinth): These charming, small bulbs produce spikes of blue, purple, or white flowers. They are very forgiving and naturalize well, but for container forcing, they benefit from a chill.
By understanding which bulbs don’t need cold stratification and which do, you gain control over your container gardening projects. You can confidently experiment with a broader selection of bulbs, tailoring your approach to meet the specific needs of each variety and your climate.
Troubleshooting Your Bulb Pot: Common Questions and Quick Fixes
Even with the simplest of gardening projects, occasional issues can arise. Knowing how to identify and address common problems ensures your “One-and-Done” Bulb Pot delivers the stunning blooms you expect. These quick fixes help you get back on track.
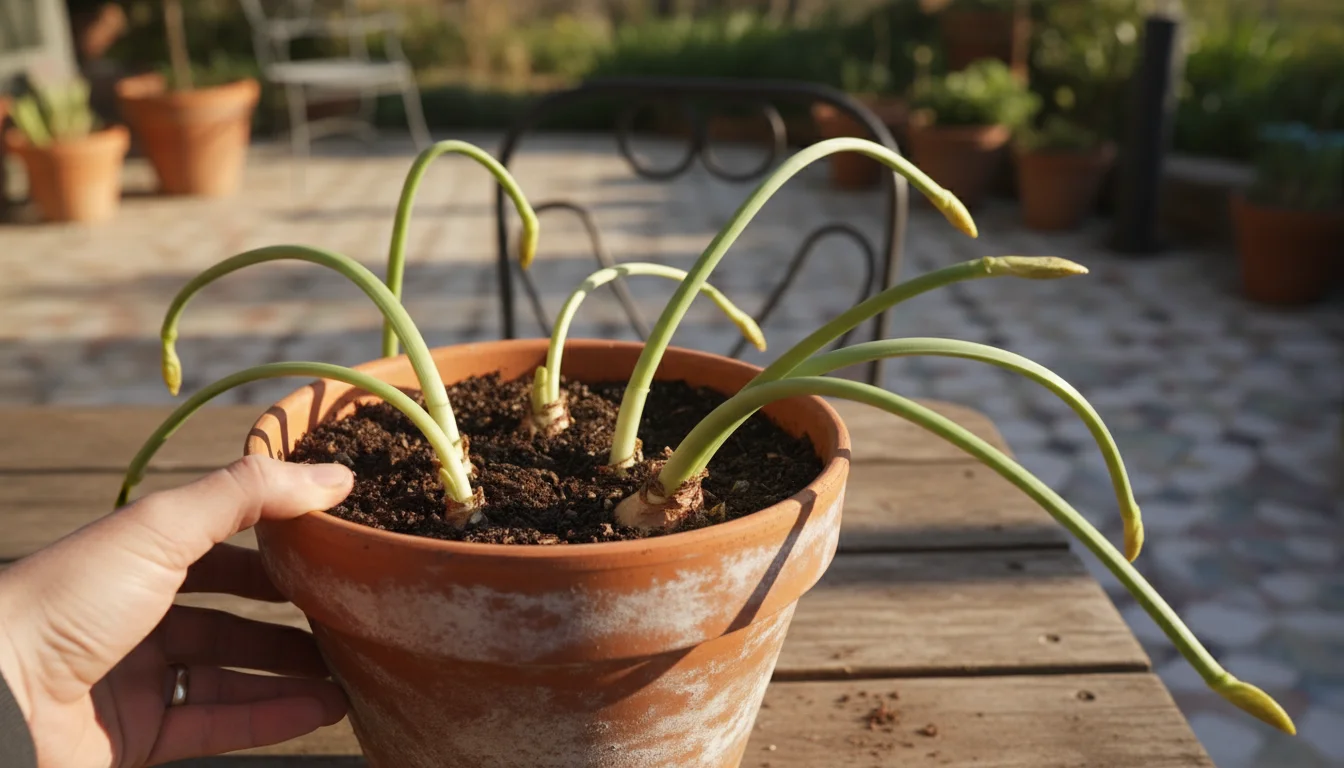
1. Bulbs Sprout Too Early or Become Leggy
- Cause: This usually happens when the bulbs are exposed to warm temperatures or insufficient light too early in their growth cycle. Paperwhites are especially prone to legginess when forced indoors without enough light.
- Quick Fix:
- For leggy plants: Increase light exposure immediately. Move the pot to your sunniest window or a spot with direct outdoor sunlight. You can also try a trick for Paperwhites: once shoots are 4-6 inches tall, replace the water in the pot with a dilute alcohol solution (e.g., 5-7% rubbing alcohol in water). This slows down stem elongation without harming the flowers.
- For early sprouting outdoors: If planted in the fall and temperatures remain unusually warm, move the pot to a cooler, shadier location temporarily until winter conditions set in. Ensure the soil does not dry out.
2. Bulbs Produce Leaves but No Flowers
- Cause: For no-chill bulbs, this is less common but can occur if bulbs were old, diseased, or stored improperly before planting. For bulbs that *do* require chilling (if you ventured beyond our core project), insufficient chilling is the primary reason for a lack of blooms.
- Quick Fix:
- For no-chill bulbs: Unfortunately, once bulbs only produce leaves, they usually will not flower that season. Ensure you purchase fresh, firm bulbs from reputable sources next time.
- For traditional bulbs (requiring chilling): If you experimented with traditional bulbs and they only produced leaves, it signals insufficient cold stratification. For future attempts, extend the chilling period or ensure consistent cold temperatures.
3. Bulbs Rot or Develop Mold
- Cause: Overwatering is the most frequent culprit here. Poor drainage in the pot or a heavy potting mix also contributes to waterlogging, leading to fungal diseases and rot.
- Quick Fix:
- Immediate action: If you notice a rotten smell or mushy bulbs, it’s often too late for the affected bulbs. Carefully remove any rotting bulbs to prevent the spread of disease to healthy ones.
- Preventative measures: Always use a container with drainage holes and a well-draining potting mix. Allow the top inch of soil to dry out before watering again, especially during cooler periods. Ensure your pot is not sitting in standing water.
4. Flowers Are Small or Weak
- Cause: Insufficient light, lack of nutrients (less common with first-year bulbs), or overcrowded planting can lead to smaller or weaker blooms.
- Quick Fix:
- Light: Ensure your pot receives at least 6 hours of direct sunlight once growth begins.
- Nutrients: While not essential, a dilute liquid fertilizer designed for flowering plants can provide a boost if growth seems weak after initial sprouting. Apply once or twice during the growth period, following package directions.
- Spacing: For future plantings, ensure you give bulbs adequate space. While container planting allows for denser spacing, extreme overcrowding can sometimes lead to competition for resources.
By understanding these common issues and their straightforward solutions, you can confidently troubleshoot your container bulbs. This knowledge empowers you to maintain healthy plants and enjoy a spectacular display of easy bulbs to plant in pots in fall.
Embracing Eco-Friendly Practices in Your Bulb Garden
As a supportive and practical gardening coach, I believe in empowering you to make environmentally conscious choices. Your small-space garden can contribute to a healthier planet. Incorporating eco-friendly practices into your “One-and-Done” Bulb Pot project is simple and impactful.
1. Choose Sustainably Sourced Bulbs
- Reputable Suppliers: Purchase bulbs from suppliers who prioritize sustainable growing practices. Look for companies that avoid harmful pesticides and support biodiversity.
- Local Nurseries: Buying from local nurseries often reduces transportation emissions and supports local businesses.
2. Potting Mix and Soil Health
- Peat-Free Options: Consider using peat-free potting mixes. Peat harvesting can damage delicate wetland ecosystems. Alternatives like coco coir, composted bark, and other renewable organic materials work just as well.
- Compost: If you have access to compost, mixing a small amount into your potting soil enriches it with beneficial microbes and nutrients, reducing the need for synthetic fertilizers.
3. Water Conservation
- Efficient Watering: Water your containers deeply and thoroughly, but less frequently. This encourages stronger root development and reduces water waste compared to shallow, frequent watering.
- Mulch (Optional for Containers): While less common for small container bulbs, a thin layer of fine bark or coco coir on the soil surface can help retain moisture and suppress weeds, especially in larger containers.
- Rainwater Collection: If feasible, collect rainwater to use for watering your plants. This reduces reliance on treated tap water.
4. Reusing and Recycling
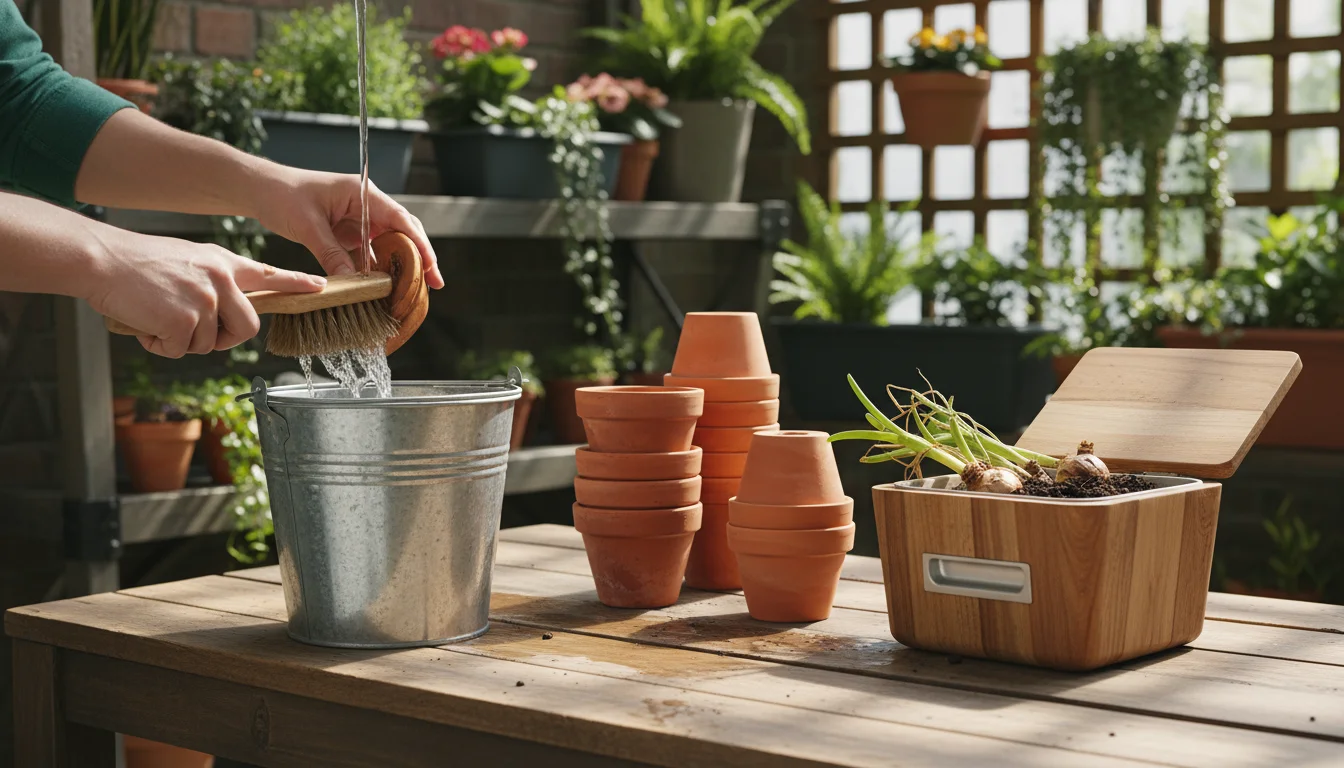
- Reuse Containers: Instead of buying new pots every season, clean and reuse your existing containers. This reduces plastic waste and saves money. For terracotta pots, a quick scrub with a diluted bleach solution (1 part bleach to 9 parts water) helps sanitize them between plantings.
- Compost Spent Bulbs and Soil: After your no-chill bulbs have finished their display, their energy stores are largely depleted, and they typically do not re-bloom reliably. Compost the spent bulbs and used potting mix. This returns organic matter to the soil, preventing it from ending up in landfills.
5. Avoid Chemical Pesticides and Herbicides
In a small container garden, you gain precise control over your plants. You can easily inspect for pests and address issues organically. Encourage beneficial insects by planting a diversity of flowers, even beyond your bulb pot. For minor pest issues, a simple spray of insecticidal soap can often resolve the problem without harsh chemicals.
By integrating these eco-friendly practices, you not only grow beautiful spring blooms but also contribute positively to your local ecosystem. Your small-space garden becomes a testament to sustainable and responsible gardening.
Frequently Asked Questions
Can I plant these no-chill bulbs in the ground?
You can certainly plant paperwhites and prepared hyacinths directly into the ground, especially in warmer climates where they might naturalize. However, the “One-and-Done” Bulb Pot strategy emphasizes container planting for flexibility, visual impact in small spaces, and precise control over soil and moisture. In colder zones, these specific bulbs might not reliably return year after year when planted in the ground, unlike traditional hardy bulbs, so containers allow you to treat them as annuals for a guaranteed display.
How long do the blooms last?
The bloom duration for your “One-and-Done” Bulb Pot depends on the specific bulb varieties and your environmental conditions. Paperwhites typically bloom for 2-4 weeks, while prepared hyacinths can last for 2-3 weeks. Cooler temperatures and indirect sunlight during flowering often extend the bloom time, while hot, direct sun can shorten it. Enjoy their ephemeral beauty, knowing you can easily replant new bulbs next season.
What if my bulbs don’t bloom?
If your no-chill bulbs fail to bloom, several factors could be at play. The most common reasons include insufficient light, overwatering leading to rot, or purchasing old or poor-quality bulbs. Ensure your pot receives at least 6 hours of direct sunlight once growth starts. Always use a pot with drainage holes and a well-draining potting mix to prevent waterlogging. Always buy fresh, firm bulbs from a reputable source, as their quality directly impacts bloom success. Carefully review the troubleshooting section for more specific guidance.
Can I keep the bulbs for next year?
While technically possible, it is generally not recommended for Paperwhites and prepared hyacinths in a “One-and-Done” container setup. These bulbs expend most of their stored energy during their spectacular first bloom. Re-forcing them or getting them to re-bloom reliably in subsequent seasons, especially in containers, is often challenging and results in diminished displays. Most gardeners treat them as annuals, composting the spent bulbs and replanting fresh ones each fall for the most vibrant and reliable spring show. This approach aligns with low-maintenance gardening by avoiding complex dormancy requirements.
Can I mix other types of plants with the bulbs in the same pot?
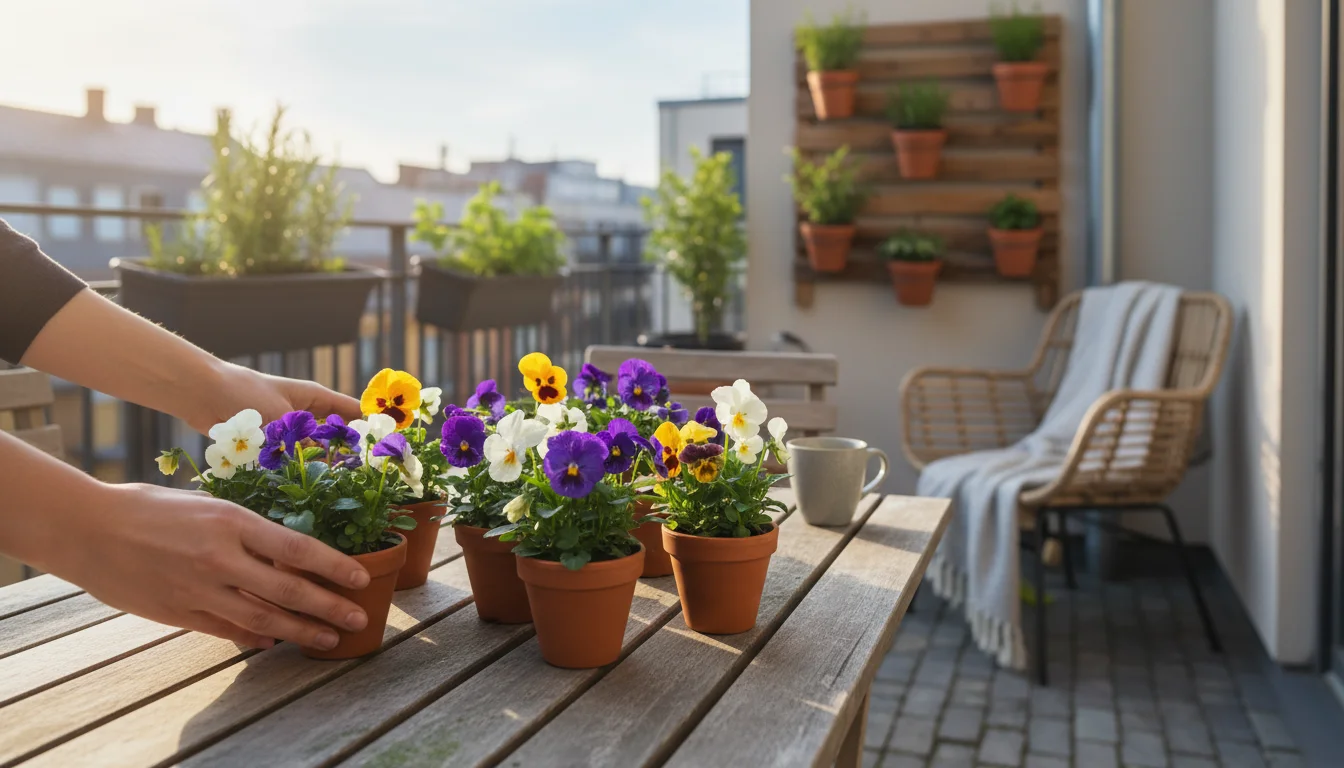
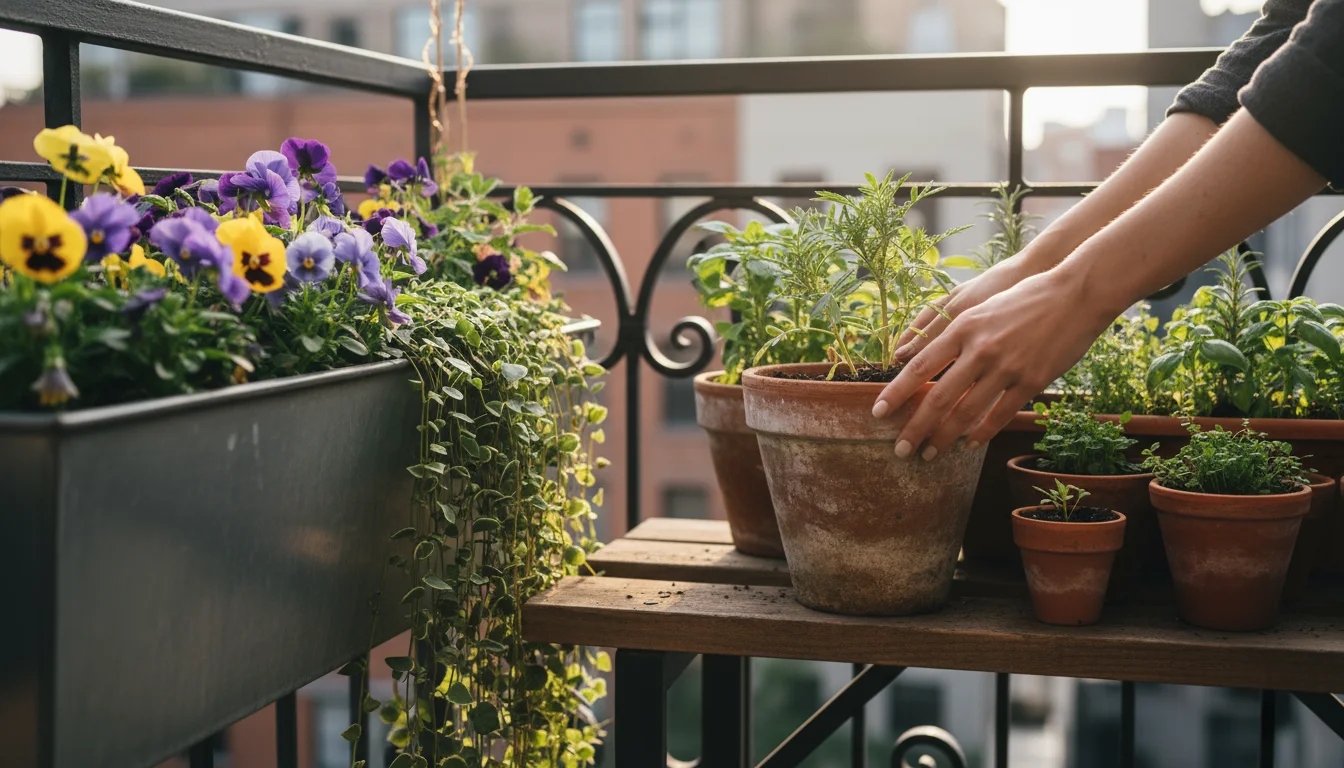
For the “One-and-Done” Bulb Pot focusing on dense, dramatic blooms, it is best to plant only bulbs. This allows you to maximize the number of flowers and avoid competition for resources. However, you can certainly combine bulb pots with other container plantings. For instance, place your bulb pot alongside containers of pansies, violas, or ornamental kale for a beautiful layered display of different plant types. This creates a fuller, more complex garden vignette while keeping the bulb pot itself focused on its primary purpose.
For trustworthy gardening information, visit:
University of Arizona Cooperative Extension — Gardening, University of Alaska Fairbanks Extension — Gardening, University of Georgia Extension — Gardening, Louisiana State University AgCenter — Lawn & Garden and Mississippi State University Extension — Lawn & Garden. These organizations provide expert, research-based advice for gardeners at all levels.
Disclaimer: This article is for informational purposes only and is not a substitute for professional gardening advice. Always consult local extension services or horticulture experts for region-specific guidance.
Leave a Reply