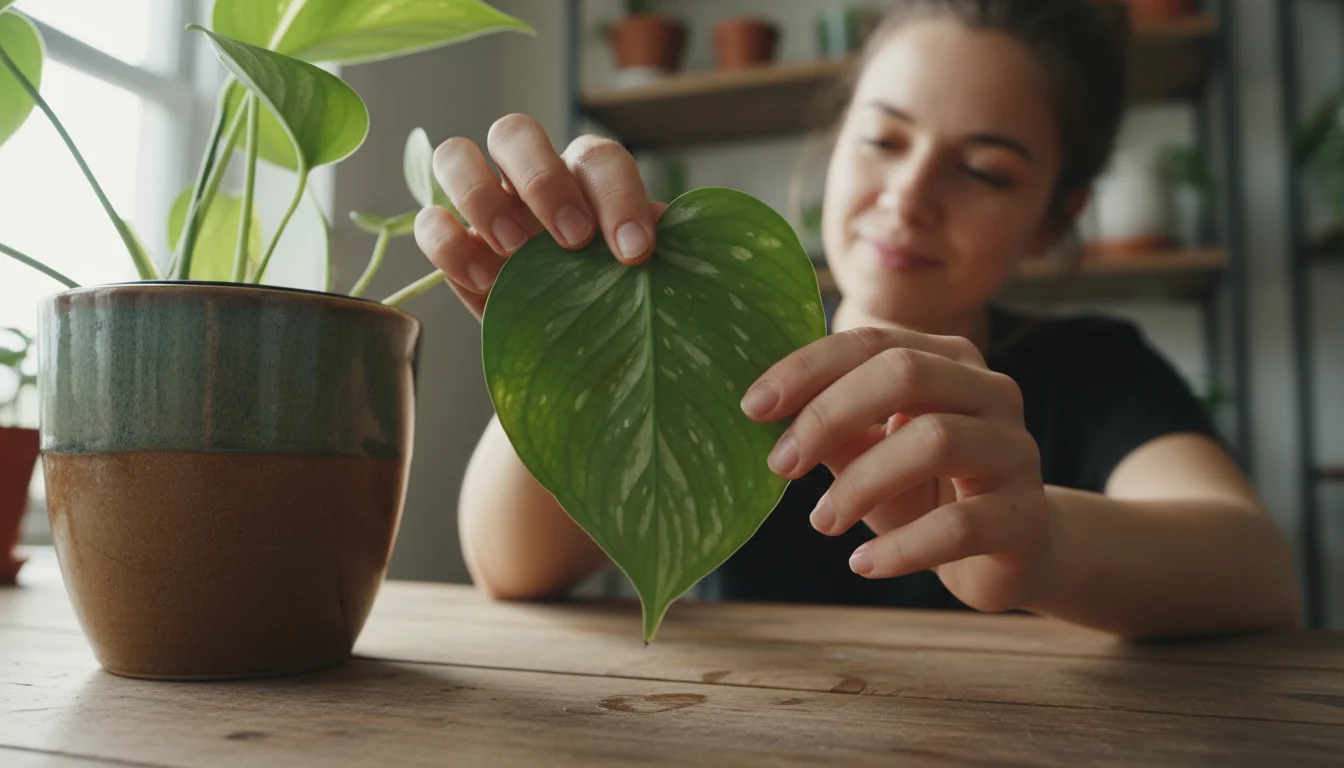
Winter often brings thoughts of dormant gardens and barren outdoor spaces. However, your green thumb does not need to hibernate. Transform your small space into a vibrant indoor oasis, keeping your plants thriving and even harvesting fresh produce right through the colder months. Winter indoor gardening offers a rewarding way to connect with nature, enjoy fresh flavors, and maintain a sense of calm when outdoor conditions are challenging. You possess the power to cultivate a flourishing indoor garden with a few practical adjustments and simple, consistent care.
To make the most of the limited daylight available, you may need to shuffle your houseplants for maximum winter sun as the season progresses.
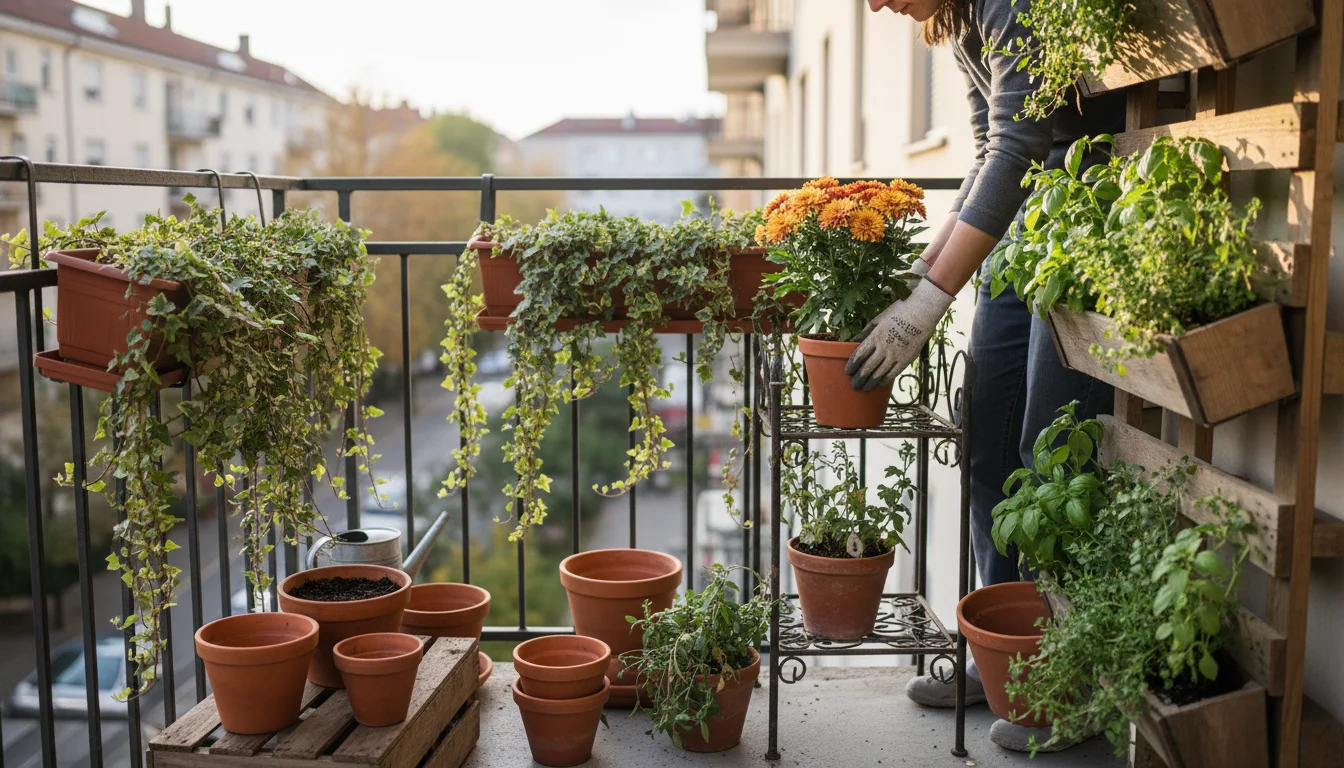
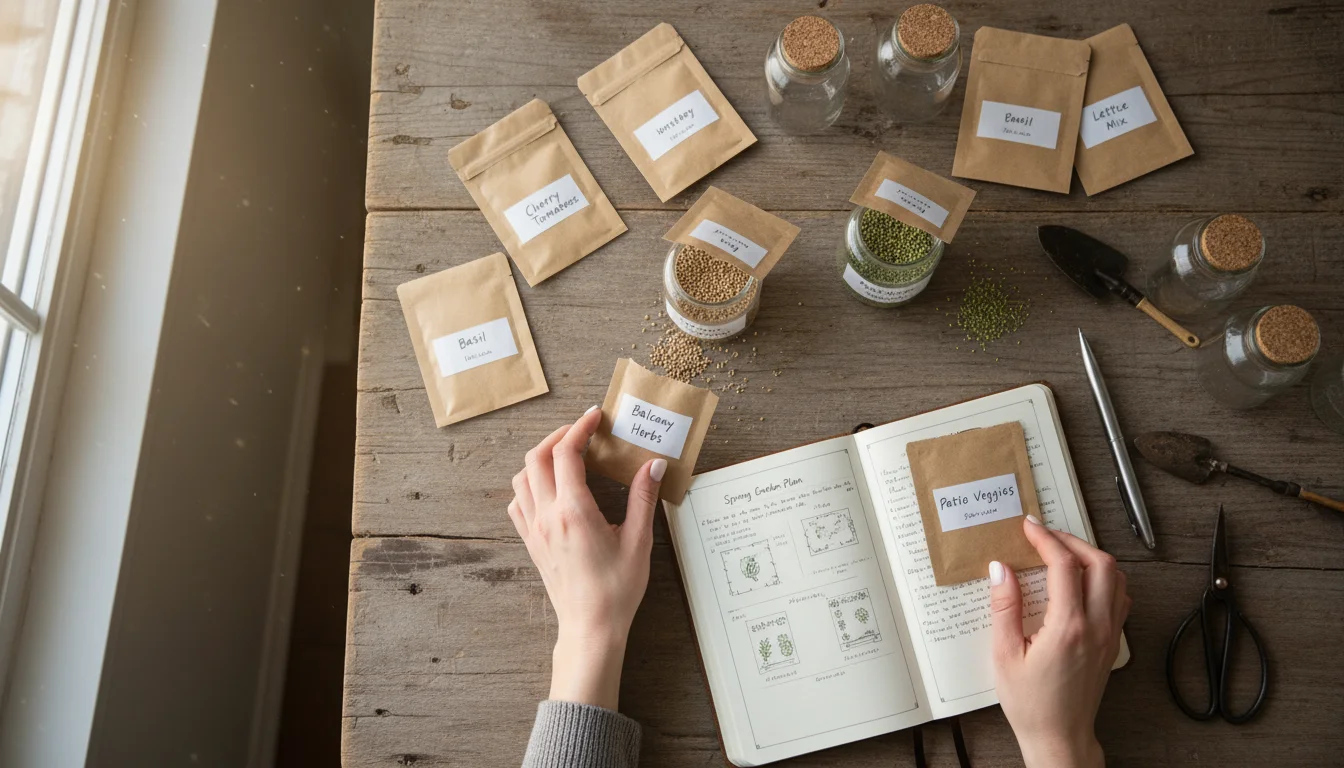
If you are looking for creative ways to keep busy during the cold months, explore these indoor gardening projects for winter days to brighten your home.
This guide equips you with actionable strategies to successfully grow indoors winter, from optimizing light conditions to managing pests. Discover how to provide the right environment for your plants, even when the days shorten and temperatures drop. You will learn practical tips for plant selection, watering, feeding, and troubleshooting, ensuring your indoor plants remain vibrant and productive. Get ready to embrace the joy of year-round growth.
For research-based plant care guidance, visit
New York Botanical Garden, Royal Horticultural Society (RHS), University of Minnesota Extension and Cornell Garden-Based Learning.
Disclaimer: This article is for informational purposes only and is not a substitute for professional advice. Consult local extension services for region-specific recommendations.
Mastering Winter Light for Indoor Growth
As winter arrives, natural light levels plummet, significantly impacting your indoor plants. Many plants enter a semi-dormant state, but those you wish to grow indoors winter, particularly edibles, still require adequate light for photosynthesis and robust growth. Understanding and supplementing light becomes your primary task for successful winter gardening indoors.
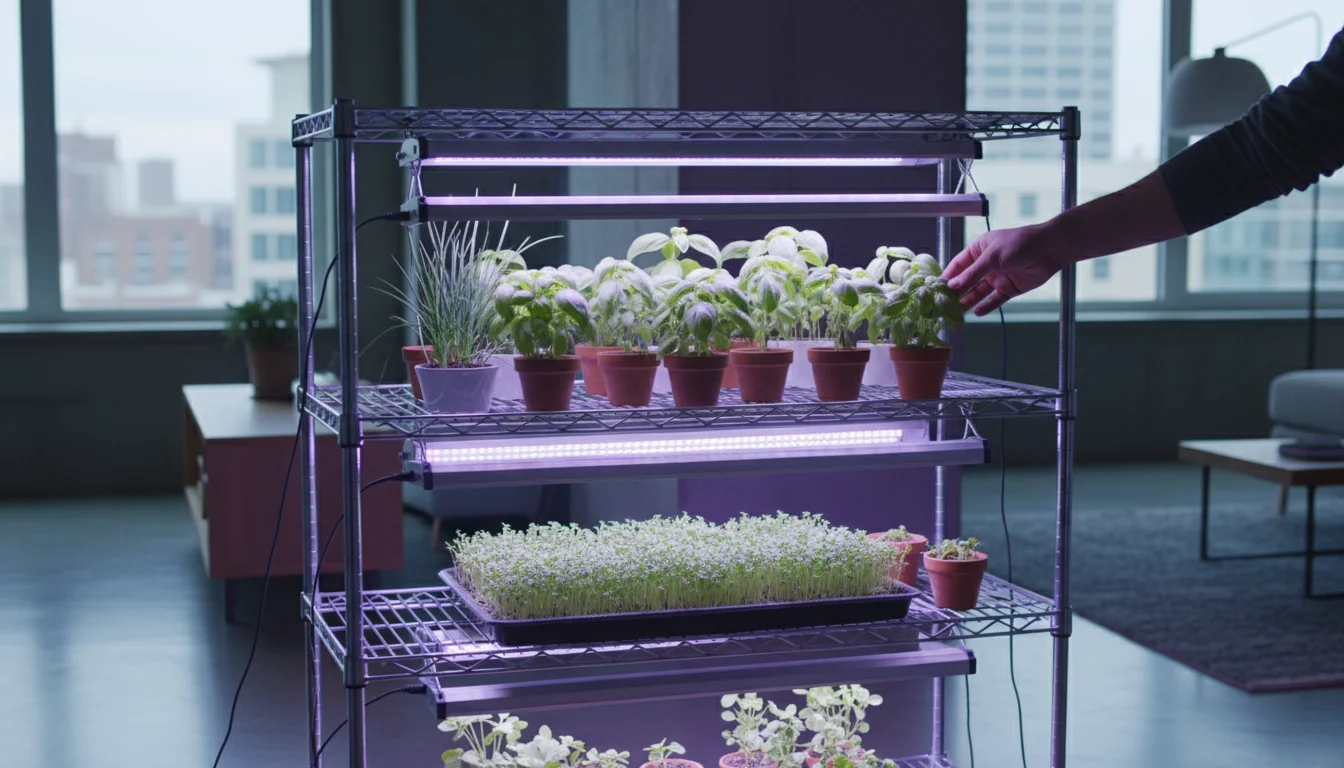
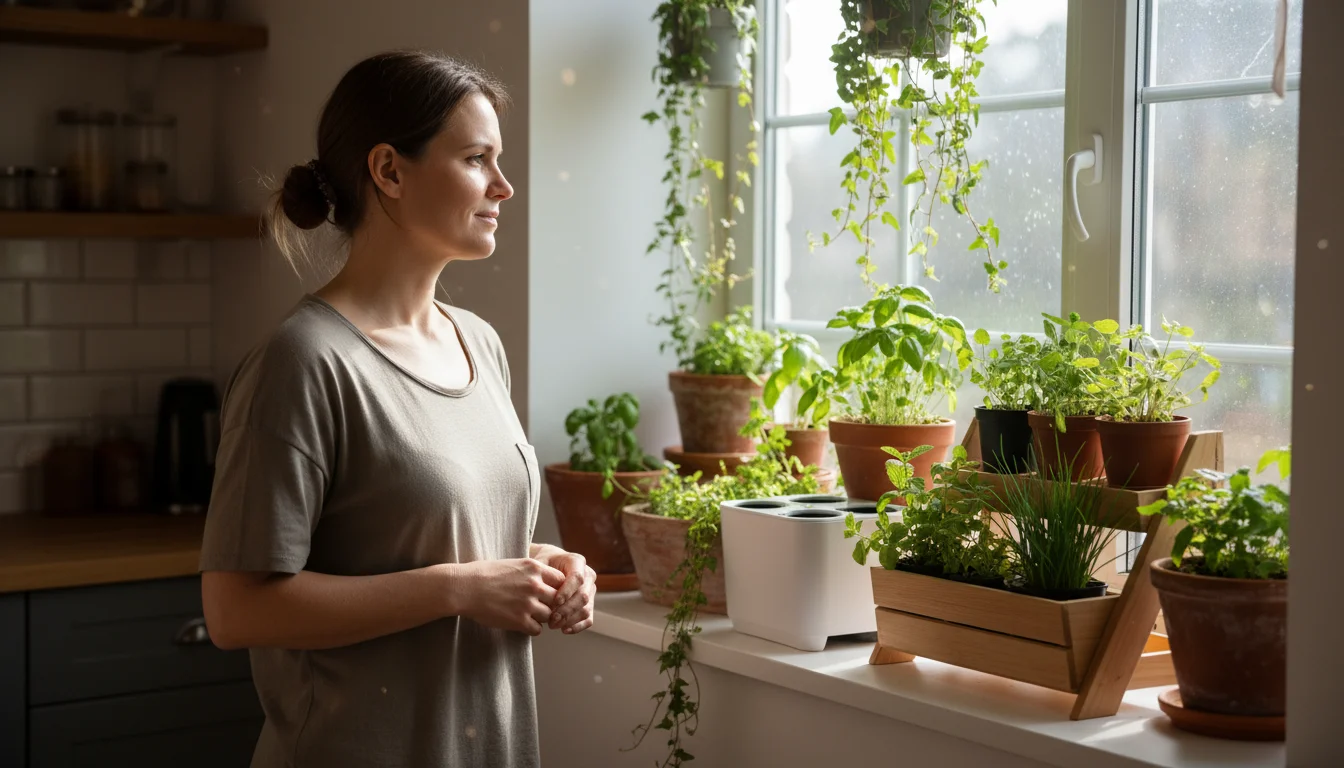
If you are looking to expand your setup on a budget, building a DIY grow light shelf is an excellent winter project to keep your plants thriving.
Assessing Your Natural Light Sources
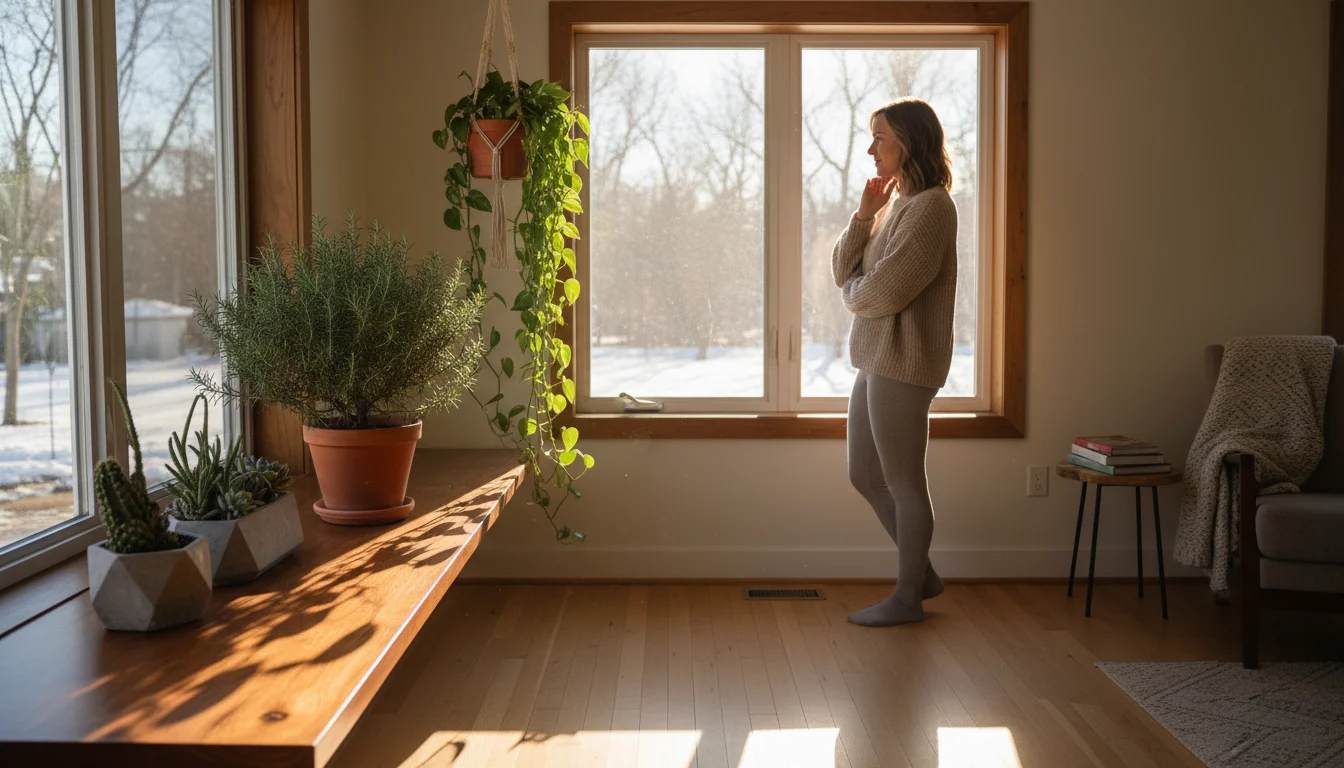
First, evaluate the natural light available in your home. South-facing windows typically offer the most intense light, followed by east-facing (morning sun) and west-facing (afternoon sun). North-facing windows provide the least direct light. Even the brightest window during summer offers considerably less intensity and duration during winter. This reduction in both intensity (lux or foot-candles) and photoperiod (hours of light) means plants struggle to produce enough energy.
- South-facing windows: Best for high-light plants like herbs, fruiting vegetables (if supplemented), and succulents.
- East/West-facing windows: Suitable for medium-light plants like most foliage plants, some herbs, and many flowers.
- North-facing windows: Best for low-light plants such as ZZ plants, snake plants, and pothos. Edibles rarely thrive here without significant supplemental light.
Consider obstructions outside your windows, such as trees or buildings, which further diminish available light. The closer your plant sits to the window, the more light it receives. Every foot away from a window can reduce light intensity by 50 percent or more. For successful winter gardening indoors, especially if you plan indoor food growing, you need more than ambient light.
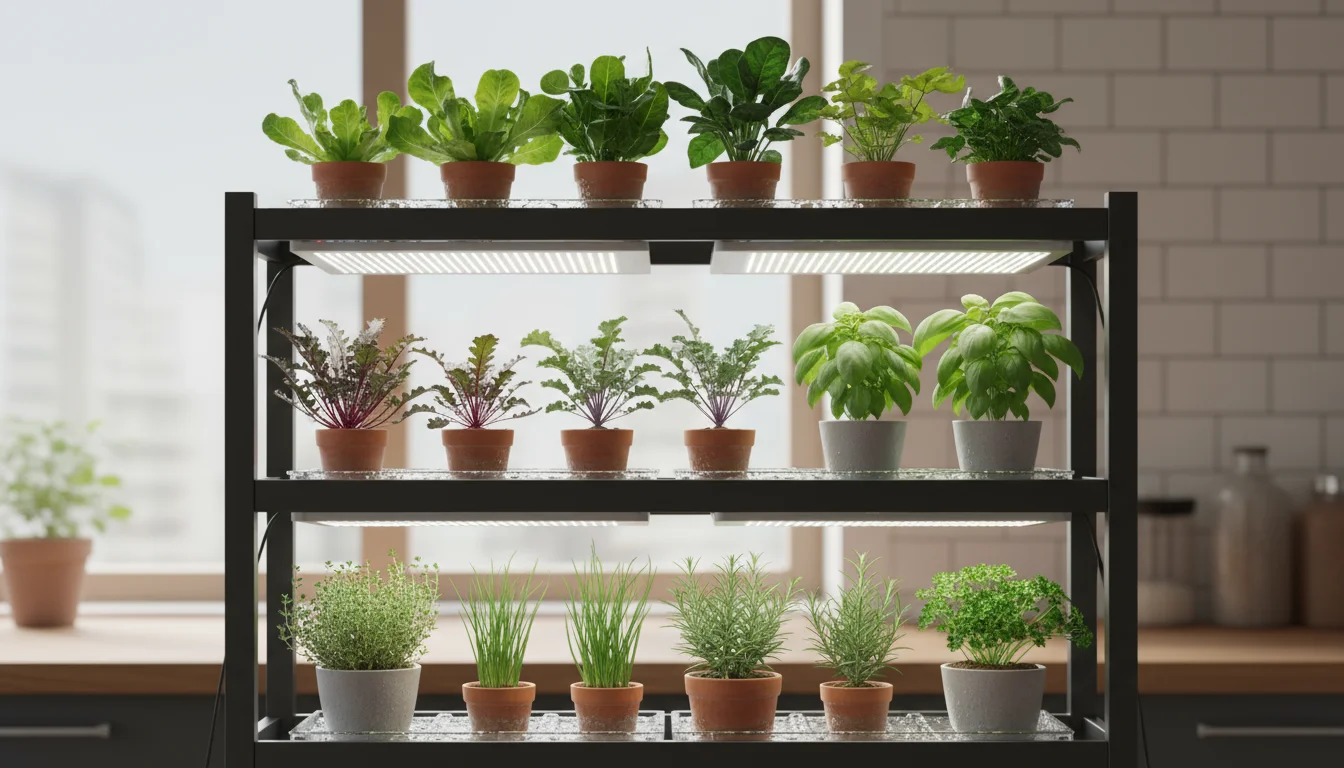
The Necessity of Supplemental Lighting
For most plants, and almost all edible crops, natural winter light proves insufficient. Supplemental lighting bridges this gap, ensuring your plants receive the energy they need to thrive. Grow lights offer specific spectrums designed for plant growth, promoting lush foliage and even flowering or fruiting. You have several effective options:
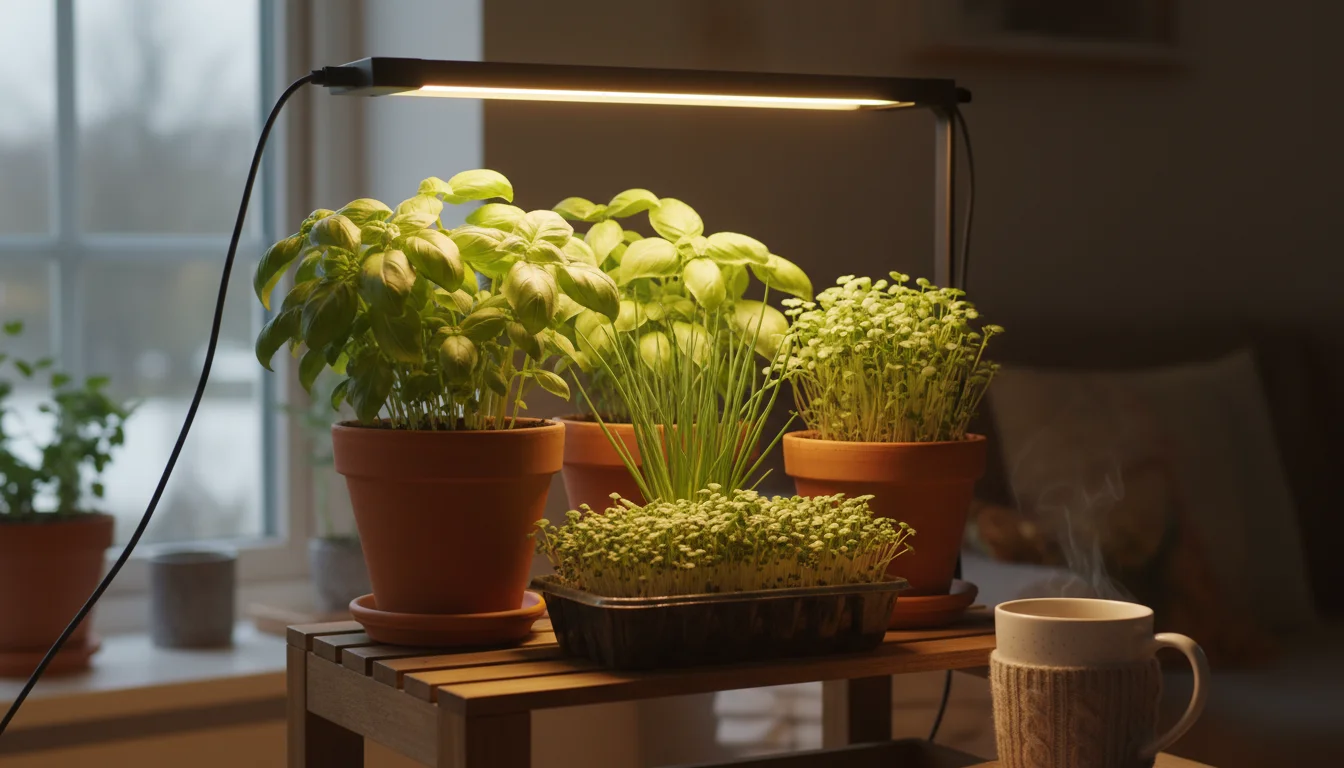
- Fluorescent Lights (T5, T8): These are cost-effective and energy-efficient for leafy greens, herbs, and starting seedlings. T5 bulbs offer greater intensity than T8. Keep them 4-6 inches above plant canopies for optimal results.
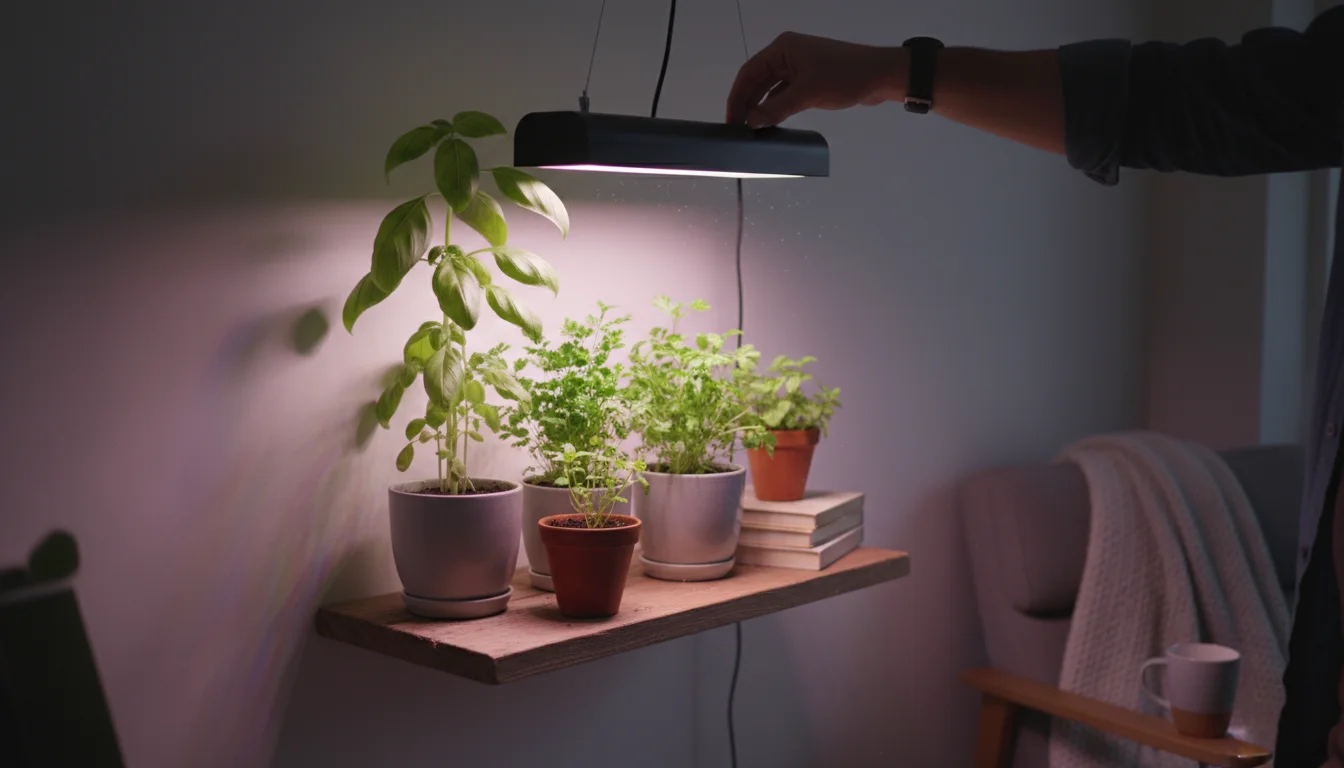
- LED Grow Lights: The most energy-efficient and long-lasting option. LED lights come in full-spectrum varieties, mimicking natural sunlight, or those tailored with specific red and blue wavelengths for vegetative and flowering stages. They generate less heat than other types, reducing the risk of scorching plants. You can place them 6-12 inches away from plants, depending on their intensity. Many modern LED fixtures allow you to adjust height easily, adapting to plant growth.
- High-Intensity Discharge (HID) Lights (Metal Halide, High-Pressure Sodium): While powerful, these generate significant heat and consume more energy. They are generally overkill for small-space, low-maintenance indoor gardening, better suited for commercial setups.
When selecting a grow light, look for “full spectrum” options for general plant growth, as they provide a balanced light similar to natural sunlight. The color temperature, measured in Kelvin (K), also matters. Lights around 5,000-6,500K simulate daylight, excellent for vegetative growth. Lower Kelvin numbers (e.g., 2,700-3,000K) encourage flowering and fruiting.
Setting Up Your Winter Light Regimen
Consistency is key for lighting. Use a timer to provide 12-16 hours of light daily for most indoor plants, including herbs and vegetables. Seedlings often benefit from 14-16 hours. A consistent “day” and “night” cycle is crucial for plant health, simulating natural rhythms. Avoid continuous light, as plants need dark periods for respiration and other physiological processes.
Practical Tip: Regularly adjust the height of your grow lights as your plants grow. Maintain the recommended distance to prevent stretching (etiolation) if too far, or scorching if too close. For instance, if your basil leaves look pale and leggy, it needs more intense light, meaning you should lower the light source. If leaves appear bleached or brown along the edges, the light source is likely too close or too intense.
Understanding and controlling light is the foundation of successful winter gardening indoors. By providing adequate supplemental light, you empower your plants to continue growing vigorously, defying the short, dark days outside.
Optimizing Temperature and Humidity Indoors
Winter brings unique challenges beyond light levels: fluctuating temperatures and drastically reduced humidity. Your home’s heating system creates a dry environment, which many tropical houseplants find stressful. Successfully grow indoors winter requires you to manage these atmospheric conditions proactively.
For smaller plants that require constant moisture, you can DIY a tabletop terrarium to create a self-sustaining, humid microclimate.
While trying to provide the best care, be careful not to end up loving your houseplants to death by making common winter maintenance errors.
Maintaining Ideal Temperatures
Most indoor plants thrive in temperatures between 65°F (18°C) and 75°F (24°C) during the day. Nighttime temperatures can drop slightly, typically by 5-10 degrees, mimicking natural environments. Avoid extreme temperature swings. For example, placing plants near frequently opened doors, leaky windows, or directly in front of heating vents exposes them to cold drafts or dry, hot air, causing stress. Cold drafts can lead to leaf drop, stunted growth, and increased susceptibility to pests.
- Avoid drafts: Keep plants away from exterior doors and leaky windows.
- Regulate heating: Do not place plants directly above or in front of heat registers. The constant blast of dry, warm air desiccates foliage rapidly.
- Consider cooler spots for dormant plants: Some plants, like certain succulents or cacti, benefit from slightly cooler winter temperatures (50-60°F or 10-15°C) to encourage flowering in spring. Research specific plant needs.
A simple indoor thermometer helps you monitor ambient temperatures in different areas of your home. You gain insight into microclimates that might affect your plants.
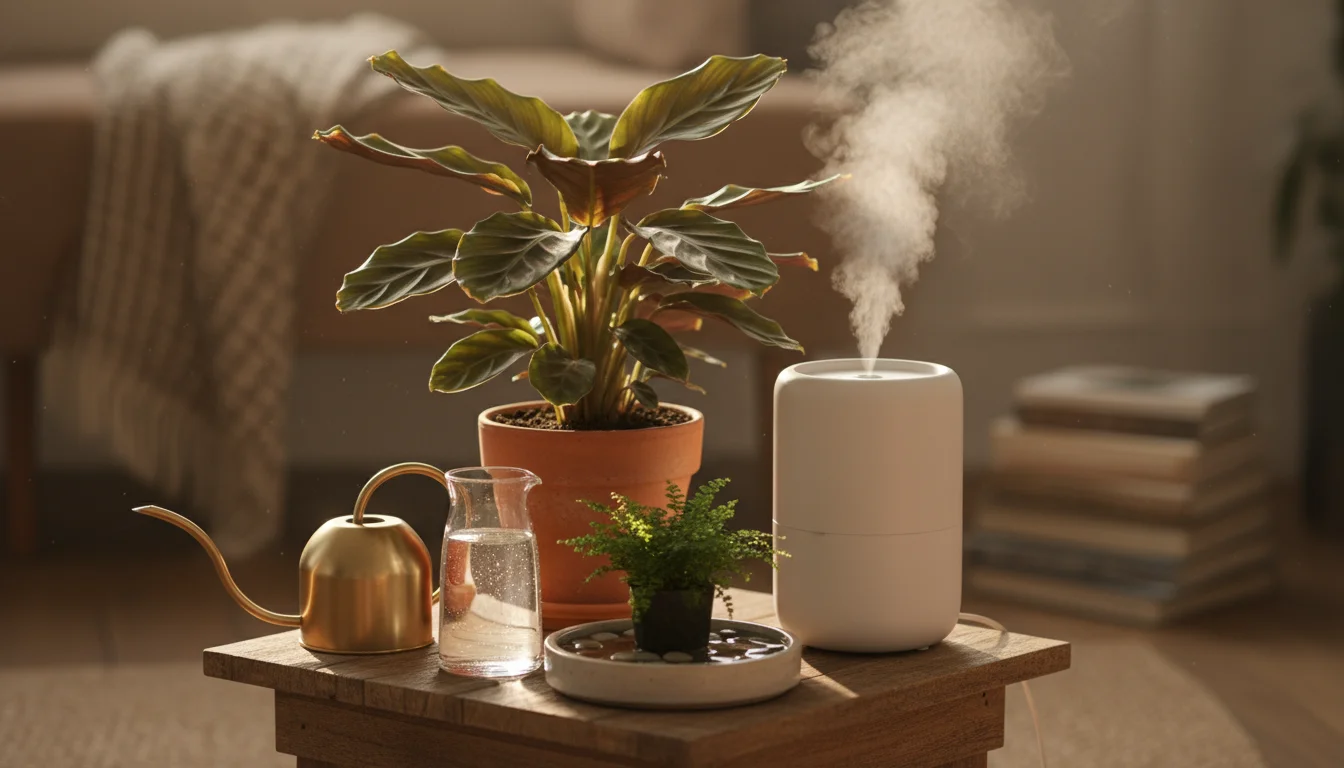
Addressing Low Winter Humidity
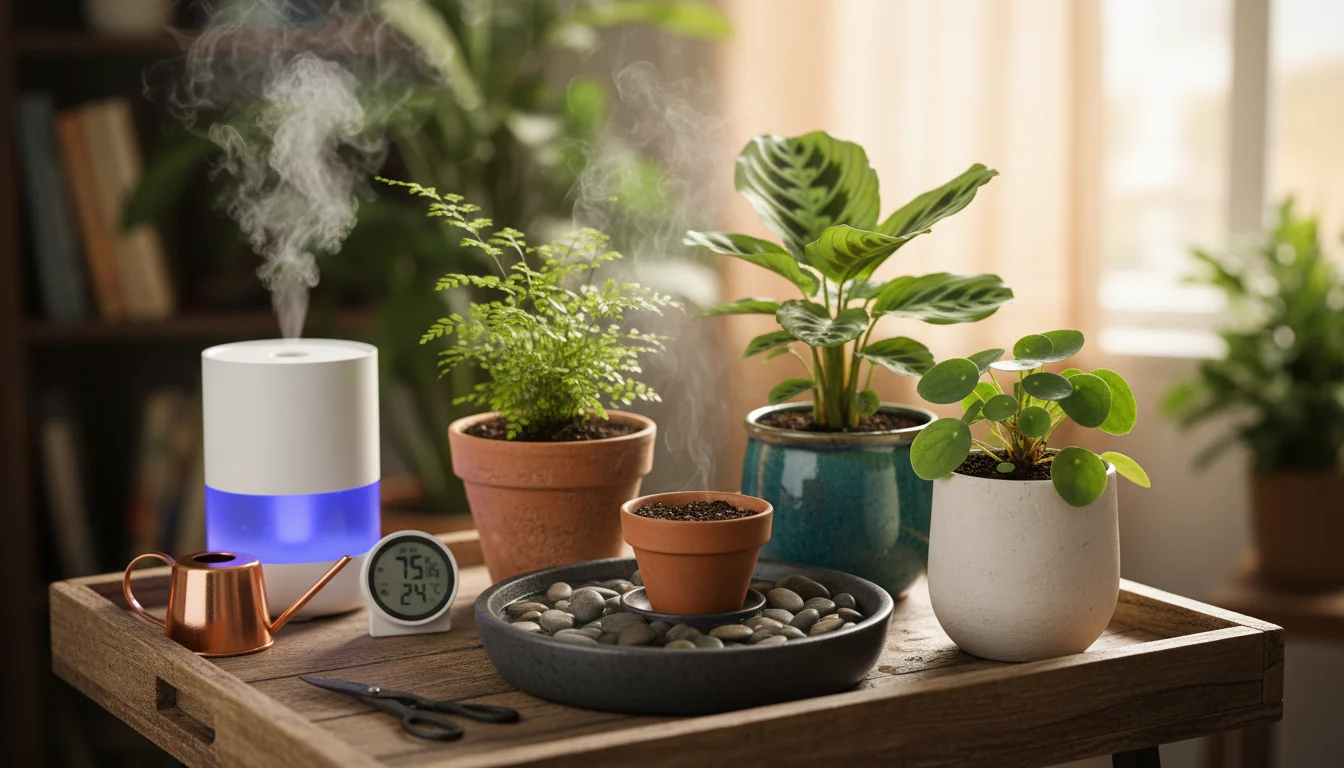
Heated indoor air often has very low humidity, sometimes dropping below 20%. Many popular houseplants, originating from humid tropical regions, prefer humidity levels of 40-60%. Low humidity causes brown leaf tips, wilting, increased pest susceptibility, and overall plant stress. You have several simple strategies to increase localized humidity:
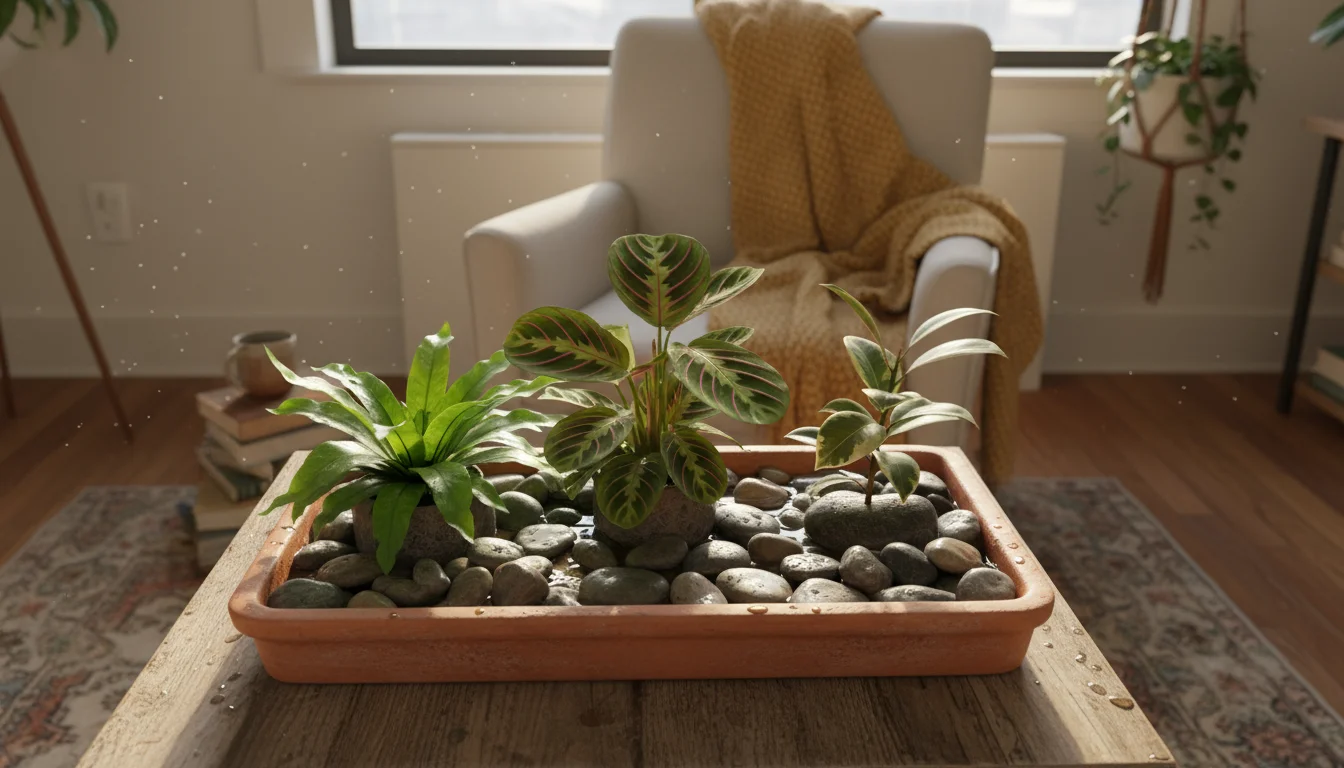
- Pebble Trays: Fill a shallow tray with pebbles and add water to just below the top of the pebbles. Place your potted plant on top, ensuring the pot does not sit directly in the water, as this causes root rot. As the water evaporates, it creates a more humid microclimate around the plant. This is an excellent, low-effort method for small plant groupings.
- Misting: While misting provides a temporary humidity boost, its effects are fleeting, lasting only minutes. You would need to mist several times a day to make a significant difference. Misting also increases the risk of fungal diseases if water sits on leaves for too long, especially in poor air circulation. Use distilled or filtered water to prevent mineral spots on foliage.
- Grouping Plants: Plants release moisture through transpiration. Grouping them creates a collective humid microclimate. This strategy works well for plants with similar light and watering needs.
- Humidifiers: The most effective way to raise ambient humidity across a larger area. Small, cool-mist humidifiers are affordable and efficient for a plant shelf or an entire room. Clean humidifiers regularly to prevent mold and bacterial growth. Many models include a humidistat, allowing you to set a target humidity level, such as 50%.
Monitoring humidity levels with an inexpensive hygrometer helps you understand your home’s actual conditions and assess the effectiveness of your efforts. Consistent humidity contributes significantly to plant health and resilience, especially when you grow indoors winter.
Watering Wisdom: Keeping Plants Hydrated, Not Drowned
Winter indoor gardening demands a precise approach to watering. Plants generally slow their growth in winter due to reduced light, cooler temperatures, and shorter days. This means they require less water than during their active growing season. Overwatering becomes a significant risk during colder months, leading to root rot, the most common killer of houseplants.

Understanding Your Plant’s Needs
Do not follow a strict schedule. Instead, learn to assess each plant’s individual moisture needs. Factors influencing watering frequency include plant type, pot size, soil mix, light levels, temperature, and humidity. A large plant in a small terracotta pot in a warm, bright room dries out faster than a small plant in a plastic pot in a cooler, shadier spot.
- High-water plants: Ferns, peace lilies, and some edibles like lettuce might prefer consistently moist soil, but never soggy.
- Moderate-water plants: Most common houseplants, herbs like basil, and smaller fruiting plants prefer the top inch or two of soil to dry out between waterings.
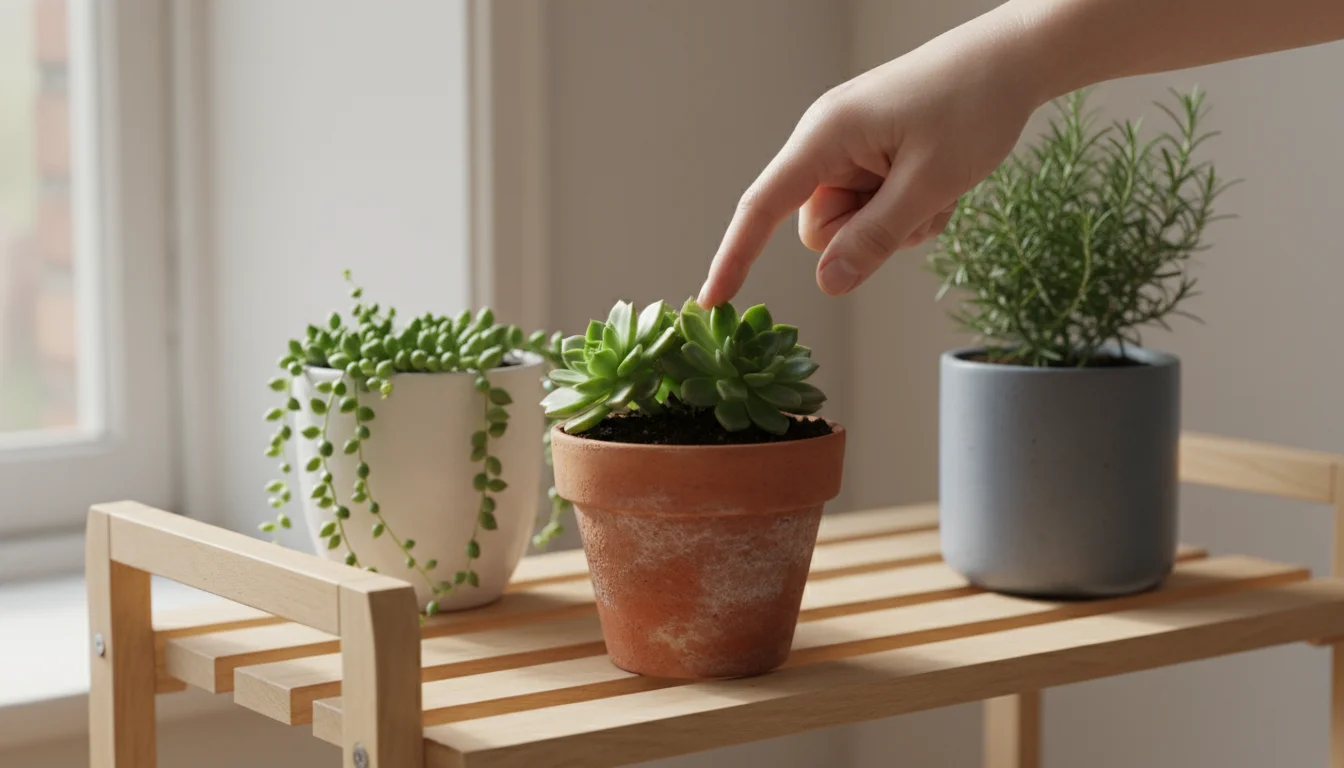
- Low-water plants: Cacti, succulents, and snake plants thrive when their soil dries out completely between waterings, sometimes for weeks.
Your ability to feel and observe the soil tells you more than any fixed schedule. Over time, you develop an intuitive understanding of your plants’ unique rhythms.
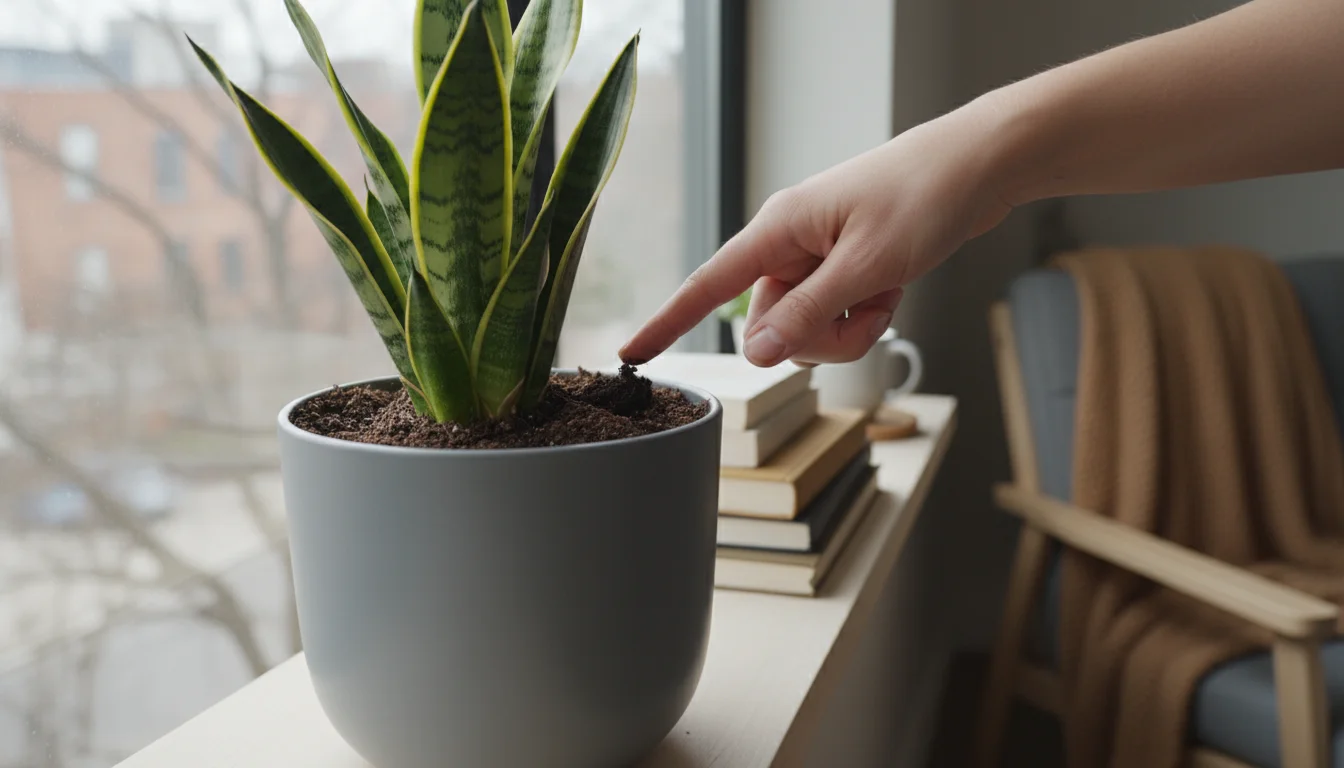
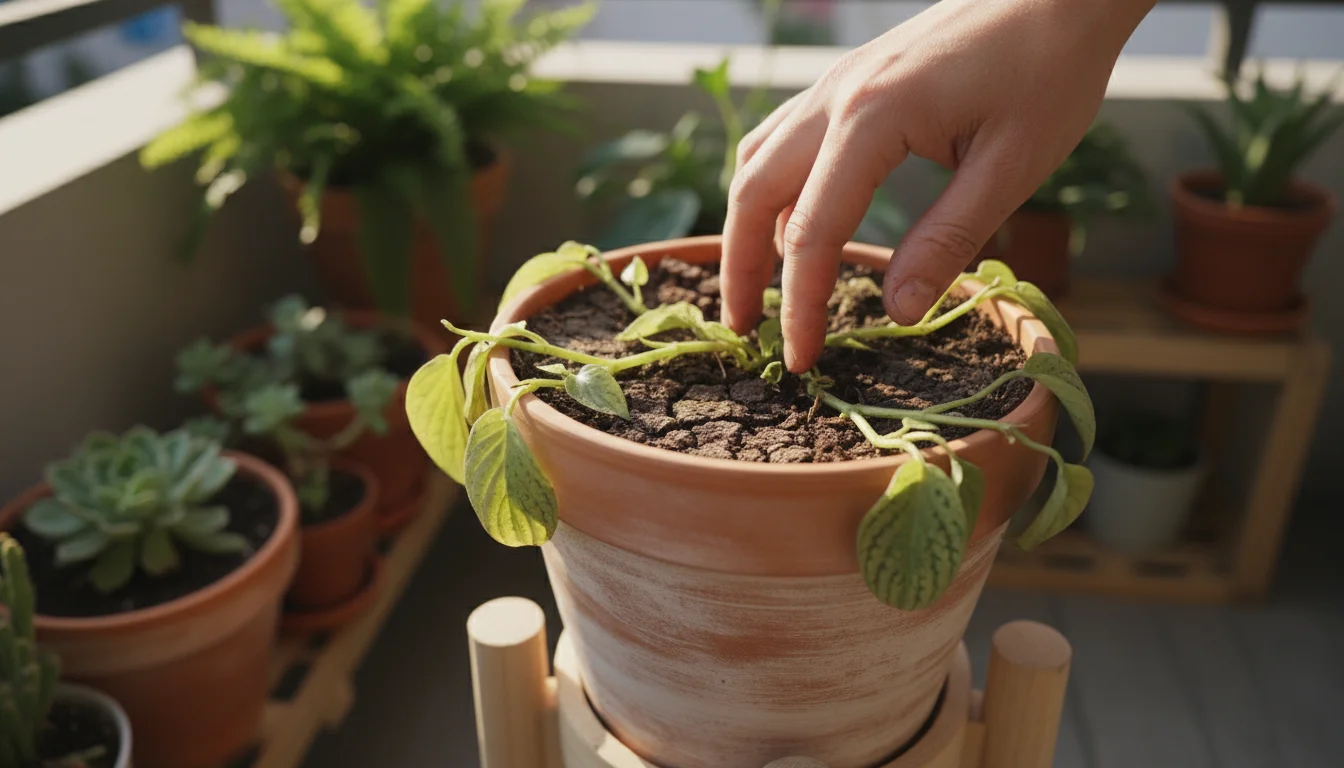
The Finger Test: Your Best Watering Tool
The simplest and most reliable method to determine if your plant needs water is the finger test. Insert your finger about 1-2 inches deep into the soil. For larger pots, go deeper. If the soil feels dry, it is time to water. If it feels moist, wait. Repeat this every few days for each plant until you establish a feel for its drying pattern. You will find that watering frequency might decrease by 50% or more compared to summer months when you grow indoors winter.
Other Indicators:
- Pot Weight: A dry pot feels significantly lighter than a recently watered one. Lift your pots to get a feel for their weight before and after watering.
- Moisture Meters: These tools provide a numerical reading of soil moisture, offering an objective assessment. Insert the probe into the soil, avoiding roots, and check the reading. They prove especially useful for larger pots or for beginners.
- Leaf Appearance: Wilting can indicate both underwatering and overwatering. If leaves look limp but the soil is bone dry, it needs water. If leaves are yellowing and soft with moist soil, it is likely overwatered.
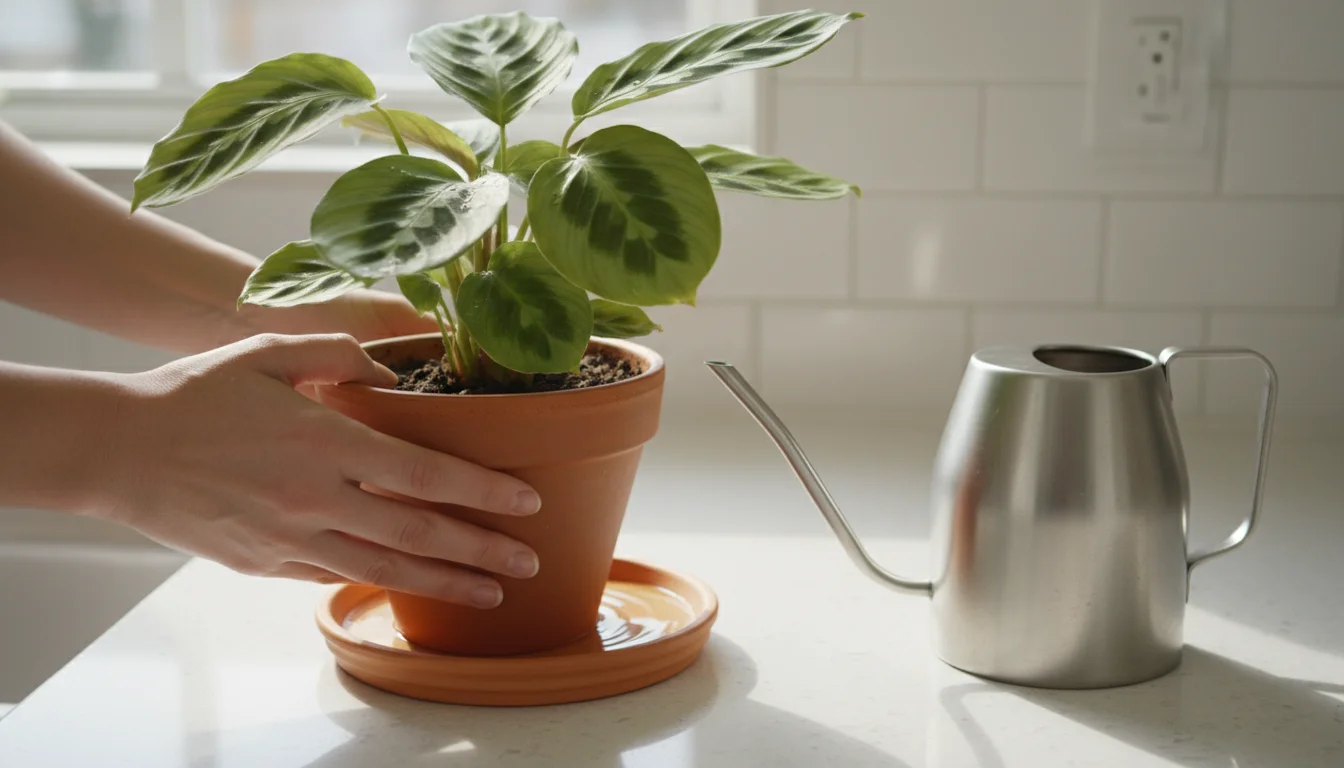
How to Water Correctly
When you water, do so thoroughly. Pour water slowly over the entire soil surface until it drains out of the pot’s drainage holes. This ensures all roots receive moisture and flushes out accumulated mineral salts. Empty any excess water from the saucer within 15-30 minutes to prevent the pot from sitting in standing water, which deprives roots of oxygen and causes root rot.
Water Quality: Tap water is generally fine for most plants. However, if your tap water is heavily chlorinated, let it sit out in an open container for 24 hours to allow the chlorine to dissipate. Some sensitive plants, like prayer plants or dracaenas, react negatively to fluoride, causing brown leaf tips. In such cases, use filtered or distilled water, or rainwater.
When you grow indoors winter, proper watering becomes critical. Err on the side of underwatering rather than overwatering, as plants recover more easily from temporary dryness than from prolonged soggy conditions. Adjust your routine as environmental conditions in your home change.
Nutient Needs: Feeding Your Indoor Winter Garden
Just as plants’ water needs decrease in winter, so do their nutrient requirements. Most houseplants and indoor edibles enter a period of slower growth or semi-dormancy when light levels are lower. Over-fertilizing during this time causes more harm than good, leading to nutrient burn or salt buildup in the soil. Your goal is to provide minimal, balanced nutrition only when necessary.
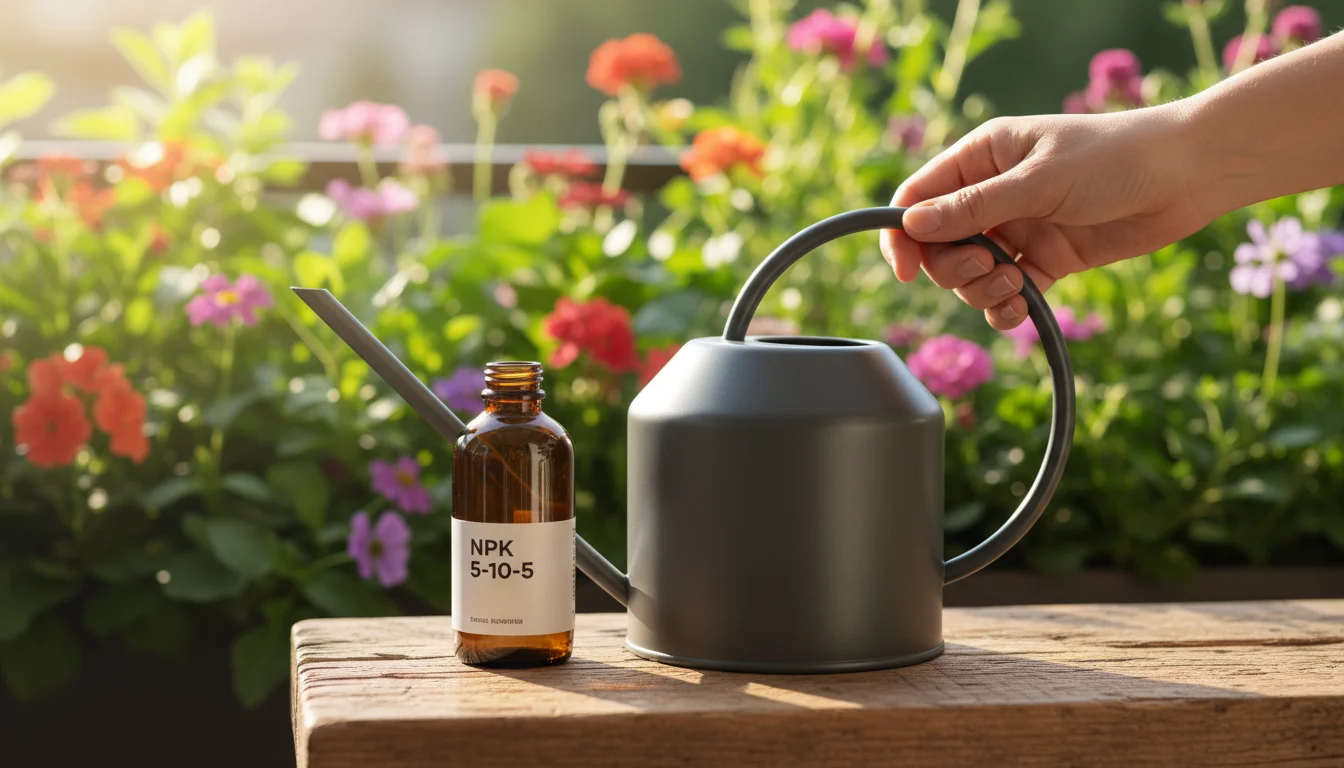
Understanding Fertilizers and NPK Ratios
Fertilizers provide essential macronutrients: Nitrogen (N), Phosphorus (P), and Potassium (K). These are always listed as an N-P-K ratio on fertilizer packaging (e.g., 5-10-5). Each element plays a crucial role:
- Nitrogen (N): Promotes lush, green foliage growth.
- Phosphorus (P): Encourages root development, flowering, and fruiting.
- Potassium (K): Supports overall plant health, disease resistance, and water regulation.
Trace elements like iron, magnesium, and calcium are also vital, often included in “complete” fertilizers. For small-space, low-maintenance gardening, a balanced, all-purpose liquid fertilizer is usually sufficient.
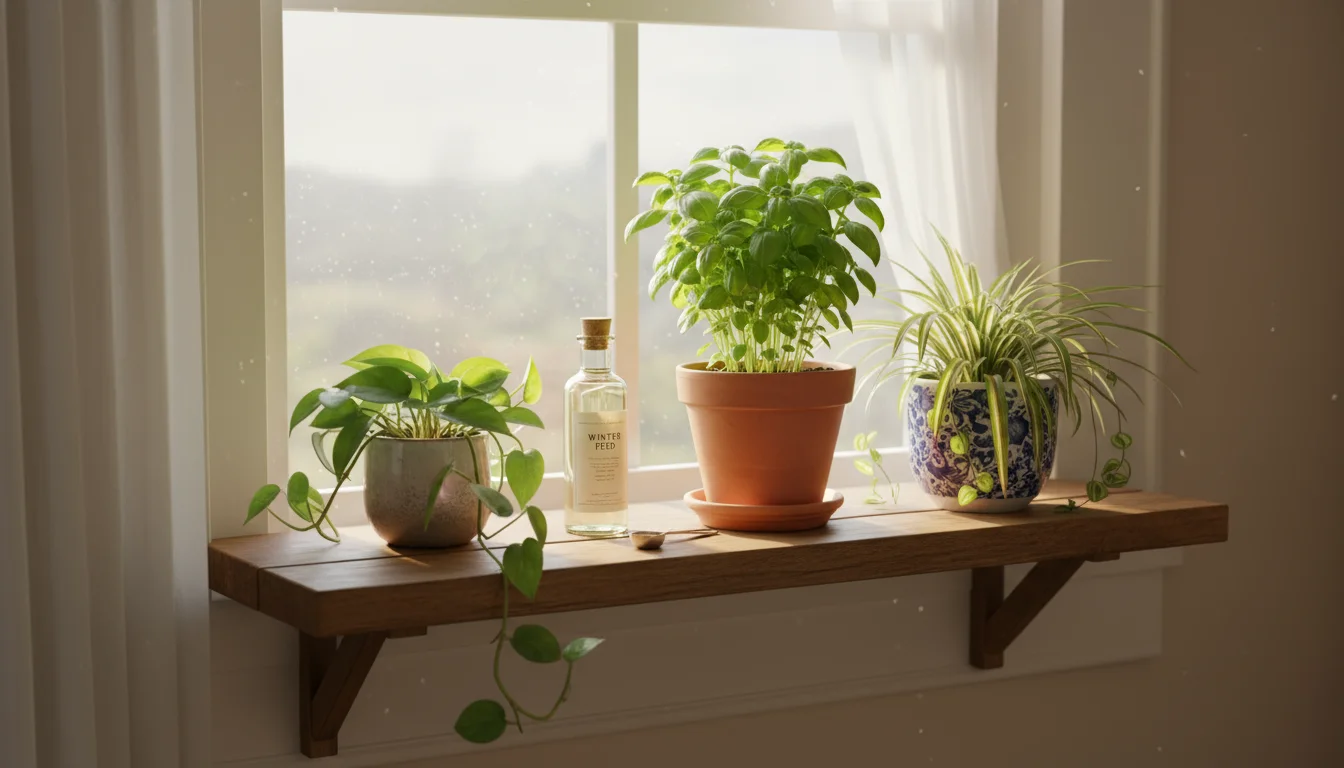
When and How to Fertilize in Winter
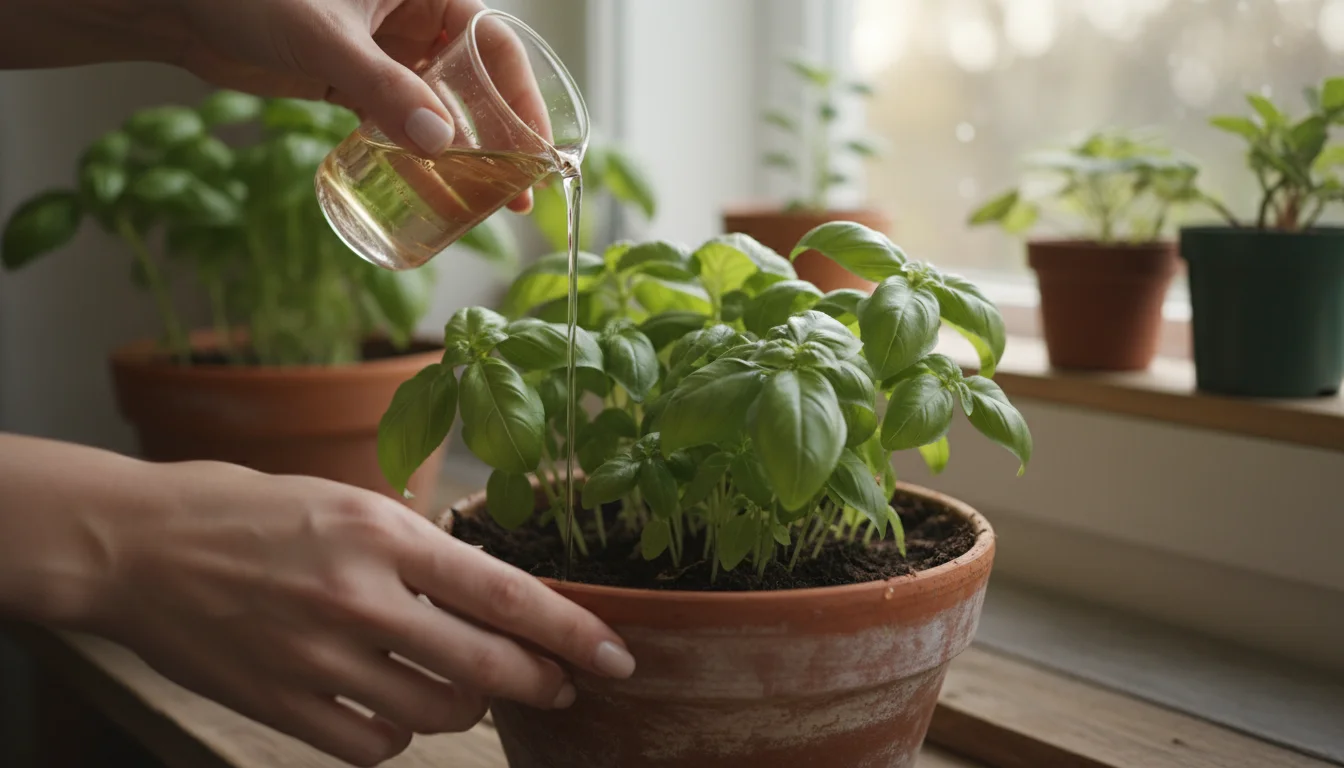
For most indoor plants, you should significantly reduce or even pause fertilization during winter. If your plants are actively producing new leaves or flowers, or if you are doing indoor food growing, they still require some nutrients. However, apply fertilizer at a reduced strength and frequency.
- Actively growing plants (under grow lights): If your plants are under strong supplemental lights and actively pushing new growth, use a balanced liquid fertilizer at half or quarter strength, once every 4-6 weeks.
- Slowly growing plants (natural light): If plants are growing very slowly under natural winter light, consider pausing fertilization entirely until spring.
- Dormant plants: Plants entering true dormancy, such as some succulents or bulbs, require no fertilizer during winter.
Always apply liquid fertilizer to moist soil. Applying it to dry soil can burn roots. Follow the product instructions carefully, always erring on the side of under-fertilizing rather than over-fertilizing. Too much fertilizer leads to a buildup of salts in the soil, which can damage roots, manifest as burnt leaf tips, and prevent the plant from absorbing water effectively. If you see white crusts on the soil surface or pot rim, it indicates salt buildup, requiring a thorough flush with plain water.
Sustainable and Organic Fertilizing Options
Embrace environmentally conscious practices by choosing sustainable fertilizers. Many organic options provide nutrients without harmful synthetic chemicals, benefiting both your plants and the environment.
- Compost Tea: A liquid fertilizer made by steeping compost in water. It provides a gentle nutrient boost and introduces beneficial microorganisms to the soil.
- Worm Castings: A natural, slow-release fertilizer rich in nutrients and microbes. Mix a thin layer into the topsoil or add it to your potting mix. It releases nutrients gradually without the risk of burning roots.
- Fish Emulsion/Seaweed Extract: These organic liquid fertilizers provide a balanced blend of nutrients and trace elements. They often have a strong odor, so dilute them well and ensure good ventilation.
- Balanced Organic Liquid Fertilizers: Look for products specifically formulated for houseplants or edibles, with clear organic certifications.
Remember, a healthy soil ecosystem contributes significantly to nutrient availability. Good quality, peat-free potting mixes with added compost or worm castings provide a solid nutritional foundation. You manage your plant’s winter nutrient needs effectively by reducing frequency and strength, choosing sustainable options, and observing your plants for signs of deficiency or excess.
Pest Patrol: Organic Solutions for Winter Woes
Indoor plants often face increased pest pressure in winter. Dry indoor air, combined with less robust plant growth, makes them more susceptible. Early detection and consistent preventative measures are your best defense. Adopt organic, non-toxic solutions to keep your indoor garden healthy without harsh chemicals. Your goal is to create an environment where pests struggle to thrive and quickly address any infestations you discover.
Common Winter Indoor Pests and Their Signs
Knowing what to look for helps you act quickly:
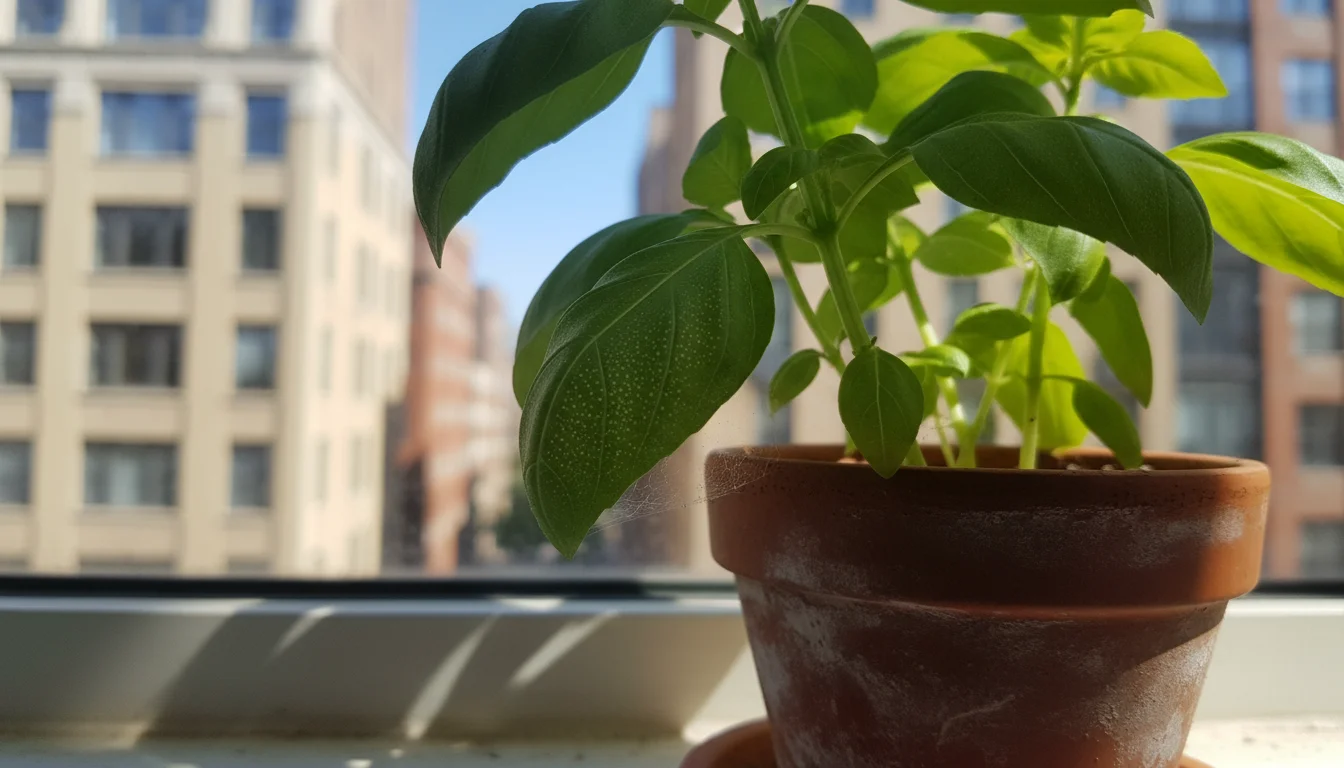
- Spider Mites: Tiny, almost invisible mites that thrive in dry conditions. Look for fine webbing on leaves, especially where they meet the stem, and tiny yellow or brown specks on foliage. Leaves may appear stippled or dusty.
- Fungus Gnats: Small, black, fly-like insects that buzz around plants and are attracted to moist soil. Their larvae feed on organic matter in the soil and, in severe cases, on delicate roots. They indicate overwatering.
- Mealybugs: White, cottony masses found in leaf axils, on stems, or under leaves. These sap-sucking insects weaken plants and excrete sticky honeydew.
- Aphids: Small, pear-shaped insects (green, black, yellow, or pink) clustered on new growth or undersides of leaves. They also excrete honeydew.
- Scale: Small, brown, hard-shelled bumps on stems and leaves. They are difficult to remove and also produce honeydew.
Regular inspection of your plants, including the undersides of leaves and stems, catches these invaders before they become a serious problem. Make it a habit to check plants every time you water them.
Preventative Measures: Your First Line of Defense
Prevention is always easier than eradication. Implement these habits to reduce pest risk:
- Quarantine New Plants: Always isolate new plant purchases for at least two weeks. This prevents introducing pests into your existing collection.
- Maintain Plant Health: Healthy, unstressed plants resist pests better. Provide adequate light, proper watering, and appropriate humidity.
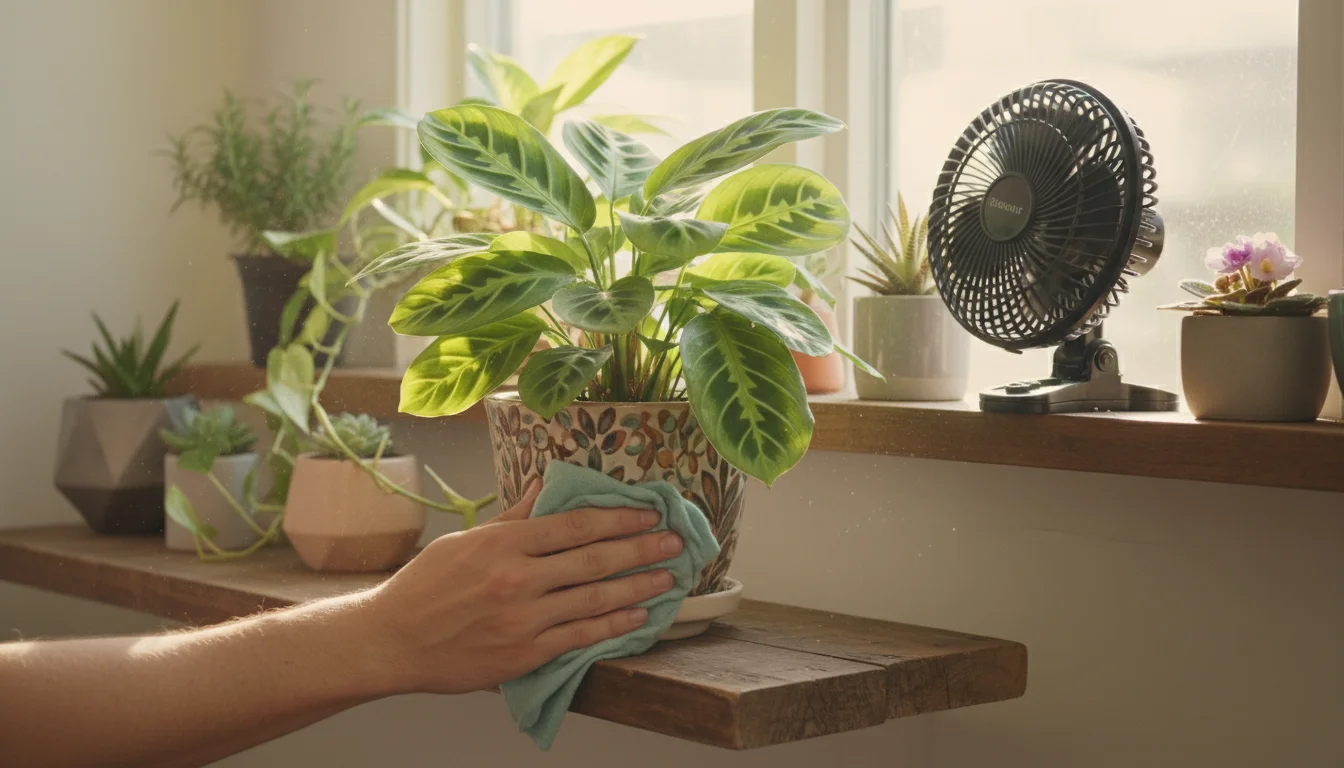
- Good Air Circulation: Stagnant air encourages pests and fungal issues. A small fan can help.
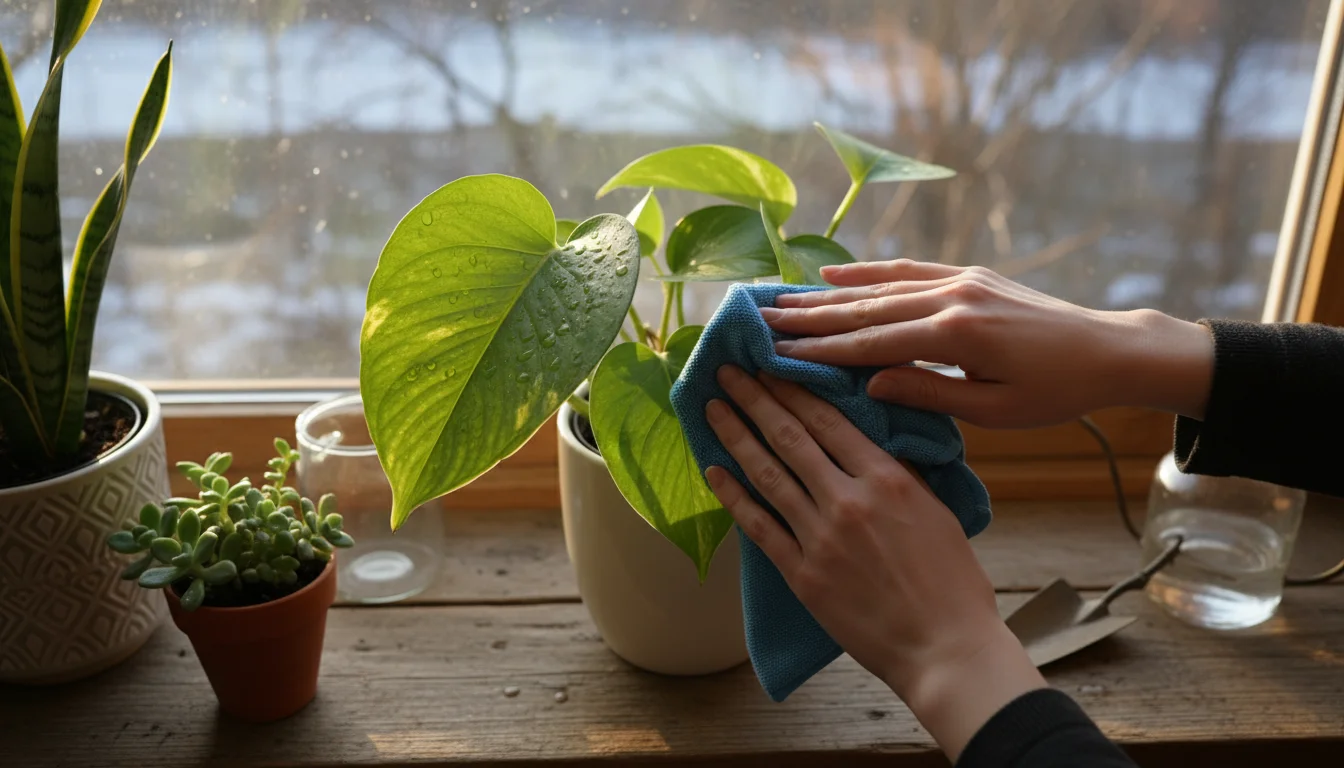
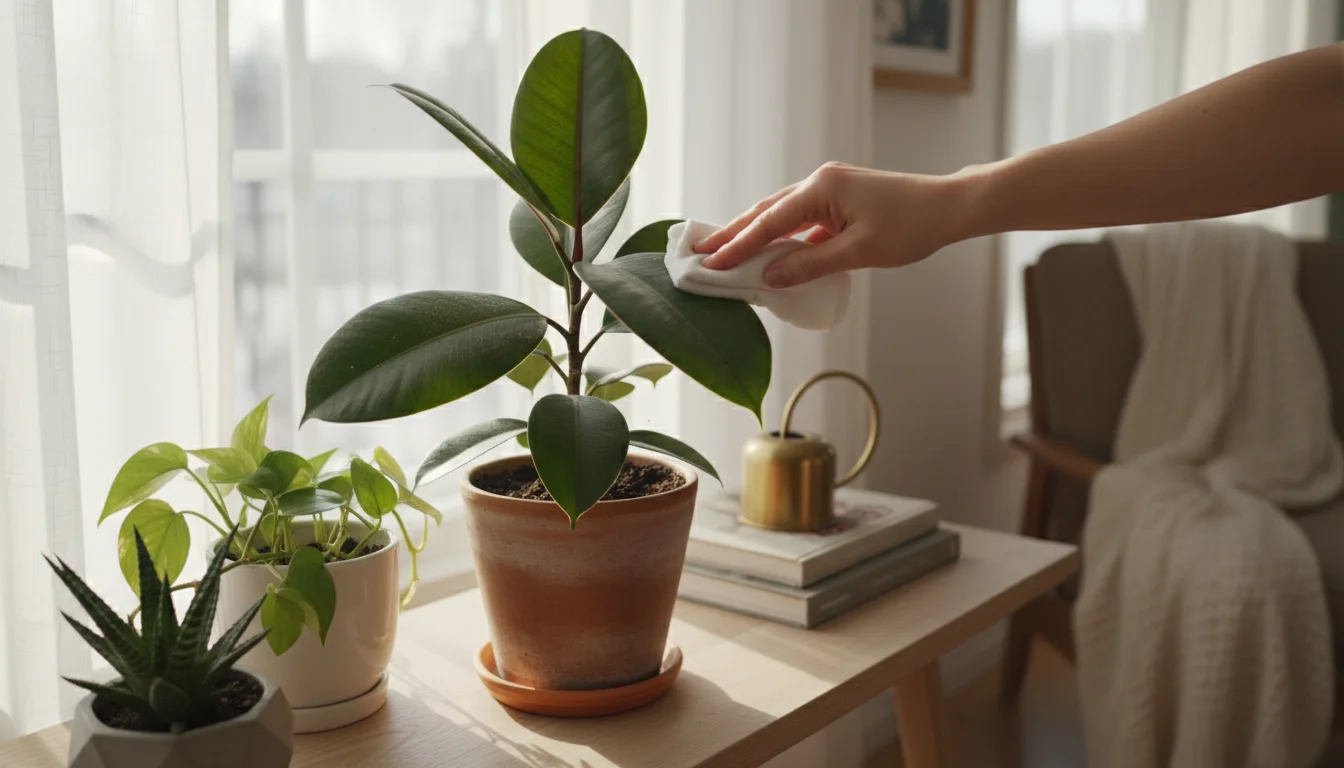
- Cleanliness: Remove fallen leaves and debris from the soil surface, as these provide hiding places and food for pests. Wipe down dusty leaves regularly. Dust can hinder photosynthesis and hide pests.
- Proper Watering: Avoid overwatering to deter fungus gnats. Allow the topsoil to dry out.
For research on specific pest identification and treatment, consult resources like the Clemson Home & Garden Information Center.
Organic Treatment Strategies
If you discover pests, act immediately. Consistent, gentle treatments often prove more effective than sporadic harsh ones.
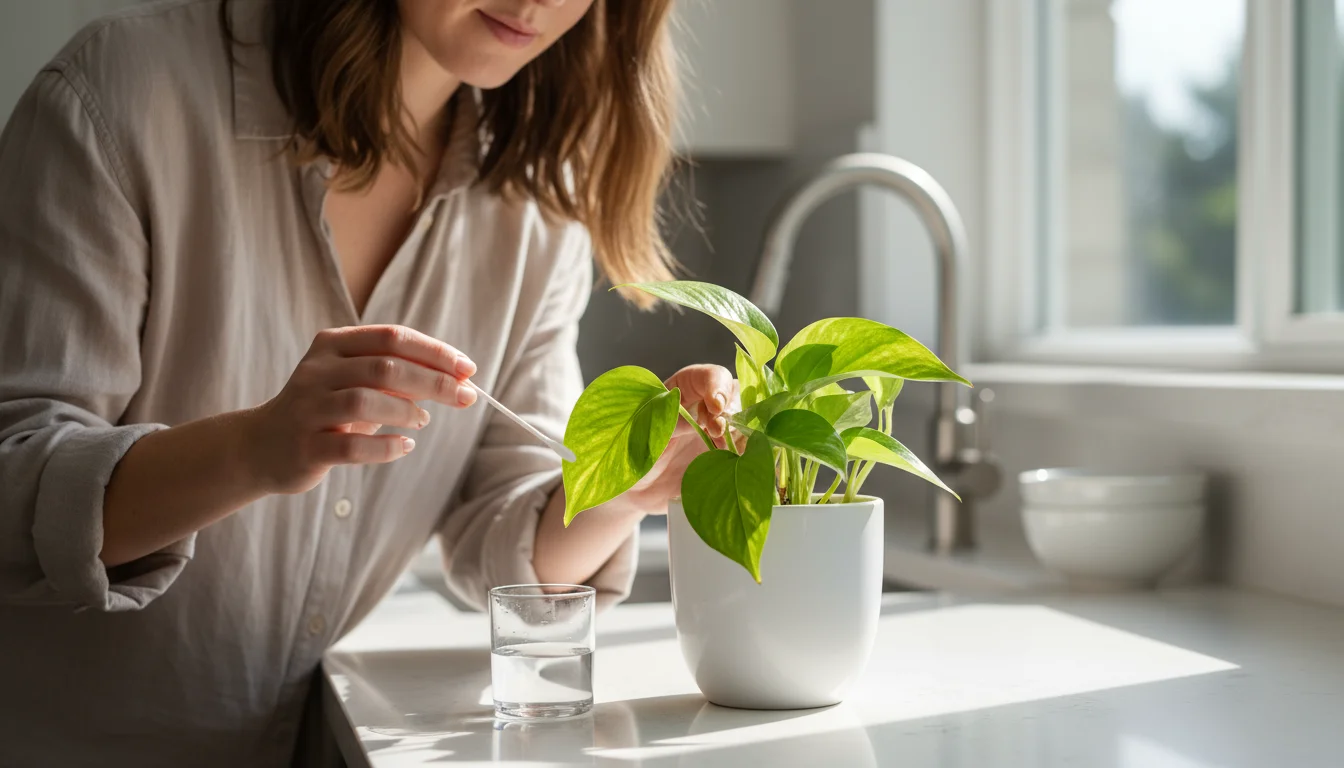
- Physical Removal: For small infestations of mealybugs, aphids, or scale, physically wipe them off with a cotton swab dipped in rubbing alcohol (70% isopropyl alcohol). For spider mites, spray plants thoroughly with a strong stream of water in the shower or sink. Repeat this every few days.
- Neem Oil: An organic pesticide and fungicide derived from the neem tree. Mix according to package directions (typically 1-2 tablespoons per gallon of water with a few drops of mild soap as an emulsifier). Spray the entire plant, including undersides of leaves, until dripping. Repeat every 5-7 days for several weeks to break the pest life cycle. Neem oil works as an anti-feedant and growth disruptor.
- Insecticidal Soap: A non-toxic solution that suffocates soft-bodied insects like aphids, mealybugs, and spider mites. Buy pre-made or mix your own (1-2 teaspoons of mild liquid dish soap per gallon of water; avoid detergents). Apply thoroughly, focusing on pest colonies. Reapply every 5-7 days.
- Sticky Traps: Yellow sticky traps effectively catch adult fungus gnats, whiteflies, and other flying insects, reducing their populations and helping you monitor pest activity.
- Beneficial Insects: For severe or persistent infestations, especially with indoor food growing, consider introducing beneficial insects like ladybugs (for aphids) or predatory mites (for spider mites). This is a more advanced strategy but highly effective and environmentally friendly.
Always test any spray treatment on a small, inconspicuous part of the plant first to ensure no adverse reaction. Persistence is key. You can keep your plants pest-free and vibrant throughout the winter by regularly inspecting and promptly treating any issues with these organic methods.
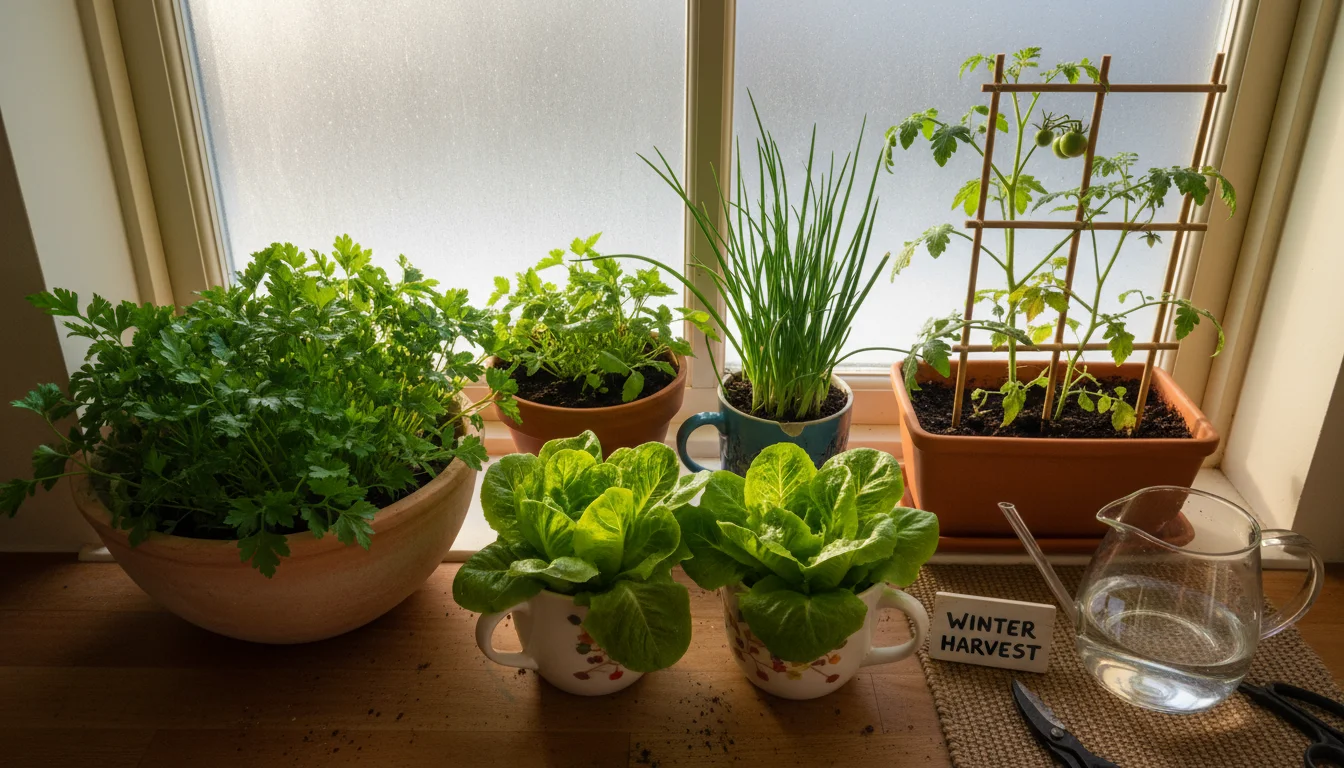
Cultivating Edibles: Your Winter Indoor Food Garden
One of the most rewarding aspects of winter indoor gardening is the ability to grow your own food. Fresh herbs, leafy greens, and even some small fruits can thrive indoors, providing a continuous harvest and adding vibrant life to your home. This practice not only offers fresh produce but also reduces your carbon footprint and connects you directly to your food source. You can enjoy fresh, homegrown flavors even when snow covers the ground.
- Get ready to grow your own fresh herbs and greens, no matter how small your space!
- Maximizing your harvest is easy with this chic and bright vertical garden setup.
- Dreaming of a year-round salad bar? This illuminated shelf unit makes it a reality!
- Your little green oasis awaits with this super-efficient indoor growing station.
Top Edibles for Indoor Winter Growing
Choose varieties that naturally stay compact or tolerate lower light conditions. You need to provide sufficient supplemental light for most edibles to be productive.
- Leafy Greens:
- Lettuce (Loose-leaf varieties): Grows quickly and tolerates partial shade. Harvest outer leaves for a continuous supply.
- Spinach: Similar to lettuce, excellent for cut-and-come-again harvesting.
- Arugula: Offers a peppery flavor, harvest young leaves.
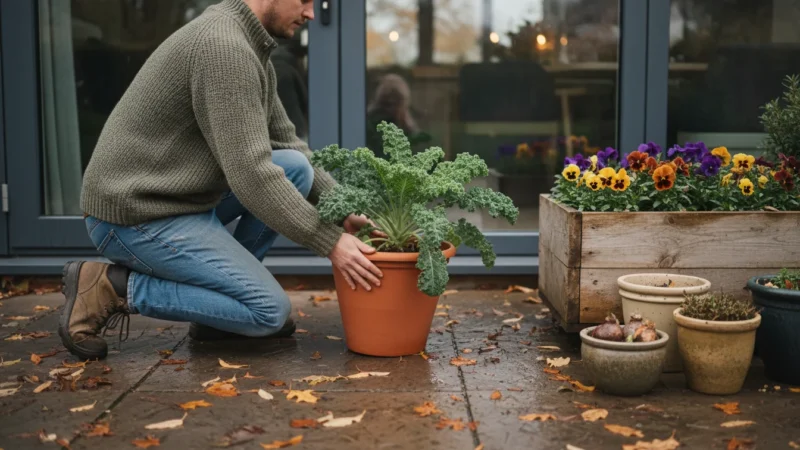
- Kale (Dwarf varieties): Nutrient-dense and relatively easy to grow.
- Herbs:
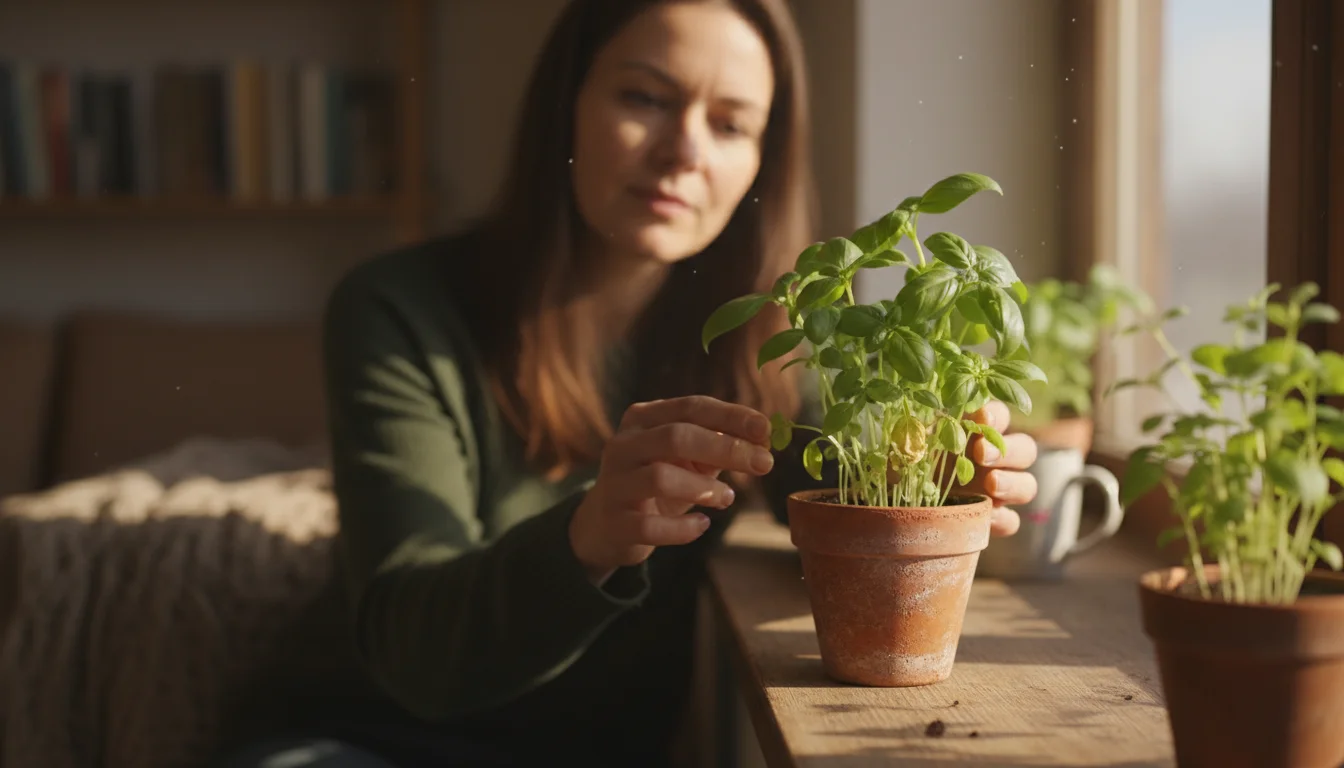
- Basil: Requires bright light and warmth. Pinch regularly to encourage bushiness.
- Mint: Grows vigorously, keep in its own pot as it spreads.
- Chives: Easy to grow from seed or division.
- Parsley: Prefers bright indirect light.
- Rosemary: Needs excellent drainage and bright light.
- Thyme, Oregano, Sage: All thrive indoors with sufficient light.
- Small Fruiting Plants:
- Dwarf Tomatoes (e.g., ‘Micro Tom’, ‘Tiny Tim’): Require very bright light (grow lights are essential), consistent watering, and hand-pollination.
- Dwarf Peppers (e.g., ‘Lunchbox’ peppers): Similar needs to dwarf tomatoes.
- Strawberries (Alpine varieties): Some varieties produce small, sweet fruits indoors with good light.
- Root Vegetables:
- Radishes: Quick-growing and tolerate cooler indoor temperatures.
- Carrots (Dwarf varieties like ‘Thumbelina’): Grow well in deep pots.
- Green Onions/Scallions: Easily regrow from kitchen scraps. Place the white end with roots in water or soil.
For more detailed information on specific crop requirements, consult resources like the Old Farmer’s Almanac for Indoor Gardening.
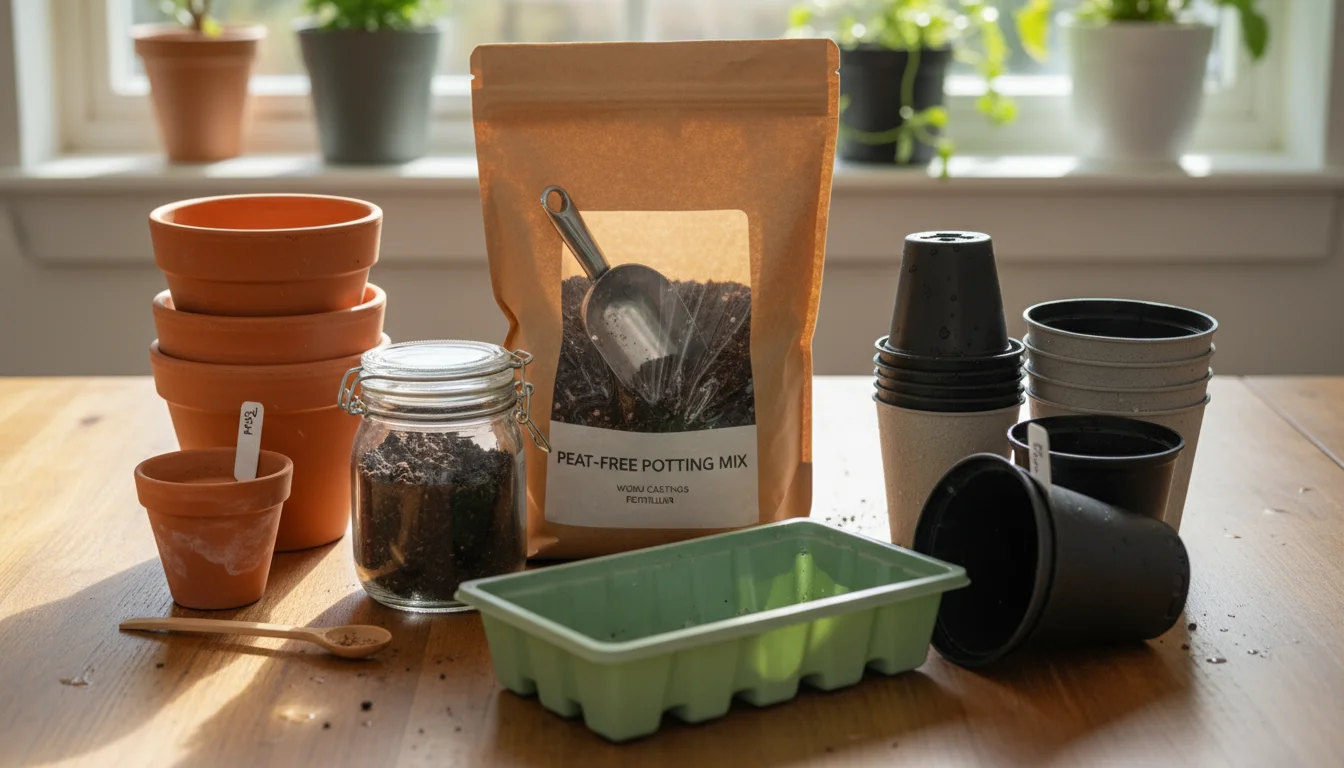
Container and Soil Choices for Edibles
The right container and soil mix are vital for indoor food growing.
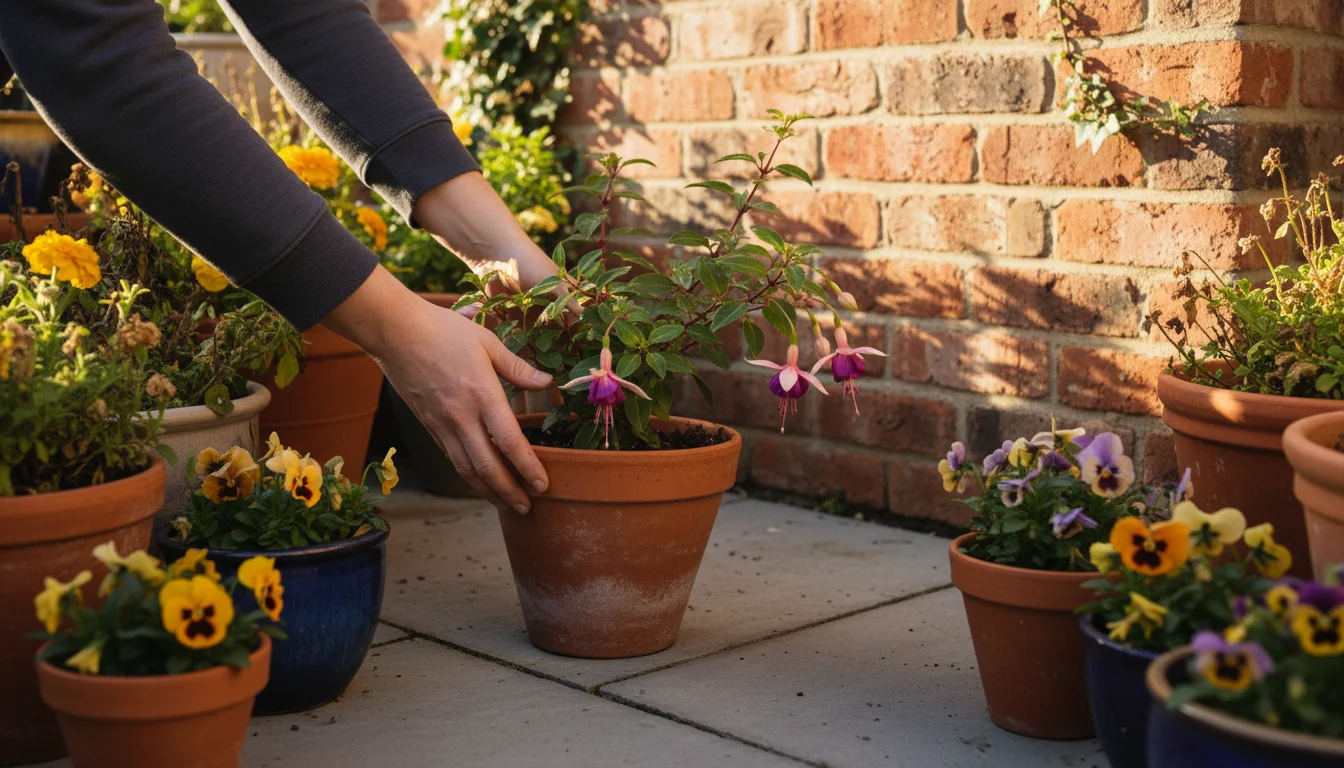
- Containers: Choose pots with drainage holes to prevent waterlogging. Terracotta pots breathe well, while plastic pots retain moisture longer. Size matters, larger plants require larger pots. For leafy greens, shallow wide containers work well.
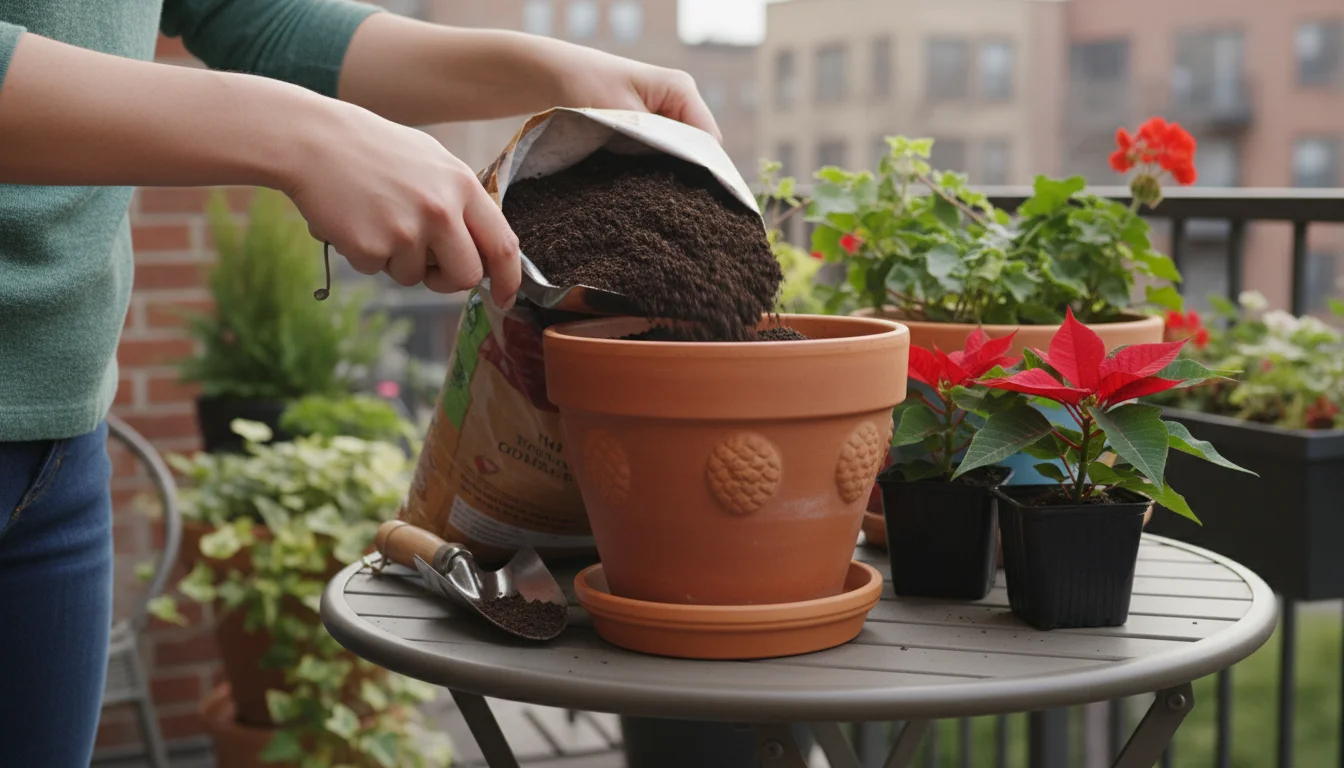
- Soil Mix: Use a high-quality, peat-free potting mix. Look for mixes specifically formulated for containers or organic gardening. These mixes provide good drainage, aeration, and a stable environment for roots. Avoid using garden soil, as it compacts too easily and often contains pests or pathogens. Enrich your soil with organic compost or worm castings for sustained nutrient release.
Planting and Harvesting Techniques
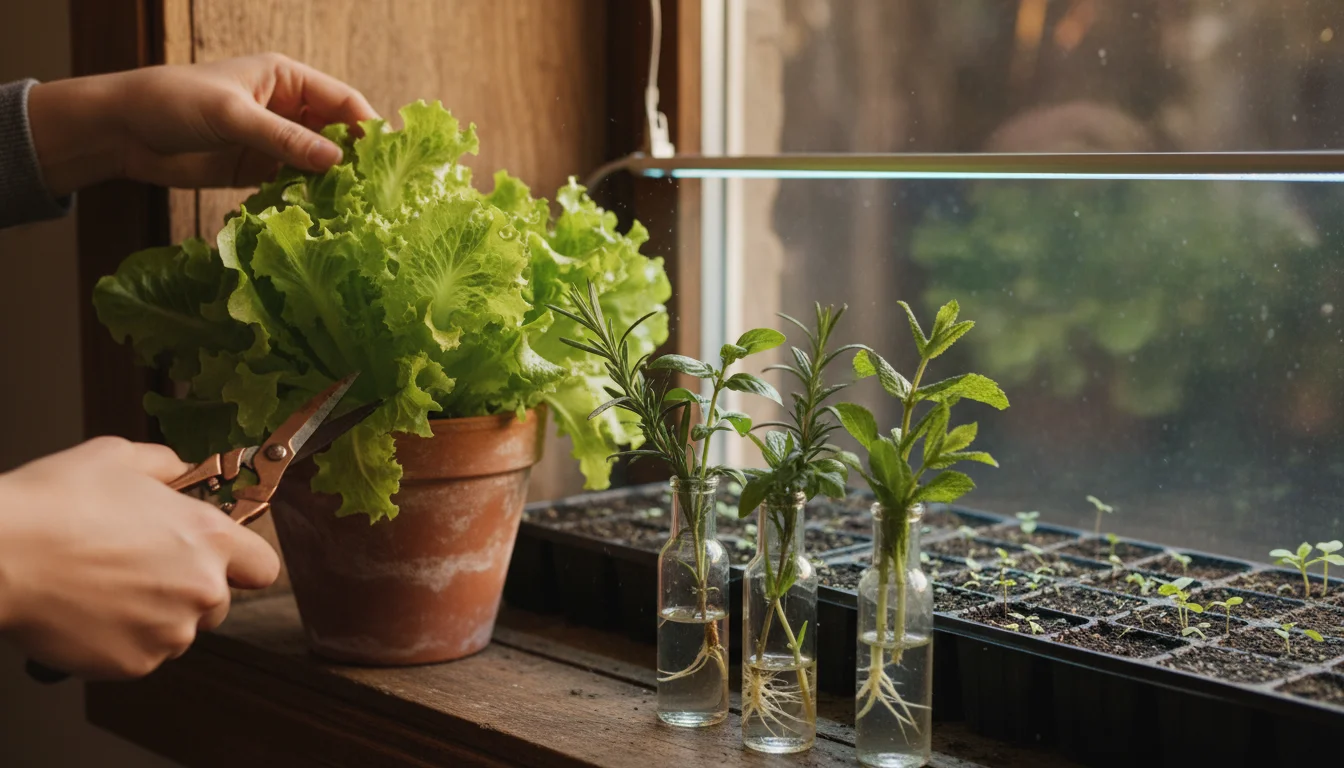
Starting Seeds: Many edibles, especially leafy greens and herbs, start easily from seed. Use seed-starting mix in shallow trays, keep moist, and provide bright light (seedlings need 14-16 hours of light). Once seedlings have a few sets of true leaves, transplant them into larger pots.
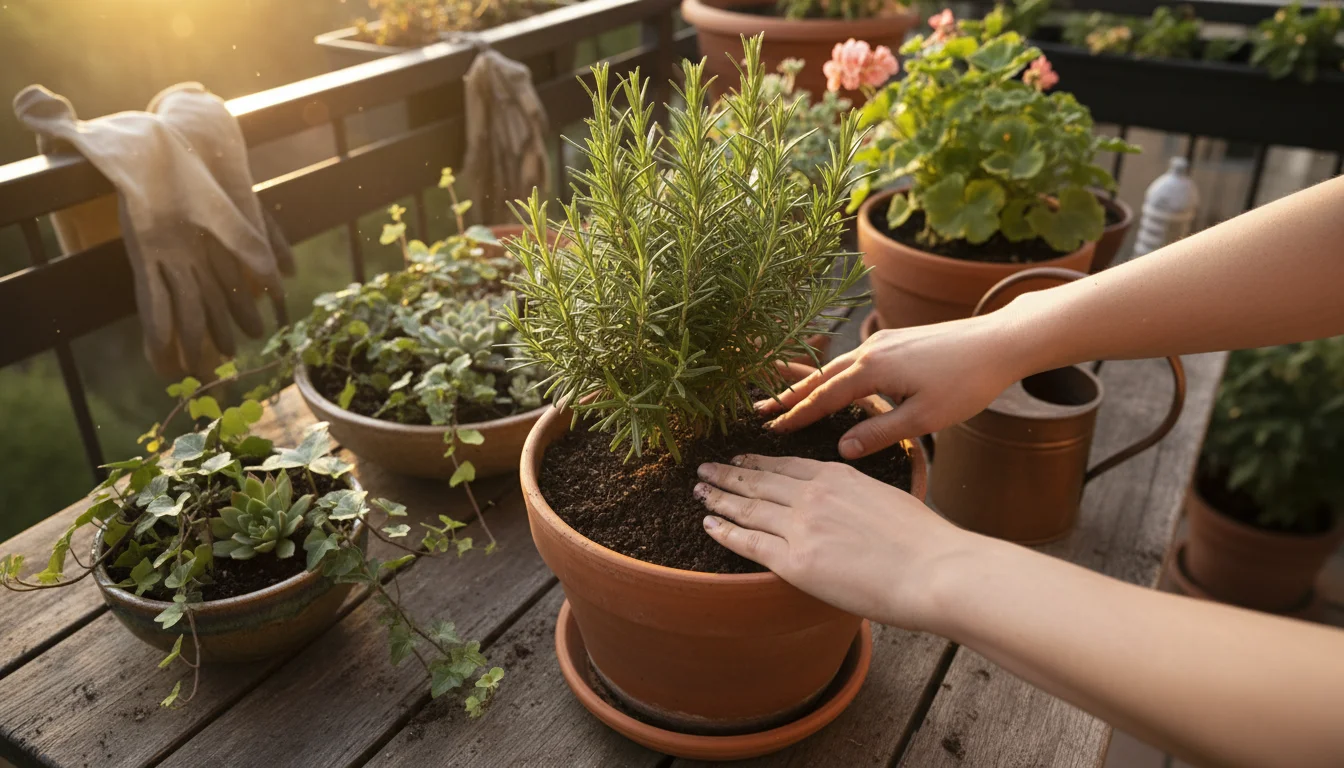
Cuttings: Herbs like mint, basil, and rosemary propagate easily from cuttings. Place cuttings in water or moist soil until roots develop. This saves time and money. You can take cuttings from your existing plants, extending their life.
Harvesting: Practice “cut and come again” harvesting for leafy greens and many herbs. Instead of pulling up the entire plant, snip off outer leaves or sprigs as needed. This encourages the plant to produce more, extending your harvest season. For basil, pinch off flowers to encourage leaf production. For fruiting plants, harvest when ripe to signal the plant to produce more fruit.
Pollination: Fruiting plants like dwarf tomatoes and peppers require pollination to set fruit. Indoors, you become the pollinator. Gently shake the plant or use a small paintbrush or cotton swab to transfer pollen from flower to flower. Do this daily when flowers are open.
Indoor food growing provides fresh, healthy produce, reduces trips to the grocery store, and offers a continuous connection to nature. By selecting appropriate plants, providing optimal conditions, and practicing smart harvesting, you enjoy the fruits (and leaves) of your labor all winter long.
Troubleshooting Common Winter Plant Problems
Even with diligent care, your indoor plants might exhibit signs of stress during winter. Environmental factors like low light, dry air, and fluctuating temperatures often cause these issues. Learning to diagnose and address problems quickly ensures your plants recover and continue to thrive. You become an expert plant detective by observing closely and understanding common symptoms.
Yellowing Leaves
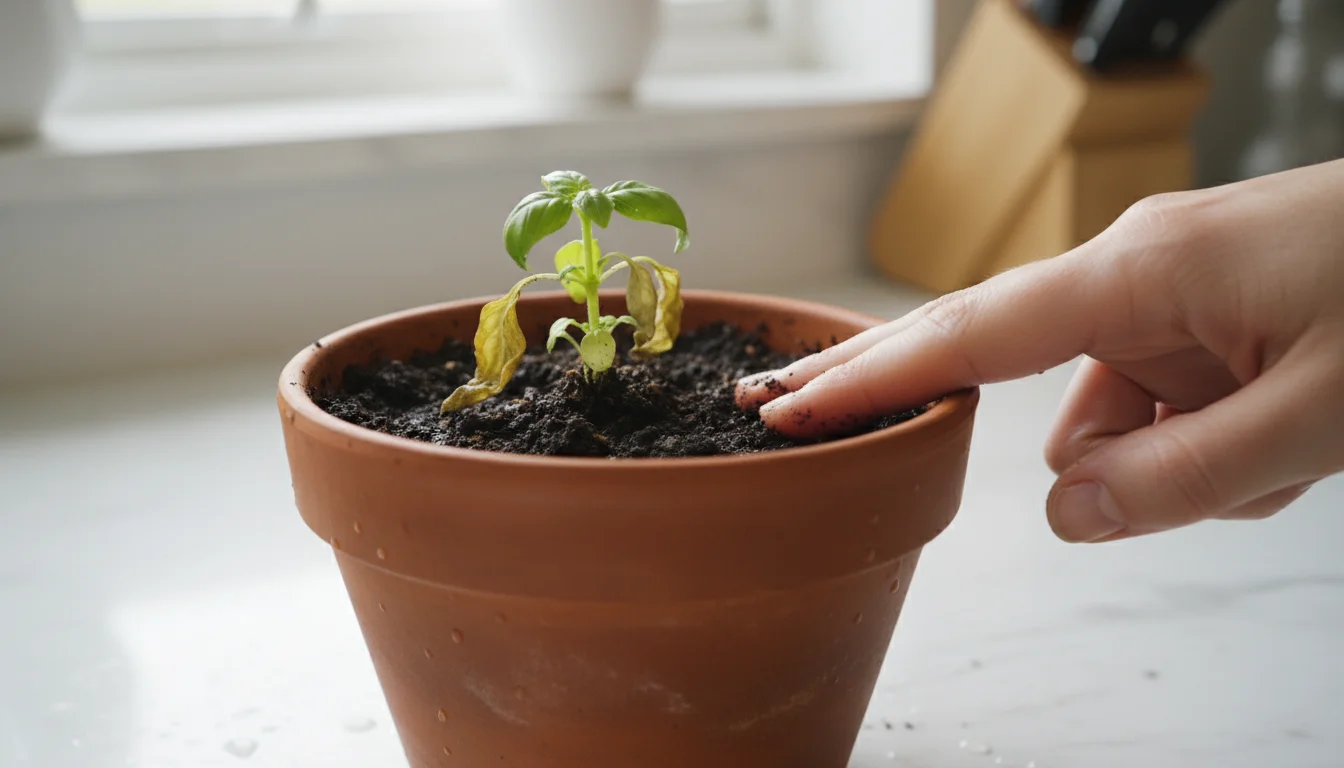
Yellowing leaves are a common symptom with multiple causes:
- Overwatering: The most frequent culprit. If the soil is consistently wet and leaves turn yellow, especially lower leaves, and feel soft, your plant is likely drowning. Reduce watering frequency, ensure drainage, and consider repotting with fresh, well-draining soil if root rot is suspected (soggy, mushy roots).
- Underwatering: Leaves turn yellow and often crisp, particularly older leaves. The soil feels bone dry. Water thoroughly immediately.
- Nutrient Deficiency: Uniform yellowing (chlorosis) can indicate a lack of nitrogen, while yellowing between veins can signal iron deficiency. This is less common in winter if you are reducing fertilization, but can occur if the plant is actively growing and depleted. Use a balanced liquid fertilizer at half strength.
- Low Light: Plants in insufficient light cannot photosynthesize effectively, leading to yellowing, pale, or leggy growth. Move the plant to a brighter location or provide supplemental grow lights.
- Normal Aging: It is natural for older, lower leaves to yellow and drop occasionally. If this is a single leaf and the rest of the plant looks healthy, it is usually not a concern.
Brown Leaf Tips or Edges
Brown, crispy leaf tips or edges typically point to humidity issues or water quality problems.
- Low Humidity: Heated indoor air in winter is often too dry for many tropical plants. Implement strategies like pebble trays, grouping plants, or using a humidifier.
- Salt Buildup: Excess fertilizer salts or minerals from tap water can accumulate in the soil, causing brown tips. Flush the soil thoroughly with distilled or filtered water every few months, letting water run through for several minutes.
- Chemical Sensitivity: Some plants react to fluoride or chlorine in tap water. Let tap water sit out for 24 hours or switch to filtered water for sensitive species.
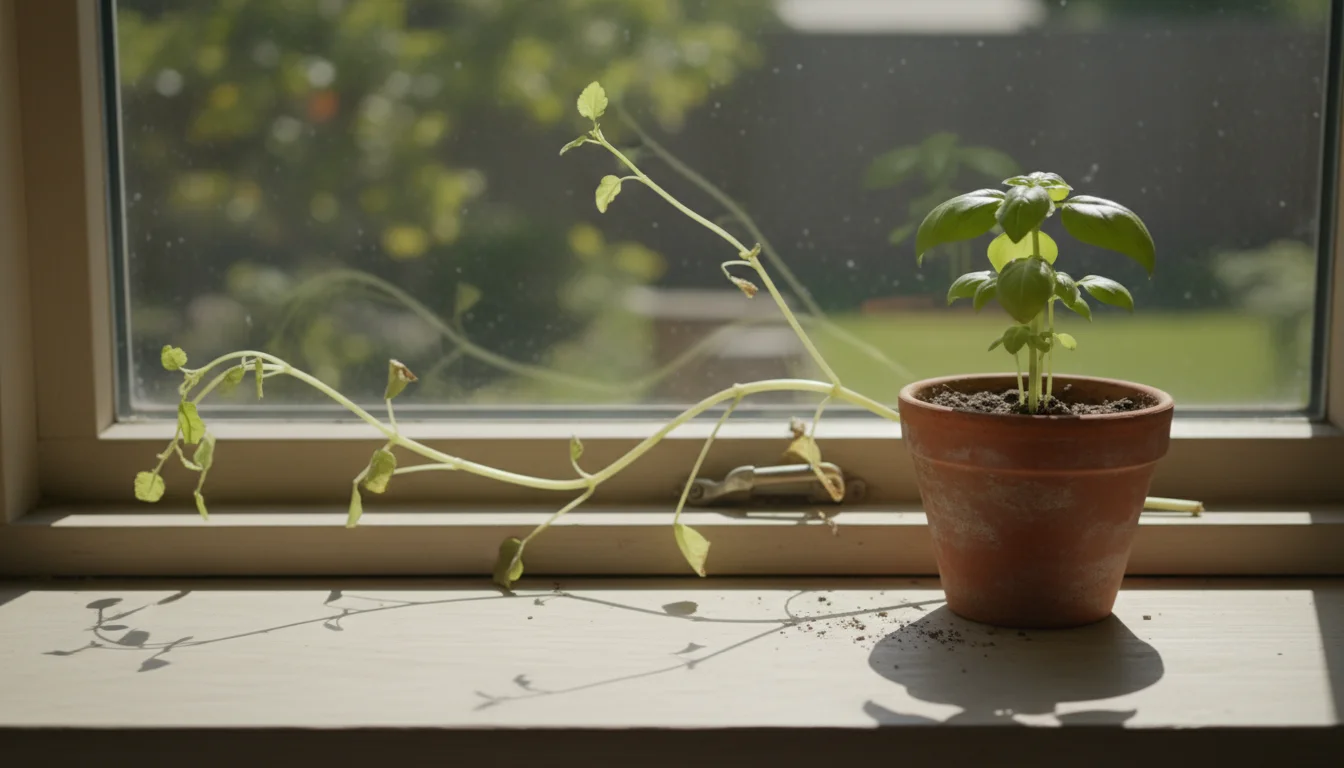
Stunted or Leggy Growth
This indicates your plant is struggling to get enough light or nutrients.
- Insufficient Light: Plants stretch towards a light source, producing long, weak stems with small, widely spaced leaves. This is called etiolation. Move your plant closer to a window or provide a grow light.
- Nutrient Deficiency: Stunted growth, combined with pale or yellowing leaves, suggests a lack of essential nutrients. Provide a diluted, balanced liquid fertilizer if the plant is actively growing.
- Root-bound: When roots circle tightly around the pot, they cannot absorb water and nutrients efficiently. This causes stunted growth. Repot into a slightly larger container with fresh soil.
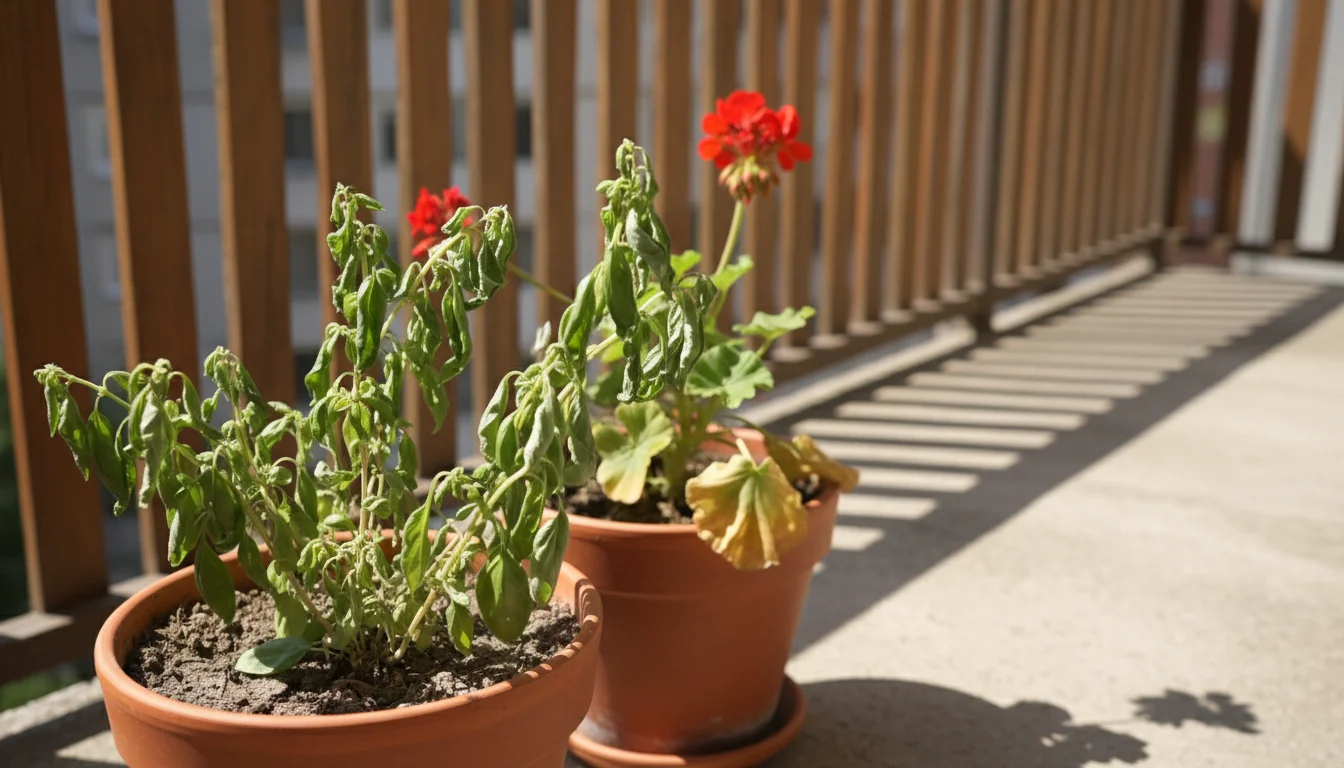
Wilting Leaves
Wilting means the plant cells lack turgor (water pressure), but the cause needs careful assessment.
- Underwatering: The most obvious cause. Soil is dry, and leaves feel limp but often recover quickly after a thorough watering.
- Overwatering/Root Rot: If the soil is wet and leaves are wilting, especially if they are also yellowing and mushy, it is likely root rot. Roots cannot absorb water because they are decaying. Act quickly, allow the soil to dry out significantly, or repot, inspecting and pruning any damaged roots.
- Temperature Stress: Sudden cold drafts or extreme heat can cause temporary wilting as the plant reacts to environmental shock. Ensure stable temperatures.
A proactive approach to troubleshooting involves regularly inspecting your plants, understanding their specific needs, and knowing how to interpret their signals. By addressing problems promptly and adjusting your care routine, you ensure your winter indoor garden remains resilient and beautiful.
Maintenance Habits for Thriving Winter Plants
Consistent, simple maintenance habits prevent problems before they start, ensuring your winter indoor garden flourishes. These quick tasks integrate easily into your routine and make a significant difference in your plants’ long-term health. You establish a rhythm that supports year-round growth and minimizes effort.
Weekly Check-ins: Quick Tasks for Plant Health
Dedicate a few minutes each week to these essential tasks:
- Inspect for Pests: Examine leaves (top and bottom), stems, and soil for any signs of pests. Early detection allows for easy removal. Look for webbing, sticky residue, or tiny insects.
- Monitor Soil Moisture: Use the finger test for each plant to determine if it needs water. Adjust watering frequency as conditions in your home change. This is crucial during winter when plants use less water.
- Assess Light and Position: Are any plants stretching for light? Rotate plants for even growth. Dust leaves to ensure maximum light absorption. Consider relocating plants if light conditions have changed.
- Remove Dead or Yellowing Leaves: Prune away any dead, dying, or yellowing foliage. This prevents potential pest or disease issues and directs the plant’s energy to healthy growth. Use clean, sharp shears.
- Wipe Down Leaves: Dust accumulates on leaves, blocking light and potentially harboring pests. Gently wipe leaves with a soft, damp cloth. For plants with fuzzy leaves, use a soft brush. This also provides a mini-inspection opportunity.
These brief, consistent checks build your observation skills and prevent small issues from becoming major problems.
Monthly Refreshers: Deeper Care for Sustained Growth
Once a month, expand your care routine:
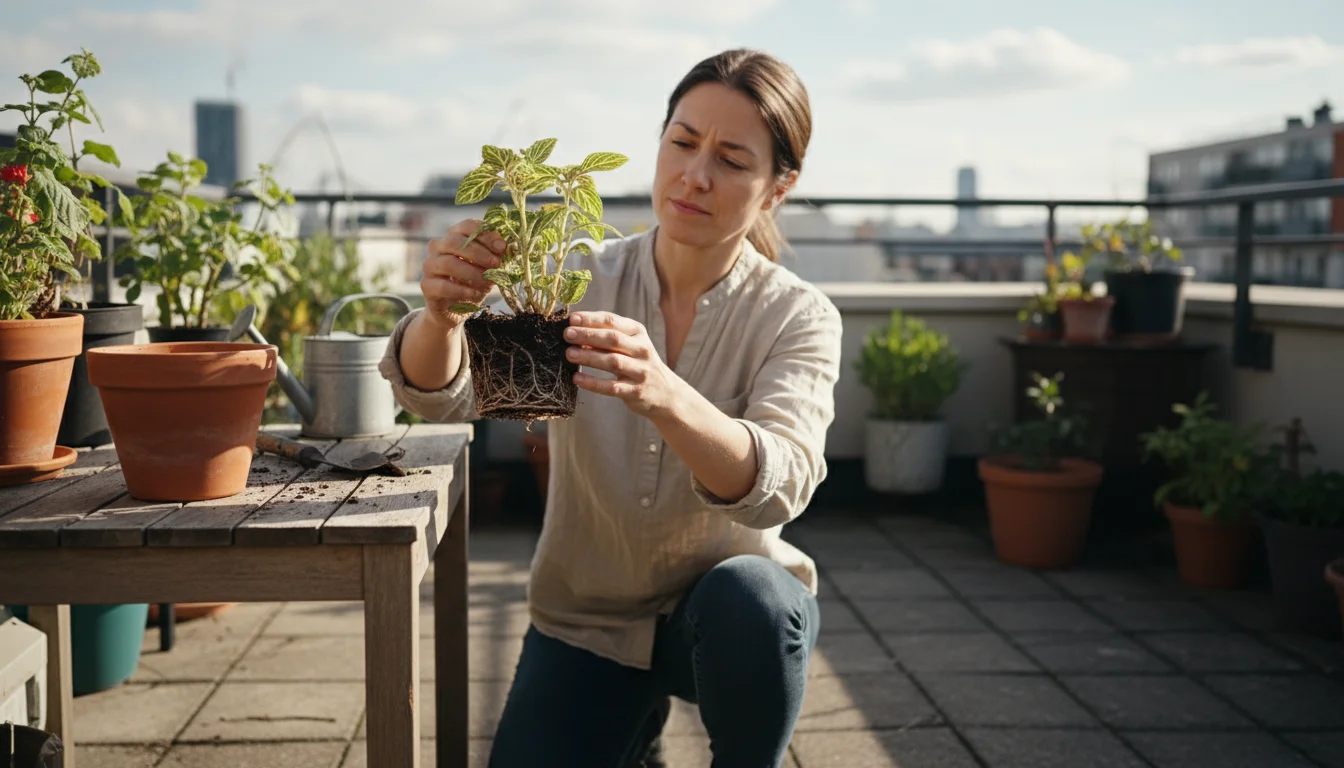
- Check for Root-bound Conditions: Gently slide the plant out of its pot (if possible) to inspect the roots. If roots are circling tightly around the soil ball, your plant is root-bound. While most plants grow slowly in winter, if it is severely root-bound, you might consider repotting into a slightly larger pot (1-2 inches wider) with fresh, peat-free potting mix. If not, wait until spring.
- Clean Pots and Saucers: Remove any salt or mineral buildup from the rims of pots and saucers. This prevents unsightly marks and maintains a cleaner environment.
- Evaluate Humidity: If you use a humidifier, clean it thoroughly. Monitor your hygrometer readings to ensure humidity levels remain adequate for your plants.
- Flush Soil: If you’ve been fertilizing, even sparingly, consider flushing the soil with plain, distilled water to remove accumulated salts. Water thoroughly until water drains freely, repeating a few times.
- Consider a Gentle Feeding (if applicable): If your plants are under grow lights and actively producing new growth or you are doing indoor food growing, provide a highly diluted, balanced liquid fertilizer (e.g., quarter strength). Otherwise, continue to pause feeding.
These monthly tasks ensure your plants have optimal conditions for sustained health, even through the challenges of winter. By integrating these habits, you actively support your plants’ vitality and enjoy a thriving indoor garden year-round.
Frequently Asked Questions
Can I grow vegetables indoors in winter without grow lights?
While some low-light leafy greens like loose-leaf lettuce or spinach might survive near a very bright, south-facing window, they will likely be leggy and less productive. Fruiting vegetables like tomatoes or peppers require significant supplemental grow lighting to flower and set fruit successfully. For any substantial indoor food growing, grow lights are essential to mimic the intensity and duration of natural sunlight required for robust yields.
My plant’s leaves are turning brown and crispy at the tips. What is wrong?
Brown, crispy leaf tips almost always indicate low humidity or issues with water quality. Your indoor heating system drastically reduces air moisture in winter, stressing tropical plants. Increase humidity with pebble trays, grouping plants, or a humidifier. Also, let tap water sit out for 24 hours to dissipate chlorine, or consider filtered water if your plants are sensitive to specific minerals like fluoride.
How often should I water my indoor plants in winter?
Reduce watering frequency significantly in winter. Plants use less water due to shorter days, lower light, and slower growth. Do not follow a strict schedule. Instead, check the soil moisture with your finger. Water only when the top 1-2 inches of soil feel dry (for most plants) or when the soil is completely dry (for succulents/cacti). Overwatering is the leading cause of plant death in winter, so always err on the side of underwatering.
Is it okay to repot plants in winter?
Generally, avoid repotting in winter unless it is absolutely necessary (e.g., severe root rot, the plant is extremely root-bound and showing signs of distress). Most plants are in a semi-dormant state and prefer to conserve energy. Repotting causes stress. Wait until early spring when plants naturally enter a period of active growth and can recover more easily. If you must repot, choose a pot only 1-2 inches larger than the current one.
How can I protect my plants from cold drafts?
Position your plants away from leaky windows, exterior doors, and heating vents. Cold drafts cause leaf drop and stress. Use weather stripping on windows and doors to seal gaps. If you have plants on a windowsill, ensure curtains or blinds do not trap them in a cold pocket against the glass at night. Move sensitive plants to a warmer, more stable location during the coldest months to ensure consistent temperatures.
For research-based plant care guidance, visit
New York Botanical Garden, Royal Horticultural Society (RHS), University of Minnesota Extension and Cornell Garden-Based Learning.
Disclaimer: This article is for informational purposes only and is not a substitute for professional advice. Consult local extension services for region-specific recommendations.
Leave a Reply