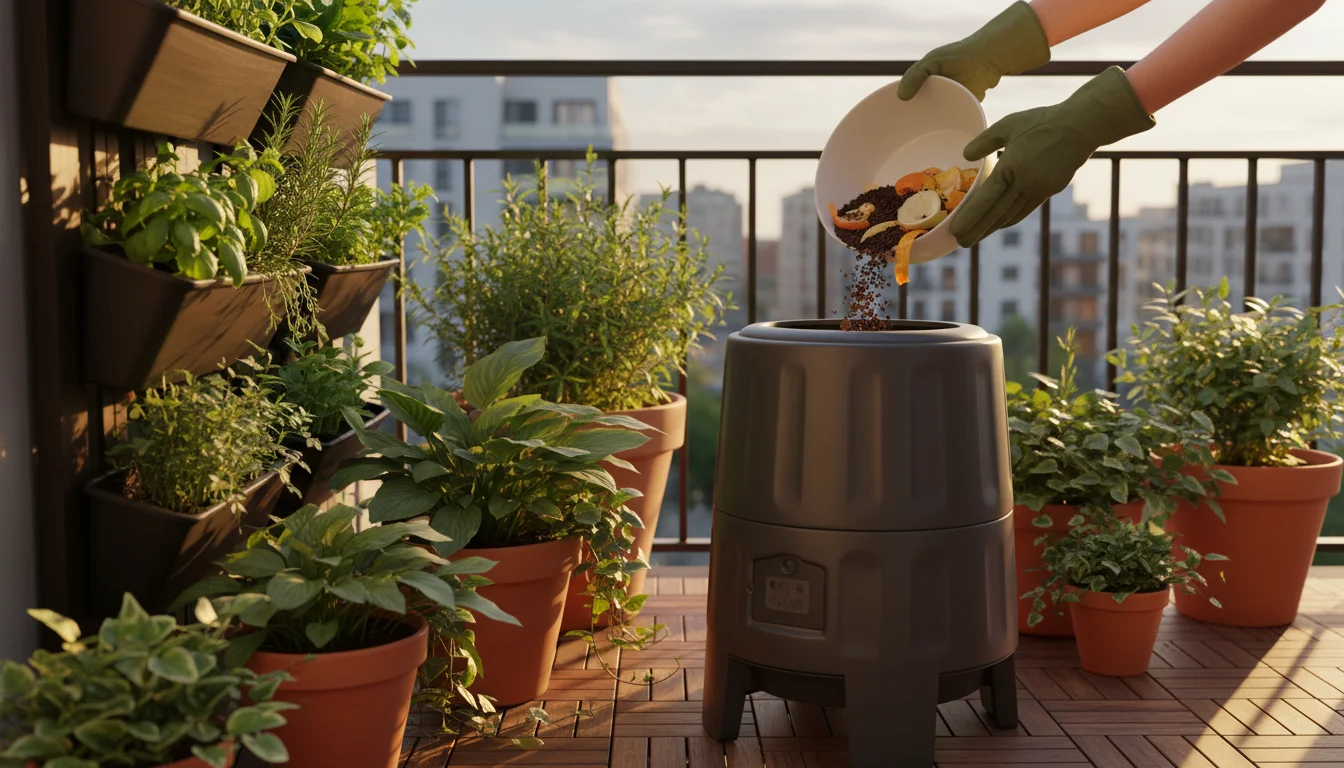
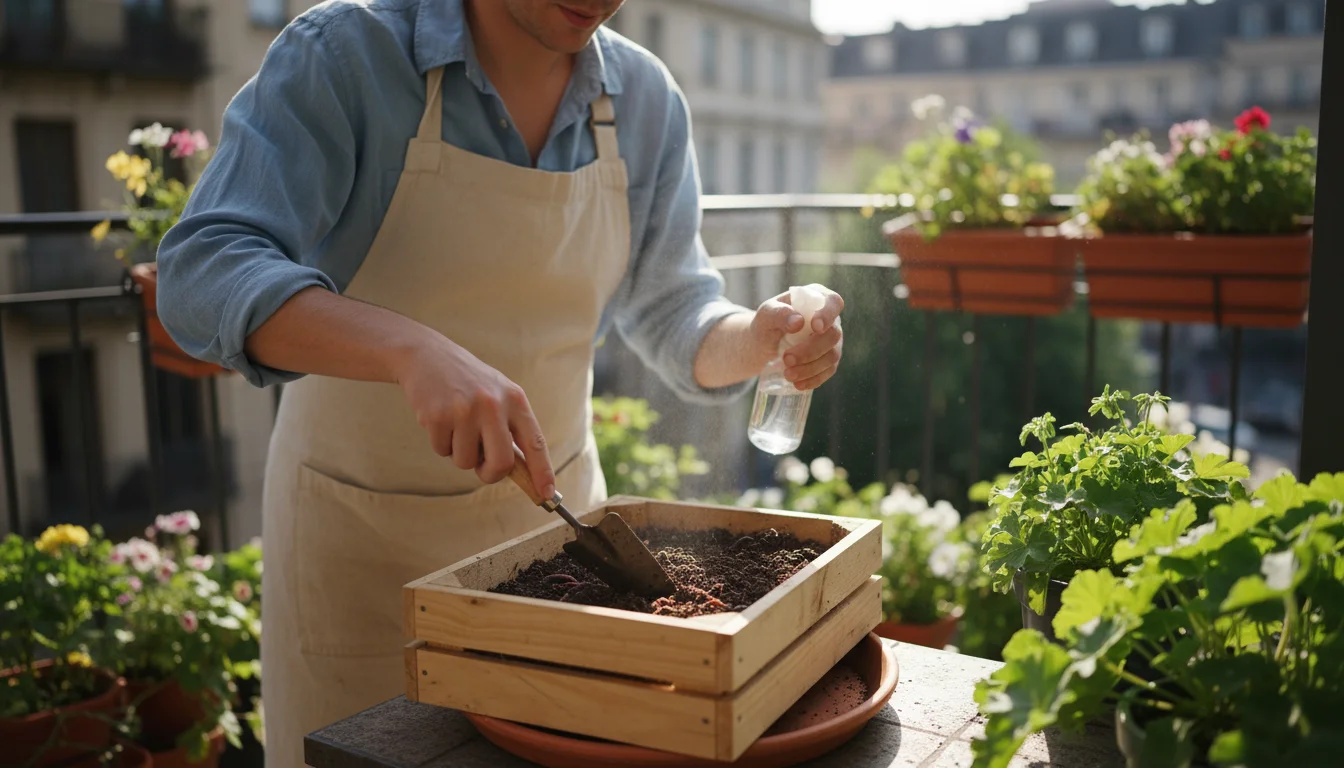
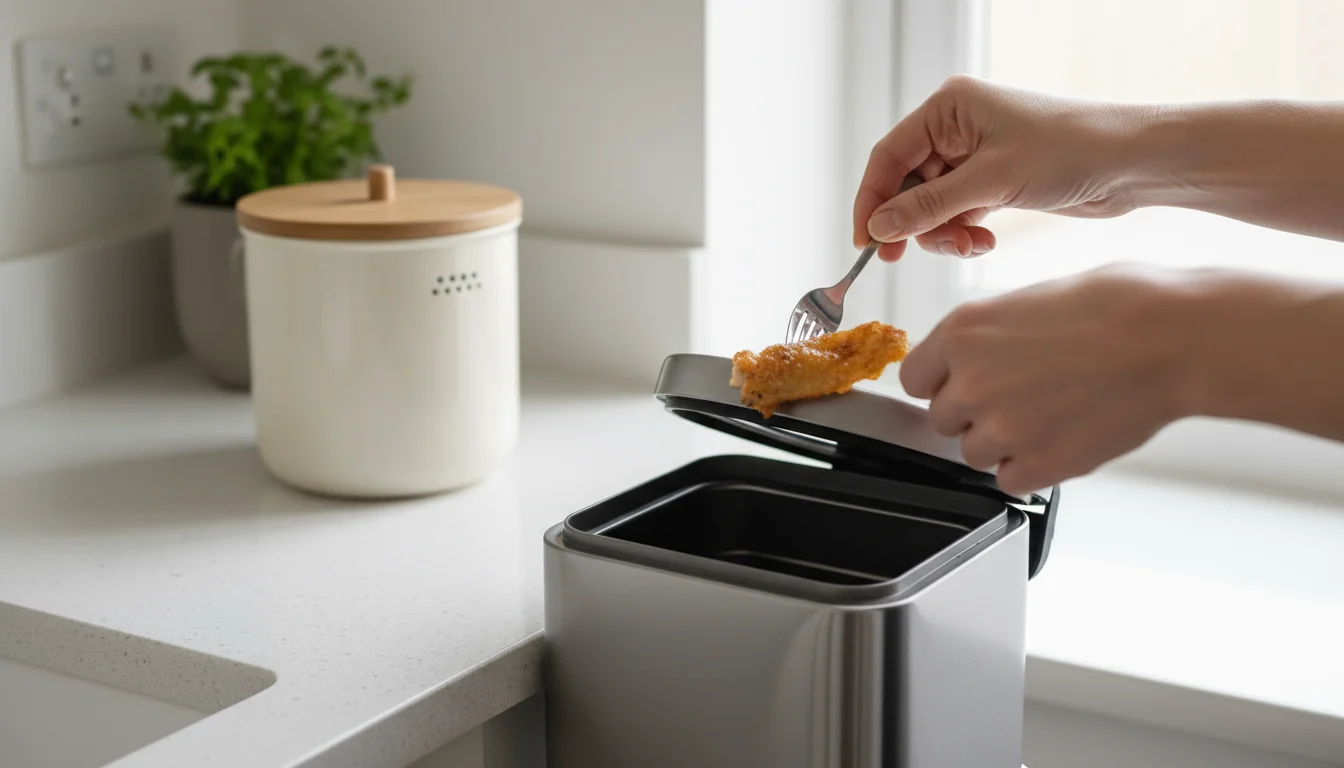
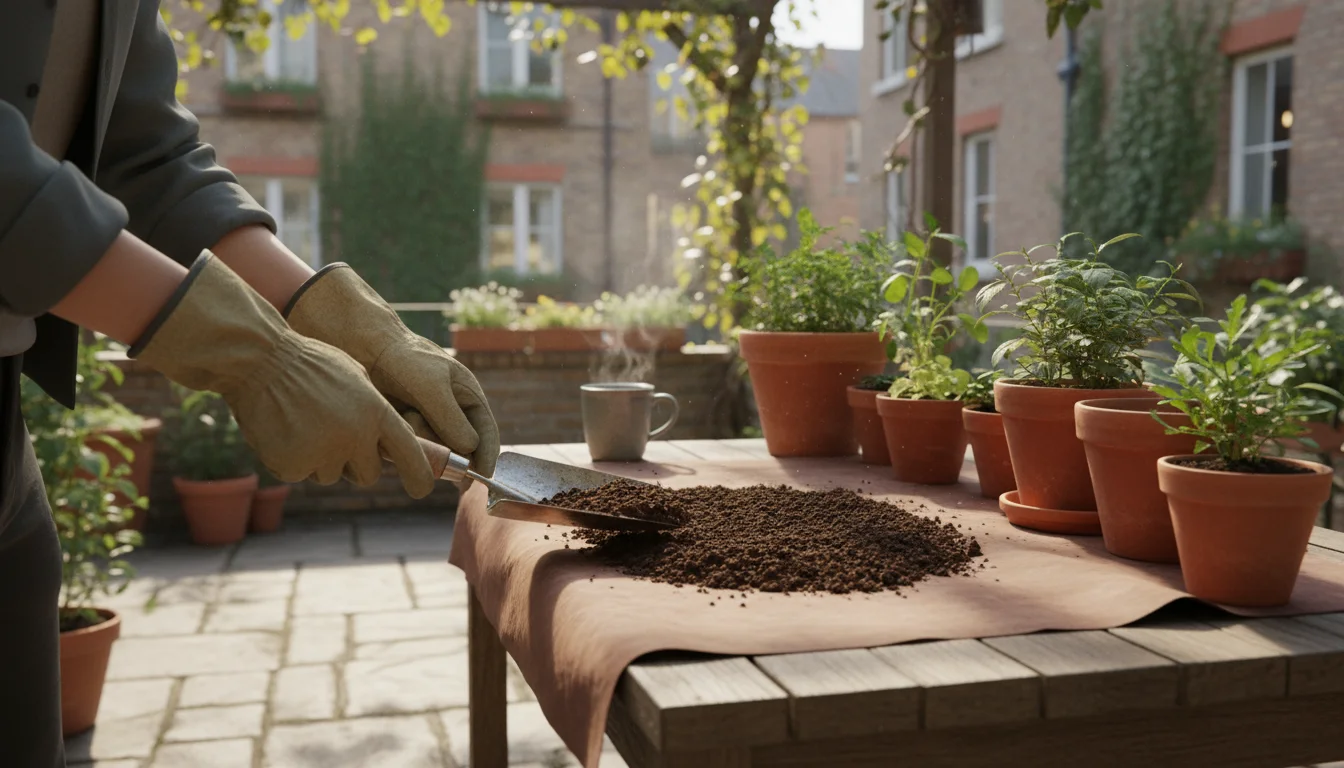
You want to reduce waste and enrich your garden, even with limited space. Composting transforms kitchen and garden scraps into nutrient-rich soil amendment, a powerhouse for your plants. Many gardeners believe composting requires a large backyard, but you can successfully compost on a balcony, patio, or in a compact yard. This guide provides practical, actionable steps for anyone looking to embrace small-space composting, turning your everyday waste into garden gold.
Composting dramatically reduces landfill waste. Data from the Environmental Protection Agency shows that food scraps and yard waste constitute over 30% of what we throw away, a significant portion that could instead benefit your garden. Beyond waste reduction, compost improves soil structure, retains moisture, and suppresses plant diseases. You will discover how simple and rewarding composting can be, even with a mini compost bin or a compact balcony composting setup.
For research-based sustainable gardening guidance, see Pollinator Partnership — Garden for Pollinators, EPA WaterSense — Outdoor Water Use, USDA NRCS — Soil Health, Royal Horticultural Society (RHS) — Gardening Sustainably and University of Minnesota Extension — Composting.
Disclaimer: This article is for informational purposes only and is not a substitute for professional advice. Check local regulations before installing rain capture, using greywater, or composting food scraps outdoors.
Why Compost in a Small Space?
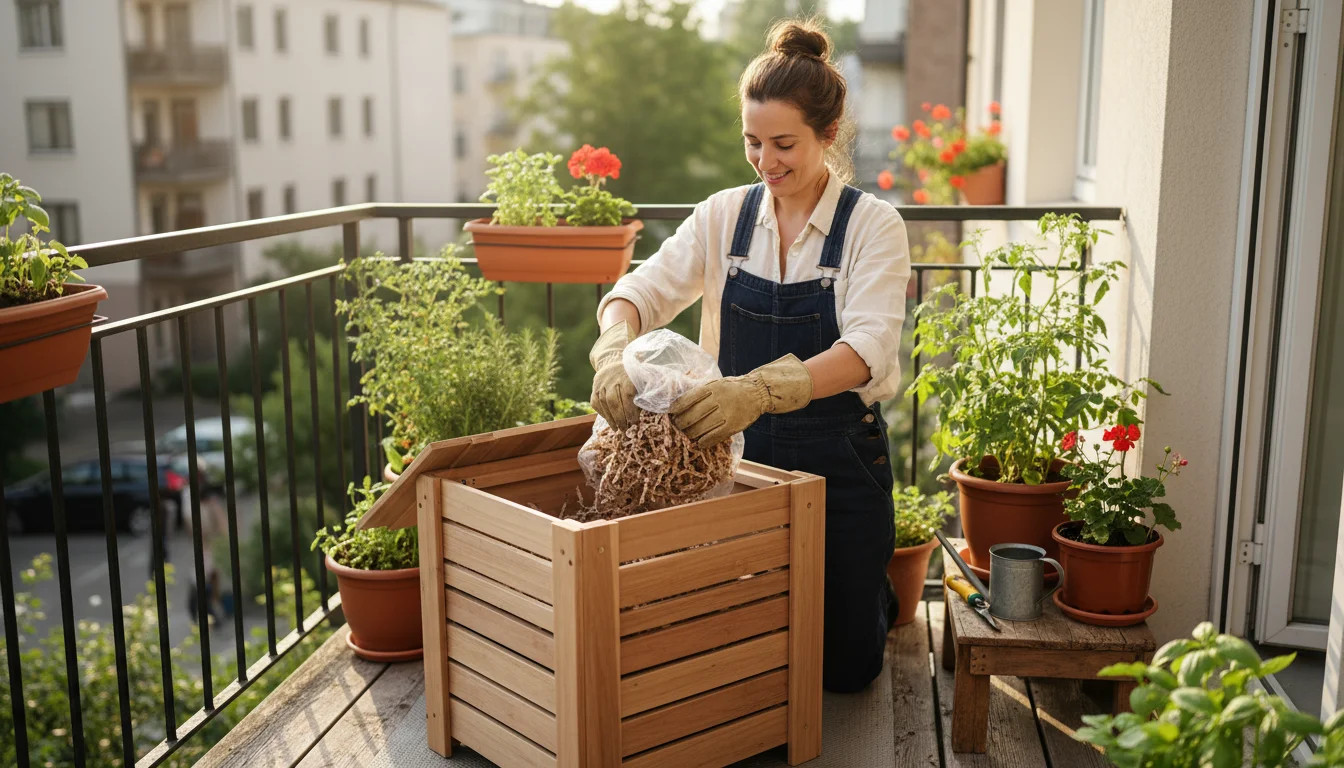
Your commitment to a greener lifestyle translates powerfully into small-space composting. You might think your balcony or tiny yard limits your composting options, but this is far from true. Many innovative systems allow you to efficiently process organic waste, yielding incredible benefits for your container garden and the environment.
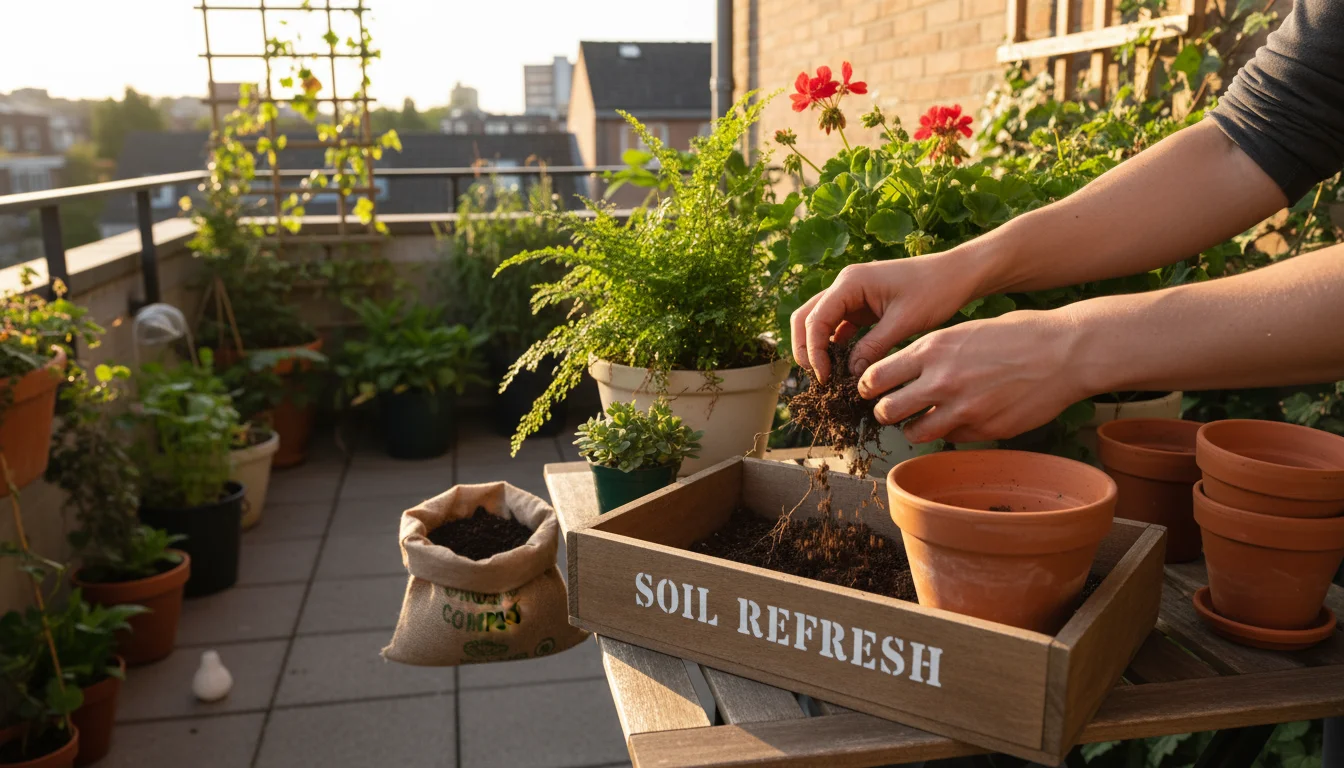
In addition to composting, you can explore cover cropping for containers as a seasonal way to naturally revitalize your potting medium.
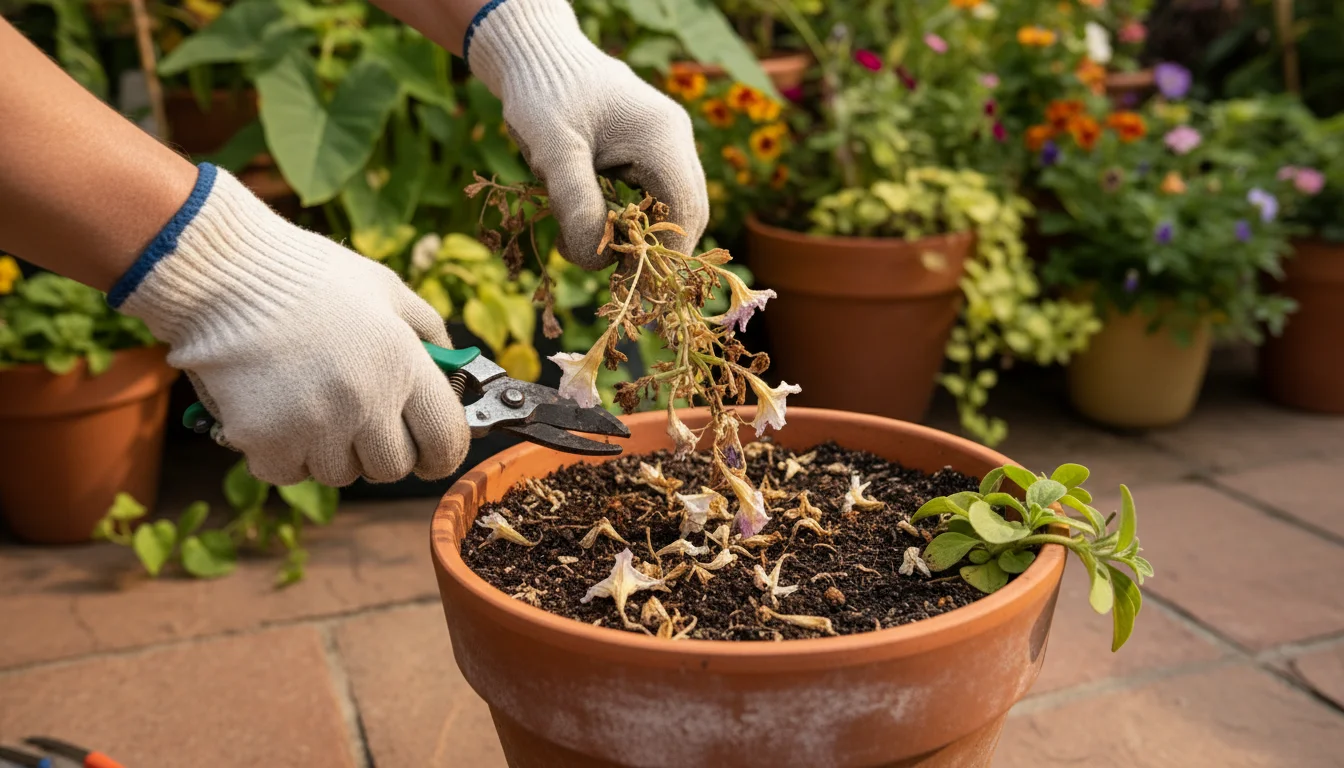
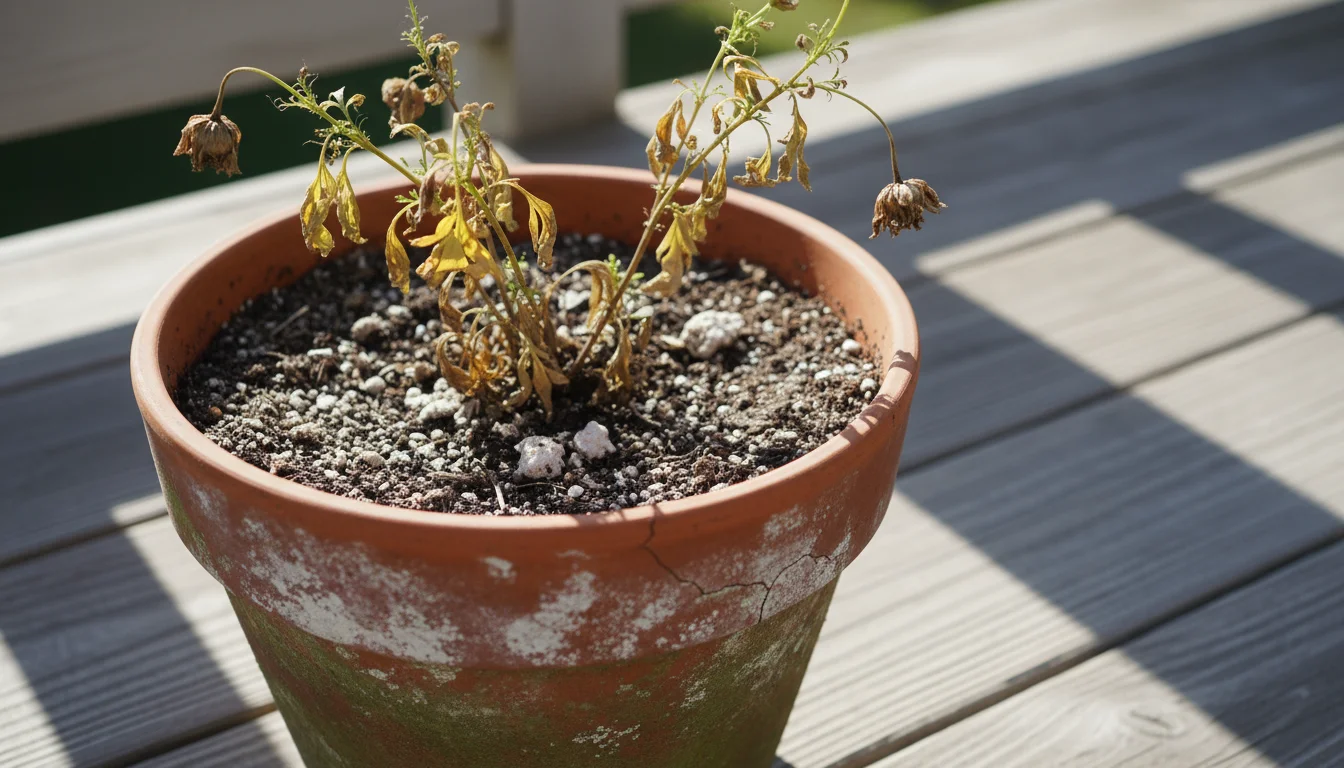
When clearing out your pots at the end of the season, knowing what to do with dead plants can provide even more organic material for your bin.
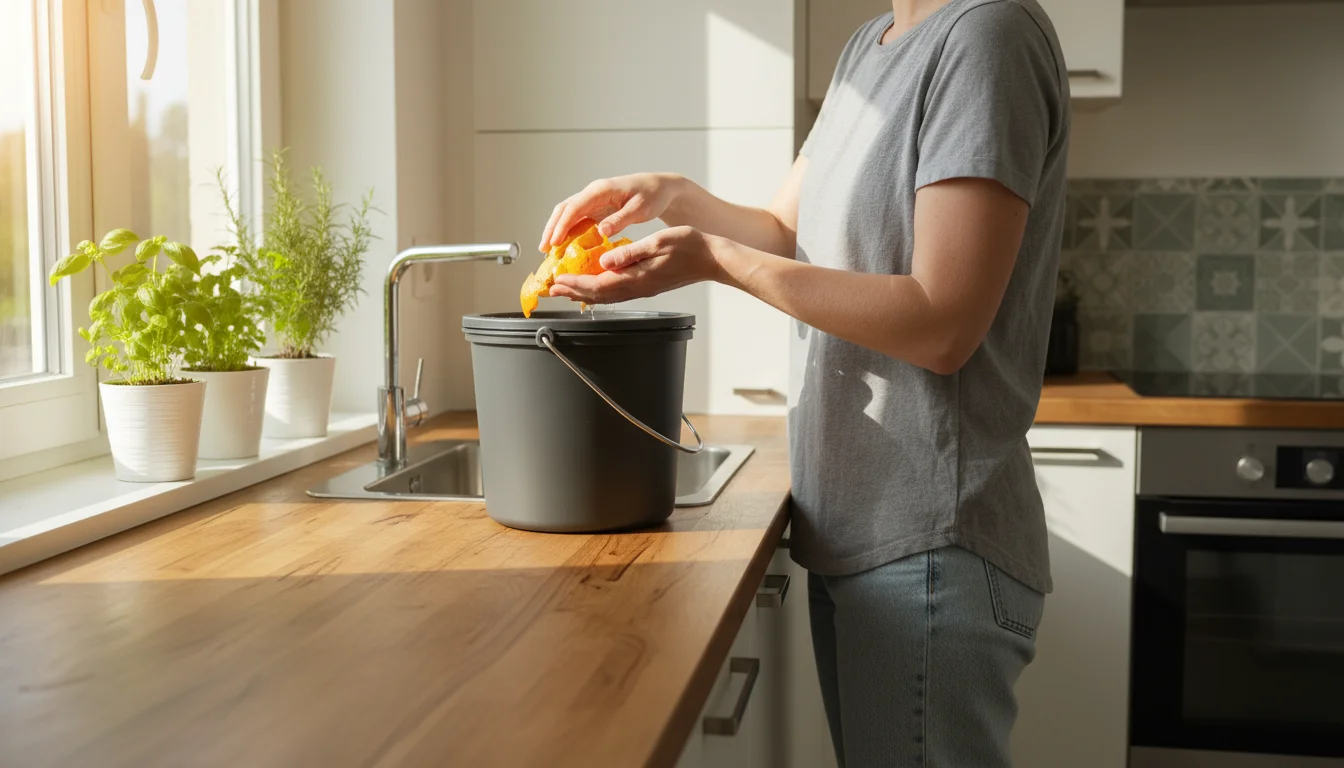
Consider the impact you make. Every apple core or coffee ground you divert from the landfill reduces greenhouse gas emissions. When organic waste decomposes in landfills, it creates methane, a potent greenhouse gas. Composting, an aerobic process, produces significantly less methane. By choosing a mini compost bin, you directly contribute to mitigating climate change, a measurable environmental improvement.
Beyond environmental benefits, composting creates superior plant food. Your homemade compost improves soil structure, helping sandy soils retain water and nutrients, and loosening heavy clay soils for better drainage and root growth. It introduces beneficial microorganisms that enhance nutrient availability to your plants, leading to healthier, more robust growth. You save money on commercial soil amendments and potting mixes, a practical benefit for any gardener on a budget.
Finally, composting fosters a deeper connection with your garden. You see the full cycle of growth and decay, understanding how organic matter transforms into life-giving nutrients. This hands-on process empowers you to take control of your waste stream and directly impact your plants’ health. You transform what some consider trash into a valuable resource, proving that even in a small space, your sustainable choices have a big impact.

Choosing Your Mini Compost Bin: Options for Every Small Space
Selecting the right small-space composting system depends on your living situation, comfort level with certain methods, and the amount of waste you generate. You have several excellent choices for balcony composting or compact yard setups. Each offers unique advantages, helping you find the perfect fit for your home.
For those who prefer working directly in their planters, the lasagna composting method is an excellent way to build soil health without a separate bin.
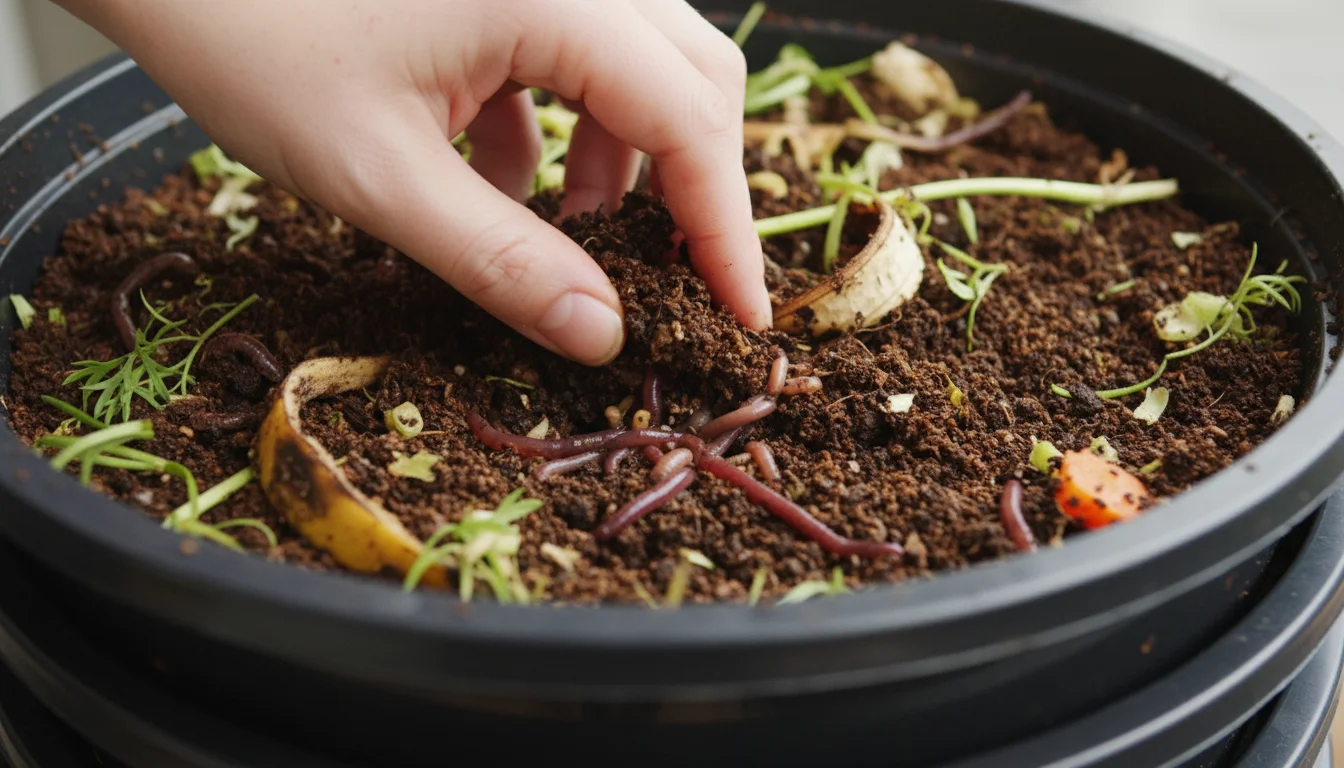
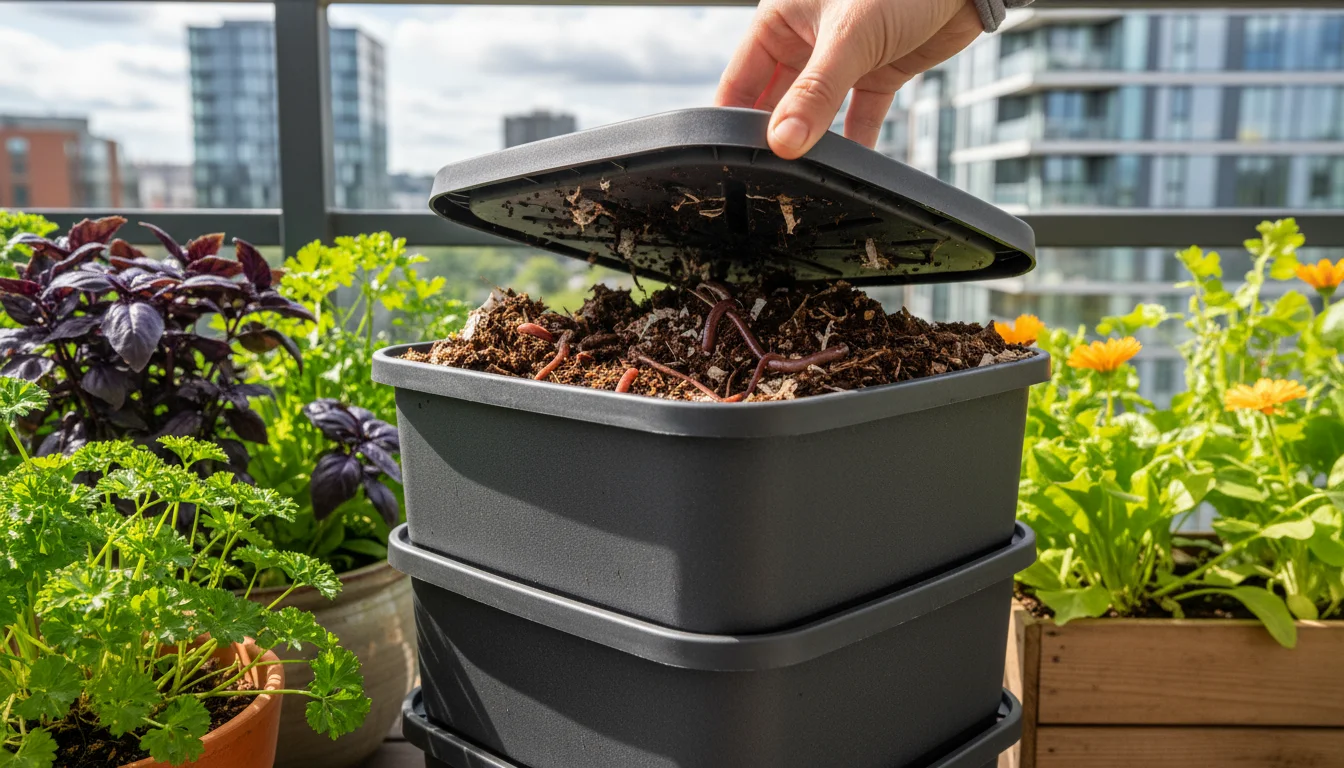
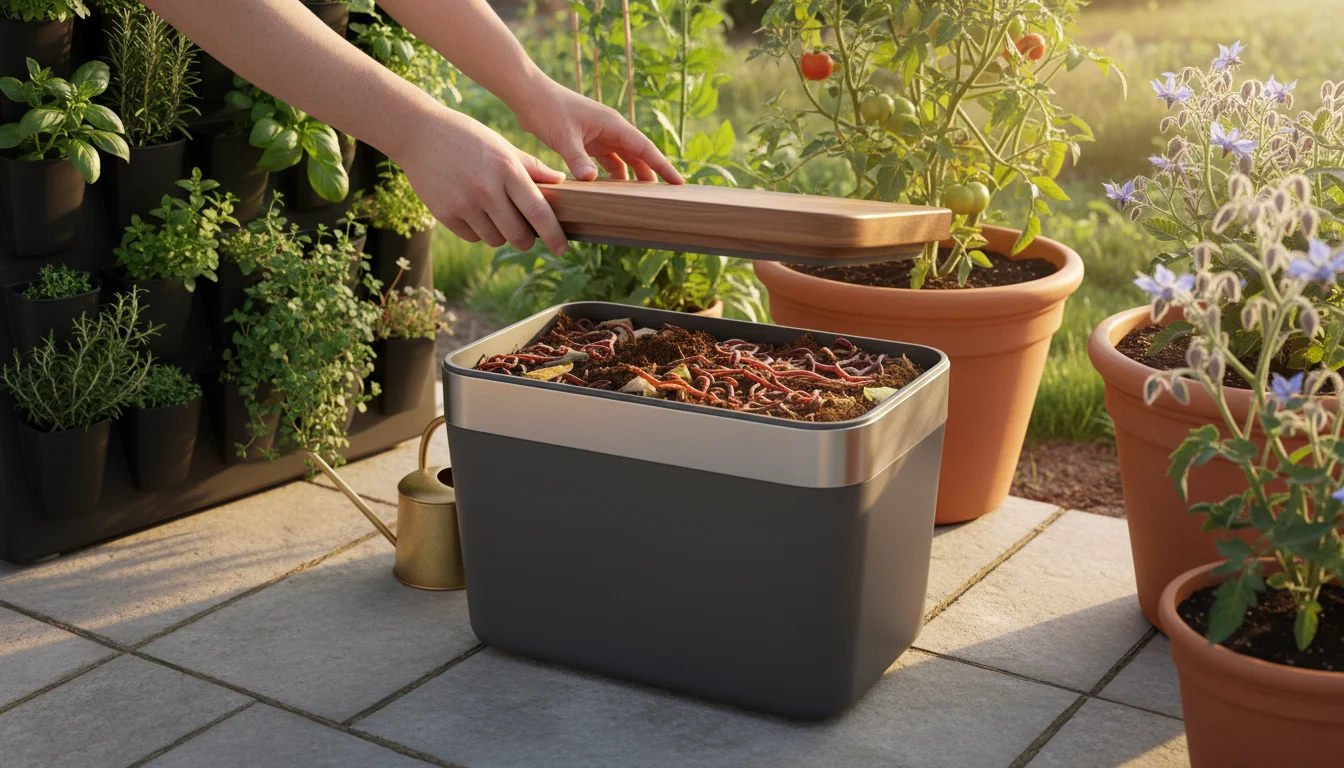
Worm Composting (Vermicomposting)
Vermicomposting uses specific types of worms, typically red wigglers (Eisenia fetida), to break down food scraps. It is an excellent option for apartments and balconies because it generates very little odor when managed correctly and produces nutrient-rich castings and “worm tea” (liquid leachate). A typical worm bin consists of stacked trays, allowing worms to migrate upwards as you add new food. You can place these bins indoors or outdoors in a shaded, protected spot. A standard worm bin, measuring about 1.5 to 2 cubic feet, easily handles the food scraps of a small household.
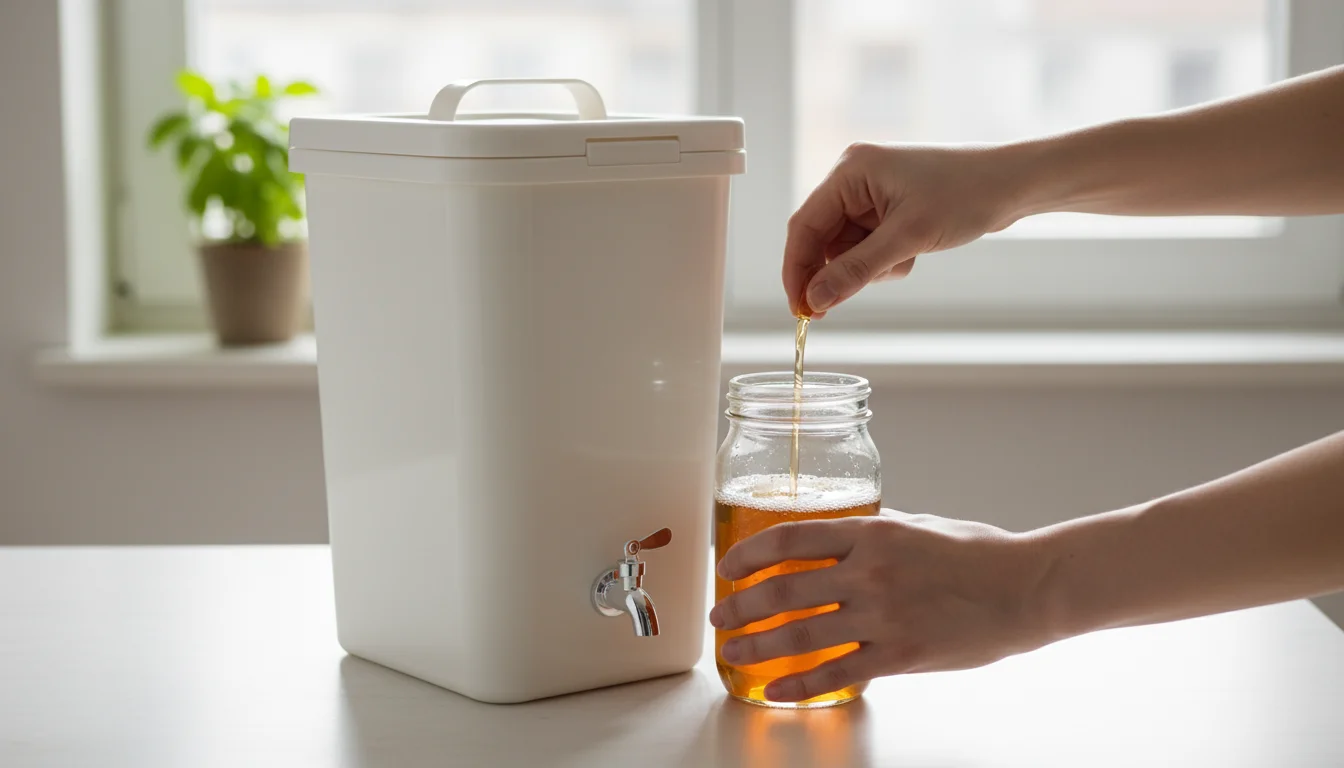
Bokashi Composting
Bokashi is an anaerobic (oxygen-free) fermentation process that pickles food scraps using a special bran inoculated with beneficial microbes. It breaks down all types of food waste, including meat, dairy, and cooked foods, which are typically avoided in traditional composting. Bokashi bins are compact, usually 5-gallon buckets with a spigot for draining liquid. This system is ideal for indoor use because it does not produce unpleasant odors. After fermentation, you bury the pickled scraps in your garden soil or mix them into a conventional compost pile to fully break down. This method excels at processing a wider range of food waste in a very small footprint.
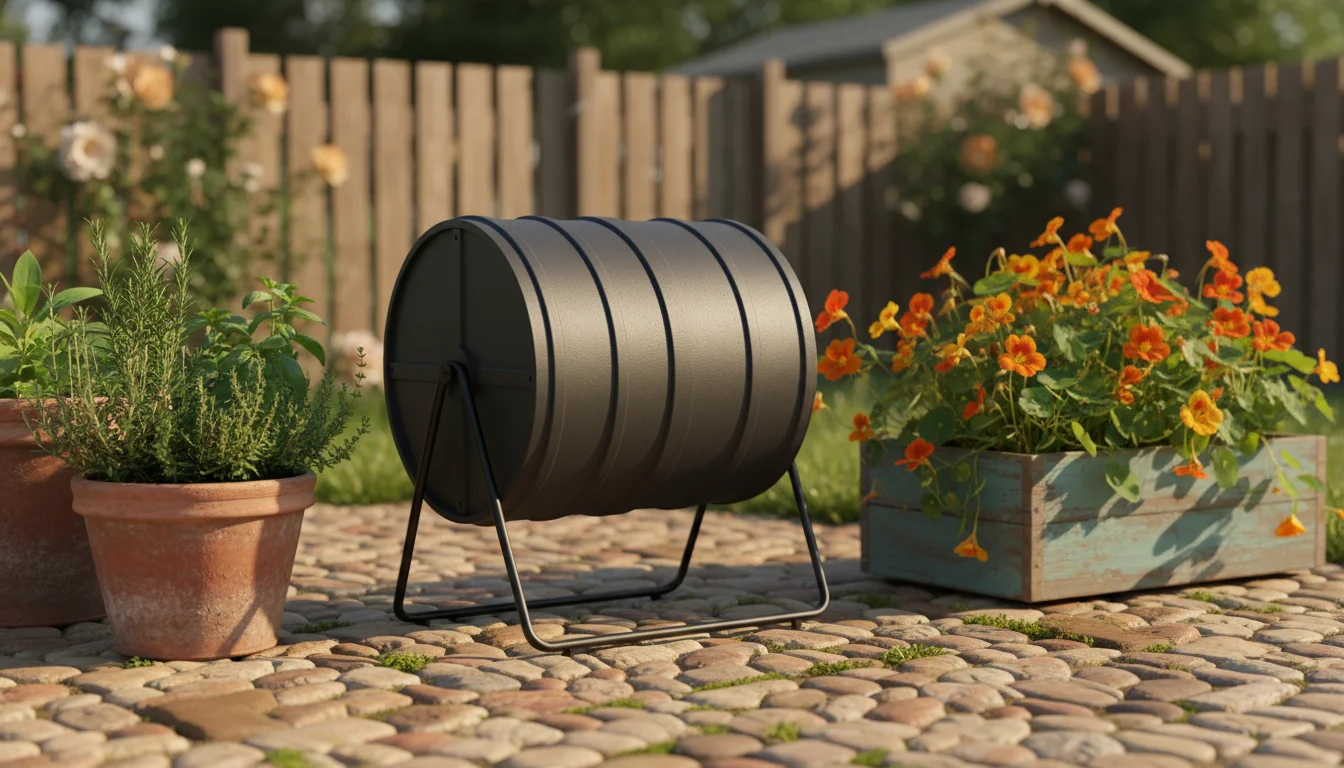
Small Tumbler Composters
If you have a compact patio or a small yard, a mini compost bin in the form of a tumbler offers a convenient option. Tumblers are sealed, rotating drums mounted on a stand, making turning the compost easy and efficient. The sealed design helps control odors and prevents pests. They come in various sizes, with smaller models perfect for limited spaces. Tumblers require a balance of “greens” and “browns” and need regular turning. They heat up quickly, accelerating decomposition, and you can produce finished compost in as little as 4-6 weeks under ideal conditions.
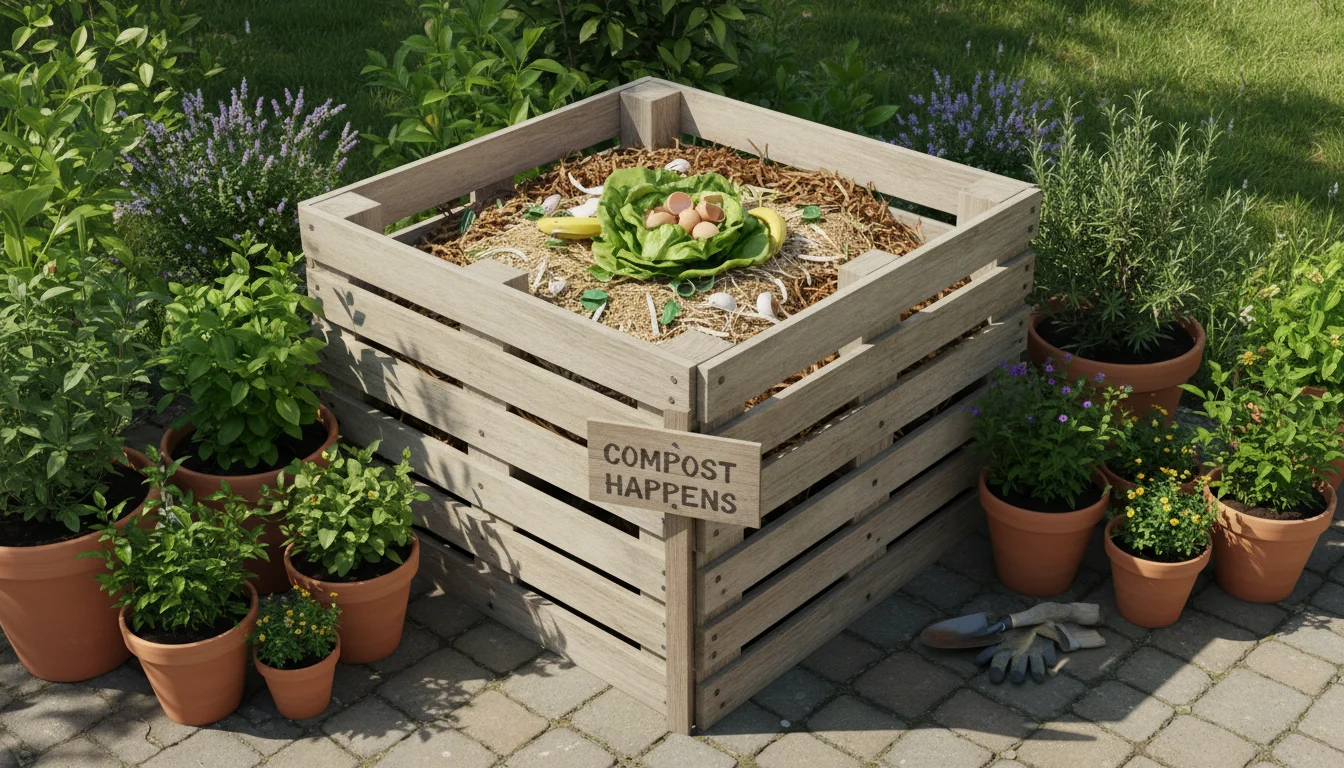
DIY Static Bins
For those with a bit more space, perhaps a corner of a patio or a small shed, you can construct a simple static bin. Use materials like old pallets, chicken wire, or even sturdy plastic storage bins with drilled holes for aeration. While these bins require manual turning with a pitchfork or aerator, they offer a cost-effective and flexible solution. You layer greens and browns and let nature do its work. Ensure proper ventilation and moisture levels for optimal decomposition. This option works well if you have a mix of kitchen scraps and some yard waste like dried leaves.
Consider your personal circumstances when making your choice. If you live in an apartment with no outdoor space, bokashi or vermicomposting are your best bets. If you have a small balcony, a compact tumbler or a well-managed worm bin works effectively. Each method helps you achieve your goal of sustainable, small-space composting.
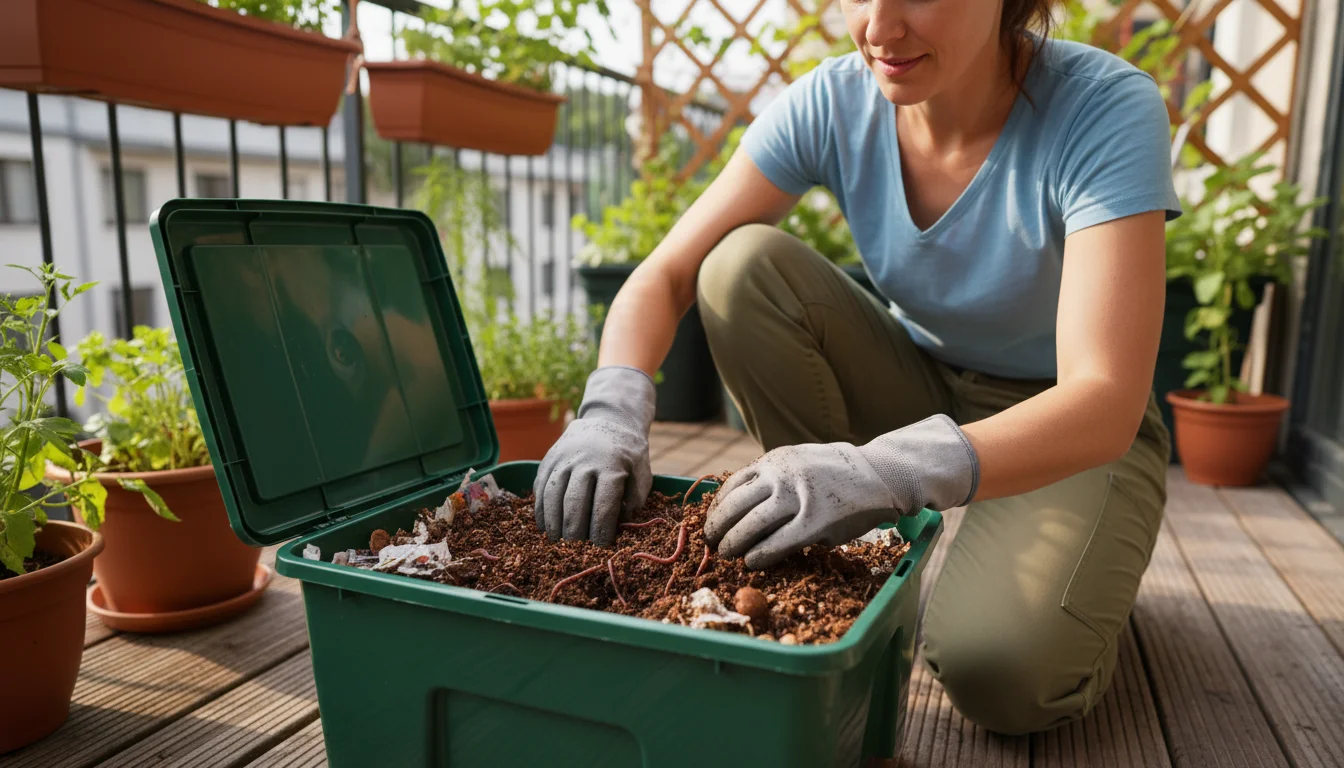
Balcony Composting with Worms: Your Vermicomposting Starter Kit
Vermicomposting, or worm composting, provides an elegant and efficient solution for balcony composting. It creates nutrient-rich castings, often called “black gold,” that significantly boost your container plants. Setting up a worm bin is straightforward, and with proper care, your worms will happily transform your food scraps into valuable fertilizer.
Getting Started with Your Worm Bin
- Choose Your Bin: Purchase a multi-tray worm bin system or build one from opaque plastic storage containers. Ensure your bin has drainage holes at the bottom and a spigot for collecting leachate, the “worm tea.” Opaque materials keep light out, which worms dislike.
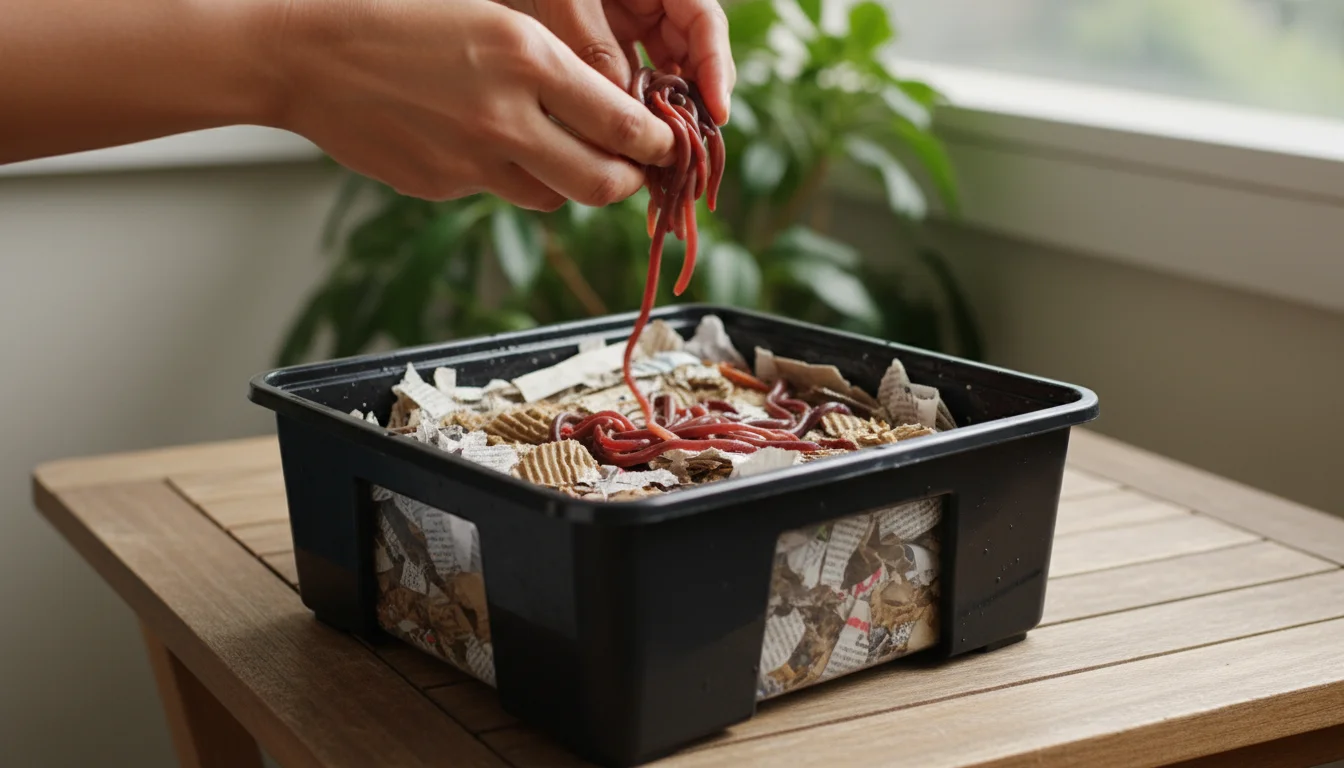
- Prepare Bedding: Fill the bottom tray with moist, shredded newspaper or cardboard. This bedding provides a habitat and carbon source for your worms. Aim for the consistency of a wrung-out sponge, moist but not dripping wet.
- Introduce Worms: Purchase red wigglers (Eisenia fetida), not common garden earthworms. You typically need about one pound of worms for a household of 1-2 people, which can process about half a pound of food scraps per day. Gently place them on top of the bedding.
- Acclimation Period: Let the worms settle into their new home for a few days before adding food. This allows them to explore and become comfortable.
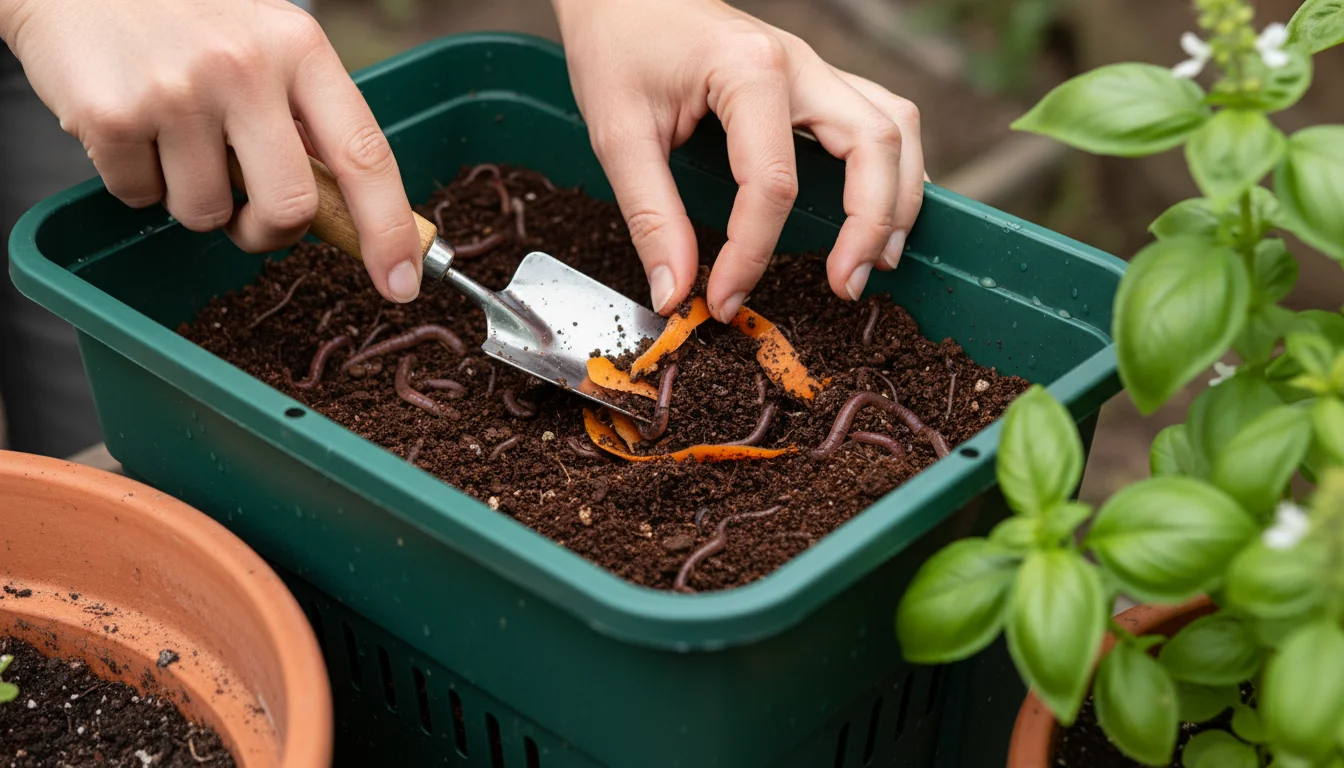
Feeding Your Worms
Worms are surprisingly efficient eaters. They consume their body weight in food each day under ideal conditions. You want to feed them in small amounts, burying the food scraps under the bedding to prevent fruit flies and odors. Start with small quantities and gradually increase as your worm population grows and their consumption rate increases.
What to Feed Your Worms (Greens):
- Fruit and vegetable scraps (excluding citrus in large quantities, as it can be too acidic)
- Coffee grounds and filters
- Tea bags (remove staples)
- Crushed eggshells (adds grit for their gizzards)
What to Avoid (or add sparingly):
- Meat, dairy, oily foods: These attract pests and create foul odors.
- Citrus peels: Too acidic in large amounts; use sparingly.
- Onion and garlic: Worms dislike these in large quantities.
- Processed foods, bread, pasta: These can attract pests and mold quickly.
- Diseased plants or pet waste: Avoid introducing pathogens.
Maintaining Your Worm Bin
- Moisture: Keep the bedding consistently moist. If it dries out, spritz with water. If too wet, add more dry shredded newspaper.
- Aeration: Gently fluff the bedding periodically to ensure good airflow. Worms need oxygen.
- Temperature: Maintain a temperature between 55-77°F (13-25°C). Extreme temperatures can harm or kill your worms. On a balcony, protect the bin from direct sun in summer and freezing temperatures in winter.
- Odor Control: A healthy worm bin smells earthy. If you notice foul odors, you likely added too much food or too many “wet” materials, leading to anaerobic conditions. Reduce feeding, add more dry bedding, and gently aerate.
Vermicomposting offers a rewarding way to manage food waste and produce excellent compost directly on your balcony. You will find that these tiny engineers contribute immensely to your sustainable gardening efforts.
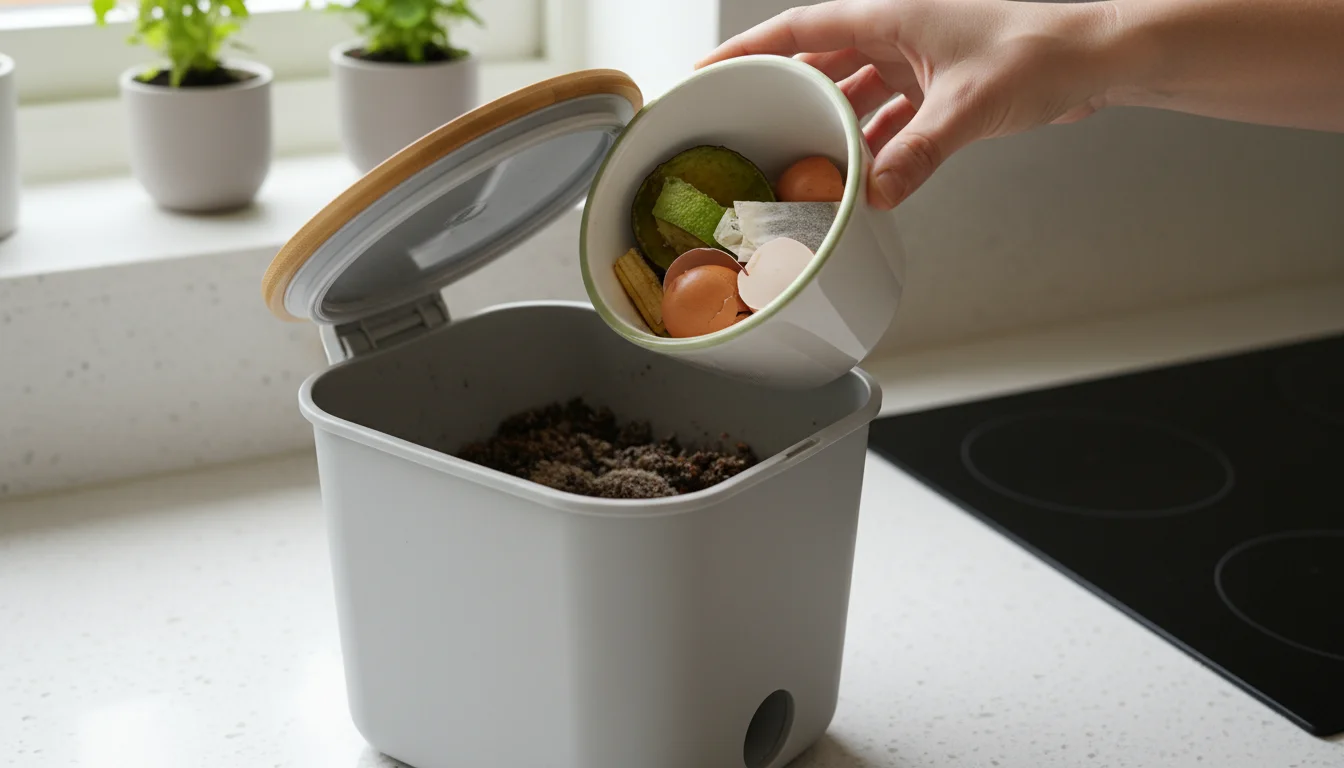
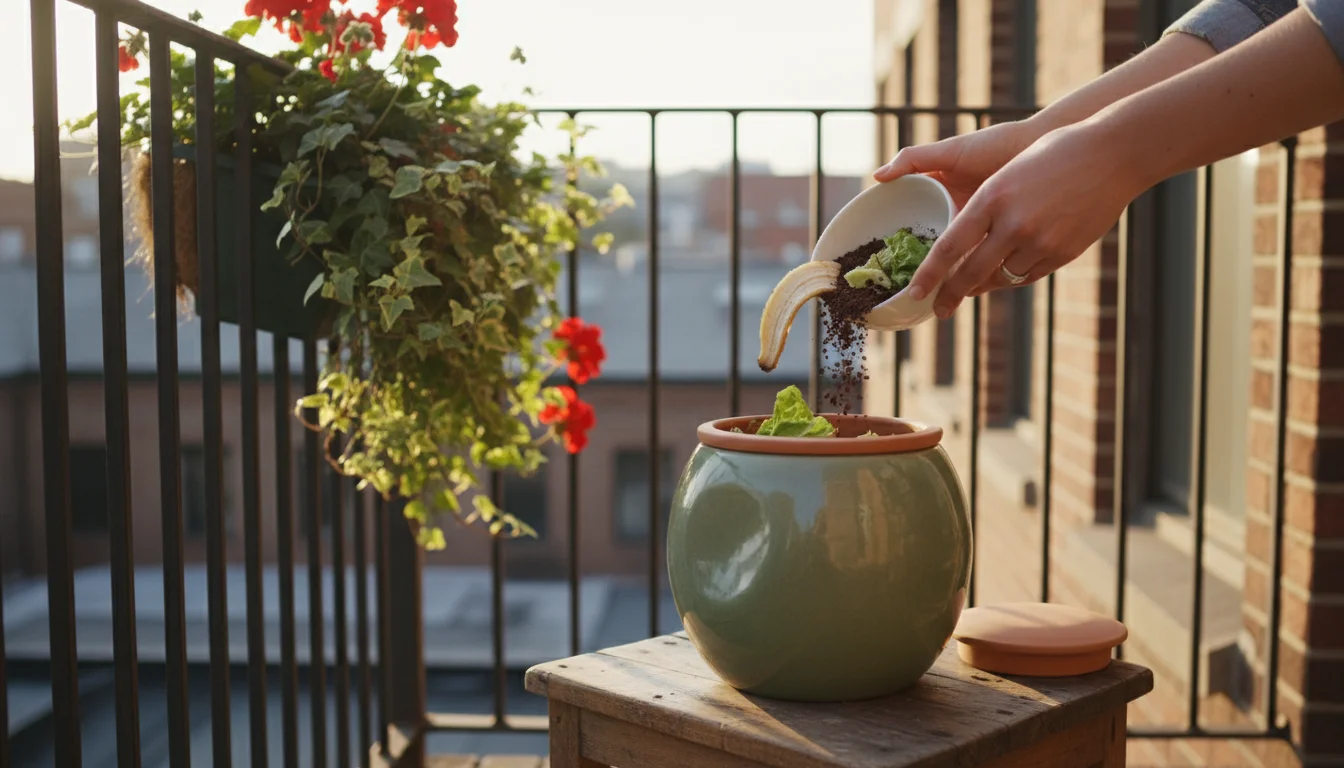
Bokashi Composting: Fermenting Food Scraps Indoors
Bokashi composting presents an innovative and odor-free method for processing food scraps directly in your kitchen or on your balcony, particularly useful for those who want to include meat, dairy, and cooked foods in their composting efforts. Unlike traditional composting, bokashi is a fermentation process, effectively pickling your food waste with beneficial microorganisms.
Understanding the Bokashi Process
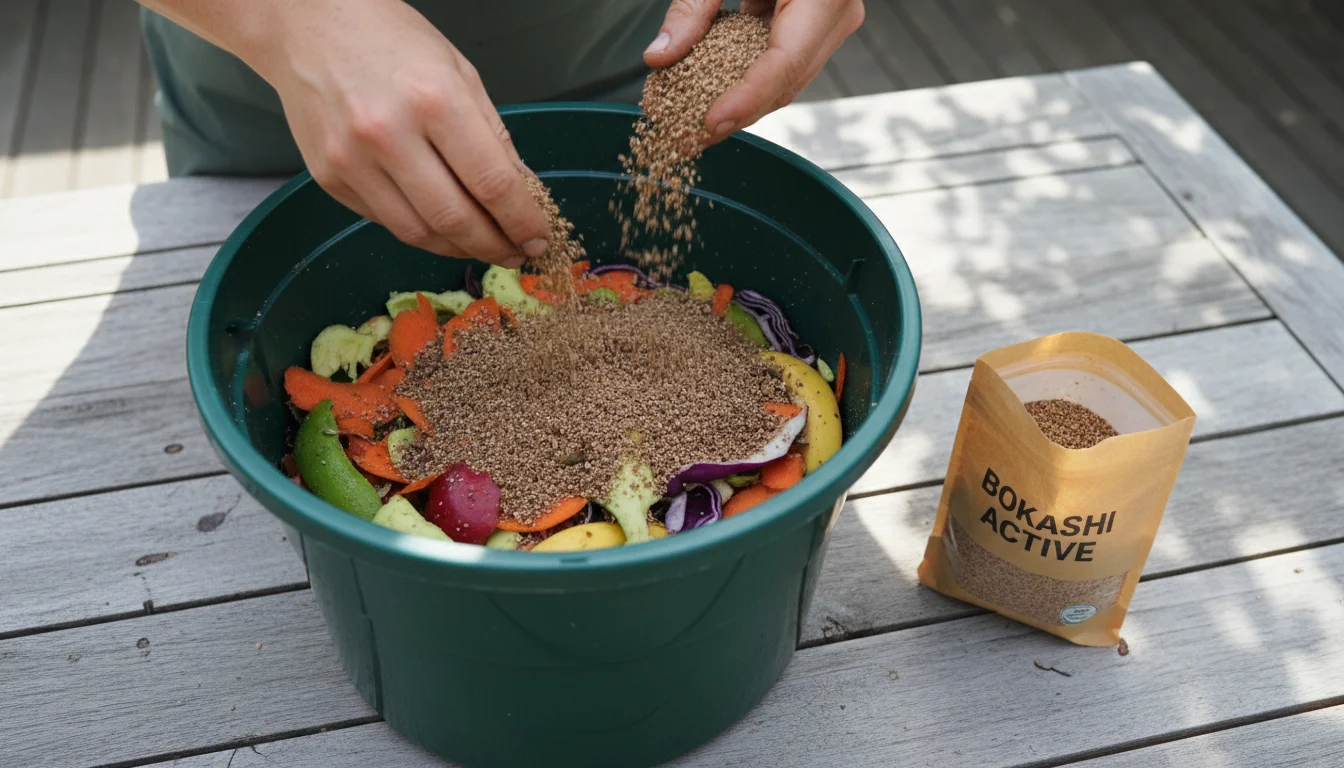
Bokashi uses an anaerobic system, meaning it operates without oxygen. You layer your food scraps with a special bokashi bran, which is typically wheat bran inoculated with a mix of effective microorganisms (EM). These microbes ferment the food waste, breaking it down into a pre-compost material. This process does not create finished compost directly; instead, it prepares the food waste for rapid decomposition once introduced to soil or a traditional compost pile.
Setting Up Your Bokashi System
- Acquire a Bokashi Bin: Purchase a purpose-built bokashi bin, usually a 5-gallon bucket with an airtight lid and a spigot at the bottom. The spigot allows you to drain “bokashi tea,” a nutrient-rich liquid.
- Gather Bokashi Bran: Obtain a supply of bokashi bran, available from garden stores or online. This is the crucial ingredient that kickstarts the fermentation.
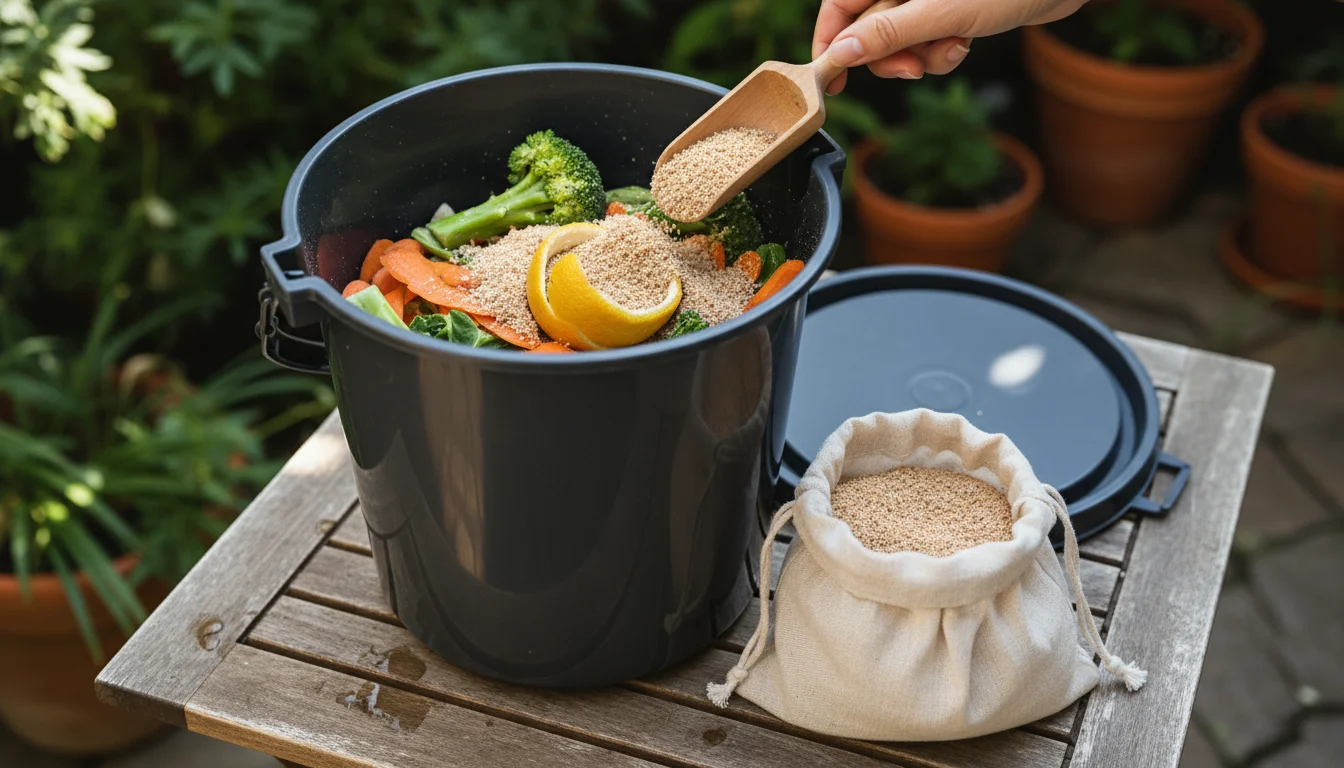
- Start Layering: Begin by sprinkling a layer of bokashi bran at the bottom of the bin.
- Add Food Scraps: Place your food scraps into the bin, pressing them down to remove as much air as possible. The less air, the better the fermentation.
- Sprinkle More Bran: After each addition of food scraps, sprinkle another layer of bokashi bran over them, ensuring good coverage.
- Seal and Ferment: Keep the lid tightly sealed between additions. Once the bin is full, seal it completely and let it ferment for 10-14 days. During this time, drain the “bokashi tea” every few days.
What You Can Compost with Bokashi
Bokashi’s strength lies in its ability to handle a broader range of food waste:
- All fruit and vegetable scraps
- Cooked and uncooked meat and fish
- Bones (small bones break down, larger ones may remain)
- Dairy products (cheese, yogurt)
- Cooked grains, pasta, bread
- Coffee grounds and tea bags
Using Bokashi Tea and Fermented Scraps
The “bokashi tea” you drain is a potent liquid fertilizer. Dilute it with water at a ratio of 1:100 (1 part tea to 100 parts water) and use it to water your plants. Do not apply it undiluted, as it can be too strong. You can also use it to clean drains, as the microbes help break down organic buildup.
After the 10-14 day fermentation period, your food scraps will look mostly unchanged, but they will have a sweet, pickled smell. This is the “pre-compost.” You have several options for its final decomposition:
- Bury in Garden Beds: Dig a trench in your garden, bury the bokashi pre-compost, and cover it with at least 6-8 inches of soil. It will break down completely within a few weeks.
- Add to Container Gardens: Create a soil pocket in a large container, bury the bokashi, and cover it with soil. Allow a few weeks for decomposition before planting.
- Incorporate into a Traditional Compost Pile: Mix the bokashi pre-compost into an existing hot or cold compost pile. It will accelerate the decomposition of other materials.
Bokashi offers a clean, efficient, and comprehensive approach to managing food waste, making it an excellent choice for anyone in a small space who wants to compost almost everything from their kitchen.
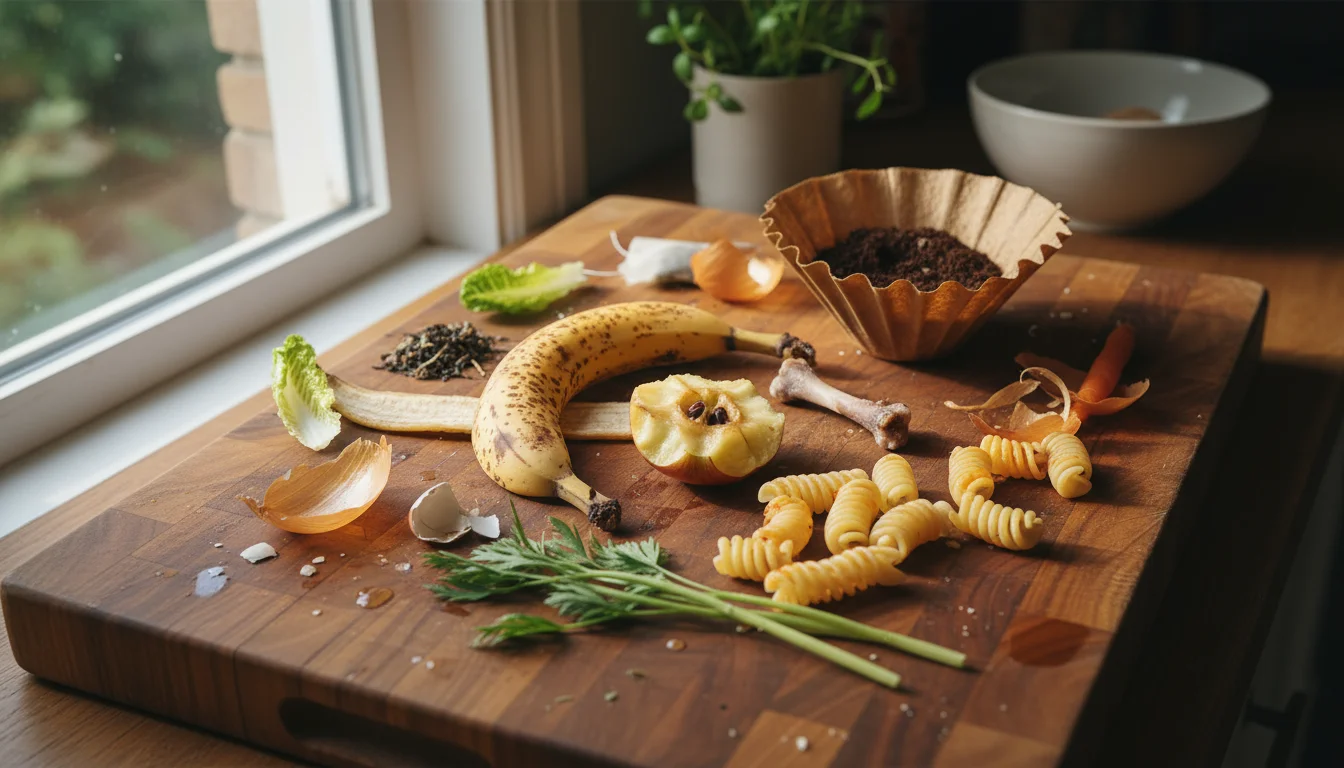
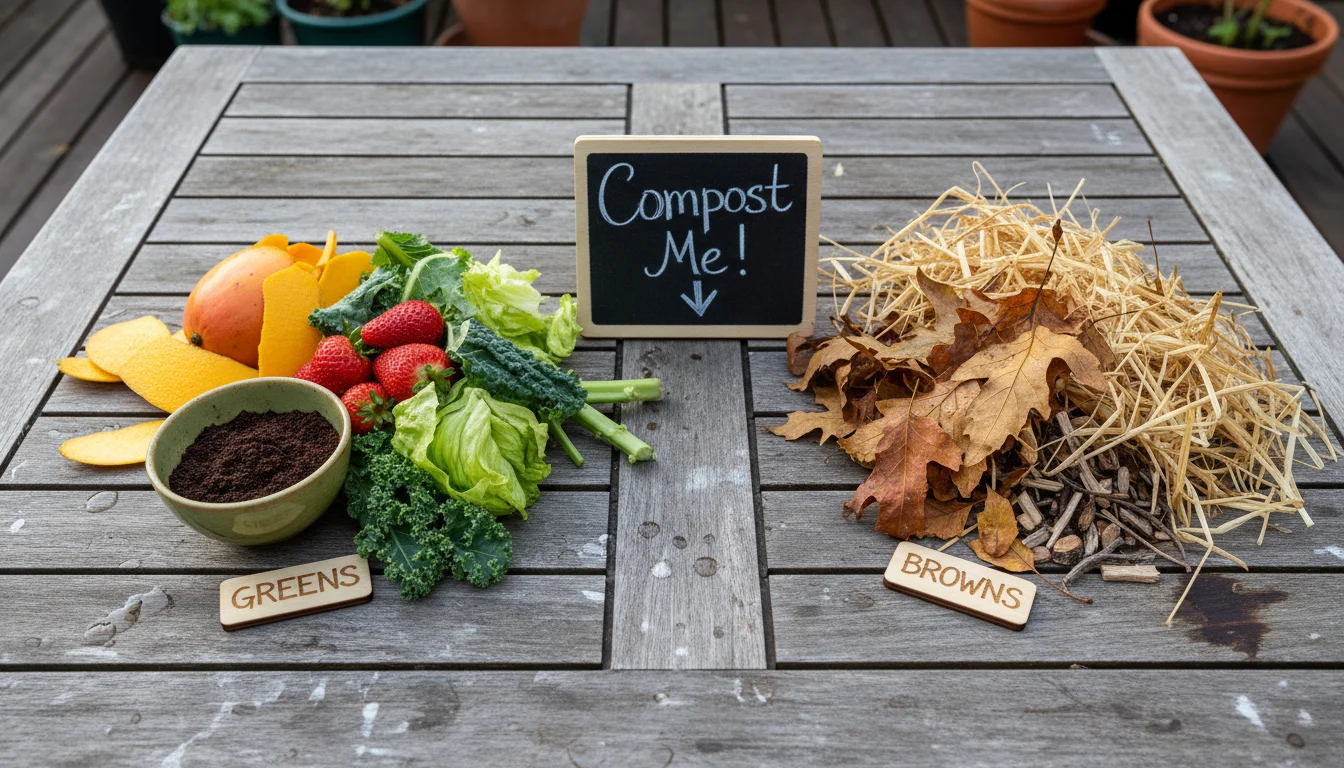
What to Compost and What to Avoid: Balancing Your Bin
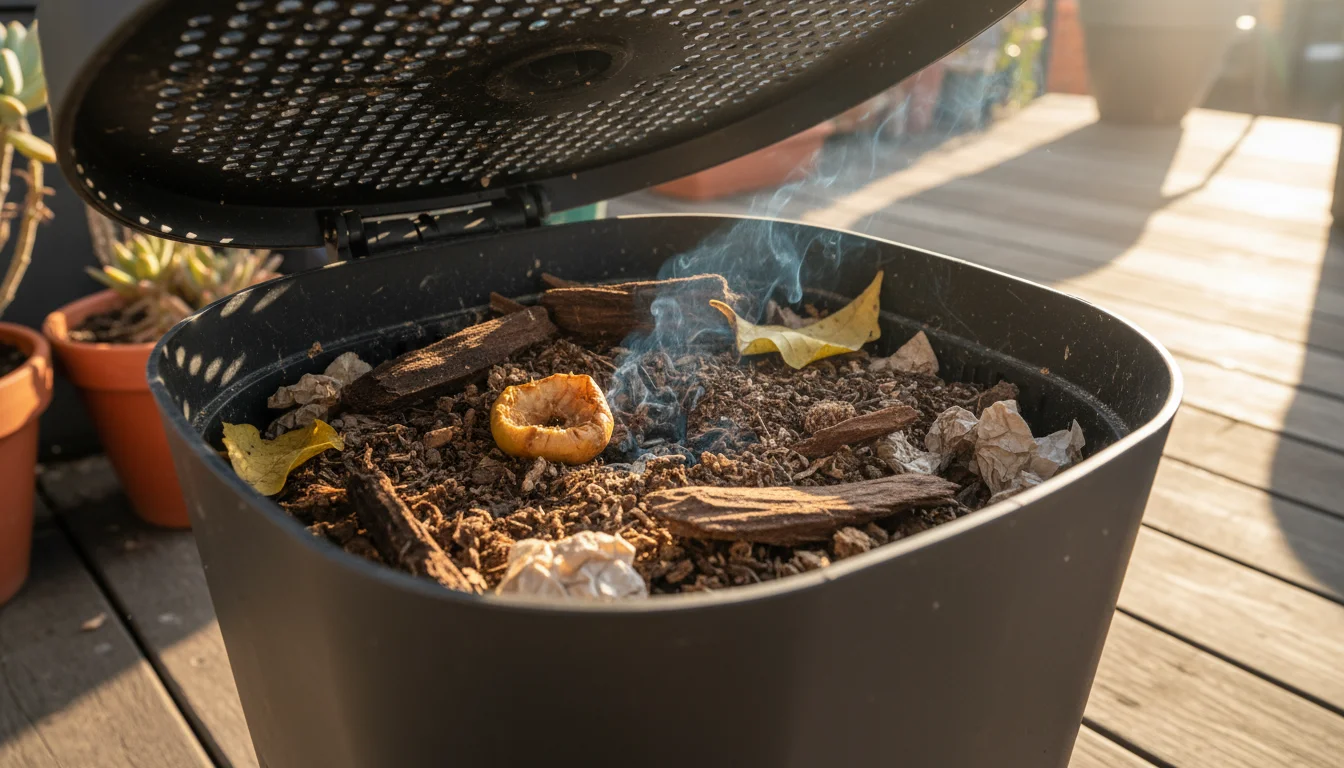
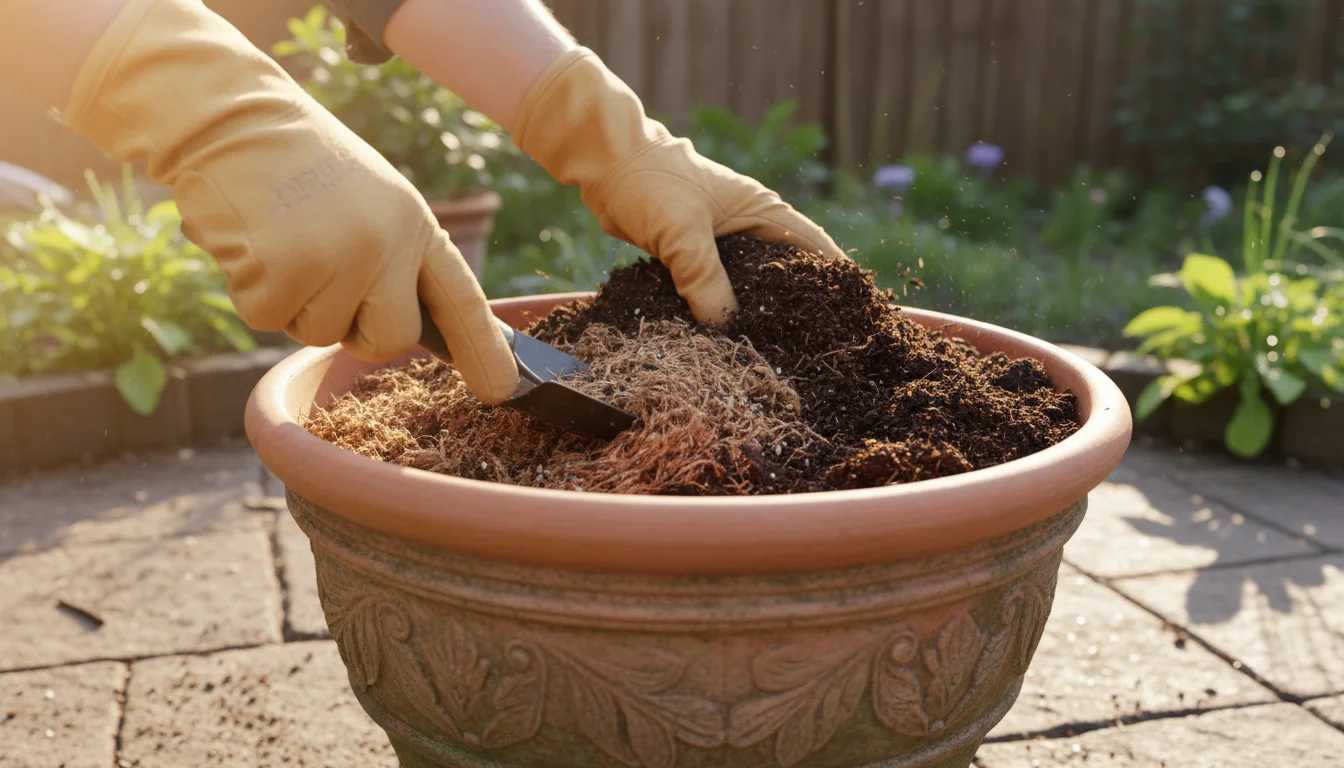
Achieving successful composting, especially in a mini compost bin, hinges on understanding the right balance of “greens” and “browns.” These terms refer to materials rich in nitrogen and carbon, respectively. A proper ratio ensures efficient decomposition, minimizes odors, and prevents pests. You want to aim for roughly a 2:1 or 3:1 ratio of browns to greens by volume for optimal results.
During the fall, you can even repurpose a Halloween pumpkin as a temporary, biodegradable mini-compost pile.
Understanding Greens (Nitrogen-Rich Materials)
Greens are generally fresh, moist materials that provide nitrogen. This element fuels the microorganisms that break down organic matter. Too many greens can make your pile wet and smelly, as excess nitrogen can lead to anaerobic conditions.
- Fruit and vegetable scraps (peels, cores, wilted produce)
- Coffee grounds and filters
- Tea bags
- Fresh grass clippings (use sparingly to avoid matting and odor)
- Garden trimmings (non-diseased, fresh plant material)
- Manure (from herbivores like rabbits, chickens, or horses, if available)
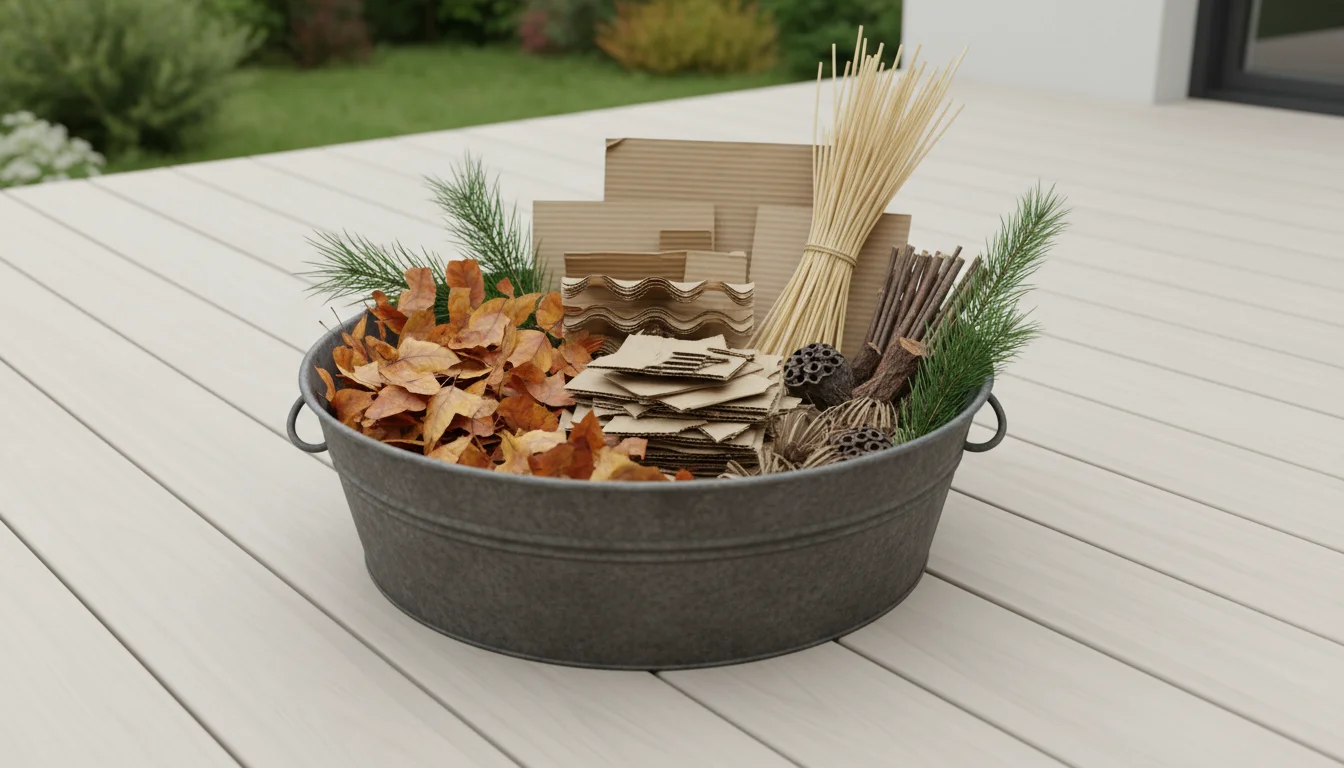
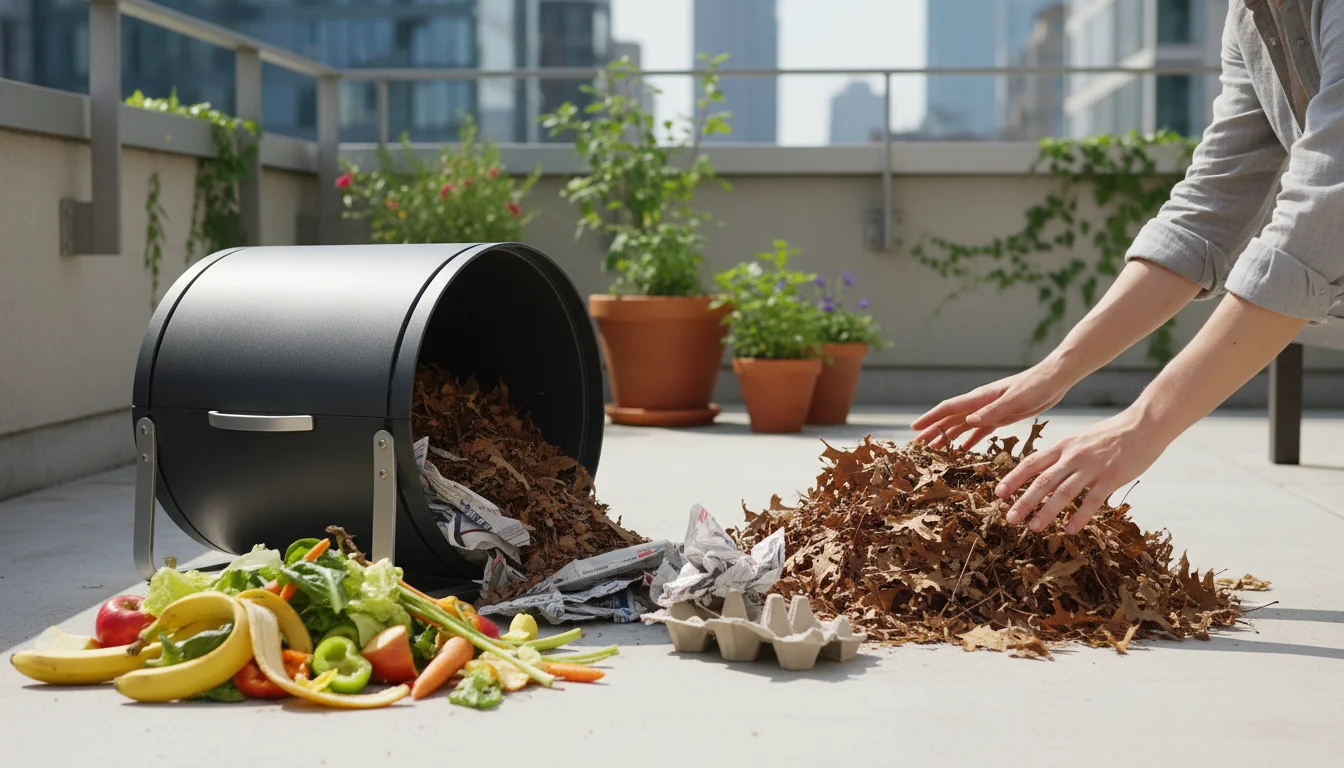
Understanding Browns (Carbon-Rich Materials)
Browns are dry, woody materials that provide carbon. Carbon serves as an energy source for microbes and creates the necessary structure for air circulation within your compost pile. Without enough browns, your compost can become dense, oxygen-deprived, and stinky. With too many browns, decomposition slows down significantly.
- Dry leaves
- Shredded newspaper and cardboard (non-glossy, cut into small pieces)
- Sawdust and wood shavings (from untreated wood, use sparingly)
- Straw or hay
- Pine needles
- Dryer lint (from natural fibers)
Compostable Materials Table
This table summarizes common compostable materials and their classification:
| Greens (Nitrogen-Rich) | Browns (Carbon-Rich) |
|---|---|
| Fruit & vegetable scraps | Dry leaves |
| Coffee grounds & filters | Shredded newspaper & cardboard |
| Tea bags | Straw & hay |
| Fresh grass clippings | Sawdust (untreated wood) |
| Spent plants & garden trimmings | Pine needles |
| Eggshells (provide minerals & grit) | Paper towels (non-chemical) |

Materials to Avoid in Your Compost Bin
Certain materials can cause problems in a small-space compost bin, from attracting pests to introducing pathogens or chemicals. You must avoid these to maintain a healthy and efficient composting process.
- Meat, bones, fish, and dairy products: These attract rodents and flies, create foul odors, and can carry pathogens. Bokashi composting offers an exception for these items.
- Oils, fats, and greasy foods: They slow down decomposition, create anaerobic conditions, and attract pests.
- Diseased plants: You risk spreading plant diseases to your healthy garden.
- Weeds with seeds: Many small-space compost bins do not reach temperatures high enough to kill weed seeds, leading to new weed growth in your garden.
- Pet waste (from carnivores): Dog and cat feces can contain harmful pathogens that are not reliably killed in home compost systems.
- Treated wood or sawdust from treated wood: Chemicals in treated wood can be toxic to plants and soil organisms.
- Coal or charcoal ash: Can contain heavy metals harmful to your plants.
- Glossy paper or magazines: Often contain heavy metal inks and coatings you do not want in your compost.
By carefully selecting what goes into your compost bin and maintaining a good balance of greens and browns, you ensure a smooth, efficient process, producing high-quality compost for your small-space garden.
Troubleshooting Common Composting Problems
Even seasoned composters encounter issues, and in a small space, effective troubleshooting becomes even more critical for maintaining a pleasant and productive system. You can easily address most common problems with a few practical adjustments.
1. Odors
Unpleasant smells are the most frequent concern, especially with balcony composting or indoor bins. You typically encounter two main types of odors:
- Rotten egg/ammonia smell: This indicates too much nitrogen (greens) and not enough carbon (browns), or insufficient aeration. The pile is too wet and turning anaerobic.
- Sour/pickled smell: Often characteristic of bokashi if the fermentation is too strong, or if liquid is not drained regularly.
Solutions:
- Add Browns: Mix in more dry, carbon-rich materials like shredded newspaper, dry leaves, or sawdust. This absorbs excess moisture and balances the carbon-nitrogen ratio.
- Increase Aeration: Turn your compost more frequently. For worm bins, gently fluff the bedding. For tumblers, rotate daily. This introduces oxygen, which is crucial for aerobic decomposition.
- Reduce Wet Scraps: Temporarily cut back on adding high-moisture food scraps.
- Drain Bokashi Tea: If using bokashi, ensure you drain the liquid every few days.
2. Pests (Fruit Flies, Ants, Rodents)
Attracting unwanted visitors is a major concern for small-space composting. You can prevent most pests with good management practices.
- Fruit Flies: These often appear with exposed food scraps.
- Ants: Attracted to sweet or sugary food waste.
- Rodents (mice, rats): Drawn to meat, dairy, fats, and large food chunks.
Solutions:
- Bury Food Scraps: Always bury fresh food scraps deep within the compost pile or under worm bin bedding. This hides them from pests and helps them break down faster.
- Avoid Problematic Foods: Do not add meat, dairy, or oily foods to traditional compost bins. Bokashi handles these, but the fermented material should then be buried or processed further.
- Keep Bin Sealed: Ensure your compost bin or tumbler has a tight-fitting lid. Worm bins usually have lids that deter pests.
- Maintain Moisture: Keep the compost moist but not soggy. Excessively dry conditions can attract ants seeking water.
- Clean Exterior: Keep the area around your bin clean, free of spilled food.
3. Slow Decomposition
Your compost might seem to sit there without breaking down, taking much longer than expected.
Solutions:
- Check Moisture: Your compost needs to be consistently moist, like a wrung-out sponge. If it is too dry, decomposition slows significantly. Add water gradually. If too wet, add browns.
- Adjust Carbon/Nitrogen Ratio: An imbalance stalls decomposition. If it is too dry and woody, add greens. If it is soggy and smelly, add browns.
- Increase Aeration: Turning the pile regularly introduces oxygen, which is vital for the microbes that do the work. Small pieces break down faster.
- Chop Materials Smaller: The smaller the pieces of food scraps and browns, the faster they decompose. This increases surface area for microbial activity.
- Temperature: Traditional hot compost piles need to reach temperatures of 130-160°F (54-71°C) for rapid decomposition. Small-space bins might not reach these temperatures but should still feel warm. Ensure your bin is in a suitable temperature range.
By actively monitoring your compost and implementing these solutions, you can overcome common challenges and ensure a thriving small-space composting system that consistently produces valuable soil amendment for your garden.
Harvesting and Using Your Small-Space Compost
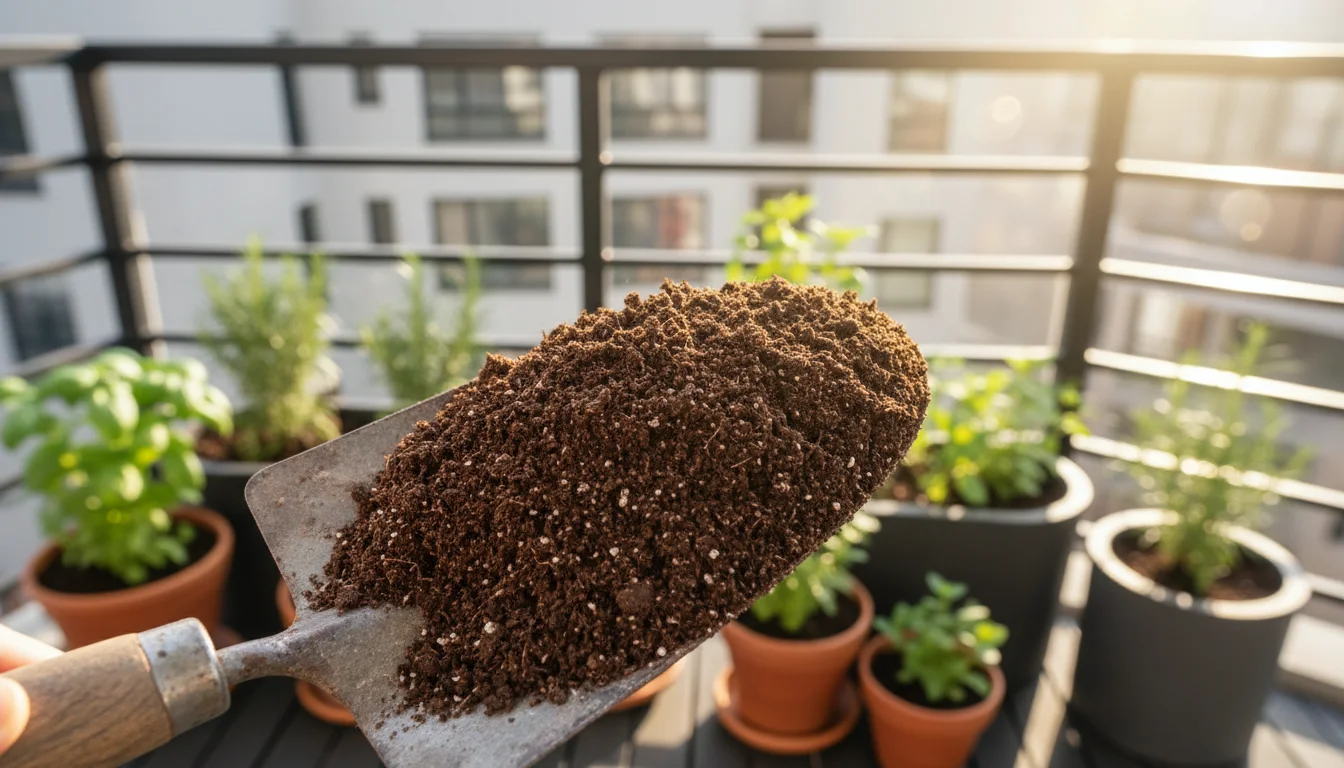
After your diligent efforts in maintaining your mini compost bin, the exciting part arrives: harvesting your nutrient-rich compost. This “black gold” represents a significant achievement in sustainable gardening and provides immense benefits to your plants. Knowing when and how to harvest, then effectively using your compost, maximizes its impact on your small-space garden.
Recognizing Finished Compost
You know your compost is ready when it exhibits these characteristics:
- Appearance: It has a dark brown, crumbly texture, resembling rich soil. You should not see recognizable food scraps or plant materials, aside from possibly a few stubborn bits like avocado pits or corn cobs that take longer to break down.
- Smell: It smells earthy and fresh, like forest floor soil. There should be no foul or sour odors.
- Temperature: A mature compost pile will have cooled down to ambient temperature. If it still feels warm, it continues to actively decompose.
Harvesting Methods for Different Bins
The harvesting process varies slightly depending on your compost system:
- Worm Bins (Vermicomposting):
- Tray Method: In stacked tray systems, once the top tray is full of finished compost and worms have migrated to the new food in the tray above, you can remove the bottom tray’s contents.
- Migration Method: Stop feeding one side of the bin and only add new food to the other. Worms will move to the food source. After a few weeks, you can harvest the finished compost from the unfed side.
- Light Method: Spread finished compost on a tarp in the sun. Worms will burrow down to escape the light, allowing you to scrape off layers of compost from the top.
You can gently pick out any remaining worms and return them to your bin.
- Tumbler Composters:
Many tumblers have a hatch or door. Once the contents appear finished, simply open the hatch and shovel or pour out the compost. If you use a continuous batch tumbler, you will have finished compost at the bottom while newer material processes at the top.
- Bokashi Bins:
Bokashi produces “pre-compost” rather than finished compost. As discussed, you will bury this material in soil or add it to a traditional compost pile for final decomposition. Allow several weeks after burying before planting directly into that spot.
Using Your Harvested Compost in Small Spaces
Your finished compost is a versatile and valuable amendment for all your small-space gardening needs. You can integrate it in several ways to enhance plant health and soil vitality:
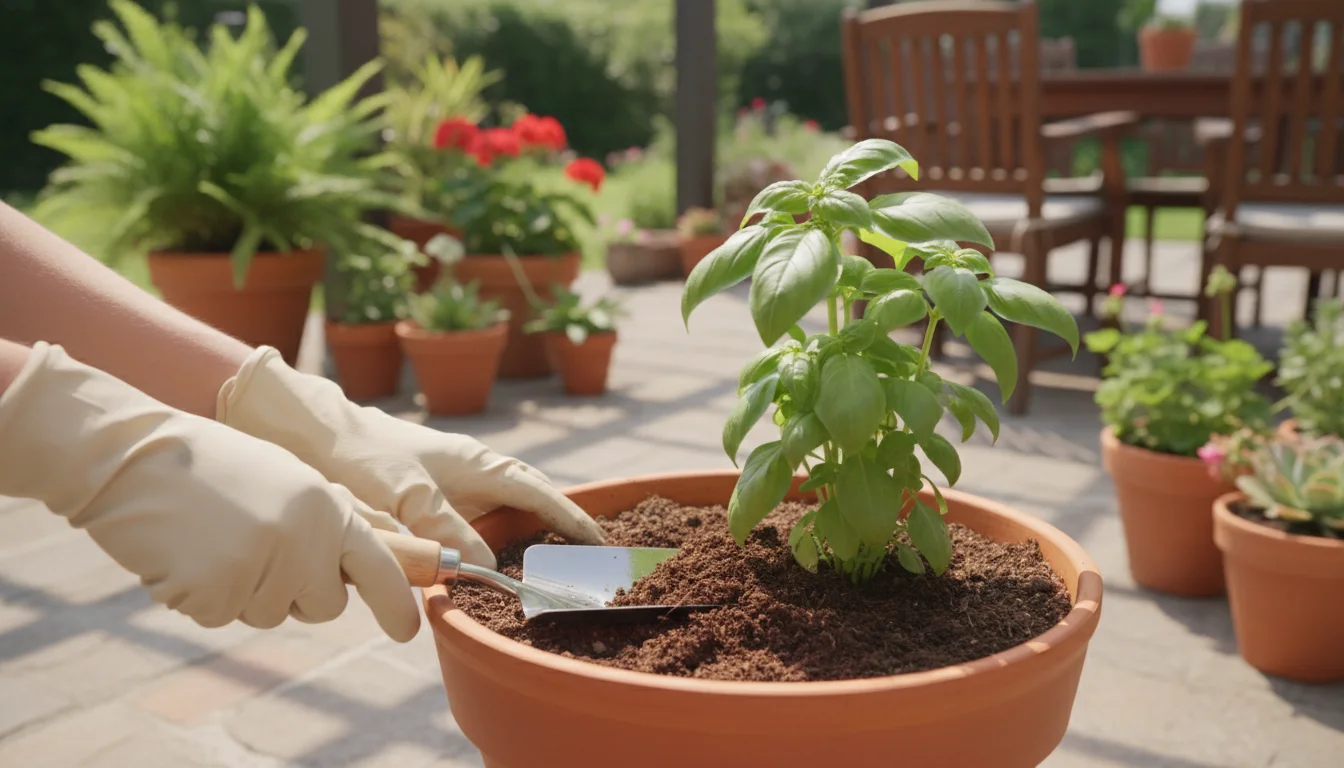
- Potting Mix Amendment: Mix 10-20% compost into your peat-free potting mixes for container plants. This boosts nutrient content, improves water retention, and introduces beneficial microbes. For example, if you are filling a 10-gallon pot, use 1-2 gallons of compost mixed with your base potting medium.
- Top Dressing: Apply a thin layer (0.5 to 1 inch) of compost around the base of your established container plants or in small raised beds. The nutrients will slowly leach into the soil with watering.
- Seed Starting: While pure compost can be too rich for seed starting, you can mix a small amount (5-10%) into your seed-starting mix to provide gentle nutrients.
- Compost Tea: Steep finished compost in water for a day or two to create a “compost tea.” Strain the liquid and use it as a nutrient boost for watering plants. You can also spray it on foliage as a mild foliar feed.
Regularly incorporating your homemade compost into your small garden creates a closed-loop system, where your waste continuously enriches your plants. You build healthier soil, reduce your ecological footprint, and cultivate a truly sustainable growing space.
Composting Beyond the Bin: Other Waste Reduction Habits
Your commitment to composting in a small space demonstrates a broader dedication to waste reduction and sustainability. Extending this mindset beyond your compost bin amplifies your positive environmental impact. You can adopt several low-waste habits that complement your composting efforts, fostering a truly circular and eco-friendly garden.
Seed Saving and Cuttings
Reducing waste in the garden starts with propagation. Instead of buying new plants every season, you can:
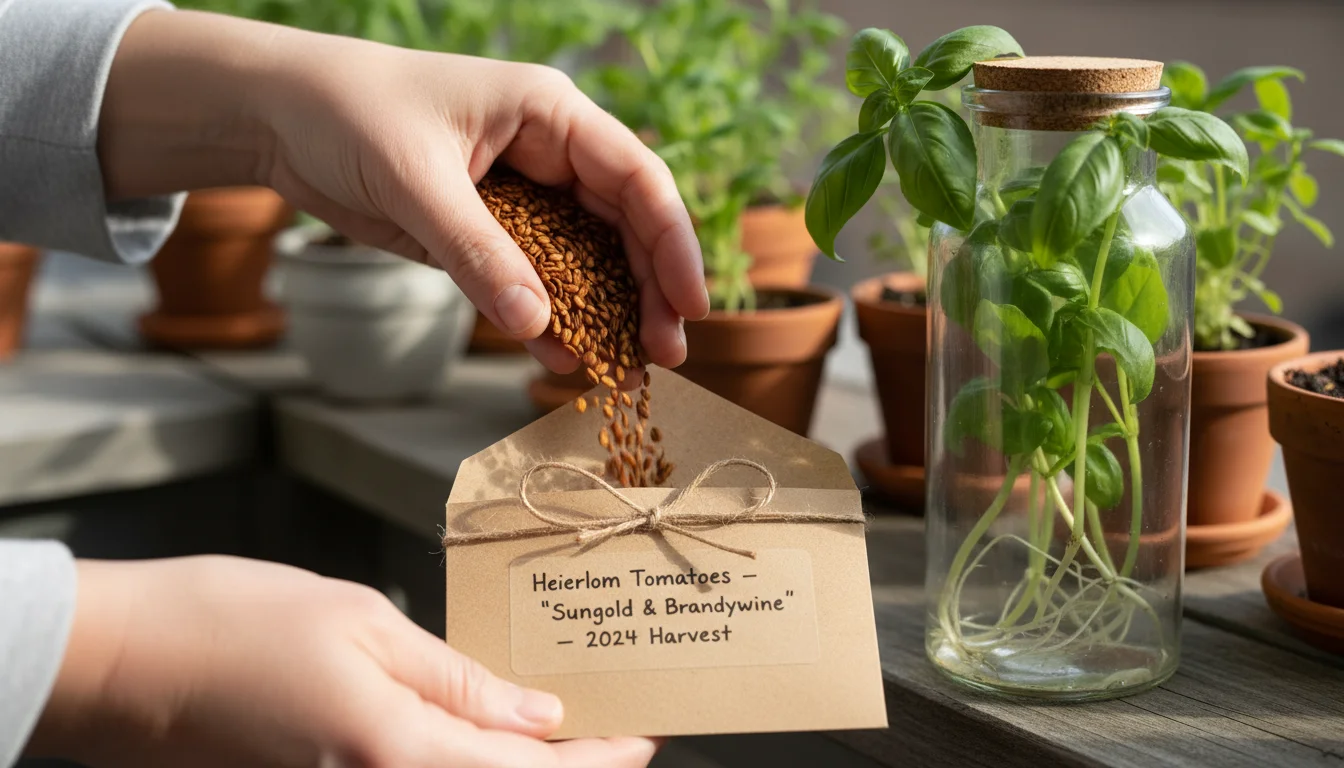
- Save Seeds: Collect seeds from your favorite open-pollinated vegetables, herbs, and flowers. Dry them properly and store them in airtight containers for the next growing season. This reduces packaging waste and saves money. For instance, saving tomato seeds means you avoid buying new seed packets or seedlings.
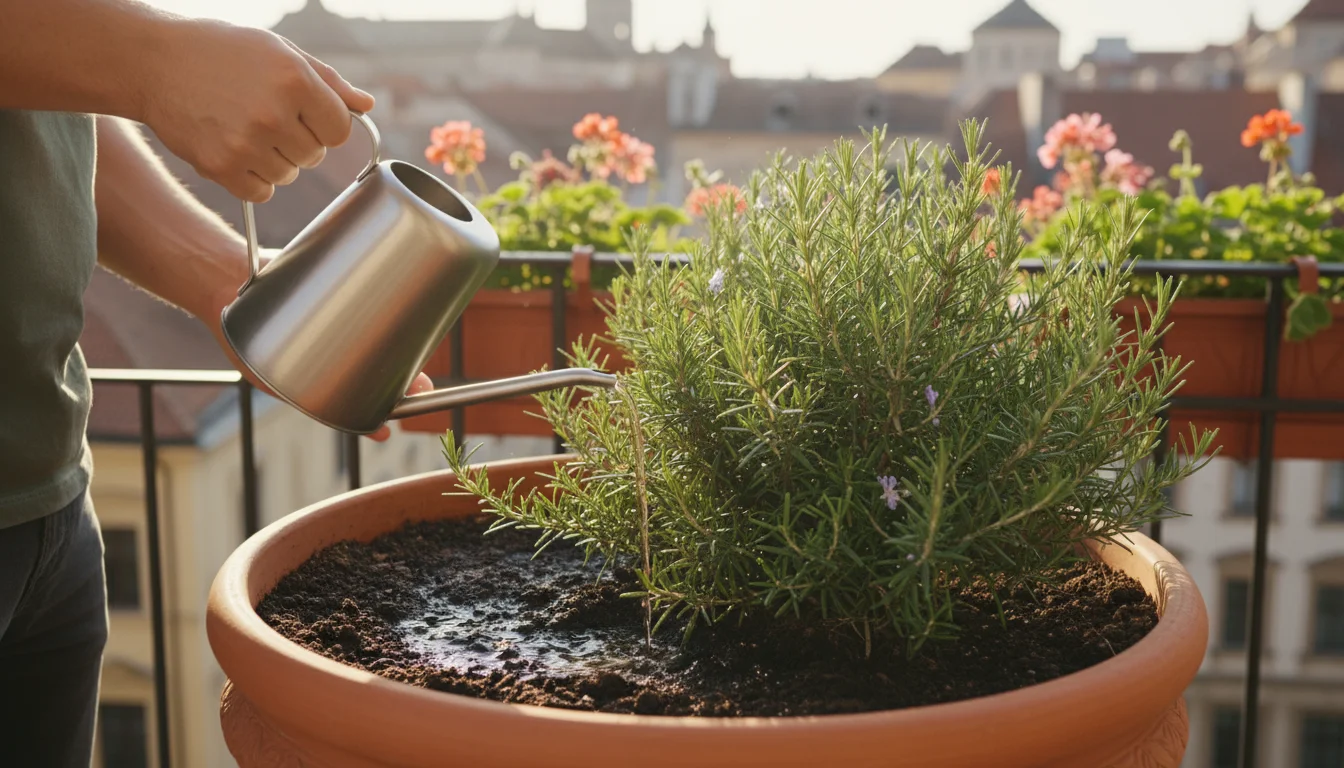
- Take Cuttings: Propagate many plants from cuttings. Herbs like rosemary, mint, and basil, and even some shrubs and succulents, root easily in water or moist soil. This creates new plants from existing ones, eliminating the need to purchase more. You can share extra cuttings with friends, further reducing overall consumption.
Upcycling Containers and Materials
Give new life to items that might otherwise end up in the recycling bin or landfill. You have many opportunities to creatively reuse materials in your small garden:
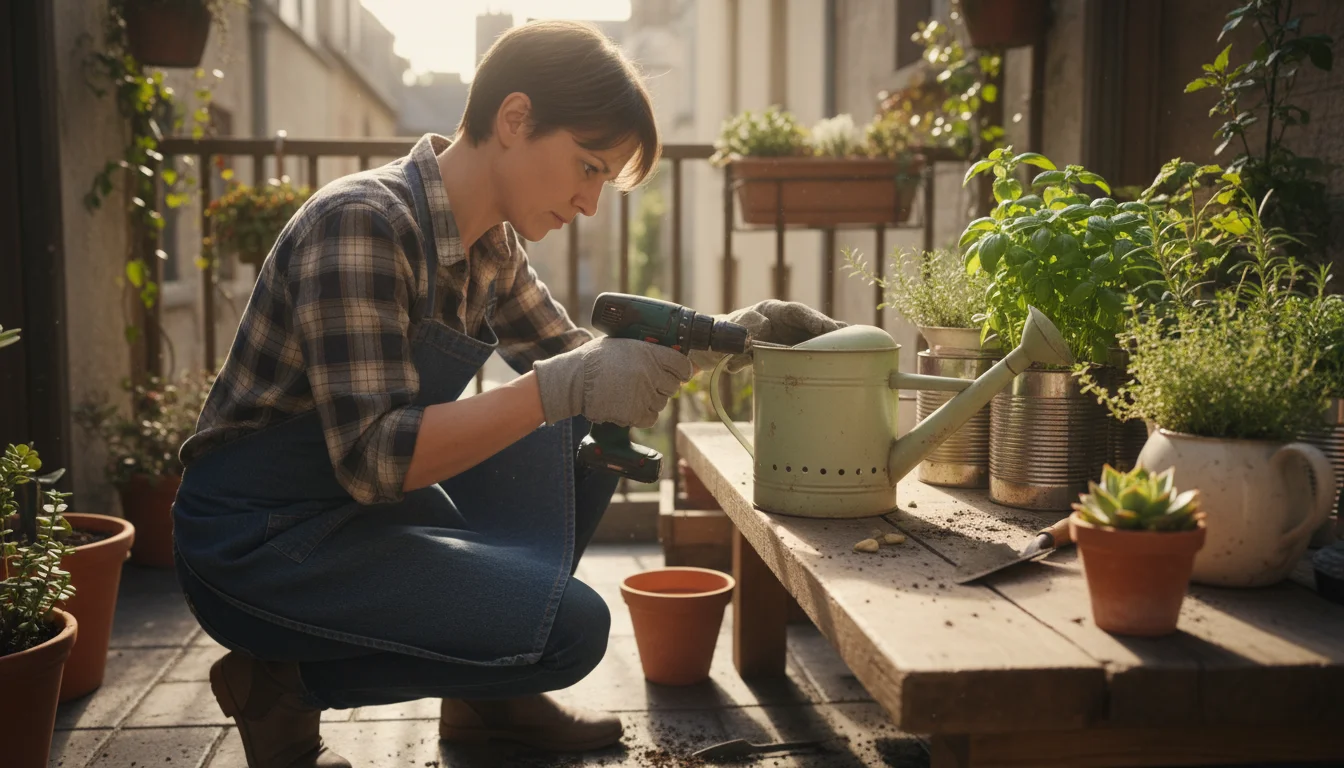
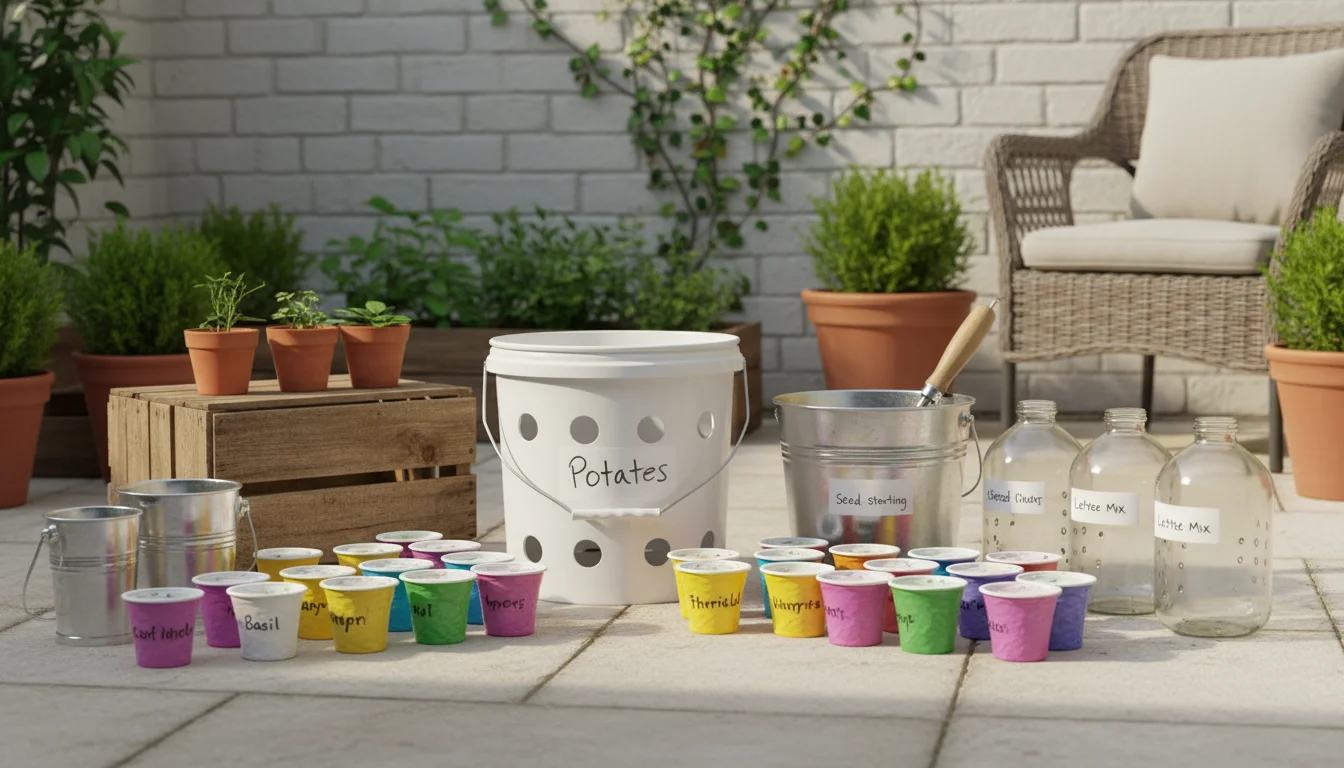
- Repurpose Food Containers: Yogurt containers, milk jugs, and plastic clam shells make excellent temporary seed-starting pots or small plant protectors. Punch drainage holes in the bottom before use.
- DIY Planters: Transform old tires, wooden crates, metal buckets (ensure no rust or sharp edges), or even sturdy fabric bags into unique and functional planters. Ensure they have adequate drainage. For example, a sturdy 5-gallon food-grade bucket becomes a perfect potato planter.
- FSC-Certified Wood and Recycled Plastics: When purchasing new materials, opt for sustainably sourced options. Look for Forest Stewardship Council (FSC) certified wood for raised beds or trellises, ensuring responsible forestry practices. Choose planters made from recycled plastic, which reduces demand for virgin plastics and supports recycling initiatives.

Efficient Watering and Rain Capture
Water conservation significantly reduces your environmental footprint. Your efforts complement composting by reducing overall resource consumption:
- Rain Capture: Install a small rain barrel or simple rain chain system on your balcony or patio to collect rainwater. This provides a free, chlorine-free water source for your plants. Even a modest setup can collect dozens of gallons during a single rain event, significantly reducing your reliance on municipal water.
- Greywater Basics: Consider using lightly used household water, known as greywater, for non-edible plants. Greywater typically comes from sinks and showers (not toilets). Check local regulations before implementing a greywater system. Always use biodegradable, plant-safe soaps and detergents if you plan to use greywater in your garden.
- Efficient Watering: Practice deep, infrequent watering to encourage strong root growth. Use mulch in containers to reduce evaporation. Drip irrigation or soaker hoses are ideal for efficient water delivery, minimizing waste compared to overhead sprinklers.

Sharing and Community Networks
Cultivate a sense of community to reduce waste and enhance your gardening experience:
- Plant Swaps: Participate in local plant or seed swap events. You can exchange excess seedlings, cuttings, or saved seeds, ensuring nothing goes to waste and diversifying your garden for free.
- Tool Lending: Share garden tools with neighbors to avoid unnecessary purchases. This reduces manufacturing and consumption of infrequently used items.
- Compost Sharing: If you have excess compost, offer it to neighbors who might not be able to compost. This creates a local circular economy for organic materials.
By integrating these waste reduction habits, you extend your composting efforts into a comprehensive sustainable lifestyle, proving that even in a small space, you can make a substantial difference.
Frequently Asked Questions
How long does it take to make compost in a small space?
The composting timeline varies significantly by method and conditions. Vermicomposting can yield castings in 2-3 months. Small tumblers, if managed actively with good heat, can produce finished compost in 4-6 weeks. Static bins or passive balcony composting might take 3-6 months or longer. Factors like particle size, moisture, and the balance of greens and browns all influence the speed. Smaller pieces break down faster.
Does small-space composting attract pests or rodents?
Properly managed small-space composting generally does not attract pests. Burying food scraps under bedding or within the pile prevents fruit flies and eliminates odors that attract larger pests like rodents. Avoiding meat, dairy, and oily foods in traditional compost bins also deters unwanted visitors. Bokashi bins, being airtight, are especially good at preventing pest access during the fermentation stage.
Can I compost cooked food in a small apartment?
Yes, you can compost cooked food in a small apartment using a bokashi system. Bokashi effectively ferments cooked foods, including meat and dairy, without producing unpleasant odors. After fermentation, you then bury the bokashi pre-compost in garden soil or add it to an outdoor compost pile for final breakdown. Traditional worm bins or static piles are generally not recommended for cooked foods due to pest attraction and odor potential.
What do I do with the “worm tea” or “bokashi tea”?
“Worm tea” (liquid leachate from vermicomposting) and “bokashi tea” (liquid drained from bokashi bins) are both nutrient-rich liquids. You must dilute them before applying to plants. Dilute “worm tea” to a 1:10 ratio with water, and “bokashi tea” to an even weaker 1:100 ratio. Use these diluted solutions to water your plants for a beneficial nutrient boost. You can also use diluted bokashi tea to clean drains.
How often should I turn my small compost tumbler?
You should turn a small compost tumbler at least once every 2-3 days, or even daily for faster decomposition. Frequent turning aerates the compost, distributes moisture, and helps break down materials evenly. This regular aeration is crucial for maintaining aerobic conditions, which prevents odors and encourages rapid microbial activity. Consistency in turning will significantly accelerate the composting process.


Leave a Reply