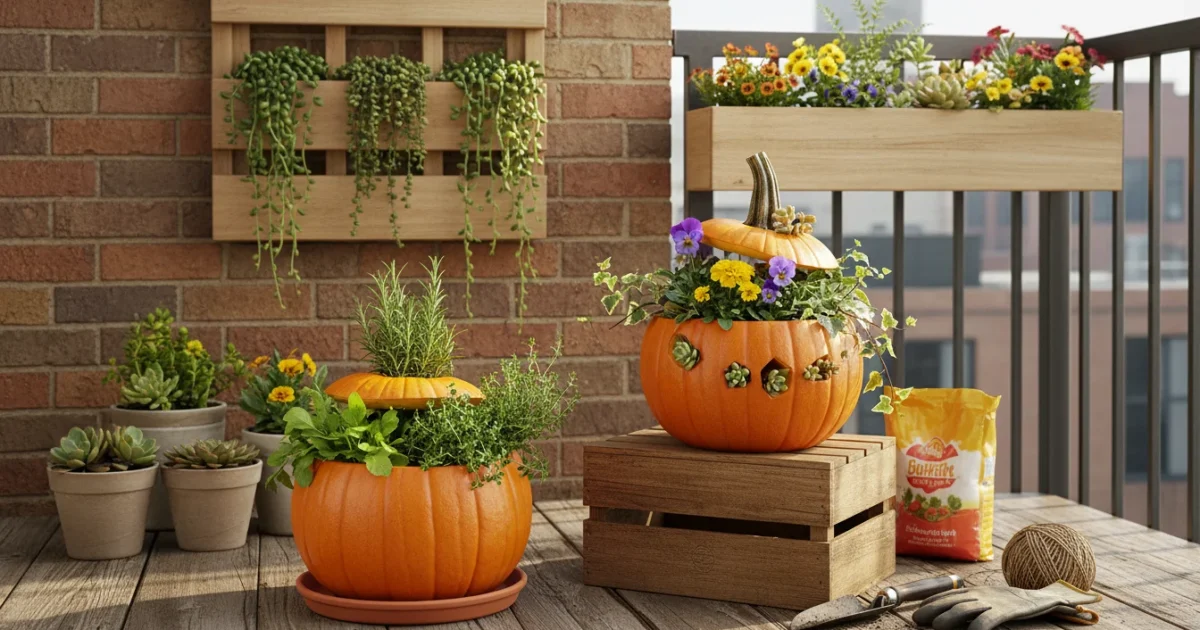
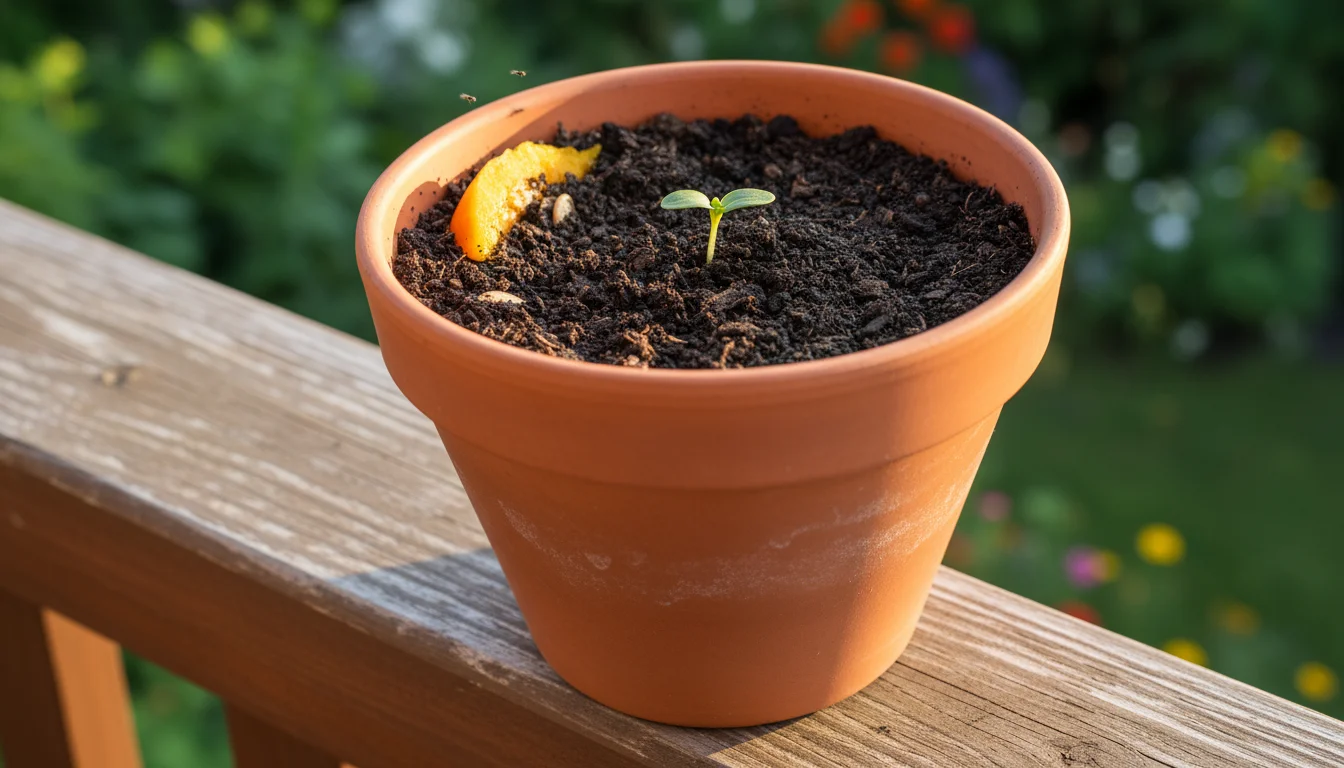
Halloween brings festive decorations, spooky celebrations, and of course, the iconic jack-o’-lantern. While these carved pumpkins create joyful memories, their journey often ends in the trash, contributing to landfill waste. Did you know your cheerful gourd offers a fantastic opportunity to enrich your container garden soil? Instead of tossing that pumpkin, transform it into valuable organic matter. You can easily turn your used jack-o’-lantern into a mini-compost pile right in your pots, providing a nutrient boost for your plants and reducing waste. This practical guide shows you how to implement small space composting, turning a seasonal decoration into a powerful fall garden hack that benefits your potted plants.
Composting your pumpkin is a sustainable alternative to standard fall cleanup and disposal of seasonal organic waste.
Why Your Jack-o’-Lantern Deserves a Second Life (and Your Garden Needs It!)
Every year, millions of pumpkins become Halloween decorations. Once the festivities end, many of these pumpkins go straight into the garbage. This practice contributes to landfill waste, where decomposing organic materials release methane, a potent greenhouse gas. However, you possess a simple, impactful solution right in your hands: pumpkin composting. Giving your jack-o’-lantern a second life transforms it from potential waste into a valuable resource for your container garden. This effort aligns perfectly with an environmentally conscious gardening approach.
Beyond the environmental benefits, composting your pumpkin offers significant advantages for your plants. Pumpkins are rich in nutrients. They contain potassium, vital for strong plant growth and flowering, and phosphorus, essential for root development. They also provide beneficial nitrogen and a range of micronutrients that boost overall plant health. When you compost a pumpkin in a pot, you create a slow-release fertilizer that nurtures your plants over time. This approach enhances soil structure, improves drainage, which means water moves efficiently through the soil, and increases water retention, helping your plants thrive in containers. Think of it as a free, organic soil amendment, a clever fall garden hack that saves you money and reduces your environmental footprint.
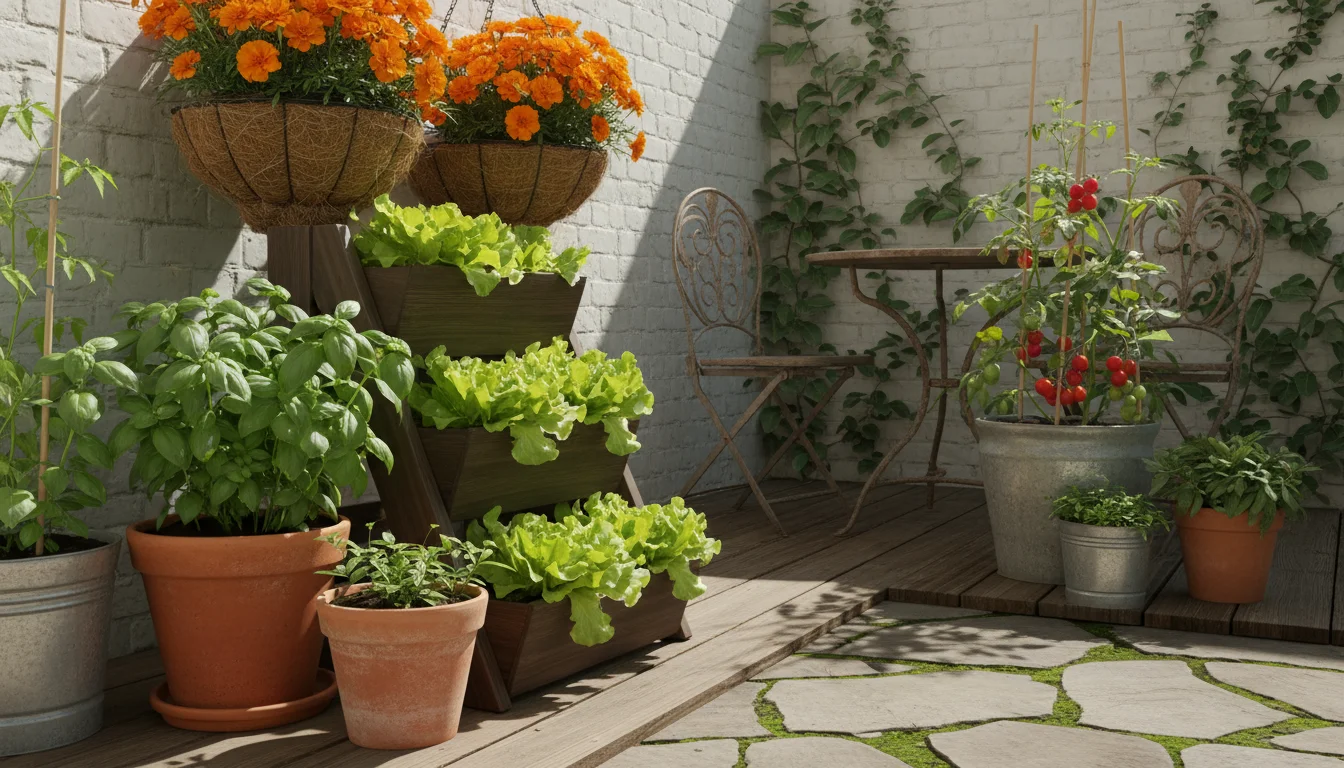
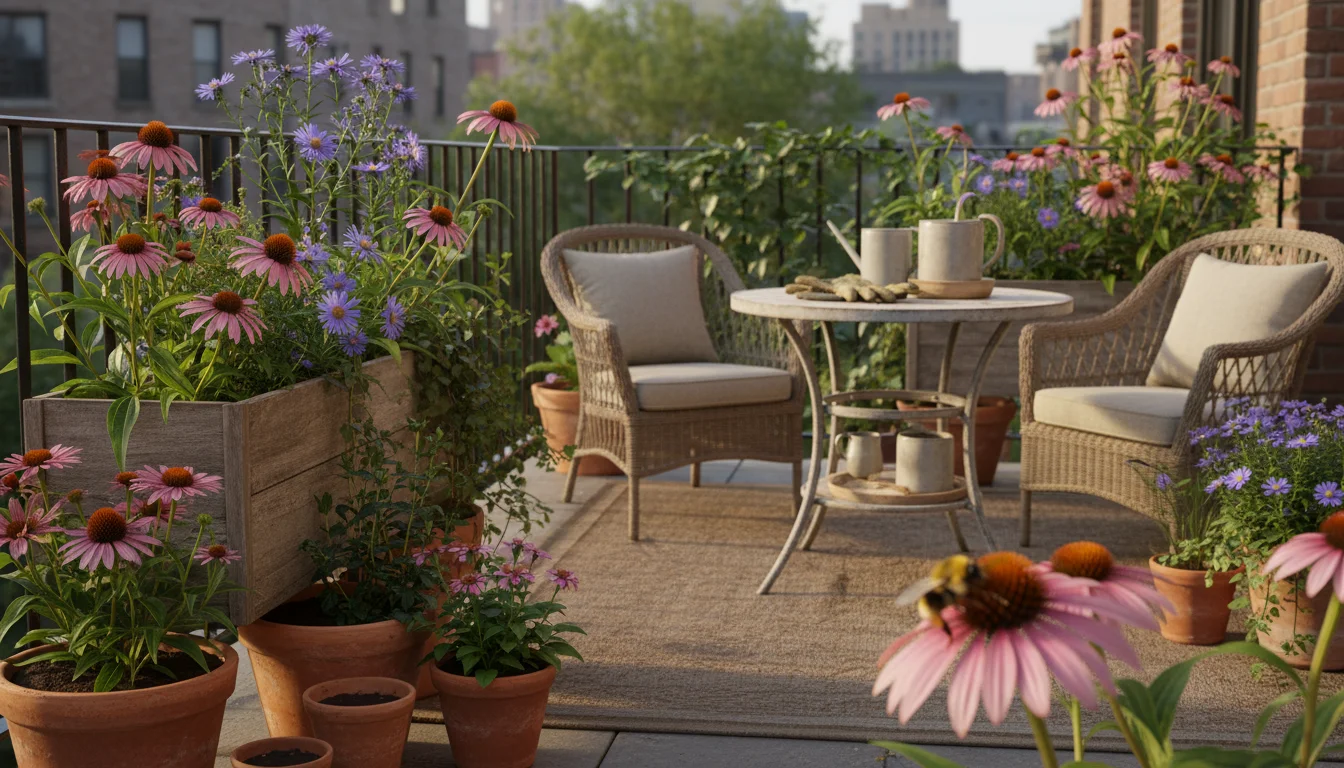
For small-space gardeners, every inch of soil matters. Maximizing the nutrients available to your container plants without relying on synthetic fertilizers becomes a priority. Composting your pumpkin directly in your container soil helps you achieve nutrient-rich soil right where you need it most. You provide a sustainable cycle, feeding your plants with the very materials you would otherwise discard. This method perfectly demonstrates how you can make a big impact in a small space, truly embodying the spirit of sustainable gardening.
Understanding Container Composting: The Basics for Small Spaces
Composting involves the natural process of decomposition, where microorganisms like bacteria and fungi break down organic materials into a dark, nutrient-rich soil amendment called compost. This process happens constantly in nature, and you can replicate it on a smaller scale in your own containers. For small-space composting, understanding a few key principles ensures success.
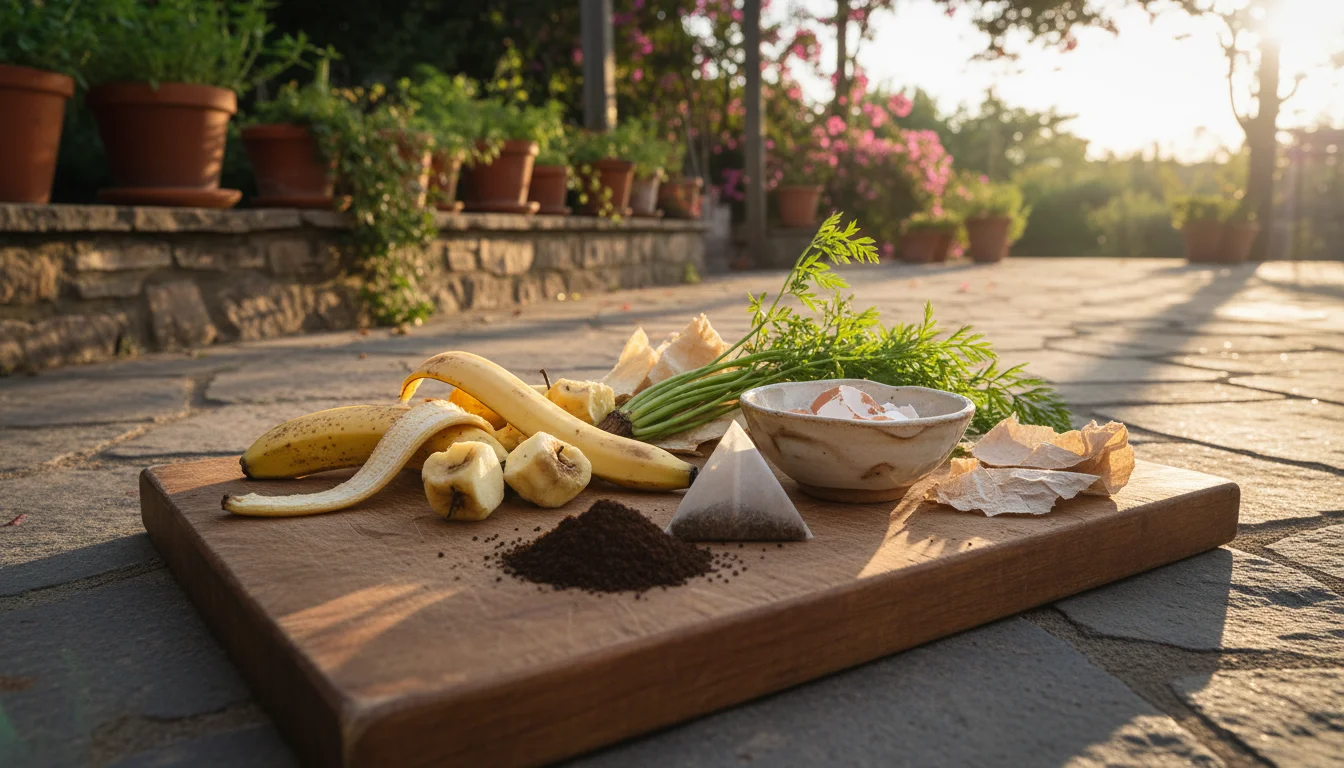
The core concept of composting relies on balancing “greens” and “browns.” Greens supply nitrogen, acting as the fuel for microbial activity. These include fresh kitchen scraps, grass clippings, and of course, your pumpkin flesh. Browns provide carbon, which serves as an energy source for the decomposers and adds bulk to your compost. Examples of browns include dried leaves, shredded newspaper, cardboard, and wood chips. A good balance, roughly 2 parts brown to 1 part green by volume, promotes efficient decomposition without odors.
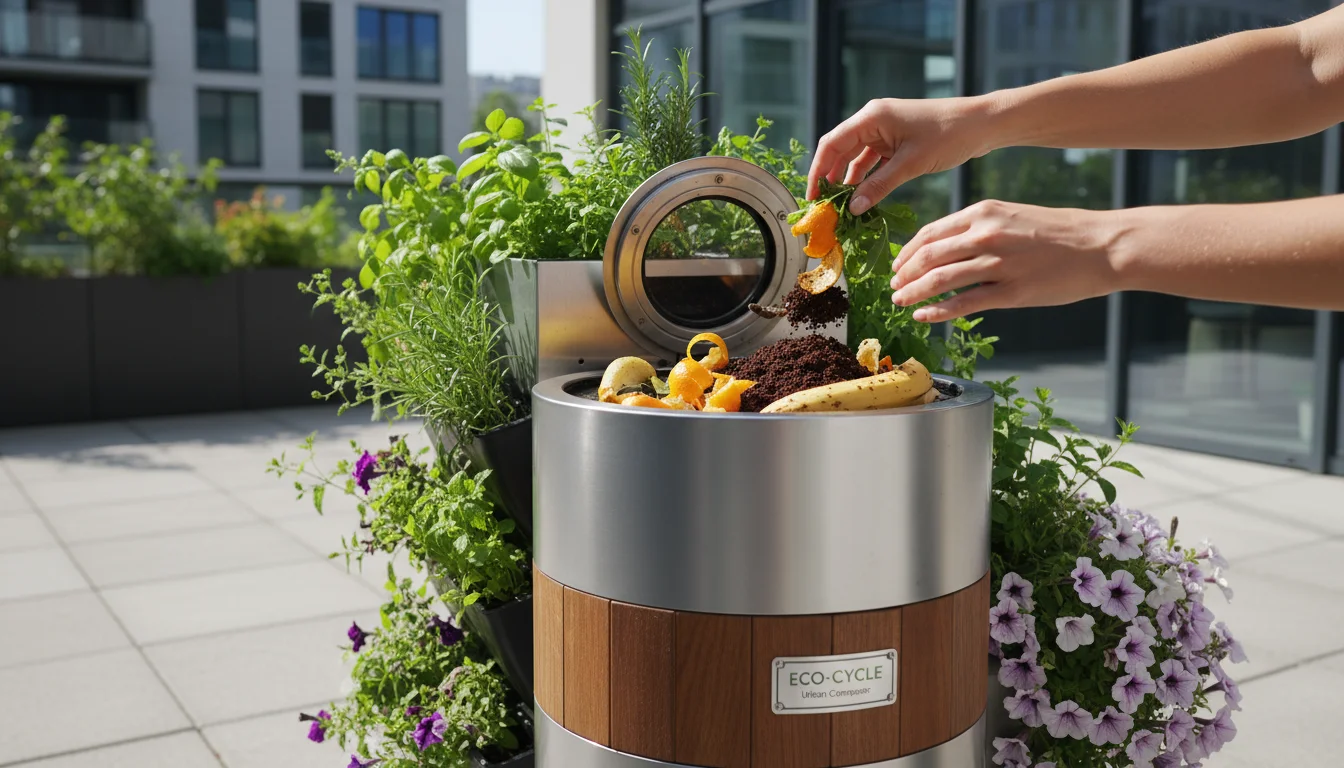
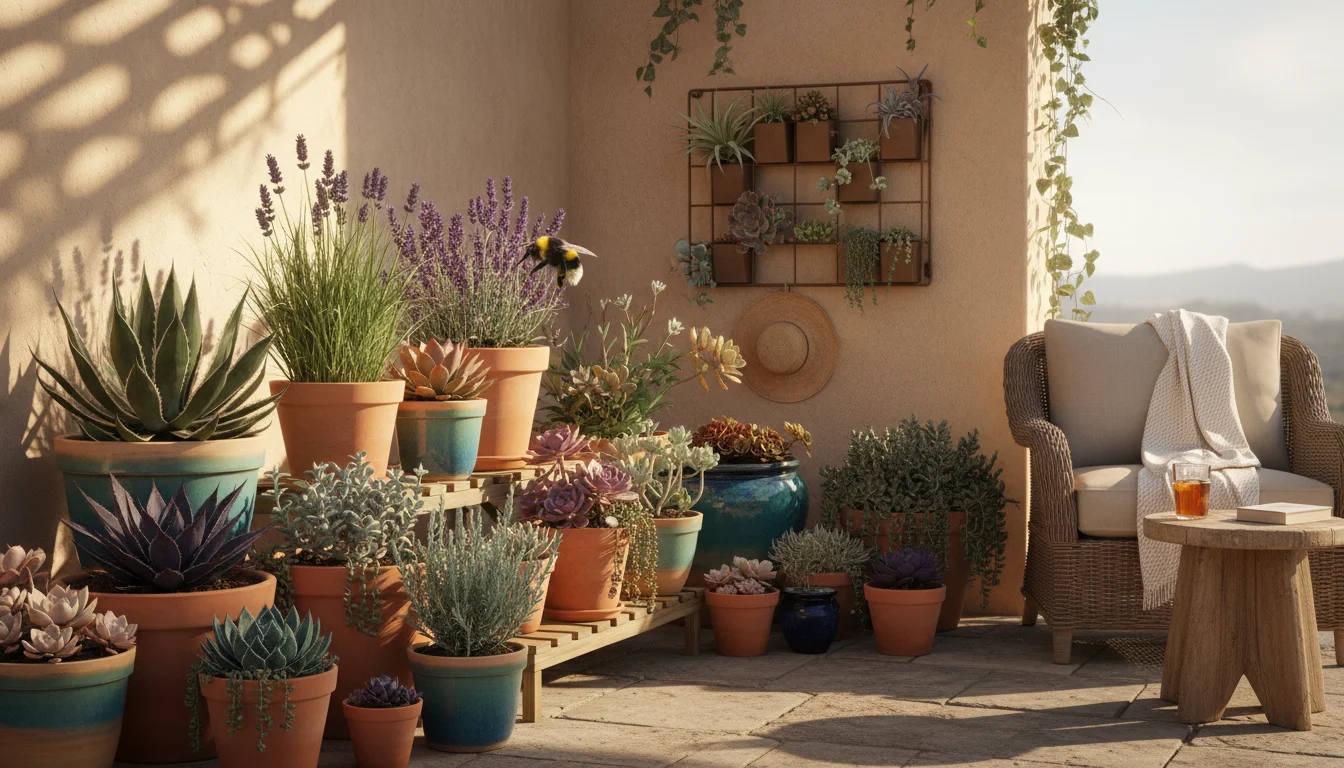
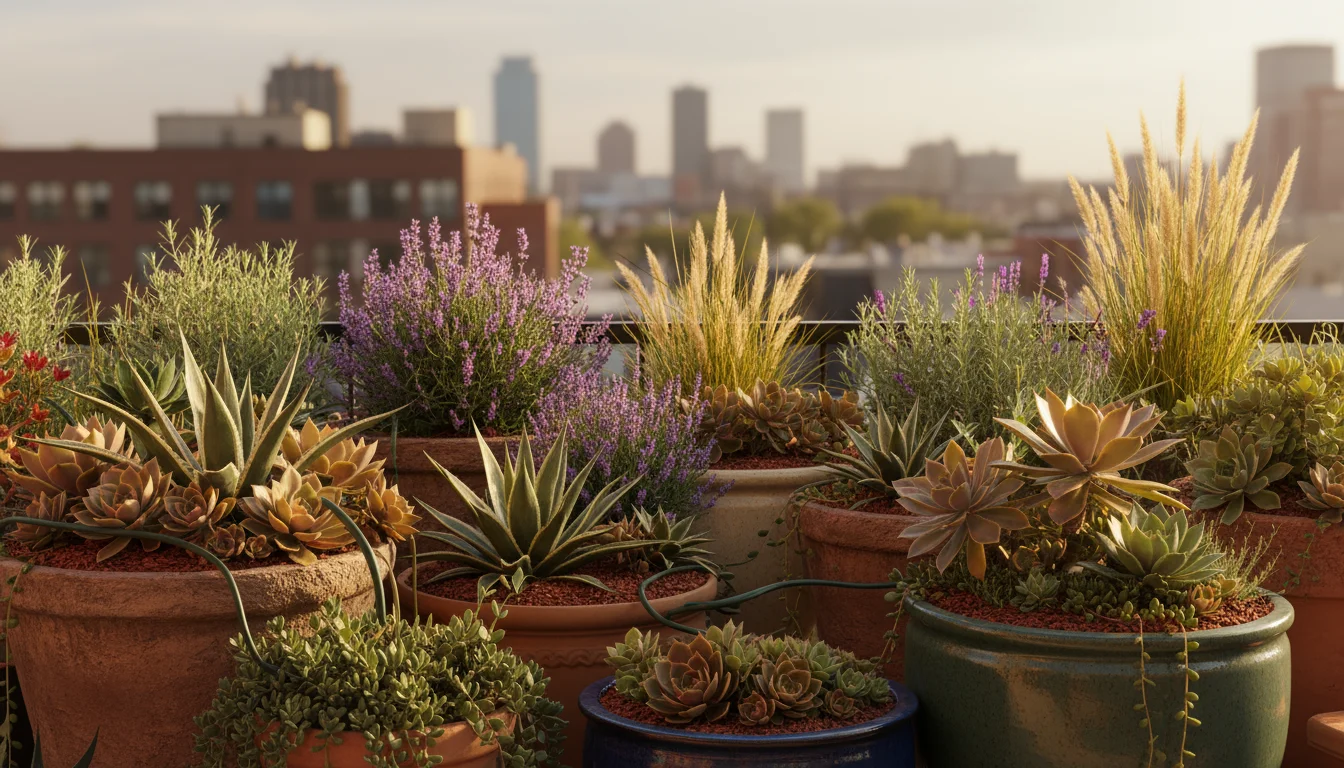
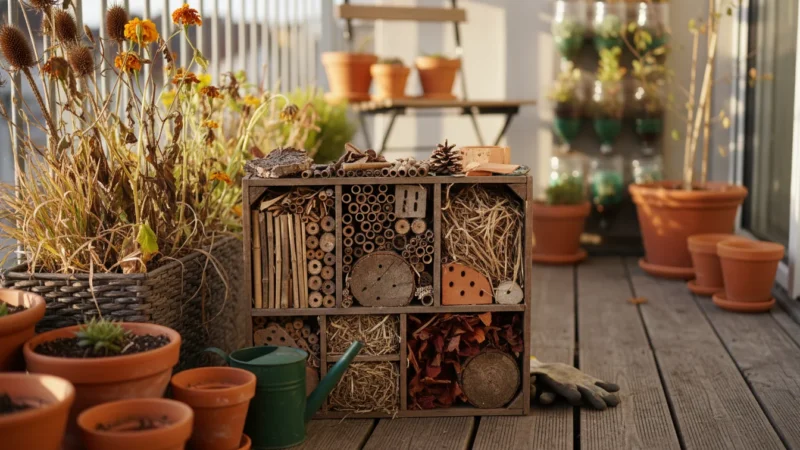
Container composting works particularly well for individuals with limited space, such as those gardening on balconies, patios, or in small yards. You do not need a large compost bin or an expansive garden plot. By integrating organic matter directly into your existing or future container soil, you improve its quality while managing waste. The contained environment helps maintain consistent moisture and temperature, crucial factors for rapid decomposition. This method not only breaks down your old pumpkins but also transforms other kitchen scraps into valuable garden soil, supporting the health of your potted plants throughout the year. It’s an accessible and highly effective way to engage in small-space composting.
Gathering Your Tools and Materials for Pumpkin Composting
Starting your pumpkin mini-compost pile requires minimal equipment. You likely already own many of these items, making this an accessible project for any gardener. Preparing your materials in advance streamlines the process and ensures you have everything on hand for a successful composting endeavor.
Here is what you will need:
- Your Old Jack-o’-Lantern: Make sure it is free from paint, glitter, or artificial embellishments. These materials will not break down properly and can harm your plants.
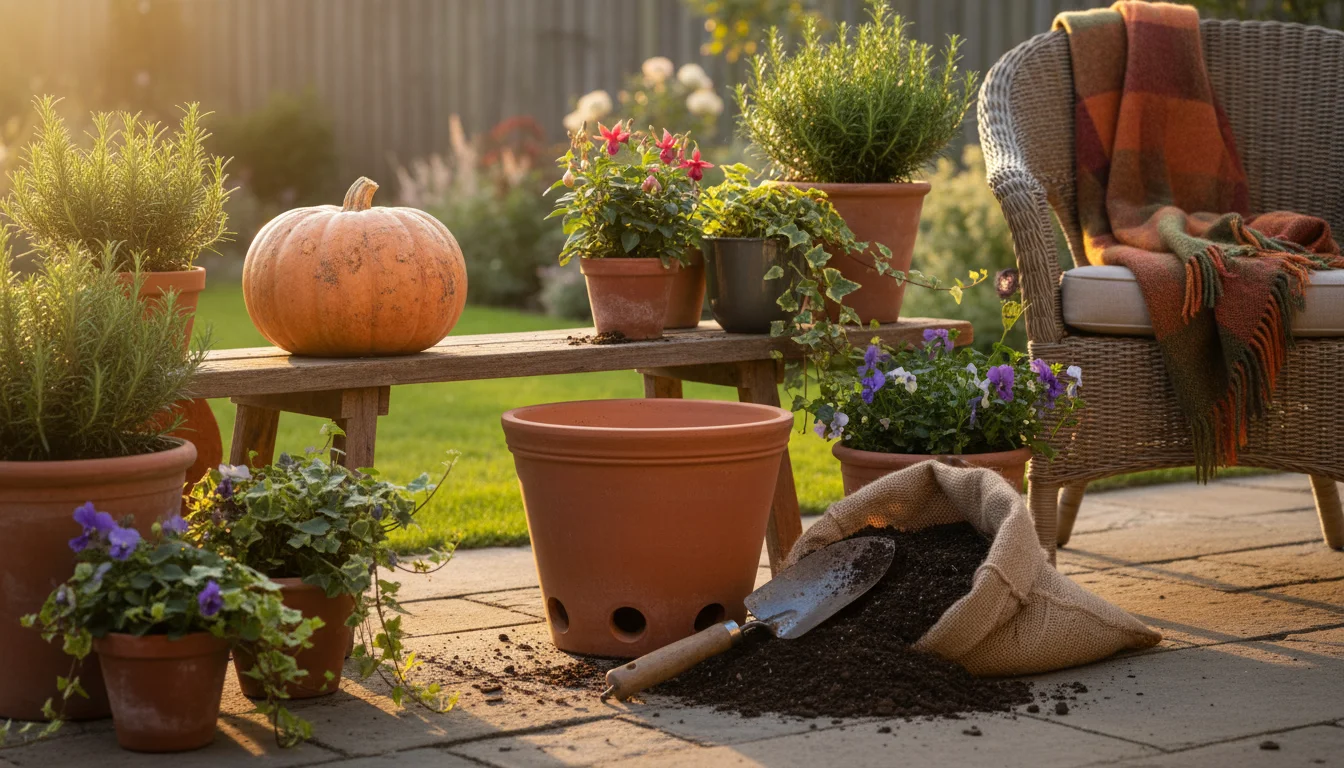
- A Large Container or Pot: Choose a pot at least 12-16 inches in diameter, or even larger if you plan to compost a big pumpkin. Ensure the container has drainage holes at the bottom; these are crucial for preventing waterlogged soil and anaerobic conditions, which cause foul odors.
- Potting Soil: You need enough to create layers and cover your pumpkin pieces. Use a good quality, all-purpose potting mix.
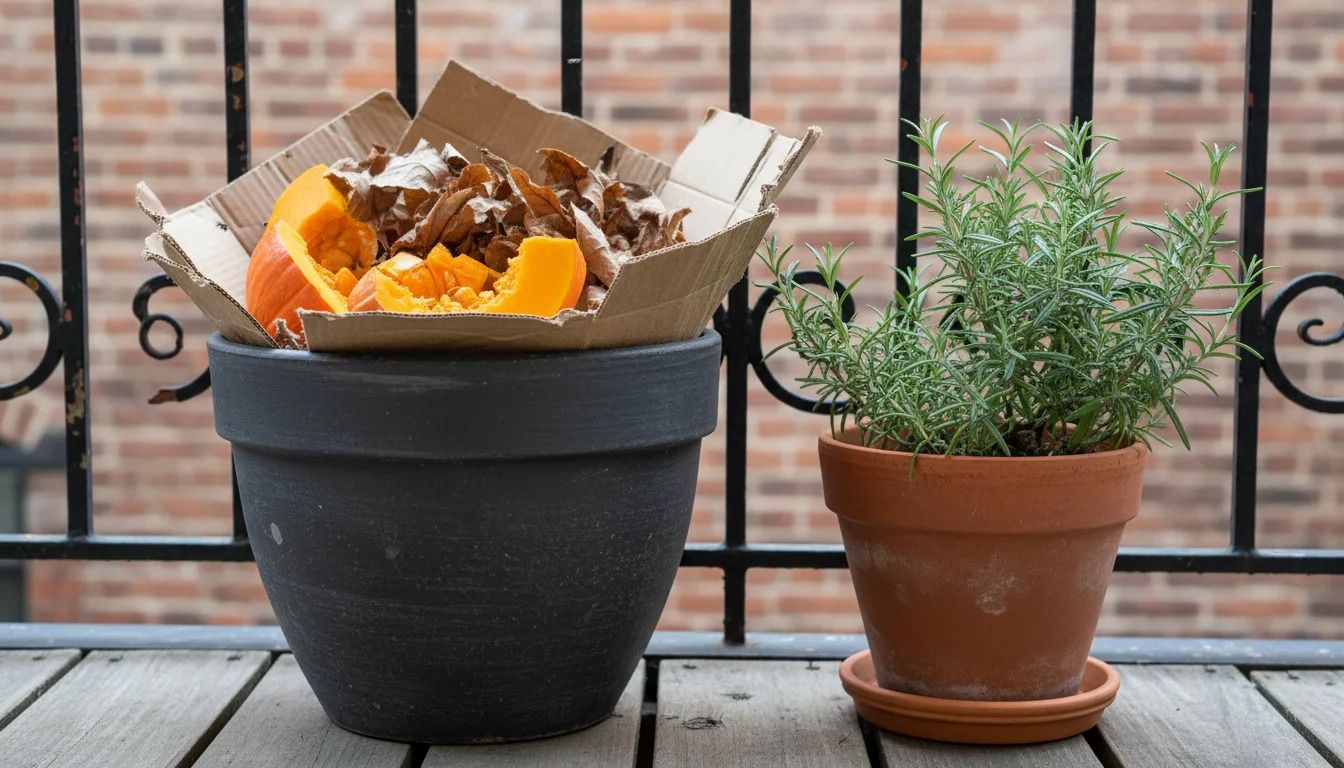
- “Brown” Materials: Collect dried leaves, shredded newspaper, torn cardboard pieces, or wood shavings. These provide carbon and help balance the moisture. Aim for roughly twice the volume of your pumpkin scraps.
- “Green” Materials (Optional but Recommended): A handful of fresh kitchen scraps, like vegetable peelings or coffee grounds, will boost nitrogen and accelerate decomposition. Your pumpkin itself counts as a “green” material, so this is supplementary.
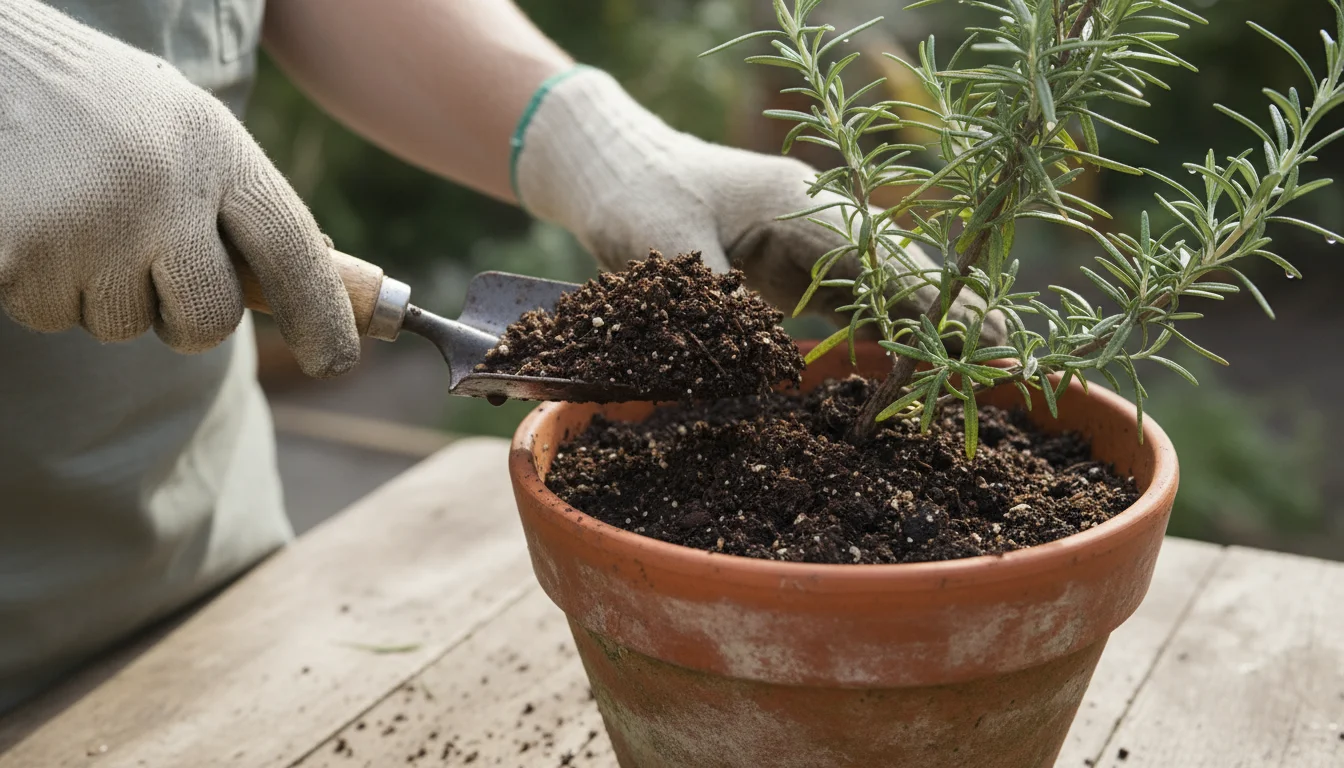
- A Shovel or Trowel: For mixing and layering materials.
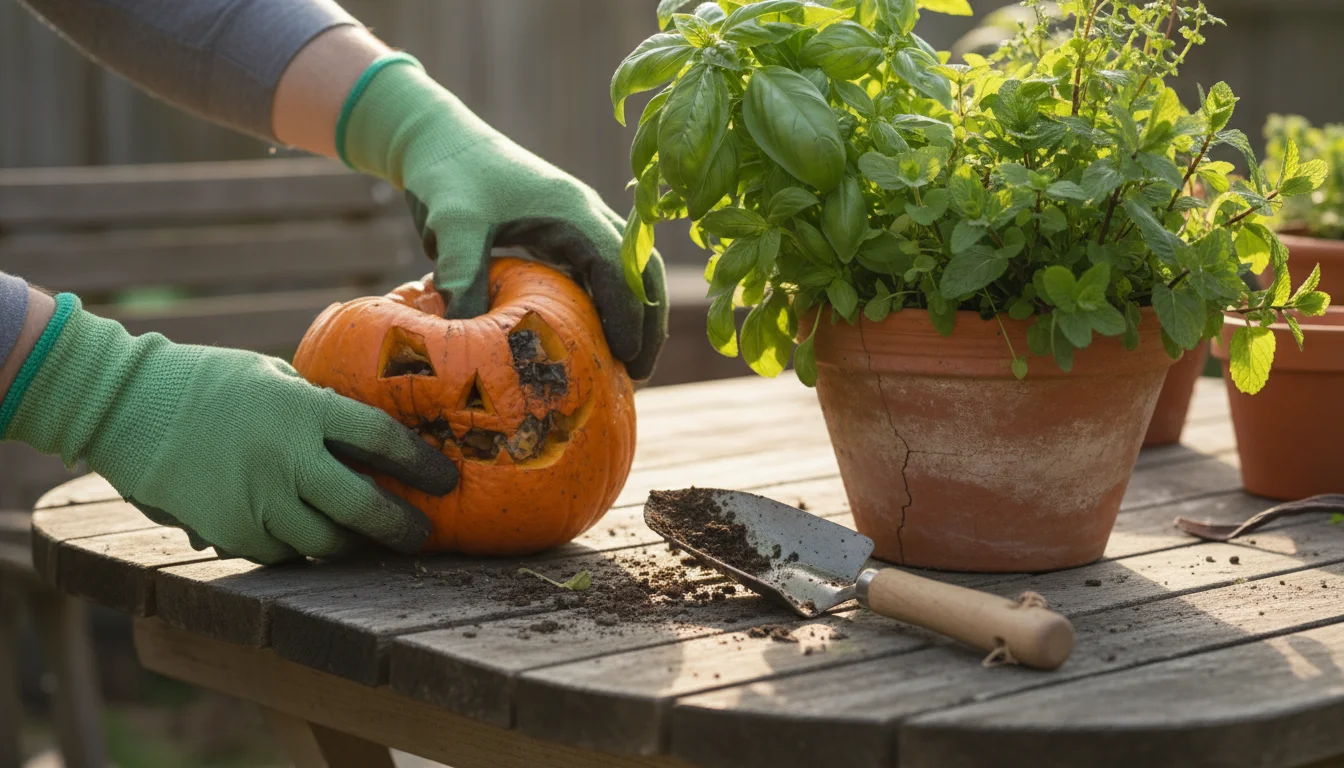
- Garden Gloves: To keep your hands clean and protect them from rough edges.
- Watering Can: To moisten the layers as you build your compost.
- A Knife and Cutting Board: For safely cutting your pumpkin into smaller pieces.
Selecting the right container makes a significant difference. A terracotta pot provides good airflow, but any sturdy plastic or ceramic pot with sufficient drainage works. Consider the future use of the pot; if you plan to plant directly into it after composting, choose a container size appropriate for your desired plants. This preparation ensures you can effectively convert your jack-o’-lantern into valuable garden soil.
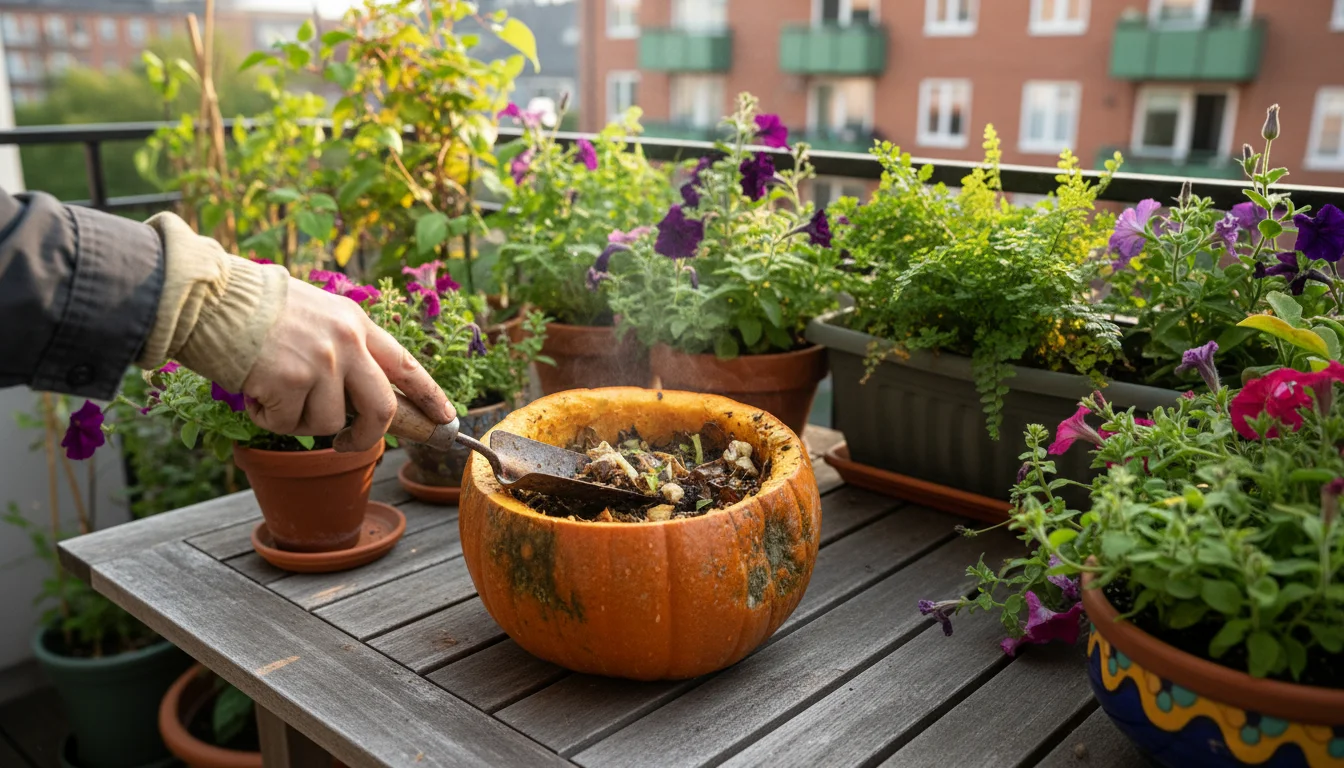
Step-by-Step Guide: Building Your Pumpkin Mini-Compost Pile
Now that you have your materials, let us walk through building your pumpkin mini-compost pile. This process involves layering, which mimics how nature breaks down organic matter. Follow these steps for successful composting a pumpkin in a pot:
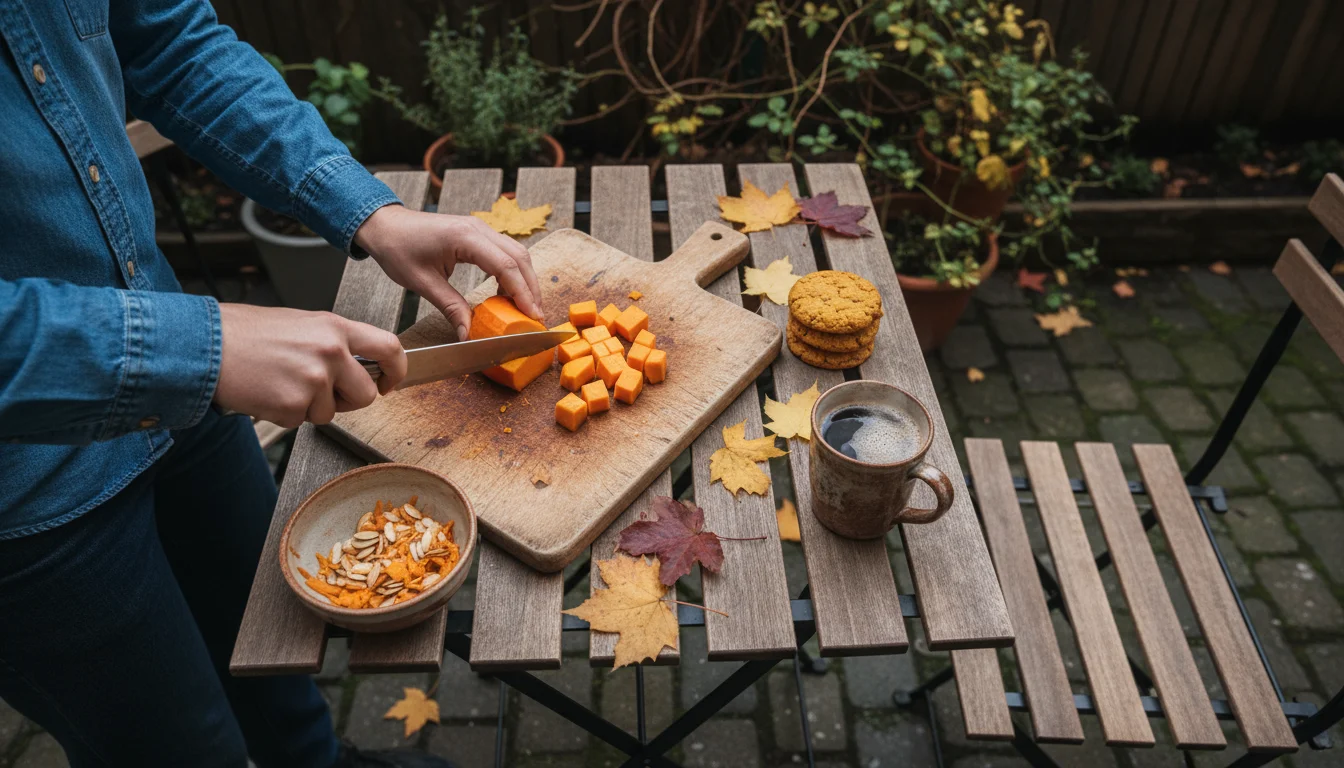
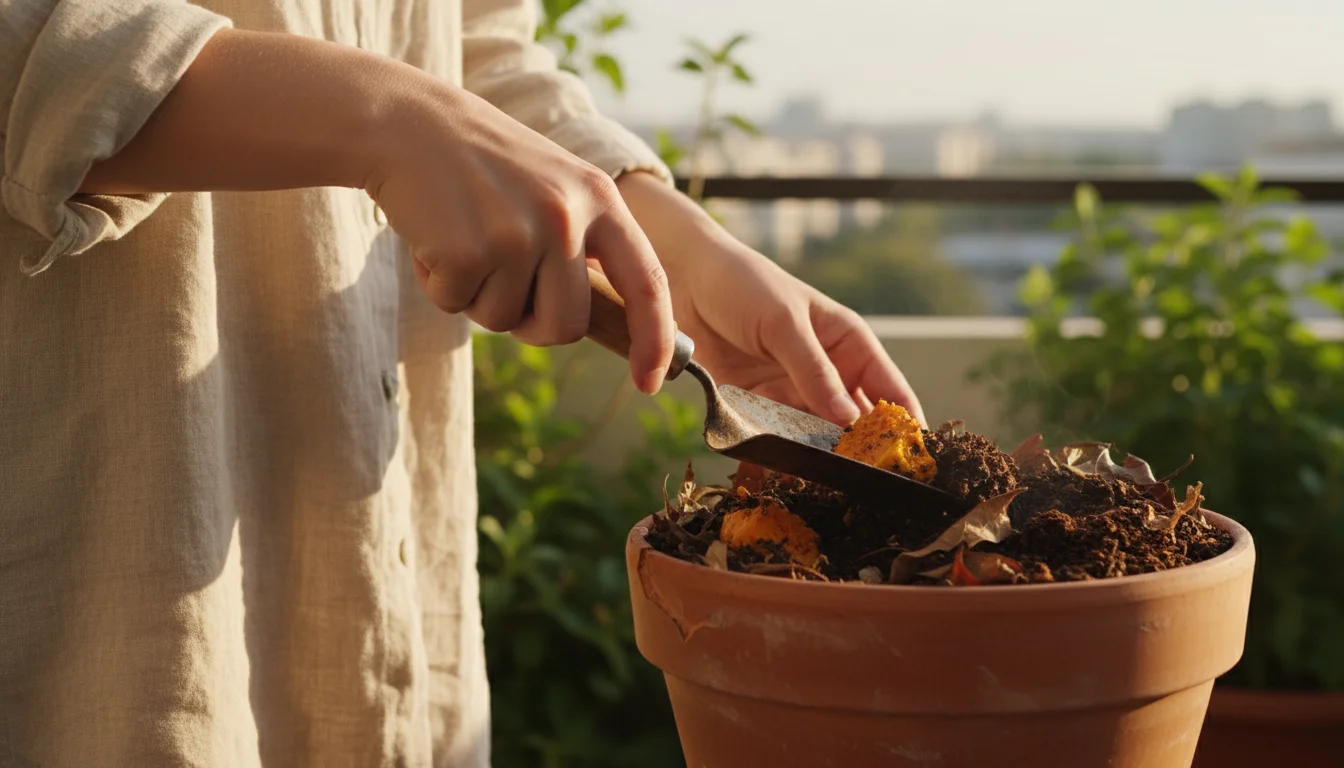
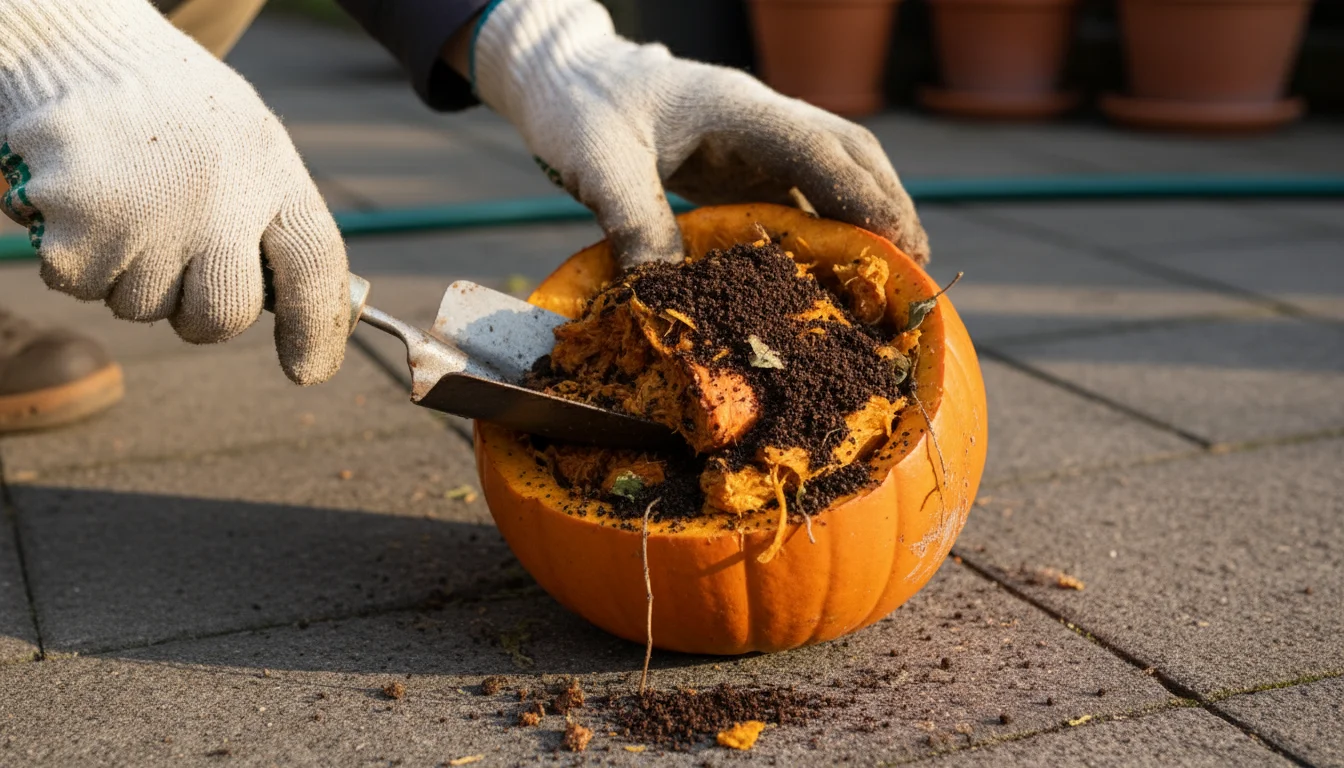
- Prepare Your Pumpkin:
- First, remove any candles, artificial lights, or plastic pieces from your jack-o’-lantern.
- Carefully scrape out all seeds and stringy bits from the inside. You can roast these seeds for a snack or save them for planting next year, but do not add them to your compost unless you want pumpkin volunteers growing in your pot!
- Cut the pumpkin flesh into smaller pieces, ideally 1-2 inch cubes. Smaller pieces decompose much faster than large chunks, ensuring a quicker turnaround for your nutrient-rich soil.
- Prepare Your Container:
- Place a layer of coarse material, such as small pebbles, broken pottery shards, or even a piece of screen, over the drainage holes at the bottom of your chosen pot. This prevents soil from washing out while allowing excess water to escape, ensuring good drainage.
- Add a 2-3 inch layer of potting soil at the bottom of the container. This provides a base and introduces beneficial microorganisms.
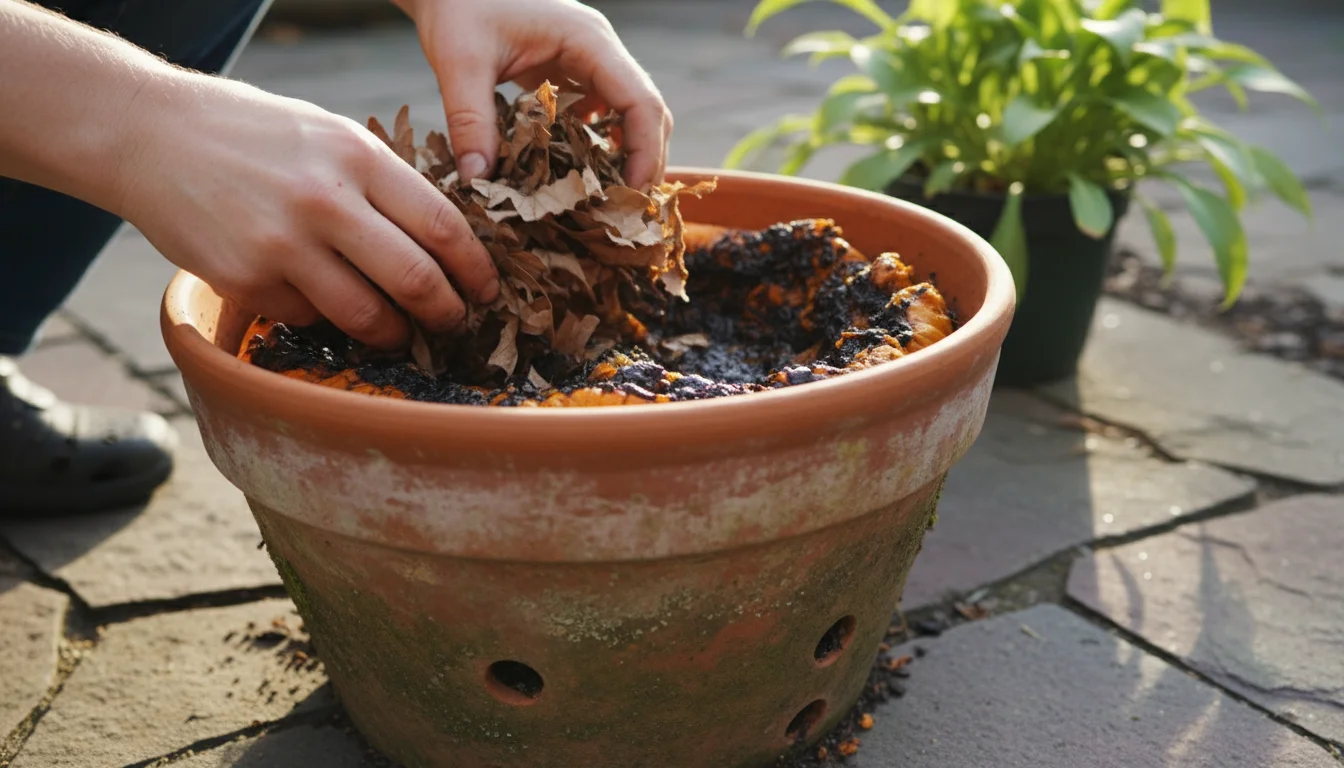
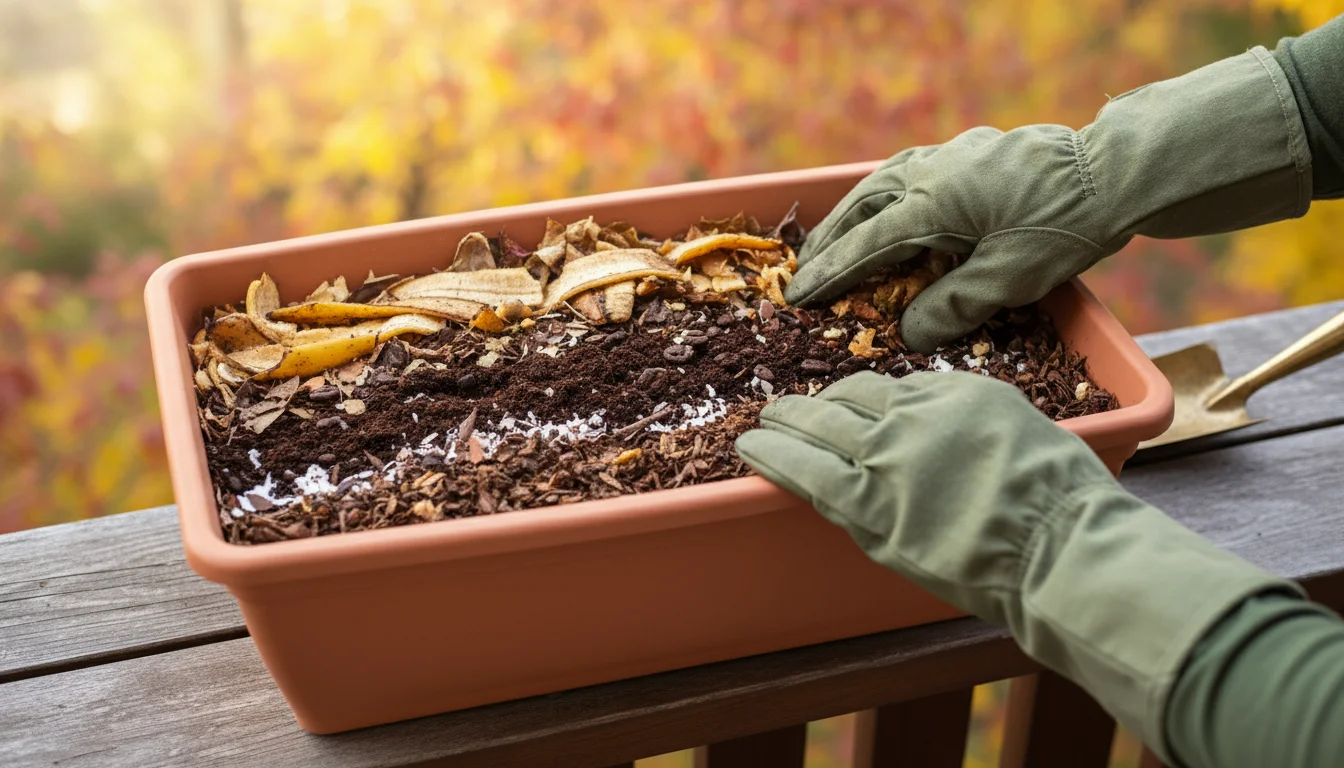
- Begin Layering:
- Add a 2-3 inch layer of “brown” materials, like dried leaves or shredded paper, over the initial soil layer. Moisten this layer lightly.
- Next, add a 2-3 inch layer of your cut pumpkin pieces. This acts as your primary “green” layer.
- If you have additional “green” kitchen scraps, like fruit and vegetable peels, you can add a thin layer of those here.
- Cover the pumpkin and green materials with another 2-3 inch layer of potting soil. This helps contain odors and introduces more microbes.
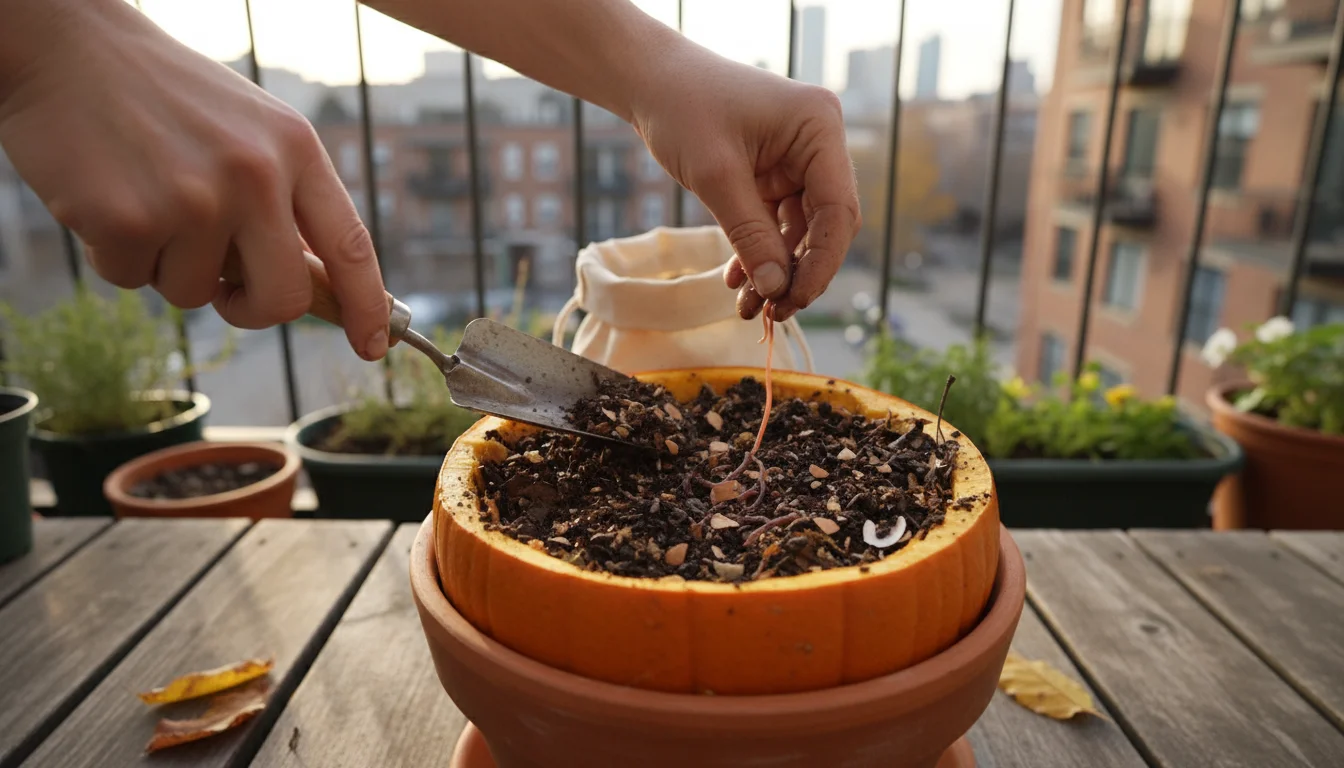
- Repeat and Finish:
- Continue layering browns, pumpkin/greens, and soil until your container is nearly full, leaving about 2-3 inches of space from the rim. Always end with a layer of potting soil on top. This top soil layer is crucial for odor control and discouraging pests.
- Lightly water the entire pile. The compost should feel consistently damp, like a wrung-out sponge, but not soggy.
Once you finish layering, your mini-compost pile is ready to begin its transformation. Place the container in a location where it can remain undisturbed. A spot with partial shade helps maintain consistent moisture levels. Over the next few weeks and months, the magic of decomposition will occur, turning your old pumpkin into a valuable resource for your garden. This process provides a clear, actionable way of using jack o lantern for garden soil.
The Science of Decomposition: What Happens Underground
The transformation of your old pumpkin into nutrient-rich soil involves a fascinating biological process. When you create your mini-compost pile, you provide an ideal environment for a diverse community of microorganisms to thrive. These tiny workers, primarily bacteria and fungi, are the unsung heroes of decomposition.
Once you layer your pumpkin pieces, brown materials, and soil, these microbes get to work. They consume the organic matter, breaking down complex compounds into simpler forms. The “green” materials, especially your pumpkin flesh, supply vital nitrogen, which serves as a primary food source for these microorganisms, fueling their rapid reproduction. The “brown” materials contribute carbon, another essential building block for microbial growth, while also providing structure and aeration to the pile. As these organisms actively consume and metabolize the organic waste, they generate heat. While a small container compost pile may not reach the high temperatures of a large industrial compost heap, you will still observe a gradual warming if you monitor it closely.
This biological breakdown does more than just make the pumpkin disappear. It transforms the nutrients locked within the pumpkin into forms readily available for plant uptake. For example, the nitrogen, phosphorus, and potassium in the pumpkin, initially in complex organic molecules, convert into soluble inorganic forms that plant roots can absorb. This process fundamentally changes the chemical and physical properties of the soil. The resulting compost improves soil structure, making it more crumbly and easier for roots to penetrate. It increases the soil’s capacity to hold water and nutrients, meaning you water less frequently and your plants access food more efficiently. Effectively, you create a slow-release, natural fertilizer directly in your pot, proving an excellent method for using jack o lantern for garden soil.
Caring for Your Container Compost: Maintenance Tips
Once you set up your pumpkin mini-compost pile, a little ongoing care ensures efficient decomposition and prevents common issues. Proper maintenance encourages a healthy environment for the microorganisms, leading to quicker results and a richer soil amendment.
Moisture Management
Maintaining the right moisture level is crucial. The compost pile should remain consistently damp, like a well-wrung sponge. If it dries out, microbial activity slows down significantly. If it becomes too wet, it can become waterlogged, leading to anaerobic conditions, which cause unpleasant odors and slow decomposition. Check the moisture every few days by gently digging into the top layer. If it feels dry, add a small amount of water. If it feels too wet, you can add more “brown” materials, such as shredded paper or dry leaves, to absorb excess moisture.
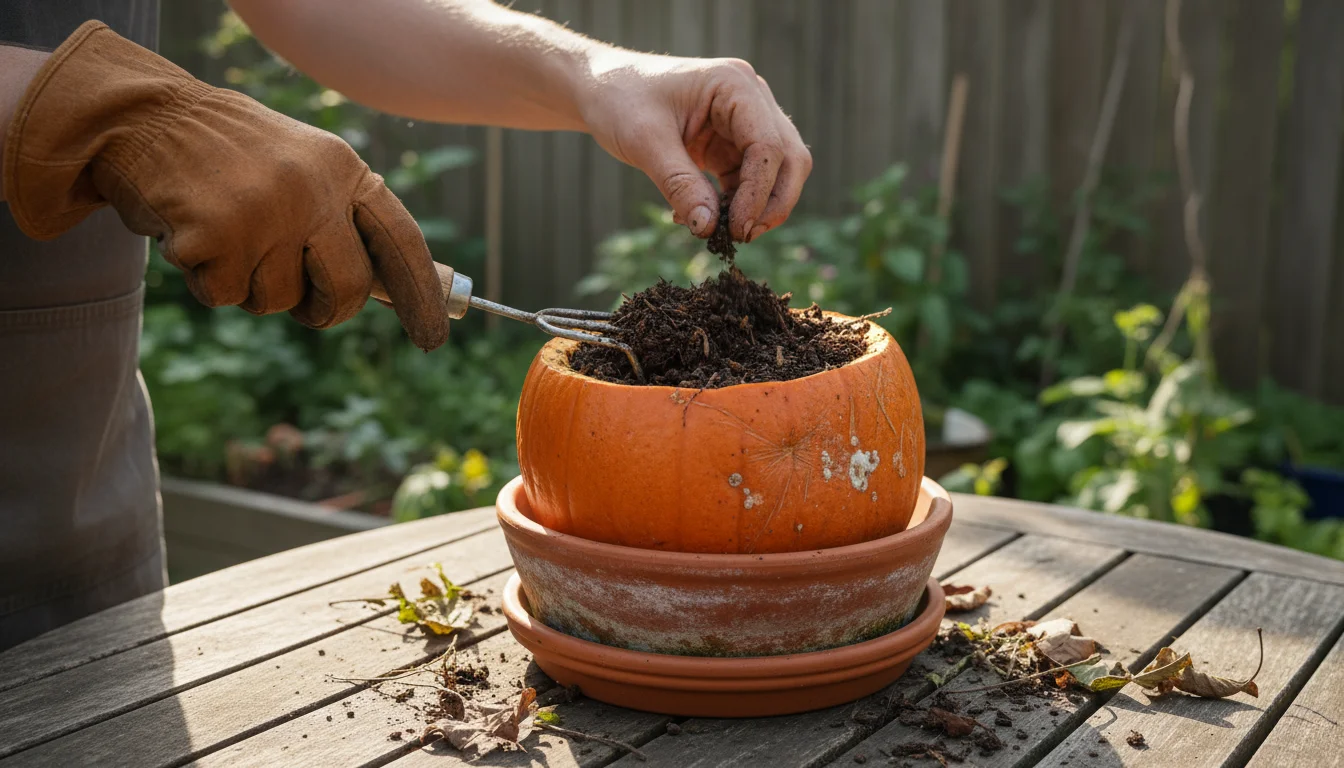
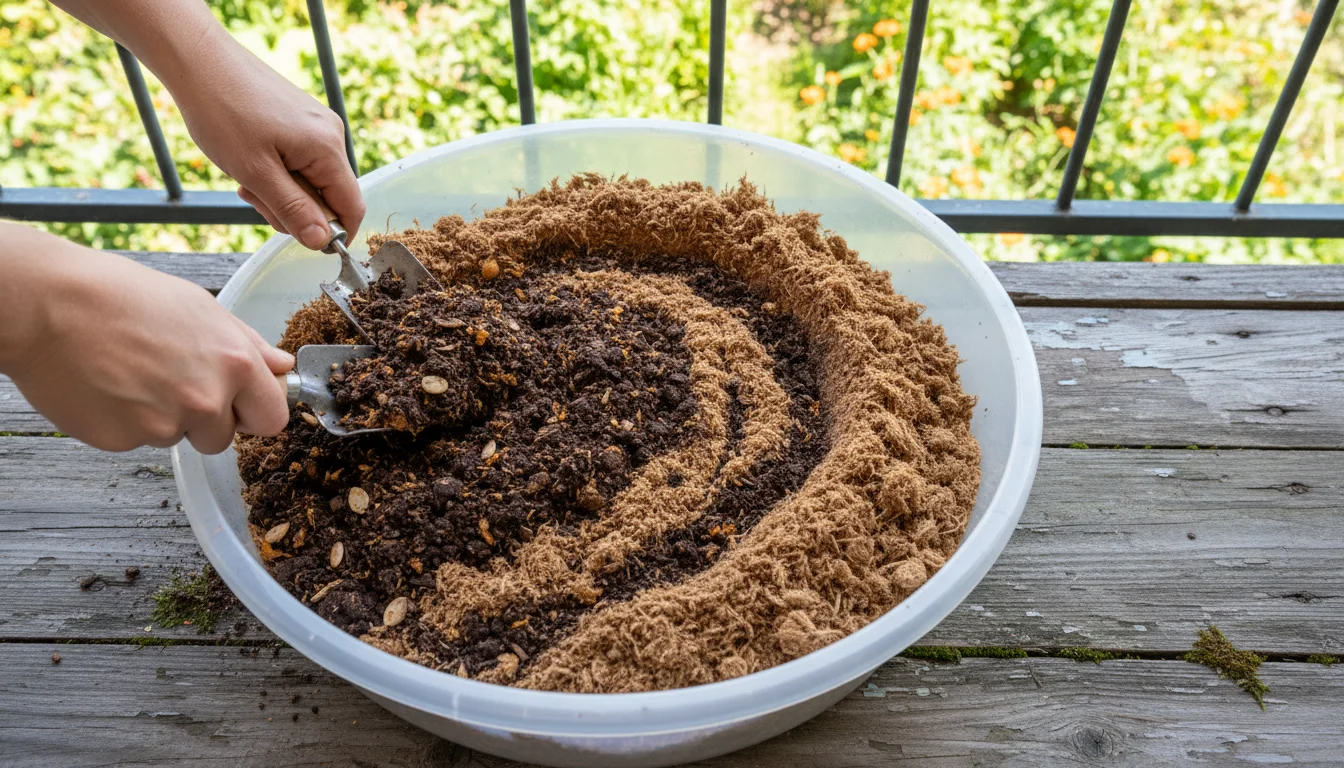
Aeration (Turning)
Microorganisms need oxygen to thrive. Without enough air, beneficial aerobic bacteria cannot do their work, and anaerobic bacteria take over, producing foul smells. Periodically aerate your mini-compost pile. Once a week or every two weeks, use a hand trowel or a small digging tool to gently turn the contents of your pot. This introduces oxygen and mixes the materials, promoting even decomposition. You do not need to aggressively turn it like a large compost bin; a gentle stir suffices.
What Not to Add
While container composting works for many organic scraps, avoid certain items to prevent pests and odors:
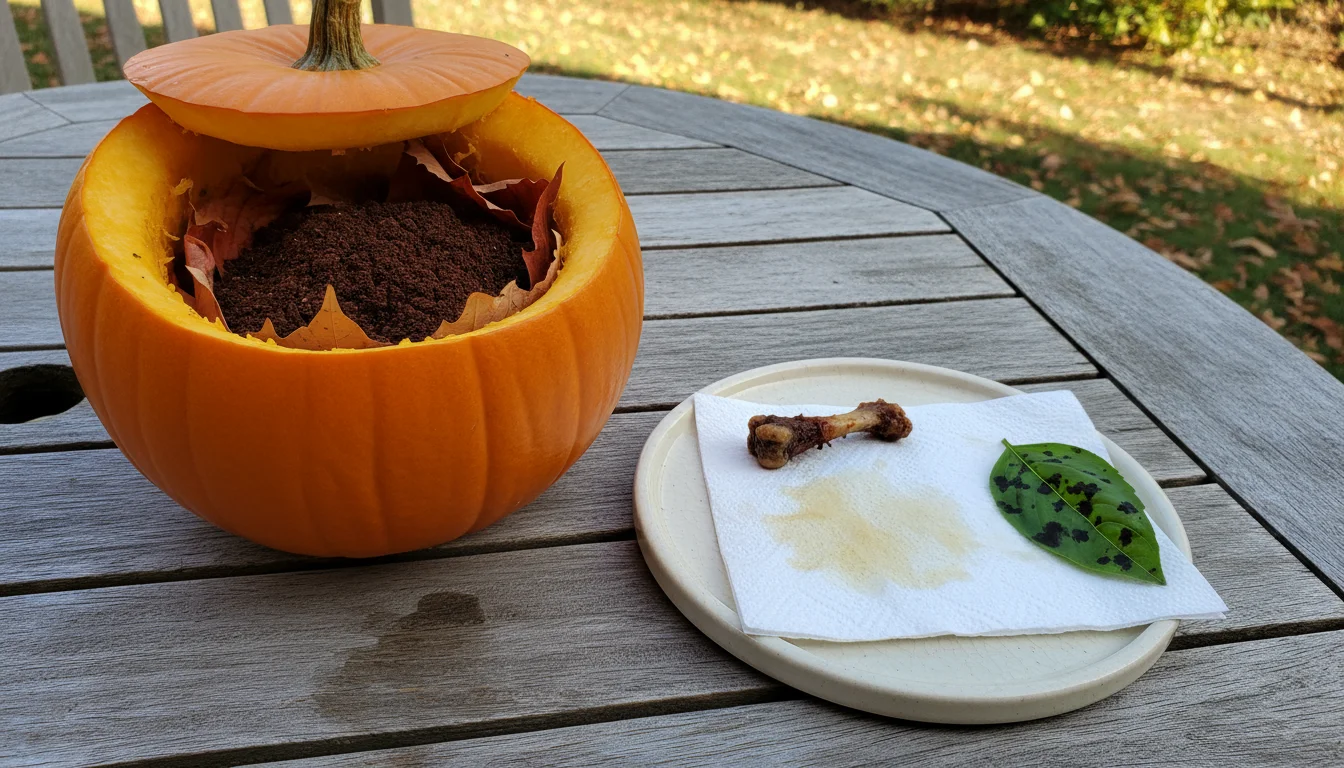
- Meat, bones, and dairy products: These attract rodents and flies and can create strong, unpleasant odors as they decompose.
- Fats, oils, and grease: These break down slowly and can also attract pests.
- Diseased plant material: You risk spreading pathogens to your healthy plants when you use the compost.
- Pet waste: It can contain harmful pathogens that are not broken down in a small, cool compost pile.
- Chemically treated materials: Avoid anything that might introduce herbicides or pesticides into your garden soil.
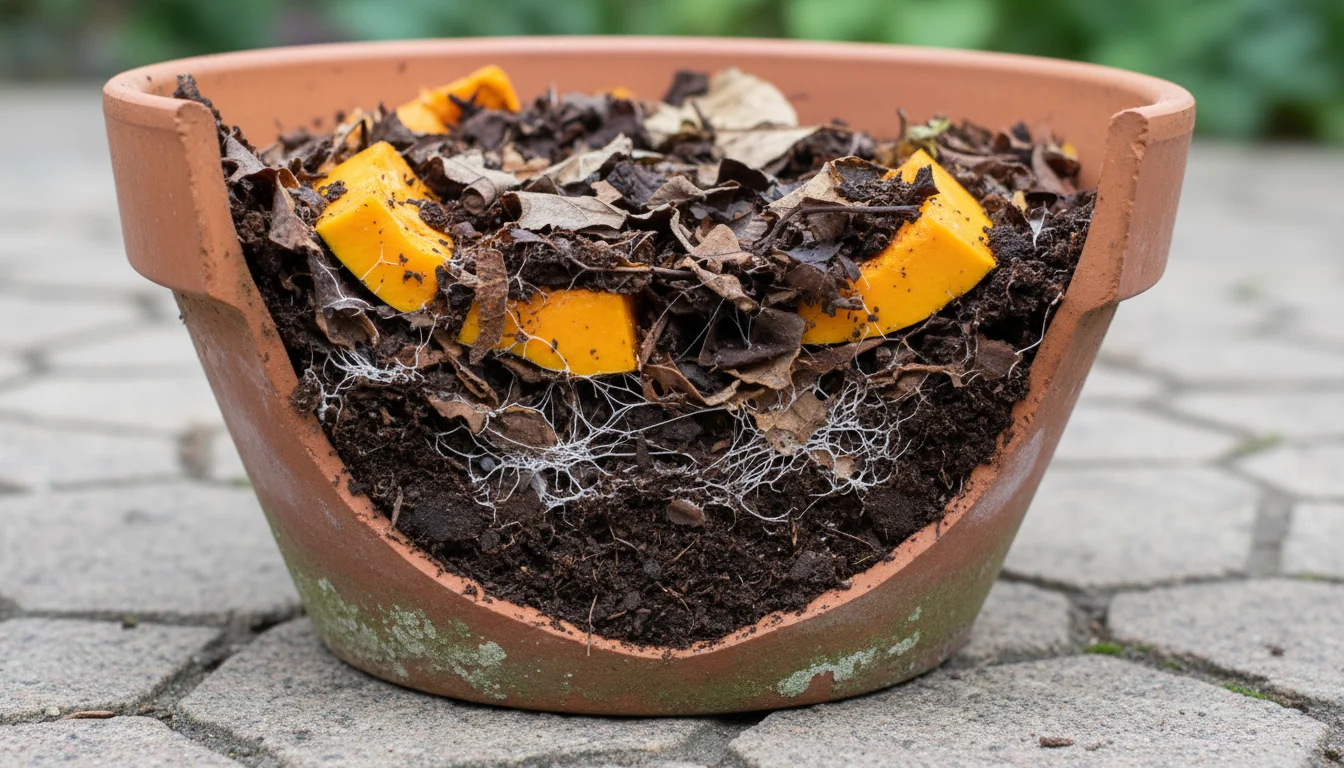
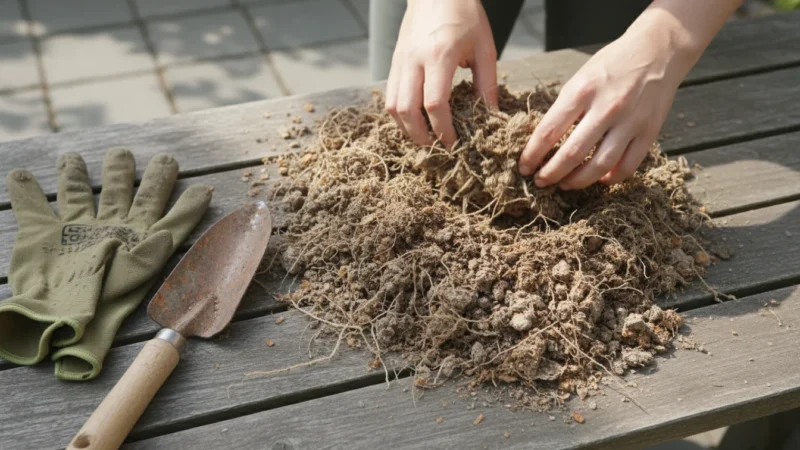
When Is It Ready?
Decomposition time varies depending on factors like pumpkin size, environmental temperature, and maintenance. Typically, a pumpkin mini-compost pile can take anywhere from 4 weeks to 3 months to fully break down. You know your compost is ready when the original pumpkin pieces are no longer recognizable, and the mixture has transformed into a dark, crumbly material with an earthy smell. It will look and feel like rich, dark soil. At this point, it is ready to benefit your container plants.

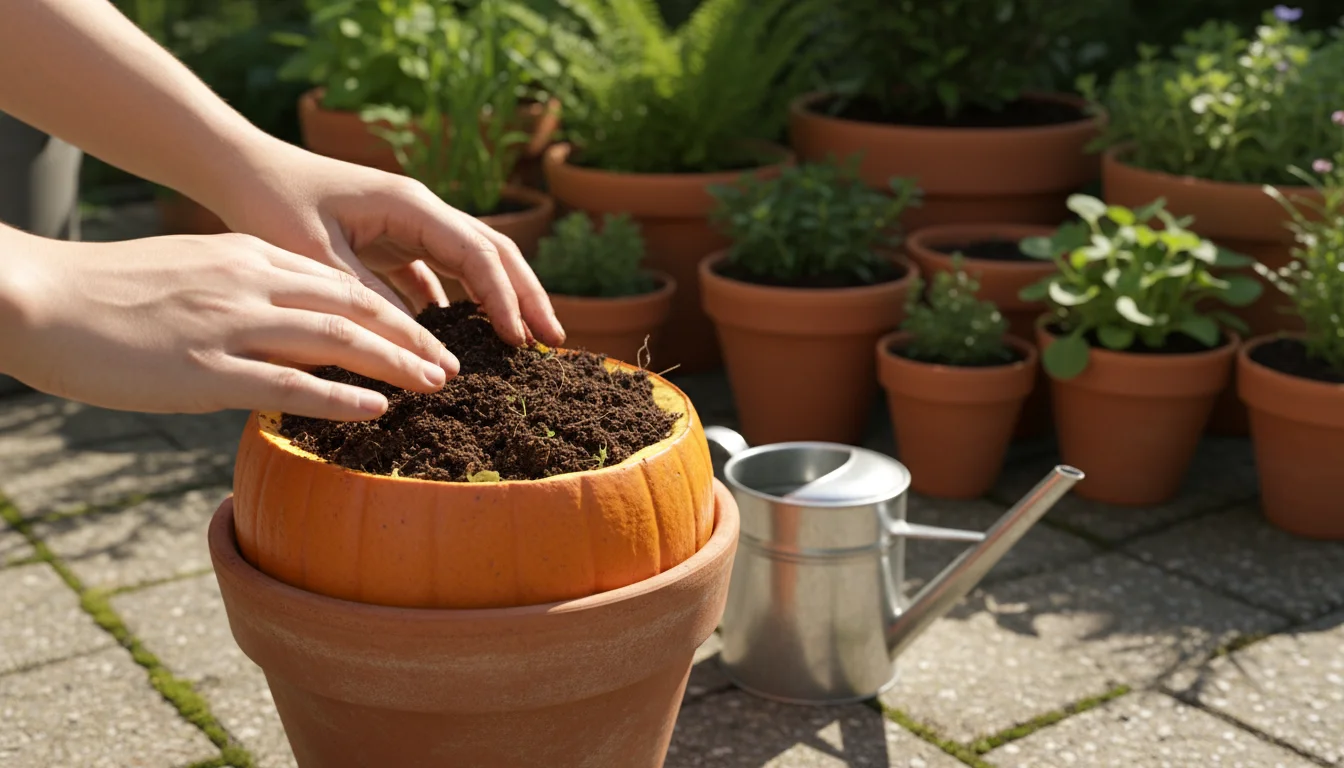
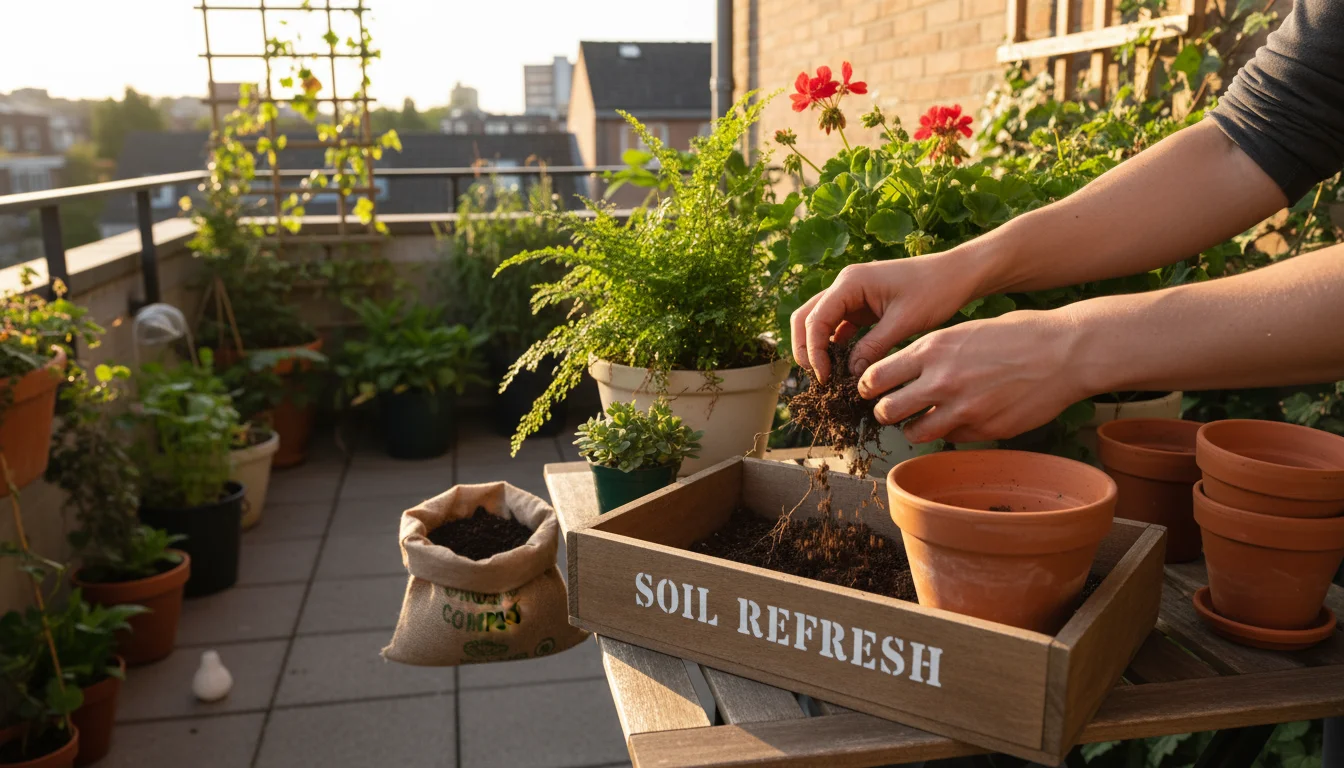
Planting Success: How to Use Your Pumpkin-Enriched Soil
Once your pumpkin mini-compost has transformed into dark, crumbly, and earthy-smelling soil, you hold a powerful, nutrient-rich amendment for your container garden. This compost represents a significant upgrade from plain potting mix, offering numerous benefits for plant health and growth. Knowing how to properly incorporate it ensures your plants receive the full spectrum of advantages from using jack o lantern for garden soil.
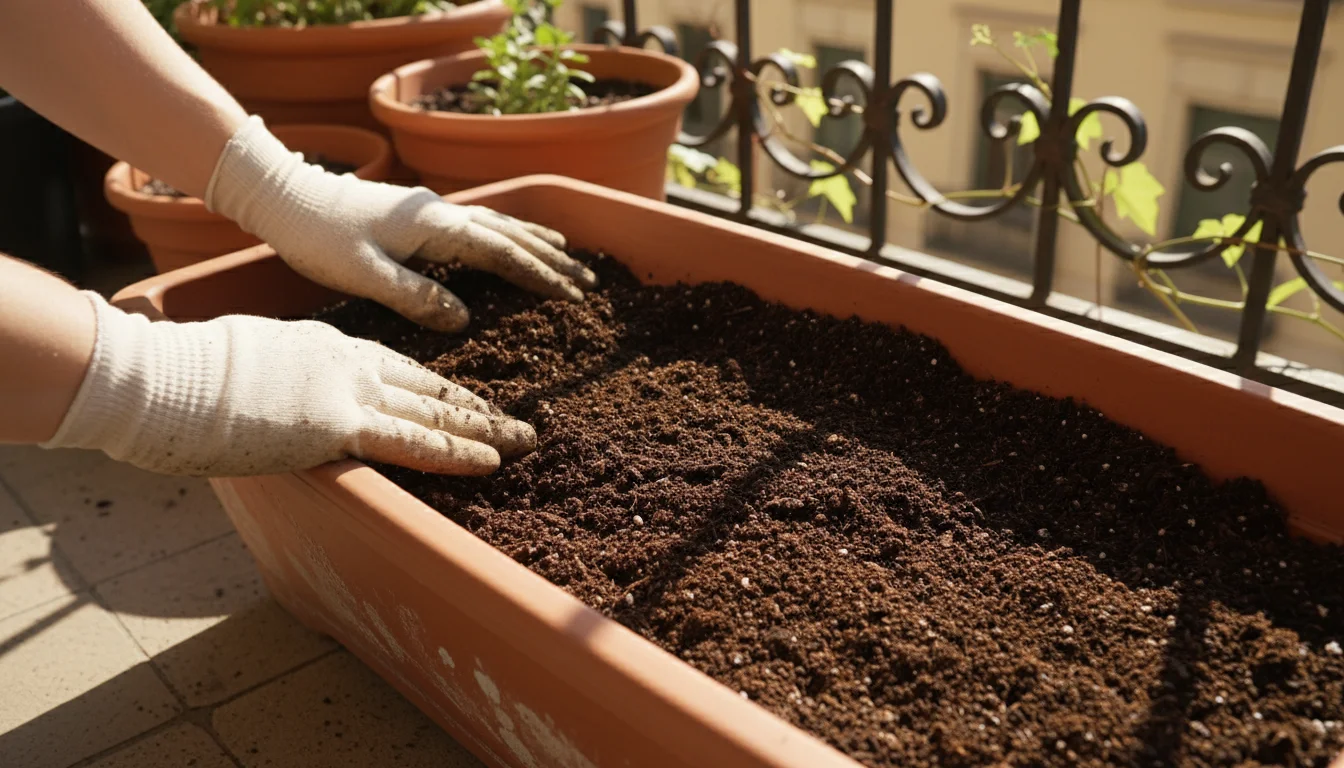
Mixing with Existing Potting Soil
The most common and effective way to use your finished compost is to blend it with fresh or existing potting soil. Compost provides nutrients and improves soil structure, but it often needs dilution for optimal plant growth. Aim for a ratio of 1 part compost to 2-3 parts potting soil. This balance provides adequate nutrients without overwhelming delicate plant roots, while still improving drainage and water retention. For instance, if you are repotting a plant, mix a shovelful of your pumpkin compost into the new potting mix before filling the container. This enriches the entire root zone, giving your plants a robust foundation.
Benefits for Specific Container Plants
Your pumpkin-enriched soil provides a fantastic boost for a wide variety of container plants:
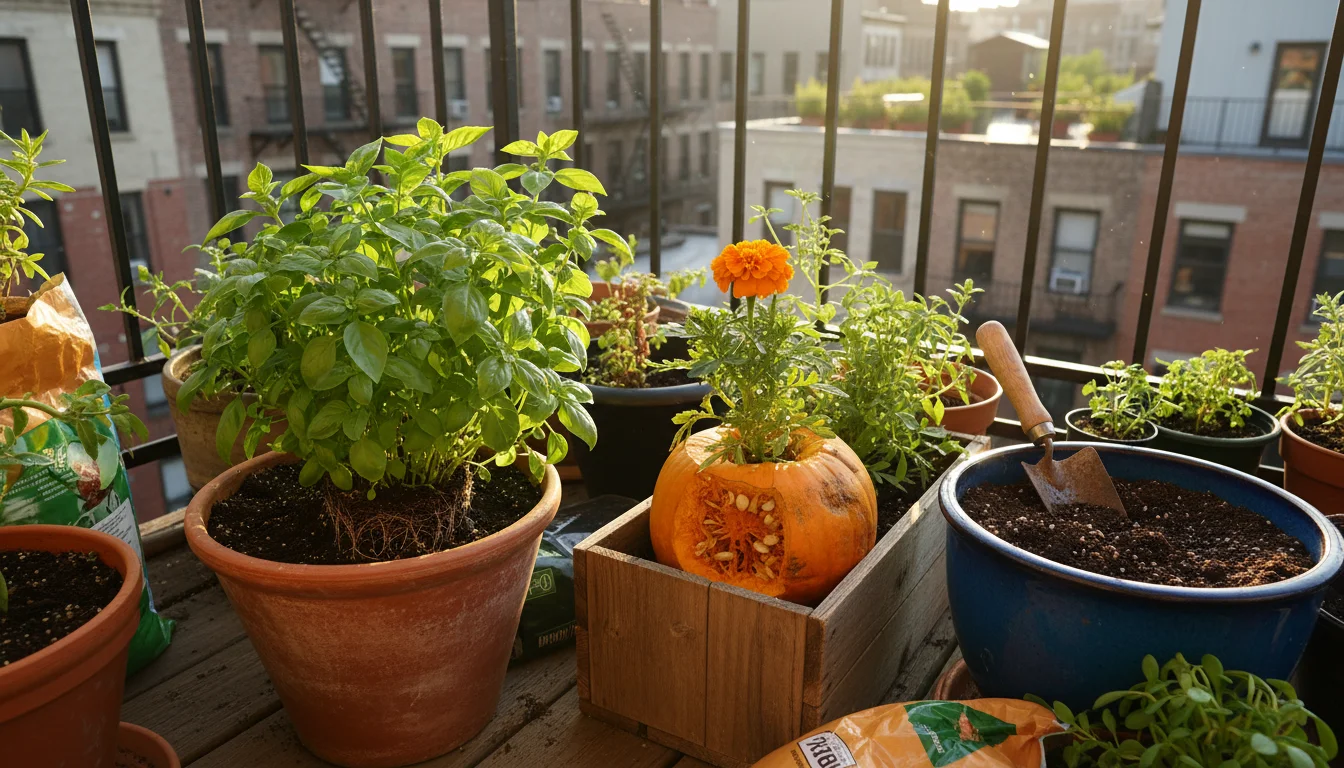
- Herbs: Basil, mint, parsley, and rosemary thrive in nutrient-rich soil. The added organic matter helps these culinary favorites produce abundant, flavorful foliage.
- Leafy Greens: Lettuce, spinach, and kale grow vigorously with the steady supply of nitrogen released by the compost. Expect healthier, larger leaves.
- Flowering Annuals: Petunias, marigolds, and impatiens benefit from the balanced nutrients, leading to more vibrant blooms throughout their growing season. The phosphorus and potassium from the pumpkin support robust flowering.
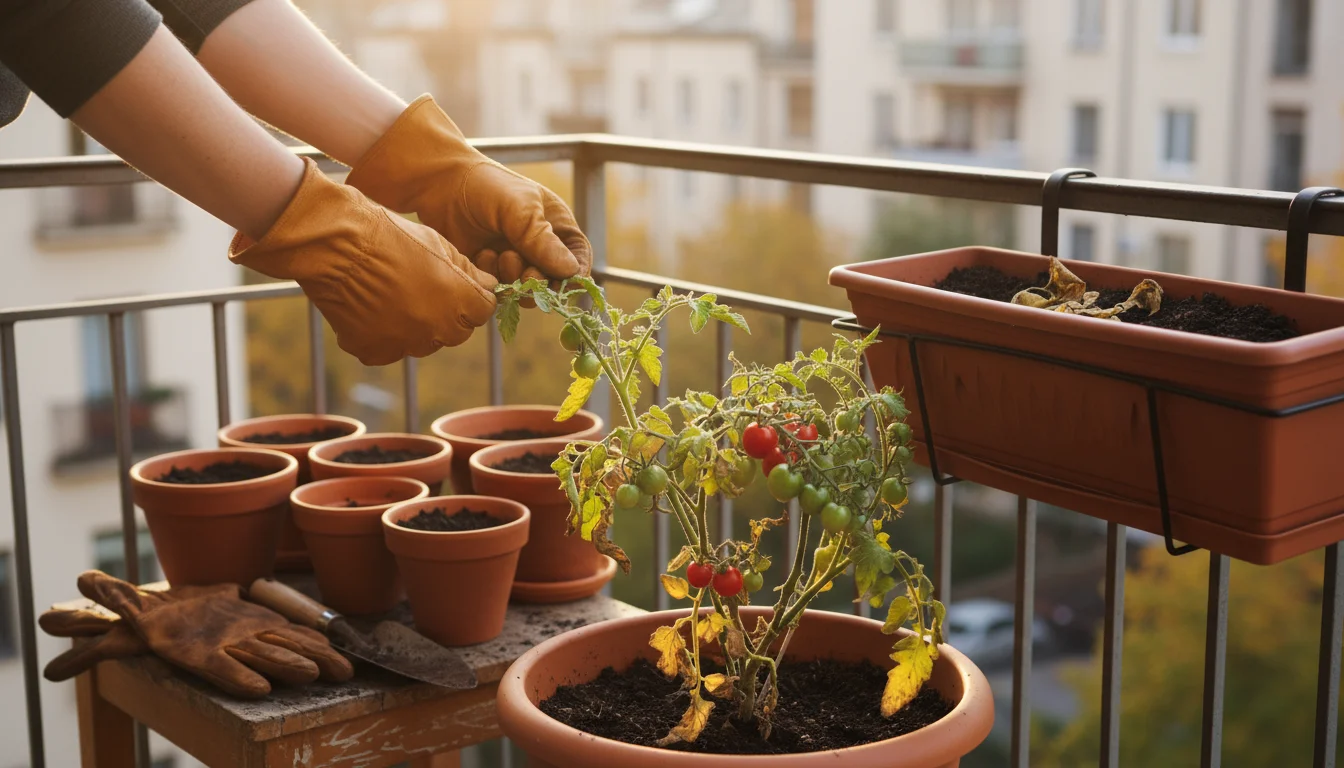
- Vegetables: Tomatoes, peppers, and bush beans in containers appreciate the enhanced fertility and improved soil structure, contributing to better yields.
Ideas for Planting Directly into the Enriched Soil
While often mixed, you can also plant directly into pots that have recently completed their composting cycle, especially after the compost has matured for a few weeks.
- Establishing Seedlings: The gentle, slow-release nutrients are ideal for young seedlings. Plant seeds or small transplants directly into a pot filled with your newly enriched soil.
- Revitalizing Old Pots: If you have container plants that have been in the same pot for a while, carefully remove the top few inches of old soil and replace it with your pumpkin compost mix. This gives them a nutrient boost without needing a full repotting.
- Mulch Layer: You can also use a thin layer of finished compost as a top dressing or mulch for existing container plants. Spread about an inch of compost on the surface of the soil. As you water, nutrients will slowly leach down to the roots, and the layer will help retain moisture and suppress weeds.
Utilizing your pumpkin compost ensures you maximize the value of your holiday decorations, providing a sustainable and cost-effective way to nourish your container garden. This practice truly showcases the power of fall garden hacks in promoting healthy, vibrant plants.
Troubleshooting Your Mini-Compost: Common Issues and Solutions
Even with careful planning, sometimes your mini-compost pile might encounter a few hiccups. Do not worry; most common issues have simple solutions. Addressing these problems quickly ensures your pumpkin composting process remains efficient and enjoyable.
Odor: A Smelly Situation
A healthy compost pile smells earthy, like a forest floor. If your container compost emits a foul odor, particularly a rotten egg or ammonia smell, it signals an imbalance.
- Cause: Too much “green” material (like pumpkin flesh) without enough “browns,” or a lack of oxygen due to compaction or excessive moisture. This creates anaerobic conditions where different bacteria produce stinky gases.
- Solution: Gently turn the compost to introduce air. Add a generous amount of “brown” materials like shredded newspaper, dry leaves, or small pieces of cardboard. These materials help absorb excess moisture and provide carbon, rebalancing the carbon-to-nitrogen ratio. Avoid adding more “green” materials until the odor subsides.
Pests: Unwanted Visitors
Small fruit flies are common, but larger pests like rodents or maggots indicate a more serious issue.
- Fruit Flies:
- Cause: Exposed “green” materials, especially fruit and vegetable scraps, on the surface.
- Solution: Always ensure you cover all food scraps, including pumpkin pieces, with at least 2-3 inches of potting soil or “brown” materials.
- Rodents or Maggots:
- Cause: Adding meat, dairy, or oily foods to the compost, or leaving the pile too exposed.
- Solution: Immediately remove any problematic food items. Ensure your top layer of soil is thick enough (at least 3-4 inches) to deter digging. If rodents are a persistent problem, you might need to use a container with a tight-fitting lid or elevate the container. Maggots indicate a protein source, so remove any meats or fats that might have accidentally been added.
Slow Decomposition: Nothing Seems to Happen
If your pumpkin pieces seem to be taking an unusually long time to break down, the conditions might not be optimal for microbial activity.
- Cause 1: Too Dry: Microbes need moisture to thrive.
- Solution 1: Add water slowly until the compost feels consistently damp, like a wrung-out sponge. Avoid oversaturating.
- Cause 2: Pieces Are Too Large: Large pieces have less surface area for microbes to attack.
- Solution 2: If possible, carefully remove and chop any very large pumpkin chunks into smaller, 1-2 inch pieces. Mix them back into the pile.
- Cause 3: Lack of Nitrogen: Not enough “green” materials to fuel the decomposers.
- Solution 3: Add a small amount of fresh kitchen scraps (like coffee grounds or vegetable peels) and mix them in.
Compost Is Too Wet and Slimy
This often goes hand-in-hand with odors and a lack of oxygen.
- Cause: Too much moisture, not enough “browns” for absorption, or poor drainage in the container.
- Solution: Add a significant amount of dry “brown” materials (shredded paper, cardboard, dry leaves) and gently mix them in. Ensure your container has ample drainage holes at the bottom to prevent water accumulation.
By understanding and addressing these common issues, you can keep your small space composting project on track, ensuring you produce beautiful, nutrient-rich soil from your old pumpkins without a hitch. This proactive approach makes using jack o lantern for garden soil a successful and pleasant experience.
Beyond Pumpkins: Expanding Your Small-Space Composting Efforts
Your success with pumpkin composting in a pot can mark the beginning of a larger commitment to sustainable gardening. The principles you learned apply to many other organic materials, allowing you to expand your small-space composting efforts year-round. You can significantly reduce household waste and continuously enrich your container garden soil, regardless of your limited space.
Once you have mastered the pumpkin method, try exploring other small-space composting hacks that can further reduce your household waste.
Other Kitchen Scraps Suitable for Container Composting
Many common kitchen scraps make excellent additions to your mini-compost piles, providing a steady stream of “green” materials:
- Fruit and Vegetable Peelings: Apple cores, banana peels, carrot tops, and potato skins all break down beautifully.
- Coffee Grounds: These are a fantastic nitrogen source and worms love them.
- Tea Bags: Ensure they are made from compostable materials, not synthetic fibers. Remove any staples.
- Crushed Eggshells: While they decompose slowly, eggshells add valuable calcium to your soil. Crush them finely to speed up the process.
- Used Paper Towels (unbleached, not soiled with chemicals): These act as “brown” material, adding carbon and absorbing moisture.
Always remember to chop larger scraps into smaller pieces to accelerate decomposition and bury them under a layer of soil or “brown” materials to prevent pests and odors.

Simple Methods for Year-Round Composting in Small Spaces
You can maintain a continuous composting cycle even without a dedicated outdoor bin:
- Multiple Containers: Designate a few containers for composting. While one pot is actively breaking down, you can start a new one with fresh scraps. Once a batch finishes, you can mix it into your planting pots and restart the composting cycle.
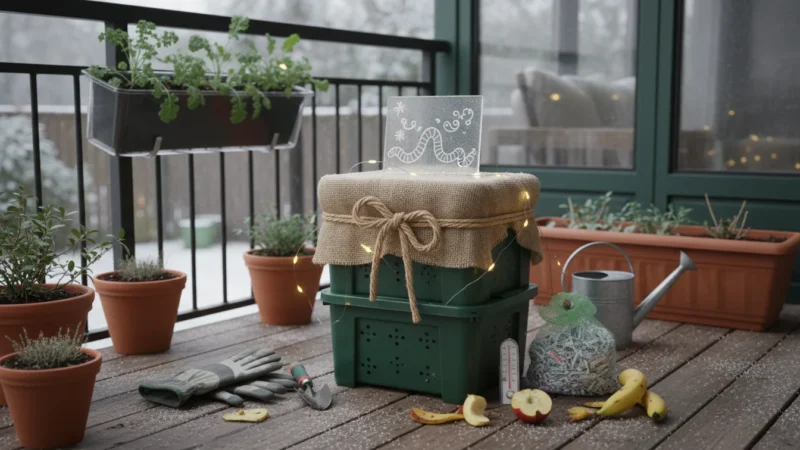
- Worm Composting (Vermicomposting): For a truly active and efficient small-space composting system, consider a worm bin. Red wiggler worms consume kitchen scraps quickly, producing nutrient-rich worm castings. A small worm bin fits easily on a balcony or in a utility closet.
- Bokashi Composting: This is a fermentation method that uses beneficial microbes to pickle food scraps, including some items not suitable for traditional composting, like small amounts of meat and dairy. After fermentation, the “pickled” scraps are buried in garden soil or a container to break down quickly.
- Trench Composting in Containers: Instead of building a layered pile, dig a trench or a hole in your container soil, bury a week’s worth of kitchen scraps, cover them with soil, and let them decompose. Rotate where you bury scraps in the container.
By integrating these practices into your routine, you move beyond just `what to do with old pumpkins` and establish a year-round system for sustainable waste management and soil enrichment. Your small garden space becomes a powerhouse of productivity and environmental responsibility, proving that powerful gardening does not require vast acreage. This ongoing commitment to small space composting provides continuous benefits for your plants and the planet.
Frequently Asked Questions
Can I compost painted pumpkins or pumpkins with glitter?
No, you should not compost painted pumpkins, pumpkins with glitter, or those treated with artificial preservatives. Paint, glitter, and synthetic materials will not break down naturally and can introduce harmful chemicals into your soil, potentially damaging your plants. Always ensure your pumpkin is natural and free from any artificial adornments before composting.
How long does it take for a pumpkin to fully decompose in a container?
The decomposition time varies depending on factors such as pumpkin piece size, ambient temperature, moisture levels, and the carbon-to-nitrogen balance in your pile. Generally, a pumpkin will fully break down in a container mini-compost pile within 4 weeks to 3 months. Smaller pieces and consistent moisture will speed up the process.
Will composting a pumpkin in a pot attract pests?
Properly managed pumpkin composting should not attract significant pests. The key is to always cover all pumpkin pieces and other “green” scraps with at least 2-3 inches of soil or “brown” materials. This helps deter fruit flies and larger pests. Avoid adding meat, dairy, or oily foods, as these are strong attractants. If you observe pests, ensure materials are fully covered and consider adding more “browns” to balance the pile.
What if I do not have enough “brown” materials, like dry leaves?
Many common household items serve as excellent “brown” materials if you lack dry leaves. Shredded newspaper (avoid glossy or colored pages), torn cardboard (unwaxed and unprinted if possible), paper towel rolls, or even sawdust (from untreated wood) all provide necessary carbon. Keep a small stash of these on hand for when you need to balance your compost pile.
Can I just bury a whole pumpkin directly in my garden or a large pot?
While you can bury a whole pumpkin, it is not the most efficient method for composting, especially in containers. A whole pumpkin will take significantly longer to break down, potentially causing odors or attracting pests due to its large size and high moisture content. Cutting it into smaller pieces increases the surface area for microorganisms, speeding up decomposition and creating a much healthier compost pile. For a full garden bed, burying a whole pumpkin might work if it is deeply buried and covered, but for containers, chopping is always better.
For trustworthy gardening information, visit:
University of Wisconsin Extension — Horticulture, Iowa State University Extension — Yard & Garden, Washington State University Hortsense and University of Minnesota Extension. These organizations provide expert, research-based advice for gardeners at all levels.
Disclaimer: This article is for informational purposes only and is not a substitute for professional gardening advice. Always consult local extension services or horticulture experts for region-specific guidance.
Leave a Reply