
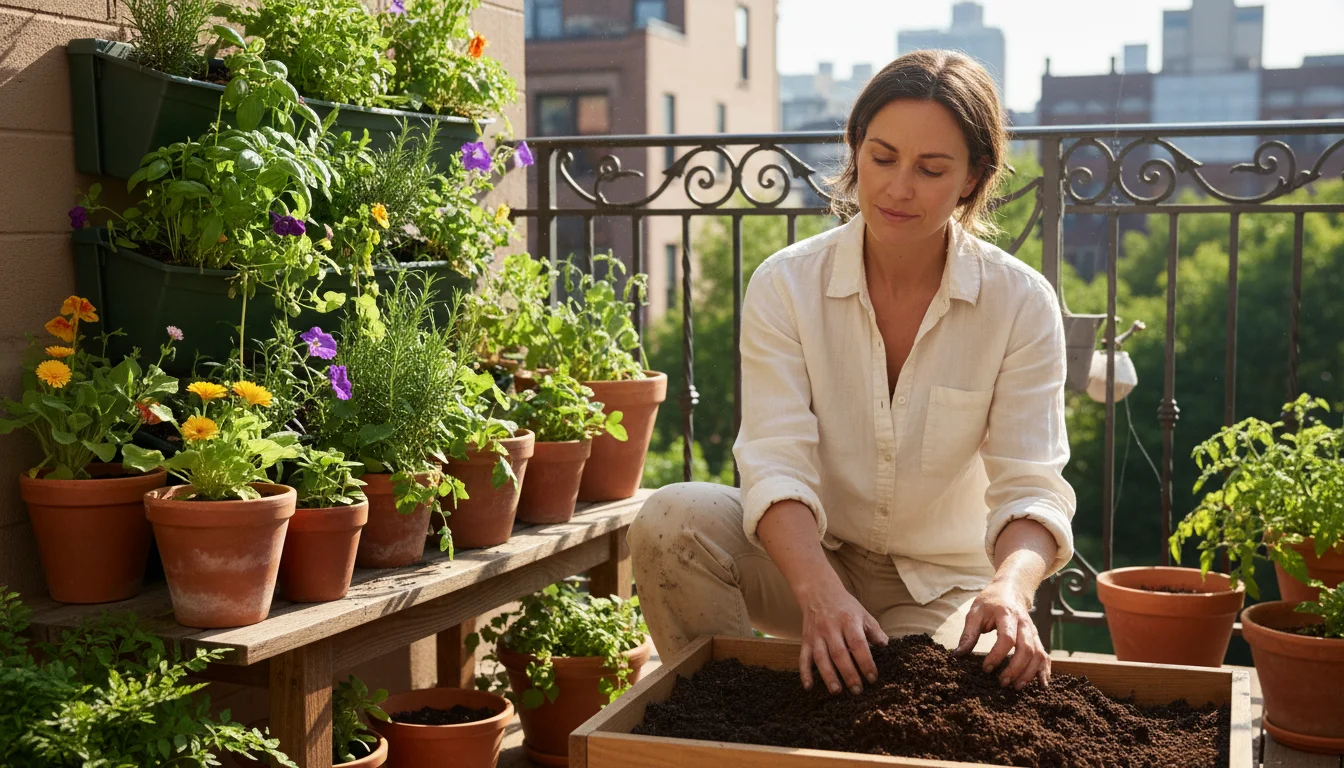
Imagine a rich, dark, earthy material that dramatically improves your container garden soil. It costs you nothing, uses fallen leaves, and asks for very little effort. This isn’t a gardener’s fantasy. It is leaf mold, often called “black gold” by those who understand its value. For small-space gardeners, apartment dwellers, or anyone focused on low-maintenance solutions, making leaf mold offers an unparalleled opportunity to create a powerful, sustainable soil amendment.
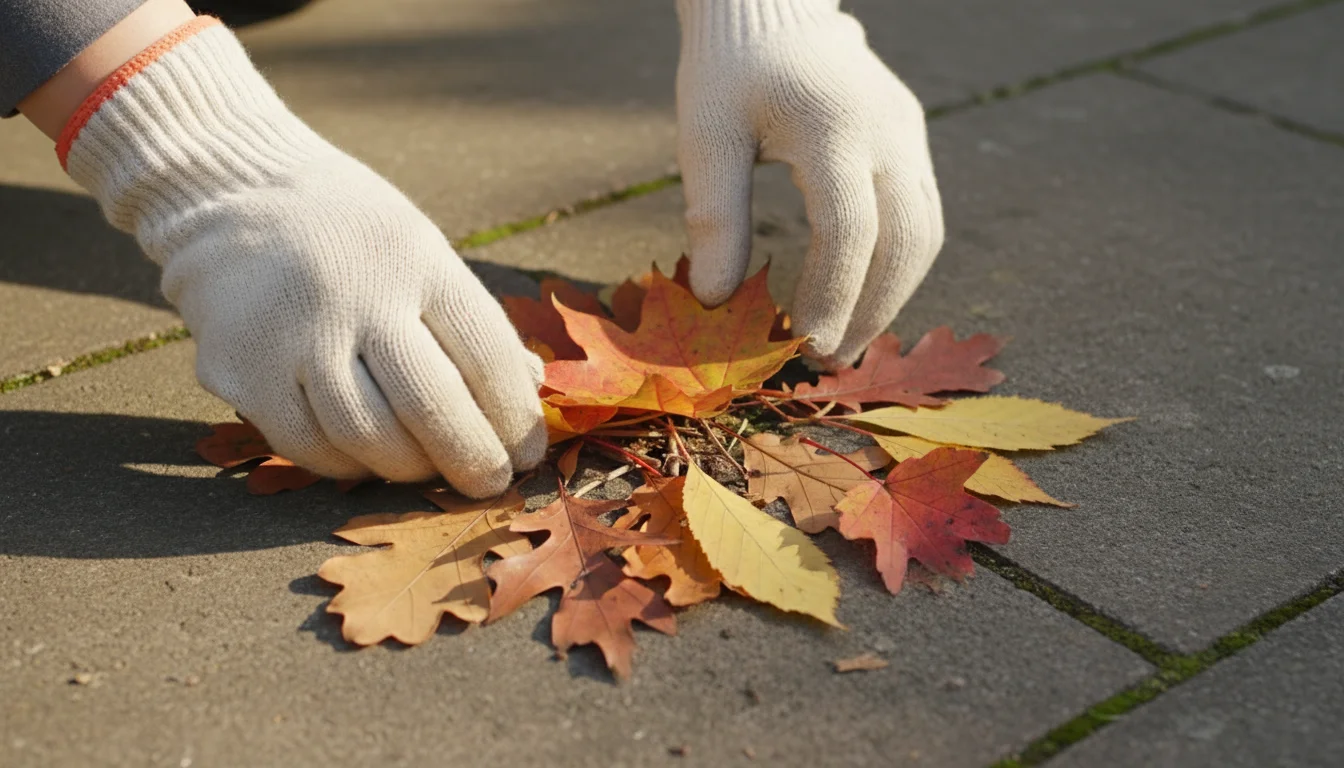
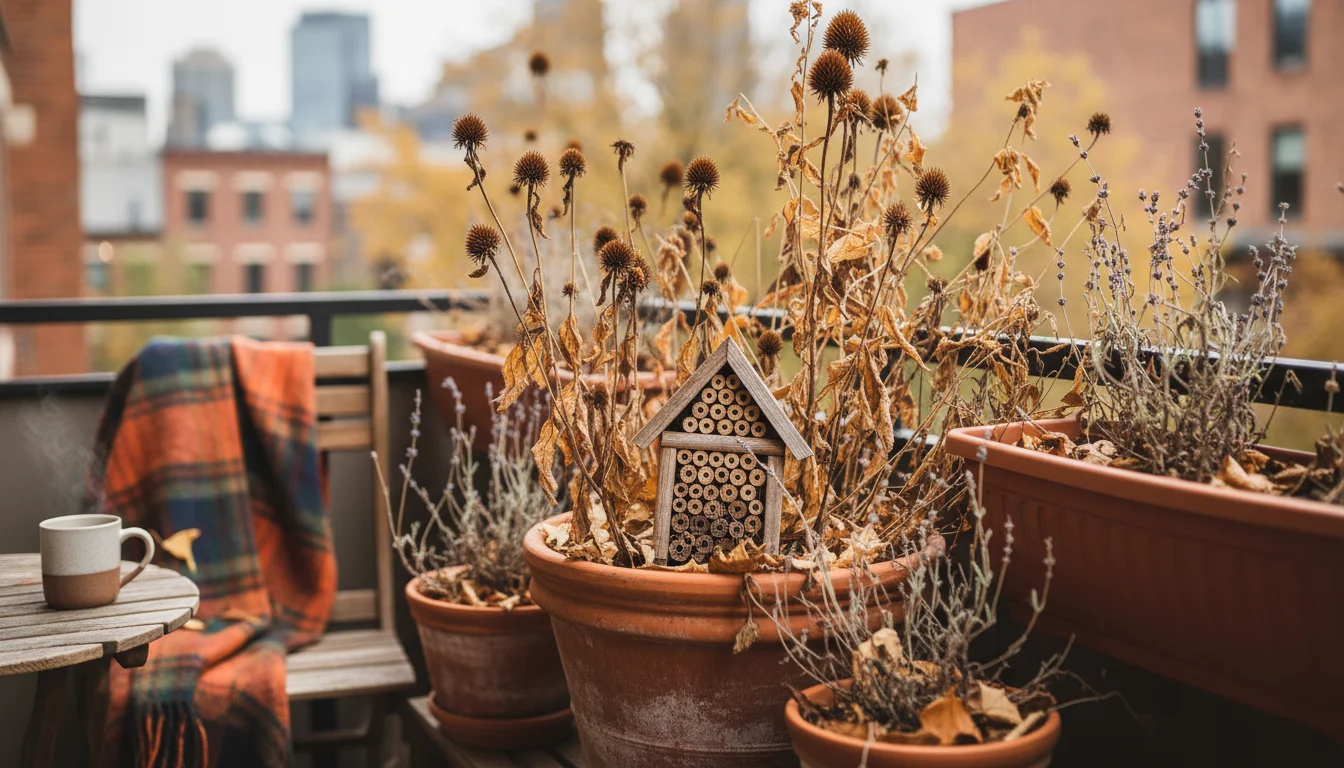
Adopting a no-tidy fall cleanup approach is a great way to ensure you have plenty of raw materials to start your ‘black gold’ project.
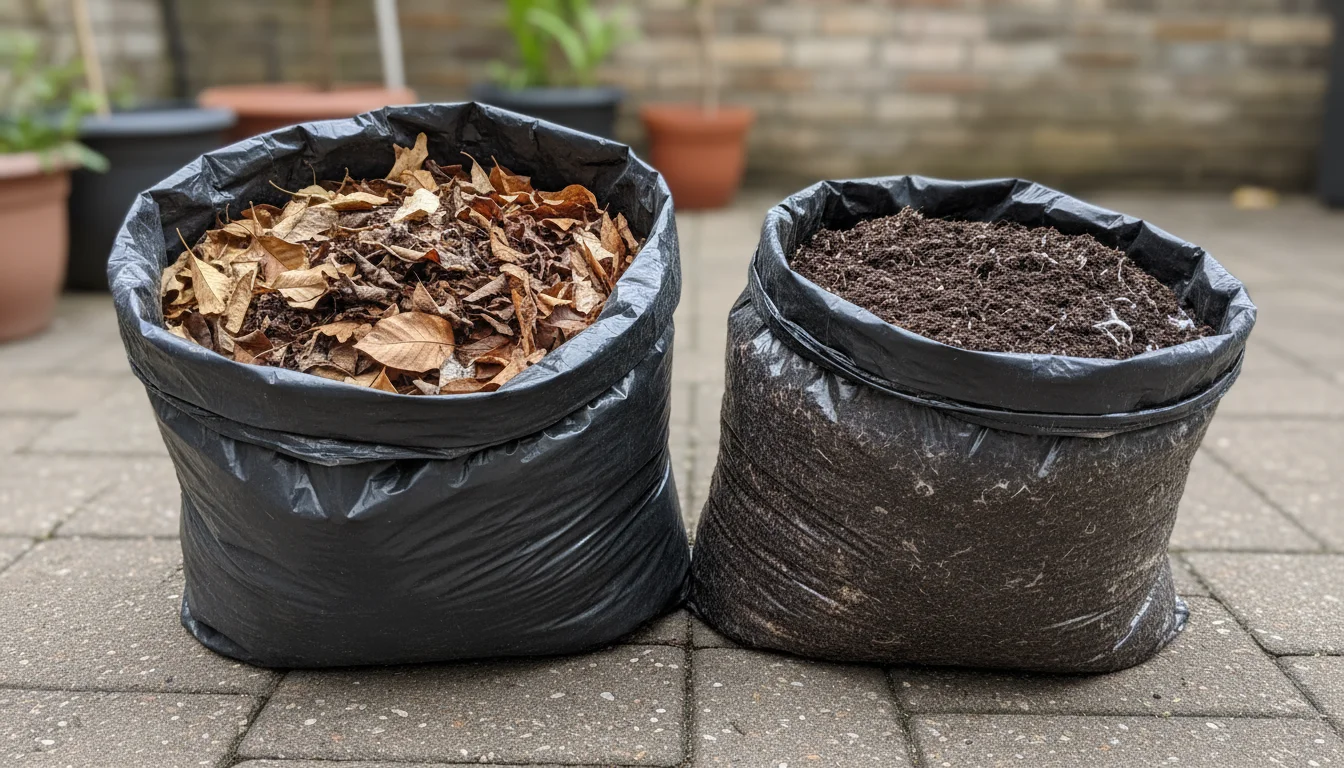
You can turn a pile of autumn leaves, destined for the curb, into a precious resource for your potted plants. This simple, one-bag method takes advantage of natural processes, requiring minimal space and effort. You will enhance soil structure, boost water retention, and provide a slow-release nutrient source for your beloved containers. Let’s dig into how you can make your own leaf mold and transform your container gardening.
Leaf Mold: Nature’s Secret Weapon for Container Gardeners
Leaf mold is a specific type of decomposed organic matter, distinct from traditional compost. While compost relies on a balance of “greens” and “browns” and microbial activity to heat up and break down rapidly, leaf mold forms through a slower, fungal decomposition process. It consists almost entirely of fallen leaves. This process, which happens naturally on forest floors, breaks down leaves into a dark, crumbly material that smells like fresh earth. Its unique properties make it an exceptionally valuable addition to your container garden soil.
This slow-release approach pairs perfectly with the lasagna composting method, which builds soil fertility directly in your pots.
For gardeners working with limited space, the idea of large compost bins or piles is often impractical. This is where making leaf mold truly shines. The single-bag method allows you to create this beneficial amendment without taking up significant space. You can easily tuck a bag of leaves behind a shed, on a balcony corner, or in an unused spot in your yard. This method effectively brings a piece of the forest floor’s natural cycle into your urban or suburban gardening environment, turning what many consider waste into a horticultural treasure.
The beauty of leaf mold lies in its simplicity and effectiveness. You harness nature’s own recycling system. Leaves, which typically fall in abundance during autumn, contain a wealth of trace minerals absorbed by trees throughout their growing season. Instead of sending these valuable resources to a landfill, you divert them into a productive cycle, improving your garden and reducing waste. This practice aligns perfectly with environmentally conscious gardening principles, emphasizing sustainability and resourcefulness. Consider the ecological impact. Disposing of yard waste, including leaves, often involves transportation and processing that consumes energy and contributes to emissions. By keeping leaves on your property and transforming them into leaf mold, you actively participate in a closed-loop system. You enrich your garden soil, reduce your carbon footprint, and foster a healthier micro-environment right in your own backyard or balcony. This small change makes a big difference for your plants and the planet, providing a tangible example of apartment composting with leaves.
Why Leaf Mold is Your Potting Mix’s Best Friend
Your container plants rely entirely on the soil you provide for their nutrients, water, and structural support. Unlike garden beds where roots can spread wide, pots restrict root growth and can quickly deplete resources. This makes the quality of your potting mix absolutely critical. Leaf mold improves your potting mix in several profound ways, addressing key challenges faced by container gardeners.
Using leaf mold is a key component of a successful fall potting soil refresh to prepare your containers for next season.
Superior Water Retention
One of the most significant benefits of leaf mold is its exceptional ability to hold water. Research consistently shows that leaf mold can absorb and retain 300 to 500 percent of its own weight in water. To put that into perspective, a cubic foot of leaf mold can hold over 10 gallons of water. This is crucial for container plants, which tend to dry out much faster than plants in the ground. Incorporating leaf mold into your potting mix means you water less frequently, saving you time and water resources. For busy gardeners, this translates directly into reduced maintenance and healthier, less stressed plants. It mitigates the common problem of containers drying out rapidly on hot days or during busy periods when you cannot water as often as needed. This significantly boosts your success in container gardening by ensuring consistent moisture availability for your plants.
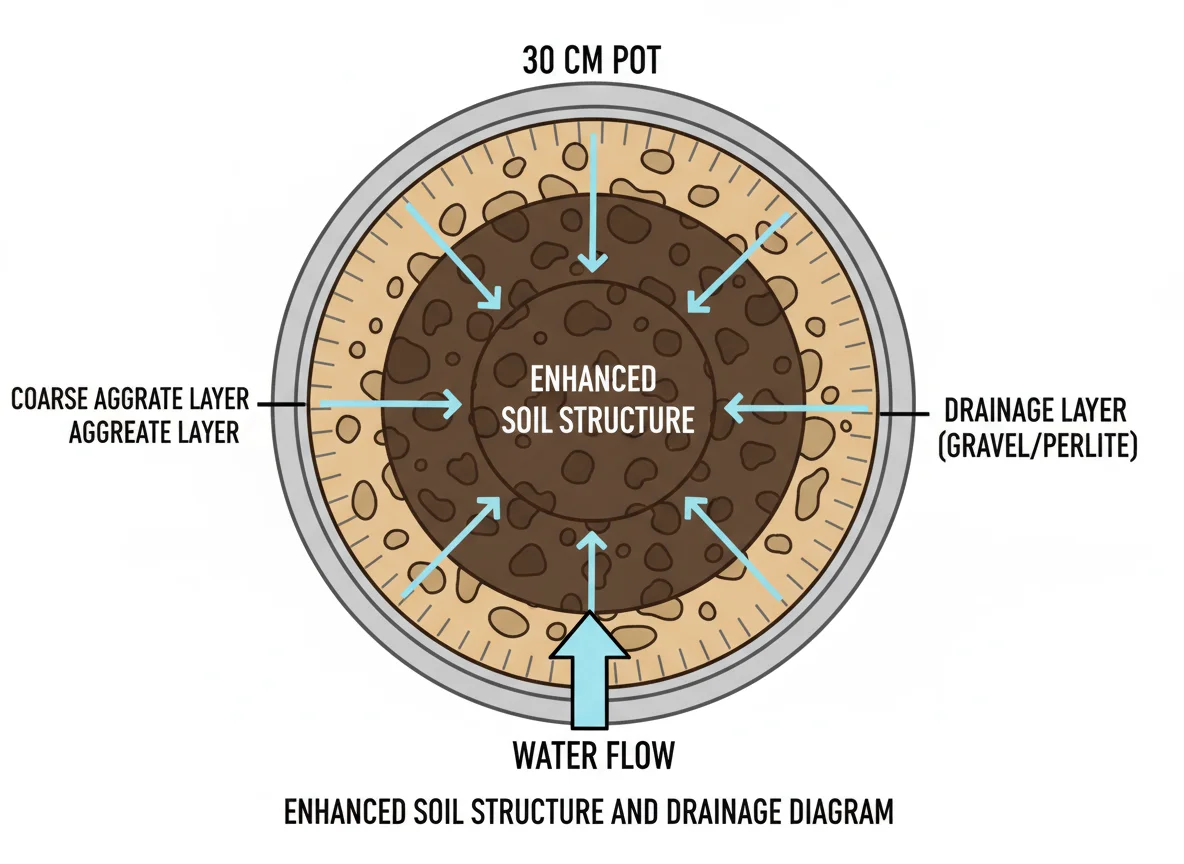
Enhanced Soil Structure and Drainage
While holding water, leaf mold simultaneously improves drainage. This seems contradictory, but it is one of leaf mold’s superpowers. Its spongy, crumbly texture creates air pockets within the soil. These pockets allow excess water to drain away freely, preventing soggy conditions that can lead to root rot. At the same time, the porous structure acts like a sponge, holding onto moisture within those pockets, releasing it slowly as the soil dries. This balanced approach to water management ensures your plant roots receive consistent moisture without becoming waterlogged. Proper drainage means how well water moves through soil, preventing it from sitting stagnant and suffocating roots. For example, a study by Cornell University Extension notes that organic amendments like leaf mold improve soil aggregation, which directly impacts both water retention and aeration. This perfect balance is especially vital in containers where soil can easily become compacted, leading to poor plant health.
Slow-Release Nutrients and Microbial Activity
Leaf mold is not a primary source of nitrogen, phosphorus, or potassium, the main nutrients found in synthetic fertilizers. Instead, it provides a wealth of trace minerals and micronutrients essential for plant health. As fungi and other microorganisms continue to break down the leaf material over time, they slowly release these nutrients, providing a steady, gentle feeding for your plants. This slow-release mechanism reduces the risk of nutrient leaching, a common issue in container gardening where frequent watering washes nutrients out of the pot. Furthermore, leaf mold introduces beneficial fungal and bacterial populations to your potting mix. These microbes play a vital role in nutrient cycling, disease suppression, and overall soil health, creating a living soil environment that supports robust plant growth. It enhances the biological richness of your container soil, contributing to truly thriving plants.
Cost-Effective and Environmentally Friendly
Making leaf mold costs nothing but your time and a plastic bag. Commercial potting mixes, especially high-quality ones, can be expensive, and their production often involves mining peat moss, a non-renewable resource. By using fall leaves for container garden soil, you create a premium soil amendment for free, reducing your reliance on purchased products. You also divert valuable organic matter from landfills, contributing to a more sustainable gardening practice. This makes leaf mold an incredibly practical and eco-conscious choice for any small-space gardener looking to save money and reduce their environmental impact.
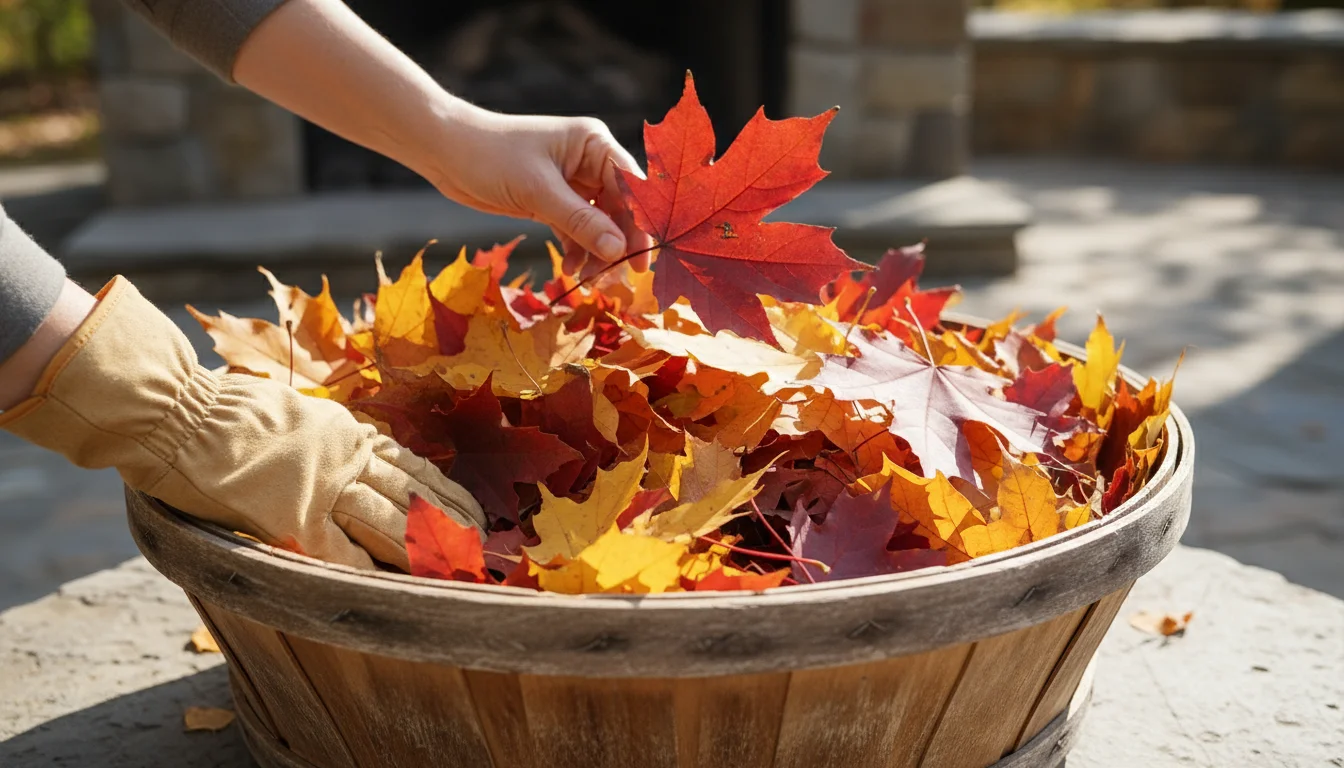
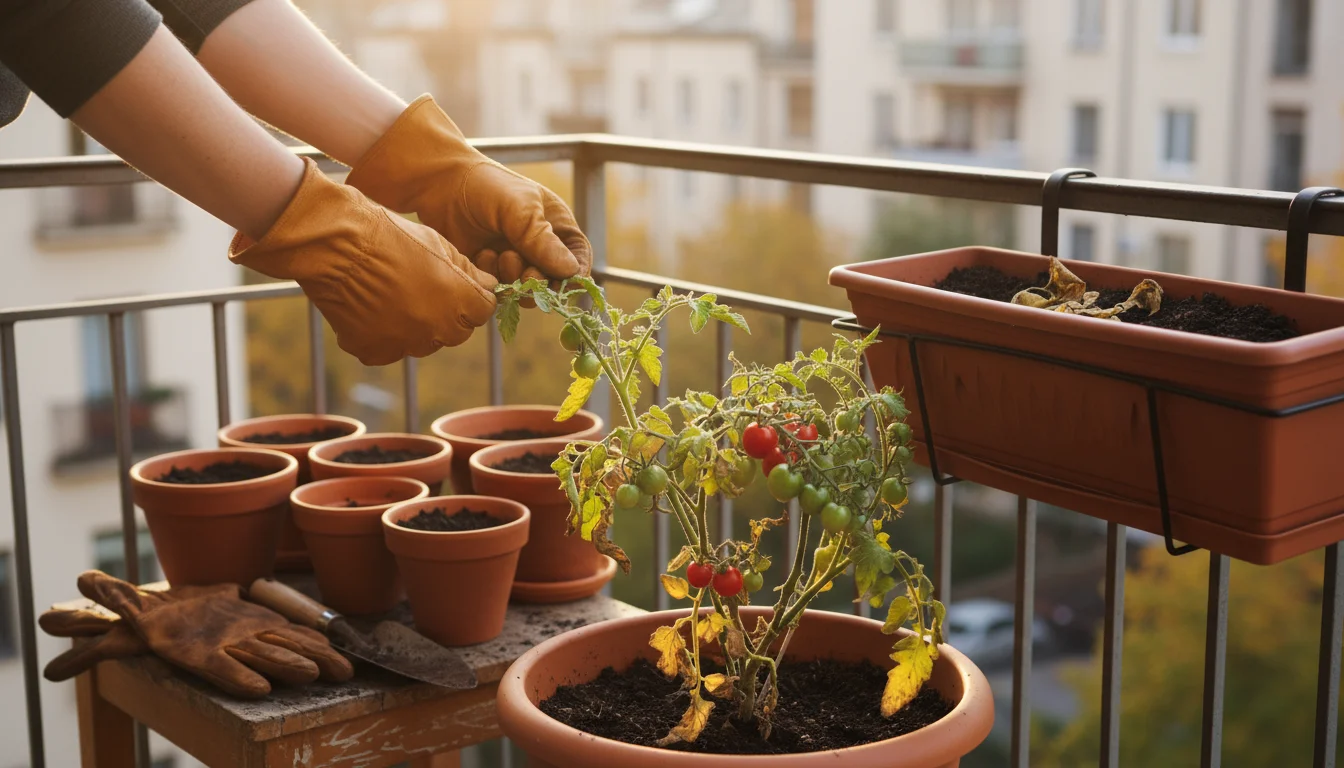
Gathering Your Fall Treasure: The Best Leaves for Leaf Mold
The success of your leaf mold project begins with the right raw material: leaves. While most deciduous leaves will eventually break down into leaf mold, some are better choices than others, especially for the single-bag method. Understanding which leaves to collect and how to prepare them ensures a faster, more efficient decomposition process.
If you are unsure whether to leave or clear debris from your balcony, check out this guide on the balcony leaf dilemma before you start collecting.
To ensure your final product is fine enough for small pots, consider using a DIY leaf sieve to filter out larger stems and debris.
Ideal Leaves for Leaf Mold
- Oak Leaves: These are excellent. While they break down slower due to their waxy coating and higher tannin content, the resulting leaf mold is exceptionally rich and long-lasting. If you have access to oak leaves, gather them. They provide a dense, moisture-retentive product.
- Maple Leaves: A fantastic choice. Maple leaves are soft, break down relatively quickly, and are abundant in many areas. They are a staple for making leaf mold, yielding a fluffy, dark product.
- Poplar, Birch, Ash, Cherry, Elm Leaves: These also decompose readily and make excellent leaf mold. Their softer texture allows for quicker breakdown compared to tougher leaves, giving you usable leaf mold sooner.
- Fruit Tree Leaves (Apple, Pear, etc.): Generally good, assuming they are free of active disease. If your fruit trees had significant fungal or pest issues during the growing season, avoid using their leaves to prevent spreading problems to your container plants.
Leaves to Use with Caution or Avoid
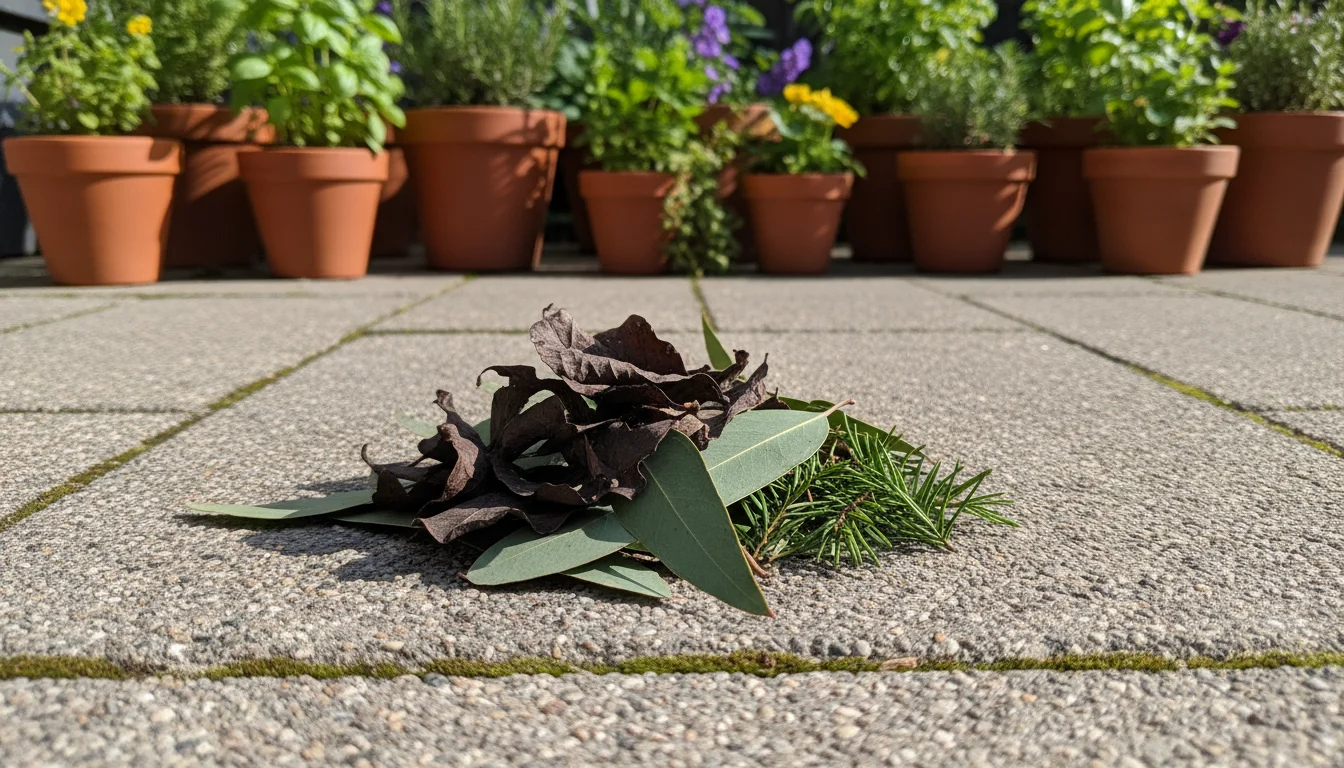
- Black Walnut Leaves: Avoid these. Black walnut trees produce juglone, a natural herbicide that can inhibit the growth of many plants. While juglone breaks down over time, it is safer to exclude these leaves from your leaf mold pile, especially for container gardens where plant sensitivity can be higher.
- Eucalyptus Leaves: These are very slow to break down due to their waxy coating and natural oils. They can also have allelopathic effects, similar to black walnuts, inhibiting other plant growth. Their oils also make them resistant to fungal decomposition.
- Conifer Needles (Pine, Fir, Spruce): These decompose very slowly due to their waxy coating and acidic nature. While they eventually break down, they are better suited for specific acid-loving plants or as a long-term mulch rather than a primary component of quick leaf mold. If you use them, mix them in very sparingly with other, softer leaves.
- Diseased Leaves: If your plants suffered from significant fungal diseases, like powdery mildew or rust, or bacterial infections during the growing season, avoid using those specific leaves. While the leaf mold process can kill some pathogens, it is better to err on the side of caution to prevent reintroducing disease to your precious container garden.
Collecting and Preparing Your Leaves
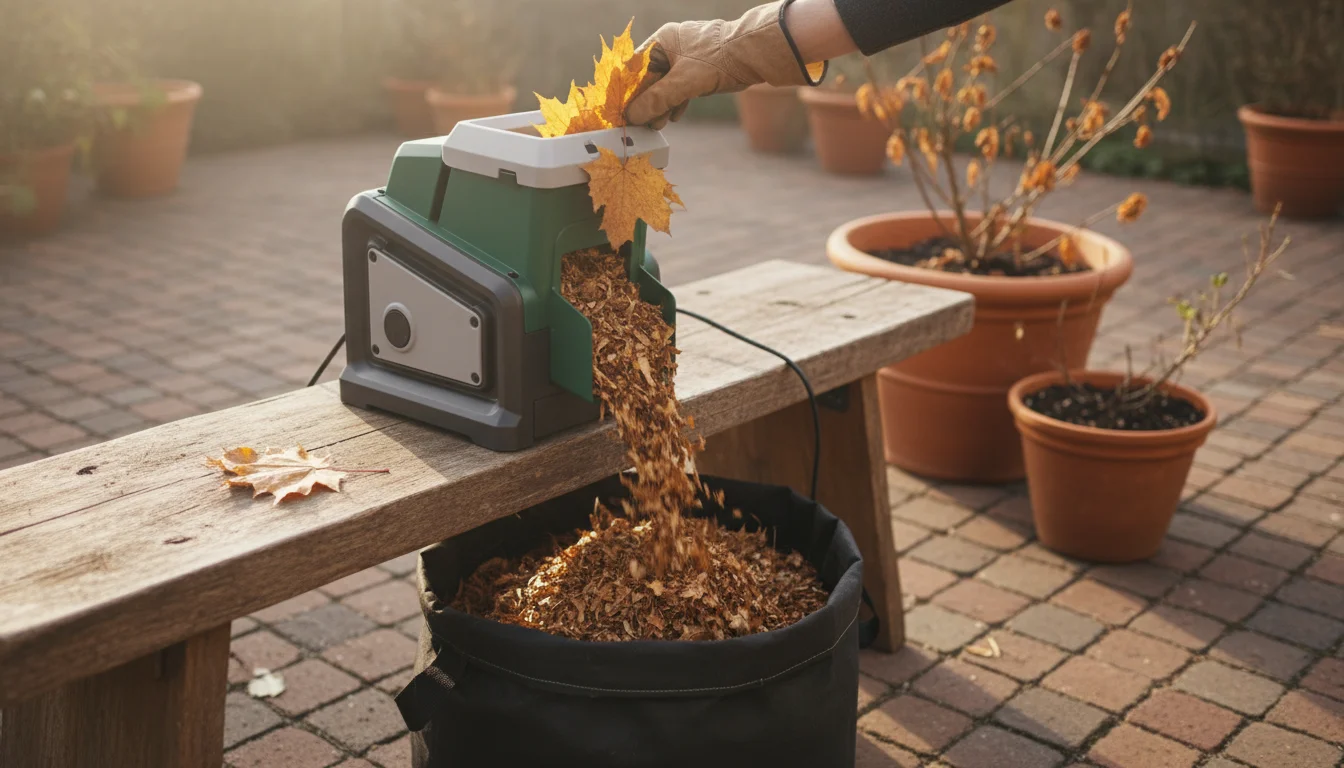
The key to successful leaf mold is increasing the surface area for decomposition and ensuring adequate moisture. Shredding your leaves dramatically speeds up the process, potentially cutting the decomposition time in half. You can shred leaves in several ways:
- Lawn Mower: The easiest method. Rake leaves into a pile on your lawn, then run over them multiple times with a mulching lawn mower. A bag attachment will collect the shredded leaves for you. This is highly efficient and creates ideal material for your leaf mold bag.
- Leaf Shredder/Vacuum: If you have one, these tools are designed for shredding leaves into fine pieces, perfect for this project. They offer excellent control over shred size.
- Manual Shredding: For smaller quantities, you can put leaves in a sturdy container and use a string trimmer to chop them up. Always wear safety glasses and exercise caution during this process.
If you cannot shred your leaves, do not worry. Unshredded leaves will still decompose, but it will take longer. Whole leaves tend to mat together, reducing airflow and slowing the fungal breakdown. Shredding prevents this matting and allows moisture to penetrate more uniformly, leading to a quicker and more consistent final product.
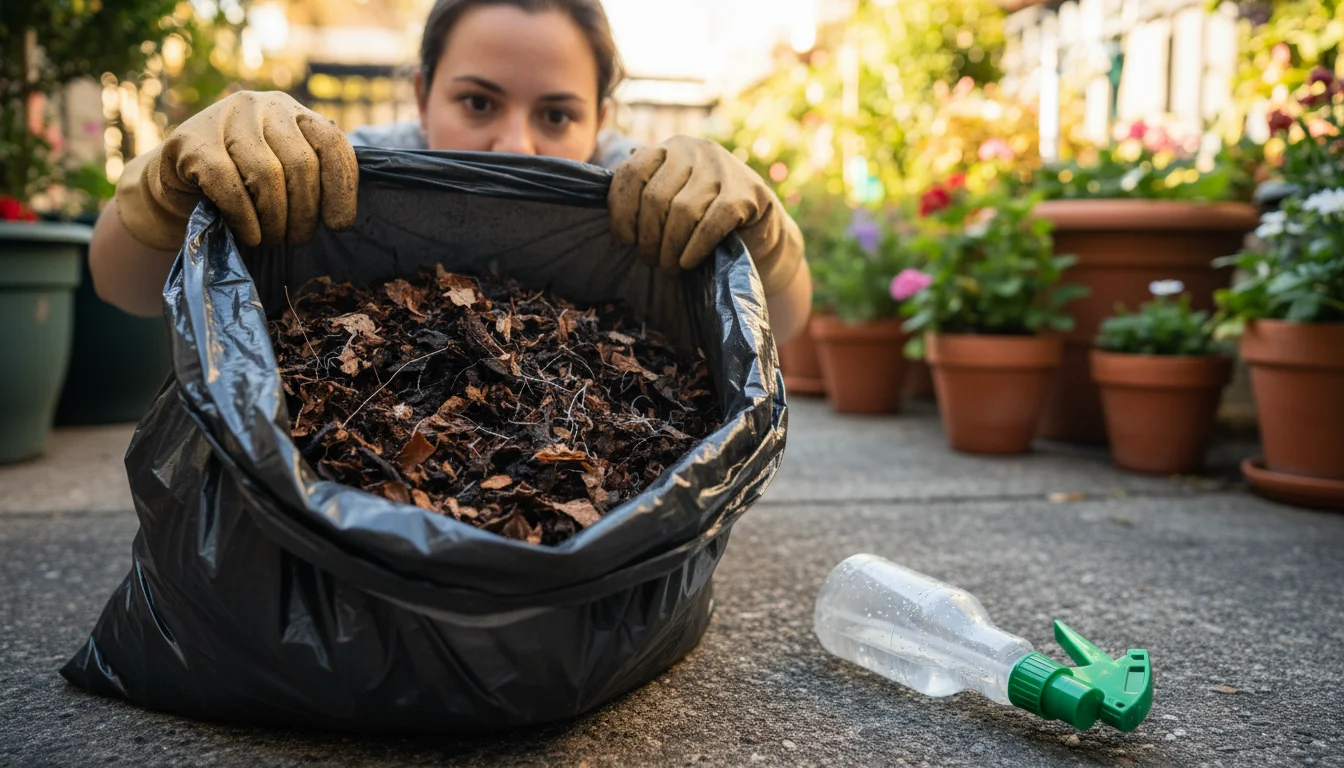
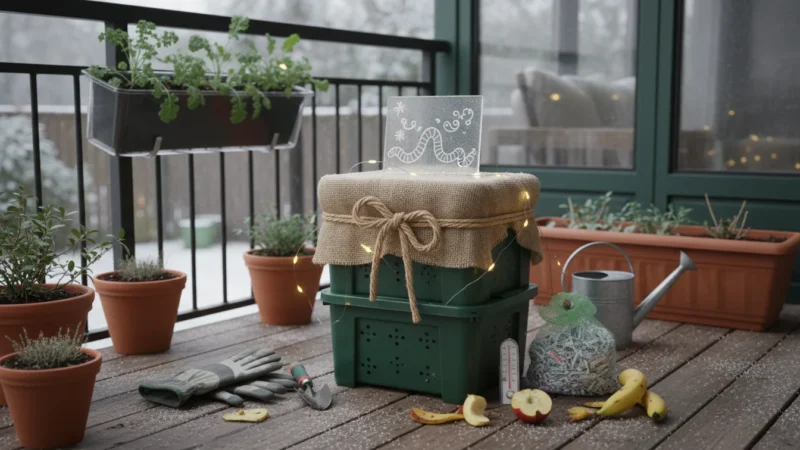
The Single Bag Method: Step-by-Step for Small Spaces
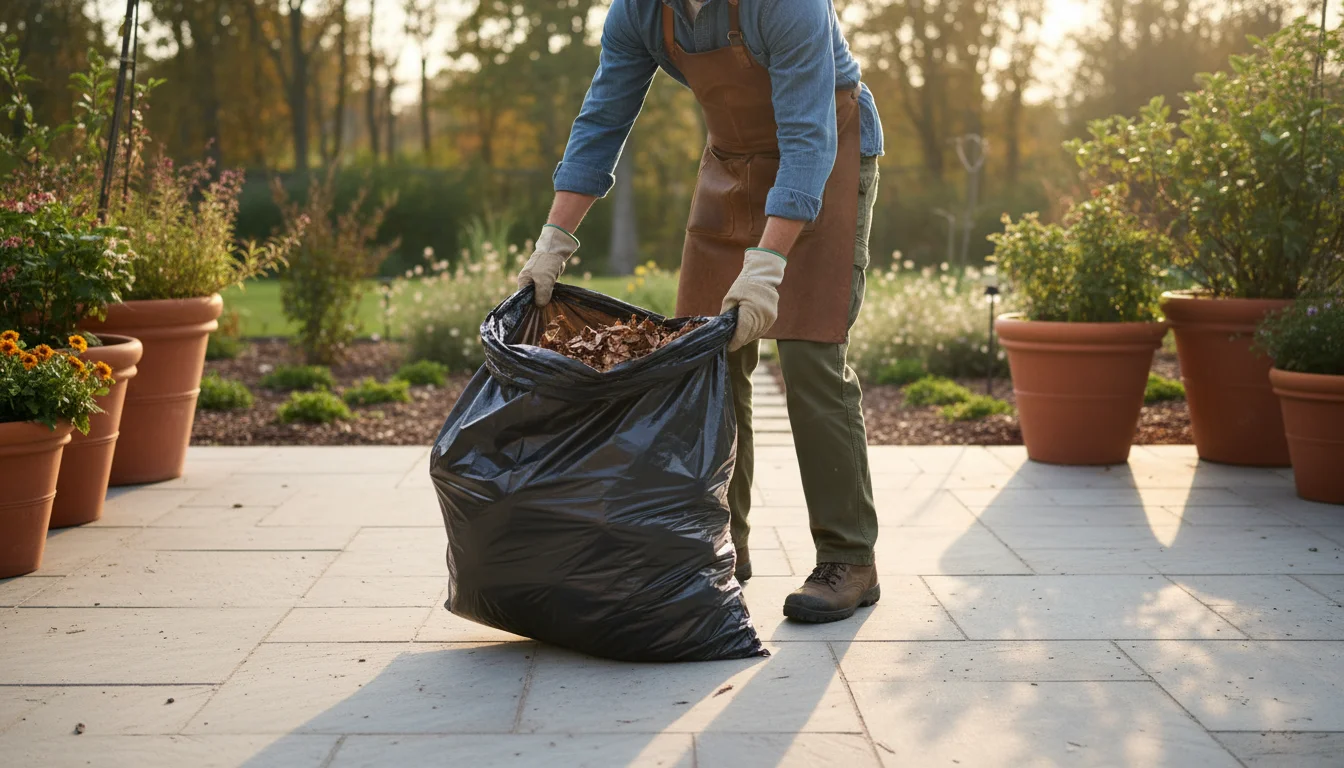
This method is perfect for anyone with limited space, a small yard, a patio, or a balcony. It requires minimal equipment and turns autumn’s bounty into a valuable resource for your container soil amendment with ease. Follow these steps to create your own “black gold” using how to make leaf mold in a trash bag for small spaces.
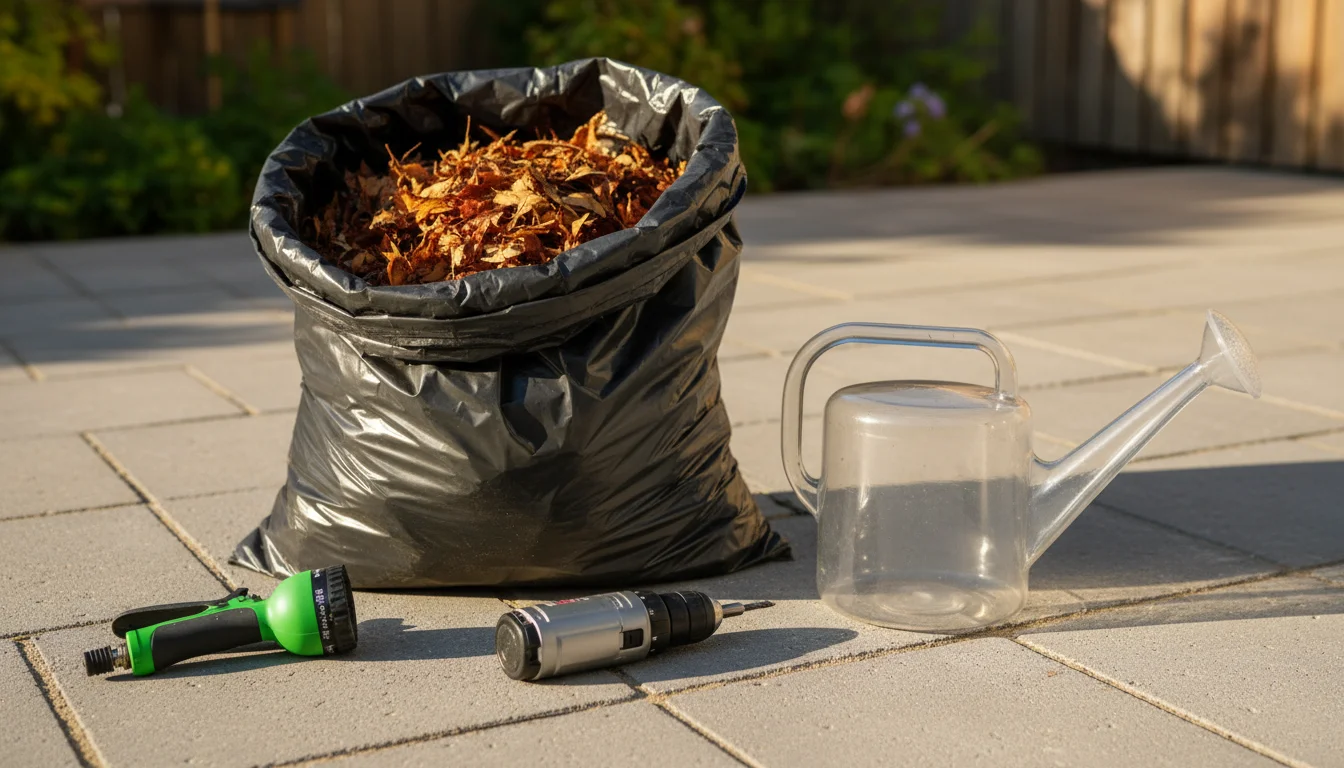
Materials You Will Need:
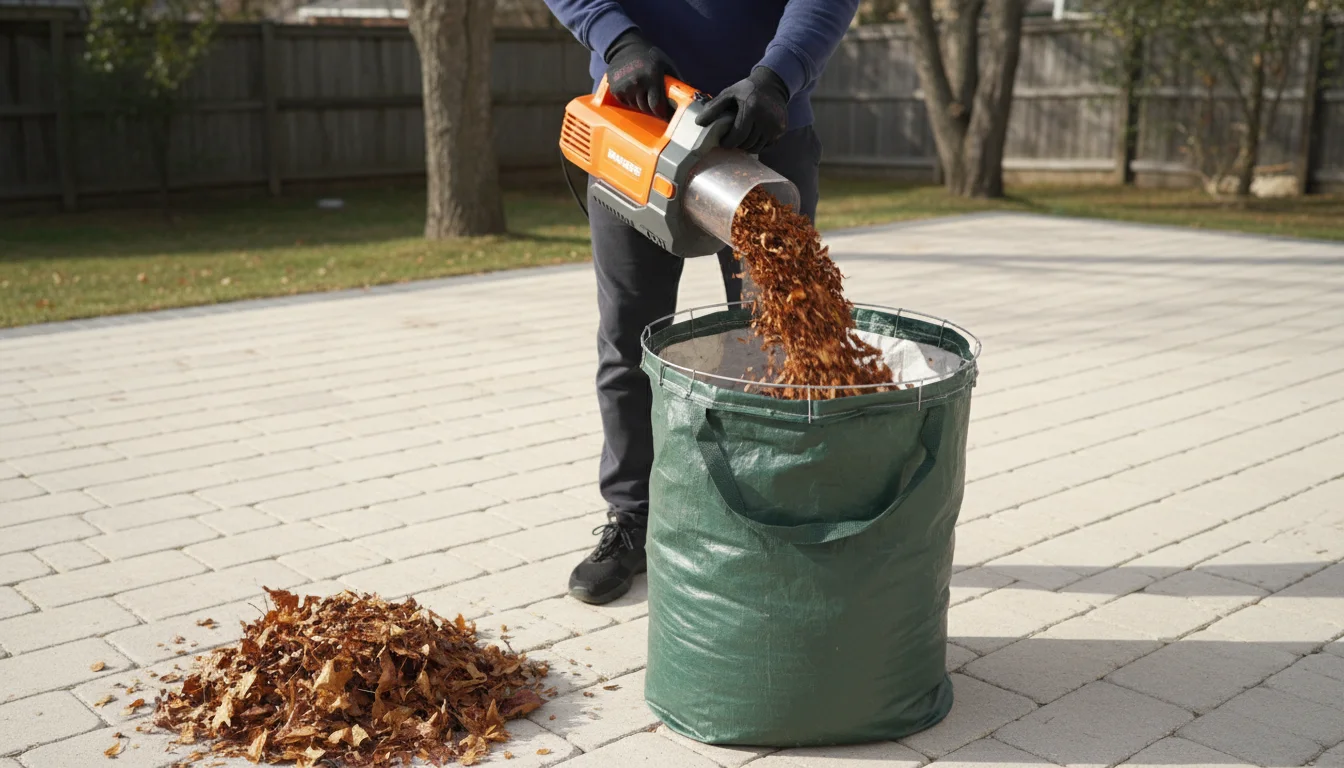
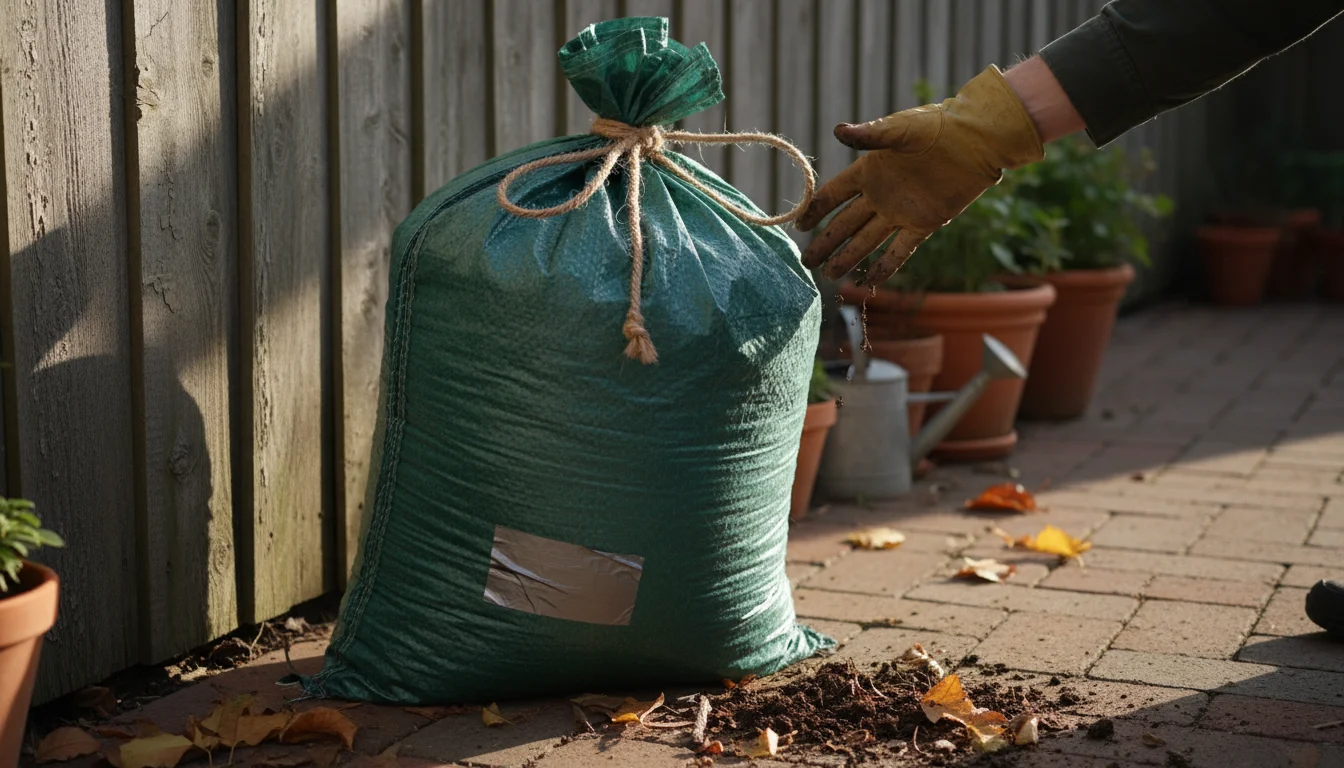
- Heavy-Duty Black Plastic Trash Bags: Large, thick contractor bags work best. They are durable, resist tearing, and the black color absorbs sunlight, which helps maintain a slightly warmer temperature for decomposition. Clear bags will also work, but black bags offer better heat retention.
- Shredded Leaves: As discussed, shredded leaves speed up the process. If you only have whole leaves, that is fine, but expect a longer decomposition time.
- Water: A garden hose or watering can, essential for moistening your leaves.
- Drill or Sharp Object: To make drainage and aeration holes in the bag.
Step-by-Step Instructions:
- Prepare Your Leaves:
Gather your deciduous leaves. Shred them using a lawn mower, leaf shredder, or string trimmer if possible. Shredded leaves decompose faster and prevent matting inside the bag. If you are using whole leaves, consider tearing some by hand to break them down a bit. Smaller pieces mean more surface area for fungi to colonize.
- Moisten the Leaves:
Spread a layer of shredded leaves on a tarp or in a wheelbarrow. Lightly moisten them with water. The goal is for the leaves to feel like a damp sponge, not soaking wet. If they are too dry, decomposition will slow down significantly. If they are too wet, they can become anaerobic and smell unpleasant due to bacterial activity, which is not what you want for leaf mold. You want consistent moisture throughout the batch before bagging.
- Fill the Bag:
Carefully transfer the moistened, shredded leaves into your heavy-duty black trash bag. Fill the bag about three-quarters full. This leaves enough space to tie it off and allows for some air circulation. Do not pack the leaves down too tightly at this stage; a loose fill promotes better air exchange and prevents excessive compaction which hinders fungal growth.
- Add More Water (if needed) and Tie the Bag:
Once the bag is filled, add a bit more water if necessary to ensure all leaves are uniformly damp. You can gently mix the contents by rolling the bag a bit to distribute moisture. Then, loosely tie the top of the bag, leaving some air space. This loose tie is critical. You do not want an airtight seal; air circulation, even minimal, is important for the fungi that break down the leaves. An airtight bag will lead to rot, not fungal decomposition.
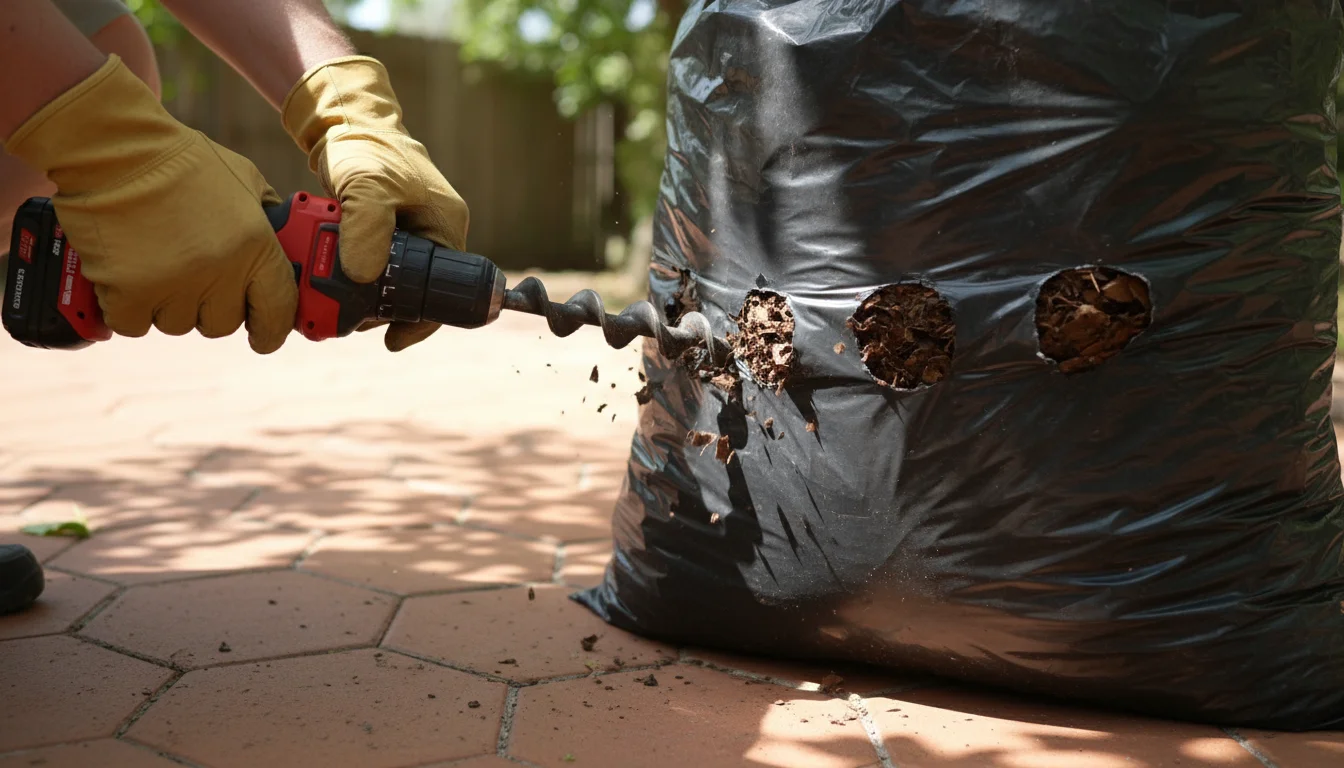
- Puncture for Airflow and Drainage:
Using a drill with a small bit (1/4 to 1/2 inch) or a sharp object like a sturdy stick, poke 10 to 15 holes around the sides and bottom of the bag. These holes are vital for both aeration and drainage. They allow a small amount of oxygen to enter, supporting aerobic fungal activity, and enable any excess water to escape, preventing the leaves from becoming waterlogged. Ensure some holes are near the bottom to drain any accumulation, especially if your bag sits on a hard surface.
- Find a Spot and Let Nature Work:
Place your filled and punctured bag in an out-of-the-way spot. A shady area is often recommended to prevent the bag from drying out too quickly, though a sunny spot can sometimes speed up the process slightly by maintaining warmth, as long as you monitor moisture levels closely. Ensure it is not blocking pathways or exposed to strong winds that could tear the bag. The leaves will now begin their slow transformation. For apartment composting with leaves, a discreet corner of a balcony or patio works perfectly, keeping the process unobtrusive and effective.
Patience and Observation: Monitoring Your Black Gold in Progress
Making leaf mold is not a sprint; it is a marathon. The beauty of this method lies in its hands-off nature, but a little periodic checking ensures success. Understanding what to look for and when to intervene helps guide your leaves towards becoming that coveted “black gold.”
Timeline for Transformation
The time it takes for leaves to fully decompose into leaf mold varies significantly based on several factors:
- Leaf Type: Softer leaves like maple, birch, and poplar can break down in 6 to 12 months. Tougher leaves like oak or sycamore might take 18 to 24 months.
- Shredding: Shredded leaves typically reduce decomposition time by 30 to 50 percent compared to whole leaves due to increased surface area.
- Moisture and Temperature: Consistent moisture is key. Warmer temperatures generally speed up decomposition, but extreme heat can dry out the bag too quickly, requiring more frequent moisture checks.
If you start your bags in the fall, you can expect usable leaf mold by the following fall, or even by late spring for softer, shredded leaves. Plan accordingly for your planting needs, perhaps starting multiple bags with different leaf types for a staggered supply.
Signs of Progress
You will not see dramatic changes overnight, but here is what indicates your leaf mold is on track:
- Shrinking Volume: The most obvious sign. Over time, the volume of leaves in the bag will significantly decrease. This compaction indicates the breakdown of plant material. You may need to add more moist leaves to a shrinking bag to maximize your yield, creating a more dense final product.
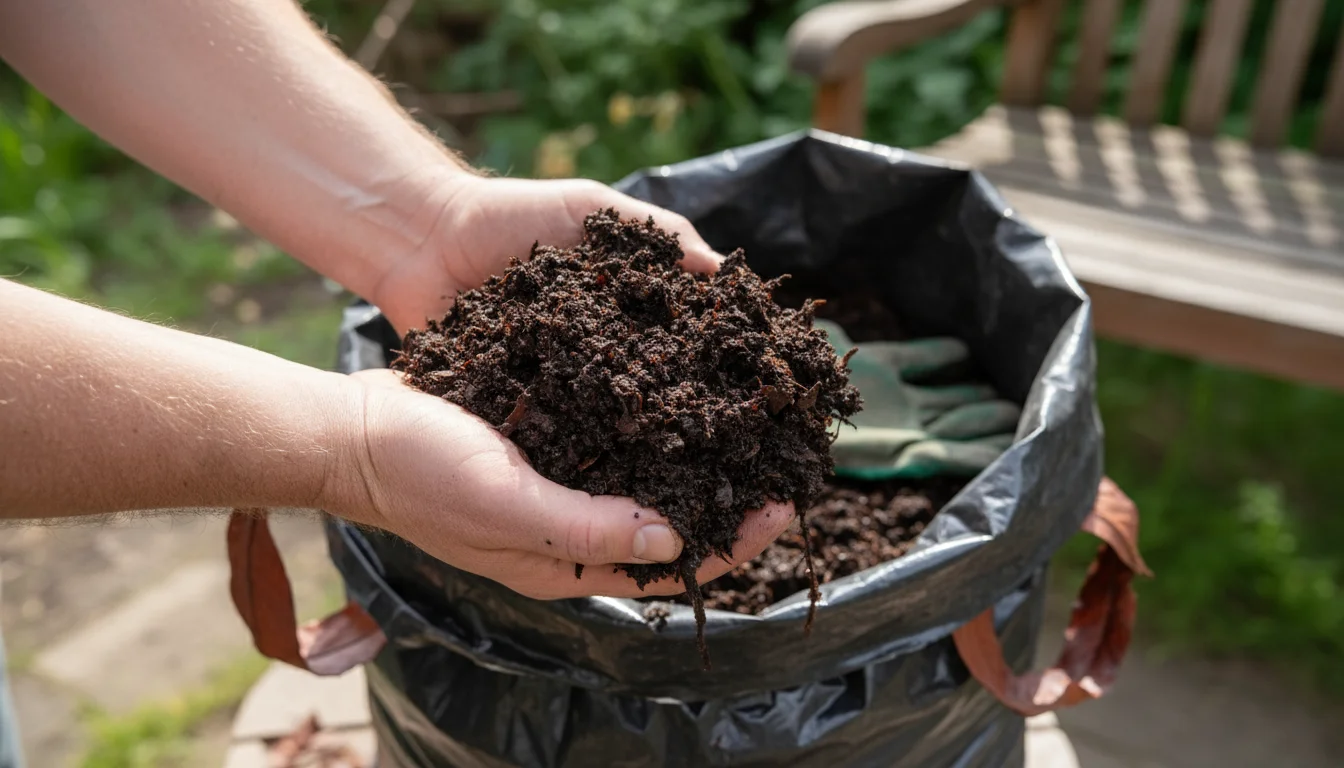
- Darkening Color: The leaves will gradually turn a darker brown, eventually becoming deep, rich black. This color change is a clear indicator of decomposition and organic matter transformation.
- Earthy Smell: A healthy leaf mold bag will smell like a forest floor after rain: sweet, earthy, and fresh. There should be no foul or sour odors. A pleasant, clean scent indicates healthy fungal activity.
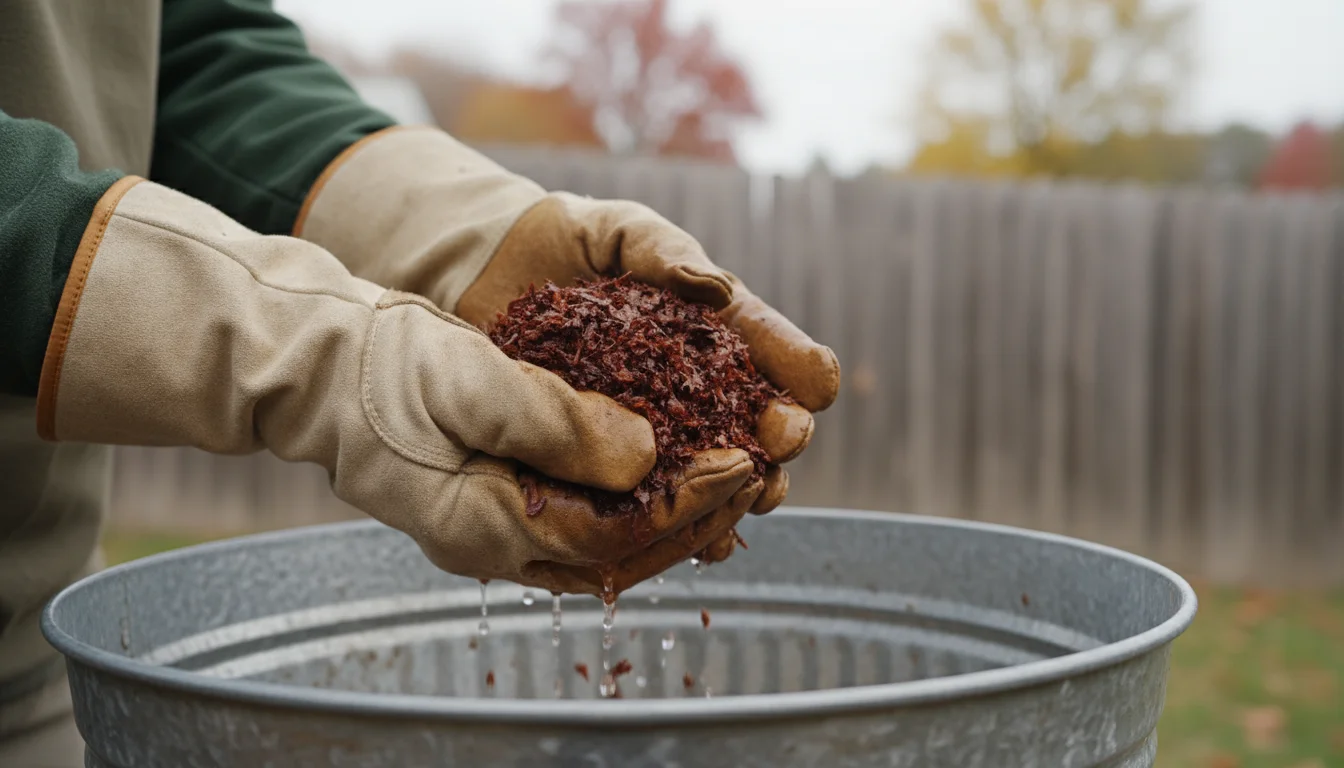
- Change in Texture: The leaves will become increasingly crumbly and soft. When fully mature, leaf mold resembles coarse, dark soil. You may still see some recognizable leaf fragments, which is normal and desirable, providing continued slow-release organic matter as they break down further.
Checking Moisture Levels
The single most important factor for successful leaf mold is consistent moisture. Periodically, every 1 to 2 months, check the moisture inside your bag. Untie the top, reach in, and grab a handful of leaves. They should feel damp, like a wrung-out sponge, not dripping wet or completely dry.
- If too dry: Add more water. You can do this by pouring a few cups of water into the bag, then resealing and gently turning the bag to distribute the moisture. If your bag is in a sunny, exposed spot, consider moving it to a shadier location to prevent rapid drying. Dry leaves simply will not decompose.
- If too wet: This is less common if you poked sufficient drainage holes. If the leaves are soggy and emit a foul odor, the environment might be too anaerobic. Add more holes, gently mix the contents to introduce air, and if possible, spread the leaves out to dry slightly before returning them to the bag.
Turning and Aeration (Optional, but Recommended)
While not strictly necessary for simple leaf mold, occasionally turning or shaking the bag, every 2 to 3 months, helps mix the contents, introduces more air, and ensures uniform decomposition. This is especially helpful for larger bags or if you used whole leaves, as it prevents matting and helps fungi spread more effectively. Simply roll the bag around or lift and gently drop it a few times to redistribute the leaves and refresh the air within. This small effort can noticeably accelerate the process and improve consistency.

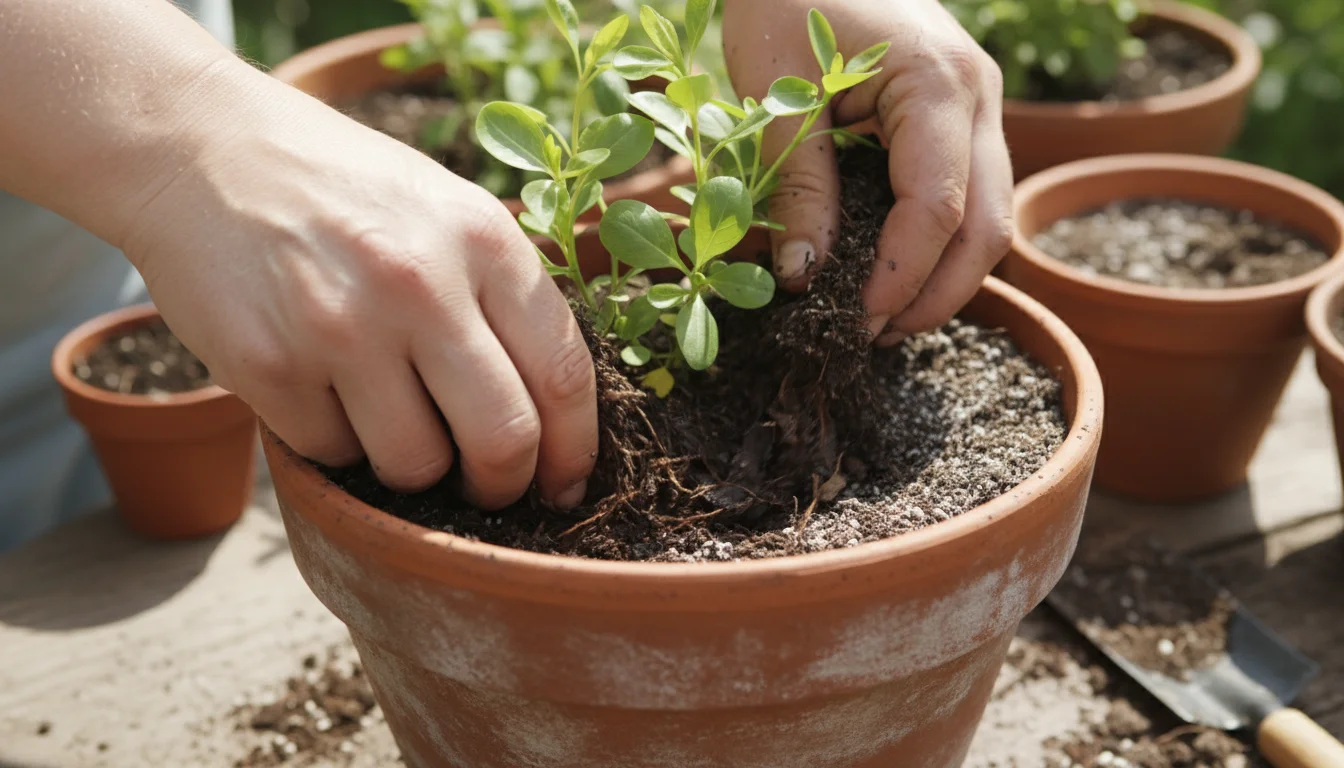
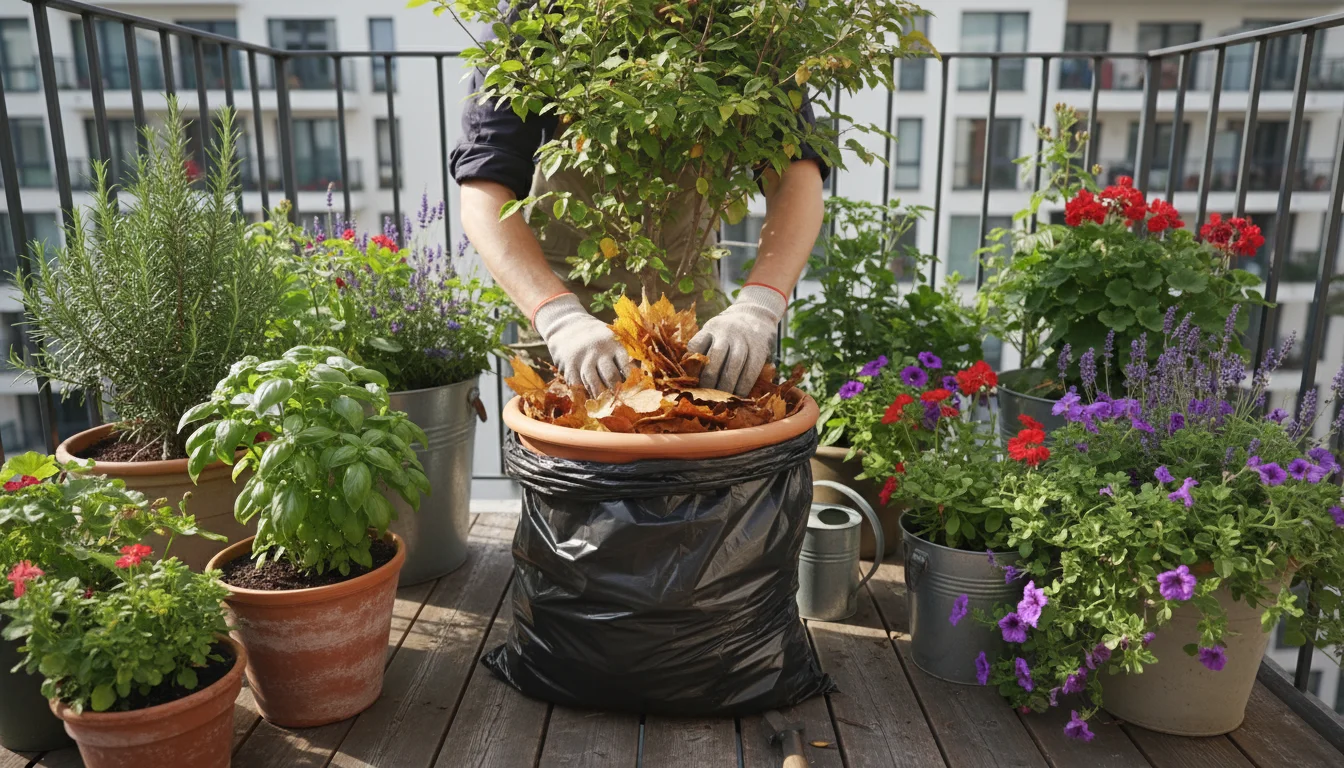
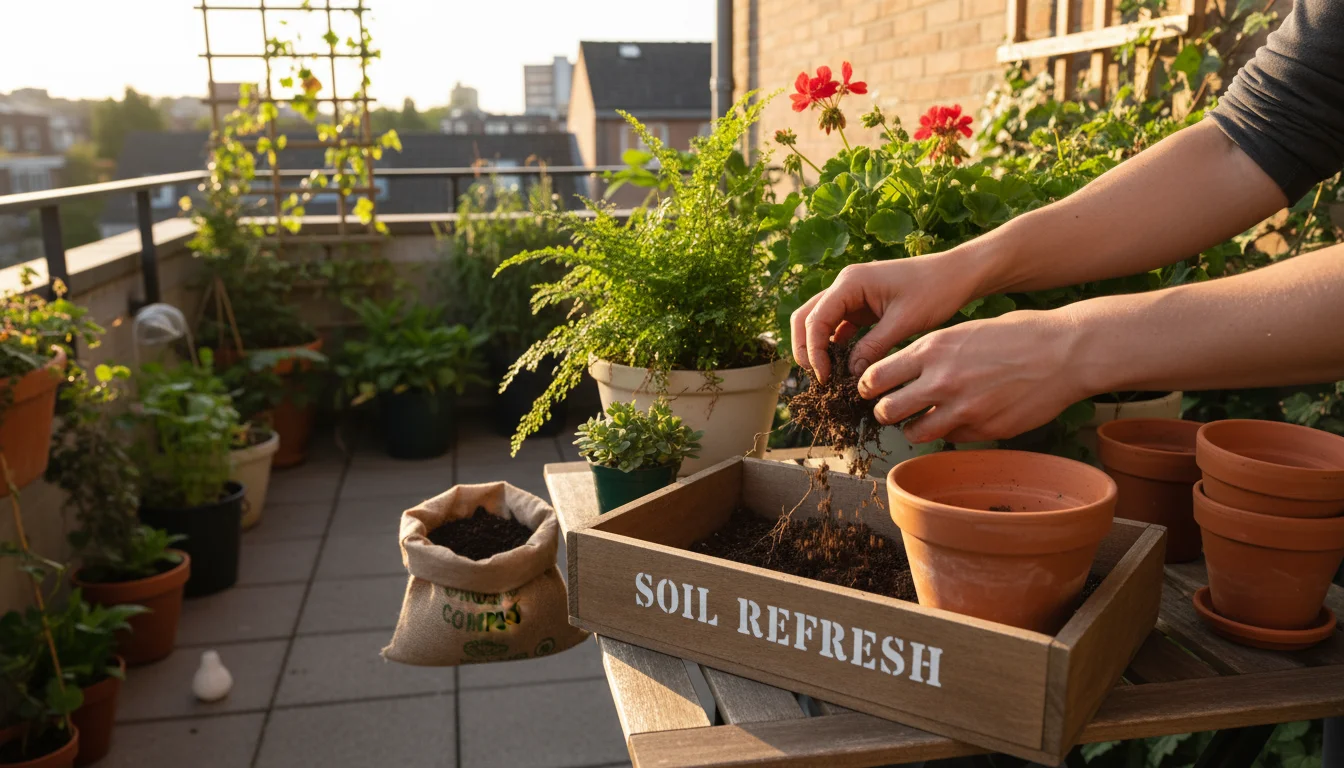
Integrating Leaf Mold into Your Container Gardening Strategy
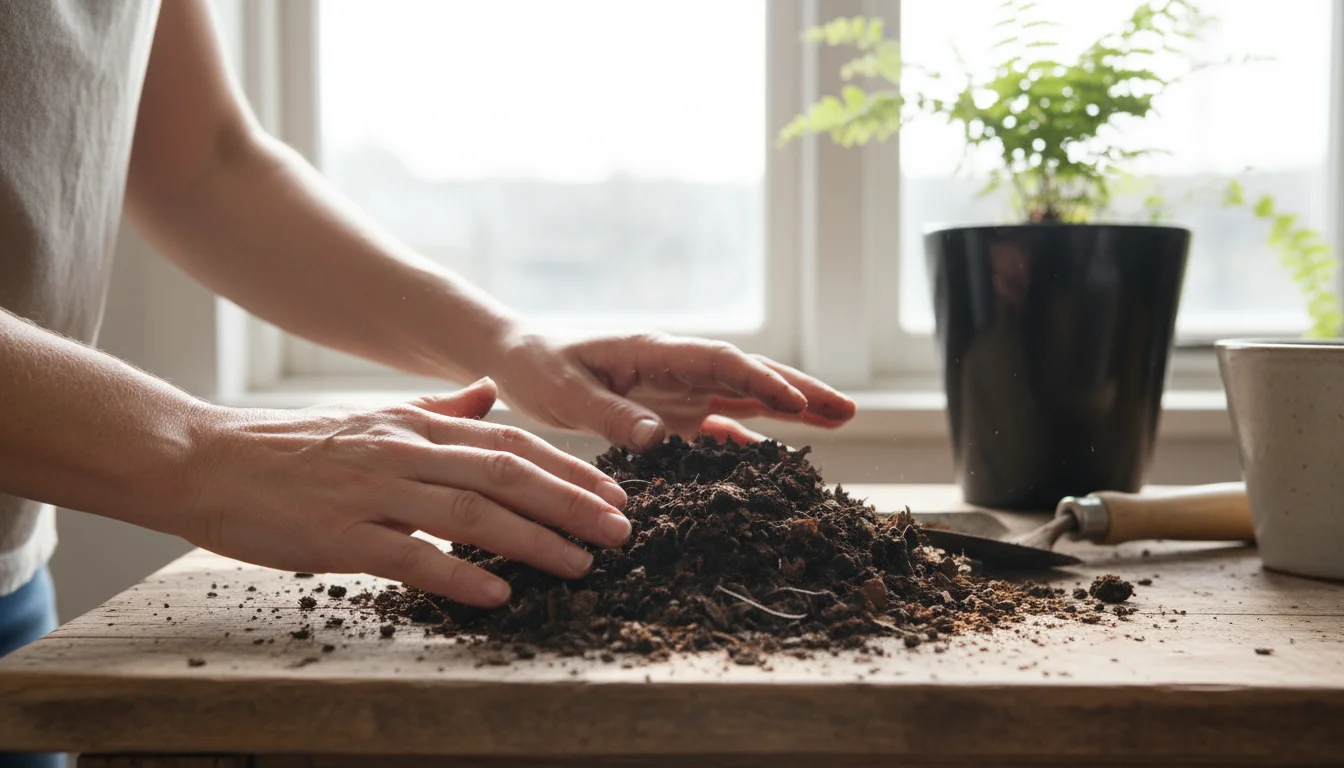
Once your “black gold” is ready, the real fun begins: putting it to work in your container garden. Leaf mold is incredibly versatile and benefits almost any potted plant. Its unique properties make it an ideal choice for enhancing store-bought potting mixes or for creating custom blends tailored to your plants’ needs. Using fall leaves for container garden soil actively improves your gardening outcomes by boosting soil quality.

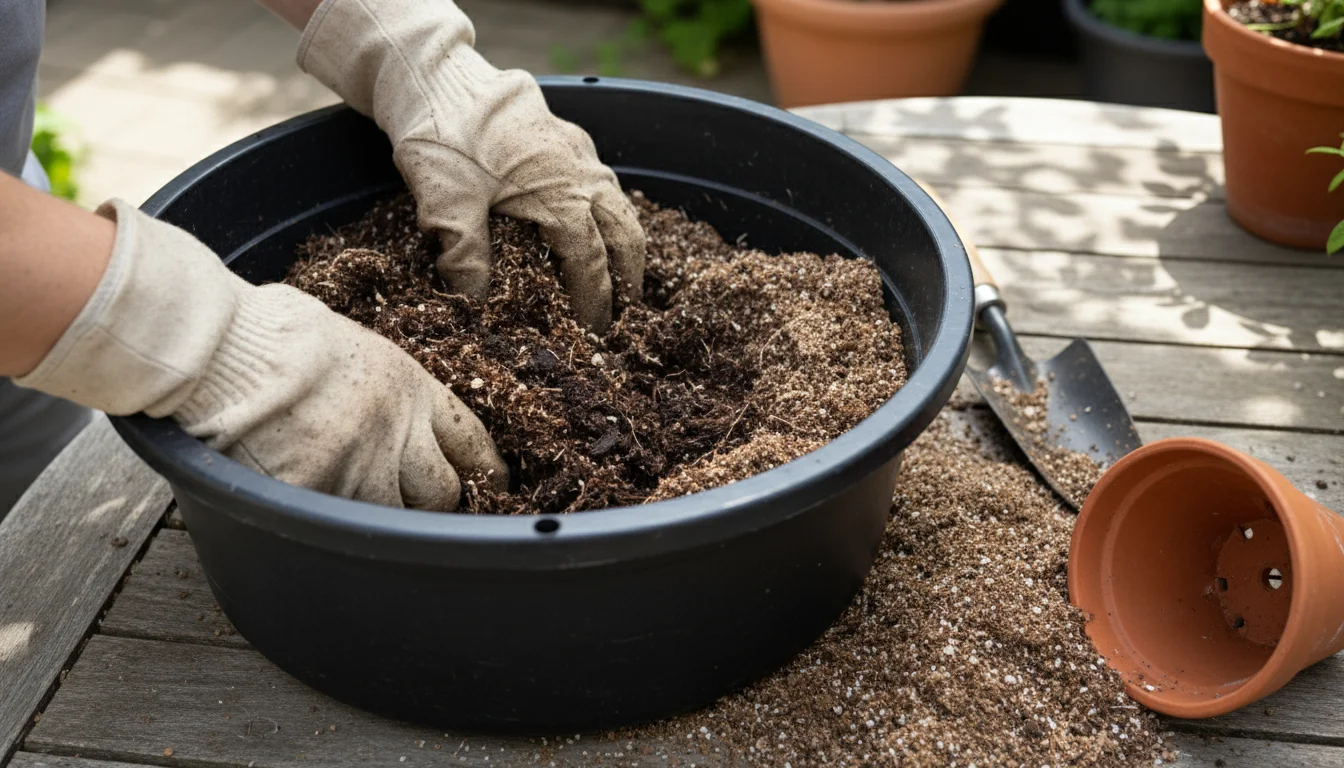
Mixing Ratios for Potting Media
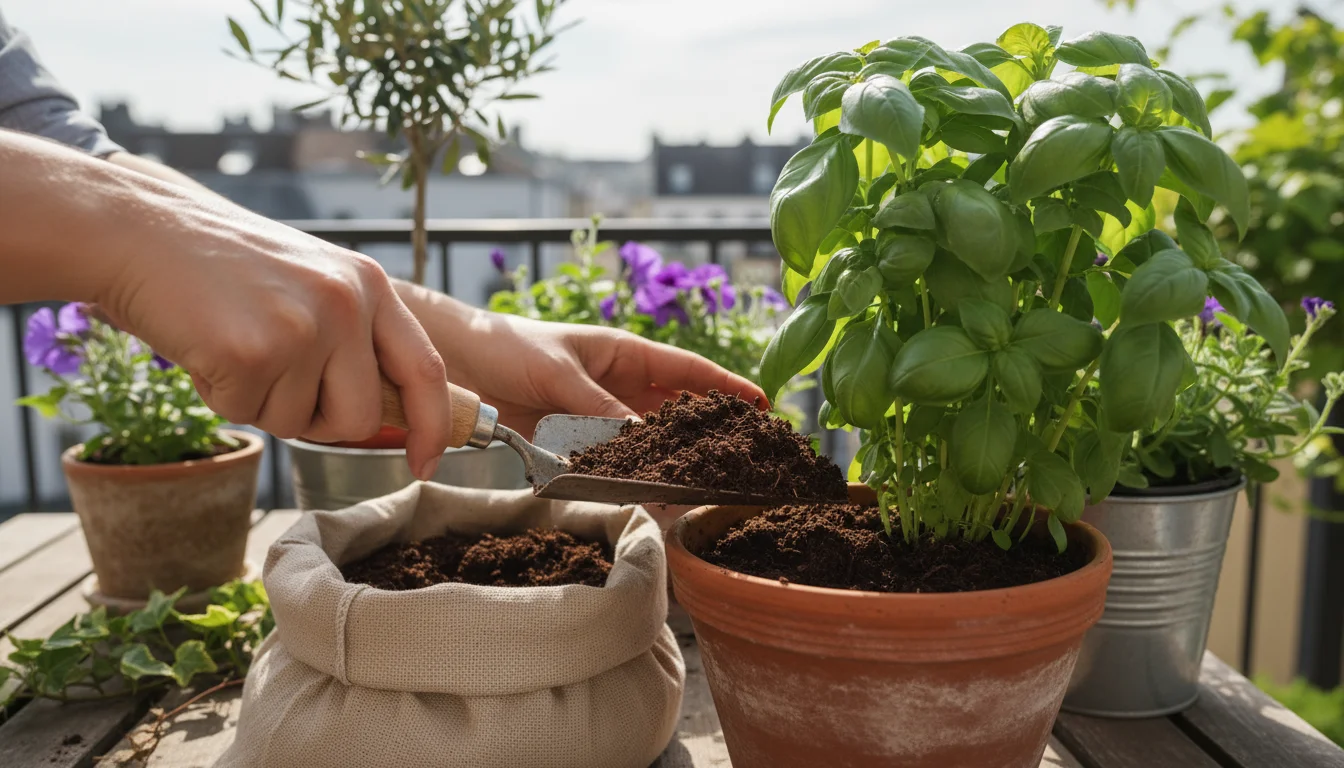
Leaf mold is a soil amendment, not a standalone potting mix. It is too rich in organic matter and lacks the structural integrity or balanced nutrient profile required for pure potting. Aim to incorporate it into your existing or new potting mixes at various ratios:
- General Purpose Mix (for most vegetables, annuals, herbs): Mix 1 part leaf mold with 2 to 3 parts high-quality potting mix. This provides excellent water retention and improved structure without over-saturating the mix. This is a great starting point for making leaf mold a regular component of your container soil. For example, if you are filling a 10-inch pot, use about 3-4 cups of leaf mold blended into your potting mix.
- Moisture-Loving Plants (e.g., ferns, impatiens, some tropicals): Increase the leaf mold ratio to 1 part leaf mold with 1 to 2 parts potting mix. These plants appreciate the extra moisture-holding capacity, reducing their chances of drying out between waterings.
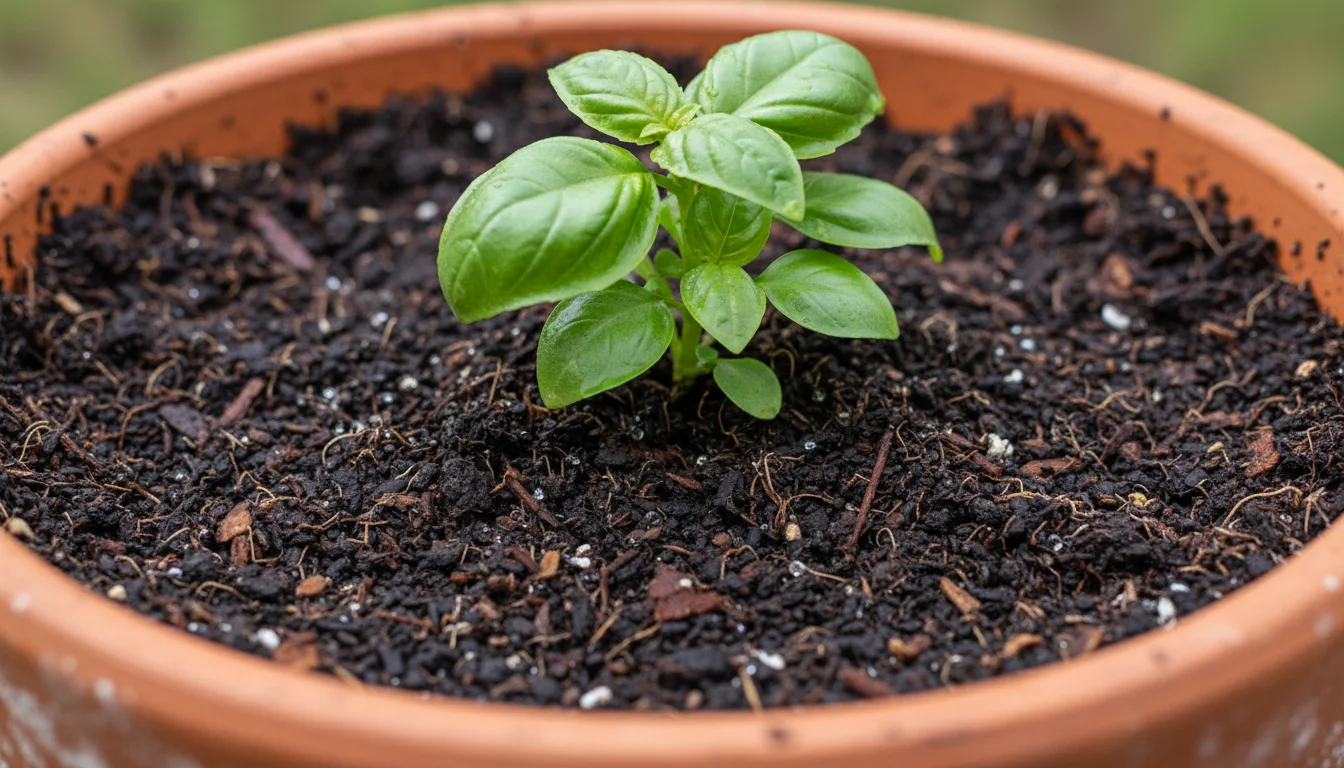
- Seed Starting Mixes: For seed starting, you want a lighter, more sterile mix. Use leaf mold very sparingly, if at all, perhaps 1 part leaf mold to 4 to 5 parts seed starting mix. Ensure the leaf mold is fully decomposed and fine in texture to avoid chunky bits that could hinder delicate seedlings. It adds a gentle boost without overwhelming the delicate environment.
- Potting Up Established Plants: When moving plants to larger containers, you can use a higher ratio, such as 1 part leaf mold to 1 part potting mix, especially if the plant has developed a robust root system. This gives them a significant boost of organic matter as they establish themselves.
- Top Dressing: Apply a 1 to 2 inch layer of finished leaf mold as a top dressing around established plants in containers. This acts as a slow-release amendment, helps retain moisture, and suppresses weeds. It slowly works its way into the soil with watering, continuously enriching the top layer.
Specific Plant Benefits
Virtually all plants benefit from the improved soil structure and moisture regulation that leaf mold provides. However, some plants particularly thrive with its addition:
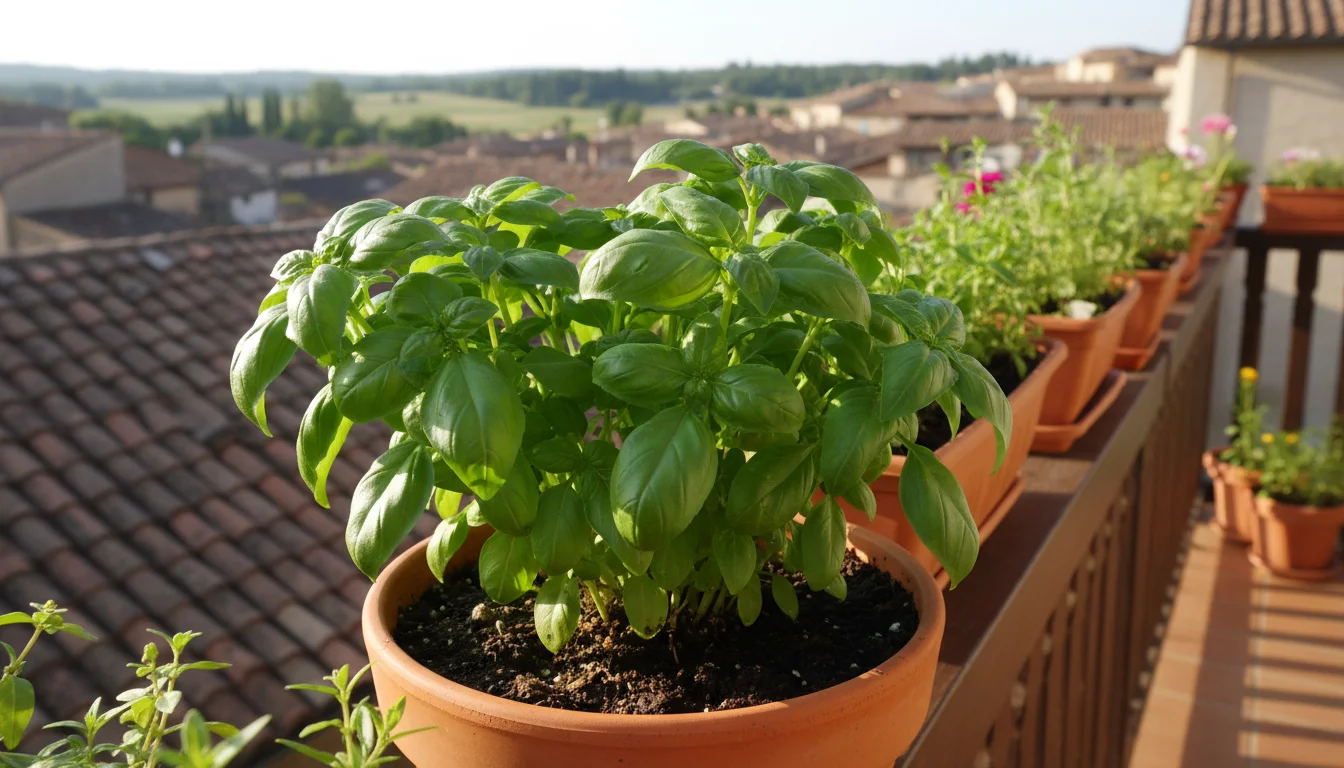
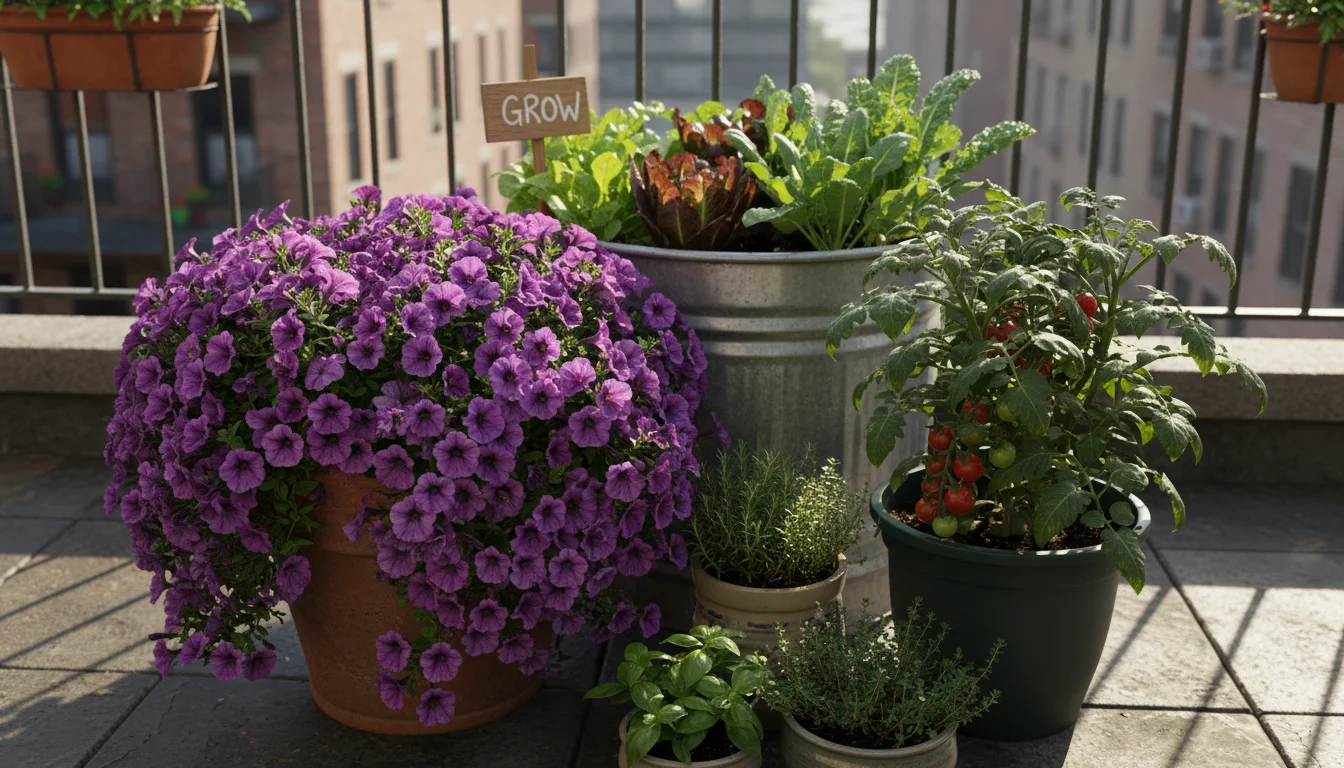
- Flowering Annuals: Plants like petunias, marigolds, and calibrachoa, which demand consistent moisture and bloom heavily throughout the season, benefit greatly from leaf mold’s water retention. This leads to more vibrant, continuous flowering and reduces wilting on hot days.
- Vegetables: Tomatoes, peppers, lettuce, and herbs grown in containers appreciate the steady moisture and the introduction of beneficial microbes. This contributes to healthier root systems, better nutrient uptake, and often higher yields. For instance, a pepper plant in a container with a 25 percent leaf mold mix will likely show fewer signs of stress compared to one in standard potting mix alone.
- Acid-Loving Plants (e.g., blueberries, azaleas in pots): While leaf mold is generally neutral, it provides a beneficial organic matter boost. If using primarily oak leaves, the resulting leaf mold can be slightly acidic, which is perfect for these plants that prefer a lower pH.
- Houseplants: Incorporate a small amount of leaf mold (1 part leaf mold to 3-4 parts houseplant potting mix) when repotting to improve moisture retention and aeration for indoor plants. This prevents common houseplant problems like compacted soil and uneven watering.
Application Tips
- Mix Thoroughly: Always mix the leaf mold thoroughly with your potting mix. Do not layer it. Even distribution ensures uniform benefits throughout the root zone, giving all roots access to the enhanced properties.
- Consider Finer Leaf Mold: For smaller containers or delicate seedlings, you might want to screen your leaf mold to remove larger, undigested pieces. This creates a finer texture suitable for sensitive roots and ensures a uniform seed bed or potting environment.
- Rejuvenating Old Potting Mix: Leaf mold is excellent for revitalizing tired, used potting mix. After a growing season, old potting mix often loses its structure and organic matter. Mixing in 25 to 50 percent fresh leaf mold can breathe new life into it, saving you money on buying entirely new bags and reducing waste.
By actively using leaf mold, you are not only nurturing your plants but also engaging in a cycle of sustainability, turning what was once perceived as waste into a vital component of your flourishing small-space garden.
Troubleshooting Your Leaf Mold Project: Common Hurdles
While making leaf mold in a trash bag is generally a straightforward process, you might encounter a few common issues. Do not get discouraged! Most problems are easily remedied with a bit of observation and adjustment. Your goal is to keep the leaves consistently damp and allow fungal decomposition to proceed without interruption, ensuring you produce high-quality container soil amendment.
Problem 1: Foul Odor (Rotten Egg or Sour Smell)
Cause: This usually indicates anaerobic conditions, meaning too little oxygen and too much moisture. The leaves are putrefying rather than decomposing through fungi. This is a common issue with apartment composting with leaves if not managed correctly, as anaerobic bacteria produce unpleasant gases.
Solution:
- Increase Aeration: Add more holes to the bag, especially along the bottom and sides. Use a drill or sturdy stick to create new openings, allowing oxygen to penetrate deeper into the leaf mass.
- Reduce Moisture: If the leaves are visibly waterlogged, untie the bag, spread the leaves out on a tarp for a few hours to air dry slightly. Then, return them to the bag, ensuring they feel like a damp sponge.
- Mix Contents: Gently shake or roll the bag vigorously to introduce air and redistribute moisture. If the bag is large, you can open it and use a small hand trowel or stick to carefully turn the contents, breaking up any dense, wet clumps.

Problem 2: No Decomposition (Leaves Look the Same After Many Months)
Cause: Lack of moisture is the most frequent culprit. Fungi need a damp environment to thrive. Insufficient shredding or a very cold storage location can also slow things down considerably, as fungi are less active in extreme cold.
Solution:
- Add Water: Untie the bag and add a few cups of water. Mix or gently shake the bag to distribute the moisture evenly. The leaves should feel like a damp sponge. Repeat as needed every few weeks if the bag feels light and dry. A simple check every month prevents this issue.
- Shredding: If you used whole leaves, consider emptying the bag and shredding them with a lawn mower. This dramatically speeds up the process by creating more surface area for fungal colonization. It is often worth the extra effort.
- Relocate: If your bag is in a very cold, shaded spot, moving it to a location that receives some indirect warmth, but not direct, intense sun that would dry it out quickly, can help. Fungi prefer moderate temperatures.
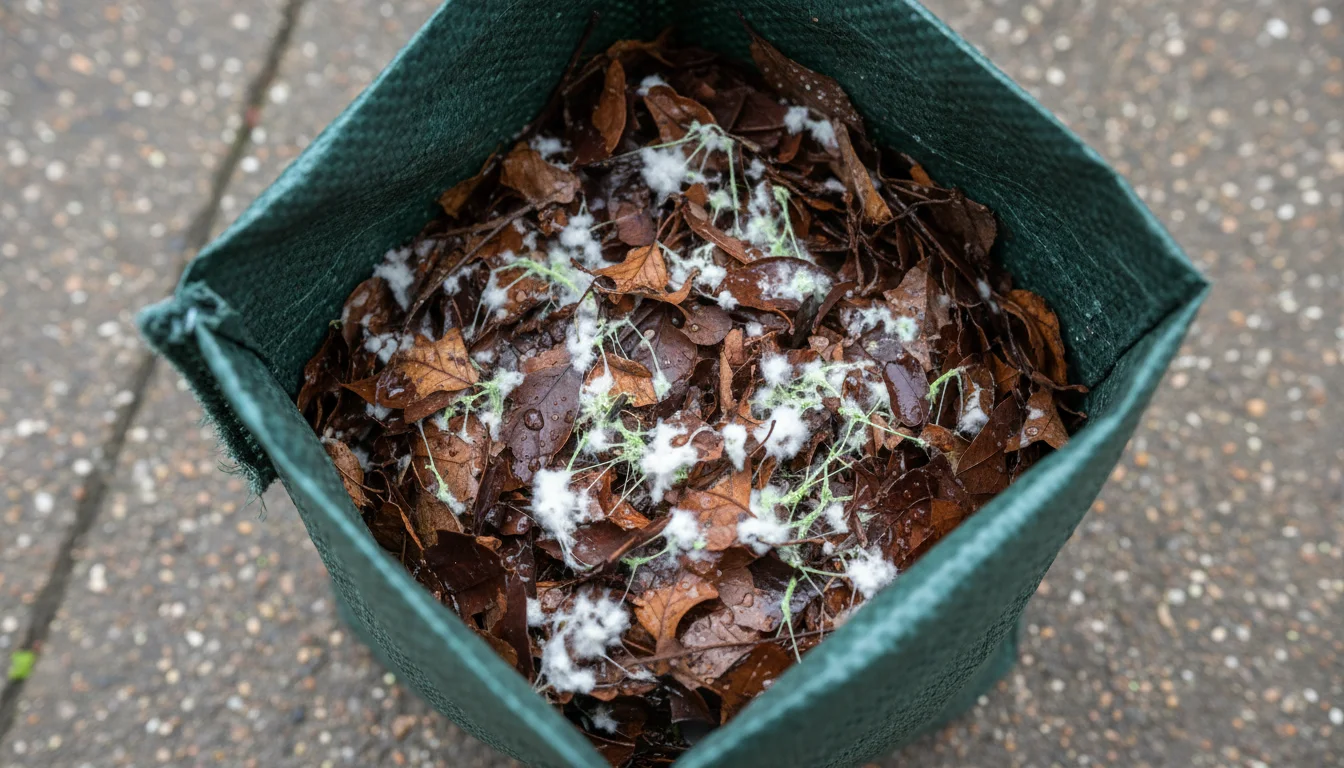
Problem 3: White or Green Mold on Leaves
Cause: This is generally a good sign! White, fuzzy mold is often beneficial fungi working to break down the leaves. This is exactly what you want to see. Green mold might indicate some surface mildew, but it is usually harmless in this context and simply part of the natural breakdown. These are visual cues that the process is working.
Solution: Usually, no action is needed. These are natural parts of the decomposition process. If the green mold appears slimy or smells bad, refer to the “Foul Odor” solution above, as it might indicate too much moisture in that specific area needing correction.
Problem 4: Pests (Insects, Rodents)
Cause: Leaf mold should not attract rodents or common garden pests if done correctly, as it does not contain food scraps or other readily digestible materials. However, if the bag is damaged or leaves are too dry, providing shelter, small insects might take residence. An intact, moist bag typically deters most unwanted visitors.
Solution:
- Ensure Bag Integrity: Use heavy-duty bags and inspect them for tears or holes. Patch any small holes with strong duct tape or transfer contents to a new bag if damage is extensive. A secure bag prevents entry.
- Maintain Moisture: Damp leaves are less appealing to many pests looking for dry shelter. A moist environment is less hospitable for nesting.
- Location: Place the bag in a location that is less accessible to rodents if they become an issue, though this is rare for pure leaf mold. Ensure you are only adding leaves and nothing else. Food scraps are the primary attractant for larger pests.
The key to preventing most problems is consistent moisture, adequate aeration, and using only leaves. By paying attention to these factors, you ensure a smooth journey to creating your own high-quality container soil amendment with minimal fuss.
Beyond the Bag: Storing and Sustaining Your Leaf Mold Supply
Once you have successfully produced a batch of leaf mold, you will quickly realize its value and want to keep a steady supply. Storing your finished product properly ensures its longevity and maintains its beneficial properties. Furthermore, adopting a routine for fall garden cleanup turns this into a sustainable, annual practice, providing a continuous source of this incredible soil amendment for your small-space garden.
Storing Finished Leaf Mold
Mature leaf mold is relatively stable, but proper storage helps preserve its quality and beneficial microbial life. You have a few options:
- In the Bag: If you have not used all of your leaf mold, you can keep it in the original trash bag. Just ensure the bag is still intact, tie it loosely, or leave some air holes, and store it in a cool, shady spot. Monitor moisture levels periodically. If it dries out, re-moisten slightly. This is the simplest storage method.
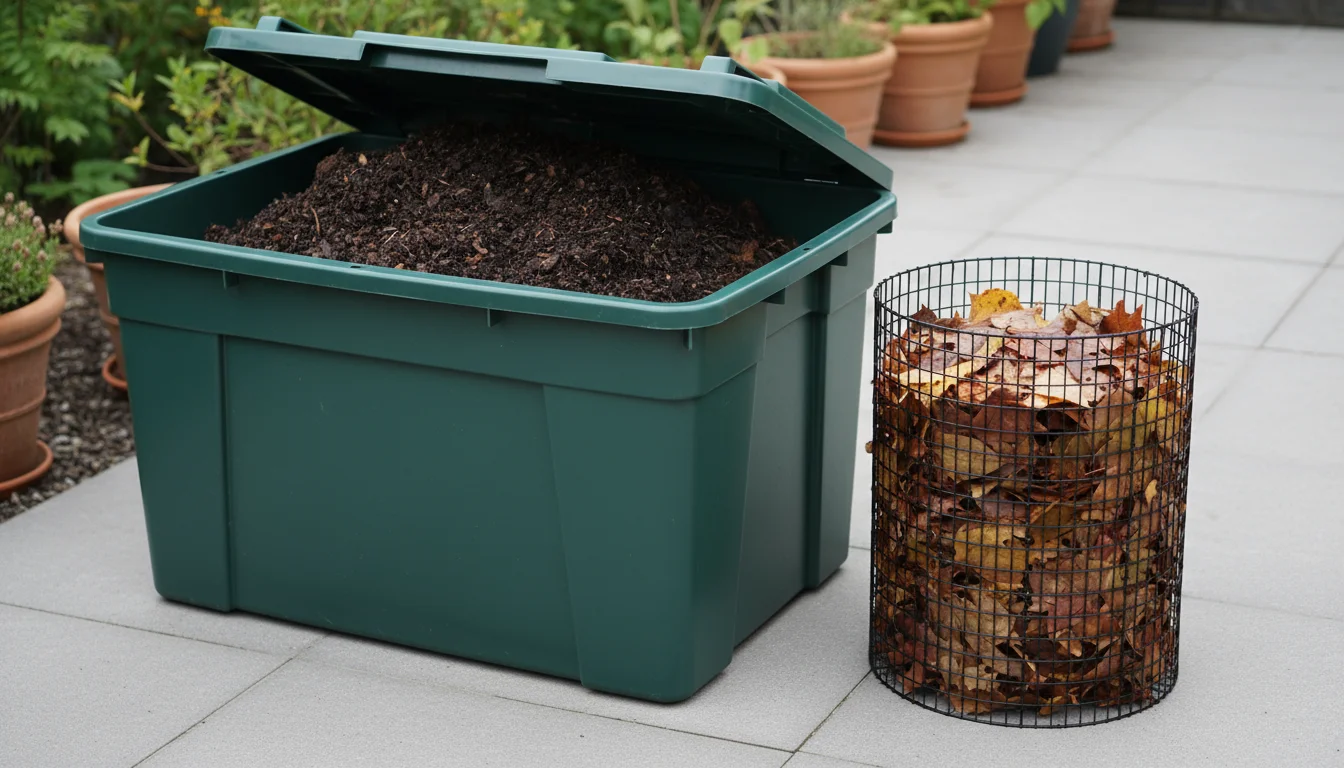
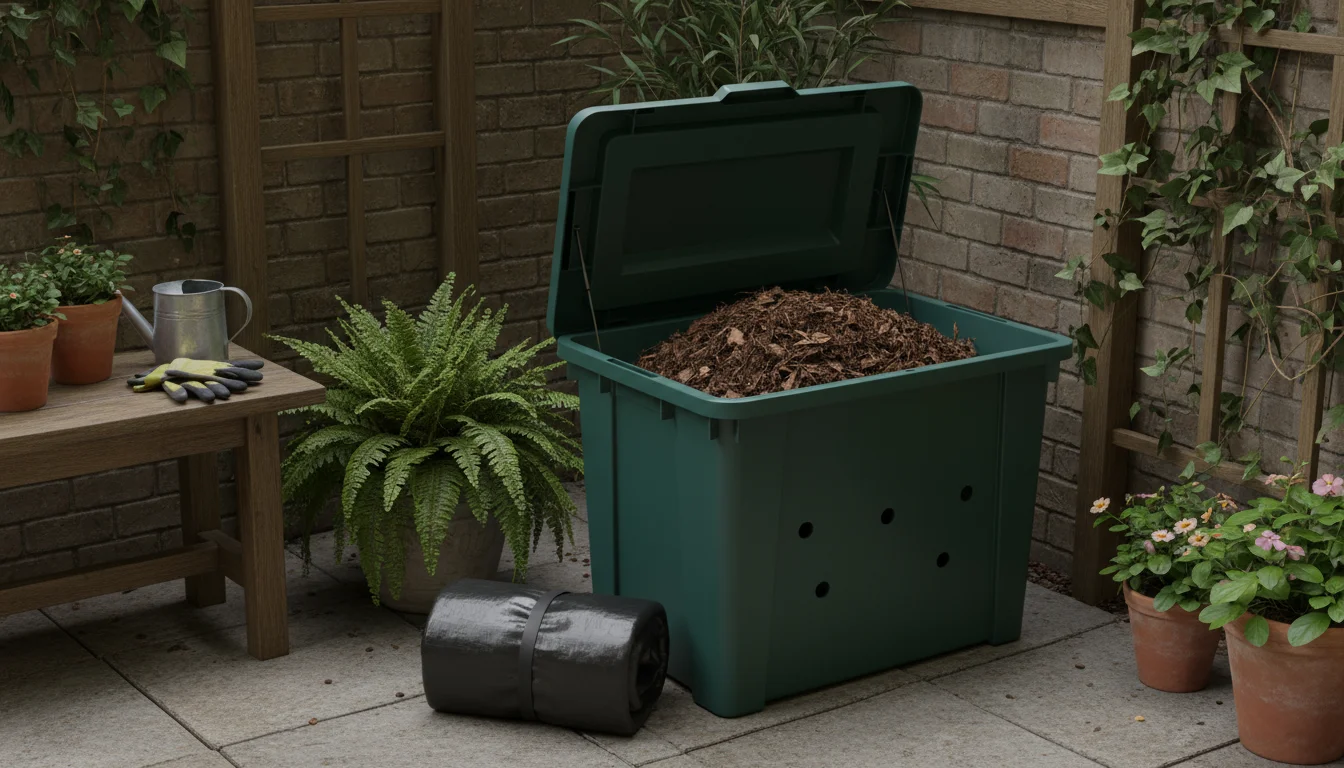
- Storage Bins or Totes: For a tidier solution, transfer finished leaf mold to sturdy plastic storage bins with lids. Drill a few small holes in the bottom and sides of the bins for minimal aeration and drainage. This keeps it contained, protected from the elements, easily accessible, and visually appealing for a patio or balcony.
- Dedicated Pile (if space allows): If your “small space” has a discreet corner in a yard, you can start a small, open leaf mold pile for ongoing decomposition and storage. Keep it covered with a tarp during dry spells to maintain moisture, and uncover it for rain. This method allows for larger volumes if you expand your leaf mold production.
The goal is to prevent it from completely drying out, which can harm the beneficial fungal networks, and to protect it from becoming waterlogged. Properly stored leaf mold can last for several years, retaining its effectiveness as a container soil amendment, ready for when you need it.
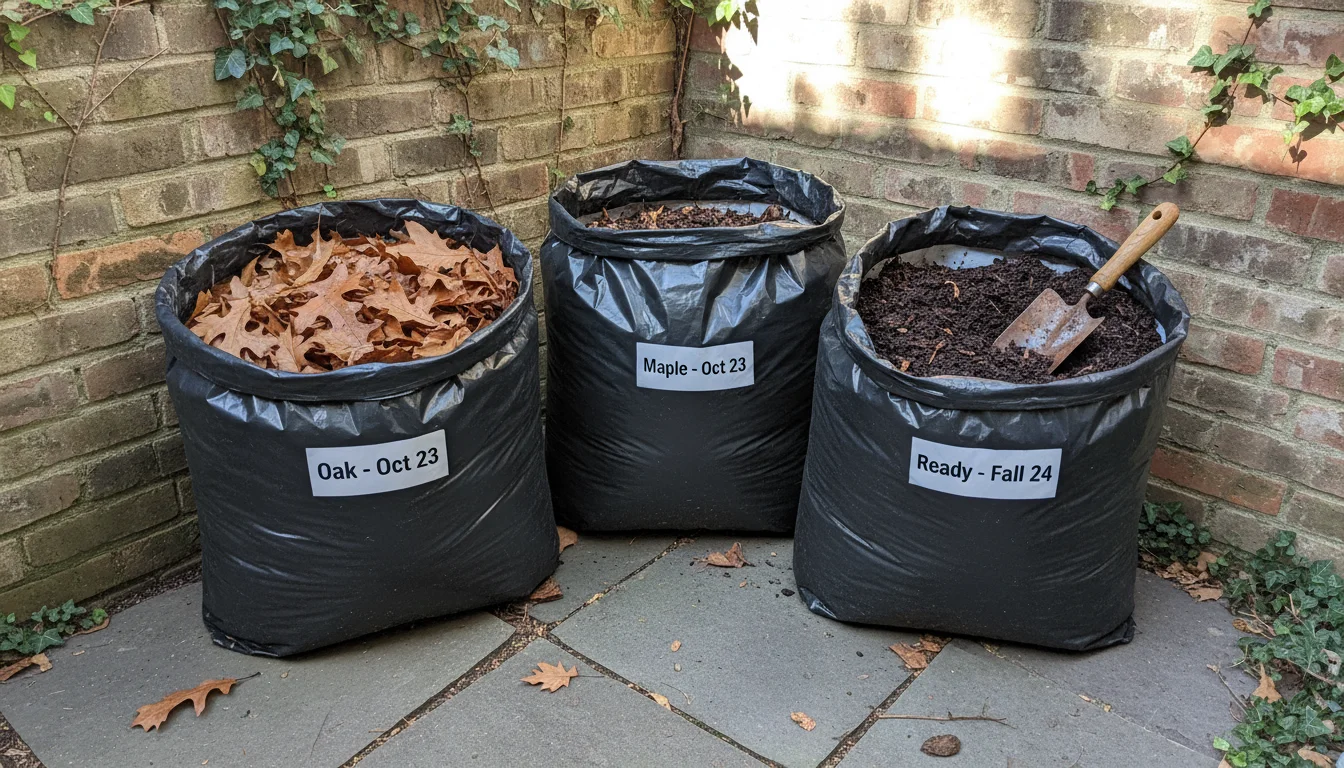
Sustaining Your Supply: An Annual Cycle
The most practical way to ensure you always have “black gold” on hand is to make it an annual fall ritual. Think of your fall garden cleanup not as a chore, but as an opportunity to harvest future soil wealth. This systematic approach guarantees a continuous supply for your container soil amendment needs.
- Early Fall: Collect Leaves: As deciduous trees begin to shed their leaves, gather them. Prioritize the softest leaves first for quicker decomposition, allowing you to use them sooner in your containers.
- Shred and Bag: Shred the collected leaves and begin new leaf mold bags. You can have multiple bags going at once, perhaps one with softer leaves for quicker results and another with tougher oak leaves for a longer-term supply. This creates a staggered harvest.
- Monitor and Maintain: Throughout the year, periodically check your bags as described in the previous section, especially for moisture levels and signs of progress. This includes checking moisture and giving them an occasional turn or shake.
- Harvest and Use: By the following late spring or fall, your first batches will be ready. Harvest the finished leaf mold and immediately start new bags with the next season’s fallen leaves. This continuous cycle ensures you always have a fresh batch of nutrient-rich, moisture-retaining material for your container garden.
Embrace this simple, sustainable practice. Your plants, your wallet, and the environment will thank you for making leaf mold a staple of your small-space gardening efforts. You will see a noticeable difference in the vitality and resilience of your container plants, all thanks to this free, natural resource.
Frequently Asked Questions
Can I use evergreen needles or diseased leaves for leaf mold?
It is best to avoid using evergreen needles (like pine or fir) as they decompose very slowly due to their waxy coating and can make the leaf mold more acidic, which not all plants prefer. Diseased leaves should also be avoided to prevent introducing pathogens to your healthy container plants. Stick to deciduous leaves free of apparent disease for the best and safest results for your container garden soil.
How long does it typically take to make leaf mold in a trash bag?
The process generally takes 6 months to 2 years. Shredded, softer leaves (like maple or birch) can break down in about 6 to 12 months. Whole, tougher leaves (like oak) may take 18 to 24 months. Consistent moisture and occasional turning can help speed up decomposition. Patience is key, but the minimal effort makes it worthwhile.
Does leaf mold attract pests or rodents?
Pure leaf mold, made solely from leaves, does not typically attract pests or rodents because it contains no food scraps. If you maintain proper moisture and ensure the bag is intact, it should remain undisturbed by unwelcome critters. If you notice pests, check if any food waste inadvertently made its way into the bag or if the bag is severely damaged. Leaves themselves are not generally appealing to pests.
Is leaf mold the same as compost?
No, leaf mold is distinct from traditional compost. Compost relies on a diverse mix of “greens” (nitrogen-rich) and “browns” (carbon-rich) and typically heats up during decomposition due to bacterial activity. Leaf mold consists almost exclusively of “browns” (leaves) and decomposes slowly through fungal activity, without significant heat generation. Both are valuable soil amendments, but they offer different benefits to the soil and different methods of creation, with leaf mold being simpler for small spaces.
Can I add other materials to my leaf mold bag?
For true leaf mold, stick only to leaves. Adding other organic materials, like grass clippings or food scraps, would turn your project into a traditional composting system, which typically requires a different approach to aeration and moisture balance. The simplicity and success of the “one bag” method for making leaf mold relies on its singular ingredient. Keep it simple and pure for the best leaf mold.
For trustworthy gardening information, visit: Virginia Cooperative Extension — Lawn & Garden, University of Maryland Extension — Home & Garden and Rutgers New Jersey Agricultural Experiment Station. These organizations provide expert, research-based advice for gardeners at all levels.
Disclaimer: This article is for informational purposes only and is not a substitute for professional gardening advice. Always consult local extension services or horticulture experts for region-specific guidance.
Leave a Reply