The Fall Potting Soil Refresh: A ‘Choose Your Own Adventure’ Guide for Busy Gardeners
Fall often means tidying up the garden, but for container gardeners, it presents a unique opportunity: transforming your old potting mix into a vibrant foundation for next season. Many gardeners simply discard used soil, but you can easily refresh and reuse it. This approach saves you money, reduces waste, and boosts your garden’s health. Think of this guide as your choose-your-own-adventure path, offering practical options for revitalizing your potting mix based on your time, resources, and the condition of your soil. Let us dive into simple strategies to turn tired soil into a powerhouse for spring.
Before you begin your soil refresh, you may also want to clean and disinfect your terracotta pots to prevent damage during the freezing winter months.
Why Fall Soil Care Matters for Container Gardens
Your potting mix is the lifeblood of your container plants. Throughout the growing season, it provides essential support, water retention, and nutrients. However, plants are hungry, and they draw heavily on these resources. Over time, your container soil suffers from nutrient depletion, compaction, and a breakdown of its structure. Fall offers an ideal window to address these issues, setting the stage for thriving plants next spring.
While you are organizing your outdoor space, don’t forget to clean and store your gardening tools properly to prevent rust and wear.
First, consider nutrient depletion. As your plants grow, their roots absorb vital elements like nitrogen, phosphorus, and potassium from the soil. Even with regular fertilization, these nutrients diminish, leaving behind an impoverished medium. Soil tests from university extensions often show that nutrient levels in used potting mixes significantly drop compared to fresh mixes. For instance, a study published by a horticultural extension demonstrated a 40-60% reduction in key macronutrients in potting soil used for a single growing season.
Second, observe the structural breakdown. Potting mixes typically contain components like peat moss, coir, or pine bark fines to create aeration and good drainage, meaning water moves through the soil efficiently without waterlogging roots. Over time, watering, root growth, and microbial activity cause these organic components to decompose. This decomposition leads to soil compaction, reducing air pockets vital for root respiration and efficient water flow. Compacted soil restricts root growth, making it harder for plants to access water and nutrients, ultimately leading to stunted growth or even root rot. University of California Cooperative Extension research highlights how proper soil structure, maintained through organic matter and aeration, directly correlates with vigorous plant health.
Third, fall soil care helps manage pest and disease cycles. Many common garden pests, such as fungus gnats, and disease pathogens, including various fungi, can overwinter in dormant soil. By actively refreshing your potting mix, you disrupt these cycles. You can remove pest larvae, fungal spores, and other undesirable elements, reducing the chances of these problems re-emerging next season. While a complete sterilization is often unnecessary and sometimes counterproductive for beneficial microbes, a thorough cleaning and amendment process significantly lowers pathogen loads.
Finally, embracing fall soil care promotes sustainability. Purchasing fresh potting mix annually contributes to significant material consumption and transportation costs. By reusing and amending your existing soil, you minimize waste, conserve resources, and save money. This practice aligns perfectly with a low-maintenance, eco-conscious gardening philosophy. For example, a single cubic foot bag of potting mix can cost between $15 and $25. If you have 10 containers, reusing your soil could save you $150-$250 each year, a tangible benefit for your budget.

Assessing Your Potting Mix: The First Adventure Choice
Before you begin the refreshing process, you must evaluate your current potting mix. This assessment determines which “adventure path” you should take. Your soil will fall into one of three categories: lightly used, heavily used or depleted, or problematic/diseased. Each category requires a different approach.
This evaluation is also the perfect time to purge your container collection and decide which pots are worth saving for next season.
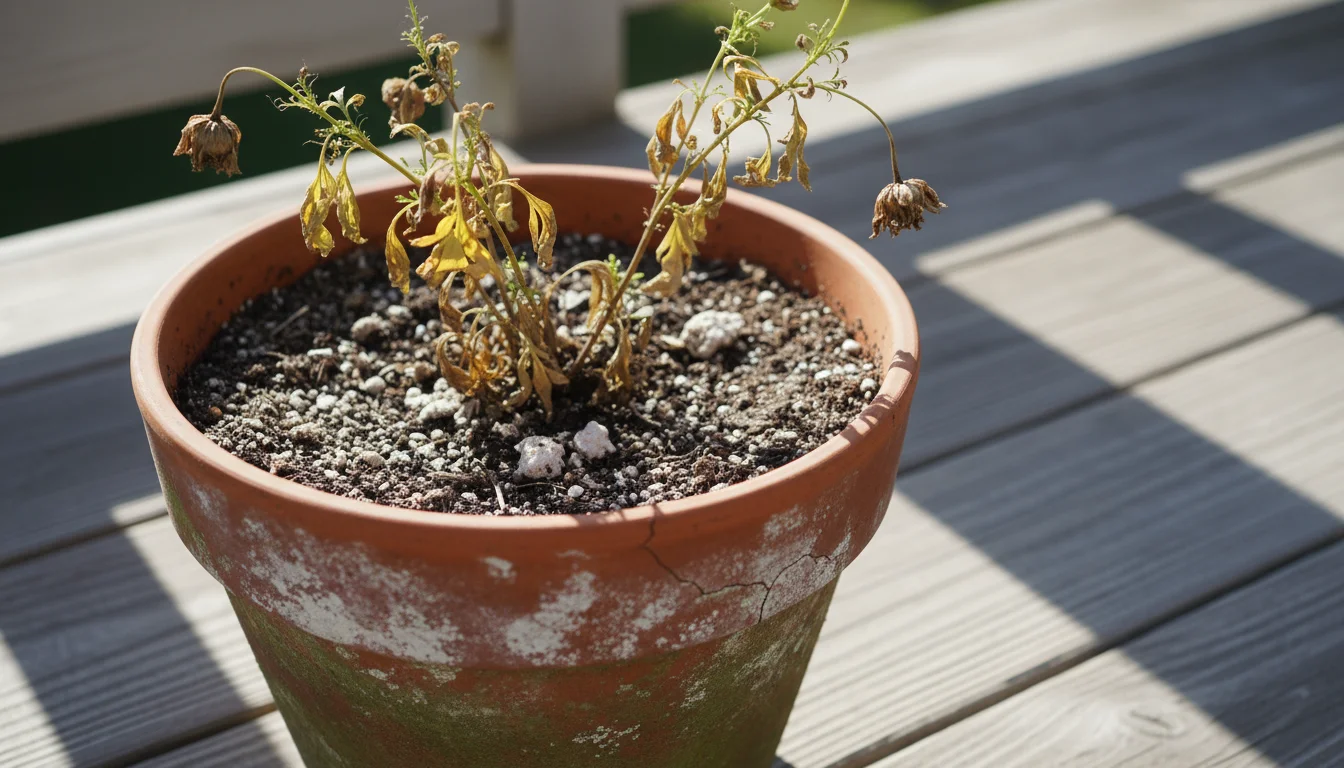
Think of this diagnostic phase as a fall soil autopsy to understand exactly what your plants extracted during the growing season.
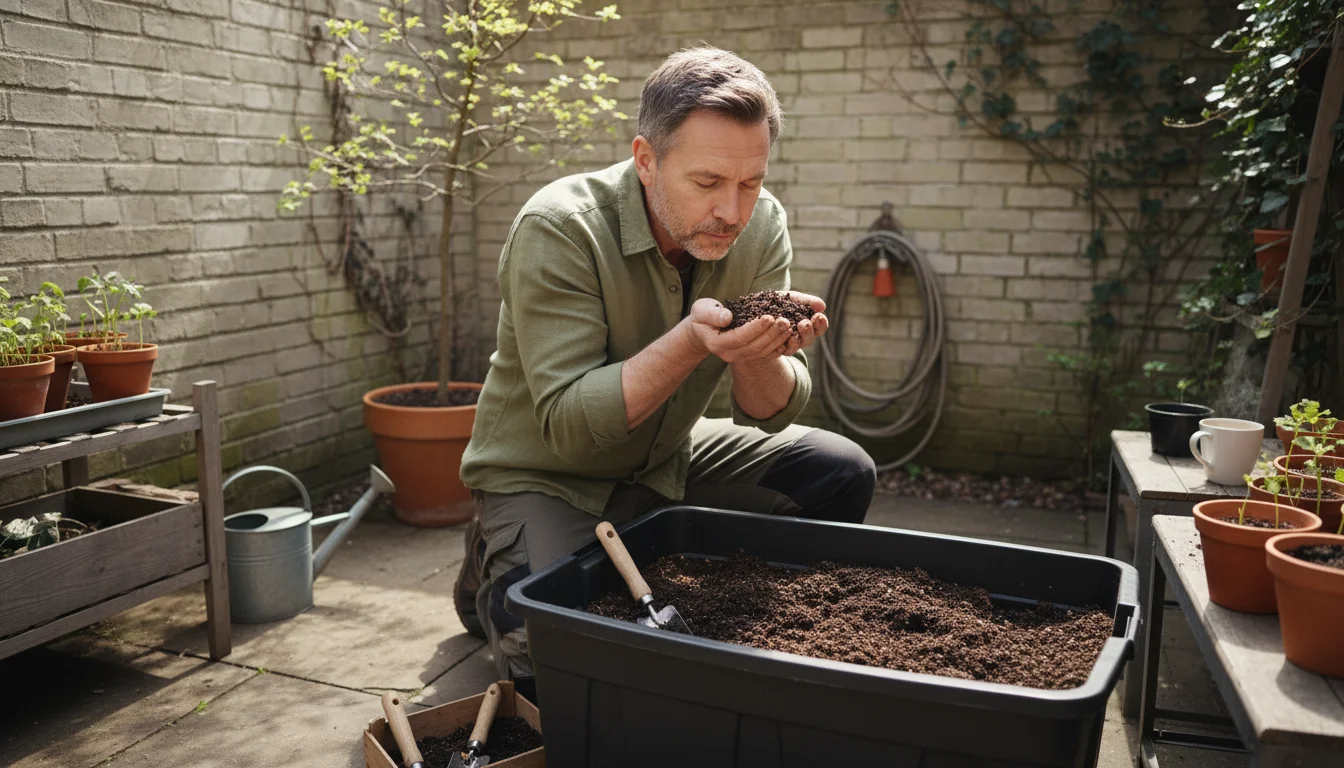
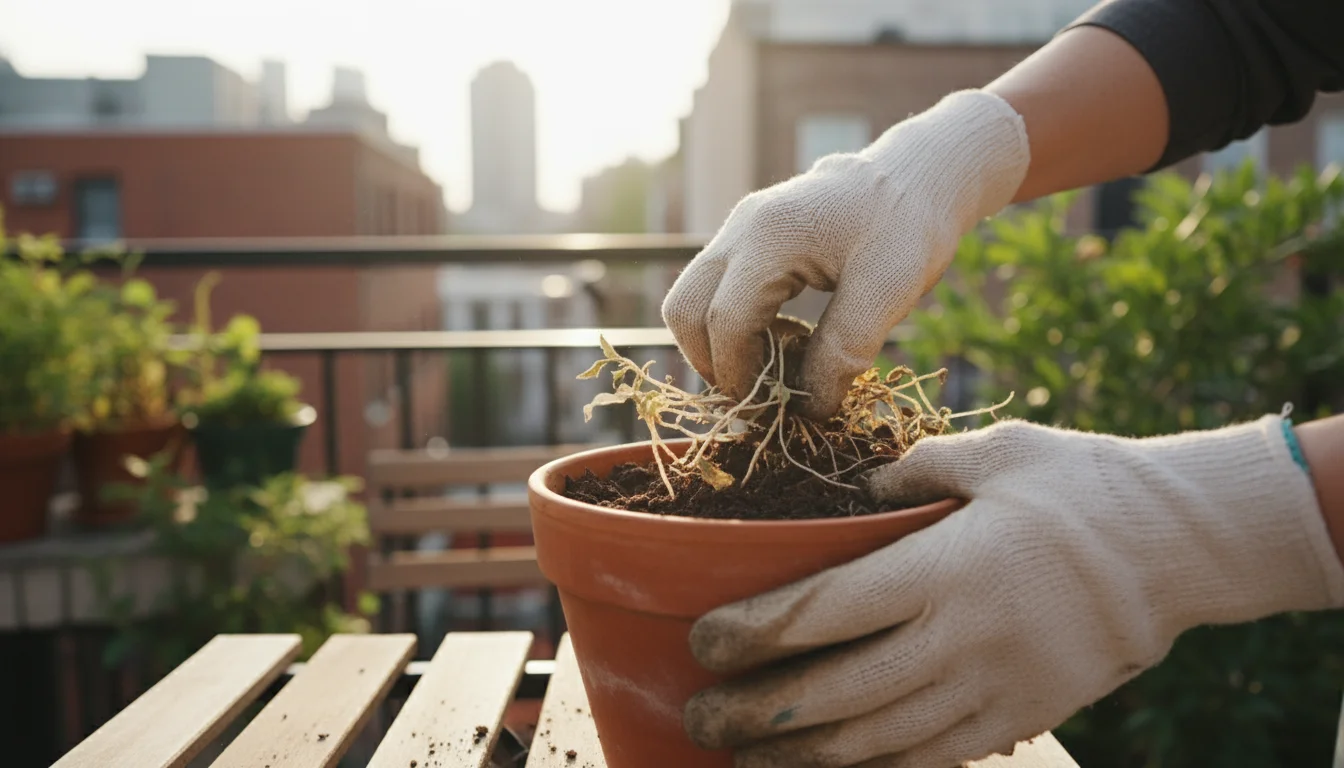
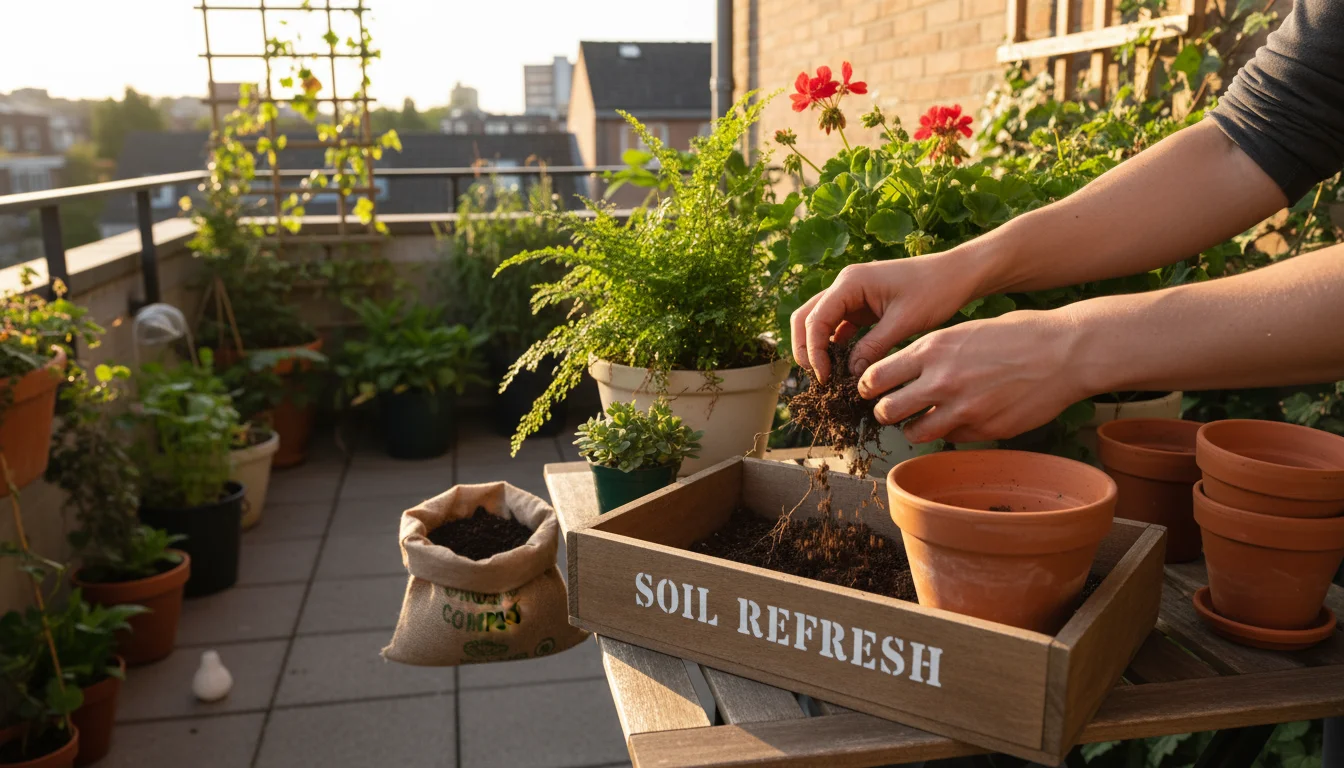
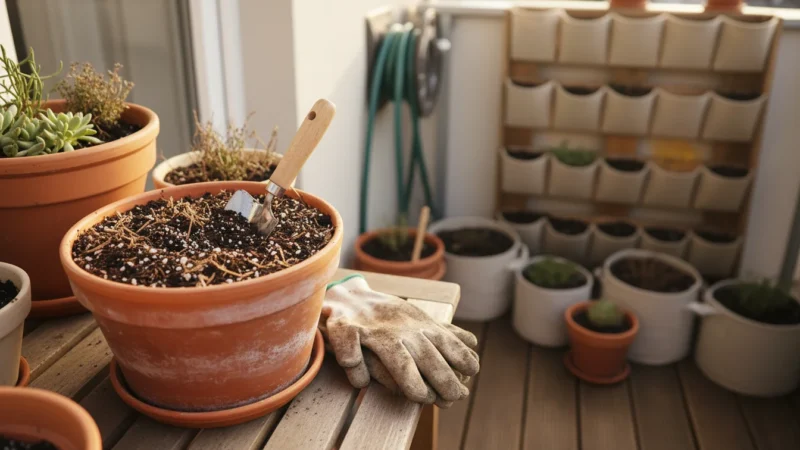
Step 1: Empty and Observe. Carefully remove the spent plants from your containers. Gently shake off any loose soil from the roots and add it back to the container. Break up any large clumps of soil. Spread the soil out on a tarp or in a wheelbarrow so you can inspect it thoroughly. This allows you to get a clear view of its condition.
Step 2: Check for Compaction and Texture. Pick up a handful of the soil. Does it feel heavy and dense, or light and airy? Does it crumble easily, or does it stick together in hard clumps? Soil that feels excessively heavy or forms solid balls indicates severe compaction and loss of structure. Healthy potting mix should feel somewhat loose and friable, allowing for good aeration. A study by the American Society for Horticultural Science indicated that a 20% increase in soil bulk density, a measure of compaction, can reduce plant root growth by up to 30%.
Step 3: Look for Organic Matter Breakdown. Examine the visible components of your potting mix. Can you still see distinct pieces of pine bark, perlite, or coir fibers? If the soil appears to be a uniform, dark, fine powder, many of the organic components have decomposed. This breakdown contributes to compaction and reduces the soil’s ability to hold water and nutrients efficiently. Fresh potting mix typically shows a varied texture with distinct particles.
Step 4: Smell the Soil. A healthy, well-draining soil smells earthy and fresh. An acrid, sour, or putrid odor suggests anaerobic conditions, meaning a lack of oxygen. This often happens when the soil remains too wet due to poor drainage or compaction. Anaerobic conditions kill beneficial microbes and promote harmful ones, contributing to root rot.
Step 5: Inspect for Pests and Disease. Look for any signs of lingering pests, such as larvae, eggs, or adult insects. Check for unusual fungal growth, discolored roots, or other indications of plant disease. If your plants suffered from specific issues like powdery mildew, blight, or severe root rot, the soil might harbor pathogens. We will discuss specific actions for diseased soil in a later section, but identifying this now is crucial.
Based on your observations, categorize your soil:
- Lightly Used Soil: Still has some structure, minimal compaction, smells earthy, and shows no obvious signs of disease or heavy pest infestation. You can see some of the original components. This is ideal for a quick refresh.
- Heavily Used or Depleted Soil: Appears compacted, feels dense, the organic matter has largely broken down, and it might smell a bit stale. No significant disease or pest issues, but it clearly needs more than a simple boost.
- Problematic or Diseased Soil: Exhibits clear signs of persistent pests, root disease, or a truly foul odor. This soil needs a more drastic intervention or careful disposal.
Once you categorize your soil, you can choose the most appropriate adventure path to prepare it for its next life.
Adventure Path 1: The Quick Refresh for Lightly Used Soil
If your potting mix falls into the “lightly used” category, you are in luck. This path requires minimal effort and materials, making it perfect for busy gardeners. The goal here is to replenish basic nutrients and slightly improve structure without a complete overhaul. This method works well for soil that hosted annuals or herbs for one season, or for perennials that you only lightly fed.
If you are short on time, you might prefer a few simple dump and go amendments to boost your pots with minimal effort.
Step-by-Step Quick Refresh:
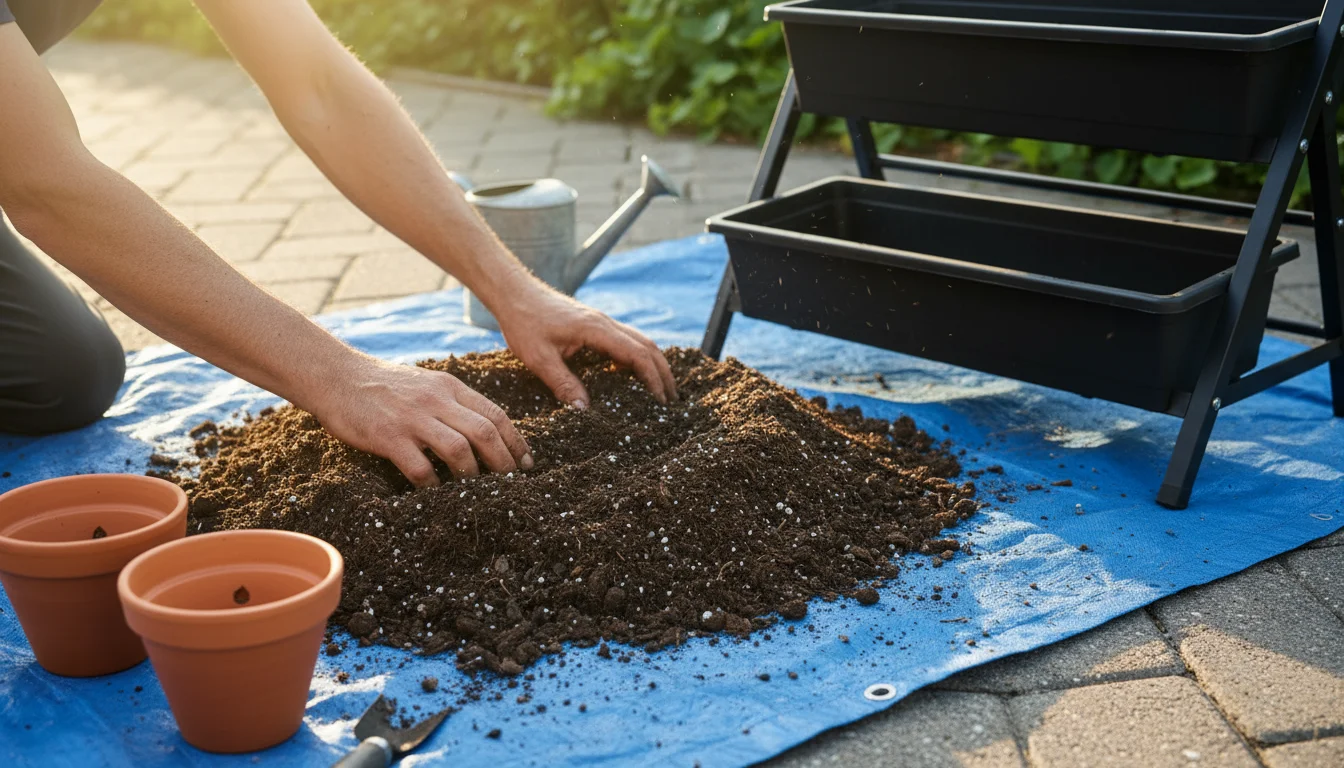
- Empty and Loosen: Remove all plant debris, roots, and any large clumps from your containers. Place the soil on a tarp or in a large bin. Break up any compacted areas with your hands or a small trowel. Ensure the soil is loose and crumbly.
- Add Fresh Potting Mix (Optional but Recommended): Incorporating about 10-20% new, high-quality potting mix significantly boosts the overall quality of your existing soil. This adds fresh organic matter and a balanced starter dose of nutrients. For example, if you have 10 gallons of old soil, mix in 1-2 gallons of new soil.
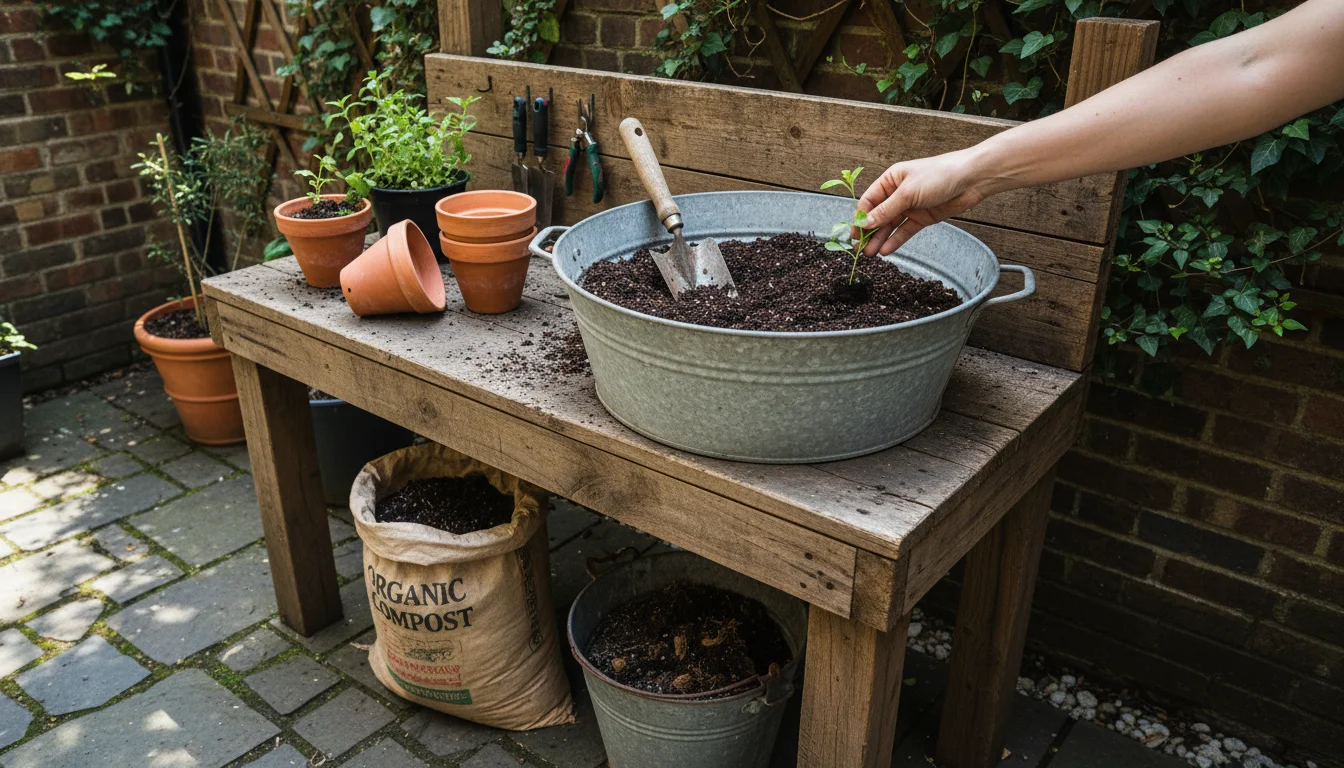
- Introduce Organic Amendments: This is where you replenish nutrients and improve structure. Aim to add about 10-15% by volume of these amendments to your existing soil.
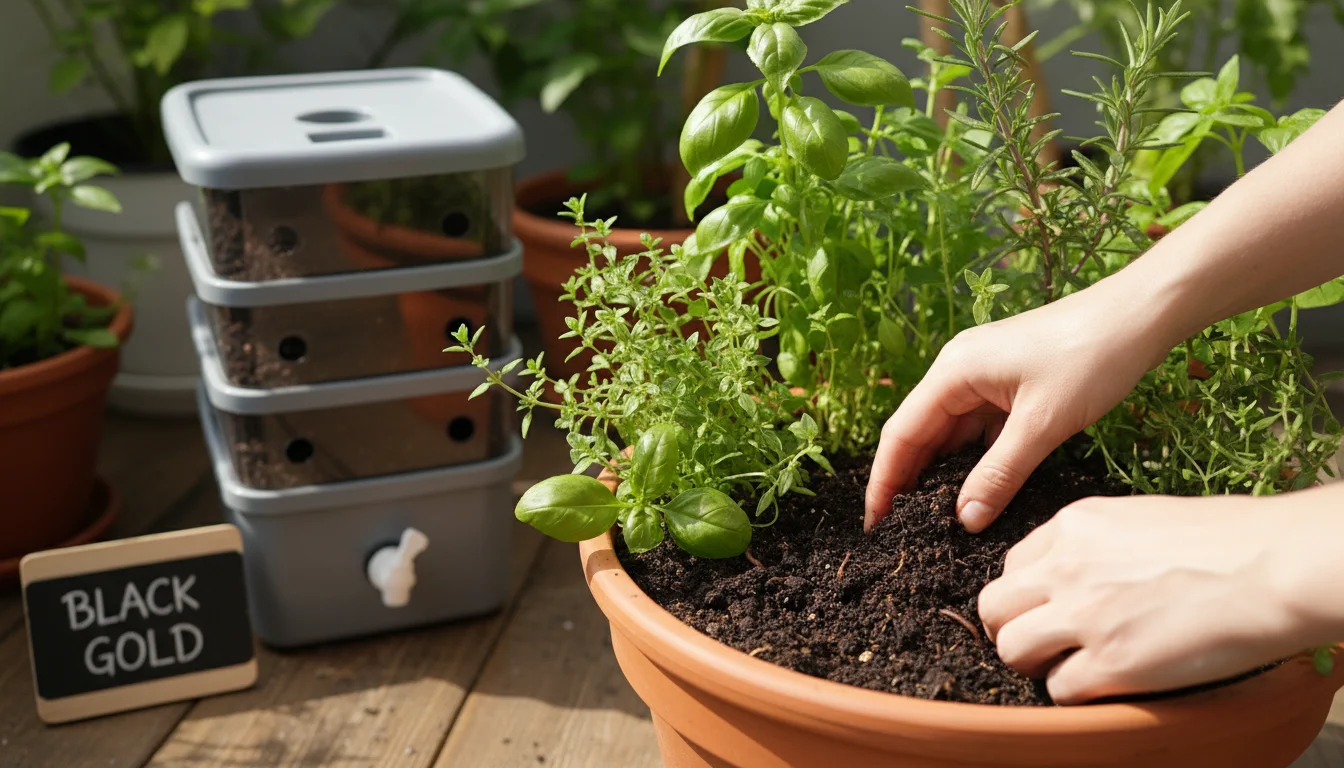
- Compost: Well-rotted compost is a powerhouse of slow-release nutrients and beneficial microbes. It also improves soil structure, aeration, and water retention. Use a good quality, finished compost.
- Worm Castings: These provide a gentle, nutrient-rich boost. Worm castings enhance soil structure and introduce beneficial microorganisms.
- Slow-Release Organic Fertilizer: Choose a balanced organic fertilizer formulated for general plant growth. This provides a steady supply of nutrients throughout the next season. Follow the product’s recommended application rates carefully. For example, a typical recommendation is 1-2 tablespoons per gallon of soil.
- Enhance Drainage and Aeration: Even lightly used soil can benefit from improved drainage.
- Perlite: Add 5-10% perlite by volume. Perlite is a lightweight, volcanic rock that creates air pockets in the soil, preventing compaction and ensuring good drainage. This prevents roots from sitting in stagnant water.
- Coarse Sand (Optional): For very dense mixes, a small amount of coarse horticultural sand can improve drainage, but perlite is usually sufficient for most potting mixes.
- Mix Thoroughly: Use your hands, a trowel, or a shovel to thoroughly combine all the added amendments with your old potting mix. You want a uniform blend where everything is evenly distributed. This ensures plants receive a consistent nutrient supply and benefit from improved structure throughout the container.
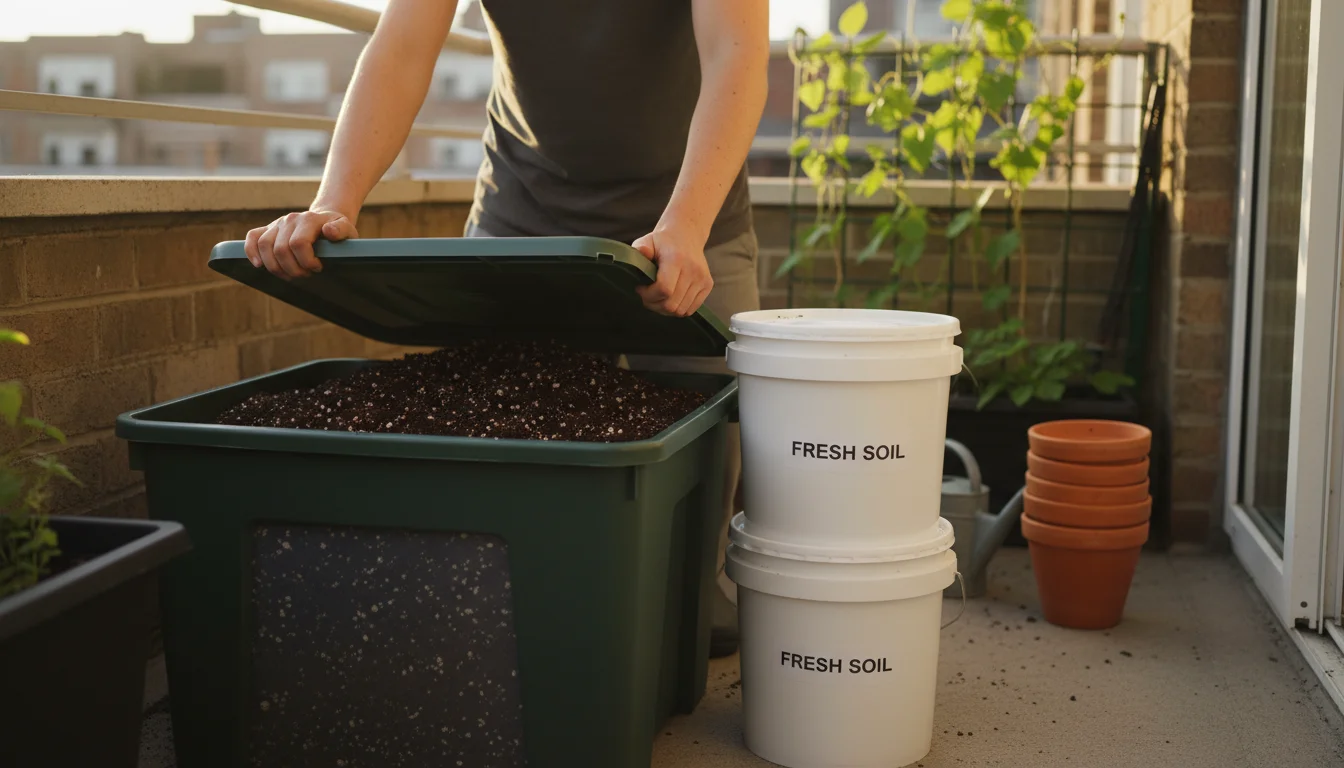
- Store for Winter: Place your freshly amended soil into clean bins, sturdy bags, or the original containers. Cover it to protect it from rain, snow, and pests. Store it in a cool, dry place. More details on storage are in a later section.
This quick refresh method rejuvenates your soil, making it ready to support healthy plant growth come spring. By taking these simple steps, you save money and contribute to a more sustainable gardening practice.
Adventure Path 2: The Deep Rejuvenation for Heavily Used or Depleted Soil
If your soil feels dense, looks like uniform dark dust, or clearly lacks structure after a season of heavy feeders, this “deep rejuvenation” path is for you. This method focuses on rebuilding the soil’s physical structure and significantly replenishing its nutrient stores. It requires a bit more effort but yields excellent results, turning seemingly exhausted soil into a premium growing medium.
For containers that were particularly hard-hit this year, growing cover crops is a brilliant, natural way to rebuild soil structure over the winter.
Beyond manual amendments, you can also look into cover cropping for containers as a natural way to fix nitrogen and rebuild soil structure over the winter.
Step-by-Step Deep Rejuvenation:
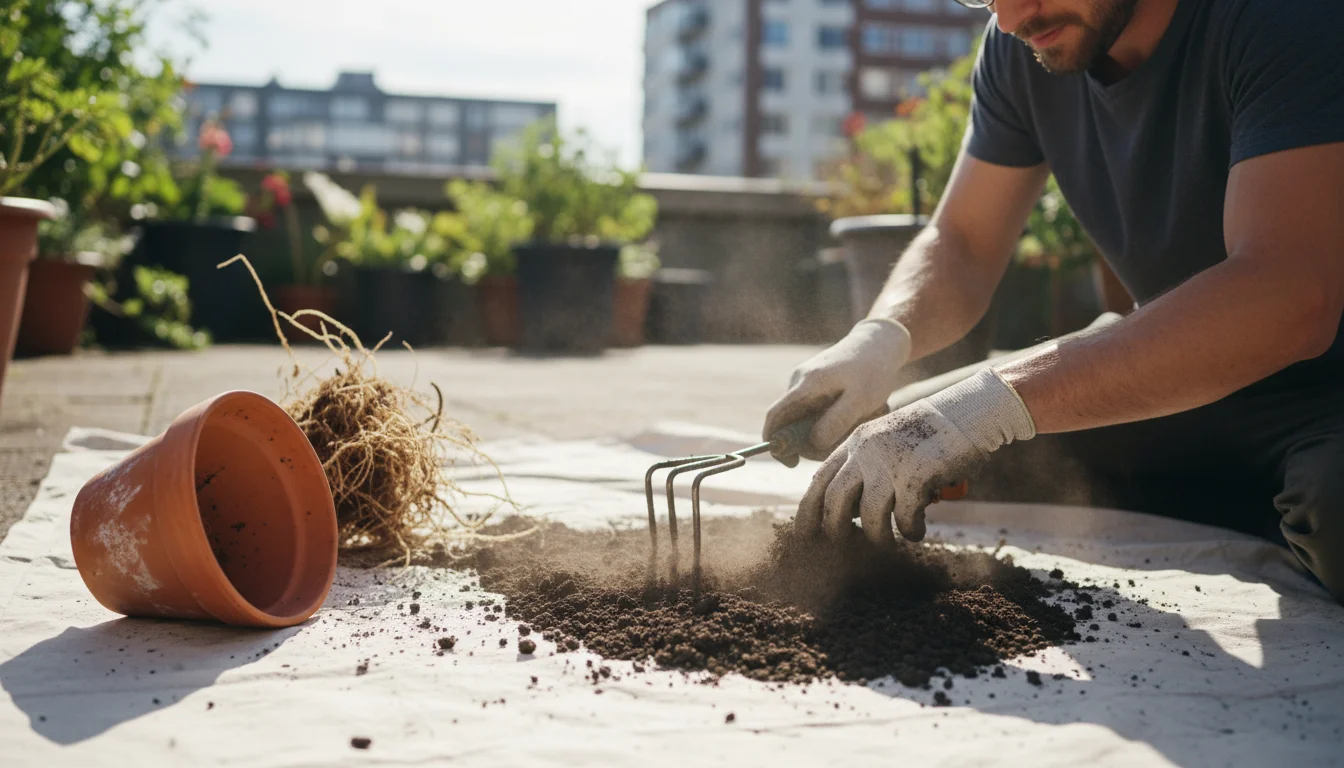
- Empty, Clean, and Dislodge: Start by removing all plant material, roots, and any debris. Empty the soil onto a large tarp. Use your hands or a small hand rake to break up all clumps, pulverizing the soil as much as possible. This step is crucial for allowing new amendments to integrate properly.
- Sift the Soil (Optional but Recommended): For truly depleted or clumpy soil, consider sifting it through a coarse screen (like hardware cloth with 1/4 to 1/2 inch mesh). This removes stubborn root fragments, stones, and large, undecomposed bits, leaving you with a finer, more uniform base to work with. While an extra step, sifting significantly improves the final texture.
- Incorporate Fresh Base Material: Unlike the quick refresh, heavily used soil benefits greatly from a substantial addition of new, structural components. Aim for 25-30% fresh material by volume.
- New Potting Mix: Add 15-20% new, high-quality potting mix. This introduces fresh organic matter, a balanced starting nutrient profile, and beneficial microbes.
- Coir or Peat Moss: Supplement with an additional 10-15% coir or peat moss. These materials significantly improve water retention, especially in soil where the original organic components have broken down. They also contribute to a lighter, airier texture. Coir is a more sustainable option as it is a byproduct of coconut processing.
- Rebuild Structure and Drainage: Heavily used soil invariably suffers from poor drainage and compaction.
- Perlite: Increase perlite to 15-20% by volume. This creates numerous air pockets, drastically improving drainage and aeration, which is vital for healthy root systems.
- Rice Hulls (Alternative to Perlite): If available, parboiled rice hulls offer similar benefits to perlite in terms of aeration and drainage, breaking down slowly over time to add organic matter. They are often a more sustainable local option.
- Pine Bark Fines: Adding 5-10% small pine bark fines (not large nuggets) provides long-lasting organic matter that helps maintain aeration and structure as other components decompose.
- Replenish Nutrients Extensively: The soil is significantly depleted, so you need a more robust nutrient amendment strategy. Aim for about 15-20% by volume of nutrient-rich amendments.
- High-Quality Compost: Add 10-15% well-rotted compost. This is your primary source of slow-release nutrients, humic acids, and a diverse microbial population essential for nutrient cycling.
- Worm Castings: Include 5-10% worm castings for their concentrated nutrients and microbial benefits.
- Balanced Organic Fertilizer: Incorporate a granular slow-release organic fertilizer. Choose one with a balanced N-P-K ratio (e.g., 5-5-5 or 4-6-2) suitable for general gardening. Follow package directions for your specific volume of soil. For instance, a common rate is 2-3 tablespoons per gallon of soil.
- Trace Mineral Boost (Optional): Consider adding a small amount of kelp meal (for micronutrients) or greensand (for potassium and trace minerals) if you suspect significant trace mineral depletion, especially after growing vegetables. A tablespoon or two per gallon of soil is usually sufficient.
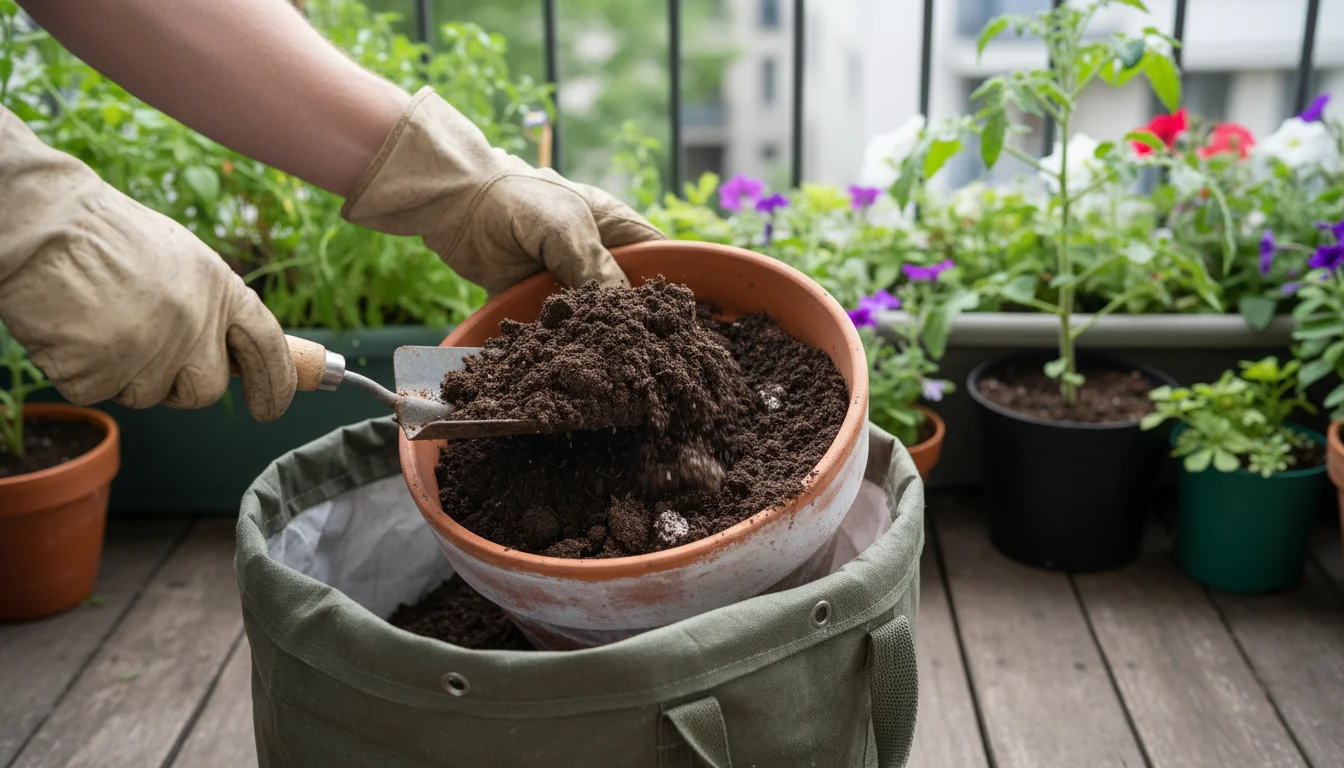
- Mix Thoroughly and Evenly: This is arguably the most important step. Spend time ensuring all new amendments are uniformly distributed throughout the old soil. A well-mixed batch guarantees consistent results for your plants.
- Store for Winter: Transfer the rejuvenated soil into clean, lidded bins or heavy-duty bags. Seal them to protect the soil from winter elements and pests. Store in a cool, dry, and protected location. This resting period allows the new amendments to begin breaking down and integrates the microbial life, further enhancing the soil.
The deep rejuvenation process transforms exhausted soil into a nutrient-rich, structurally sound growing medium. This significantly reduces your reliance on new potting mix purchases, promotes environmental responsibility, and provides an exceptional foundation for your next planting season.
What to Do with Problematic or Diseased Soil
Sometimes, your soil tells a story of struggle. If your containers hosted plants that succumbed to severe root rot, persistent fungal diseases like fusarium wilt, or uncontrollable pest infestations such as severe nematode problems, then simply amending the soil might not be enough. Using diseased soil again risks reintroducing those same problems to your new plants. In these cases, you have a few options, ranging from complete disposal to cautious treatment.
Option 1: Dispose of the Soil Safely.
This is the safest and most recommended option for severely diseased or heavily infested soil. Do not add this soil to your compost pile, as disease pathogens or pest eggs might survive the composting process and spread to other parts of your garden. Instead, seal the soil in sturdy plastic bags and dispose of it with your regular household trash. This prevents the spread of issues to your other plants or to your neighbors’ gardens. While it does not reuse the soil directly, it prevents a larger problem down the line, saving you effort and plant loss in the future. Data from agricultural extensions consistently advises against composting diseased plant material to prevent pathogen persistence.
Option 2: Solarize the Soil.
Solarization is an effective, eco-friendly method to kill many soil-borne pathogens, weed seeds, and some pests. This method uses the sun’s heat to pasteurize the soil, reducing harmful organisms without chemicals. It requires specific conditions and time, so it is best for gardeners with space and patience.
- Spread Thin: Empty the problematic soil onto a dark plastic tarp (black plastic absorbs more heat) in a sunny, open area. Spread the soil no more than 6-8 inches deep.
- Moisten: Lightly moisten the soil. Moisture conducts heat more effectively, helping to kill pathogens.
- Cover Tightly: Cover the soil with a clear plastic sheet (like 4-6 mil polyethylene). Seal the edges of the plastic with rocks, bricks, or by burying them in a trench to trap the heat.
- Bake: Leave the soil covered for 4-8 weeks during the hottest part of late summer or early fall, when daily temperatures consistently reach above 80°F (27°C). The internal soil temperature under the plastic should ideally reach 130-140°F (54-60°C) for several hours each day. You can use a soil thermometer to monitor this.
- Rejuvenate: After solarization, allow the soil to cool. While solarization kills harmful organisms, it also depletes beneficial microbes and some organic matter. You must thoroughly amend solarized soil with generous amounts of fresh compost, worm castings, and a balanced organic fertilizer to reintroduce beneficial life and nutrients. You should also add fresh potting mix and drainage enhancers like perlite. Treat it like heavily used soil requiring deep rejuvenation.
Option 3: Bleach or Hydrogen Peroxide Treatment (Use with Extreme Caution).
Some gardeners use chemical treatments to disinfect small amounts of soil. This option is generally discouraged for environmental reasons and because it harms all soil life, beneficial and harmful. If you choose this path, you must exercise extreme caution.
- Bleach: Mix 1 part household bleach (5% sodium hypochlorite) with 9 parts water. Saturate the soil with this solution, then let it sit for a day. Rinse the soil thoroughly with plain water several times over several days to remove residual bleach.
- Hydrogen Peroxide: Use a 3% hydrogen peroxide solution. Dilute it 1 part peroxide to 2 parts water. Saturate the soil, let it bubble and react, then allow it to dry out. Hydrogen peroxide decomposes into water and oxygen, leaving less residue than bleach.
After any chemical treatment, allow the soil to completely dry out. Then, treat it as severely depleted soil, adding substantial organic amendments to rebuild its structure and microbial population. Always wear gloves and eye protection when handling bleach or hydrogen peroxide, and work in a well-ventilated area.
Choosing the correct method for problematic soil protects your future plants and ensures a healthier gardening experience. While it may seem daunting, addressing these issues proactively prevents recurring problems.
Storing Your Amended Soil for Winter
Once you have refreshed your potting mix, whether through a quick refresh or a deep rejuvenation, proper storage is crucial. Winter storage protects your amended soil from the elements, prevents weed seeds from taking root, and keeps pests from moving in. It also allows the organic amendments to begin breaking down, making nutrients more available for spring. This resting period helps the soil’s microbiology to stabilize, creating a more robust environment for plants.
While your soil rests, take a moment to properly clean and store your terracotta pots to ensure they don’t crack or harbor pathogens during the off-season.
Choosing Your Storage Container:
- Large Plastic Bins with Lids: These are ideal. They are durable, stackable, and provide an excellent seal against moisture and pests. Five-gallon buckets with tight-fitting lids also work well for smaller quantities.
- Heavy-Duty Plastic Bags: New, thick contractor bags or even the original potting soil bags can serve as storage. Ensure they are free of holes and can be securely tied or sealed. Double-bagging provides extra protection.
- Original Containers (if suitable): If you plan to use the same containers next spring and they are clean, simply refill them with your refreshed soil and cover the tops securely. This saves you an extra step in spring. Ensure the containers have adequate drainage holes.
Key Storage Practices:
- Ensure Soil is Evenly Moist: Do not store bone-dry soil, as it becomes hydrophobic (repels water) and difficult to rewet in spring. Do not store soggy soil, as this can lead to anaerobic conditions, mold growth, and unpleasant odors. Aim for a consistently moist, but not wet, consistency, like a wrung-out sponge. You can achieve this by lightly misting the soil if it feels too dry before sealing it.
- Seal Containers Tightly: This is critical. A tight seal prevents excess moisture from rain or snow from entering, which could lead to waterlogging or nutrient leaching. It also keeps out rodents, insects, and weed seeds.
- Choose a Cool, Dry, and Protected Location:
- Cool: An unheated garage, shed, or covered patio works well. Extreme temperature fluctuations can negatively impact soil structure and microbial activity.
- Dry: Keep containers off the ground to prevent moisture wicking if stored in a damp area. Pallets or bricks provide good elevation.
- Protected: Shield your stored soil from direct sun, heavy rain, and snow. Exposure to direct sunlight can heat the soil excessively, killing beneficial microbes.
- Label Your Containers: While it seems obvious, you might forget which batch is which. Label containers with the date of amendment and what types of plants you plan to grow in that batch (e.g., “Amended Fall 2023 – for Herbs/Annuals”).
By following these storage guidelines, you protect your investment in time and materials. Your refreshed soil will remain in prime condition, ready to receive new plants with vigor and support robust growth next spring. This simple step ensures your fall efforts pay off when the planting season arrives.
Prepping for Spring Planting: Maximizing Your Refreshed Soil
Your hard work in the fall ensures your potting mix rests beautifully over winter. As spring approaches, a few final steps maximize the benefits of your refreshed soil. This prepares your containers for optimal plant performance, whether you plan to grow vibrant annuals, productive vegetables, or fragrant herbs.
Final Checks Before Planting:
- Inspect Texture and Moisture: Remove your soil from storage. Feel its texture. It should still be loose and crumbly, not hard or compacted. If it feels too dry, gradually add water, mixing it in thoroughly until it reaches that “wrung-out sponge” consistency. If it feels too wet, spread it out on a tarp in a protected, sunny spot for a day or two to allow it to dry slightly.
- Smell Test: Take a deep breath. Your refreshed soil should smell earthy and fresh, indicating healthy microbial activity. A sour or ammonia-like smell suggests anaerobic conditions; if this occurs, spread the soil out and let it air thoroughly for a few days before use.
- Top-Up Containers: As organic matter continues to decompose over winter, your soil volume might slightly decrease. Top up your containers with a bit more of your refreshed mix or a fresh layer of compost. Leave about an inch or two of space from the rim of the container for watering.
Strategic Planting Considerations:
- Nutrient Needs of Specific Plants: While your soil is generally refreshed, consider the specific nutrient demands of your chosen plants. Heavy feeders like tomatoes, peppers, or petunias might benefit from an additional dose of slow-release organic fertilizer at planting time. Light feeders, such as lettuce, radishes, or most herbs, will likely thrive on the existing nutrient profile. University research demonstrates that tailoring nutrient application to plant species can increase yields by 20-30%.
- Companion Planting for Enhanced Health: Incorporate companion planting principles into your container designs. For example, planting marigolds with vegetables can deter nematodes, which might still be present in small numbers even after amendment. Nasturtiums can act as trap crops for aphids.
- Optimizing Drainage: Even with perlite, ensuring excellent drainage remains key. When filling containers, always make sure the drainage holes are clear. Avoid placing a layer of gravel at the bottom of containers, as this can actually impede drainage rather than improve it, creating a “perched water table” where water accumulates just above the gravel layer. Instead, use a piece of landscape fabric or a coffee filter over the drainage hole to prevent soil from escaping while allowing water to flow freely.
- Consider Crop Rotation for Containers: Even in containers, practicing a form of crop rotation helps. If you grew tomatoes in a specific container this year, consider planting herbs or beans in it next year. This helps prevent the buildup of specific plant-specific pathogens or nutrient imbalances that can occur even in refreshed soil. For instance, growing different plant families in the same container over successive years reduces the likelihood of soil-borne diseases establishing a cycle.
Your fall efforts in `fall soil care` and `container soil amendment` ensure your `refresh potting mix` is ready for the upcoming season. By taking these final steps, you are not just planting; you are maximizing the potential of your revitalized soil, ensuring a season of abundant growth and beauty in your small space garden. This diligent preparation is the `best way to amend potting soil for spring` and sets your plants up for success.
Common Pitfalls and How to Avoid Them
Even with the best intentions, gardeners can make mistakes when refreshing potting soil. Avoiding these common pitfalls ensures your hard work pays off and your plants thrive. Understanding these issues helps you navigate your soil care adventure successfully.
Pitfall 1: Not Removing Old Roots and Debris Thoroughly.
Problem: Leaving significant amounts of old roots, plant stems, or other debris in the soil. These materials decompose slowly, creating uneven pockets of decomposition, potential anaerobic zones, and physical barriers for new root growth. They can also harbor pests or disease pathogens.
Solution: Be diligent. After removing spent plants, vigorously break up the soil and manually remove as much old root matter and debris as possible. A coarse screen can help for larger batches of soil. The goal is to start with a relatively clean base. Studies show that removal of prior crop residue can reduce disease incidence by 15-20% in subsequent plantings.
Pitfall 2: Over-Amending or Under-Amending.
Problem: Adding too much or too little of amendments. Too much compost can make soil too heavy and water-retentive. Too much perlite can make it drain too quickly, requiring frequent watering. Too little amendment means your soil still lacks structure or nutrients.
Solution: Follow guidelines. Use the recommended percentages for additions like compost, perlite, and fresh potting mix. When in doubt, lean slightly conservative. You can always add a bit more top dressing or liquid feed during the growing season, but removing excess amendments from a mixed batch is challenging. For example, if adding compost, a good rule of thumb is 10-20% by volume, not 50%.
Pitfall 3: Not Mixing Amendments Evenly.
Problem: Dumping amendments on top of the old soil and giving it a quick stir. This results in pockets of highly concentrated amendments and areas where the soil remains unrefreshed, leading to inconsistent plant growth and nutrient uptake.
Solution: Mix thoroughly. Spread the old soil on a tarp, add amendments, and then use your hands, a trowel, or a shovel to turn and fold the mixture repeatedly until it is uniform in color and texture. Imagine you are baking and blending ingredients. This ensures every part of the soil benefits from the refresh.
Pitfall 4: Storing Soil Incorrectly.
Problem: Leaving refreshed soil exposed to rain, snow, or pests over winter, or storing it too wet or too dry. This ruins the effort you put in, leading to waterlogged soil, nutrient leaching, weed seed germination, or pest infestations.
Solution: Use sealed containers in a protected location. Ensure your soil is consistently moist, like a damp sponge, before sealing it. Store bins or bags in a garage, shed, or under a covered patio, away from direct elements and potential pests. This protects your `what to do with container soil over winter` efforts.
Pitfall 5: Reusing Severely Diseased Soil Without Proper Treatment.
Problem: Attempting to refresh soil that had significant disease or pest problems (e.g., severe root rot, fusarium wilt, major nematode infestations) without proper sterilization or disposal. This is a sure way to carry over problems to next season’s plants.
Solution: Be realistic. If the soil was truly problematic, choose safe disposal or solarization. Solarization is an effective method if you have the time and conditions, but simple amendment is not a cure for persistent pathogens. Err on the side of caution to protect your new plants.
By understanding and actively avoiding these common pitfalls, you maximize the success of your `fall soil care` and `refresh potting mix` efforts. This strategic approach saves time, prevents frustration, and ensures your containers are ready for a season of healthy, vigorous growth.
Eco-Conscious Choices: Sustainable Soil Practices
As gardeners with limited space, we are uniquely positioned to make significant environmental impacts. Embracing sustainable soil practices not only benefits the planet but also often leads to healthier, more resilient plants in your small-space garden. Every decision, from what you add to your soil to how you dispose of waste, contributes to a greener approach.
1. Prioritize Reusing Potting Mix:
The core of this guide focuses on reusing `how to reuse potting soil after fall`. This single practice dramatically reduces waste and demand for new resources. Producing potting mix often involves mining peat, a non-renewable resource, and transporting heavy bags of soil. By refreshing your existing mix, you lessen this environmental footprint. Consider that every cubic yard of peat extracted releases about 0.5 tons of carbon dioxide, according to environmental studies. Your efforts to reuse directly reduce this impact.
2. Embrace Composting and Worm Castings:
These are your best friends for sustainable soil amendment.
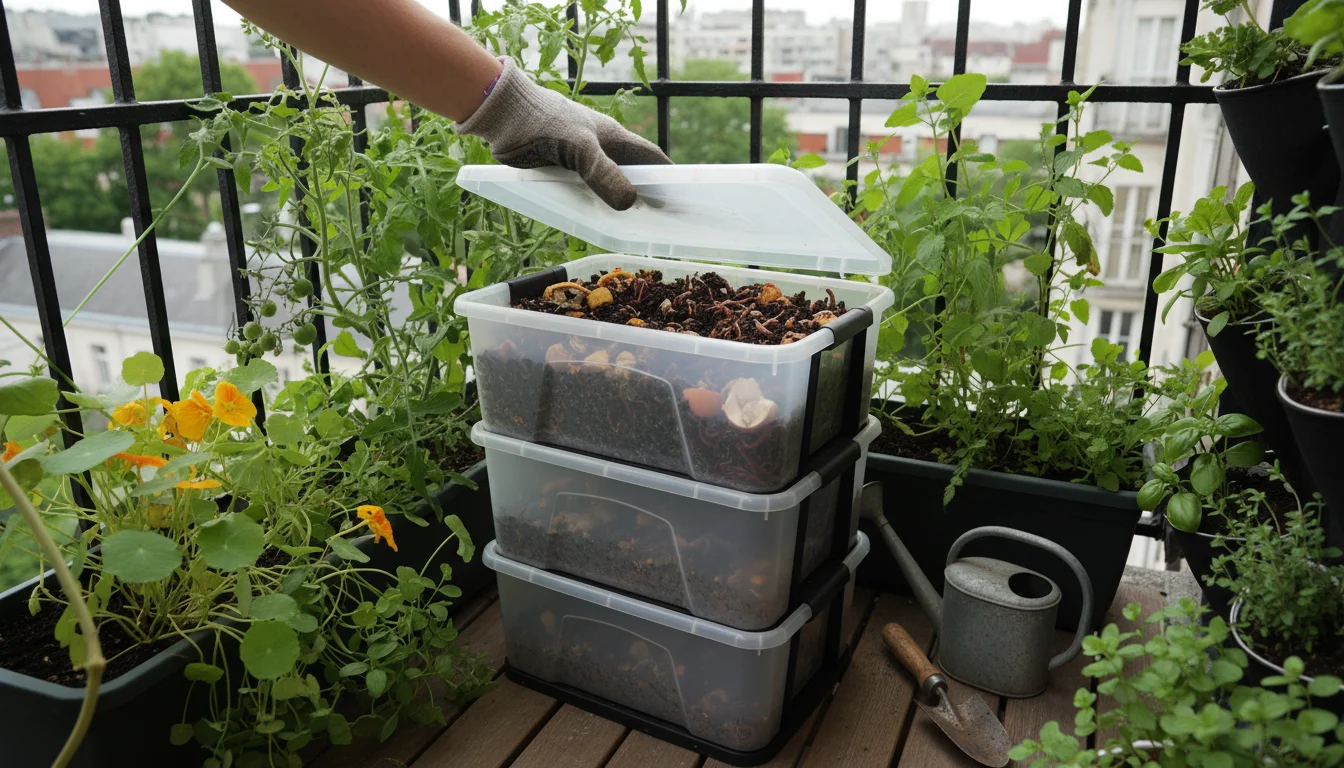
- Compost: Creating your own compost from kitchen scraps and garden waste closes the loop on organic matter. It diverts waste from landfills and provides a nutrient-rich, living amendment for your soil. If you do not have space for a large compost pile, consider a small tumbler composter or vermicomposting (worm bin) for kitchen scraps. Many municipal waste programs also offer free or low-cost compost.
- Worm Castings: Worm castings are a product of vermicomposting and offer concentrated nutrients and beneficial microbes. They are a superb, natural soil conditioner. Supporting local worm farms or starting your own small worm bin further enhances sustainability.
3. Choose Sustainable Amendments:
When purchasing amendments, make conscious choices.
- Coir Instead of Peat: While peat moss is a common potting mix component, its harvesting impacts fragile wetland ecosystems. Coir, a byproduct of the coconut industry, offers similar benefits for water retention and aeration and is a more renewable resource. Many high-quality potting mixes now use coir as a primary ingredient.
- Rice Hulls: If available in your area, parboiled rice hulls are an excellent, lightweight alternative to perlite for improving drainage and aeration. They are a renewable agricultural byproduct, making them a more eco-friendly choice than mined perlite.
- Locally Sourced Materials: Prioritize amendments from local suppliers to reduce transportation emissions. This includes local compost, wood chips, or other regional organic byproducts.
4. Minimize Chemical Use:
Rely on organic amendments and cultural practices (like proper watering, spacing, and companion planting) to manage pests and diseases. When you refresh your soil with rich organic matter, you build a healthy microbial ecosystem that naturally suppresses many common problems, reducing your reliance on synthetic pesticides or fertilizers. Healthy soil grows healthy plants that are more resistant to stress.
5. Conserve Water Through Better Soil:
Well-amended soil, rich in organic matter, has a significantly higher water holding capacity. This means you water less frequently, conserving a precious resource. Studies indicate that increasing soil organic matter by just 1% can increase water retention by 20,000 gallons per acre, directly translating to less watering in your containers. Your `container soil amendment` efforts directly contribute to water conservation.
By integrating these eco-conscious choices into your `fall soil care` routine, you create a gardening practice that is not only productive and enjoyable but also deeply responsible and sustainable. Your small container garden becomes a model of environmental stewardship, contributing positively to the planet one refreshed pot at a time.

Frequently Asked Questions
Can I reuse potting soil indefinitely?
While you can reuse potting soil for several seasons, it is not indefinitely reusable. Each season, the organic components continue to break down, and some essential micronutrients become completely depleted or locked up. You can typically reuse and refresh soil for 2-4 seasons, depending on what you grew and how heavily you amended it. After several cycles, consider blending a portion of your old, highly depleted soil into a raised bed or garden bed (if you have one) and starting some containers with entirely fresh mix.
Do I need to sterilize my potting soil every fall?
You do not need to sterilize your potting soil every fall unless you experienced significant disease or persistent pest issues in your containers. Sterilization kills both harmful and beneficial microorganisms, essentially resetting the soil’s biology. For routine refreshing, simply removing old roots and amending with compost and other organic materials is sufficient. This approach preserves the beneficial microbial life that helps plants thrive.
What if my refreshed soil still looks a bit clumpy in spring?
If your refreshed soil still looks a bit clumpy, it indicates that the organic matter might not have fully broken down or that the mixing was not entirely thorough. Before planting, you can break up any remaining clumps by hand or with a small trowel. Adding a bit more perlite or pine bark fines can also help improve the overall texture and aeration. Ensure your containers have excellent drainage, as persistent wetness can exacerbate clumping. This often happens if you skipped sifting heavily used soil in the fall.
Can I use garden soil instead of potting mix for refreshing?
Using regular garden soil in containers is generally not recommended. Garden soil is much heavier, compacts easily in pots, and does not provide the aeration and drainage that container plants require. It can also introduce soil-borne diseases, weed seeds, and pests directly into your containers. Stick to high-quality potting mix as your base, and use organic amendments like compost to improve its quality, not garden soil.
How do I know if my soil pH is still good after refreshing?
Most commercial potting mixes are formulated with a balanced pH (around 6.0-6.5), which suits most container plants. When you amend with organic materials like compost, these tend to buffer the pH, keeping it stable. If you are concerned, especially if growing acid-loving plants like blueberries, you can use a simple home pH test kit. If your pH is significantly off, you can add garden lime to raise it or elemental sulfur to lower it, but this is rarely necessary for annually refreshed container soil with organic amendments.
For trustworthy gardening information, visit:
Michigan State University Extension — Gardening, University of Wisconsin Extension — Horticulture, Iowa State University Extension — Yard & Garden and Washington State University Hortsense. These organizations provide expert, research-based advice for gardeners at all levels.
Disclaimer: This article is for informational purposes only and is not a substitute for professional gardening advice. Always consult local extension services or horticulture experts for region-specific guidance.


Leave a Reply