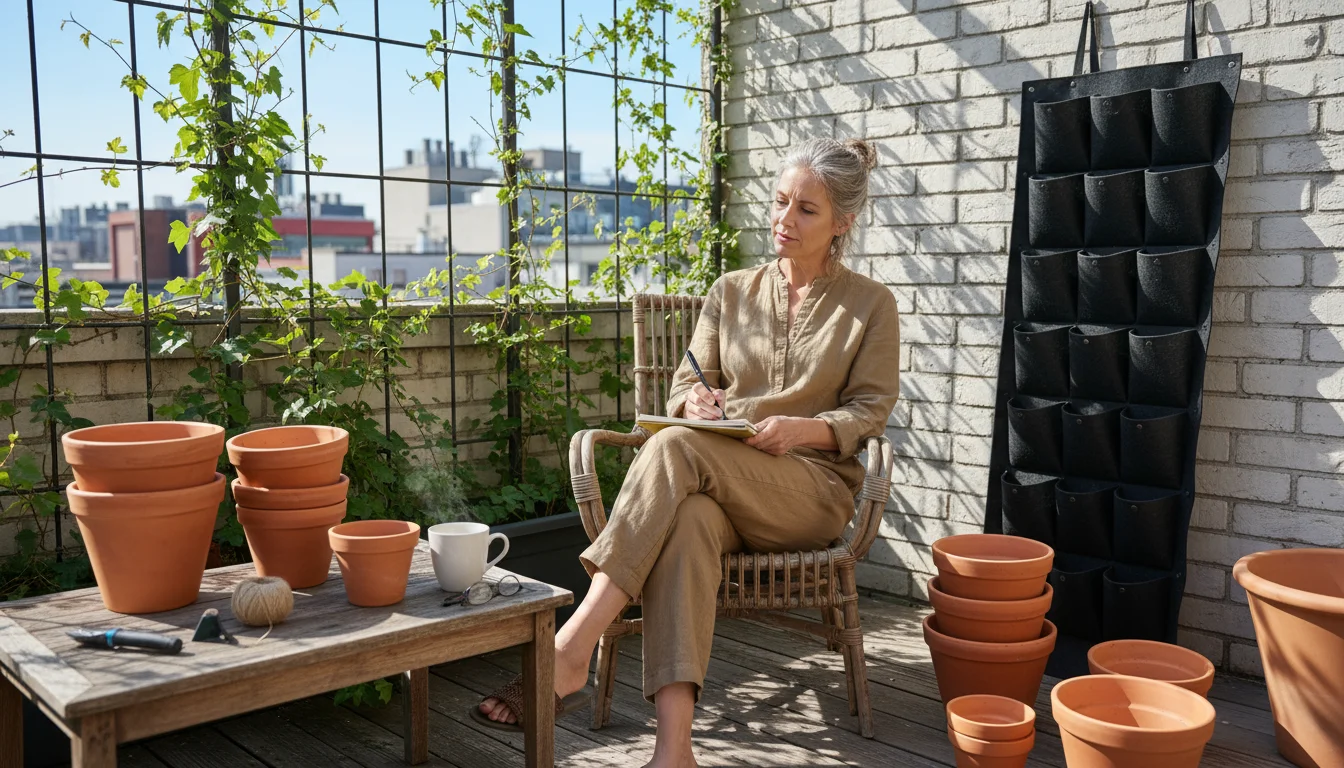
As summer’s vibrant growth gives way to the cooler embrace of autumn, your container plants often look spent, but their potting mix continues to hold vital clues about their performance. Many small-space gardeners overlook this crucial end-of-season ritual, believing that once a growing season ends, the soil’s story finishes. However, conducting a “Fall Soil Autopsy” provides invaluable insights, guiding your success for seasons to come. You learn what worked, what did not, and how to improve your container gardening strategy. This practical assessment helps you understand the hidden life of your potting mix, making you a more informed and effective gardener.
Conducting an autopsy is one of many essential fall gardening tasks for small-space growers that prepare your balcony for the next cycle.
Why Your Potting Mix Needs a Check-Up
Container gardening offers incredible flexibility and allows you to grow a variety of plants in limited spaces like balconies, patios, and small yards. This convenience, however, comes with a trade-off: your plants rely entirely on the potting mix you provide. Unlike garden beds where soil can naturally replenish itself with organic matter and nutrients, container soil has a finite lifespan. Over a long summer, your potting mix endures constant watering, nutrient uptake by plants, and exposure to various environmental stressors. These factors significantly degrade its structure and nutrient content.
Once you know the state of your mix, you can decide whether to use simple dump and go soil amendments to revitalize it.
Performing a fall soil autopsy helps you assess the actual condition of your container soil health. You can identify issues such as compaction, nutrient depletion, or salt buildup before they impact next season’s growth. Ignoring these signs leads to diminished plant health, poor yields, and wasted effort. Think of it as a preventative measure. By understanding what your potting mix is telling you, you can make informed decisions about its future, whether that means amendment, reuse, or replacement. This proactive approach saves you time and resources, ensuring your small garden remains productive and vibrant.
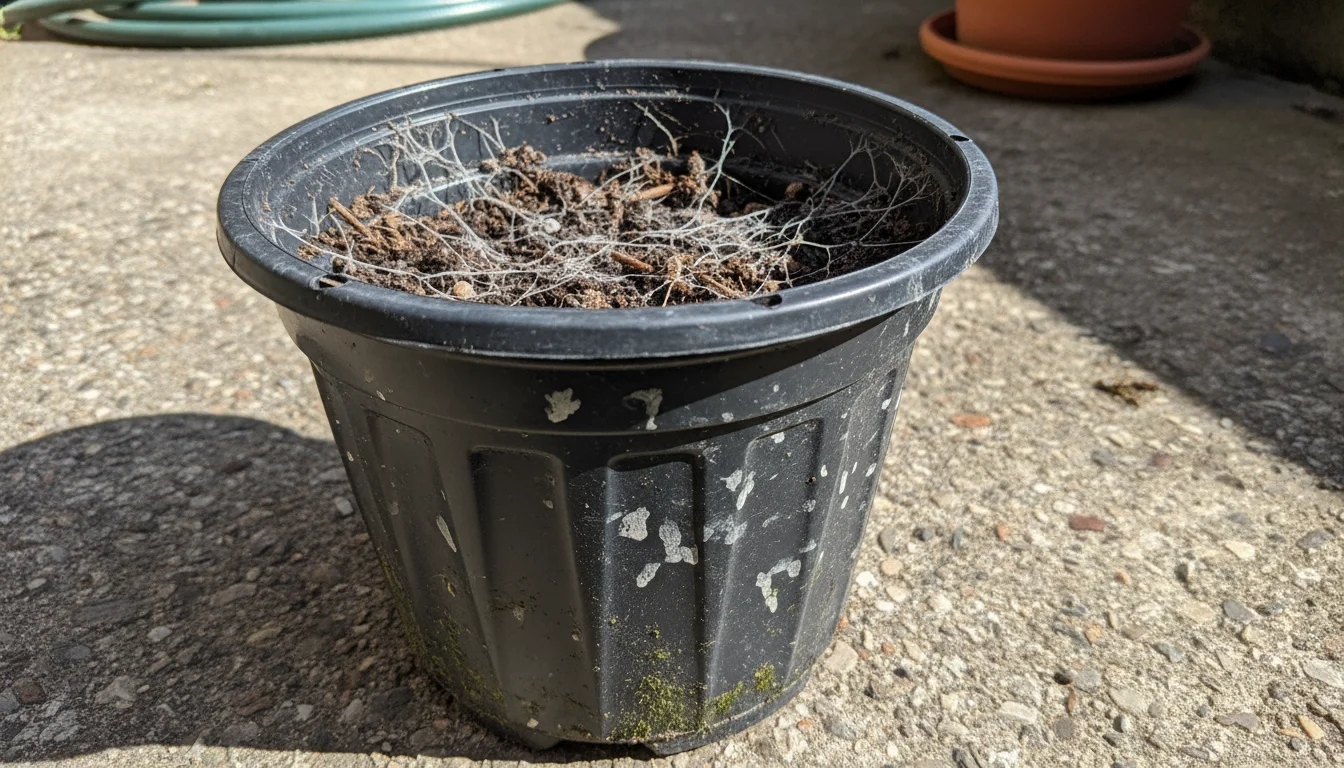
The Tell-Tale Signs of Tired Potting Mix
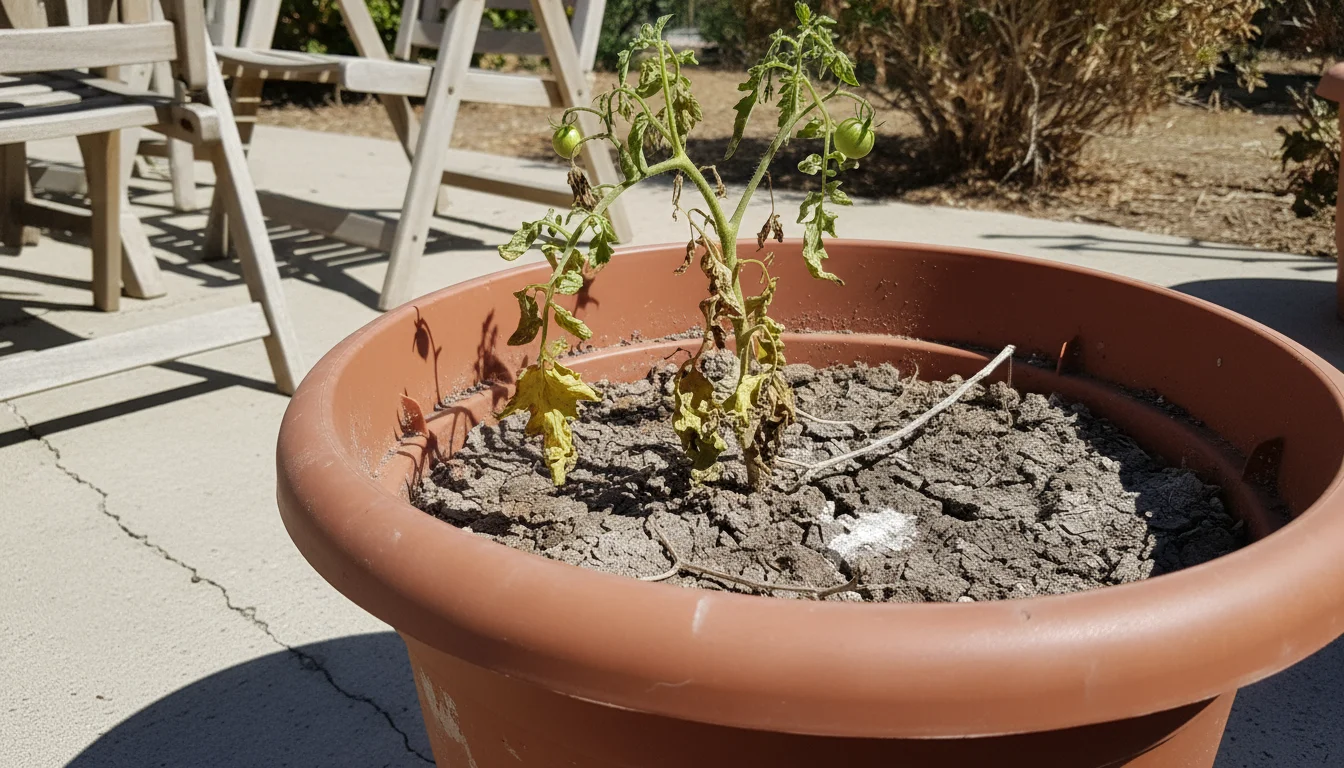
After months of supporting thriving plants, your potting mix shows clear indications of wear. Learning to recognize these signs is your first step in diagnosing container soil issues for beginners. You might observe several changes, both visual and textural, that point to a breakdown in soil structure and fertility. Pay close attention to these indicators:
If you find your pots are staying soggy, it may be time to adjust your container watering schedule for the shift in seasons.
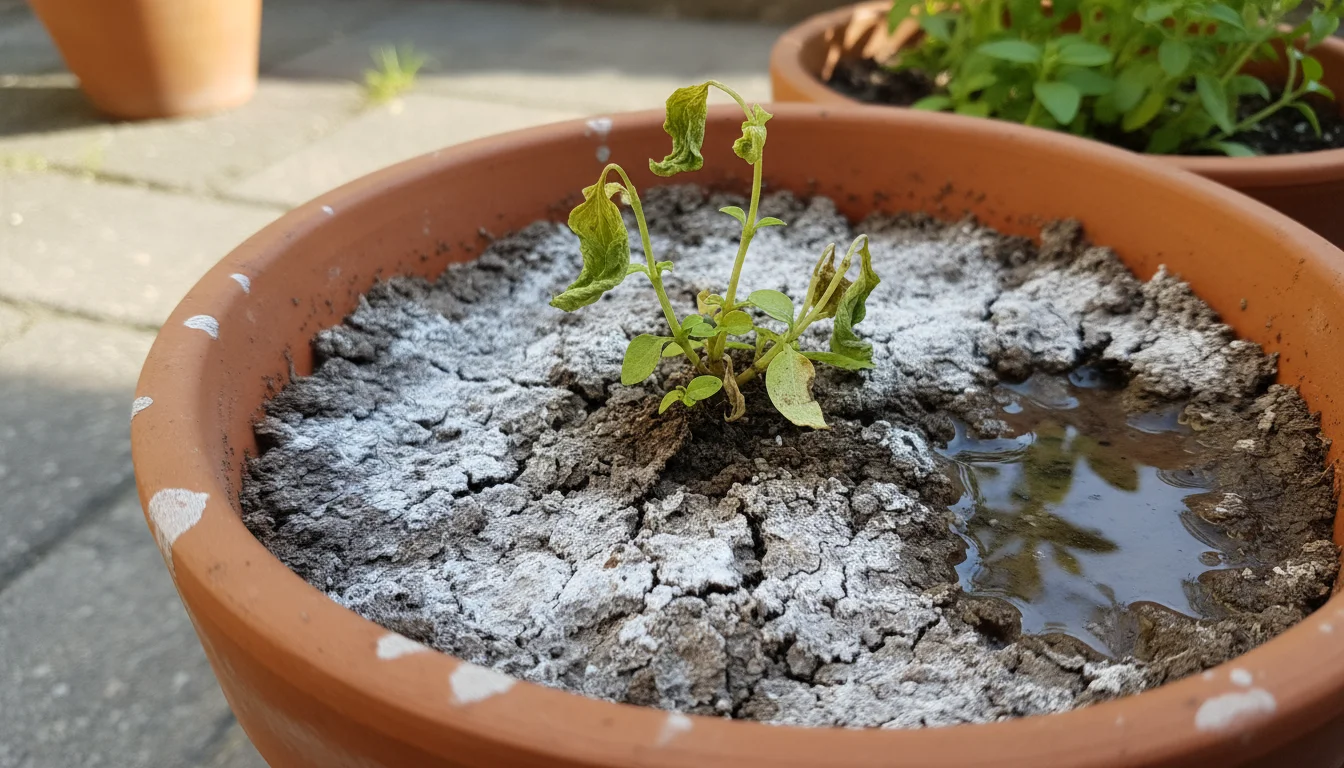
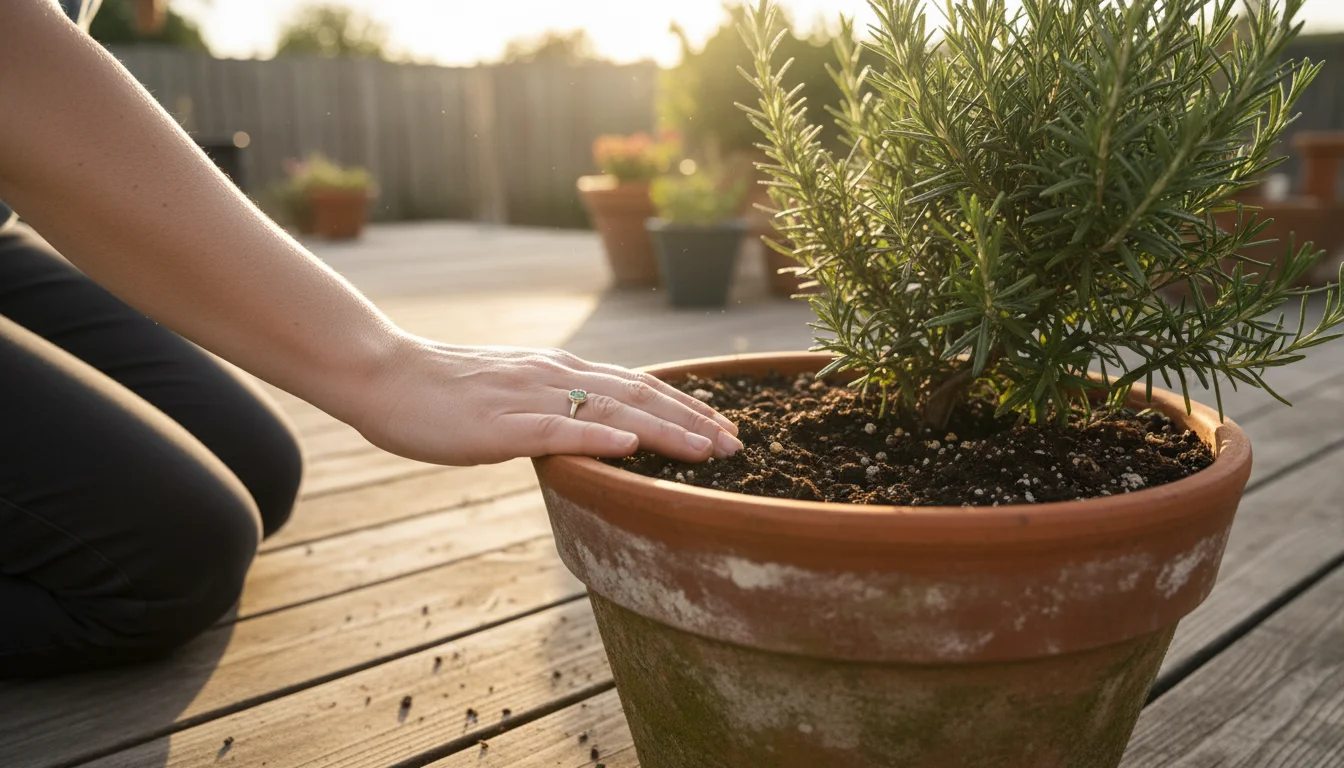
- Compaction: The soil surface becomes hard, dense, and feels solid when you poke it. Water may sit on top for longer periods before slowly draining, or it might run down the sides of the pot without truly soaking into the root ball. This indicates a loss of the airy structure essential for root respiration.
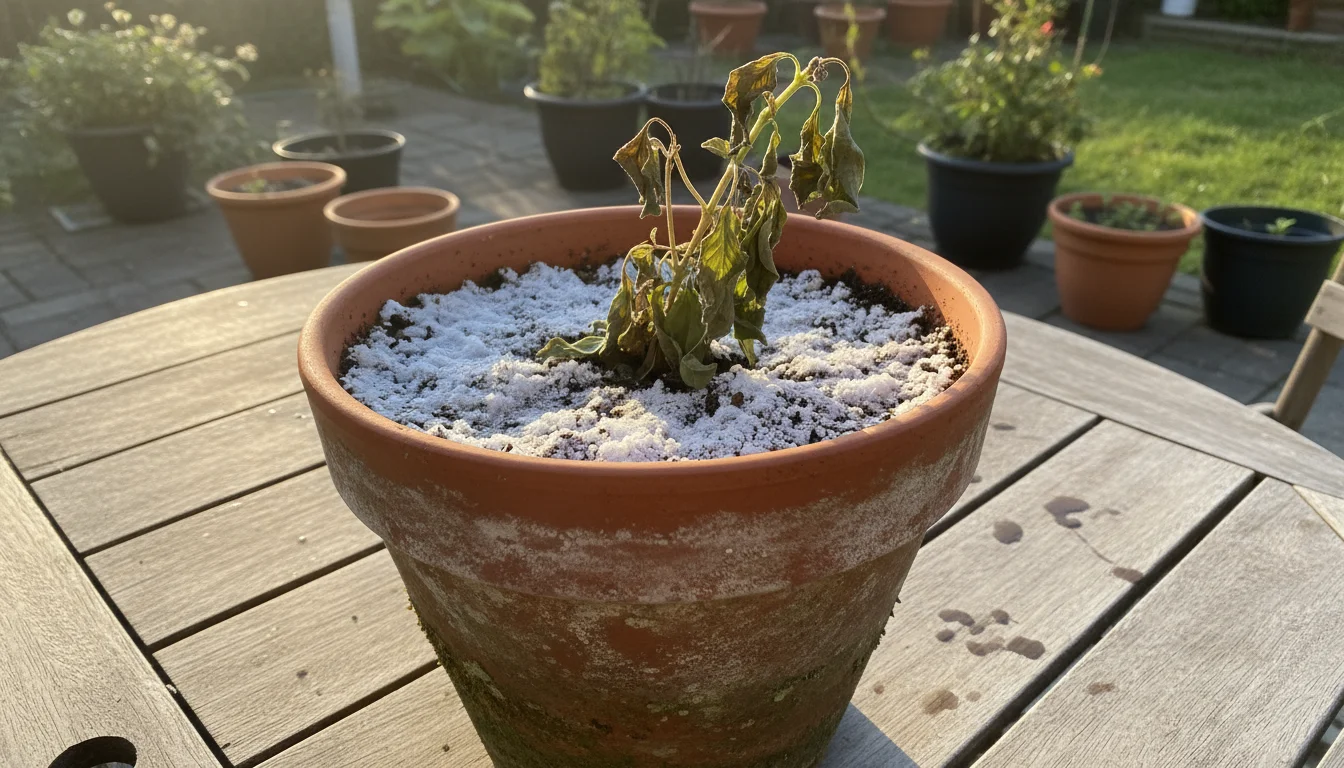
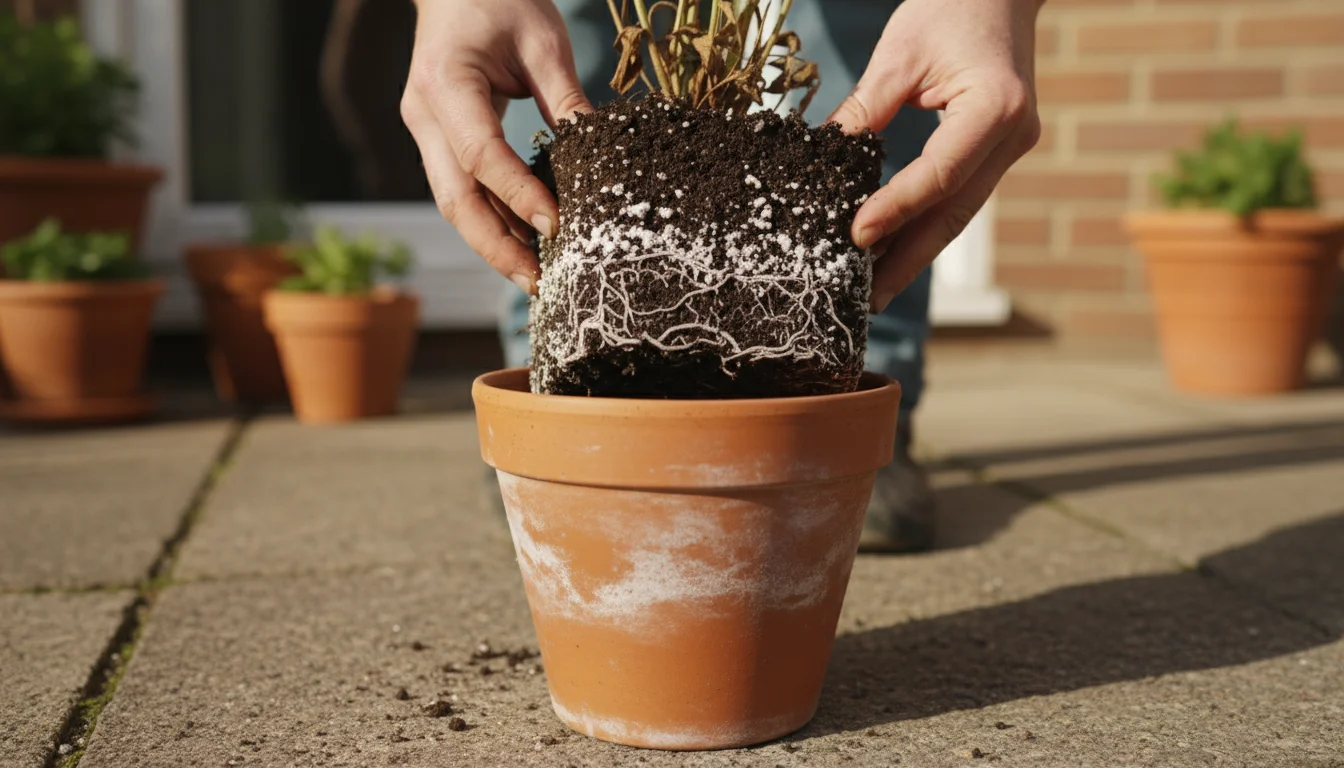
- Crusty White Deposits: You see a white or yellowish crust forming on the soil surface or around the rim of your containers. This usually signifies salt buildup from fertilizers and mineral-rich tap water. High salt levels can “burn” plant roots and inhibit water absorption.
- Poor Drainage: Even if the soil feels loose, water drains very slowly, or conversely, it rushes through too quickly without hydrating the roots. Slow drainage suggests a breakdown of organic matter into fine particles, clogging pores. Rapid drainage might mean the soil has become hydrophobic, repelling water.
- Foul Odor: Healthy soil often smells earthy and fresh. An unpleasant, sulfurous, or rotten odor usually indicates anaerobic conditions, meaning a lack of oxygen. This can occur from overwatering or severe compaction and harms beneficial microbes.
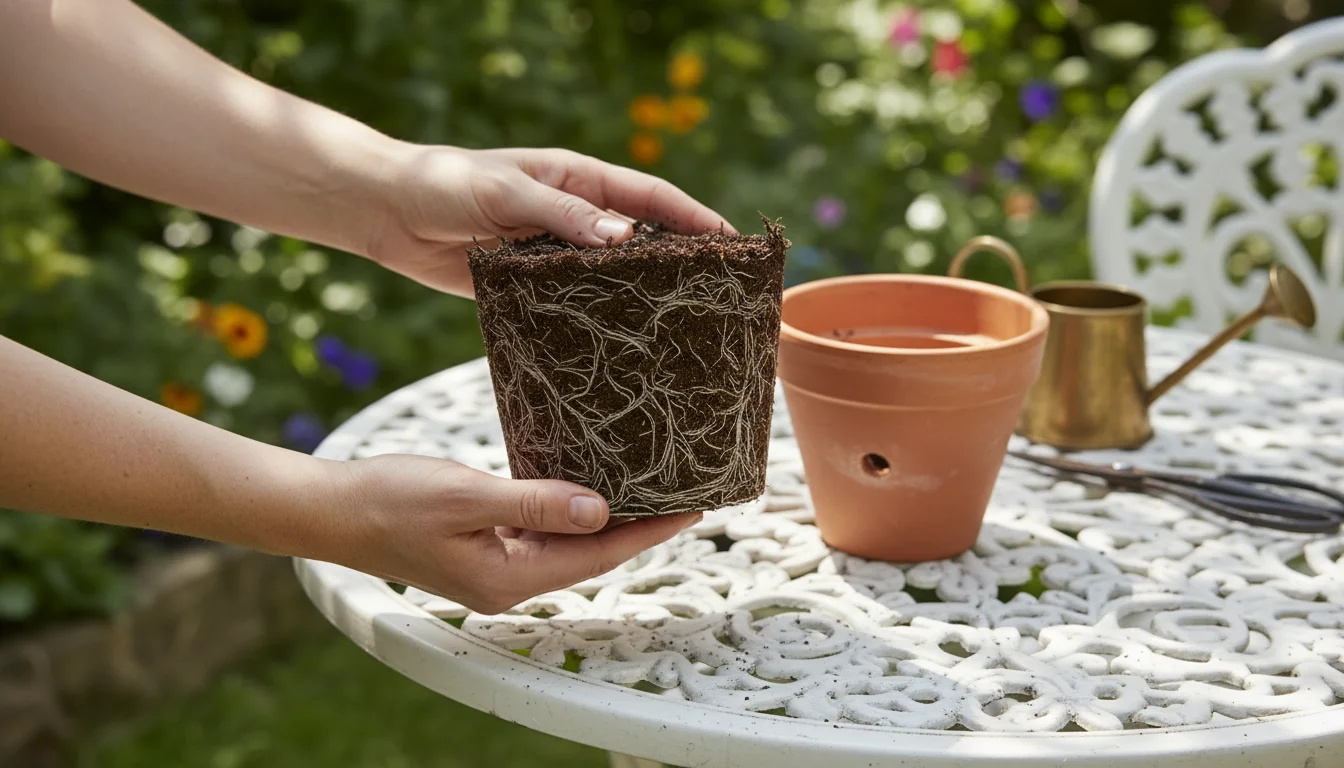
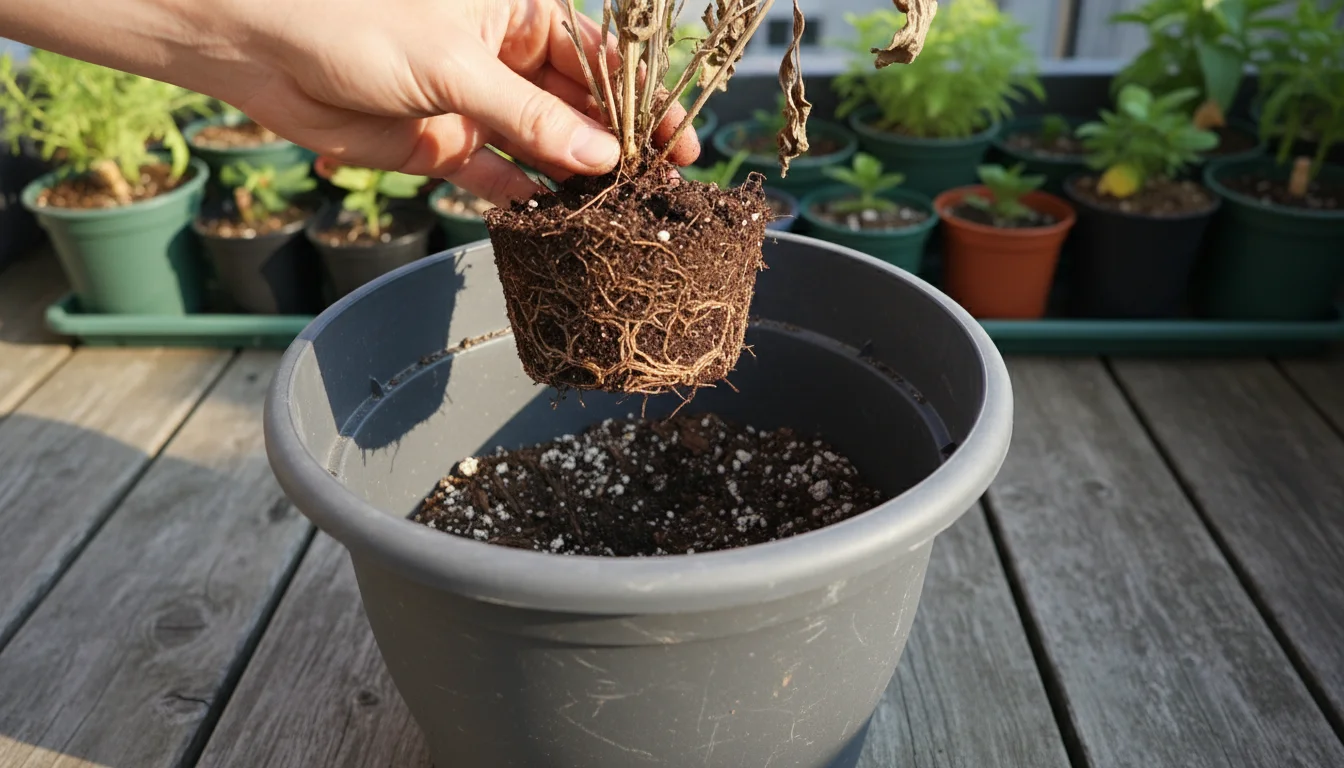
- Visible Root Problems: When removing plants, you might find roots circling tightly at the bottom or sides of the pot, a common sign of root-bound plants. You might also observe unhealthy, dark, or mushy roots, suggesting disease or poor drainage.
- Persistent Fungus Gnats: While often a symptom of overwatering, a persistent infestation of fungus gnats can also point to excessive organic decomposition and consistently moist conditions in the potting mix, suggesting it is breaking down too much.
Observing these signs helps you pinpoint exactly what kind of potting soil problems your containers experienced. This diagnostic skill empowers you to address specific issues, rather than guessing at solutions. It transforms a seemingly inert medium into a living indicator of your garden’s health.
Decoding Common Potting Soil Problems
Your fall soil autopsy moves beyond simple observation to understanding the underlying reasons for the signs you discovered. Each symptom points to a specific challenge within your container environment. Addressing these core potting soil problems ensures healthier growth for your next planting cycle.
After identifying these common issues, the next logical question is can you reuse old potting soil safely for next year’s crops?
Nutrient Depletion
Over the growing season, your plants actively consume nutrients from the potting mix. Regular watering also leaches out essential minerals. By the end of summer, many critical macronutrients (nitrogen, phosphorus, potassium) and micronutrients become severely depleted. Signs include stunted growth, yellowing leaves, or poor flowering during the season. If your soil looks pale and feels lifeless, it likely lacks the necessary fuel to support robust plant development.
Compaction
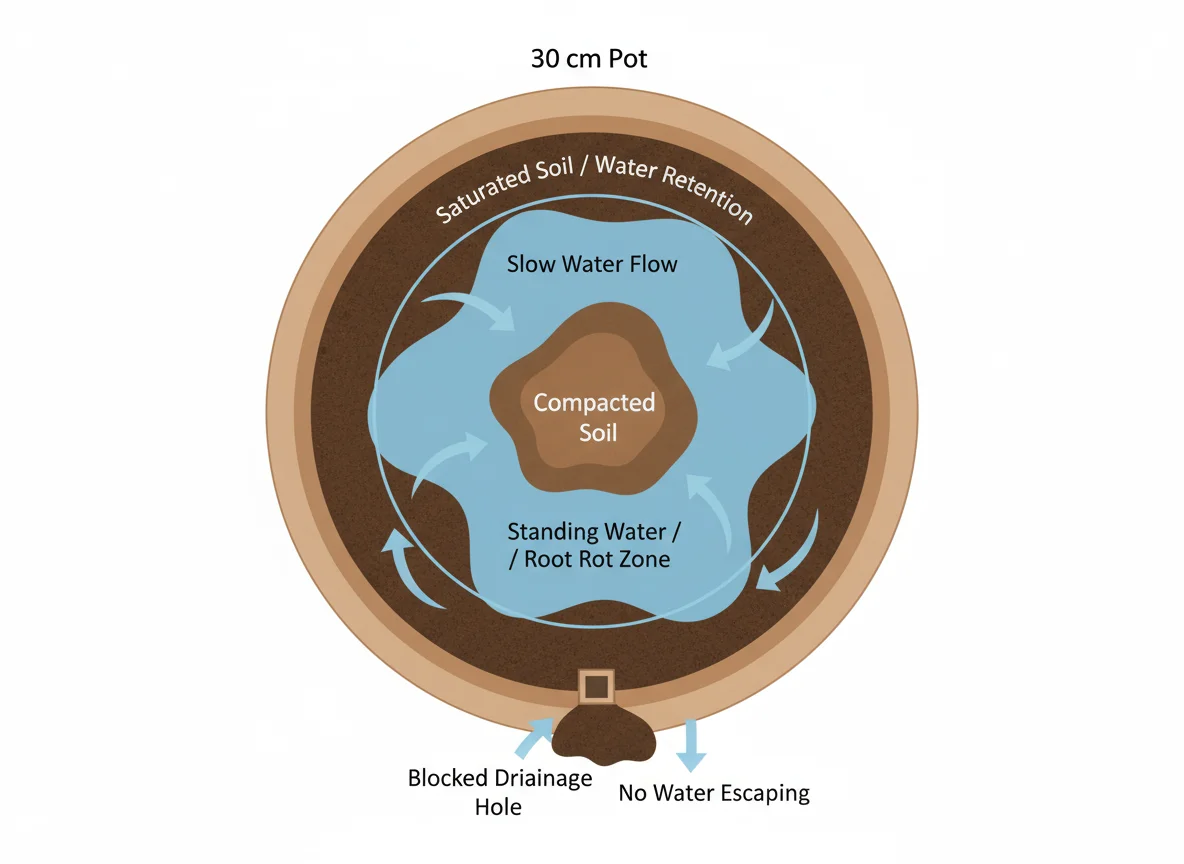
Potting mixes are designed to be light and airy, providing space for roots to breathe and water to drain. Over time, watering, settling, and the natural decomposition of organic materials cause the mix to compact. This reduces pore space, suffocating roots and hindering water penetration. Compacted soil prevents proper drainage, leading to waterlogged conditions that invite root rot and other fungal diseases. It also makes it difficult for new roots to establish themselves.
Salt Buildup
Fertilizers, especially synthetic ones, contain soluble salts. Your tap water also carries dissolved minerals. As water evaporates from the soil surface, these salts accumulate, forming that tell-tale white crust. High salt concentrations create an environment where plants struggle to absorb water, even if the soil itself is moist. This can lead to leaf tip burn, wilting, and overall poor plant vigor. It essentially creates a drought condition for the roots, making them unable to function correctly.

Poor Drainage or Water Retention Imbalance
A healthy potting mix balances drainage with water retention. It holds enough moisture for roots to absorb, but allows excess water to escape efficiently. If your soil drains too quickly, plants dry out rapidly, requiring frequent watering. If it drains too slowly, roots sit in soggy conditions, leading to oxygen deprivation and root rot. The breakdown of organic components in old potting mix often results in an imbalance, either becoming too fine and holding too much water or becoming hydrophobic and repelling it.
Pest and Disease Carryover
Old potting mix can harbor dormant disease pathogens or pest eggs and larvae. If you experienced unexplained wilting, spots, or pest infestations during the summer, these problems might persist in the soil. Reusing contaminated soil without treatment risks infecting new plants. Identifying any lingering issues is a critical part of knowing what to do with old potting soil in fall.
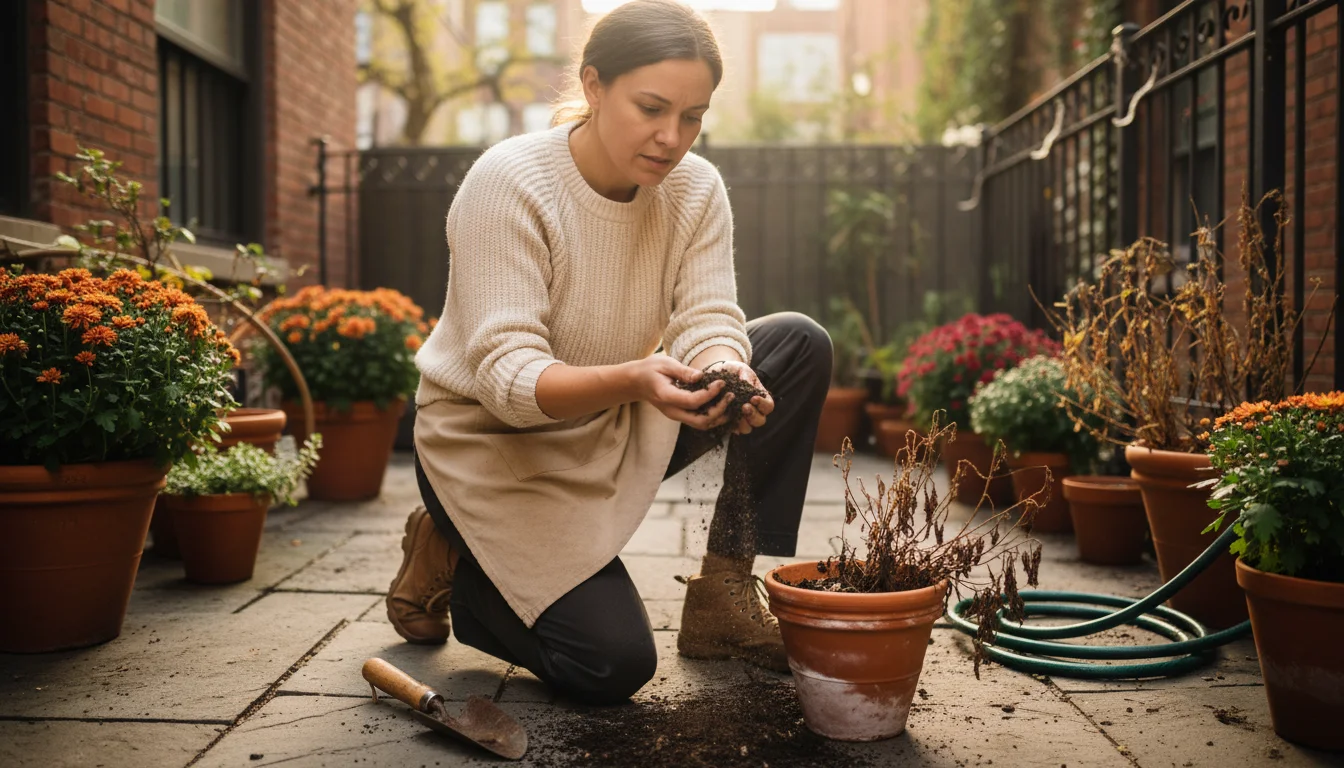
The Hands-On Soil Autopsy: A Step-by-Step Guide
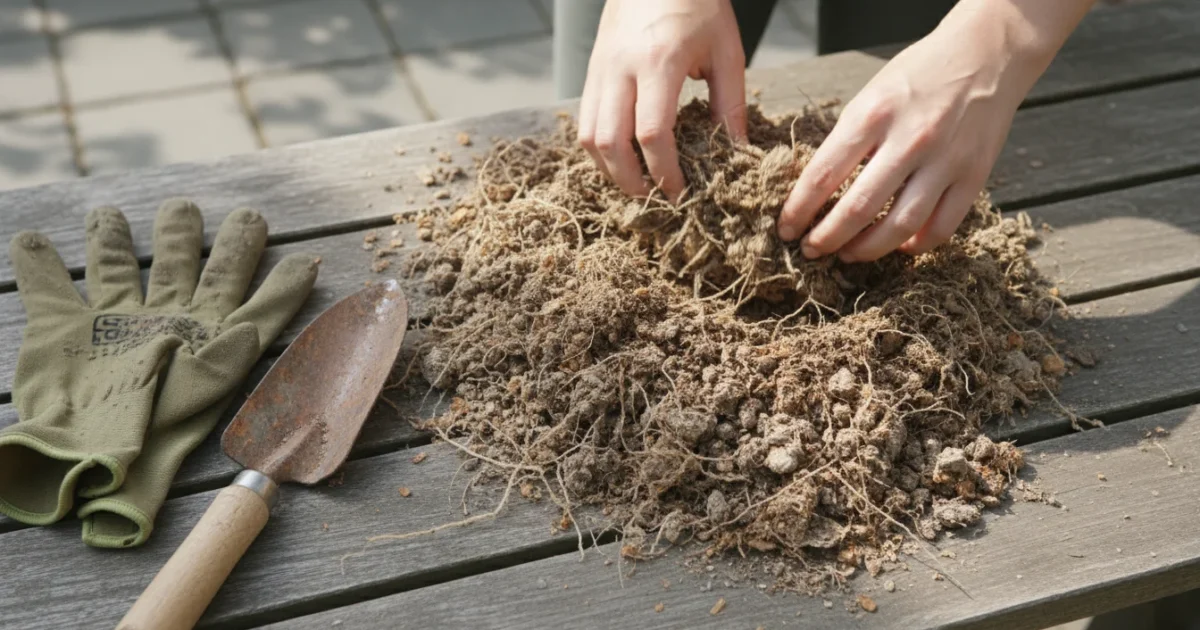
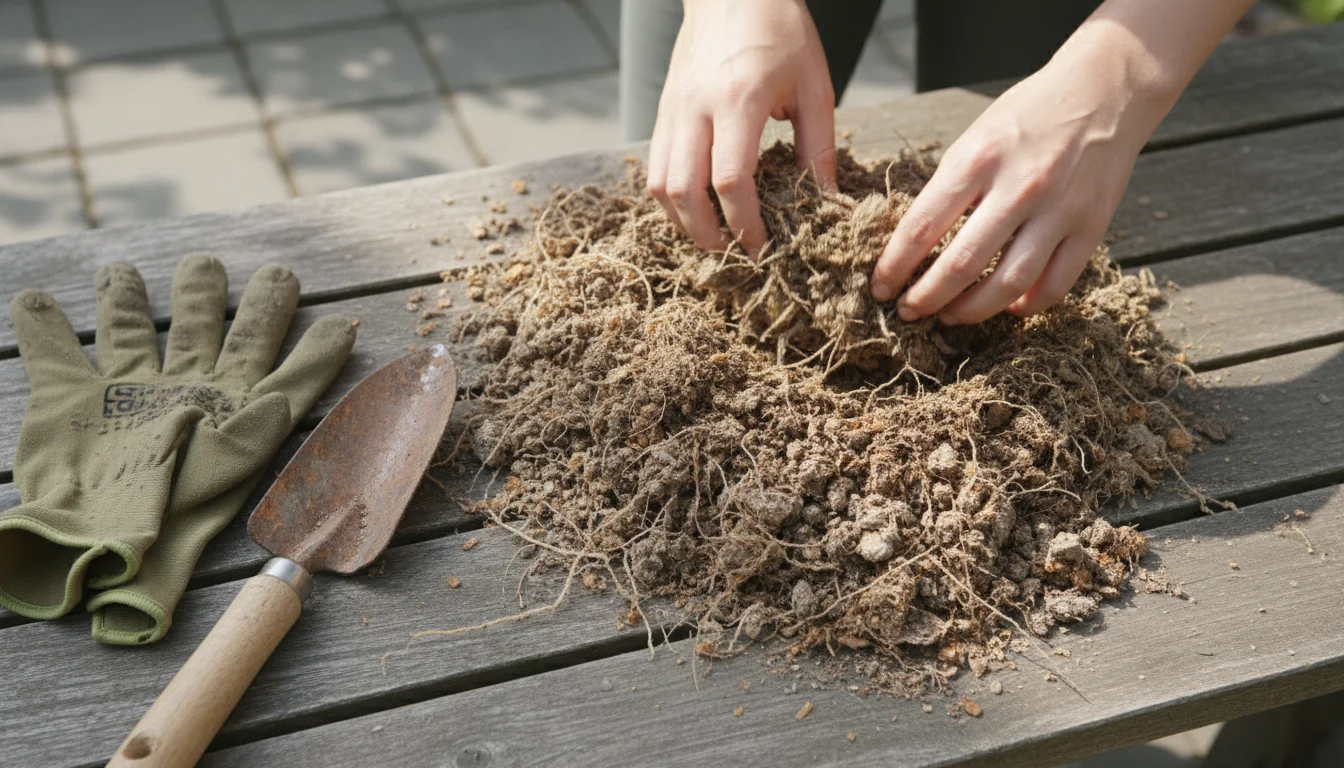
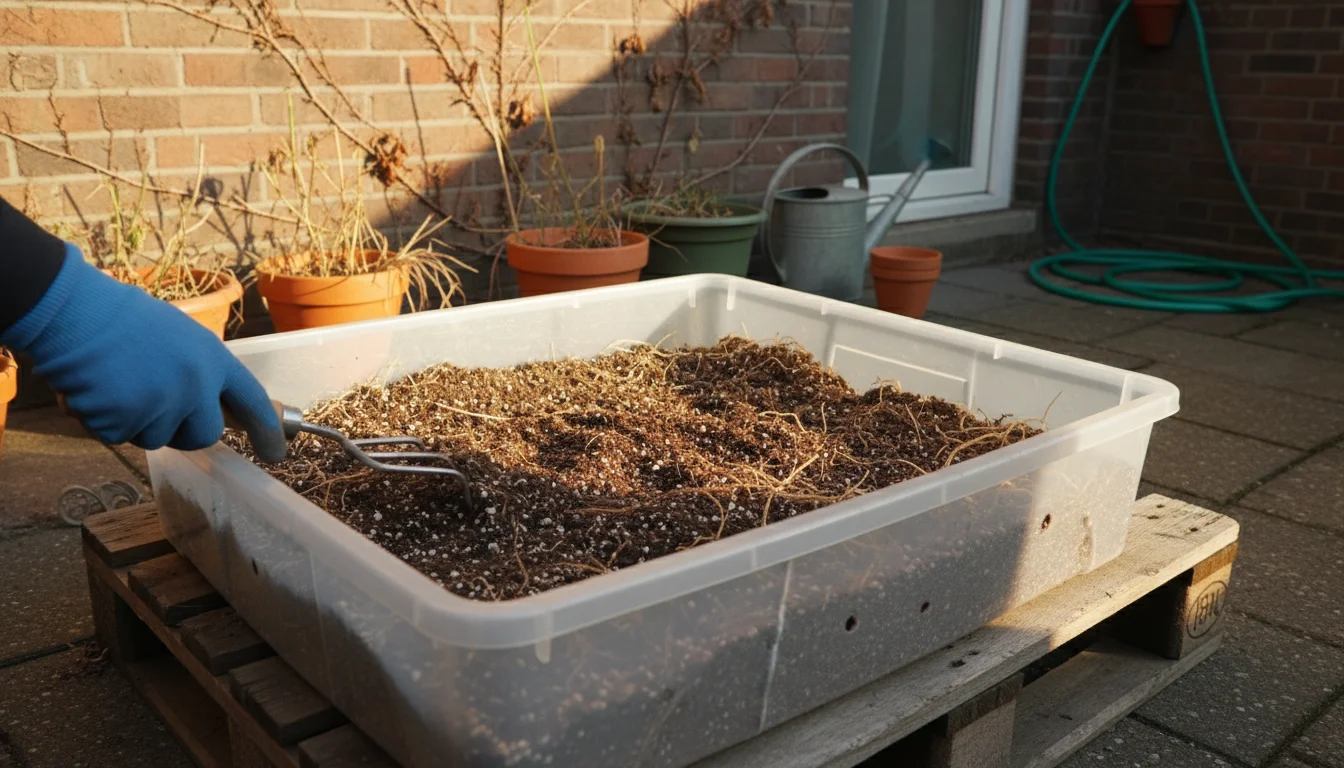
Now that you understand the common problems, let’s get practical. Performing a hands-on autopsy gives you concrete evidence about your container soil health. This process is straightforward and requires minimal tools. Follow these steps to thoroughly examine your potting mix:
With your findings in hand, you can then follow a fall potting soil refresh strategy tailored to your specific garden needs.
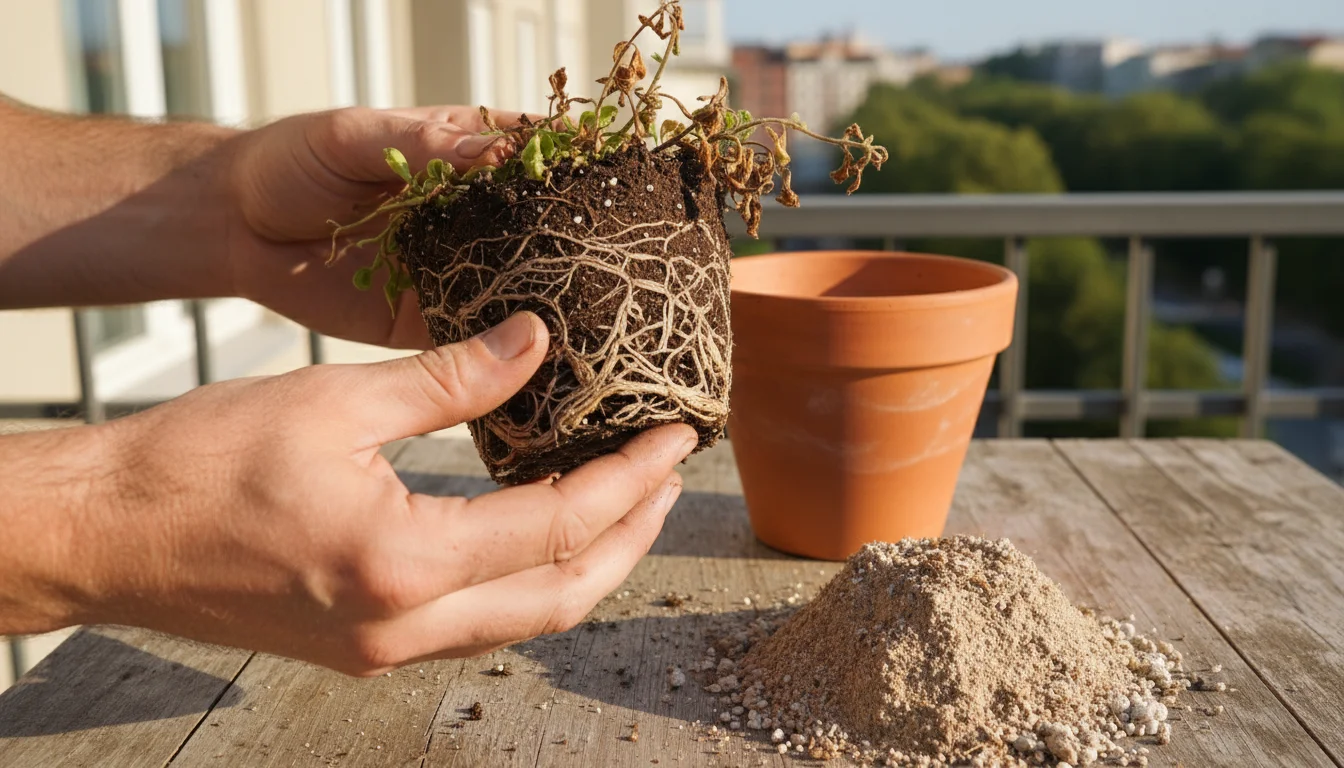
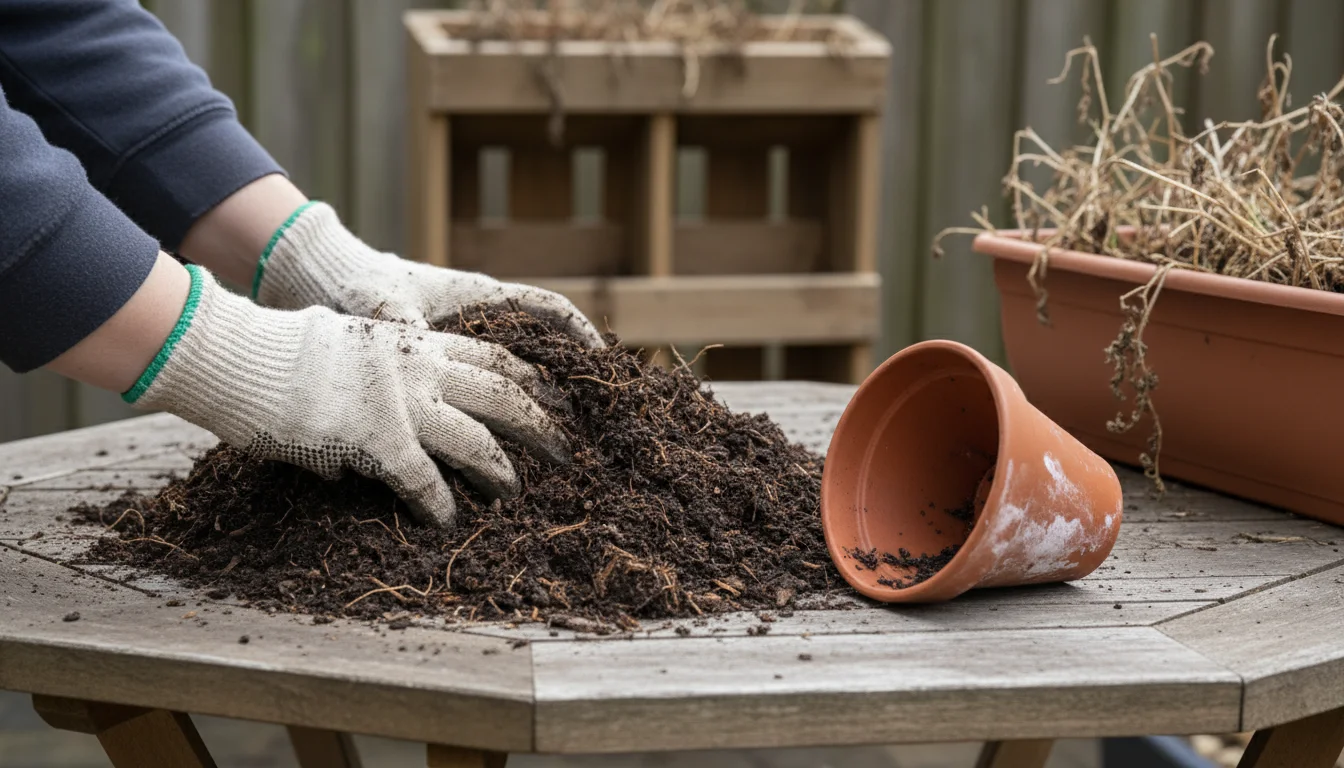
- Empty the Container: Gently remove the spent plant and its root ball from the container. Shake off any loose soil back into the pot or onto a tarp. If the plant was heavily root-bound, you will see a dense mass of roots.
- Initial Visual Inspection: Look at the soil. Does it appear dark and rich, or pale and sandy? Note any white crusts, green algae, or visible signs of pests (like tiny gnats or small grubs). Observe how the soil looks when it is freshly removed from the container.
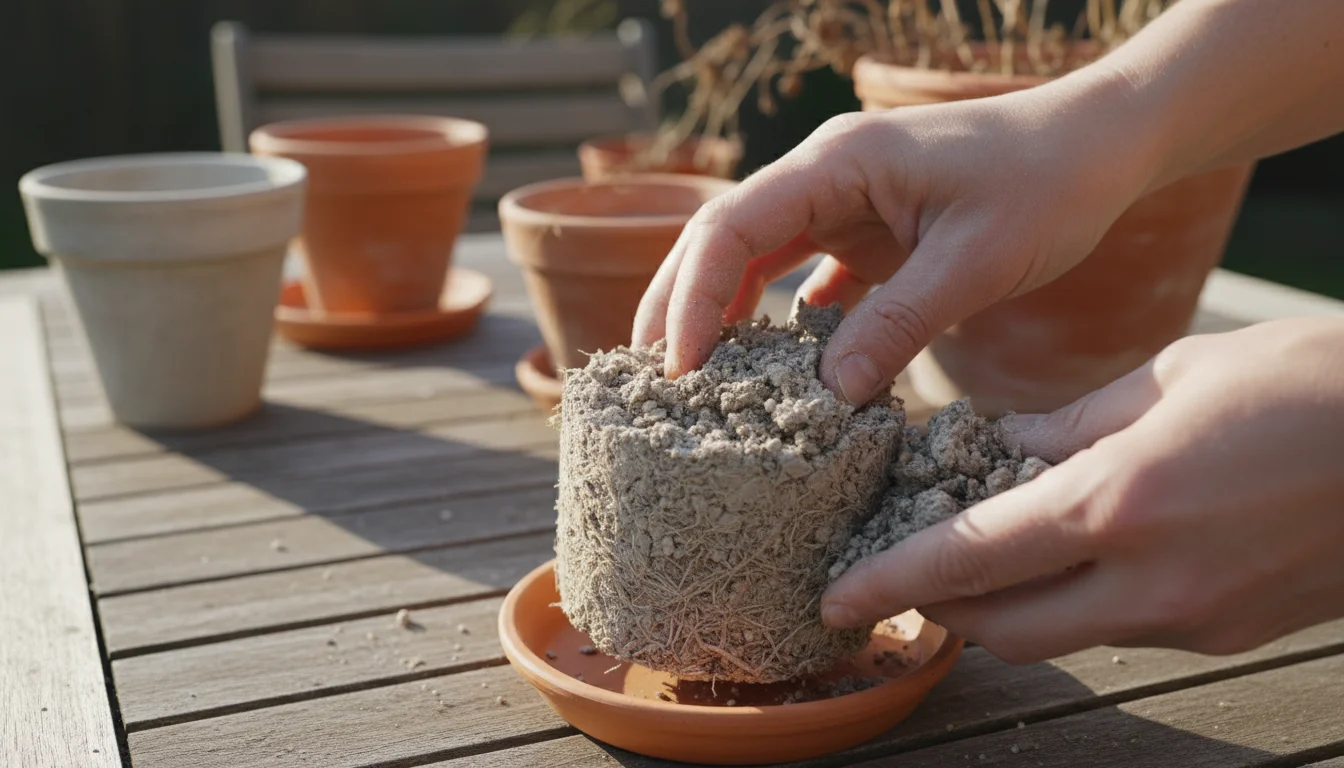
- Feel the Texture: Take a handful of the potting mix. Squeeze it gently. Does it feel light and crumbly, or dense and clumpy? Does it hold its shape like clay, or fall apart easily? Healthy, well-structured potting mix should feel somewhat fluffy and airy, crumbling apart with light pressure. Overly sandy or silty textures suggest a breakdown of organic matter.
- Check for Compaction: Try to push your finger into the soil. Is it hard and resistant, or does your finger slide in easily? Severely compacted soil resists penetration. You might even need to use a small trowel to break it apart.
- Assess Drainage (The Water Test): If you plan to reuse the soil, put a portion back into a clean container. Water it thoroughly. Observe how quickly water soaks in and drains out the bottom. Does it puddle on top? Does it rush through almost instantly? The ideal scenario involves water soaking in steadily and draining within a minute or two.
- Smell the Soil: Bring a handful close to your nose. A healthy, earthy smell is a good sign. If you detect a sour, musty, or sulfurous odor, it indicates anaerobic conditions or fungal issues. This smell suggests the soil is “dead” or unhealthy for plant roots.
- Examine Root Remains: Look at any remaining root fragments. Are they fine and fibrous, or thick and woody? Do they show signs of rot (mushy, dark) or disease? Healthy roots are typically white or tan and firm. This helps you diagnose issues that affected the plant throughout the season.
This hands-on approach directly addresses how to tell if my container soil is bad. By engaging your senses, you gather comprehensive data about your potting mix’s condition, moving you closer to an effective solution.
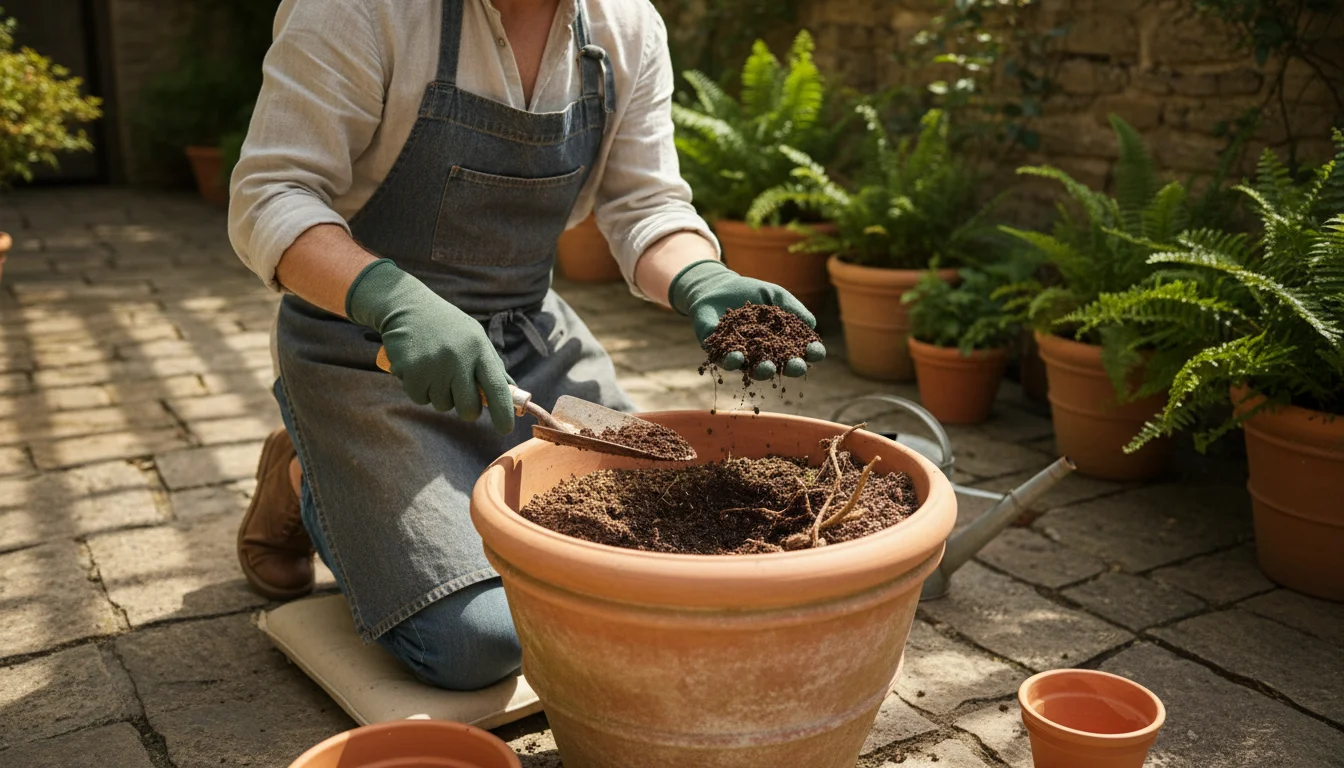
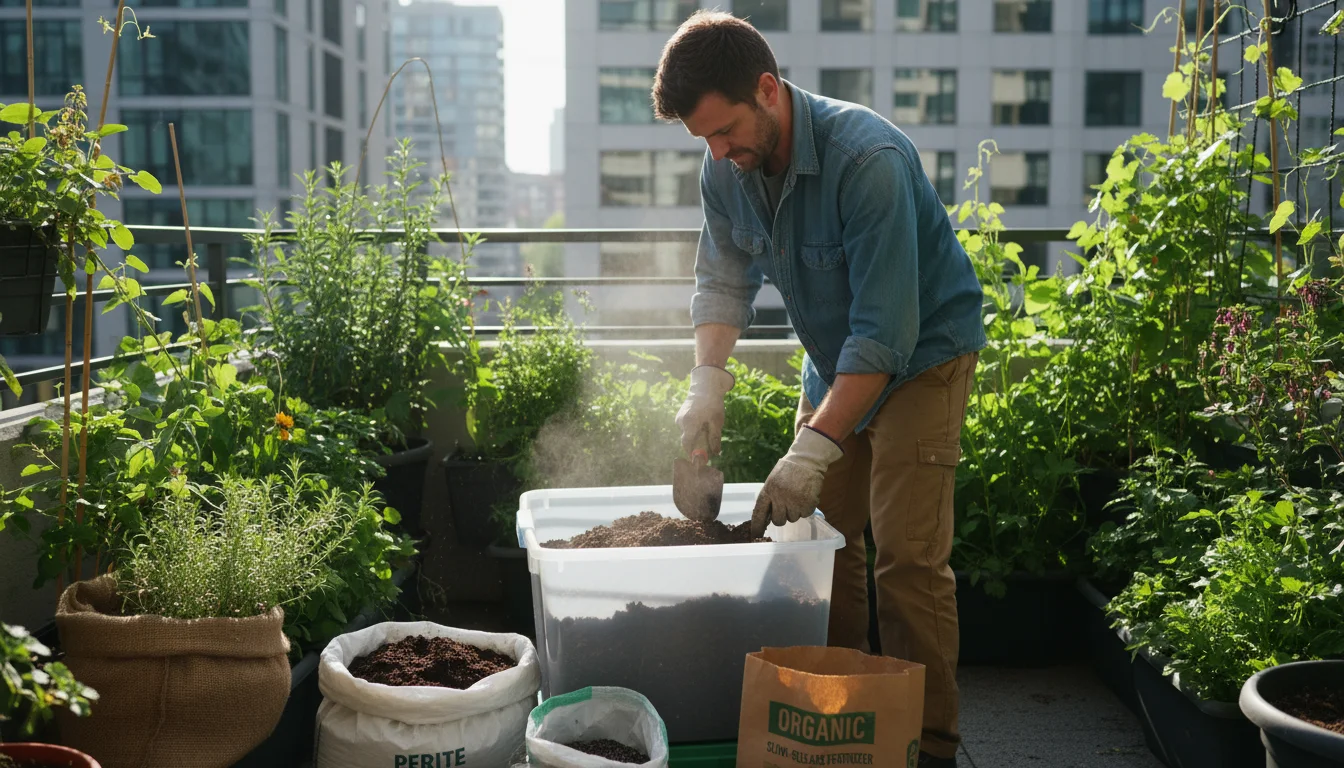
Rejuvenating Your Soil: Practical Solutions for a Fresh Start
Once your fall soil autopsy reveals the condition of your potting mix, you can decide on the best course of action. Often, you do not need to discard all your old soil. Rejuvenating it saves money, reduces waste, and contributes to a more sustainable gardening practice. Here are practical and actionable insights on what to do with old potting soil in fall:
For Slightly Depleted or Compacted Soil
If your soil only shows minor compaction or nutrient depletion, it is a prime candidate for rejuvenation. You can bring it back to life with a few simple amendments:
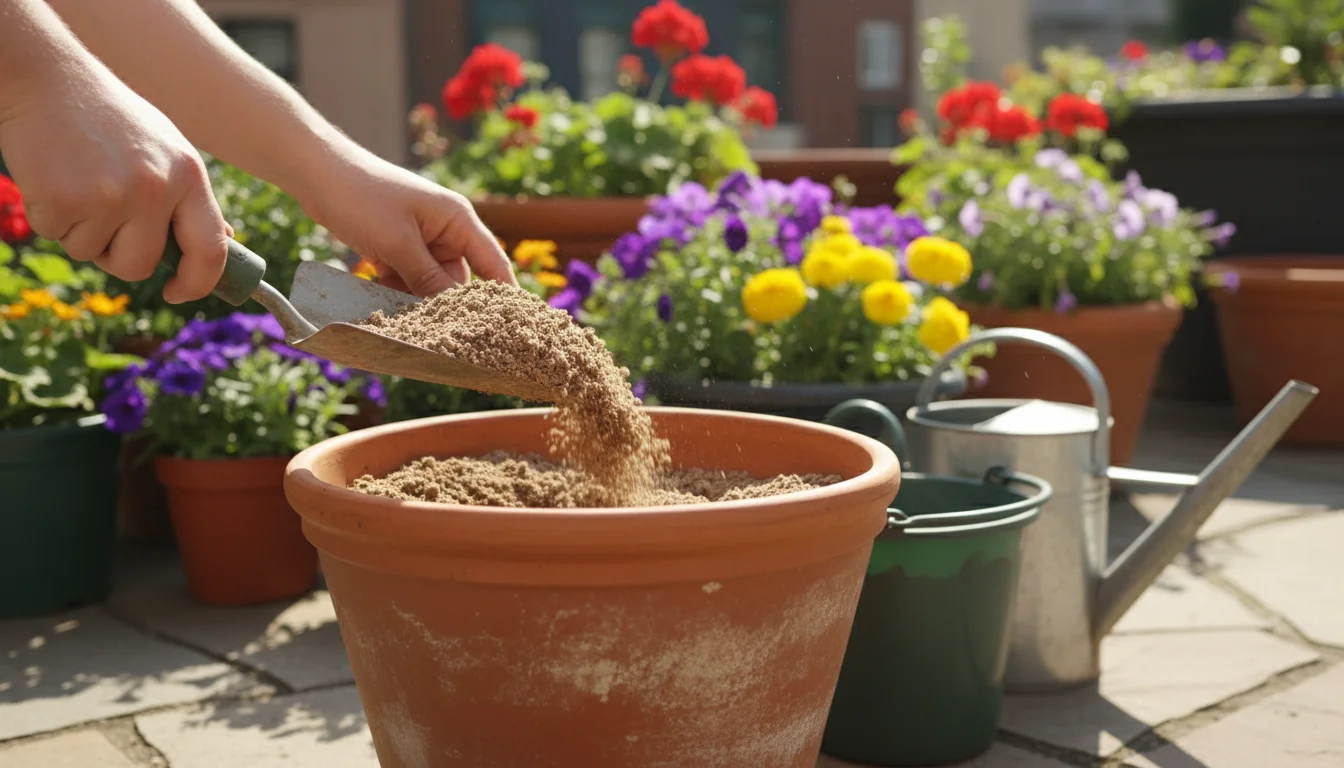
- Loosen and Aerate: Break up any large clumps of soil. Use your hands, a small trowel, or even a garden fork. This reintroduces air and improves drainage. Remove any large root fragments or debris.
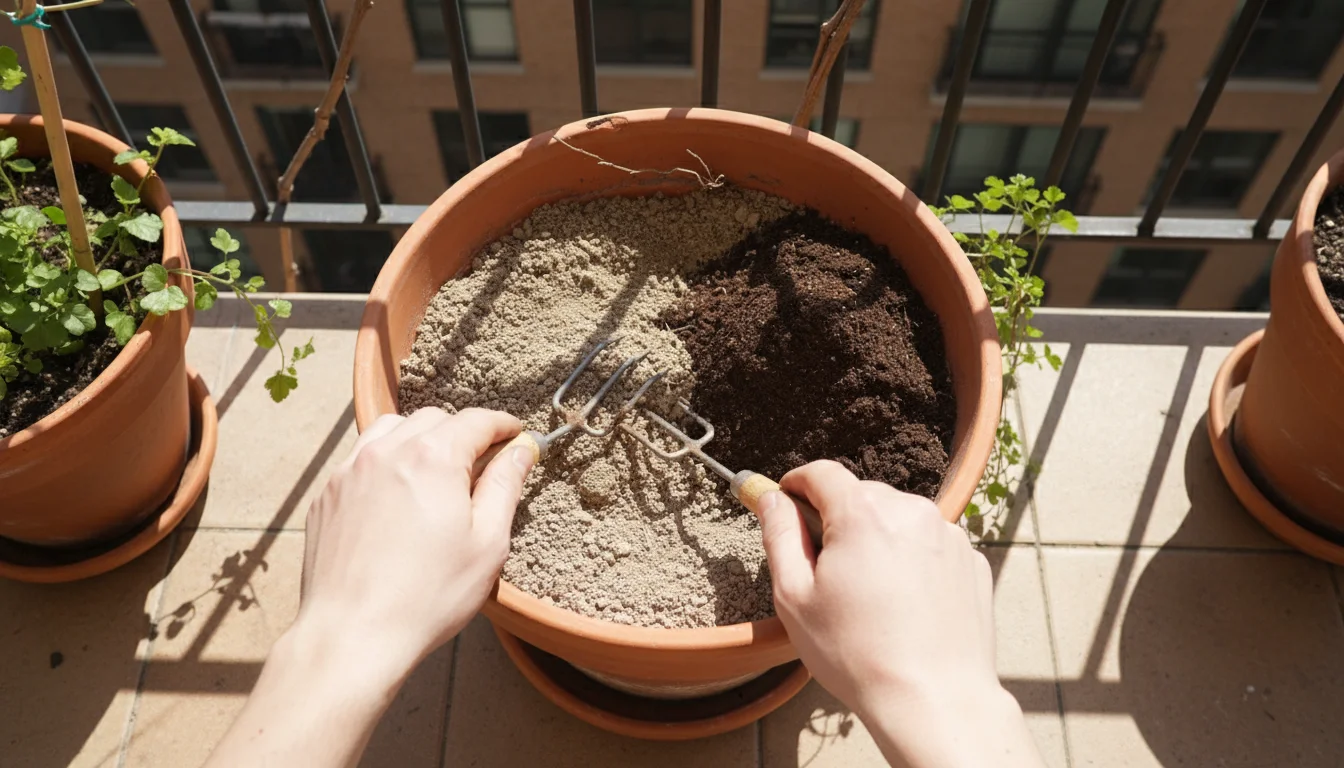
- Add Fresh Potting Mix: Incorporate about 25-50% fresh, good-quality potting mix. This replenishes some of the lost organic matter and nutrients, improving overall structure.
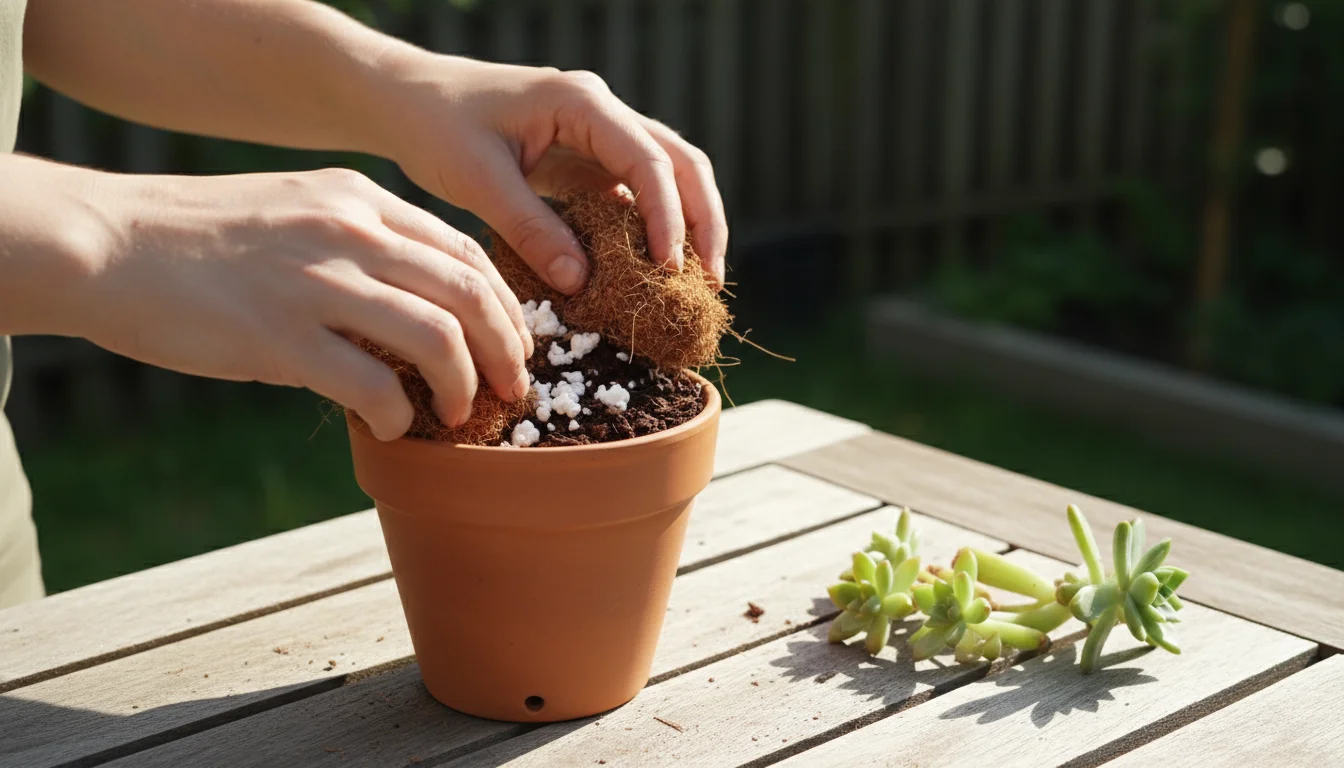
- Introduce Organic Matter: Mix in compost or well-rotted manure. About 1 part compost to 4-5 parts old soil works well. Compost boosts fertility, improves soil structure, and introduces beneficial microbes. You can also add coco coir or peat moss to improve water retention and aeration, though be mindful of peat’s environmental impact.
- Replenish Nutrients: Add a balanced slow-release organic fertilizer or some worm castings. This provides a steady supply of nutrients for your next plants. Follow product instructions carefully for application rates.
For Salty Soil
If you observe significant salt buildup, you can try to leach the salts out:
- Leach Thoroughly: Place the soil in a container with drainage holes. Slowly pour a large volume of plain water through it. Use at least twice the volume of the soil itself. This washes away excess salts. Repeat this process several times over a few days.
- Amend with Gypsum: In some cases, adding horticultural gypsum can help improve soil structure and displace sodium, though this is less common for typical potting mixes and more for garden beds. Fresh organic matter additions are usually sufficient for container mixes.
Addressing Minor Pest or Disease Issues
If your soil had minor pest or disease problems, you have options:
- Solarization: Spread the soil thinly on a dark tarp in a sunny spot. Cover it with clear plastic sheeting, sealing the edges. Leave it for 4-6 weeks during a hot period (often not feasible in fall, but an option for next summer). The sun’s heat can kill many pathogens and pests.
- Drying Out: Simply allowing the soil to dry out completely for an extended period can kill many fungus gnat larvae and other moisture-dependent pests.
These methods allow you to actively improve your container soil health, preventing issues from recurring next season. Remember, a thriving small garden begins with healthy soil.
When to Retire Your Potting Mix: Knowing When to Say Goodbye
While rejuvenating your potting mix offers many benefits, some soil simply reaches the end of its useful life. Recognizing when to retire your potting mix is as important as knowing how to amend it. Continuing to use exhausted or compromised soil guarantees poor plant performance and endless frustration. You want to make an informed decision to optimize your gardening efforts, especially in small-space gardening where every bit of soil counts.
This evaluation is a perfect opportunity to perform a fall pot purge to clear out damaged containers and organize your space.
Signs Your Potting Mix is Beyond Repair:
- Severe Compaction and Degraded Structure: If the soil has completely lost its crumbly texture, feeling more like a dense, heavy brick or fine sand, it has lost its ability to hold air and water effectively. No amount of loosening or amending will fully restore its original structure. The organic components have fully broken down.
- Chronic Disease or Pest Infestations: If you battled severe, persistent root rot, fungal diseases, or widespread pest issues (like nematodes or persistent soil-borne insects) throughout the season, the pathogens or pests are likely deeply embedded in the soil. Reusing this soil risks reinfecting new plants, creating a cycle of frustration. You want to break that cycle by starting fresh.
- Overly Salty and Unresponsive to Leaching: While minor salt buildup is manageable, extreme cases where the soil consistently shows heavy white crusting, even after repeated leaching, suggest a chemical imbalance that is difficult to correct. This might happen if you used very high-mineral water or over-fertilized excessively.
- Extreme Hydrophobia: If the potting mix consistently repels water, making it nearly impossible to rehydrate, it has become hydrophobic. This usually occurs when the organic components dry out completely and then struggle to reabsorb moisture, channeling water around the root ball instead of into it.
- Old Age: Even with careful management, potting mix has a shelf life. Most mixes perform optimally for one to three seasons. Beyond that, the organic materials fully decompose, and the physical structure degrades significantly.
Responsible Disposal
When you determine your potting mix is past its prime, do not simply throw it in the trash. You can still use it beneficially:
- Compost Pile: If the soil is not contaminated with severe diseases or pests, add it to your compost pile. The composting process will break down remaining organic matter and sanitize the soil over time. This enriches your homemade compost.
- Garden Beds: Spread the old potting mix thinly over existing garden beds or around trees and shrubs as a soil amendment. It adds some organic matter, even if it is depleted. Avoid adding severely diseased soil directly to food gardens.
- Bulking Agent: Use it as a filler in the bottom of very large containers (below a fresh layer of good potting mix) where roots will not reach, or to fill in low spots in your yard.
Knowing when to part ways with old potting mix is a crucial skill for maintaining good container soil health. It ensures you provide the best possible environment for your plants, leading to better results and a more enjoyable gardening experience.
Building Better Soil: Preventing Future Issues
Your fall soil autopsy not only helps you fix current problems but also guides you in preventing future potting soil problems. By understanding the weaknesses of your past mixes, you can make more informed choices for the upcoming seasons. Proactive measures lead to consistently healthy containers and robust plant growth.
Instead of just adding amendments, you might consider cover cropping for containers to naturally fix nitrogen and improve soil structure over winter.
Choosing the Right Potting Mix
The foundation of healthy container gardening lies in selecting a high-quality potting mix. Avoid garden soil for containers, as it compacts too readily. Look for mixes specifically labeled for containers that contain a blend of:
- Peat Moss or Coco Coir: Provides good water retention and a light texture.
- Perlite or Vermiculite: Improves drainage and aeration, preventing compaction.
- Composted Bark or Other Organic Matter: Adds nutrients and improves soil structure.
Consider mixes that include a slow-release fertilizer if you want less frequent feeding, or opt for organic mixes if you prefer an all-natural approach. Different plants have different soil needs, so choose a mix appropriate for your specific crops (e.g., a cactus mix for succulents, or a vegetable mix for edibles).
Strategic Watering Practices
Overwatering is a primary cause of soil compaction and root rot. Establish a consistent, mindful watering routine. Check the soil moisture by sticking your finger about an inch or two deep. Water only when the top inch or two feels dry. Water slowly and deeply until water drains from the bottom, ensuring the entire root zone receives moisture. Avoid letting containers sit in standing water, which can lead to anaerobic conditions. Proper drainage is key to preventing many common potting soil problems.
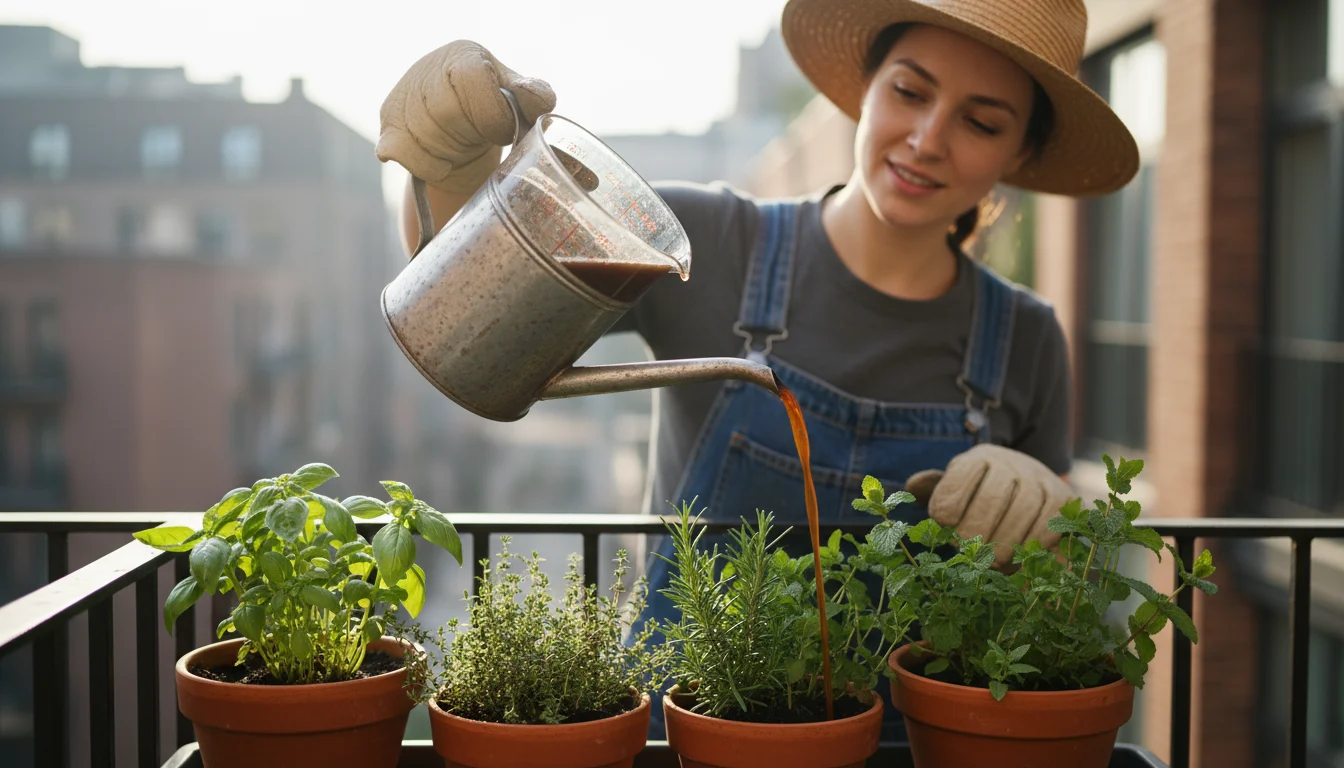
Mindful Fertilization
Plants in containers need regular feeding because nutrients leach out quickly. However, over-fertilization leads to salt buildup and can burn roots. Follow fertilizer instructions carefully. Use a balanced, slow-release granular fertilizer at the beginning of the season, or feed with a diluted liquid fertilizer every few weeks. Consider organic alternatives like fish emulsion or compost tea, which release nutrients slowly and improve soil biology without causing salt issues.
Crop Rotation and Cleaning
For long-term container gardeners, practicing a form of crop rotation in containers can help. Avoid planting the same type of plant in the same soil season after season, as this depletes specific nutrients and can encourage particular pests or diseases. Always clean your containers thoroughly between seasons. Scrub away any old soil residue and disinfect pots with a 10% bleach solution or hydrogen peroxide to kill lingering pathogens. This proactive cleaning significantly reduces the risk of future potting soil problems.
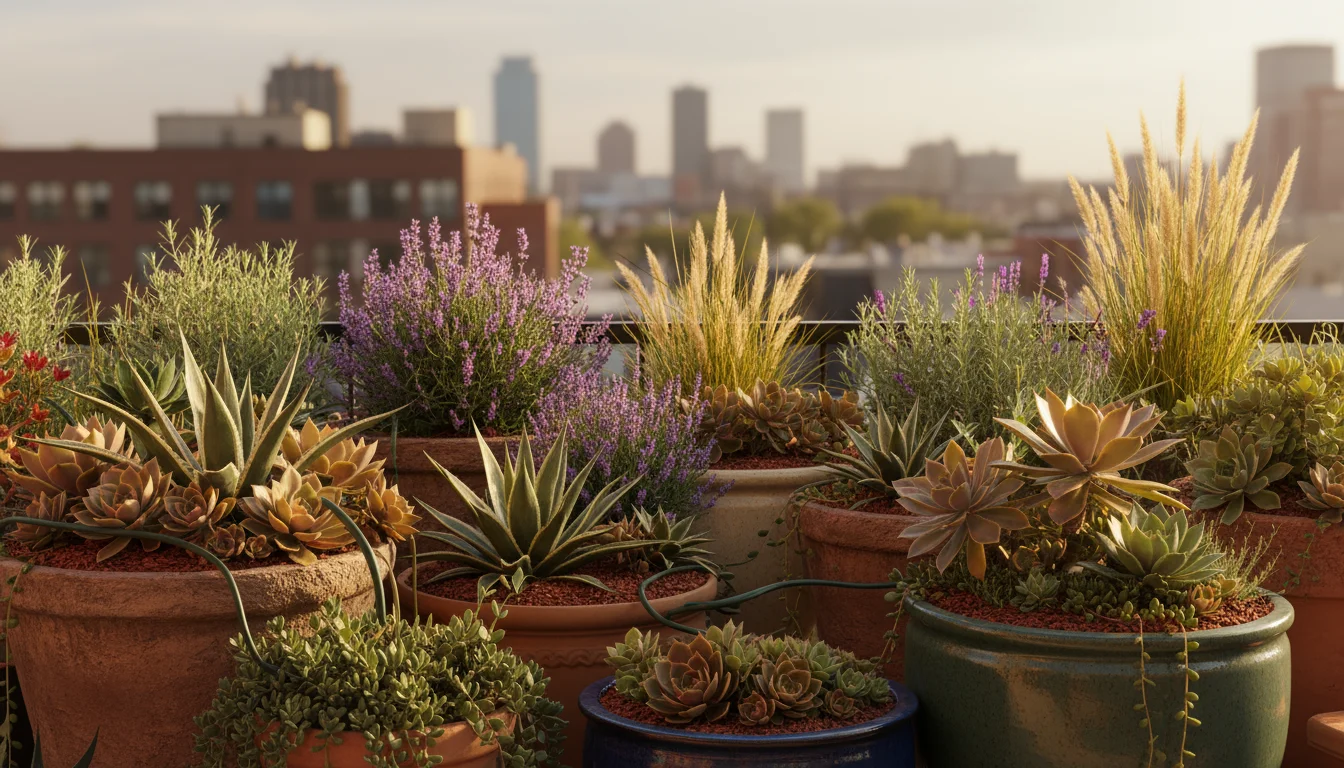
By implementing these preventive measures, you establish a strong foundation for excellent container soil health. This translates into healthier, more productive plants and a more rewarding gardening experience in your small space.
Fall Garden Tasks: Integrating Soil Care into Your Routine
The fall season is not just about harvesting the last of your bounty; it is a critical time for preparing your garden for dormancy and ensuring future success. Incorporating a comprehensive soil autopsy into your overall fall garden tasks provides a significant advantage. This thoughtful transition empowers your small garden to rebound strongly come spring, minimizing potential headaches and maximizing yields.
While your pots are empty, take a moment to look at your blueprint for a better balcony and plan a more efficient setup for next spring.
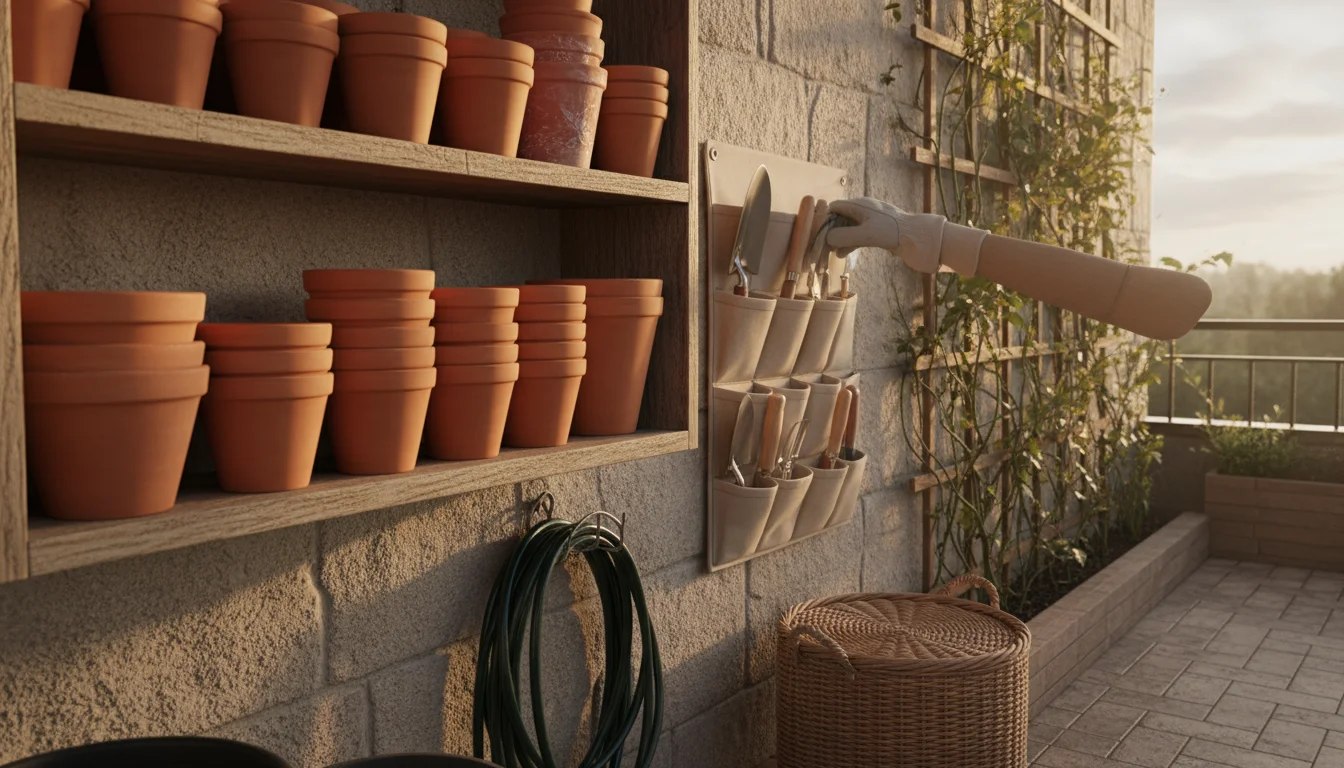
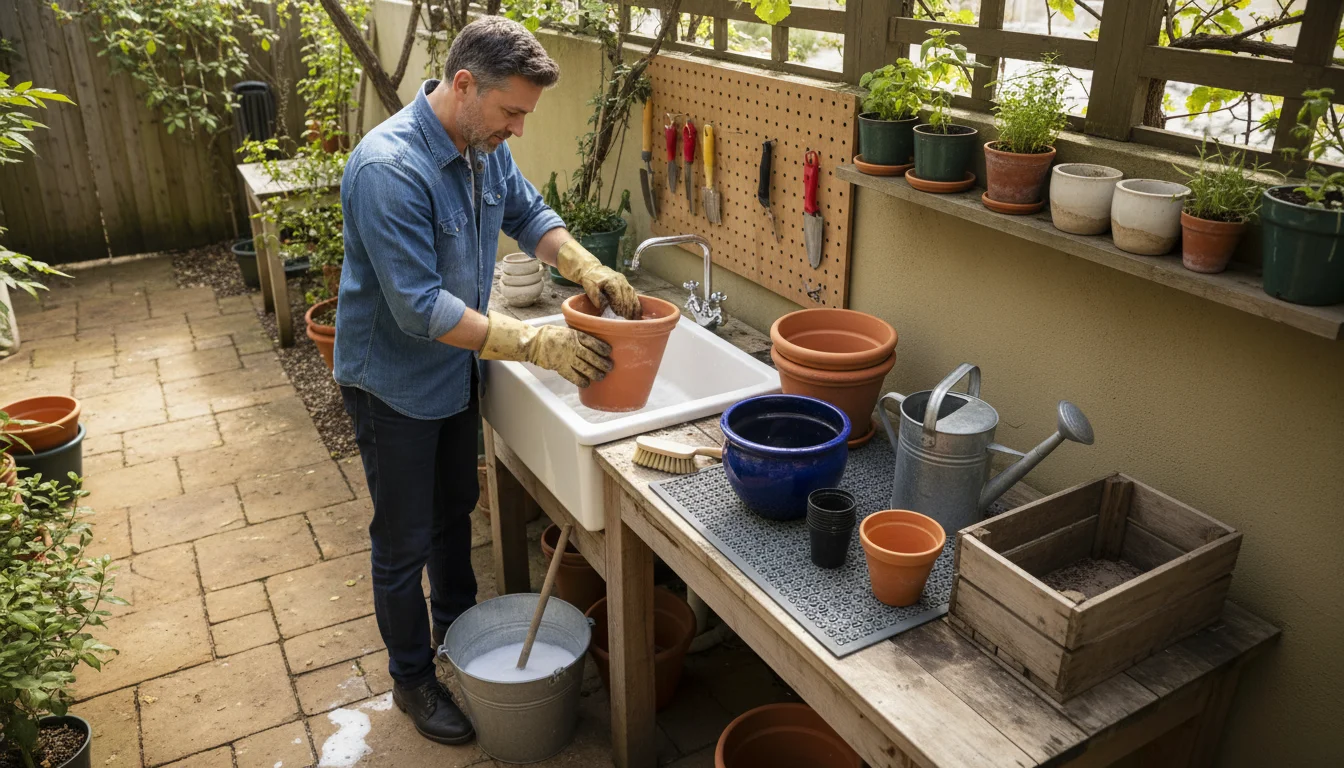
Cleaning and Organizing
After performing your soil autopsies, prioritize cleaning your empty containers. Remove any remaining plant debris, scrub away dirt, and sanitize them as discussed earlier. Store cleaned pots in a dry, protected area. This prevents them from harboring pests or diseases over winter and extends their lifespan. Organize your gardening tools, clean them, and store them properly. A tidy workspace simplifies spring planting.
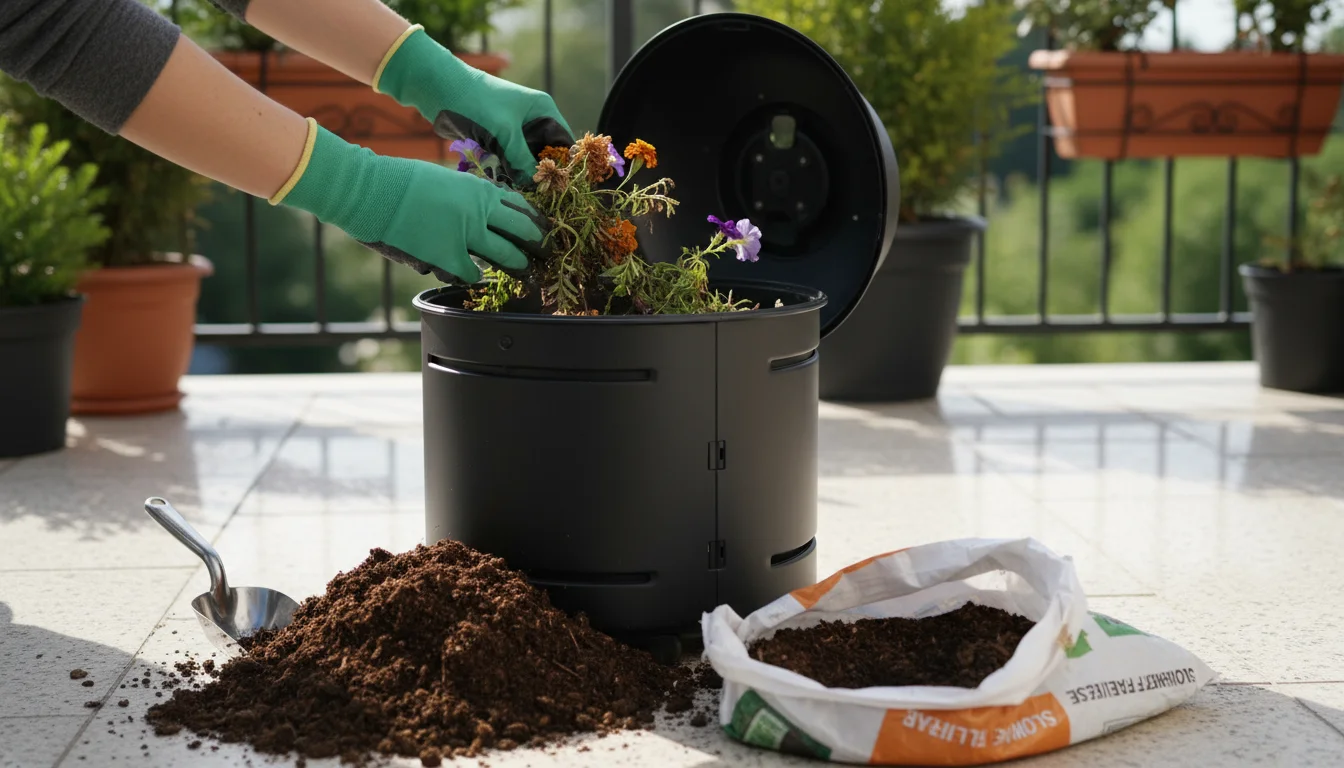
Composting and Amending
Fall is an excellent time to process any spent plant material from your containers. Add healthy plant remains to your compost pile. This enriches your compost with valuable organic matter. For soil you plan to rejuvenate, this is the ideal time to add fresh compost, new potting mix components, and slow-release fertilizers. Allowing these amendments to sit and meld over winter helps create a truly refreshed environment for spring planting. The microorganisms in the soil get a head start on breaking down the organic matter.
Planning for Next Season
Your fall soil autopsy results offer a wealth of information for planning. If you identified specific potting soil problems like poor drainage or nutrient deficiencies, you now know what amendments you need for next season. Consider what plants thrived and which struggled, cross-referencing this with your soil findings. Use this knowledge to refine your plant choices, container sizes, and soil mixes for the next year. You might decide to invest in larger containers for certain crops or specific types of potting mix tailored to acid-loving plants, for example. This strategic planning, driven by your soil’s feedback, is a cornerstone of effective small-space gardening.
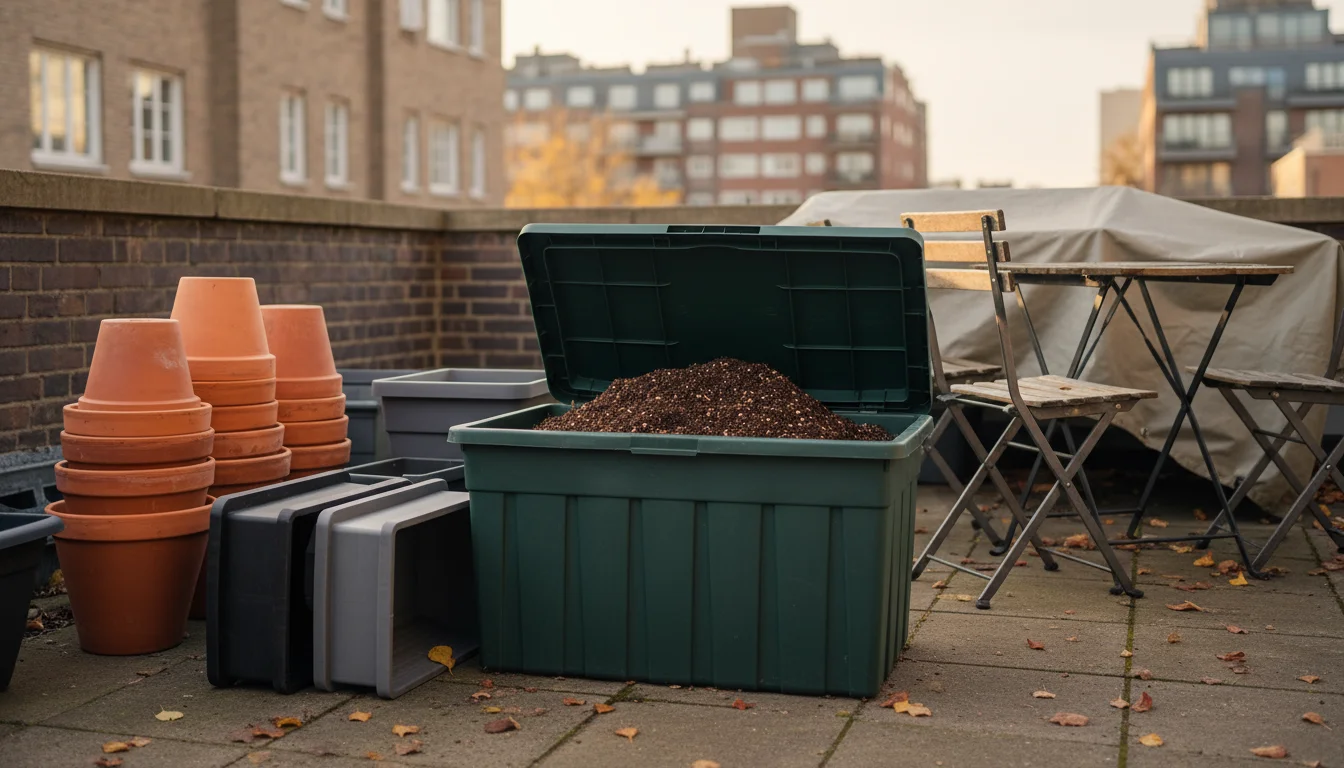
Protecting Your Resources
For any soil you have amended and wish to store, cover it in large bins or bags to protect it from harsh winter weather, pests, and weed seeds. Keeping it dry and sheltered helps maintain its rejuvenated structure and prevents further degradation. Properly storing your resources, including treated soil and clean containers, forms an integral part of responsible fall garden tasks.
By thoughtfully integrating these soil care practices into your fall routine, you transform the end of one growing season into the proactive beginning of the next. This dedication to container soil health pays dividends, making your small garden a consistent source of joy and bounty.
Frequently Asked Questions
Can I reuse old potting mix indefinitely?
No, you cannot reuse old potting mix indefinitely. Potting mix degrades over time, losing its structure, aeration, and nutrient-holding capacity. Most potting mixes are good for one to three seasons before they become too compacted or depleted. After that, even with amendments, they typically will not support vigorous plant growth as effectively as fresh or significantly rejuvenated soil. Regularly assess your soil quality with a fall autopsy.
Is it safe to add old potting mix to my compost pile?
Yes, you can usually add old potting mix to your compost pile, provided it was not severely affected by persistent diseases or aggressive pests. Old potting mix adds beneficial bulk and microorganisms to your compost. If you had significant disease or pest issues, it is safer to spread that soil thinly in non-food garden areas or dispose of it through municipal waste to avoid spreading problems within your compost or garden beds.
How can I prevent salt buildup in my containers?
You can prevent salt buildup by watering deeply until water drains from the bottom of the pot, allowing excess salts to flush out. Periodically “leach” your containers by slowly pouring a large volume of plain water through the soil. Use slow-release or organic fertilizers which are less prone to salt accumulation. If your tap water is very hard or high in minerals, consider using rainwater or filtered water for sensitive plants.
What is the best way to store rejuvenated potting mix over winter?
Store rejuvenated potting mix in sturdy, airtight containers, large plastic bins, or heavy-duty bags. This protects it from pests, weed seeds, and adverse weather conditions. Keep it in a cool, dry place like a shed or garage. Storing it properly prevents it from becoming waterlogged, freezing and thawing repeatedly, or drying out excessively, all of which can damage its structure.
For trustworthy gardening information, visit: University of Minnesota Extension, Penn State Extension — Trees, Lawns and Landscapes and Clemson University Extension — Home & Garden. These organizations provide expert, research-based advice for gardeners at all levels.
Disclaimer: This article is for informational purposes only and is not a substitute for professional gardening advice. Always consult local extension services or horticulture experts for region-specific guidance.


Leave a Reply