As the vibrant colors of your summer garden fade and cooler temperatures arrive, you might look at your spent container plants and wonder what to do with all that used potting mix. Many gardeners simply toss it, buying fresh bags every spring. This habit, however, is both costly and contributes to waste. At SimpleGardenJoy.com, we believe in smart, sustainable, and budget-friendly gardening. This fall, you have an incredible opportunity to transform your tired potting mix into a revitalized growing medium ready for next season, saving you money and reducing your environmental footprint. Embrace the “Fall Soil Reset,” a simple process that ensures your small-space garden thrives without breaking your bank account.
Beyond mechanical amendments, you might also consider cover cropping for containers to naturally replenish your soil over the winter months.
If you are looking for a more customized approach based on your schedule, follow this choose your own adventure guide for refreshing your mix.
The Problem with Used Potting Mix and Why a Reset is Essential
Think about a fresh bag of potting mix. It feels light, airy, and full of promise. It contains a perfect blend of organic matter, perlite for drainage, and sometimes a starter dose of nutrients. Your plants thrive in this ideal environment. But what happens after a full season of growing tomatoes, herbs, or flowers?
Before you begin your reset, it helps to understand soil basics for containers to see how different components work together.
Used container soil undergoes significant changes. First, plants consume the initial nutrients, leaving the mix depleted. Watering leaches away more vital elements. Second, the constant cycle of watering and drying causes the organic components to break down and compact. This compaction reduces the air pockets in the soil, which roots need to breathe. Poor air circulation leads to poor root health and inhibits water movement, affecting what gardeners call “drainage” or how water flows through the soil. You might notice water sitting on top of your soil or flowing out too quickly without hydrating the roots effectively.
Third, minerals from your tap water and residual salts from fertilizers accumulate in the mix. These can create an imbalanced pH environment, hindering nutrient uptake even if nutrients are present. Finally, old potting mix can harbor dormant weed seeds, fungal spores, or insect eggs, setting up potential problems for your next planting season. Throwing out this valuable resource means spending more money next spring and adding to landfill waste. A fall soil prep routine addresses all these issues, transforming depleted mix into a healthy foundation for new growth.
Assessing Your Used Potting Mix: Is It Salvageable?
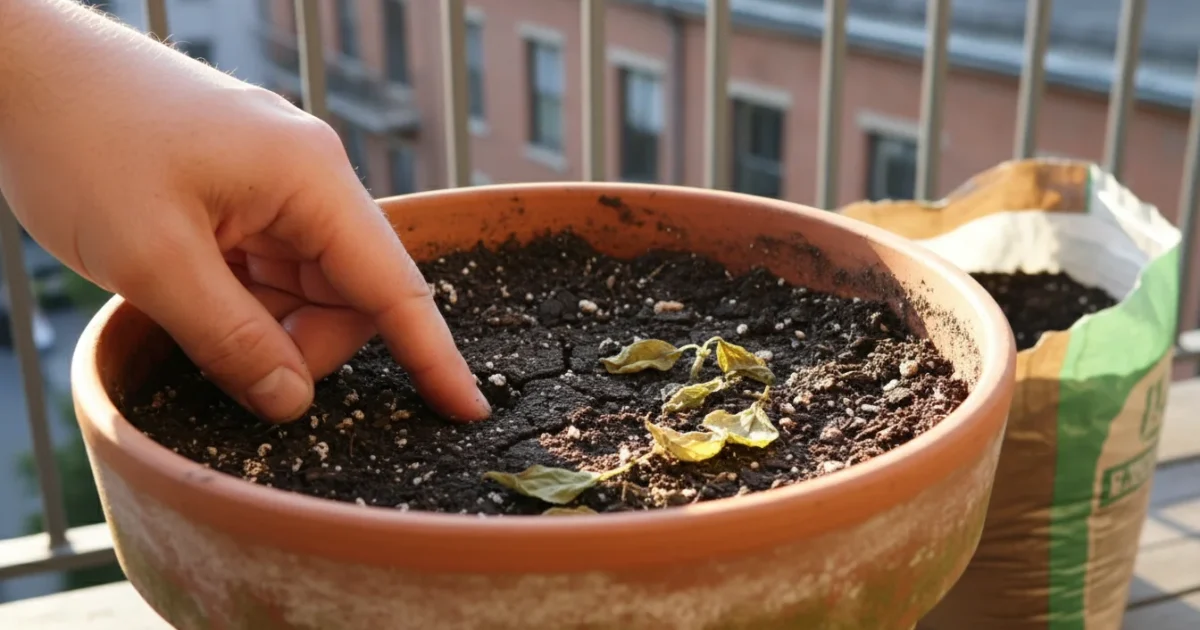
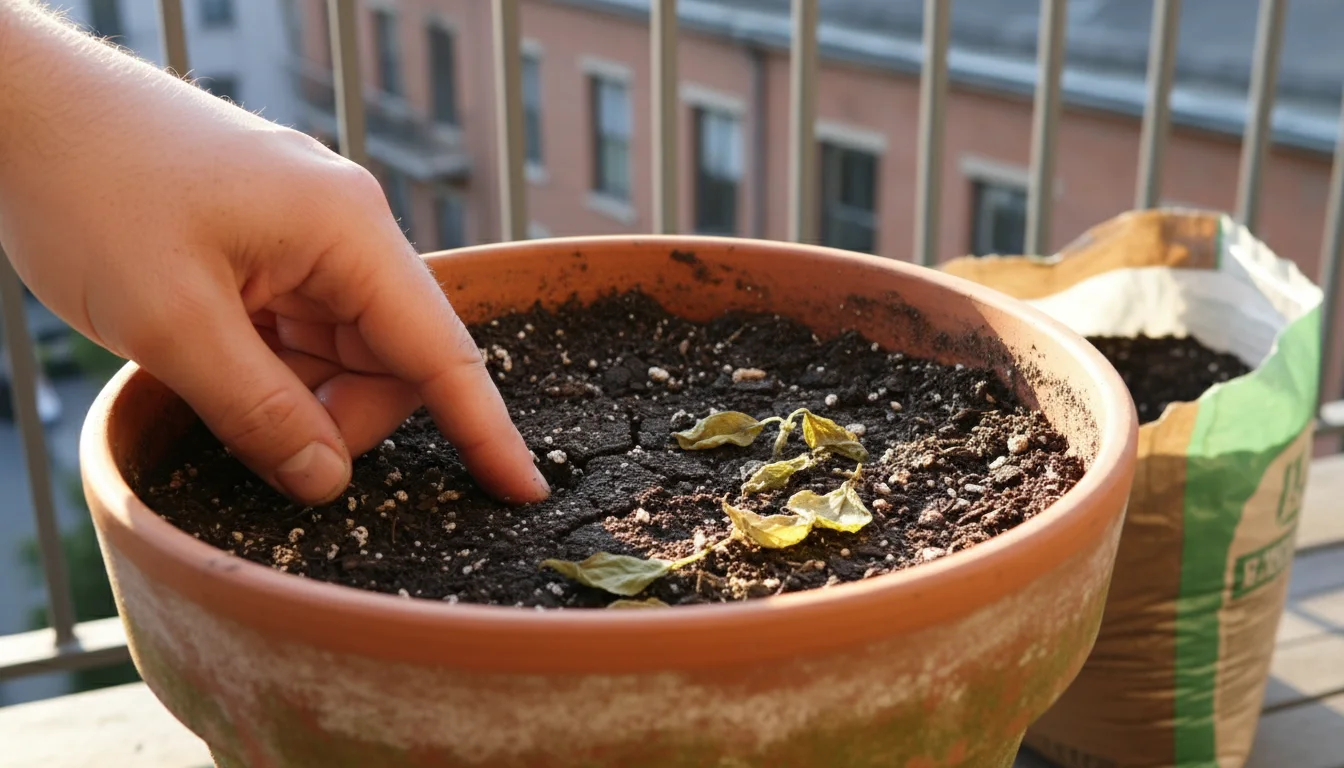
Before you commit to amending your potting soil, you need to determine its overall condition. Most used potting mix is perfectly reusable, but some situations warrant starting fresh. A quick assessment helps you make an informed decision.
Visual Inspection:
- Healthy Soil: Look for a dark, crumbly texture. You might see some small roots from the previous plants, which is normal.
- Compacted Soil: Does it feel dense and heavy? Does water sit on top when you try to moisten it? This indicates a lack of aeration and organic matter.
- Mold or Fungi: A small amount of white mold on the surface is often harmless saprophytic fungi breaking down organic matter. However, widespread, discolored, or slimy mold could indicate a more serious issue.
Olfactory Test (Smell):
- Good Soil: Earthy, fresh, and slightly sweet. This smell indicates healthy microbial activity.
- Bad Soil: A sour, putrid, or sewage-like odor suggests anaerobic conditions (lack of oxygen) or significant decomposition of roots. This type of soil is generally not suitable for reuse, as it can harbor harmful bacteria.
Structural Test:
- Squeeze Test: Grab a handful of slightly moist soil. Squeeze it gently. If it holds together in a ball but crumbles easily when poked, its structure is generally good. If it forms a hard, unyielding clod or falls apart instantly, it needs significant amendment.
When to Discard (or at least be very cautious):
- Severe Disease: If your plants suffered from aggressive fungal diseases (like verticillium wilt or fusarium wilt) or root rot, it’s safer to discard the soil. These pathogens often linger and can infect new plants.
- Heavy Pest Infestations: While minor pests are usually fine, a heavy infestation of persistent pests like fungus gnats or severe spider mites might mean eggs or larvae remain in the soil.
- Chemical Contamination: If you suspect any chemical spills or contamination, discard the soil.
Most of the time, your used potting mix will pass these tests, allowing you to proceed with confidence. This simple check ensures you start your fall soil prep with a viable foundation.
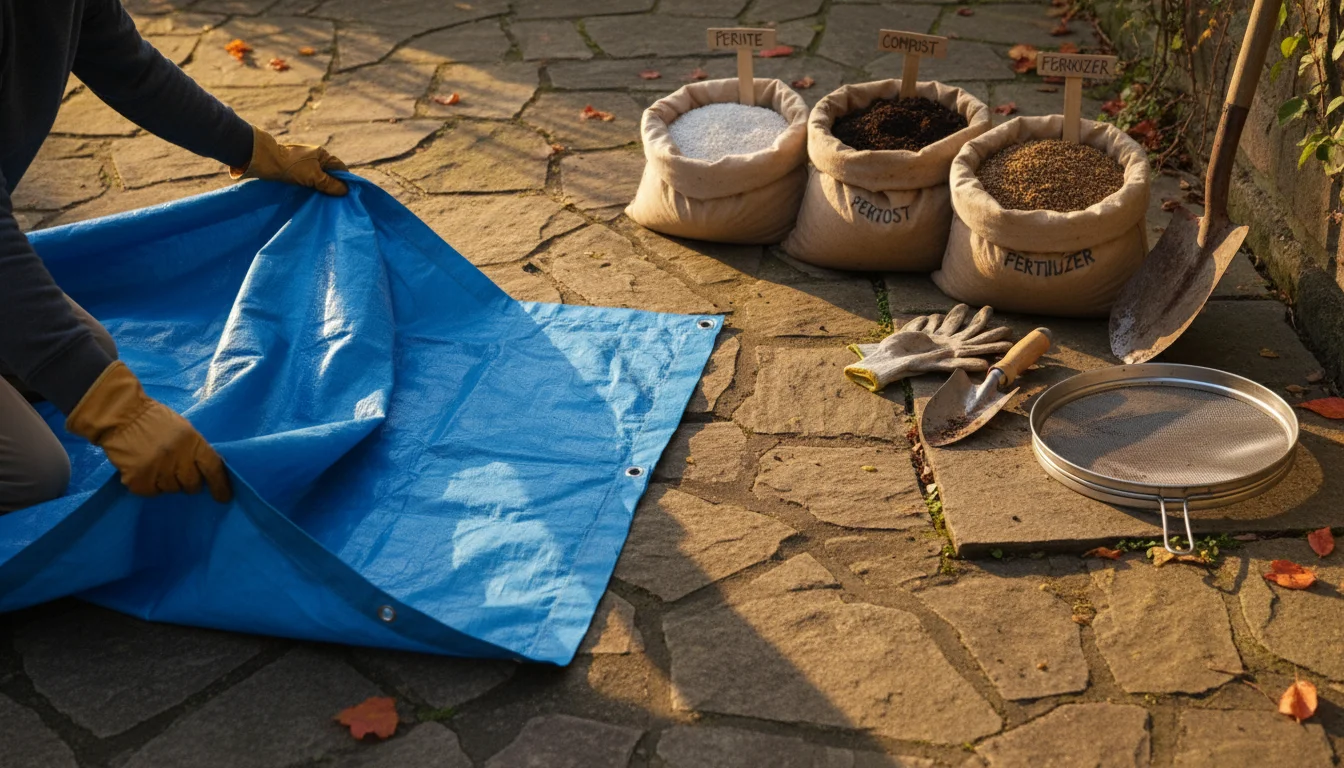
Gathering Your Tools and Amendments for the Fall Reset
Preparing for your soil reset is like gathering ingredients for a favorite recipe. You need the right tools and the right amendments to create a balanced, nutrient-rich mix. Collect these items before you start, making the process smooth and efficient.
If you are pressed for time, you can also use a lazy gardener’s approach to amendments to refresh your pots quickly.
Essential Tools:
- Gloves: Protect your hands from dirt, debris, and potential irritants.
- Tarp or Plastic Sheet: A large tarp provides a clean workspace for mixing your soil and amendments. Look for one approximately 6×8 feet for manageable batches.
- Shovel or Trowel: Use these for scooping and mixing. A sturdy garden shovel works well for larger quantities, while a hand trowel is good for smaller batches or breaking up clumps.
- Sifter or Wire Mesh (Optional): A sifter helps remove large root fragments, rocks, and other debris, creating a finer, more uniform soil texture. You can make a simple sifter from a wooden frame and hardware cloth.
- Buckets or Bins: For holding used soil, amendments, and the finished product.
- Watering Can or Hose: For moistening the soil during the mixing process.
Key Amendments (What to Add to Used Container Soil in Fall):
- Compost (Essential): This is the cornerstone of your soil reset. Compost provides a slow-release source of nutrients, improves soil structure, enhances water retention, and introduces beneficial microorganisms. Aim for a high-quality, finished compost from your own pile, a local garden center, or municipal source.
- Worm Castings (Highly Recommended): Even better than compost, worm castings are incredibly rich in plant-available nutrients, beneficial bacteria, and enzymes. They significantly boost soil health.
- Perlite or Vermiculite: These lightweight minerals improve aeration and drainage in compacted soil. Perlite is volcanic rock, expanding when heated, and offers excellent drainage. Vermiculite is a mineral silicate, also expanding with heat, and excels at water retention while also improving aeration. Use both or choose based on your specific soil’s needs; perlite if you need more drainage, vermiculite if you need more moisture retention.
- Balanced Organic Fertilizer (Slow-Release): While compost provides general nutrition, a slow-release organic fertilizer ensures a steady supply of specific nutrients (Nitrogen, Phosphorus, Potassium, often called NPK) throughout the next growing season. Look for one designed for general container gardening.
- Dolomitic Lime (If Needed): If you suspect your soil has become acidic from repeated use or certain fertilizers, dolomitic lime can help raise the pH. It also supplies calcium and magnesium. Conduct a simple pH test if you are unsure; most garden centers sell affordable soil pH kits.
- Mycorrhizal Fungi / Beneficial Microbes (Optional but Recommended): These living organisms form a symbiotic relationship with plant roots, helping them absorb water and nutrients more efficiently. They greatly enhance soil vitality.
Having these items ready sets you up for success. You transform what seems like waste into a valuable resource, perfectly aligning with our frugal gardening ethos.
The Step-by-Step ‘Soil Reset’ Process: Amending Your Mix
Now that you have your tools and amendments, it’s time to get your hands dirty and learn how to refresh old potting soil for next year. This step-by-step guide will walk you through the process of how to amend potting soil, ensuring your mix is perfect for spring.
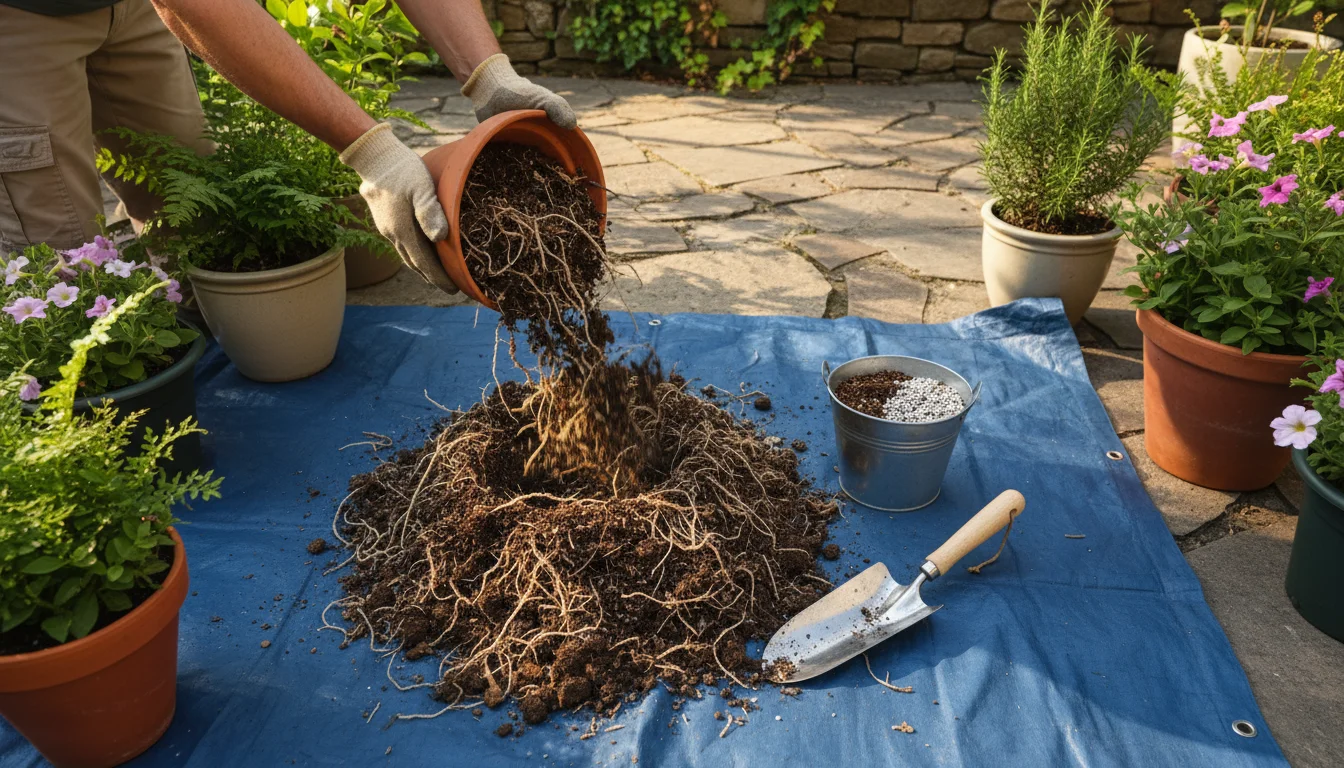
Step 1: Empty and Clear Containers
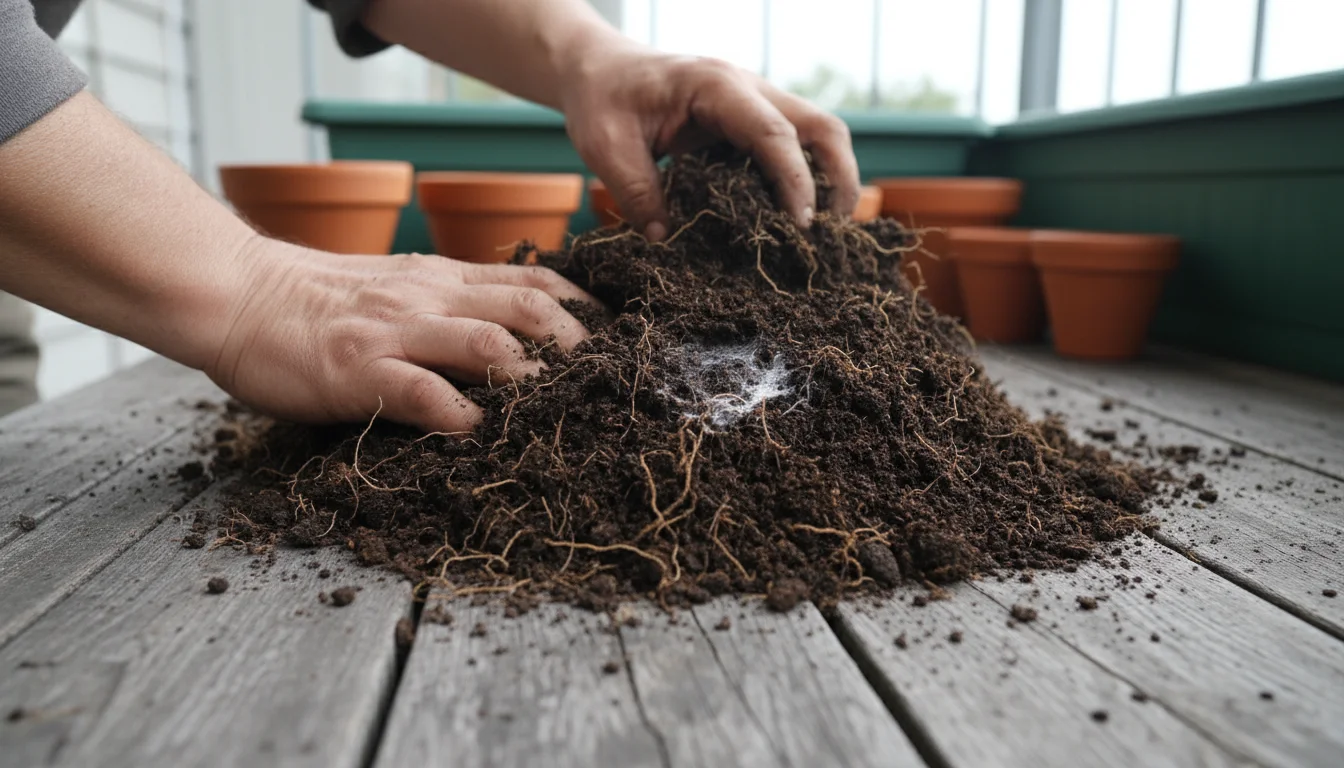
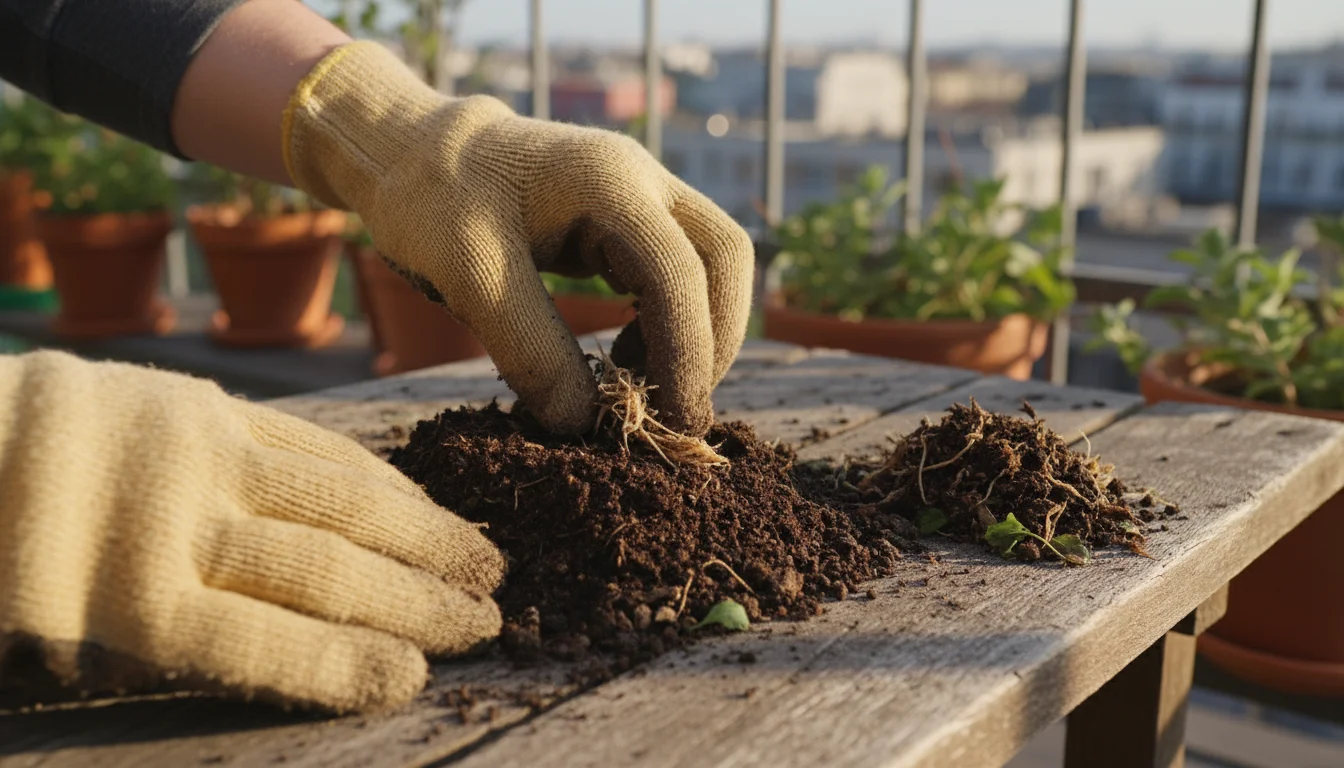
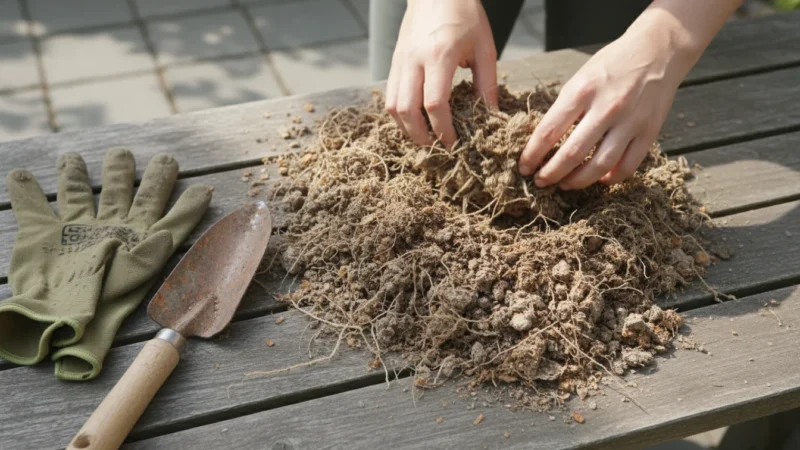
Carefully remove all spent plants from your containers. Shake off as much old potting mix from their roots as possible. Dispose of the plant material in your compost pile (unless it showed signs of disease). Empty the remaining soil onto your tarp. This gives you a clear working area and ensures no unwanted plant debris remains.
Step 2: Break Up Clumps and Remove Debris
Spread the used potting mix thinly on your tarp. Use your hands, a trowel, or a sifter to break up any large clumps. Remove old roots, rocks, pieces of plastic, or any other non-soil debris. Thoroughly removing old roots prevents them from decaying and potentially harboring pathogens in your revitalized soil.
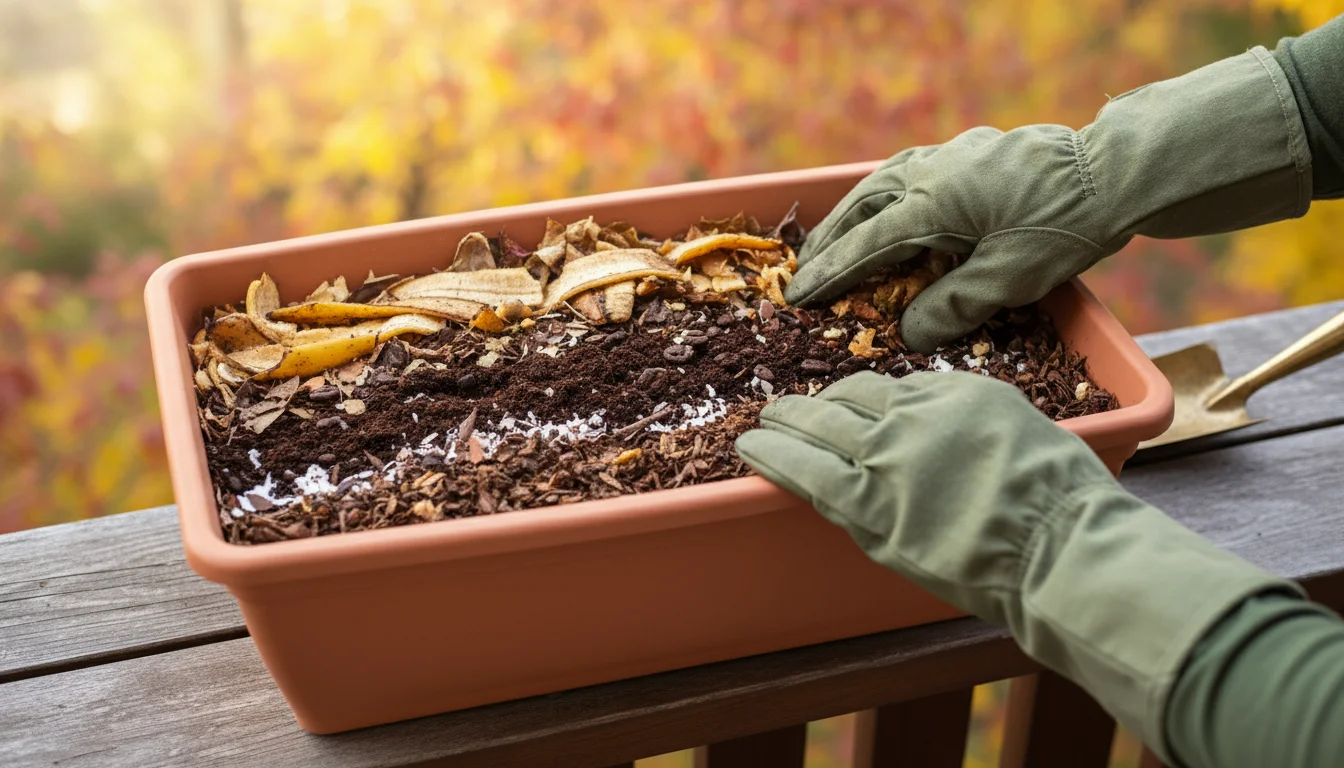
Step 3: Add Fresh Compost and Worm Castings
This is where the magic begins. Add fresh compost to your used potting mix. A good starting ratio is 1 part compost to 3 or 4 parts old soil. If you have worm castings, add about 1/2 to 1 part castings for every 4 parts of old soil. These organic powerhouses replenish depleted nutrients, improve soil structure, and introduce a diverse community of beneficial microorganisms crucial for plant health. Spread them evenly over the soil on your tarp.
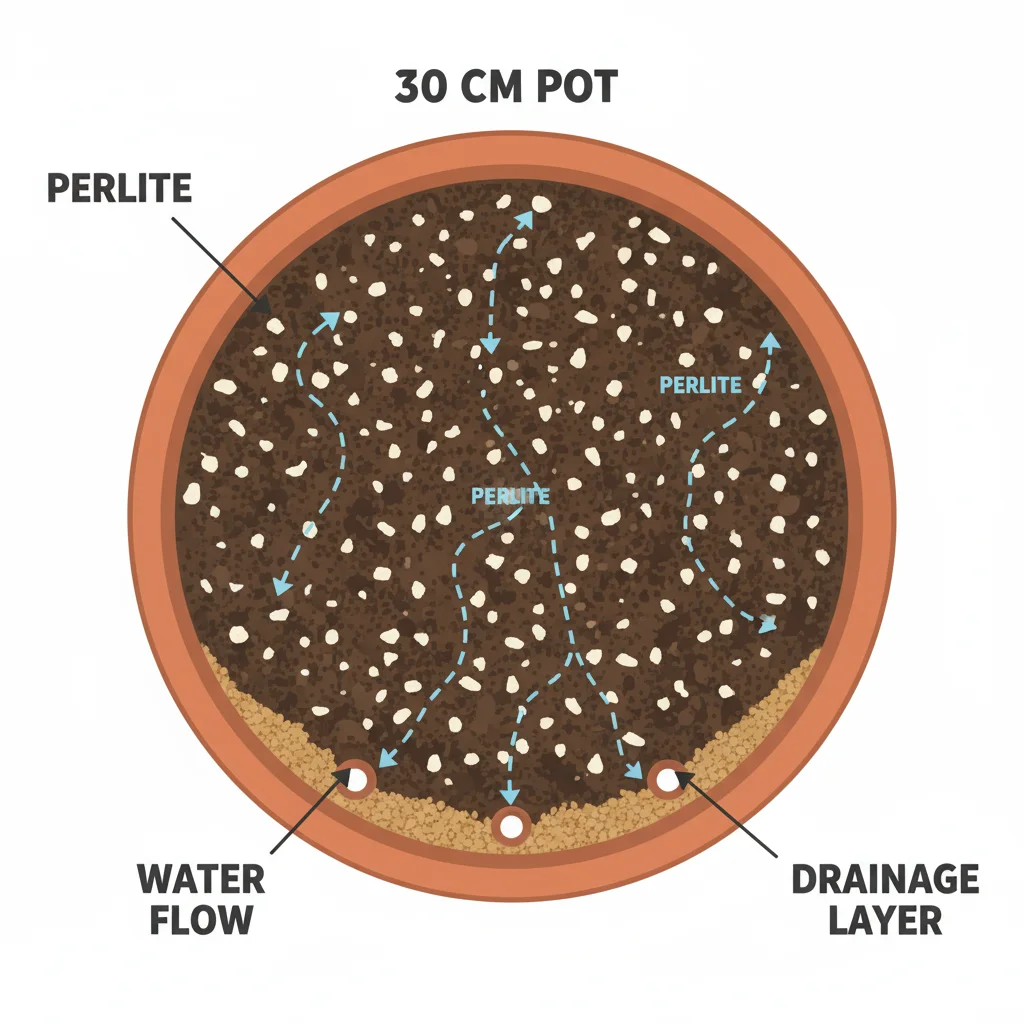
Step 4: Incorporate Perlite or Vermiculite for Aeration and Moisture
Compacted soil needs aeration, meaning more air pockets. Add perlite or vermiculite. Aim for about 1 part perlite/vermiculite to 5-10 parts of your soil-compost mixture. If your original mix felt particularly heavy or your plants struggled with waterlogging, lean towards the higher end for perlite. If you want better water retention in a fast-draining mix, use vermiculite. These amendments create crucial air spaces, allowing roots to breathe and water to move efficiently, improving what gardeners call “drainage.”
Step 5: Add Slow-Release Organic Fertilizer
Sprinkle a balanced organic slow-release fertilizer over the mix according to the product’s instructions. These fertilizers break down over time, providing a steady supply of nutrients like Nitrogen (for leafy growth), Phosphorus (for roots and flowers), and Potassium (for overall plant health). This step ensures your plants receive consistent feeding throughout the next season.
Step 6: Consider pH Adjustment (If Necessary)
If you’ve tested your soil and found it too acidic, now is the time to add dolomitic lime. Follow the product instructions carefully, as too much lime can raise pH excessively. A slightly acidic to neutral pH (6.0-7.0) suits most container plants.
Step 7: Mix Thoroughly
Now, the most important step: mix everything thoroughly. Use your shovel or trowel to turn the mixture over and over on the tarp. Aim for an even distribution of all components. You want every scoop of this amended potting soil to have a balanced blend of organic matter, aeration, and nutrients. You can slightly moisten the mix as you go; a slightly damp mix is easier to work with and ensures better blending. Continue mixing until the soil looks uniform and revitalized. This ensures your fall soil prep creates a truly refreshed growing medium.

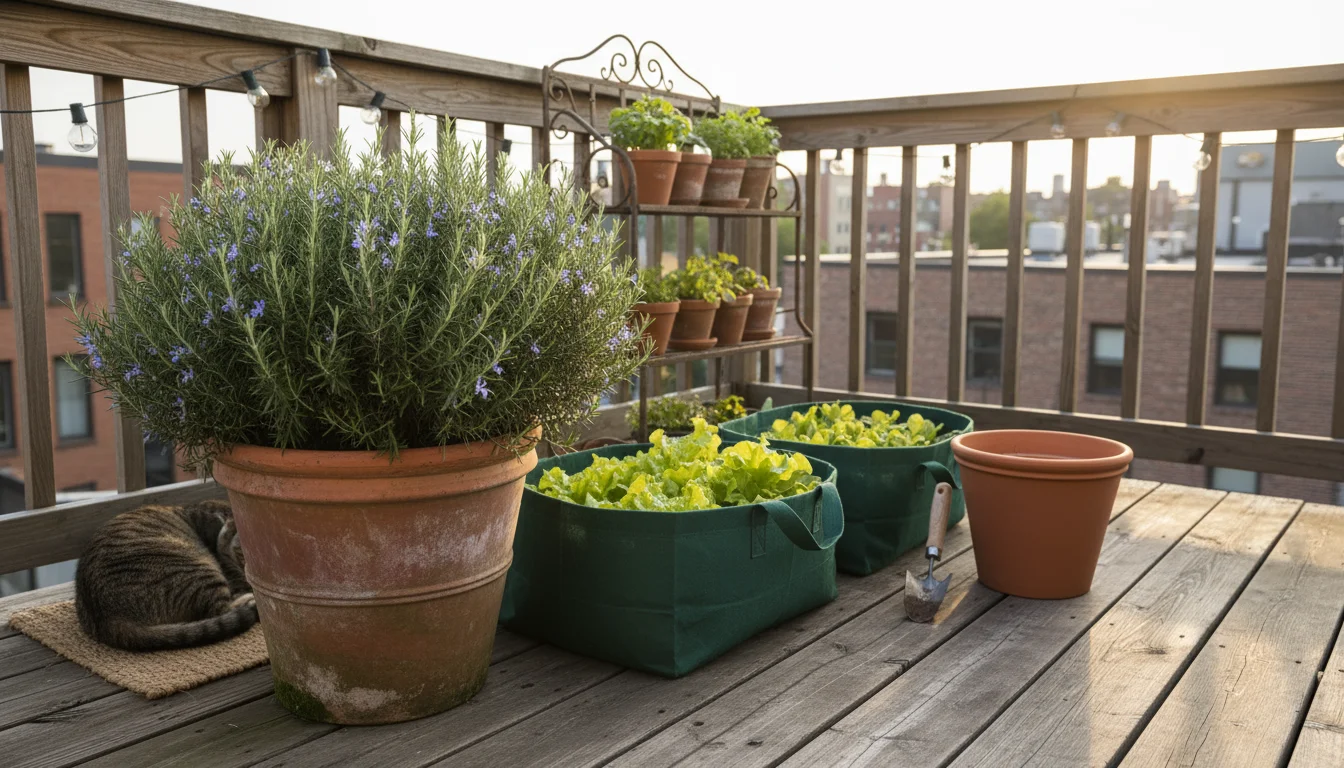
Understanding Container Soil Dynamics for Small Spaces
Container gardening, especially in small spaces like balconies or patios, presents unique challenges and opportunities compared to traditional in-ground gardening. The soil in your containers behaves differently, and understanding these dynamics helps you become a more effective gardener. This knowledge directly impacts why amending and reusing potting mix is so valuable.
In a typical garden bed, soil benefits from a vast network of microbial life, earthworms, and constant organic matter decomposition. Water drains naturally into deeper soil layers, and roots can spread extensively to seek nutrients and moisture. Container soil, however, is a confined ecosystem.
Rapid Nutrient Depletion: Plants in containers quickly exhaust the limited nutrient supply in their potting mix. With frequent watering, essential nutrients leach out of the container through the drainage holes. This process accelerates in smaller containers, which hold less soil volume. This rapid depletion means your plants become hungry faster than those in the ground. The Fall Soil Reset directly addresses this by replenishing these lost nutrients.
Compaction and Reduced Aeration: Over a growing season, the physical structure of potting mix breaks down. Organic components decompose, and the constant pressure of watering compacts the soil. This compaction reduces the critical air pockets roots need. Roots require oxygen to function properly; without it, they struggle to absorb water and nutrients, and plants can become stressed. Amending with perlite, vermiculite, and fresh compost restores this vital structure and aeration.
Temperature Fluctuations: Container soil experiences more extreme temperature swings than in-ground soil. It heats up faster in the sun and cools down quicker in the shade or on chilly nights. This affects microbial activity and root health. Healthy, organically rich soil has a greater buffering capacity against these changes.
Water Management: Container soil dries out faster, especially in smaller pots or those made of porous materials like terracotta. This requires more frequent watering, which in turn leads to more nutrient leaching. However, compacted or poorly draining soil can also lead to waterlogging, where roots sit in stagnant water, causing root rot. The right blend of amendments helps strike a balance, improving both water retention and drainage.
For small-space gardeners, optimizing every inch of soil is paramount. By understanding these dynamics and committing to practices like the Fall Soil Reset, you take control of your container environment. You create resilient, fertile soil that supports vibrant plant growth, turning your balcony or patio into a productive oasis.
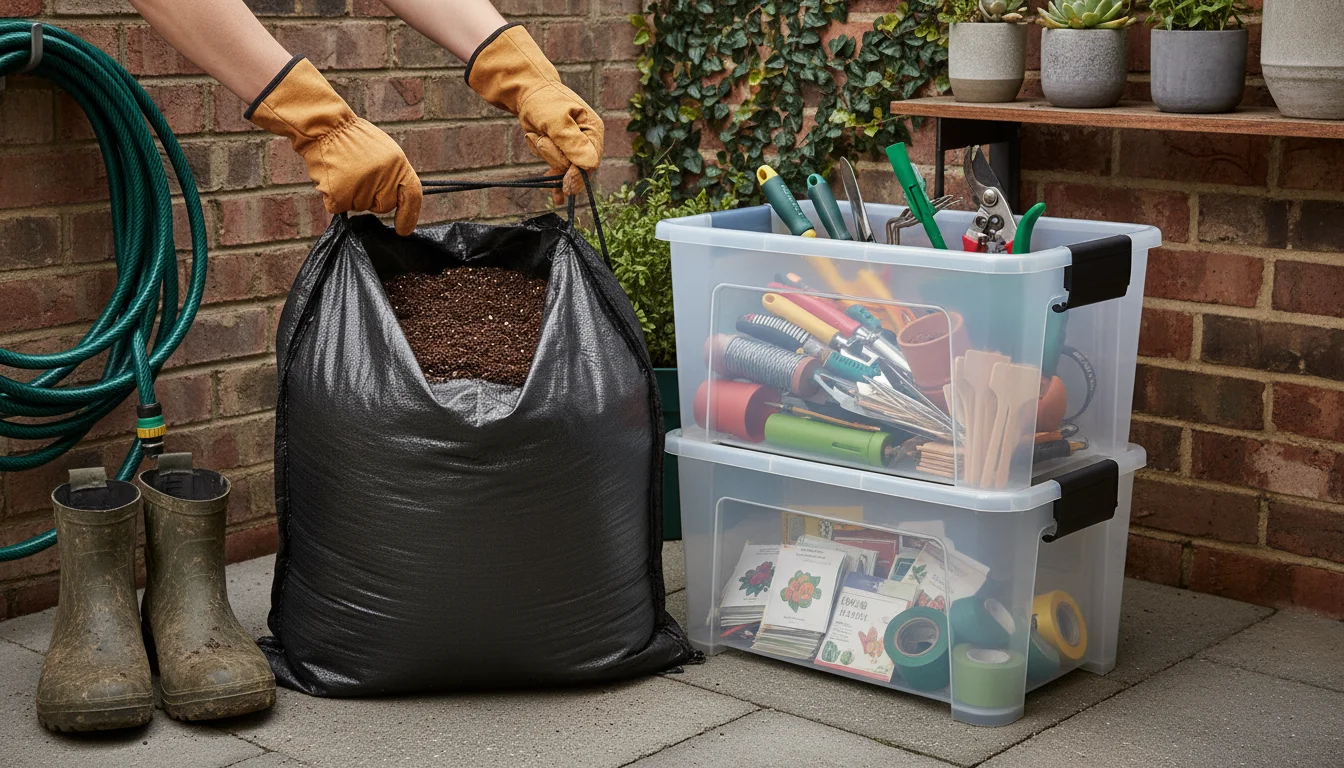
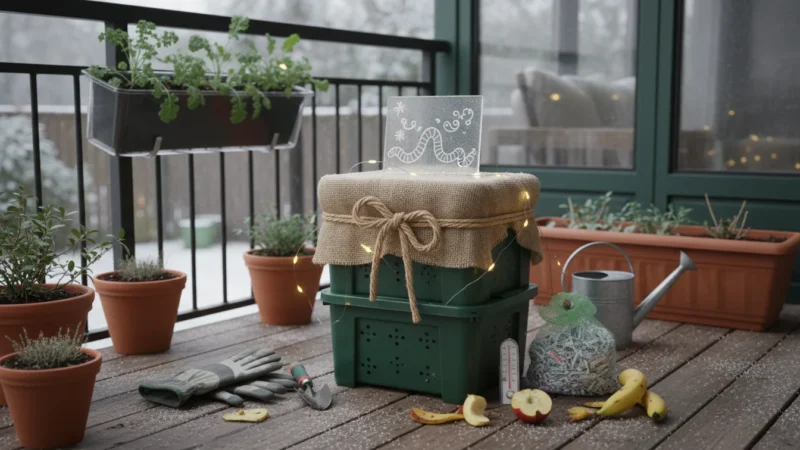
Storing Your Refreshed Potting Mix for Winter
Once you have carefully amended your potting soil, the next crucial step is proper storage. Storing used potting mix over winter incorrectly can undo all your hard work, leading to contamination, nutrient loss, or a degraded texture. Follow these guidelines to keep your revitalized mix in prime condition until spring planting.
Choose the Right Containers:
- Airtight Bins: Large, sturdy plastic storage bins with tight-fitting lids are ideal. They protect the soil from moisture, pests, and airborne contaminants.
- Heavy-Duty Bags: If you have a large quantity, heavy-duty contractors’ bags or even the original potting mix bags (if clean and sealable) work well. Ensure they are thick enough to prevent tearing and can be securely tied or sealed.
- Avoid Cardboard Boxes: Cardboard can absorb moisture, weaken, and attract pests. It also offers no barrier against humidity or unwanted organisms.
Select a Suitable Location:
- Cool and Dry: Store your amended potting mix in a cool, dry place. A garage, shed, or basement corner works perfectly. Avoid direct sunlight, which can cause temperature fluctuations and promote unwanted microbial growth or weed seed germination.
- Dark: A dark environment helps prevent any dormant weed seeds from sprouting.
- Away from Chemicals: Store your soil away from fertilizers, pesticides, herbicides, and other garden chemicals to prevent contamination.
- Off the Ground: If possible, place your containers on pallets or elevated surfaces to prevent moisture wicking from concrete floors.
Maintain Proper Moisture Levels:
Your amended soil should be slightly damp when stored, like a wrung-out sponge. If it’s too wet, it can become anaerobic and develop foul odors or mold. If it’s too dry, beneficial microbes can become inactive. If you find it too dry in spring, simply rehydrate it before use.
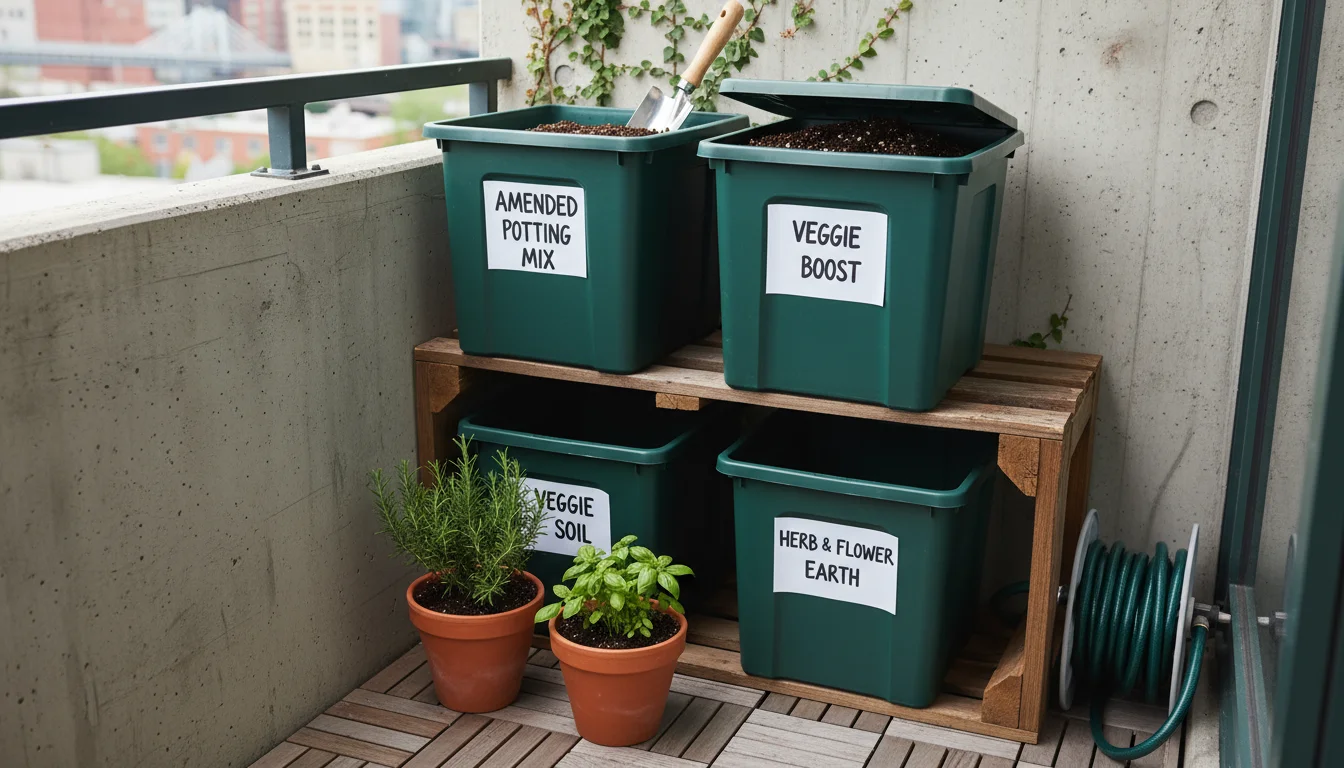
Label Everything:
Always label your storage containers. Include the date of amendment, the contents (“Amended Potting Mix”), and perhaps a note on what you added. This simple practice helps you keep track of your supplies and ensures you grab the right mix next spring.
By following these storage tips, you protect your investment in time and materials. Your revitalized soil will emerge from winter just as healthy and viable as when you put it away, ready to support another season of abundant growth in your small-space garden.
Future-Proofing Your Gardening: Tips for Sustaining Soil Health
The Fall Soil Reset is a powerful step toward sustainable gardening. However, maintaining soil health is an ongoing process, not a one-time event. For small-space and low-maintenance gardeners, adopting a few additional practices can significantly enhance your container soil’s long-term vitality, reducing the need for constant intervention and further supporting your reuse potting mix goals.
Practice Container Crop Rotation: Even in containers, crop rotation offers benefits. Avoid planting the same type of plant in the same container with the same soil season after season. Different plants have varying nutrient demands and susceptibility to specific pathogens. For example, if you grew tomatoes in a pot one year, plant herbs or leafy greens there the next. This simple rotation helps prevent specific nutrient imbalances and reduces the buildup of plant-specific diseases.
Integrate Cover Crops (for larger containers): For bigger containers that sit empty over winter, consider planting a small cover crop like clover or annual rye. Cover crops protect the soil from erosion, suppress weeds, add organic matter when tilled in, and some (like legumes) even fix nitrogen. In spring, you simply chop them down and mix them into the top layer of soil a few weeks before planting. This is an excellent way to continue nourishing your container soil even when it’s not actively growing your main crops.
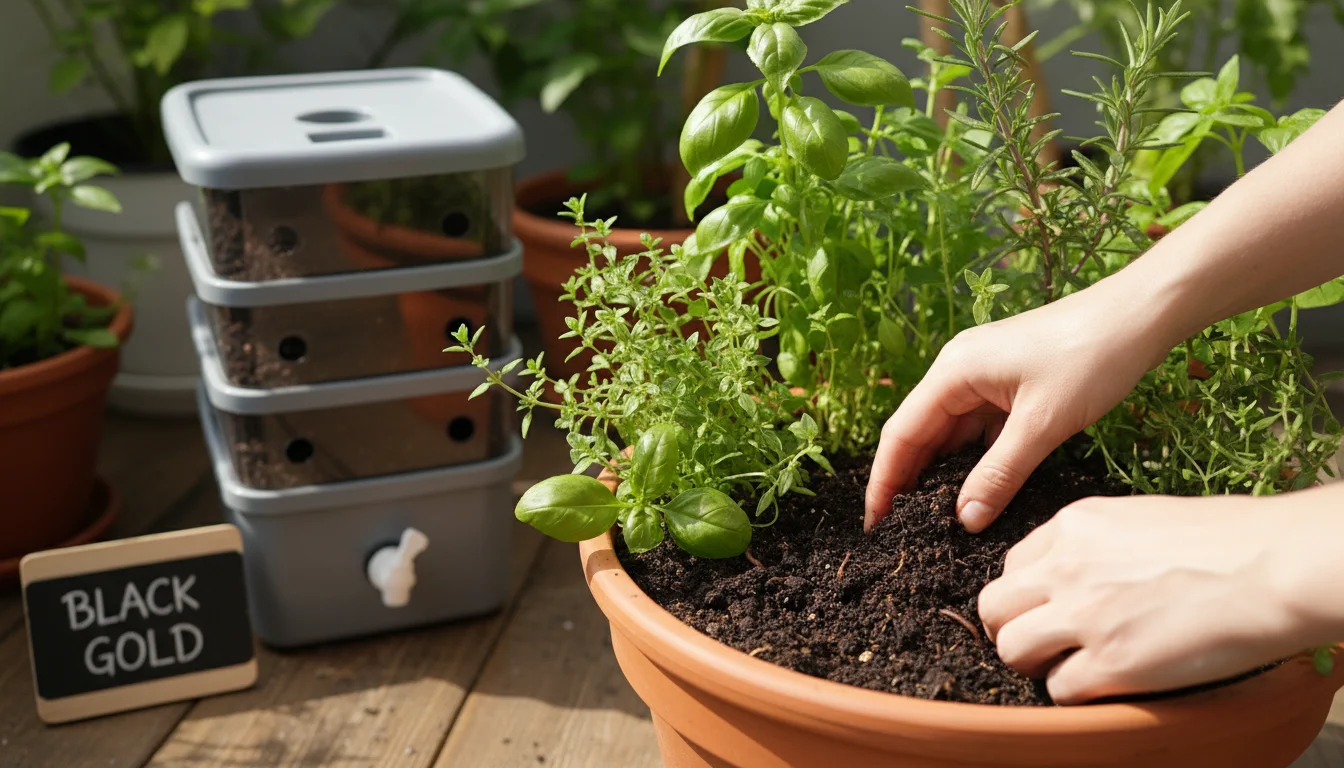
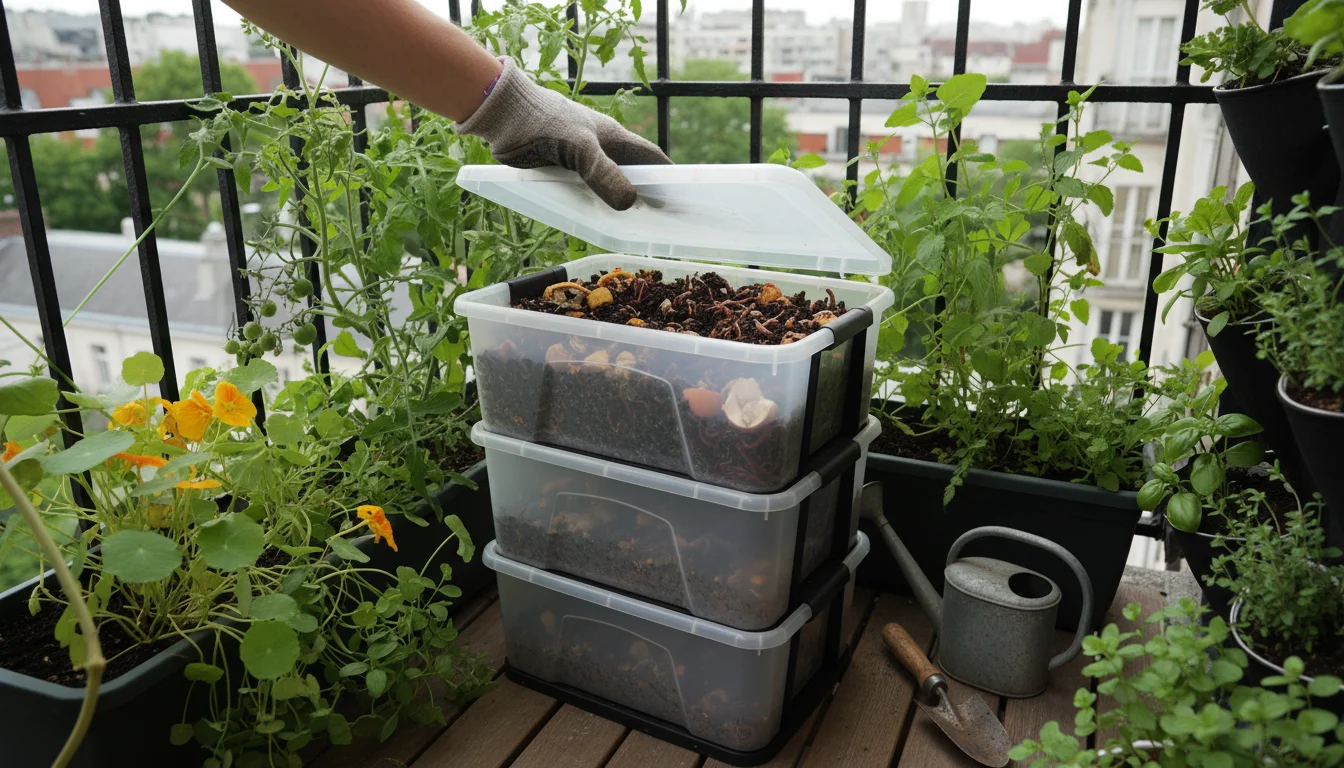
Embrace Continuous Composting and Worm Bins: Your most valuable resource for amending potting soil comes from your kitchen scraps and garden waste. Starting a small composting system or a worm bin (vermicomposting) generates an endless supply of nutrient-rich compost and worm castings. These natural amendments are far superior to synthetic options and are a perfect fit for a frugal gardening approach. A small worm bin easily fits on a balcony or in a corner of a patio.
Mindful Watering and Feeding: Overwatering leaches nutrients and compacts soil. Underwatering stresses plants and impacts soil microbes. Pay attention to your plants’ needs and your soil’s moisture level. Use a finger test: stick your finger about an inch into the soil. If it feels dry, water. When feeding, use organic, slow-release fertilizers or liquid feeds at appropriate dilutions to avoid salt buildup, which degrades soil quality over time.
Choose Healthy Plants from the Start: Begin with healthy, robust plants. Inspect new seedlings or starts for signs of pests or diseases before introducing them to your garden. This proactive step prevents bringing problems into your carefully prepared soil, safeguarding the health of your entire small-space garden ecosystem. By following these practices, you move beyond just reacting to soil problems and proactively build a thriving, sustainable foundation for your gardening success.
Common Mistakes to Avoid When Reusing Potting Mix
The process of reusing potting mix is straightforward, but certain pitfalls can undermine your efforts. Being aware of these common mistakes ensures your amended soil truly performs its best, contributing to healthy plants and successful harvests. Avoid these errors to maximize your fall soil prep efforts.
1. Not Removing Old Roots Thoroughly:
Many gardeners rush through the process of clearing out old soil, leaving substantial root balls or large root fragments. These old roots decompose slowly, potentially tying up nitrogen in the soil. More importantly, they can harbor pathogens or pest eggs, carrying over diseases to your new plants. Take the time to sift through the soil, breaking up clumps and removing all visible root matter. Small, hair-thin roots are generally fine, but anything substantial needs removal.
2. Under-Amending:
The most common mistake is not adding enough amendments. Simply breaking up old soil and reusing it without replenishing nutrients or improving structure will lead to subpar results. Remember, your plants depleted the nutrients, and the soil became compacted. You must add significant amounts of compost or worm castings (1 part compost to 3-4 parts old soil) and structural amendments like perlite or vermiculite (1 part to 5-10 parts mix) to truly refresh the mix. Skimping on these additions means your “recycled” soil still lacks what plants need.
3. Over-Amending with Fertilizers:
While under-amending is common, adding too much synthetic fertilizer is also detrimental. Excessive fertilizer can burn plant roots, create salt buildup in the soil, and harm beneficial microbial life. Stick to slow-release organic fertilizers and follow product instructions carefully. Compost and worm castings provide a gentle, balanced nutrient boost without the risk of over-fertilization.
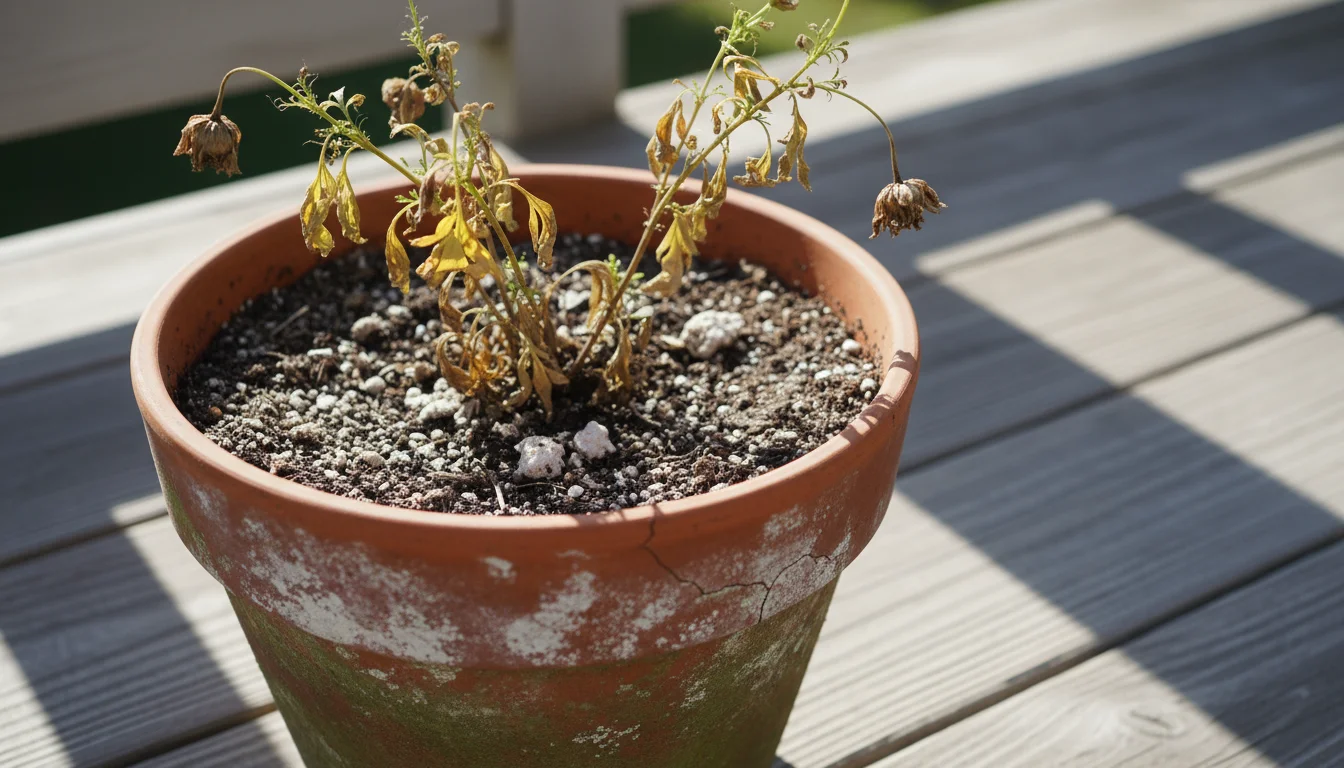
4. Reusing Heavily Diseased or Pest-Ridden Soil:
If your previous plants suffered from severe, persistent diseases (e.g., fungal wilts) or were heavily infested with soil-borne pests (e.g., nematodes, severe root aphids), it is best to discard that soil. Reusing it risks transmitting those problems to your new plants, creating a frustrating cycle. While solarization can sometimes sterilize soil, it is often more practical for small-space gardeners to start fresh in these extreme cases.
5. Improper Storage:
Leaving amended potting mix exposed to the elements or in leaky containers over winter invites problems. Rain can leach nutrients, sunlight can degrade organic matter and sprout dormant weed seeds, and pests can infest open bags. Always store your refreshed mix in sealed, opaque containers in a cool, dry, dark location. This protects its integrity and ensures it remains viable for spring planting. Adhering to these warnings helps you achieve optimal results when you reuse potting mix.
Frequently Asked Questions
Can I reuse potting mix indefinitely?
While you can reuse potting mix for several seasons, it’s not truly indefinite. Over time, the organic components continue to break down into finer particles, and the soil structure can degrade even with regular amending. Most gardeners find that after 3-5 seasons, the mix benefits from a larger refresh, perhaps by replacing 25-50% with new potting mix, or integrating it into raised garden beds if you have them, and starting new containers with fresh soil. The key is consistent observation and amendment.
How do I know if my soil pH is off?
The most accurate way to know your soil’s pH is to use a soil test kit, readily available at garden centers. These kits provide a simple color-coded reading. You can also observe your plants; signs of nutrient deficiencies (like yellowing leaves) even when you are fertilizing can sometimes indicate an imbalanced pH, as plants struggle to absorb nutrients in overly acidic or alkaline conditions. For most container plants, a pH between 6.0 and 7.0 is ideal.
Is it safe to mix different types of used potting mix?
Yes, you can safely mix different types of used potting mix, assuming none of them come from plants that suffered from severe diseases or heavy pest infestations. In fact, blending mixes can sometimes create a more diverse and balanced base. Just ensure you treat the combined batch as a whole during the amendment process, adding compost, aeration, and fertilizer proportionally to the total volume of soil you are working with.
What if I don’t have compost?
Compost is an incredibly valuable amendment, but if you do not have access to it, you can use other organic materials. Well-rotted manure (ensure it is truly aged and not fresh, as fresh manure can burn plants), mushroom compost, or even a store-bought organic soil conditioner can serve as alternatives to replenish organic matter and nutrients. Consider starting a small home composting system for future seasons; even a simple worm bin on a balcony can produce fantastic compost.
By transforming your used potting mix into a nutrient-rich foundation for next spring, you save money, reduce waste, and connect more deeply with the cycles of nature. This fall, give your garden the gift of a “soil reset” and enjoy the bounty of your sustainable efforts for seasons to come.
For trustworthy gardening information, visit:
Louisiana State University AgCenter — Lawn & Garden, Mississippi State University Extension — Lawn & Garden and Arkansas Extension — Yard & Garden. These organizations provide expert, research-based advice for gardeners at all levels.
Disclaimer: This article is for informational purposes only and is not a substitute for professional gardening advice. Always consult local extension services or horticulture experts for region-specific guidance.

Leave a Reply