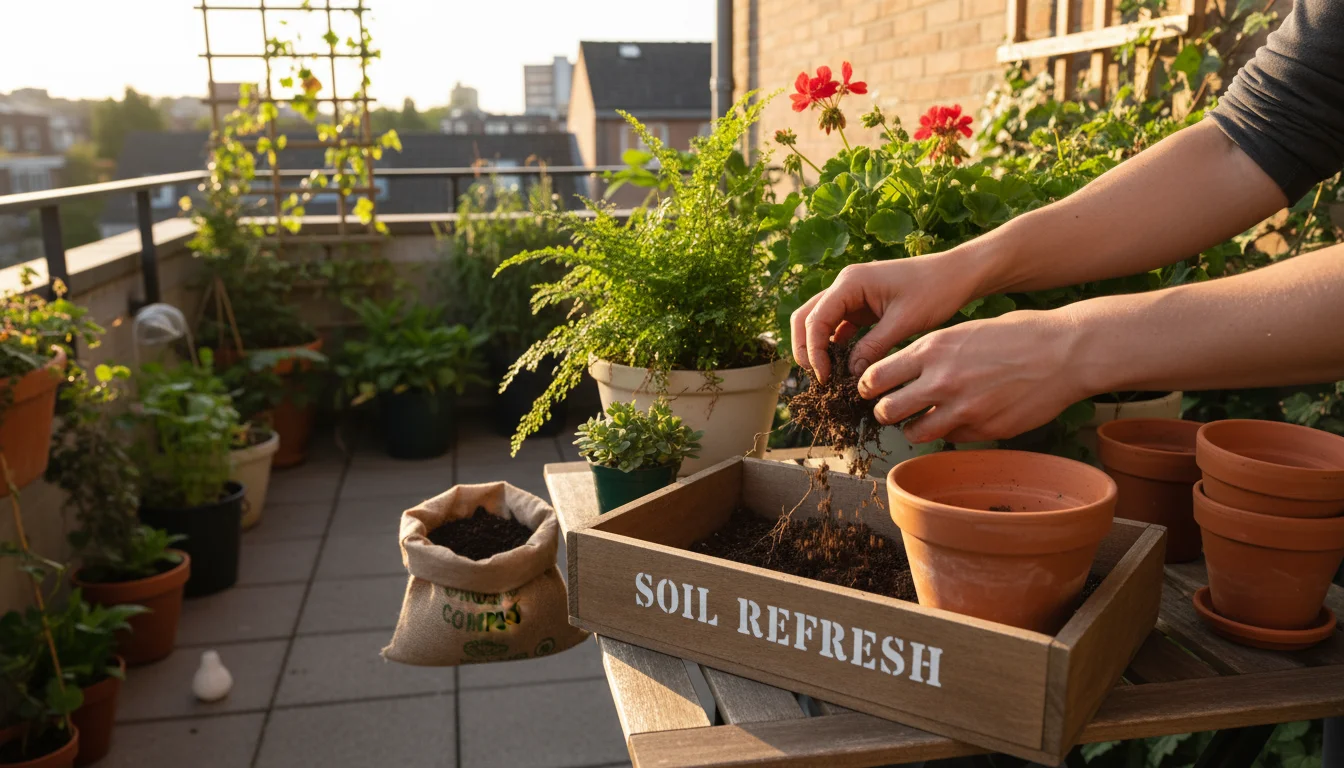
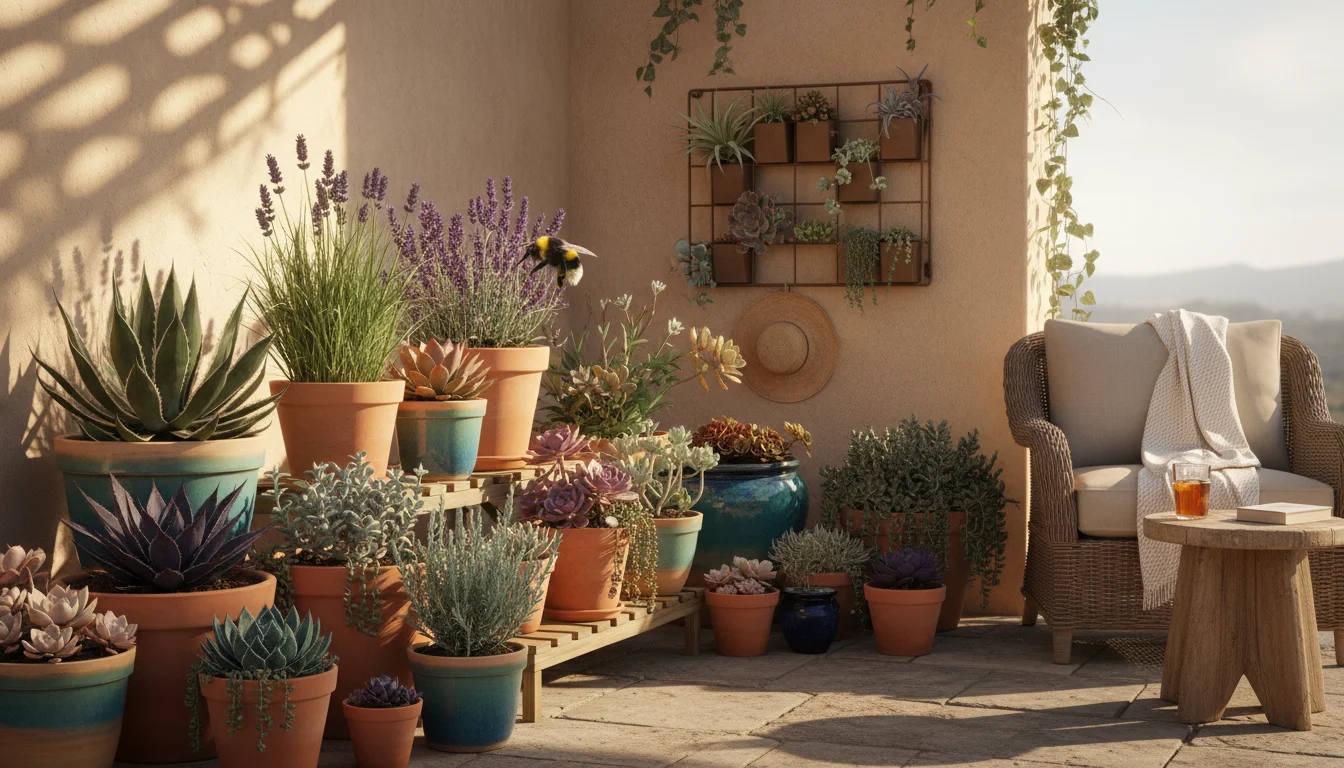
As the days grow shorter and the crisp air signals fall’s arrival, many gardeners begin to wind down their outdoor growing season. You look at your empty pots, filled with soil from a season of vibrant growth, and a question arises: what should you do with all that used potting mix? Discarding it feels wasteful, especially when you consider its cost and environmental impact. Reusing potting soil offers a fantastic opportunity to save money and embrace sustainable gardening practices. However, concerns about pests, diseases, and nutrient depletion often prompt another question: should you sterilize this used soil before storing it or replanting?
For a complete overview of your seasonal cleanup options, see our fall potting soil refresh guide for busy gardeners.

This guide dives deep into the practice of sterilizing used potting mix, particularly as you prepare for the colder months and plan for next spring. You will learn the ‘why’ and ‘how’ of soil sterilization, discover when it truly becomes necessary, and explore practical, actionable steps to ensure your reused soil is healthy and ready to support new life. We will cover methods like the “bake-off” in your oven, discuss common pitfalls, and explain how to rejuvenate your soil to bring it back to peak performance. Get ready to transform your used soil into a valuable resource for your small-space garden.
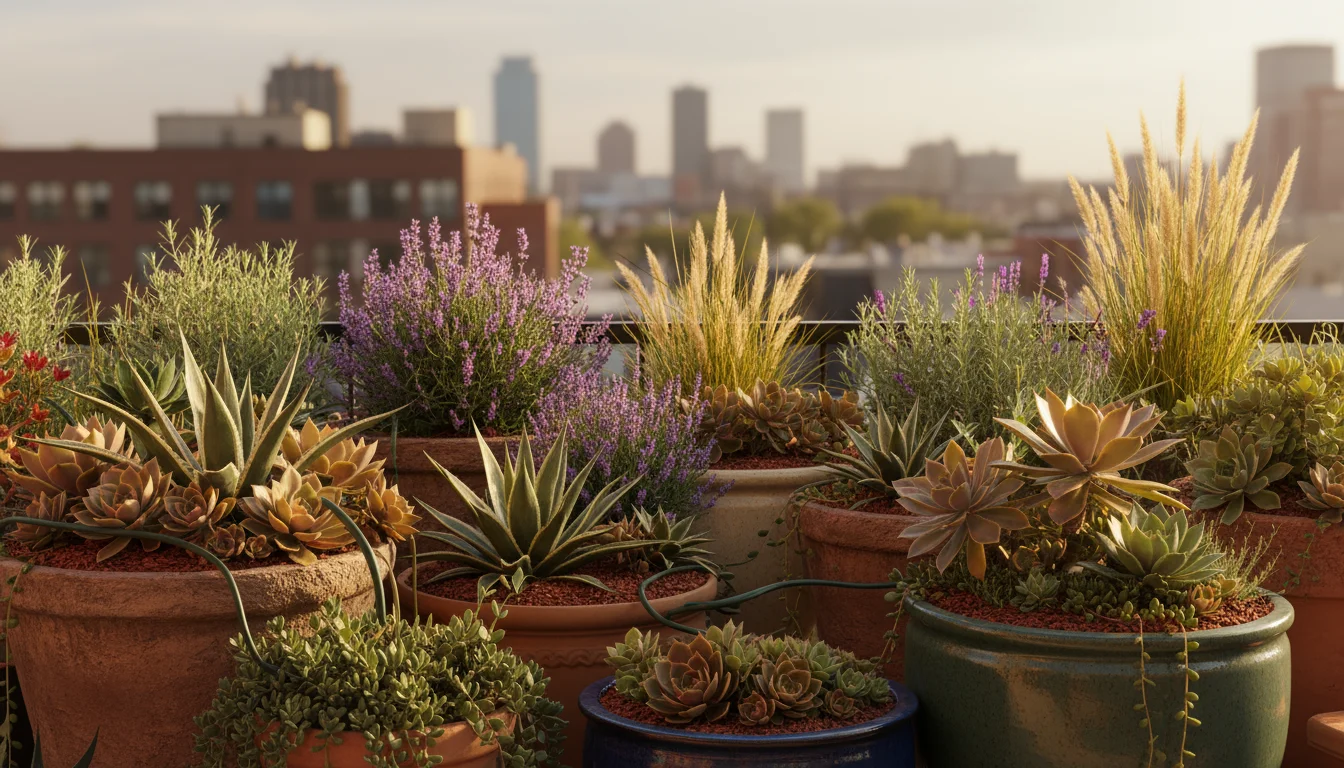
The Case for Reusing Potting Mix: Why Waste Not?
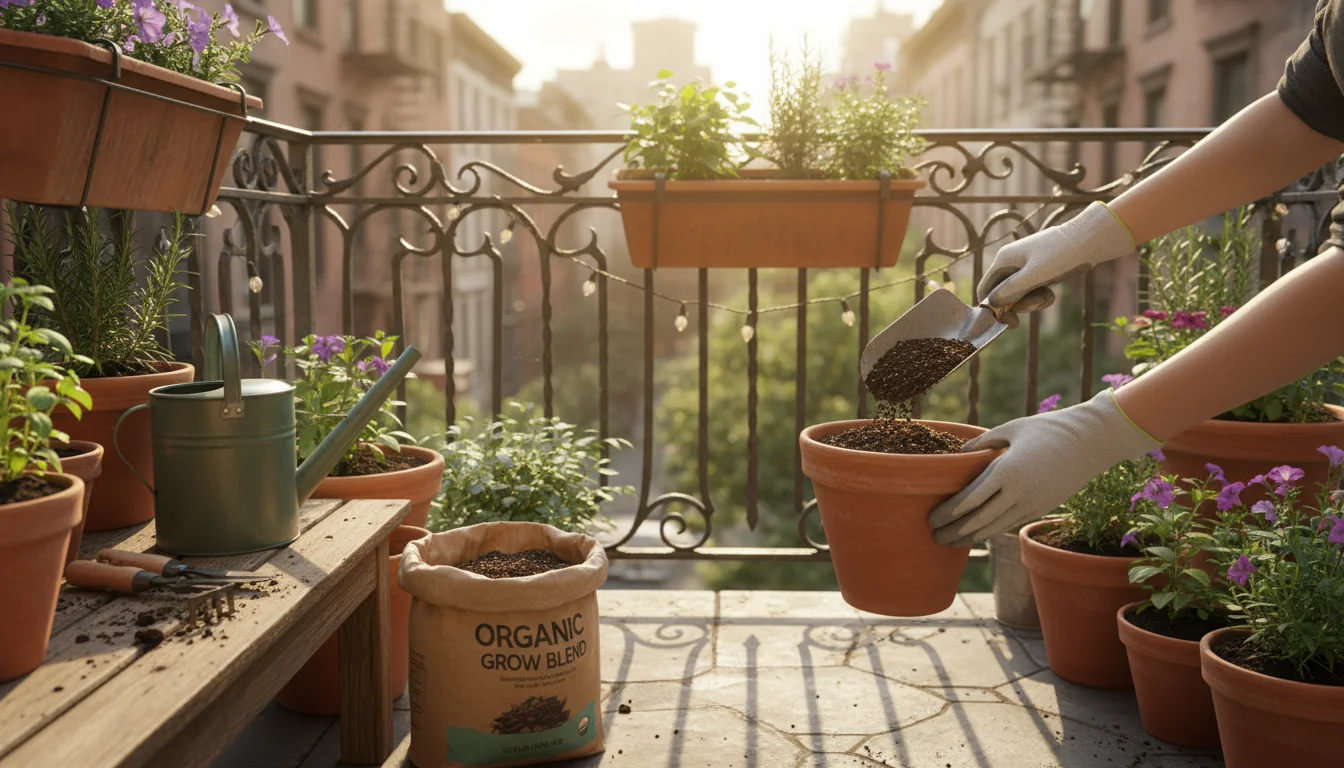
Every year, container gardeners face the dilemma of what to do with spent potting mix. Many simply toss it out, buying fresh bags each spring. However, this practice creates unnecessary waste and costs you money. Reusing potting soil offers significant advantages, especially for those gardening in small spaces where efficiency and sustainability are paramount. You reduce your environmental footprint by diverting material from landfills and conserve resources used in manufacturing new potting mixes. Financially, saving and amending your old soil represents a tangible cost saving, allowing you to invest in more plants or other gardening tools.
Potting mix does not magically “expire” after one growing season. While its nutrient content certainly depletes, its basic structure and organic matter remain valuable. Think of it as a foundation. Even if the building needs new paint and furniture, the foundation still stands strong. Your used potting mix still provides essential aeration and drainage, two crucial components for healthy root development. A well-structured soil promotes healthy water movement, preventing roots from sitting in soggy conditions, which can lead to rot. Its organic matter continues to improve soil texture, making it easier for roots to spread and access resources. Furthermore, reusing soil allows you to build a living, dynamic ecosystem in your containers over time, fostering beneficial microbes that contribute to plant health.
Understanding the Risks in Used Soil: Pests, Pathogens, and Depletion
While the benefits of reusing potting soil are clear, you must also acknowledge the potential downsides. After a season of growth, your soil is no longer a pristine, sterile environment. It may harbor unseen threats that could compromise future plantings. The primary concerns fall into three categories: pests, disease pathogens, and nutrient depletion. Addressing these issues proactively ensures your next season’s garden thrives.
A winter soil remix can help you properly amend these levels while improving drainage for next season.
Sterilizing your soil is a proactive way to prevent pests from overwintering and attacking your new spring seedlings.
Before deciding on treatment, conducting a fall soil autopsy can help you identify exactly which pests or pathogens might be lurking.
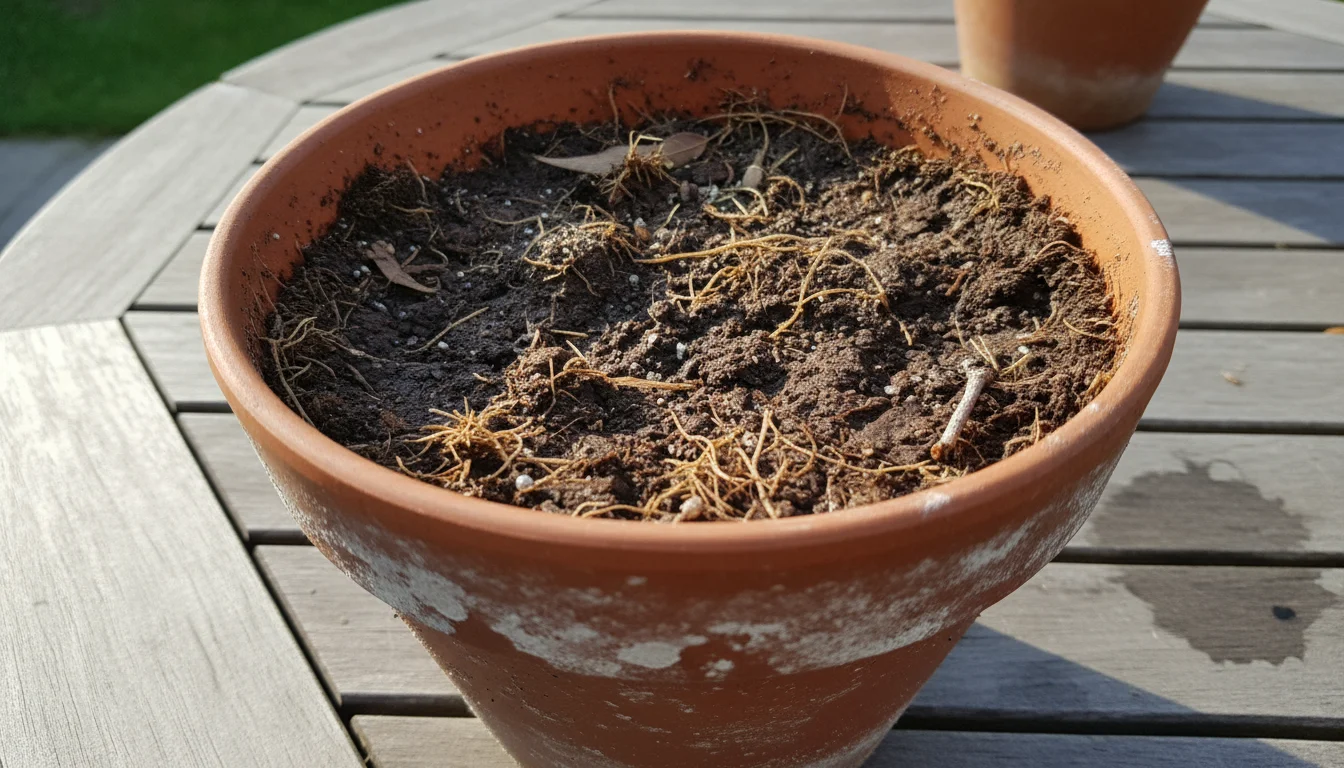
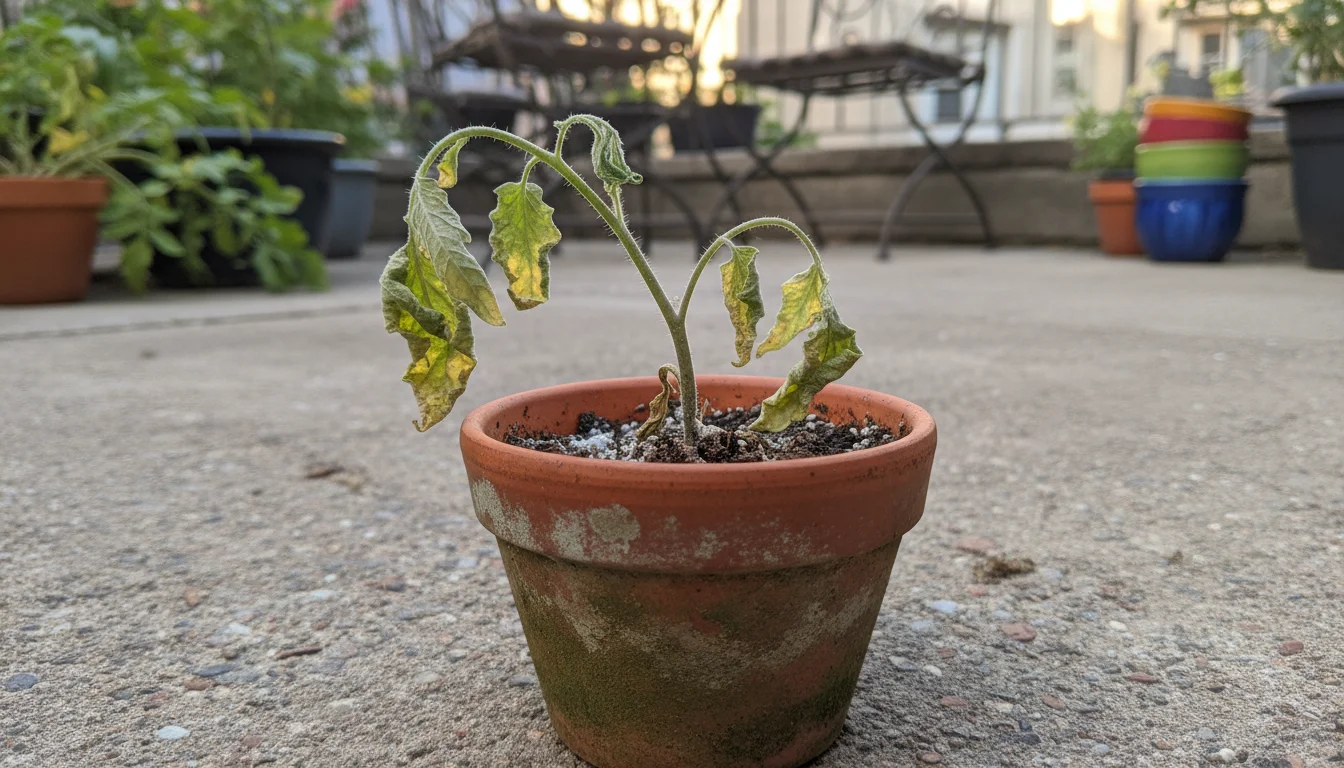
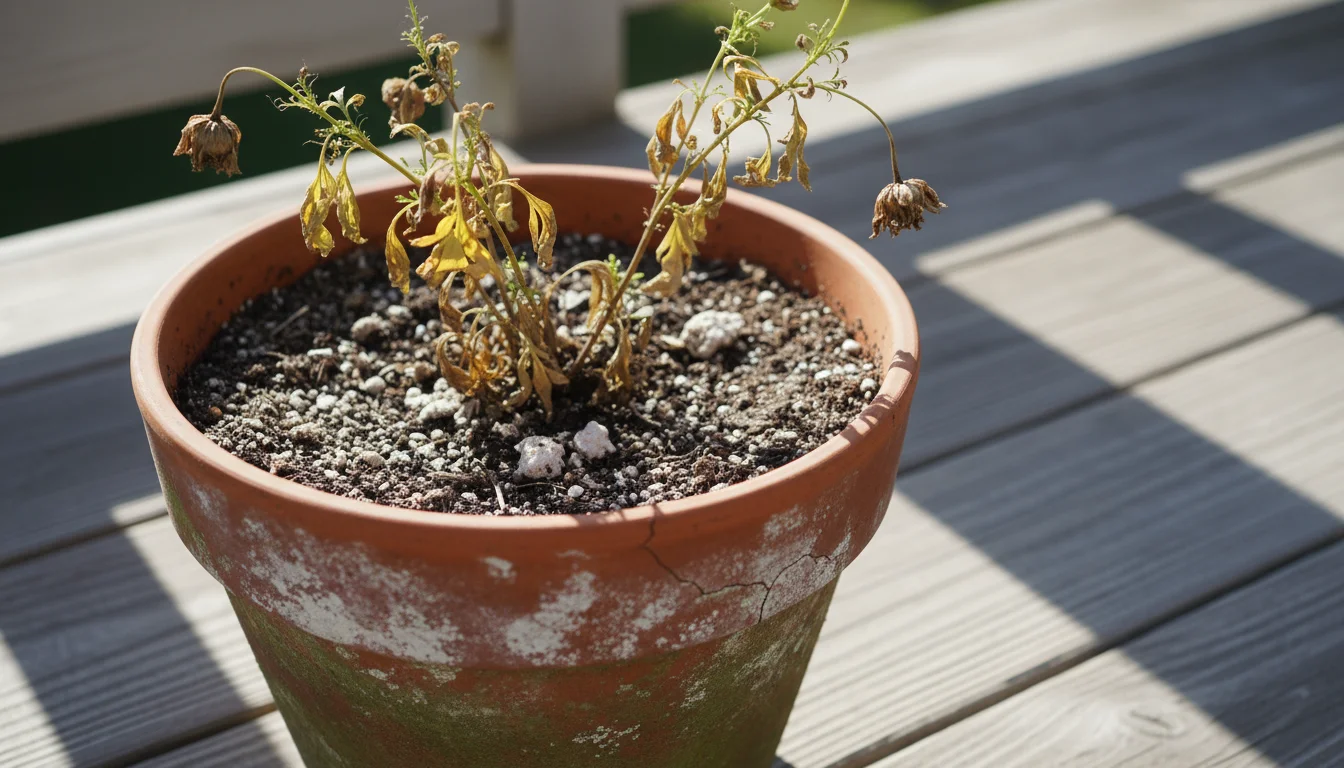
Pests: Small, unwelcome guests often take residence in used potting mix. Fungus gnats, those tiny flying insects buzzing around your plants, lay their eggs in moist soil. Their larvae feed on organic matter and delicate plant roots, especially in seedlings. Other potential container garden pests include root aphids, which cling to plant roots, and certain types of nematodes, microscopic worms that can harm root systems. These pests can easily carry over from one season to the next, posing a risk to new, tender plants. You might not see the adult pests, but their eggs or larvae often remain hidden in the soil.
Disease Pathogens: Fungi, bacteria, and viruses that cause plant diseases can also persist in old soil. If your plants suffered from damping-off, fusarium wilt, or other soil-borne diseases last season, their spores or dormant forms likely remain in the mix. Replanting susceptible species in contaminated soil almost guarantees a repeat performance of the disease, potentially leading to widespread crop failure in your containers. Sterilizing soil actively addresses these issues, eliminating dormant spores and harmful bacteria before they can impact your new plants.
Nutrient Depletion and Salt Buildup: Beyond pests and diseases, a season of watering and feeding plants depletes essential nutrients from the potting mix. Plants consume nitrogen, phosphorus, and potassium, leaving the soil less fertile. Additionally, fertilizers and even tap water can leave behind mineral salts, which accumulate in the soil over time. High salt concentrations inhibit water uptake by roots, leading to “fertilizer burn” and overall poor plant health. While sterilization does not replenish nutrients or remove salts, it sets the stage for effective amendment, allowing you to add back what the soil needs.
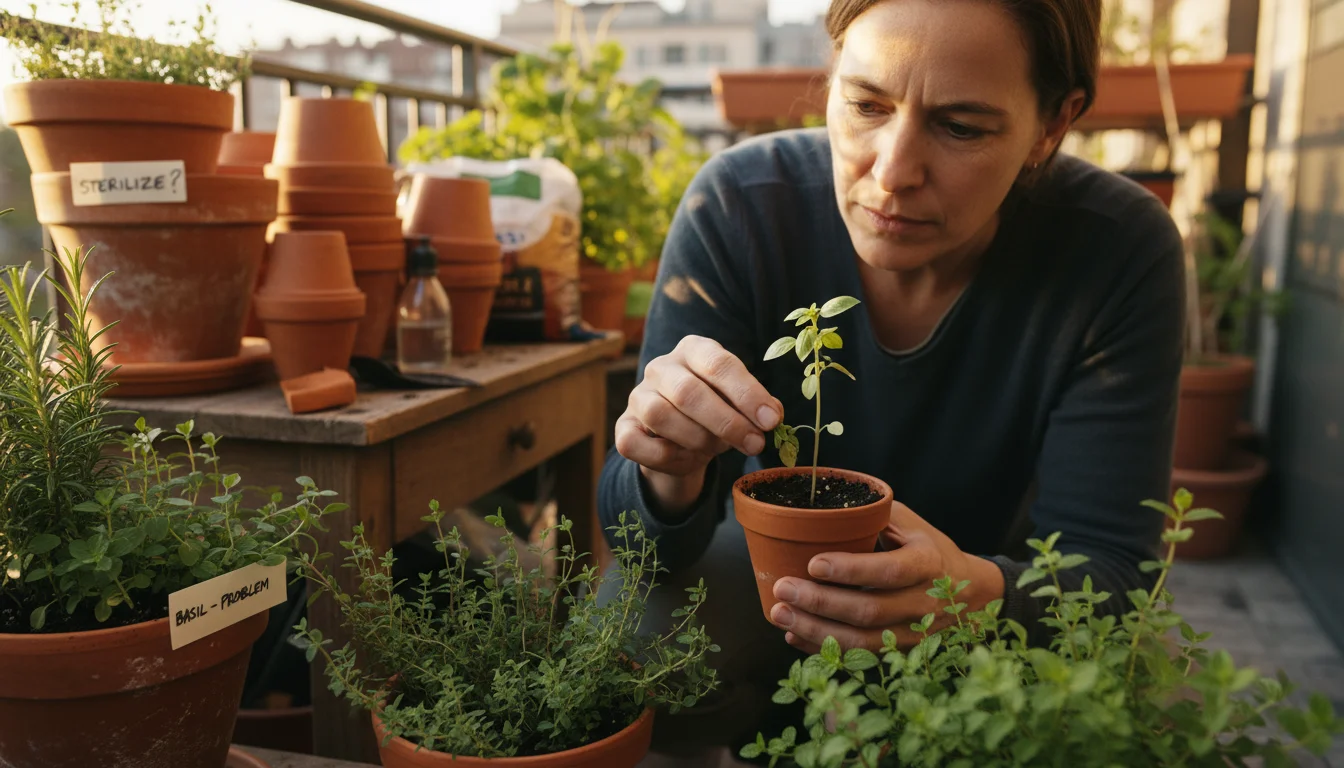
When Sterilization Becomes Your Ally: A Practical Checklist
Deciding whether to sterilize your used potting mix is a strategic choice, not a universal requirement. Not every batch of soil needs a “bake-off.” You should assess the health of your plants and the history of your containers from the past growing season. Sterilization consumes energy and time, and it also eliminates beneficial microbes along with the harmful ones. Therefore, employ this method only when you have a clear reason to do so. Here is a practical checklist to help you make an informed decision:
- Did your plants suffer from unexplained wilting, stunted growth, or sudden death? These symptoms often point to soil-borne diseases or root-damaging pests. If you suspect a fungal or bacterial infection, sterilizing soil is a strong preventative measure.
- Did you observe persistent fungus gnats, root aphids, or other insect pests in the potting mix? Killing fungus gnats in soil, along with other larvae and eggs, requires high heat or other targeted treatments. Sterilization offers a comprehensive solution.
- Did you grow plants susceptible to specific diseases that manifested last season? For example, if your tomatoes had fusarium wilt or your basil suffered from damping-off, assume the pathogens are still present.
- Are you planning to sow seeds or grow delicate seedlings in this soil next season? Young plants are extremely vulnerable to pests and diseases. Sterilizing soil provides a clean slate, significantly increasing their chances of survival.
- Have you used the same potting mix for multiple seasons without amendment? While not a direct indicator for sterilization, long-term reuse without care increases the likelihood of pest and pathogen buildup.
- Is your soil primarily for indoor plants? Indoor environments can be breeding grounds for certain pests (like fungus gnats) because of consistent temperatures and humidity. Sterilizing soil minimizes bringing outdoor issues inside.
If you answered “yes” to one or more of these questions, particularly the first three, then sterilizing your used potting mix is a wise, proactive step. If your plants were healthy, vigorous, and showed no signs of pests or disease, you might opt for a simpler rejuvenation process, focusing on nutrient replenishment and salt flushing. Remember, the goal is to create a thriving environment for your plants, and sometimes that means a fresh start.
The Oven Bake-Off Method: How to Sterilize Potting Mix at Home
The oven method is one of the most effective and accessible ways to sterilize used potting mix for small-space gardeners. It uses heat to kill off a wide range of pests, larvae, eggs, disease pathogens, and weed seeds without resorting to chemicals. While it might sound a bit unconventional to bake soil in your kitchen, the process is straightforward and delivers reliable results. You just need to follow a few key steps to ensure safety and effectiveness.
What You Will Need:
- Used potting mix
- Oven-safe baking pans or roasting bags
- Aluminum foil (if using pans)
- Meat thermometer (optional, but highly recommended for accuracy)
- Spatula or spoon for stirring
- Water in a spray bottle
- An old towel or newspaper to protect surfaces
Step-by-Step Guide for How to Sterilize Potting Soil in Oven:
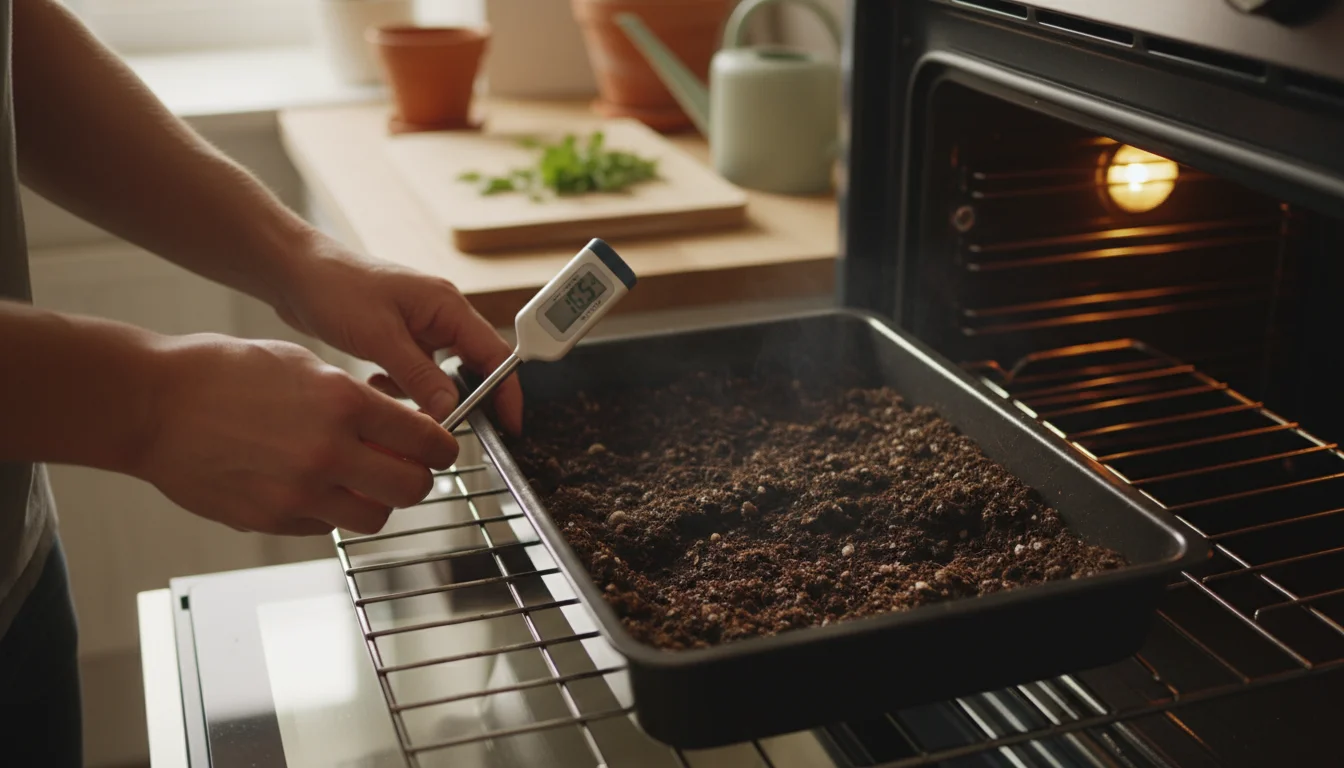
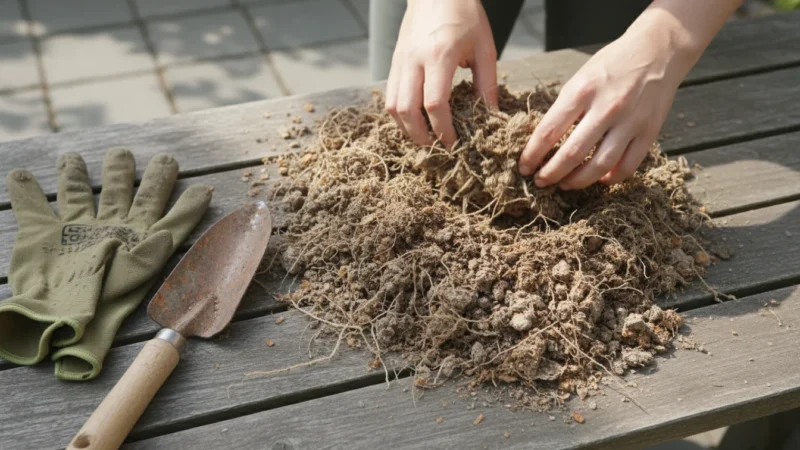
- Prepare Your Potting Mix: First, remove any large debris, old roots, plant stems, or rocks from your used potting mix. Break up any large clumps. You want a relatively fine, even consistency for uniform heating.
- Moisten the Soil: Lightly moisten the soil. It should feel damp, like a wrung-out sponge, but not waterlogged. The moisture helps transfer heat evenly and prevents the soil from drying out excessively, reducing dust. Place the soil in your chosen baking pans or roasting bags. Fill pans no more than 3-4 inches deep.
- Cover and Heat: If using pans, cover them tightly with aluminum foil. This traps moisture and prevents strong odors from escaping. Place the covered pans in your oven.
- Set the Temperature: Preheat your oven to a moderate temperature, ideally between 180°F and 200°F (82°C to 93°C). Do not exceed 200°F, as higher temperatures can produce unpleasant odors, burn off beneficial organic matter, and even release toxic fumes from certain soil amendments.
- Monitor and Bake: Bake the soil for at least 30 minutes once the internal temperature of the soil reaches 180°F (82°C). If you use a meat thermometer, insert it into the center of the soil. If you do not have a thermometer, bake for about 30 minutes after the oven has reached temperature for a 3-4 inch deep pan. For deeper layers or larger quantities, you will need more time. Some recommend 30 minutes per inch of depth.
- Cool Down: Once baked, carefully remove the pans from the oven. Keep them covered with foil and allow the soil to cool completely to room temperature. This cooling period is crucial for trapping any remaining steam and allowing the soil structure to settle.
- Store or Use: Once cool, your sterilized soil is ready for use or storage. Store it in clean, airtight containers to prevent recontamination. Labeled buckets or heavy-duty garbage bags work well.
While baking, you might notice a slight earthy smell, which is normal. Proper ventilation helps. This method effectively targets fungus gnats in soil, along with many other common pests and pathogens, giving you a clean slate for your next gardening project.

Alternative Soil Sterilization Methods for Small-Space Gardeners
While the oven method proves highly effective, you have other options for sterilizing soil, especially if you prefer not to use your kitchen oven or need a different scale of operation. These alternatives offer varying levels of convenience and effectiveness, allowing you to choose the best fit for your specific gardening situation and space constraints.
Microwave Sterilization: For small batches of soil, typically a few cups, the microwave offers a quick and convenient sterilization method.
- Prepare: Place a small amount of moist soil in a microwave-safe container, such as a plastic container or glass bowl. Do not overfill.
- Heat: Microwave on high power for 2-3 minutes per two pounds of soil, or until you see steam escaping. The soil needs to reach at least 180°F (82°C).
- Cool: Allow the soil to cool completely before using. The microwave method works well for very small quantities, like those needed for seed starting trays, effectively killing fungus gnats and other small pests.
Be aware that the microwave can sometimes produce a stronger odor than the oven, so ensure good ventilation.
Solarization (Outdoors): If you have access to a sunny outdoor area, solarization offers an eco-friendly and energy-free way to sterilize larger quantities of soil. This method relies on the sun’s heat to pasteurize the soil.
- Spread: Spread your used potting mix in a thin layer (4-6 inches deep) on a dark, paved surface or a tarp in a sunny location.
- Moisten: Thoroughly moisten the soil.
- Cover: Cover the moist soil with a clear plastic tarp, sealing the edges tightly with rocks or soil to trap heat and moisture.
- Wait: Leave the soil covered for 4-6 weeks during the hottest part of summer. The sun’s rays penetrate the clear plastic, heating the soil to temperatures that kill most pests, weed seeds, and pathogens. This method is ideal for larger volumes of soil for raised beds or numerous containers, but requires patience and hot weather.
Steaming (Pressure Cooker/Steamer): You can also sterilize soil using steam, which is particularly effective for killing pathogens.
- Prepare: Place moist soil in heat-resistant containers, such as canning jars or metal pots.
- Steam: Use a pressure cooker, a large pot with a steamer basket, or even a stovetop canner. Add water to the bottom of the cooker, place the soil containers on a rack above the water, ensuring they are not submerged.
- Heat: Bring the water to a boil and steam the soil for about 30 minutes once the steam begins to escape steadily. The goal is to reach an internal temperature of 180°F (82°C) in the soil.
- Cool: Let the soil cool down completely before handling. This method is efficient for medium batches and is relatively odorless compared to baking or microwaving.
Each method has its pros and cons, but all provide effective ways to reuse potting soil safely, preparing pots for winter and subsequent planting seasons.
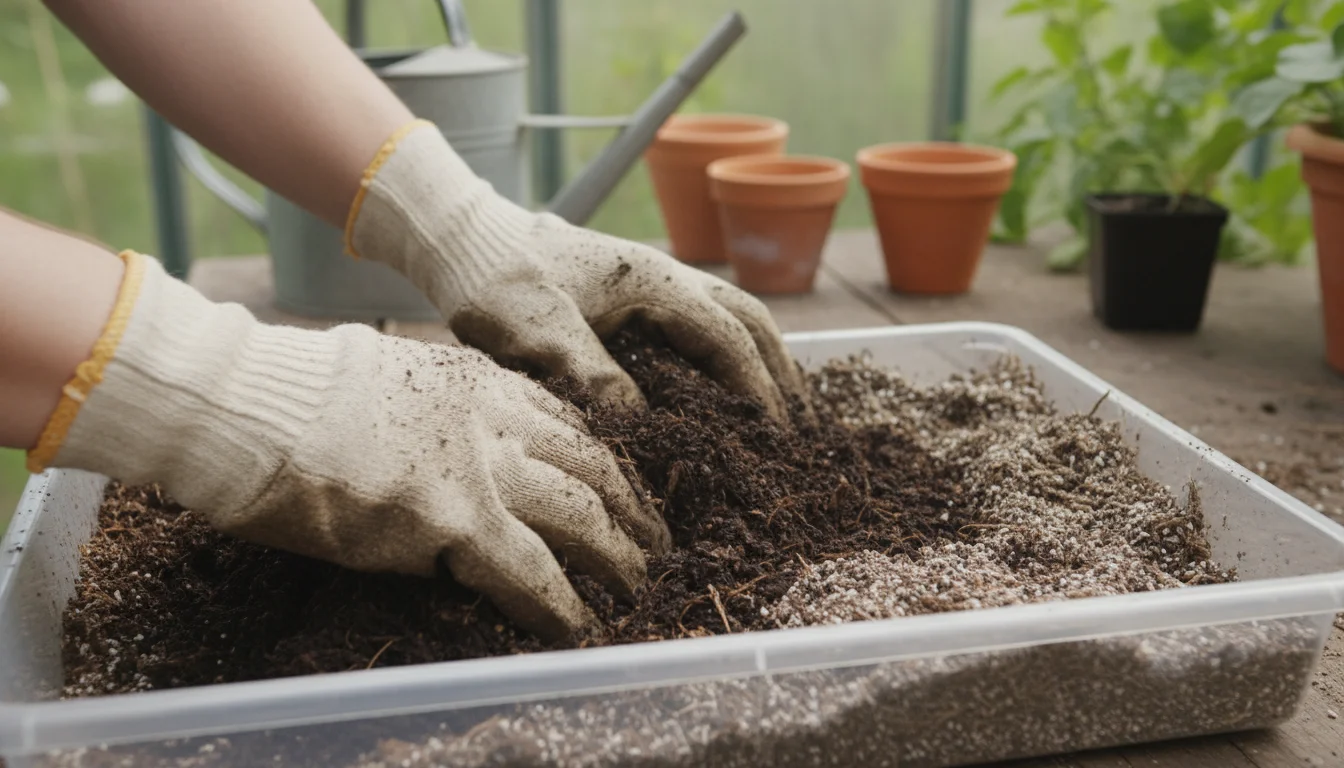
Rejuvenating Sterilized Soil: Bringing Life Back to Your Mix
Sterilization, whether by oven, microwave, or steam, effectively eliminates harmful pests and pathogens. However, it also has an unfortunate side effect: it kills beneficial microorganisms. These tiny organisms are vital for healthy soil, playing crucial roles in nutrient cycling and plant immune responses. Furthermore, sterilization does not magically replenish depleted nutrients or remove accumulated salts. To transform your sterilized mix into a vibrant growing medium, you must actively rejuvenate it. This step is critical to ensure your reused potting soil truly supports robust plant growth.
1. Replenish Nutrients:
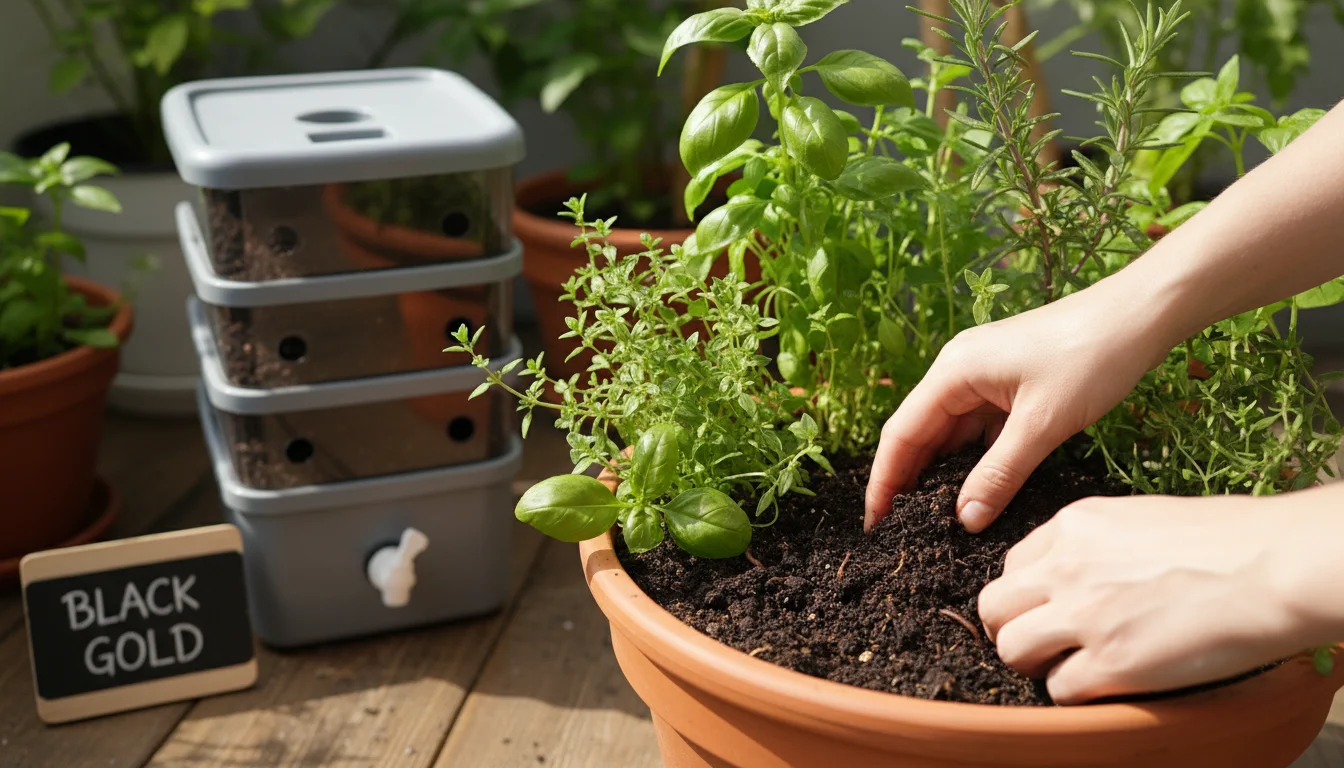
Your previous plants consumed most of the readily available nutrients. You need to add these back. Consider a balanced slow-release granular fertilizer or mix in organic amendments. For small-space gardening, compost is your best friend. Mix in about 1 part compost to 3-4 parts sterilized soil. Compost not only adds a broad spectrum of nutrients but also reintroduces beneficial microbial life. Other organic options include worm castings, blood meal (for nitrogen), bone meal (for phosphorus), and kelp meal (for trace minerals). Mix these amendments thoroughly to ensure even distribution.
2. Reintroduce Beneficial Microbes:
Since sterilization wipes out most microbial life, you actively reintroduce beneficial bacteria and fungi. The easiest way to do this is by adding high-quality compost or worm castings. These organic materials are teeming with beneficial organisms. You can also purchase commercial microbial inoculants, which contain specific strains of beneficial bacteria and mycorrhizal fungi. These products can give your soil a quick boost, helping to establish a healthy soil food web. Mix them in according to package directions.
3. Improve Drainage and Aeration (if needed):
After a season, soil can compact, reducing its ability to drain well and provide air to roots. While sterilization does not directly cause compaction, it is a good opportunity to assess and improve soil structure. If your soil feels heavy or dense, you might add fresh perlite, vermiculite, or a small amount of coarse sand. Perlite lightens the mix and improves aeration, while vermiculite helps retain moisture and nutrients. Aim for a mix that feels light and crumbly, allowing water to pass through freely, preventing root rot, which is how water moves through soil.
4. Flush Accumulated Salts (Optional but Recommended):
Over time, mineral salts from tap water and fertilizers can build up. While sterilization does not remove these, you can leach them out. After cooling, you can thoroughly drench the soil with clean water, allowing it to drain freely for an extended period, for example, 30 minutes to an hour. This helps dissolve and wash away excess salts. However, be aware that this can also leach out some added nutrients, so re-amending afterwards is still essential.
By diligently rejuvenating your sterilized soil, you transform it from an inert medium back into a vibrant, fertile foundation for your next season’s plants, ready for your preparing pots for winter.

Preparing Your Pots for Winter Storage: Beyond Just Soil
As the gardening season wraps up, your attention naturally turns to preparing pots for winter. Beyond caring for the soil itself, cleaning and storing your containers properly is a crucial step that ensures they are ready for action next spring and helps prevent the carryover of pests and diseases. This practice extends the lifespan of your pots and reduces your workload when the planting season returns. Proper winter preparation for your containers is just as important as soil management.
1. Empty and Dispose of Plant Debris:
Begin by emptying all old plant material from your containers. Remove spent plants, roots, and any large pieces of organic matter. You can compost healthy plant debris, but discard any diseased or heavily infested plant material in the trash, not your compost pile. This prevents pathogens and pests from spreading. You want your pots as clear as possible before cleaning.
2. Clean Your Pots Thoroughly:
This step is vital for preventing disease transmission.
- Remove Soil Residue: Use a stiff brush or an old spatula to scrape out any clinging soil and mineral deposits.
- Wash with Soap and Water: Wash pots thoroughly with warm, soapy water. A dish soap works fine. Pay special attention to crevices and drainage holes where pests or spores might hide.
- Sanitize (Optional, but Recommended for Disease-Prone Pots): For pots that housed diseased plants, consider an extra sanitization step. A solution of 1 part bleach to 9 parts water, or a horticultural disinfectant, effectively kills remaining pathogens. Soak pots for at least 10-15 minutes, then rinse them thoroughly with clean water. Alternatively, you can use a solution of 1 part white vinegar to 4 parts water for a less harsh sanitizing option, especially for terracotta pots.
- Dry Completely: Allow all pots to air dry completely before stacking or storing. Moisture can encourage mold and mildew, especially during storage.
3. Inspect for Damage:
While cleaning, inspect your pots for cracks, chips, or other damage. Small cracks in terracotta pots can worsen with freezing and thawing cycles. Plastic pots can become brittle. Repair minor damage if possible, or earmark heavily damaged pots for replacement. This prevents frustration next spring when you discover a container is unusable.
4. Proper Storage:
Store clean, dry pots in a protected area to prevent weathering and breakage.
- Stacking: Stack similar-sized pots to save space. Place a piece of cardboard or newspaper between plastic pots to prevent them from sticking together.
- Location: A shed, garage, basement, or even under a covered patio works well. Protect terracotta and ceramic pots from freezing temperatures, as water absorbed into the material can expand when frozen, causing cracks.
- Drainage: Ensure pots are stored upside down or on their sides to prevent water accumulation and freezing, which can damage the material and create a haven for pests.
By investing a little time now in preparing pots for winter, you ensure a smoother, healthier start to your next gardening season, making good use of your reused potting soil.
Common Mistakes to Avoid When Reusing Potting Mix
Reusing potting mix is a fantastic sustainable practice, but it comes with a few potential pitfalls. Avoiding these common mistakes helps you maximize the benefits of your efforts and ensure your plants thrive. Understanding what not to do is just as important as knowing the correct steps, especially when you reuse potting soil to foster healthy growth.
To avoid long-term depletion, follow a structured fall soil reset to store your mix safely for spring.
1. Reusing Soil from Severely Diseased Plants Without Sterilizing:
This is perhaps the biggest mistake. If a plant died from a confirmed, aggressive soil-borne disease like fusarium wilt, verticillium wilt, or root rot, reusing that soil without thorough sterilization is an invitation for disaster. The pathogens will almost certainly persist and infect new plants. Do not take shortcuts here; sterilize the soil or, in severe cases, discard it responsibly.
2. Skipping the Rejuvenation Step:
Many gardeners sterilize soil but then immediately replant without adding back nutrients or beneficial microbes. Sterilization creates a “blank slate,” but a blank slate is not fertile. Plants will struggle to find nourishment in depleted, lifeless soil. Always replenish nutrients with compost, worm castings, or slow-release fertilizers, and consider reintroducing beneficial microbes to bring the soil back to life. You need to actively amend your soil after sterilization for success.
3. Not Clearing Out Old Roots and Debris:
Leaving large chunks of old roots, stems, or leaves in the soil before sterilization or rejuvenation can hinder your efforts. Large organic matter takes longer to break down, can harbor dormant pests, and creates inconsistent heating during sterilization. It also ties up nitrogen as it decomposes, potentially starving your new plants. Take the time to sift through your used potting mix and remove as much old plant material as possible.
4. Over-Sterilizing or Using Too High Temperatures:
While sterilization is effective, going overboard can be detrimental. Excessively high temperatures (above 200°F/93°C) in the oven can burn off valuable organic matter, release unpleasant odors, and even create compounds toxic to plants. Over-sterilizing also ensures complete eradication of any remaining beneficial microbes, making the rejuvenation step even more critical. Stick to the recommended temperatures and timings to achieve sterilization without damaging the soil’s structure or beneficial components.
5. Storing Unsterilized or Unamended Soil Improperly:
If you decide not to sterilize soil immediately, or if you sterilize but do not amend it right away, proper storage is key. Storing moist, unsterilized soil in a warm environment provides an ideal breeding ground for pests and pathogens. Sterilized soil, if left open, can quickly become recontaminated. Always store used or sterilized soil in clean, airtight containers in a cool, dry place to maintain its condition. This helps prevent fungus gnats and other issues from re-establishing.
By being mindful of these common mistakes, you ensure that your efforts to reuse potting soil are successful, contributing to a healthier and more sustainable gardening practice.
Frequently Asked Questions
Will sterilizing soil kill beneficial microbes?
Yes, sterilization methods like oven baking, microwaving, or steaming use heat to kill pests and disease pathogens. This heat is indiscriminate, meaning it also eliminates many beneficial bacteria, fungi, and other microorganisms essential for a healthy soil food web. This is why you must rejuvenate sterilized soil by adding organic matter like compost or worm castings, or by incorporating microbial inoculants, to reintroduce this vital microbial life before replanting.
Can I reuse potting mix from healthy plants without sterilizing?
Absolutely. If your plants were robust and showed no signs of pests or disease, you can likely reuse the potting mix without full sterilization. In this case, focus on rejuvenating the soil. Remove old roots, replenish nutrients with compost or a balanced fertilizer, and consider flushing out accumulated salts. This approach preserves existing beneficial microbes while preparing the soil for new growth. Assess your soil’s history carefully before deciding.
What about using boiling water to sterilize soil?
Pouring boiling water over soil can provide a quick, albeit less controlled, method of partial sterilization. It will kill many common pests and pathogens near the surface and help flush salts. However, the heat might not penetrate deeply or consistently enough to sterilize the entire volume of soil effectively, especially in larger containers. It also leaves the soil very wet, requiring a long drying period. While an option for small batches, oven or steaming methods offer more thorough and reliable sterilization.
How long can I store sterilized potting mix?
You can store properly sterilized and then rejuvenated potting mix almost indefinitely, provided you keep it in a clean, airtight container in a cool, dry place. Storing it in sealed bags or lidded bins prevents recontamination from airborne spores or opportunistic pests. The key is to protect it from moisture fluctuations and external elements that could reintroduce problems. If you store it for a very long time, you might consider adding a fresh boost of compost or slow-release fertilizer before use, as nutrient availability can diminish over time.
Sustainable Soil Practices Beyond Sterilization
While sterilizing used potting mix offers a valuable tool for container gardeners, especially those dealing with specific pest or disease issues, it is part of a broader commitment to sustainable gardening. Your small-space garden, whether on a balcony or a patio, plays a role in fostering environmental health. Thinking beyond just sterilization helps you cultivate a truly resilient and eco-friendly gardening approach.
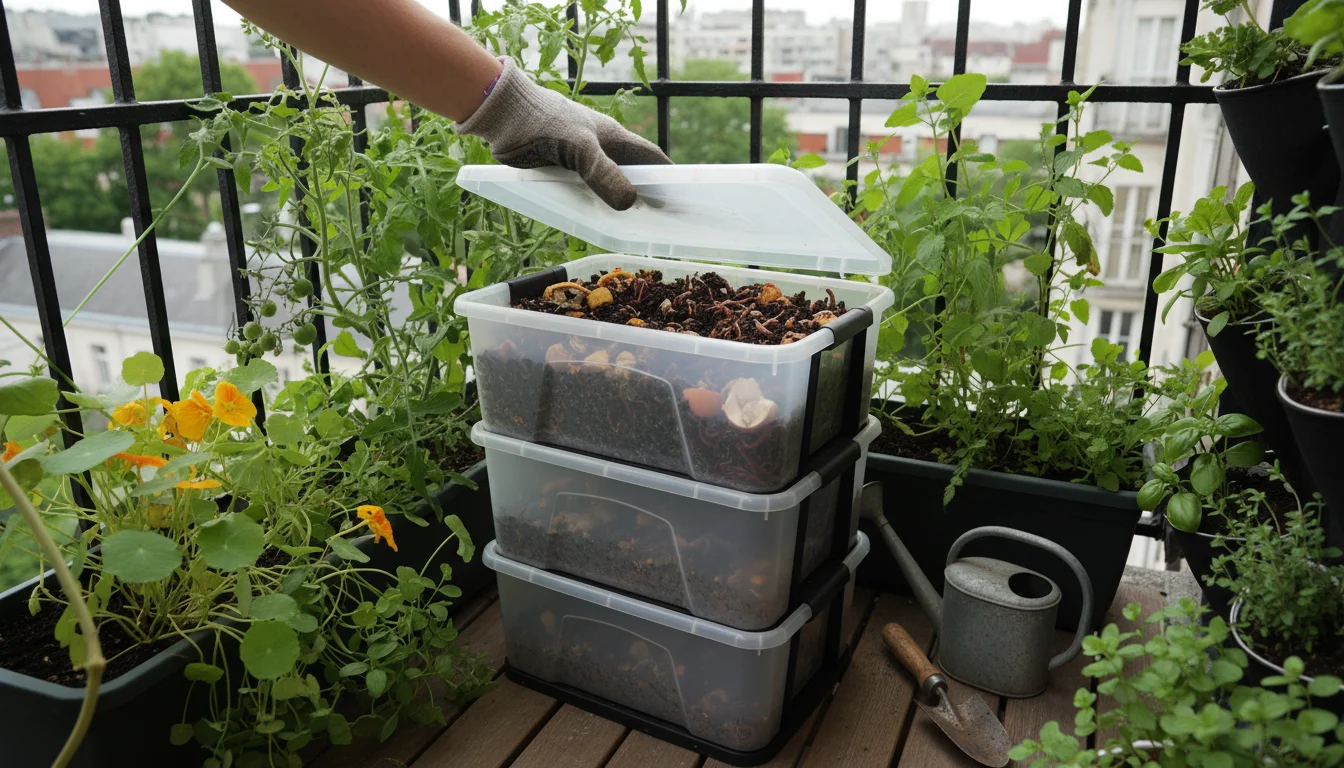
Embrace Composting: If you do not already, start composting your kitchen scraps and garden waste. Compost is a gardener’s gold. Incorporating finished compost into your used potting mix not only replenishes nutrients and beneficial microbes but also improves soil structure and water retention. It dramatically reduces your waste output and creates a closed-loop system for your garden. For small spaces, vermicomposting, composting with worms, is an excellent, odor-free option that produces nutrient-rich worm castings.
Choose High-Quality, Sustainable Potting Mixes: When you do purchase new potting mix, select brands that prioritize sustainable ingredients. Look for mixes that use coconut coir, a renewable resource, instead of or in addition to peat moss, which is harvested from non-renewable peat bogs. Support companies that source ingredients responsibly and offer organic options. Investing in a good quality mix from the start often means it holds its structure better and remains viable for reuse over longer periods.
Practice Crop Rotation (Even in Containers): While easier in a garden bed, you can implement a form of crop rotation in containers. Avoid planting the same type of plant in the same container with the same soil season after season. For example, if you grew tomatoes in a pot one year, consider herbs or leafy greens in that pot the next year. This helps prevent the buildup of specific disease pathogens and pest populations that target particular plant families. Varying your plantings contributes to overall soil health and reduces the need for interventions like sterilization.
Minimize Chemical Use: Rely on integrated pest management, IPM, principles. This means observing your plants closely, using physical barriers, and encouraging beneficial insects before resorting to chemical pesticides. Many chemical treatments can harm beneficial soil microbes and contaminate your potting mix, making it less viable for reuse. Healthy soil, rich in organic matter and microbial life, naturally supports stronger, more resilient plants that can better resist pests and diseases.
Conserve Water: Use drip irrigation, self-watering planters, or mulching techniques to ensure efficient water use in your containers. Healthy soil that has been amended with compost or vermiculite retains moisture better, reducing the frequency of watering. Efficient watering prevents nutrient leaching and minimizes the accumulation of salts in your potting mix. This extends the life of your soil and makes it more suitable for reuse.
By integrating these sustainable practices with informed decisions about when and how to sterilize your used potting mix, you cultivate a gardening approach that is both productive and environmentally responsible. Your small garden can make a big difference.
For trustworthy gardening information, visit: National Garden Bureau, National Wildlife Federation — Garden for Wildlife and Lady Bird Johnson Wildflower Center. These organizations provide expert, research-based advice for gardeners at all levels.
Disclaimer: This article is for informational purposes only and is not a substitute for professional gardening advice. Always consult local extension services or horticulture experts for region-specific guidance.

Leave a Reply