The ‘Lasagna’ Composting Method: Layer Your Way to Better Soil This Fall, Directly in Your Balcony Pots
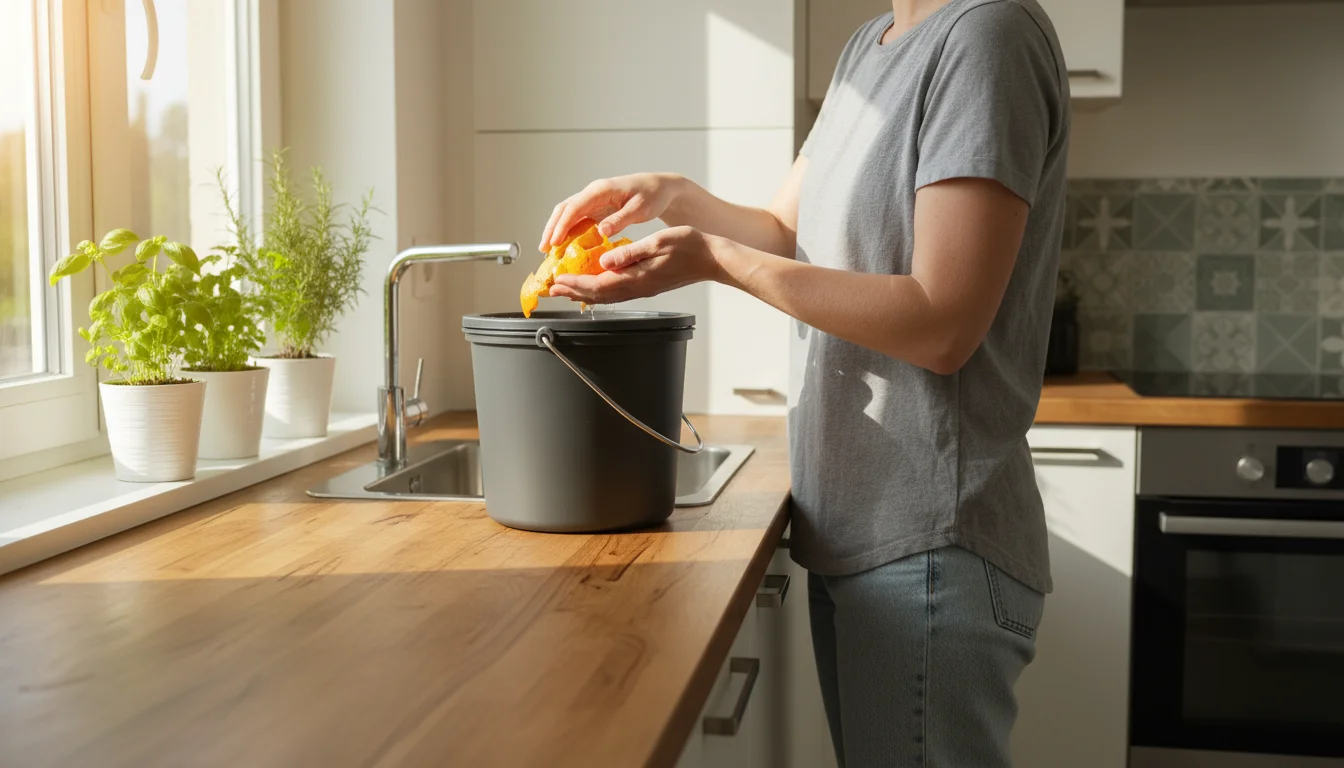
Building rich, vibrant soil often feels like a grand endeavor, especially when your gardening space consists of a balcony, patio, or a small urban yard. You might imagine large compost bins, frequent turning, and a considerable amount of yard waste. This perception keeps many small-space gardeners from enjoying the incredible benefits of homemade compost. However, a revolutionary method exists that allows you to transform kitchen scraps and garden trimmings into nutrient-dense soil right where your plants grow: the ‘lasagna’ composting method.
If you are new to urban waste reduction, starting with a beginner’s guide to composting in small spaces can help you understand the fundamentals.
This approach, sometimes called sheet composting or no-dig gardening, involves layering organic materials directly into your garden beds or, even better, into your containers. It mimics nature’s own decomposition process, slowly breaking down organic matter to create a fertile foundation for your plants. For balcony gardeners and those with limited space, this technique is a game-changer. You bypass the need for a separate compost pile, turning your existing pots into miniature, self-contained soil factories. This fall, as temperatures cool and garden activity slows, you possess the perfect window to prepare your containers for an explosive spring growth using this simple, efficient, and deeply satisfying method. It is an ideal way to boost your soil health, reduce waste, and grow healthier plants with minimal effort, even in the smallest of spaces.
What is Lasagna Composting? A No-Fuss Approach to Soil Building
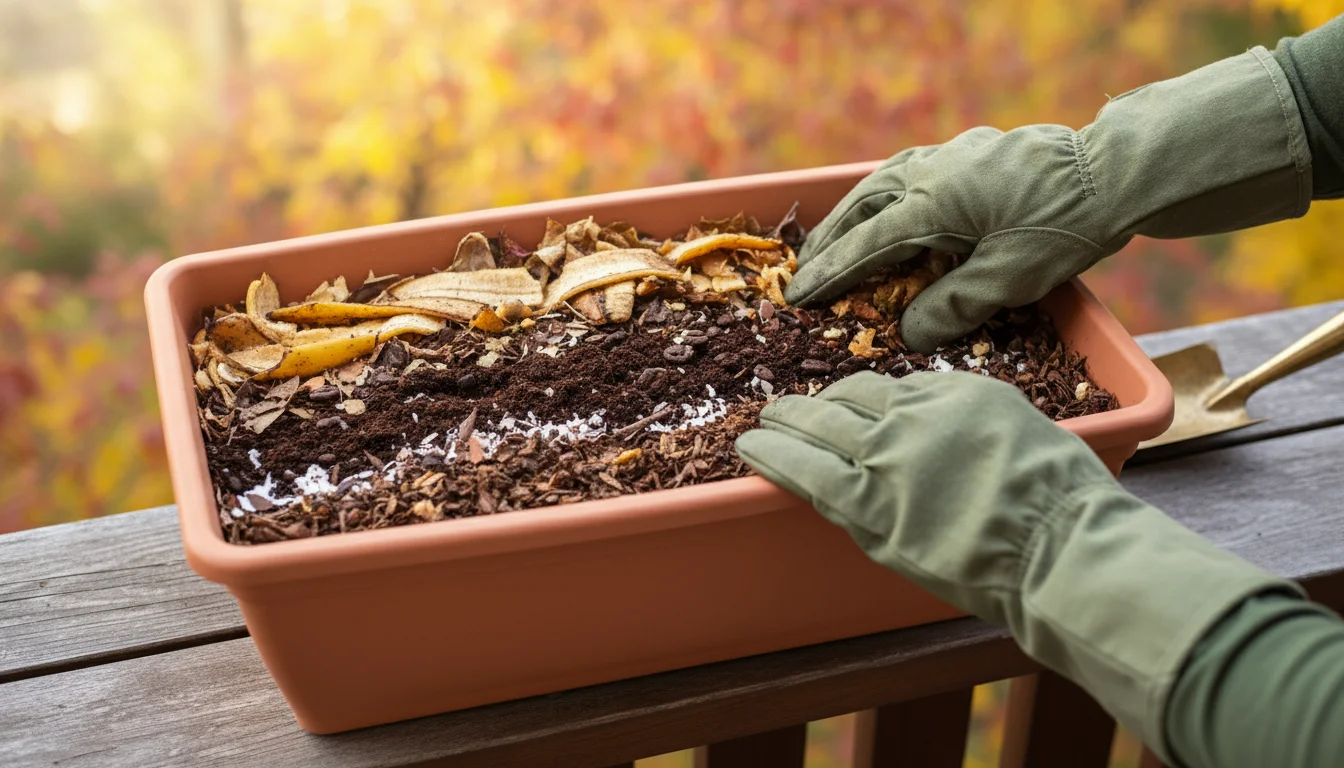
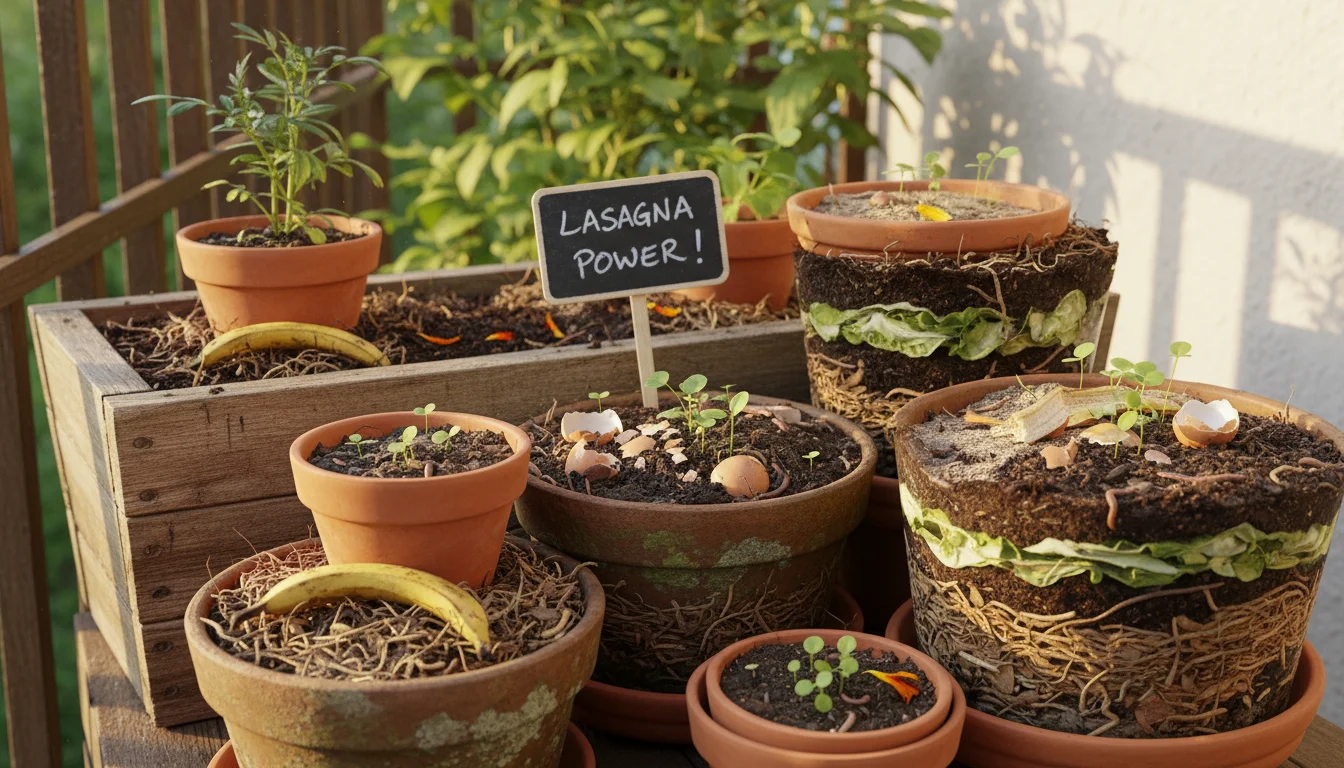
Lasagna composting, often known as sheet composting, takes its name from the layered appearance of the finished product. Just as you layer pasta, sauce, and cheese to create a delicious dish, you layer organic materials to build a rich, fertile growing medium. This method works on a simple principle: you stack alternating layers of “brown” (carbon-rich) and “green” (nitrogen-rich) materials, allowing them to decompose in place. Unlike traditional hot composting, which requires precise ratios, frequent turning, and high temperatures, lasagna composting is a slow, cold composting process. It is considerably more forgiving and requires minimal intervention once established.
You essentially create a living compost pile directly in your container or garden bed. Over weeks and months, microorganisms, worms, and fungi break down these layers, transforming them into a dark, crumbly, nutrient-dense soil called humus. This humus significantly improves soil structure, enhances water retention, and provides a slow-release source of nutrients for your plants. Consider the benefits: you improve drainage, which is how water moves through soil, while simultaneously increasing its capacity to hold moisture. This balance is crucial for container plants, which can dry out quickly. Furthermore, you reduce the amount of waste sent to landfills and create a thriving ecosystem right in your small garden. This method is incredibly adaptable, whether you are preparing a large raised bed or a single balcony pot. You are actively participating in a natural cycle, turning what might be considered waste into a valuable resource for your plants. It empowers you to become a proactive participant in your garden’s health, rather than simply a consumer of bagged soil amendments. The simplicity of layering also removes a significant barrier for new gardeners who find traditional composting daunting.
Why Fall is Perfect: Maximizing Your In-Pot Composting Efforts
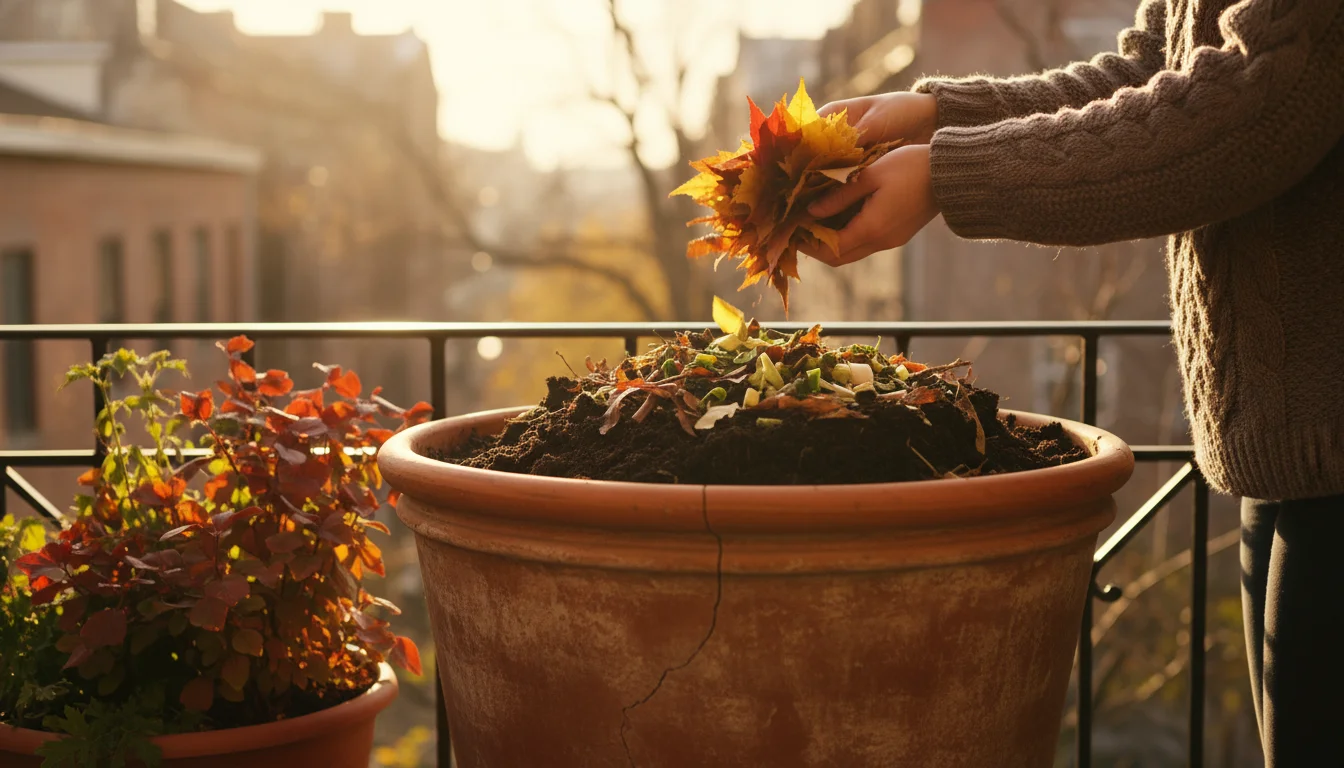
Fall is the absolute best season to initiate your in-pot composting project using the lasagna method. As summer plants fade and winter approaches, your garden provides an abundance of “brown” materials like fallen leaves, spent annuals, and trimmed perennial stalks. Simultaneously, your kitchen still produces “green” waste such as vegetable peels and coffee grounds. This natural bounty of compostable materials aligns perfectly with the needs of a lasagna compost system.
This technique is a cornerstone of any lazy gardener’s guide to fall soil prep, offering a simple way to boost fertility while you wait for spring.
The cooler temperatures of fall and winter slow down the decomposition process, which is exactly what you want for this cold composting technique. You are not aiming for rapid, heat-generating decomposition. Instead, you are building layers that will slowly break down over the colder months, quietly transforming into rich soil. By spring, when you are ready to plant, your containers will hold a dark, crumbly, nutrient-rich soil base, perfectly conditioned and ready to support new growth. Think of it as an overnight success story that takes place over several months. This strategic timing allows the composting process to occur naturally and without interference during a period when your gardening demands are typically lower. You perform the initial setup, and nature handles the rest. This approach also makes excellent use of seasonal resources that often go to waste, such as autumn leaves. Instead of bagging them for curbside pickup, you incorporate them directly into your garden, enriching your soil and reducing your environmental footprint. The benefits extend beyond nutrient provision; the organic matter also improves the soil’s structure, allowing roots to penetrate more easily and preventing compaction, a common issue in container gardening. Investing a little time in fall soil prep pays enormous dividends for your spring planting. It’s an efficient, environmentally conscious strategy for layering compost in pots for winter.
The Small-Space Advantage: Composting Directly in Your Containers
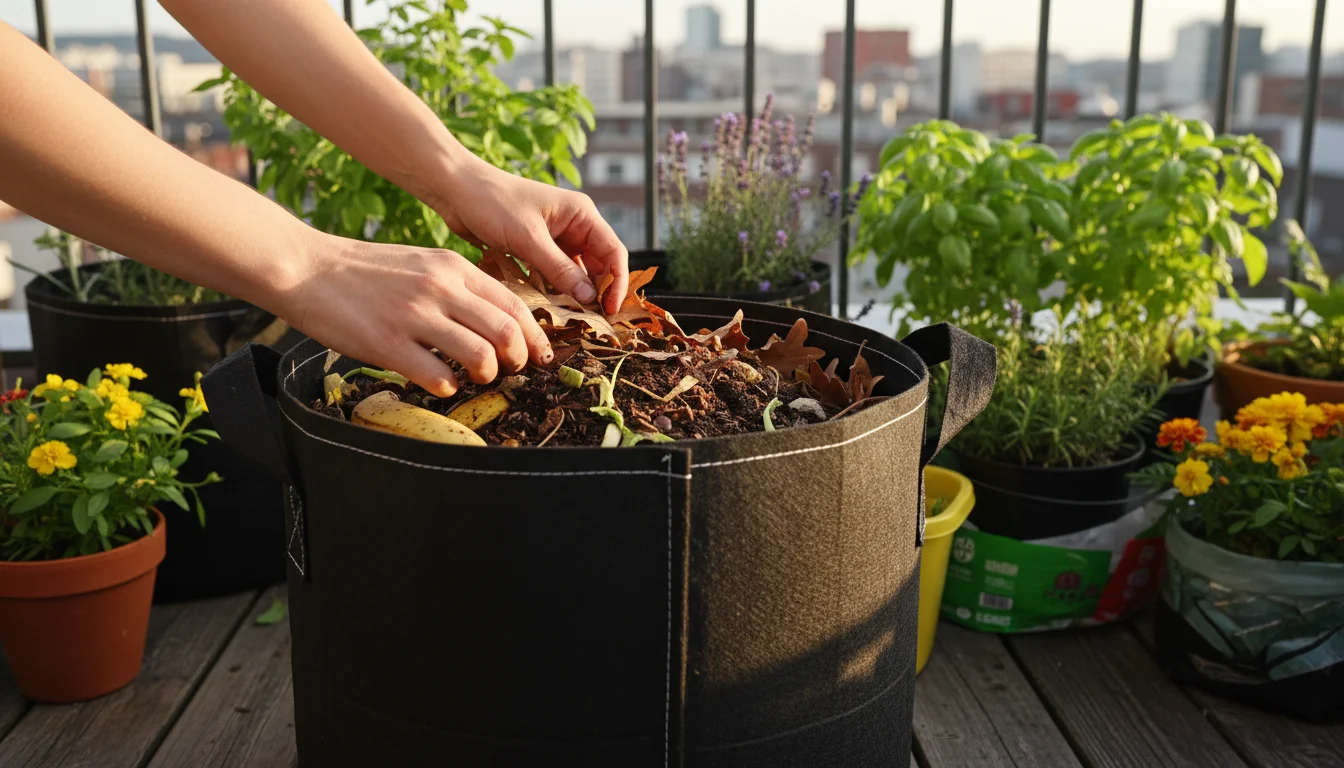
Traditional composting can feel impractical for gardeners with limited space. A large compost tumbler or bin simply does not fit on a small balcony or patio. This is where in-pot composting truly shines. You eliminate the need for extra equipment and dedicate your existing containers to a dual purpose: holding plants and creating soil. This method transforms a potential limitation, small space, into an advantage.
While you are building your soil layers, you can also apply this concept to aesthetics by learning how to plant a lasagna bulb pot for a massive floral display.
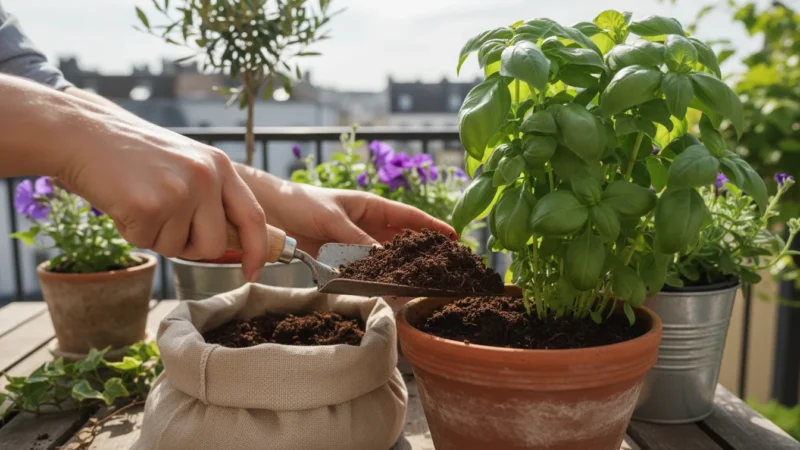
Imagine this scenario: you finish harvesting your summer tomatoes from a large pot. Instead of emptying the pot and refilling it with expensive new potting mix next spring, you simply start layering. This allows you to continually amend and improve your soil, reducing the need to purchase bulky bags of commercial soil amendments. This directly translates to cost savings and a significant reduction in plastic waste from those bags. Furthermore, since the decomposition happens directly within the pot, the nutrients released during the process are immediately available to the plants you eventually grow there. There is no leaching of valuable nutrients into the surrounding environment, a common concern with traditional compost piles. The entire system remains self-contained, neat, and tidy, which is essential for balcony gardening. You also avoid the mess and labor associated with moving finished compost from a separate bin to your pots. It is truly a no-dig soil building approach for balconies, patios, and small urban spaces. You leverage existing infrastructure, your containers, to create a sustainable, self-renewing soil system. This method is especially appealing if you live in an apartment or condo building with strict rules about outdoor aesthetics or space usage, as the composting process is hidden from view inside your planters. The minimal footprint and maximum impact make this a truly smart choice for any gardener with spatial constraints.
Gathering Your Ingredients: The ‘Browns’ and ‘Greens’
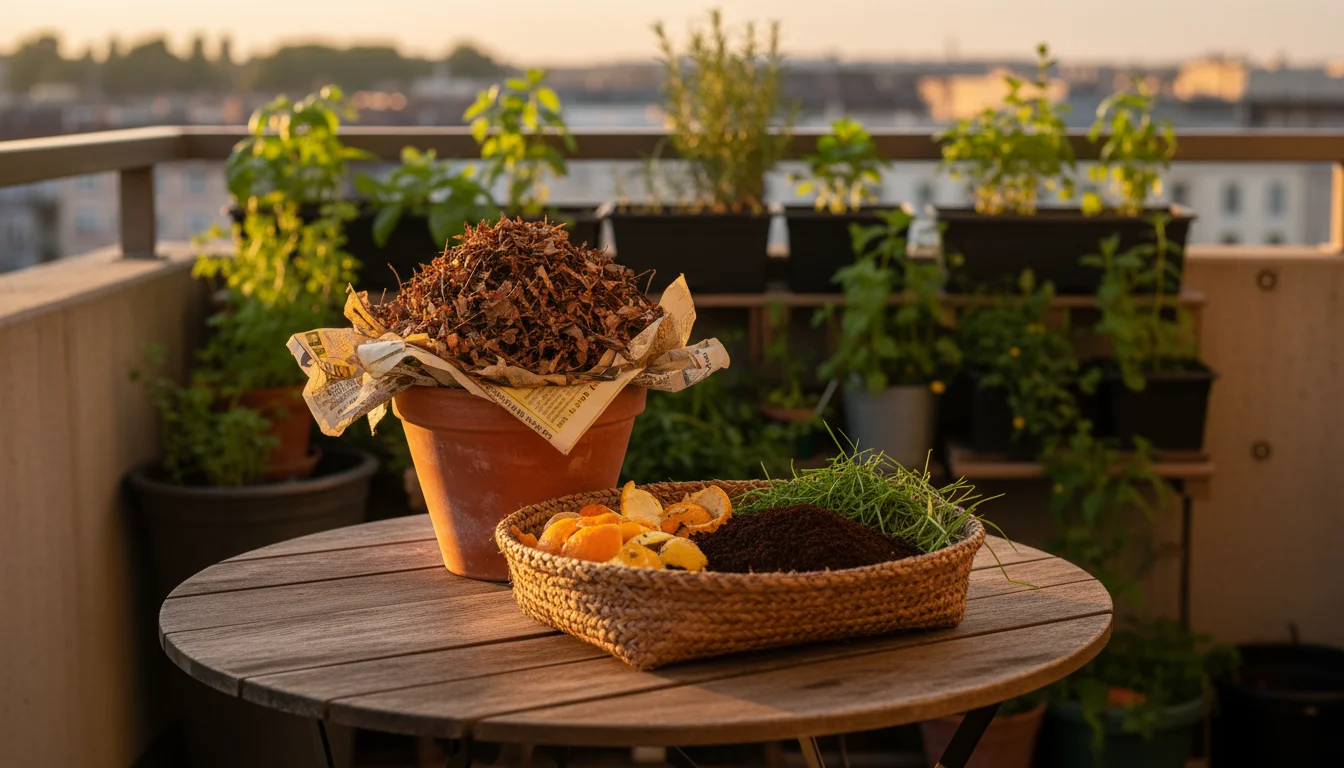
The success of your lasagna compost hinges on a balanced mix of “brown” (carbon-rich) and “green” (nitrogen-rich) materials. Think of browns as the structural elements and greens as the fuel. A good rule of thumb is to aim for roughly twice as many brown materials as green materials by volume. Do not overthink the precise ratio; lasagna composting is forgiving. The goal is variety and layering.
Here are examples of common materials you can collect:
- Brown Materials (Carbon-Rich): These provide energy for the microorganisms and help with aeration. They are typically dry and crumbly.
- Fallen leaves (shred them if possible for faster decomposition)
- Dried plant stalks and spent annuals (cut into small pieces)
- Shredded newspaper or cardboard (tear into small strips, avoid glossy paper)
- Straw or hay
- Wood chips (use sparingly, they decompose very slowly)
- Sawdust (from untreated wood only, use sparingly)
- Green Materials (Nitrogen-Rich): These provide protein for the microorganisms, speeding up decomposition. They are typically fresh and moist.
- Kitchen scraps (fruit and vegetable peels, cores, coffee grounds, tea bags)
- Grass clippings (use thinly to avoid matting and odor)
- Fresh garden trimmings (non-diseased plants)
- Weeds (ensure they have not gone to seed)
- Manure (from vegetarian animals, like rabbits or chickens, if you have access)
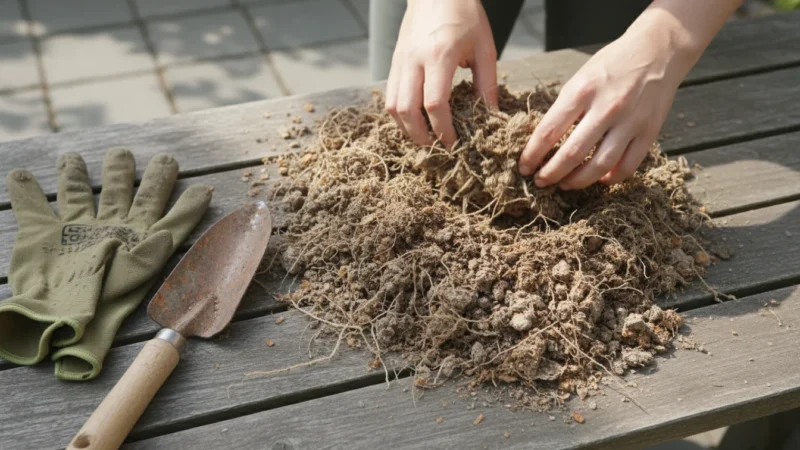
Avoid adding meat, dairy products, oily foods, or pet waste (from carnivorous animals) to your lasagna pots. These can attract pests, create foul odors, and introduce harmful pathogens. Also, refrain from using diseased plants, as the pathogens might persist in your finished compost. Breaking down your materials into smaller pieces accelerates the decomposition process. Shredding leaves, tearing cardboard, and chopping kitchen scraps will give the microorganisms more surface area to work on. Begin collecting these materials in late summer and early fall, storing them in separate bins or bags until you are ready to build your layers. This organized approach makes the actual layering process quick and efficient.
Step-by-Step: Building Your Lasagna Pot for Winter Success
Building a lasagna compost pot is a straightforward process. You do not need special tools or extensive knowledge; just your chosen container, your collected materials, and a little patience. Follow these steps to prepare your pots for the winter and a bountiful spring. This is how to compost directly in a container, turning it into a rich soil builder.
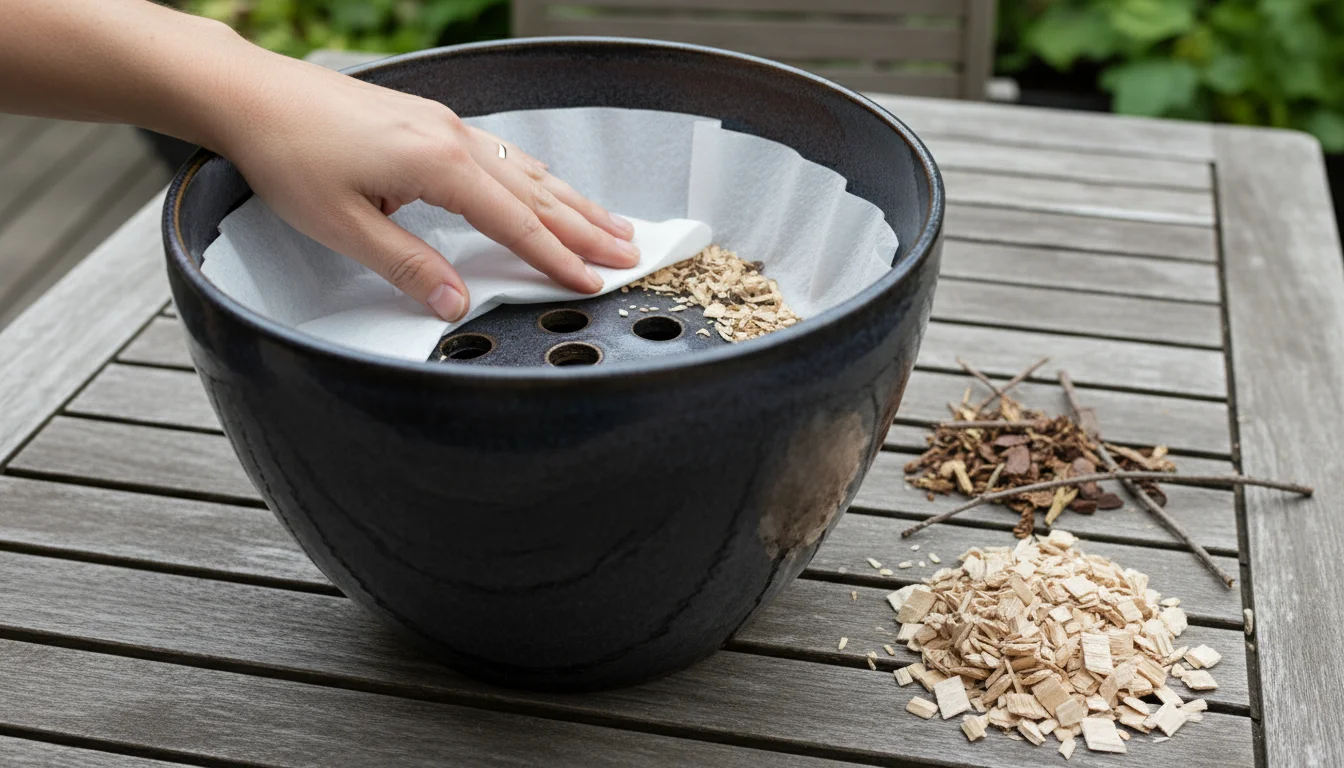
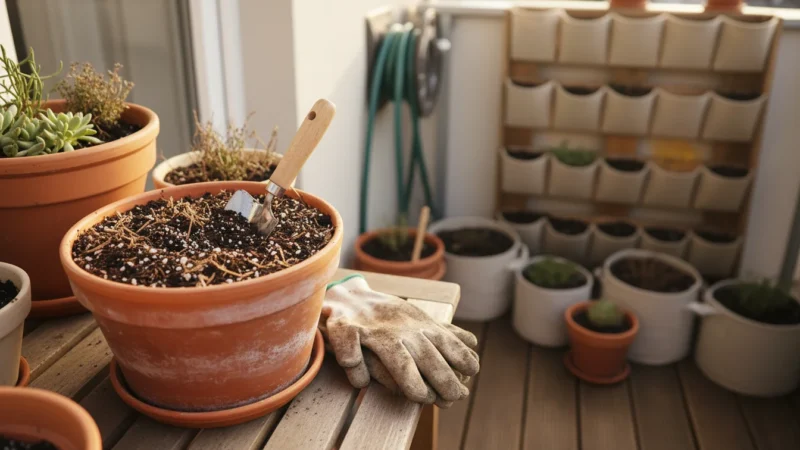
- Choose Your Container: Select a large pot, ideally 12 inches deep or more, with good drainage holes. Deeper pots offer more space for layers and better insulation for the composting process. Terra cotta pots breathe well, plastic pots retain moisture, and fabric grow bags are excellent for aeration and preventing rootbound plants. The material matters less than the size and drainage. Ensure you place a screen or a few coffee filters over the drainage holes to prevent soil from washing out while still allowing water to escape.
- Start with a Coarse Base (Drainage Layer): Begin by adding a 1-2 inch layer of coarse brown material at the very bottom of the pot. This could be small twigs, wood chips, or shredded cardboard. This initial layer ensures excellent drainage and provides a strong foundation for the layers above. It prevents compaction at the base and allows excess water to escape efficiently.
- First Brown Layer: Add a substantial 3-4 inch layer of carbon-rich “brown” materials. Think dried leaves, shredded newspaper, or straw. Moisten this layer thoroughly after adding it. It should feel like a damp sponge, not waterlogged. This moisture is crucial for activating the microorganisms responsible for decomposition.
- First Green Layer: Now, add a 1-2 inch layer of nitrogen-rich “green” materials. This includes kitchen scraps, grass clippings, or fresh plant trimmings. Spread it evenly over the brown layer. Again, lightly moisten this layer if it seems dry. Remember the rule: green materials are the activators.
- Repeat the Layers: Continue alternating brown and green layers. Aim for brown layers that are roughly twice the thickness of your green layers. Each brown layer should be 3-4 inches thick, and each green layer 1-2 inches thick. Lightly water each brown layer as you add it. You want consistent moisture throughout the pot, encouraging a healthy microbial environment.
- Optional ‘Activator’ Layer: Every few layers, you can sprinkle a thin layer of garden soil or finished compost. This introduces beneficial microorganisms, acting as an accelerator for the decomposition process. You can also add a small amount of an organic nitrogen source like alfalfa meal or blood meal if you wish to speed things up, though this is not strictly necessary.
- Finish with a Brown Cap: Ensure your final layer is a thick 4-6 inch layer of brown material. This acts as a protective mulch, suppresses odors, deters pests, and helps retain moisture. It also provides an aesthetic finish, making your composting pot blend into your garden decor. You can also add a layer of potting mix on top of the brown cap if you plan to plant something directly into it in the spring.
- Water Thoroughly: Once your layers are complete, water the entire pot thoroughly until water begins to drain from the bottom. This ensures all layers are sufficiently moist and kick-starts the decomposition process. Monitor the moisture level over the coming weeks, especially if you live in a dry climate. The goal is consistent dampness.
- Let Nature Work: Place your lasagna pot in its desired location for the winter. Over the next few months, the materials will slowly break down and compact. You will notice the volume of the layers decreases significantly as decomposition occurs. By spring, your pot will contain rich, dark, fertile soil, ready for planting. You can add more layers periodically throughout the winter if you continue to generate suitable materials.
What to Plant and When: Maximizing Your Lasagna Pot’s Potential
Once your lasagna compost pot has spent the winter months transforming into rich, dark soil, you are ready to unleash its full potential in spring. The nutrient-dense environment you created is ideal for a wide variety of plants, especially those that benefit from consistently fertile soil.
You will find that your lasagna pots provide a superior growing medium compared to standard potting mixes. The organic matter improves water retention, ensures excellent drainage, and slowly releases essential nutrients, reducing your need for supplemental fertilizers. This consistent nutrient supply supports robust growth and minimizes plant stress.
Consider these plant choices to thrive in your revitalized containers:
- Heavy Feeders: Vegetables like tomatoes, peppers, squash, and cucumbers are perfect candidates. They require a steady supply of nutrients to produce abundant fruit, and your lasagna soil delivers just that. Data suggests that crops grown in compost-rich soil often exhibit higher yields and improved disease resistance due to the robust microbial life.
- Leafy Greens: Spinach, lettuce, kale, and Swiss chard adore nutrient-rich soil. Their rapid growth cycles benefit immensely from the readily available nitrogen in compost. You will likely observe larger, more vibrant leaves.
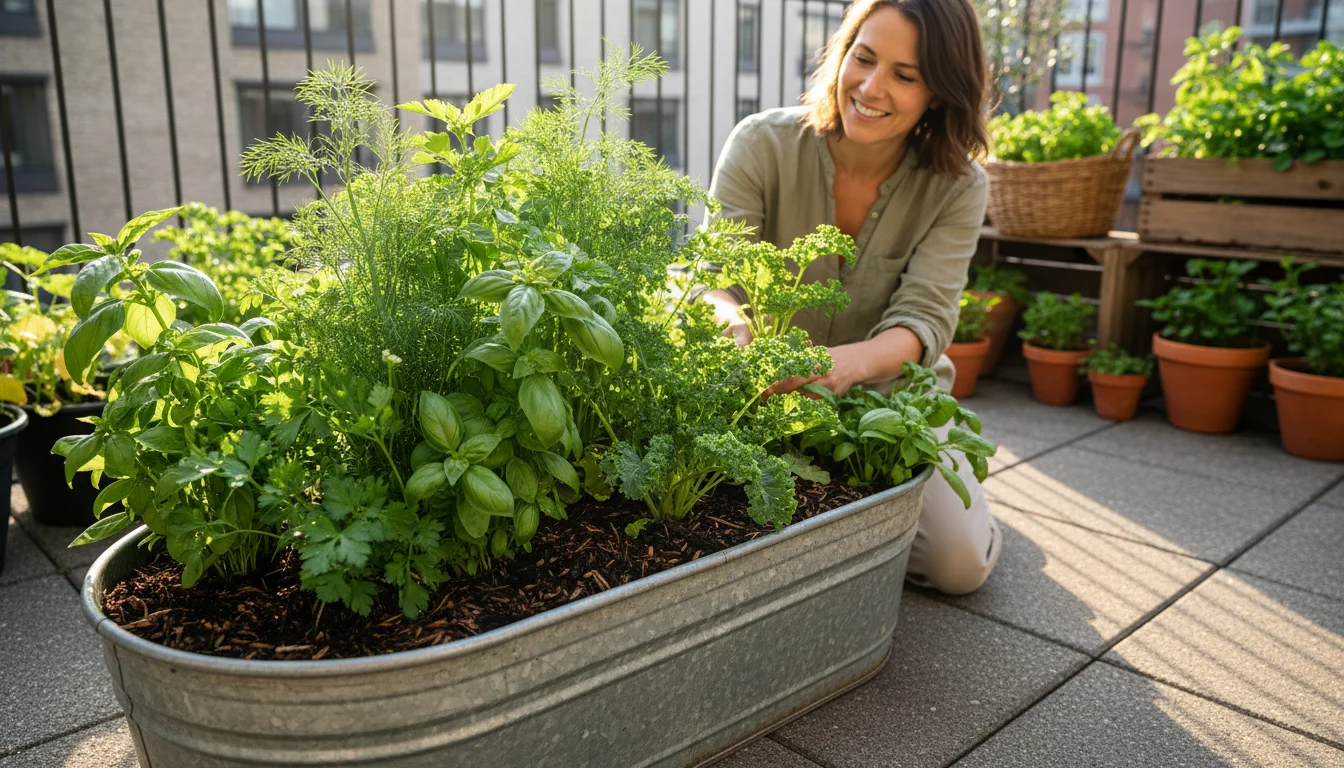
- Herbs: Most culinary herbs, such as basil, parsley, cilantro, and mint, thrive in well-drained, fertile soil. The enhanced soil structure from composting ensures their roots can breathe while accessing moisture and nutrients effectively.
- Root Vegetables: If your container is sufficiently deep, try carrots, radishes, or even small potatoes. The loose, friable nature of compost-rich soil allows root crops to expand easily, preventing deformities often seen in dense or compacted soil.
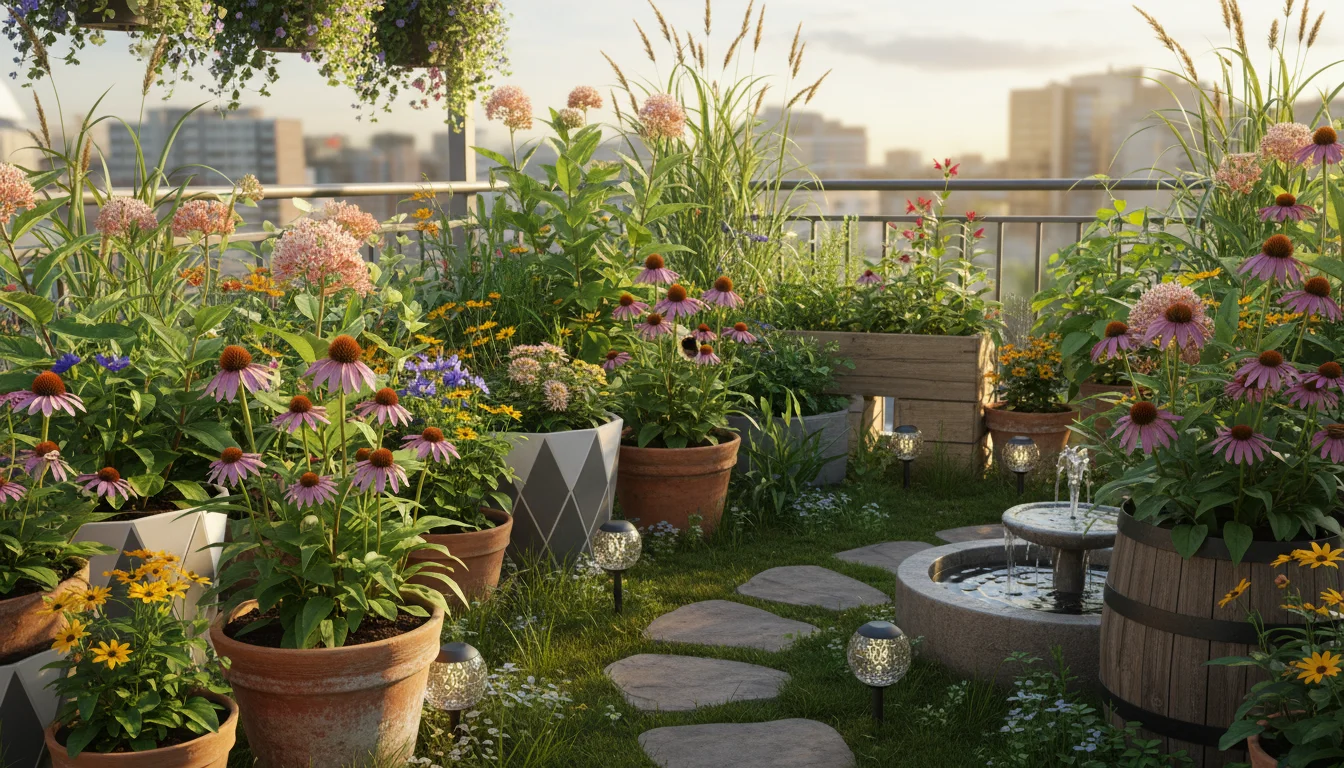
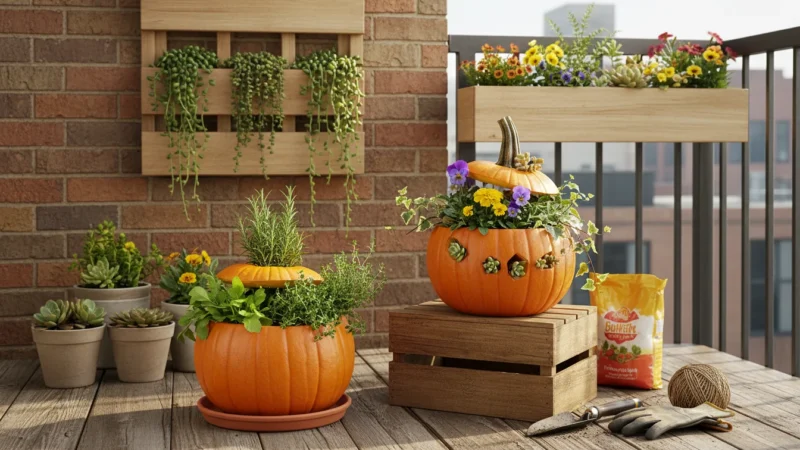
- Flowering Annuals: For a burst of color, plant petunias, marigolds, impatiens, or zinnias. Their vigorous blooming cycles benefit from the continuous nutrient release, leading to more flowers over a longer period.
- Strawberries: These perennial favorites produce sweeter, more abundant berries in fertile, well-draining soil. Lasagna pots offer an excellent environment for their shallow root systems.
When it comes to planting time, follow your local planting calendar. Generally, you can plant cool-season crops like leafy greens and radishes as soon as the danger of hard frost passes in early spring. Wait until after your last average frost date to plant warm-season vegetables like tomatoes and peppers.
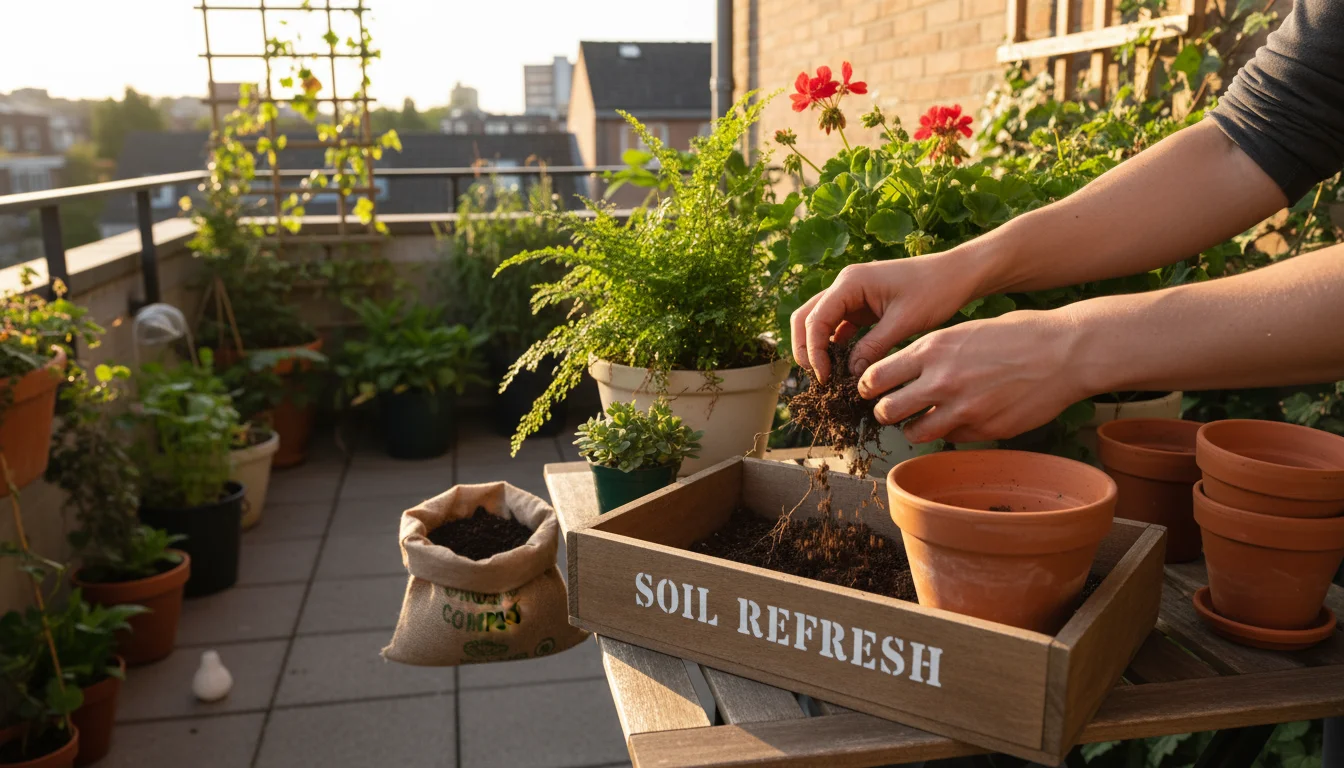
Before planting, gently mix the top 4-6 inches of the finished compost with a trowel to ensure an even consistency. This also aerates the soil, preparing it for new roots. If the soil level has significantly sunken, you can add a final thin layer of fresh potting mix on top before planting, ensuring your plants sit at the correct height in the container. Remember, you have invested time and effort into creating a superior growing medium. Give your plants the best start by choosing varieties that will truly benefit from this rich, living soil.

Troubleshooting and Common Pitfalls: Keeping Your Layers Healthy
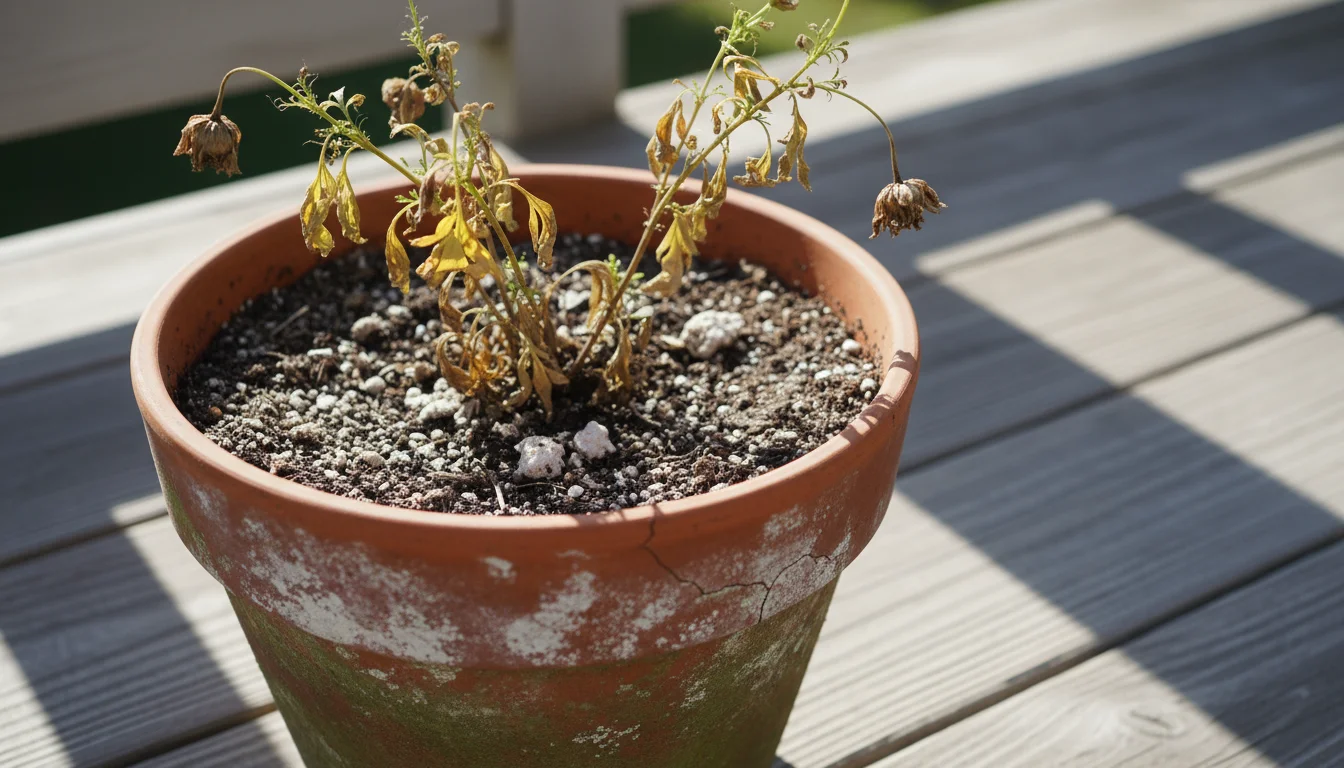
While lasagna composting is remarkably forgiving, you might encounter a few minor issues. Addressing these quickly ensures your compost breaks down efficiently and remains a pleasant addition to your balcony garden. Avoiding common pitfalls saves you time and effort, leading to better results.
| Issue | Cause | Solution |
|---|---|---|
| Foul Odor (Rotten Egg Smell) | Too much “green” material or not enough aeration. Anaerobic decomposition. | Add more “brown” materials (shredded newspaper, dry leaves). Gently aerate the top layers with a stick or trowel. Ensure adequate drainage at the bottom of the pot. |
| Attracting Pests (Flies, Rodents) | Exposed kitchen scraps, meat/dairy products, or excessive moisture. | Always bury “green” kitchen scraps beneath a layer of “brown” material. Never add meat, dairy, or oily foods. Ensure the top layer is always dry brown material. Reduce moisture if overly wet. Cover with a mesh screen if needed. |
| Slow Decomposition | Lack of moisture, insufficient “green” material, or large pieces of material. | Water regularly to maintain consistent moisture (like a damp sponge). Add more “green” materials (coffee grounds, fresh plant trimmings). Chop materials into smaller pieces before adding them. |
| Too Wet/Soggy | Excessive watering, lack of drainage, or too many “green” materials. | Stop watering for a while. If the pot lacks sufficient drainage holes, carefully add more. Add more “brown” materials to absorb excess moisture and create air pockets. |
| Too Dry/Dusty | Insufficient watering or too many “brown” materials without enough moisture. | Water thoroughly until moisture drains from the bottom. Continue to water every few days until the layers feel consistently damp. Add more “green” materials to increase moisture content. |
Remember, consistency in layering and moisture is key. Regularly check the moisture level by feeling a few inches deep into the pot. If it feels dry, add water. If it feels waterlogged, refrain from watering and consider adding more browns. By paying attention to these simple cues, you ensure your in-pot composting system remains healthy and productive. Your proactive attention to these details directly translates to the quality of your finished soil, impacting your plants’ future health and yield.
Beyond the Balcony: Expanding Your No-Dig Soil Building
The principles of the lasagna composting method extend far beyond a single balcony pot. Once you experience the ease and effectiveness of this no-dig soil building technique, you will likely find opportunities to apply it in other areas of your small-space garden. This eco-friendly and sustainable practice is incredibly versatile.
Consider expanding this method to other containers around your patio or small yard. Large grow bags, whiskey barrels, or even repurposed sturdy plastic bins can all become excellent lasagna compost systems. The deeper the container, the more layers you can build, and the richer your soil will become over time. This continuous soil improvement reduces your reliance on bagged potting mixes, saving you money and reducing environmental impact.
You can also adapt the lasagna method for small garden beds. If you have a raised bed or a small in-ground plot, you can prepare it for spring planting by simply layering materials directly onto the soil surface in fall. This protects the existing soil from harsh winter elements, suppresses weeds, and introduces organic matter over time. By spring, you simply plant directly into the enriched soil without any need for tilling or extensive digging. This approach minimizes disturbance to the soil’s delicate ecosystem, fostering a healthier environment for beneficial microorganisms and earthworms. These tiny helpers are crucial for creating well-aerated soil and making nutrients available to plant roots.
For example, if you have a patch of lawn you wish to convert into a flower bed, you can use the lasagna method to sheet compost directly over the grass. Start by laying down a thick layer of cardboard (remove any tape or labels), thoroughly wetting it, and then proceeding with alternating layers of browns and greens. This smothers the grass, builds new soil, and creates a ready-to-plant bed by spring. This eliminates the arduous task of digging up sod and hauling it away.
Embracing this technique across your entire small garden fosters a more sustainable and self-sufficient gardening practice. You become an active participant in creating a thriving ecosystem, reducing waste, and nurturing your soil organically. Each layer you add contributes to a healthier, more resilient garden, ensuring vibrant growth for seasons to come. It’s a testament to how simple, natural processes can yield profound results for your plants and the environment. You gain a practical tool for long-term soil health management, transforming your garden into a productive and environmentally friendly space.
Frequently Asked Questions
Can I add food scraps that have gone moldy?
Yes, you can absolutely add moldy food scraps to your lasagna compost. Mold is a natural decomposer and will help break down the organic matter. Just make sure they are vegetable or fruit scraps and not meat or dairy products, which can attract pests.
How long does it take for the lasagna compost to be ready for planting?
Generally, if you build your lasagna pot in the fall, it will be ready for planting by early to mid-spring. The decomposition process is slow, especially in cooler temperatures, but by spring, the layers will have settled significantly and begun to transform into rich soil, perfect for new plants.
Do I need to turn the layers in my lasagna pot?
No, one of the primary benefits of lasagna composting is that it is a no-turn method. You simply build your layers and let nature do the work. The microorganisms and worms will naturally aerate and mix the materials as they decompose.
Will lasagna composting attract rodents or other pests to my balcony?
The risk of attracting pests is minimal if you follow guidelines. Always bury “green” kitchen scraps beneath a substantial layer of “brown” material, and absolutely avoid adding meat, dairy, oily foods, or pet waste. A thick top layer of dry browns acts as a deterrent. Keeping the compost adequately moist but not soggy also helps prevent unwanted visitors.
Can I add compost worms to my lasagna pot?
You can certainly introduce red wiggler compost worms (Eisenia fetida) to your lasagna pot. These worms accelerate decomposition, especially of kitchen scraps, and create valuable worm castings. They will thrive in the moist, organic environment you create. Ensure your pot has drainage and is kept in a location where temperatures do not drop below freezing for extended periods if you want the worms to survive the winter.
You have now acquired a powerful, yet simple, tool to enhance your gardening practice. The lasagna composting method empowers you to create superior soil, reduce waste, and grow healthier plants, all within the confines of your small space. Embrace this fall as an opportunity to layer your way to a more vibrant and sustainable garden. Your plants, and the planet, will thank you.
For trustworthy gardening information, visit:
New York Botanical Garden, ASPCA Animal Poison Control, Michigan State University Extension — Gardening and University of Wisconsin Extension — Horticulture. These organizations provide expert, research-based advice for gardeners at all levels.
Disclaimer: This article is for informational purposes only and is not a substitute for professional gardening advice. Always consult local extension services or horticulture experts for region-specific guidance.
Leave a Reply