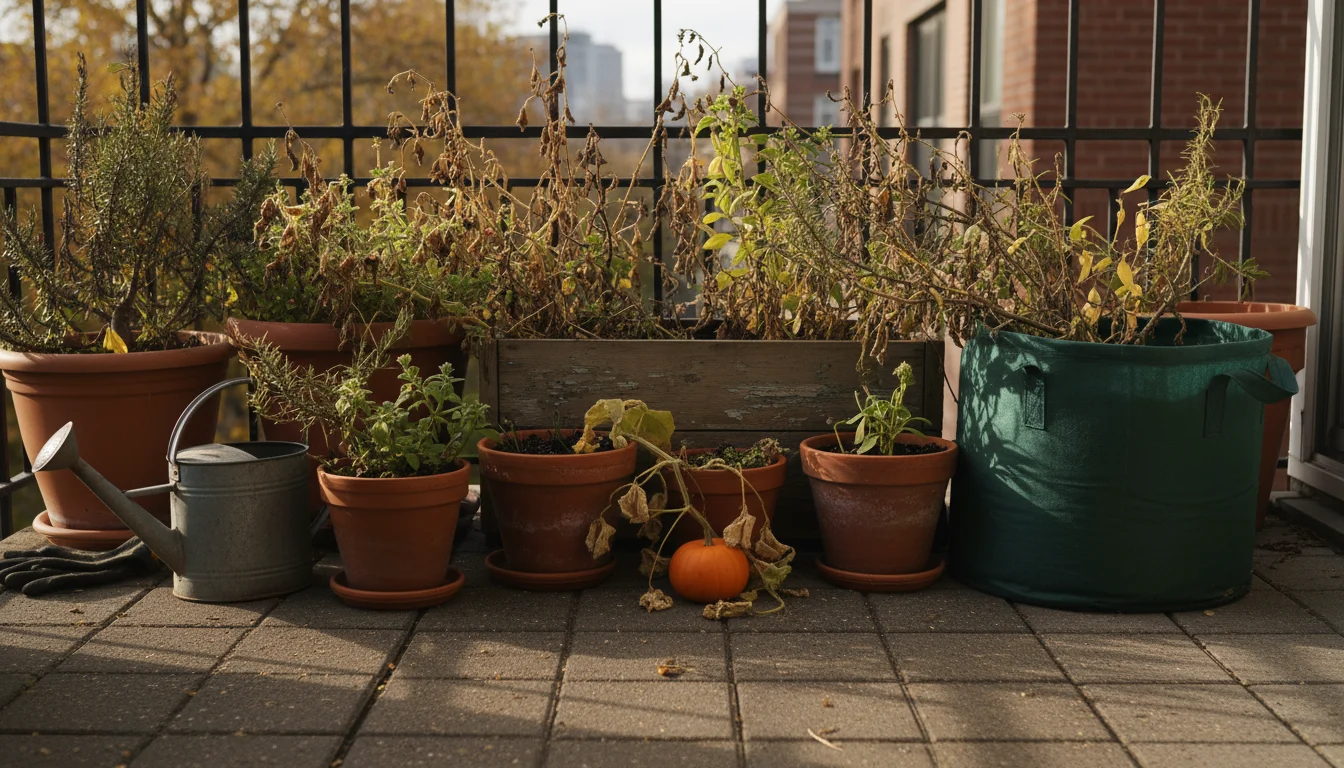
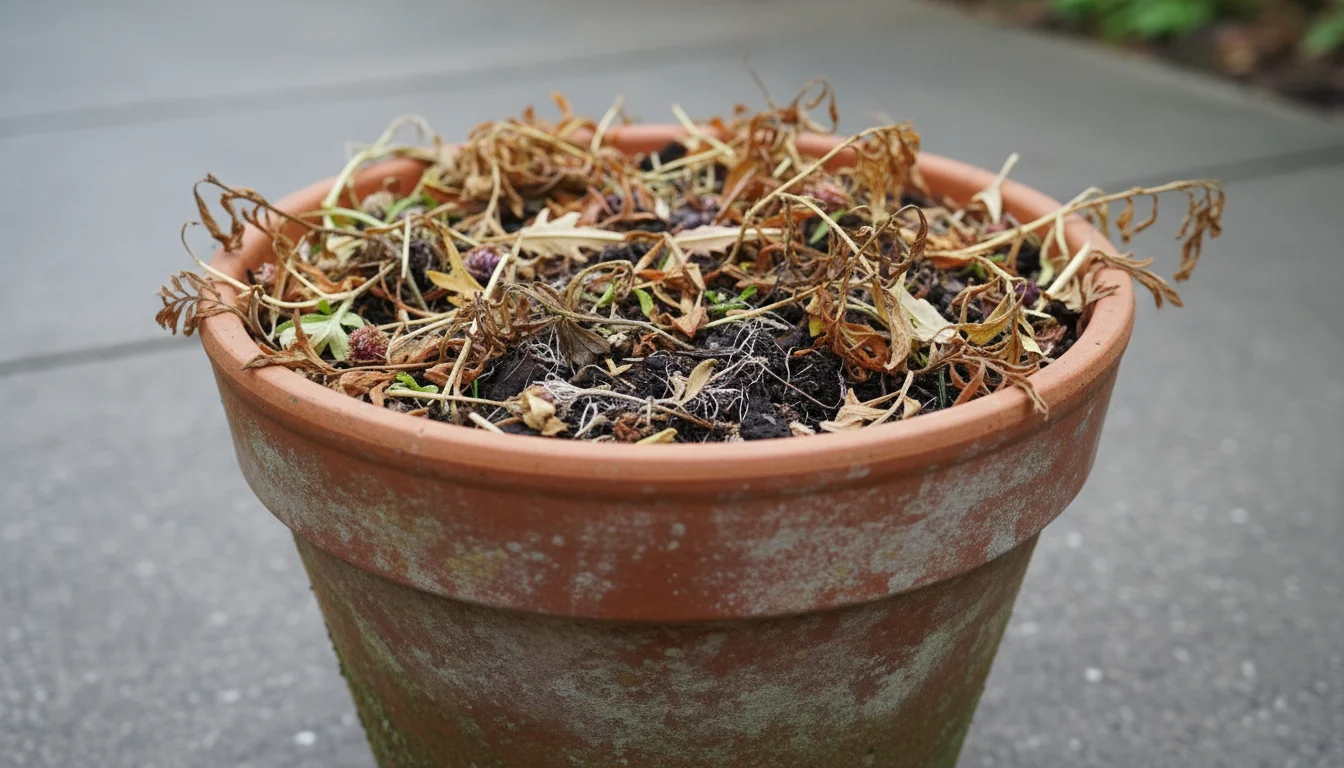
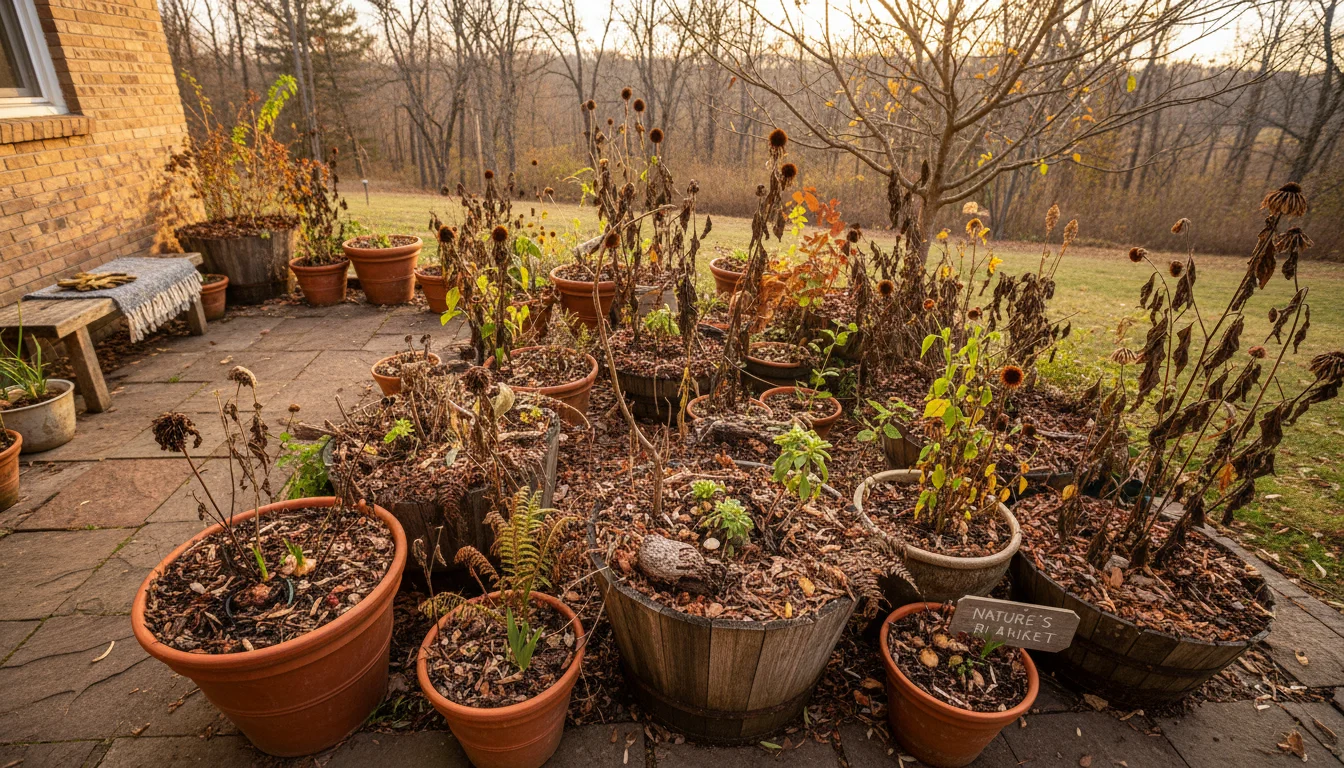
As the gardening season winds down, you might gaze at your containers and see the daunting task of fall garden cleanup ahead. Wilting annuals, spent herbs, and tired vegetables can leave you wondering what to do with dead plants in pots. Many gardeners feel the pressure to meticulously clear out every trace of summer, only to replenish their containers with expensive new potting mix come spring. What if there was a simpler, more beneficial way to approach this fall ritual?
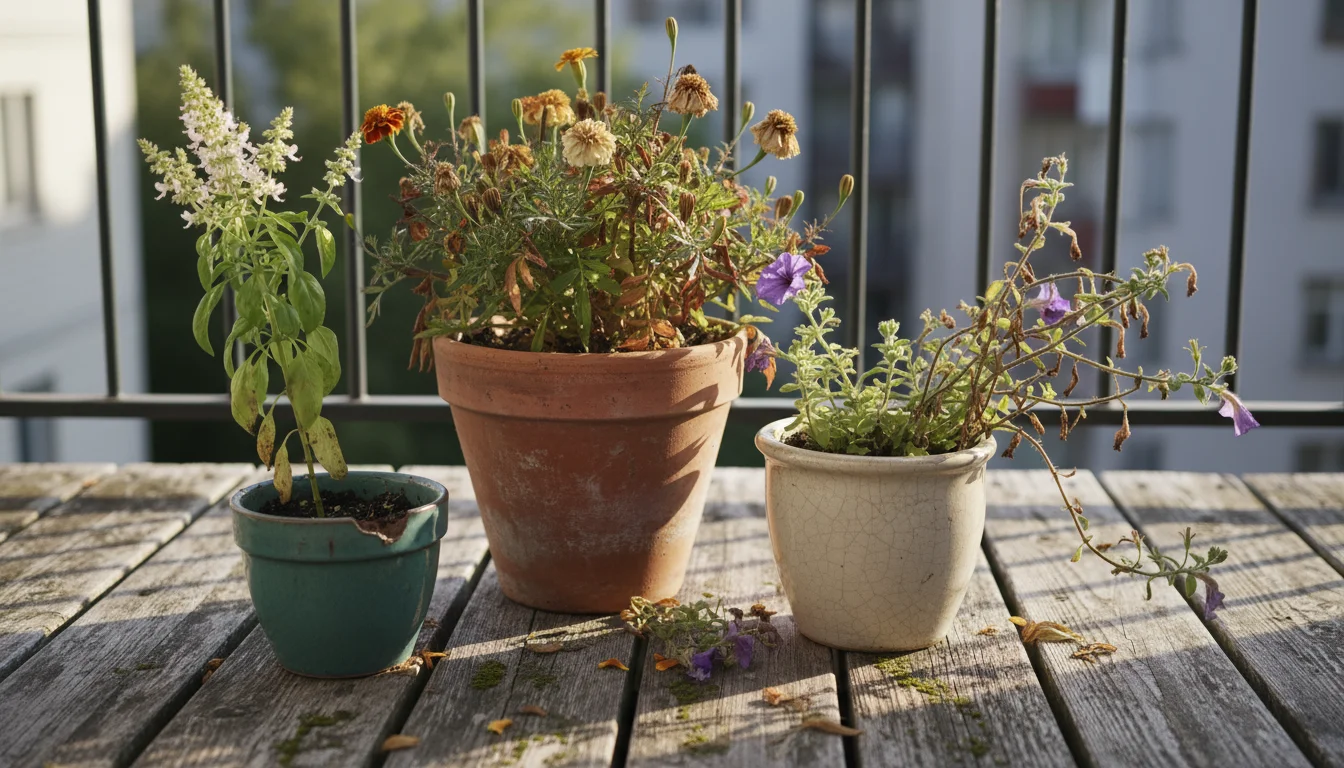
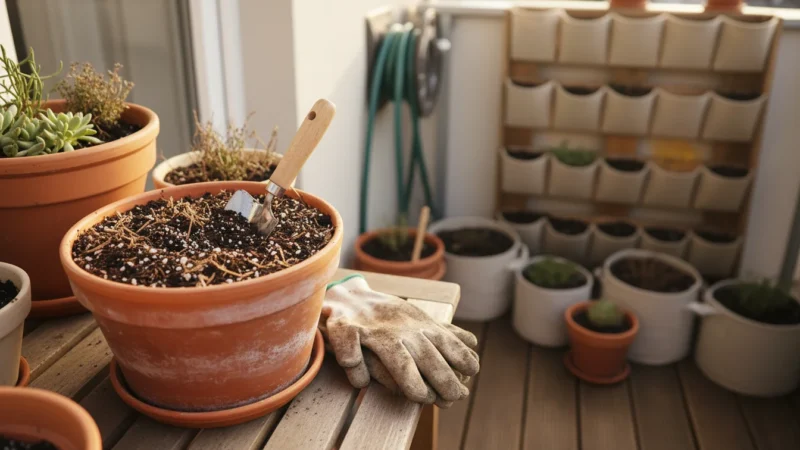
Before you begin chopping, take a moment to evaluate your container collection and decide which pots are worth prepping for next year.
Enter the ‘chop and drop’ method. This low effort fall garden task transforms cleanup from a chore into a powerful soil-building strategy. Instead of discarding your spent container plants, you actively return their organic matter to the soil they grew in. This isn’t just about saving time, it’s about fundamentally improving potting soil over winter and cultivating vibrant, healthy container soil year after year. Let’s explore how this practical, environmentally friendly approach can revolutionize your small-space gardening.
What is the “Chop and Drop” Method for Container Gardens?
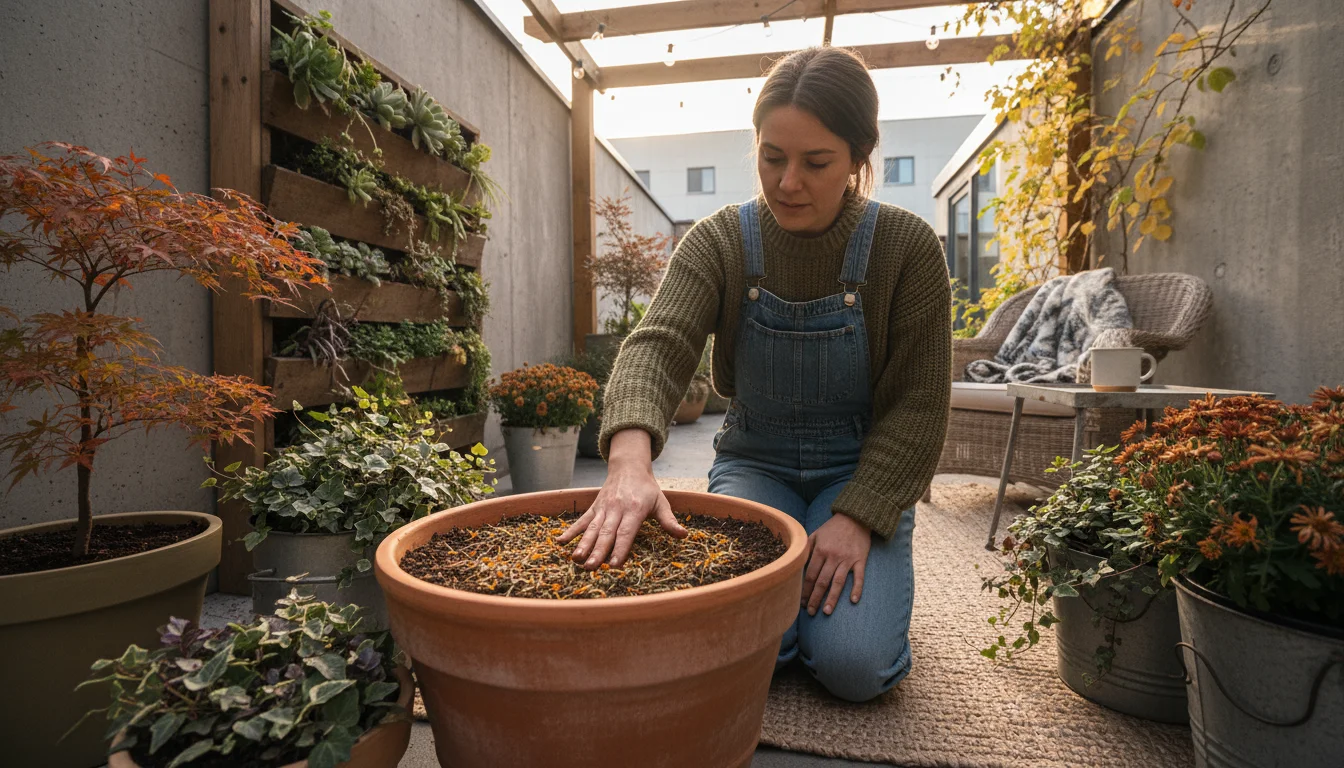
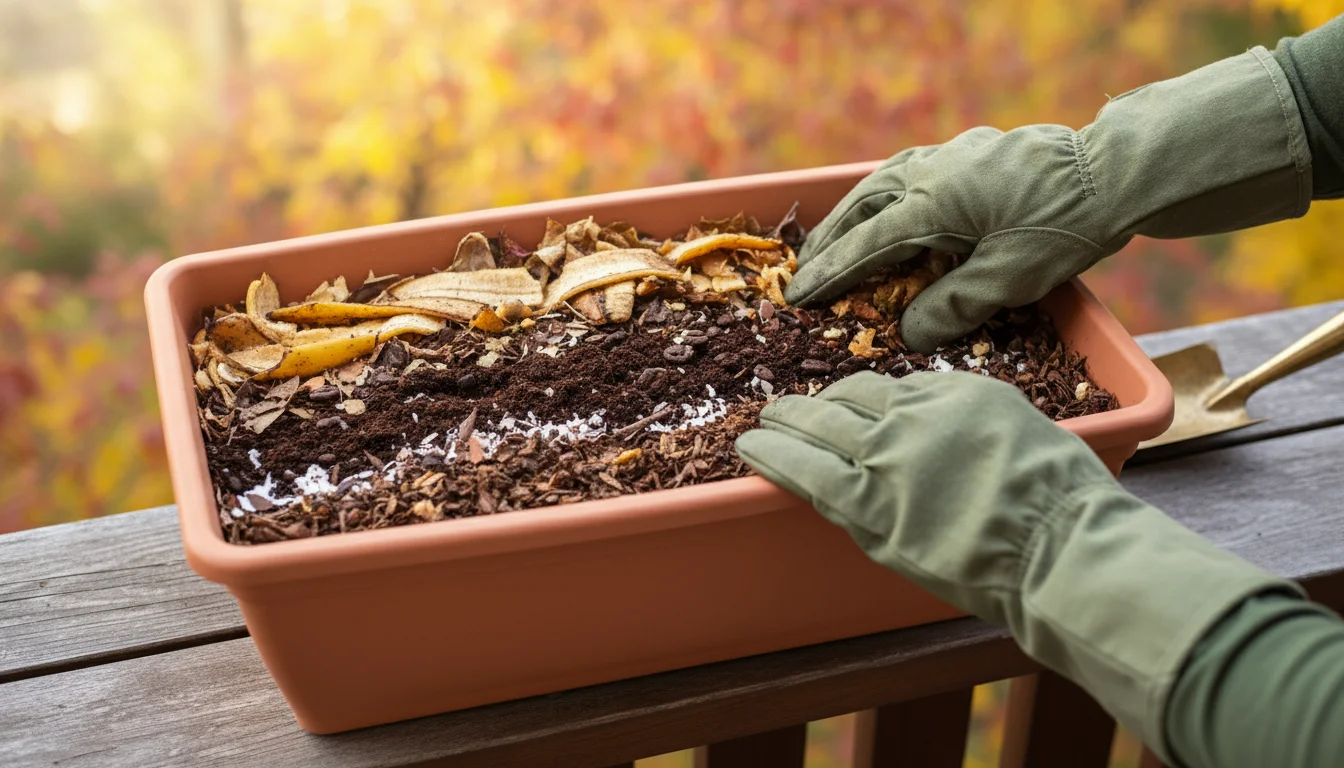
The ‘chop and drop’ method is precisely what its name implies: you chop up your spent plants and drop the pieces directly onto the surface of the soil in your containers. This technique mimics nature’s own recycling process. In forests and fields, leaves and plant debris fall to the ground, decompose, and return their nutrients to the soil, enriching it naturally. For container gardens, we adapt this principle to maintain and build container soil health.
Traditionally, many gardeners meticulously remove old plants, often discarding them in compost bins or waste bags. While composting is excellent, the ‘chop and drop’ method offers a more direct, localized nutrient return, especially valuable for the finite environment of a container. Instead of transporting nutrients away, you ensure they stay right where your next season’s plants will need them. This approach specifically addresses the question of what to do with dead plants in pots by repurposing them into a valuable resource. It represents one of the most effective low effort fall garden tasks you can adopt.
This method directly contributes to improving potting soil over winter by encouraging the breakdown of organic matter. As plant material decomposes, it slowly releases essential nutrients back into the potting mix. This process enhances soil structure, boosts microbial activity, and helps retain moisture, laying a strong foundation for robust growth when spring arrives.
Why Your Container Soil Needs a Fall Feast: The Science of Soil Health
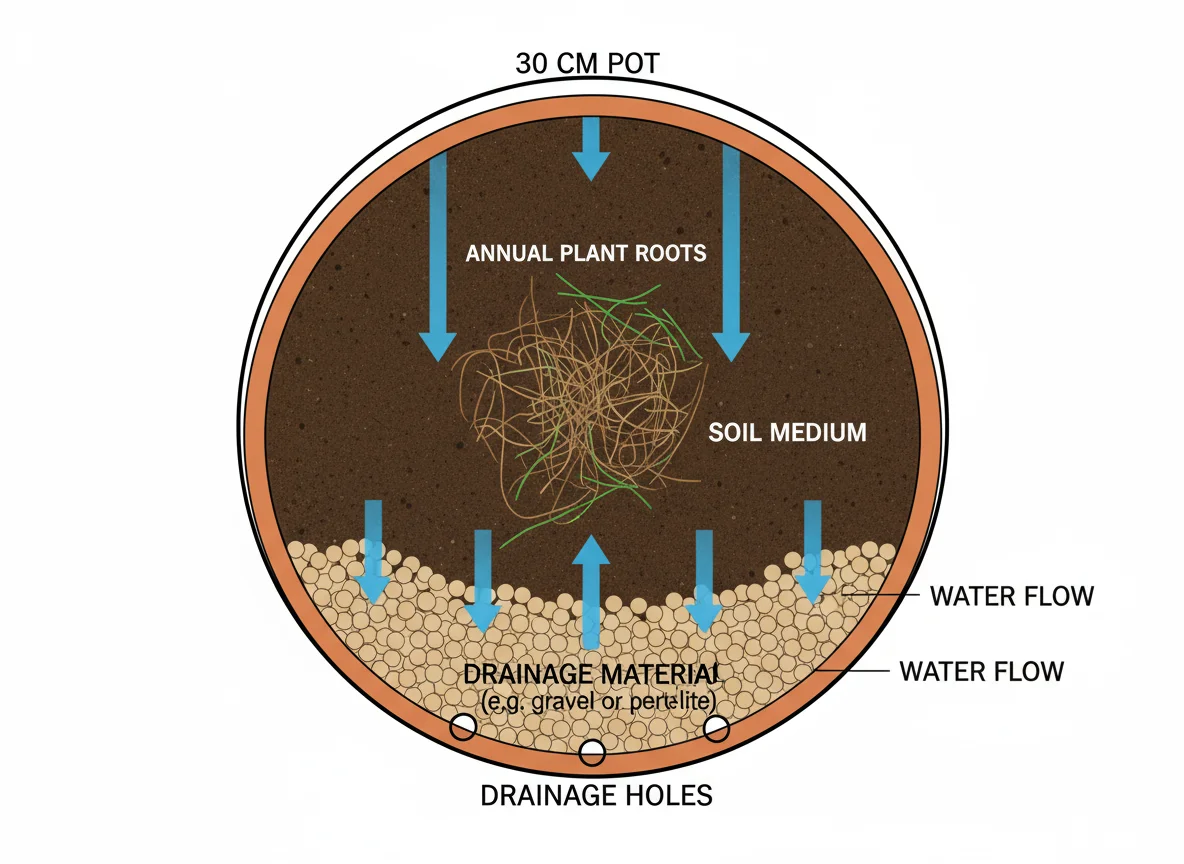
Container gardens face unique challenges compared to in-ground beds. Over a single growing season, plants in pots rapidly deplete the nutrients in their limited soil volume. Regular watering, essential for container growth, also leaches nutrients out through drainage holes. Drainage refers to how easily water moves through soil, and while good drainage prevents root rot, it also means nutrients can escape. By the end of summer, your potting mix is often exhausted, compacted, and structurally compromised.
If you want to go a step beyond the drop, planting a cover crop is another powerful way to rebuild soil structure over the winter months.
Before you start the process, performing a quick fall soil autopsy can help you understand exactly which nutrients your containers need most.
For an even richer nutrient boost, you can pair this method with simple soil amendments specifically chosen for the dormant season.
This depleted soil loses its ability to support vigorous plant growth without significant intervention. Without regular replenishment, your container soil becomes merely a medium to hold roots, offering little nutritional value. This is where the ‘chop and drop’ method becomes a critical strategy for container soil health.
When you chop and drop plant material, you are effectively introducing organic matter back into the system. Organic matter is the lifeblood of healthy soil. It provides food for an entire ecosystem of beneficial microorganisms, including bacteria, fungi, and earthworms if your container is large enough. These microscopic workers break down the plant debris, converting it into readily available plant nutrients. This decomposition process is crucial for improving potting soil over winter.
Think of it as a slow-release fertilizer that also improves soil structure. As the organic matter breaks down, it creates a looser, more aerated soil environment. This improved structure means better water retention, so your plants need less frequent watering next season, and better aeration, which helps roots breathe. By providing this fall “feast,” you are not just adding nutrients, you are actively rebuilding the fundamental health and resilience of your potting mix. This contributes significantly to overall container soil health, ensuring your soil is not just surviving but thriving.

Benefits Beyond the Basics: More Reasons to Chop and Drop
The advantages of the `chop and drop method` extend far beyond simply dealing with spent plants. This technique offers a holistic array of benefits for both your garden and the environment, making it an indispensable practice for small-space, low-maintenance gardeners.
First, consider the immense time savings. Traditional fall garden cleanup can be laborious, involving pulling plants, bagging waste, and hauling it away. The `chop and drop method` drastically reduces this effort. You simply snip, then let nature do the rest. This makes it one of the most effective `low effort fall garden tasks` available, freeing up your time for other enjoyable activities or simply relaxing.
Environmentally, this method shines. It keeps organic waste out of landfills, reducing methane emissions from decomposing plant matter. By returning nutrients directly to your containers, you lessen your reliance on synthetic fertilizers, which can have environmental impacts during production and runoff. It supports a closed-loop system, minimizing waste and maximizing resource efficiency right in your own garden. This aligns perfectly with an environmentally conscious gardening approach.
Cost savings represent another significant advantage. Healthy soil requires fewer amendments. By `improving potting soil over winter` through `chop and drop`, you reduce the need to purchase fresh potting mix or supplemental fertilizers each spring. Your existing soil becomes a self-sustaining nutrient factory, saving you money season after season. This directly supports `container soil health` without a hefty price tag.
Furthermore, this method enhances the soil’s natural pest and disease resistance. Healthy, biologically active soil fosters a balanced ecosystem where beneficial microbes can outcompete pathogens. While it is important to avoid dropping diseased plant material, for healthy plants, the increased organic matter and microbial diversity contribute to a more resilient growing environment. This active soil life can even deter common container pests by improving plant vigor. You transition from asking `what to do with dead plants in pots` to proactively building a better growing medium.
Choosing Your Fall Favorites: What Plants are Best for Chop and Drop?
Not all spent plants are created equal when it comes to the `chop and drop method`. Selecting the right candidates ensures efficient decomposition and prevents unintended problems in your containers. The goal is to return beneficial organic matter to improve `container soil health` without introducing issues.
Most annual flowers and vegetables are excellent choices for chopping and dropping. Think about plants like marigolds, petunias, nasturtiums, basil, lettuce, spinach, bush beans, and non-woody spent herbs. Their stems and leaves are relatively soft and break down quickly, providing a rapid nutrient release. These plants are usually quite tender and decompose readily, offering a fast contribution to `improving potting soil over winter`. When considering `what to do with dead plants in pots`, these are your prime candidates.
Here is a quick guide to selecting your fall favorites:
- Annuals: Most annual flowers and leafy vegetables are ideal. Their soft tissues decompose rapidly.
- Spent Herbs: Basil, cilantro, mint, and other soft-stemmed herbs work well.
- Legumes: Plants like beans and peas can be particularly beneficial. They fix nitrogen in the soil, and chopping them back allows this nitrogen to be released for future plants.
- Some Perennials: If a perennial is in a container and you are pruning it back for winter, the soft leafy material can be chopped and dropped. Avoid woody stems from mature perennials.
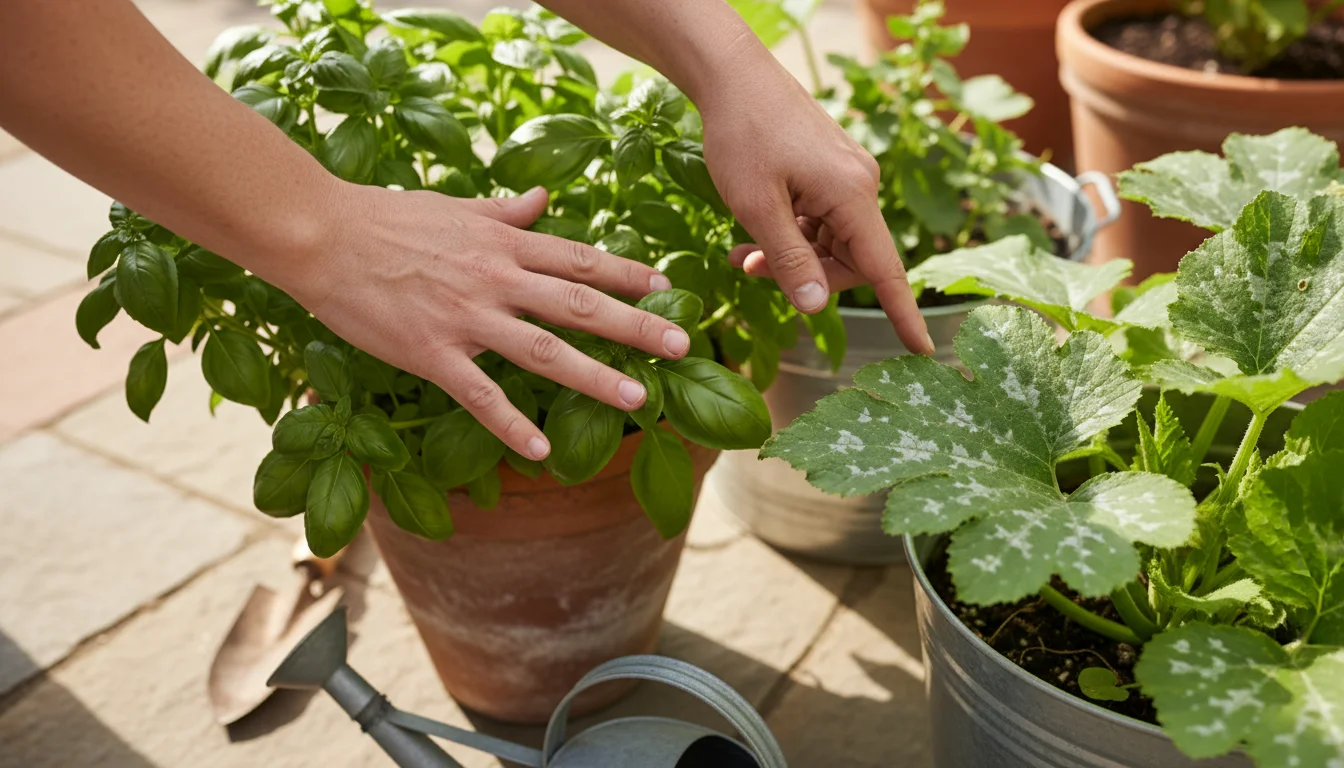
- Diseased Plants: Never chop and drop plants showing signs of fungal diseases, bacterial infections, or significant pest infestations. Instead, remove and dispose of these plants in the trash to prevent the spread of pathogens to your revitalized soil. This is a critical step in maintaining overall `container soil health`.
- Very Woody Stems: Thick, woody stems from shrubs or larger perennials will take a very long time to break down in a container environment, potentially hindering new root growth in spring. Remove these for separate composting or disposal.
- Invasive Weeds: Do not chop and drop aggressive weeds, especially those that have gone to seed. You risk introducing unwanted plants to your containers.
- Plants with Tough, Slow-Decomposing Structures: Some plants like corn stalks or very fibrous plants might break down too slowly for the confined space of a container.
By making smart choices about which plants to include, you maximize the benefits of this `low effort fall garden task` while ensuring a healthy start for your spring plantings.
The Simple Steps: How to Implement Chop and Drop in Your Containers
Implementing the `chop and drop method` is remarkably straightforward, requiring minimal tools and effort. This step-by-step guide will help you transform your `fall garden cleanup` into an effective `container soil health` booster.
After finishing your cleanup, don’t forget to clean and store your garden tools so they remain in top shape for next season.
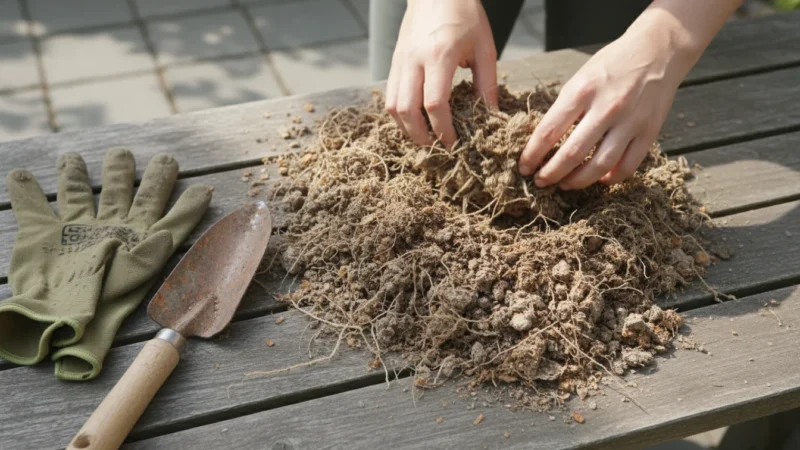
While focus is on the foliage, don’t forget to check how to handle last season’s roots to ensure the soil isn’t too compacted for spring growth.
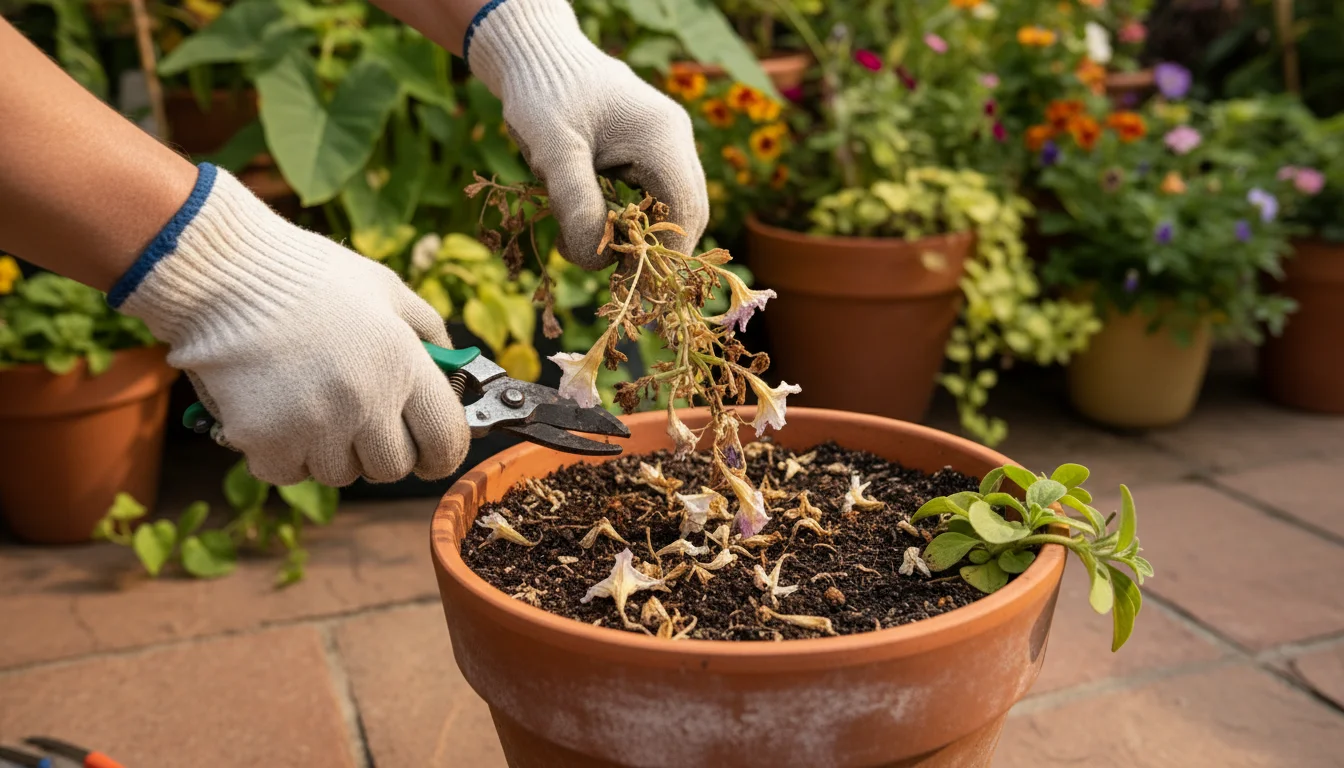
- Gather Your Tools: You will need a good pair of sharp pruners or scissors. Gloves are also advisable to protect your hands from plant sap or debris.
- Identify Your Candidates: As discussed, select healthy, non-woody annuals, herbs, or vegetables that have finished their growing cycle. Avoid diseased plants.
- Cut Down the Plants: Using your pruners, cut the plant material into small pieces, ideally no longer than 1-2 inches (2.5-5 cm). Smaller pieces decompose much faster than larger ones, ensuring nutrients are released efficiently for `improving potting soil over winter`.
- Distribute Evenly: Gently drop the chopped plant material directly onto the surface of the potting mix in your container. Aim for an even layer across the entire surface. If your container is very large, you might create a layer a couple of inches thick. For smaller pots, a thinner layer works best.
- Lightly Mix (Optional, but Recommended): You can lightly scratch the top layer of the chopped material into the very top inch of the potting mix. This helps integrate the organic matter and can speed up decomposition by bringing it into contact with soil microbes. Do not bury it too deeply, as surface decomposition is a key part of the ‘chop and drop’ technique.
- Water Lightly: After dropping the material, give the container a light watering. This settles the chopped plant matter, moistens it, and helps kickstart the decomposition process by activating the beneficial microorganisms in the soil.
That’s it! You have successfully performed a `low effort fall garden task` that will significantly enhance your `container soil health`. This method is an excellent answer to `what to do with dead plants in pots`, turning what once was waste into a valuable resource.
Winterizing Your Container Soil: Maximizing Decomposition
Once you have applied the `chop and drop method`, the next step is to ensure conditions are optimal for decomposition throughout the colder months. Effective winterization is crucial for `improving potting soil over winter` and maximizing the benefits of your `low effort fall garden tasks`.
While many plants are perfect for this method, make sure you aren’t chopping any perennials on the dormant list that need to remain intact until spring.
Maintain Moisture: Decomposition requires moisture. While you do not want your containers to become waterlogged, which can lead to root rot and anaerobic conditions, you should keep the soil consistently slightly damp. In regions with frequent winter rain or snow, nature often takes care of this. In drier climates, or during periods of drought, an occasional light watering might be necessary to support the microbial activity that breaks down the organic matter. Regularly check the soil moisture by inserting a finger about an inch deep. If it feels dry, add a small amount of water.
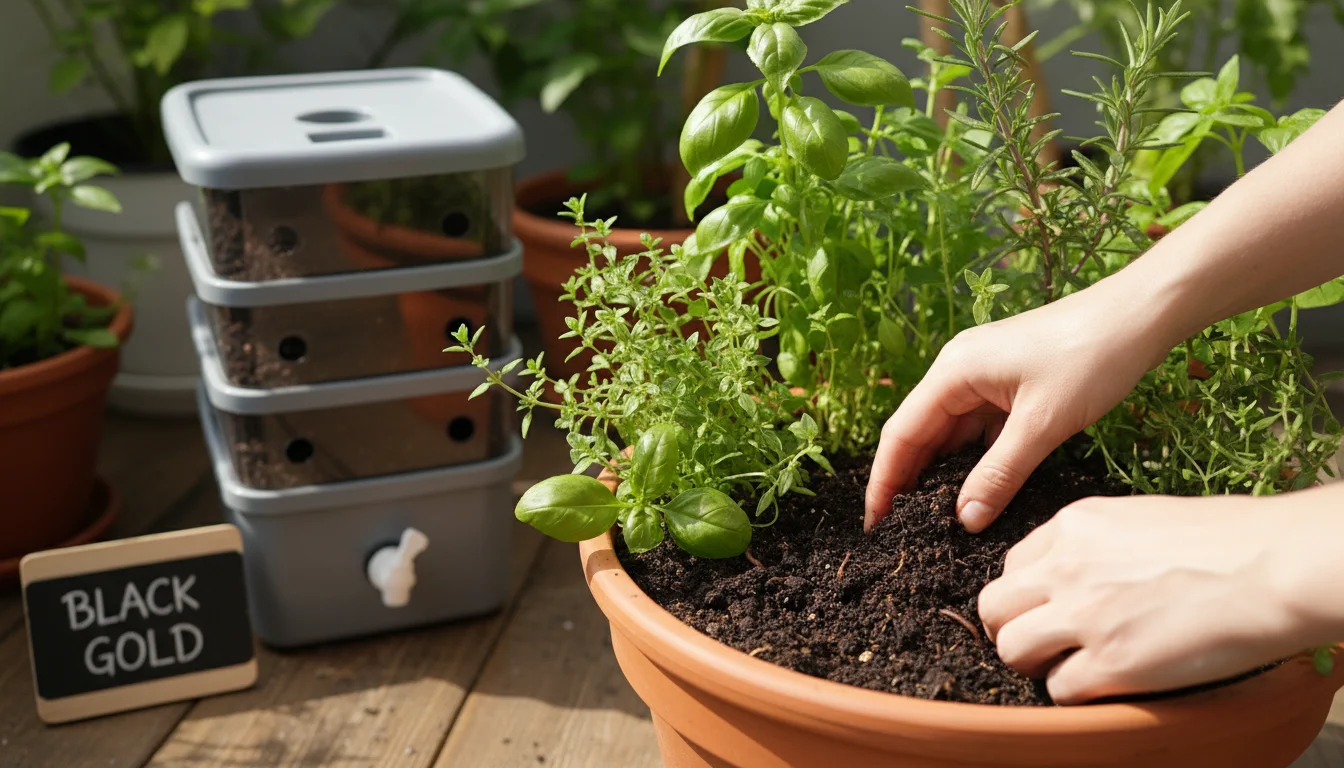
Layer with Additional Organic Material: To further boost `container soil health`, consider adding a thin layer of other readily available organic materials on top of your chopped plant matter. Shredded leaves, fine wood chips, or a thin layer of finished compost can act as a mulch. This additional layer helps insulate the soil, moderates temperature fluctuations, retains moisture, and provides even more food for soil microbes. This practice enhances the nutrient cycling process and protects the soil surface from harsh winter elements.
Protecting Your Containers: Depending on your climate, you may need to take steps to protect your containers themselves. Freezing and thawing cycles can cause pots, especially terracotta, to crack. Move containers to a sheltered spot, such as against a warm house wall, under an eaves, or into an unheated garage or shed. For plants that are cold-hardy and remaining outdoors, insulating the pots with burlap, bubble wrap, or straw bales can protect roots from extreme cold. This ensures the soil remains viable and the decomposition process can continue as effectively as possible, particularly in milder winter periods.
By thoughtfully preparing your containers for winter, you create an ideal environment for the `chop and drop method` to work its magic. This proactive approach guarantees that your `container soil health` is not only maintained but significantly improved, setting the stage for a flourishing garden next spring.
Common Questions and Troubleshooting for Your No-Tidy Cleanup
While the `chop and drop method` is generally straightforward, you might have some specific questions or encounter situations that require a bit of troubleshooting. Addressing these concerns helps ensure your `fall garden cleanup` is successful and boosts your `container soil health`.
”Will chopping and dropping attract pests or diseases?”
This is a common concern. For healthy, non-diseased plant material, the risk of attracting new pests is minimal. The key is to only chop and drop plants that were healthy throughout their growing season. If a plant showed signs of severe pest infestation or fungal disease (like powdery mildew, blight, or rust), remove it entirely and dispose of it in the trash, not your compost or containers. This prevents pathogens from overwintering and reinfecting your new plants. The decomposition process itself, facilitated by beneficial soil microbes, helps create a balanced ecosystem that can deter pests.
- Size of pieces: Larger pieces break down more slowly. Ensure you chop material into small, 1-2 inch segments.
- Moisture: Decomposition requires consistent moisture. Check that your soil and chopped material remain slightly damp, especially in dry winter periods.
- Temperature: Decomposition slows significantly in freezing temperatures. It will accelerate again as temperatures rise. Be patient; the process is often slow during winter.
- Carbon-to-Nitrogen Ratio: If you have too much “brown” (carbon-rich, woody) material relative to “green” (nitrogen-rich, leafy) material, decomposition can slow. For containers, the focus is usually on soft annuals, which are balanced, but if adding extra leaves, mix in some nitrogen-rich material if possible.
”What if my container soil looks messy or unsightly with all the chopped material?”
Aesthetics are a personal preference. Some gardeners find the natural look appealing. If you prefer a tidier appearance, you can lightly cover the chopped material with a thin layer of fresh potting mix or a decorative mulch like shredded leaves or small, attractive wood chips. This helps hide the decomposing matter while still allowing it to enrich the soil underneath. The goal of this `low effort fall garden task` is function, but you can certainly make it look good too.
”Can I do this with all my containers?”
Generally, yes, for most annuals and non-woody plants. However, consider the size of your container and the type of plant. Very small containers might not have enough soil volume to effectively decompose a large amount of plant matter. Also, avoid this method for containers with plants you intend to bring indoors for winter or those housing delicate succulents that prefer very lean, fast-draining soil. Always prioritize the specific needs of the plants you are growing.
By understanding these common scenarios, you can confidently integrate the `chop and drop method` into your `fall garden cleanup`, turning potential challenges into opportunities for enhanced `container soil health`.
Preparing for Spring: What to Expect from Your Renewed Container Soil
As winter gives way to spring, the rewards of your `no-tidy fall cleanup` will become evident. Your `container soil health` will have undergone a significant transformation, setting the stage for a thriving growing season. Knowing what to expect will help you prepare your revitalized containers for planting.
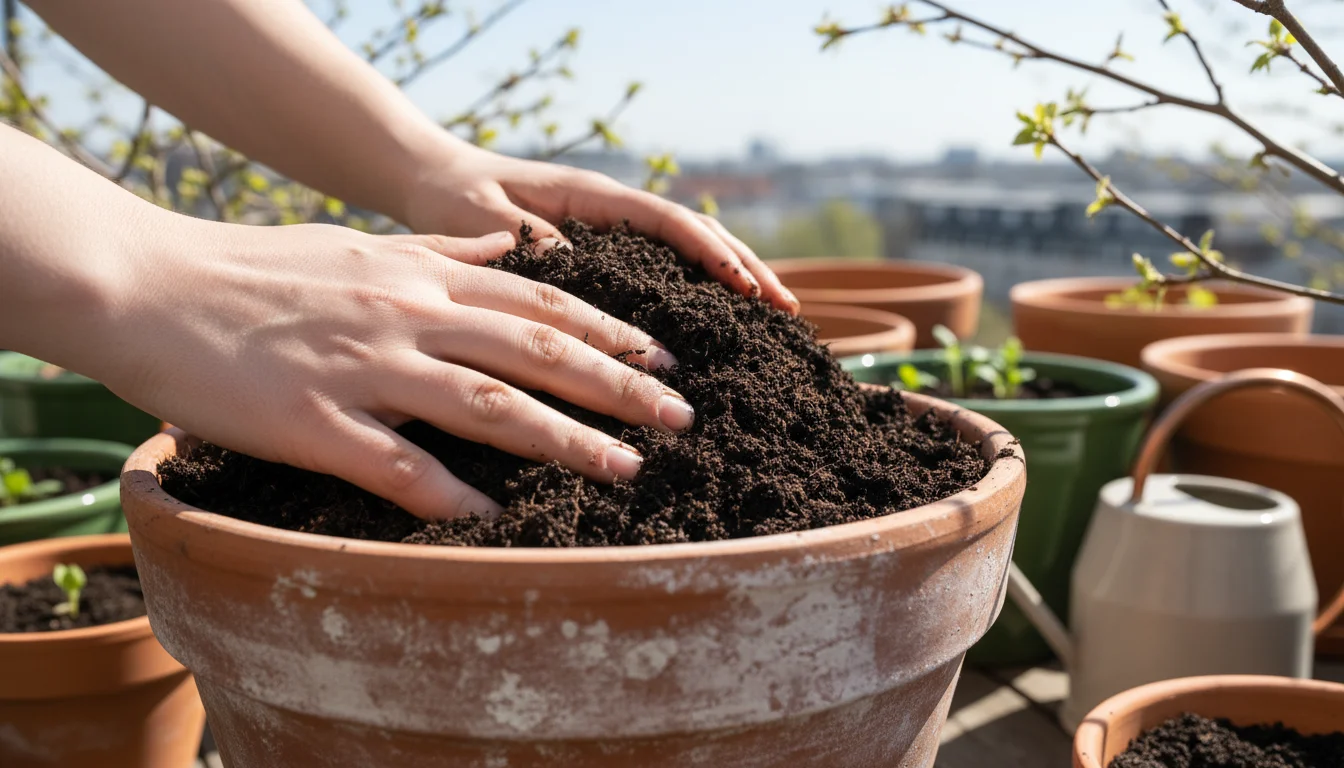
When you inspect your containers in early spring, you will likely notice a change in the soil’s appearance and texture. Much of the chopped organic matter you dropped in the fall will have disappeared or visibly broken down. Instead of depleted, compacted soil, you should find a darker, richer-looking potting mix. The texture will feel lighter and more crumbly, indicating improved soil structure and aeration. This is a direct result of `improving potting soil over winter` through active decomposition.
This revitalized soil boasts a higher organic matter content, which translates to better water retention. Your plants will likely require less frequent watering than they would in fresh, nutrient-poor potting mix. The increased microbial activity will have released a slow, steady supply of nutrients, meaning your plants might need less supplemental feeding initially. This contributes to a `low effort fall garden task` that pays dividends in spring, reducing ongoing maintenance.
When it comes time to plant, gently mix the top few inches of the enriched soil. You might find a small amount of undecayed plant material remaining, especially if your winter was particularly cold or short. This is perfectly normal and will continue to break down. You do not need to remove it. Simply incorporate it into the top layer of soil as you prepare for new plantings.
You can now plant directly into this improved potting mix. For exceptionally heavy feeders or long-season crops, you might still consider a small addition of fresh potting mix or a balanced organic fertilizer, but your baseline soil quality will be dramatically superior. This approach ensures your `container soil health` is robust and ready to support strong, healthy plant growth from day one, maximizing the success of your small-space garden.
Beyond the Containers: Expanding Your Low-Maintenance Philosophy
The `chop and drop method` for containers is more than just a technique; it is an embodiment of a broader, more sustainable, and ultimately more joyful gardening philosophy. By adopting this `low effort fall garden task`, you begin to see your garden not as a series of chores, but as a dynamic ecosystem where every element plays a vital role.
For gardeners looking to build even deeper levels of fertility, you can adapt these principles into a lasagna composting method specifically designed for balcony pots.
This approach encourages you to observe nature’s cycles more closely. You learn to appreciate the breakdown of organic matter, the intricate work of soil microbes, and the natural replenishment of resources. It is a departure from a “tidy” aesthetic that often removes valuable organic material, moving towards a more “living” garden that embraces natural processes. This shift in perspective makes gardening less about fighting nature and more about working with it.
Consider how the principles of `chop and drop` can extend beyond your container garden. In small raised beds or even compact in-ground areas, leaving spent plant material to decompose in place, or chopping it and spreading it as mulch, offers similar benefits. It enriches the soil, conserves moisture, and reduces the need for external inputs. This is particularly relevant for `low-maintenance gardening`, as it streamlines your tasks and reduces reliance on purchased soil amendments.
Embracing `chop and drop` also reinforces environmental consciousness. You are actively reducing waste, minimizing your carbon footprint, and fostering biodiversity in your immediate environment. It is a small but significant step towards creating a more sustainable home ecosystem.
Ultimately, by understanding `what to do with dead plants in pots` and implementing this simple yet powerful method, you move towards a garden that is not only beautiful and productive but also healthy, resilient, and far less demanding of your time and resources. This natural approach to `fall garden cleanup` proves that the most effective solutions are often the simplest, aligning perfectly with the ethos of `SimpleGardenJoy.com`. Your `container soil health` will thank you, and your gardening experience will become more rewarding.
Frequently Asked Questions
Does the chop and drop method replace all soil amendments?
While the chop and drop method significantly improves potting soil over winter by adding organic matter and nutrients, it may not completely replace all soil amendments, especially for very hungry plants or long growing seasons. It reduces the need for fresh potting mix and synthetic fertilizers, but you might still opt for a boost of organic compost or a balanced slow-release fertilizer in spring, depending on your plants’ needs and the soil’s condition.
Can I use chop and drop if my containers are going to freeze solid?
Yes, you can. Even if your containers freeze solid, the organic matter you chop and drop will begin to break down when temperatures rise above freezing. Microbial activity slows significantly or pauses in freezing conditions, but the material will still be there to decompose once warmer weather returns. The freezing and thawing cycles can even help break down plant tissues, aiding the process. Just ensure adequate moisture when temperatures are above freezing.
Should I remove any roots when doing the chop and drop method?
Generally, you do not need to remove the roots of annual plants. The roots will naturally decompose in the soil, adding even more organic matter and creating tiny channels that improve soil aeration and drainage. Only remove roots if they are exceptionally large, woody, or if the plant was severely diseased.
Will the chopped material blow away in the wind?
If you chop the material into small pieces and it is slightly damp, it tends to settle onto the soil surface and is less likely to blow away. A light watering after dropping helps secure it. If you live in a very windy area or prefer a neater look, you can add a thin layer of shredded leaves or a light layer of fresh potting mix over the chopped material to hold it in place and further protect the soil.
How quickly does the chopped material break down?
Decomposition speed varies based on several factors: the type of plant material (soft, leafy plants break down faster than tougher ones), the size of the pieces (smaller is faster), moisture levels, and temperature. In warmer, consistently moist conditions, soft material can largely disappear within weeks. In cold winter conditions, it will be a slower process, but by early spring, you should see significant breakdown, with the process accelerating as temperatures rise.
For trustworthy gardening information, visit:
UC IPM (University of California Integrated Pest Management), Missouri Botanical Garden and Kew Science — Plants of the World. These organizations provide expert, research-based advice for gardeners at all levels.
Disclaimer: This article is for informational purposes only and is not a substitute for professional gardening advice. Always consult local extension services or horticulture experts for region-specific guidance.


Leave a Reply