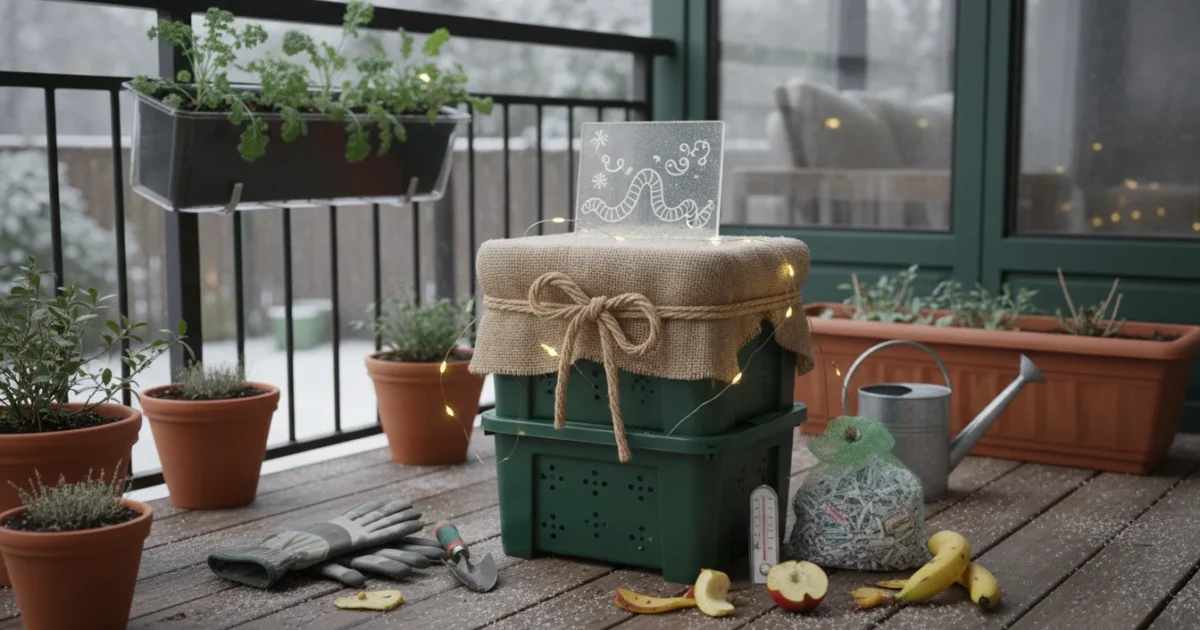
Do you live in an apartment, condo, or small home and dream of turning your kitchen scraps into nutrient-rich soil for your houseplants or balcony garden? Many people believe composting requires a spacious backyard, but that is not true. You can effectively compost indoors, right in your apartment, even during winter, with a small-scale vermicomposter. This system, powered by diligent composting worms, transforms organic waste into valuable fertilizer known as “worm castings” or “black gold.” Vermicomposting is an excellent way to reduce household waste, improve your gardening results, and embrace an eco-conscious lifestyle, all from the comfort of your home.
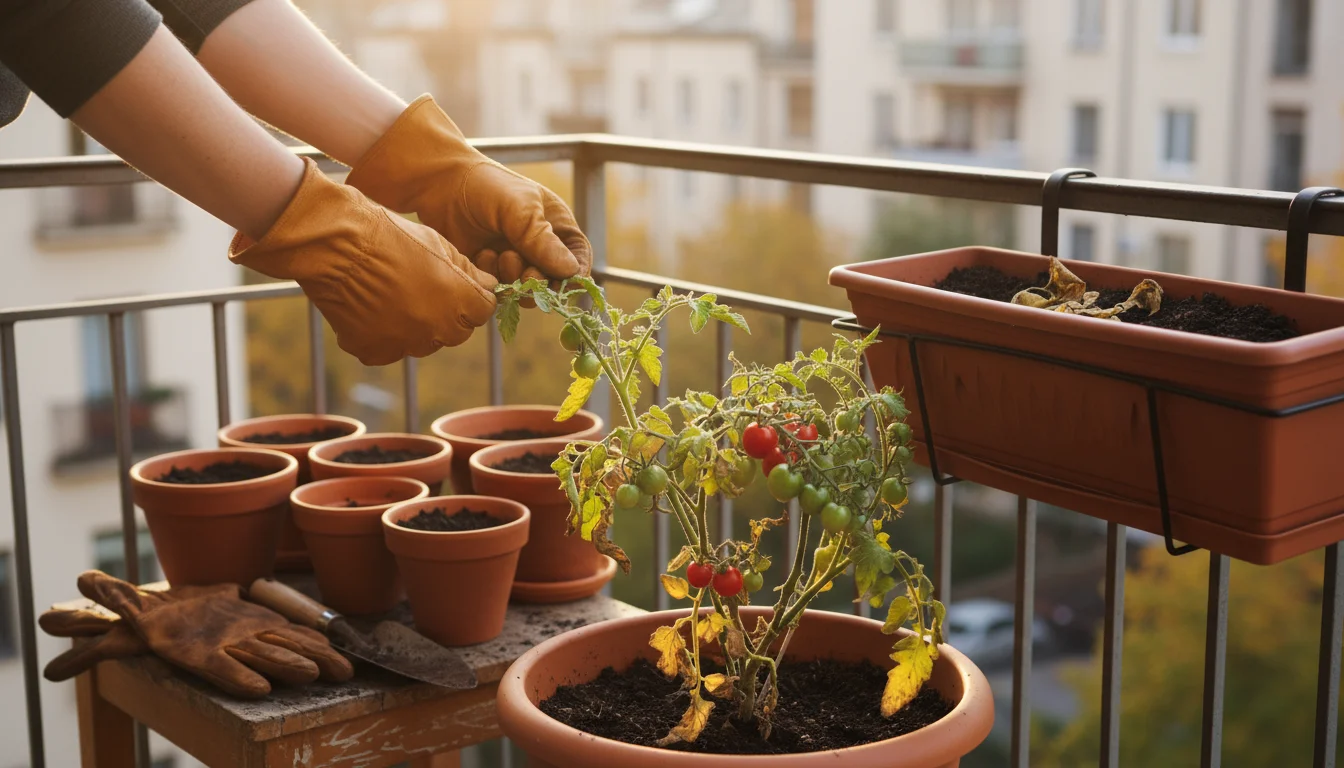
Beyond recycling kitchen scraps, learning what to do with dead plants ensures your entire indoor garden remains sustainable.
Starting a worm farm is just one of many indoor gardening projects for winter days that can keep your green thumb active.
This comprehensive guide will walk you through everything you need to know about setting up and maintaining an indoor worm bin. We will cover choosing the right bin, selecting your worm team, feeding them correctly, and harvesting your fantastic results. Get ready to embark on a fascinating, productive winter project that provides practical, actionable insights for every beginner and intermediate gardener.
What is Vermicomposting and Why Does Your Apartment Need It?
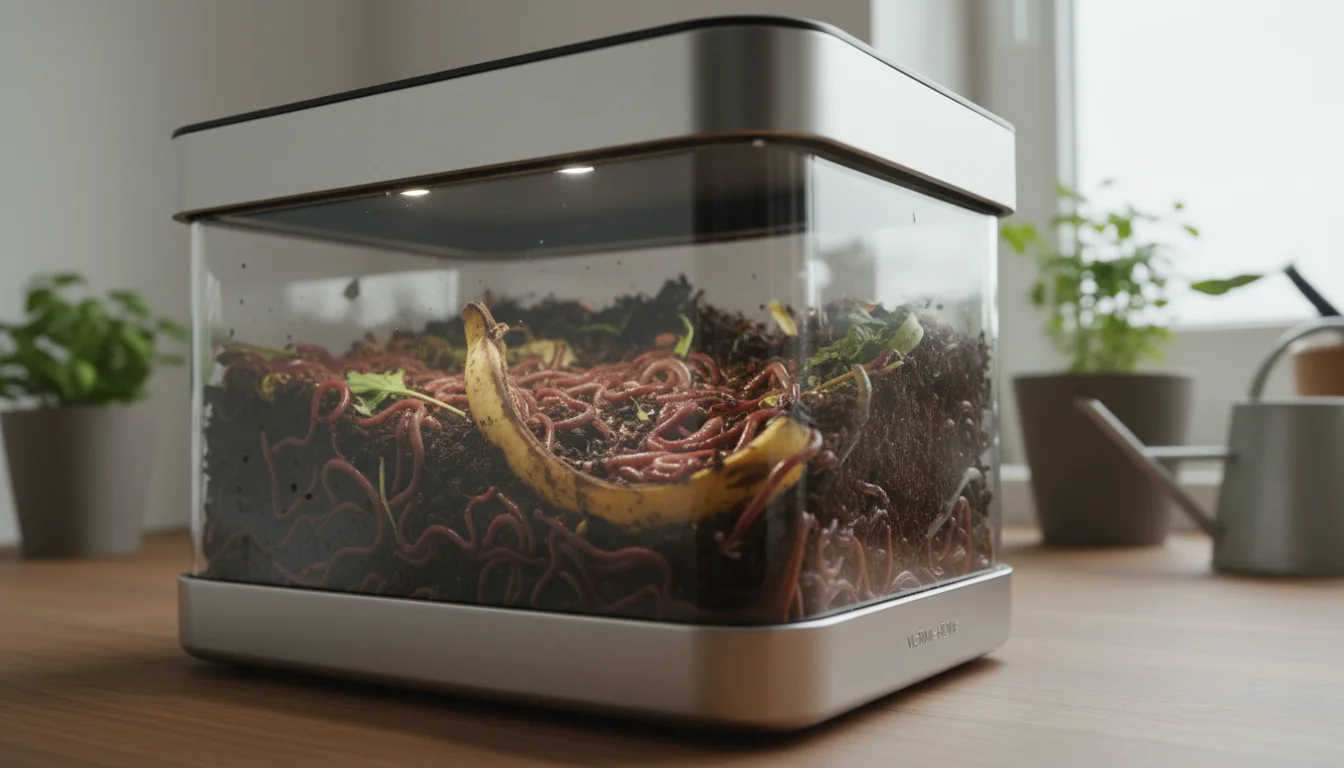
Vermicomposting involves using specific types of worms to break down organic materials, like kitchen scraps and paper, into a rich, dark, earthy compost called worm castings. These castings are a fantastic soil amendment, packed with nutrients and beneficial microbes that enhance plant growth. This process differs from traditional outdoor composting, which relies on heat and various microorganisms. Vermicomposting operates at room temperature, making it ideal for indoor environments like your apartment. It is a controlled, contained, and highly efficient method of turning waste into a resource.
If you prefer a method that handles cooked foods and dairy, you might also consider indoor composting with Bokashi buckets alongside your worm bin.
For apartment dwellers, vermicomposting solves several common challenges. You eliminate the need for a large outdoor compost pile, which is often impossible in small spaces. It also offers a year-round solution for managing organic waste, keeping valuable nutrients out of landfills. Imagine significantly reducing your garbage output simply by feeding your worms. Data from the Environmental Protection Agency (EPA) shows that food scraps and yard waste constitute over 30% of what we throw away, yet they could be composted instead. Your small-scale vermicomposter directly addresses this issue, contributing to a more sustainable lifestyle from your kitchen.
The beauty of vermicomposting for beginners lies in its simplicity and minimal upkeep. Your worm bin becomes a self-sustaining ecosystem. The worms do most of the work, converting your food scraps into a product that benefits your plants and the environment. This system represents one of the most practical and odorless indoor composting systems available, allowing you to compost discreetly and effectively, even in a compact living area.
Unlock the Benefits: Why Vermicomposting Excels for Small Spaces
Starting an indoor worm bin offers a multitude of advantages, especially for those with limited space. You will find that the benefits extend far beyond simply reducing waste.
- Waste Reduction and Environmental Impact: Your worm bin drastically cuts down on the amount of organic waste you send to landfills. When food scraps decompose in landfills, they produce methane, a potent greenhouse gas. Vermicomposting diverts this waste, reducing your carbon footprint. A typical household can divert 700 pounds of organic waste annually through composting, a significant impact from a small apartment composting setup.
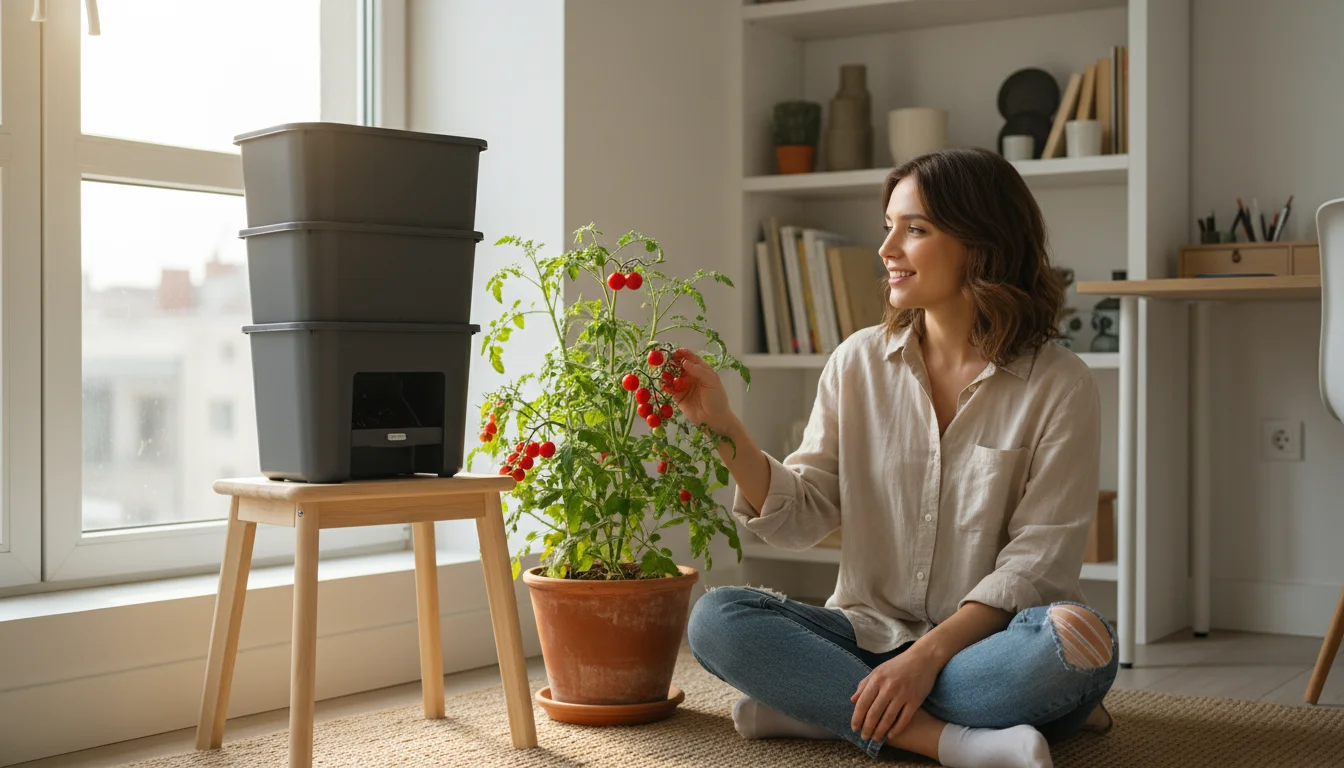
- Produces Superior Fertilizer: Worm castings are often called “black gold” for good reason. They are richer in nutrients and beneficial microorganisms than traditional compost. University studies show worm castings improve soil structure, water retention, and plant disease resistance. Your houseplants, herbs, and balcony vegetables will thrive with this natural, slow-release fertilizer.
- Odorless and Clean Operation: When properly managed, an indoor worm bin does not smell. Any foul odors typically signal an imbalance in the bin, which you can easily correct. Your bin remains a clean, unobtrusive addition to your living space, making it a truly odorless indoor composting system.
- Educational and Engaging: Vermicomposting offers a fascinating, hands-on learning experience. You observe a natural process up close, understanding nutrient cycles and ecosystems. This makes it an engaging project for families and a wonderful way to connect with nature, even in an urban setting.
- Cost-Effective: You reduce your reliance on store-bought fertilizers, saving money over time. Once your initial setup is complete, the worms consume your kitchen scraps for free, providing you with a continuous supply of high-quality plant food.
- Year-Round Productivity: Unlike outdoor composting, which can slow or halt in cold weather, your indoor worm bin operates efficiently year-round. This ensures a steady supply of castings and consistent waste diversion, regardless of the season. This makes it a perfect winter worm bin project.
Considering these advantages, beginning a worm farm in a small apartment becomes an incredibly appealing and practical endeavor. It aligns perfectly with a low-maintenance, eco-conscious gardening philosophy, transforming your approach to waste and plant nutrition.
Choosing and Setting Up Your Odorless Indoor Composting System
Selecting the right worm bin is a crucial first step for your apartment composting journey. You have several options, from ready-made commercial systems to simple DIY worm bin for kitchen scraps. The best choice depends on your budget, available space, and DIY comfort level.
Having a dedicated indoor gardening tool kit nearby makes it easy to maintain your bin and harvest the castings.
Commercial Worm Bins
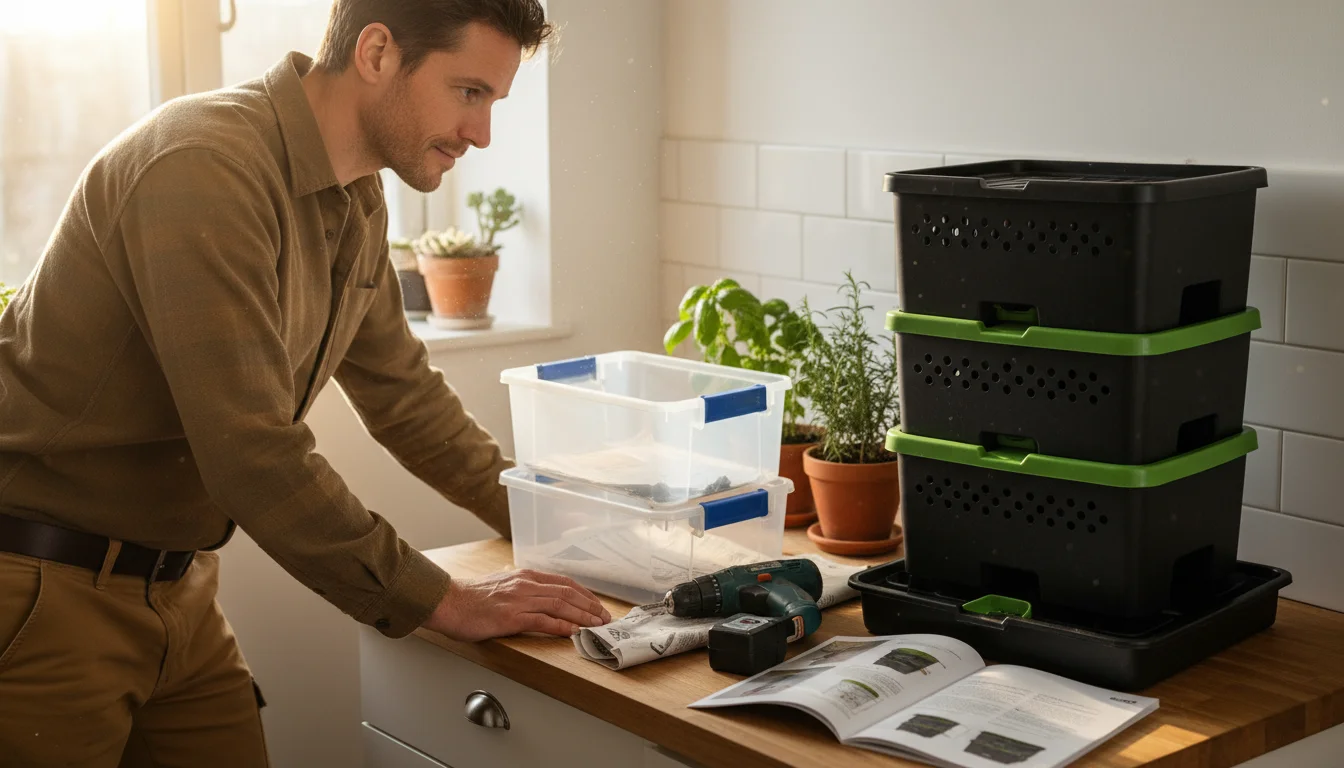
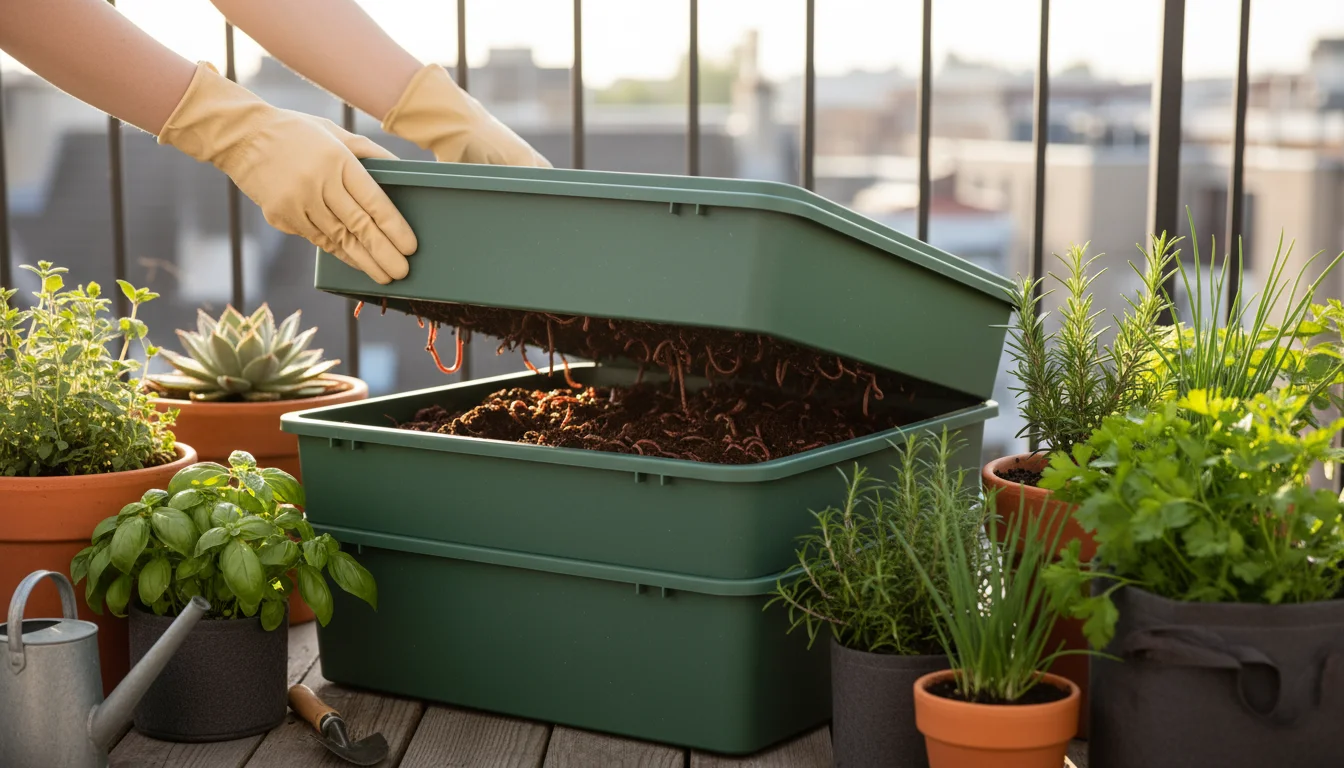
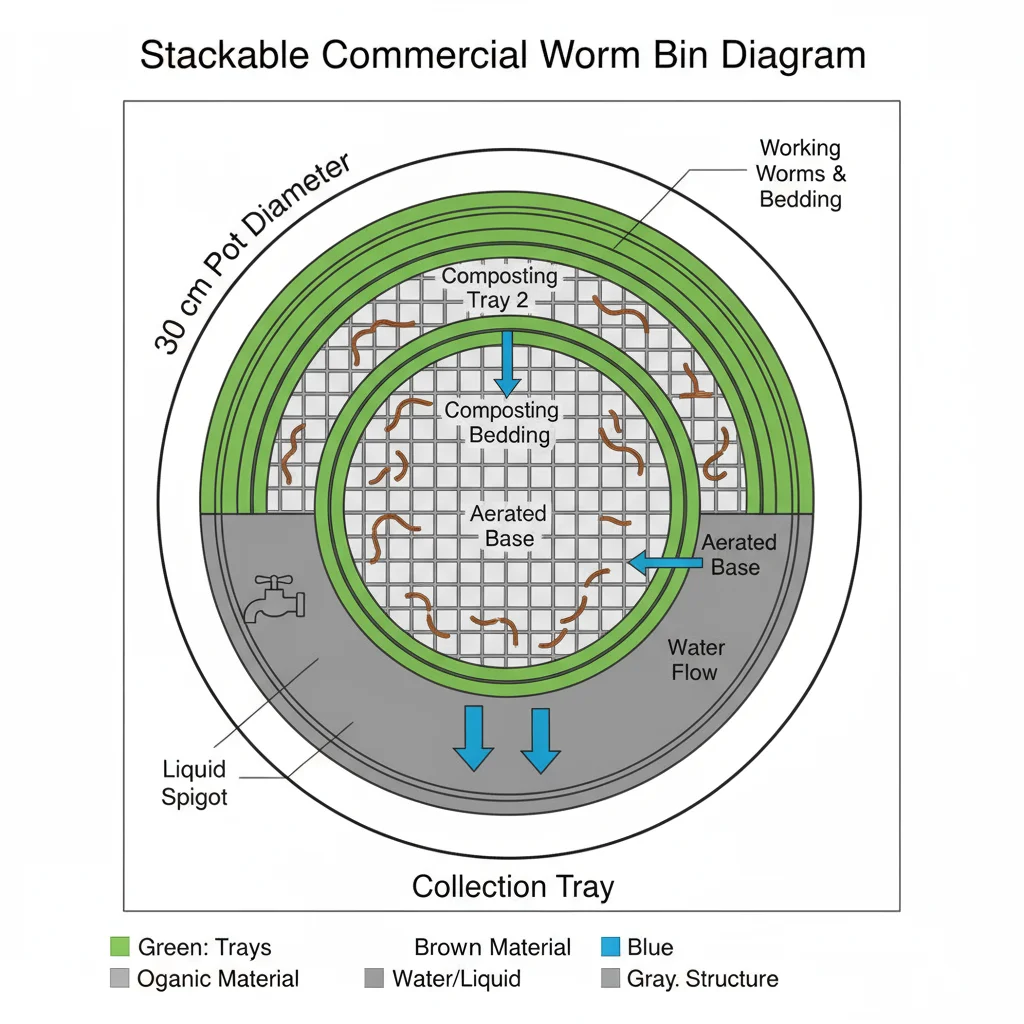
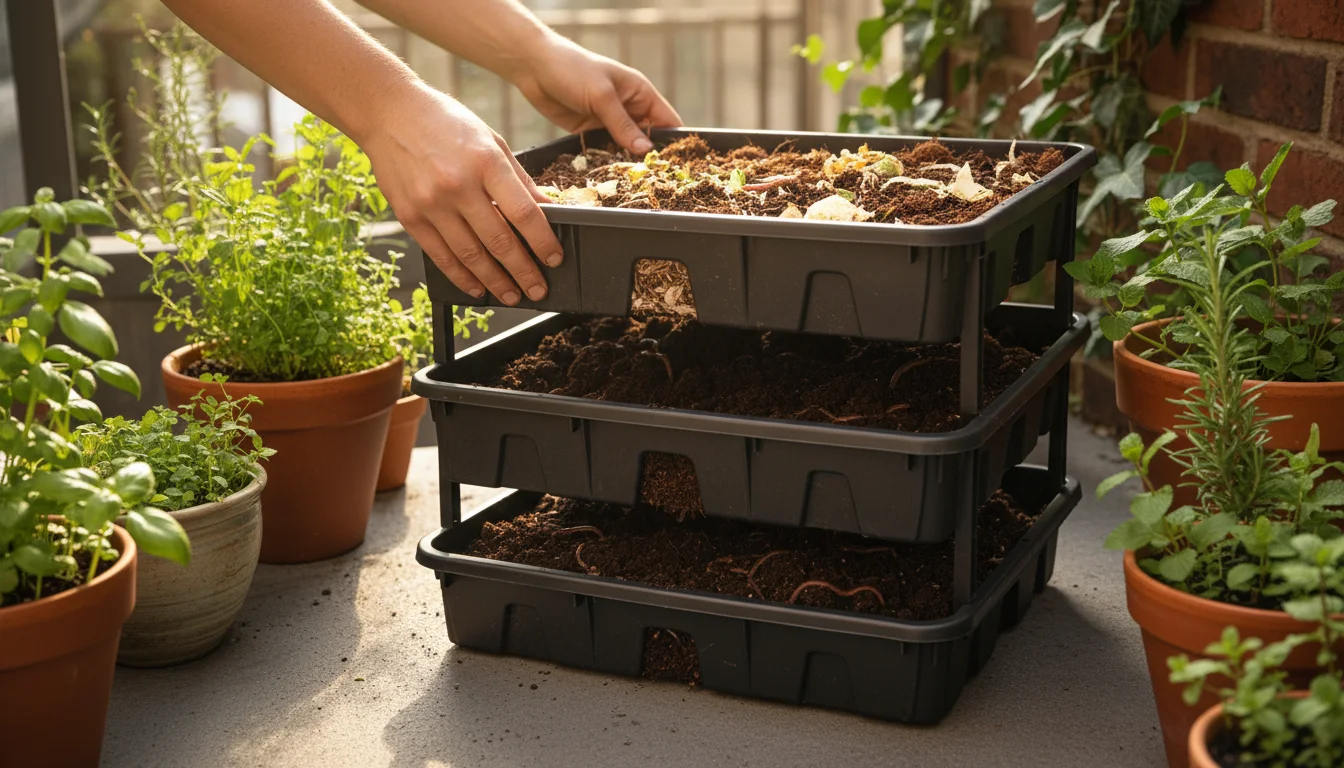
Many excellent commercial worm bins are available. These often feature stackable trays, which allow worms to migrate upwards as they finish processing the lower layers, simplifying harvesting. They are typically well-ventilated, durable, and designed to fit neatly into small spaces. Popular brands offer systems made from recycled plastic, ensuring sustainability.
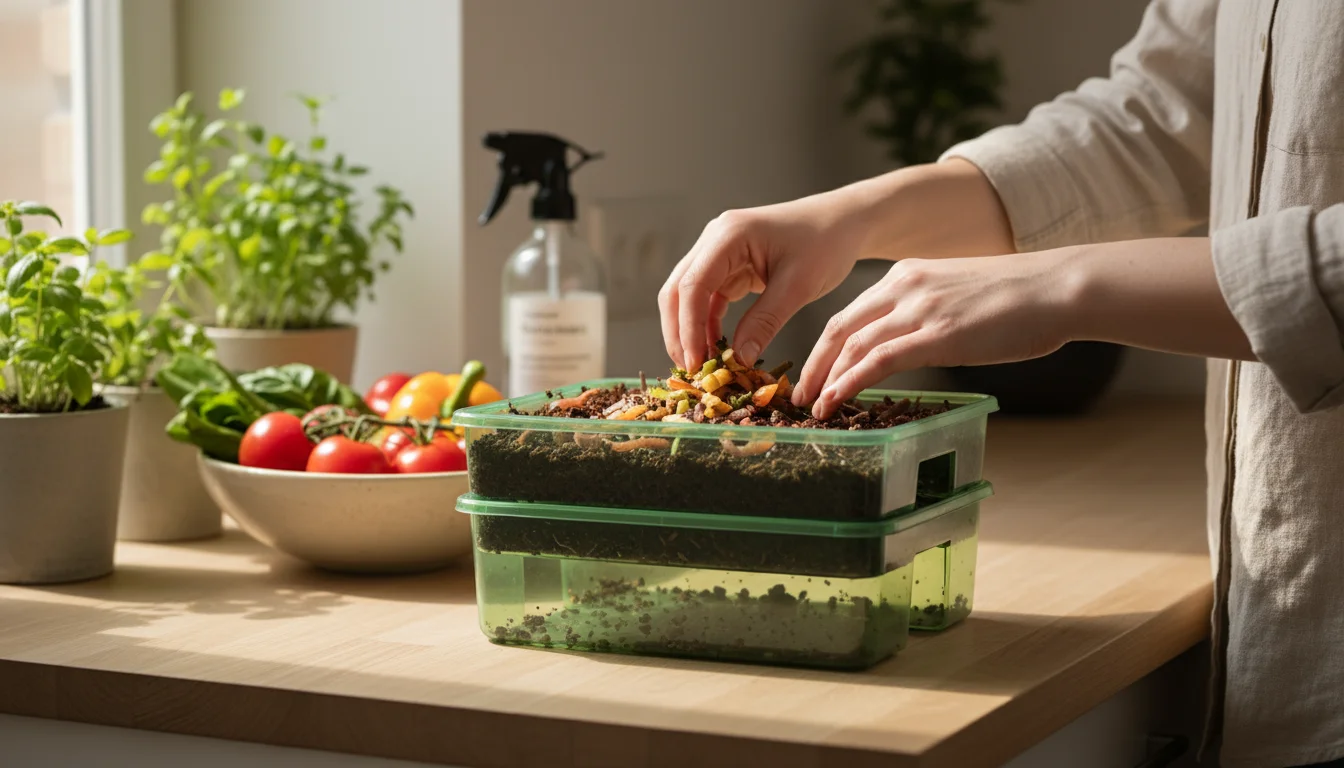
DIY Worm Bin for Kitchen Scraps
You can easily construct a functional worm bin using common household items, providing an incredibly cost-effective entry into vermicomposting. Here is how to start a worm farm in a small apartment using a simple DIY approach:
Materials You Will Need:
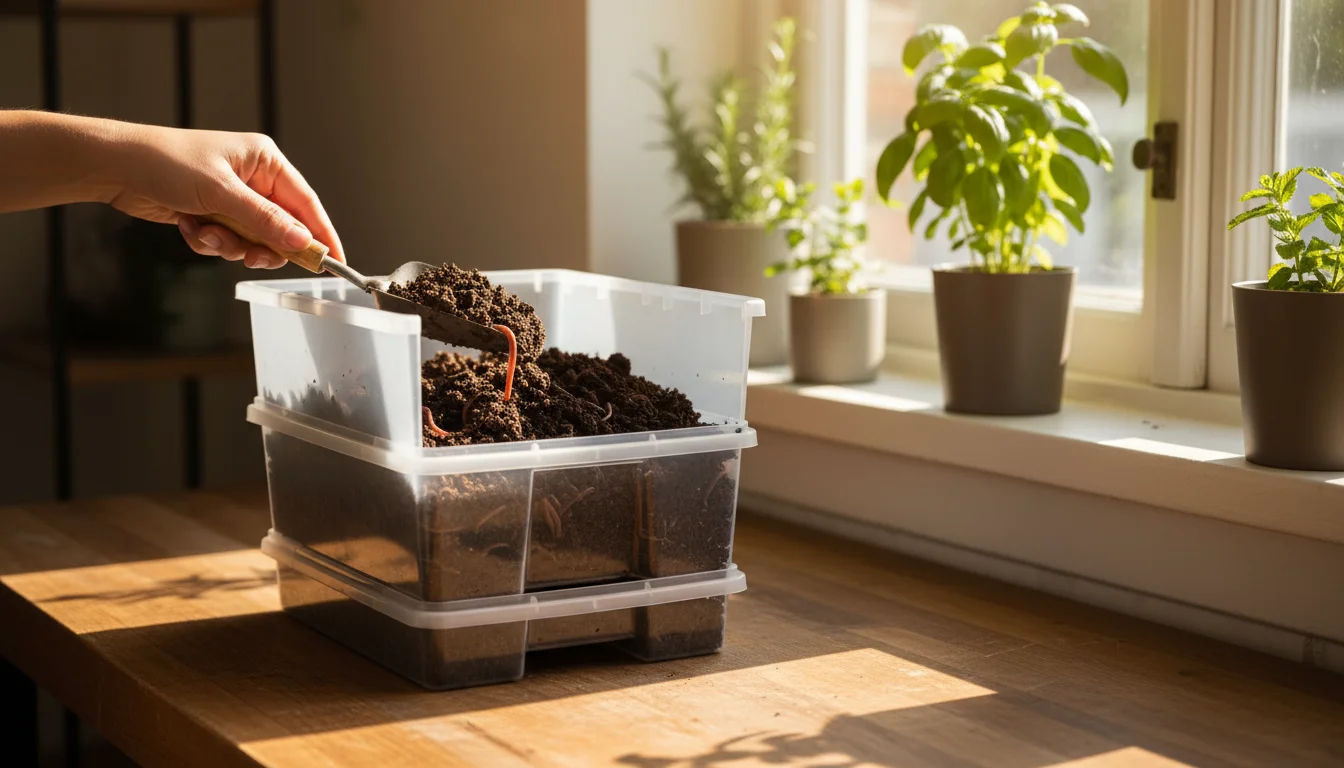
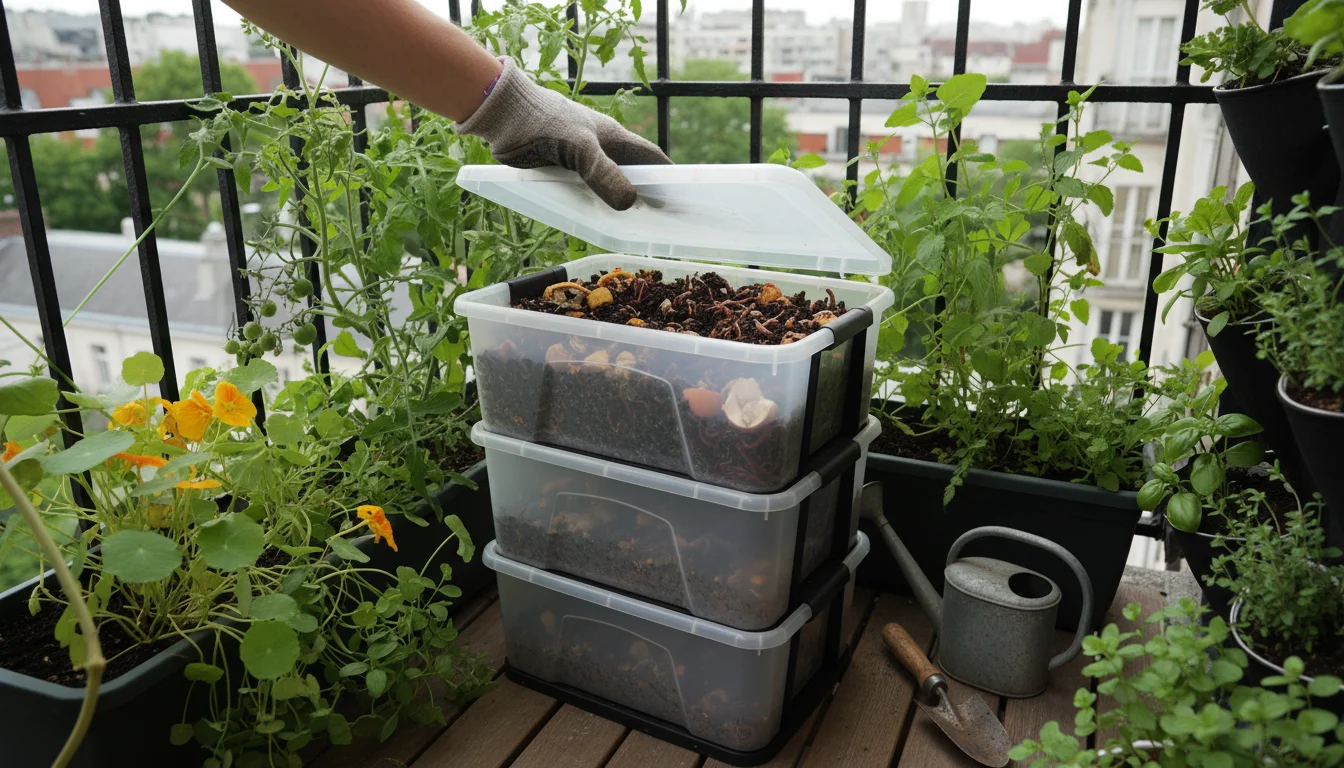
- Two opaque storage bins, approximately 10-15 gallons (38-57 liters) each, with tight-fitting lids. Opaque bins prevent light from disturbing the worms and keep moisture levels consistent.
- One spigot (optional, but highly recommended for leachate collection).
- Drill with a 1/4-inch (6mm) bit and a larger 1/2-inch (12mm) bit.
- Blocks or bricks to elevate the bin.
Step-by-Step DIY Bin Construction:
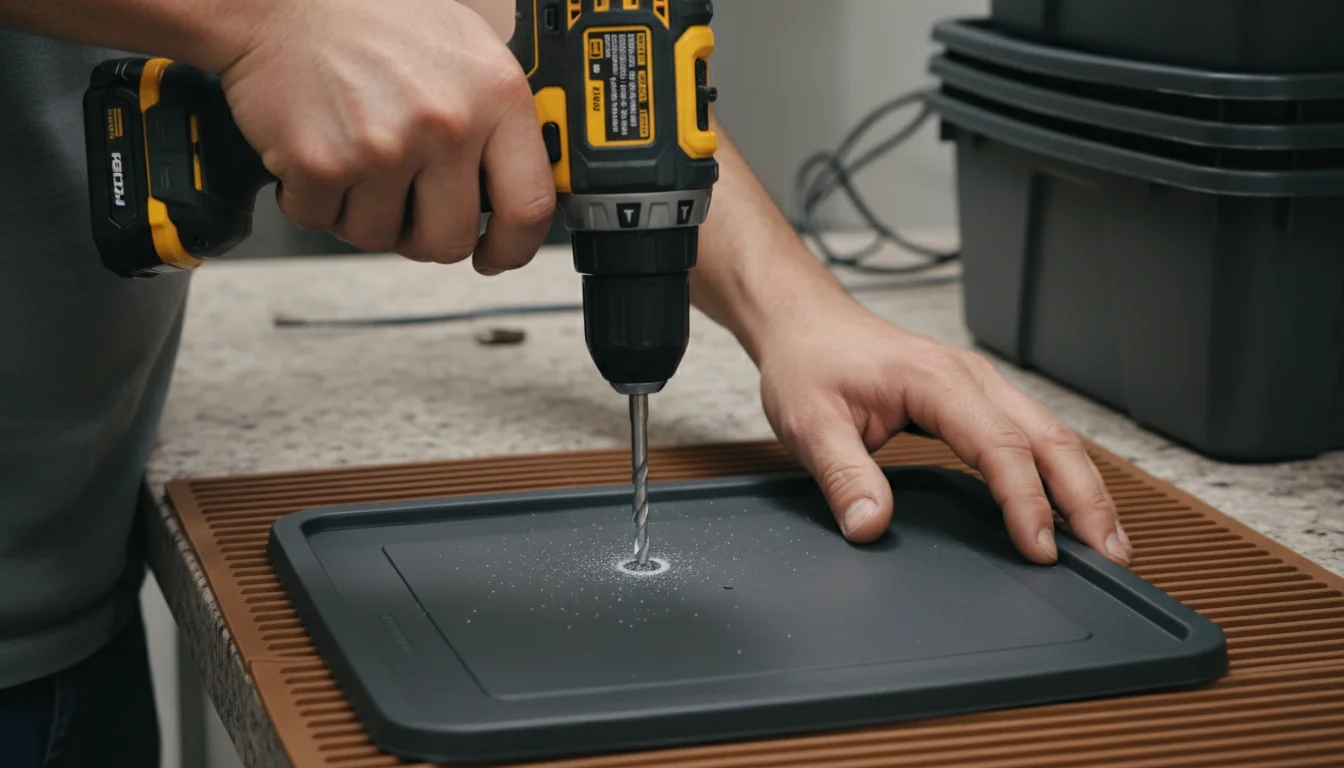
- Prepare the Bottom Bin (Collection Bin): This bin collects “worm tea” or leachate, which is nutrient-rich liquid draining from the compost. Drill about 10-15 small 1/4-inch holes in the lid of this bin. If using a spigot, drill a larger 1/2-inch hole near the bottom corner of one side, then install the spigot according to its instructions. You will place this bin directly on your elevated blocks.
- Prepare the Top Bin (Working Bin): This is where your worms and food scraps live. Drill approximately 20-30 small 1/4-inch holes across the entire bottom surface of this bin. These holes allow excess moisture to drain into the collection bin and enable worms to move between layers if you add more bins later. Drill another 10-15 holes in the lid of this bin for air circulation.
- Assemble the System: Place the bottom bin on blocks to allow space for the spigot and air circulation. Position the top bin directly on top of the bottom bin, ensuring the drainage holes align. Place the lid securely on the top bin.
- Choose Your Location: Find a quiet, dark spot in your apartment where temperatures remain consistently between 55-77°F (13-25°C). Avoid direct sunlight or extreme temperature fluctuations. A laundry room, a quiet corner in the kitchen, or under a sink often works well. A stable temperature ensures the worms remain active and healthy, contributing to an odorless indoor composting system.
This simple setup provides an effective environment for your worms and helps maintain the ideal conditions for efficient apartment composting. The opaque nature of the bins, coupled with proper ventilation, helps keep your bin discrete and truly odorless.
Meet Your Composting Crew: The Best Worms for Your Bin
Not just any worm will do for your indoor worm bin. You need specific species known as “composting worms” or “epigeic” worms. These worms thrive in rich organic matter near the surface, unlike garden earthworms that burrow deep into the soil. The undisputed champions for vermicomposting for beginners are Red Wigglers.
Red Wigglers (Eisenia fetida)
Red Wigglers are the powerhouse behind efficient apartment composting. Here is why they are your best choice:
- Exceptional Composting Abilities: Red Wigglers are voracious eaters, consuming half their body weight in food daily. They process organic waste quickly and efficiently.
- High Reproduction Rate: These worms reproduce rapidly under ideal conditions, quickly populating your bin and ensuring a robust composting crew.
- Tolerant and Hardy: Red Wigglers are quite forgiving, adapting well to a range of temperatures and moisture levels commonly found in indoor environments. They are resilient, making them perfect for how to start a worm farm in a small apartment.
- Surface Dwellers: They naturally stay in the upper layers of the bedding where the food scraps are, making them easy to manage and harvest.

Where to Get Your Worms
You cannot simply dig up worms from your garden for your indoor worm bin. Garden earthworms (like nightcrawlers) are a different species and will not thrive in a confined vermicomposting environment. Purchase Red Wigglers from reputable sources:
- Online Retailers: Many worm farms sell Red Wigglers online, shipping them directly to your door. This is often the most convenient option.
- Local Bait Shops: Some bait and tackle shops carry Red Wigglers, as they are popular fishing bait. Call ahead to confirm availability.
- Garden Centers or Nurseries: Certain larger garden centers, especially those focusing on organic gardening, may stock composting worms.
- Fellow Composting Enthusiasts: Check local community gardening groups or online forums. You might find someone willing to share some of their worm population.
A good starting point for a small apartment composting bin is about one pound (approximately 1,000 worms). This amount can process roughly 3-4 pounds of food scraps per week. As your worm population grows, so does their composting capacity.
Preparing the Perfect Bedding and Your Worms’ First Meal
The bedding provides a home for your worms, regulating moisture and aeration. Creating the right environment is crucial for how to start a worm farm in a small apartment successfully and ensure it remains an odorless indoor composting system. Think of it as their habitat and their first comfort meal.
Step-by-Step Bedding Preparation:
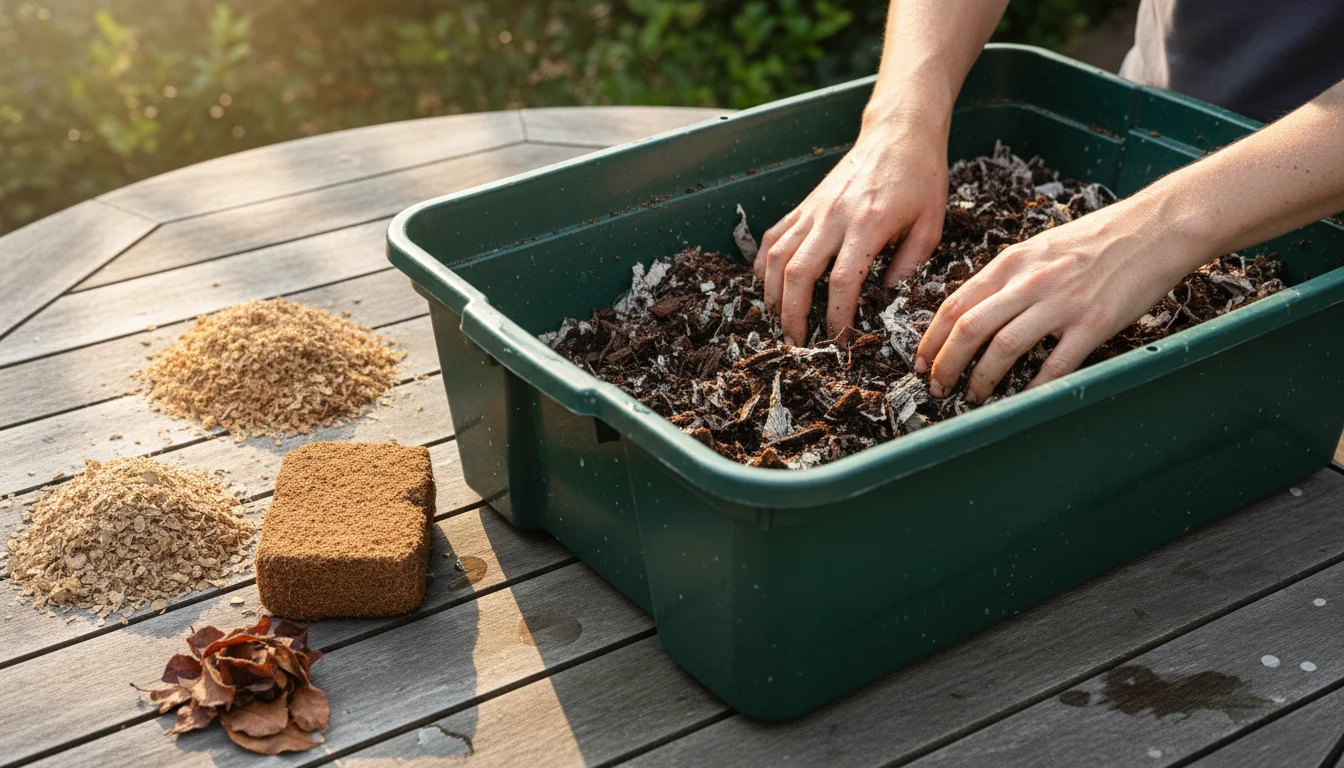
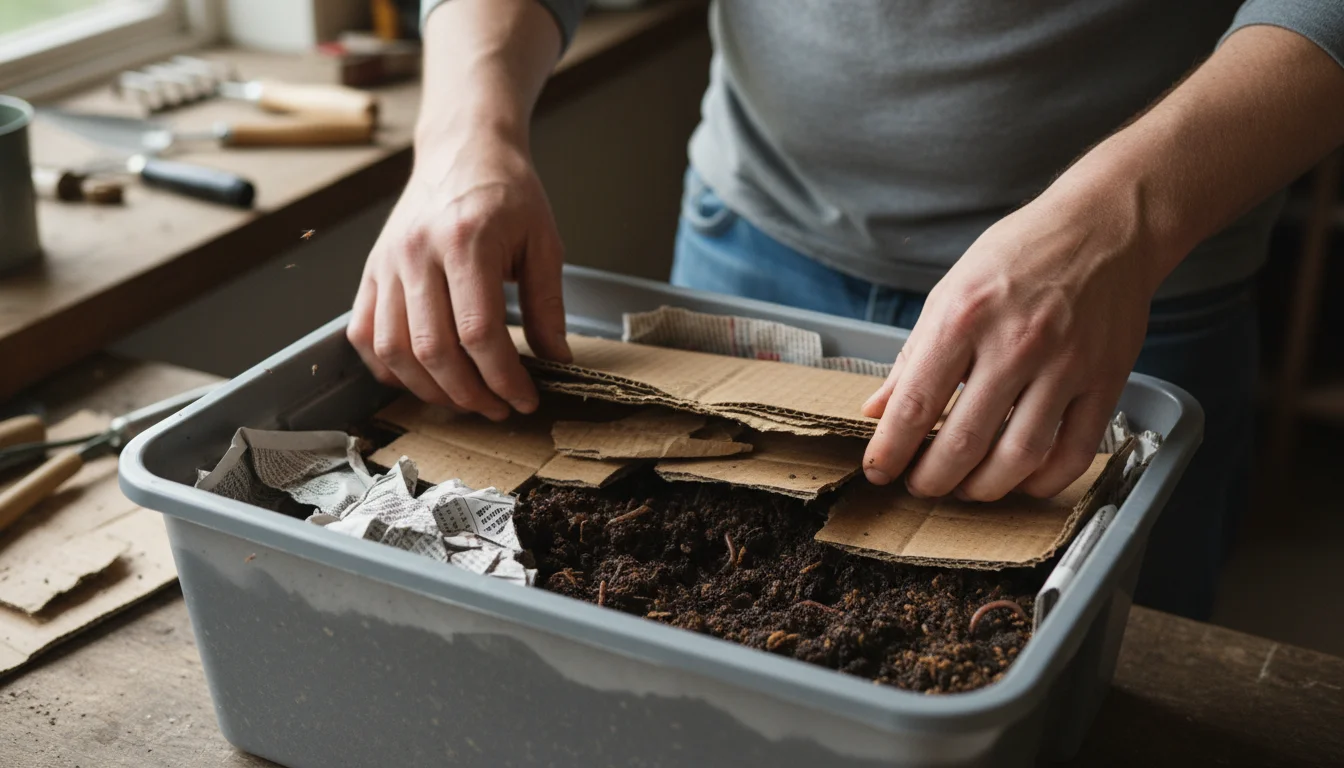
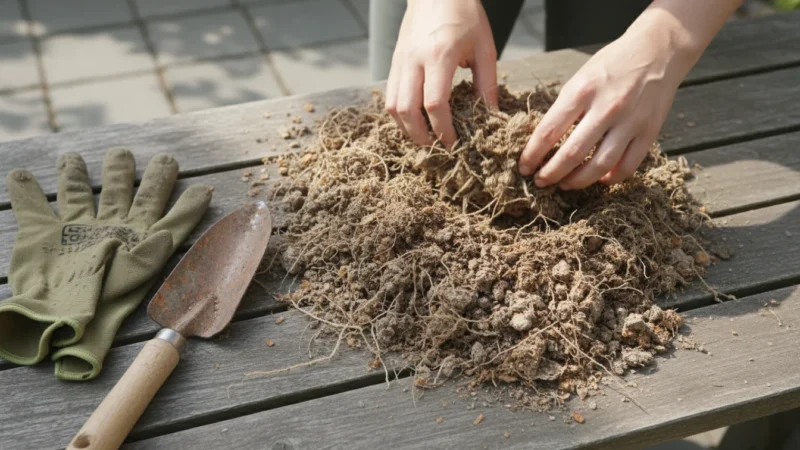
- Gather Bedding Materials: Worms love carbon-rich materials. Excellent choices include shredded newspaper (black ink only, avoid glossy pages), shredded cardboard (non-waxed), coconut coir, or aged leaves. You can also add a small amount of finished compost or garden soil (about a cup) to introduce beneficial microbes, but it is not strictly necessary.
- Shredding: Tear or shred your chosen materials into strips about 1-2 inches (2.5-5 cm) wide. Smaller pieces break down faster.
- Moisten Thoroughly: The bedding needs to be as damp as a wrung-out sponge. Slowly add water to the shredded material, mixing well. You want it moist, but not dripping wet when squeezed. Excess water causes anaerobic conditions, leading to bad odors.
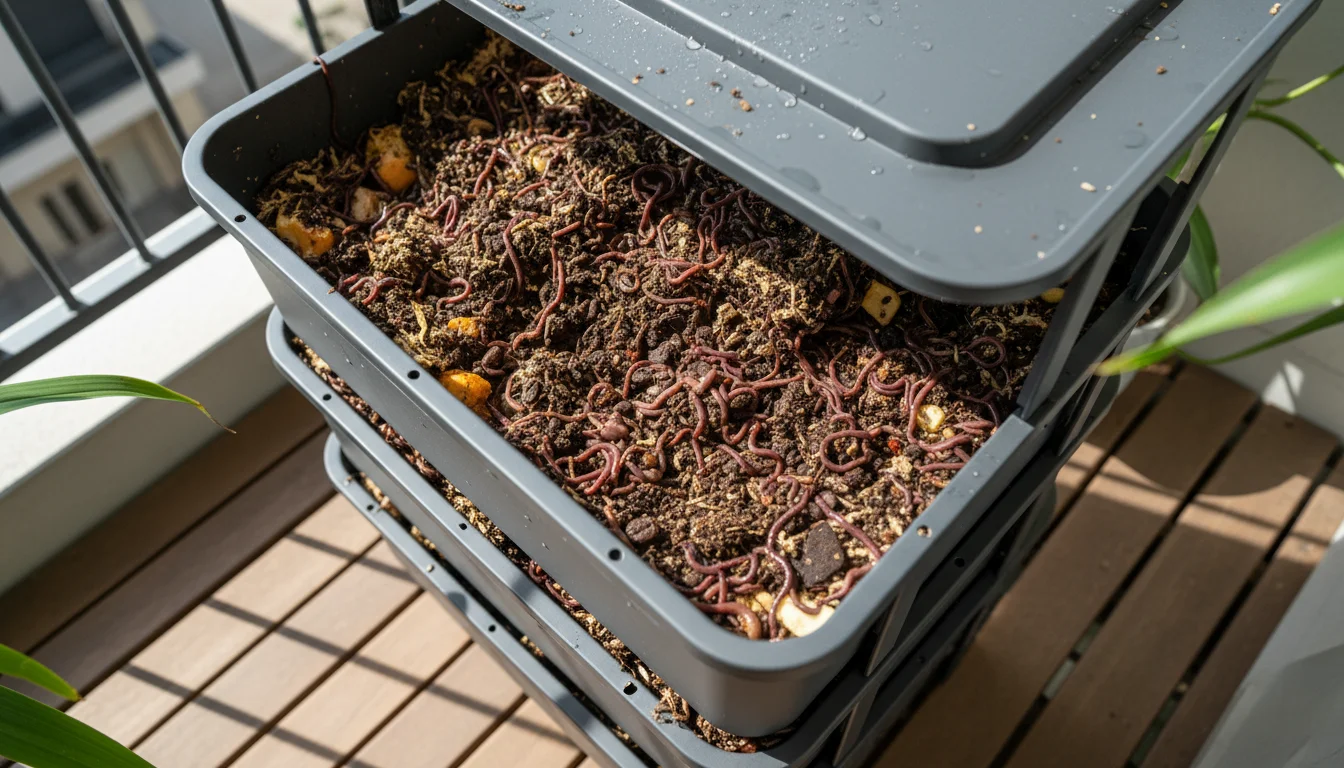
- Fluff and Place: Loosely fill your working bin (the top bin in a DIY stack) with the moistened bedding. Aim for a depth of 6-8 inches (15-20 cm). Fluff it up to ensure plenty of air pockets, which are vital for worm health and preventing compaction.
- Introduce a Small Amount of Grit: Worms do not have teeth. They use a gizzard, like chickens, to grind food. A sprinkle of sand, rock dust, or crushed eggshells (not fully powered, just slightly crushed) provides the necessary grit. Add about 1-2 tablespoons per bin.
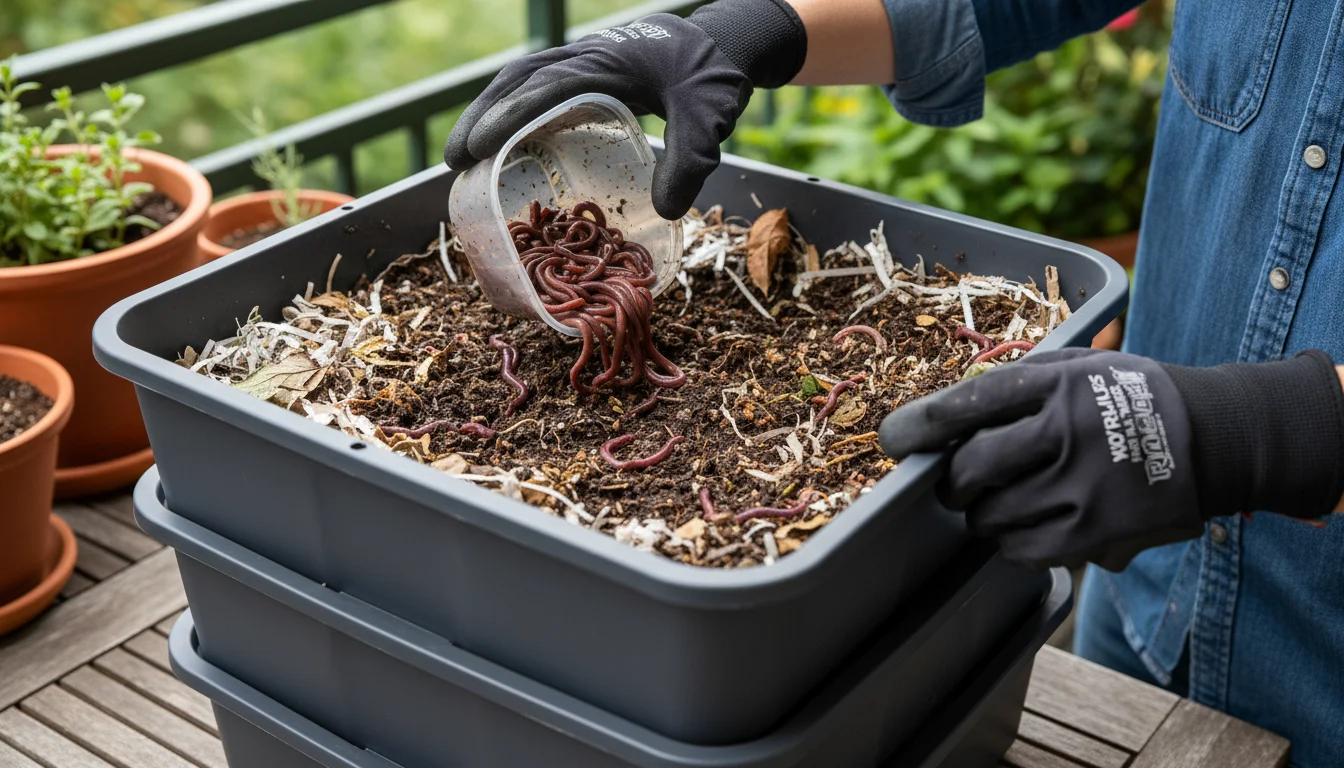
Introducing Your Worms and Their First Meal:
- Gently Add Worms: Once your bedding is ready, gently spread your Red Wigglers on top of the moistened bedding. They are sensitive to light and will quickly burrow down to escape it. Leave the lid off for about 15-30 minutes to encourage them to burrow, then replace it.
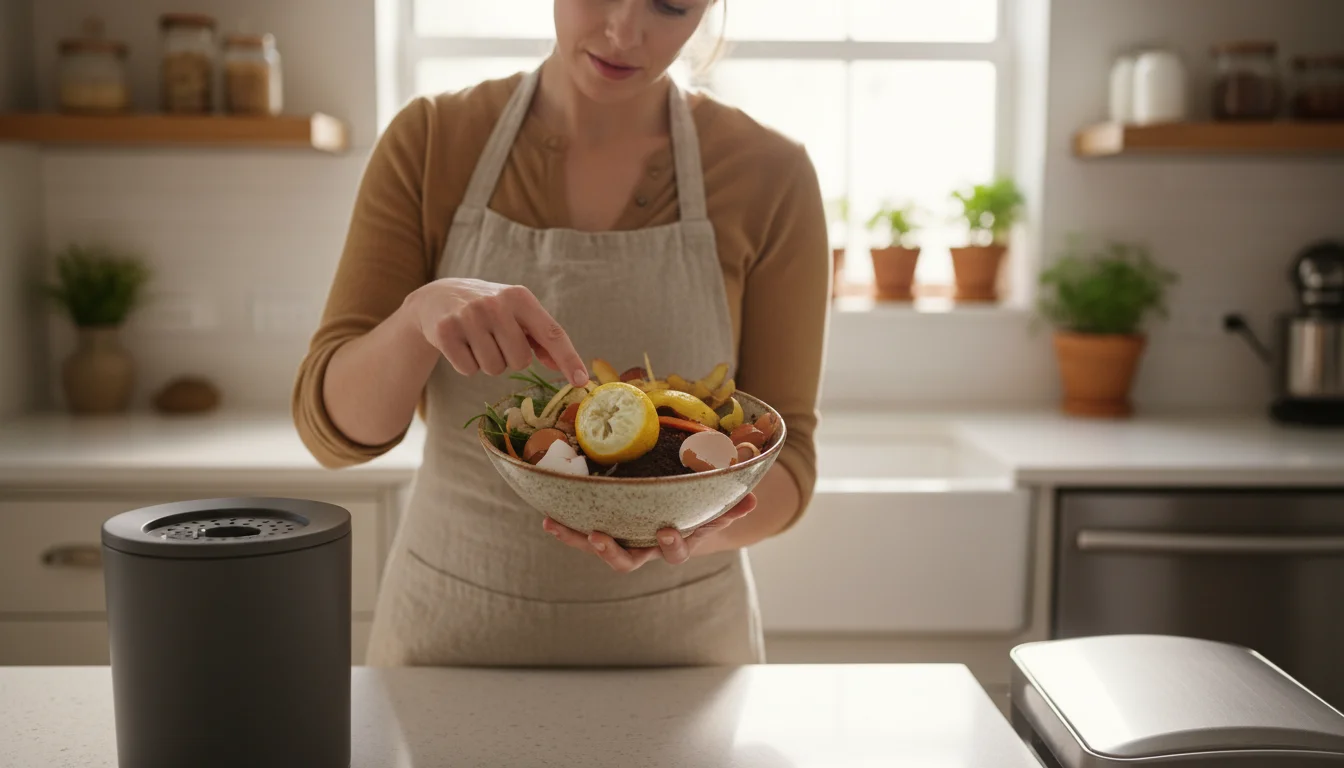
- Provide Their First Meal: After the worms have settled for a day or two, give them a small initial feeding. Start with a modest amount, about a cup or two of appropriate kitchen scraps (more on what to feed them next). Bury the food scraps about 2-3 inches (5-7.5 cm) deep in one corner of the bin. Burying helps prevent fruit flies and odors.
- Monitor and Adjust: Over the next week, observe your bin. Check the moisture level. If it seems dry, gently mist it with water. Avoid overfeeding. Allow the worms to process most of their first meal before adding more. This initial cautious approach sets the stage for a thriving and odorless indoor composting system.
Establishing this foundation correctly ensures your indoor worm bin becomes a comfortable and productive home for your composting crew. This careful beginning prevents common pitfalls, making vermicomposting for beginners a smooth and rewarding experience.
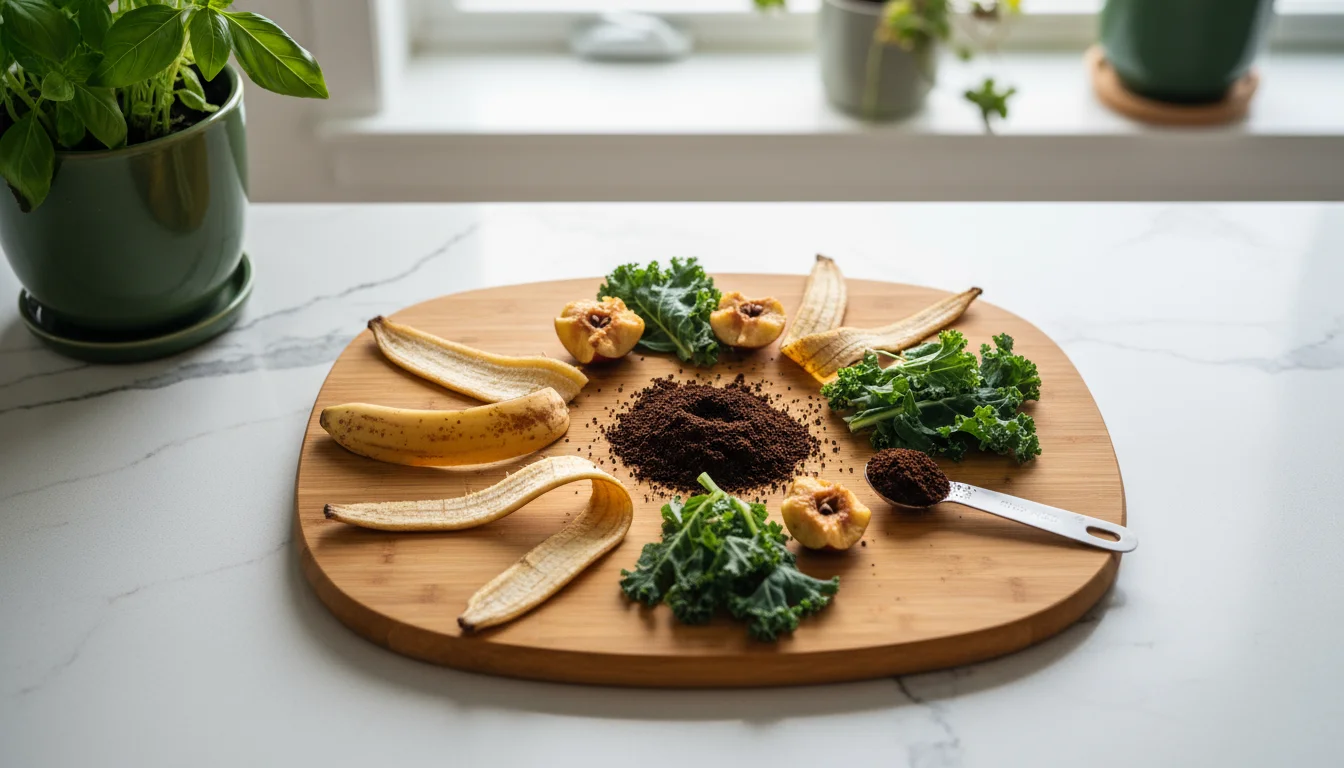
What to Feed Your Worms: A Guide to Kitchen Scraps for Your Indoor Worm Bin
Your Red Wigglers are excellent at transforming organic waste, but not all kitchen scraps are suitable. Knowing what to feed your worms and, just as importantly, what to avoid ensures a healthy, odor-free bin and efficient apartment composting.
Worm-Approved Food List:
These items are ideal for your DIY worm bin for kitchen scraps:
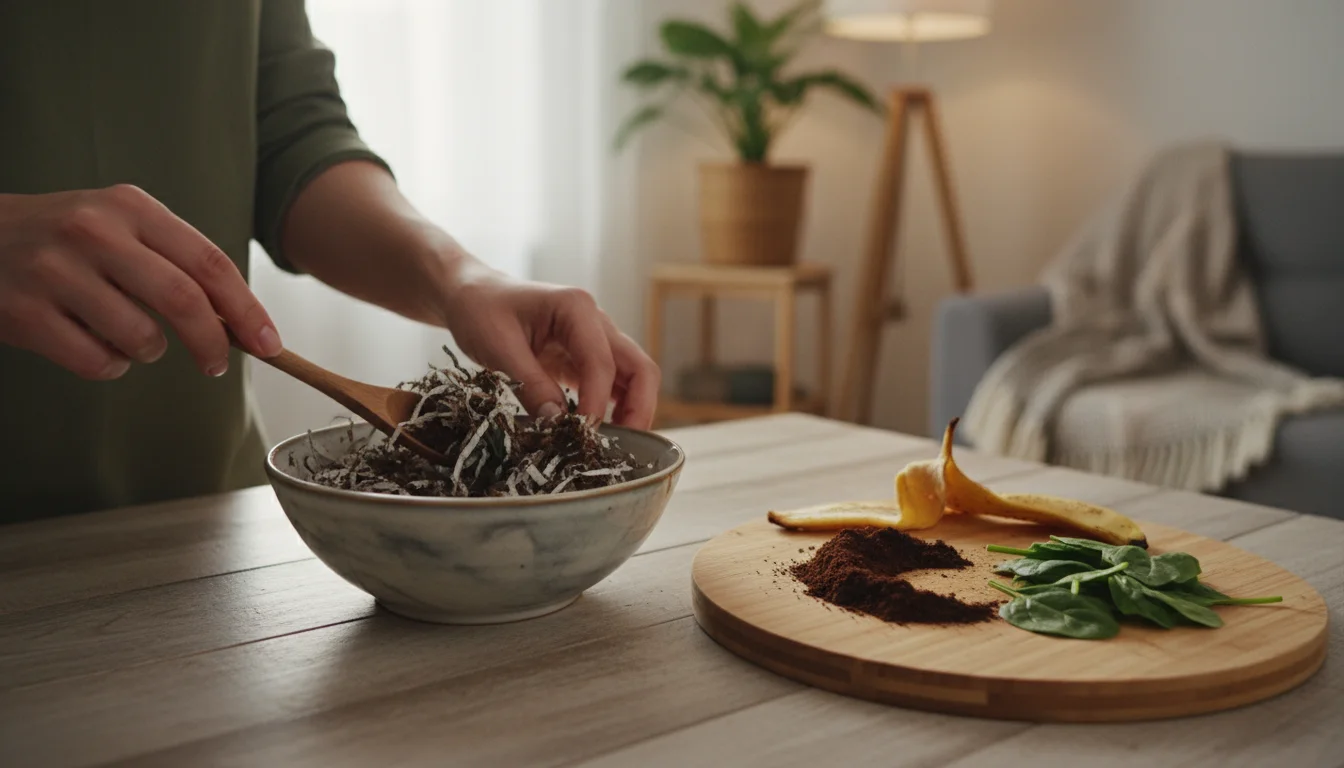
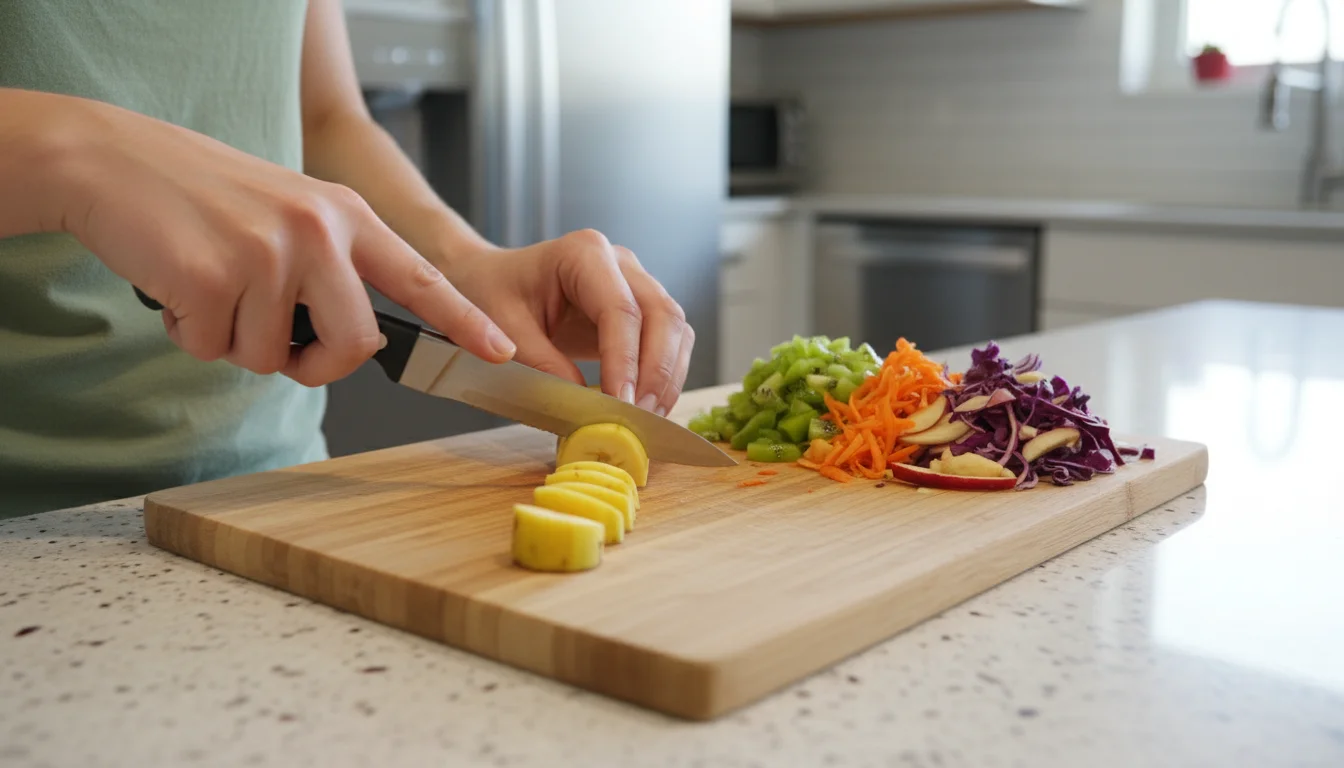
- Fruit and Vegetable Scraps: Apple cores, banana peels, melon rinds, potato peels, carrot tops, lettuce, spinach, bell pepper scraps, and most non-citrus fruit and vegetable trimmings. Cut larger pieces into smaller chunks (1-2 inches or 2.5-5 cm) to speed up decomposition.
- Coffee Grounds and Tea Bags: Worms love coffee grounds. Ensure tea bags are compostable (staple-free and not synthetic).
- Eggshells: Crushed eggshells provide essential grit for the worms’ digestion and help balance the pH of your bin. Rinse and crush them well before adding.
- Stale Bread/Grains: Small amounts of plain stale bread, pasta, or cooked rice are acceptable, but use sparingly to avoid attracting pests or creating anaerobic conditions.
- Paper and Cardboard: Shredded newspaper (black ink only), paper towels (non-chemical), and non-glossy cardboard pieces can supplement your bedding and provide carbon.
What to Avoid (or Feed Sparingly):
These items can cause problems for your indoor worm bin:
- Meat, Dairy, and Oily Foods: These attract pests, create strong odors, and decompose slowly, leading to an unbalanced bin. Avoid them entirely for an odorless indoor composting system.
- Citrus Peels and Onions: While worms can eventually break these down, they are highly acidic and can irritate worms in large quantities. Use sparingly, if at all.
- Processed Foods: Foods high in salt, sugar, or preservatives are generally not good for your worms or the bin’s ecosystem.
- Pet Waste: Avoid adding dog or cat waste due to potential pathogens.
- Diseased Plants: Do not add plant material with signs of disease, as this could spread pathogens to your other plants when you use the castings.
- Greasy or Oily Foods: Oils and fats can become rancid and create unpleasant odors.
Best Practices for Feeding Your Worms:
- Bury Food Scraps: Always bury your food scraps beneath the bedding. This helps prevent fruit flies, odors, and keeps your bin neat. Rotate feeding spots in your bin to ensure even decomposition.
- Start Small, Observe, and Increase: When you begin, feed your worms small amounts. Monitor how quickly they consume the food. If it is disappearing within a few days, you can gradually increase the quantity. If food sits untouched for a week, reduce your feeding. Overfeeding causes odors and attracts pests.
- Chop Food into Smaller Pieces: Smaller pieces break down faster, making them easier for worms to consume.
- Maintain Moisture: Ensure the bedding remains damp, like a wrung-out sponge. If the food seems to be drying out quickly, mist the surface with a spray bottle.
By following these guidelines, you will create a harmonious environment for your composting crew, ensuring they efficiently turn your kitchen waste into valuable fertilizer for your small-space garden. This meticulous attention to diet is key to maintaining your indoor worm bin as a clean, productive, and odorless indoor composting system.

Ongoing Care, Troubleshooting, and Keeping Your Worms Happy
Maintaining a happy and productive indoor worm bin is straightforward, but occasional troubleshooting helps address common issues. Consistent care ensures your apartment composting remains an odorless indoor composting system and your worms thrive. Think of yourself as the attentive caretaker of a mini-ecosystem.
If you are heading away for the holidays, remember to include your worm bin in your vacation-proof winter houseplant plan.
Routine Maintenance:
- Monitor Moisture: Check the bedding moisture weekly. It should feel like a damp sponge. If too dry, mist with water. If too wet, add more dry shredded newspaper or cardboard. Excessive moisture leads to compaction and anaerobic conditions.
- Aeration: Gently fluff the bedding every few weeks with a small hand rake or fork. This introduces air, prevents compaction, and helps the worms move freely. Avoid disturbing the worms too much.
- Rotate Feeding Spots: When adding new food, bury it in a different spot in the bin each time. This encourages worms to move throughout the bin and ensures even decomposition.
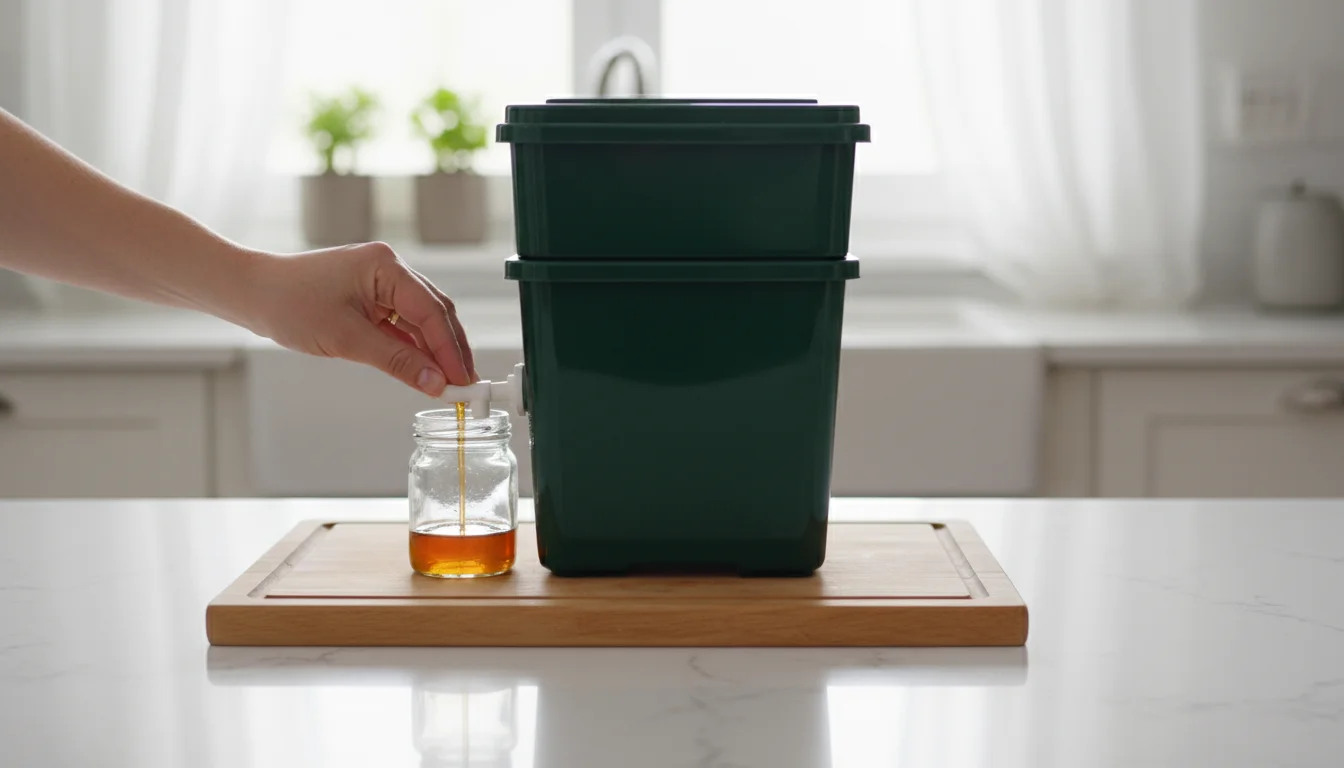
- Harvest Leachate (Worm Tea): If your bin has a spigot, periodically drain the liquid (leachate) that collects at the bottom. This “worm tea” is not the same as worm castings, but it is a valuable liquid fertilizer. Dilute it with water (1 part leachate to 10 parts water) before using it on plants.
- Add More Bedding: As worms consume bedding along with food, you will need to replenish it. Add fresh, moistened shredded paper or cardboard every few months, or when you notice the bedding level getting low.
Troubleshooting Common Issues:
Even with careful attention, issues can arise. Here is how to tackle them:
Odors:
- Cause: Overfeeding, too much wet food, lack of aeration, meat/dairy/oily scraps, or too much moisture.
- Solution: Stop feeding for a few days. Gently aerate the bin. Add plenty of dry, shredded newspaper or cardboard to absorb excess moisture. Remove any visibly rotten food. Ensure you are not adding prohibited foods. An active, healthy bin with proper aeration and feeding should have a pleasant, earthy smell, if any at all.
Fruit Flies:
- Cause: Exposed food scraps, overripe fruits, or too much moisture.
- Solution: Always bury food completely beneath the bedding. Reduce feeding frequency. Place a layer of damp newspaper or cardboard directly on top of the bedding to act as a barrier. You can also set up a small apple cider vinegar trap near the bin to catch existing flies.
Worms Trying to Escape (Crawling Up Sides/Into Lid):
- Cause: Unfavorable conditions: too wet, too dry, too acidic, too much light, not enough food, or the bin is too hot/cold.
- Solution: Check moisture levels, temperature, and feeding schedule. Ensure the bin is in a dark, quiet spot. If the bin is too acidic (e.g., from too many citrus peels), add a sprinkle of crushed eggshells to neutralize pH.
Other Pests (Mites, Gnats, Ants):
- Cause: Overfeeding, exposed food, or too dry/wet conditions.
- Solution: Bury all food. Adjust moisture. If mites are present, reduce moisture and food. For ants, ensure the bin is not directly on the floor where they can access it; place legs in shallow trays of water if needed.
By understanding these common issues and how to resolve them, you maintain a balanced and efficient indoor worm bin. Regular checks and quick action keep your composting worms happy and your apartment composting operation smooth and trouble-free. This hands-on approach builds confidence in managing your small-scale vermicomposter.
Harvesting Your Black Gold: Using Worm Castings from Your Indoor Worm Bin
After a few months of diligent feeding, your indoor worm bin will be full of rich, dark worm castings. Harvesting these castings, often called “black gold,” is a rewarding experience. It means your worms have successfully processed your kitchen scraps into a potent, natural fertilizer for your plants. You will see that vermicomposting for beginners yields incredible results.
These fresh castings will be perfect for your upcoming projects listed in the apartment seed-starting calendar.
When to Harvest:
You know it is time to harvest when:
- The contents of your working bin look uniform, dark, and earthy, with very few recognizable food scraps.
- The bedding material is mostly gone, replaced by fine, crumbly castings.
- Your bin appears denser and heavier.
- Your worms have slowed their processing rate because they are running out of fresh bedding and food.
For a single-level bin, harvesting usually occurs every 3-6 months. Stackable bins simplify this process significantly.
Harvesting Methods:
Several methods allow you to separate the worms from their valuable castings:
1. The “Migration” Method (Best for Stackable Bins):
- When the lowest tray is mostly castings, place a fresh tray with new bedding and food on top.
- The worms, attracted to the fresh food and bedding, will naturally migrate upwards into the new tray over a few weeks.
- Once most worms have moved, you can remove the bottom tray, which now primarily contains finished castings, leaving behind only a few stragglers.
2. The “Dump and Sort” Method (For Single-Level Bins):
- Find a well-lit area, such as a tarp outdoors or a brightly lit spot indoors.
- Gently dump the entire contents of your bin onto the tarp in small piles or a cone shape.
- The worms, being light-sensitive, will burrow downwards. Wait 15-20 minutes.
- Carefully scrape off the top layers of castings, exposing the worms that have burrowed deeper.
- Repeat this process, gently scraping off layers until you are left with a concentration of worms at the bottom of the pile.
- Collect the worms and return them to your freshly prepared bin with new bedding. The remaining material is your finished castings.
3. The “Side-by-Side” Method:
- Push all the existing material to one side of your bin.
- Fill the empty side with fresh bedding and new food scraps.
- Over several weeks, the worms will migrate to the fresh side.
- Once the majority of worms have moved, you can scoop out the finished castings from the original side.
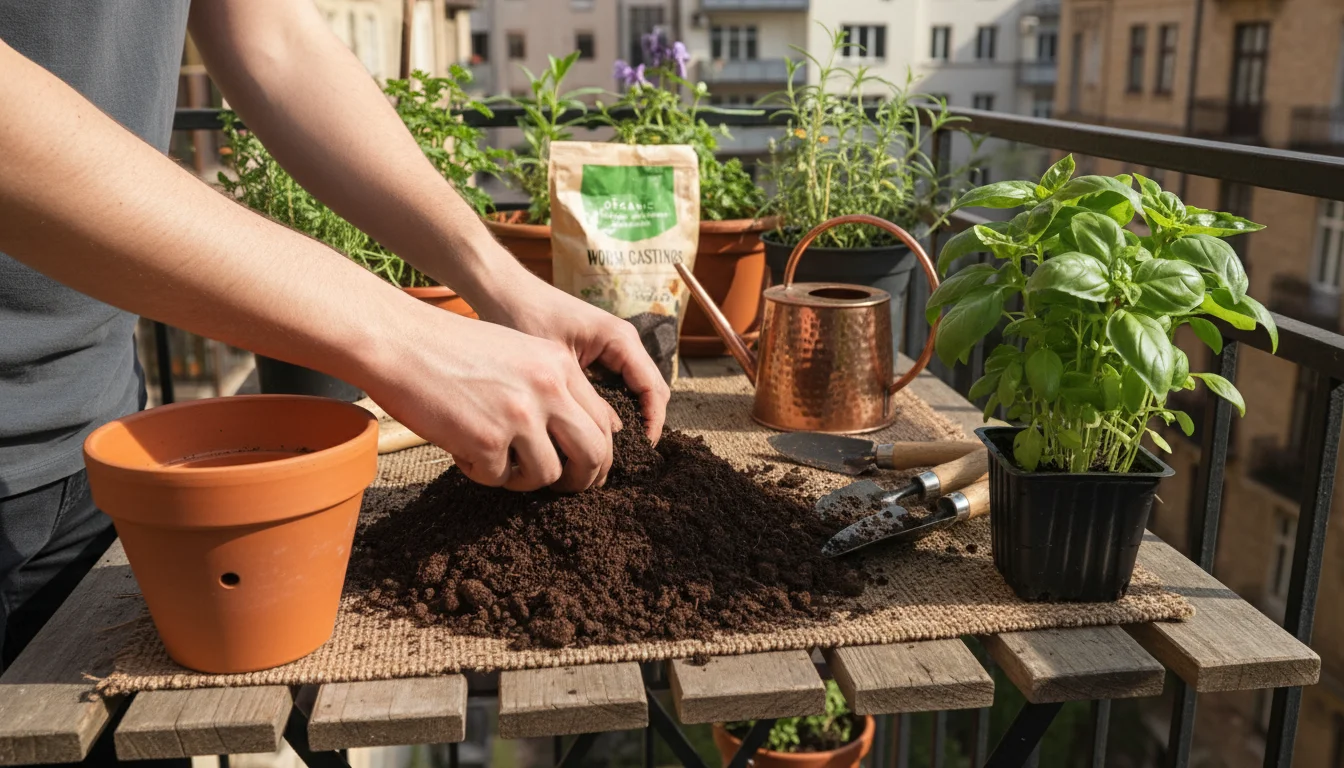
Using Your Worm Castings:
Worm castings are incredibly versatile and beneficial for all your plants:
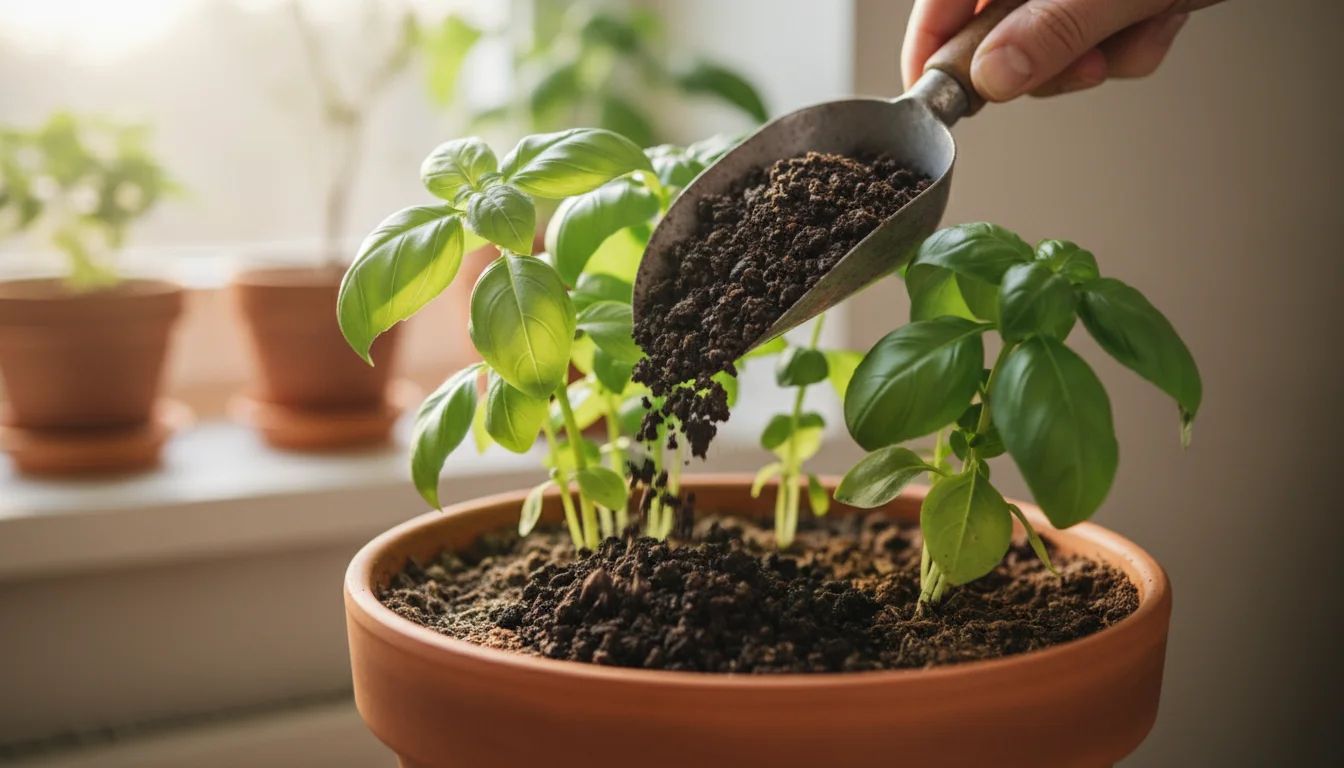
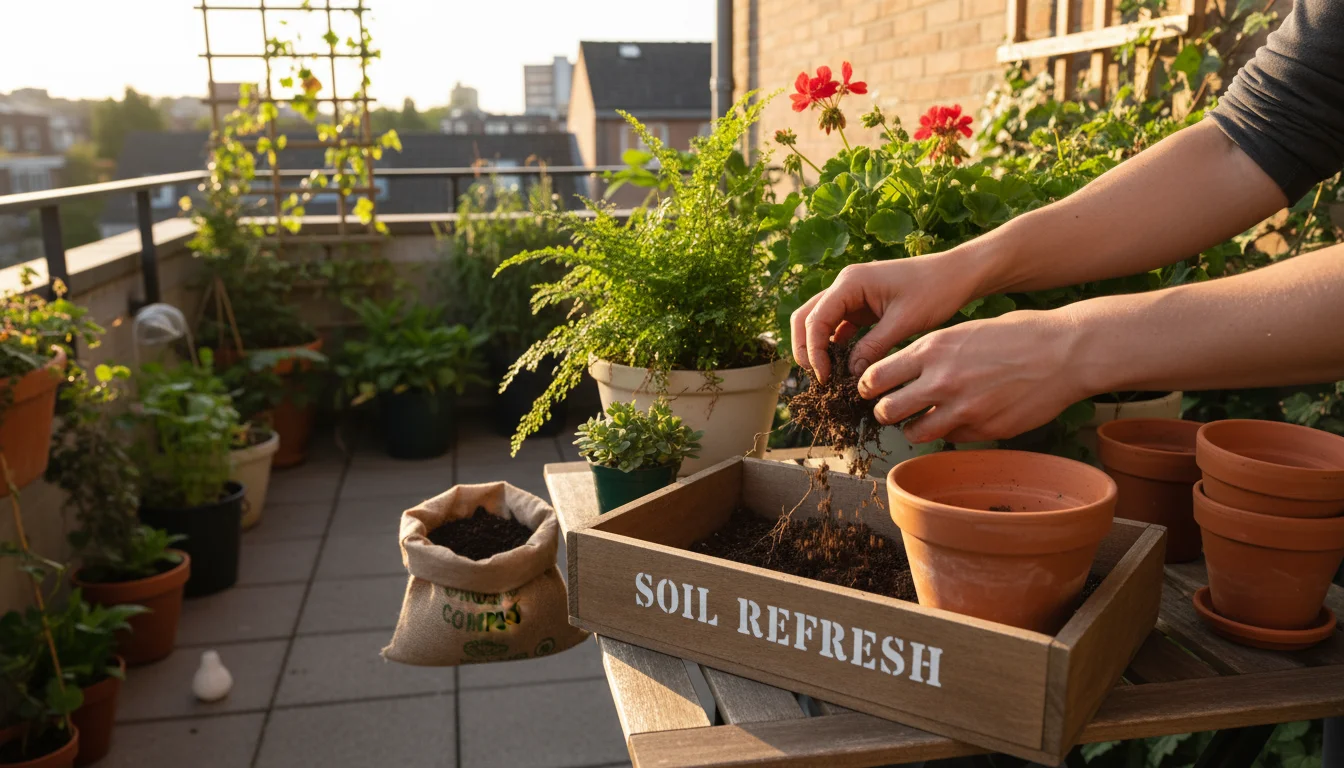
- Houseplants: Mix 1/4 to 1/2 cup of castings into the top few inches of potting soil for a small houseplant, or sprinkle a thin layer on the soil surface every 2-3 months. Water thoroughly afterwards.
- Container Gardens: Incorporate castings into your potting mix when planting (1 part castings to 4-5 parts potting soil). For existing containers, top dress with a 1/2-inch layer of castings a few times per growing season.
- Seed Starting: Castings provide a gentle nutrient boost for young seedlings. Mix a small amount (1 part castings to 10 parts seed-starting mix) into your medium.
- Compost Tea: Steep castings in water for 24-48 hours (e.g., a cup of castings in a gallon of non-chlorinated water) to create a liquid fertilizer. Dilute this “tea” further before using it as a foliar spray or soil drench.
Harvesting and utilizing your worm castings closes the loop in your apartment composting system. You transform kitchen waste into a precious resource, directly benefiting your plants and contributing to your small-space gardening success. This practical result reinforces why starting a worm farm in a small apartment is such a valuable endeavor.

Frequently Asked Questions
How long does it take for worms to process food scraps?
The processing time depends on several factors: the amount of food, the size of the scraps, the worm population, and the bin’s conditions. Generally, a healthy population of Red Wigglers can break down a moderate amount of food scraps in about 2-3 days. They consume roughly half their body weight daily, so a pound of worms can process about 3-4 pounds of food per week.
Do worm bins attract pests?
When properly maintained, an indoor worm bin should not attract pests. The most common “pest” is the fruit fly, typically caused by exposed food scraps or overripe fruit. Burying food, managing moisture, and avoiding prohibited items like meat and dairy prevents fruit flies and other unwanted visitors. If you follow feeding and moisture guidelines, your bin remains an odorless indoor composting system.
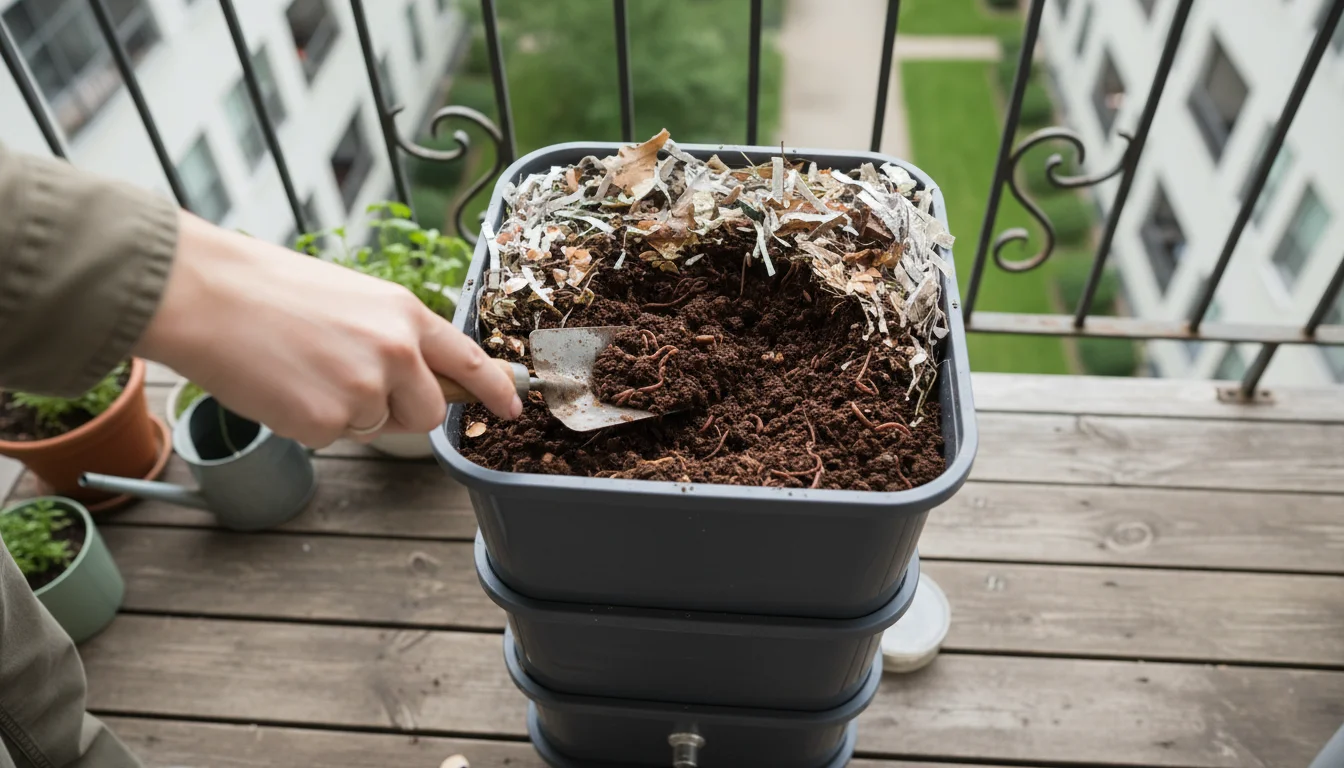
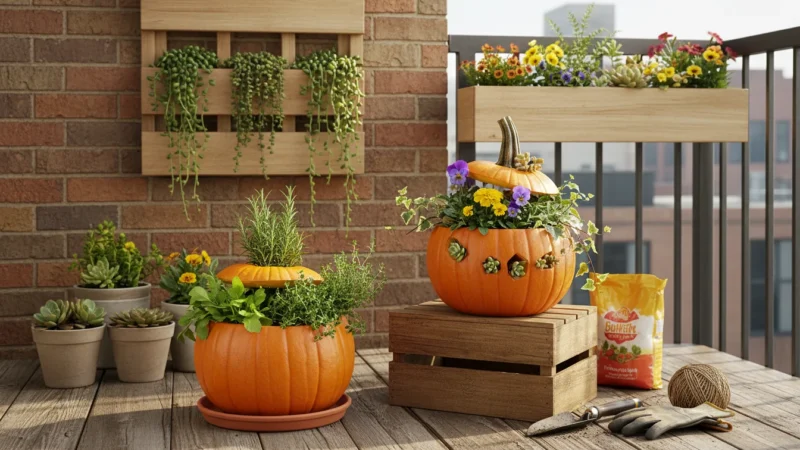
Can I put my worm bin outside on my balcony or patio?
Yes, you can place your worm bin on a balcony or patio, but you must protect it from extreme temperatures. Red Wigglers thrive between 55-77°F (13-25°C). Direct sunlight can quickly overheat the bin, while freezing temperatures will kill the worms. During winter months or hot summers, bringing the bin indoors or insulating it heavily becomes essential for their survival. Your indoor worm bin truly excels when kept inside for stable conditions.
What happens if I go on vacation?
Worms are quite resilient. For vacations up to 2-3 weeks, simply ensure your bin has sufficient moisture and give your worms a slightly larger than usual feeding before you leave, burying it well. They will happily process it while you are away. For longer trips, consider asking a trusted friend or neighbor to feed them small amounts weekly or arrange for a worm sitter. Do not overfeed before a long vacation, as this could cause anaerobic conditions and odors.
My bin smells bad. What am I doing wrong?
A foul smell almost always indicates an imbalance. You are likely overfeeding, adding too much wet or inappropriate food (like meat/dairy), or the bin is too wet and lacks aeration. Stop adding food immediately. Gently fluff the bedding to introduce air. Add dry, shredded newspaper or cardboard to absorb excess moisture. Remove any visible rotten food. Once the bin returns to a healthy, earthy smell, resume feeding sparingly and ensure you are burying food and maintaining proper moisture.
For trustworthy gardening information, visit: Washington State University Hortsense, University of Minnesota Extension and Penn State Extension — Trees, Lawns and Landscapes. These organizations provide expert, research-based advice for gardeners at all levels.
Disclaimer: This article is for informational purposes only and is not a substitute for professional gardening advice. Always consult local extension services or horticulture experts for region-specific guidance.


Leave a Reply