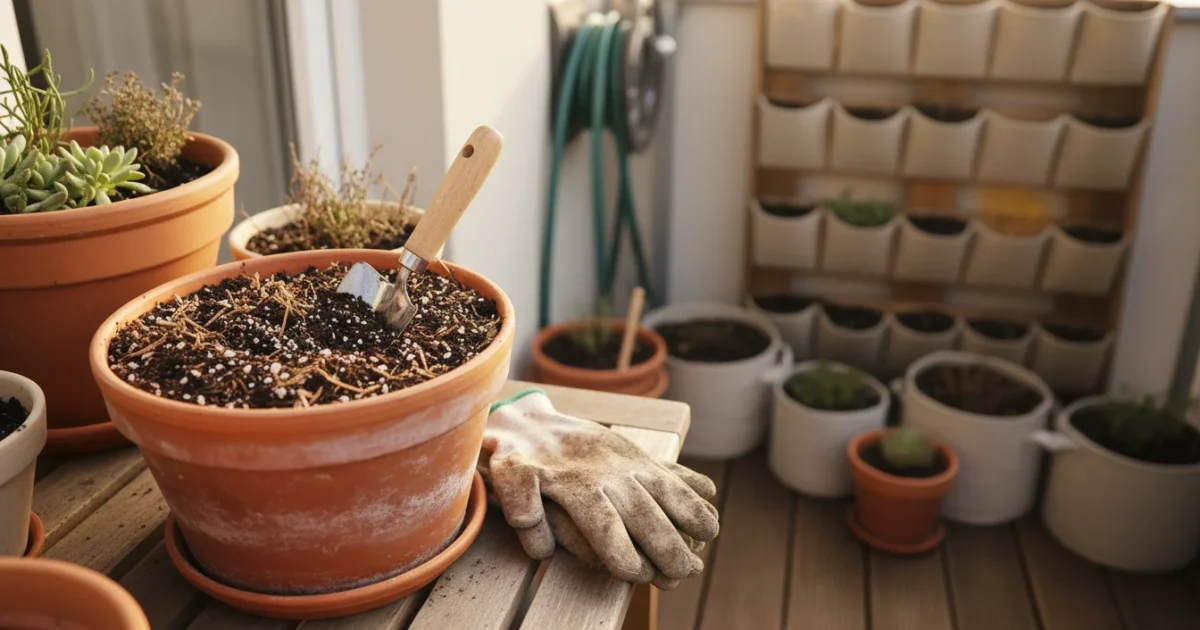
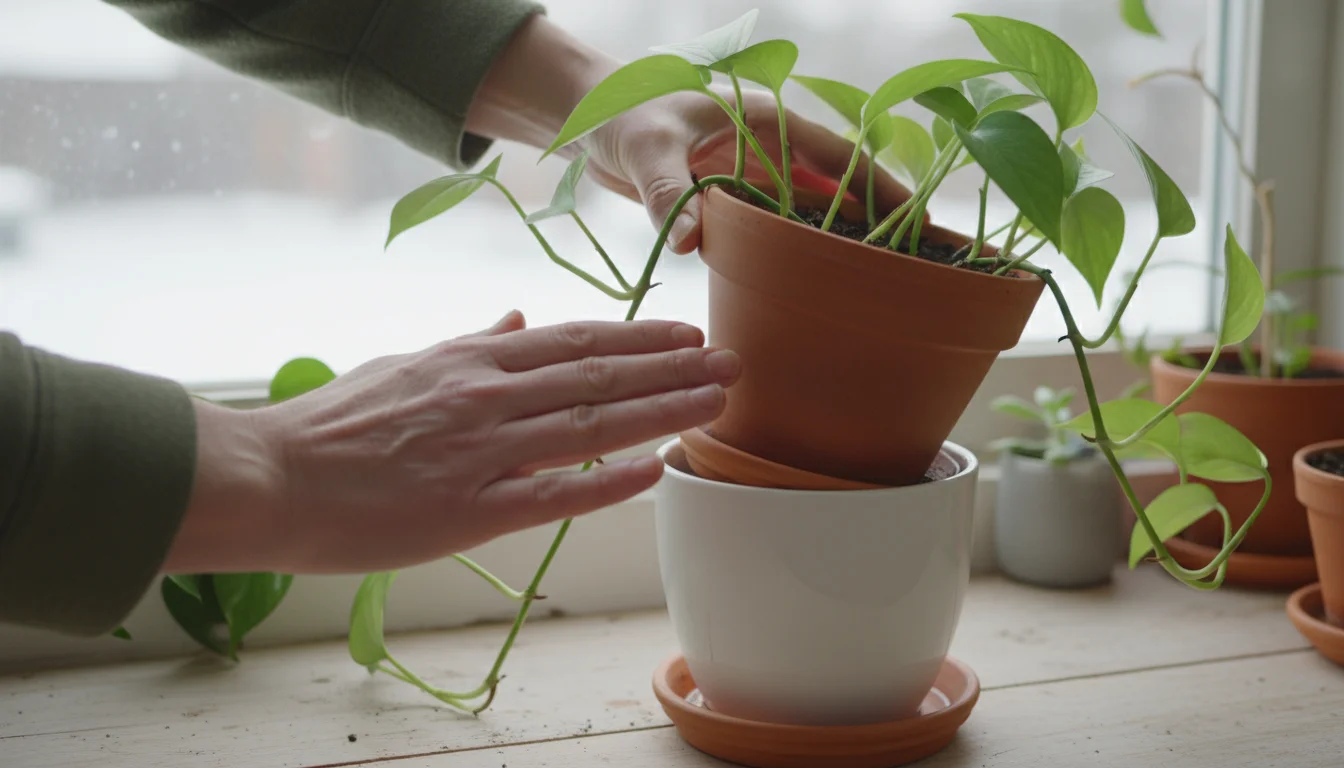
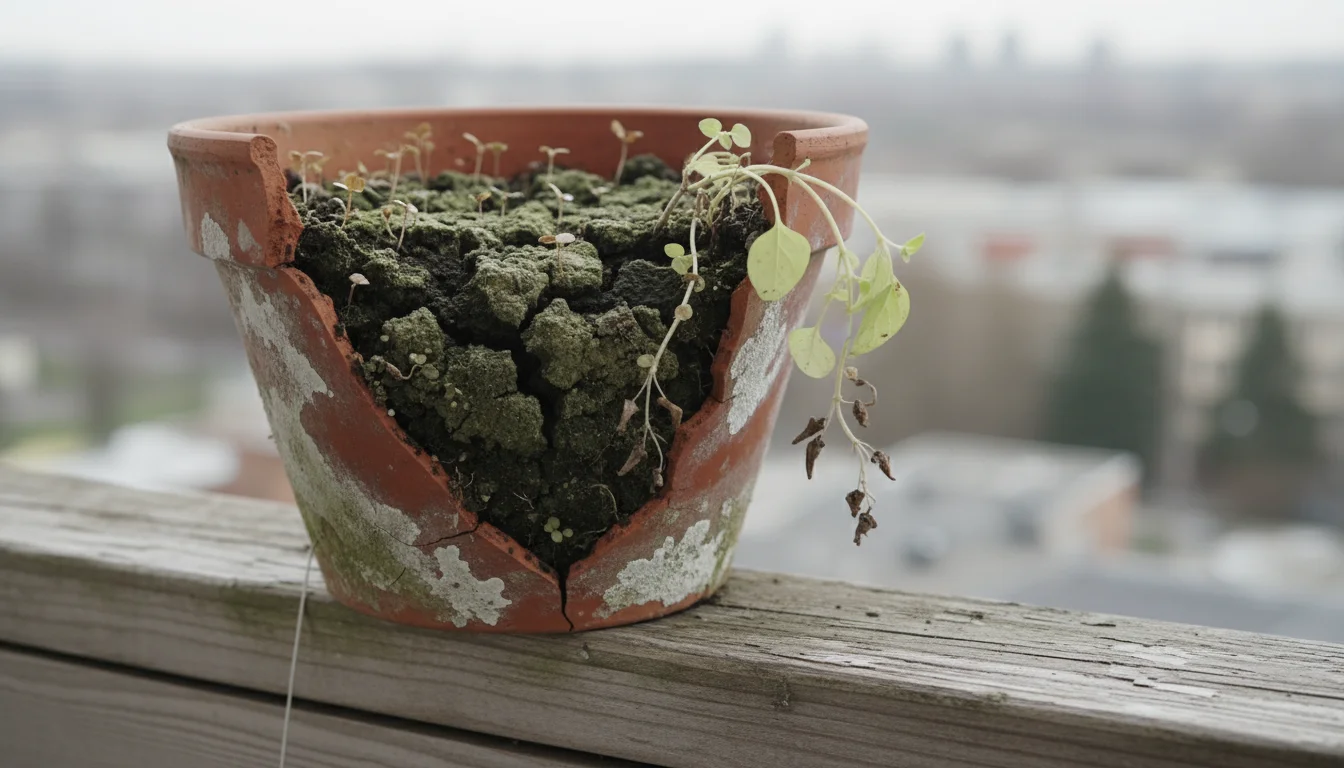
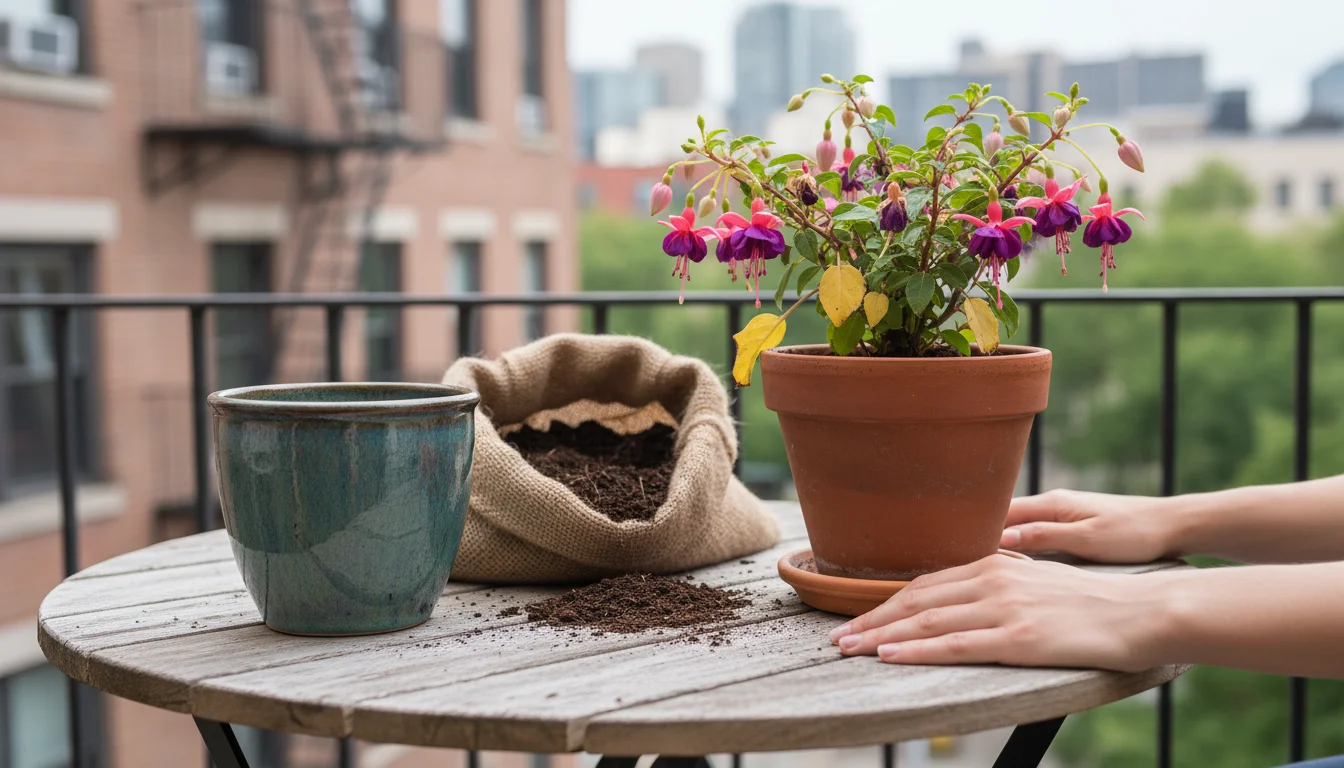
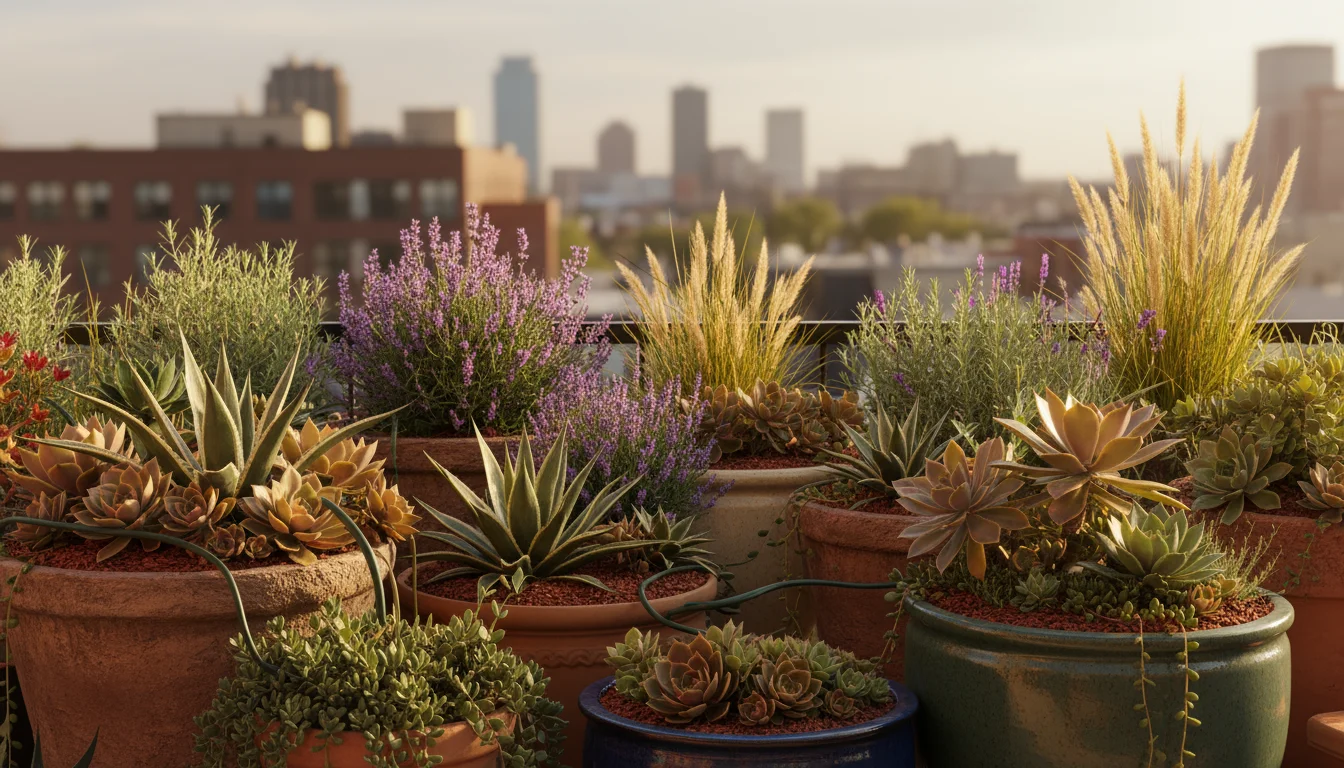
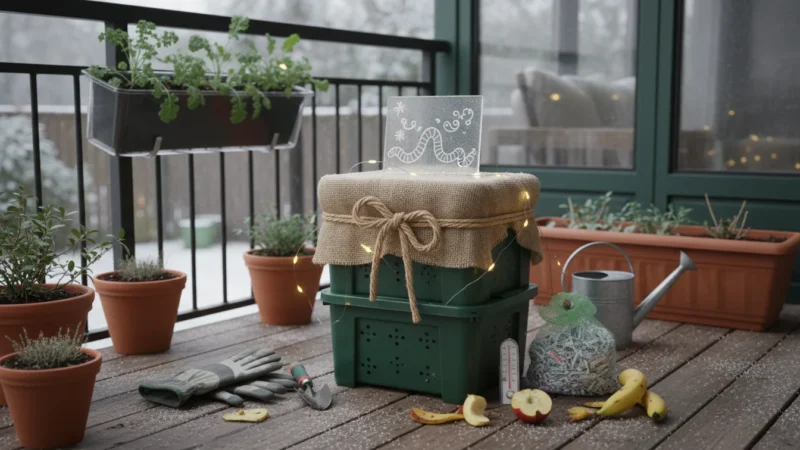
As the days grow shorter and temperatures drop, your beloved container plants, especially those indoors, face a unique set of challenges. The vibrant growth of spring and summer slows, and with it, your plants’ need for water decreases significantly. This shift in metabolism often leads to a common winter culprit: soggy soil. Standard potting mixes, which perform admirably during warmer months, can retain too much moisture in winter, setting the stage for one of a plant parent’s biggest fears, root rot.
Properly preparing your pots is a key part of learning how to overwinter container plants effectively.
Fortunately, you have the power to protect your plants and ensure their health through the colder seasons. This guide empowers you to understand why your potting mix needs a winter tune-up and provides clear, actionable steps to amend it for superior drainage. You will learn to create an environment where your plant roots can breathe, thrive, and remain happy until spring.
Why Winter Changes Your Soil Needs
Your plants operate differently in winter. The sun’s angle changes, providing less intense light, and the duration of daylight hours shortens considerably. Indoor heating often leads to drier air, but paradoxically, the soil can remain wet for longer periods. This is because cooler temperatures and reduced light directly impact your plant’s metabolic rate. Plants transpire less water through their leaves, and their roots absorb less moisture from the soil. A potting mix that drained perfectly in July can become a waterlogged death trap in January.
Adjusting your soil goes hand-in-hand with following a winter watering and feeding schedule, ensuring you don’t overwater while the plant’s metabolism is low.
Before you begin, you might ask yourself is it ever okay to repot a houseplant in the winter; when soil is waterlogged, it is often necessary.
Consider the science: warmer temperatures accelerate evaporation and plant activity. When these factors diminish, the water in your potting mix has nowhere to go. It sits, suffocating roots and creating an anaerobic, oxygen-deprived environment. This stagnant moisture invites harmful fungi and bacteria, making winter plant care a delicate balancing act. Understanding these environmental shifts is your first step in preventing common winter problems and ensuring your indoor soil remains a healthy home for your plants.
Many plants, especially tropical houseplants, originate from climates with consistent warmth and humidity, but also excellent soil drainage. Replicating this balance in a winter indoor environment requires conscious effort to adjust your soil’s composition. Your goal is to create a potting mix that dries out more quickly, providing essential oxygen to roots even when your plant is in its dormant or semi-dormant phase. This adjustment is crucial for `root rot prevention` and overall plant health throughout the colder months.
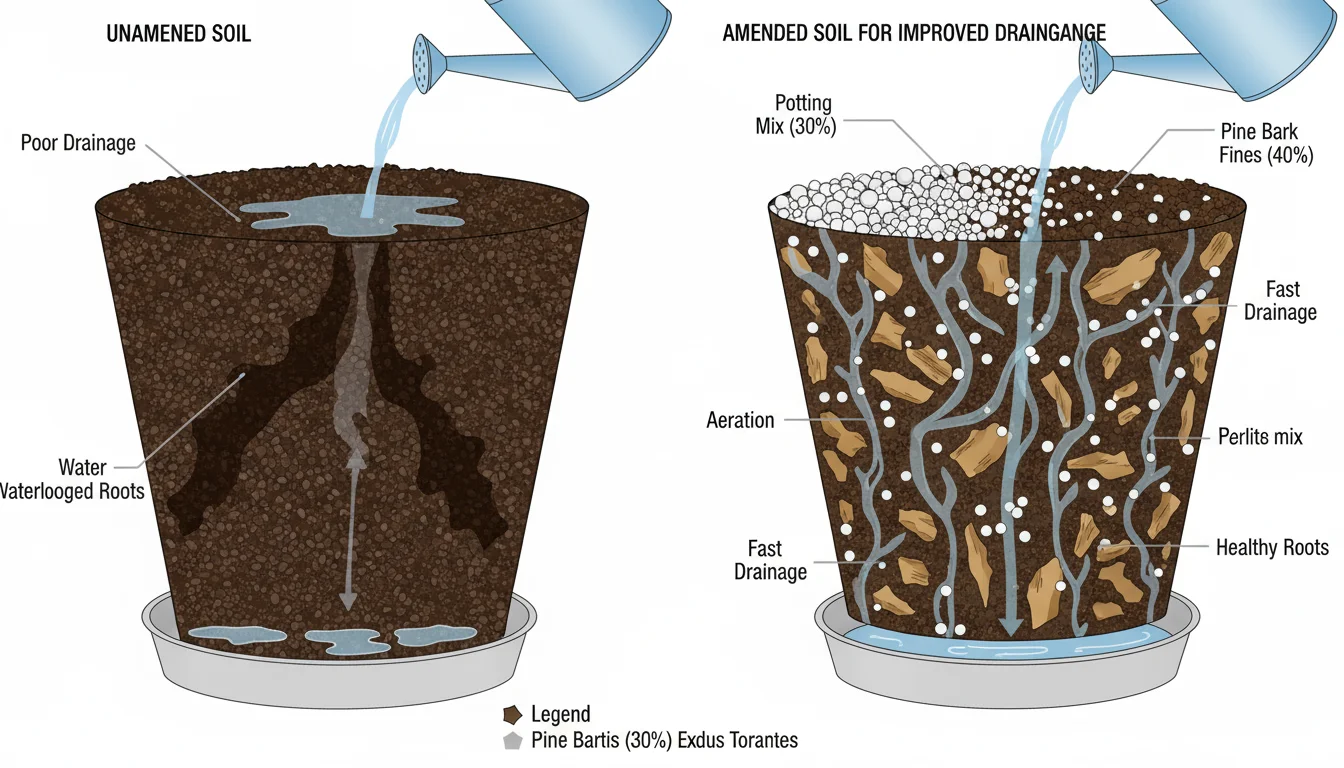
Understanding Drainage and Root Rot: Your Plants’ Silent Struggle
At its core, drainage refers to how efficiently water moves through soil and out of a container. Good drainage means water passes through quickly, leaving behind air pockets that plant roots desperately need. Think of it this way: roots need oxygen to perform vital functions, just like we do. When soil is constantly saturated, these air pockets fill with water, effectively drowning the roots.
If you notice water pooling on the surface, you’ll need to diagnose and fix soil drainage problems before the roots begin to decay.
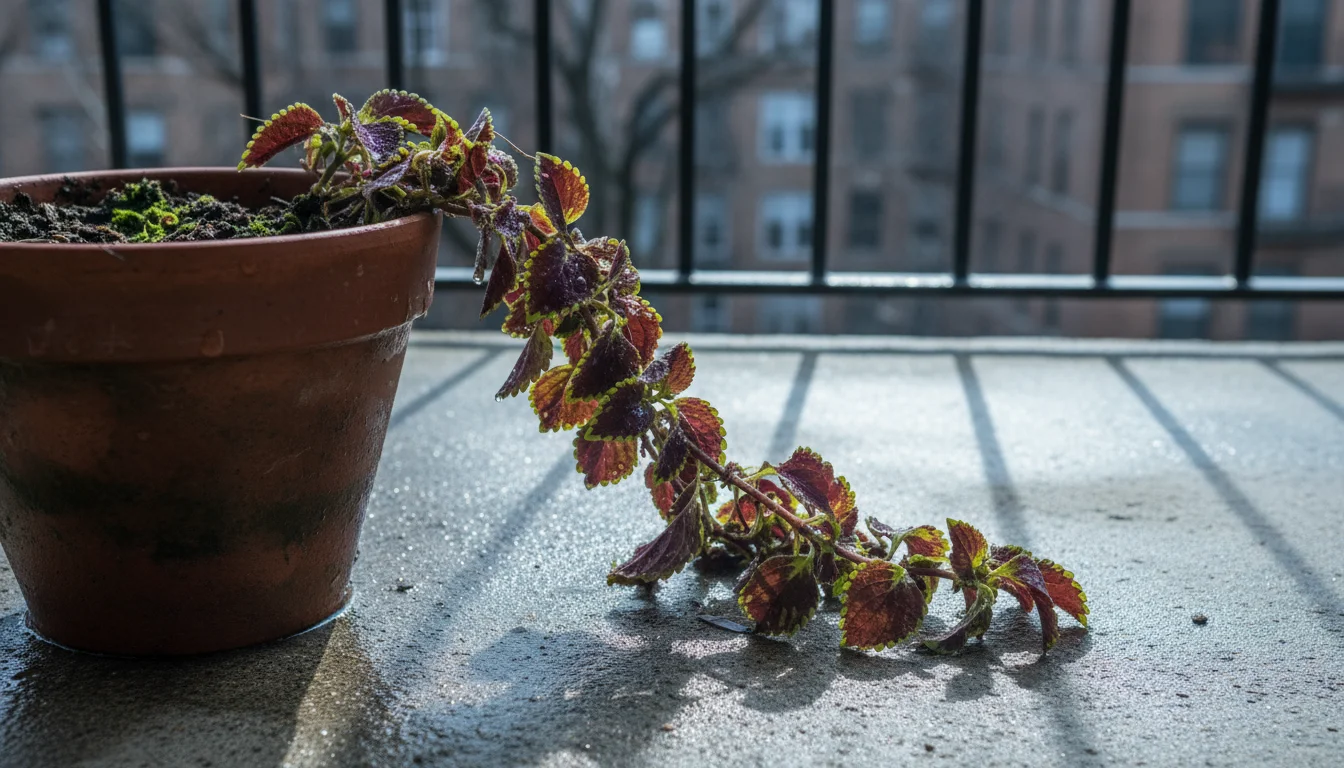
Root rot occurs when roots are deprived of oxygen and begin to decay. This decay often starts with beneficial soil microorganisms being replaced by anaerobic bacteria and fungi that thrive in oxygen-poor, wet conditions. Symptoms of root rot can be deceptive, often mimicking underwatering, such as wilting, yellowing leaves, and stunted growth. However, if you pull the plant from its pot, you will find mushy, brown, or black roots, a stark contrast to healthy, firm, white roots.
Preventing root rot is paramount for the health of your container plants, especially during the low-light, cool conditions of winter. A recent study published in the journal HortScience highlighted how various amendments can significantly improve air porosity in `potting mix`, directly correlating to reduced incidence of root disease. By actively working to improve the drainage of your `indoor soil`, you are directly addressing the leading cause of houseplant demise in winter. This proactive approach to `winter plant care` ensures your plants remain robust and ready for spring growth.
The problem often lies in the density of many commercial `potting mix` brands. While they hold water and nutrients well, their fine particle size can compact over time, especially with repeated watering. This compaction restricts airflow and exacerbates water retention, making `root rot prevention` a primary concern for any serious plant enthusiast. Your winter soil remix focuses on breaking up this density and creating a more porous structure.
Key Amendments for Superior Drainage
To transform your standard potting mix into a winter-ready, well-draining environment, you need to incorporate amendments that increase aeration and porosity. These materials create larger spaces within the soil, allowing water to pass through freely and air to reach the roots.
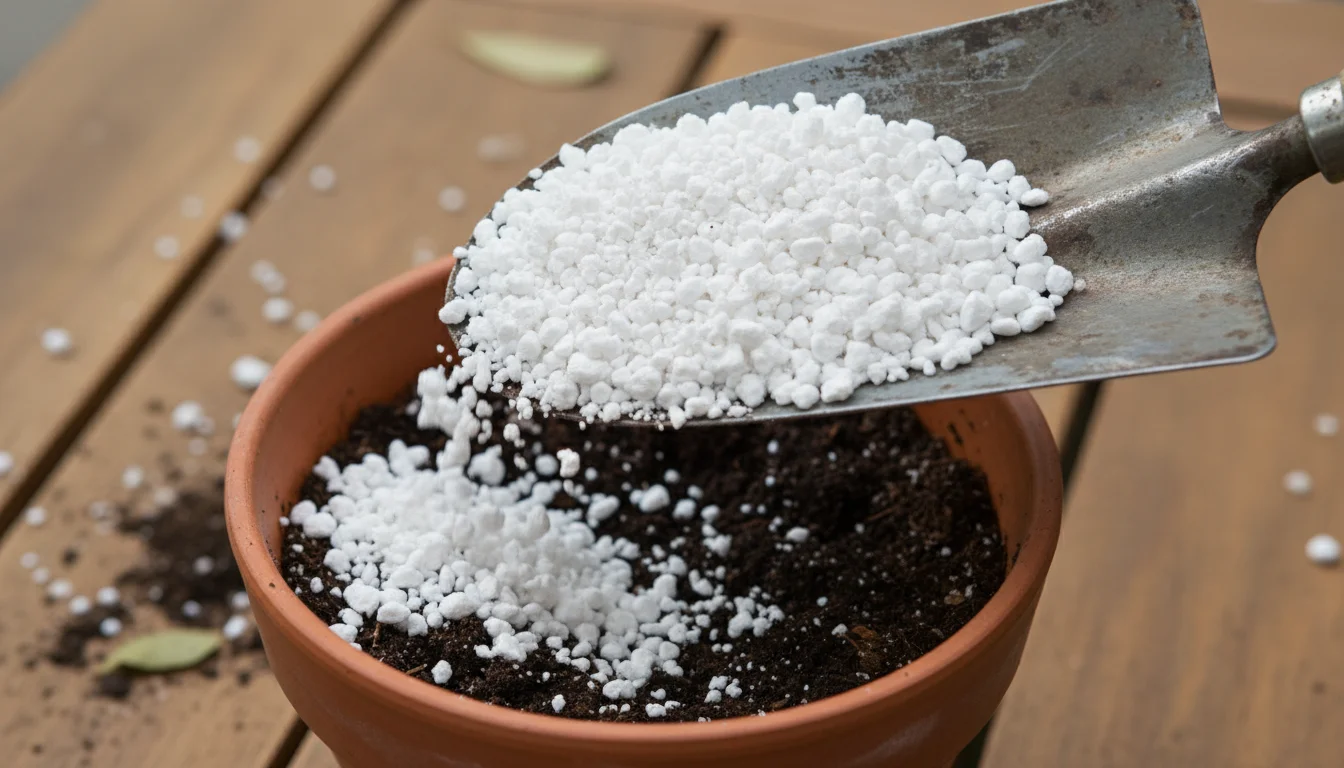
Perlite: The Aeration Champion
Often looking like tiny white foam balls, `perlite` is actually an inert, lightweight volcanic glass that expands when heated. Its porous nature makes it excellent for creating air pockets in soil, improving drainage, and preventing compaction. It does not absorb water but instead allows it to move around its irregular surfaces. `Adding perlite to potting mix` is one of the most effective and widely used methods to enhance drainage. It is readily available and relatively inexpensive. For most `indoor soil` applications, a coarse or chunky perlite provides the best results.
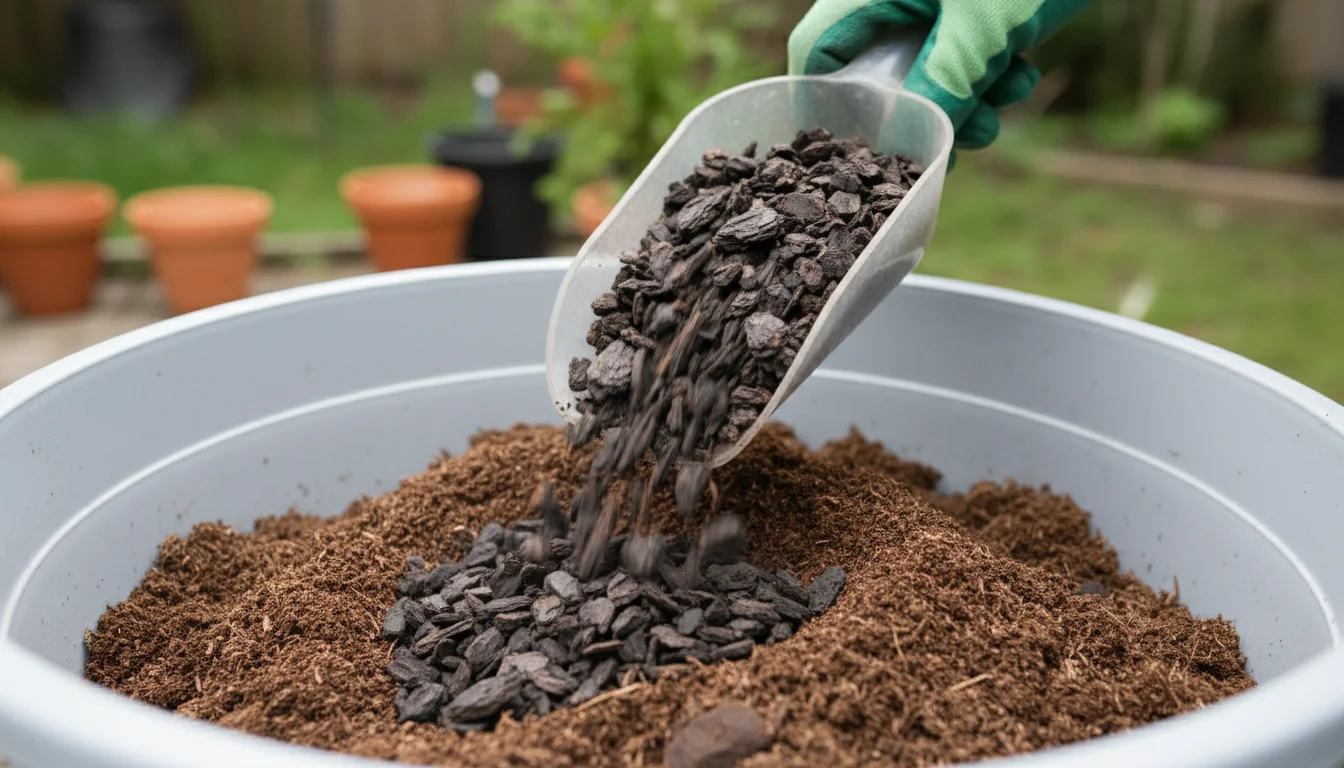
Pine Bark Fines: Organic Structure
Small pieces of aged pine bark, often labeled as orchid bark or bark fines, add excellent aeration and structure to `potting mix`. Unlike perlite, pine bark is organic and will slowly break down over time, releasing small amounts of nutrients. Its irregular shapes prevent soil particles from compacting too tightly, facilitating water movement and creating crucial air pockets. Use pieces that are small, generally 1/4 to 1/2 inch in size, not large chunks.
Coarse Sand or Horticultural Grit: Weight and Definition
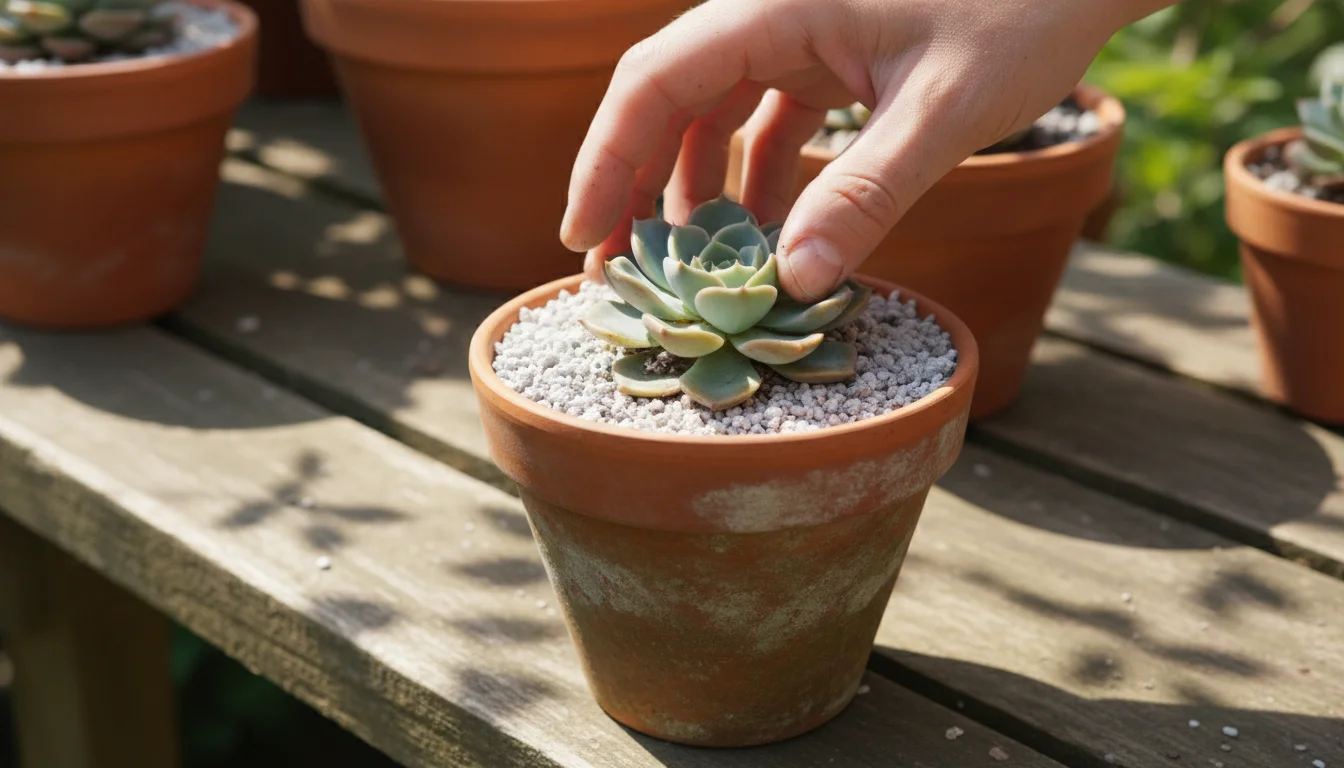
While often avoided in favor of lighter amendments, coarse sand or horticultural grit (small, angular stones) provides excellent drainage and adds weight, which can be beneficial for tall, top-heavy plants in small pots. Ensure you use coarse sand, not play sand or builder’s sand, which can be too fine and actually impede drainage. Horticultural grit is typically granite or basalt, providing permanent structure without breaking down. These materials are excellent for `how to improve drainage in houseplant soil for winter` in succulents and cacti mixes.
Pumice: A Lighter Alternative
Pumice is another type of lightweight, porous volcanic rock, similar to perlite but generally heavier and more uniform in shape. It absorbs some water, which it then slowly releases, making it excellent for drainage while providing a slight moisture buffer. It is a fantastic choice for `indoor soil` blends, offering stability and aeration.
When selecting your amendments, consider the specific needs of your plants. Succulents and cacti require extremely sharp drainage, so a higher ratio of gritty amendments is beneficial. Tropical foliage plants still need some moisture retention, so a balance of perlite and bark fines with your `potting mix` works best. The goal is always to prevent standing water and ensure roots have access to oxygen, a key strategy for `root rot prevention` during `winter plant care`.
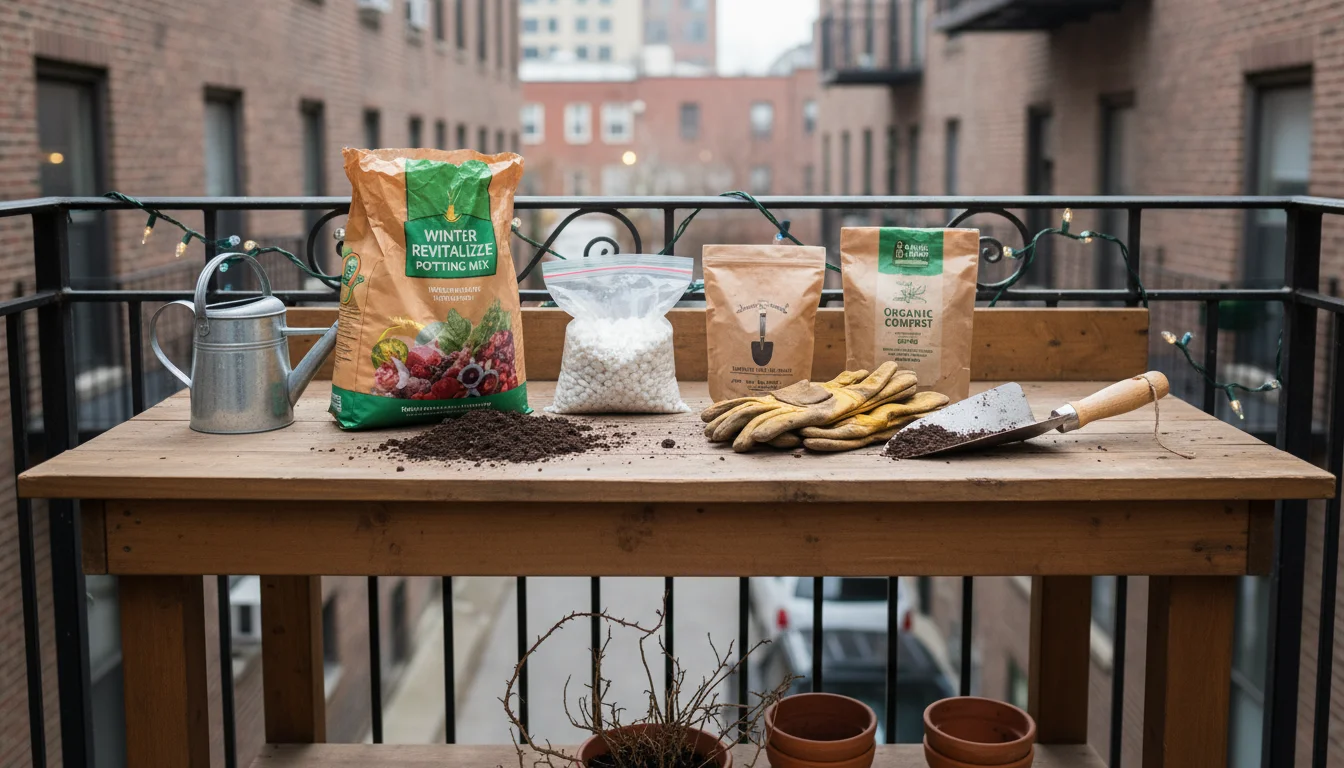
Gathering Your Tools and Supplies
Before you dive into mixing, ensure you have all the necessary tools and supplies at hand. A little preparation goes a long way in making this process smooth and mess-free. You will find most of these items readily available at your local garden center or hardware store.
Essential Tools:
- Gloves: Protect your hands from soil and amendments.
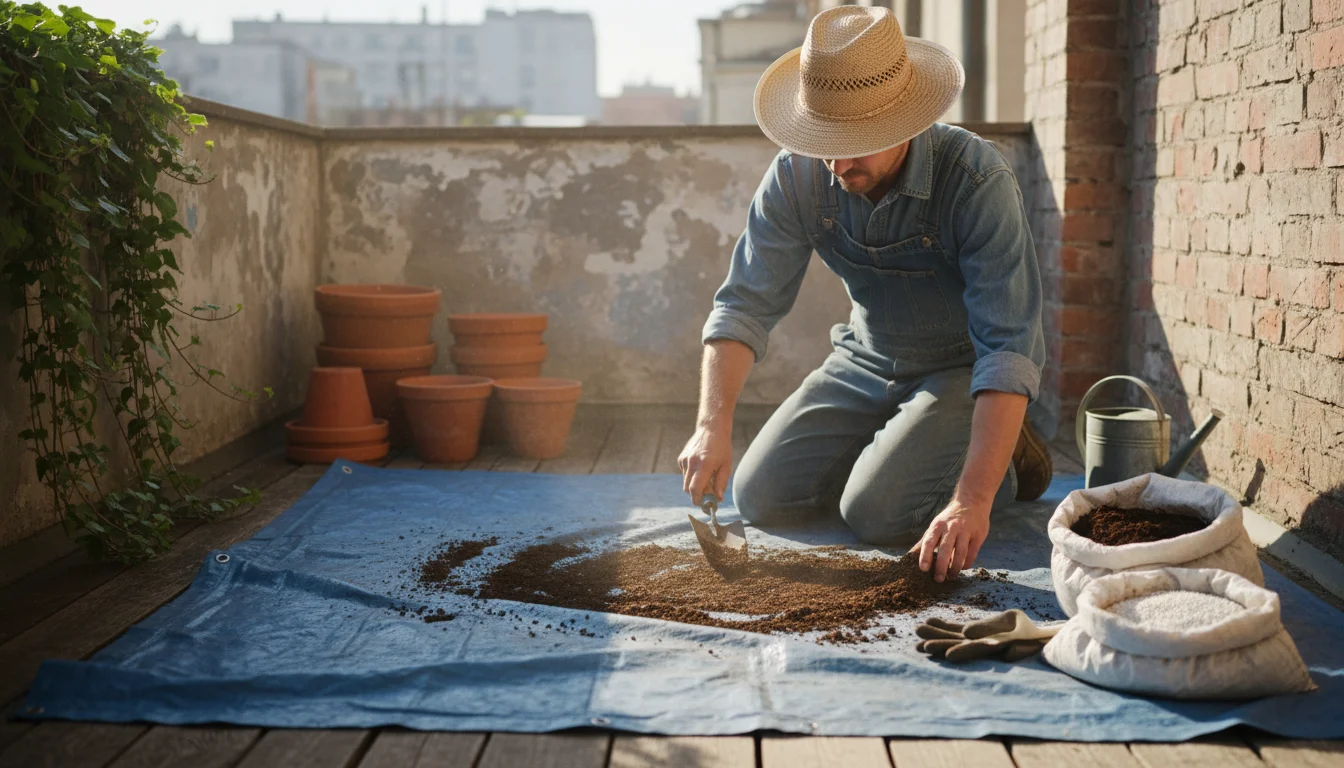
- Tarp or Large Mixing Bin: Provides a clean surface for mixing your `potting mix` and amendments, making cleanup much easier. A large plastic tub or an old storage container works perfectly.
- Small Shovel or Scoop: For easily transferring soil and amendments.
- Trowel or Hand Cultivator: Useful for gently loosening plants from their current pots and for mixing smaller batches of soil.
- Dust Mask (Optional, but Recommended): Fine particles from perlite and dry soil can be irritating to the respiratory system. A simple dust mask offers good protection.
- Sieve or Colander (Optional): Useful if your pine bark fines have large, unusable pieces, allowing you to sift out the ideal size.
- Watering Can with Fine Spout: For gentle, initial watering after repotting.
Supplies You Will Need:
- Your Current Potting Mix: You will be refreshing and amending this.
- Perlite: Essential for `how to improve drainage in houseplant soil for winter`. Look for coarse-grade perlite for the best results.
- Pine Bark Fines: Small, aged pieces of pine bark or orchid bark. These provide excellent aeration and some organic matter.
- Optional Amendments: Depending on your plant’s specific needs, you might also consider coarse sand, horticultural grit, or pumice.
- New Pots (if repotting): Choose pots that are one size larger than your current ones, or the same size if you are just refreshing the soil. Ensure they have drainage holes.
- Old newspaper or paper towels: For quick cleanup of spills.
Having everything organized before you start minimizes interruptions and helps you maintain a clean workspace. This setup ensures you can focus entirely on creating the perfect `indoor soil` blend for your plants, facilitating an effective `winter plant care` routine and strong `root rot prevention` efforts.
Step-by-Step: Crafting Your Perfect Winter Potting Mix
Creating your optimized `potting mix` for winter is a straightforward process. The key is thorough mixing to ensure even distribution of your amendments. Follow these steps for an effective remix that will improve `how to improve drainage in houseplant soil for winter` and protect your plant’s roots.
-
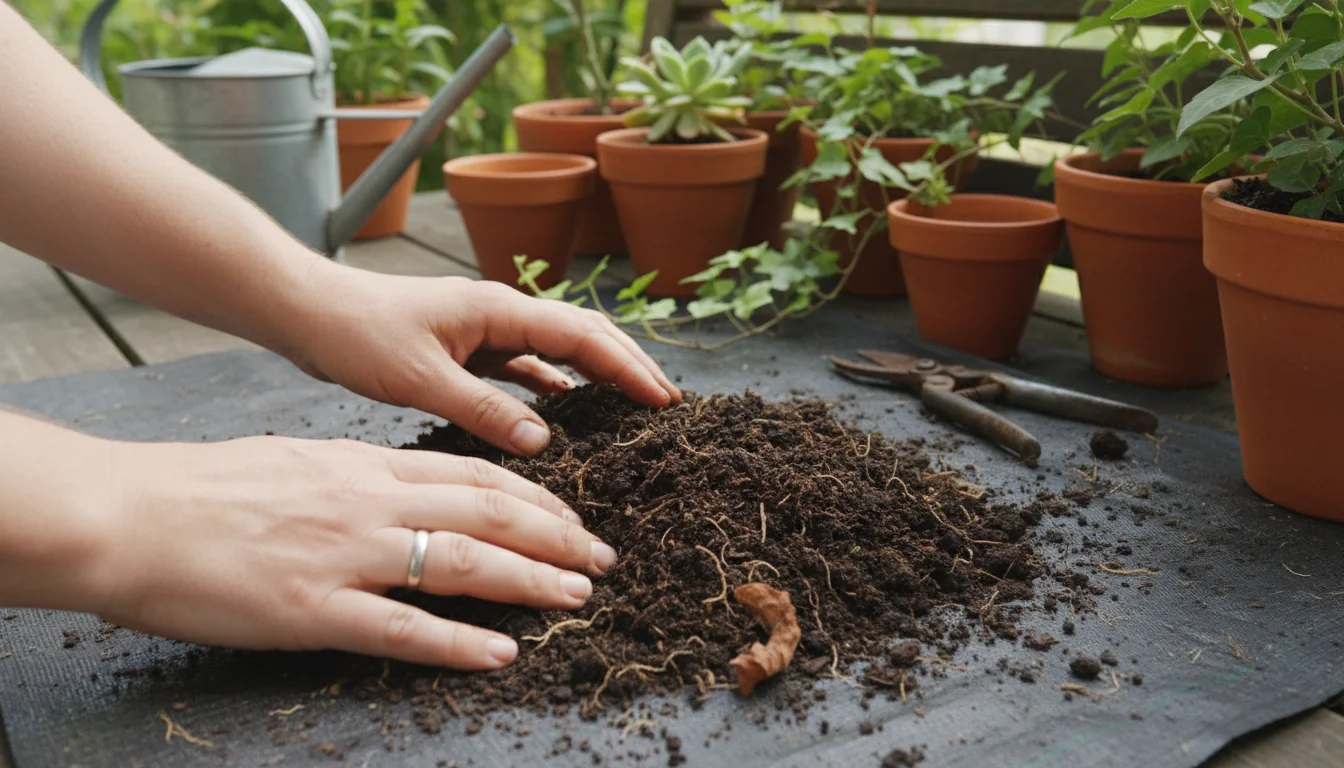
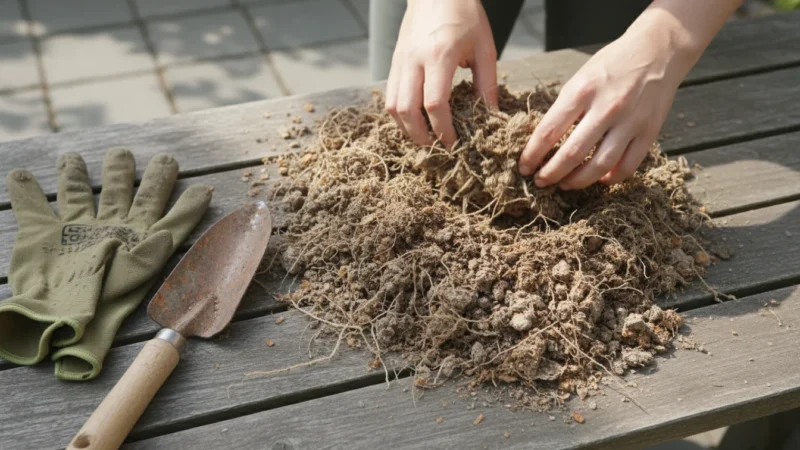
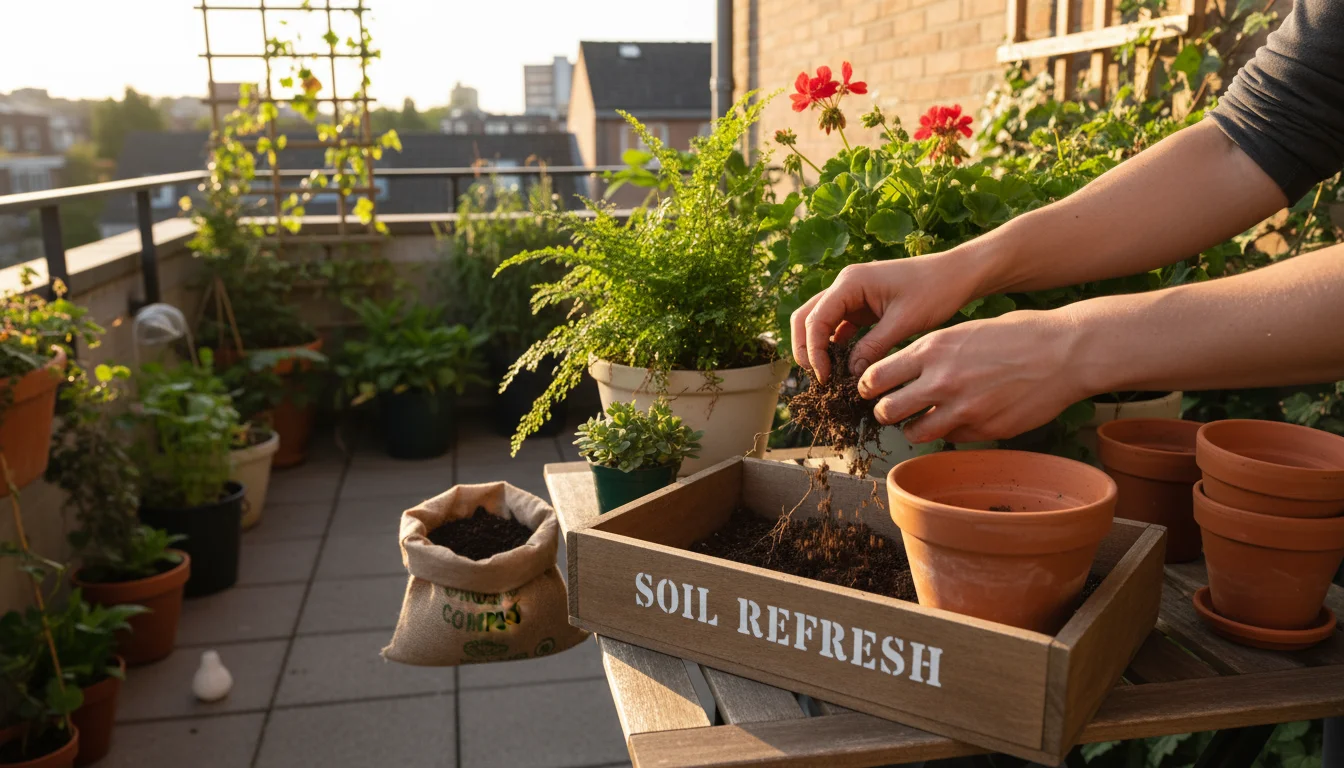
Checking old potting mix to see if it’s ready for a refresh or needs replacing. Assess Your Existing Potting Mix:
If you are reusing existing `potting mix` from a plant you are repotting, inspect it. Remove any large pieces of old roots, debris, or pests. If the soil smells sour or looks overly compact and dark, consider starting with a fresh bag of high-quality `potting mix` as your base to ensure the best `indoor soil` conditions. If it seems fine, you can refresh it.
-
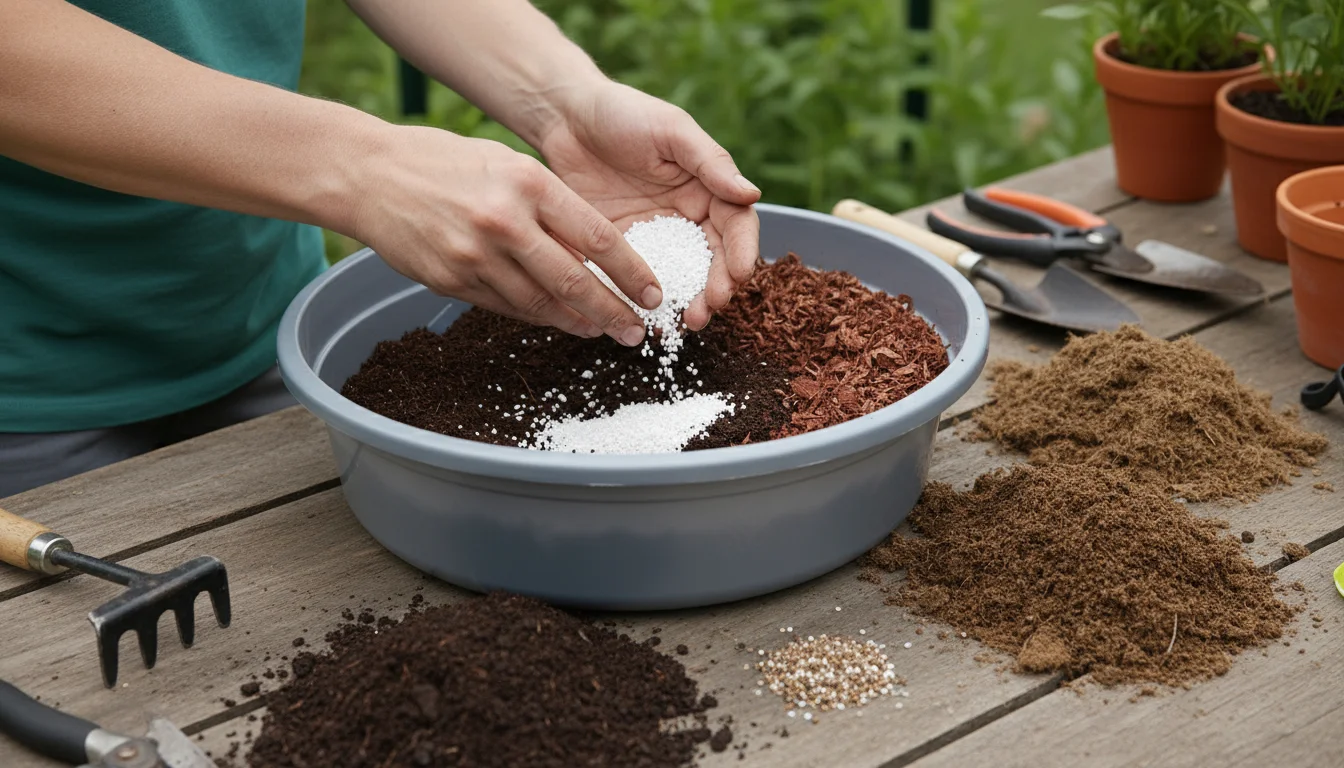
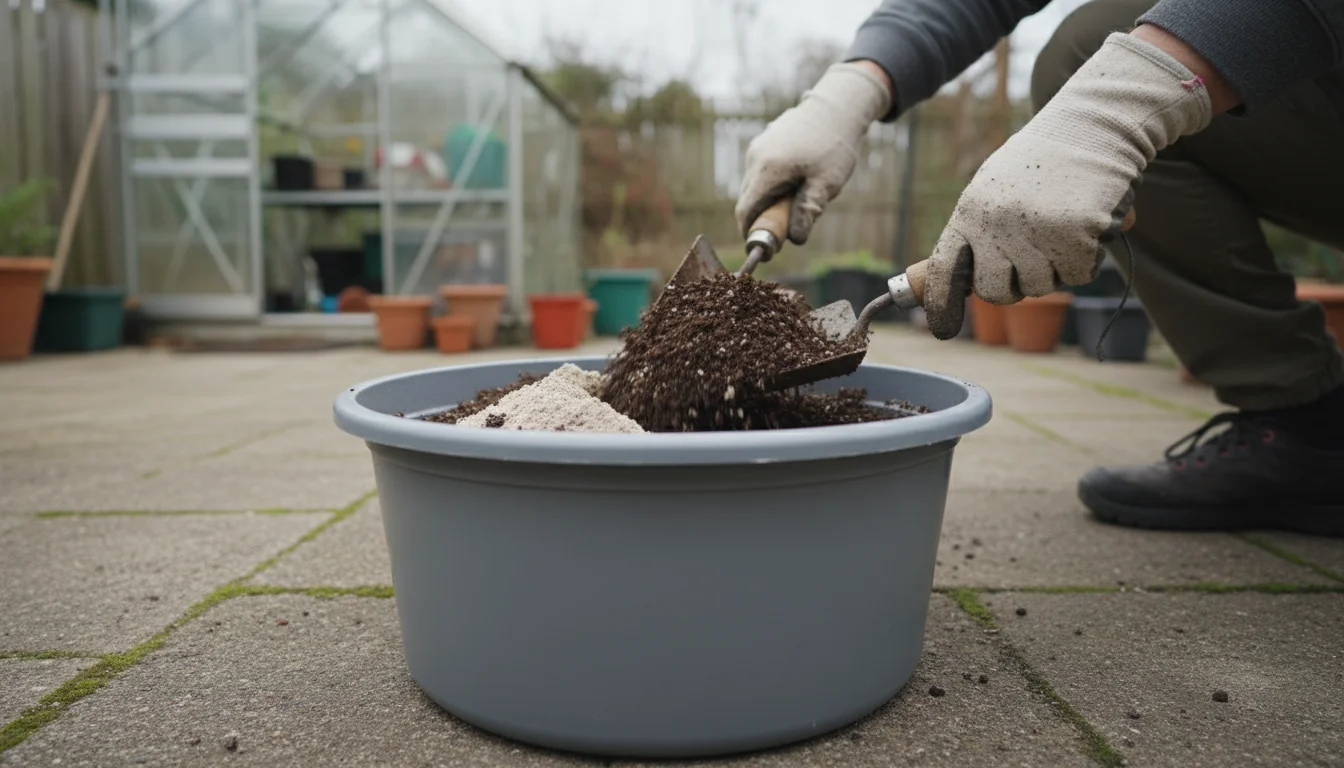
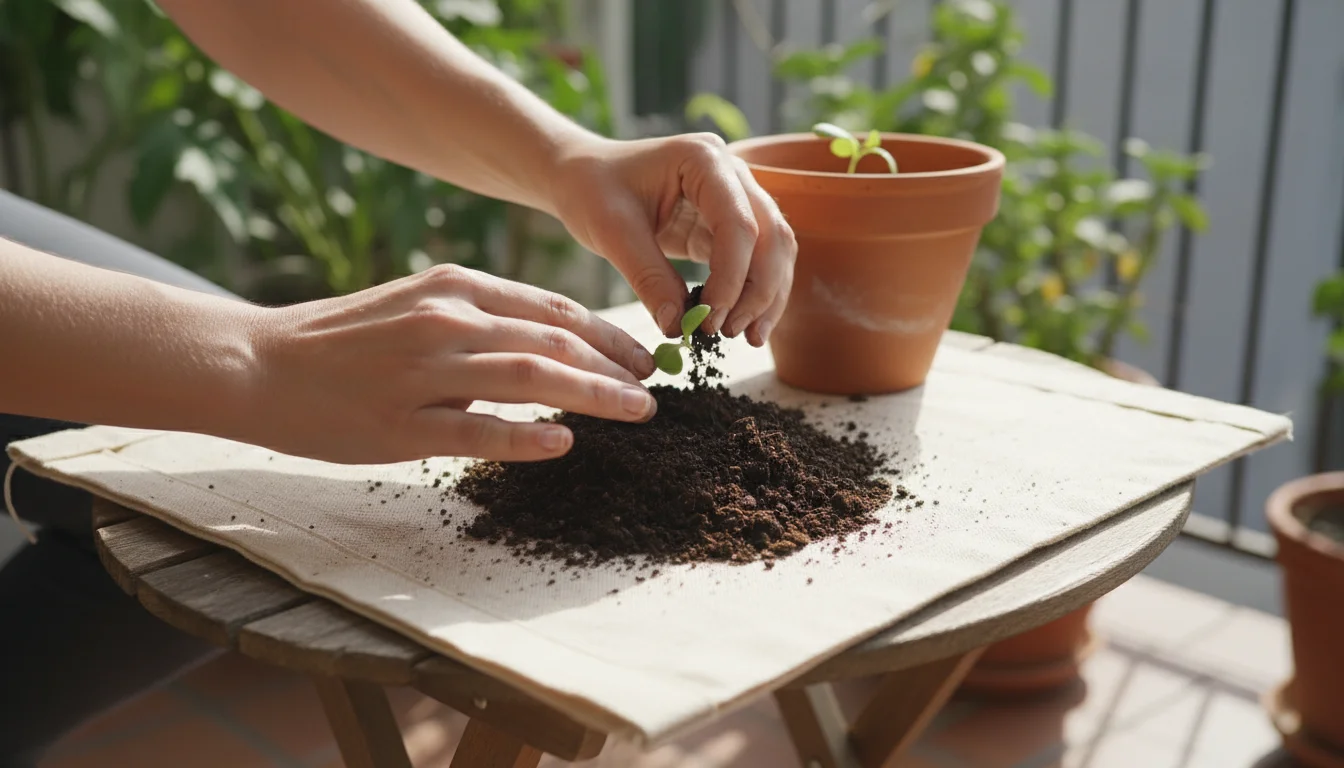
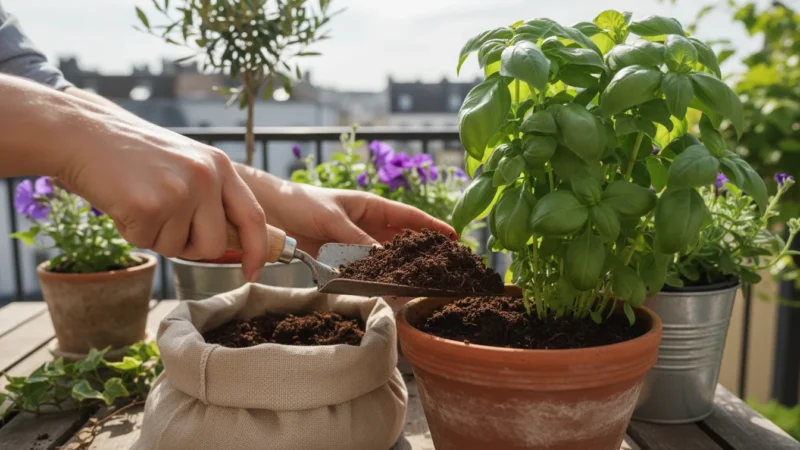
Mixing soil amendments for happier container plants. Determine Your Ratios:
A good general starting point for most houseplants requiring improved drainage is:
- 2 parts quality `potting mix`
- 1 part `perlite`
- 1 part pine bark fines (or pumice, if preferred)
For succulents and cacti, increase the gritty amendments: aim for 1 part potting mix, 1 part perlite, and 1 part coarse sand or horticultural grit. Adjust these ratios based on the specific plant. A Monstera might prefer slightly more bark, while a Pothos would do well with the general mix.
-
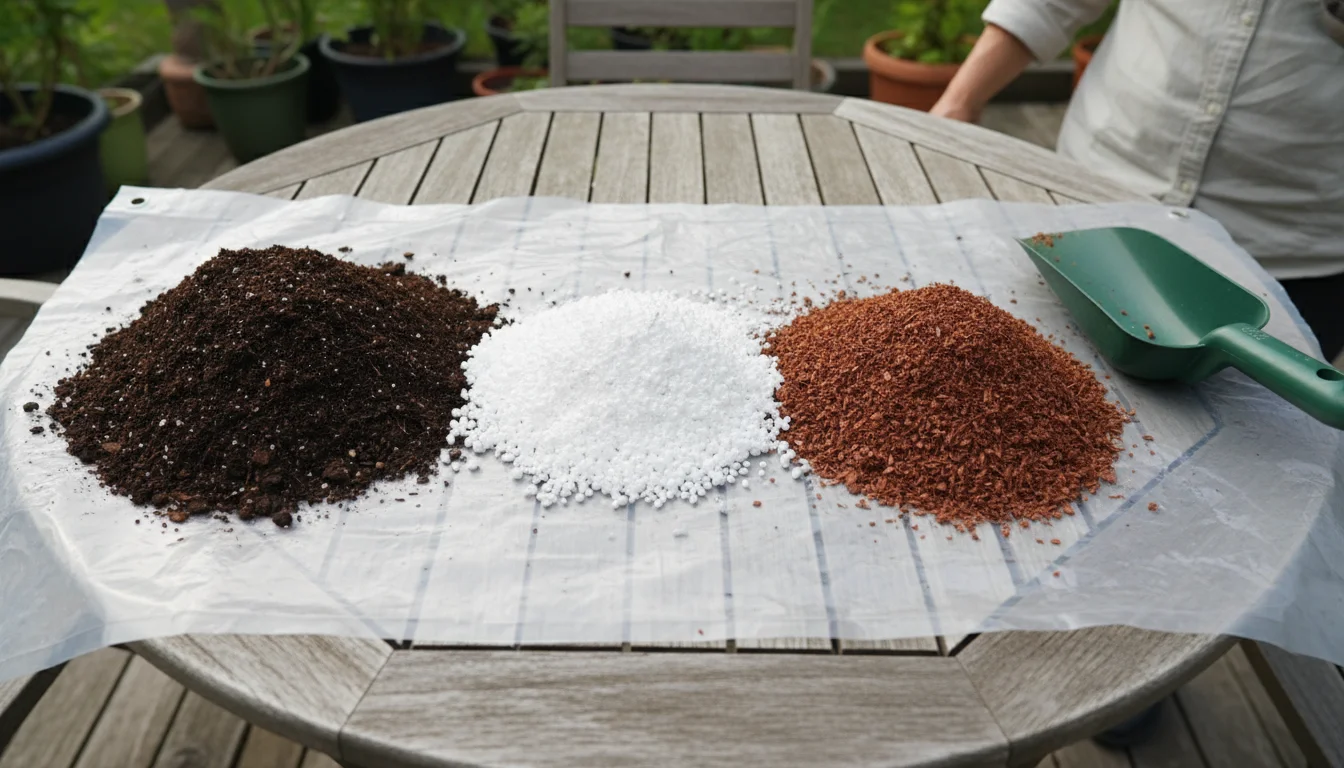
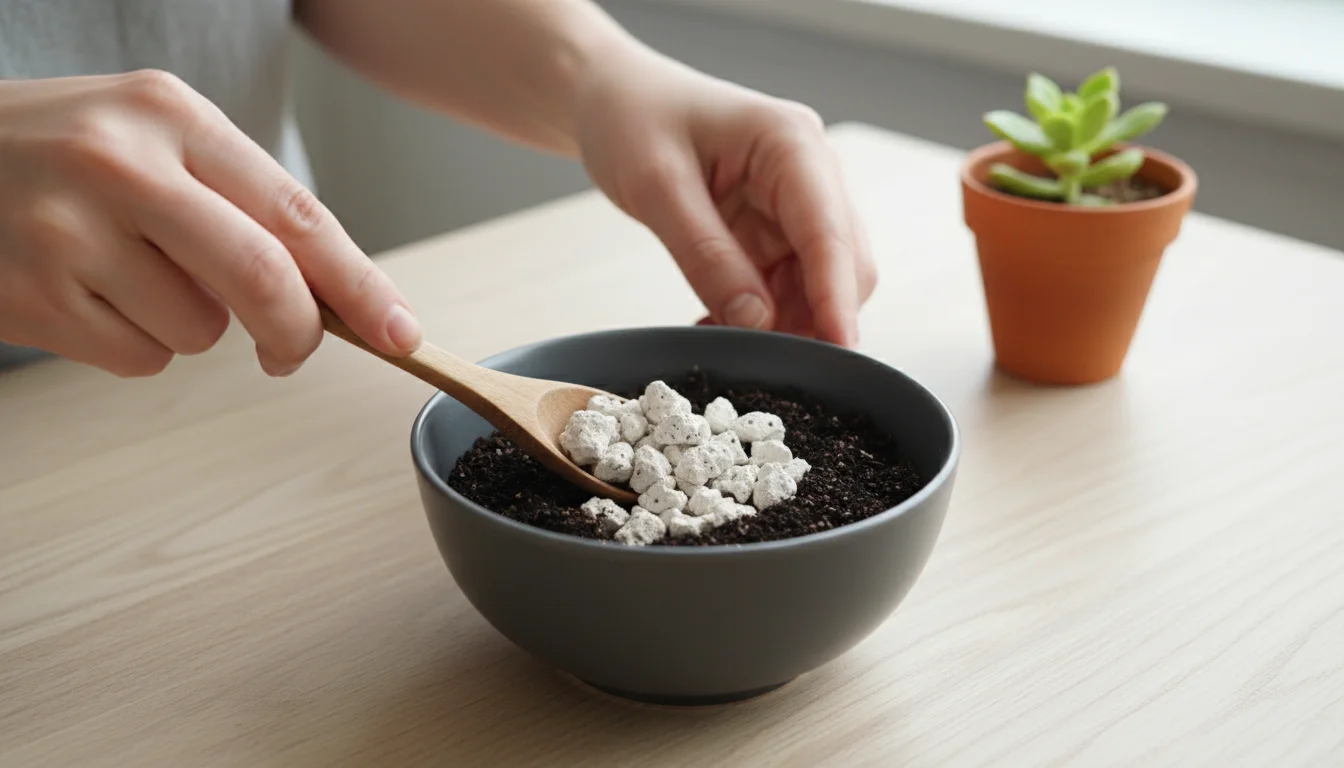
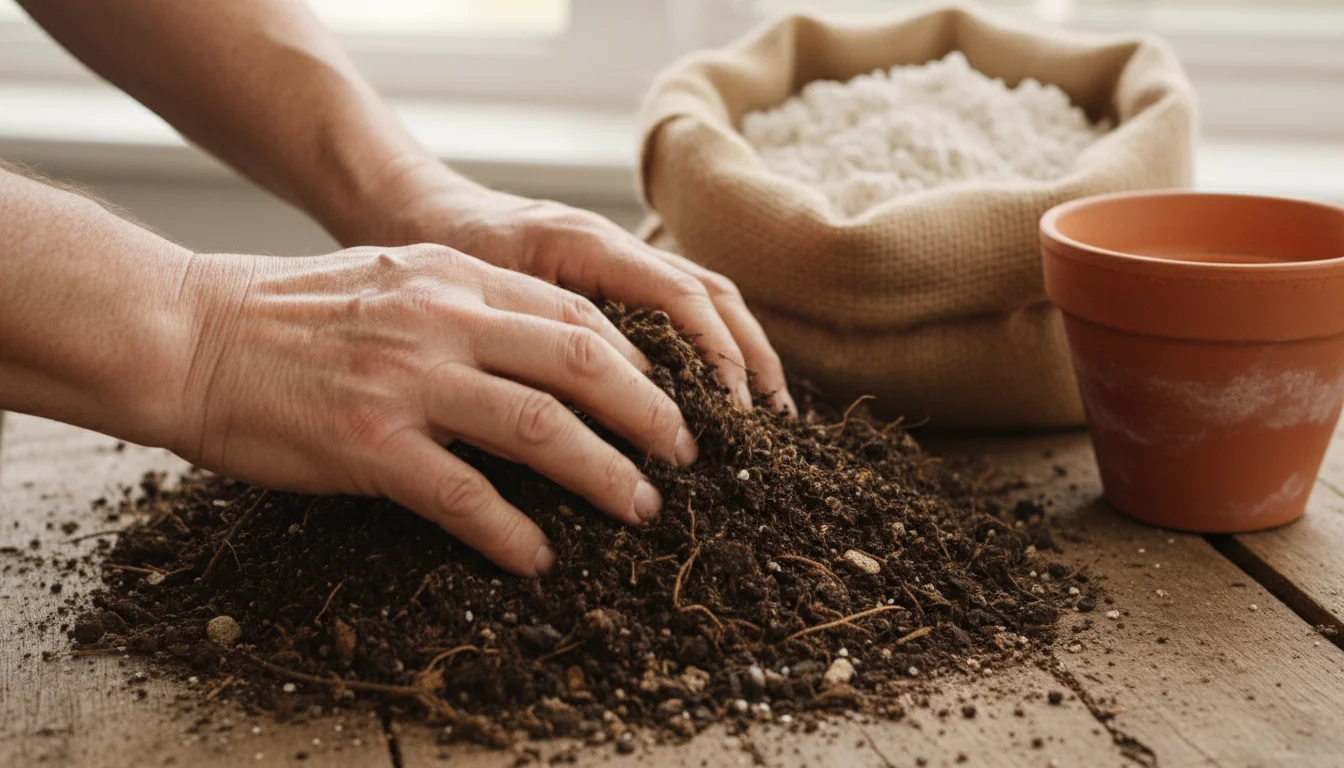
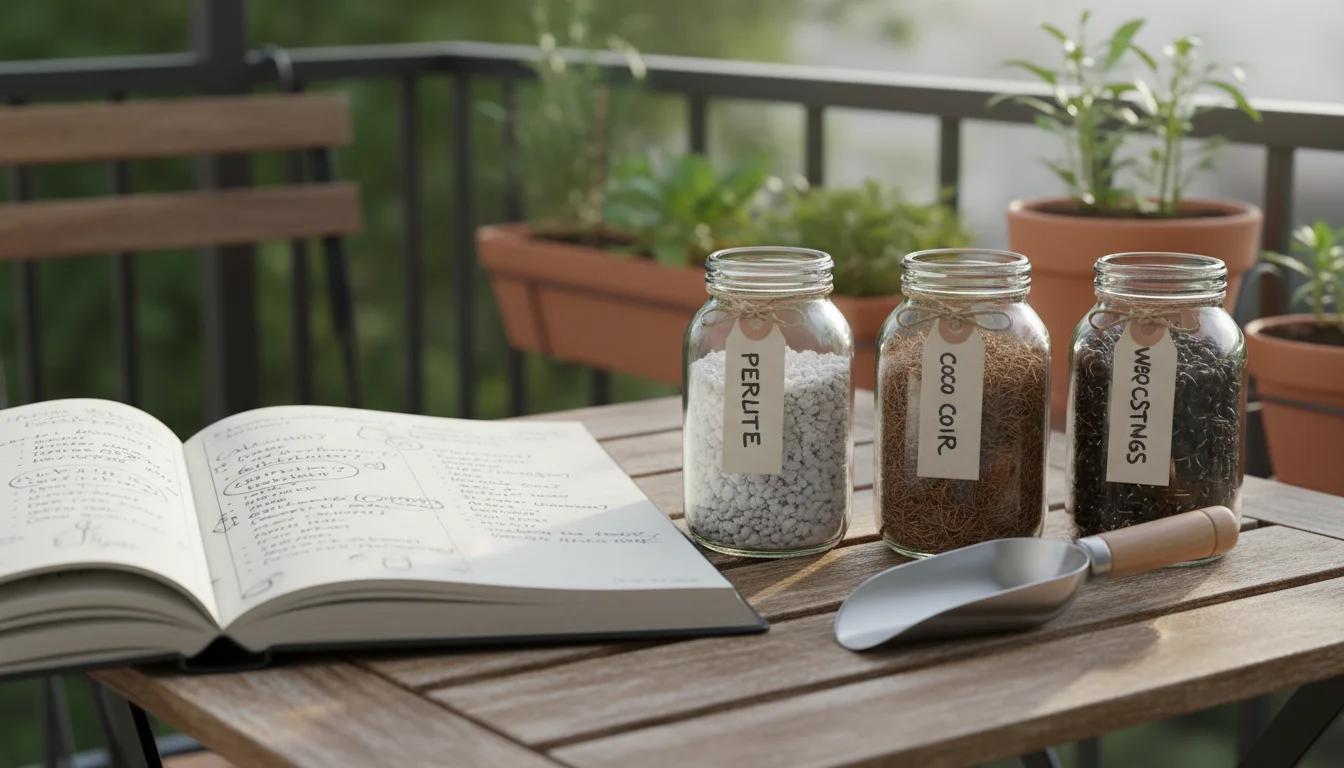
Ready to mix! Separated piles of potting mix, perlite, and bark fines. Measure Your Ingredients:
Using your scoop or a dedicated container, measure out the determined amounts of `potting mix`, `perlite`, and pine bark fines onto your tarp or into your mixing bin. For instance, if you are making a small batch, you might use 2 cups of potting mix, 1 cup of perlite, and 1 cup of bark fines.
-
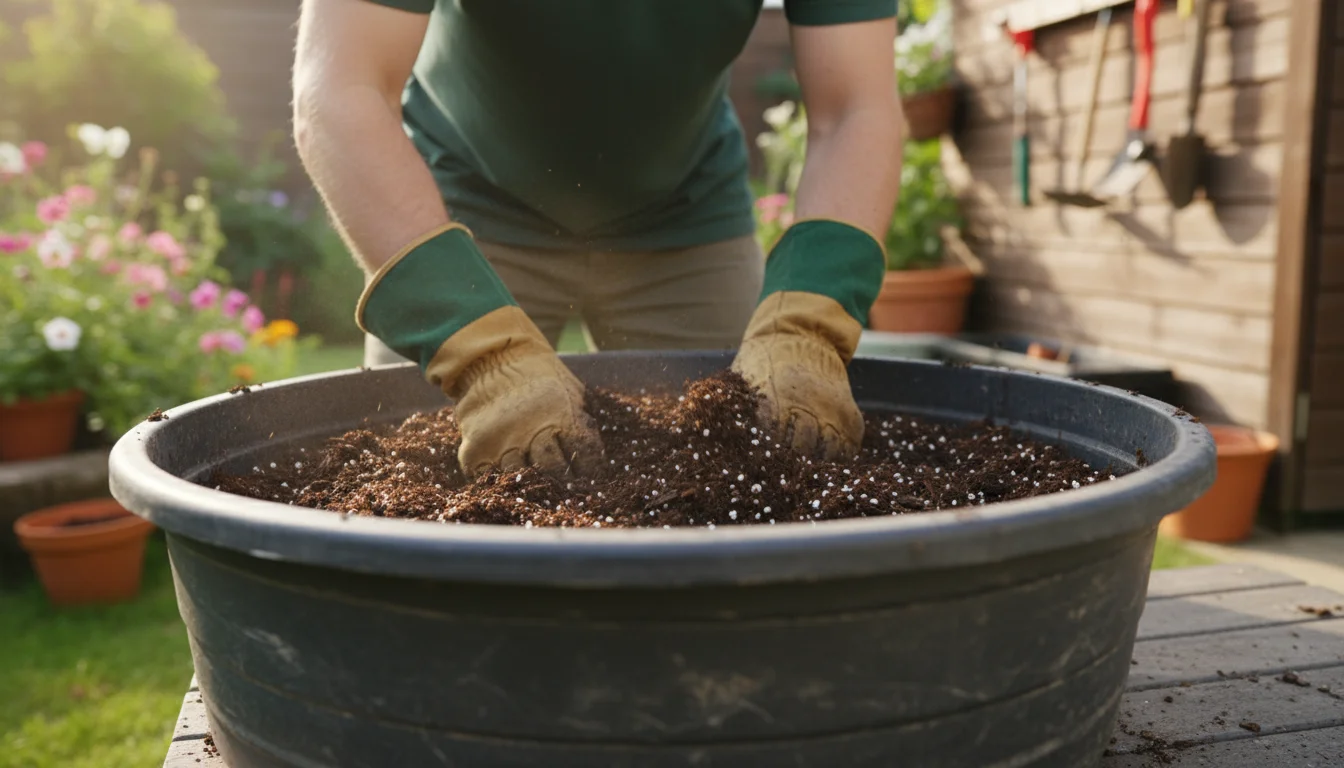
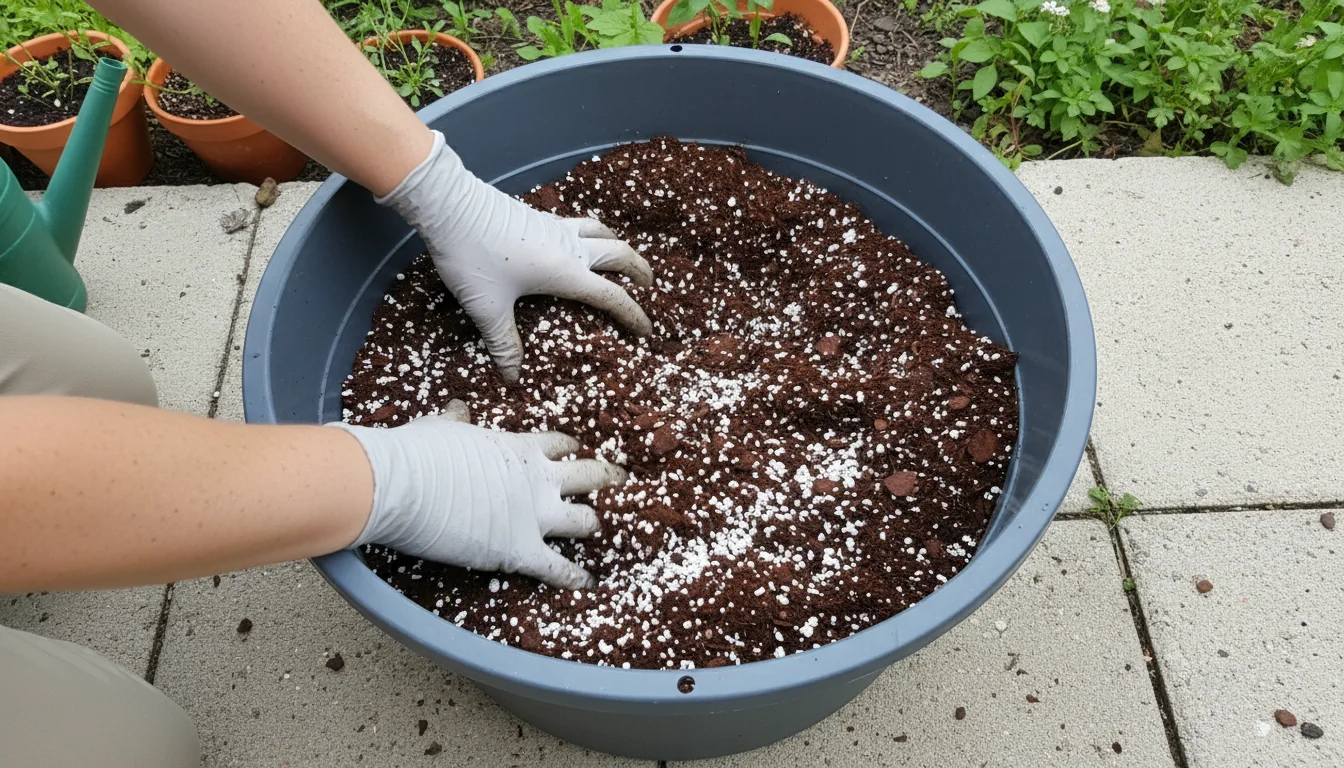
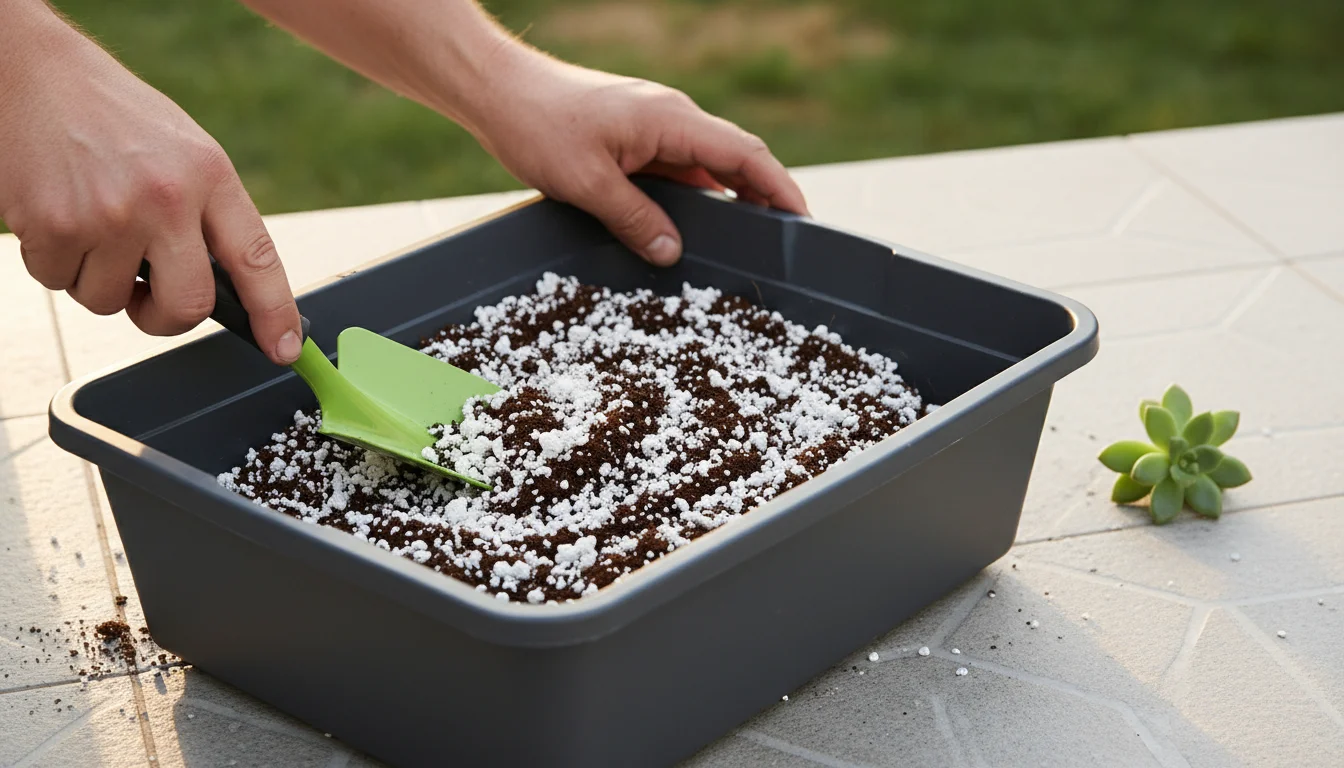
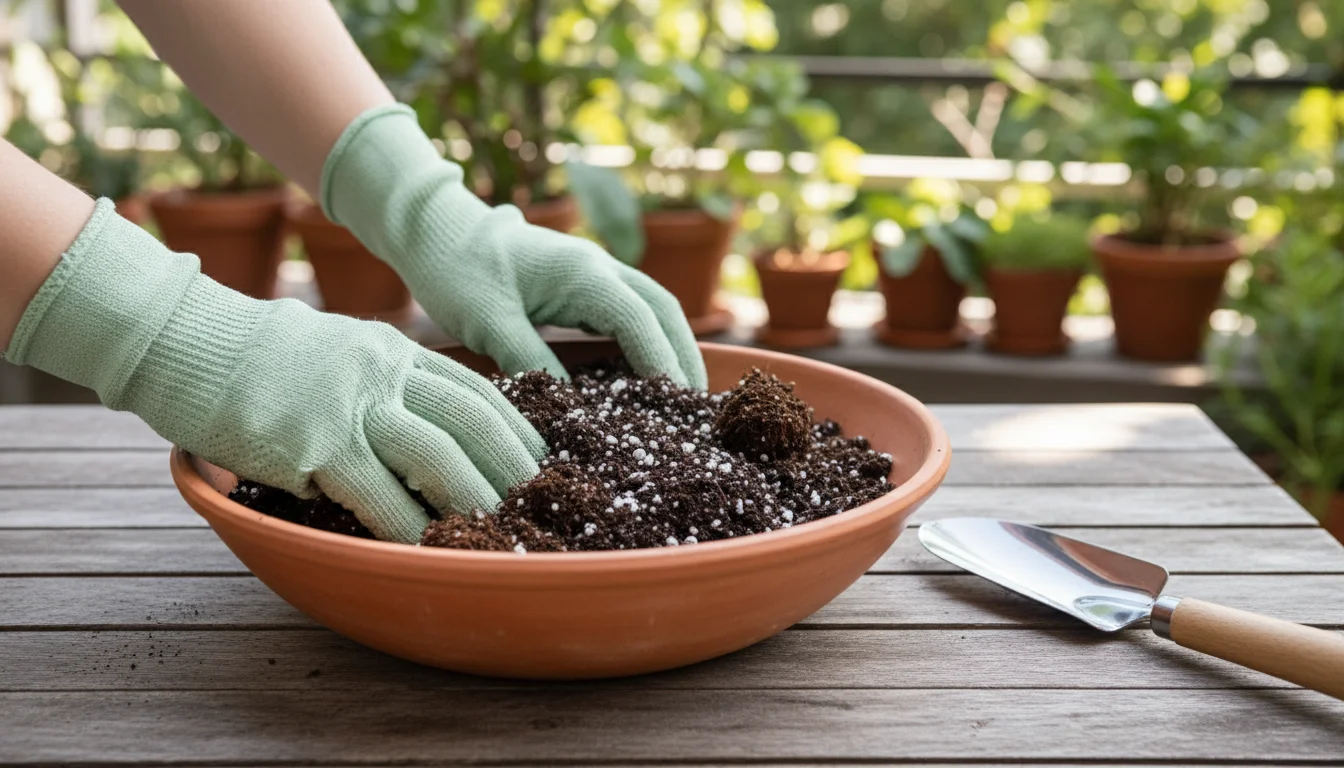
Get in there and mix it all up! Uniform soil makes for happier plants. Mix Thoroughly:
This is the most crucial step. Using your hands (with gloves on) or a trowel, thoroughly combine all the ingredients. You want a uniform mixture where the amendments are evenly distributed throughout the `potting mix`. There should be no visible clumps of just soil or just `perlite`. Keep mixing until the entire blend has a consistent texture and appearance. This ensures every part of the root zone benefits from improved drainage.
-
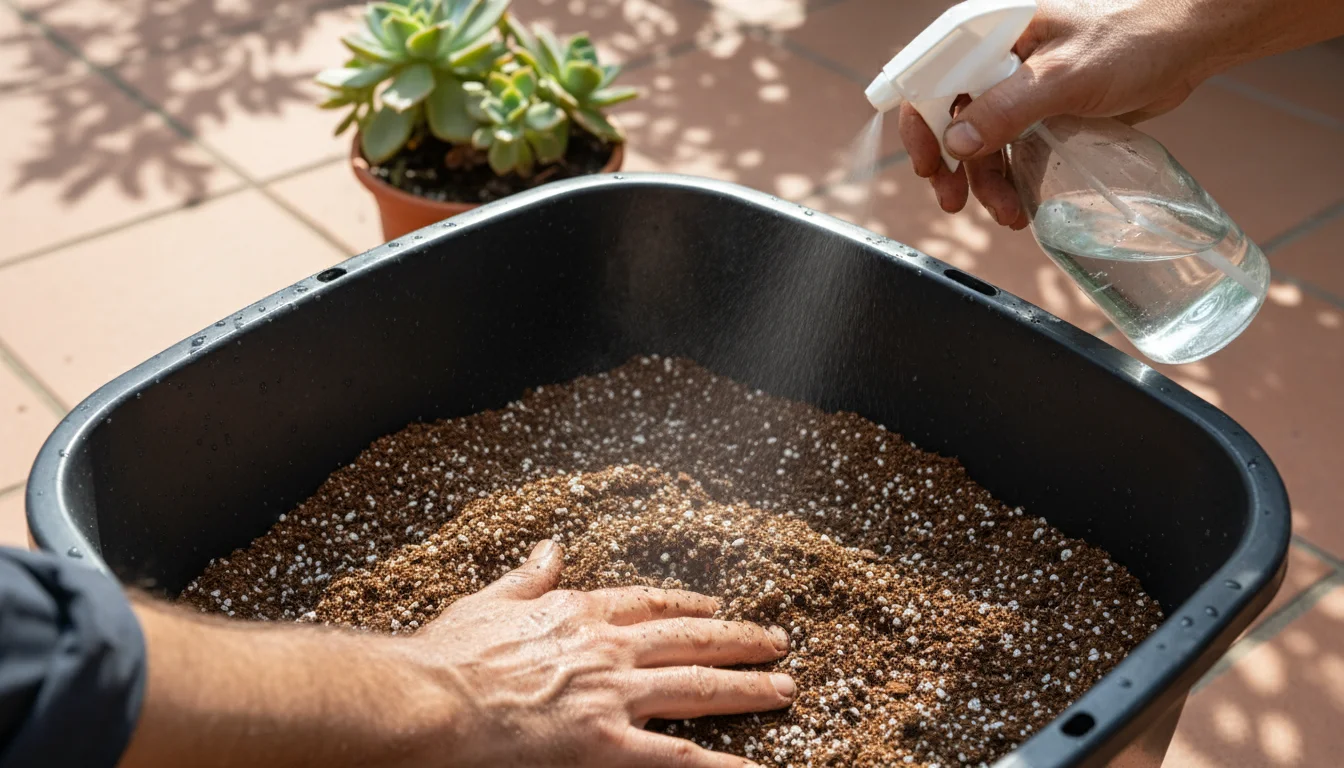
Lightly misting dry potting mix to make it easier to work with. Lightly Moisten the Mix (Optional):
If your mix feels extremely dry and dusty, you can lightly mist it with water or add a small amount and mix again. A slightly damp mix is easier to work with and helps reduce airborne dust particles, especially from `perlite`. However, avoid making it soggy; it should just be moist enough to hold together slightly when squeezed, but still crumbly.
By following these steps, you have successfully created an amended `potting mix` specifically designed for better drainage, effectively preparing your plants for `winter plant care` and significantly reducing the risk of `root rot prevention` issues. This custom `indoor soil` will be a haven for healthier roots.

Applying Your New Mix: Repotting for Winter Success
Now that you have your perfectly remixed `potting mix`, it is time to put it to use. Repotting in winter should generally be avoided unless absolutely necessary, as plants are often less resilient during dormancy. However, if your plant shows signs of severe stress, such as chronic sogginess, extreme compaction, or visible `root rot` symptoms, a winter repot can be a life-saving intervention. Handle your plants gently to minimize stress.
Repotting Process:
-
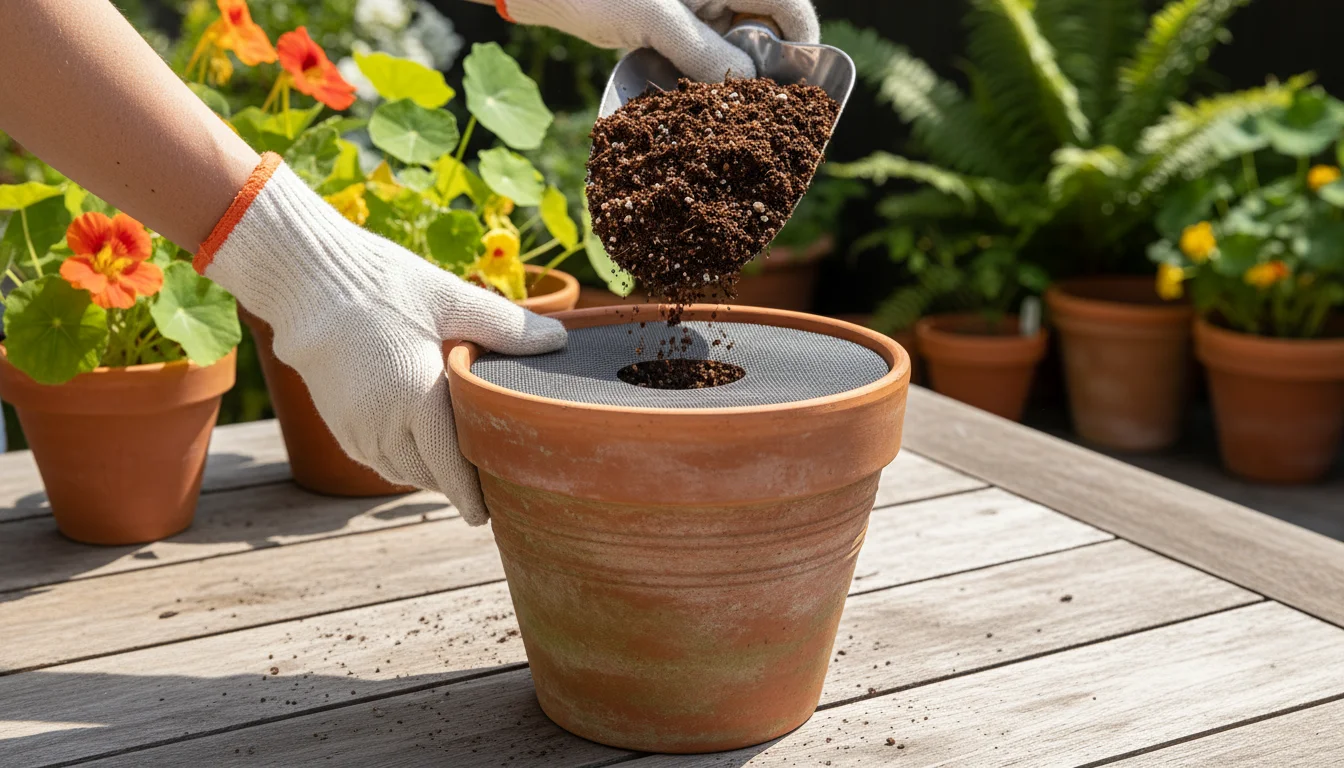
A simple mesh screen helps prevent soil from escaping. Prepare Your Pot:
Ensure your chosen pot has adequate drainage holes. You can place a small piece of mesh screen or a coffee filter over the drainage hole to prevent soil from escaping, but avoid using pebbles or broken pot shards, as this can actually impede drainage. Add a layer of your new, amended `potting mix` to the bottom of the pot, enough so that when your plant is placed, its root ball will sit about an inch below the rim.
-
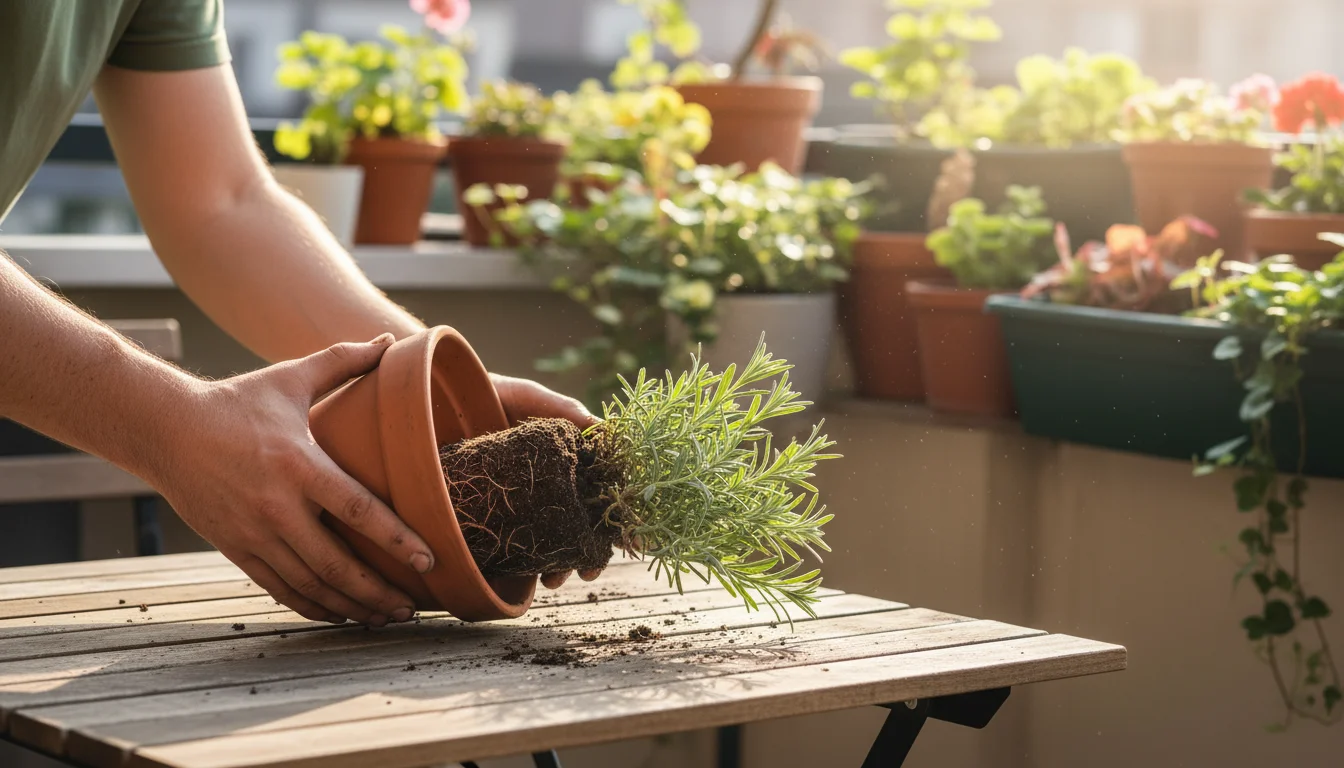
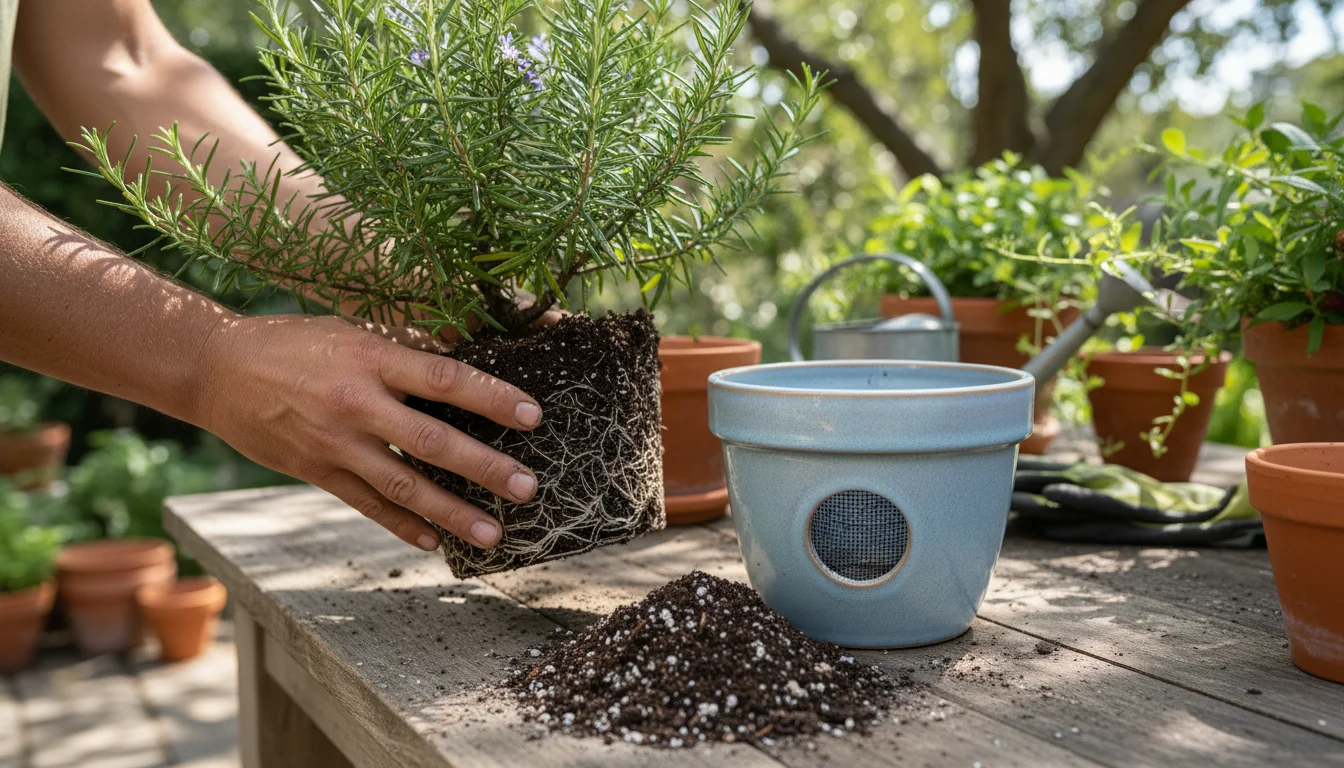
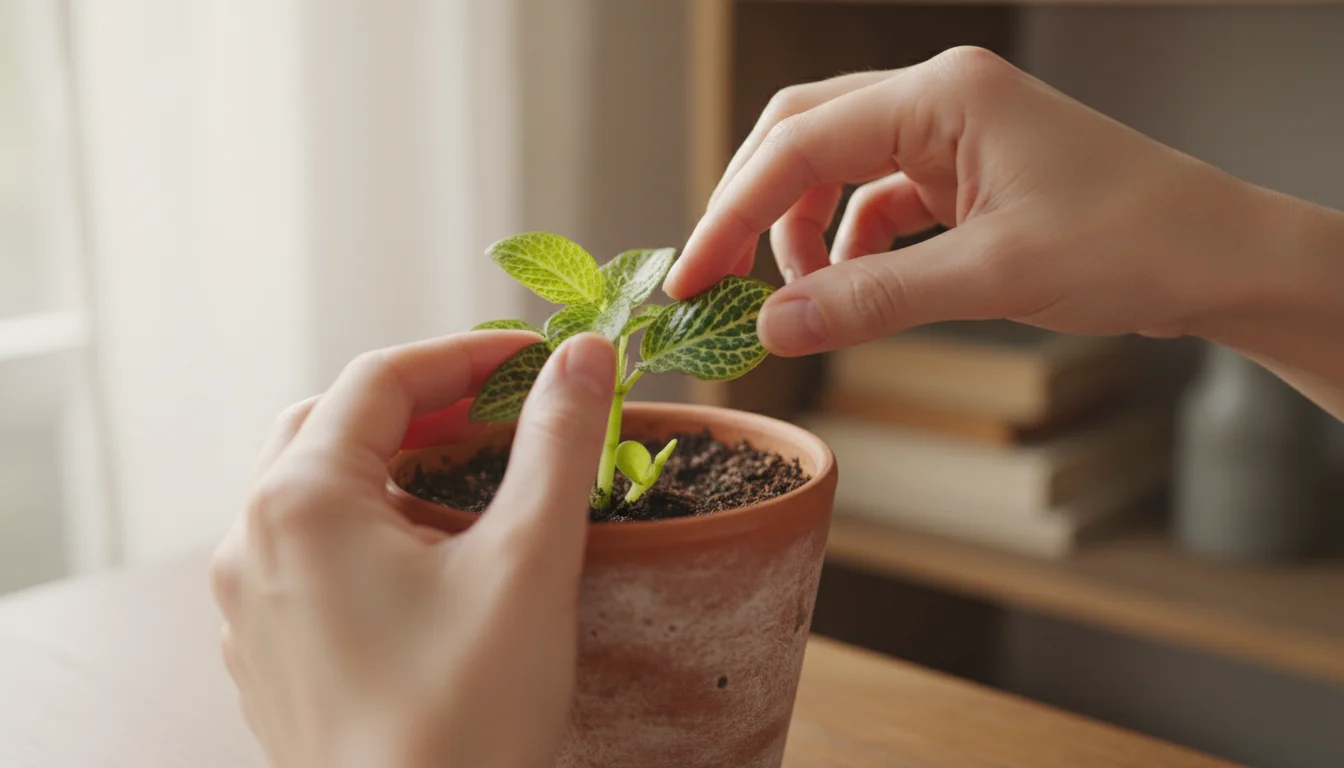
Carefully easing a plant out of its pot for its winter refresh. Gently Remove Your Plant:
Carefully turn your current potted plant on its side, or even upside down while supporting the soil, and gently ease the plant out of its pot. You may need to tap the bottom or sides of the pot to loosen the root ball. Avoid pulling the plant by its stem, as this can cause damage.
-
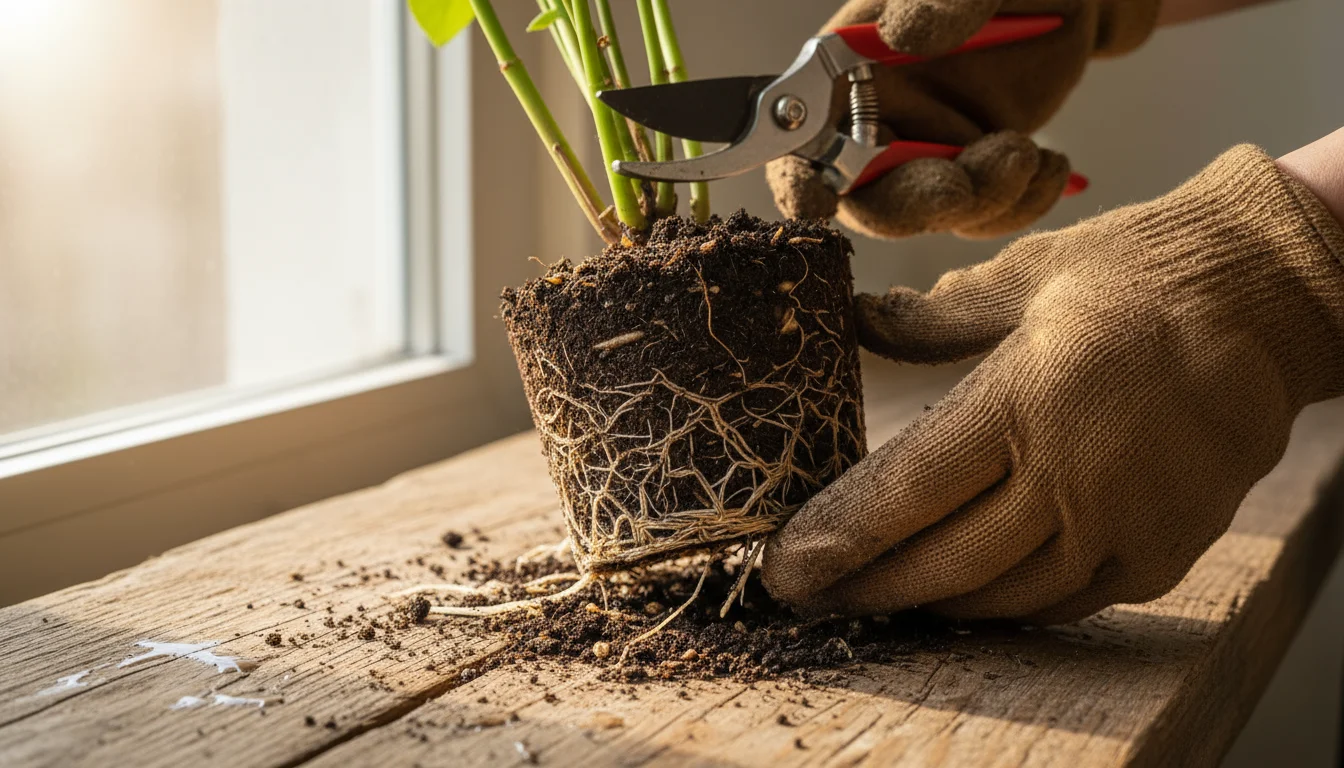
Inspecting roots for health before replanting. Inspect and Prune Roots:
Once the plant is out, gently loosen some of the old soil from around the root ball. Inspect the roots for any signs of `root rot`. Healthy roots are typically firm and white or tan. Rotted roots appear brown, black, mushy, or stringy and may have a foul odor. Using clean, sharp scissors or pruners, carefully trim away any diseased or dead roots. Cut back to healthy tissue. If you had significant `root rot`, you may also need to prune back some of the foliage to balance the plant’s root-to-shoot ratio.
-
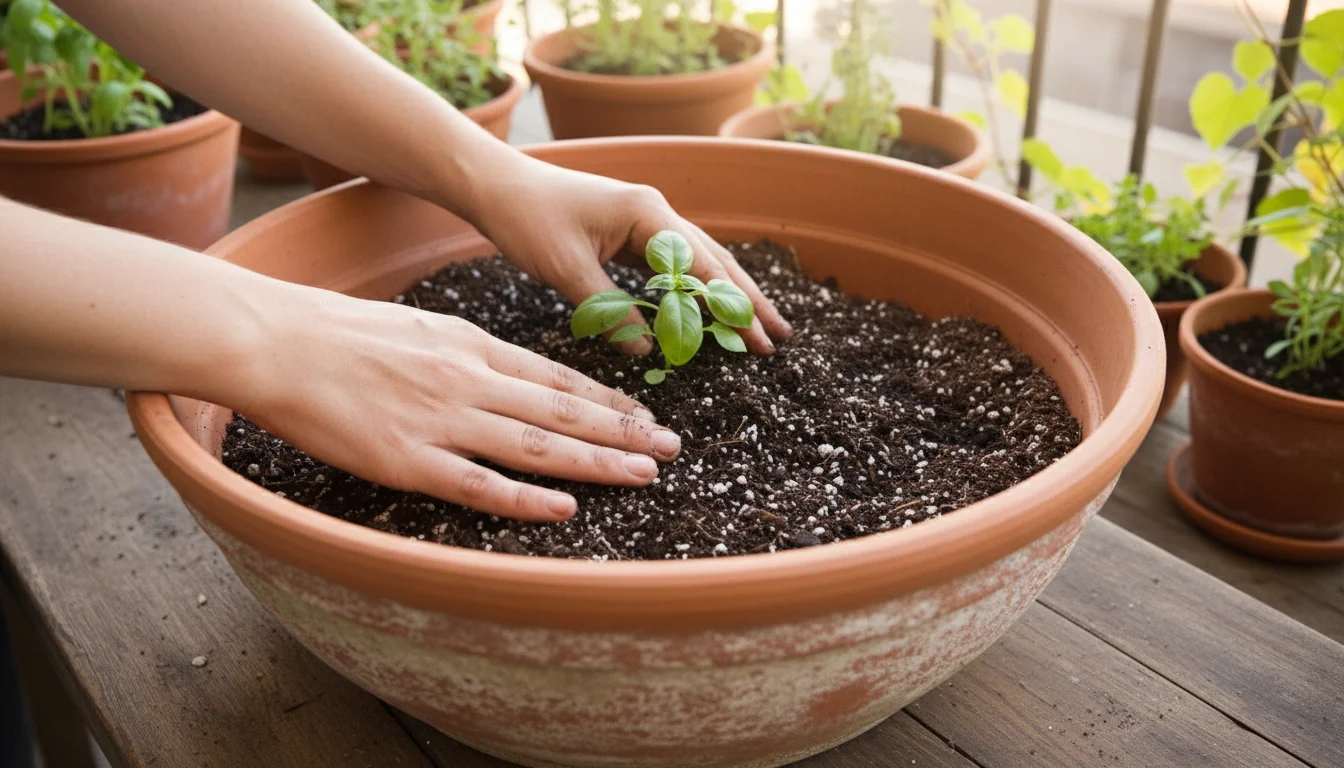
Getting the soil level just right for happy roots. Position and Fill:
Place your plant in the new pot, centering it. Add more of your amended `potting mix` around the root ball, gently tamping it down to remove large air pockets. Ensure the soil level remains consistent with the previous pot, or slightly lower, leaving that crucial inch of space below the rim for watering. Do not compact the soil too tightly, as this defeats the purpose of adding drainage amendments. The goal is light, even distribution.
-
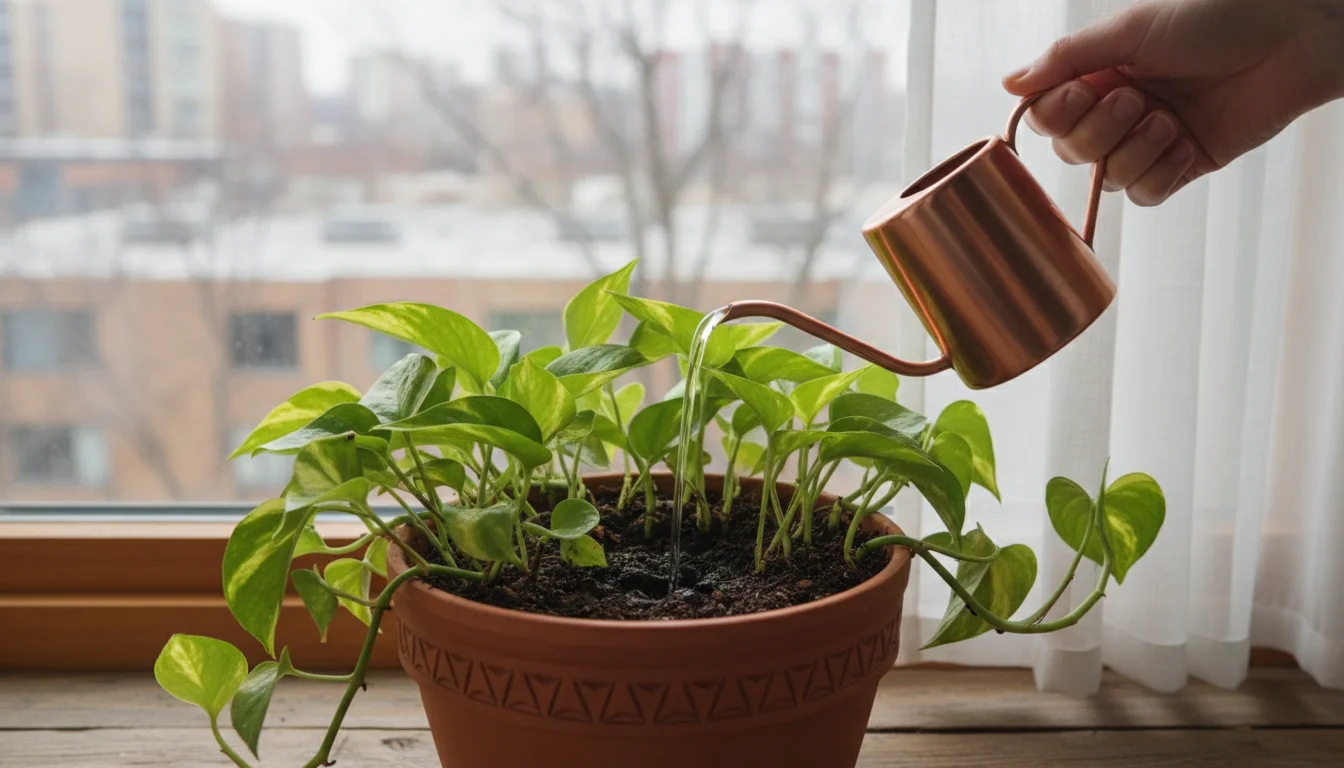
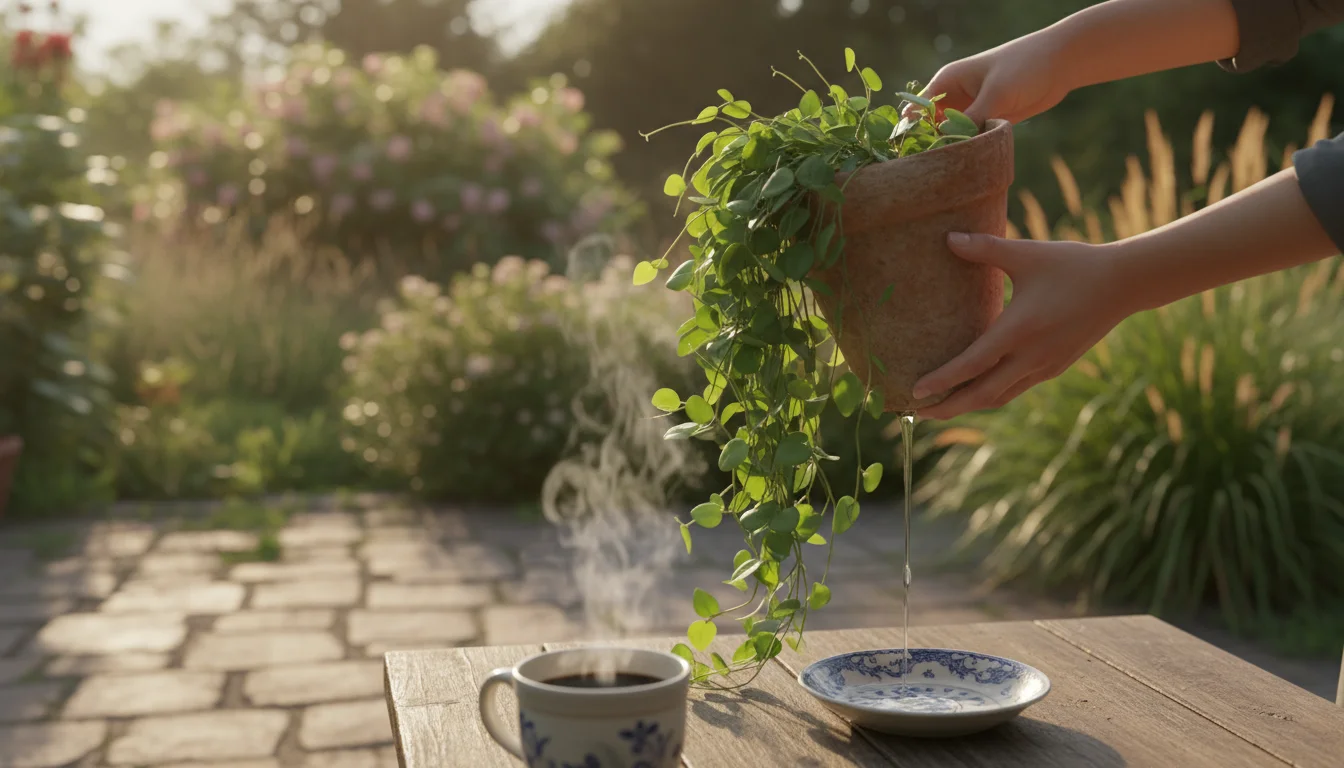
Give your freshly repotted plants a gentle drink to settle the soil! Water Lightly:
Immediately after repotting, water the plant lightly. Do not drench it, especially in winter. The goal is to settle the soil and provide initial moisture. The improved `indoor soil` will ensure any excess water drains away quickly. For the first few weeks, monitor the plant closely, keeping it in a stable environment with consistent temperatures and light. This careful repotting is key to ensuring proper `winter plant care` and robust `root rot prevention` for your plants.
Ongoing Care: Watering and Monitoring Your Amended Soil
Amending your `potting mix` for better drainage is a significant step, but your work does not end there. Adapting your watering routine and consistently monitoring your plants become even more critical when caring for `indoor soil` in winter. The goal is to leverage the improved drainage for healthier roots, not to overcompensate with excessive watering.
Adjusting Your Watering Routine:
Your newly amended `potting mix` will dry out faster than a standard mix, which is precisely what you want for `winter plant care`. This means you will likely water less frequently, but when you do water, you should water thoroughly. Instead of a fixed schedule, always check the soil moisture before watering. Stick your finger about an inch or two into the soil. If it feels dry, then it is time to water.
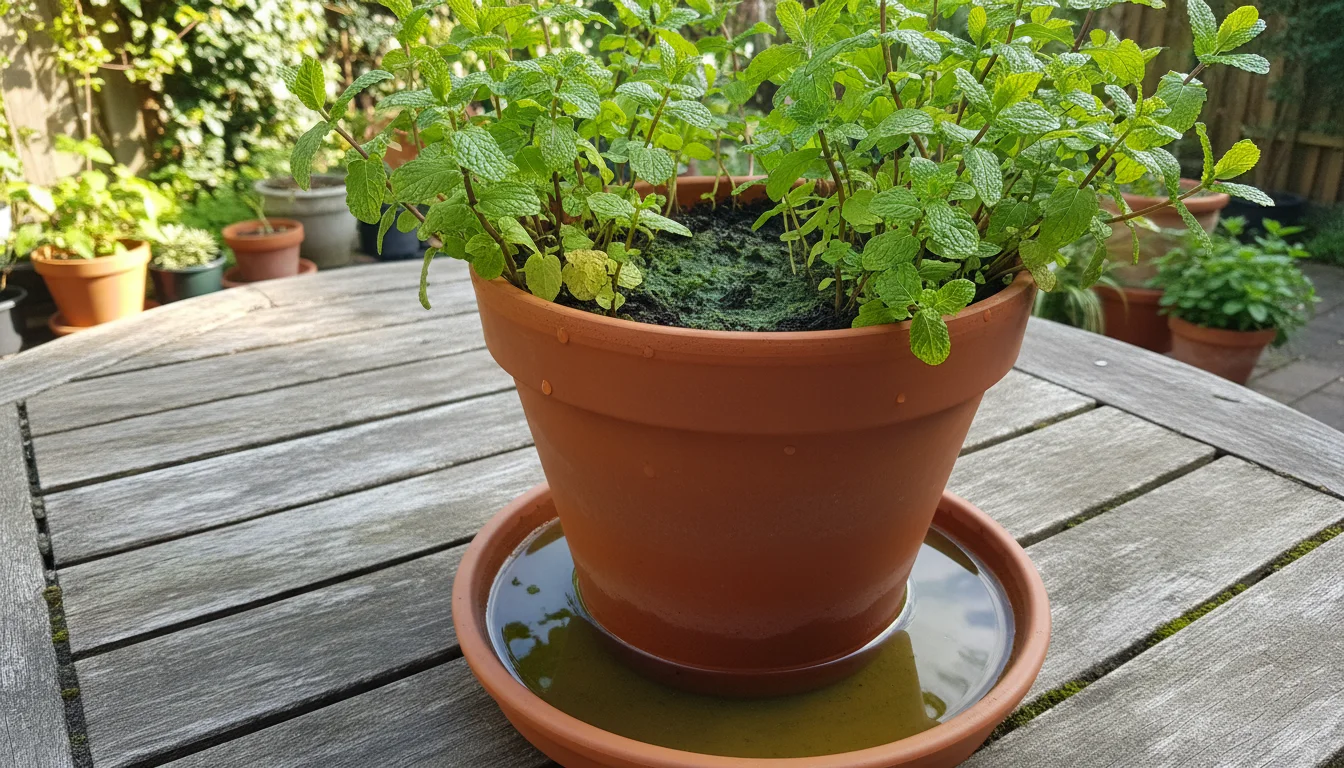
- Water deeply: When you water, provide enough so that it freely flows out of the drainage holes. This flushes out excess salts and ensures all roots receive moisture.
- Do not let plants sit in standing water: Always empty saucers or cachepots of any drained water within 15-30 minutes. This is critical for `root rot prevention`.
- Consider the pot’s weight: Over time, you will learn to gauge soil moisture by lifting the pot. A dry pot feels significantly lighter than a wet one.
- Be mindful of humidity: While indoor heating dries the air, it does not mean your soil needs more water. Focus on soil moisture, not just ambient humidity.
Monitoring Your Plants:
Regular observation helps you catch potential problems early. Check your plants every few days. Look for:
- Leaf color and texture: Yellowing or droopy leaves can indicate overwatering or underwatering. The key is to check the soil. If leaves are yellowing and the soil is wet, it is likely overwatering.
- New growth: Even in winter, some plants will put out small amounts of new growth. This is a good sign of health.
- Pests: Stressed plants are more susceptible to pests. Good `winter plant care` includes vigilance against common houseplant pests like spider mites or mealybugs.
- Root health: If you suspect issues, gently lift the plant from its pot to inspect the roots. They should look healthy and firm.
The goal of `how to improve drainage in houseplant soil for winter` is to create a forgiving environment for your plants. While the soil dries faster, it also ensures roots get the oxygen they need, even if you accidentally overwater slightly. Your consistent monitoring and adjusted watering habits complete the picture for healthy, thriving plants through the colder months.
Common Mistakes to Avoid in Winter Soil Amending
Even with the best intentions, it is easy to make a few missteps when amending your `potting mix`. Being aware of these common errors will help you achieve the best results for your plants and ensure effective `winter plant care`.
-
This basil isn’t happy! Poor soil choice can really hinder growth. Using Garden Soil:
Never use garden soil or topsoil in your containers, especially indoors. Garden soil is too heavy and dense for potted plants. It compacts easily, severely restricts `drainage`, and often harbors pests, weed seeds, and pathogens not suitable for an `indoor soil` environment. Always start with a sterile, high-quality `potting mix` as your base.
-
Even good amendments can be too much for your plant’s roots. Over-Amending:
While adding amendments is crucial for `how to improve drainage in houseplant soil for winter`, too much of a good thing can be detrimental. Excessive `perlite` or bark can make the soil drain so quickly that it cannot retain enough moisture or nutrients for the plant to thrive. Aim for a balanced mix, typically not exceeding 50% amendments to 50% `potting mix` for most houseplants, and up to 70% for cacti and succulents. Always consider the plant’s specific needs.
-
Thoroughly blending potting mix and perlite ensures happy, healthy roots. Not Mixing Thoroughly:
Simply layering amendments on top of or beneath your `potting mix` will not work. Water will flow through the path of least resistance, bypassing areas of dense soil. Thoroughly mixing your `perlite` and other amendments throughout the entire volume of `potting mix` ensures uniform `drainage` and aeration across the root zone. Inconsistent mixing can lead to uneven drying and localized `root rot`.
-
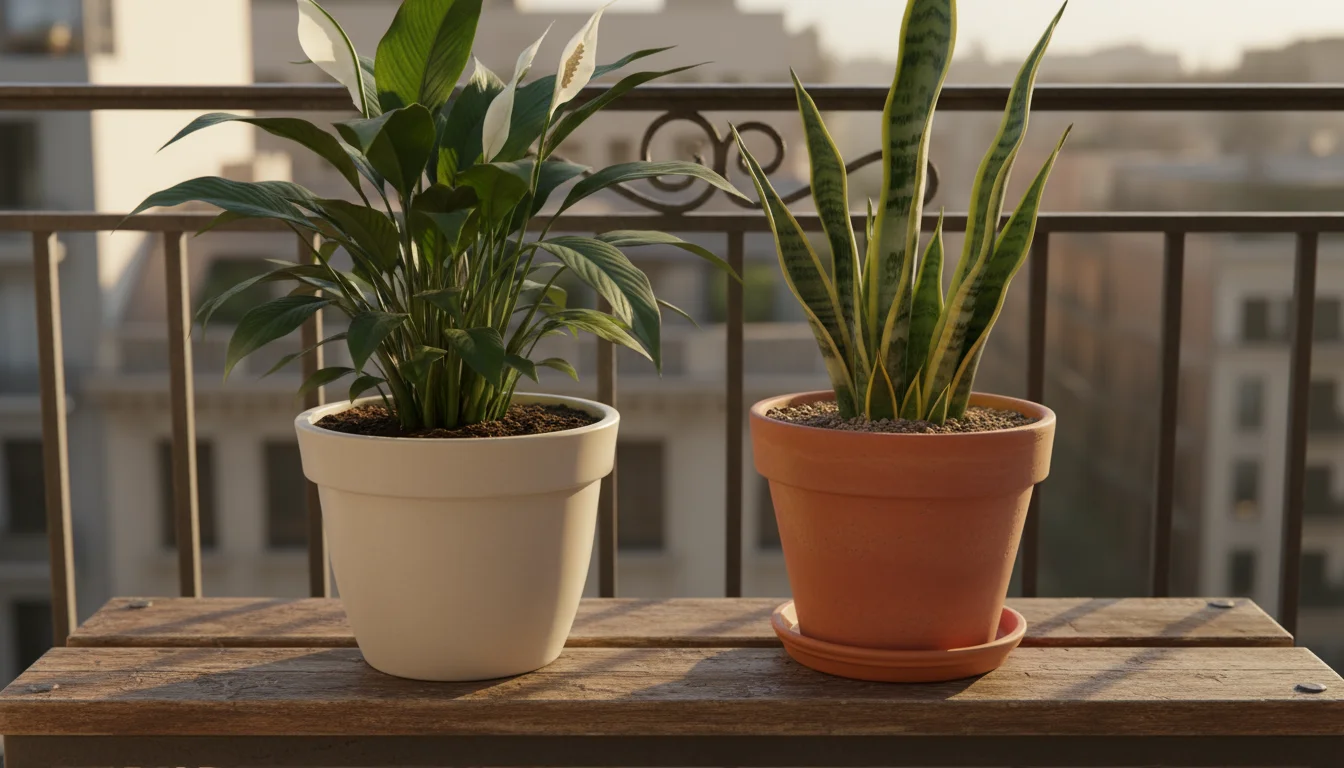
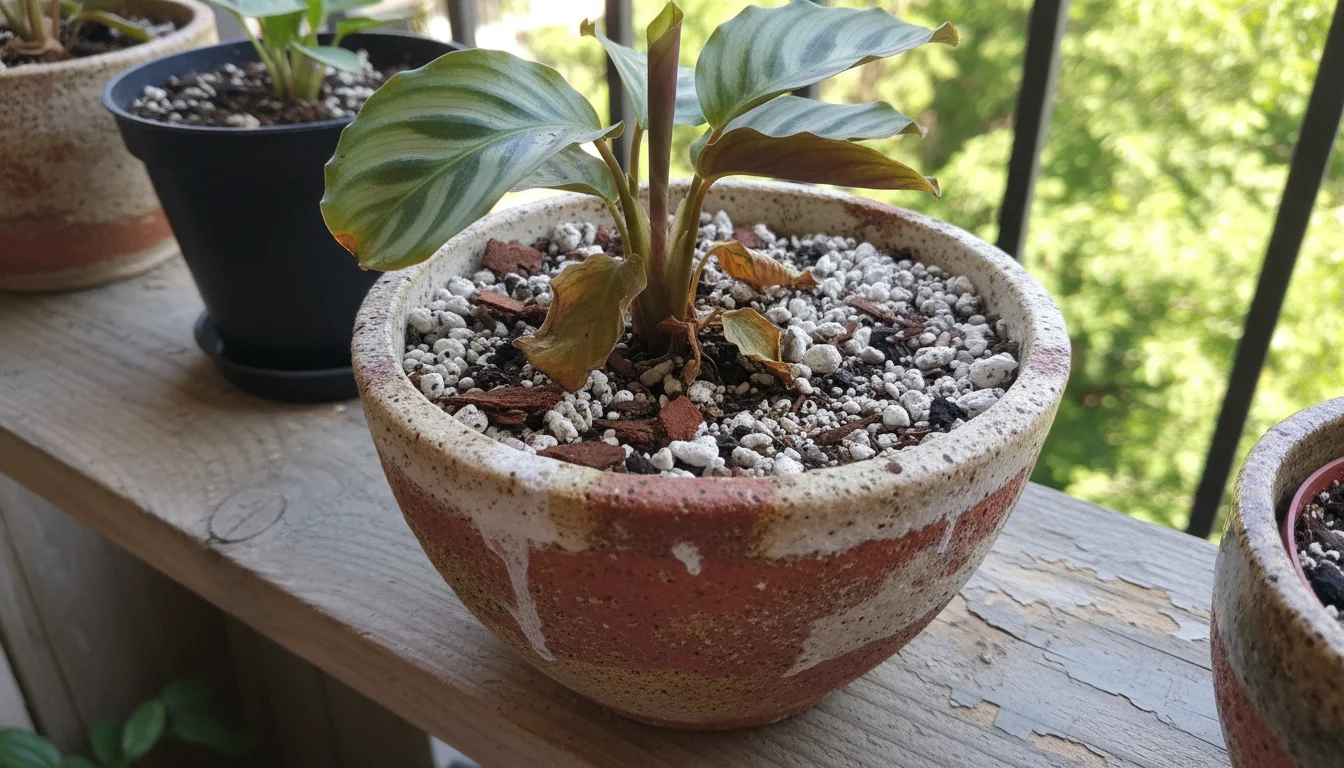
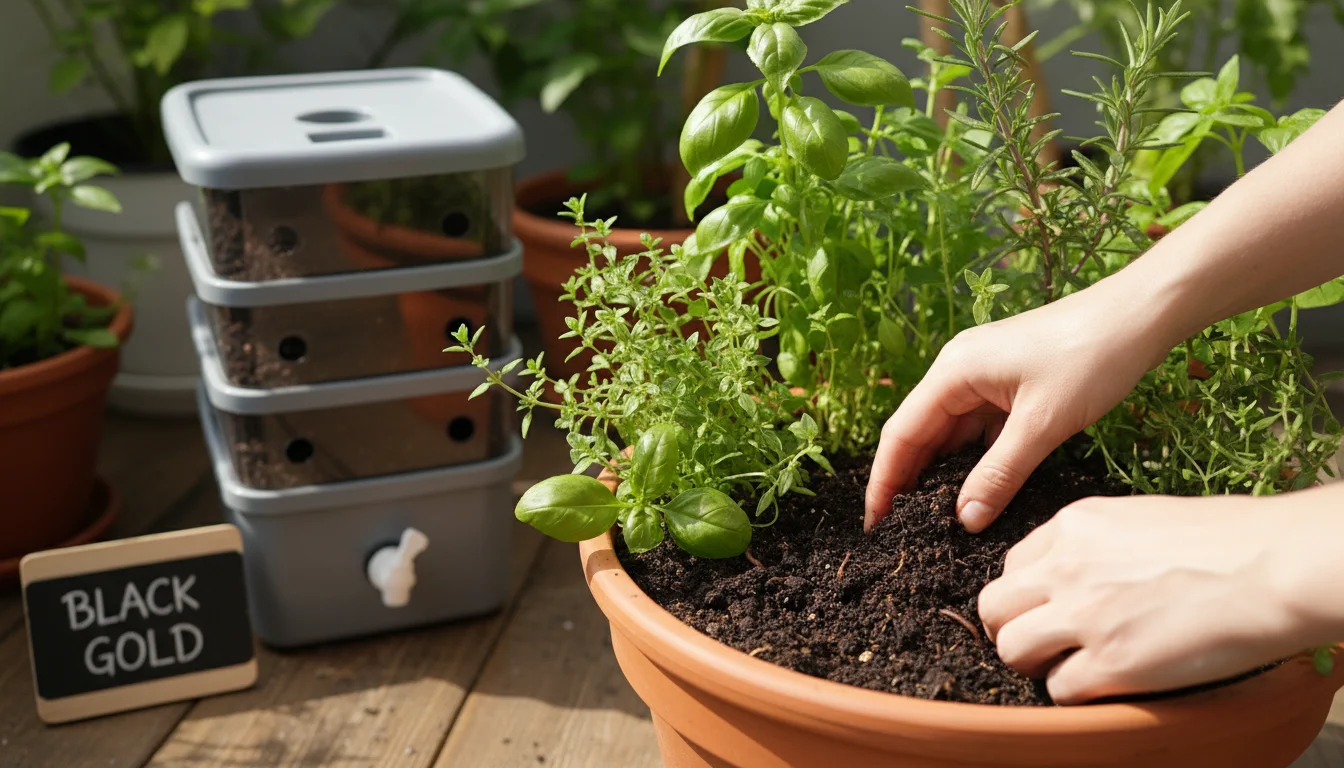
These thriving plants show how tailored soil makes all the difference. Ignoring Plant-Specific Needs:
While general guidelines exist, one size does not fit all. A peace lily, which prefers consistently moist soil, will require a less heavily amended mix than a snake plant or a ZZ plant, which demand extremely fast drainage. Research your specific plant’s requirements for `indoor soil` and adjust your ratios accordingly. This tailored approach is crucial for effective `root rot prevention` across your diverse plant collection.
-
When your plant looks stressed, a thoughtful pause before repotting is often best. Repotting a Stressed Plant:
Repotting, even with a better `potting mix`, is a stressful event for a plant. If your plant is already struggling significantly due to disease, pests, or extreme environmental conditions, adding the stress of repotting can push it over the edge. Address the primary stressor first, allow the plant to recover, and then consider amending its `indoor soil` if necessary. However, if the stress is directly from waterlogging and imminent `root rot`, a careful emergency repot might be your only option.
Avoiding these common mistakes ensures your efforts to improve `drainage` genuinely benefit your plants, leading to a healthier and happier collection through the winter months and beyond.
Eco-Friendly Practices for Sustainable Soil Remixing
As gardeners, we have a responsibility to care for our plants and the planet. Incorporating eco-friendly practices into your winter soil remix routine can reduce waste, conserve resources, and promote a healthier environment for your plants and beyond.
-
Give your old potting mix new life with fresh amendments. Reusing Old Potting Mix Responsibly:
Do not automatically discard all your old `potting mix`. If it is free of pests and diseases, you can refresh and reuse it. To do this, spread the old `potting mix` on a tarp in the sun for several days to help sterilize it, or you can bake small batches in an oven (at a low temperature, around 200°F or 93°C, for 30 minutes) to kill off pathogens and insect eggs. Once sterilized, amend it with fresh materials like compost, `perlite`, and pine bark fines. This not only reduces waste but also provides a nutrient boost.
-
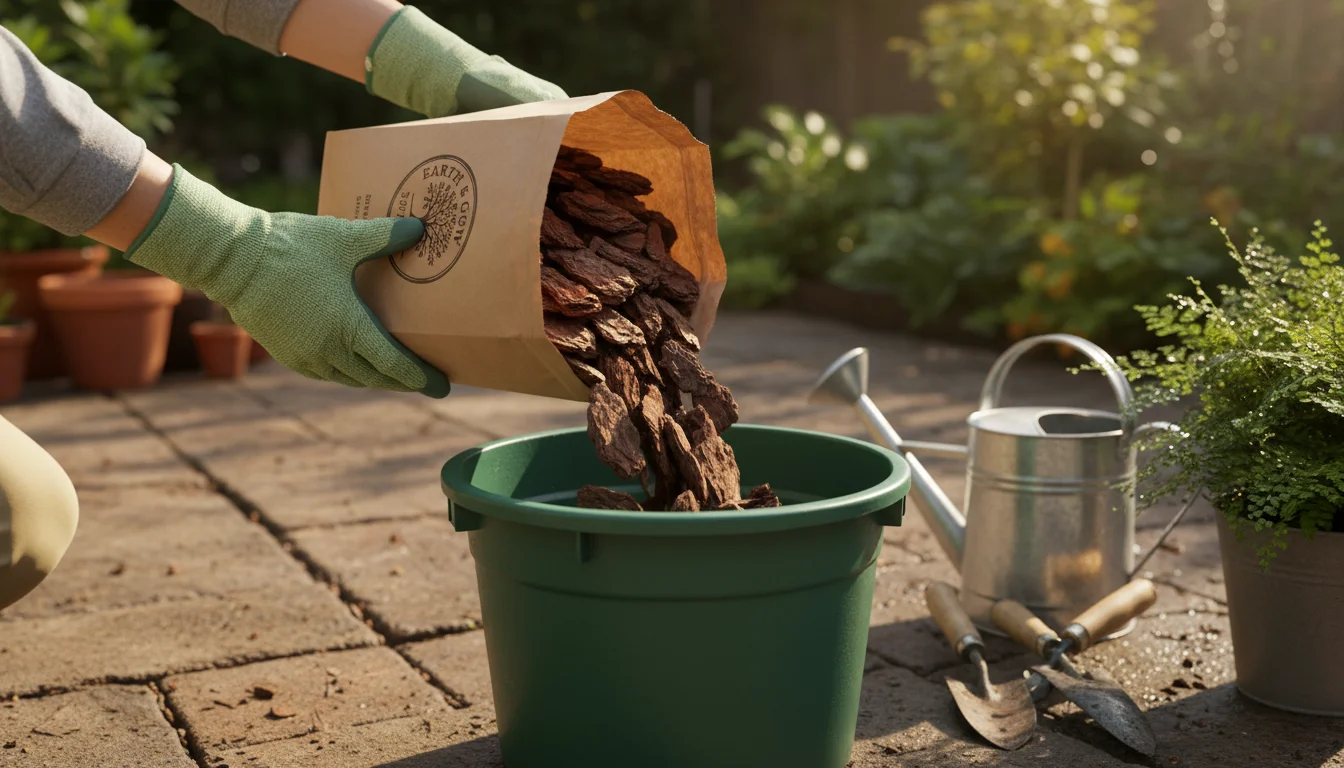
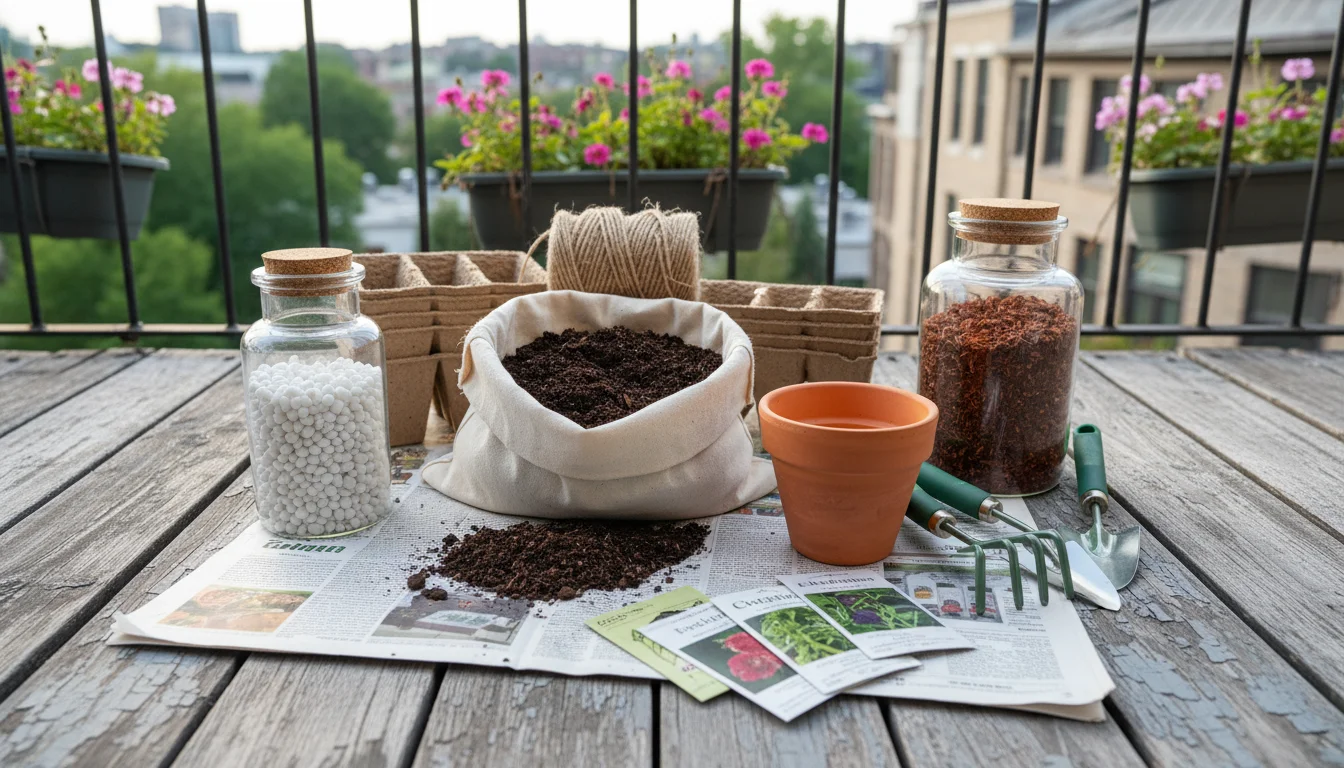
Getting these sustainable amendments ready for healthy, happy roots this winter! Sourcing Sustainable Amendments:
Look for sustainably harvested or recycled `perlite` and pine bark. Some brands offer products with certifications for responsible sourcing. While `perlite` is a mined resource, its lightweight nature means lower transportation emissions compared to heavier alternatives. For bark, opt for products derived from sustainably managed forests or byproducts of other industries.
-
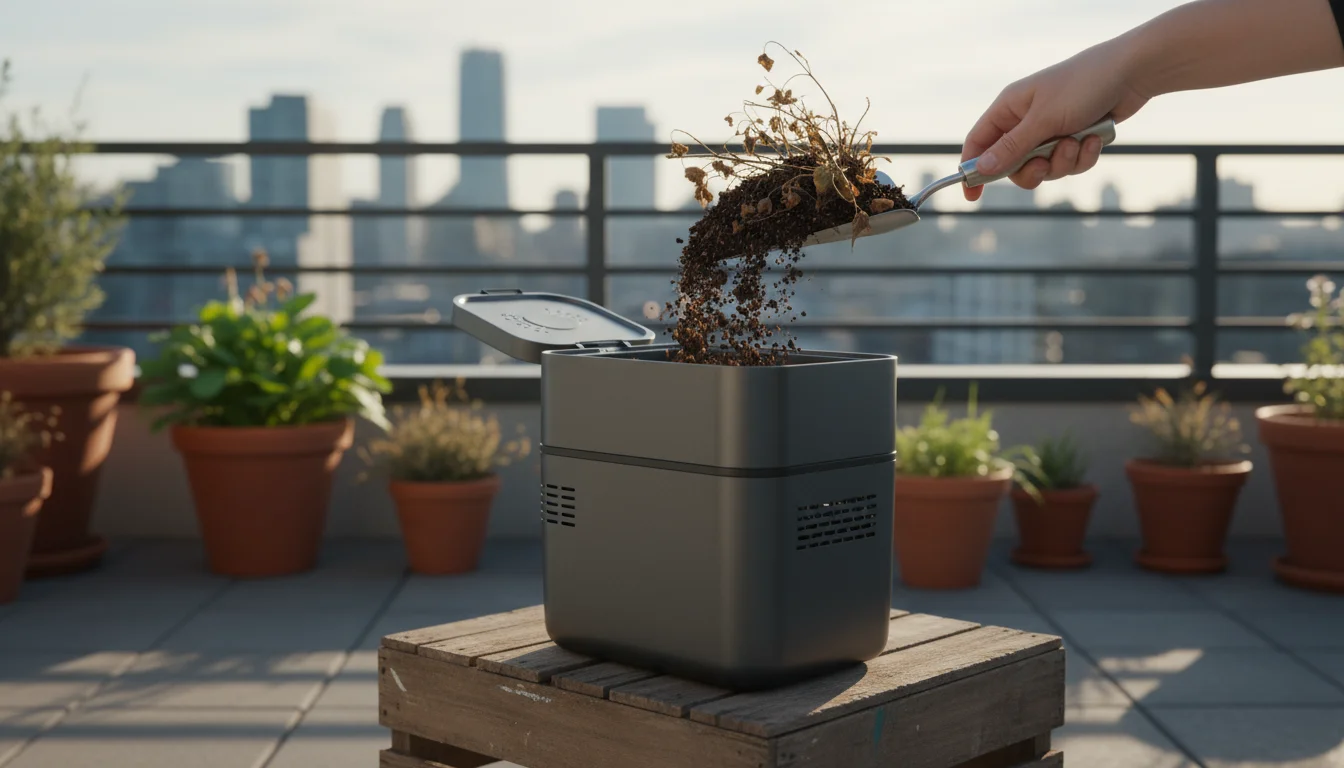
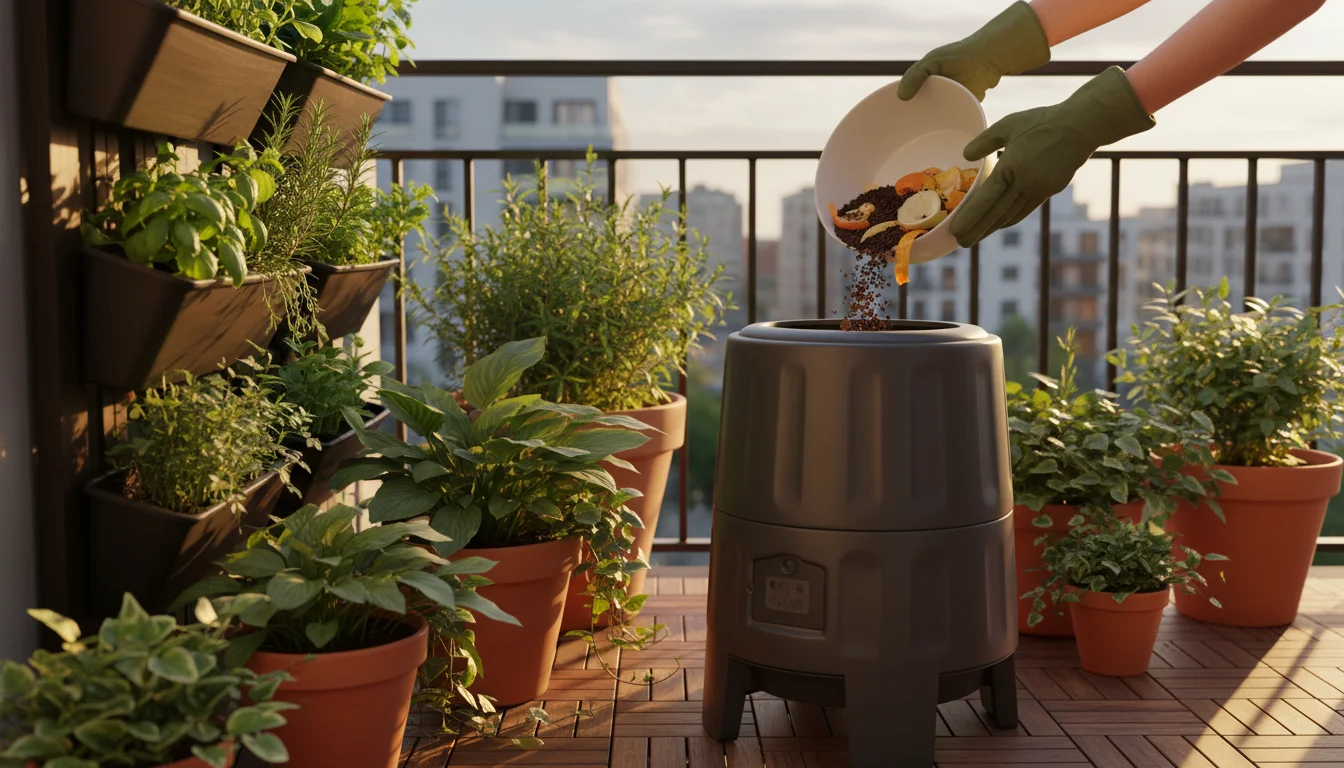
Closing the loop: turning garden waste into future plant food. Composting Excess Materials:
Any old `potting mix` that is too far gone (e.g., diseased, heavily infested) or plant debris from root pruning can be added to your compost pile. This transforms waste into valuable organic matter for your outdoor garden or future `potting mix` needs, closing the loop on nutrient cycling. Even a small kitchen composter can handle some plant trimmings.
-
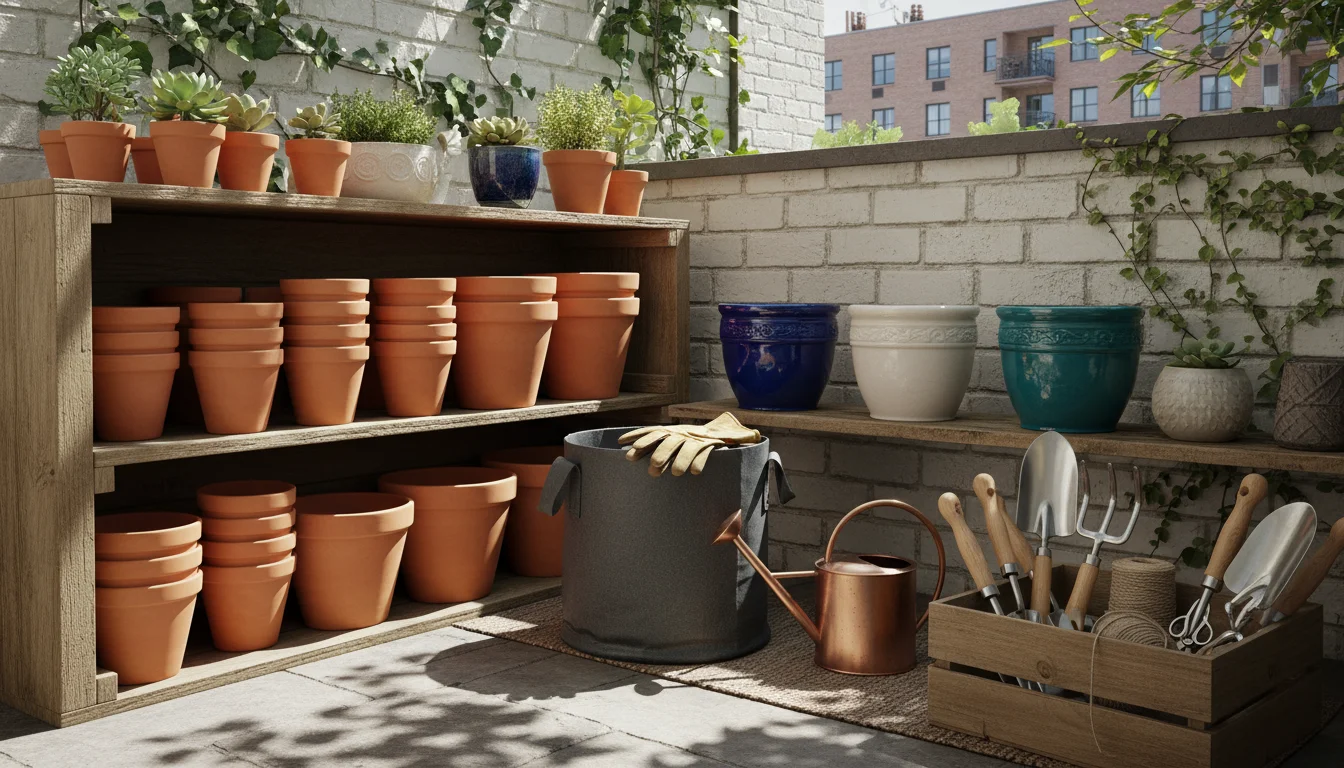
Prepping the patio with lasting tools and beautiful, reusable containers. Choosing Reusable Tools and Containers:
Invest in durable, high-quality gardening tools that will last for years, reducing the need for frequent replacements. When buying new pots, consider terracotta or ceramic options that are not only aesthetically pleasing but also breathable and long-lasting. If you use plastic pots, choose those made from recycled content and commit to reusing them season after season. Properly cleaning and storing pots extends their life considerably.
-
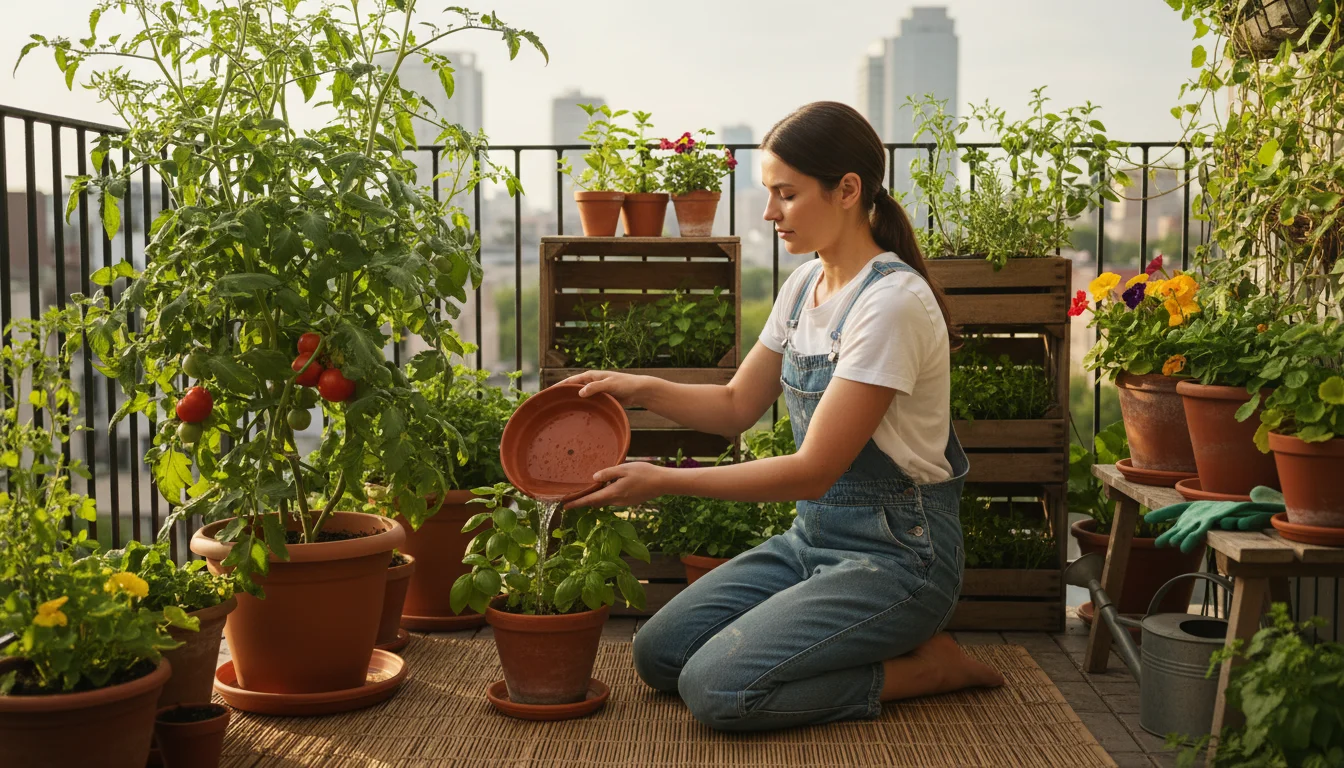
Give your plants a second drink! Reuse runoff water for less waste. Minimizing Water Waste:
When watering your repotted plants, collect the runoff water from the drainage holes. This water, often rich in leached nutrients, can be used to water other plants or your outdoor garden, reducing overall water consumption. This practice also prevents nutrient-rich water from polluting local waterways.
By integrating these eco-friendly practices into your `winter plant care` routine, you are not only ensuring the health of your `indoor soil` and plants but also contributing to a more sustainable gardening lifestyle. Your small space gardening efforts can have a big positive impact.
Frequently Asked Questions
Can I just add perlite to the top of my potted plant’s soil?
No, simply adding `perlite` to the top of the `potting mix` will not effectively improve drainage throughout the root zone. Water will still encounter the dense, unamended soil beneath the top layer. For effective `how to improve drainage in houseplant soil for winter`, you must thoroughly mix the `perlite` and other amendments throughout the entire volume of `indoor soil` where the roots reside.
How much perlite should I add to my potting mix?
The amount of `perlite` depends on the plant’s needs. For most houseplants needing improved drainage, a good starting ratio is 1 part `perlite` to 2 parts `potting mix`. For succulents, cacti, or plants that require extremely fast drainage, you might increase the `perlite` and other gritty amendments to a 1:1 ratio with the `potting mix`, or even higher. Always aim for a blend that feels light and airy, allowing water to pass through quickly.
Is it too late to amend my indoor soil in mid-winter?
While it is generally best to avoid major repotting when plants are deeply dormant, if your plant is showing signs of distress from poor drainage or `root rot` in mid-winter, amending its `potting mix` is an urgent and necessary intervention. Prioritizing the plant’s health over seasonal timing is crucial. Perform the repotting carefully, minimize root disturbance, and provide a stable environment afterward to help the plant recover.
What if my plant is already showing signs of root rot?
If you observe wilting, yellowing leaves, or a foul odor from the soil, immediately unpot the plant. Gently remove as much of the old, soggy `potting mix` as possible. Using clean, sharp scissors, trim away any brown, black, or mushy roots until you reach healthy, white tissue. Repot the plant into a fresh, well-draining, amended `indoor soil` mix. Water very sparingly initially, and ensure the pot has excellent drainage. This emergency `winter plant care` can often save your plant.
What is the benefit of adding pine bark fines instead of just perlite?
Pine bark fines contribute both `drainage` and some organic matter. While `perlite` is inert and solely provides aeration, bark fines offer a natural, irregular structure that helps maintain air pockets as it slowly decomposes. This slow decomposition also releases a small amount of nutrients and contributes to a healthy microbial environment, offering a more complex and beneficial structure to your `potting mix` than `perlite` alone.
You now possess the knowledge and practical steps to tackle winter soil challenges head-on. By understanding your plants’ needs and actively amending your `potting mix`, you prevent root rot and ensure a robust, healthy root system for all your container plants. Embrace this proactive approach to `winter plant care`, and watch your plants thrive, even through the chilliest months.
For trustworthy gardening information, visit: Plant Select (Colorado), Missouri Native Plant Society and Wild Ones — Native Plants, Natural Landscapes. These organizations provide expert, research-based advice for gardeners at all levels.
Disclaimer: This article is for informational purposes only and is not a substitute for professional gardening advice. Always consult local extension services or horticulture experts for region-specific guidance.
Leave a Reply