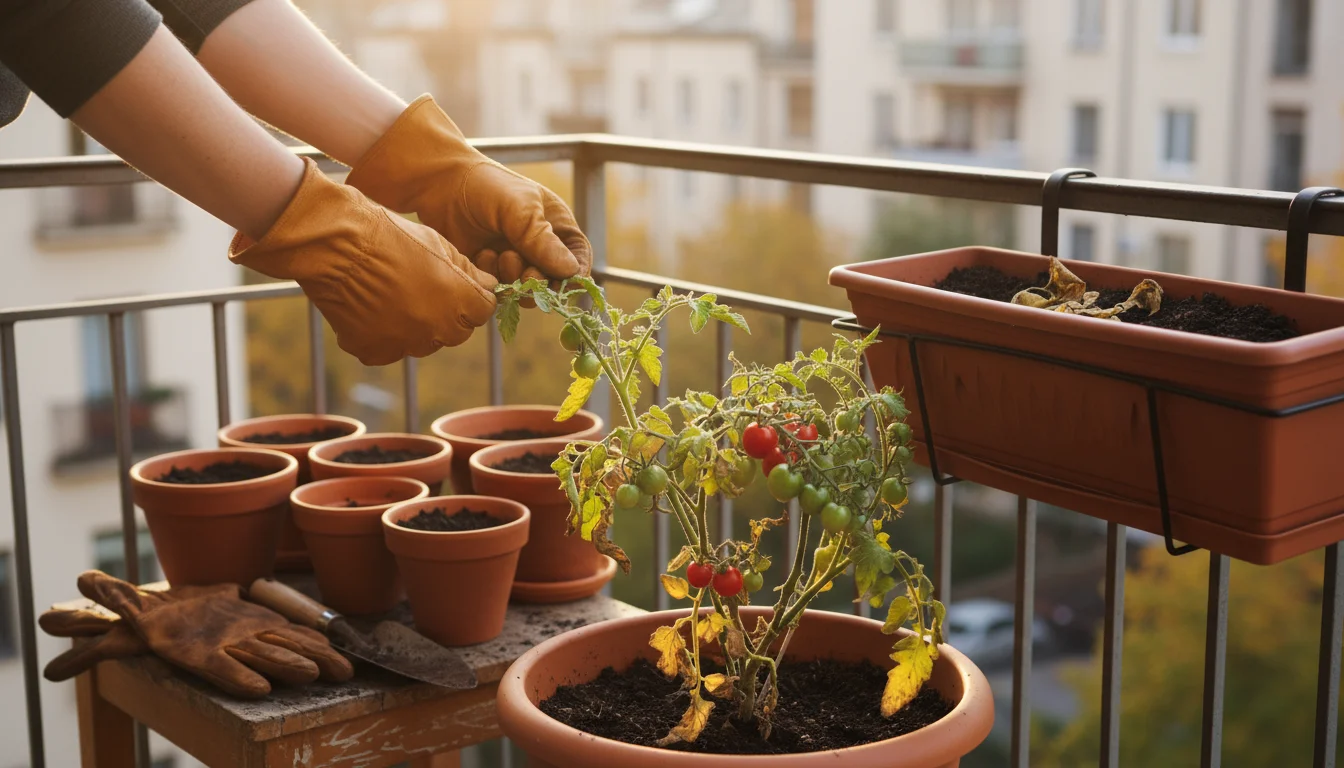
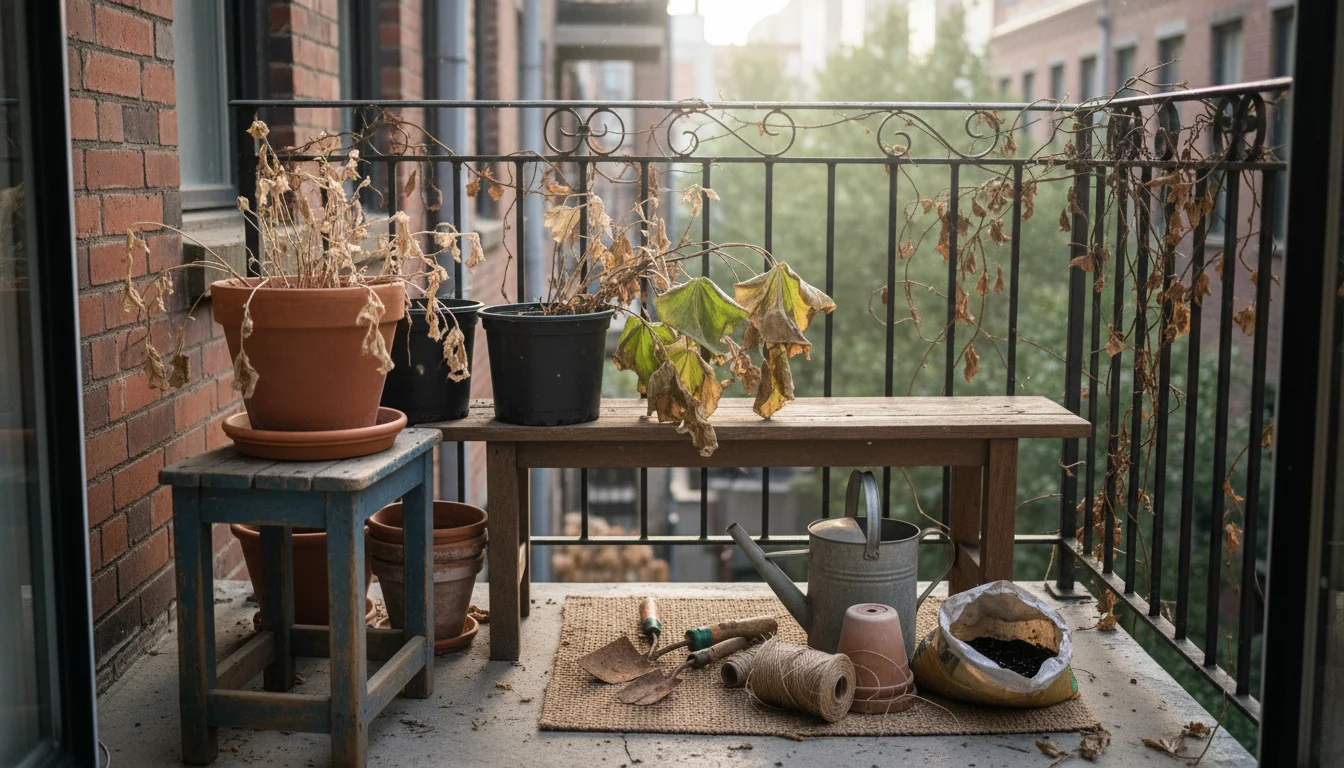
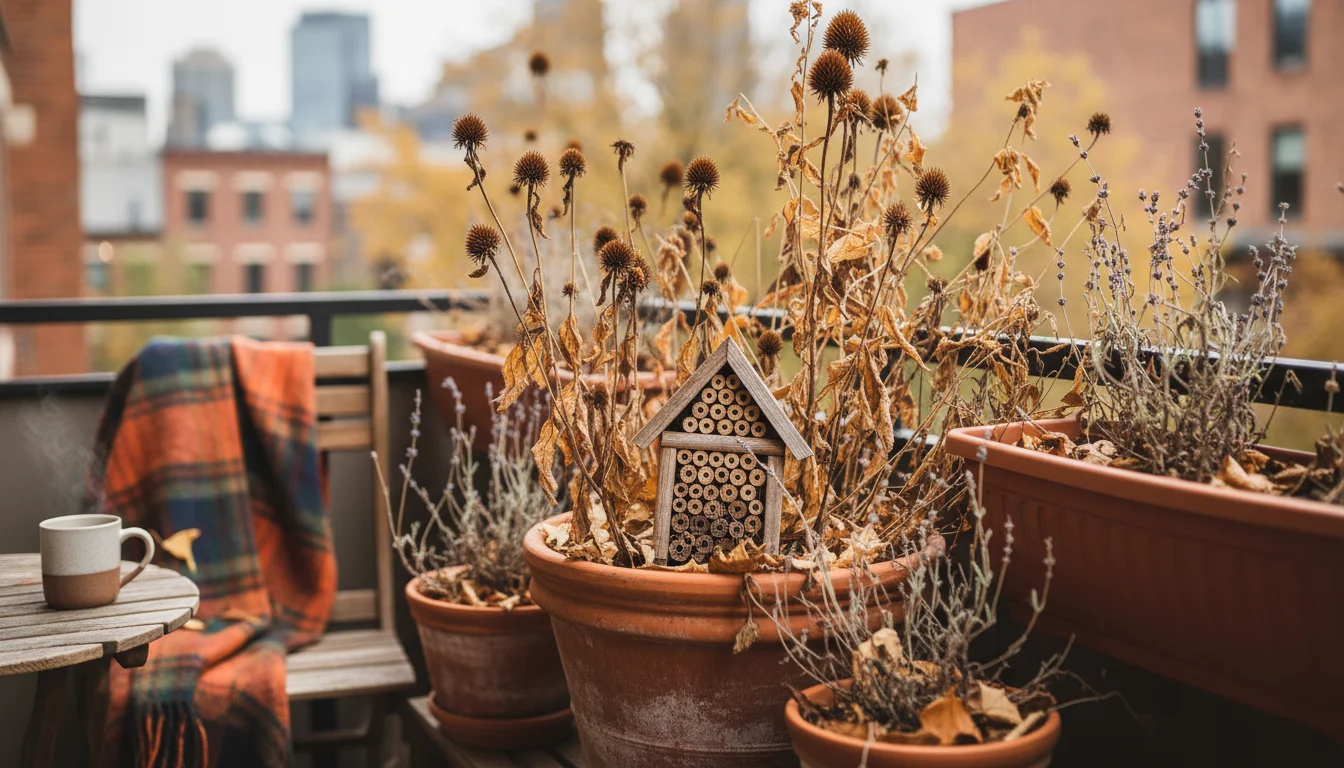
As the vibrant colors of summer fade and autumn’s crisp air arrives, your thriving container garden might start to look a little less lively. Dead plants, spent annuals, and tired herbs are a natural part of the seasonal cycle. For apartment gardeners with limited space, this transition often brings a unique challenge: what exactly do you do with all that garden waste? You want to clean up efficiently, prepare for next season, and do it all responsibly, without cluttering your balcony or adding unnecessarily to landfill.
This guide empowers you with practical, actionable strategies for fall garden cleanup and dead plant disposal, specifically tailored for small spaces. You will discover how to manage garden waste effectively, keep your urban garden tidy, and even turn what seems like trash into valuable resources for future plantings. Let us transform your fall cleanup from a chore into a fulfilling step toward a more sustainable and beautiful garden.
The Importance of Fall Cleanup for Apartment Gardens
You might wonder if a thorough fall garden cleanup is truly necessary, especially when you are just dealing with a few pots on a balcony. The answer is a resounding yes. A diligent fall garden cleanup is one of the most crucial steps you take to ensure the health and vitality of your garden for the following spring. This process extends beyond simply tidying up; it actively prevents future problems and sets the stage for success. Think of it as putting your garden to bed properly for the winter, safeguarding it against potential issues that could emerge with warmer weather.
One primary reason for meticulous fall garden cleanup involves pest and disease control. Many common garden pests, such as aphids, spider mites, and whiteflies, lay eggs or overwinter in dead plant material, fallen leaves, or spent flowers. Similarly, fungal diseases like powdery mildew or blight often leave behind spores on infected plant debris. If you leave these materials in your containers or around your patio, you create a perfect breeding ground for these unwanted guests. When spring arrives, these pests and diseases emerge, ready to infest your new, tender seedlings and plants. A clean slate significantly reduces this risk, breaking the lifecycle of many common garden afflictions and giving your next season’s plants a much healthier start.
Additionally, fall cleanup helps maintain soil health. Over a growing season, your potting soil becomes depleted of nutrients. While you will address soil refreshing later, removing dead plant matter prevents it from decomposing improperly within the pot. Such decomposition can sometimes harbor anaerobic bacteria, which thrive in oxygen-poor environments and can produce substances harmful to plant roots. Clearing out old roots and plant stems also creates space, preventing root-bound conditions from worsening over winter and allowing for better soil aeration. This improved aeration is how oxygen reaches plant roots, essential for healthy growth and preventing issues like root rot.
Finally, a clean garden space provides aesthetic benefits and prepares you for spring planting. A tidy balcony or patio looks more inviting and feels more organized, even during the dormant months. You gain a clearer understanding of your available space, making it easier to plan for new plants and designs in the spring. This proactive approach saves you time and effort in the long run, as you tackle potential issues before they become major problems. Embracing fall garden cleanup transforms your small space into a well-managed, healthy environment ready for its next season of growth.
Essential Tools and Materials for Your Fall Cleanup
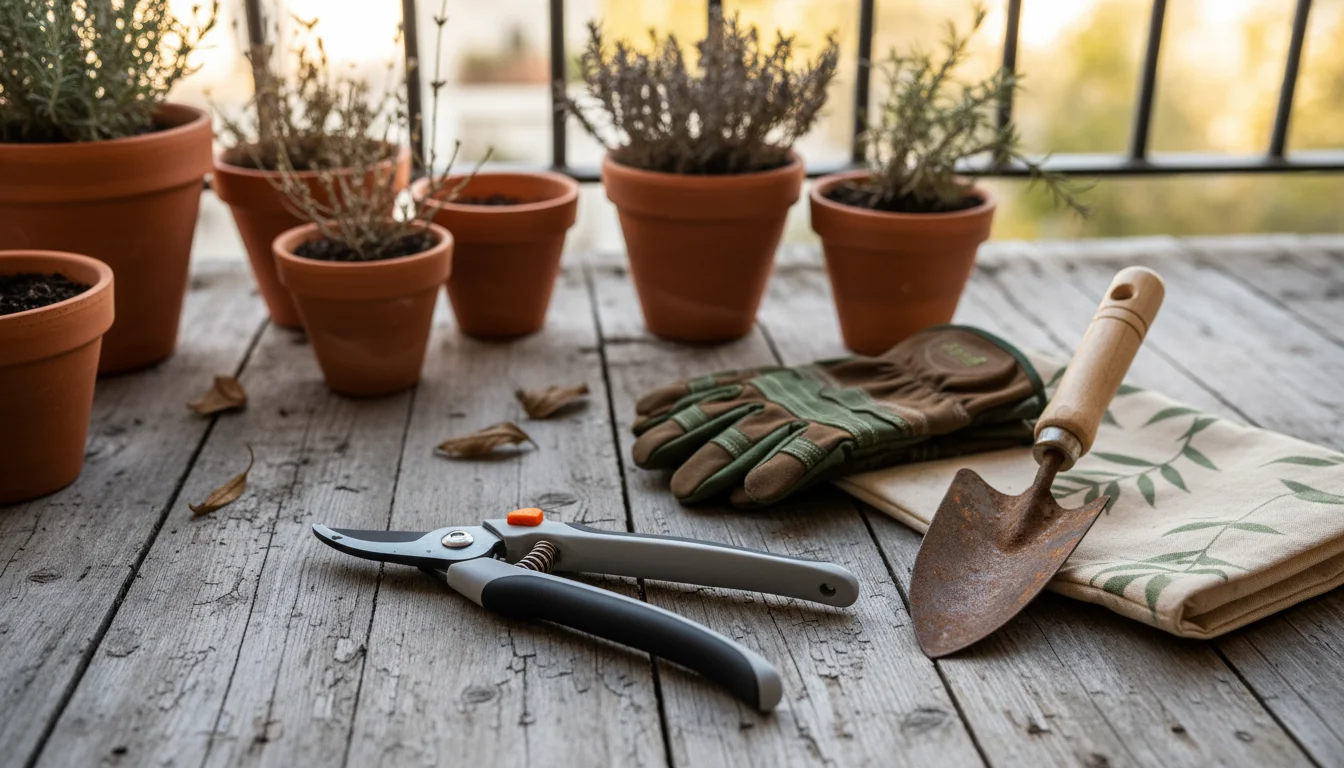
Approaching fall garden cleanup in an apartment requires the right tools to make the job efficient and manageable, especially in tight quarters. You do not need a shed full of heavy equipment; a few key items will handle most of your tasks. Gathering these essentials beforehand ensures a smooth process, allowing you to tackle dead plant disposal and container preparation without interruption. Focus on items that are compact, durable, and effective for small-scale gardening.
Before you begin, it is a great idea to audit your gardening supplies to determine what should be kept, cleaned, or replaced for the coming year.
Your most frequently used tool will be a good pair of hand pruners or snips. Choose a pair that fits comfortably in your hand, has sharp blades, and includes a safety latch. These are indispensable for cutting back dead stems, removing spent flowers, and trimming any lingering growth from annuals or perennials. Keeping your pruners clean and sharp ensures clean cuts, which is important for plant health and your own safety. Dull blades can tear plant tissue, making them more susceptible to disease.
Next, equip yourself with a sturdy pair of gardening gloves. These protect your hands from thorns, rough stems, soil, and potential irritants. Look for gloves that offer good dexterity while still providing adequate protection. You will appreciate them when pulling out stubborn roots or handling thorny rose bushes. A small trowel or hand fork is also incredibly useful for loosening soil, digging out roots, and gently aerating the top layer of soil in your containers. These tools are much easier to maneuver in pots than larger garden shovels.
For collecting garden waste, consider a small, portable container such as a 5-gallon bucket, a reusable shopping bag, or a flexible garden tote. These options are much more convenient for carrying dead plants and spent soil from your balcony to a disposal area than trying to balance armfuls of debris. Choose one that is easy to clean and store. A stiff-bristled brush or a small broom and dustpan set are also invaluable for sweeping up soil spills, fallen leaves, and other debris from your patio or balcony floor, keeping your outdoor space tidy.
Finally, keep a spray bottle filled with a diluted bleach solution (one part bleach to nine parts water) or rubbing alcohol nearby for sterilizing your tools. After cleaning up diseased plants, or even just between different pots, disinfecting your pruners prevents the spread of pathogens. Wipe down your tools with a clean cloth after each use to remove sap and soil, then spray and wipe again. This simple step significantly reduces the risk of transmitting diseases from one plant to another, a critical practice for maintaining a healthy garden. Having these tools ready streamlines your fall cleanup, making it a quick and easy task.
Safe and Smart Dead Plant Disposal Methods for Small Spaces
Once you have gathered your tools and cleaned out your containers, the next question for apartment gardeners is often, “What do I do with all these dead plants?” You want to dispose of them properly, minimizing environmental impact and adhering to any city regulations. Several effective methods cater to small-space living and help you manage your garden waste in the city responsibly. Your choice often depends on the type of plant material and your access to local services.
For most non-diseased, non-woody plant material, such as spent annuals, vegetable plant remnants, and faded flowers, composting is the most environmentally friendly option. Apartment composting, which we will discuss in detail shortly, allows you to transform these materials into rich, nutrient-dense soil amendments. If you have a small compost bin or worm farm, these dead plants become a valuable resource rather than waste. Even if you do not have your own composting system, many urban areas offer community composting programs or municipal green waste collection services. Check with your local waste management department or city council website; they often provide specific guidelines on what plant materials they accept and how to prepare them for collection. This is an excellent way to ensure your garden waste avoids the landfill.
For tougher, woody stems or larger root balls that are difficult to compost in a small system, or if you simply do not have access to composting, municipal green waste collection remains your primary option. Most cities differentiate between regular trash and “green waste” or “yard waste.” Green waste typically includes branches, leaves, grass clippings, and garden plants. These materials are often processed into mulch or compost at a larger scale. Ensure you bag these items according to local guidelines, which might specify biodegradable bags or bundling for larger branches. Avoid mixing non-biodegradable items, such as plastic labels or pots, with your green waste. Improper sorting can lead to the rejection of your entire collection.
A crucial distinction arises when dealing with diseased or pest-ridden plants. As discussed, these materials harbor pathogens or pests that you do not want to spread. You must avoid composting these plants, even in a robust home composting system, unless you are absolutely certain your compost pile reaches and maintains sufficiently high temperatures to kill all pathogens, which is challenging in small-scale apartment setups. Instead, these materials require bagging and direct disposal with household trash. Seal them securely in a plastic bag to prevent any pests or spores from escaping and spreading to other plants or even other gardens. While this is not the most eco-friendly option, it is a necessary step to prevent widespread pest or disease issues, protecting your future gardening endeavors and your local plant ecosystem. Always prioritize preventing disease spread over composting when in doubt about an infected plant.
Reusing and Refreshing Your Potting Soil for Next Season
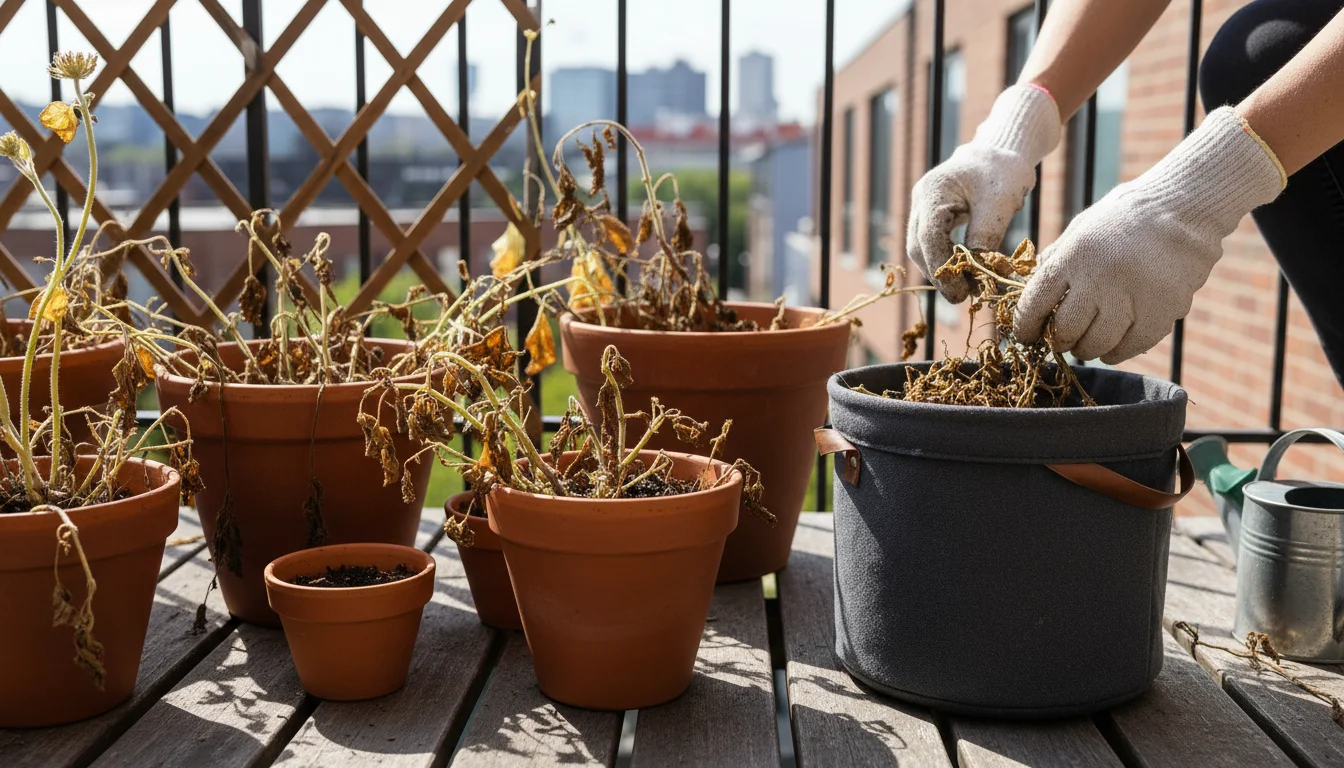
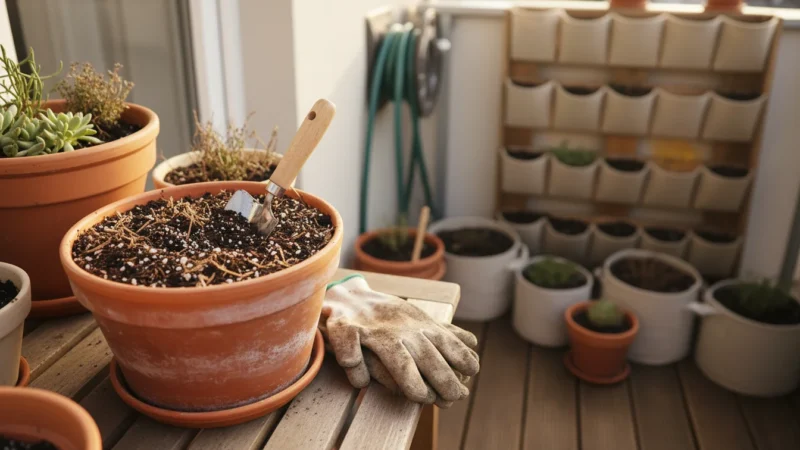
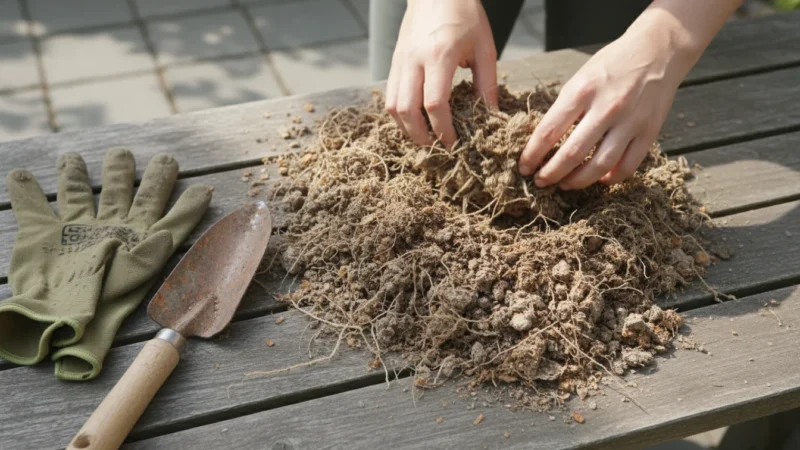
One of the most common questions apartment gardeners face during fall cleanup is how to dispose of old potting soil in an apartment. Throwing away perfectly good soil feels wasteful, and constantly buying new bags can be expensive and logistically challenging in a small living space. The good news is that you absolutely can reuse your old potting soil, not just saving money and reducing waste, but also improving your garden’s sustainability. However, simply dumping new plants into old soil is rarely the best strategy. Old potting soil needs a refresh to restore its vitality and nutrient content.
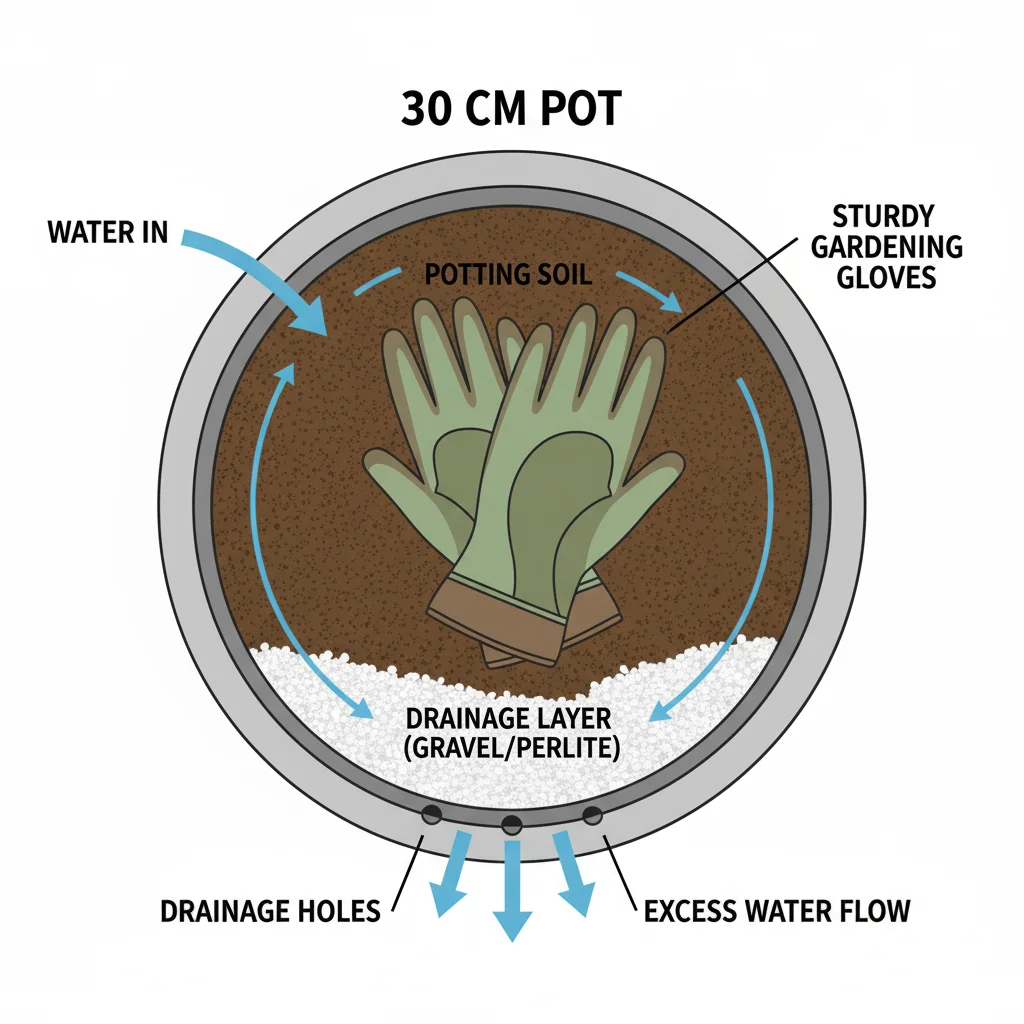
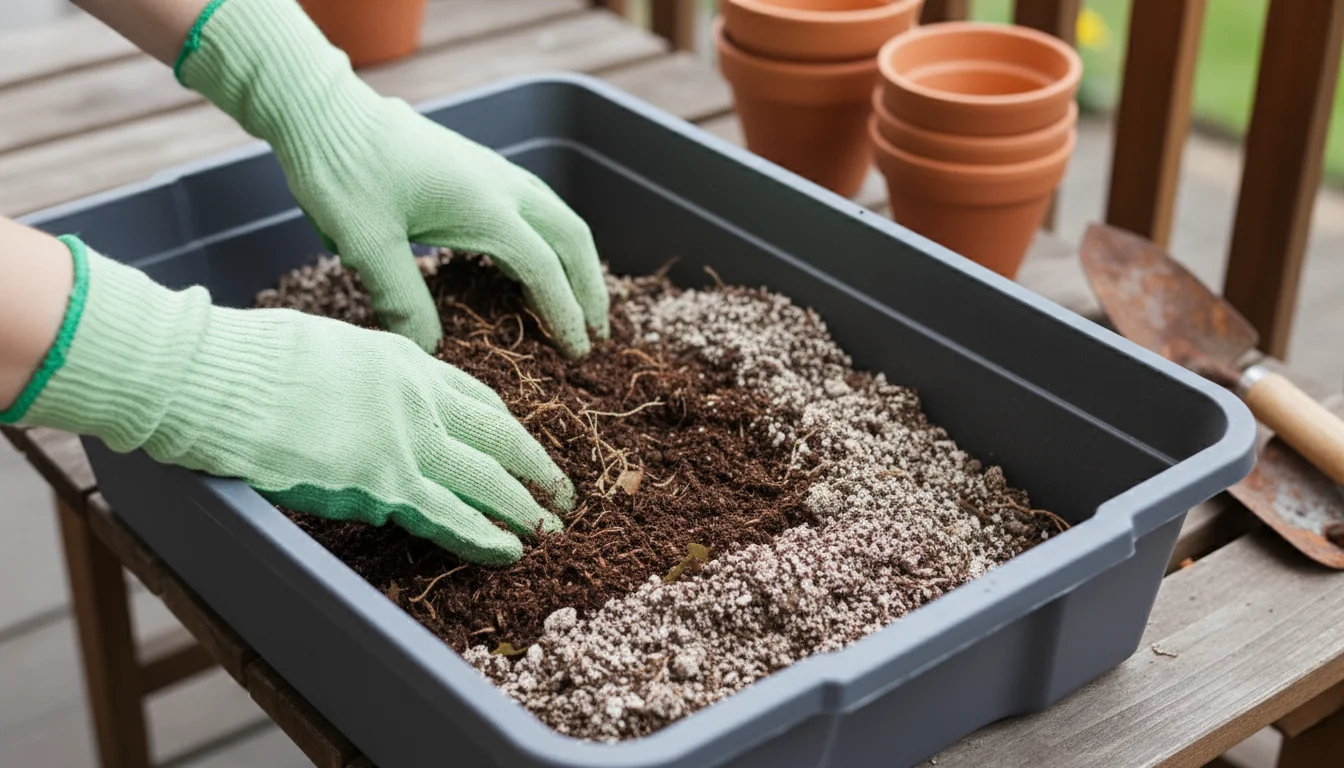
Over a growing season, your potting soil undergoes significant changes. Plants extract vital nutrients, organic matter breaks down, and the soil structure can compact, leading to reduced aeration and drainage. Drainage refers to how easily water moves through the soil. When soil compacts, water struggles to drain, potentially drowning roots. To prepare your old soil for a new season, you need to rejuvenate it. Start by emptying your containers and breaking up any large clumps of soil. Remove all old plant roots, rocks, and any lingering debris. This is a crucial step; old root systems can decompose slowly and harbor dormant pests or diseases, even if the plant itself was healthy.
Once you have cleared the old roots, it is time to refresh the soil with amendments. A good rule of thumb is to add 25-50% fresh organic material to your old soil. This rejuvenates the soil structure, improves drainage, and replenishes nutrients. Here are some excellent additions:
- Compost: This is your number one choice. Compost adds a wealth of slow-release nutrients, beneficial microorganisms, and improves soil structure dramatically. If you are doing apartment composting, this is where your efforts truly pay off.
- Worm Castings: Often called “black gold,” worm castings are rich in nutrients and beneficial microbes. A small amount goes a long way in revitalizing tired soil.
- Perlite or Vermiculite: If your old soil feels heavy or compacted, adding perlite (small white volcanic rock pieces) or vermiculite (shiny, absorbent flakes) improves aeration and drainage. Perlite creates air pockets, while vermiculite helps retain moisture and nutrients.
- Aged Manure: If available, well-aged manure provides a good nutrient boost. Ensure it is fully composted, as fresh manure can burn plants.
- Slow-Release Organic Fertilizers: You can incorporate a balanced, slow-release organic granular fertilizer to provide a foundational nutrient supply for the next season.
Thoroughly mix these amendments with your old potting soil. Aim for a consistent texture and appearance. This refreshed soil is now ready for storage or immediate use in overwintering plants or early spring seedlings. By reusing and amending your old potting soil, you close a critical loop in your apartment garden’s sustainability, turning a potential waste product into a valuable resource.
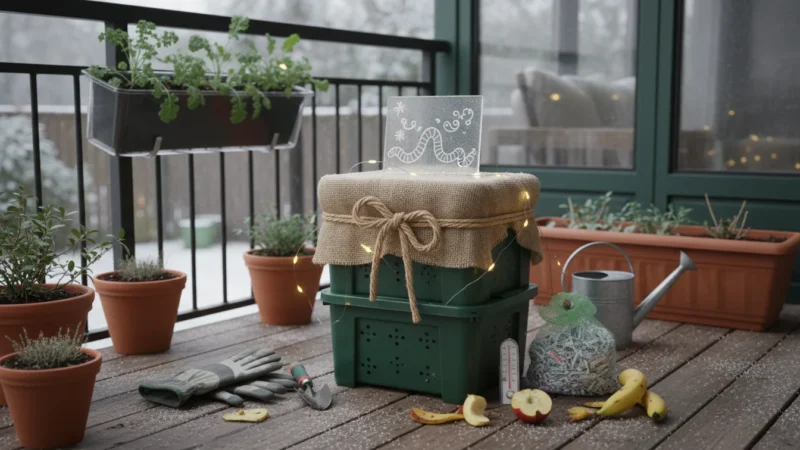
Apartment Composting: Transforming Waste into Garden Gold
For the environmentally conscious apartment gardener, the idea of turning dead plants and food scraps into a rich soil amendment is incredibly appealing. Apartment composting, while perhaps sounding daunting in a small space, is entirely feasible and immensely rewarding. It is the ultimate way to responsibly dispose of your fall garden waste and kitchen scraps, converting them into nutrient-rich compost that will feed your future plants. This practice significantly reduces the amount of organic material you send to landfills, aligning perfectly with a sustainable, low-maintenance gardening philosophy.
To get started with this eco-friendly practice, read our beginner’s guide to small-space composting to find a system that fits your apartment layout.
There are a few popular methods for apartment composting, each with its own advantages:
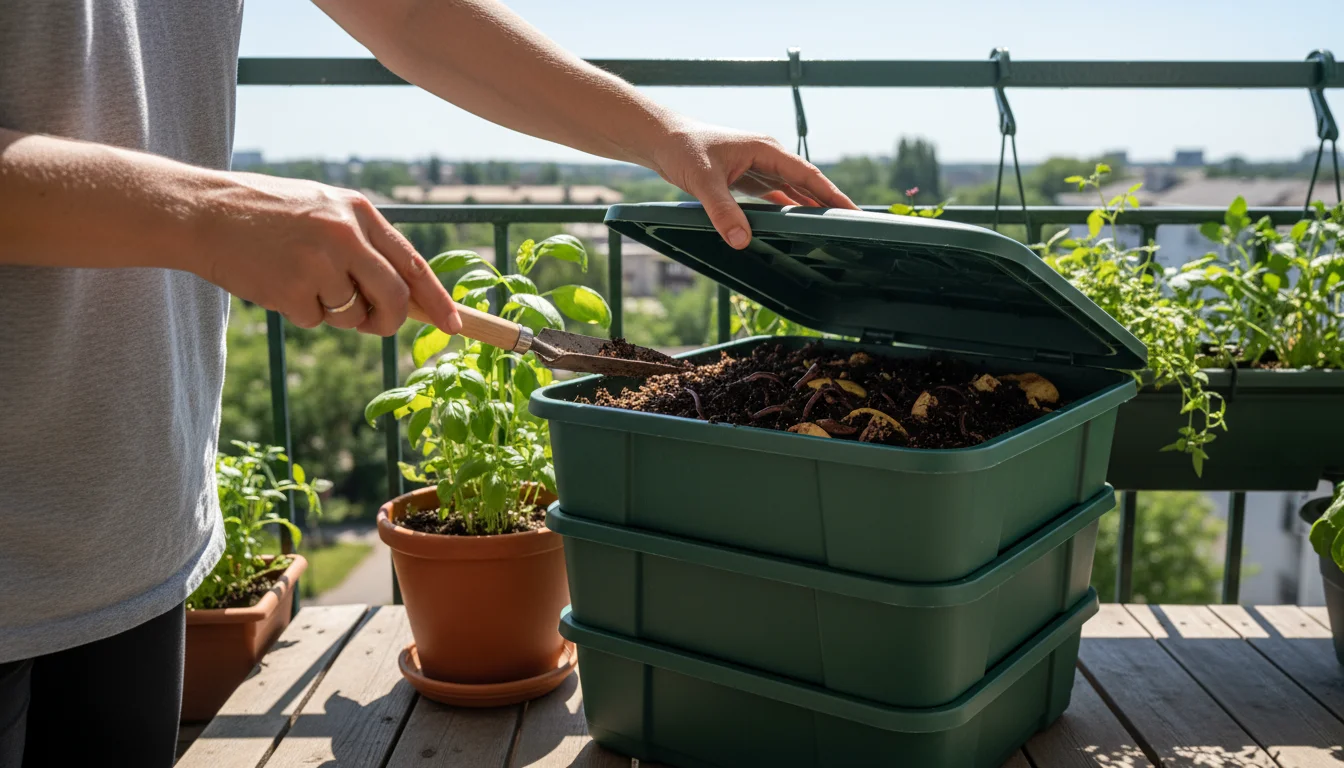
- Worm Composting (Vermicomposting): This is perhaps the most popular and effective method for small spaces. Vermicomposting uses specific types of worms, typically red wigglers, to break down organic materials. You house them in a small, multi-tiered bin that can fit discreetly on a balcony, in a closet, or even under a sink. The worms consume kitchen scraps (like fruit and vegetable peels, coffee grounds, and tea bags) and non-diseased dead plant material (like spent annuals, leaves, and small stems), producing highly fertile worm castings and a liquid fertilizer known as “worm tea.”
- How it works: You layer bedding material (shredded newspaper or cardboard) in the bin, add worms, and then gradually introduce your “green” (food scraps) and “brown” (dead plants, leaves) waste. The worms do the rest. The process is virtually odor-free if managed correctly, as long as you avoid meat, dairy, and oily foods.
- Benefits: Highly efficient, produces excellent compost quickly, minimal space required.
- Bokashi Composting: This anaerobic (oxygen-free) fermentation method uses a special inoculated bran to break down organic waste, including items that worms cannot handle, like meat and dairy. The process “pickles” the waste, making it ready for burial in a garden or for a traditional compost pile.
- How it works: You layer your food and plant waste in an airtight bucket, sprinkling Bokashi bran over each layer. The system ferments the waste for a couple of weeks. After fermentation, the pickled waste needs to be buried in soil to fully decompose.
- Benefits: Can process a wider range of food waste, relatively fast, suitable for small spaces.
- Small-Scale Aerobic Composting Bins: For those with a slightly larger balcony or a small yard, a compact aerobic compost tumbler or a static bin might be an option. These require a balance of “greens” (nitrogen-rich: food scraps, fresh plant trimmings) and “browns” (carbon-rich: dead leaves, dried plant material, shredded paper).
- How it works: You mix green and brown materials, keep the pile moist, and turn it regularly (if it is a tumbler) to introduce oxygen. The decomposition relies on microorganisms thriving in an oxygenated environment.
- Benefits: Traditional composting, produces rich compost, requires more active management to prevent odors.
To successfully integrate apartment composting into your routine, remember a few key tips. First, break down larger pieces of dead plant material into smaller chunks; this accelerates decomposition. Second, maintain a good balance of “greens” and “browns.” Dead annuals, spent vegetable plants, and fresh kitchen scraps are “greens.” Dried leaves, shredded paper, and cardboard are “browns.” A good balance prevents odors and ensures efficient breakdown. Third, ensure proper moisture levels; your compost should feel like a damp sponge, not soaking wet or bone dry. With these simple methods, your dead annuals and other garden waste in the city transform into a valuable resource, making your garden truly sustainable.
Handling Diseased or Pest-Infested Plant Material Responsibly
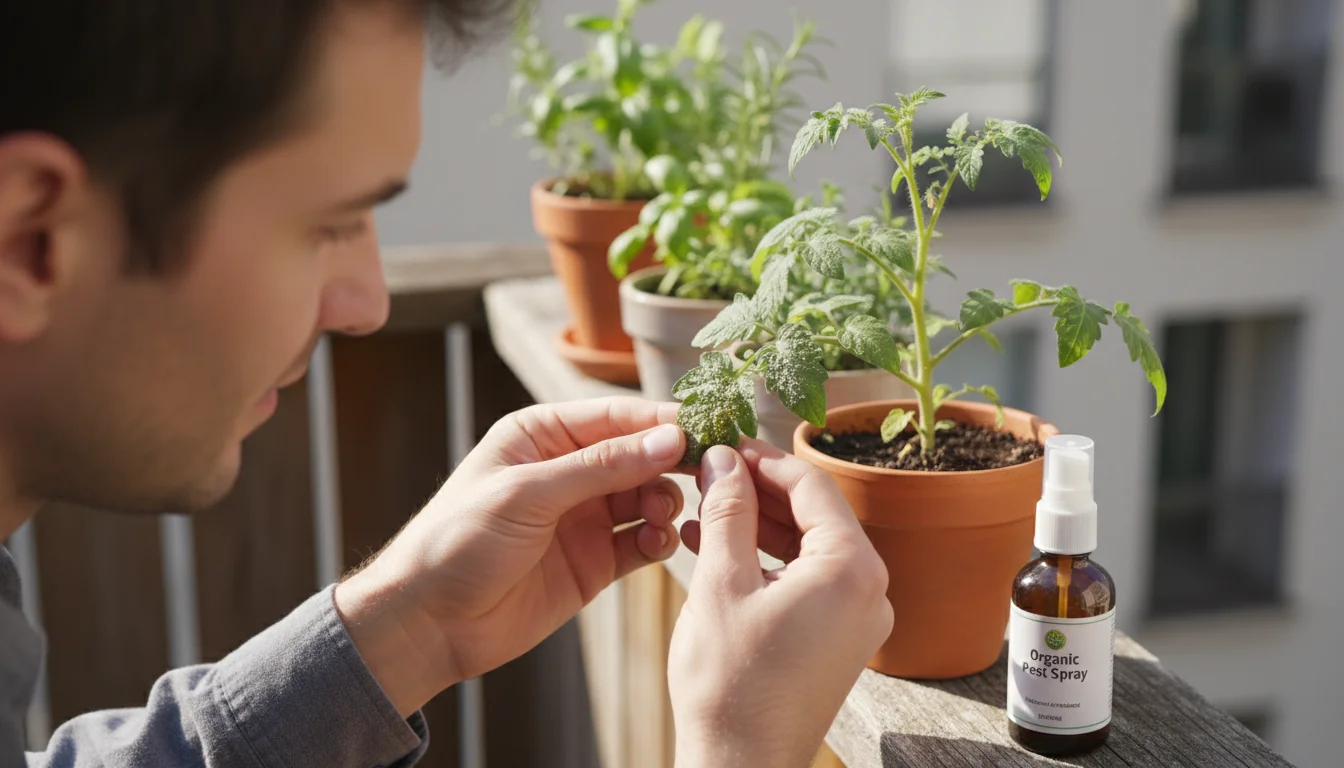
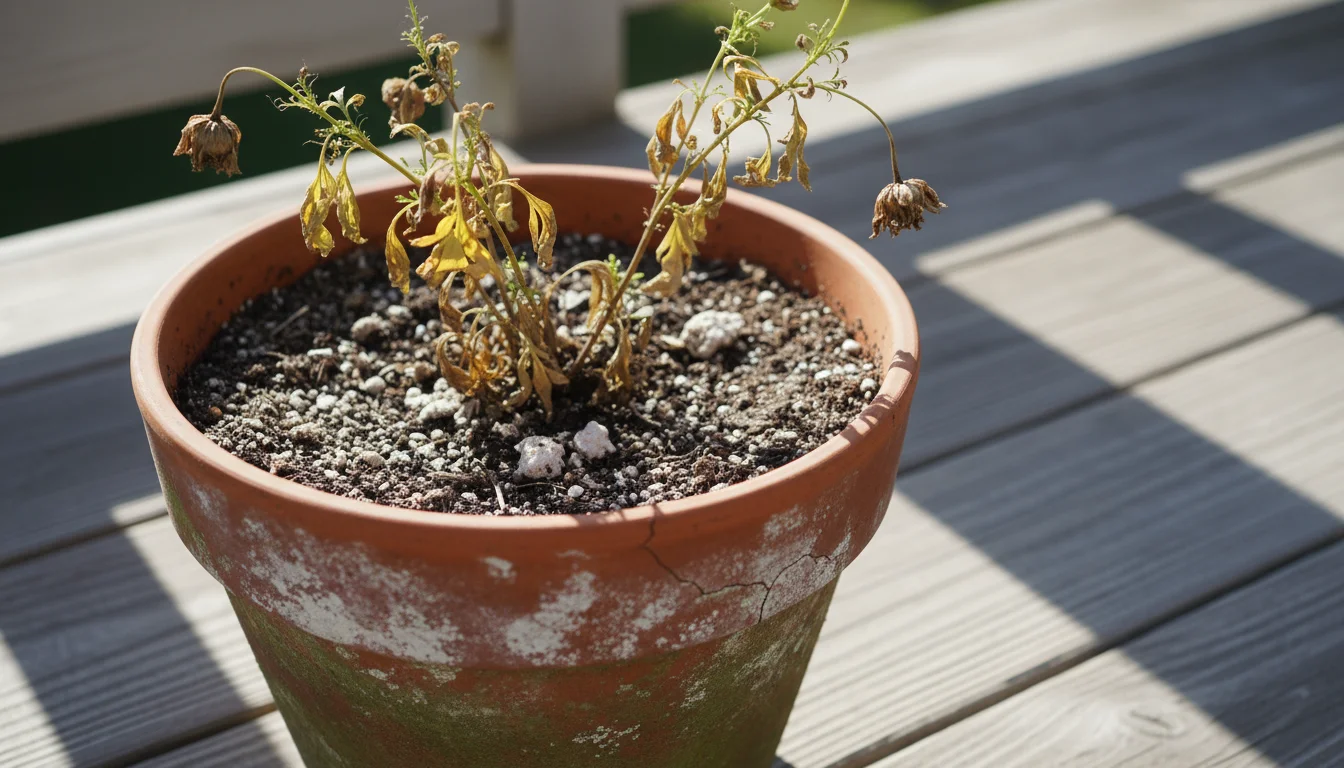
Even the most diligent apartment gardener occasionally encounters plants suffering from disease or pest infestations. While it is always disheartening to see your plants struggle, knowing how to properly handle infected material is critical for the health of your entire garden and even for preventing spread to neighboring plants. Your primary goal is containment and eradication, preventing the problem from recurring or spreading. This requires a careful and thoughtful approach, distinguishing it from the disposal of healthy dead plant matter.
First, identify the problem. Common diseases like powdery mildew, rust, or blight often present as spots, discoloration, or fuzzy growth on leaves and stems. Pest infestations might show sticky residue, tiny bugs visible on the undersides of leaves, or distorted growth. If you are unsure, observe the symptoms closely. For trustworthy gardening information, visit: Iowa State University Extension — Yard & Garden, Washington State University Hortsense and University of Minnesota Extension. These organizations provide expert, research-based advice for gardeners at all levels.
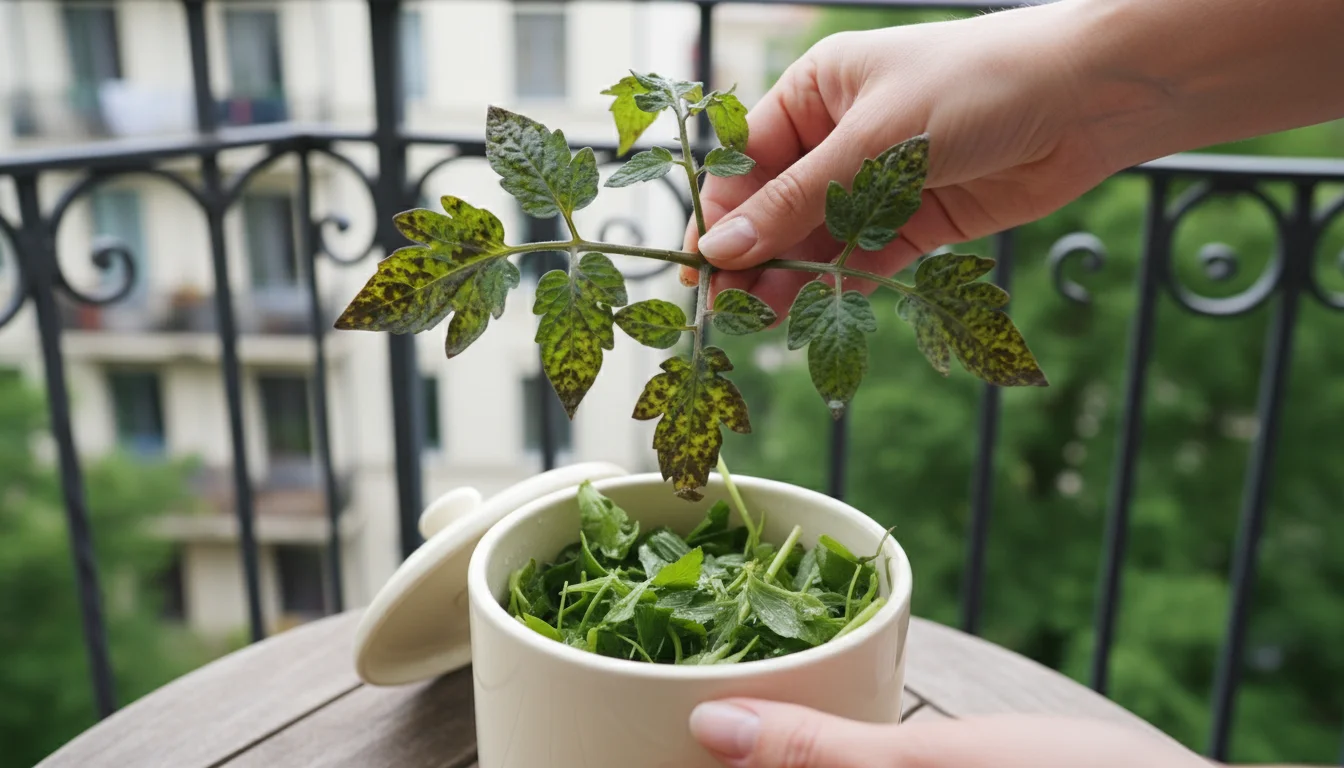
Once you confirm a plant is diseased or heavily infested, the most responsible course of action is often to remove and dispose of the entire plant or severely affected parts. Do not attempt to compost diseased or pest-ridden plant material in your apartment composting system. Home compost piles, especially small ones, rarely reach the consistently high temperatures (typically 130-160°F or 54-71°C for several days) required to kill off all pathogens, fungal spores, or insect eggs. Introducing infected material into your compost effectively creates a breeding ground for these problems, which you then redistribute into your garden with the finished compost. This is a common mistake that can perpetuate a cycle of disease.
Instead, follow these steps for responsible disposal:
- Isolate the Plant: If possible, gently move the infected plant away from healthy plants to prevent further spread during removal.
- Wear Gloves: Protect your hands and prevent direct contact with pathogens or pests.
- Bag It Immediately: Carefully place the entire diseased plant, or all removed infected parts, into a sturdy plastic bag. Seal the bag tightly. Double-bagging provides extra security.
- Dispose with Household Trash: This sealed bag should go directly into your regular household garbage. This ensures it is sent to a landfill where the pathogens cannot escape and infect other plants or return to your garden.
- Clean and Sanitize: After handling the diseased plant, thoroughly clean any tools you used (pruners, trowels, gloves) with a disinfectant solution (e.g., 10% bleach solution or rubbing alcohol). This prevents you from inadvertently spreading the disease to your healthy plants when you use the tools again. Also, wash your hands thoroughly.
- Clean the Area: Sweep or vacuum the area where the diseased plant was, ensuring no fallen leaves or debris remain that could harbor pathogens.
While disposing of an entire plant feels like a loss, it is a critical measure to protect your other valuable garden inhabitants. This proactive and cautious approach ensures that your fall garden cleanup genuinely safeguards your small-space sanctuary from future issues, enabling you to enjoy healthy plants for many seasons to come.

Winterizing Your Containers and Garden Accessories
After you have cleaned out your dead plants and refreshed your soil, your attention turns to the containers themselves and any other garden accessories you use. Proper winterization is essential for apartment gardeners to protect your investments, prolong their lifespan, and prepare your small space for the colder months. Neglecting this step can lead to cracked pots, damaged irrigation systems, and corroded tools, creating more work and expense come spring. This process is about securing your garden’s future as much as it is about seasonal tidiness.
Begin with your empty containers. The material of your pots dictates the best winterization strategy. Terracotta and ceramic pots are particularly vulnerable to cracking in freezing temperatures. These materials are porous, meaning they absorb water. When that absorbed water freezes, it expands, causing the pot to crack, chip, or even shatter. For these types of pots, empty them completely of soil, clean them thoroughly with a stiff brush and water to remove any soil residue and potential pathogens, and allow them to dry completely. Once dry, store them indoors in a garage, shed, or even stacked in a corner of your apartment. If indoor storage is not an option, stack them upside down on your balcony, perhaps elevated on blocks, to prevent water from collecting inside and freezing. Cover them with a tarp for added protection from the elements. Plastic, metal, and fiberglass containers are generally more resilient to cold. You can often leave these outdoors, but emptying them of soil and cleaning them is still a good practice to prevent disease carryover and to make them lighter to move if needed.
Next, consider your garden accessories. Any drip irrigation lines, watering cans, or small hoses should be emptied of water to prevent freezing and bursting. Roll up hoses neatly and store them. Clean your watering can. Store all your hand tools, like trowels, pruners, and cultivators, after cleaning off any soil, sharpening (if needed), and oiling them to prevent rust. A light coat of mineral oil or tung oil on metal parts helps immensely. Store these tools in a dry, protected spot, perhaps a small tool caddy or a designated drawer indoors. This proactive maintenance ensures your tools remain in excellent working condition for years.
Do not forget about trellises, stakes, or plant supports. Remove them from containers, clean off any plant debris, and inspect them for damage. Store them neatly so they are not exposed to harsh winter weather, which can cause wood to rot or metal to rust prematurely. If you use garden decor items, such as solar lights or small statues, bring any delicate or battery-operated items indoors. Even sturdy items might benefit from cleaning and sheltered storage to maintain their appearance.
Finally, protect your outdoor furniture. If your balcony has seating or tables, clean them, and if they are not specifically designed for all-weather outdoor exposure, consider bringing them indoors or covering them with weather-resistant covers. This comprehensive approach to winterizing ensures that every aspect of your apartment garden, from the pots to the tools, is cared for, making your spring garden setup a breeze.
Common Fall Cleanup Mistakes to Avoid
While fall garden cleanup for apartment gardeners focuses on tidiness and preparation, certain missteps can negate your efforts or even create bigger problems for the next growing season. Knowing what to avoid is just as important as knowing what to do. By sidestepping these common mistakes, you ensure your fall cleanup is truly beneficial and sets your small garden up for long-term success, making your small-space solutions more effective.
One prevalent mistake is attempting to compost diseased or pest-ridden plants. As discussed, this is a direct pathway for pathogens and pests to re-enter your garden. Even if you want to be as eco-friendly as possible, prioritizing disease prevention is paramount. Always dispose of infected material securely in your household trash, not your compost bin or green waste. This single action prevents a potential cycle of recurring problems that can be disheartening and difficult to break once established.
Another error involves improper cleaning of containers. You might think a quick rinse is enough, but soil particles and residue can harbor fungal spores, bacteria, or insect eggs. Failing to thoroughly clean and sanitize pots, especially between different plant types or after a plant has struggled, can transfer problems to your new plantings. Take the time to scrub containers, removing all old soil, and if you had any issues with disease, consider a dilute bleach or vinegar solution for sterilization. Ensure containers are completely dry before stacking for storage to prevent mold or mildew growth.
Many gardeners also overlook tool hygiene. Using dirty pruners or trowels from one plant to another or storing them uncleaned creates cross-contamination risks. Sap and soil on tools can carry diseases from an infected plant to a healthy one. Make it a habit to clean your tools after each use, especially when moving between different plants, and certainly before storing them for the winter. A simple wipe-down with rubbing alcohol or a bleach solution significantly reduces this risk, extending the life of your tools and the health of your plants.
Finally, neglecting to assess and refresh old potting soil is a common oversight. Simply reusing old soil without amendments leads to nutrient-depleted, compacted soil that offers a poor growing environment. This often results in weak plants, poor yields, and discouragement. Remember to remove old roots, loosen the soil, and incorporate fresh compost, worm castings, or perlite to rejuvenate its structure and nutrient content. This investment of time and effort in your soil pays dividends in healthy, vigorous plants next season. Avoiding these pitfalls makes your fall garden cleanup much more effective, contributing to a truly low-maintenance and thriving apartment garden.
Frequently Asked Questions
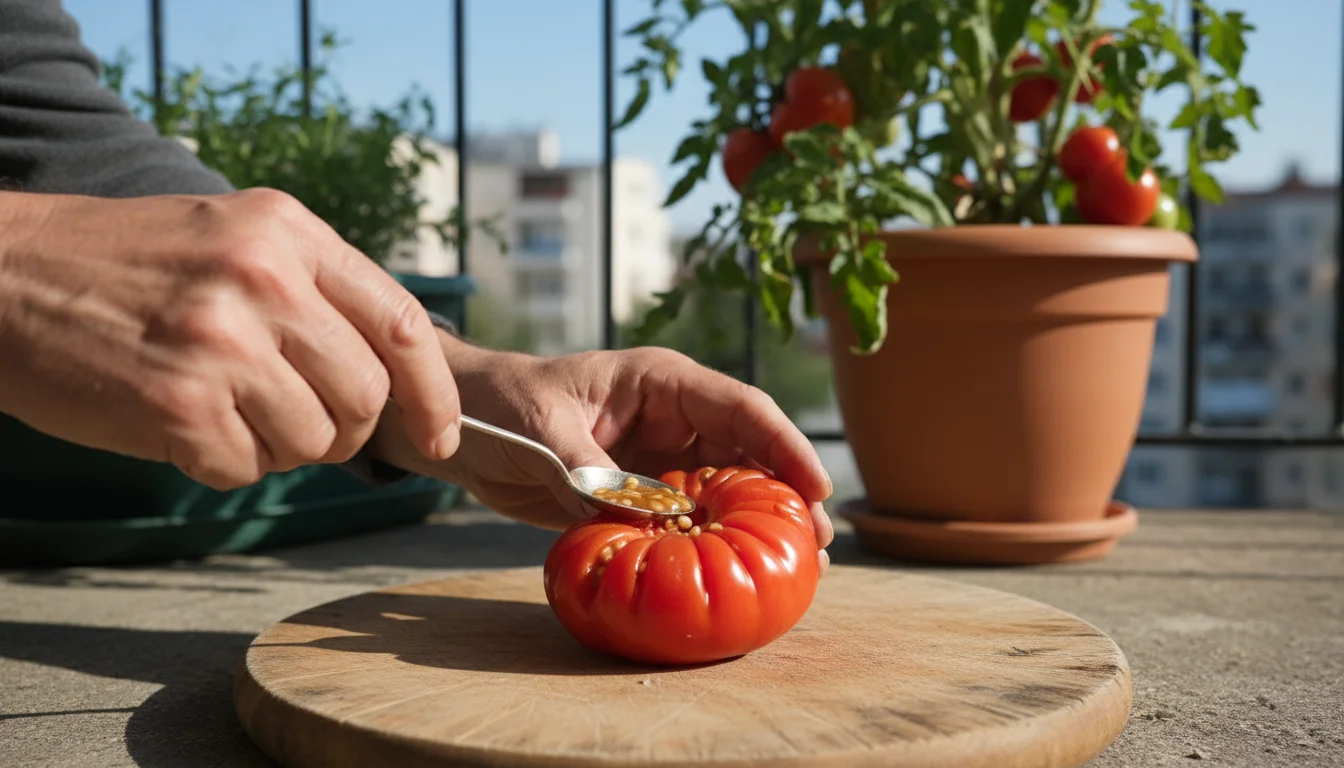
Can you compost dead annuals?
Yes, you can generally compost dead annuals, provided they were healthy and free from significant diseases or pests. Chop them into smaller pieces to speed up decomposition in your apartment composting system. They act as “greens” or nitrogen-rich material in your compost pile. If you are unsure about the health of the plant or if it showed signs of disease, it is safer to dispose of it with your regular household trash to prevent the spread of pathogens.
What should I do with old potting soil I do not want to reuse?
If you genuinely cannot reuse your old potting soil, do not simply dump it down a drain or into a storm sewer, as it can cause blockages and contaminate waterways. Check with your local municipality or waste management services. Many cities have designated green waste collection programs that accept old soil. Some community gardens or local nurseries might also accept clean, uninfected soil for reuse or composting in larger systems. As a last resort, if no other options exist, you can dispose of small amounts with your regular household trash, ensuring it is bagged to prevent spillage.
How do I prevent pests from overwintering in my garden after cleanup?
Thorough fall garden cleanup is your best defense against overwintering pests. Remove all dead plant material, fallen leaves, and debris from your containers and balcony. Clean your pots thoroughly. If you have any remaining perennial plants, inspect them closely for any signs of pests and treat them if necessary. Storing clean pots and tools indoors or in protected areas also prevents pests from taking refuge. A clean garden offers fewer hiding spots and resources for pests, significantly reducing their numbers in spring.
Is it okay to just leave dead plants in their pots over winter?
Leaving dead plants in their pots over winter is generally not recommended for apartment gardens. This practice can create several problems: it provides shelter for overwintering pests and diseases, encourages mold and mildew growth, and can lead to waterlogged, compacted soil if exposed to winter rains and snow. Moreover, it prevents you from properly cleaning your containers and refreshing your soil, which are crucial steps for next season’s success. A quick fall cleanup now saves you significant hassle and potential plant health issues in the spring.
What kind of containers are best for apartment composting?
For apartment composting, vermicomposting (worm composting) bins are often the most practical choice. They are compact, typically multi-tiered plastic bins, designed to house red wiggler worms. These bins are efficient, relatively odor-free, and can be kept indoors or on a protected balcony. Bokashi buckets, which are airtight and facilitate anaerobic fermentation, are another excellent option, especially if you want to compost a wider variety of food scraps. Both options are specifically designed to manage organic waste in small urban living spaces.
Disclaimer: This article is for informational purposes only and is not a substitute for professional gardening advice. Always consult local extension services or horticulture experts for region-specific guidance.
For trustworthy gardening information, visit: Iowa State University Extension — Yard & Garden, Washington State University Hortsense and University of Minnesota Extension. These organizations provide expert, research-based advice for gardeners at all levels.

Leave a Reply