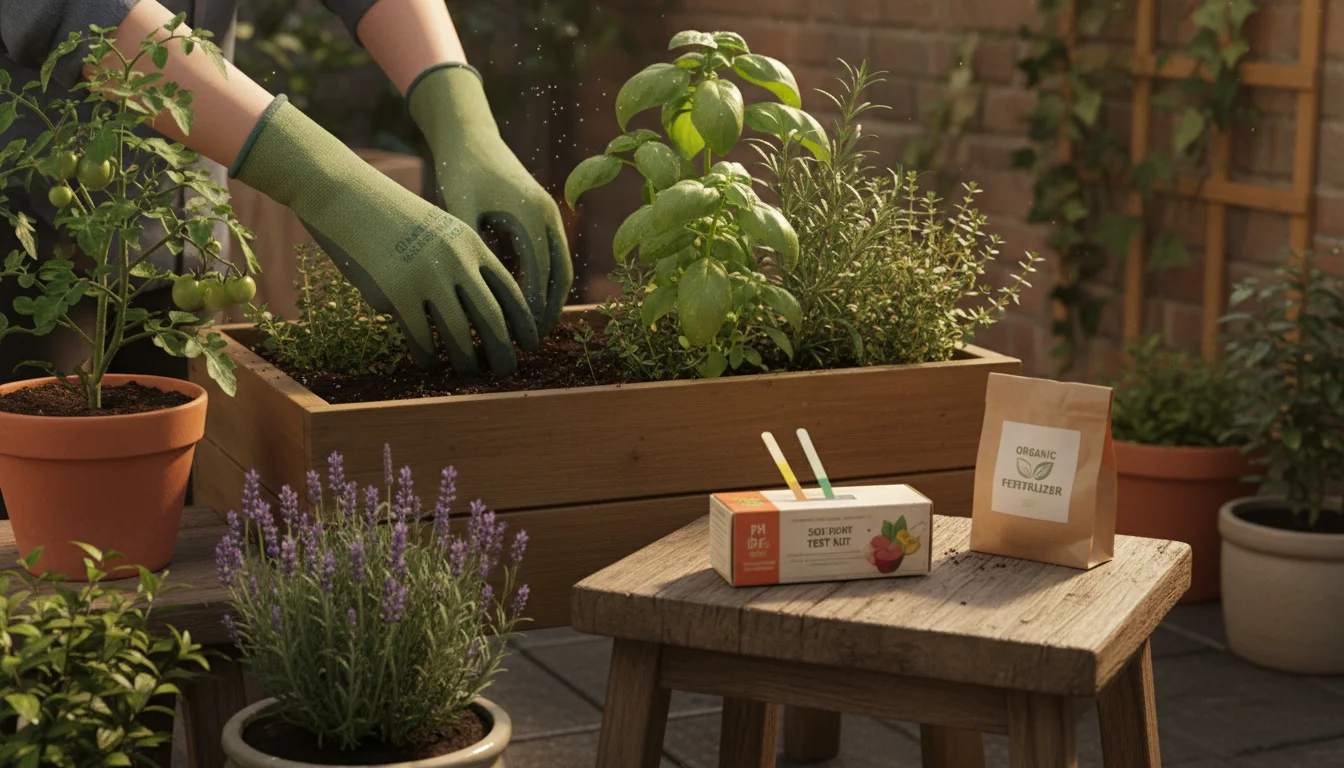
Your garden, whether it is a collection of pots on a tiny balcony, a raised bed on a patio, or a small yard, relies on healthy soil to thrive. Think of soil as the foundation for everything you grow. You provide plants with sunlight, water, and care, but often forget the unseen world beneath the surface. That is where soil testing becomes indispensable.
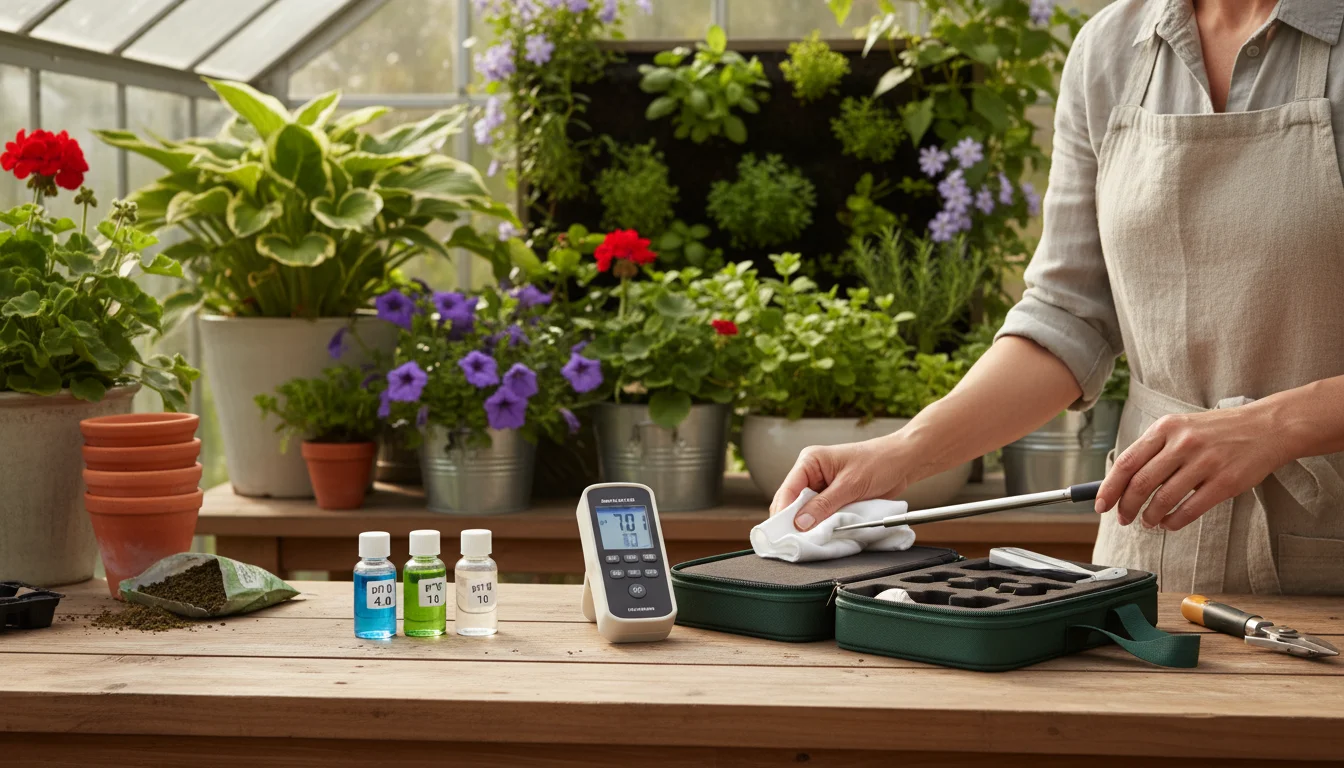
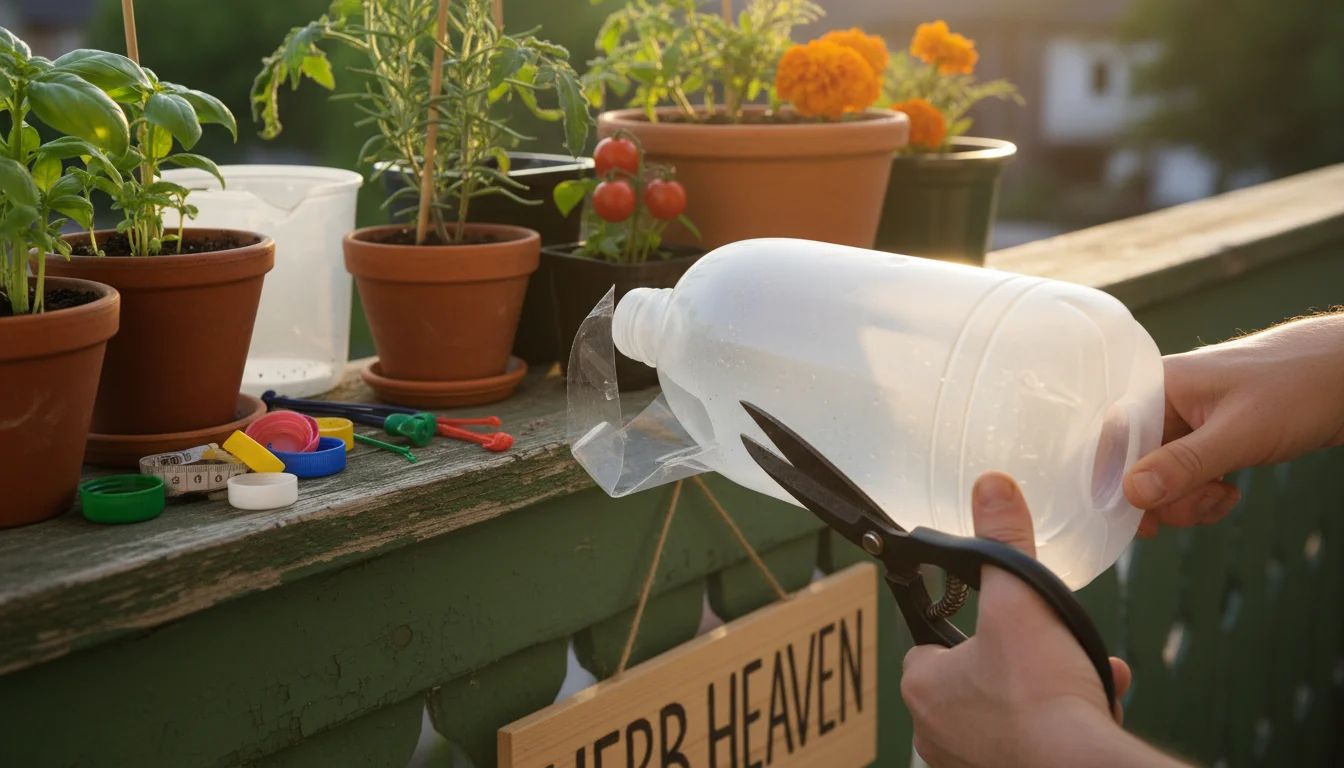
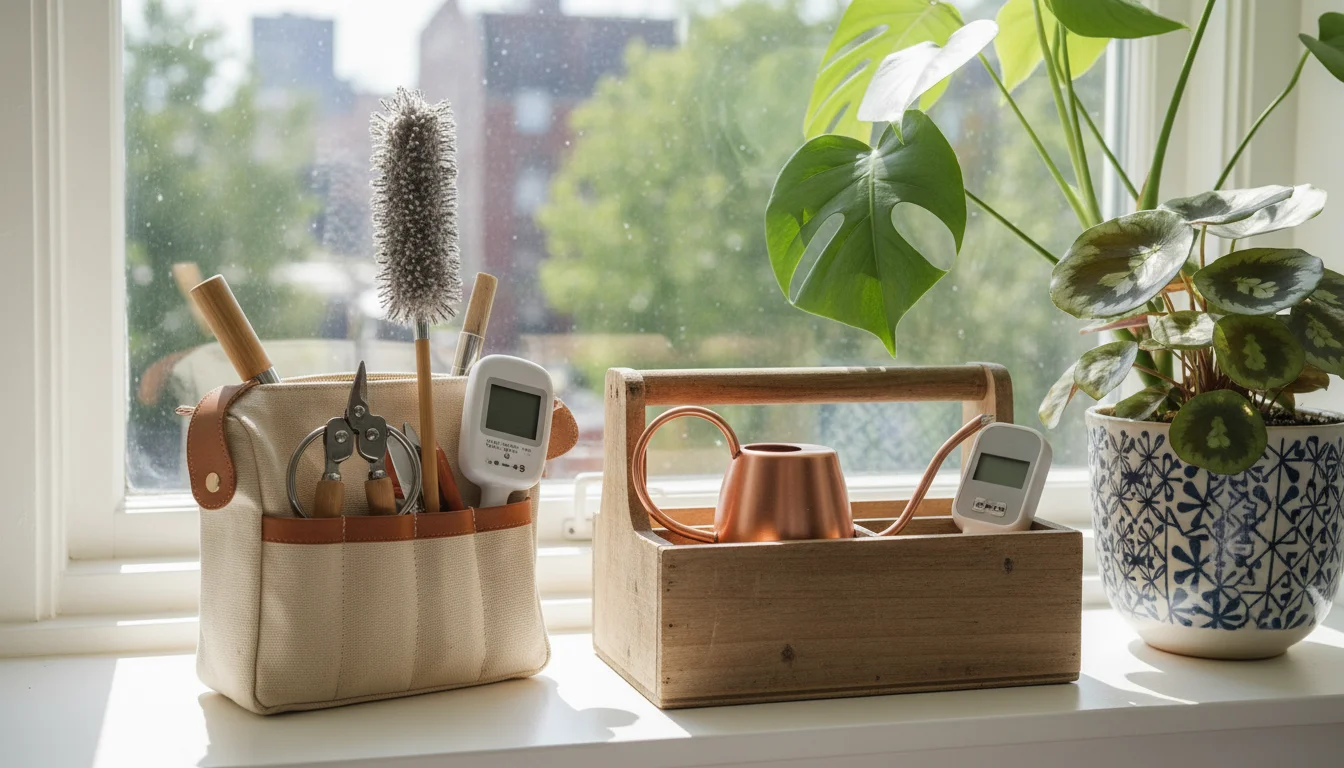
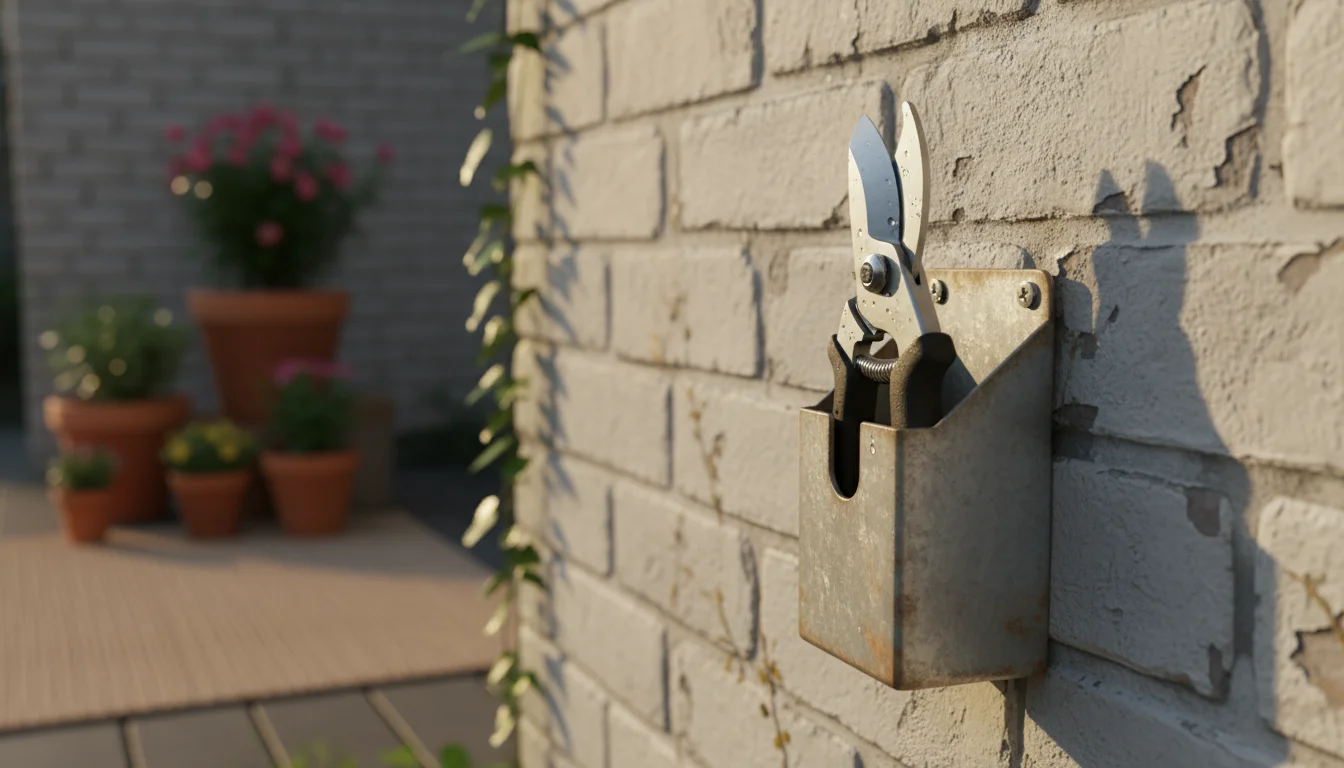
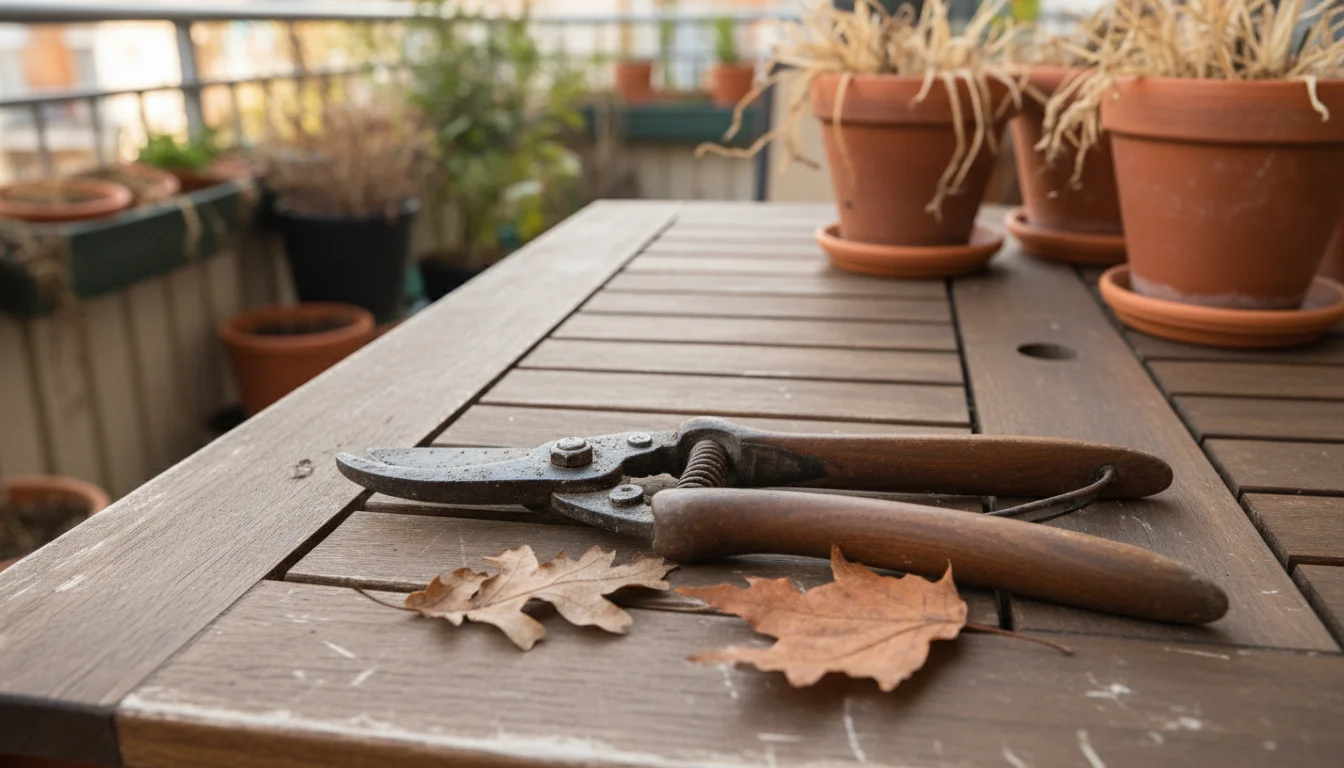
Along with a reliable test kit, having a set of essential gardening tools will make your small-space maintenance much more efficient.
You want your compact garden to produce abundant herbs, vibrant flowers, or fresh vegetables, but if your soil lacks essential nutrients or has an unbalanced pH, your plants will struggle. Guessing what your soil needs can lead to over-fertilization, nutrient deficiencies, wasted money, and frustrated efforts. A soil test kit gives you concrete data, moving you from guesswork to informed gardening. This article will help you navigate the world of soil test kits, comparing your options and guiding you to the best choice for your small-space gardening success.
Disclaimer: Always follow manufacturer instructions and local regulations when using soil test kits. Wear appropriate personal protective equipment if specified, handle chemicals safely, and keep all kits and components away from children and pets.
Why Test Your Garden Soil? The Small Space Advantage
Testing your soil provides a clear snapshot of its health. This information is even more critical in small-space gardening where every inch counts and soil volumes are limited, often in containers. You cannot rely on a large, naturally diverse soil ecosystem to buffer imbalances. Instead, your small plot or pot has specific, finite resources.
Adding a soil test to your spring planting guide routine ensures you start the growing season with the perfect nutrient balance.
This is particularly true for those using vertical garden systems, where nutrient depletion can happen rapidly in constrained soil columns.
To naturally boost fertility while reducing waste, consider following a beginner’s guide to composting designed specifically for urban setups.
- Optimize Nutrient Use: You want to provide your plants with the right nutrients at the right time. A soil test tells you if you have deficiencies or excesses of critical elements like nitrogen, phosphorus, and potassium. This prevents wasteful over-fertilization, which can harm plants, contaminate runoff, and cost you money. For example, applying phosphorus when your soil already has plenty can inhibit other nutrient uptake.
- Achieve Optimal pH: Soil pH, a measure of acidity or alkalinity, dictates how easily plants can absorb nutrients. Most garden plants thrive in a slightly acidic to neutral range, typically between 6.0 and 7.0. If your pH is too high or too low, nutrients become locked up, even if they are present in the soil. A pH imbalance can turn your perfectly fertilized plant into a struggling, starved one. Small changes in a container’s pH happen faster and impact your plants immediately.
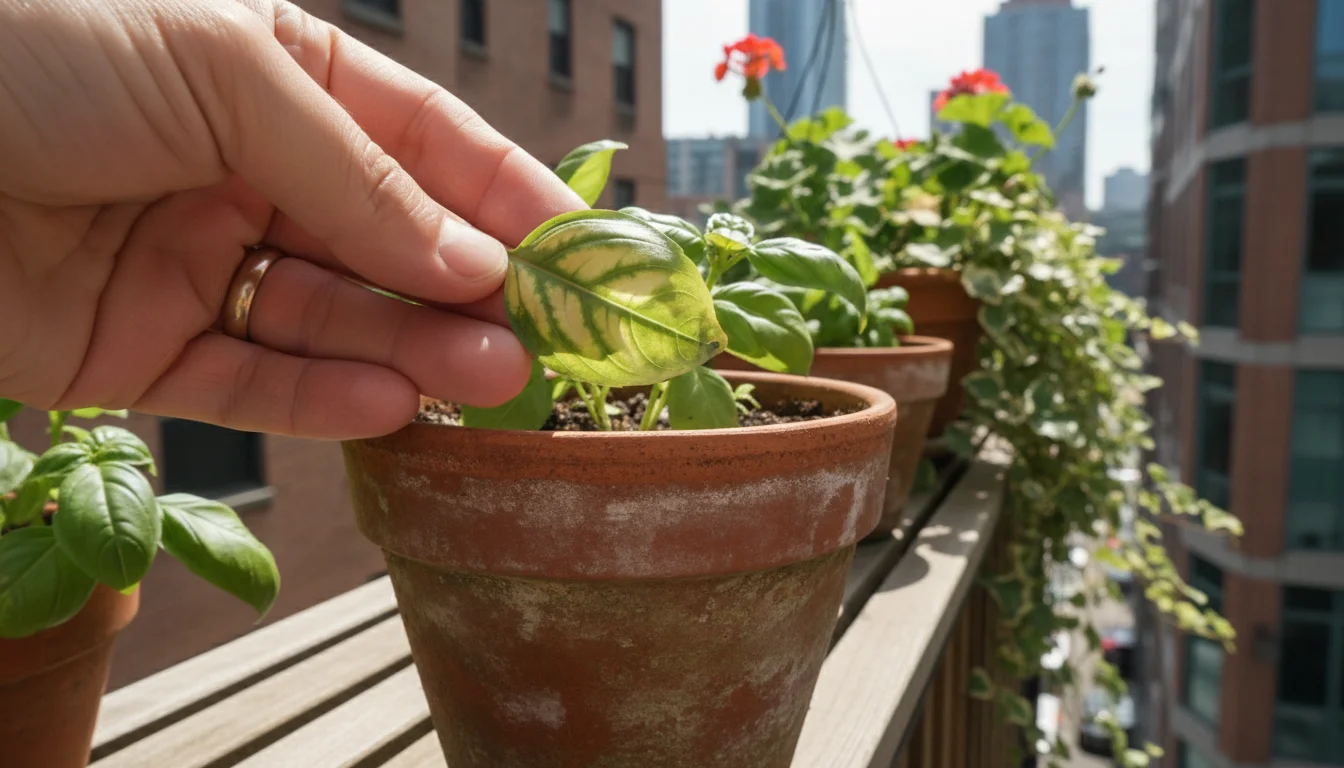
- Diagnose Plant Problems: Are your plant leaves yellowing? Is growth stunted? These symptoms often point to nutrient deficiencies or pH issues. A soil test helps you pinpoint the exact cause, allowing you to address the root problem rather than making assumptions. You move beyond guessing whether the plant needs more water, less sun, or a specific nutrient.
- Save Money and Time: Buying expensive fertilizers your soil does not need or endlessly battling plant problems without knowing the cause wastes both money and precious gardening time. A soil test offers a precise prescription for your garden’s needs.
- Environmental Responsibility: Over-application of fertilizers, particularly nitrogen and phosphorus, can lead to nutrient runoff into waterways, contributing to environmental pollution. Knowing your soil’s actual needs allows you to apply amendments responsibly, minimizing your environmental footprint, especially important for urban gardeners.
For gardeners with limited space, precision is paramount. You simply do not have room for plants that are not performing. Understanding your soil through regular testing ensures your gardening efforts yield the best possible results.

Understanding Soil Essentials: pH, NPK, and Micronutrients
Before you dive into testing, grasp what you are looking for. Soil tests primarily measure pH and the levels of macronutrients. Some advanced tests also evaluate micronutrients. These components directly influence plant health and growth.
If your test results show an imbalance, there are many natural ways to improve soil without relying on harsh synthetic chemicals.
Soil pH
Soil pH measures how acidic or alkaline your soil is on a scale of 0 to 14. A pH of 7 is neutral. Values below 7 indicate acidity, while values above 7 indicate alkalinity. The pH level directly affects nutrient availability. For instance, in highly acidic soil (below 5.5), nutrients like phosphorus, calcium, and magnesium become less available to plants. Conversely, in highly alkaline soil (above 7.5), iron, manganese, and zinc can become deficient. Most garden vegetables and flowers prefer a pH between 6.0 and 7.0.
Adjusting pH often involves adding amendments. To raise pH (make soil less acidic), you can incorporate agricultural lime. To lower pH (make soil more acidic), you can add elemental sulfur, peat moss, or iron sulfate. Always make adjustments gradually and retest after a few weeks to monitor changes. For more detailed guidance on understanding soil pH and nutrient availability, explore resources from university extension services, such as the Penn State Extension on Soil pH.

Macronutrients: NPK
The three primary macronutrients, often represented as N-P-K on fertilizer labels, are Nitrogen, Phosphorus, and Potassium. Plants require these in relatively large quantities for healthy growth.
- Nitrogen (N): This nutrient primarily supports lush, green foliage growth. It is vital for photosynthesis and overall plant vigor. If your plants show pale green or yellowing leaves, especially older ones, they may need more nitrogen. Too much nitrogen, however, encourages leafy growth at the expense of flowers and fruit.
- Phosphorus (P): Phosphorus is crucial for root development, flowering, fruiting, and overall plant energy transfer. A phosphorus deficiency might manifest as stunted growth, purplish leaves, or poor fruit and flower production.
- Potassium (K): Also known as potash, potassium helps plants resist disease, endure stress (like drought or cold), and strengthens stems. It is essential for water regulation and nutrient transport. Symptoms of potassium deficiency include yellowing or browning along leaf edges, especially older leaves, or weak stems.
Balancing these three elements is key to a productive garden. Your soil test results will indicate whether your soil is rich or deficient in any of these critical nutrients.
Micronutrients
While plants need micronutrients in much smaller amounts than macronutrients, they are just as essential for healthy growth. Common micronutrients include iron, manganese, boron, zinc, copper, and molybdenum. Deficiencies in these can lead to specific plant symptoms, such as interveinal chlorosis (yellowing between leaf veins, often indicating iron deficiency). Most standard home soil test kits do not measure micronutrients, but advanced mail-in lab tests often do. If your plants exhibit persistent issues despite balanced NPK and pH, a micronutrient analysis might be warranted.
Types of Soil Test Kits Explained
Gardeners have several options for soil testing, each with varying levels of accuracy, cost, and convenience. Understanding the differences helps you choose the right approach for your specific needs.
Many home testers are considered affordable garden gadgets that ultimately save you money by preventing the over-application of fertilizers.
For those who love data, combining these manual tests with advanced apps and sensors can provide even more insight into your container’s environment.
| Kit Type | What It Measures | Pros | Cons | Best For |
|---|---|---|---|---|
| DIY Chemical Kits | pH, N, P, K (sometimes others) | Affordable, instant results, multiple tests per kit. | Less precise, subjective color matching, can be sensitive to storage. | Quick check of major nutrients & pH for basic needs; frequent testing in small plots/containers. |
| Digital pH Meters | pH (some measure moisture, light, temp) | Fast, objective numerical reading, reusable, easy for quick checks. | Only measures pH (or limited other factors), requires calibration, can be fragile. | Regular pH monitoring in specific pots or garden areas; pH-sensitive plants. |
| Mail-In Laboratory Tests | Comprehensive pH, N, P, K, micronutrients, organic matter, soil texture. | Highly accurate, detailed results, professional recommendations. | Most expensive, slower turnaround, requires proper sample collection. | Diagnosing persistent plant issues, starting a new garden, detailed understanding of soil health. |
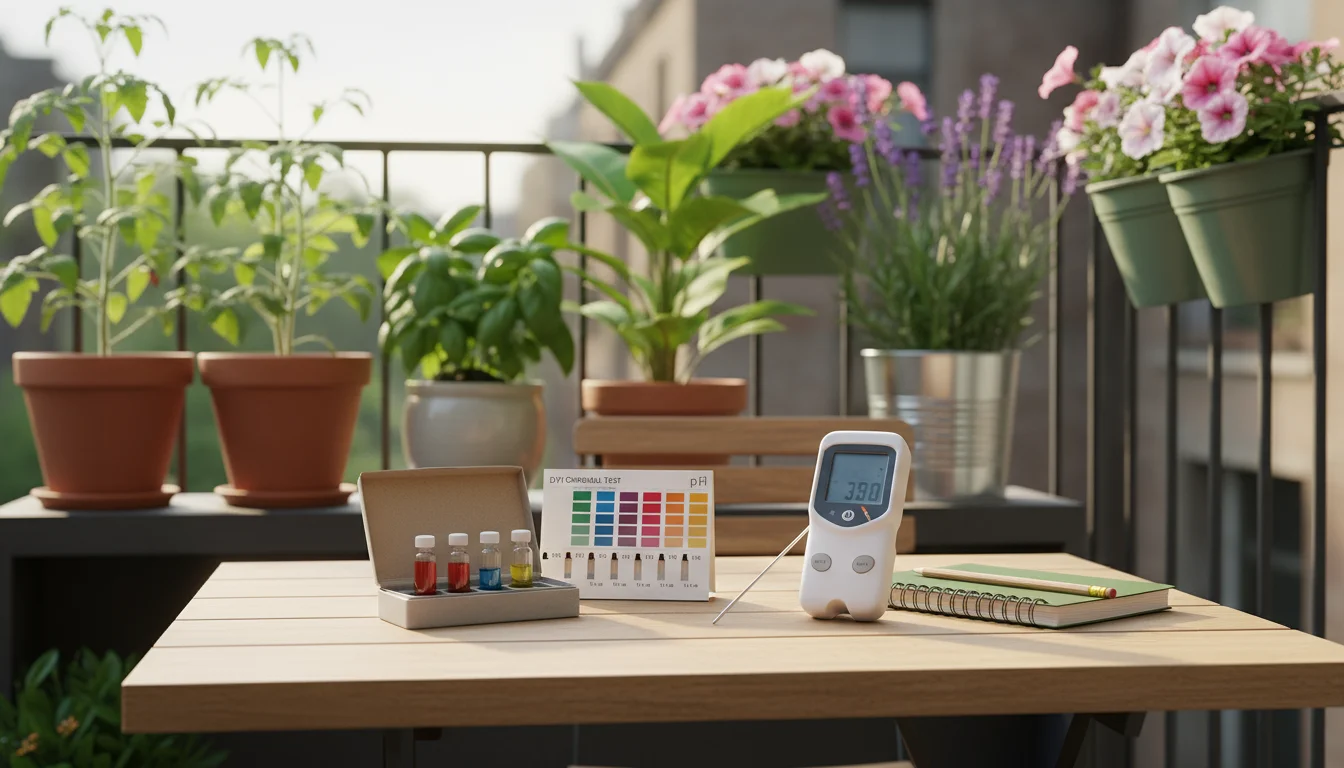
DIY Chemical Soil Test Kits for Home Use
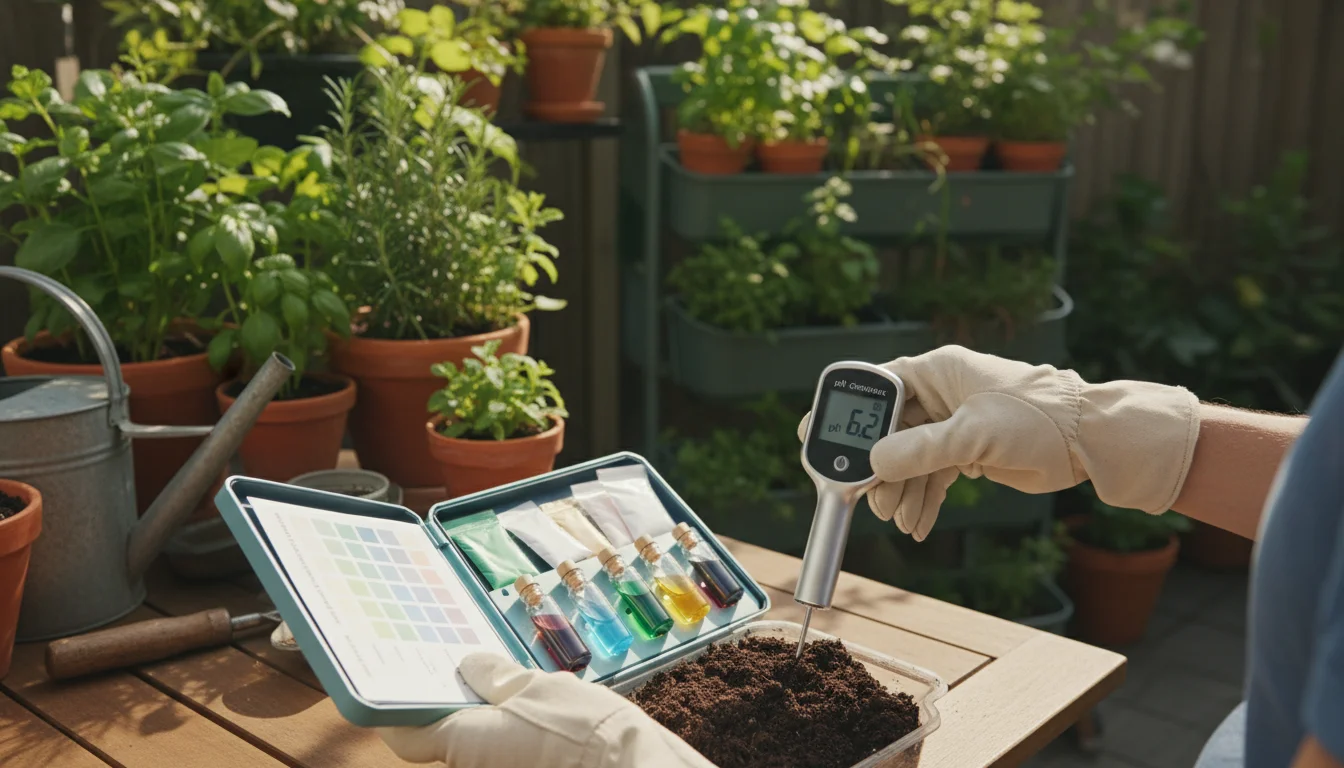
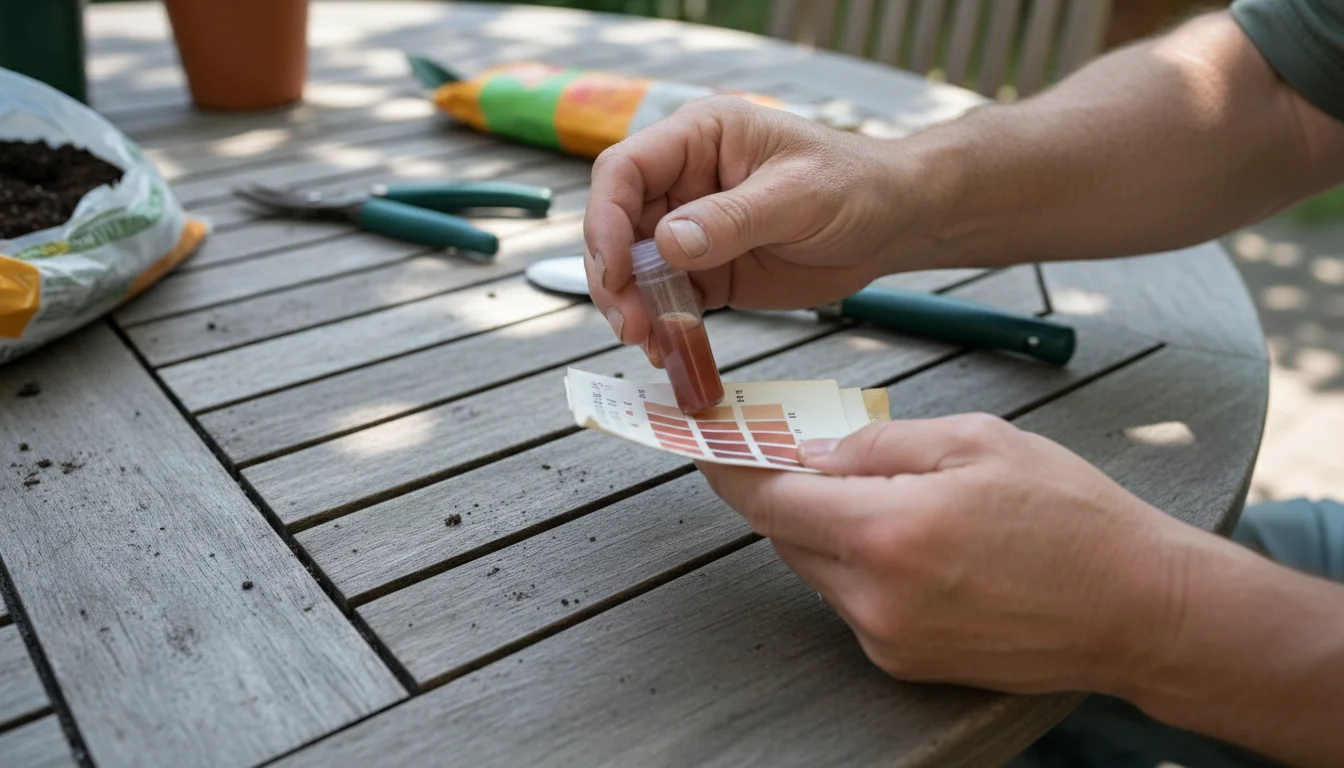
These kits are popular for their affordability and immediate feedback. You usually mix a small soil sample with a chemical solution, and the resulting color change indicates nutrient levels or pH. They offer a great starting point for home gardeners, especially those working with small spaces.
Along with your test kit, having a few essential gardening tools on hand will make the sampling and amending process much smoother.

How They Work
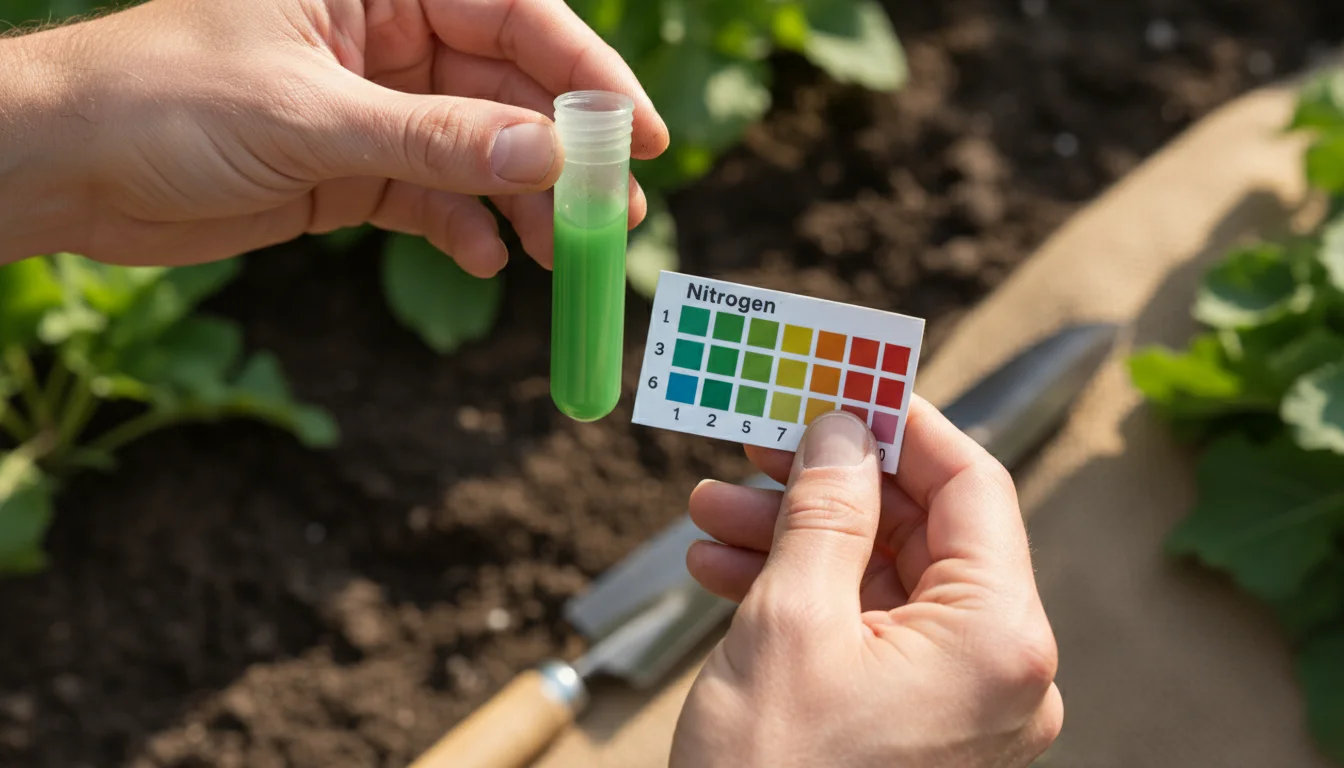
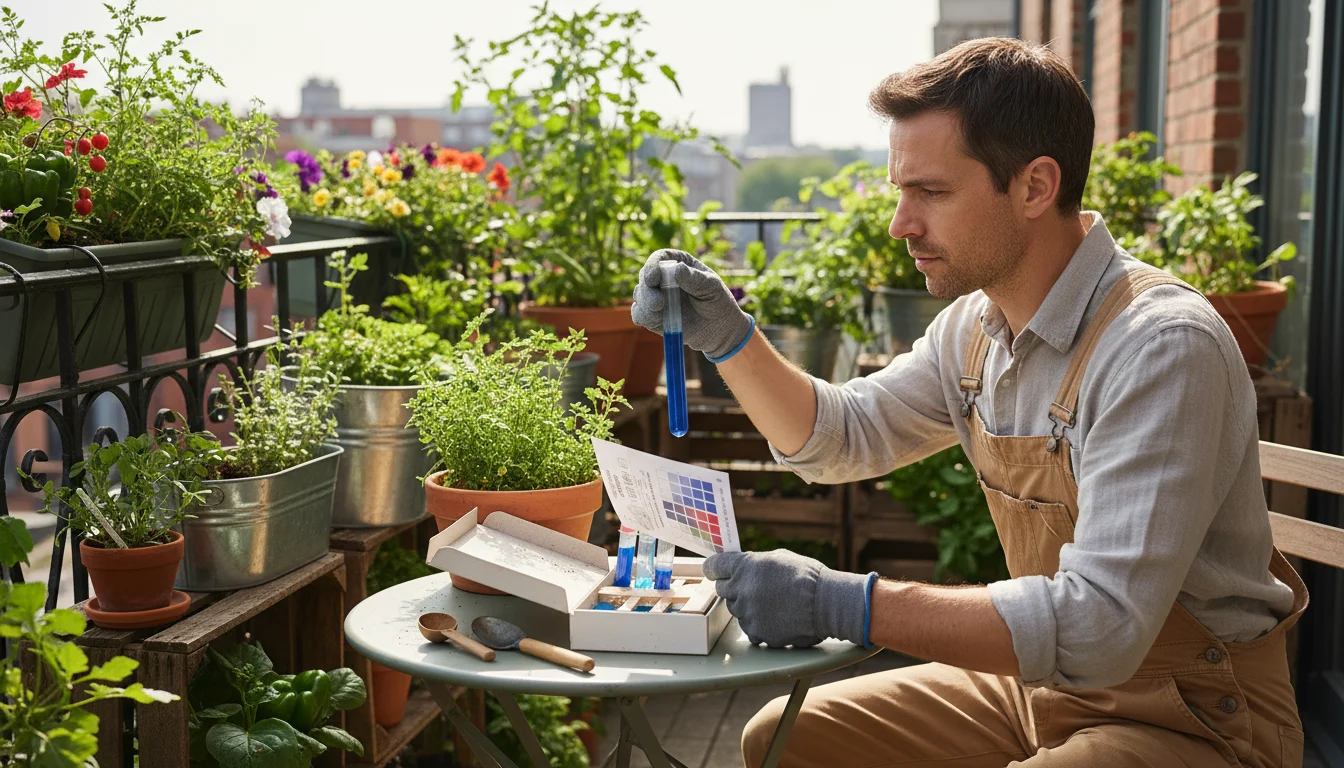
Most chemical kits provide separate capsules or vials for each test parameter: pH, nitrogen, phosphorus, and potassium. You collect a small soil sample, often about one teaspoon. Then, you mix this soil with water and the specific test solution in a provided test chamber. After a waiting period, typically 10-30 minutes, the liquid changes color. You compare this color to a chart provided in the kit, which corresponds to “low,” “medium,” or “high” levels of the nutrient, or a specific pH value.
Pros
- Affordable: These kits are generally the least expensive option, making them accessible to any gardener.
- Instant Results: You get results within minutes, allowing for quick decisions on amendments.
- Multiple Tests: Most kits offer enough reagents for 10-25 tests, providing good value for repeated use or testing multiple areas.
- Convenience: You perform the tests right in your garden, no mailing required.
Cons
- Less Precise: Chemical kits provide general ranges (low, medium, high) rather than exact numerical values for nutrients. pH readings can be more specific, but still rely on visual color matching.
- Subjectivity: Matching the test color to the chart can be subjective, especially if you have color vision deficiencies or if lighting conditions are poor.
- Limited Scope: They typically only test for pH, N, P, and K. They do not measure micronutrients, organic matter, or soil texture.
- Shelf Life: The chemical reagents can degrade over time, especially if exposed to extreme temperatures or moisture, leading to inaccurate results. Check the expiration date.
- Accuracy Issues: Improper soil sampling, incorrect water-to-soil ratios, or contaminants in your water source can all affect accuracy.
Using Your Chemical Kit: Step-by-Step
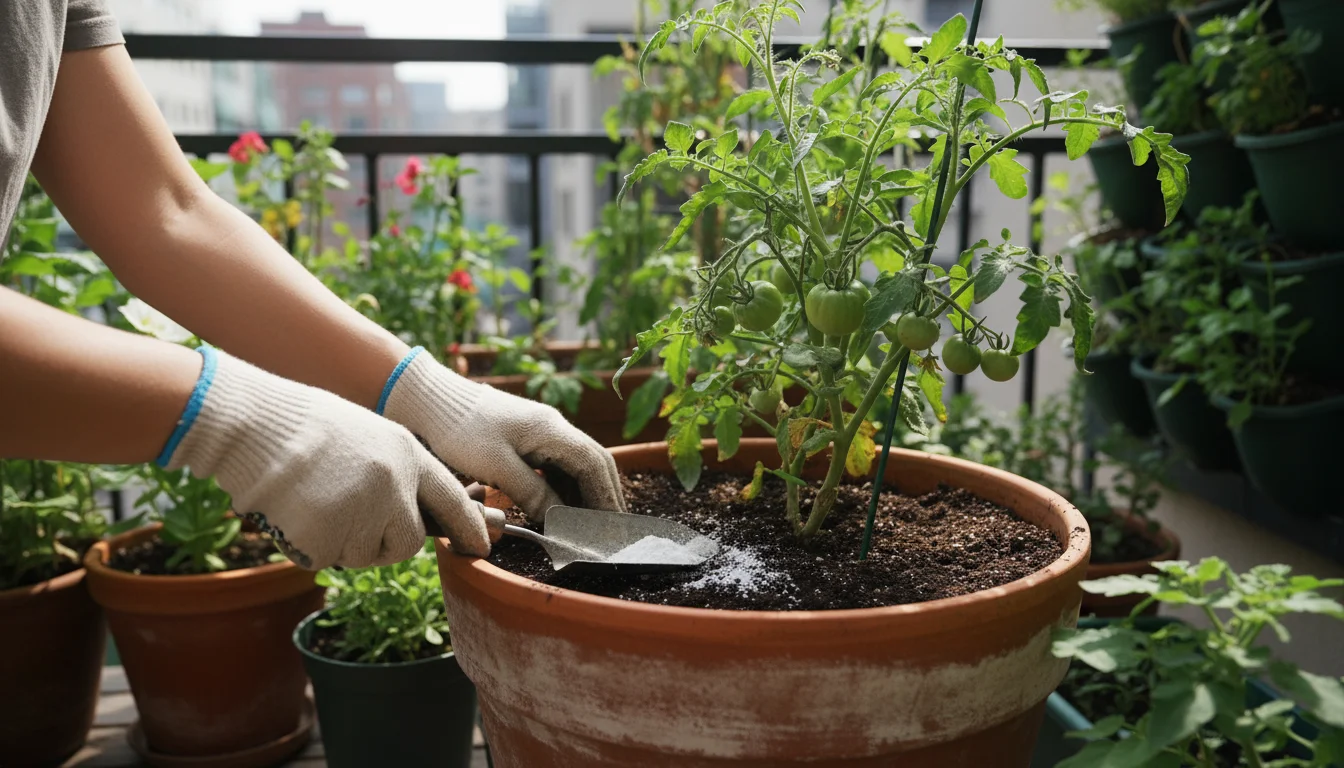
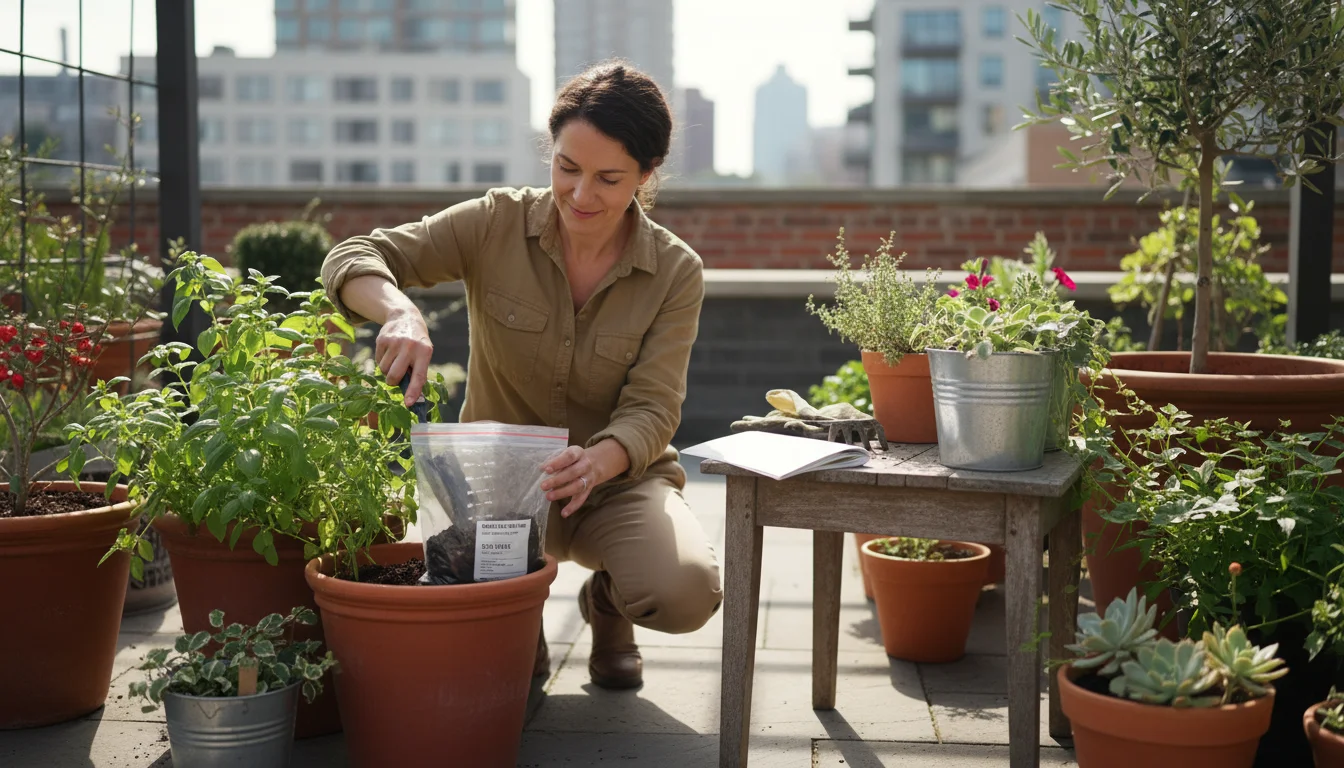
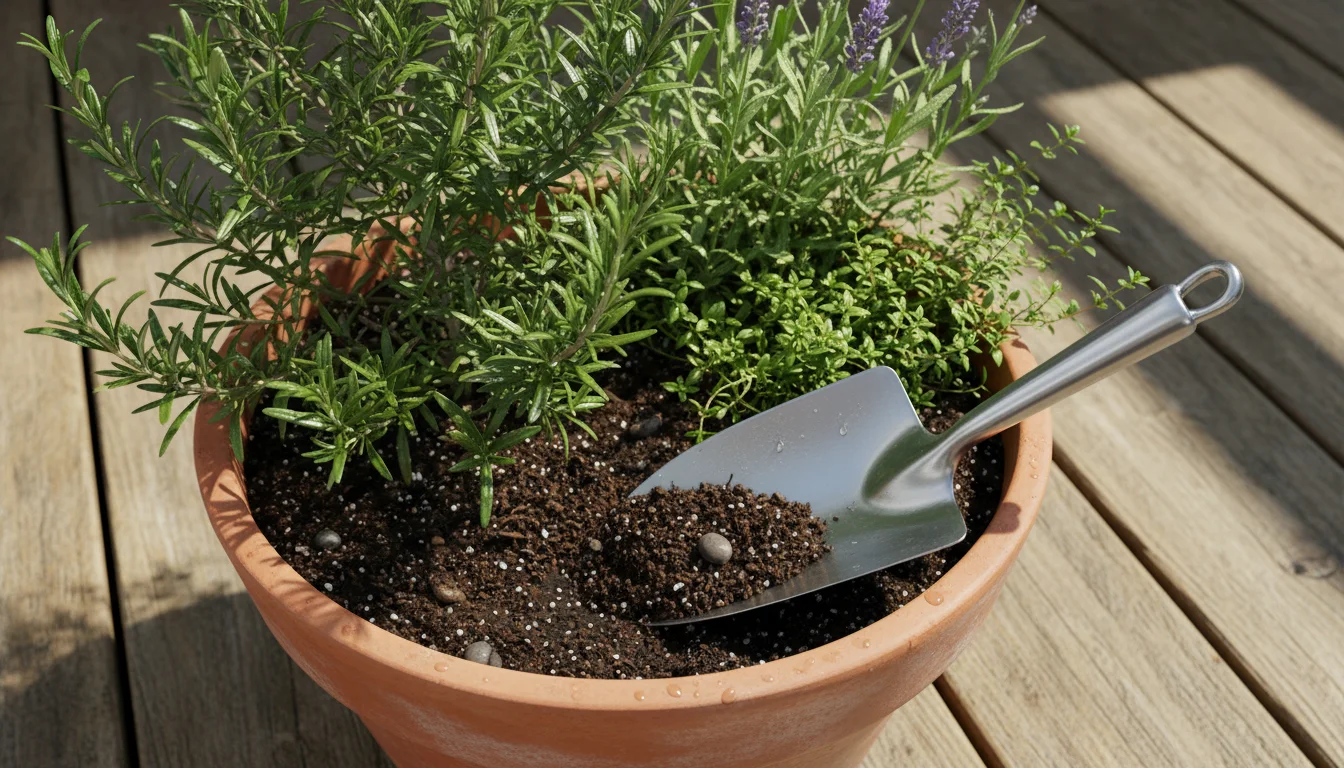
- Collect Soil Sample: For garden beds, take several small samples from different spots across the area you wish to test. Mix them thoroughly in a clean bucket to create a composite sample. For individual pots, take a sample from the middle of the pot. Avoid touching the soil with your bare hands or using rusty tools, as this can contaminate the sample.
- Prepare the Sample: Remove any rocks, twigs, or large organic debris. Let the soil dry slightly if it is very wet. For container plants, collect soil from the root zone, not just the surface.
- Follow Instructions Precisely: Each kit has specific instructions for the amount of soil, water, and reagent to use. Adhere strictly to these measurements. Too much or too little of any component will skew your results.
- Conduct the Test: Add the soil, water, and appropriate chemical capsule or solution to the test chamber. Shake or mix as directed.
- Wait for Reaction: Allow the specified reaction time. Do not rush this step.
- Interpret Results: Compare the resulting color of the liquid to the provided color chart. Note your findings.
- Clean Up: Properly dispose of any chemical waste according to local guidelines. Clean test tubes thoroughly with distilled water if you plan to reuse them.
Chemical kits are excellent for basic garden soil testing, especially for identifying major imbalances in small container gardens or raised beds.

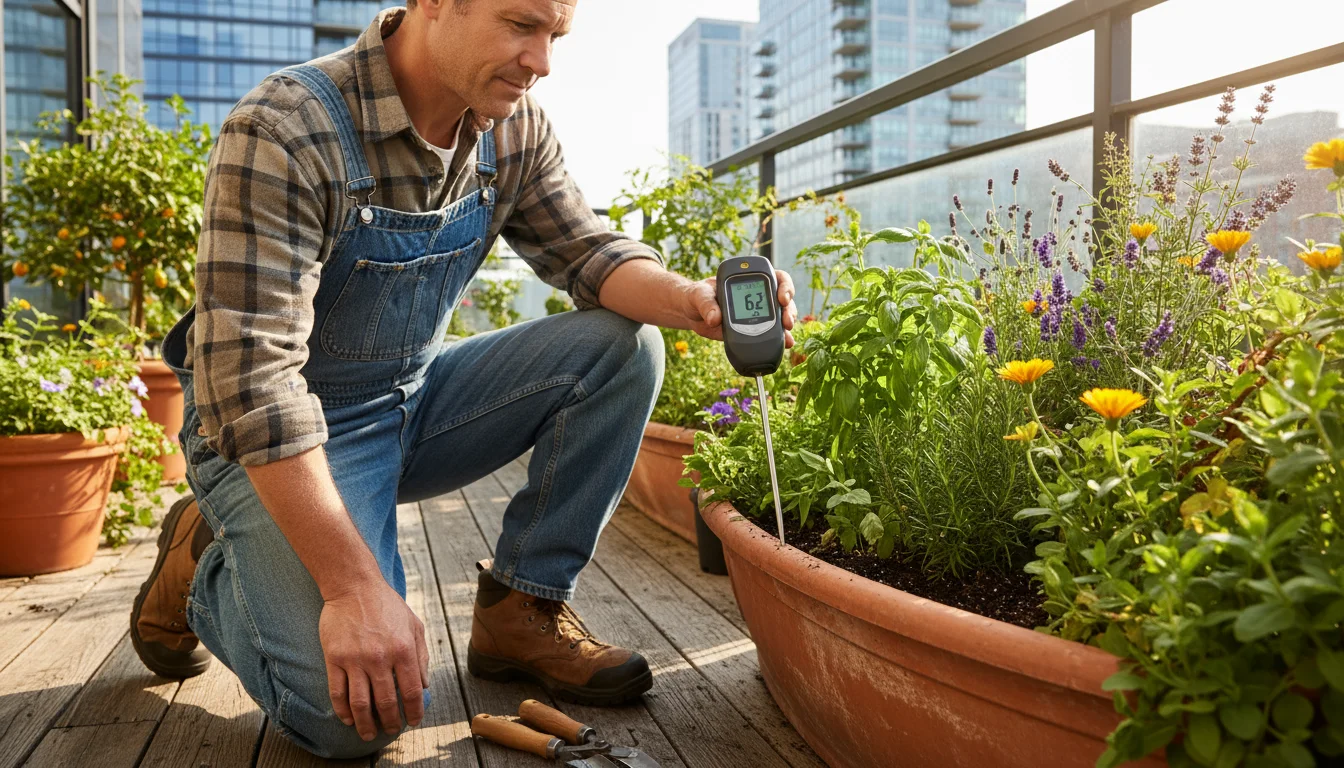
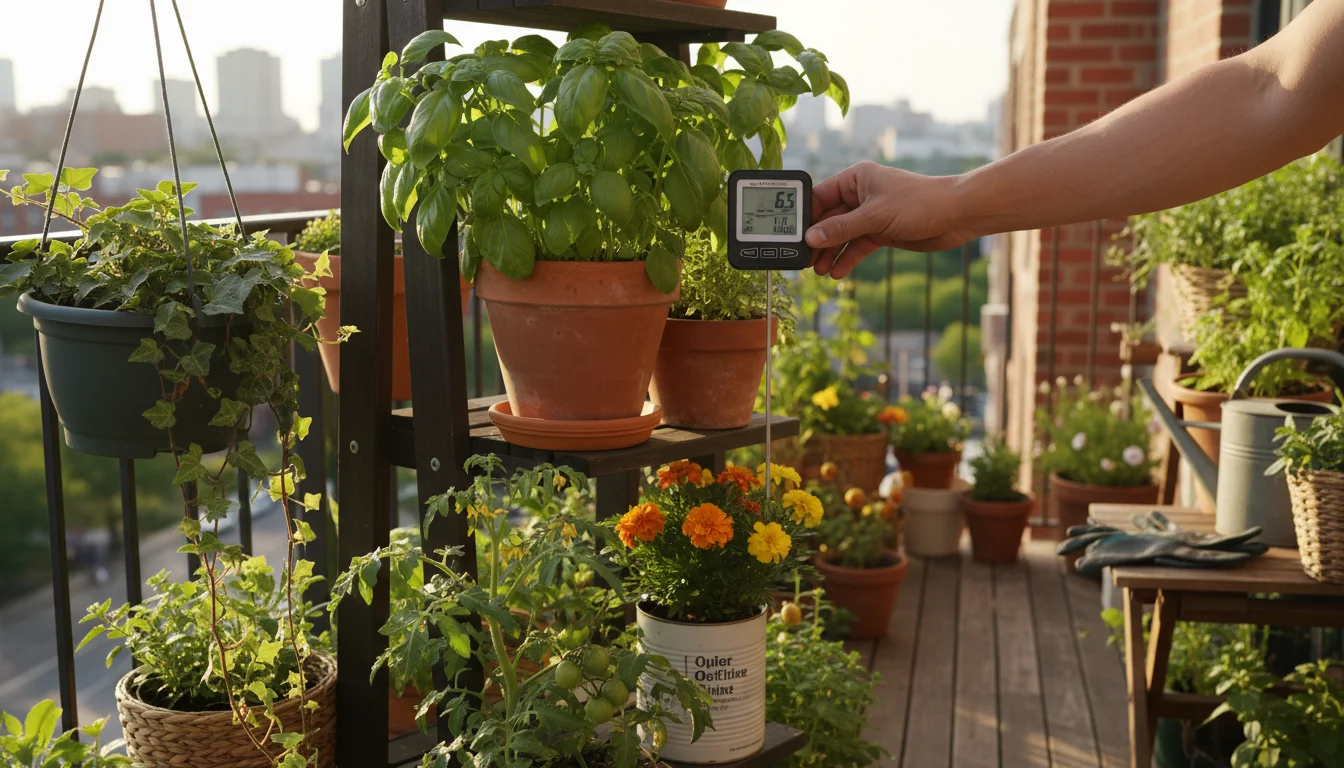
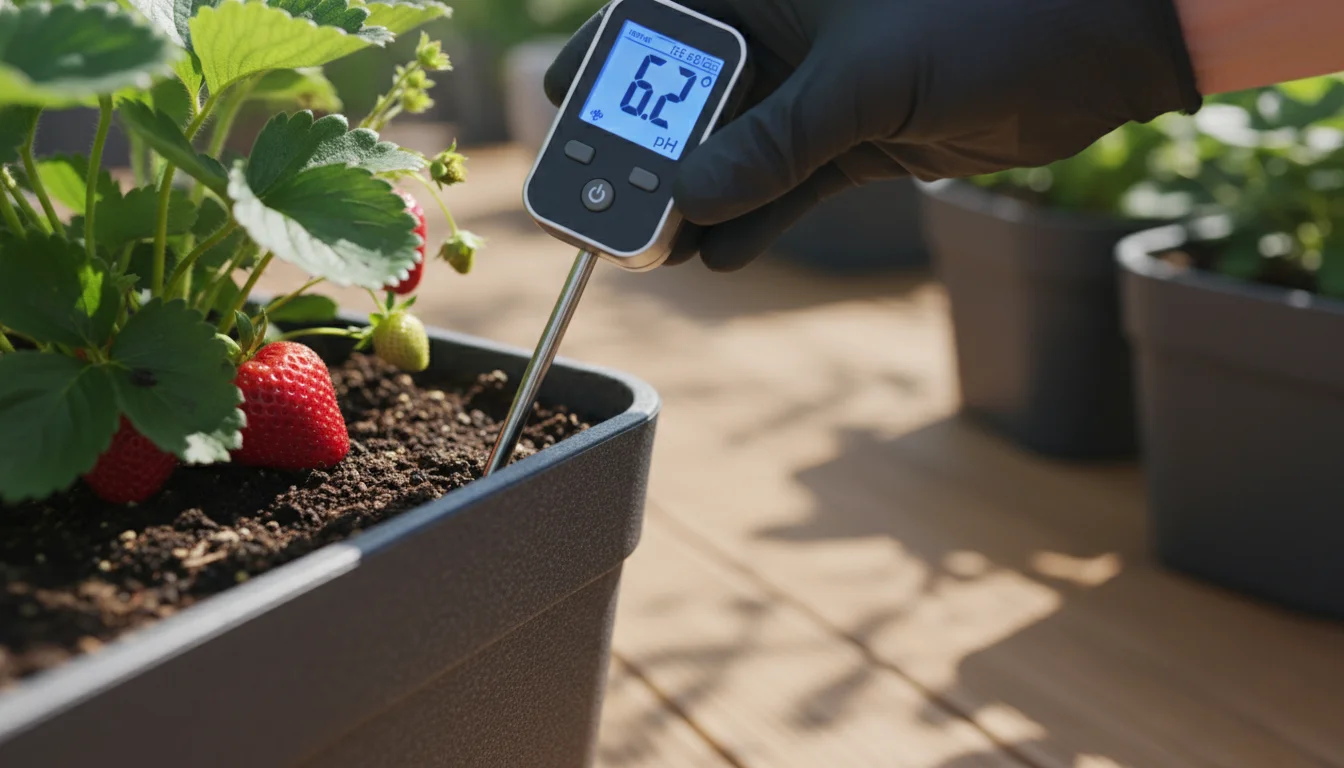
Digital Soil Meters: Quick Readings for Small Gardens
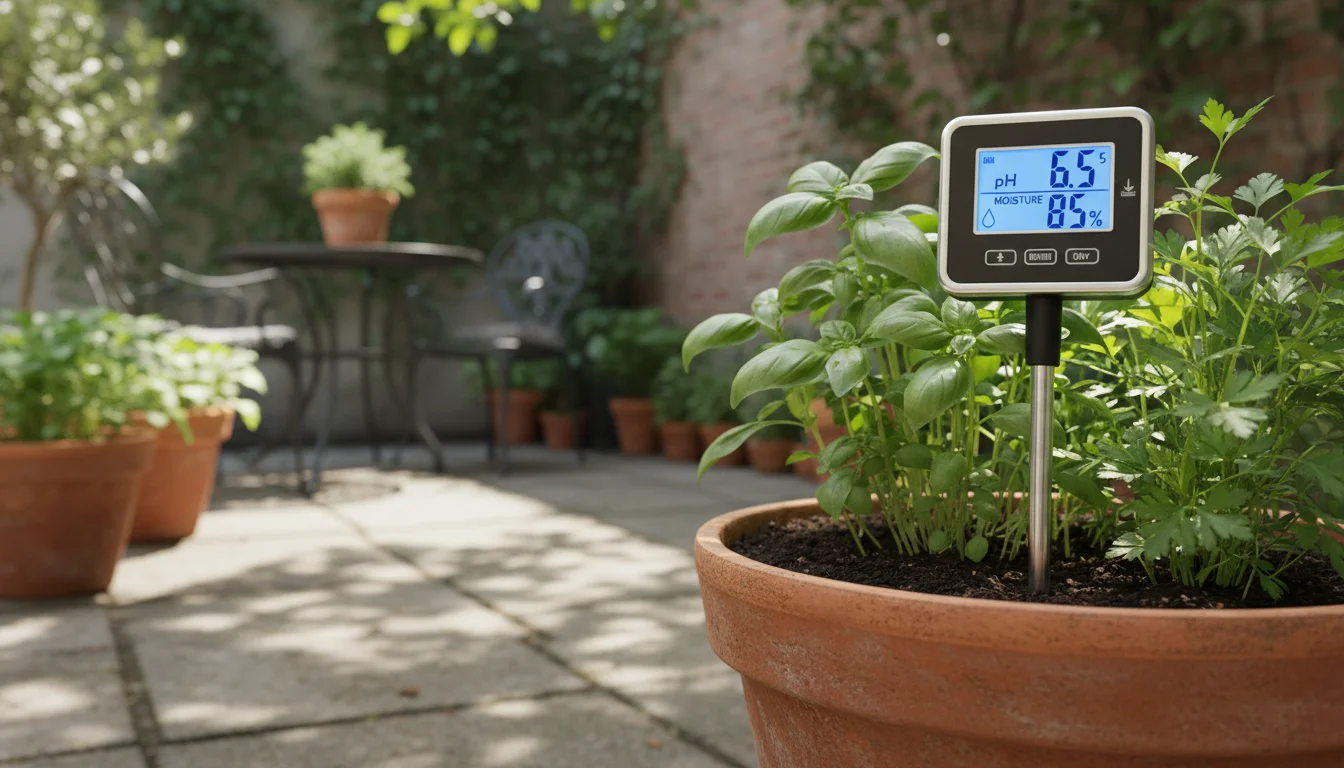
Digital soil meters offer another approach to home soil testing, primarily focusing on pH. Some models include probes for moisture, light, and temperature, though their accuracy for these secondary metrics can vary. These meters are particularly handy for quick, frequent checks in individual pots or specific garden zones.

How They Work
Digital pH meters typically feature a metal probe that you insert directly into moist soil. The meter then displays a numerical pH reading on a digital screen. Some multi-function meters have additional probes or sensors for other readings like moisture content (often an electrical resistance measurement), light levels (photocell sensor), and soil temperature.
Pros
- Fast and Convenient: You get an immediate digital readout, eliminating subjective color matching. This is ideal for quickly checking multiple pots.
- Reusable: Unlike chemical kits, a digital meter provides an unlimited number of readings over its lifespan.
- Objective Data: The numerical display removes guesswork, giving you a precise pH value.
- Targeted Testing: You can test the pH of specific pots or small areas, which is very useful in a small-space garden where you might have different plants with different pH preferences.
Cons
- Limited Scope: Most digital meters only measure pH. Those that claim to measure NPK often do so with very questionable accuracy and are generally not recommended for nutrient analysis.
- Accuracy Varies: Cheap models can be highly inaccurate. Quality meters require regular calibration with buffer solutions to maintain accuracy.
- Sensitivity: The probes can be delicate. Inserting them into hard or rocky soil can damage them. They also require proper cleaning after each use.
- Moisture Dependent: For accurate pH readings, the soil must be adequately moist but not waterlogged.
- Calibration Required: To ensure reliable readings, you must calibrate a good quality pH meter periodically using specialized buffer solutions, which you purchase separately.

Using Your Digital Meter: Step-by-Step
- Prepare the Soil: Ensure the soil in the area you want to test is adequately moist. Water it a few hours beforehand if it is dry.
- Clean the Probe: Before each use, gently wipe the probe with a clean, damp cloth to remove any soil residue.
- Insert the Probe: Push the probe directly into the soil to the recommended depth (usually a few inches), avoiding rocks or hard clumps. Ensure the metal part of the probe is fully embedded in the soil.
- Wait for Reading: Allow the meter to stabilize, typically for 1-5 minutes, until the reading stops fluctuating.
- Record the pH: Note the displayed pH value.
- Repeat for Consistency: For a more reliable average, take readings in a few different spots within the same area or pot.
- Clean and Store: After use, thoroughly clean the probe with water and wipe it dry. Store the meter in a dry, safe place. Never leave it in the soil for extended periods.
A good digital pH meter is a valuable companion for any small-space gardener who needs to regularly monitor the pH of container plants or specific garden beds, ensuring plants like blueberries (acid-loving) or lavender (alkaline-tolerant) receive their preferred conditions.
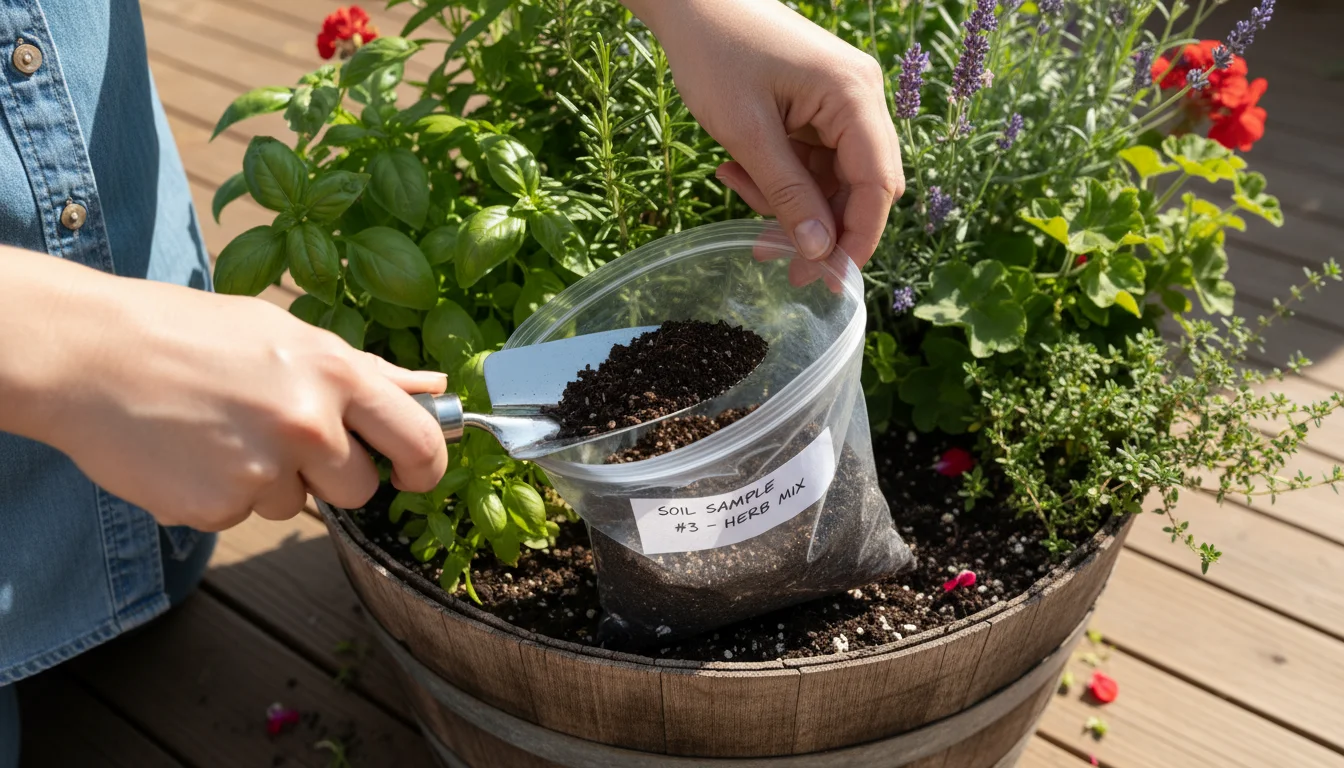
Mail-In Laboratory Soil Testing for Depth
For the most comprehensive and accurate soil analysis, a mail-in laboratory test is your best option. While more expensive and slower, these tests provide a detailed breakdown of your soil’s composition, far beyond what home kits can offer.
How They Work
You typically purchase a kit from a university extension service, a private lab, or a garden center. The kit contains instructions and a bag for your soil sample. You collect soil from various points in your garden, mix it to create a composite sample, and then mail it to the lab. The lab uses sophisticated equipment to analyze the soil for pH, macronutrients (N, P, K, Calcium, Magnesium, Sulfur), micronutrients (Iron, Manganese, Zinc, Copper, Boron), organic matter content, and sometimes even soil texture and cation exchange capacity. You receive a detailed report, often with specific recommendations for amendments tailored to your soil type and desired plants.
For excellent guidance on how to properly collect and submit a soil sample to a laboratory, consider resources like the University of Maryland Extension on Soil Sampling.
Pros
- Highest Accuracy and Detail: Lab tests offer precise numerical values for a wide range of nutrients and soil properties. You receive a complete picture of your soil’s health.
- Professional Recommendations: Most labs provide tailored fertilizer and amendment recommendations based on your soil type and what you plan to grow. This guidance is invaluable for long-term soil improvement.
- Identifies Hidden Issues: They can detect micronutrient deficiencies or excesses that home kits miss, helping you solve persistent plant problems.
- Long-Term Planning: Ideal for establishing a new garden, making significant soil amendments, or diagnosing complex issues.
Cons
- Cost: Lab tests are the most expensive option, often ranging from $20 to $50 or more per sample, depending on the scope of analysis.
- Time Delay: Results can take anywhere from one to several weeks to return, depending on the lab and time of year.
- Sampling Importance: The accuracy of the results heavily relies on proper soil sample collection. A poorly collected sample will lead to inaccurate recommendations.
- Not for Frequent Use: The cost and turnaround time make them impractical for routine, frequent checks.
Using a Mail-In Lab Kit: Step-by-Step
- Obtain a Kit: Purchase a soil test kit from your local extension office, garden center, or directly from a reputable soil testing lab.
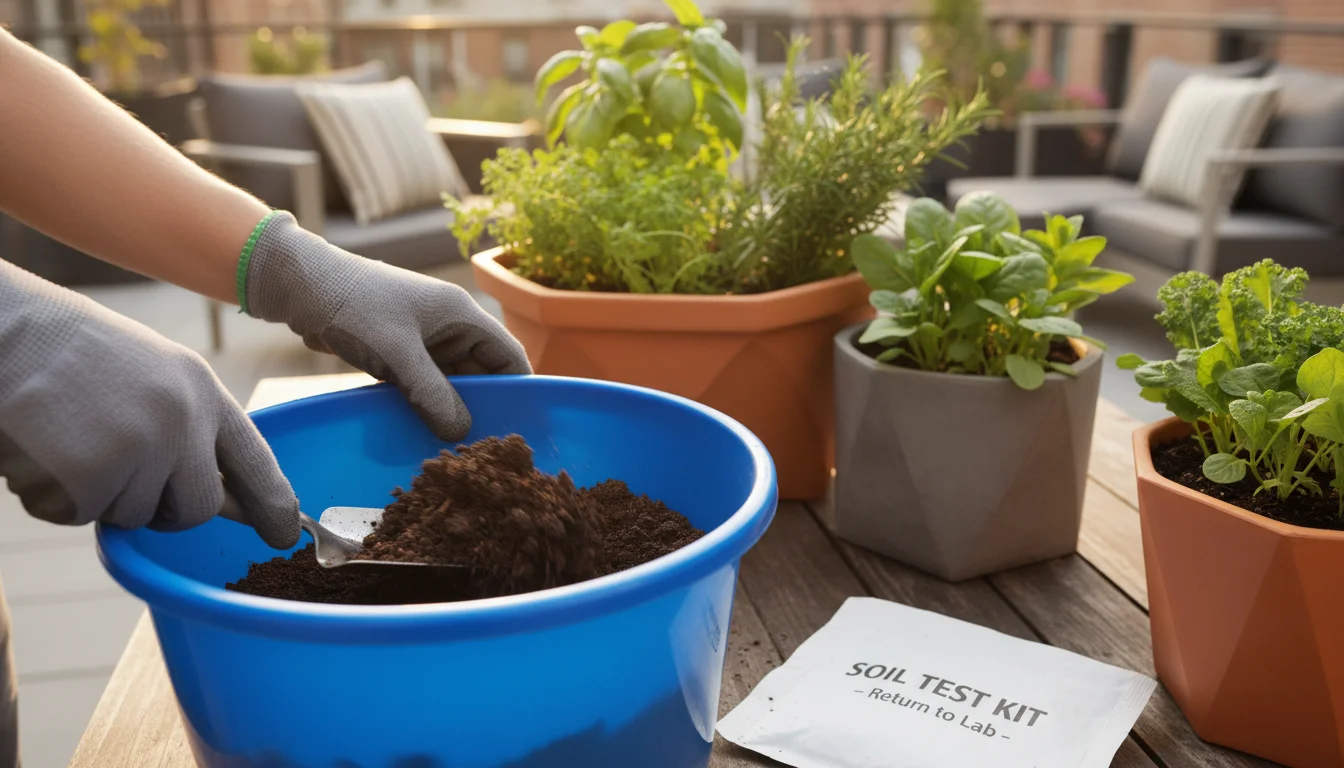
- Gather Tools: You will need a clean trowel or spade, a clean bucket, and the sample bag provided in the kit.
- Collect Samples: For a garden bed, take 10-15 small soil cores or slices from random spots within the area you wish to test. For containers, take samples from several representative pots. Go to a depth of 6-8 inches for garden beds, and 4-6 inches for containers. Avoid unusual spots like compost piles, paths, or areas near buildings.
- Mix Thoroughly: Place all the collected soil into the clean bucket and mix it thoroughly to create a single, representative composite sample. Break up any clumps.
- Fill Sample Bag: Fill the provided sample bag with the mixed soil, following the lab’s instructions for the required volume.
- Complete Forms: Fill out all accompanying forms accurately, including your contact information, the sample location, and what you intend to grow. This information helps the lab provide relevant recommendations.
- Mail the Sample: Send the sample and forms to the lab as instructed.
- Review Results: Once you receive your report, carefully read through the analysis and recommendations.
While the initial effort is greater, the detailed insights from a lab test provide an unparalleled foundation for optimizing your garden’s soil health, particularly valuable if you are transitioning a new space or struggling with ongoing plant issues.

Interpreting Your Results and Taking Action
Getting your soil test results is only the first step. The real value comes from understanding what the numbers mean and using that information to improve your soil.

Understanding the Report
DIY Kits: With chemical kits, you get a “low,” “medium,” or “high” reading for N, P, K, and a general pH value. A “medium” reading for nutrients is generally good. If you see “low,” you likely need to add that nutrient. If “high,” avoid adding more. For pH, compare your reading to the ideal range for the plants you are growing.
Digital Meters: These mainly provide a numerical pH value. Compare this number directly to the ideal pH range for your plants.
Lab Reports: These are the most comprehensive. They will give you precise numerical values for pH, N, P, K, and often micronutrients, organic matter, and cation exchange capacity (CEC). The report usually includes an interpretation of these values and specific recommendations for amendments, often expressed in pounds per square foot or per container size.

Taking Action Based on Results
Once you understand your results, you can implement targeted changes. Avoid a “more is better” approach; over-amending can cause as many problems as deficiencies.
Adjusting pH
- To Raise pH (make soil less acidic): If your soil is too acidic (pH below 6.0 for most plants), you can add agricultural lime (calcium carbonate). Dolomitic lime also adds magnesium. Apply in the fall or early spring, as it takes time to react. Follow recommended application rates carefully; over-liming can make iron unavailable.
- To Lower pH (make soil less alkaline): If your soil is too alkaline (pH above 7.0 for most plants), add elemental sulfur, peat moss, or iron sulfate. Elemental sulfur works slowly, while iron sulfate acts more quickly. Peat moss provides an organic acidifying effect.
Addressing Nutrient Deficiencies
- Nitrogen (N) Deficiency: Add organic materials like blood meal, alfalfa meal, compost, or well-rotted manure. Synthetic fertilizers labeled for “leafy growth” also work.
- Phosphorus (P) Deficiency: Incorporate bone meal, rock phosphate, or phosphorus-rich organic fertilizers.
- Potassium (K) Deficiency: Use greensand, wood ash (in moderation and only if soil is acidic), or kelp meal.
- Micronutrient Deficiencies: If a lab test indicates a specific micronutrient deficiency, purchase a fertilizer or supplement containing that specific element. Chelated forms of iron, for example, are highly available to plants. You can also apply a balanced trace element mix or use a foliar spray for quicker uptake.
Always incorporate amendments into the top few inches of soil (unless specified otherwise) and water thoroughly afterward. Retest your soil after 3-6 months to see if your adjustments are working, particularly for pH and major nutrients. For more insights on soil nutrient management, the Cornell University Gardening Resources offer valuable information.
Choosing the Best Kit for Your Garden
Selecting the right soil test kit depends on your gardening goals, budget, and how much detail you need. Consider these factors:
Your Garden Size and Type:
- Container Gardens/Small Raised Beds: For a few pots or a small, self-contained raised bed, a digital pH meter for frequent pH checks and an affordable DIY chemical kit for occasional NPK checks usually suffice. You manage these small volumes intensively, making quick feedback valuable.
- Small Yards/Multiple Zones: If you have a small yard with distinct planting areas (e.g., a vegetable patch, a perennial border, an acidic shrub bed), you might use a combination. Start with a comprehensive lab test to get a baseline for your overall yard. Then, use a DIY chemical kit or a digital pH meter for follow-up spot checks in specific areas.
- New Garden or Persistent Issues: If you are starting a garden from scratch, converting a lawn, or battling recurring plant problems that do not respond to basic care, invest in a mail-in laboratory test. The detailed analysis provides a crucial foundation.
Budget:
- Limited Budget: DIY chemical kits are the most cost-effective entry point.
- Moderate Budget: A digital pH meter for ongoing monitoring, perhaps supplemented by an occasional DIY chemical kit.
- Higher Budget: A mail-in lab test provides the best value for its comprehensive data, especially as a baseline.
Desired Accuracy and Detail:
- General Idea: DIY chemical kits provide a rough estimate.
- Precise pH: A calibrated digital pH meter offers accurate pH readings.
- Comprehensive Understanding: A mail-in lab test gives the most precise and detailed information on all critical soil parameters, including micronutrients and organic matter.
Frequency of Testing:
- Frequent Checks (pH): A digital pH meter is ideal for quick, regular pH monitoring.
- Occasional Checks (N, P, K, pH): DIY chemical kits are good for seasonal or annual checks.
- Infrequent (Detailed): Lab tests are best for every 2-3 years, or when significant changes are made.
For most beginner and intermediate small-space gardeners, a combination of a reliable digital pH meter and a basic DIY chemical NPK kit offers a practical and affordable way to monitor soil health. If problems persist or you desire a deeper understanding, consider a lab test. Prioritize what information you need most to achieve your gardening goals.
Maintaining Your Test Kits and Meters
Proper care and storage ensure your soil test kits and meters remain accurate and functional for as long as possible. Neglecting maintenance can lead to unreliable results, wasting your time and effort.
For DIY Chemical Kits
- Store Properly: Keep your kit in a cool, dry place, away from direct sunlight and extreme temperatures. Heat and moisture can degrade the chemical reagents, affecting their accuracy. A sealed plastic container can offer extra protection.
- Check Expiration Dates: Chemical reagents have a shelf life. Always check expiration dates and replace expired components to ensure accurate readings.
- Keep Clean: Thoroughly clean test tubes and chambers with distilled water after each use. Tap water can introduce minerals that interfere with future tests. Air dry them completely before storing.
- Dispose Safely: Follow local regulations for disposing of used chemical solutions. Most are benign, but responsible disposal is always best practice.
For Digital pH Meters
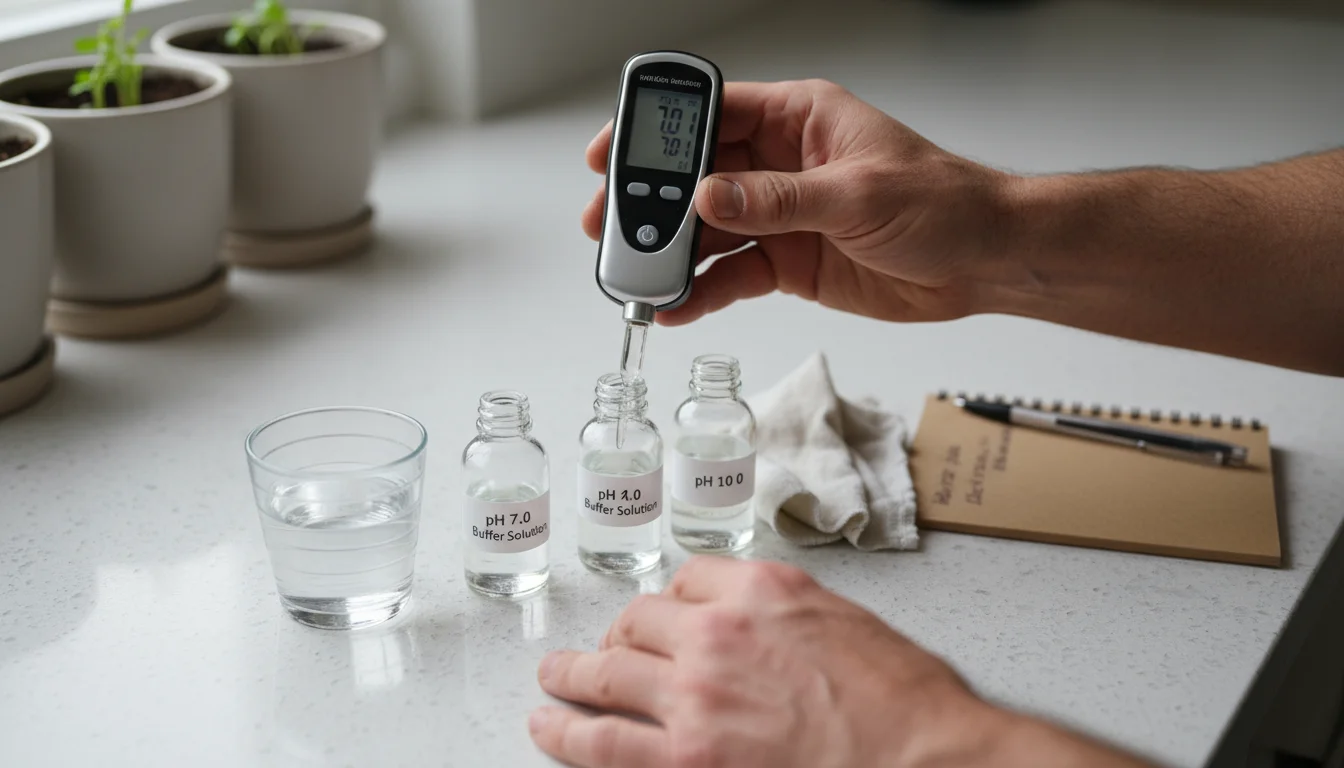
- Clean the Probe: This is critical. After every use, gently wipe the probe with a soft, damp cloth or rinse with distilled water to remove all soil residue. Never use abrasive materials that could scratch the sensor.
- Calibrate Regularly: If your meter allows, calibrate it periodically using pH buffer solutions. These solutions come in known pH values (e.g., pH 4.0, 7.0, 10.0) and help reset the meter for accurate readings. How often you calibrate depends on the meter’s quality and frequency of use, but once a month for heavy use or every few months for light use is a good rule of thumb.
- Store Moist (if applicable): Some pH probes require storage in a special solution or distilled water to prevent them from drying out. Check your meter’s manual for specific instructions. If it requires a storage solution, ensure you keep the cap securely in place.
- Handle with Care: The probe is delicate. Avoid pushing it into extremely hard or rocky soil, which can bend or break it.
- Battery Check: Replace batteries when the indicator shows low power. Low batteries can affect reading accuracy.
General Tips for All Kits
- Read the Manual: Every kit and meter is slightly different. Thoroughly read and understand the manufacturer’s instructions before your first use.
- Use Distilled Water: When mixing soil samples or cleaning probes, use distilled water whenever possible. Tap water contains minerals and chemicals that can interfere with test results.
- Keep Records: Maintain a log of your test results and the amendments you apply. This helps you track changes over time and understand what works best for your garden.
Taking a few moments for proper maintenance extends the life of your soil testing tools and ensures you continue to receive reliable data, empowering your gardening decisions.

Frequently Asked Questions
How often should I test my soil?
For established gardens, test your soil every 2-3 years, ideally in the fall or early spring before planting. If you are starting a new garden, or if you have persistent plant problems, test annually until you resolve the issues. For container gardens, annual testing or more frequent pH checks with a digital meter are beneficial, as container soil nutrients deplete and pH can shift more rapidly.
Can I use my soil test kit for potting mix?
Yes, you can use soil test kits for potting mix, but understand that potting mixes are often soilless and designed for specific uses. They usually come pre-amended with a balanced nutrient load. If you are using a fresh, high-quality potting mix, it may not need testing immediately. However, if you are reusing potting mix, or if your container plants show signs of distress, testing can help determine if the nutrients are depleted or if the pH has drifted. Be aware that the nutrient levels in potting mix can change faster than in garden soil.
My kit shows high levels of a nutrient. What should I do?
If your soil test indicates high levels of a specific nutrient, avoid adding any more of that nutrient through fertilizers. High levels can be detrimental, potentially causing toxicity or locking up other nutrients. For example, excessive phosphorus can inhibit iron uptake. The best course of action is often to allow plants to use up the existing nutrient and avoid further additions until future tests show a decrease. Improving drainage and increasing organic matter can sometimes help balance nutrient availability.
Are inexpensive soil test kits accurate enough for a beginner?
Yes, for a beginner, inexpensive DIY chemical soil test kits are generally accurate enough to give you a good general idea of your soil’s pH and major nutrient levels (N, P, K). They provide actionable insights to address significant deficiencies or pH imbalances. While they lack the precision of lab tests, they are a practical and affordable starting point for improving your garden’s health and learning about your soil’s needs.
What is the difference between soil pH and soil texture?
Soil pH measures the acidity or alkalinity of your soil, affecting nutrient availability. Soil texture refers to the proportion of sand, silt, and clay particles in your soil, which influences its drainage, water retention, and aeration. A soil test kit typically measures pH and nutrients, but not texture. A lab test can provide information on soil texture. Understanding both pH and texture gives you a complete picture of your soil’s physical and chemical properties.


Leave a Reply