Every small-space gardener understands the importance of efficient tools. You need gear that performs reliably, saves space, and simplifies your gardening routine. Hand pruners stand as a cornerstone of your gardening kit, an indispensable tool for maintaining healthy, beautiful plants, whether they thrive on a balcony, patio, or in a compact yard. Choosing the best garden pruners means investing in your garden’s health and your own gardening enjoyment.
Alongside your cutting tools, selecting the right watering cans and hoses is vital for maintaining plant health in a small-space garden.
This guide cuts through the confusion, offering practical advice to help you select, use, and care for the ideal pruning shears. You will learn about different types, essential features, safe handling, and crucial maintenance practices. We focus on delivering actionable insights so you can make informed decisions, ensuring your pruners remain effective and durable for years of gardening success.
For reliable tool and safety guidance, see Missouri Botanical Garden, National Safety Council, Royal Horticultural Society (RHS), and University of Minnesota Extension.
Disclaimer: Always follow manufacturer instructions and local regulations. Wear appropriate personal protective equipment, store blades safely, and keep all tools away from children and pets.
Understanding Hand Pruners: Your Essential Garden Partner
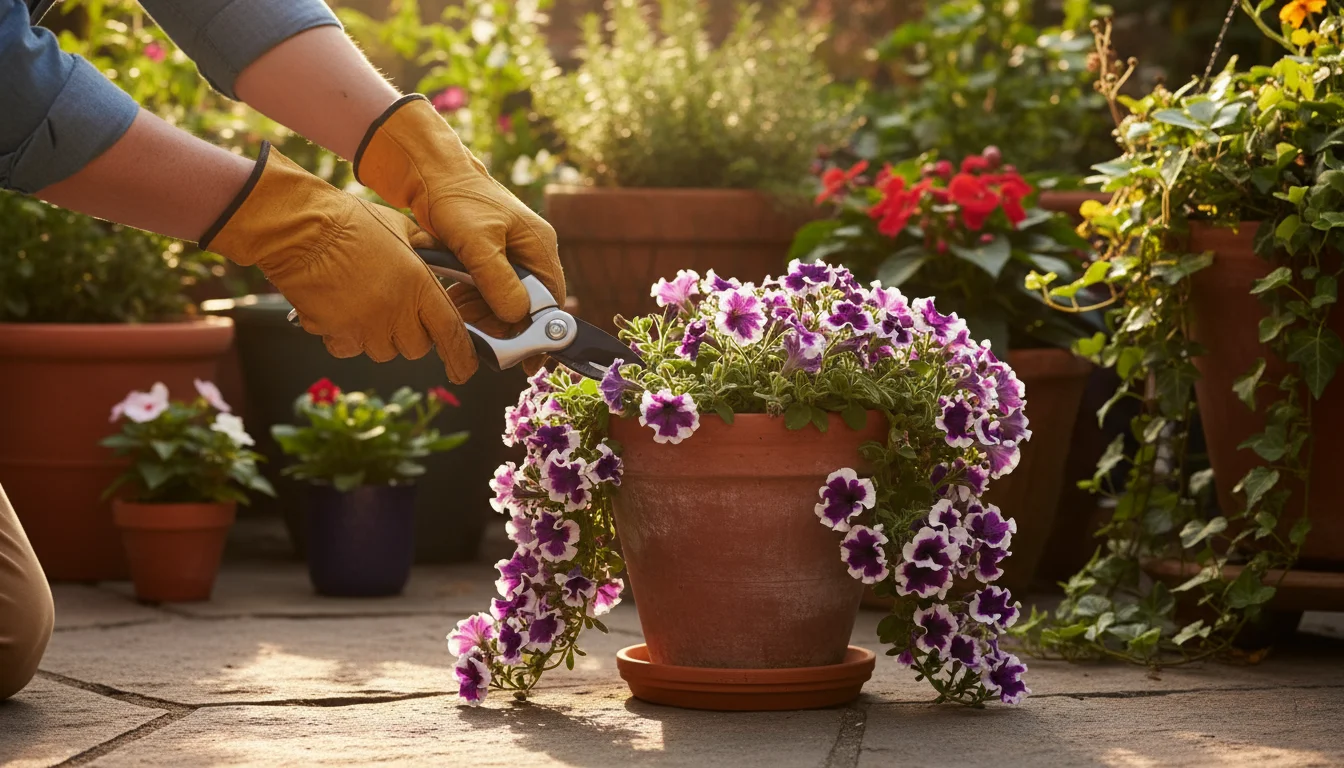
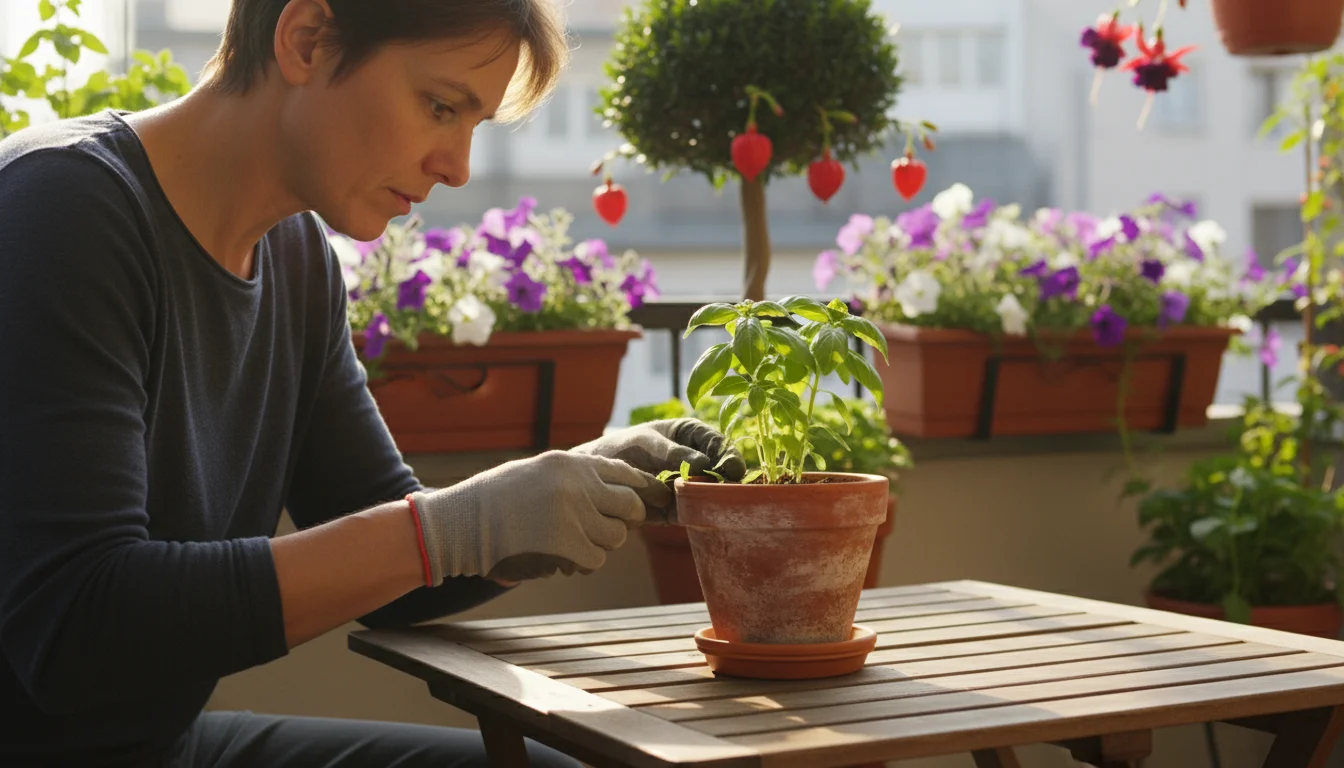
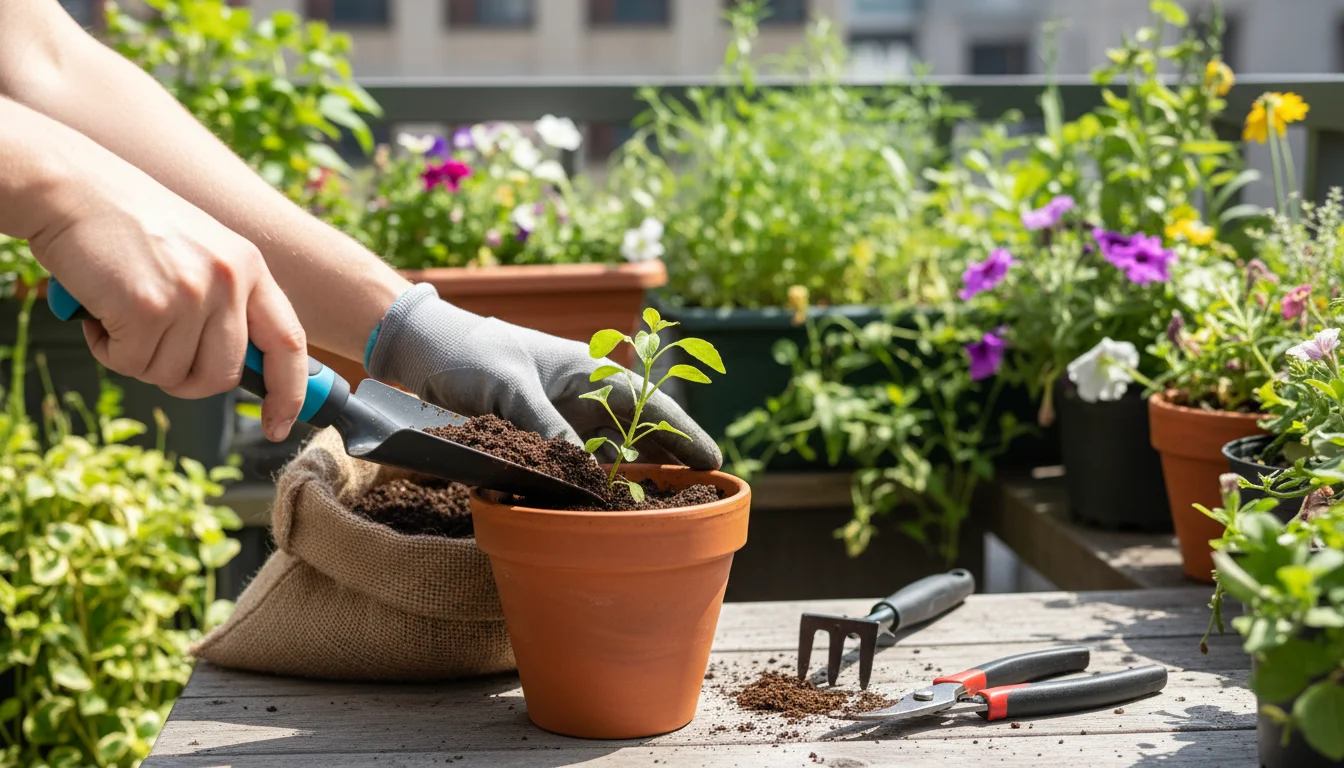
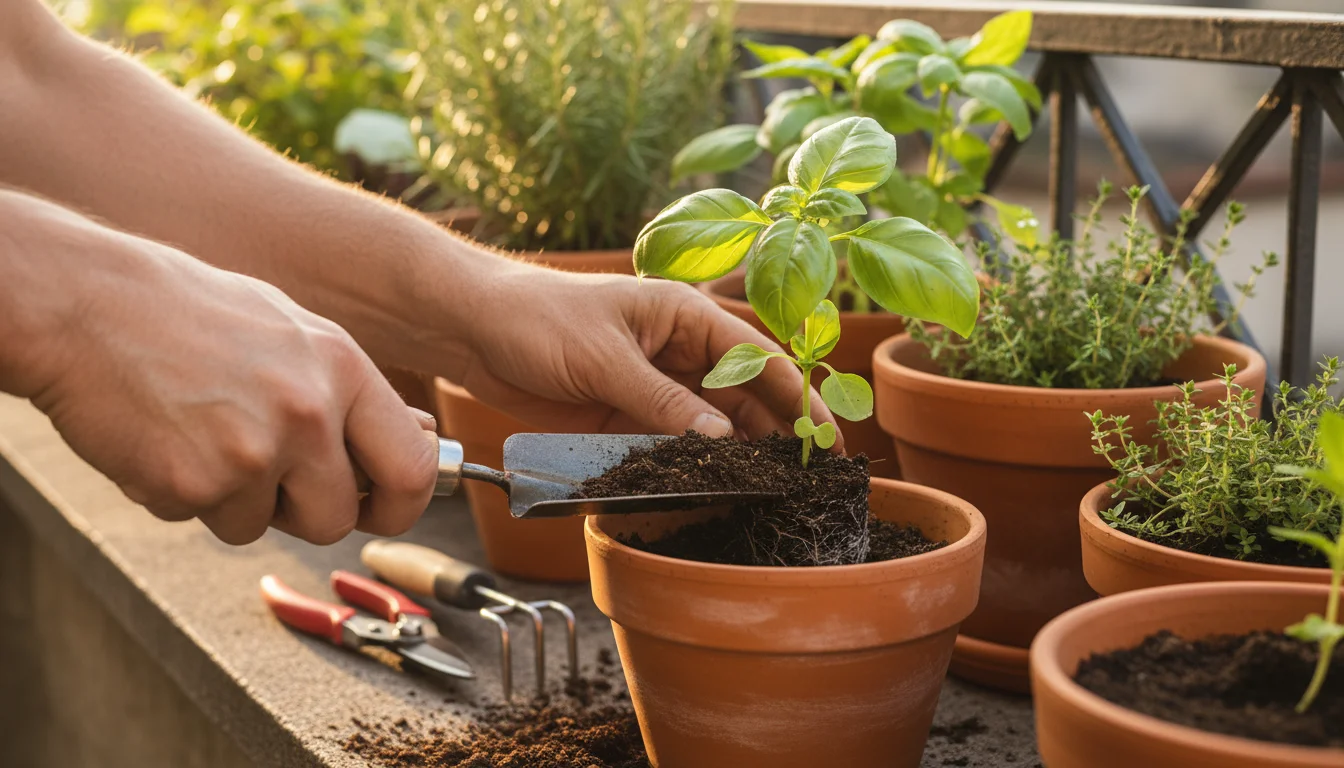
Hand pruners, often called pruning shears or garden clippers, serve as a fundamental tool for any gardener, regardless of garden size. For those tending balconies, patios, or small yards, these compact tools become even more critical. They allow you to perform precise cuts on plants, maintaining their health, encouraging new growth, and shaping them to fit your confined spaces. You rely on them for tasks ranging from deadheading spent flowers to snipping herbs and managing errant growth on small shrubs or container trees.
If you also tend to greenery inside, you might want to assemble an indoor gardening tool kit to keep your houseplants in top shape during the colder months.
A high-quality pair of hand pruners empowers you to make clean, accurate cuts. These clean cuts are vital because they minimize damage to plant tissues, reducing the risk of disease and pests entering open wounds. Dull or incorrect tools create ragged cuts, which stress the plant and slow its recovery. Your choice in hand pruners directly impacts your plants’ vitality and the overall aesthetic of your garden. You need a tool that fits comfortably in your hand, operates smoothly, and delivers consistent performance. Investing in the best garden pruners means investing in healthier plants and a more enjoyable gardening experience.

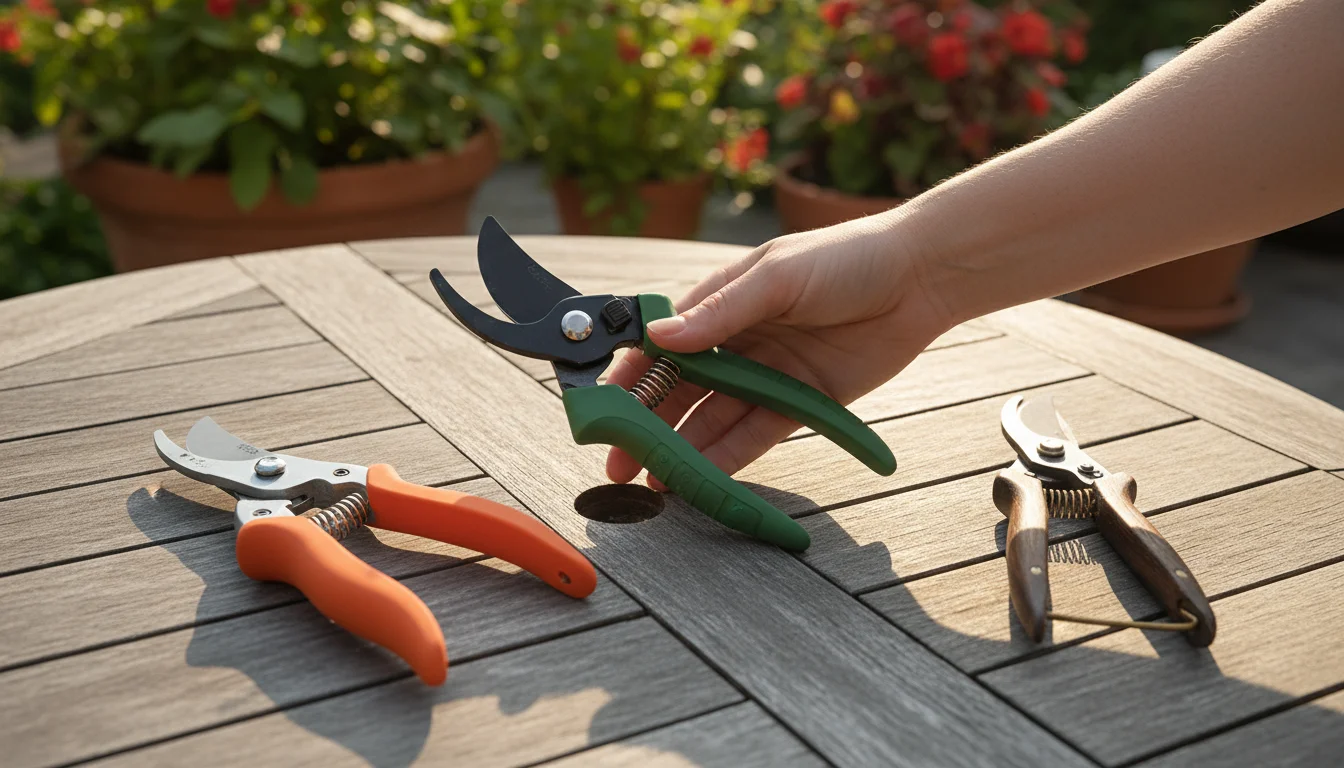
Bypass vs. Anvil Pruners: Choosing the Right Cut
The world of hand pruners primarily divides into two main types: bypass and anvil. Understanding their distinct mechanisms helps you select the correct tool for specific pruning tasks, preventing plant damage and maximizing your efficiency. Each type excels in different situations, and knowing these differences protects both your plants and your tools.
Understanding the proper technique is just as important as the tool itself, so be sure to review pruning basics to keep your plants in peak condition.
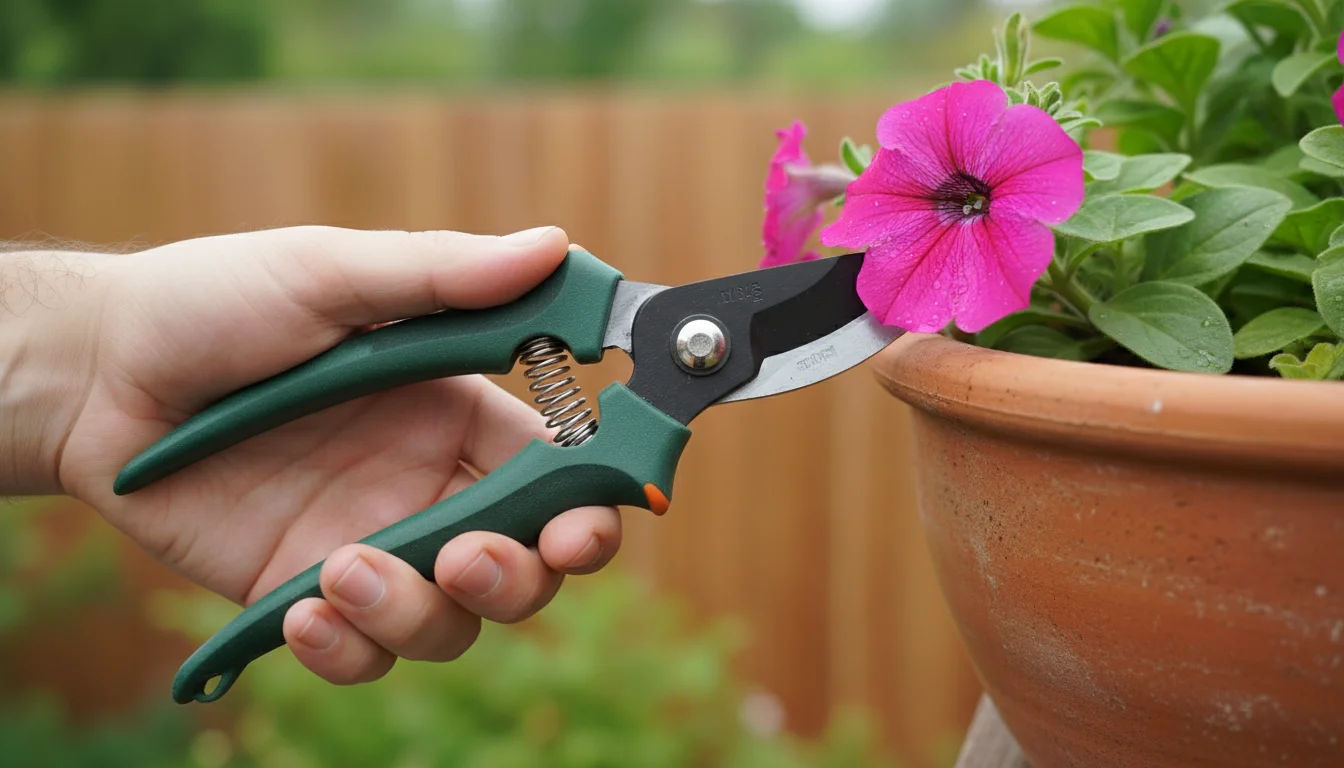
Bypass Pruners: For Live, Green Stems
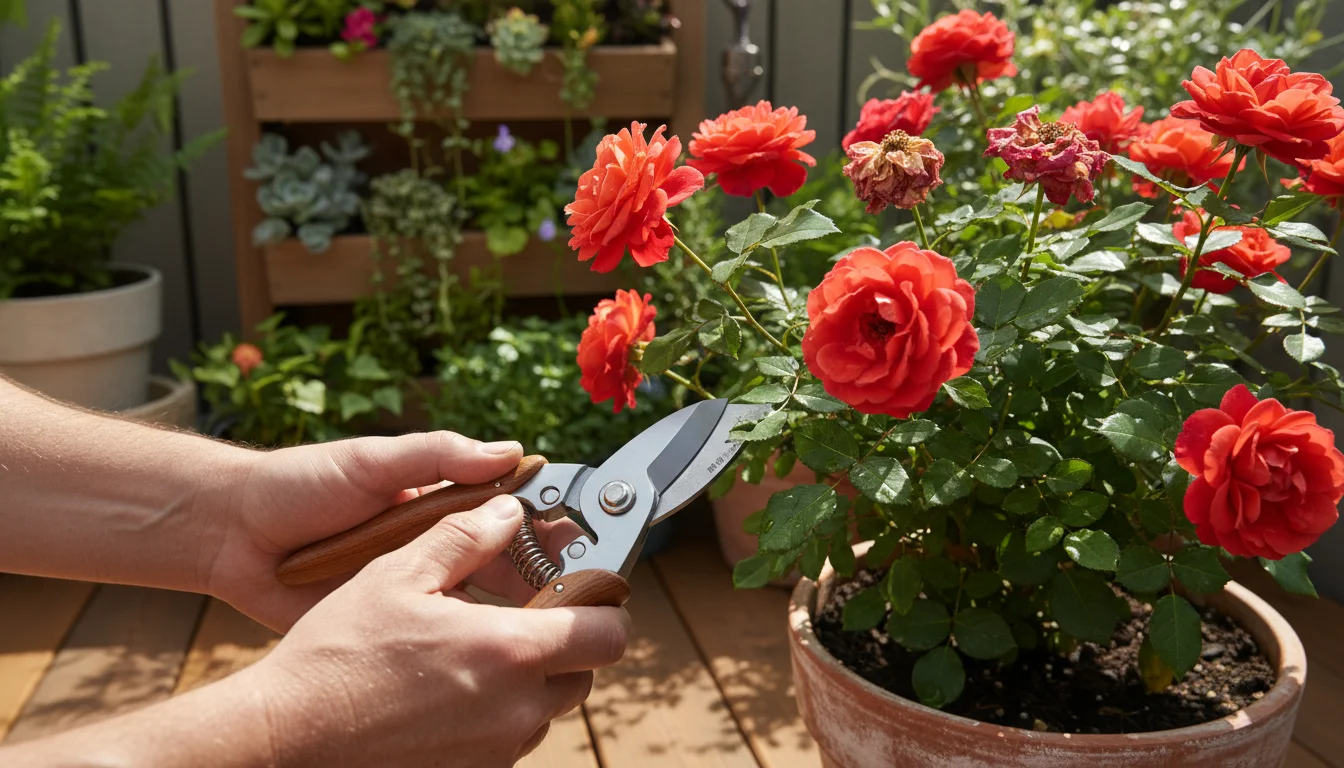
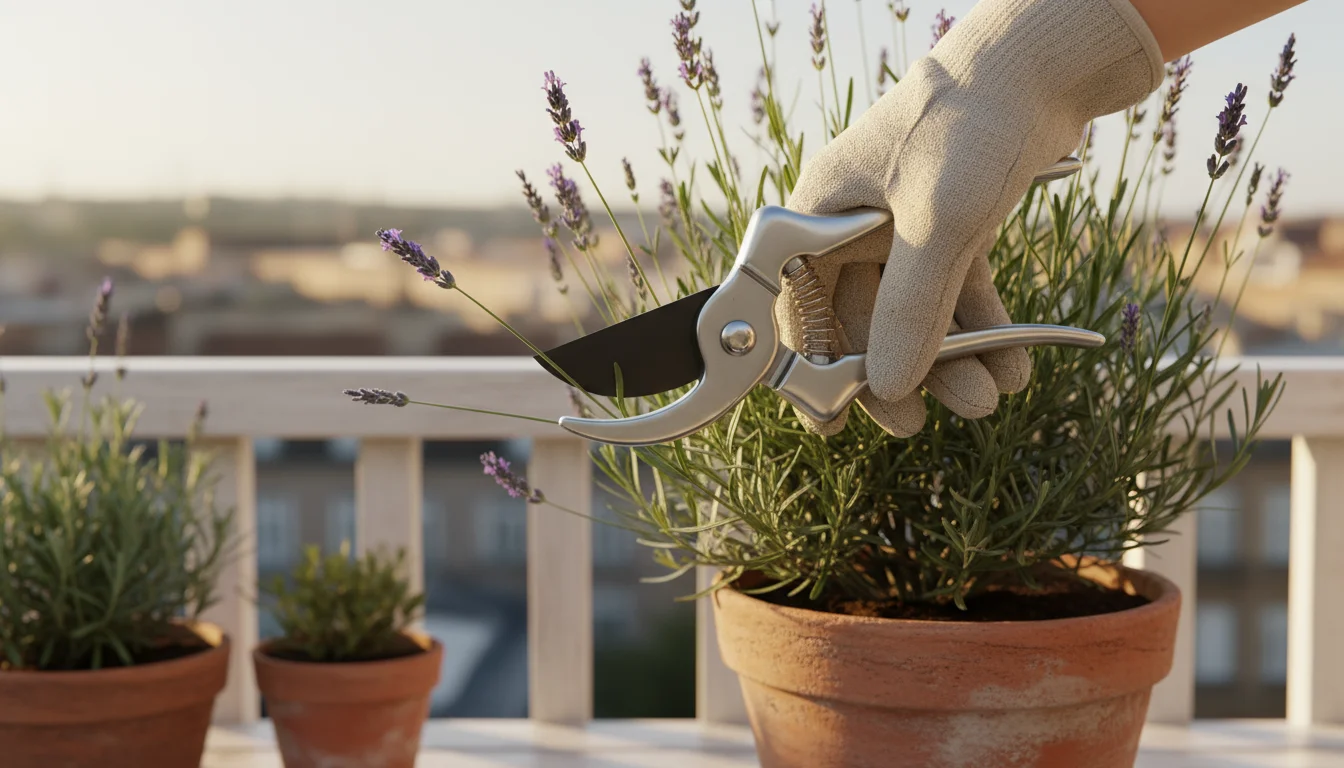
Bypass pruners operate much like a pair of scissors. They feature two curved blades that slide past each other, creating a clean, slicing cut. One blade typically has a sharp cutting edge, while the other acts as a hooking blade, holding the stem in place. This scissor-like action minimizes crushing, which makes bypass pruners the best choice for cutting live, green stems and branches. The clean cut allows the plant to heal quickly and reduces susceptibility to diseases.
When to use bypass pruners:
- Deadheading spent flowers, encouraging new blooms.
- Trimming small branches on shrubs and trees (up to their cutting capacity).
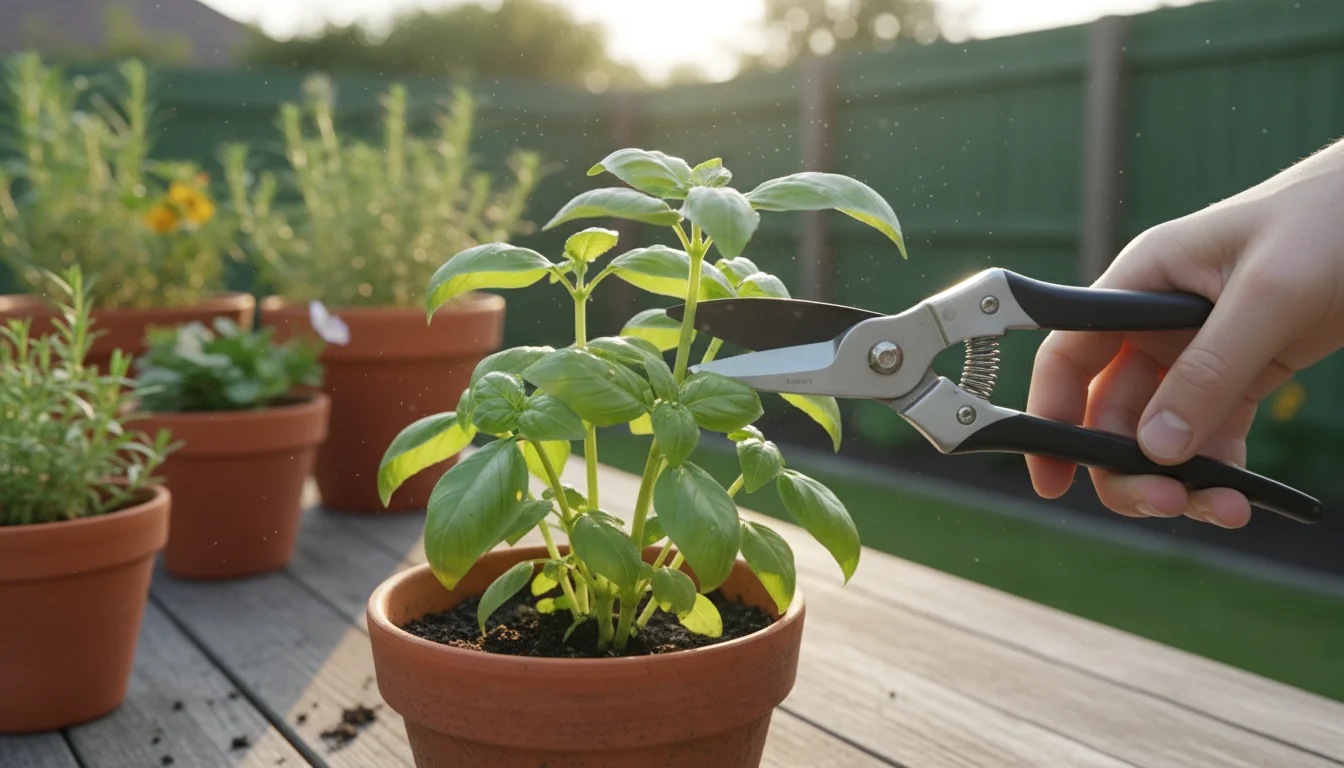
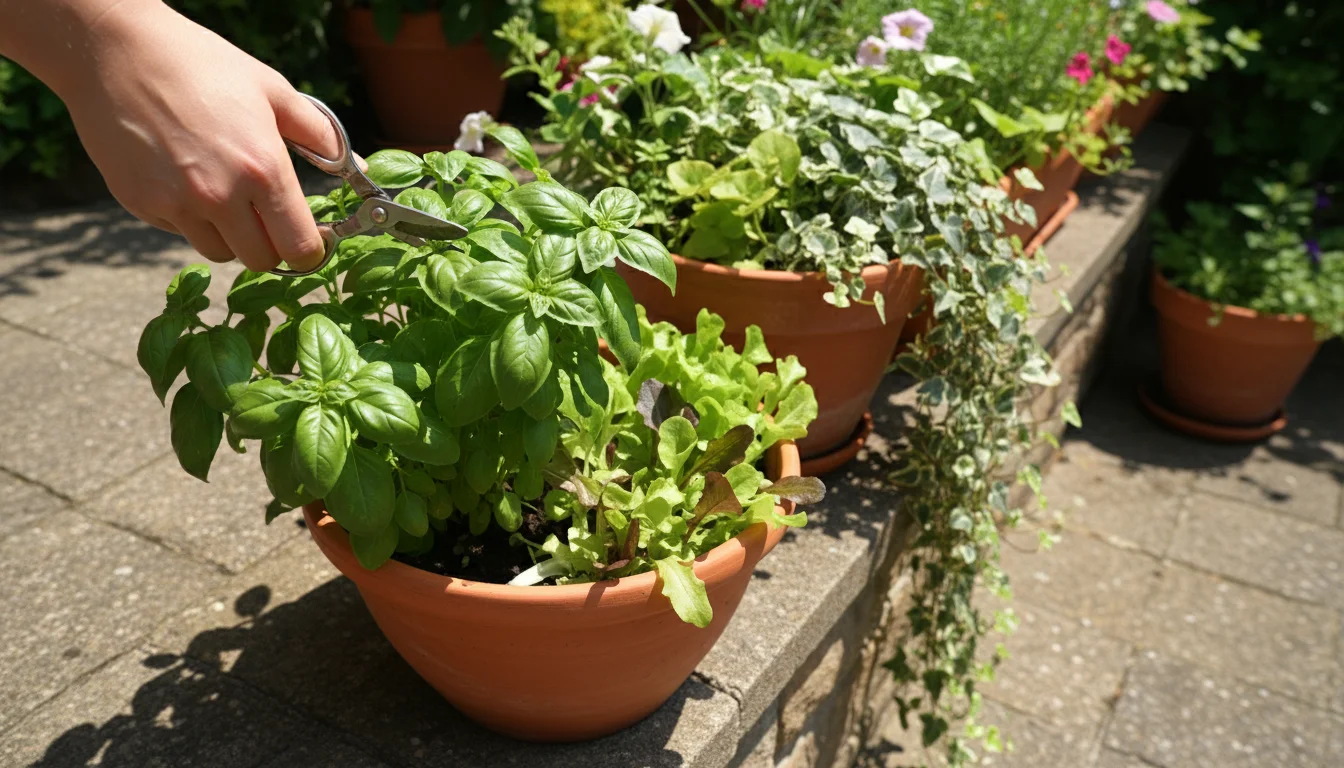
- Harvesting herbs, vegetables, and fruits.
- Shaping plants to maintain size and form in containers or small beds.
- Removing thin, green growth that needs a precise, clean cut.
You will find bypass pruners indispensable for most routine gardening tasks in a small space. Their precision ensures you can snip delicate stems or make careful cuts on crowded plants without damaging surrounding foliage. Look for models with a narrow profile if you often work in dense growth.
Anvil Pruners: For Dead, Woody Stems
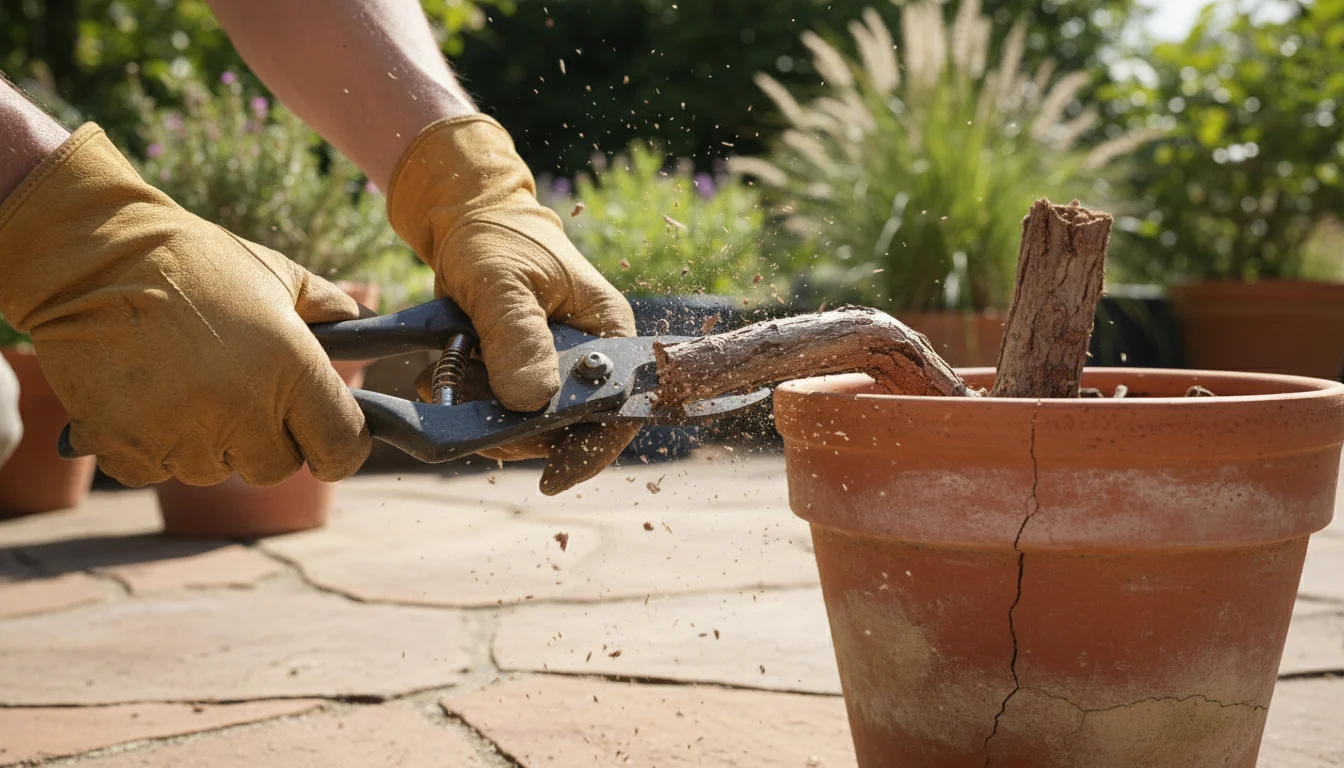
Anvil pruners work differently. They consist of a single sharp blade that closes against a flat “anvil” surface. When you squeeze the handles, the blade presses through the stem until it meets the anvil, effectively crushing the material it cuts. This crushing action makes anvil pruners unsuitable for live, green plants because it can damage living tissue, inhibiting healing and inviting disease. However, this same crushing power makes them highly effective for dry, dead, or woody material.
When to use anvil pruners:
- Removing dead branches and woody stalks from plants.
- Cleaning up tough, fibrous material that would dull or damage bypass blades.
- Cutting through thicker, dry stems that require more brute force.
You will find anvil pruners particularly useful for clearing out old growth at the end of a season or for tackling tough, woody weeds. They provide efficient cutting power for material that no longer contains active sap or living cells. Using an anvil pruner on dead wood prevents undue wear and tear on your more delicate bypass pruners.
Choosing Your Primary Pruner
For most small-space gardeners, bypass pruners will serve as your go-to tool for 90 percent of your tasks. They handle the live material you prune most often, ensuring plant health and encouraging vibrant growth. If your garden includes more mature woody plants or you frequently clean up dead branches, an anvil pruner becomes a valuable addition. Many gardeners find owning both types provides the most versatility and allows them to apply the right tool for every cutting situation, extending the life of both tools.
Key Features for Effective Pruning Shears
Selecting the best garden pruners goes beyond choosing between bypass and anvil types. Several design features contribute to a tool’s effectiveness, comfort, and longevity. Paying attention to these details ensures you invest in pruning shears that perform well and feel good in your hand.

Blade Material and Quality
The material of your pruner blades significantly impacts their sharpness, durability, and ability to resist rust.
- High-Carbon Steel: Many professional-grade pruners feature high-carbon steel blades. This material holds a very sharp edge and resists wear well. However, high-carbon steel is susceptible to rust, so you must clean and oil it regularly.
- Stainless Steel: Blades made from stainless steel offer excellent rust resistance, making them a good choice if you garden in humid environments or sometimes forget immediate cleaning. The trade-off is that stainless steel generally does not hold an edge as finely or for as long as high-carbon steel.
- Non-Stick Coatings: Some blades come with a non-stick coating. This feature helps sap and plant residue slide off, reducing blade sticking and making cleaning easier. It is a practical addition, particularly if you prune sappy plants.
You should prioritize pruners with induction-hardened blades, as this process strengthens the steel for enhanced durability and edge retention. Sharp blades make cleaner cuts, requiring less effort and causing less stress to your plants.
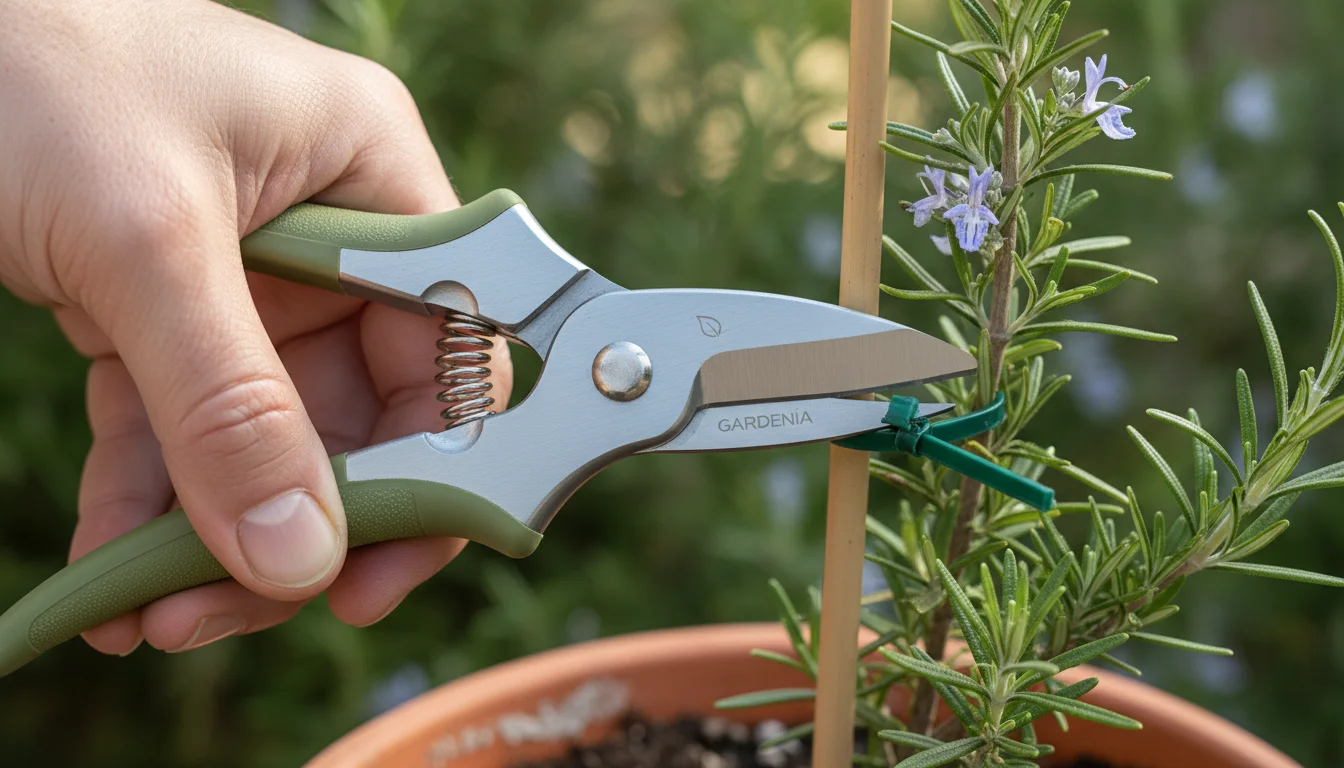
Ergonomics and Comfort
Since you use hand pruners frequently, their fit and feel profoundly affect your gardening experience.
- Hand Size: Choose pruners that comfortably fit your hand. Many manufacturers offer models in different sizes or with adjustable handles. Pruners that are too large or too small lead to hand fatigue and can increase the risk of accidents.
- Grip Material: Handles often feature rubberized or cushioned grips. These materials provide better traction, reduce slipping, and absorb some of the impact, making extended pruning sessions more comfortable.
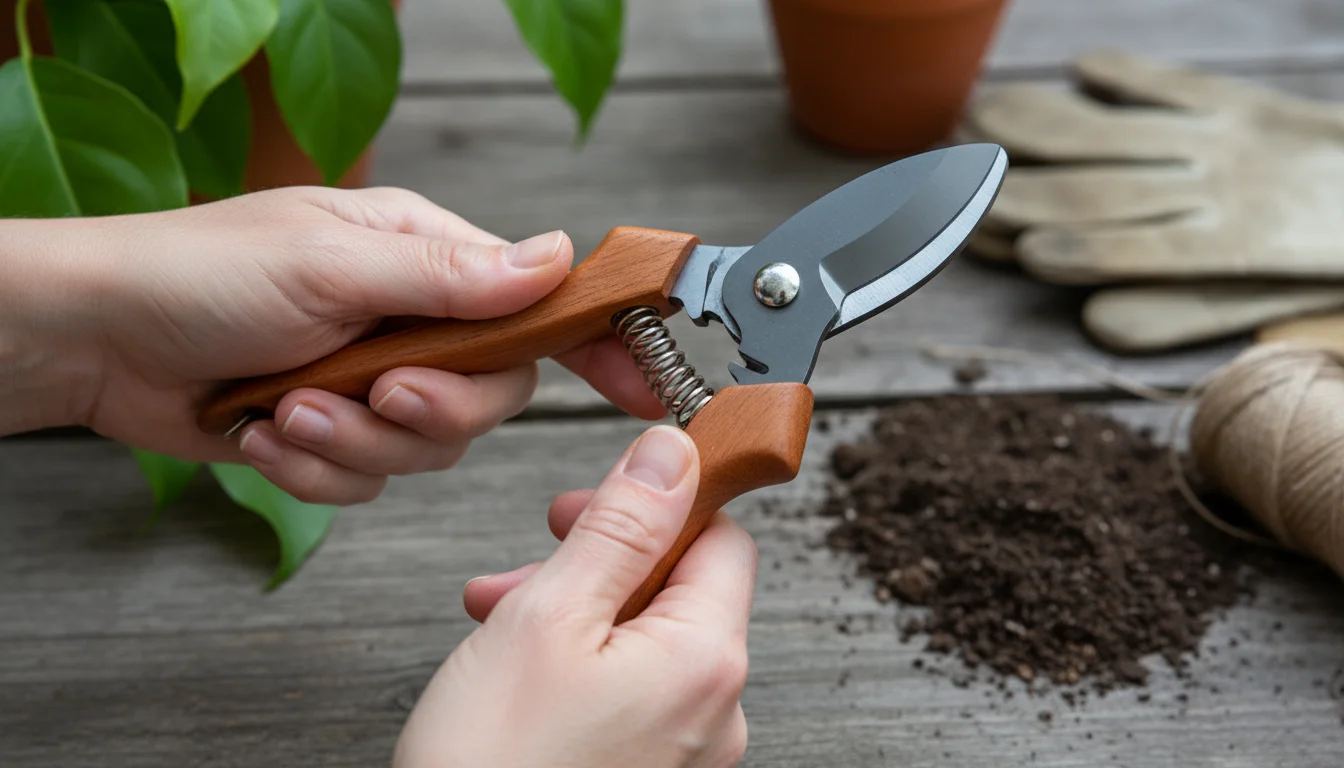
- Spring Mechanism: The spring returns the blades to the open position after each cut. Coil springs typically offer more durability and smoother action than simpler V-springs. A good spring reduces strain on your hand muscles.
- Rotating Handles: Some advanced pruners feature a rotating lower handle that moves with your fingers. This ergonomic design reduces friction and pressure points, significantly lowering the risk of blisters and muscle strain during repetitive tasks.
Trying out different models, if possible, helps you find the most comfortable and efficient design for your hands.
Locking Mechanism and Safety
A reliable locking mechanism is essential for both safety and convenient storage. When the pruners are not in use, you should engage the lock to keep the blades closed. This prevents accidental cuts to you or others and protects the blade edge from damage. Look for a locking mechanism that is easy to engage and disengage with one hand, allowing for quick transitions during gardening tasks. A well-designed lock ensures your pruners remain securely closed when stored in a drawer, caddy, or hanging on a hook.
Sap Groove and Wire Cutter
Some pruners include thoughtful additional features:
- Sap Groove: A small channel on the bypass blade helps direct sticky sap away from the cutting edge. This feature prevents gumming and makes the blades less likely to stick together, saving you frequent cleaning during a pruning session.
- Wire Cutter: A small notch at the base of the blades sometimes acts as a wire cutter. This is handy for cutting garden ties or light wires without dulling the main cutting edge.
These small details enhance the overall utility and user experience of your pruning shears, making them more versatile and easier to maintain.
How to Use Your Hand Pruners Safely and Skillfully
Using your hand pruners correctly protects your plants, extends the life of your tools, and most importantly, ensures your safety. Proper technique involves more than just squeezing the handles; it requires attention to positioning, cutting capacity, and protective measures.
Safety First: Essential Precautions
Before you even make your first cut, prioritize safety:
- Wear Gloves: Always wear sturdy gardening gloves. They protect your hands from thorns, splinters, and minor cuts. Gloves also provide a better grip on your tools.
- Keep Fingers Clear: Maintain awareness of where your non-pruning hand is. Never hold the stem directly in line with the cutting path of the blades.
- Engage the Lock: When not actively cutting, engage the safety lock on your pruners. This prevents accidental opening and keeps the blades safely closed.
- Store Safely: After use, clean and lock your pruners. Store them in a secure location, out of reach of children and pets. Consider a sheath or tool bag to cover the blades if hanging them.
These simple steps prevent most common pruning accidents. A momentary lapse in attention can lead to injury, so make safety a habit.
Making a Clean, Effective Cut
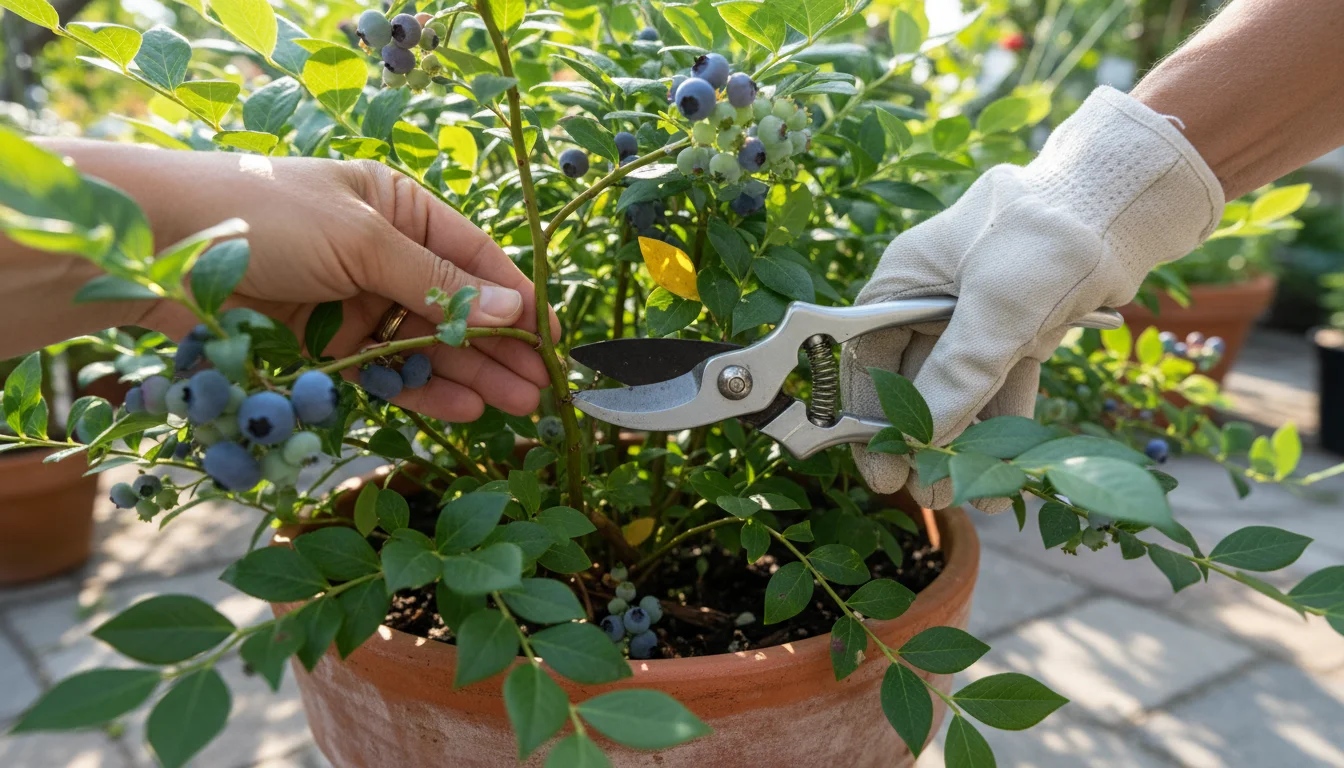
The goal of pruning is to make a clean cut that promotes rapid healing and minimizes stress on the plant. Follow these steps for optimal results:
- Assess the Stem: Identify the stem you want to remove. Ensure it is within the cutting capacity of your hand pruners. Forcing a cut too large for your tool will damage both the plant and the pruners.
- Position the Blades: With bypass pruners, position the cutting blade (the sharp one) on the side of the stem you intend to keep. This ensures that any slight bruising occurs on the discarded piece, leaving the retained stem with a clean, uncrushed edge. For an optimal cut, place the stem as deep into the jaws of the pruners as possible.
- Angle Your Cut: When cutting above a bud or branch, make your cut at a slight angle (around 45 degrees) approximately 1/4 inch above the bud. This angle helps water run off the cut surface, preventing fungal diseases. It also protects the bud, which directs new growth.
- Cut Swiftly and Firmly: Apply steady, firm pressure to make a single, swift cut. Avoid twisting or tearing the stem. A clean cut indicates a sharp blade and proper technique. If the blade drags or crushes, your pruners might need sharpening or the stem is too thick for the tool.
- Remove Entirely (if needed): When removing a branch completely, cut it back to its point of origin or to the main stem. Avoid leaving stubs, as these can become entry points for pests and diseases. For larger branches, locate the branch collar, the slightly swollen area where the branch meets the main stem, and cut just outside it. This allows the plant to seal the wound effectively.
Consistent practice improves your technique. You will develop an intuitive feel for the right pressure and angle, leading to healthier plants and more efficient pruning.
Maintenance for Longevity: Keeping Your Pruning Shears Sharp and Clean
Proper care of your pruning shears significantly extends their lifespan, maintains their performance, and helps prevent the spread of plant diseases. Neglecting maintenance leads to dull blades, sticky mechanisms, and rust, ultimately making your gardening tasks harder and less effective. A few simple steps after each use will keep your best garden pruners in top condition.
For a deeper dive into seasonal care, follow our guide on how to clean and store tools to prevent rust and ensure they are ready for spring.
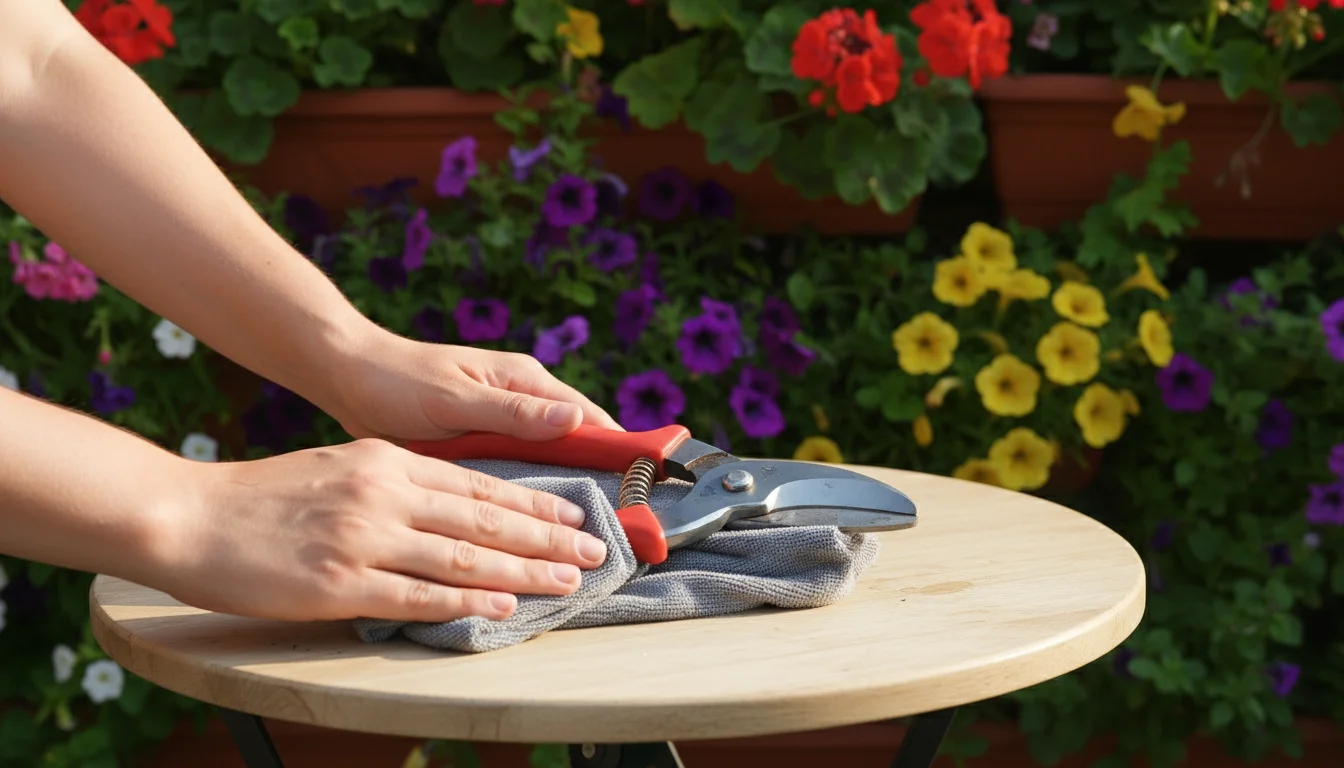
Cleaning After Every Use
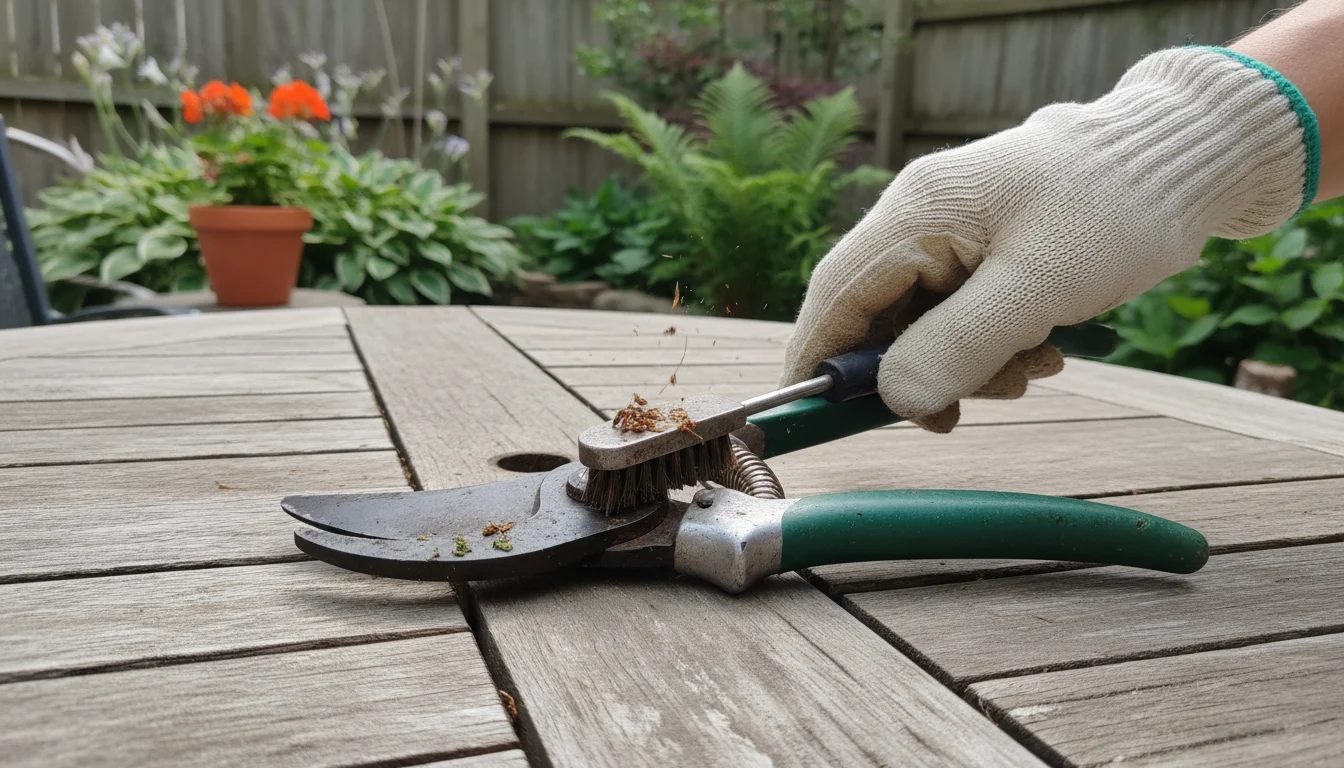
Plant sap, soil, and debris accumulate on blades and pivot points, causing stickiness and dulling the edge. Regular cleaning prevents these issues.
- Remove Debris: Use a stiff brush or a damp cloth to wipe off all visible plant material, sap, and dirt from the blades and handles. Pay close attention to the pivot point and any sap grooves.
- Wash if Necessary: For stubborn sap, use warm, soapy water. A mild dish soap works well. You can also use a specialized tool cleaner or rubbing alcohol for very sticky residues.
- Dry Thoroughly: After washing, dry your pruners completely with a clean cloth. Moisture is the primary enemy of metal tools, leading to rust. Ensure no water remains in crevices or around the spring.
This quick clean-up after each session prevents the build-up that makes deeper cleaning difficult and ensures your tools are ready for their next use.

Disinfecting to Prevent Disease
You can inadvertently spread plant diseases from one plant to another on contaminated pruning shears. Disinfecting your blades after pruning diseased plants, or even between different plant species, protects your garden.
Disinfection Steps:
- Rubbing Alcohol: Wipe blades thoroughly with a cloth soaked in rubbing alcohol (70% or higher isopropyl alcohol). This evaporates quickly.
- Bleach Solution: Prepare a solution of 1 part bleach to 9 parts water. Dip the blades into this solution for at least 30 seconds. Rinse thoroughly with clean water and dry completely to prevent rust. Bleach can be corrosive, so prompt rinsing is critical.
- Commercial Disinfectants: Horticultural tool disinfectants are also available and often less corrosive than bleach.
Disinfecting prevents the spread of bacteria, fungi, and viruses, which are often invisible to the naked eye. This step is particularly important when working with plants known to have issues, like roses with black spot or tomatoes with blight.
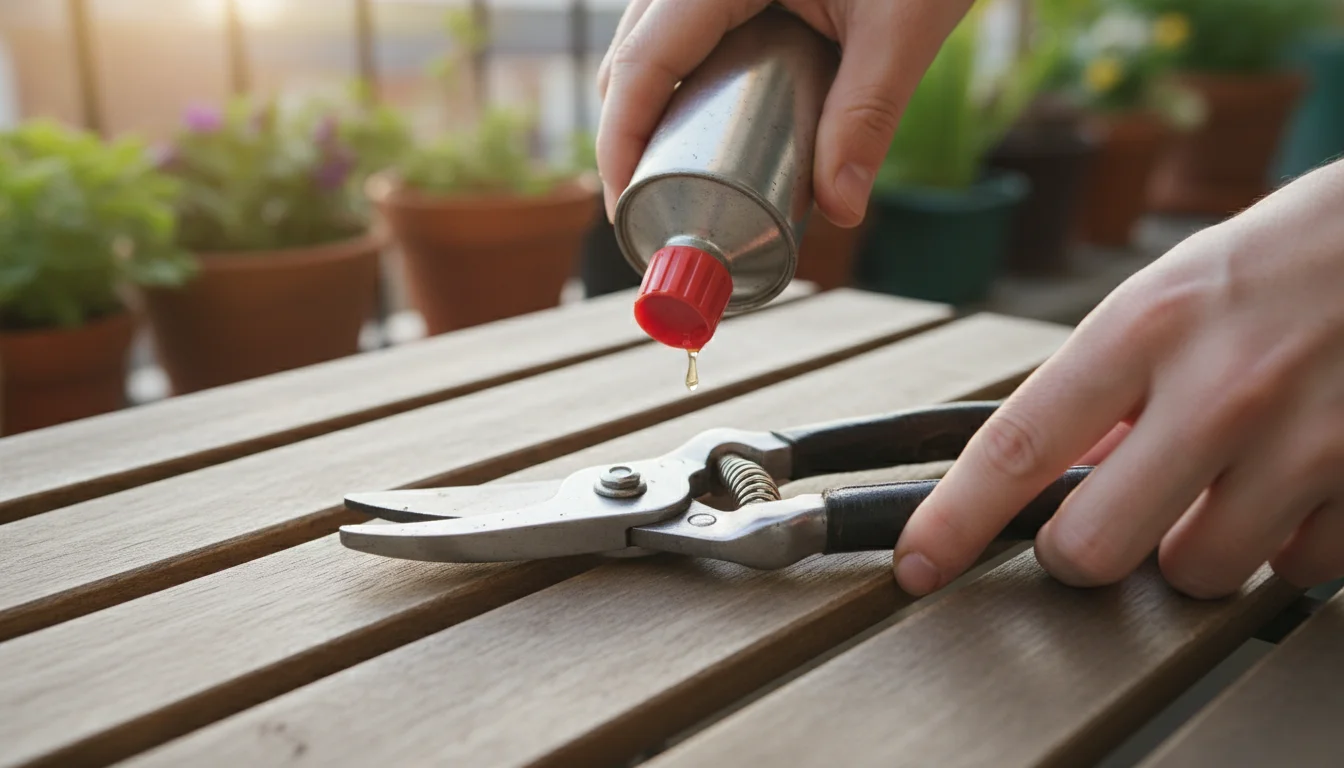
Oiling for Smooth Operation and Rust Prevention
After cleaning and drying, a light application of oil protects the metal components and ensures smooth action.
- Apply Oil: Place a few drops of lubricating oil (e.g., mineral oil, 3-in-1 oil, or specialized tool oil) on the pivot point and along the cutting edges of the blades.
- Work It In: Open and close the pruners several times to distribute the oil into the mechanism.
- Wipe Excess: Wipe off any excess oil with a clean cloth. A thin film provides protection without attracting too much dirt.
Oiling prevents rust, reduces friction, and keeps your pruners moving freely. Make this a regular part of your post-pruning routine, especially before storing them for an extended period.
Sharpening Your Blades
Even the highest quality blades will dull with use. Sharp blades make clean cuts, reducing effort and plant stress. You should sharpen your pruners regularly, depending on how often you use them and the material you cut. A good rule of thumb is to sharpen them quarterly with regular use, or as soon as you notice them tearing instead of slicing.
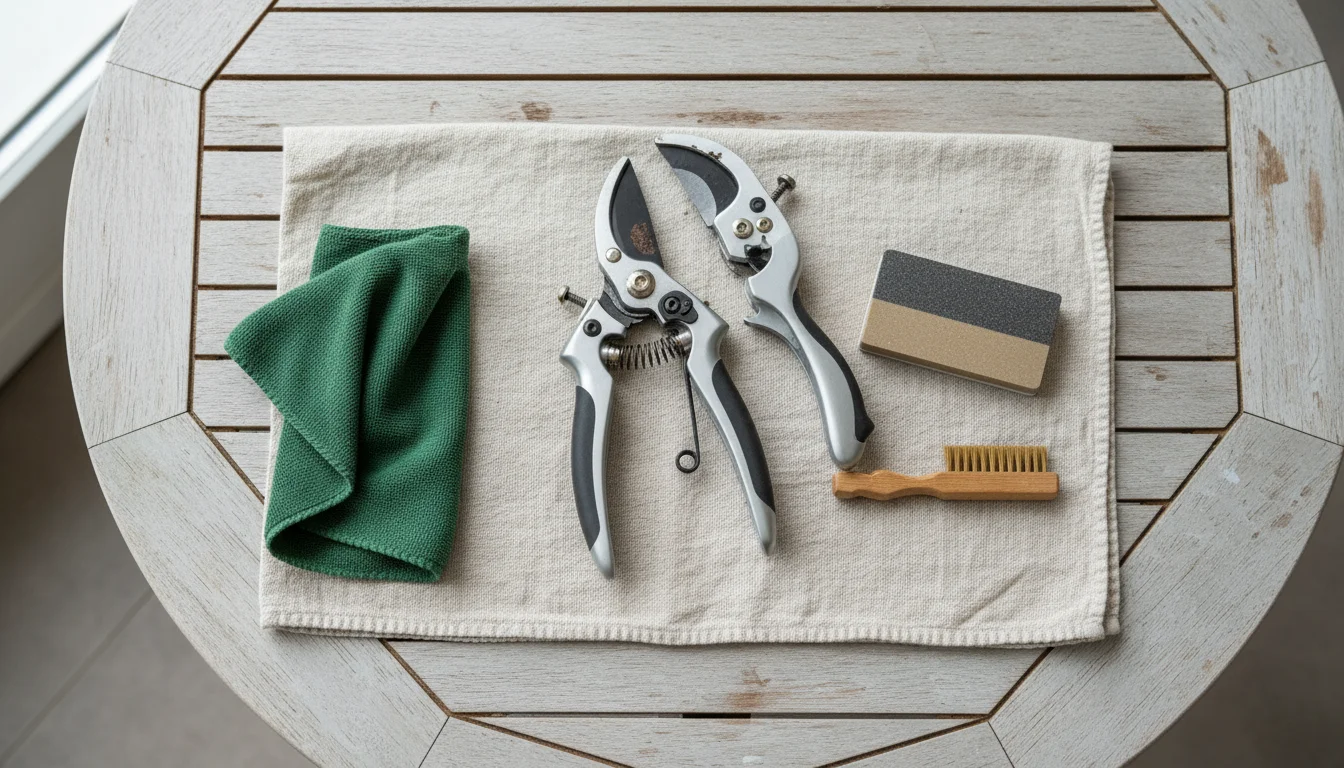
Basic Sharpening Steps:
- Disassemble (Optional but Recommended): For a thorough sharpening, consider disassembling your pruners. This allows better access to the blades and simplifies cleaning. Refer to your manufacturer’s instructions.
- Clean Thoroughly: Ensure the blades are completely clean and dry before sharpening.
- Identify the Bevel: Most bypass pruners have a single beveled edge on the cutting blade. Anvil pruners also typically have a single bevel. You only sharpen the beveled edge.
- Use a Sharpening Tool: A diamond sharpening file, a sharpening stone, or a specialized pruner sharpener works well. Maintain the original angle of the blade’s bevel. Holding the tool flat against the bevel, pull it across the blade in one direction, from the base to the tip. Repeat this process 10-15 times.
- Remove Burr: After sharpening the beveled edge, a slight burr (a tiny ridge of metal) may form on the flat side of the blade. Carefully remove this by lightly running the sharpening tool flat along the non-beveled side a few times.
- Test and Reassemble: Test the sharpness on a piece of paper or a small twig. If you disassembled them, reassemble your pruners, ensuring all parts are correctly aligned and the pivot bolt is tightened appropriately.
- Oil: Apply a light coat of oil after sharpening to protect the newly exposed metal.
Sharpening restores the keen edge, making your pruning shears as effective as new. This proactive maintenance maximizes your tool’s performance and saves you money on replacements.
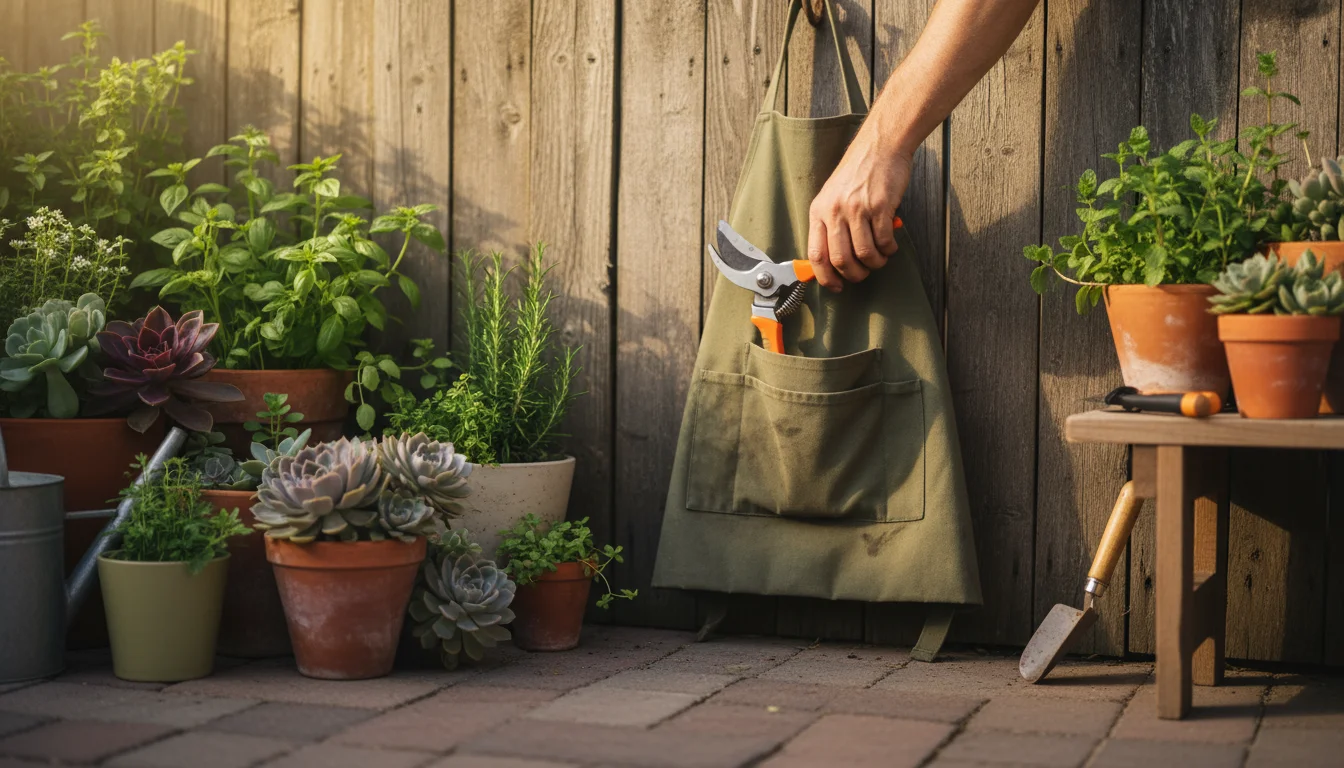
Storage Solutions for Small Spaces: Protecting Your Investment
For small-space gardeners, efficient storage is not just about organization; it is about protecting your tools from the elements, ensuring safety, and making them easily accessible. Hand pruners, with their sharp blades, require mindful storage. You need solutions that keep them dry, safe, and ready for use without cluttering your precious gardening area.
Beyond your pruners, finding creative tool storage solutions for small homes can help keep your balcony or patio organized.
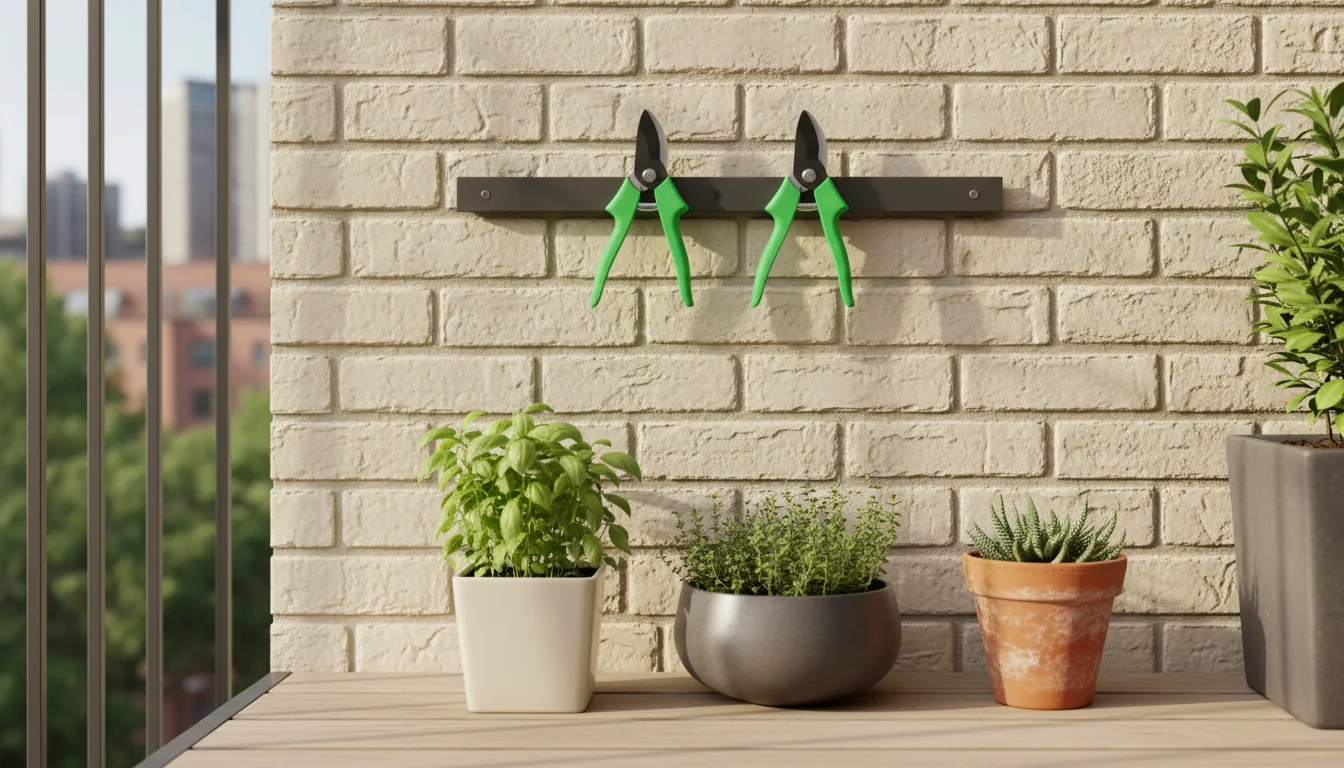
Vertical Storage Maximizes Space
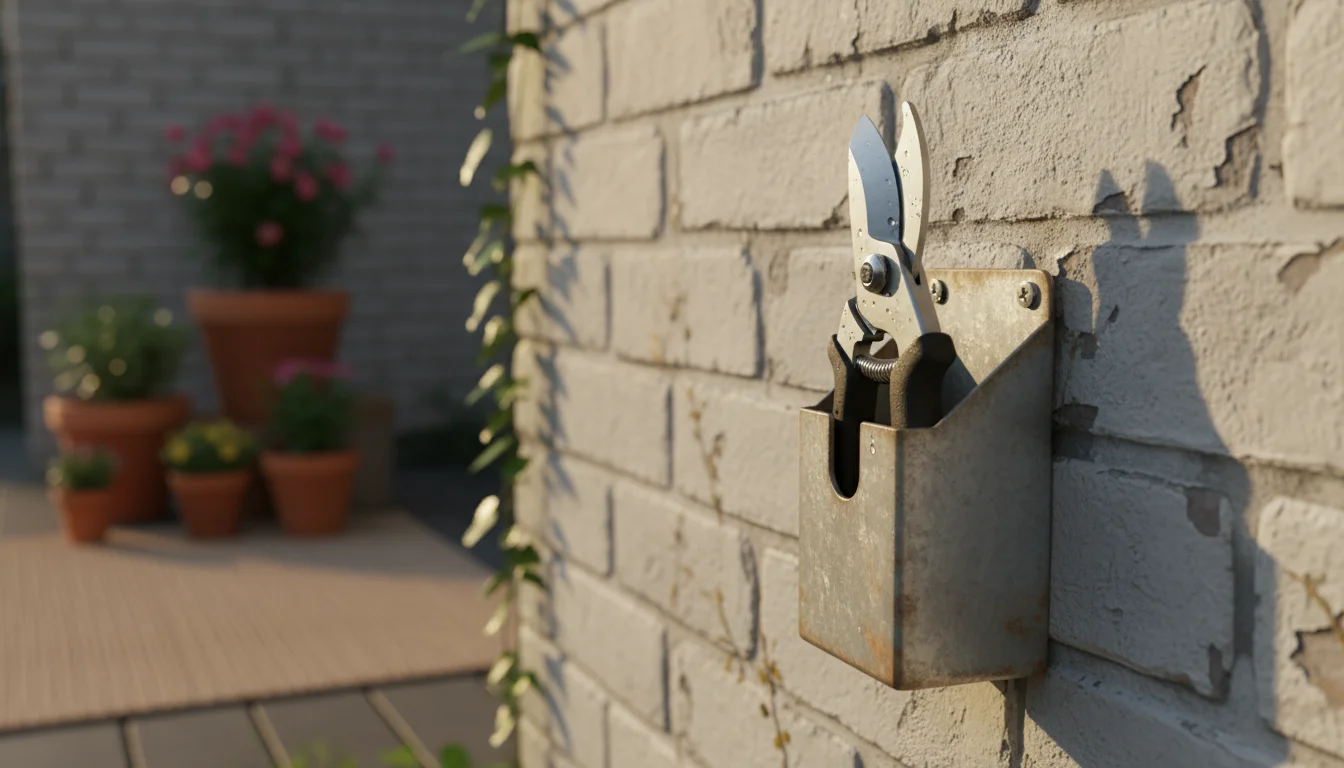
Vertical storage solutions make the most of limited wall space:
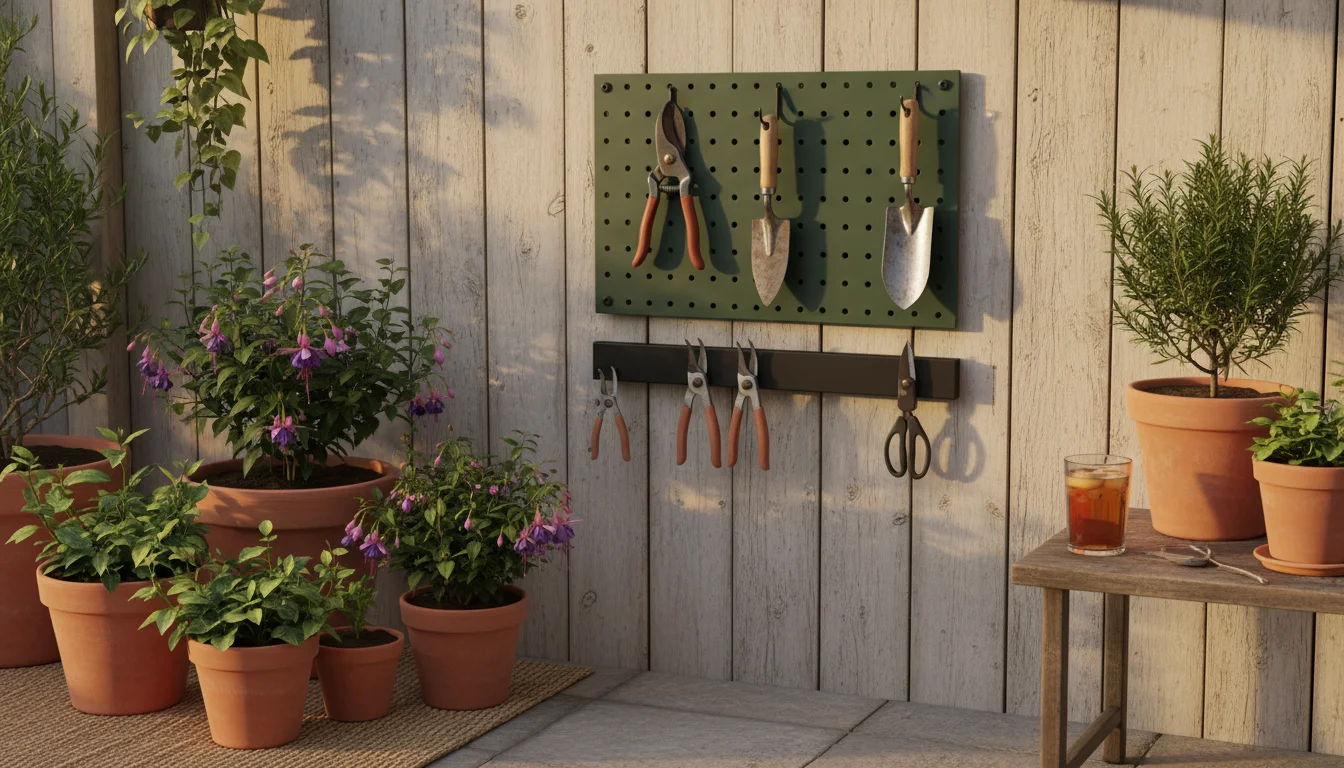
- Pegboards: A small pegboard installed on a patio wall or shed interior offers versatile storage. You can arrange hooks to perfectly fit your pruners, gloves, and other small tools. This keeps everything visible and off surfaces.
- Magnetic Strips: A heavy-duty magnetic tool strip can securely hold metal tools, including your pruners. Install it in a convenient, covered location, ensuring the magnetic pull is strong enough to prevent accidental drops.
- Wall-Mounted Organizers: Dedicated tool racks or small wall-mounted caddies provide specific slots for pruners and other hand tools. These often come with multiple compartments, helping you keep your gear sorted.
You ensure your pruners are always within reach while protecting their blades from contact with other tools when using vertical storage.
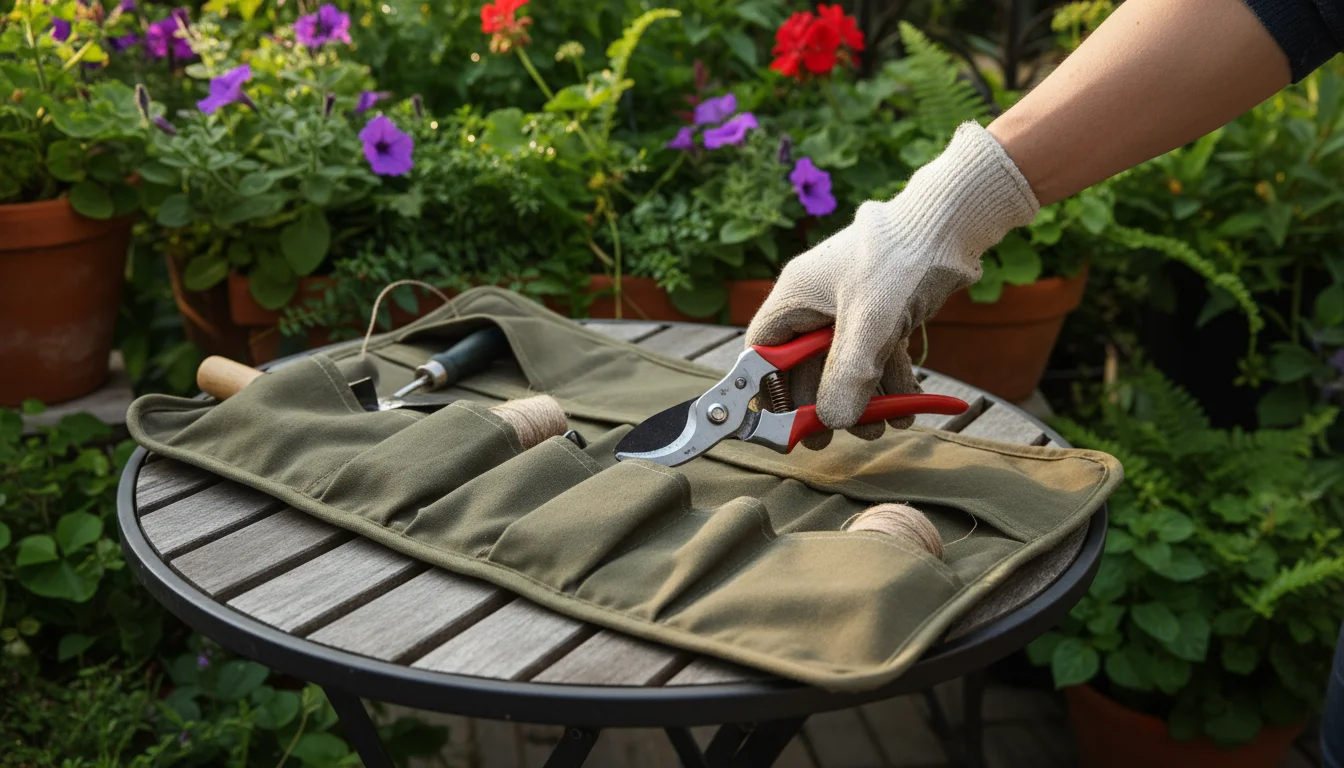
Portable and Enclosed Storage for Protection
For tools you carry frequently or need to protect from dust and moisture, enclosed options work well:
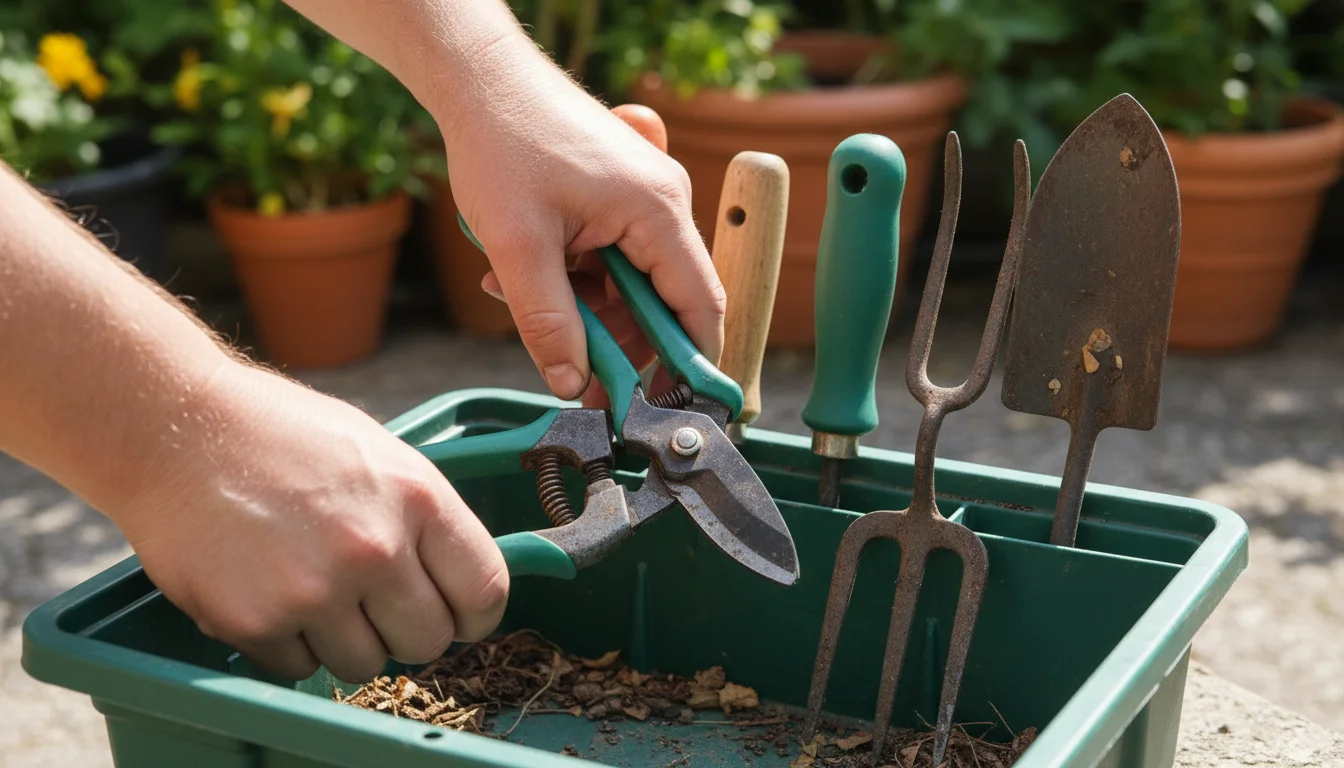
- Tool Caddies or Buckets: A small plastic or metal caddy with compartments, or even a sturdy bucket, makes an excellent portable organizer. Your pruners can stand upright, preventing their blades from dulling against other tools at the bottom. This also allows you to easily transport all your necessary tools to your plants.
- Drawer Organizers: If you have a small garden shed drawer or a utility cabinet, use drawer dividers or small trays to keep your pruners separate and protected. This prevents them from rattling around and potentially damaging other items or themselves.
- Individual Sheaths or Bags: For your favorite pair of pruning shears, consider an individual leather or heavy canvas sheath. This protects the blade from rust and impact, and it protects you from accidental cuts when reaching into a crowded tool bag.
Always ensure your pruners are clean, dry, and locked before storing them, especially in enclosed spaces where moisture can quickly lead to rust. A silica gel packet in a sealed container can help absorb excess humidity if rust is a persistent concern.
When to Prune: A Quick Guide for Small-Space Gardeners
Knowing when to prune is as crucial as knowing how to prune. Incorrect timing can reduce flowering, diminish fruit yield, or even harm the plant. For your small garden, strategic pruning ensures plants stay compact, healthy, and productive. You primarily prune for health, shape, size control, and harvesting.
Pruning for Health and Maintenance
You can perform these tasks throughout the growing season, whenever you observe the need:
- Removing Dead or Diseased Wood: Prune out any dead, damaged, or diseased branches as soon as you notice them. These parts provide entry points for pests and pathogens. Use disinfected pruners for this task, especially if disease is present, to prevent spreading issues.
- Removing Crossing or Rubbing Branches: Branches that rub against each other can create open wounds, leading to infection. Remove the weaker or less ideally placed branch to prevent this friction.
- Thinning for Air Circulation: In crowded containers or dense growth, thin out some interior branches to improve air circulation. This reduces humidity around the foliage, which helps prevent fungal diseases. This is particularly important for vegetables and herbs in small spaces.
You perform these cuts to maintain the plant’s overall vigor and prevent larger problems from developing. Do not delay these cuts, regardless of the season.
Pruning for Shape and Size Control
Small spaces demand disciplined pruning for shape and size. Most of this shaping occurs during the active growing season, but the specific timing depends on the plant:
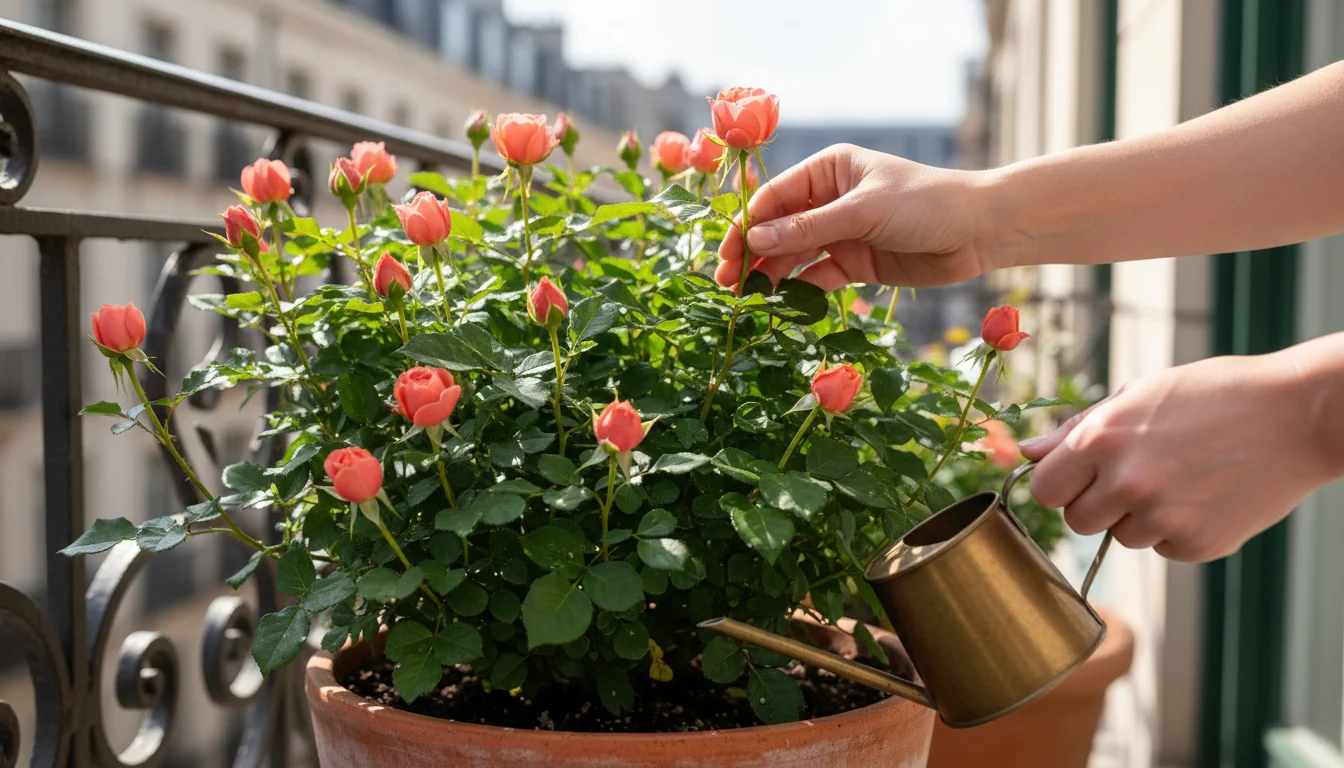
- Deadheading Flowers: Remove spent flowers (deadhead) regularly to encourage plants to produce more blooms instead of diverting energy into seed production. Many annuals and perennials benefit from this, including petunias, marigolds, and coneflowers.
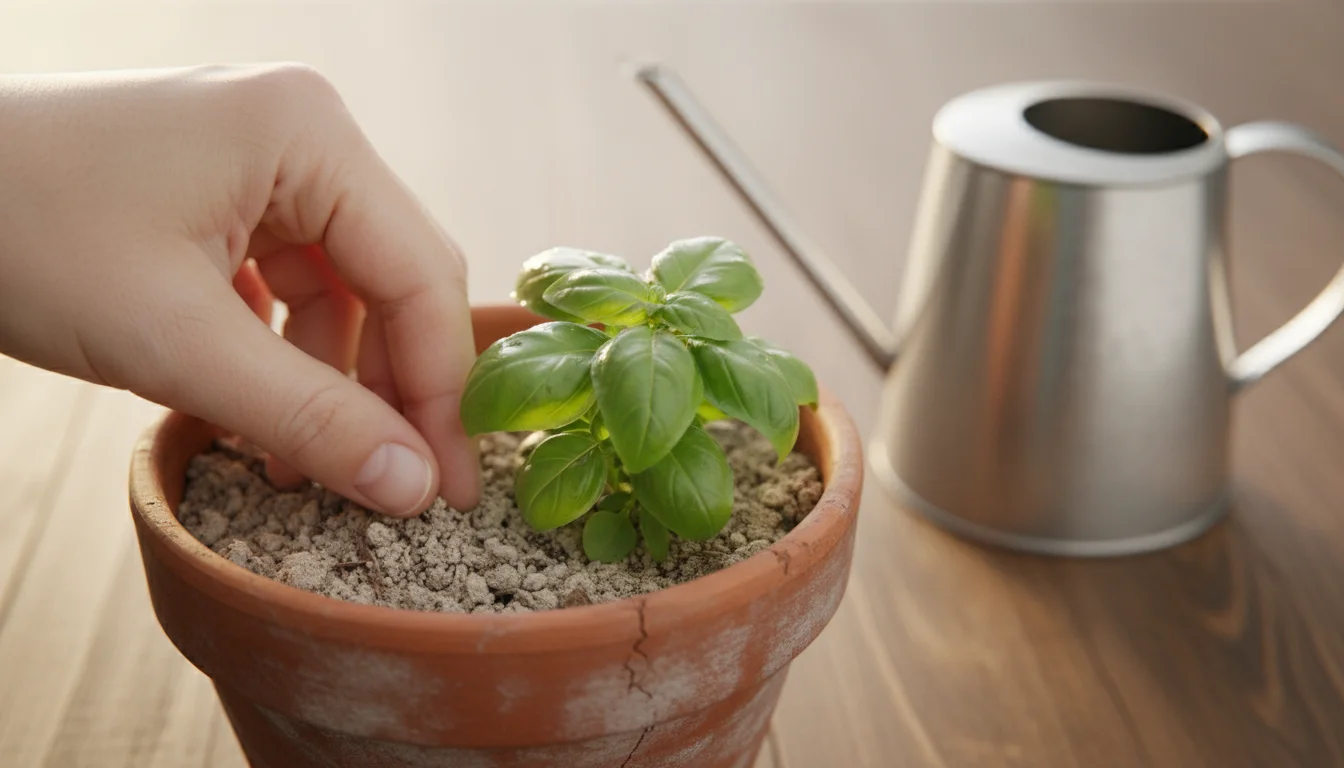
- Pinching Back: For many annuals and herbs (like basil or impatiens), pinching back the growing tips encourages bushier growth and more flowers or leaves. You do this throughout the growing season.
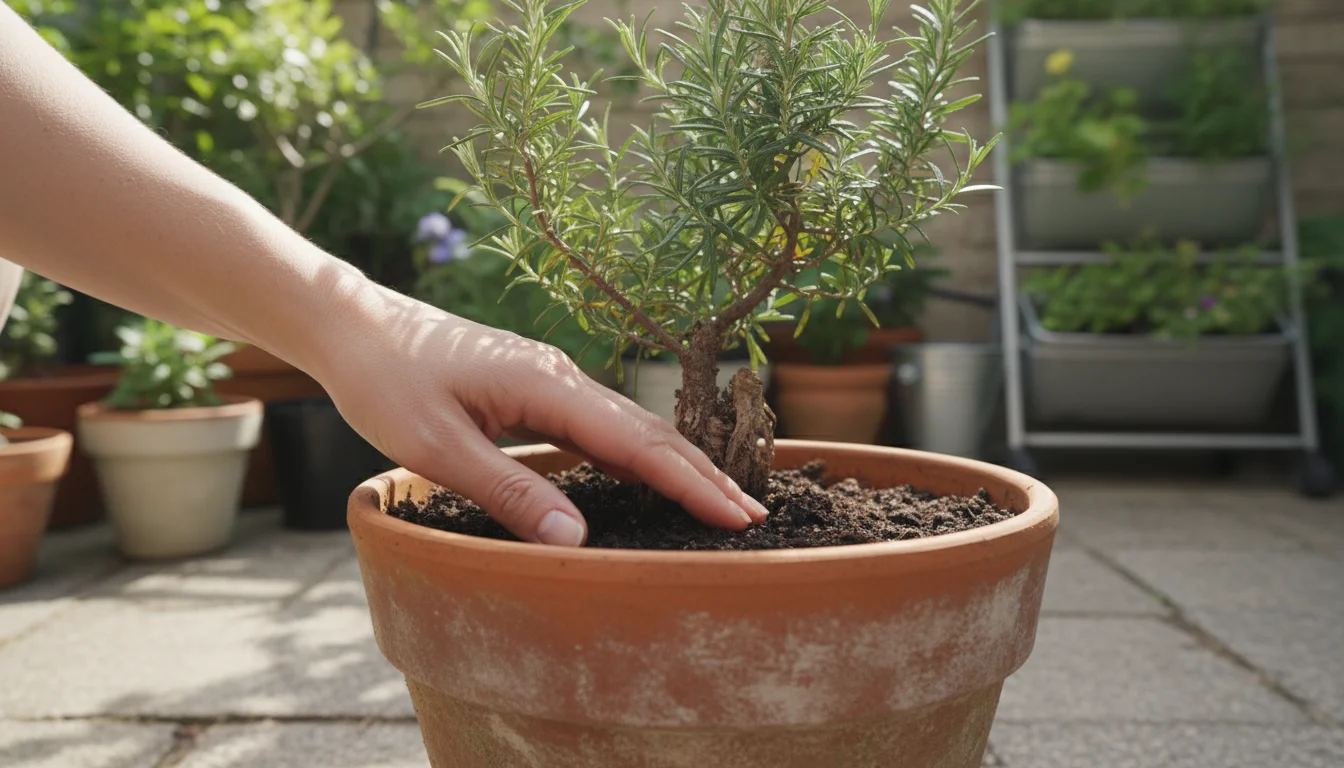
- Shaping Shrubs and Perennials: For most flowering shrubs that bloom on *new wood* (like roses, hydrangeas, spiraea), prune them in late winter or early spring before new growth begins. For shrubs that bloom on *old wood* (like lilacs, rhododendrons), prune them immediately after they finish flowering. This allows them to set buds for the following year. For non-flowering shrubs or evergreen hedges, light shaping can occur throughout the growing season to maintain desired size and form.
Always prune with the plant’s natural growth habit in mind. Do not remove more than one-third of a plant’s total mass in a single season to avoid undue stress.
Pruning for Harvesting
Harvesting leafy greens, herbs, and many vegetables involves a form of pruning. Regularly removing mature leaves or fruits stimulates further production.
- Herbs: Snip off leaves or stems as needed for culinary use. Regular harvesting encourages a fuller plant.
- Leafy Greens: Harvest outer leaves of lettuce, spinach, or kale, allowing the inner leaves to continue growing.
- Fruiting Vegetables: Prune off mature fruits like tomatoes or peppers. You can also strategically remove some lower leaves on tomato plants to improve air circulation and reduce disease risk.
You use your hand pruners as a harvesting tool, ensuring fresh produce and consistent plant output from your compact garden.
Choosing Quality: Practical Insights for Your Pruning Shears
When selecting your pruning shears, discerning quality helps you make a choice that supports your gardening efforts for years. You want a tool that not only performs well but also feels reliable and withstands the rigors of regular use. Focus on tangible indicators of quality rather than marketing hype.
Investing in high-quality shears is vital, but there are also many affordable garden gadgets that can complement your kit without breaking the bank.

Indicators of High-Quality Pruners
You can identify quality in pruning shears by observing specific characteristics:
- Weight and Balance: A good pair of pruners often feels substantial in your hand, but not excessively heavy. The weight should distribute evenly, providing a sense of balance. This reduces fatigue during prolonged use and helps you make precise cuts. Flimsy, overly lightweight tools often indicate lower-quality materials.
- Sturdy Construction: Examine the pivot point. It should be robust, with no wobbling or excessive play between the blades. Riveted construction, especially with oversized rivets or bolts, suggests durability. Poorly constructed pivot points are often the first part to fail, leading to misaligned blades and ineffective cuts.
- Smooth Action: When you open and close the pruners, the movement should feel smooth and effortless. There should be no grinding, catching, or stiffness. A high-quality spring and well-machined components contribute to this fluid operation. This smooth action directly translates to less hand strain and more comfortable use.
- Sharpness Retention: While you cannot test this in a store, reputable brands known for using high-carbon steel blades typically offer superior edge retention. This means your pruners stay sharp for longer between sharpenings, providing consistent, clean cuts. Reviews and manufacturer specifications often provide insight into this.
- Replaceable Parts: A sign of a truly durable and long-lasting tool is the availability of replacement parts, such as blades, springs, or even handle components. This allows you to repair a worn part instead of replacing the entire tool, which is both economical and environmentally friendly. This feature indicates a manufacturer’s confidence in their product’s fundamental design.
You invest in a tool that becomes a trusted companion in your garden when you prioritize these quality indicators. These characteristics ensure your pruning shears perform reliably and safely for many seasons.

Consider Your Specific Needs
Your gardening habits and the types of plants you grow also influence your choice. If you garden occasionally and primarily maintain a few potted herbs, a basic, well-constructed pair might suffice. If you have numerous containers, small fruit trees, or a wider variety of plants, investing in higher-end pruning shears with advanced ergonomic features and superior blade quality makes sense. You get what you pay for in terms of durability and performance, so consider your usage frequency and commitment when making your decision.

Tool-by-Task Matrix: Matching Your Pruners to the Job
Selecting the right pruner for a specific task ensures efficiency, plant health, and tool longevity. This matrix helps you quickly identify which type of pruning shear suits common small-space gardening jobs.
| Task | Recommended Pruner Type | Why |
|---|---|---|
| Deadheading spent flowers | Bypass Pruners (or Floral Snips) | Makes a clean cut on delicate, live stems, encouraging new blooms. |
| Shaping small shrubs and container plants | Bypass Pruners | Precise cuts on live woody stems up to 3/4 inch diameter, maintaining plant form. |
| Harvesting herbs and leafy greens | Bypass Pruners (or Herb Snips) | Cleanly snips tender stems and leaves without crushing, preserving quality. |
| Removing dead or dry branches (up to 1/2 inch) | Anvil Pruners | Crushes effectively through dry, woody material with less effort, suitable for non-living tissue. |
| Trimming small woody perennials | Bypass Pruners | Provides accurate cuts for live perennial stems, promoting healthy regrowth. |
| Cutting garden twine or light wire | Bypass Pruners (with wire cutter notch) or Utility Snips | Specific notch protects main cutting blade; general utility snips handle non-plant materials. |
| Removing a thick, woody stem that is entirely dead (up to 3/4 inch) | Anvil Pruners | Designed for tough, dead wood; minimizes blade damage when cutting hard, dry material. |
By consulting this matrix, you can confidently choose the appropriate pruning shears for each job, optimizing your results and extending the life of your tools.

Frequently Asked Questions
How do I know if my pruners are sharp enough?
Your pruners are sharp enough if they make clean cuts through stems without tearing, crushing, or leaving ragged edges. A dull blade requires more force and often leaves a messy wound on the plant. If you notice your pruners struggling with cuts that were once easy, or if stems are bending rather than slicing, it is time for sharpening.
Can I prune all my plants with just one pair of pruners?
While a good pair of bypass pruners handles most small-space gardening tasks, owning a dedicated anvil pruner for dead, woody material provides better results and extends the life of your bypass pruners. Using a bypass pruner on dead, tough stems quickly dulls its fine edge. For very delicate tasks, specialized herb or floral snips offer even greater precision, but one versatile bypass pruner often serves as a solid foundation.
How often should I clean and sharpen my pruners?
You should clean your pruners after every use to remove sap and debris, preventing rust and sticking. Disinfect them after pruning diseased plants or between different plant species. Sharpening frequency depends on usage; with regular use, aim to sharpen them quarterly or whenever you notice a decline in cutting performance. Regular light sharpening is much easier than trying to restore a severely dull blade.
What is the biggest mistake gardeners make with their hand pruners?
The biggest mistake is forcing a cut too large for the tool. This damages the pruners, misaligns the blades, and creates a poor, tearing cut on the plant. Always respect your pruners’ cutting capacity. Another common mistake is neglecting cleaning and sharpening, which leads to rust, dull blades, and the potential spread of plant diseases. Treat your tools well, and they will serve your garden well.


Leave a Reply