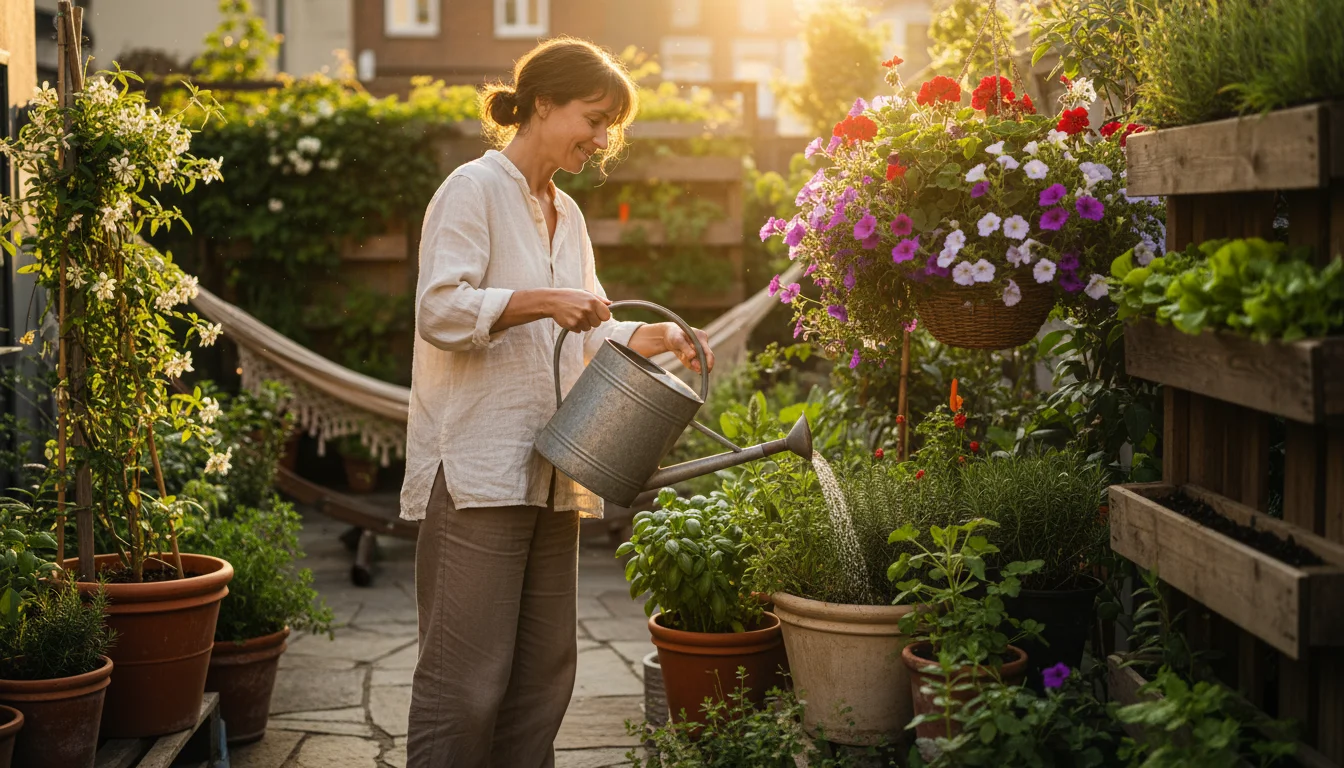
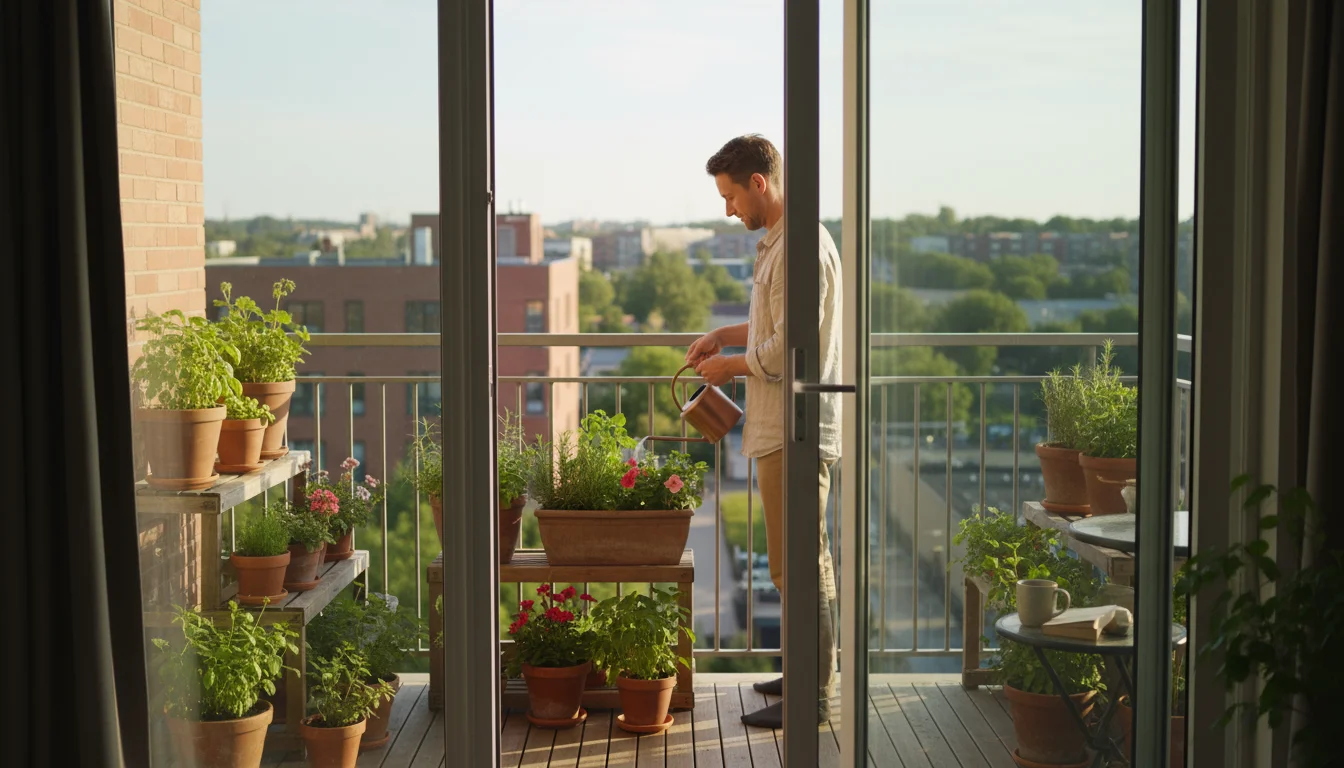
Watering forms the core of successful small garden care. You provide life, supporting your plants from delicate seedlings to bountiful harvests. For those cultivating on a balcony, patio, or in a compact yard, selecting the right watering tools simplifies this essential task, conserves water, and keeps your plants thriving. Your choices impact convenience, efficiency, and your overall enjoyment of gardening.
By incorporating xeriscaping tips into your design, you can create a beautiful space that naturally demands less frequent irrigation.
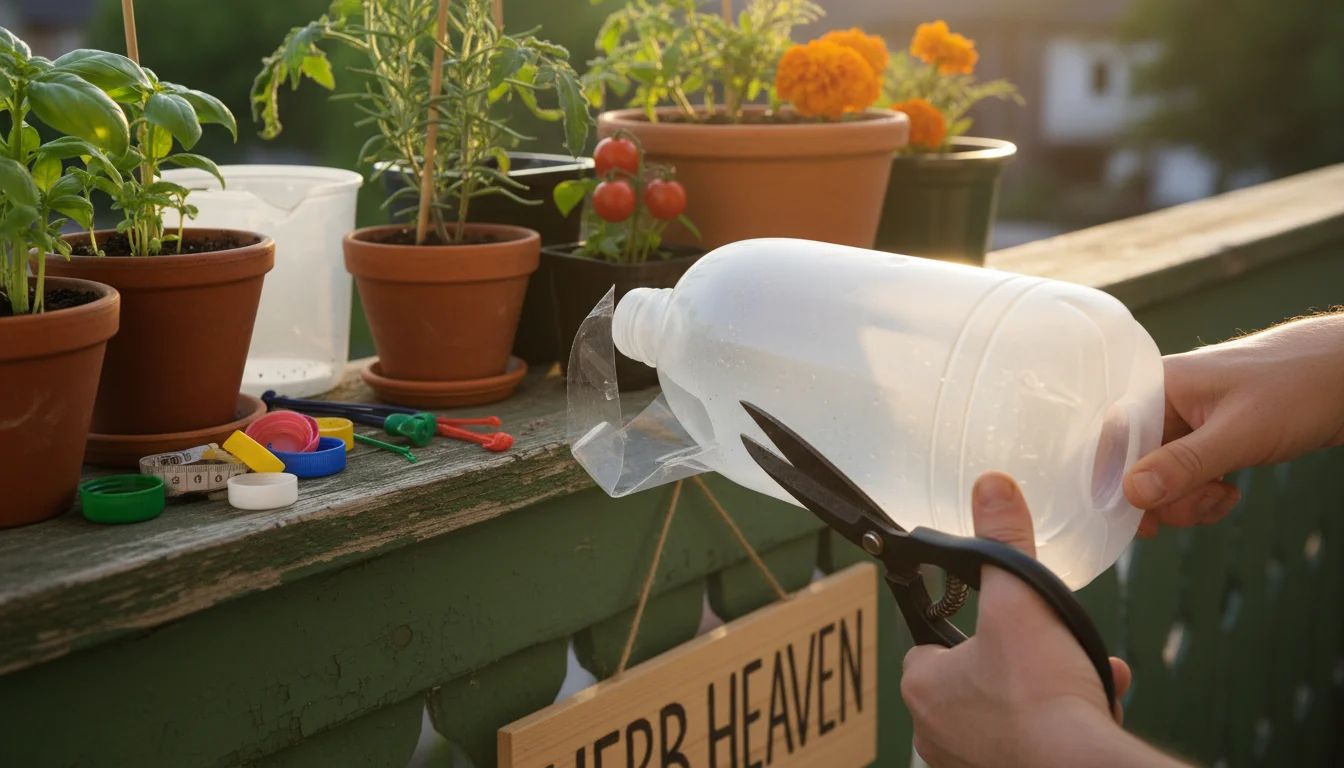
If you are working with a limited budget, there are plenty of affordable garden gadgets that can make these daily chores much simpler.
This guide equips you with practical, actionable insights on the best watering cans, hoses, and drip systems specifically designed for the unique challenges and opportunities of small gardens. We focus on tools that save space, offer durability, require minimal maintenance, and provide real-world utility. Learn how to optimize your garden irrigation, ensure every drop counts, and maintain a vibrant, healthy green space.
Understanding Your Small Garden Watering Needs
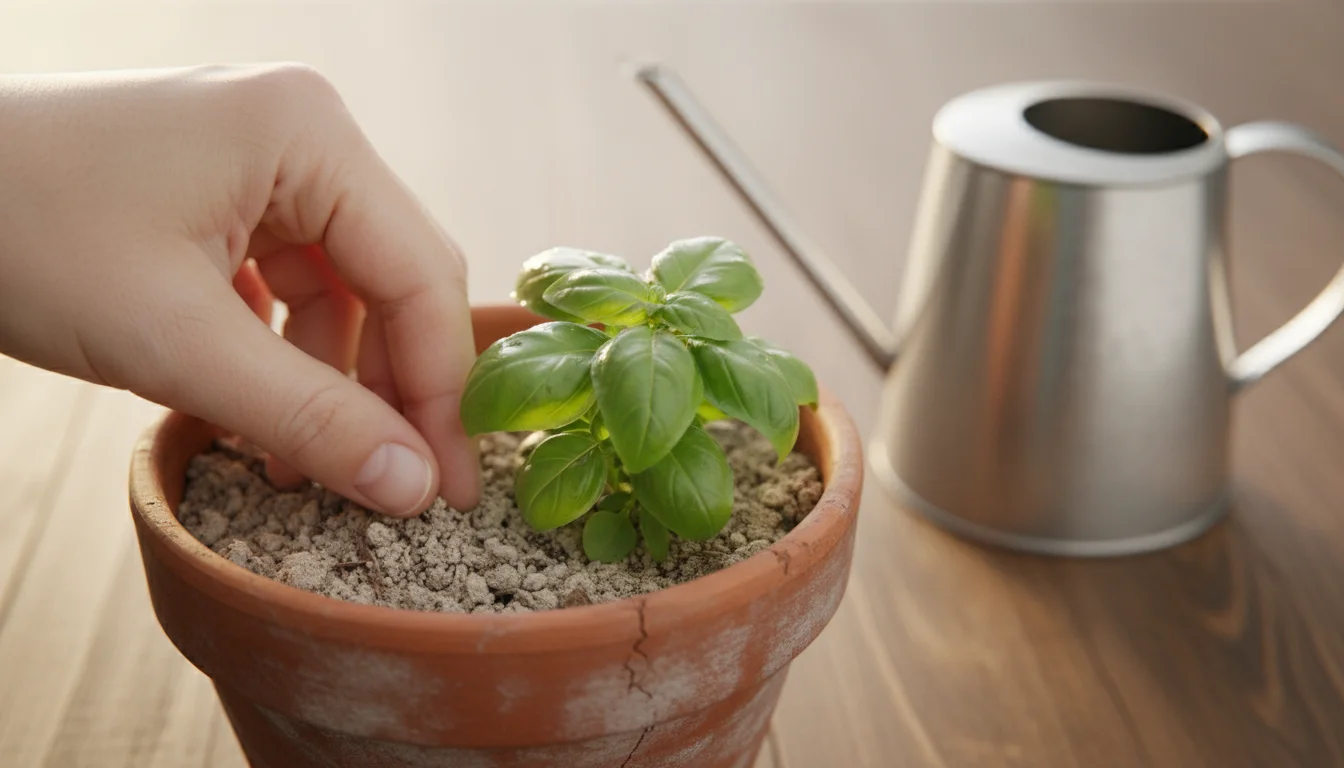
Small gardens, whether container-based or in confined beds, have distinct watering requirements. Their limited soil volume means they dry out faster than large in-ground gardens. This rapid drying demands more frequent watering, but also offers an opportunity for precise water application, minimizing waste. Your success hinges on understanding a few key factors.
If you are using vertical garden systems, you will need to pay close attention to how water drains from the top levels to the bottom.
Properly managing moisture is also the key to beating summer heat stress and keeping your plants from wilting during the hottest months.
Factors Influencing Watering Frequency
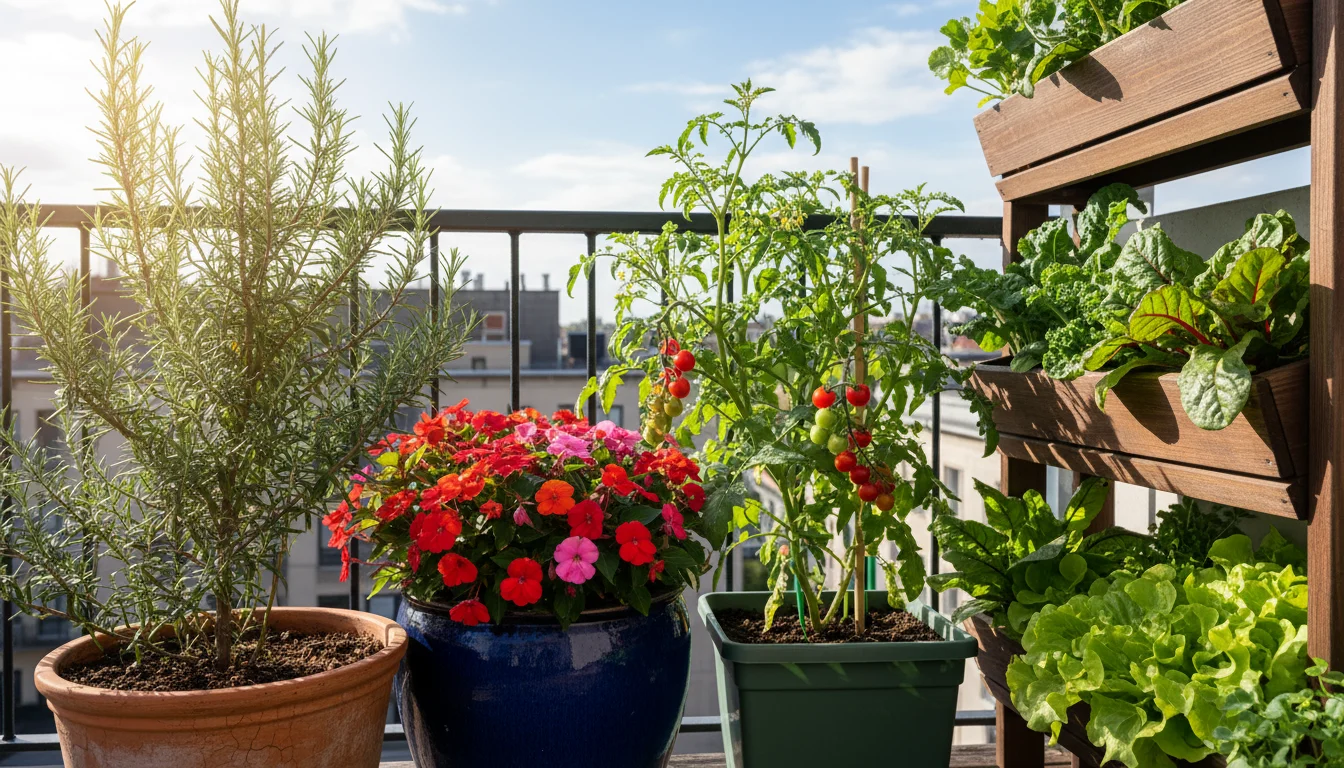
- Plant Type: Different plants have varying water needs. Herbs like rosemary prefer drier conditions, while many vegetables or impatiens demand consistent moisture. Research your specific plants to understand their preferences.
- Container Material: Terracotta pots, being porous, evaporate water more quickly than plastic or glazed ceramic containers. This influences how often you need to water.
- Pot Size: Smaller pots dry out much faster than larger ones. A tiny herb pot might need daily watering, while a large planter with a tomato plant might only need it every few days.
- Sun Exposure and Temperature: Gardens in full sun or during hot, windy weather lose moisture rapidly. Adjust your watering schedule based on daily conditions.
- Soil Mix: A good quality potting mix for containers retains moisture well but also drains efficiently. Heavy, dense soils hold too much water, potentially suffocating roots, while sandy mixes drain too quickly.
Effective small garden watering focuses on delivering moisture directly to the root zone without runoff. This approach conserves water, prevents fungal diseases, and promotes strong plant growth. Investing in efficient watering tools pays dividends in plant health and water savings.
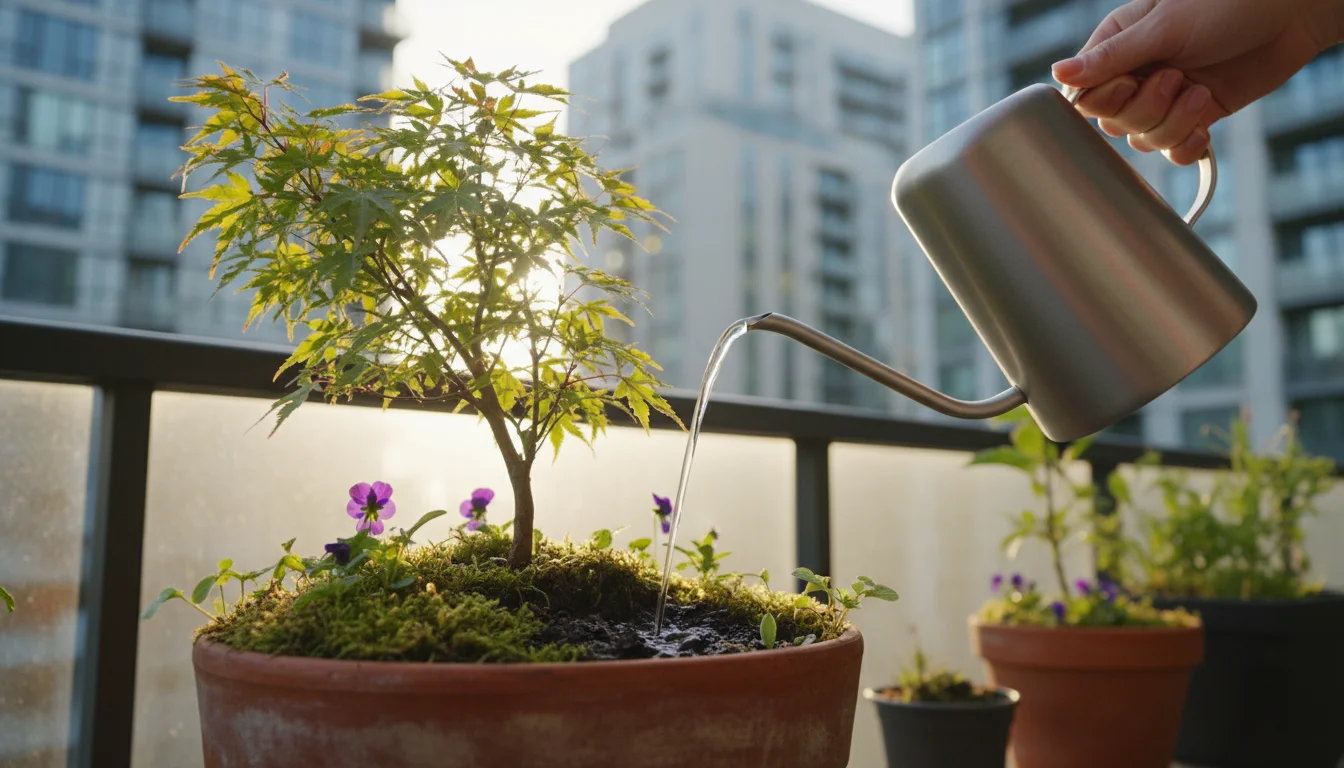
Watering Cans: The Classic Choice for Precision
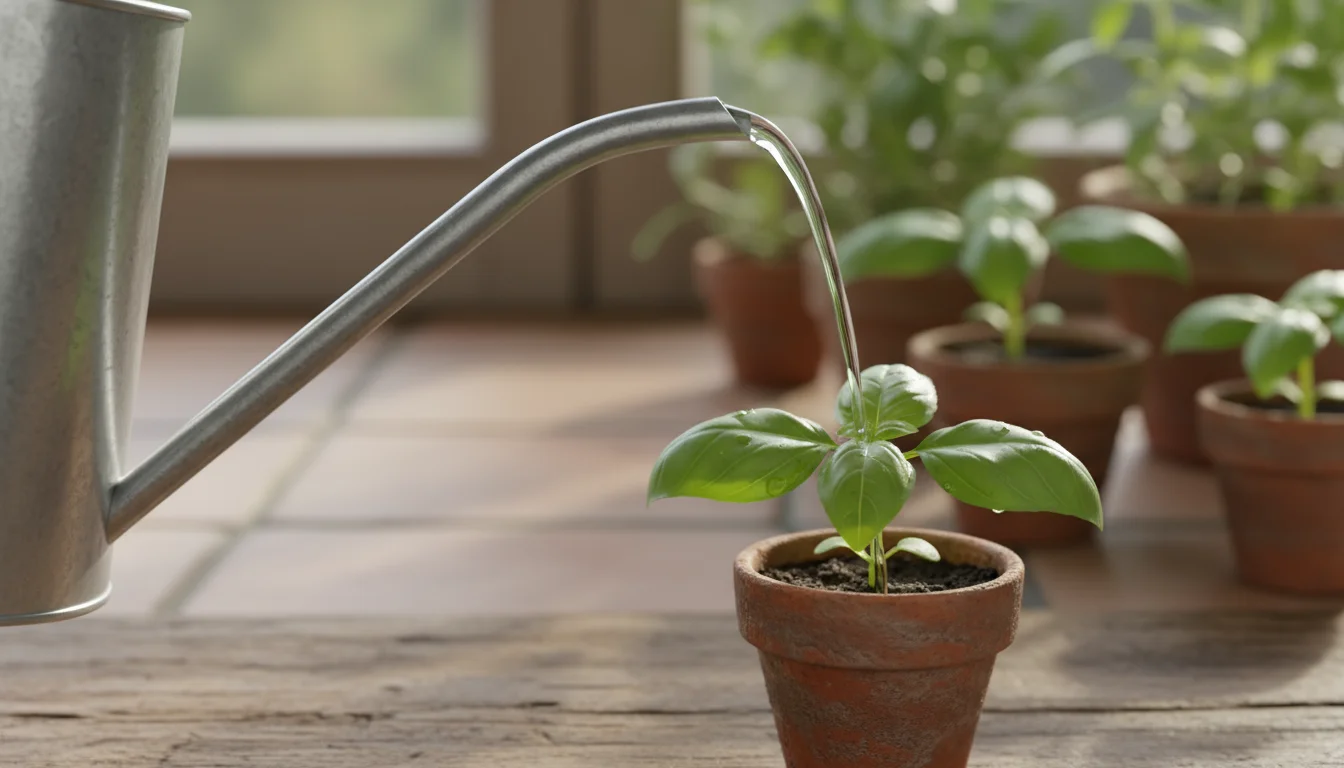
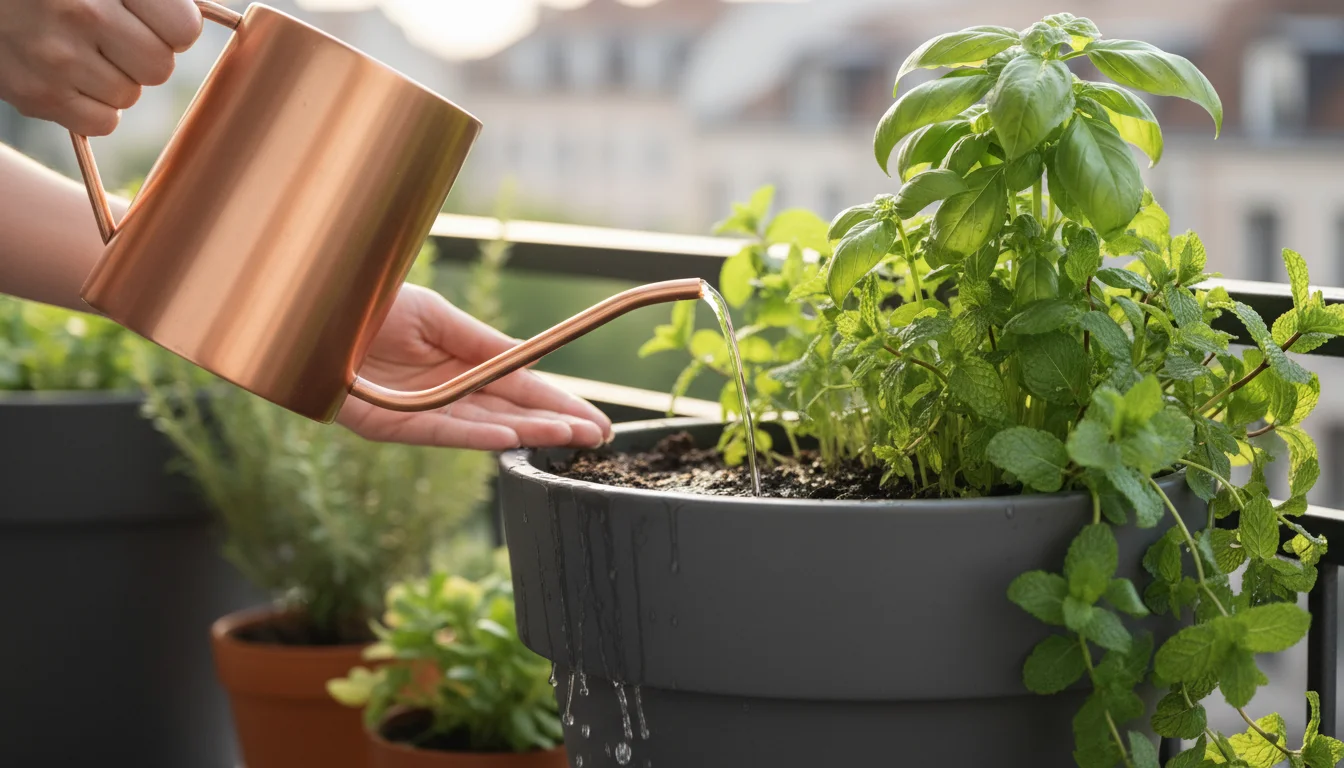
A reliable watering can remains an indispensable tool for any small garden. It provides direct, controlled water delivery, perfect for delicate seedlings, individual pots, or precise feeding with liquid fertilizers. Choosing the right watering can significantly enhances your gardening experience.
Capacity and Size
For small spaces, consider a watering can with a capacity between 1 to 2.5 gallons (4 to 10 liters). A 1-gallon can is light enough for easy maneuvering around crowded balconies, while a 2.5-gallon model reduces trips to the spigot for slightly larger collections of pots. Avoid overly large cans; they become heavy when full, causing strain and potential spills.
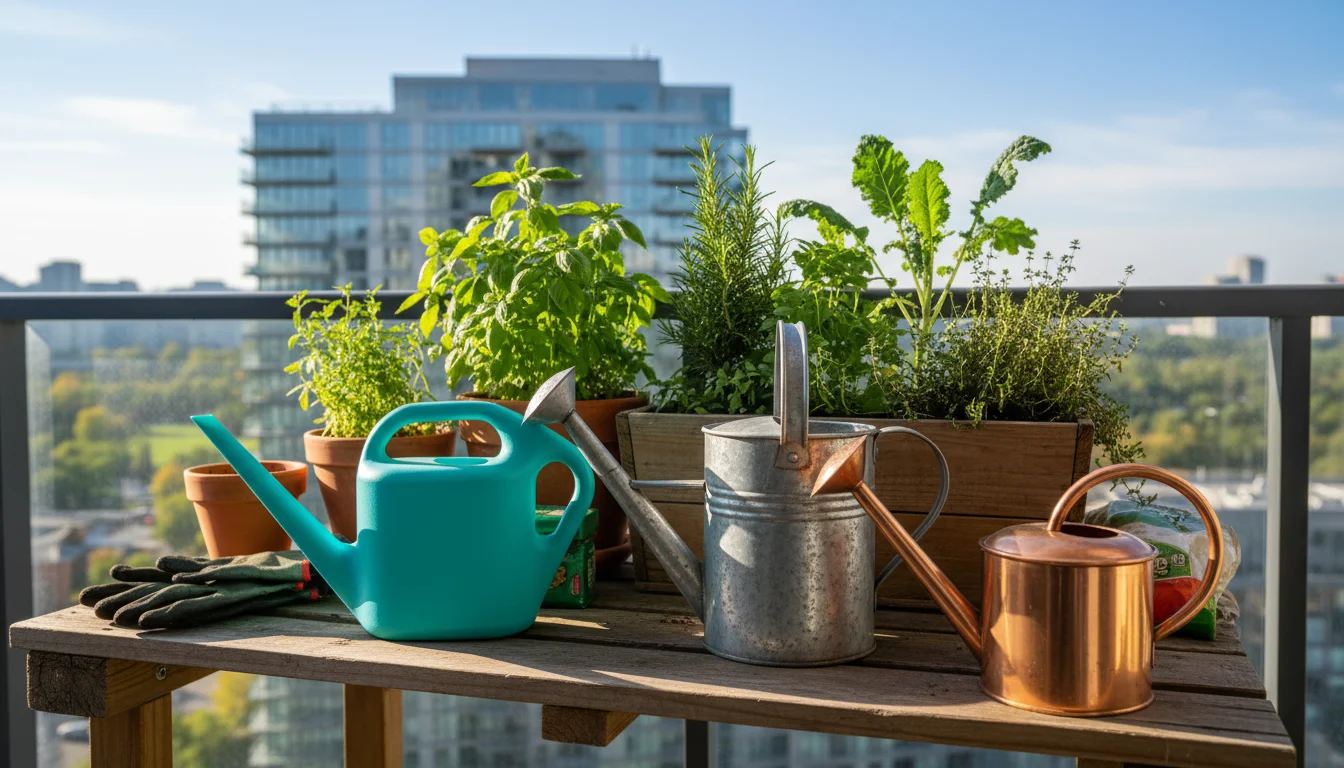
Material Matters
- Plastic: Lightweight, durable, and generally the most affordable option. High-quality UV-resistant plastic resists fading and cracking over time. Plastic cans often come in vibrant colors. They are easy to clean and resist rust.
- Galvanized Steel: Offers a classic aesthetic and exceptional durability. These cans are heavier than plastic, which provides stability when full. They resist rust due to their galvanized coating but can dent if dropped. Expect a longer lifespan from a well-maintained galvanized steel can.
- Copper or Stainless Steel: These represent premium options, prized for their beauty and longevity. Copper naturally deters algae growth. Both materials are highly rust-resistant but carry a higher price tag. They make excellent heirloom tools.
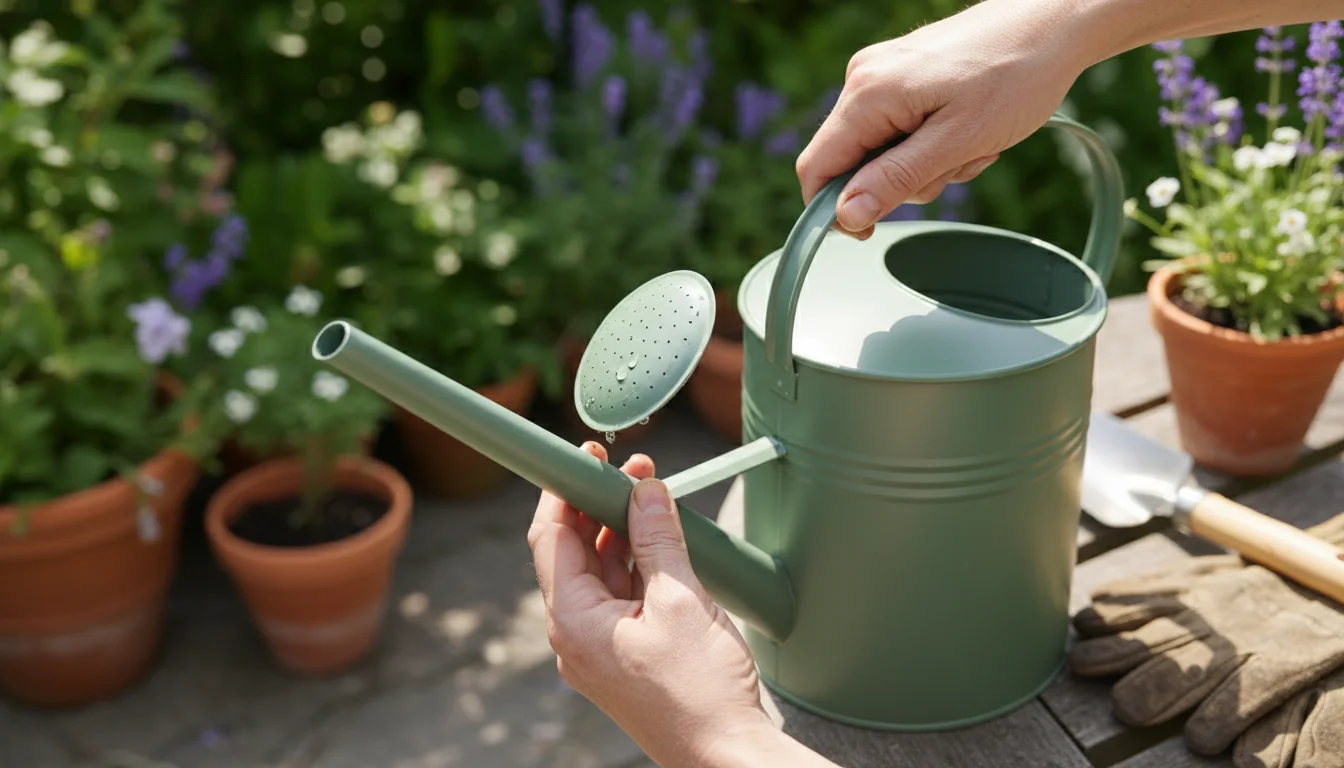
Spout Design and Rose Attachments
The spout and its attachment, known as a “rose,” dictate how water flows. Look for specific features:
- Long, Narrow Spout: Essential for reaching plants deep within shelving units, hanging baskets, or densely packed planters without disturbing foliage. This design provides a targeted stream.
- Removable Rose: A rose is the perforated cap on the spout that creates a gentle, rain-like shower. A good watering can offers a removable rose for two reasons:
- It allows you to switch between a gentle sprinkle for seedlings and a steady stream for larger, thirstier plants or filling bottom-watering saucers.
- You can remove it for easy cleaning, preventing mineral buildup or debris from clogging the holes.
- Fine vs. Coarse Rose: A fine rose delivers a very gentle, diffuse spray, ideal for delicate young plants or newly seeded trays, preventing soil erosion. A coarser rose provides a heavier sprinkle for established plants. Some cans include interchangeable roses for versatility.
Handle and Ergonomics
Comfortable handling prevents fatigue. Look for a can with both a top handle for carrying when full and a rear handle for tilting and pouring. A balanced design prevents tipping and makes pouring smooth and controlled. Ensure the handles feel solid and provide a good grip, even with wet hands.
Maintenance and Storage
After each use, empty your watering can completely. Stagnant water can promote algae growth, especially in sunny conditions. Rinse it periodically, particularly if you use liquid fertilizers, to prevent residue buildup. Store your watering can upside down or on its side in a shaded spot to prolong its life and prevent water accumulation. For small spaces, consider designs that stack or fit snugly into corners.
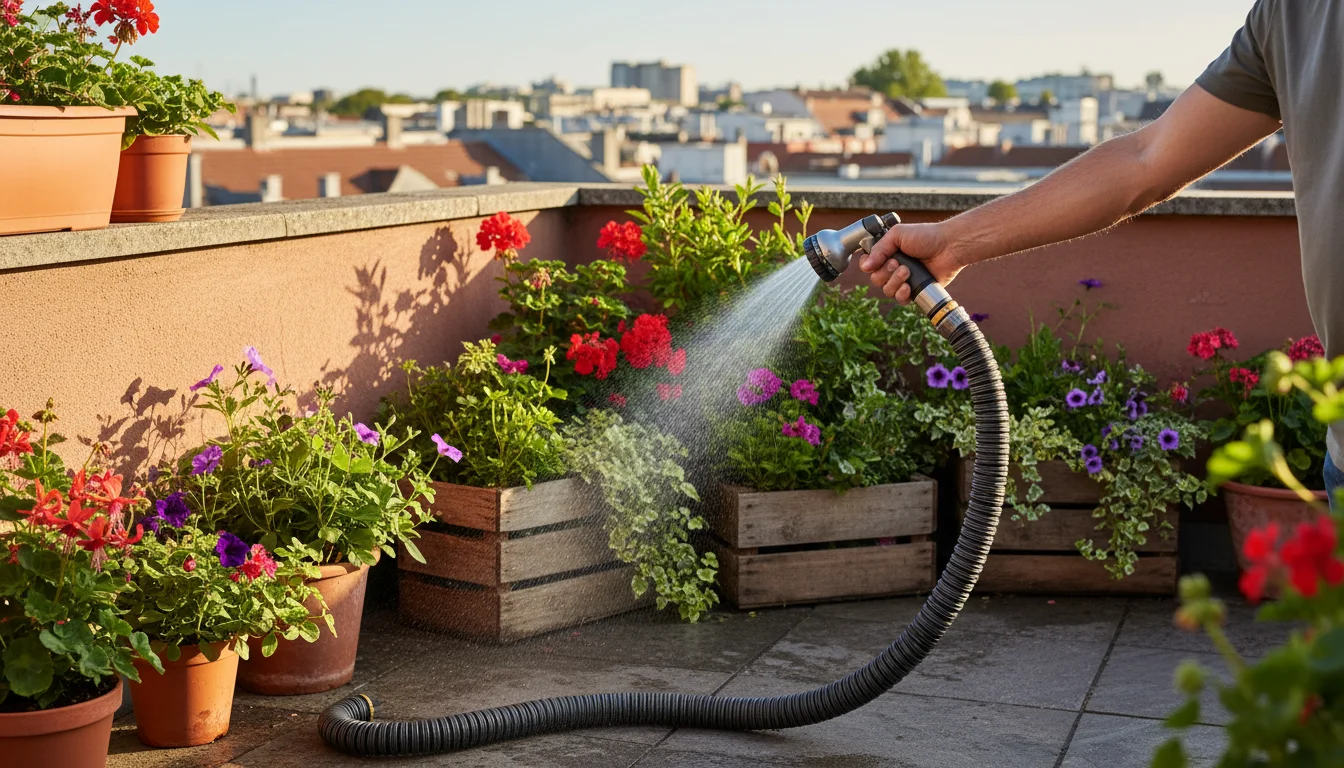
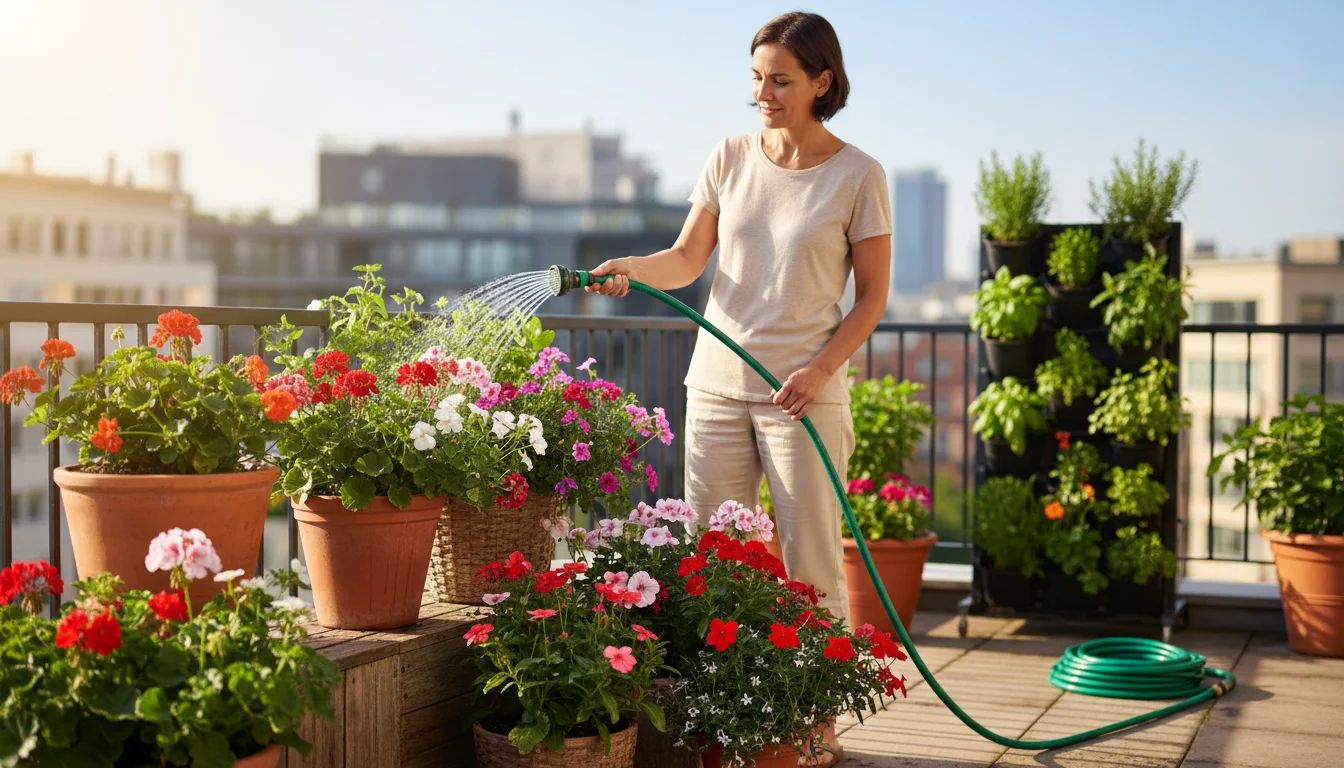
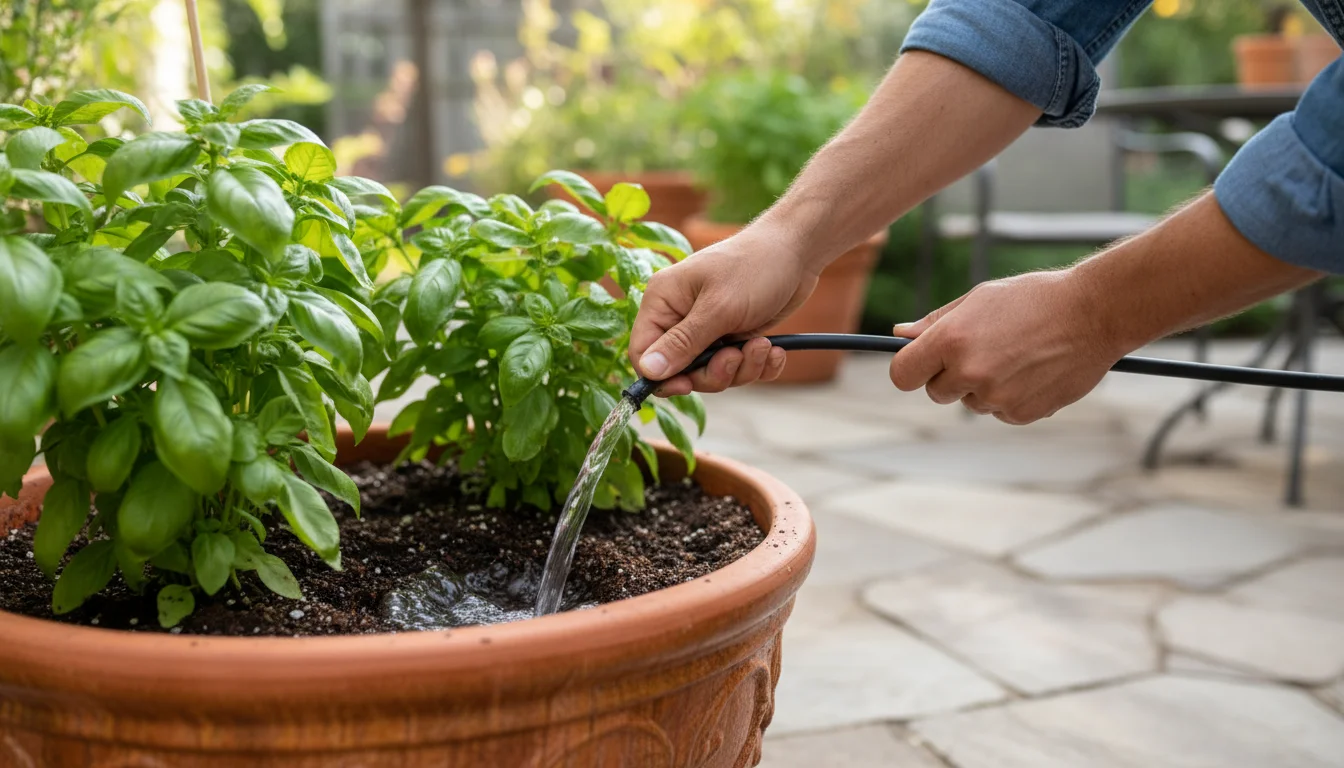
Compact Hoses and Nozzles for Small Spaces
While watering cans handle precision tasks, a compact hose offers efficiency for multiple containers or larger small garden beds. Traditional bulky hoses pose storage challenges in tight spaces. Fortunately, modern innovations provide excellent alternatives for small garden watering.
Types of Compact Hoses
- Expandable Hoses: These hoses contract to a fraction of their length when empty and expand up to three times their size when filled with water pressure. They are incredibly lightweight and easy to store in a small bucket or hung on a hook.
- Pros: Excellent space-saving, very light, tangle-resistant.
- Cons: Durability varies greatly by quality. Avoid dragging over sharp surfaces. Store out of direct sun when not in use.
- Coil Hoses: Made from memory plastic, these hoses automatically coil back into a compact spiral after use. They are usually shorter, typically 15 to 50 feet, which is ample for most small gardens.
- Pros: Self-coiling, neat storage, good for moderate distances.
- Cons: Can be prone to kinking if stretched too far, limited reach compared to traditional hoses.
- Flat Hoses: These hoses lie flat when empty, similar to a fire hose, making them easy to roll up onto a reel or store. They take up less space than traditional round hoses.
- Pros: Compact storage, lightweight for their length.
- Cons: Requires unrolling and rolling, can burst if pressure builds up when kinked.
For your small garden, a 25-foot or 50-foot compact hose typically offers sufficient reach without excess bulk. Measure your area to determine the ideal length.
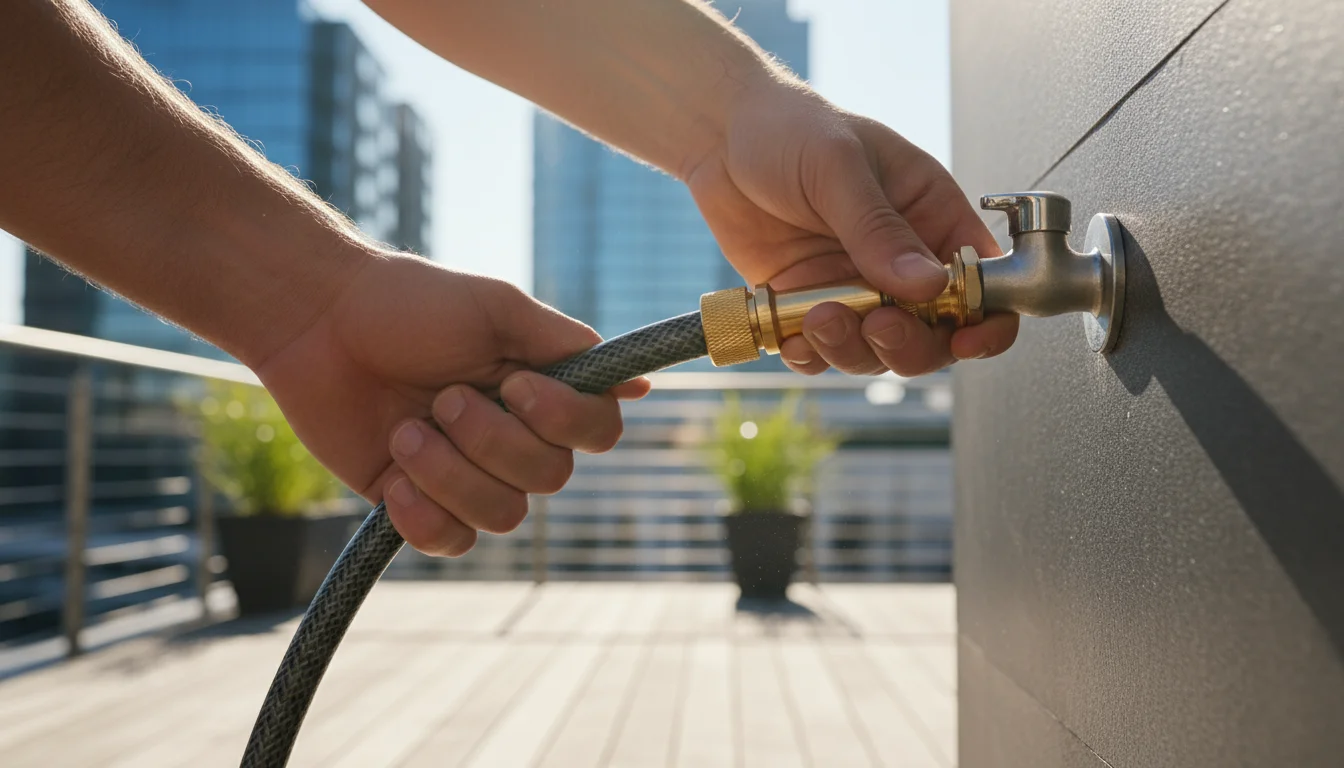
Hose Connectors and Fittings
Choose hoses with durable brass or heavy-duty plastic connectors. Plastic connectors are lighter but can be more prone to cracking. Brass connectors offer superior longevity and a leak-free seal. Quick-connect fittings are a game-changer for convenience, allowing you to attach and detach nozzles or sprinklers with a simple click, saving time and preventing twisted hoses.
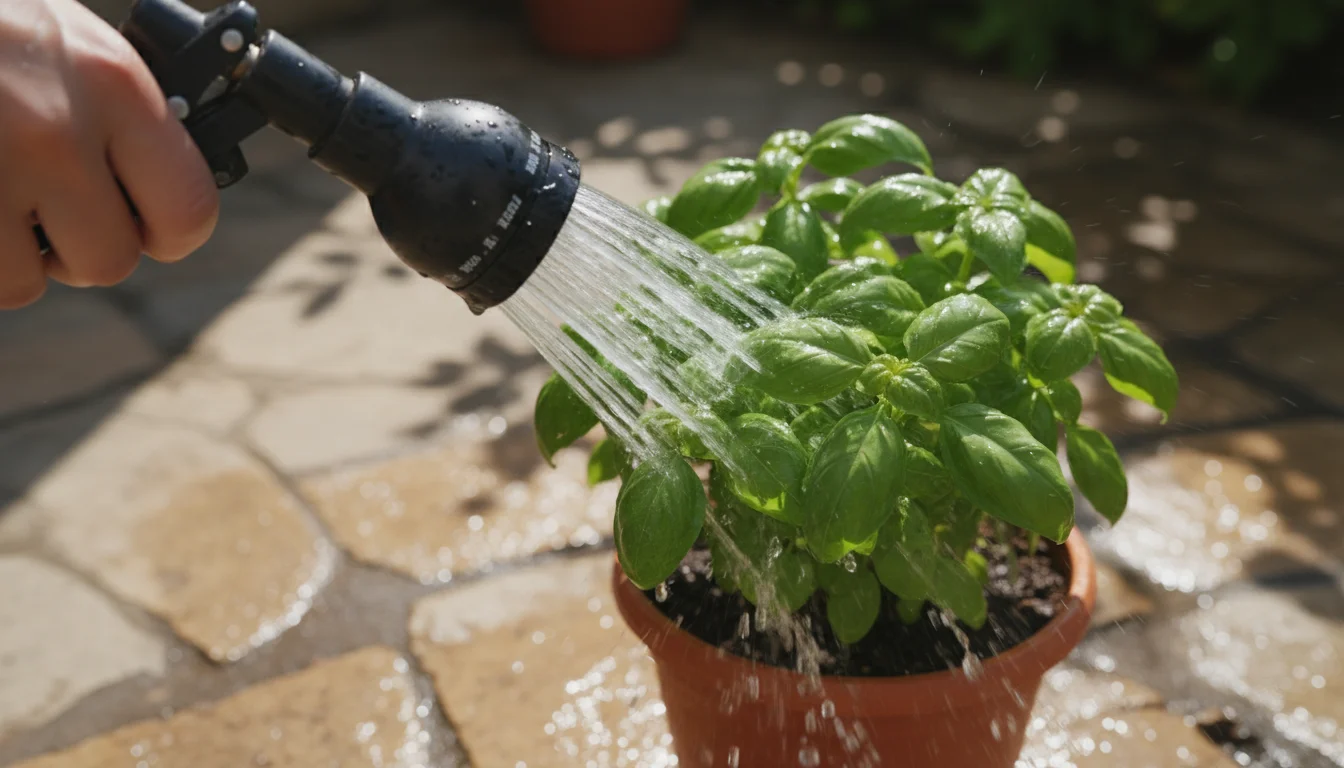
Essential Nozzles for Small Gardens
The right nozzle transforms a strong stream into the perfect spray pattern for your plants. Look for an adjustable nozzle that offers multiple settings.
- Adjustable Nozzles: These allow you to switch from a gentle shower (ideal for delicate plants and seedlings) to a strong jet (for cleaning paths, not plants) with a twist. A pistol grip nozzle with a trigger offers ergonomic control, while a wand-style nozzle helps reach hanging baskets or plants at the back of a deep bed without bending.
- Shower Setting: Mimics a gentle rain, saturating the soil without disturbing it or damaging foliage. This is your primary setting for most plant watering.
- Mist Setting: Useful for humidity-loving plants or cleaning dust from leaves, but generally not for deep watering.
- Flow Control: Some nozzles feature a flow control dial, allowing you to adjust water volume independently of the spray pattern, enhancing water efficiency.
- Shut-Off Valve: A simple lever or button on the nozzle or attached to the hose at the spigot prevents unnecessary water waste between watering tasks. This is a must-have feature for water conservation.

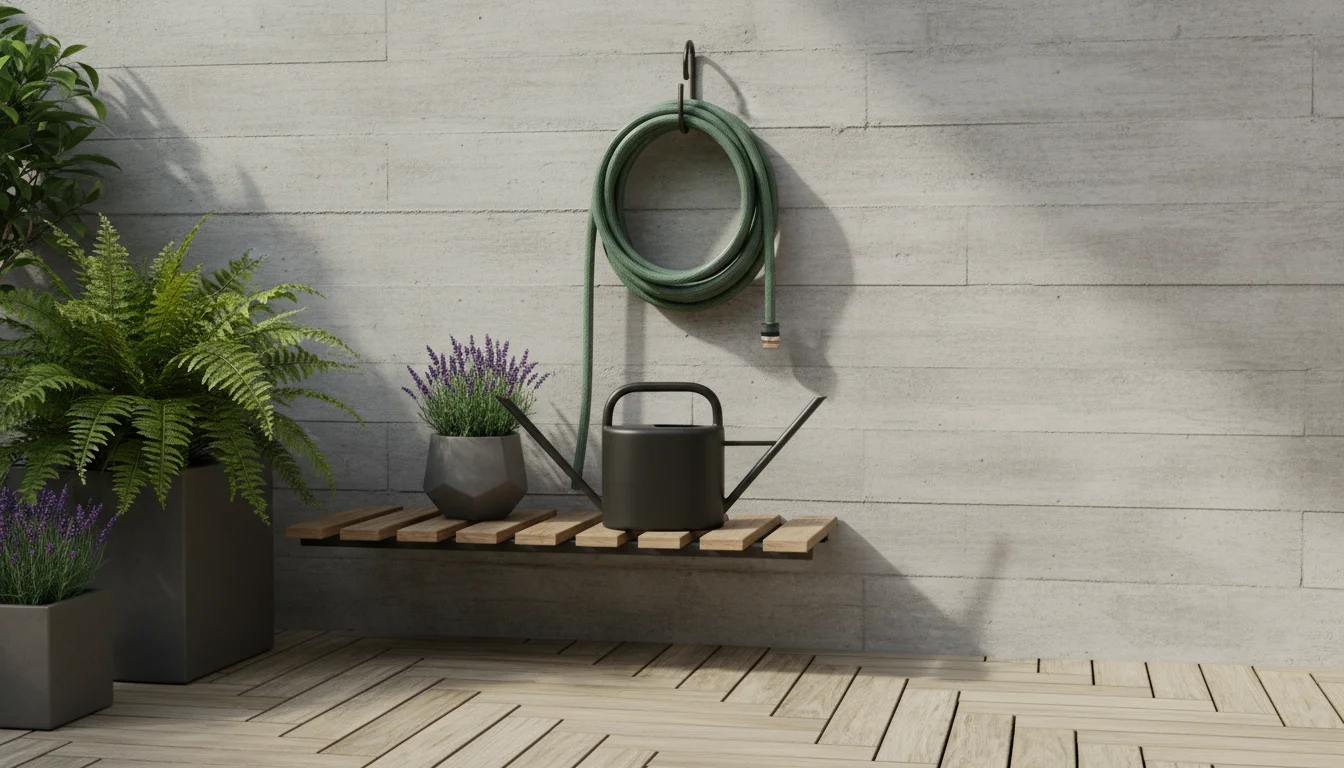
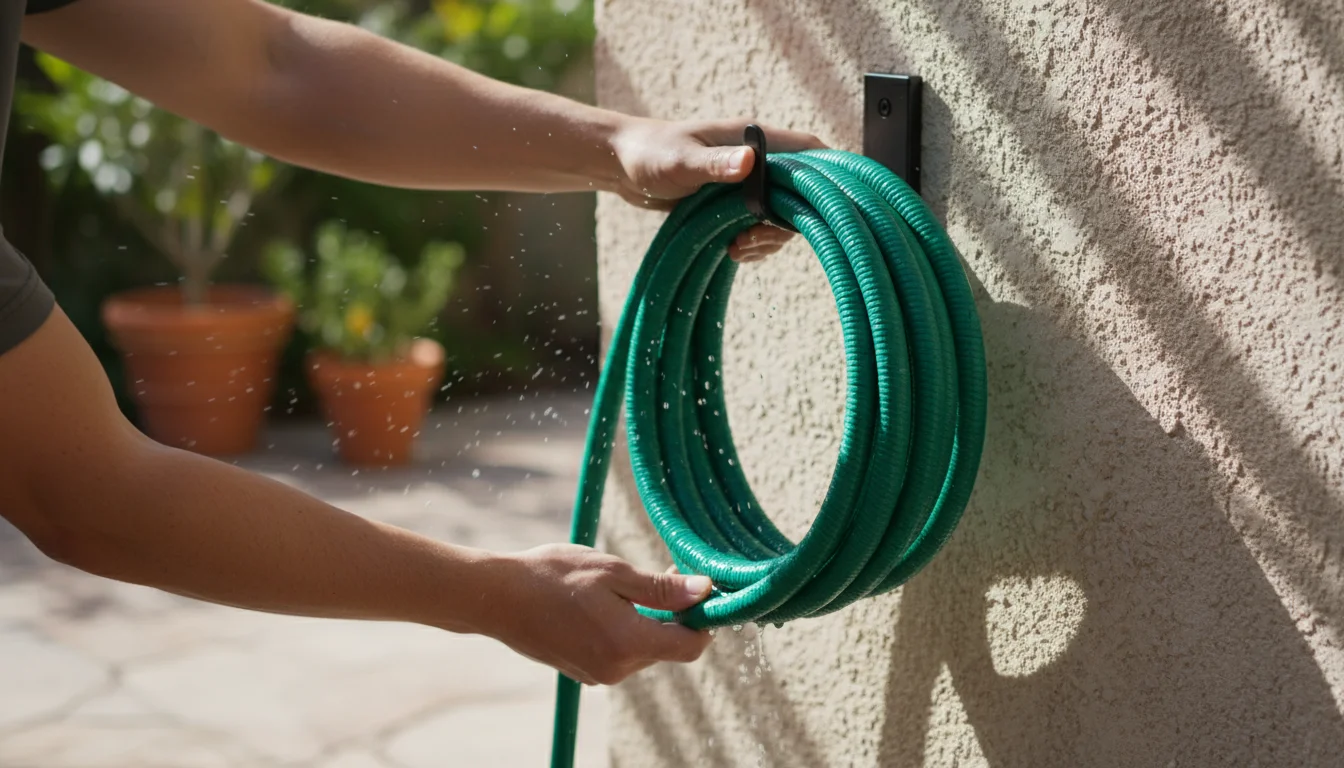
Storage Solutions for Compact Hoses
Even compact hoses benefit from proper storage. Hang expandable or coil hoses on a decorative hook on a wall or balcony railing. A small, wall-mounted hose reel can neatly store flat or traditional short hoses. Keeping your hose off the ground prolongs its life, prevents tripping hazards, and maintains a tidy appearance in your small garden.

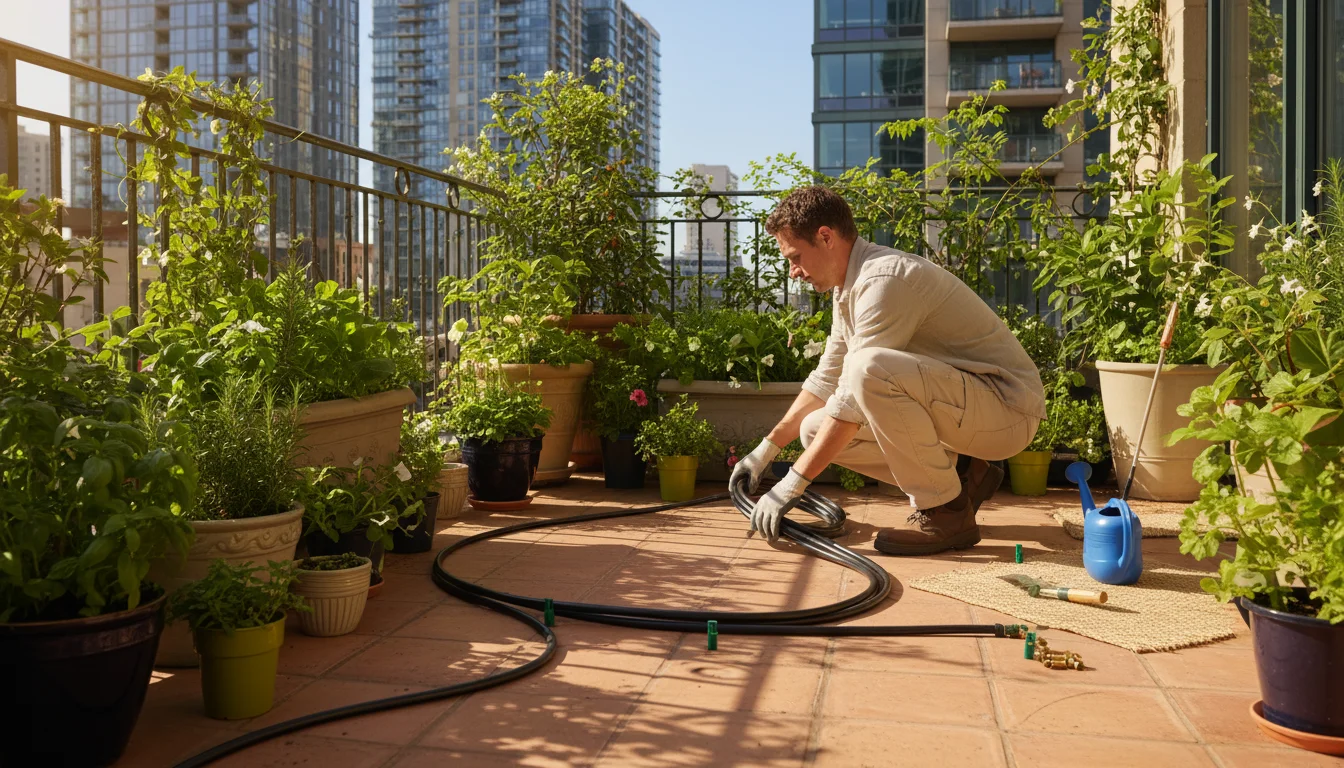
Micro-Drip and Self-Watering Systems: For Efficiency and Automation
For gardeners seeking ultimate water efficiency and reduced manual effort, micro-drip irrigation systems provide an excellent solution. These systems deliver water slowly and directly to the plant’s root zone, minimizing evaporation and runoff. They are particularly beneficial for small gardens with multiple containers, raised beds, or window boxes, ensuring consistent moisture even when you are away.
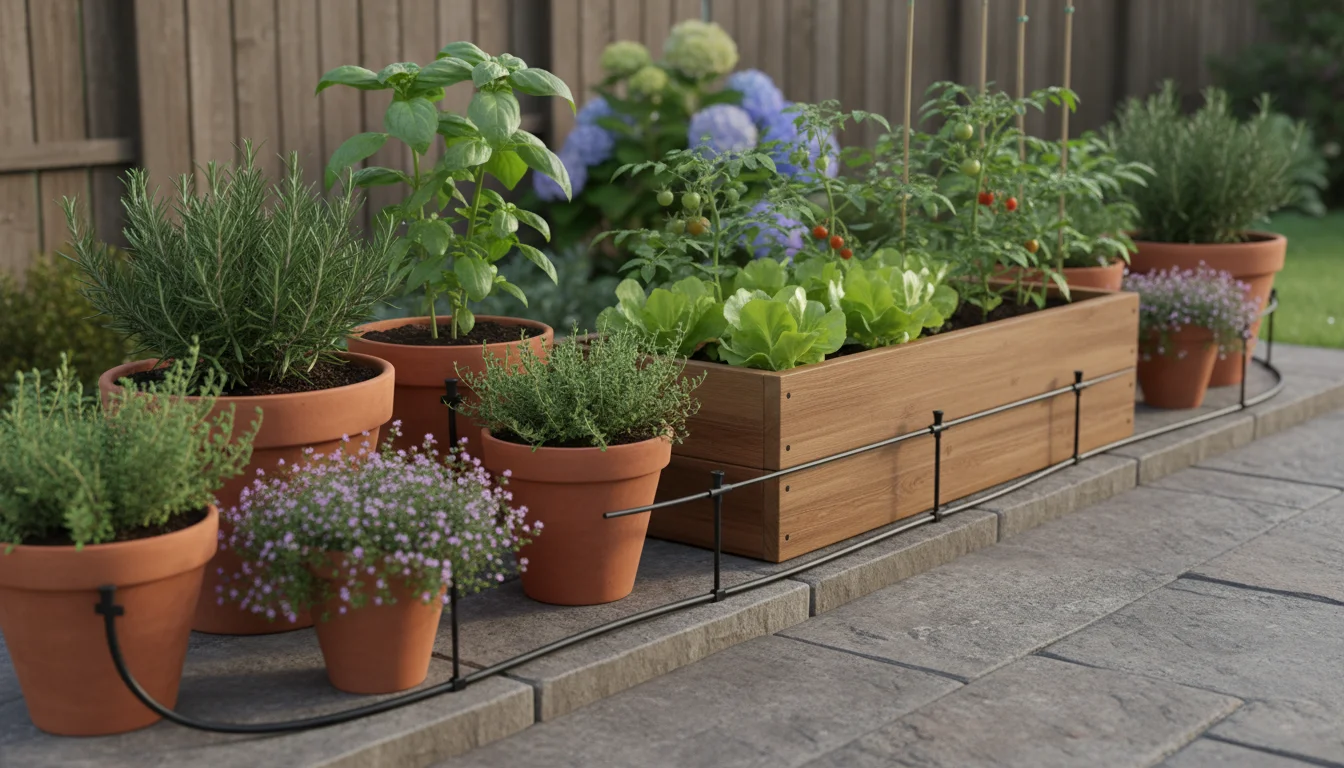
How Micro-Drip Systems Work
A micro-drip system consists of a main supply line connected to your water source (spigot), smaller distribution tubing, and various emitters or drippers that release water. Water travels through the tubing and drips out at specific points, providing a steady, controlled supply directly where your plants need it most.
Key Components for Small Gardens
- Pressure Regulator: Reduces household water pressure to a safe level for the drip system, typically 25-30 PSI. This prevents blowouts and ensures consistent water delivery from each emitter.
- Filter: Prevents sediment from clogging the small emitter holes. Regularly clean the filter, especially if you have hard water or well water.
- Main Line Tubing: Typically 1/2-inch or 3/4-inch poly tubing, it carries water from the spigot to your planting areas.
- Distribution Tubing: Smaller 1/4-inch tubing branches off the main line, leading directly to individual plants or groups of plants.
- Emitters/Drippers: These are the heart of the system.
- Drip Emitters: Deliver water at a slow, specific rate (e.g., 0.5, 1, or 2 gallons per hour GPH) directly to the base of individual plants. You can choose different flow rates based on plant needs.
- Drip Rings or Halos: These are circular pieces of drip tubing with emitters, encircling a plant for even watering, excellent for larger container plants.
- Drip Line/Soaker Tubing: Tubing with integrated emitters spaced every 6-12 inches, ideal for rows of plants in raised beds or linear groupings of pots.
- Fittings and Connectors: Elbows, tees, couplings, and end caps allow you to customize the layout to fit your unique small garden design. Push-on fittings simplify installation, requiring no glues or clamps.
- Timer: An automatic timer connects to your spigot and turns the water on and off at programmed intervals, automating your garden irrigation completely. Battery-operated timers are common and easy to program.
Benefits for Small Gardens
- Water Conservation: Drip systems can reduce water use by 30-70% compared to traditional watering methods because they eliminate evaporation from splashing and surface runoff. Every drop reaches the plant roots.
- Consistent Moisture: Plants receive a steady supply of water, avoiding the stress of cycles between drought and deluge. This promotes healthier growth and better yields.
- Reduced Disease: By keeping foliage dry, drip irrigation minimizes the conditions favorable for many common fungal diseases.
- Time-Saving: Once installed and programmed with a timer, your watering is largely automated, freeing up your time.
- Versatility: Easily adaptable to various configurations, from a single potted plant to an entire balcony filled with containers.
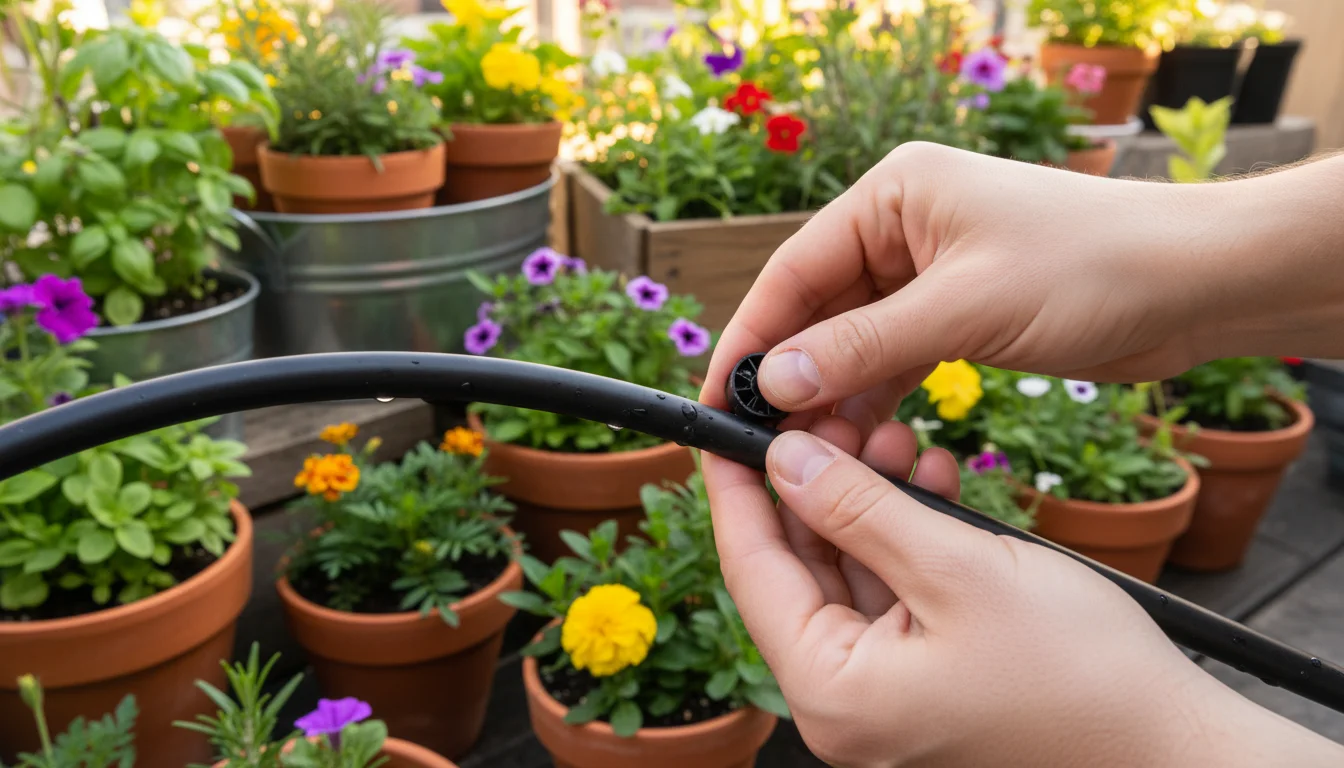
Installation Tips for Small Gardens
- Plan Your Layout: Sketch your small garden, identifying the location of your water source and each plant or container. Map out where the main line and distribution tubing will run.
- Start Simple: Purchase a beginner-friendly micro-drip kit. These kits often include all necessary components and provide instructions specifically for small-scale setups.
- Connect to Spigot: Attach your pressure regulator and filter directly to your outdoor faucet. Then connect the main line tubing.
- Lay the Main Line: Run the main line along the perimeter or central pathway of your garden, securing it with landscape stakes if needed.
- Branch Out: Use punching tools to create holes in the main line where you want to branch off with 1/4-inch tubing to individual plants. Insert appropriate fittings or emitters.
- Test and Adjust: Turn on the water to check for leaks and ensure all emitters are working. Adjust emitter flow rates as needed for different plant types.
Micro-drip systems transform garden irrigation, making watering a hands-off, highly efficient process perfect for busy small gardeners.
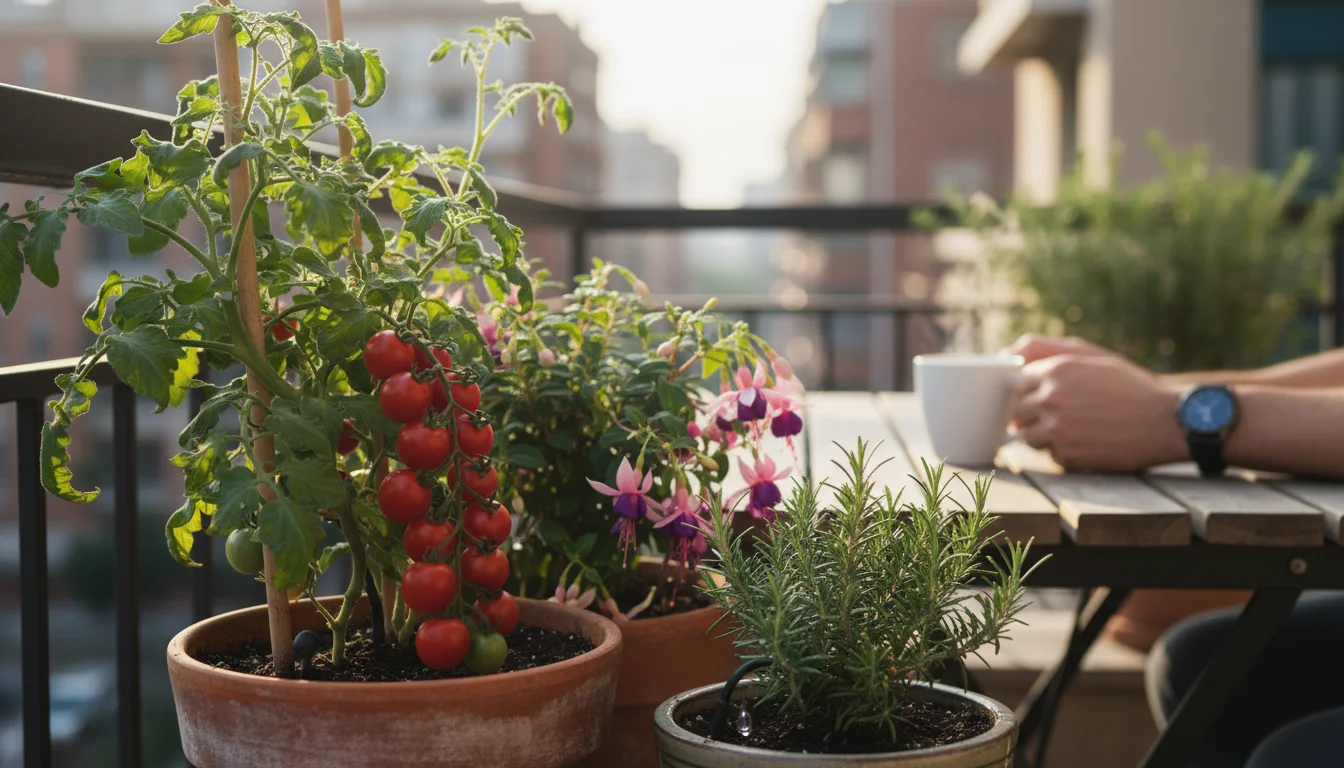
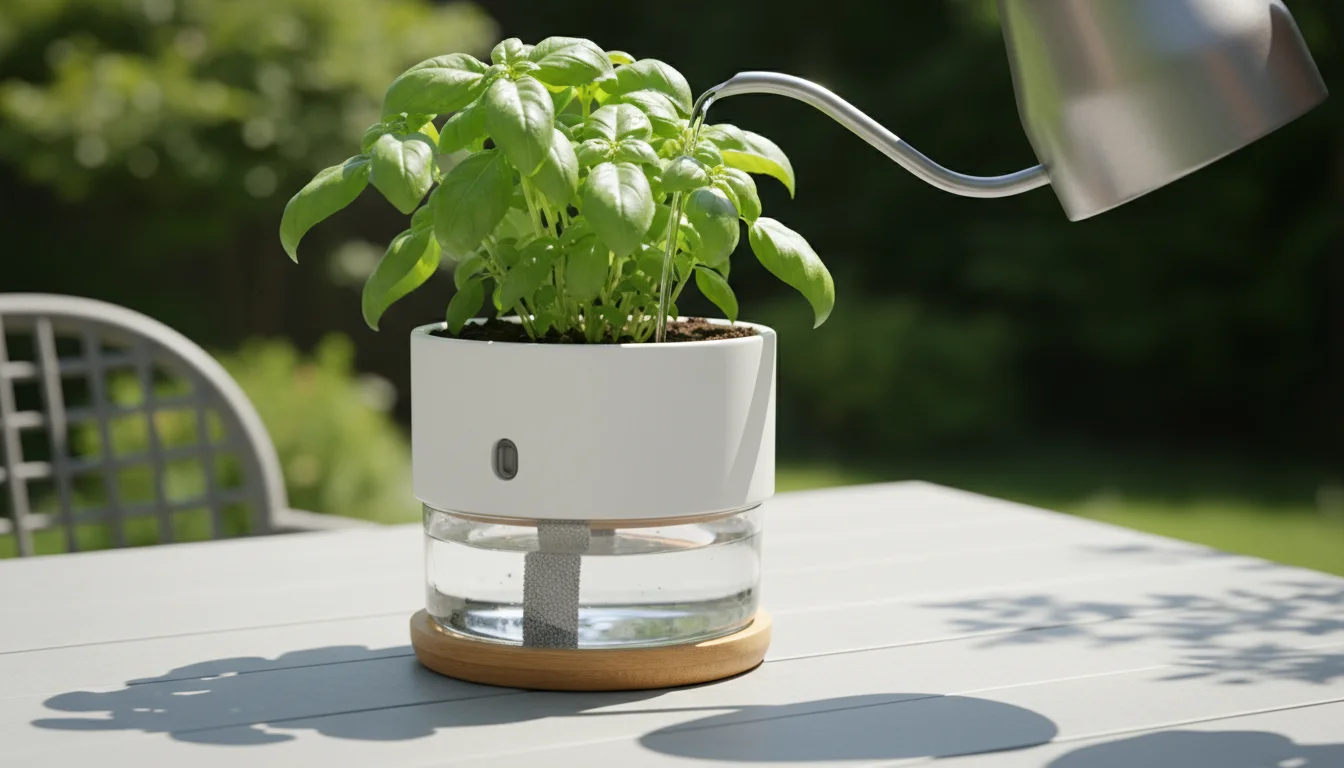
Self-Watering Containers: A Hands-Off Approach
Self-watering containers offer another innovative solution for small garden watering, significantly reducing the frequency of manual watering. These planters are perfect for balconies, patios, or any area where daily watering becomes a chore or for gardeners who travel frequently.
How Self-Watering Containers Work
These containers feature a built-in water reservoir at the bottom, separated from the soil by a wicking system. A wicking component, usually a fabric strip, a plastic tube, or an extension of the pot itself, draws water up from the reservoir into the soil as the plant needs it. An overflow hole prevents overfilling and root rot. You fill the reservoir, and the plant essentially waters itself.
Benefits for Small Gardens
- Reduced Watering Frequency: Depending on the plant and container size, you might only need to refill the reservoir every few days or even once a week, compared to daily manual watering.
- Consistent Moisture: Plants receive a steady supply of water from below, which leads to more uniform moisture levels in the soil, preventing the stress of wet/dry cycles. This often results in healthier, more productive plants.
- Water Conservation: Since water is drawn from below, evaporation from the soil surface significantly decreases. The system delivers water directly to the roots without runoff, conserving valuable resources.
- Nutrient Retention: Bottom-watering minimizes the leaching of nutrients from the soil, keeping them available for your plants.
- Less Disease: Keeping foliage dry prevents many common fungal diseases that thrive on wet leaves.
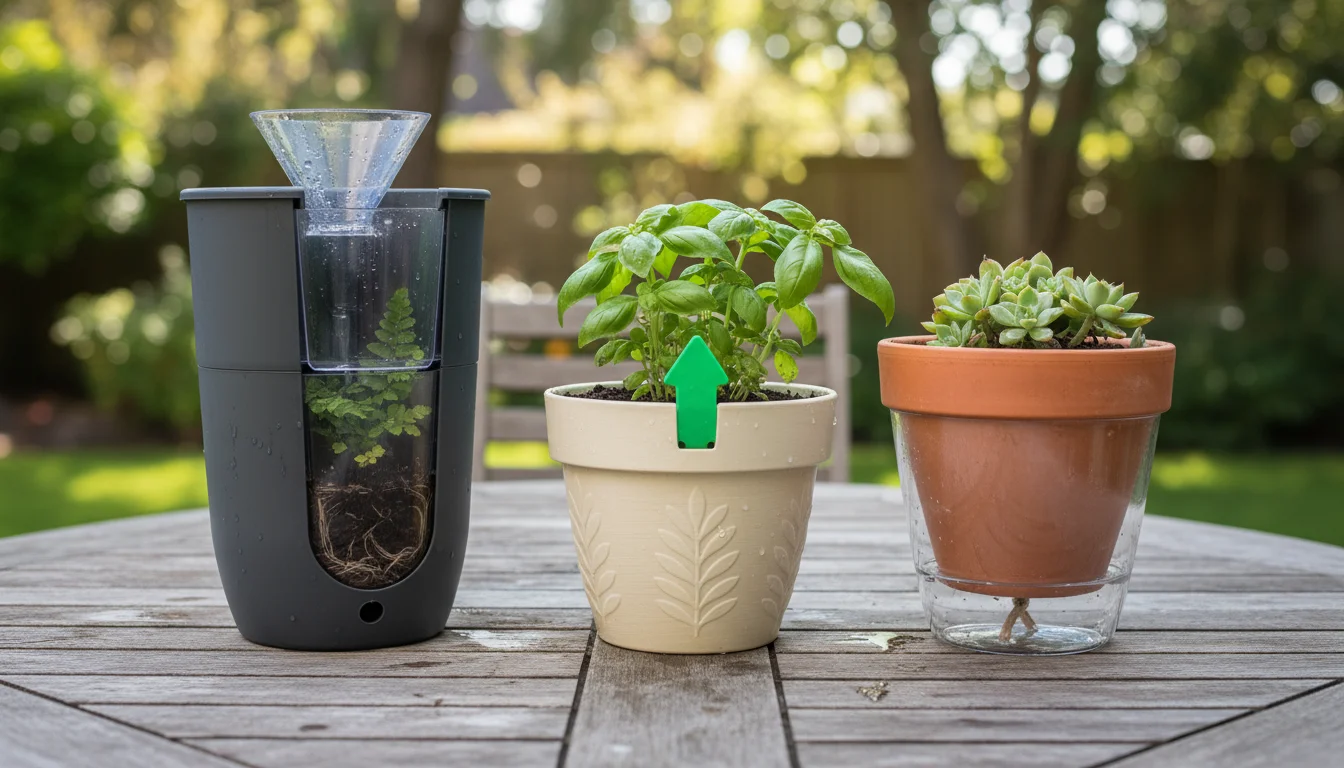
Choosing the Right Self-Watering Container
- Size: Match the container size to your plant’s mature size. Larger plants need larger reservoirs and more soil volume. For small spaces, consider vertical self-watering planters that stack or hang.
- Material: Self-watering containers come in various materials, including plastic, ceramic, and terracotta. Plastic is lightweight and durable, while ceramic and terracotta offer different aesthetics but may be heavier.
- Wicking System: Some systems use capillary mats, others use wicking ropes or an elevated soil grid. All aim to draw water efficiently. Ensure the wicking system seems robust and easy to access for cleaning if needed.
- Filler Tube: A wide, easily accessible filler tube simplifies refilling the reservoir.
- Overflow Hole: Crucial for preventing root rot by draining excess water after heavy rain or overfilling. Ensure it is clear and functional.

Ideal Plants for Self-Watering Containers
Many plants thrive in self-watering containers, especially those that prefer consistent moisture:
- Vegetables: Tomatoes, peppers, eggplants, leafy greens (lettuce, spinach, kale), cucumbers, and bush beans.
- Herbs: Basil, mint, parsley, chives. Herbs that prefer drier conditions, like rosemary and thyme, may not be ideal.
- Flowers: Petunias, impatiens, fuchsias, begonia, and other moisture-loving annuals.
Maintenance for Self-Watering Containers
While low-maintenance, they are not entirely maintenance-free. Periodically, you should flush the system by watering from the top to prevent mineral salt buildup in the soil. At the end of the season, thoroughly clean the reservoir and wicking system to prevent algae and bacterial growth. Replace potting mix annually for optimal plant health.
Accessories and Smart Watering Tools
Beyond the core watering tools, several accessories enhance your small garden watering efficiency and precision. These items help you understand your plants’ needs better and automate tasks, making garden irrigation even simpler.
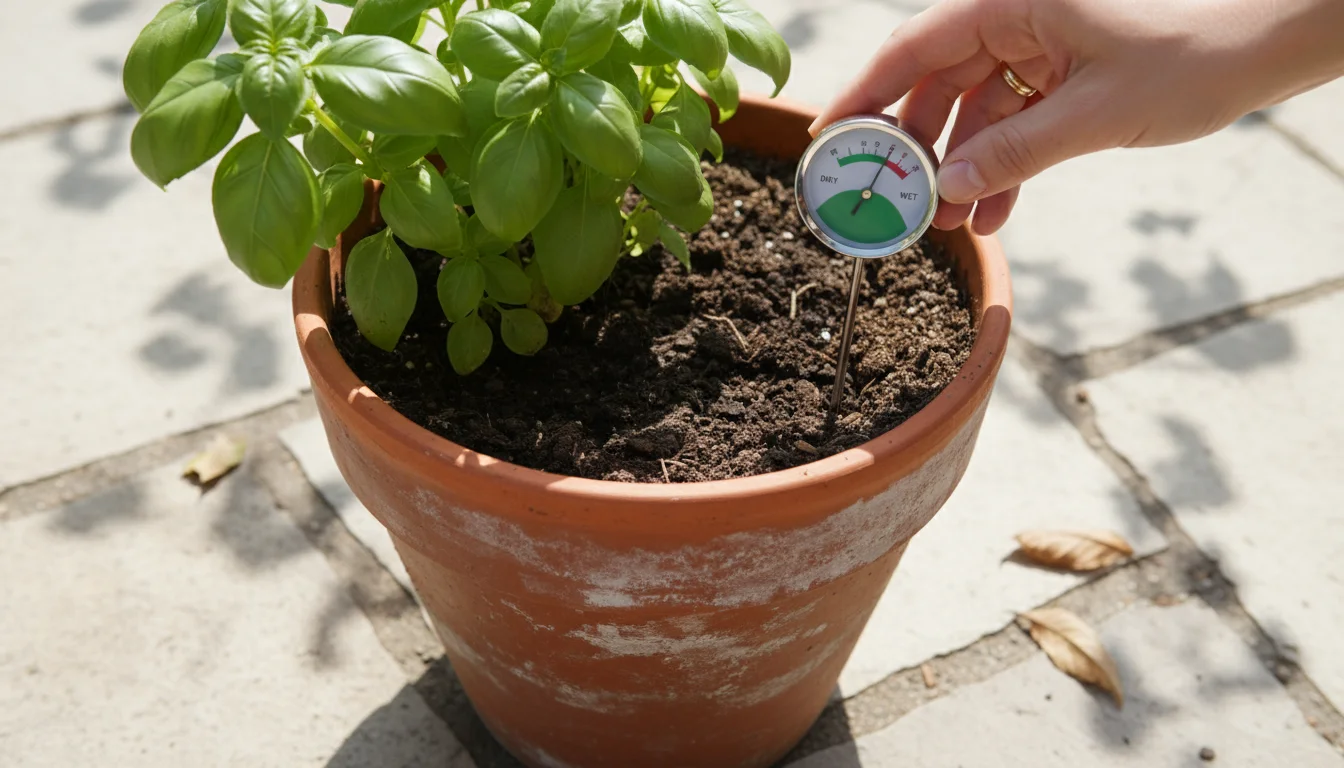
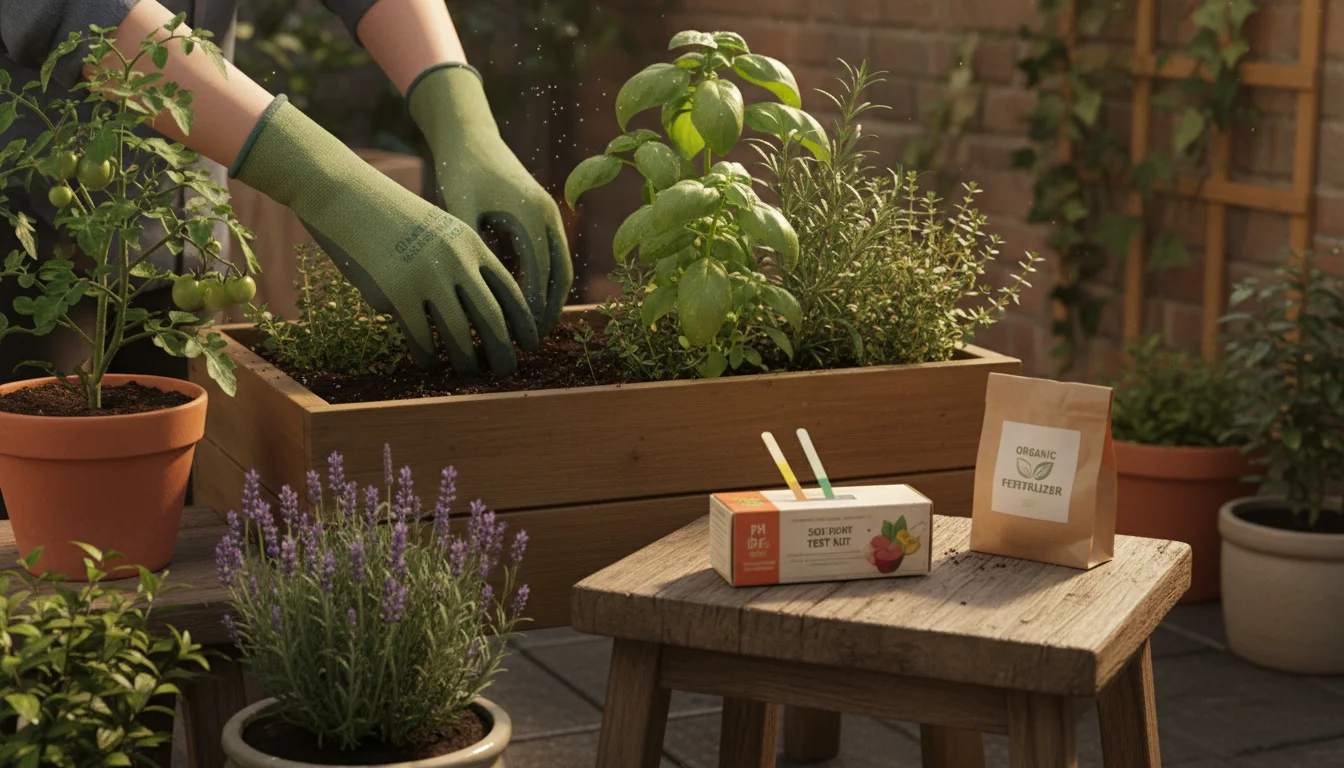
Soil Moisture Meters
A simple soil moisture meter eliminates guesswork. These inexpensive tools feature a probe you insert into the soil. A needle on a dial indicates moisture levels, from dry to wet. This prevents both under-watering and over-watering, which is particularly critical in small containers where root systems are confined. Use it at different depths and locations in your pots for accurate readings. A meter gives you objective data, moving beyond the “finger test” which only assesses the top inch of soil.
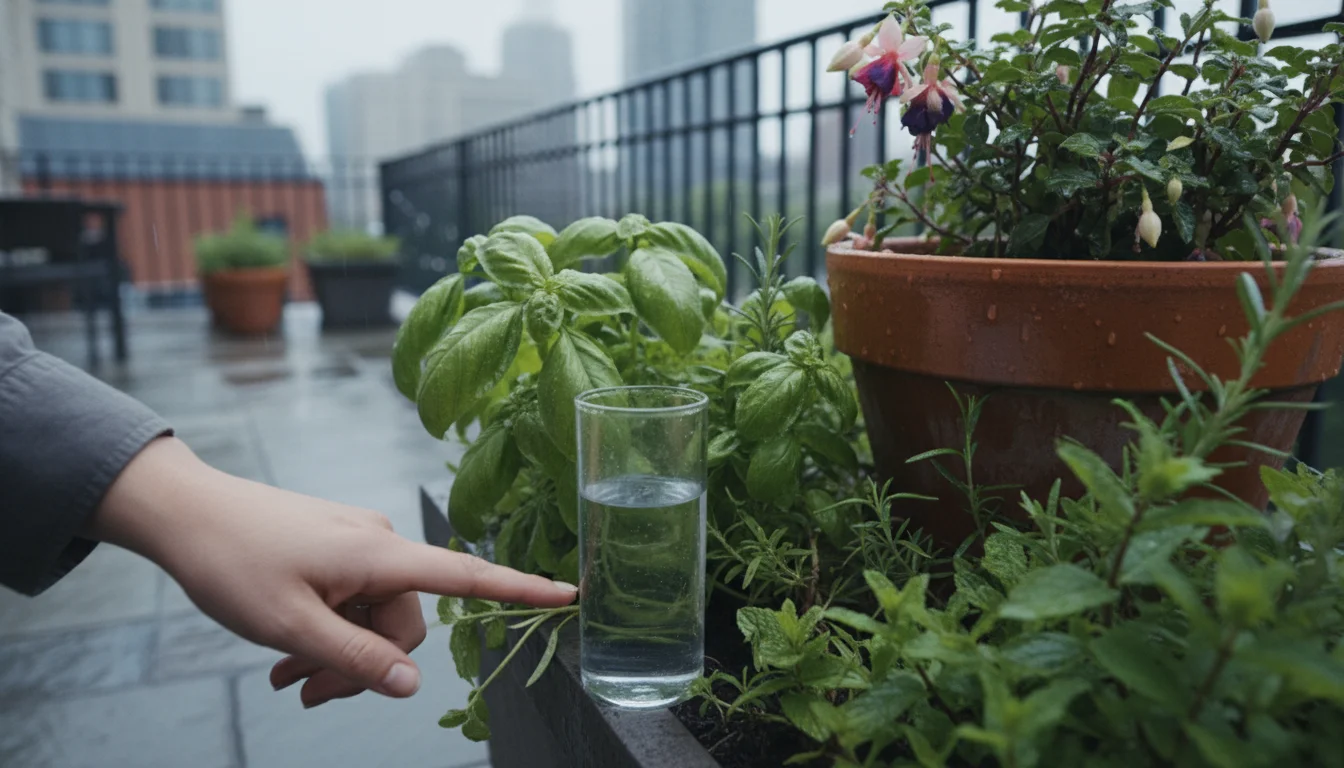
Rain Gauges
For small gardens with outdoor exposure, a rain gauge helps you track natural precipitation. If your garden receives a significant downpour, you might delay manual watering for a day or two. This prevents unnecessary watering and conserves resources. Choose a simple, easy-to-read gauge that mounts securely in an open area.
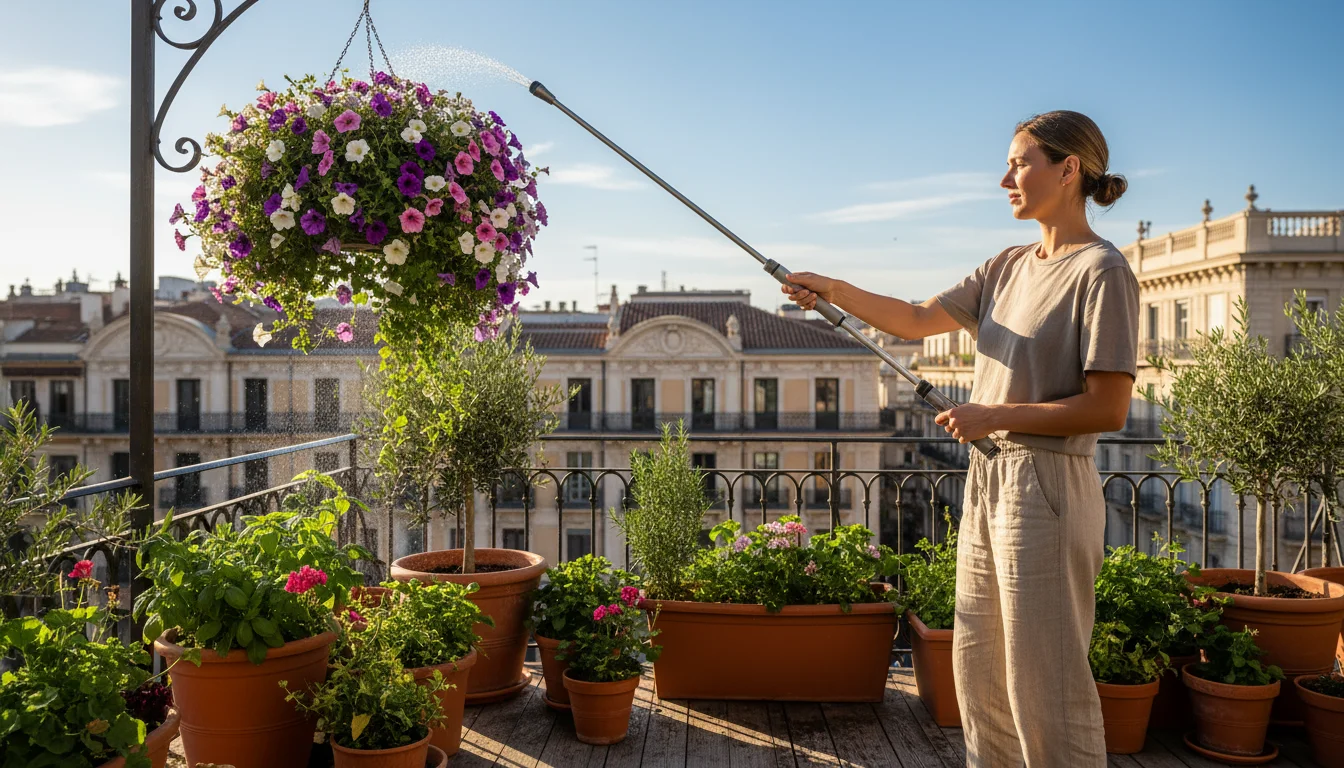
Watering Wands
A watering wand is essentially a long extension attached to your hose, ending in a gentle shower head. It offers several advantages for small garden owners:
- Reach: Easily water hanging baskets, plants on high shelves, or the back of deep garden beds without straining or knocking over pots.
- Ergonomics: Reduces bending and kneeling, making watering more comfortable, especially for extended periods.
- Gentle Flow: The long barrel provides a gentler, less forceful spray than a typical hose nozzle, minimizing soil splash and protecting delicate plants.
- On/Off Valve: Many wands include a shut-off valve at the handle, allowing immediate control over water flow, further promoting water conservation.
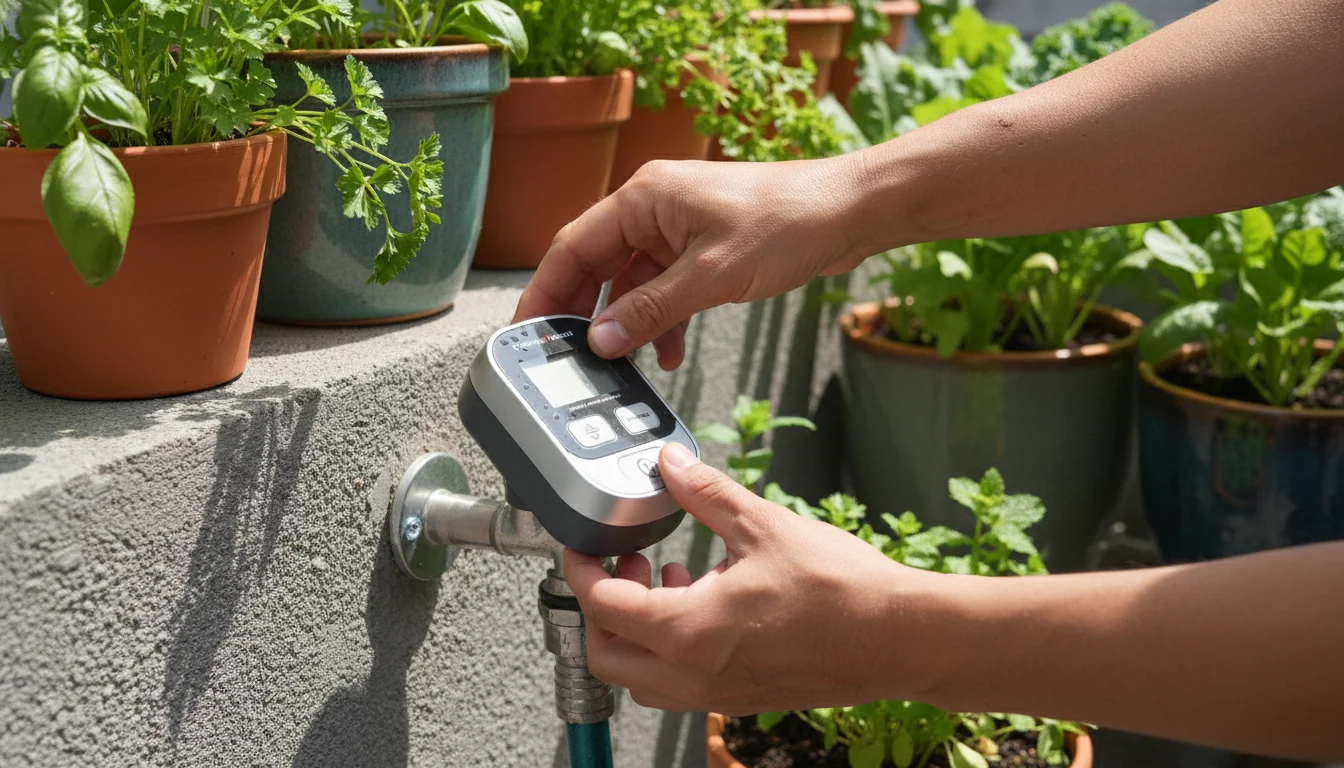
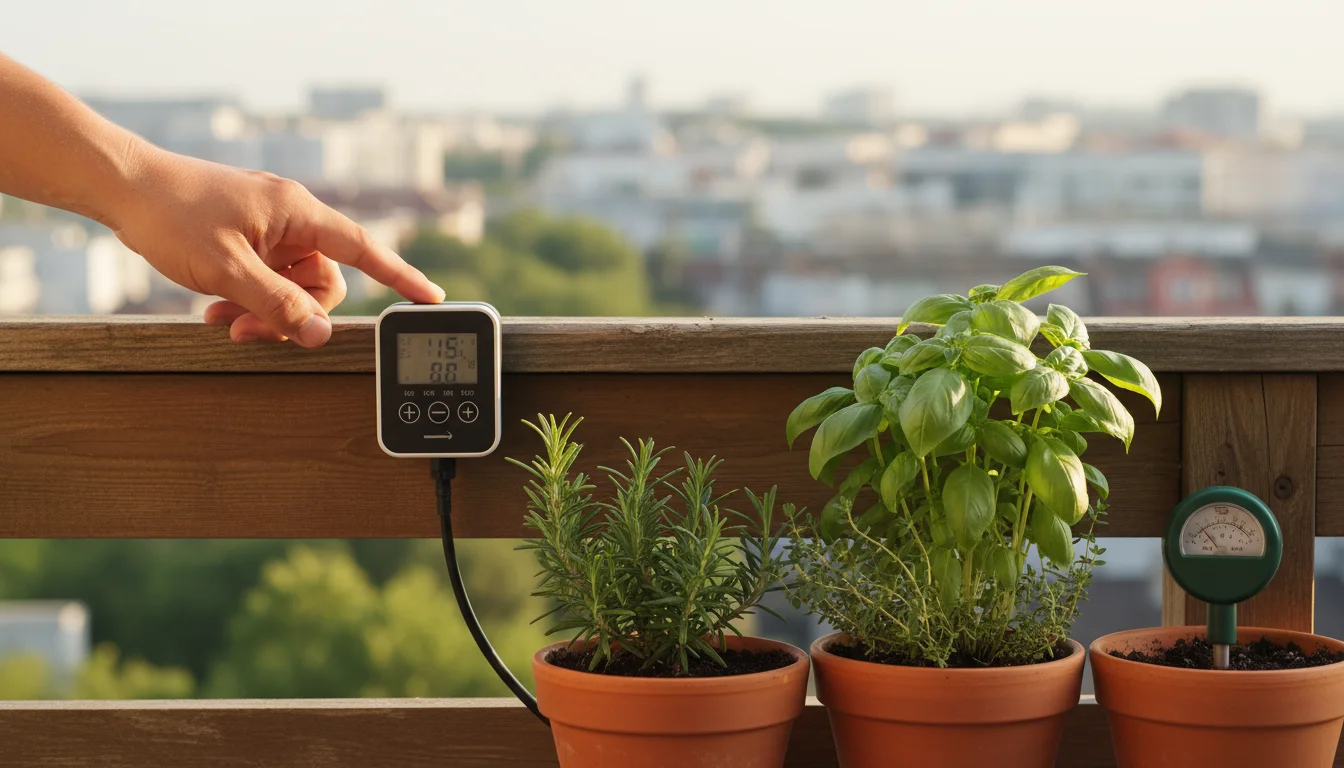
Timers for Automation
Whether you use a micro-drip system or simply want to automate a soaker hose for a raised bed, a reliable water timer is invaluable. Battery-operated hose-end timers screw directly onto your spigot. They allow you to program start times, duration, and frequency of watering. This ensures consistent watering even when you’re busy or away, reducing plant stress and maximizing water efficiency. Look for models with clear displays and intuitive programming. Some smart timers even connect to your smartphone, offering remote control and real-time adjustments.

Water-Saving Nozzles and Sprayers
Beyond adjustable nozzles, specialized low-flow or aerating nozzles reduce water usage. These typically spray a finer mist or combine air with water to create a gentler, yet effective, stream. While not always necessary for precise watering cans, they complement hose use, especially for areas where a wider coverage is needed without excessive volume.
Watering Techniques for Optimal Plant Health
Proper watering technique is as important as having the right watering tools. Even with the best equipment, incorrect application can lead to unhealthy plants, wasted water, and increased disease risk. Master these techniques to ensure your small garden thrives.
Water Deeply and Less Frequently
The golden rule for most plants is to water deeply rather than frequently. Deep watering encourages roots to grow downwards, seeking moisture, which makes plants more resilient to dry spells. Shallow, frequent watering only moistens the top inch of soil, encouraging shallow root growth that makes plants dependent and susceptible to drought.
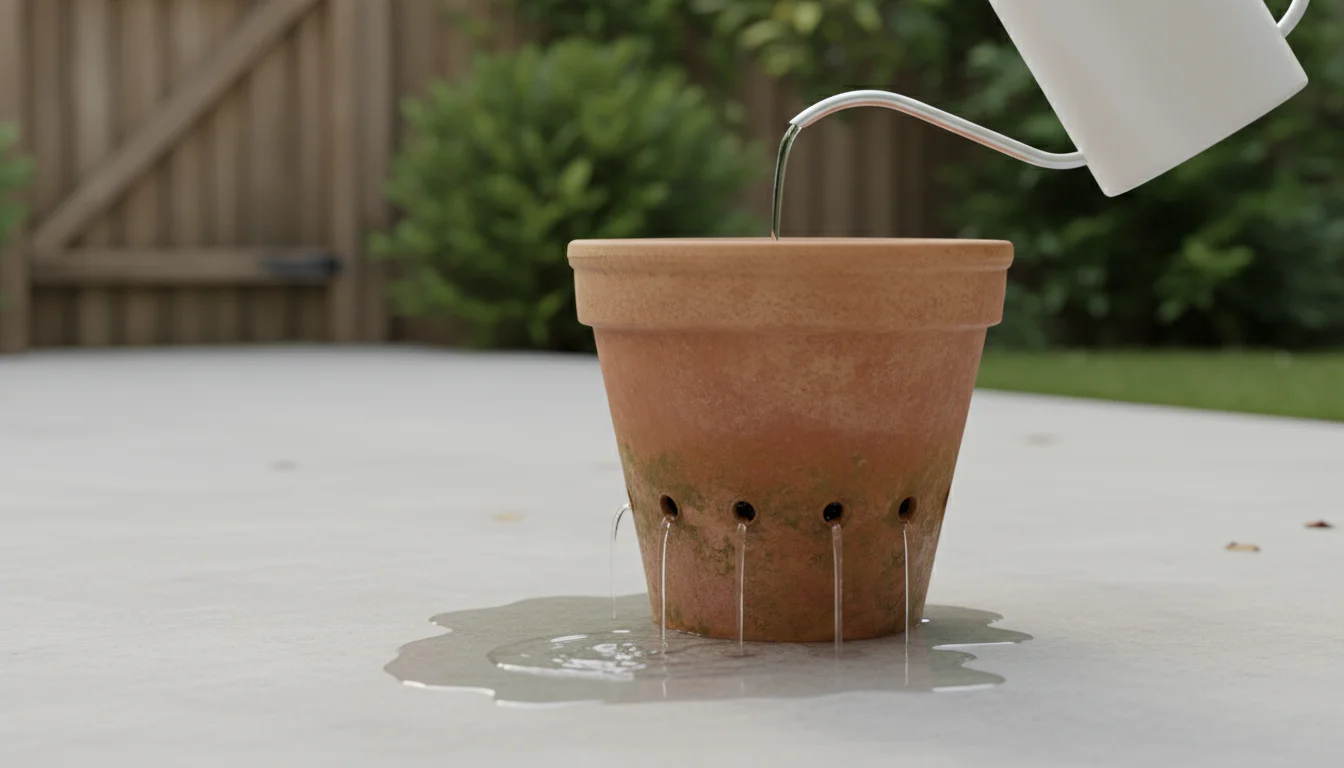
- How to: Apply water slowly and steadily at the base of your plants until you see water beginning to drain from the bottom of your containers or until the top 6-8 inches of soil in a raised bed feels moist. This might take longer than you expect, especially for larger pots.
- Container Specifics: For containers, ensure water flows out of the drainage holes. This confirms you have saturated the entire root ball. If water rushes out immediately, your soil might be too dry and hydrophobic. Water slowly, let it absorb, then water again.

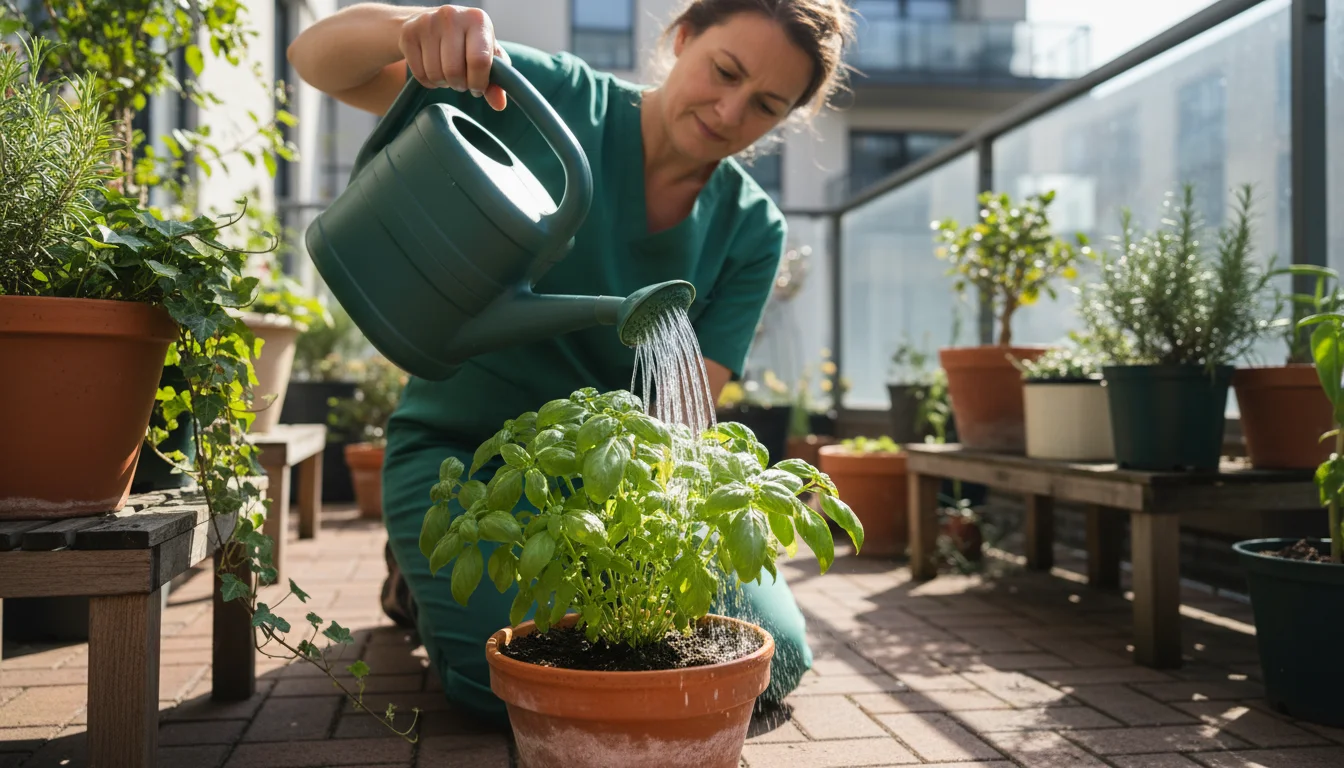
Water at the Base of the Plant
Always aim your watering tools directly at the soil around the base of the plant. Avoid spraying water over the foliage, especially in the evening. Wet leaves, particularly when combined with cool temperatures and poor air circulation, create ideal conditions for fungal diseases like powdery mildew, blight, and leaf spot.
- Precision: Your watering can with a long spout or a hose with a gentle shower setting allows you to direct water accurately.
- Efficiency: Direct watering ensures all water reaches the roots, minimizing evaporation from leaf surfaces.
The Best Time to Water
The optimal time for watering your small garden is early morning.
- Reduced Evaporation: Cooler morning temperatures and less wind mean less water evaporates before it reaches the plant roots.
- Leaf Drying: If any water splashes onto leaves, the morning sun allows them to dry quickly, reducing the risk of fungal diseases.
- Plant Hydration: Plants can absorb water before the heat of the day, helping them withstand stress.
Avoid watering in the middle of the day, as most of the water will evaporate. Evening watering can leave foliage wet overnight, inviting disease. If you must water in the evening, ensure leaves remain as dry as possible.

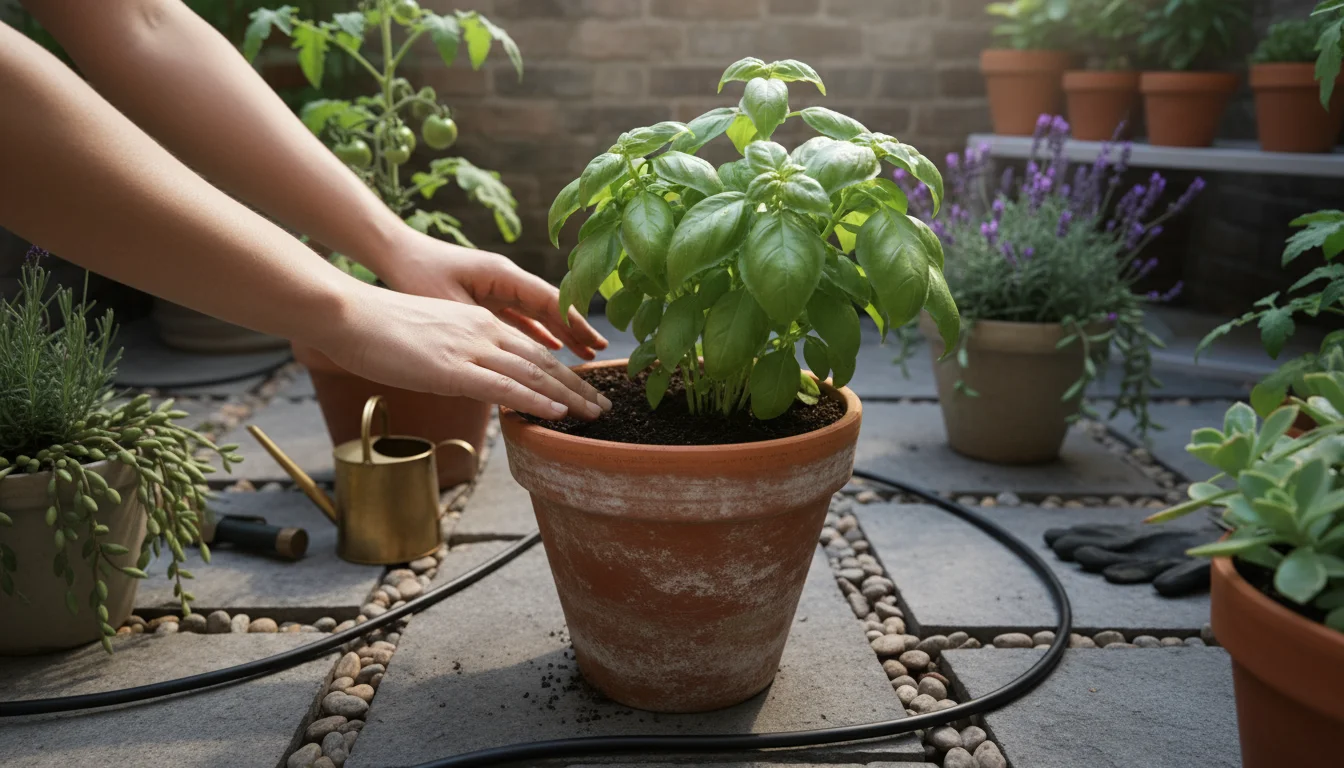
Check Soil Moisture
Before you water, always check the soil moisture. The “finger test” is a simple method: stick your finger about 1-2 inches into the soil. If it feels dry, it is time to water. For larger pots or uncertainty, use a soil moisture meter for a more accurate reading. Do not water if the soil still feels damp. Overwatering suffocates roots by displacing oxygen, leading to root rot.
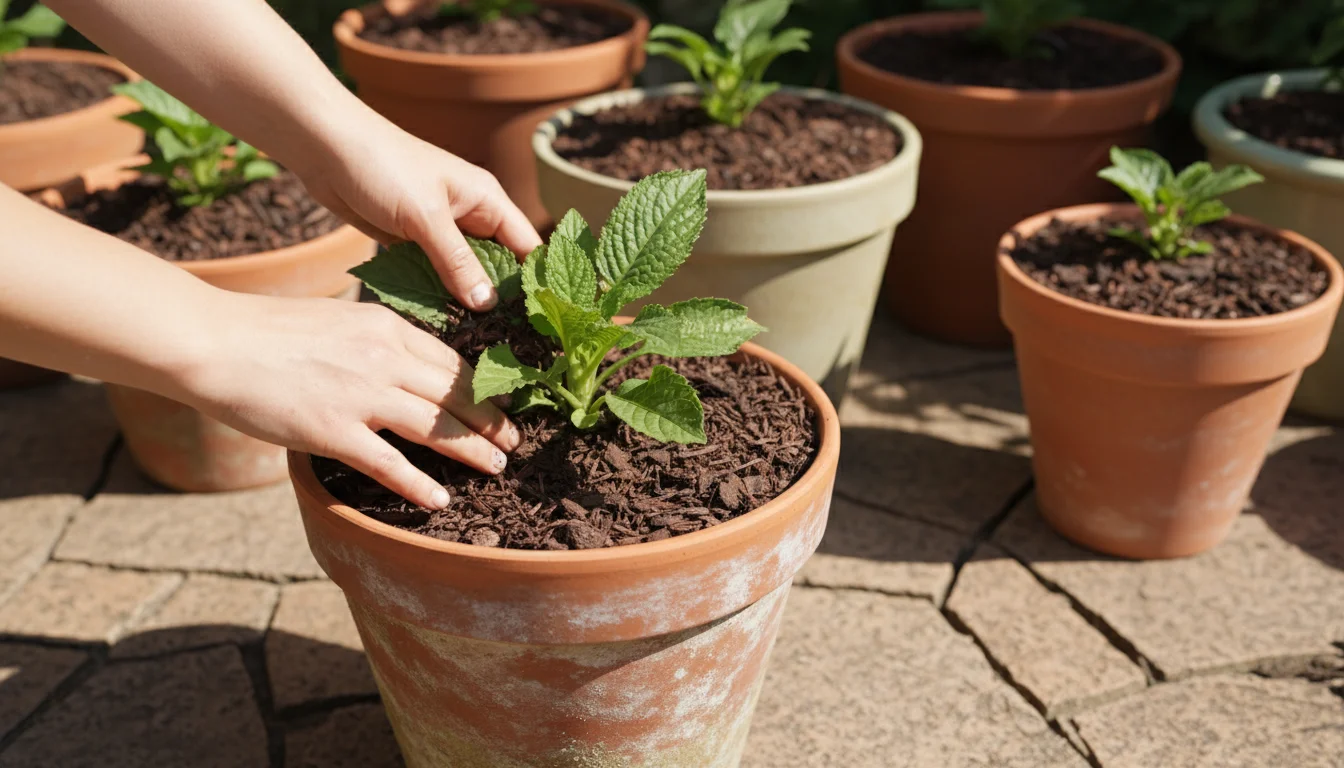
Mulch for Moisture Retention
Apply a layer of organic mulch (e.g., shredded bark, straw, compost) around your plants in containers and beds. Mulch provides numerous benefits for small garden watering:
- Reduces Evaporation: A 1-2 inch layer of mulch significantly reduces water evaporation from the soil surface, meaning you water less often.
- Regulates Soil Temperature: Keeps soil cooler in summer and warmer in winter, providing a more stable environment for roots.
- Suppresses Weeds: Reduces competition for water and nutrients from weeds.
- Enriches Soil: As organic mulches break down, they add valuable organic matter to your potting mix or garden soil.
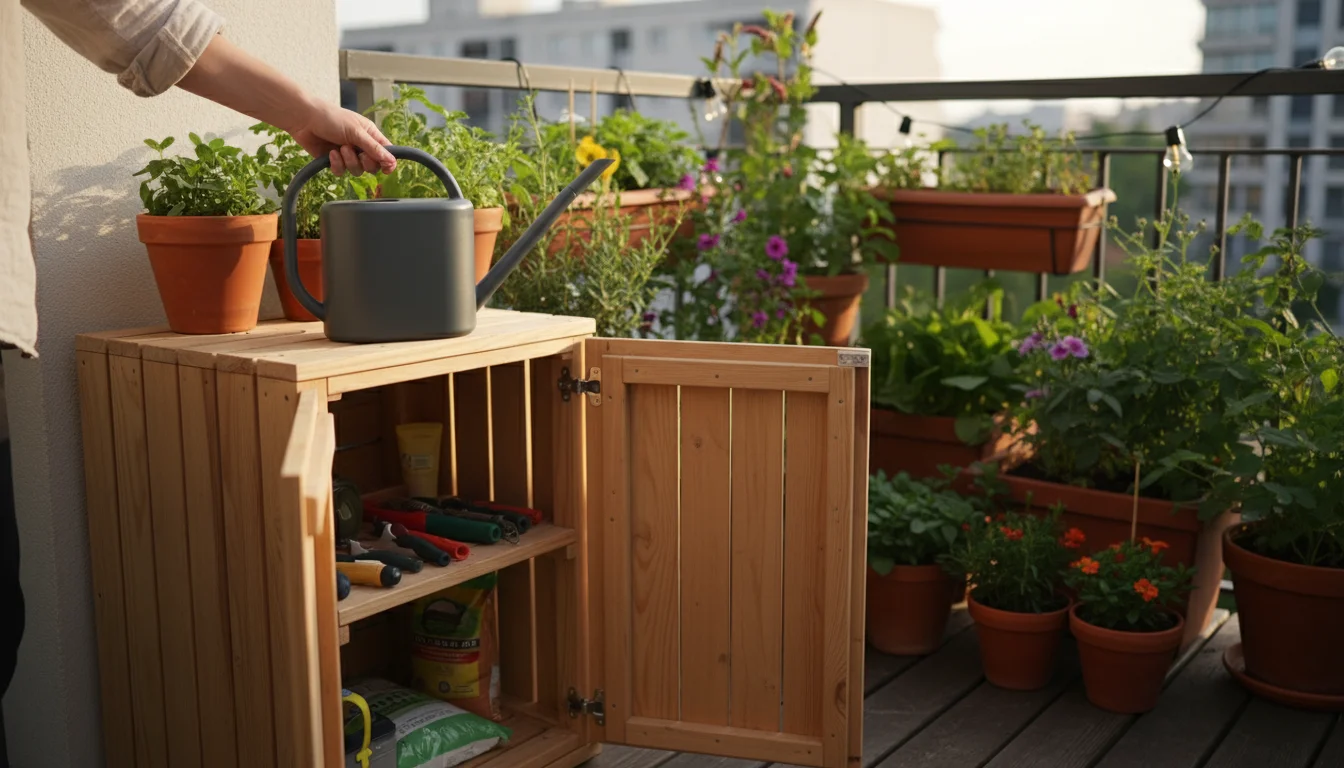
Maintenance and Storage for Longevity
Proper care and storage extend the life of your watering tools, ensuring they remain effective and ready for use season after season. This is especially important for small gardens where space may be limited, and each tool must earn its keep.
You can also keep your gear in top shape using DIY garden tool hacks that utilize common household items to clean and protect your spouts.
Finding efficient tool storage solutions for your balcony or patio will keep your equipment within reach without creating clutter.
Keeping your gear organized is just as important as the gear itself, so consider these tool storage solutions for small homes to maximize your space.
Watering Cans: Cleanliness and Protection
- Empty After Use: Never leave water standing in your watering can. Stagnant water can become a breeding ground for mosquito larvae and algae.
- Regular Rinsing: If you use liquid fertilizers, rinse your can thoroughly after each use to prevent residue buildup, which can clog the rose or harbor pathogens. Periodically, clean the rose attachment with a small brush to remove mineral deposits or debris.
- Store Indoors or Shaded: Plastic cans degrade over time in direct sunlight, becoming brittle. Metal cans can rust if left exposed to rain. Store your watering can in a shaded spot, a garden shed, or indoors to protect it from the elements.
- Protect from Freezing: If you live in a climate with freezing temperatures, bring all watering cans indoors for winter. Ice expands, cracking plastic and warping metal.
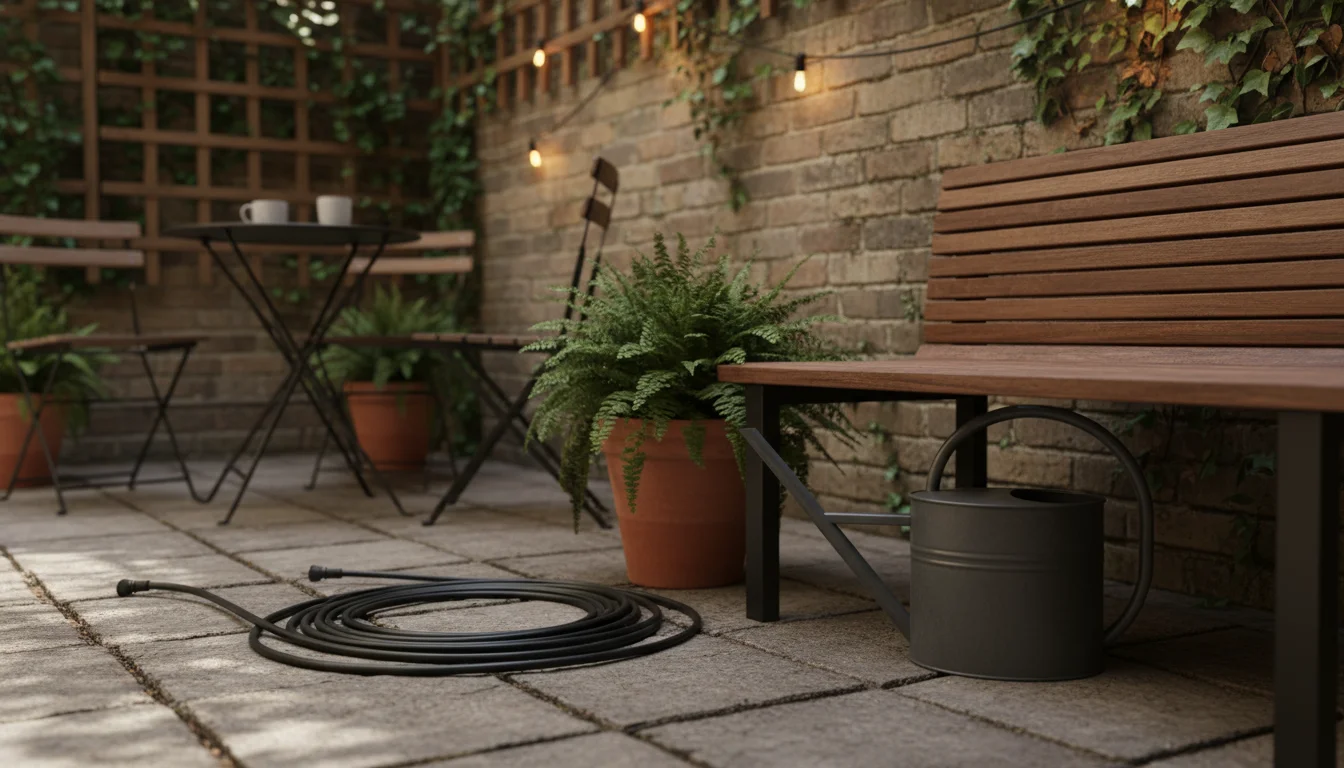
Hoses and Nozzles: Draining and Protection
- Drain Thoroughly: After each use, especially for expandable or coil hoses, ensure all water drains out. This prevents mildew growth inside the hose and minimizes cracking from standing pressure.
- Coil or Reel Neatly: Avoid leaving hoses sprawled on the ground, which creates tripping hazards and exposes them to sun damage, lawnmowers, or pets. Use a small hose reel, a wall-mounted hook, or simply coil it neatly for storage.
- Protect from Sun: UV rays break down hose material, causing it to become brittle and crack. Store hoses in the shade or indoors when not in active use.
- Remove Nozzles: Disconnect nozzles and store them separately. This prevents potential leaks from pressure buildup and allows you to inspect and clean the nozzle screen for debris.
- Winterization: Before the first freeze, drain all hoses completely. Disconnect them from the spigot, roll them up, and store them indoors in a garage, shed, or basement. This is crucial for preventing freezing water from bursting your hose.
Drip Systems: Flushing and Inspection
- Regular Flushing: Periodically, especially at the start and end of the growing season, remove the end caps from your drip lines and flush the system. This expels any sediment or debris that may have accumulated, preventing emitter clogs.
- Filter Cleaning: If your system includes a filter, clean it regularly (e.g., monthly) or as recommended by the manufacturer. A clogged filter reduces water flow and efficiency.
- Check Emitters: Walk through your small garden while the drip system operates to ensure all emitters are functioning correctly. Look for clogs or areas receiving too little or too much water. Replace or clean clogged emitters as needed.
- Winterization: In freezing climates, disconnect your drip system from the spigot. Drain all water from the main lines and distribution tubing. Store any timers, filters, and pressure regulators indoors. Small sections of tubing can sometimes remain in place if they are above ground and fully drained, but it is often safer to roll them up and store them.
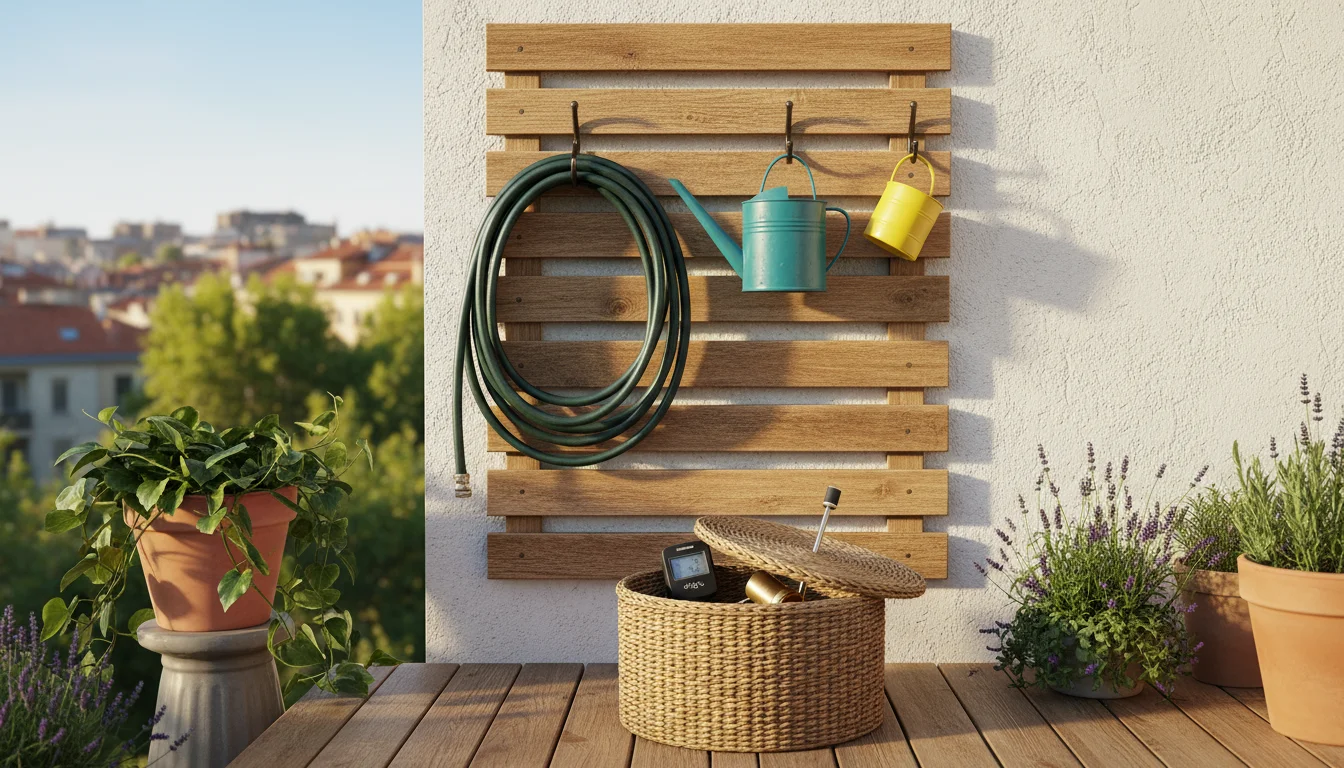
General Storage Tips for Small Spaces
- Vertical Storage: Maximize vertical space with wall-mounted hooks, shelves, or small utility carts. Hang hoses, watering wands, and even empty watering cans.
- Multi-purpose Containers: Use an attractive, lidded container or bucket to store smaller watering accessories like nozzles, spare connectors, or moisture meters. This keeps them tidy and protected.
- Keep it Clean: Regularly wipe down tools to remove dirt and grime. Clean tools last longer and perform better.
A small investment of time in maintaining your watering tools will ensure they reliably serve your small garden for many seasons.
Frequently Asked Questions
What is the best time of day to water my small garden?
The best time to water your small garden is early morning, between 6:00 AM and 10:00 AM. This timing allows the water to soak into the soil before the heat of the day causes significant evaporation. It also gives any splashed foliage time to dry, reducing the risk of fungal diseases. Watering in the evening is generally not recommended, as wet leaves overnight can promote disease.
How do I know if my plants need water?
Perform the “finger test.” Insert your finger about 1-2 inches into the soil. If it feels dry to the touch at that depth, your plants likely need water. You can also use a simple soil moisture meter for a more precise reading. Observe your plants, too. Wilting leaves are a clear sign of thirst, though some plants may also wilt from overwatering. Learn your specific plants’ preferences and monitor their health closely.
Can I overwater my small garden plants?
Yes, you absolutely can overwater, and it is a common mistake. Overwatering saturates the soil, displacing essential oxygen that roots need to respire. This suffocates the roots, leading to root rot, which manifests as yellowing leaves, stunted growth, and eventually plant death. Always check soil moisture before watering and ensure your containers have adequate drainage holes.
Are self-watering containers truly maintenance-free?
Self-watering containers significantly reduce watering frequency, but they are not entirely maintenance-free. You still need to refill the reservoir, though less often than manual watering. Additionally, you should periodically water from the top to flush out accumulated mineral salts from the soil and clean the reservoir and wicking system between growing seasons to prevent algae or mold growth. They offer low effort, not no effort.
How do I flush my drip irrigation system?
Flushing your drip irrigation system is simple and important for preventing clogs. First, ensure the water supply to the system is turned on. Then, locate the end caps or flush valves at the end of each main drip line and distribution tubing. Remove these caps or open the valves, allowing water to run through the lines for a few minutes until it runs clear. Once flushed, replace the caps or close the valves. Perform this at the beginning and end of each growing season, and periodically during the season if you notice reduced flow or clogs.
For reliable tool and safety guidance, see Missouri Botanical Garden — Watering Tips, National Safety Council — Home & Garden Safety, Royal Horticultural Society (RHS) — Tools & Equipment Advice, University of Minnesota Extension — Pruning Basics and UF/IFAS — Microirrigation for Home Landscapes.
Disclaimer: Follow manufacturer instructions and local regulations. Wear appropriate protection, store blades safely, and keep tools away from children and pets.


Leave a Reply