Winter arrives, bringing cozy blankets, warm drinks, and unfortunately, significantly less sunlight for your beloved indoor plants. For apartment dwellers, this seasonal shift often means struggling plants, yellowing leaves, and a general decline in vibrancy. Your small space may not offer the bright, south-facing windows plants crave during shorter days, leaving you wondering how to keep your green companions thriving. This challenge is common, yet solvable, even with limited light and space.
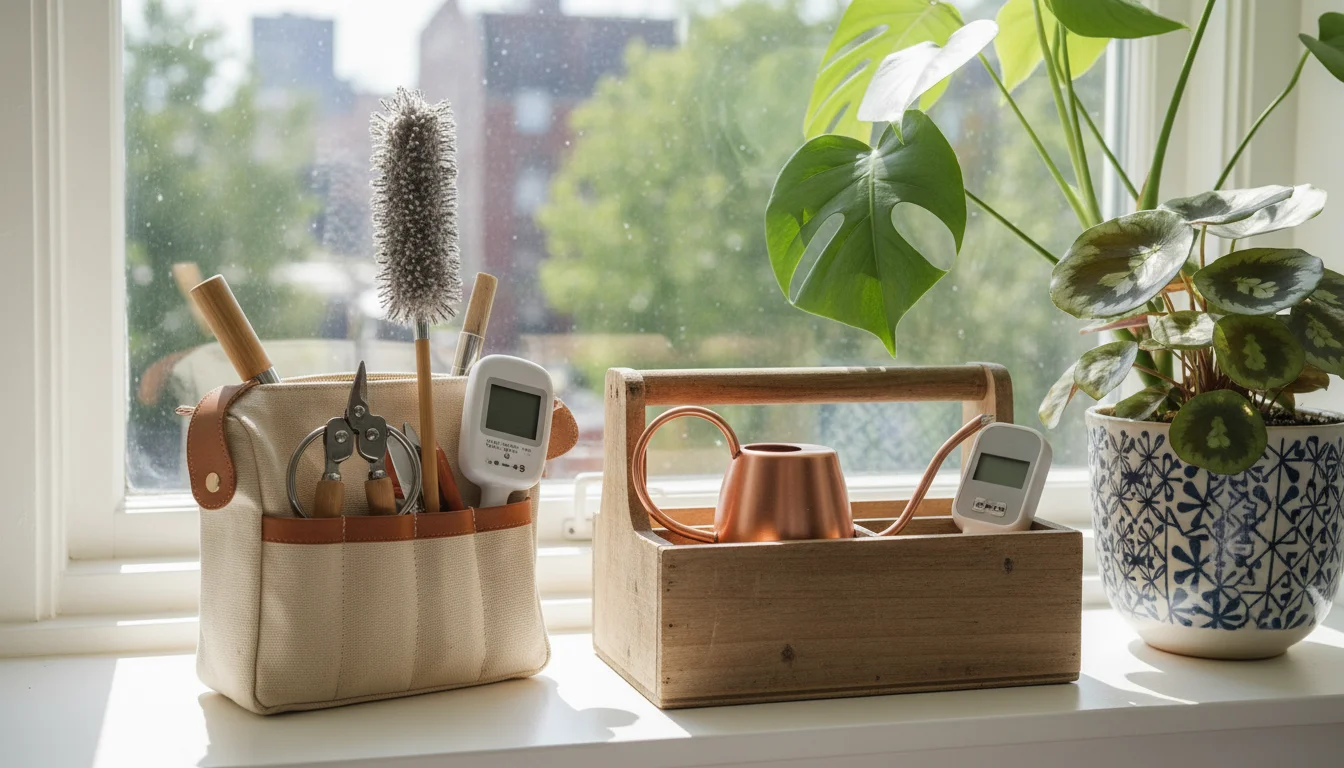
These gadgets are perfect additions to a winter houseplant care kit tailored for apartment living.
As a supportive gardening coach for SimpleGardenJoy.com, I understand your concern. You want your plants to flourish year-round, not just limp through the darker months. The good news is you do not need a greenhouse or extensive renovations to combat winter’s gloom. This article provides practical, actionable insights into three essential, affordable gardening gadgets designed to give your sun-starved apartment plants the boost they need. We will explore simple solutions that integrate seamlessly into your small living area, ensuring your plants remain healthy and vibrant until spring returns. Prepare to transform your winter plant care routine and keep your indoor garden flourishing.
Understanding Winter Woes: Why Your Plants Struggle in Low Light
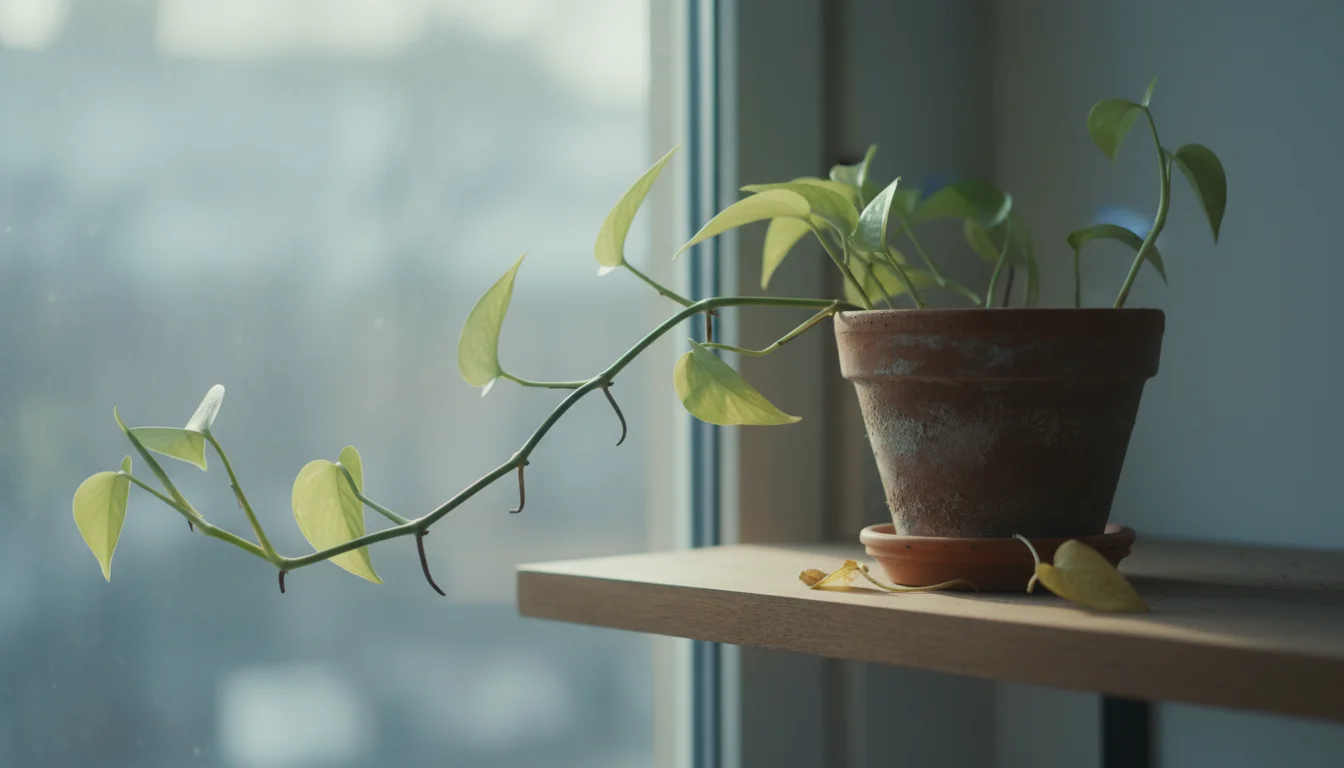
Plants need light for photosynthesis, the process converting light energy into the chemical energy they use to grow. During winter, daylight hours shorten, and the sun’s angle is lower, significantly reducing the intensity and duration of natural light reaching your indoor plants. For apartment plants, often set back from windows or in north-facing rooms, this drop in available light becomes particularly challenging. Your plants, especially those that thrive in bright conditions, experience a form of stress. You might notice various symptoms indicating your plants are not receiving enough light.
Common signs of low-light stress in your plants include:
- Leggy or Stretched Growth: Stems become elongated, and leaves are far apart as the plant “reaches” for a light source.
- Smaller, Lighter-Colored Leaves: New leaves appear smaller than older ones and may lack their usual vibrant green hue.
- Yellowing or Dropping Lower Leaves: The plant sacrifices older leaves to conserve energy.
- Lack of Flowering: Flowering plants may stop producing blooms or buds.
- Stunted Growth: The plant shows little to no new growth.
- Increased Susceptibility to Pests: Weakened plants are more vulnerable to infestations.
Understanding these signs helps you diagnose the problem early. Your goal in winter plant care is to mitigate these low-light effects. While some plants naturally tolerate lower light, like a ZZ plant or a Pothos, even these low light plants benefit from supplementary light when conditions become extreme. Addressing insufficient light prevents long-term damage and ensures your plants emerge healthy and robust when spring arrives.
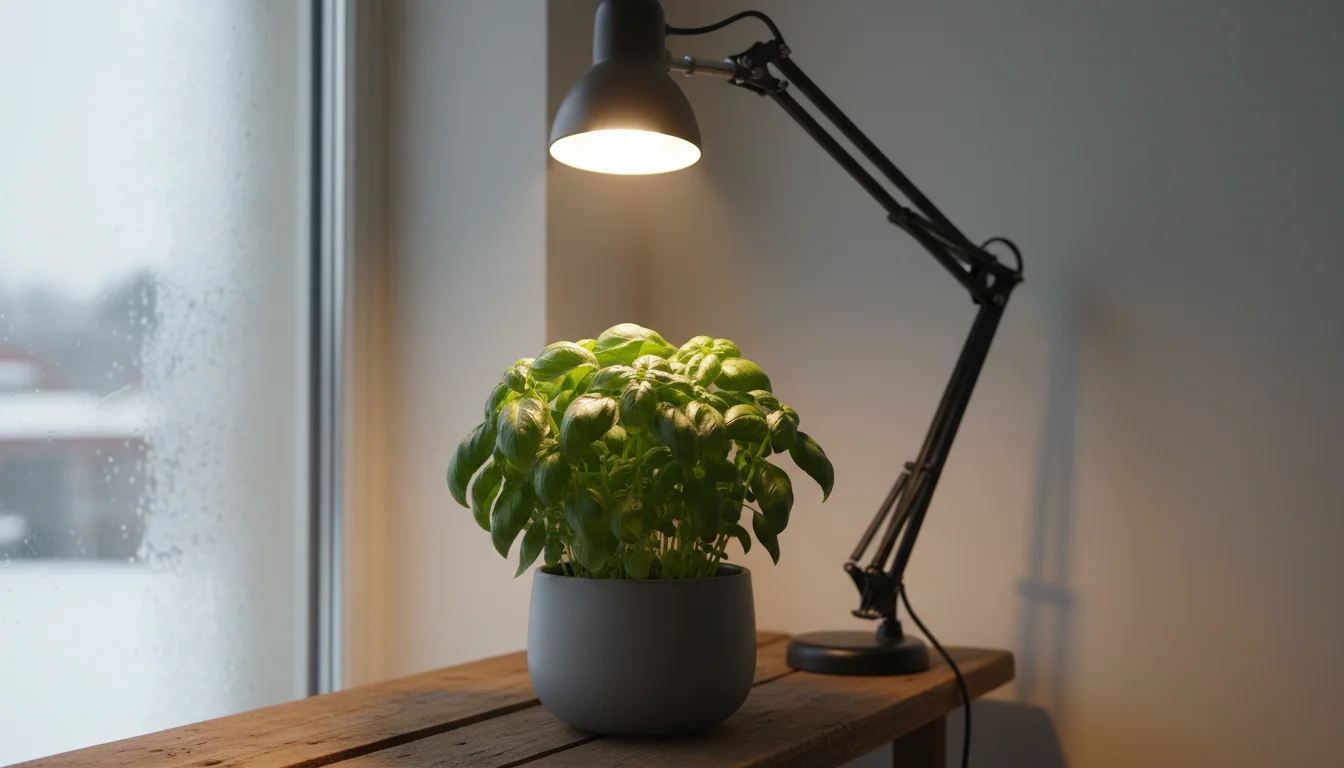
Essential Gadget 1: The Targeted LED Grow Light Bulb
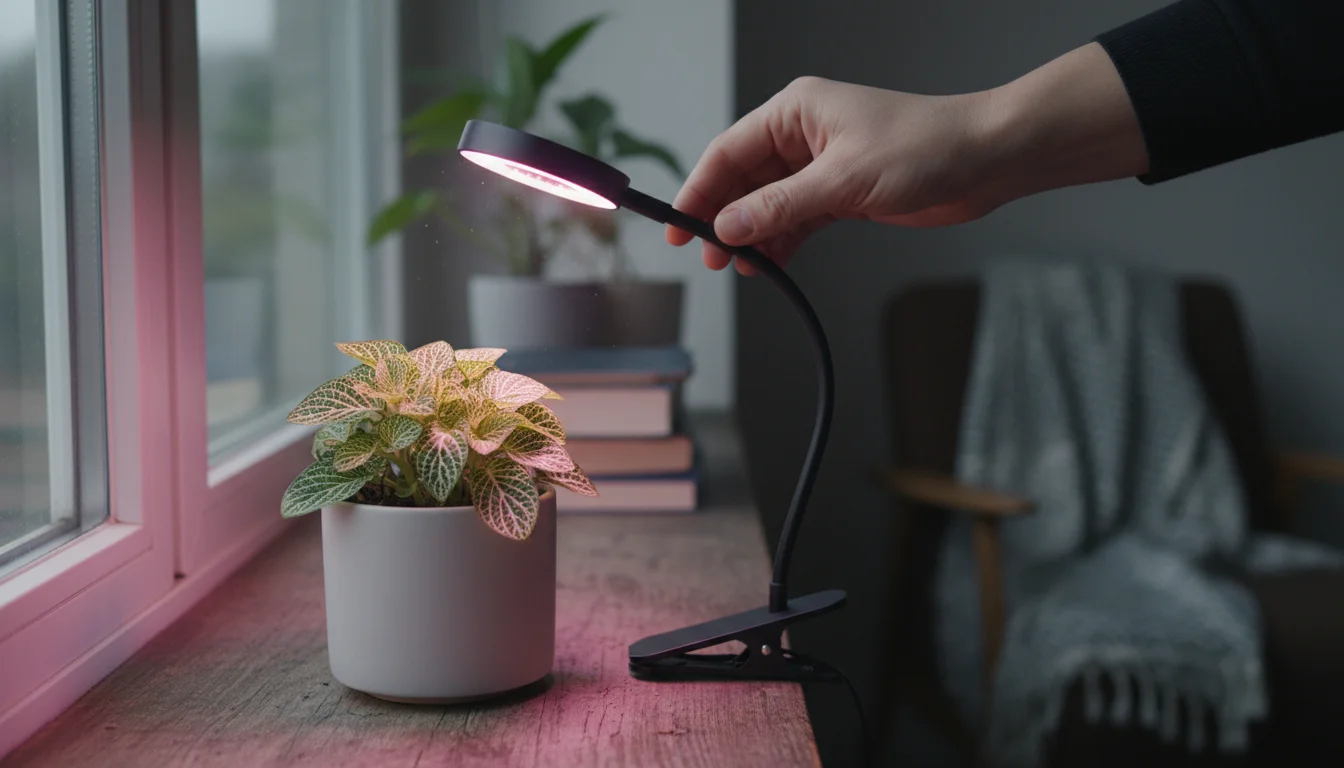
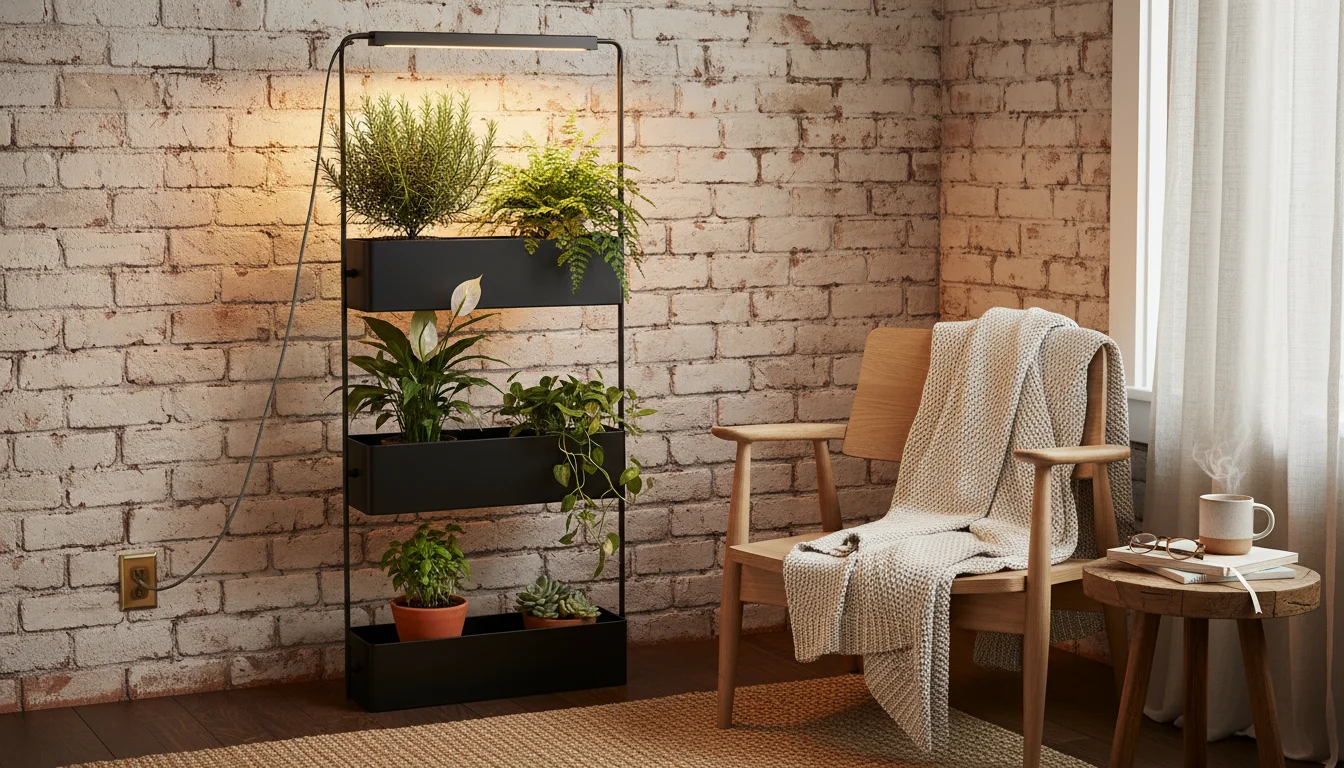
The first crucial gadget for your low-light winter survival kit is a targeted LED grow light bulb. Artificial light specifically designed for plants offers a powerful solution to counter short, dark winter days. Unlike regular household bulbs, grow lights emit wavelengths of light that plants primarily use for photosynthesis, primarily in the red and blue spectrums. For small-space gardeners, the beauty of modern LED grow light bulbs lies in their compact size, energy efficiency, and ability to screw into standard light fixtures. You do not need large, clunky setups; a single bulb can make a significant difference for one or a few plants.
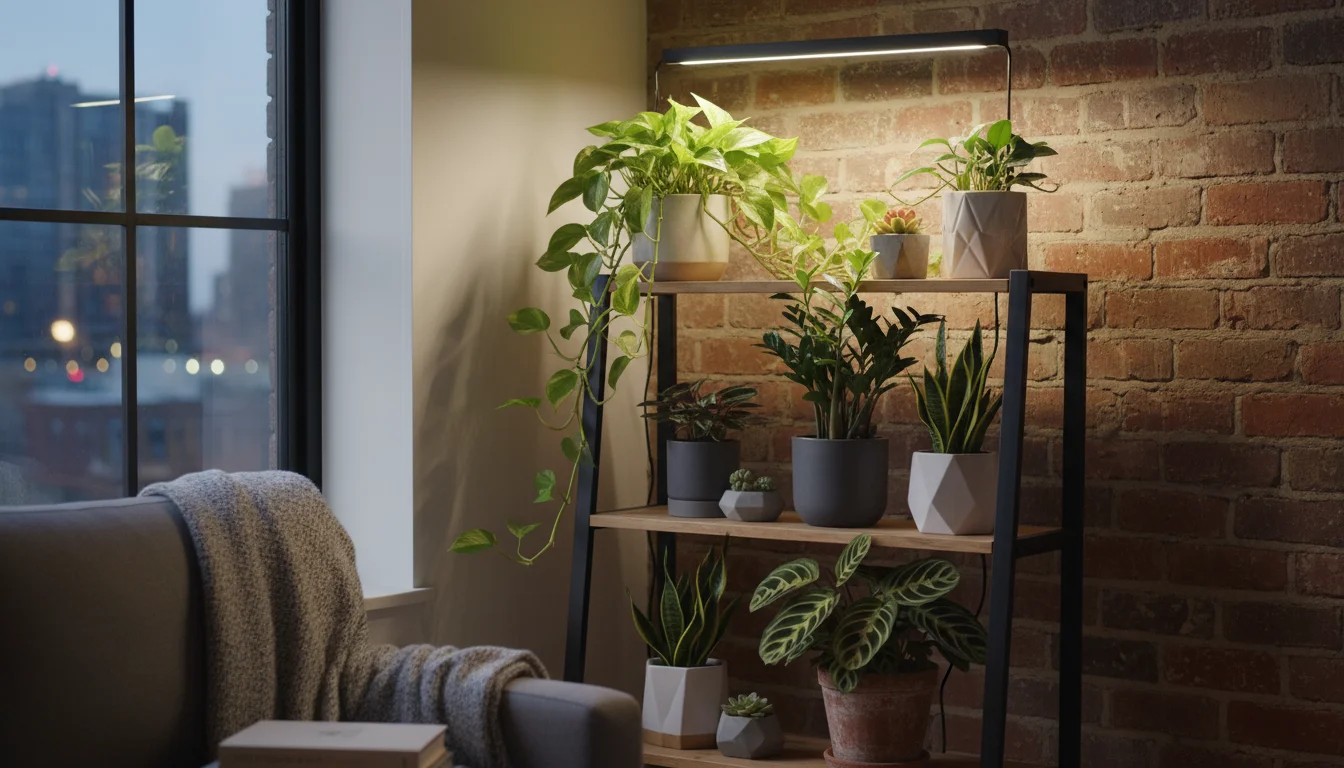
If you have a larger collection, consider building a DIY grow light shelf to organize your plants and ensure they all receive adequate supplemental light.
If you are transitioning sensitive varieties to artificial sources, consult a guide on acclimating plants to grow lights to avoid leaf burn.
These bulbs provide concentrated light where your plants need it most. They prevent legginess, encourage new growth, and maintain foliage color. Integrating one into your apartment is straightforward: find a fixture near your plant, screw in the bulb, and set a timer. This simplicity makes them an ideal solution for urban gardeners looking to increase light for indoor plants without sacrificing precious space or dealing with complex installations.
Choosing the Best Grow Light Bulb for One Plant
Selecting the right LED grow light bulb does not require deep scientific knowledge. Focus on a few key aspects to find the best grow light bulb for one plant:
- Spectrum: Look for “full-spectrum” bulbs. These mimic natural sunlight and provide a balanced range of light wavelengths beneficial for all growth stages. While red and blue light are critical, full-spectrum bulbs promote healthier, more natural plant development.
- Wattage/PPF: For a single plant, a bulb between 9 to 15 watts is often sufficient. More importantly, look for a Photosynthetic Photon Flux (PPF) rating, which indicates the total amount of photosynthetically active radiation emitted. While PPF is more common for larger fixtures, for individual bulbs, aim for a brighter output (lumens) combined with a full-spectrum claim. Many manufacturers also specify a recommended distance and coverage area, making selection simpler.
- Base Type: Ensure the bulb fits your existing lamp fixture. Most consumer grow light bulbs use a standard E26 (Edison screw-in) base, identical to common household bulbs.
- Dimmability and Timer Compatibility: Some bulbs offer dimmable features, allowing you to adjust intensity. Using a simple mechanical or digital timer (often sold separately) is highly recommended. This ensures your plants receive consistent light exposure, typically 10 to 14 hours per day, without you needing to remember to turn it on and off. Consistency is key for optimal plant health.
- Heat Output: LED lights generate very little heat compared to older incandescent or fluorescent bulbs. This is a significant advantage in small spaces, as it minimizes the risk of scorching leaves and does not significantly impact your room’s temperature. You can place LED grow lights closer to your plants, maximizing their effectiveness without concern for heat damage.
Consider a clamp lamp or a small desk lamp to hold your grow light bulb. These fixtures allow you to adjust the light’s height and angle, directing it precisely where your plant needs it most. Position the bulb about 6 to 12 inches above your plant’s foliage. Observe your plant’s response: if leaves begin to bleach or curl upwards, the light might be too intense or too close. Adjust accordingly. Proper placement ensures your plant efficiently utilizes the supplementary light, aiding in vigorous growth throughout the winter months.
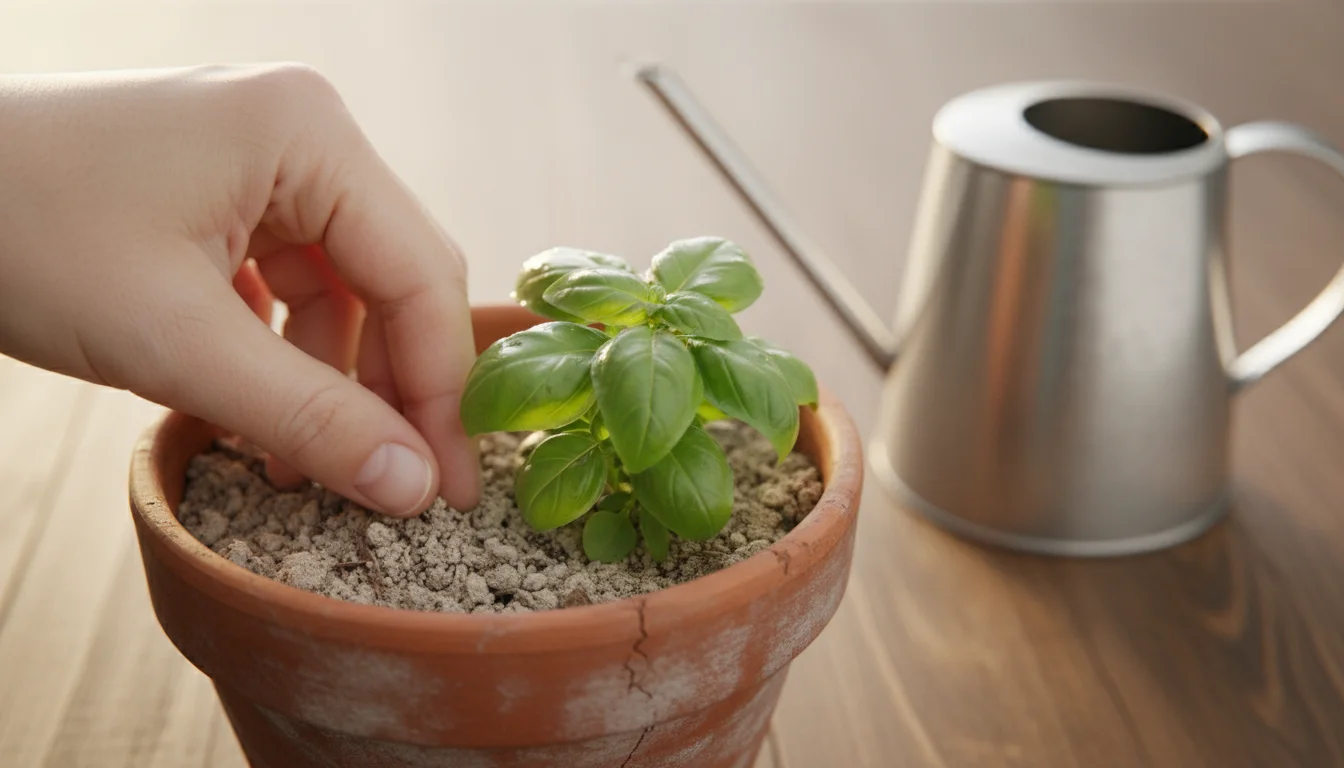
Essential Gadget 2: The Reliable Soil Moisture Meter
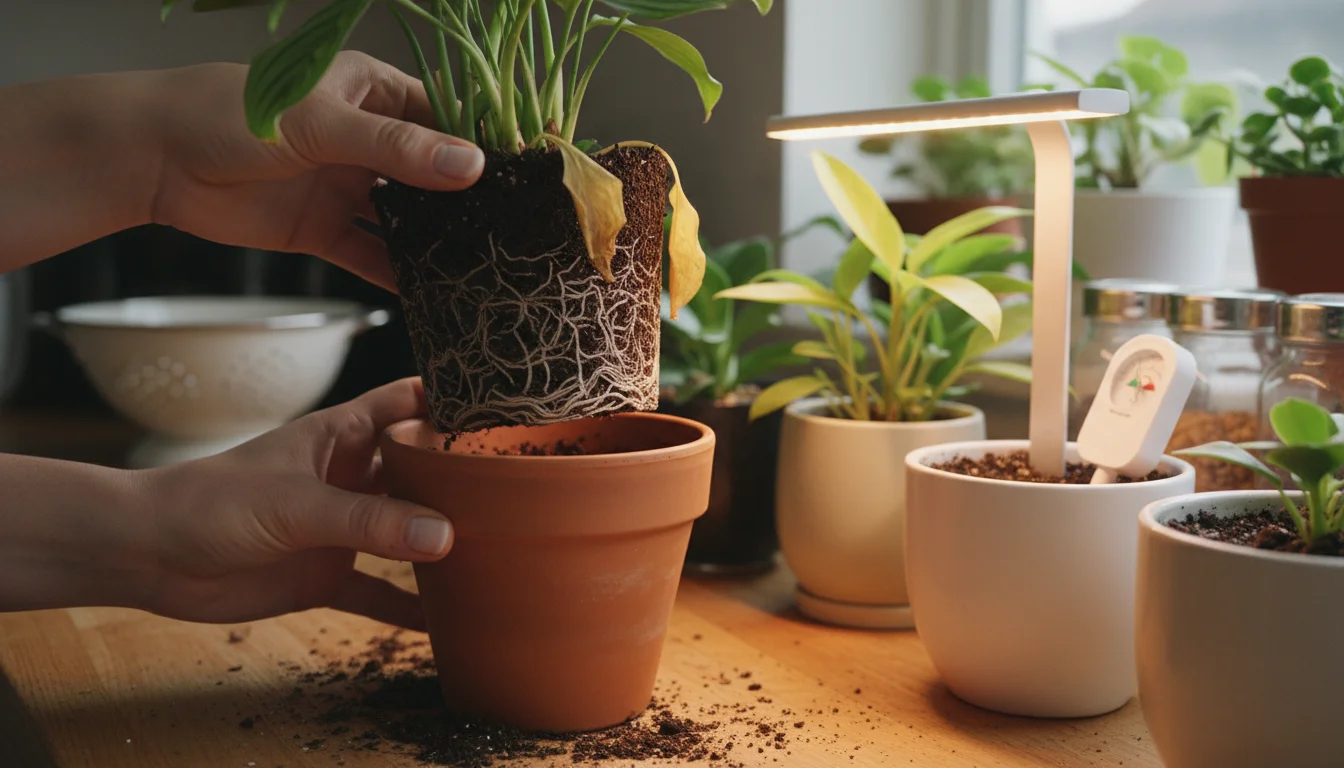
During winter, plant watering becomes a delicate balancing act, often leading to common mistakes. Lower light levels mean plants conduct less photosynthesis, which reduces their water consumption. Additionally, cooler indoor temperatures slow down soil evaporation. This combination makes overwatering a significant threat, far more common and damaging than underwatering during the colder months. Overwatering leads to root rot, a fungal disease that suffocates roots and can quickly kill your plant. This is where the soil moisture meter, another indispensable gardening gadget, proves its worth. It takes the guesswork out of watering by providing an accurate reading of the moisture level deep within the soil.
Proper watering is only half the battle; many tropical varieties also require you to implement winter humidity hacks to combat the drying effects of indoor heating.
This tool is essential for avoiding common winter care mistakes like overwatering when growth slows down.
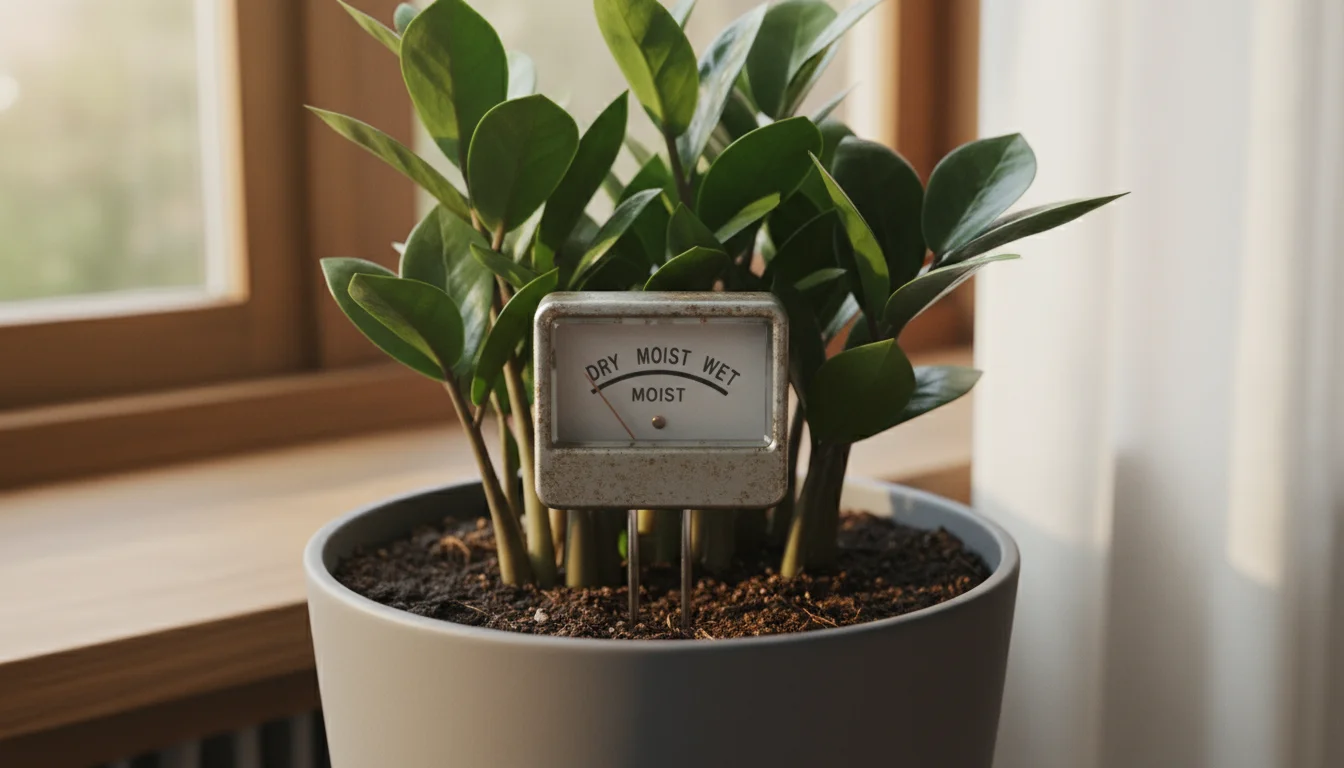
A moisture meter typically consists of a probe you insert into the soil and a display that shows the moisture level on a scale, often from 1 (dry) to 10 (wet) or using descriptive terms like “dry,” “moist,” and “wet.” Relying on touching the topsoil or lifting the pot for weight can be misleading, especially with denser soil mixes or larger pots. The top inch of soil might feel dry, while the lower layers remain saturated, creating a perfect environment for root rot. Using a moisture meter in winter gives you confidence in your watering decisions, preventing both overwatering and prolonged drought.
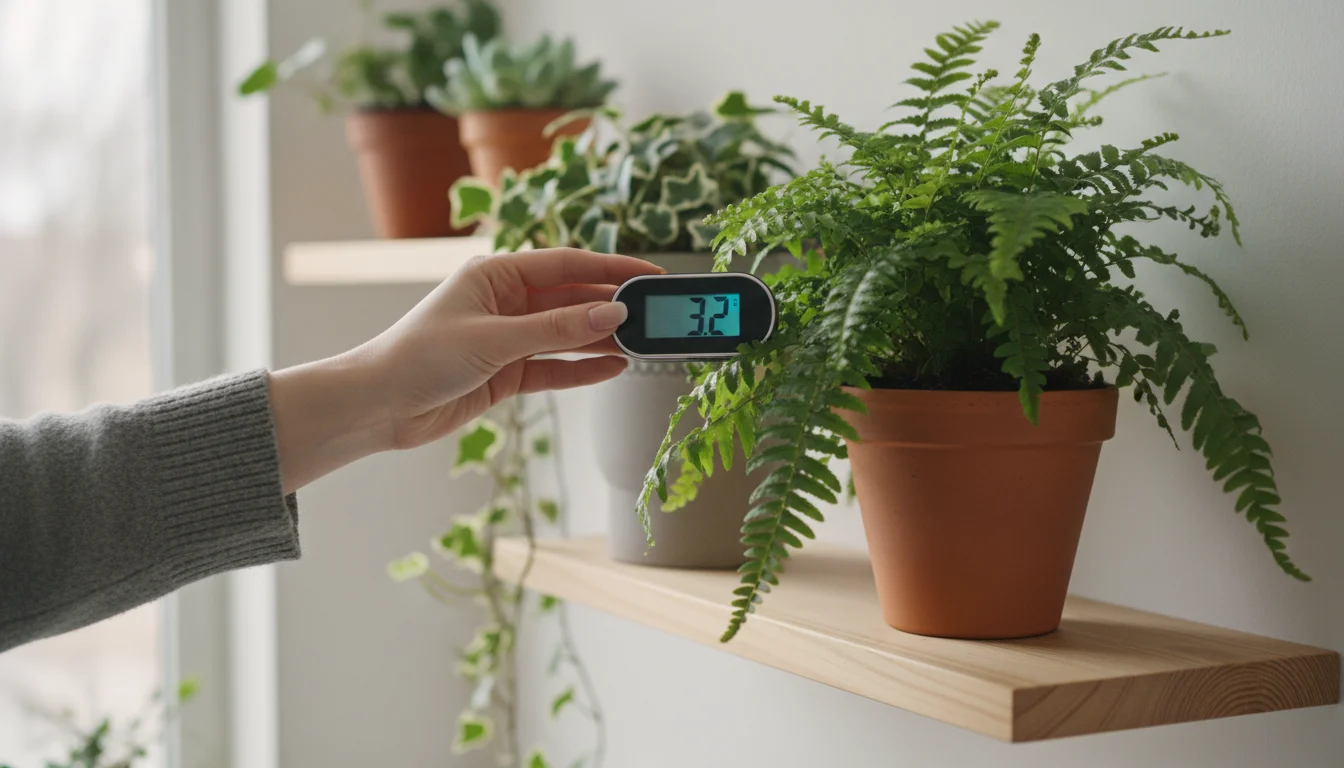
Using a Moisture Meter in Winter: Step-by-Step
Employing a soil moisture meter correctly is simple, yet crucial for effective winter plant care:
- Insert the Probe: Gently push the metal probe of the meter into the soil, about two-thirds to three-quarters of the way down into the pot. Avoid hitting major roots or the plant’s stem. For larger pots, you may want to check several spots around the plant.
- Wait for the Reading: Allow about 60 seconds for the meter to stabilize and provide an accurate reading.
- Interpret the Reading: Different plants have different moisture needs, but a general guideline for most indoor plants in winter is to let the soil dry out more than you would in summer.
- For plants that prefer consistently moist soil (e.g., ferns, some tropicals), aim for a reading around “3” or “4” before watering.
- For plants that prefer to dry out between waterings (e.g., succulents, Pothos, ZZ plants, snake plants), wait until the meter reads “1” or “2” for most of the pot.
- Avoid letting the meter consistently read “8” to “10” for extended periods, as this indicates overly wet conditions.
- Remove and Clean: After each use, wipe the probe clean with a cloth. Leaving soil residue on the probe can affect future readings and potentially damage the device.
- Water Judiciously: If the meter indicates your plant needs water, water thoroughly until you see drainage from the bottom of the pot. Drainage refers to how water moves through the soil and exits the pot. Ensure your pot has drainage holes. Discard any excess water collected in the saucer after about 15-20 minutes. Allowing the pot to sit in standing water negates the benefit of proper drainage and can still lead to root issues.
Regularly checking your plants with a moisture meter becomes a habit that saves them from common winter watering mistakes. You will develop a better understanding of each plant’s specific needs, leading to healthier growth and less stress for both you and your green companions.
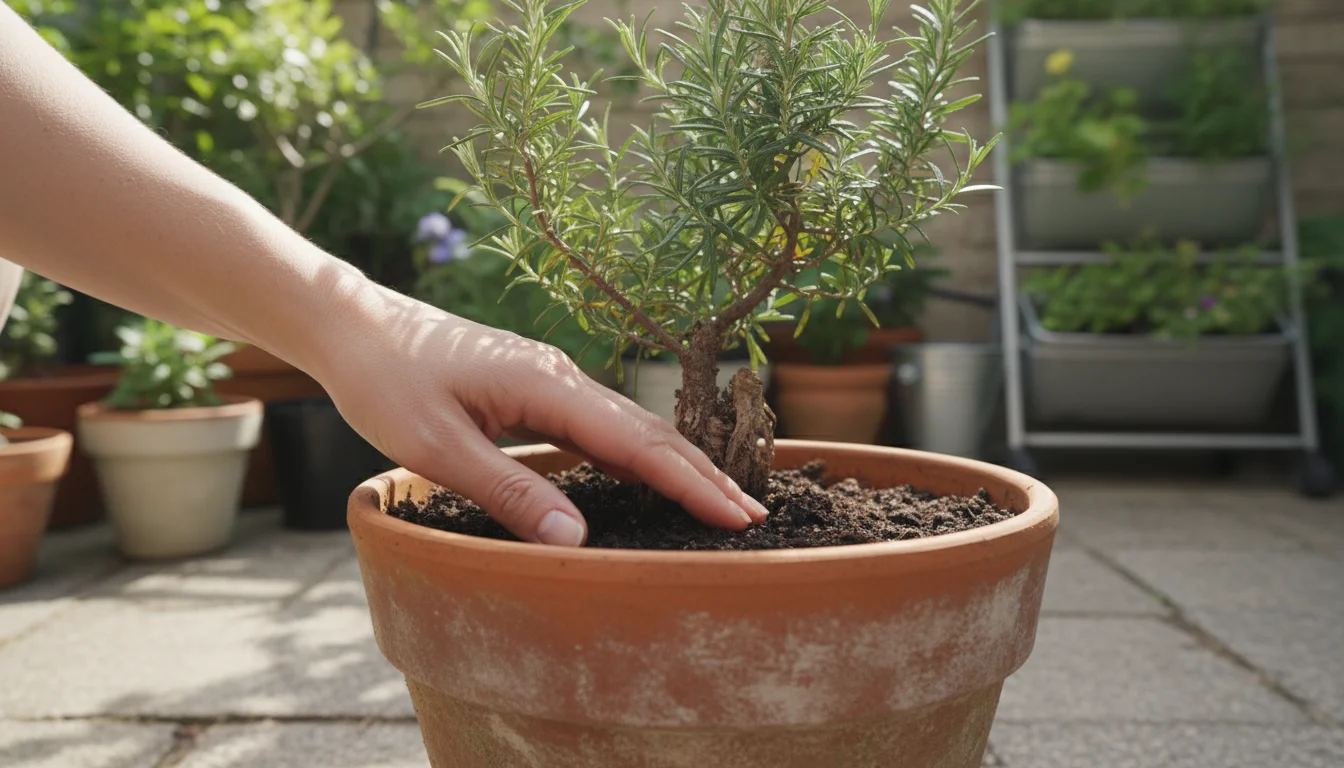
Essential Gadget 3: The Humidity Tray or Small Humidifier
The third vital gadget often overlooked in winter plant care is a way to increase ambient humidity. As outdoor temperatures drop, we turn on our heating systems. While this keeps us comfortable, it drastically reduces indoor humidity levels, creating a desert-like environment for many common houseplants that originate from tropical or subtropical regions. Dry air leads to crispy leaf edges, brown tips, and an overall decline in plant vigor. It also makes plants more susceptible to pests like spider mites, which thrive in low-humidity conditions. Providing adequate humidity is just as important as managing light and water for your plants’ winter survival.
Dry indoor air is a major challenge during heating season, but you can use several humidity hacks to keep your tropical plants lush.
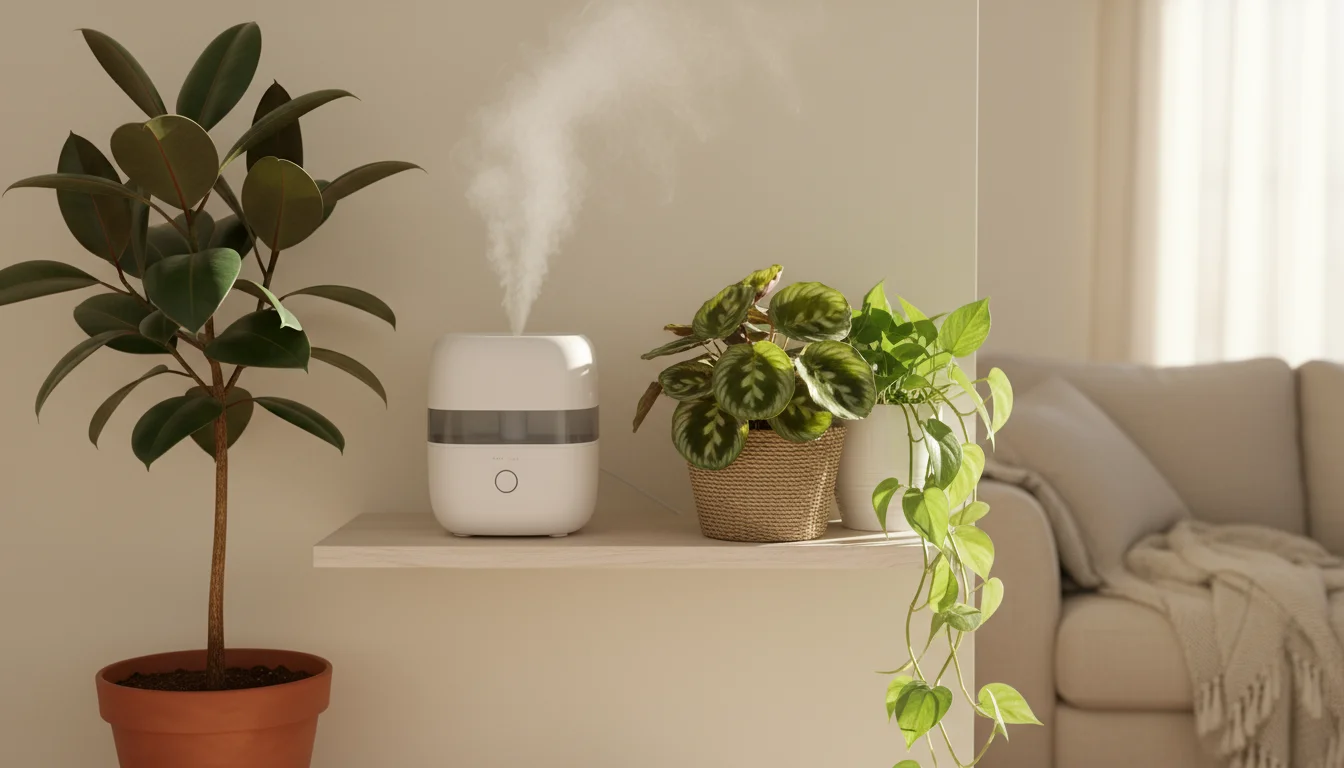
For small-space gardeners, you have two excellent, practical options: a humidity tray or a small, personal humidifier. Both are affordable and effectively combat dry indoor air without requiring complex installations or large footprints.
- Humidity Tray: This simple, passive solution involves filling a shallow tray with pebbles or decorative stones and adding water just below the top of the stones. Place your potted plants on top of the pebbles, ensuring the pot does not sit directly in the water, as this can lead to root rot. As the water in the tray evaporates, it increases the humidity directly around your plants. This creates a beneficial microclimate. Regularly refill the tray with water to maintain its effectiveness.
- Small Humidifier: A compact, personal humidifier offers a more direct and often more effective way to boost humidity. Many models are quiet, energy-efficient, and designed for small rooms or even right next to a cluster of plants. You can find ultrasonic cool mist humidifiers that are easy to fill and clean. Position the humidifier near your plants, ensuring the mist does not directly saturate leaves, which could encourage fungal growth. A few hours of operation daily can significantly improve your plants’ environment.
Both options represent excellent gardening gadgets for improving the health of your plants during the dry winter months. Choose the solution that best fits your space, budget, and the specific needs of your plants. Tropical plants, like Calatheas, Orchids, and many ferns, will particularly benefit from increased humidity.
Beyond Gadgets: Optimizing Your Low-Light Environment
While gadgets are powerful tools, you can implement several additional strategies to optimize your low-light environment and further support your plants:
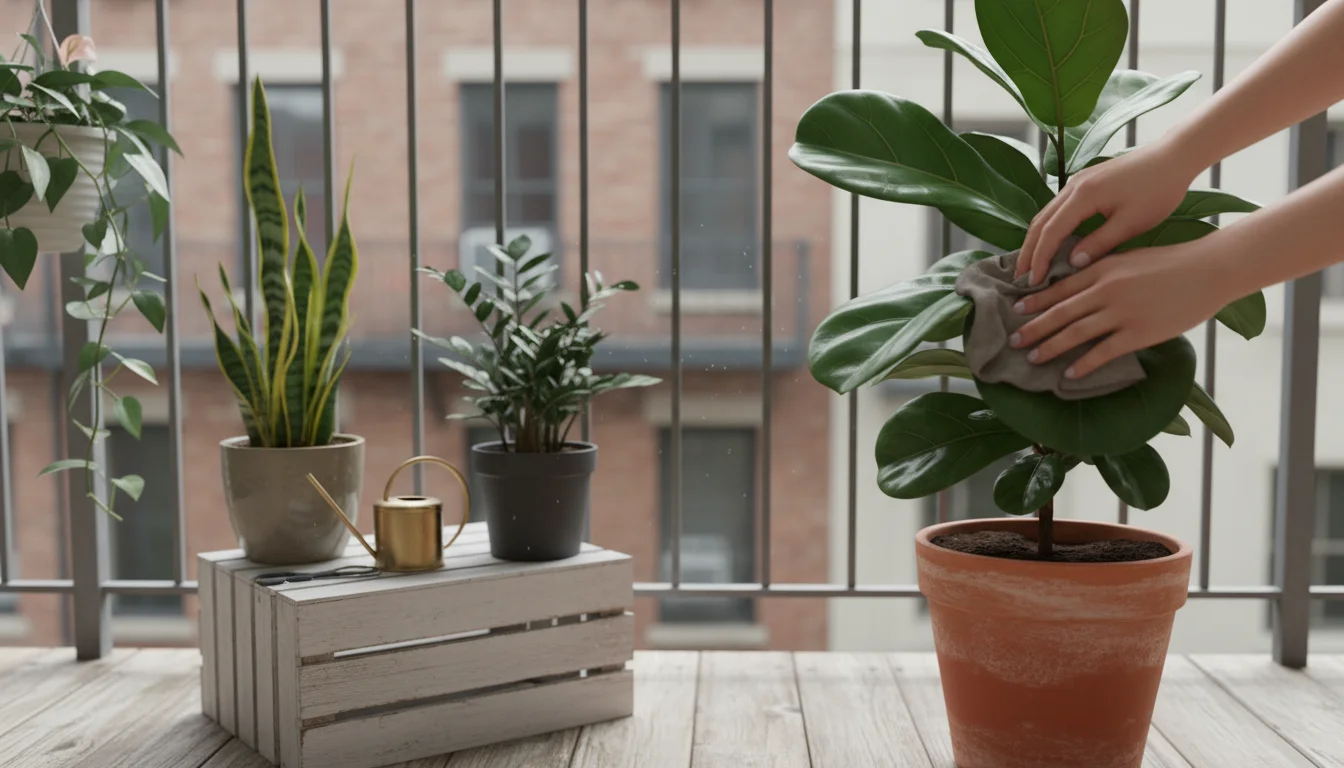
- Clean Leaves Regularly: Dust buildup on leaves blocks light absorption. Gently wipe your plants’ leaves with a damp cloth every few weeks. This simple act helps your plants photosynthesize more efficiently and keeps them looking their best.
- Rotate Plants: If your plant receives light from only one direction, rotate the pot a quarter turn every week or two. This encourages even growth and prevents your plant from leaning significantly towards the light source, which can lead to an unbalanced appearance.
- Utilize Reflective Surfaces: Maximize existing light by placing plants near light-colored walls or using reflective surfaces. A simple white poster board behind your plants or a mirror can bounce available light back onto their foliage, effectively increasing the light they receive without adding another light source.
- Group Plants: Grouping plants together slightly increases local humidity through transpiration, the process by which plants release water vapor. This creates a mini-ecosystem that benefits all plants within the cluster.
- Consider Low Light Plant Varieties: If you consistently struggle with insufficient light, especially in very dark corners, consider adding more naturally resilient low light plants to your collection. Excellent choices include ZZ plants, Snake Plants (Sansevieria), Pothos, Peace Lilies, and Cast Iron Plants. These varieties tolerate lower light conditions much better than high-light lovers.
- Adjust Fertilization: Plants grow slower in winter due to less light. Reduce or completely stop fertilizing during these dormant months. Over-fertilizing a slow-growing plant can lead to nutrient burn. Resume fertilization in spring when new growth signals increased activity.
Implementing these practices alongside your new gadgets provides a holistic approach to winter plant care, ensuring your apartment plants remain as vibrant and healthy as possible.
Eco-Friendly Winter Plant Care Practices
Being a responsible gardener means considering the environmental impact of your practices. Incorporating eco-friendly habits into your winter plant care routine is simple and beneficial:
- Energy-Efficient Grow Lights: LED grow lights are inherently energy-efficient, consuming significantly less power than older grow light technologies. Choose bulbs with a good energy efficiency rating. Using a timer to ensure lights are only on for the necessary 10-14 hours per day prevents wasted electricity.
- Water Conservation: The soil moisture meter is your ally in water conservation. By only watering when your plants truly need it, you avoid overwatering, which wastes water and can harm your plants. Collect rainwater for your plants if feasible, or let tap water sit out overnight to allow chlorine to dissipate.
- Sustainable Gadget Choices: When purchasing gardening gadgets, look for brands that prioritize durability and repairability. Opt for products with minimal plastic packaging. Many smaller humidifiers and grow lights are designed to be long-lasting, reducing the need for frequent replacements.
- Repurposing and DIY: For humidity trays, you can repurpose old baking trays or shallow dishes. Fill them with pebbles from your garden or river stones. This reduces waste and creates a functional, attractive solution without needing new purchases.
- Composting Plant Debris: If leaves yellow or drop, consider starting a small indoor compost bin for plant trimmings and kitchen scraps. This creates nutrient-rich soil amendments for your plants in the future, reducing reliance on store-bought fertilizers.
By making conscious choices, you support your plants while also supporting a healthier planet. Small actions in your apartment garden contribute to a larger ecological impact, aligning with the ethos of SimpleGardenJoy.com.
Troubleshooting Common Winter Plant Problems
Even with your winter survival kit in place, you might encounter a few persistent issues. Do not get discouraged; often, a small adjustment resolves the problem:
- Yellowing Lower Leaves Despite Grow Light: If your plant still yellows, especially at the bottom, consider if it is root-bound or still getting too much water. Check the soil moisture meter carefully. If roots are circling the pot, it might need repotting into a slightly larger container, even in winter. Alternatively, your grow light might not be intense enough or positioned too far away. Try moving it a few inches closer or extending the light duration by an hour.
- Brown, Crispy Leaf Tips Despite Humidifier: This often points to continued low humidity or possibly inconsistent watering. Ensure your humidifier runs long enough or that your humidity tray constantly has water. If your plant is near a heating vent, move it. Another factor could be mineral buildup from tap water. Consider using distilled or filtered water for sensitive plants.
- Stunted Growth or Dull Foliage: If new growth is minimal and existing leaves lack luster, re-evaluate your light and nutrient levels. Even with a grow light, some plants might simply be dormant in winter and will not show rapid growth. However, if the plant looks generally unhealthy, confirm your grow light provides sufficient intensity for the plant type. Avoid fertilizing, as this often exacerbates issues in dormant or struggling plants.
- Pests (Spider Mites, Fungus Gnats): Weakened plants are more attractive to pests. Spider mites thrive in dry conditions; increasing humidity can deter them. Fungus gnats often indicate consistently damp soil. The moisture meter helps prevent this. For existing infestations, isolate the plant and treat it with insecticidal soap or neem oil. A healthy plant with proper light and moisture management is less likely to succumb to pests.
Consistent observation is your best tool. Your plants communicate their needs through their appearance. Respond to their signals, make small, incremental changes, and watch them recover and thrive.
Frequently Asked Questions
Can I use a regular desk lamp with a normal bulb instead of a grow light?
While a regular desk lamp provides some light, a standard incandescent or fluorescent bulb does not offer the specific light spectrum plants need for optimal growth. Plants primarily use red and blue wavelengths for photosynthesis, which general-purpose bulbs lack in sufficient quantities. An LED grow light bulb, designed specifically for plants, will provide far better results by delivering the right spectrum and intensity, making it a much more effective investment for your plants’ health.
How often should I use the moisture meter?
You should check your plants with a moisture meter every few days, especially when you are learning their winter watering needs. Some plants dry out faster than others, and pot size also influences drying time. Once you understand a plant’s typical drying cycle, you can adjust your checking frequency. Always check before you water, never just on a schedule.
Do all indoor plants need a grow light in winter?
Not all plants strictly require a grow light, especially if you have naturally bright windows, or if you keep very low light plants like ZZ plants or Snake Plants. However, almost all indoor plants benefit from supplemental light during the darker winter months. It helps them maintain vigor, prevent legginess, and continue some level of growth. Plants that typically prefer bright indirect light or those that flower will show the most significant improvement with a grow light.
Is it bad if my humidity tray completely dries out sometimes?
It is not ideal, but it is not immediately harmful if your humidity tray occasionally dries out. The goal is consistent humidity. If it frequently dries out, you are not providing the benefit to your plants. Make it a habit to check and refill the tray regularly, perhaps every other day, or consider a larger tray with more water capacity to extend the time between refills.
Can I move my plants outside on sunny winter days for extra light?
While the thought of giving your plants extra sun is good, moving them outside on winter days, especially if temperatures are low, can shock them. The sudden change in temperature, humidity, and light intensity is often more detrimental than helpful. Indoor plants are accustomed to stable conditions. It is safer to rely on your indoor grow light and other gadgets to provide consistent, controlled environments.
Successfully navigating winter plant care in a small space empowers you to keep your indoor garden thriving year-round. These three essential gadgets—the targeted LED grow light bulb, the reliable soil moisture meter, and the effective humidity solution—provide the foundation for healthy, happy plants. Combine these tools with thoughtful care practices, and you will find your apartment sanctuary remains lush and green, regardless of what the weather outside brings. Your plants, and your spirits, will thank you.
For trustworthy gardening information, visit:
American Public Gardens Association, Plant Select (Colorado), Missouri Native Plant Society and Wild Ones — Native Plants, Natural Landscapes. These organizations provide expert, research-based advice for gardeners at all levels.
Disclaimer: This article is for informational purposes only and is not a substitute for professional gardening advice. Always consult local extension services or horticulture experts for region-specific guidance.


Leave a Reply