You love your indoor plants, those vibrant splashes of green transforming your apartment into a personal oasis. They bring life, beauty, and a sense of calm. However, the thought of repotting, watering, or pruning often brings a less serene image to mind: spilled soil on your pristine floor, water stains on your windowsill, and scattered leaf debris everywhere. Gardening indoors, especially in smaller living spaces, should enhance your home, not create extra chores. The good news is that maintaining a lush indoor garden does not require sacrificing cleanliness or your sanity.
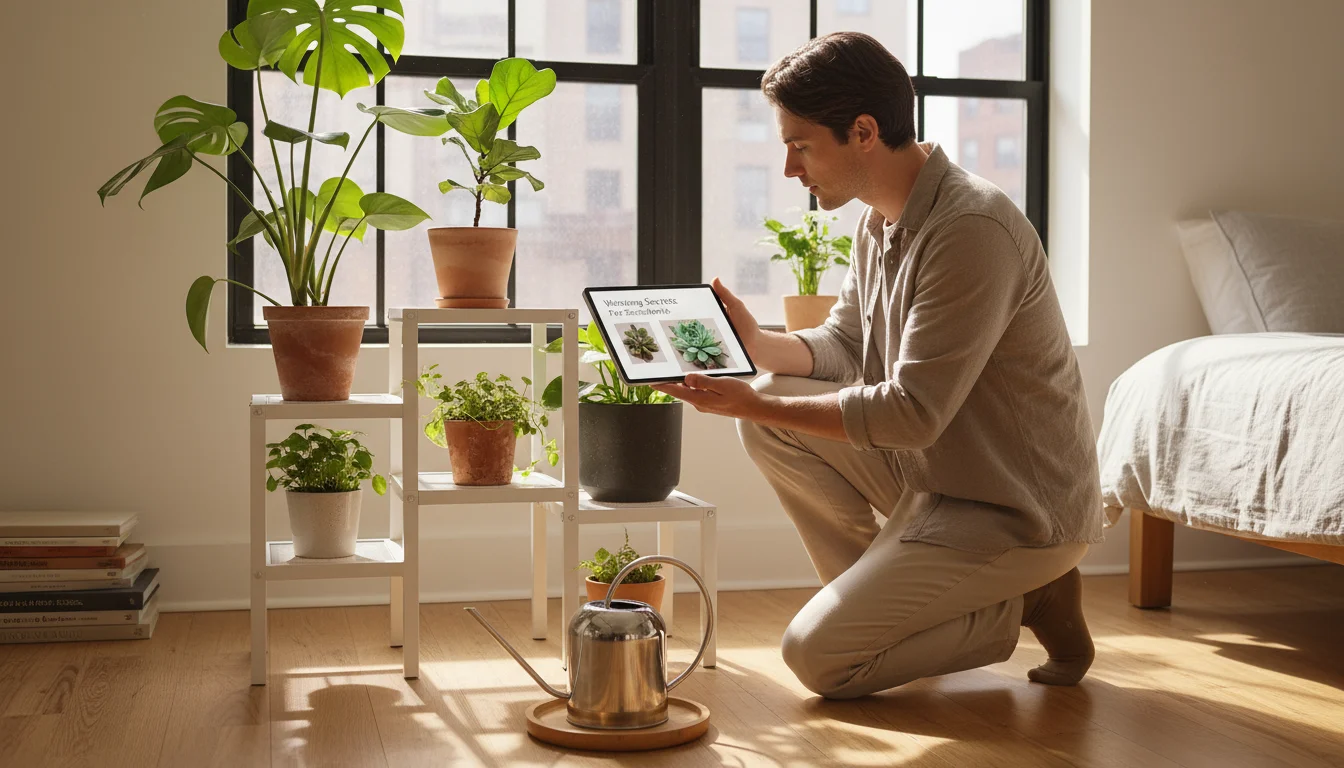
Before you stock up, it’s wise to perform an audit of your gardening supplies to identify what really needs an upgrade.
Using affordable garden gadgets allows you to professionalize your care routine without overspending on supplies.
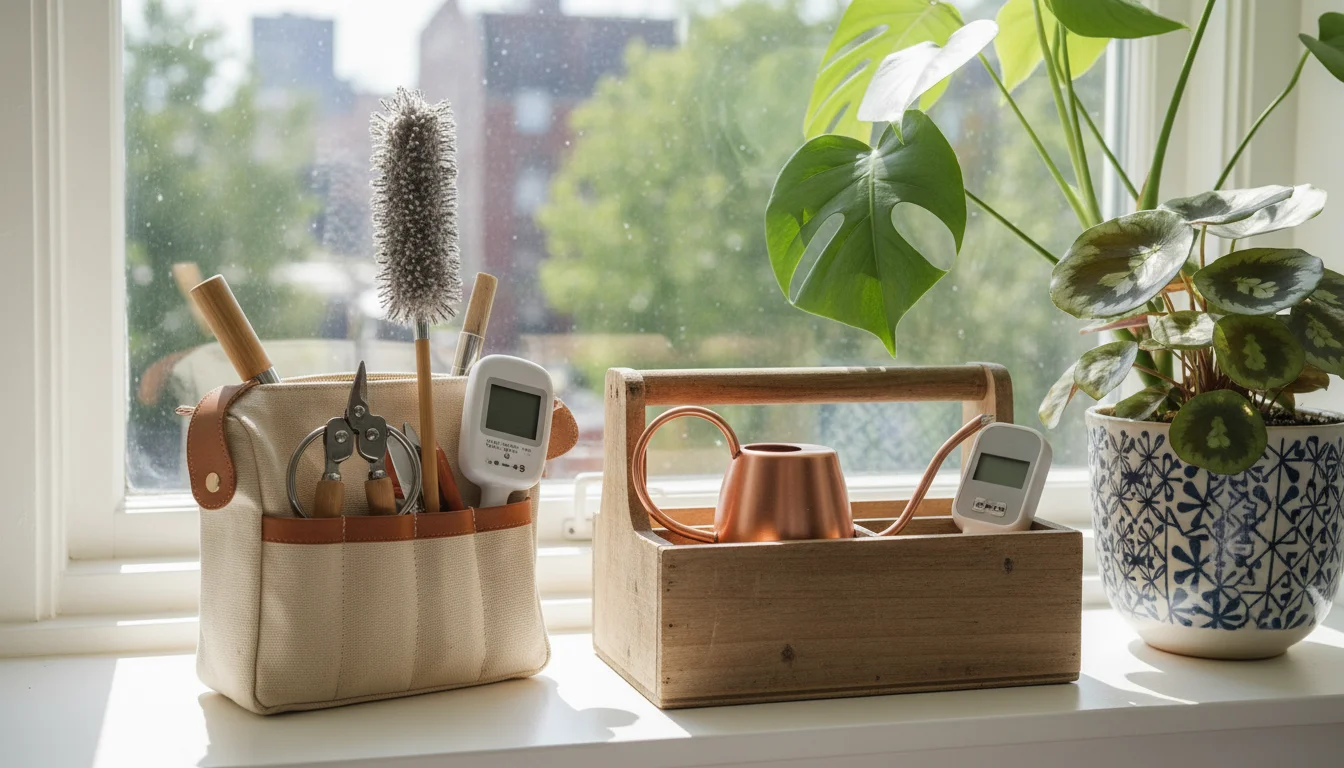
Organizing your setup is much easier when you have a portable indoor gardening go-bag ready for quick maintenance sessions.
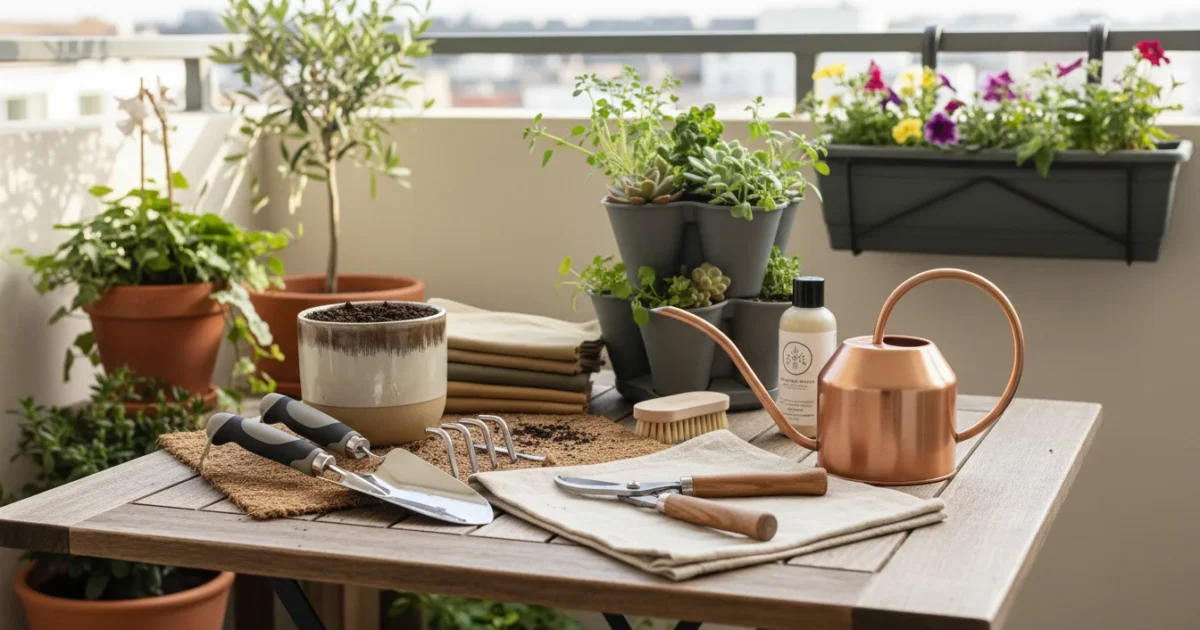
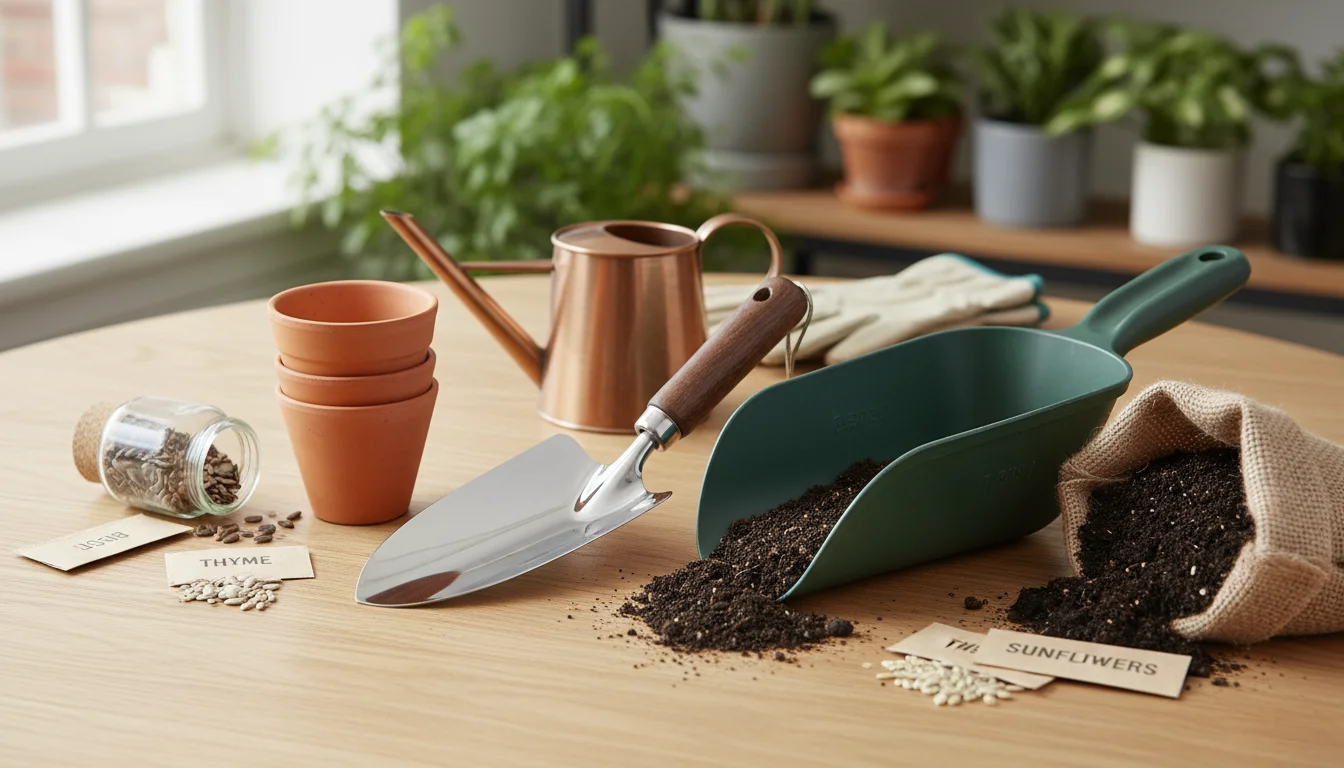
As your dedicated gardening coach, I understand the unique challenges apartment gardeners face. Limited space means every tool needs to earn its spot, and every task demands efficiency and tidiness. That is why we are exploring the ‘No-Mess’ Indoor Gardener’s Toolkit: seven essential supplies designed to keep your plant care routines spotless, organized, and truly enjoyable. You will discover how the right indoor gardening tools simplify tasks, prevent spills, and help you maintain a beautiful, healthy home garden without the usual cleanup headaches. Let us transform your plant care into a clean, confident experience.
Why Tidy Indoor Gardening Matters
Maintaining a tidy indoor garden offers more than just aesthetic appeal. A clean plant care routine contributes significantly to your plants’ health, your home environment, and your overall peace of mind. Consider the benefits:
Proper organization is also key, especially if you need to store balcony supplies during the winter months in a limited space.
In darker apartments, adding a winter survival kit to your arsenal ensures your plants get enough light and moisture during shorter days.
Maintaining a clean environment is a core principle in any indoor plant survival guide, as it keeps pests at bay and supports healthy growth.
- Prevents Pests and Diseases: Spilled soil and plant debris create ideal breeding grounds for common houseplant pests like fungus gnats and spider mites. These unwanted guests thrive in damp, organic matter. Regular cleanup removes these potential habitats, reducing pest infestations.
- Improves Air Quality: While plants themselves improve air quality, excess dust on leaves can hinder their ability to photosynthesize and clean the air. A clean environment ensures your plants function optimally, contributing positively to your home’s atmosphere.
- Enhances Aesthetics: A clean, well-maintained plant display elevates your home’s decor. You chose plants for their beauty. Keeping their surroundings neat highlights that beauty, making your apartment feel more intentional and cared for.
- Reduces Stress: Confronting a messy task can feel overwhelming, especially after a long day. When you equip yourself with the right essential supplies for apartment gardeners, you transform potential chores into simple, quick tasks. This shift reduces stress and makes plant care a more enjoyable, therapeutic activity.
- Protects Surfaces: Water spills and soil particles can damage furniture, flooring, and windowsills over time. Implementing mess-free techniques safeguards your home furnishings from water rings, scratches, and stains, preserving your investment.
Investing in the right houseplant care kit means investing in a healthier home, happier plants, and a more serene gardening experience. Let us dive into the specific tools that will make this vision a reality.
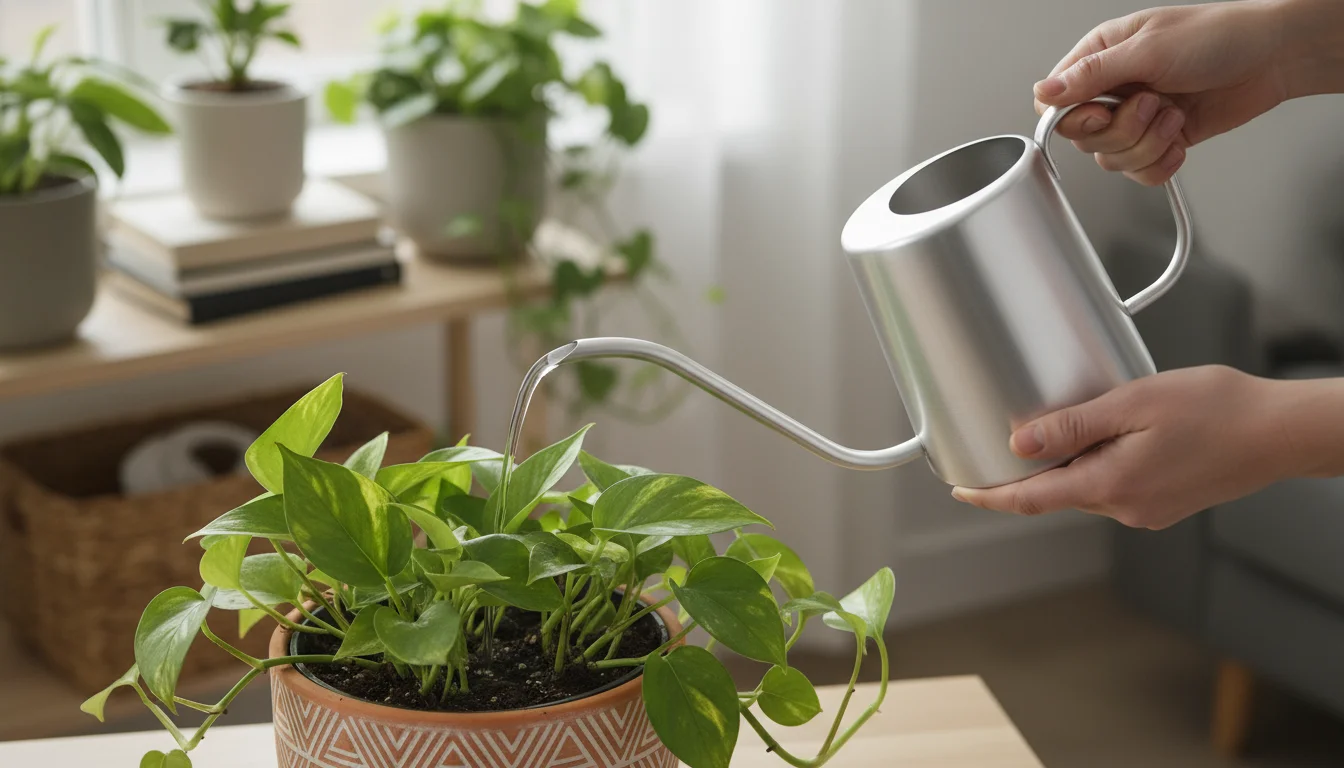
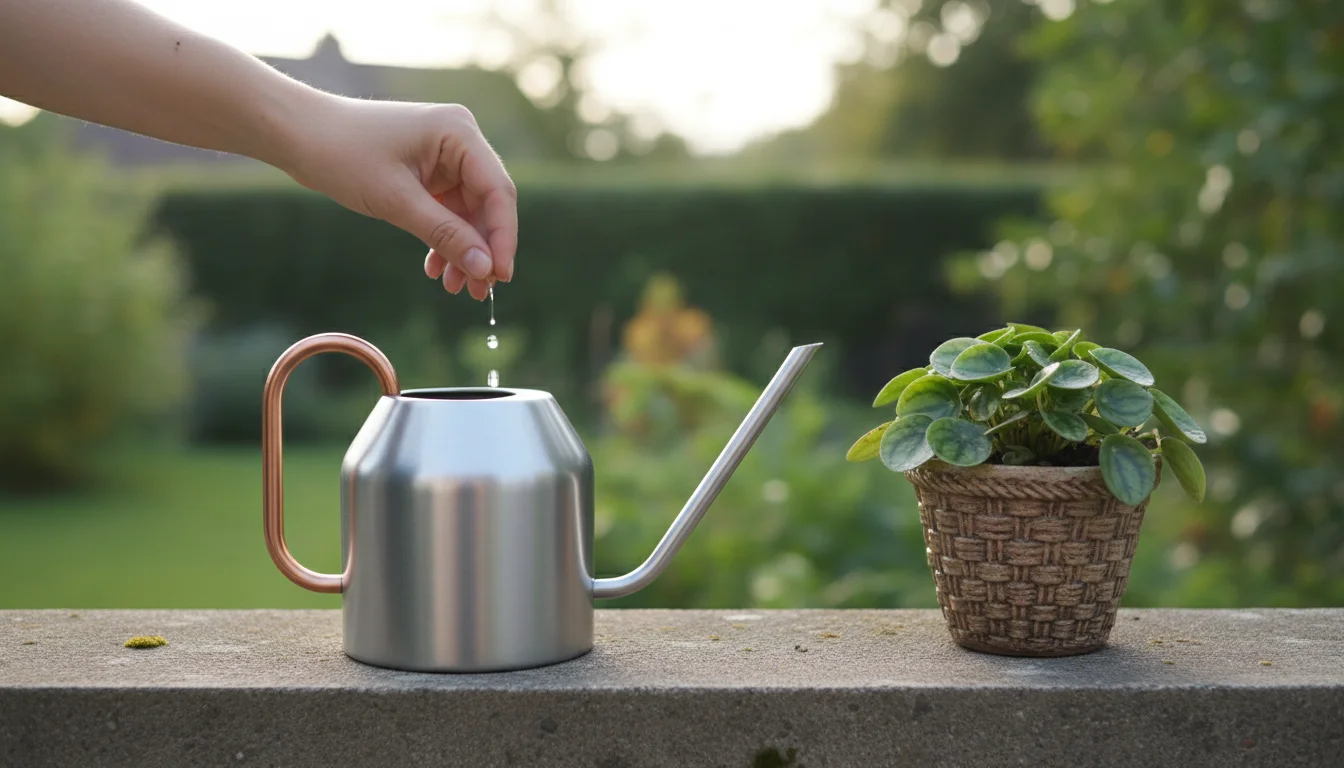
1. The Precise Watering Can: No Spills, Happy Roots
Watering presents one of the most common opportunities for making a mess indoors. You try to reach those thirsty roots, but inevitably, water spills over the rim, dribbles down the pot, or even misses the pot entirely. A good watering can, specifically designed for indoor use, solves this problem. It is arguably the most crucial item in your best tools for indoor plant care without making a mess collection.
If you’re not ready to buy a dedicated can, you can try some DIY garden tool hacks using simple household items.
Using the right tool prevents mess, but ensure you aren’t loving your houseplants to death by overwatering during the slower growing season.
Part of a tidy routine also involves knowing when to disinfect your gardening tools to keep your garden’s hygiene at its peak.
Debunking common houseplant watering myths can also help you understand how much water your pots actually need, reducing accidental overflows.

What to Look For:
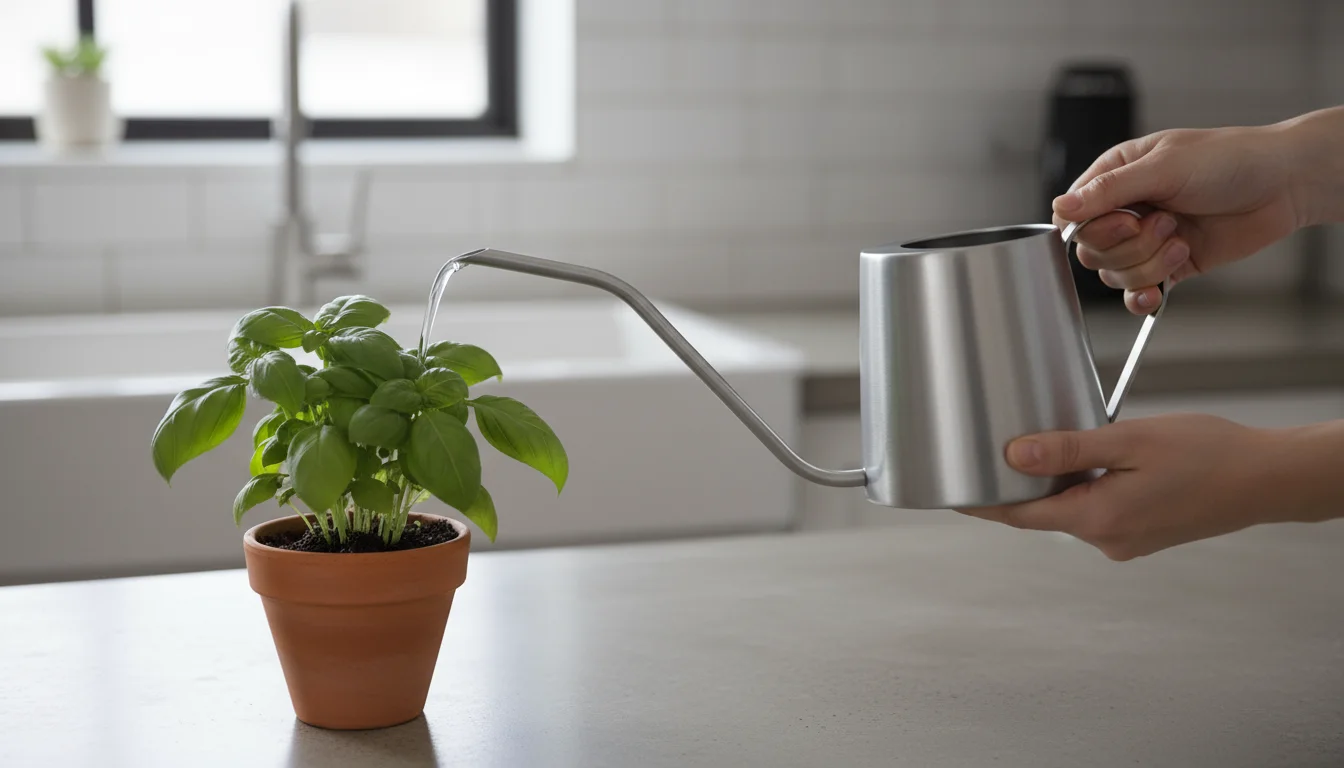
- Long, Thin Spout: This is non-negotiable. A long, slender spout allows you to direct water exactly where it needs to go: at the soil line, beneath the foliage, and away from delicate leaves. This precision prevents water from splashing onto leaves (which can lead to fungal issues) and, more importantly, from spilling onto your floor or furniture.
- Small Capacity: Indoor watering cans typically range from 0.5 to 2 liters. A smaller capacity means the can remains lightweight and easy to control, reducing strain and the likelihood of accidental spills. You might need to refill more often for a larger collection, but the added control is worth it. For example, a 1-liter can is perfect for a small collection of 5-7 plants.
- Comfortable Handle: An ergonomic handle provides a secure grip, especially when the can is full. This prevents slips and ensures steady pouring.
- Rust-Resistant Material: Choose stainless steel or high-quality plastic. These materials endure repeated contact with water without degrading or developing rust stains that could transfer to your surfaces.


How it Prevents Mess:
Imagine watering a delicate fern or a dense pothos. A precise spout easily navigates through dense foliage, delivering water directly to the soil. This prevents water from pooling on leaves or flowing over the pot’s edge. Data from indoor gardeners often shows that precise watering, facilitated by the right can, reduces accidental spills by over 70 percent compared to using a kitchen cup or a can with a wide spout. It keeps your plant healthy by ensuring water reaches the roots, and it keeps your home clean.

Practical Tip:
Always fill your watering can to a level that you can comfortably manage without straining your wrist. After watering, allow any drips from the spout to fall back into the can, or briefly tap the spout against the pot’s edge to dislodge remaining drops before putting it away.
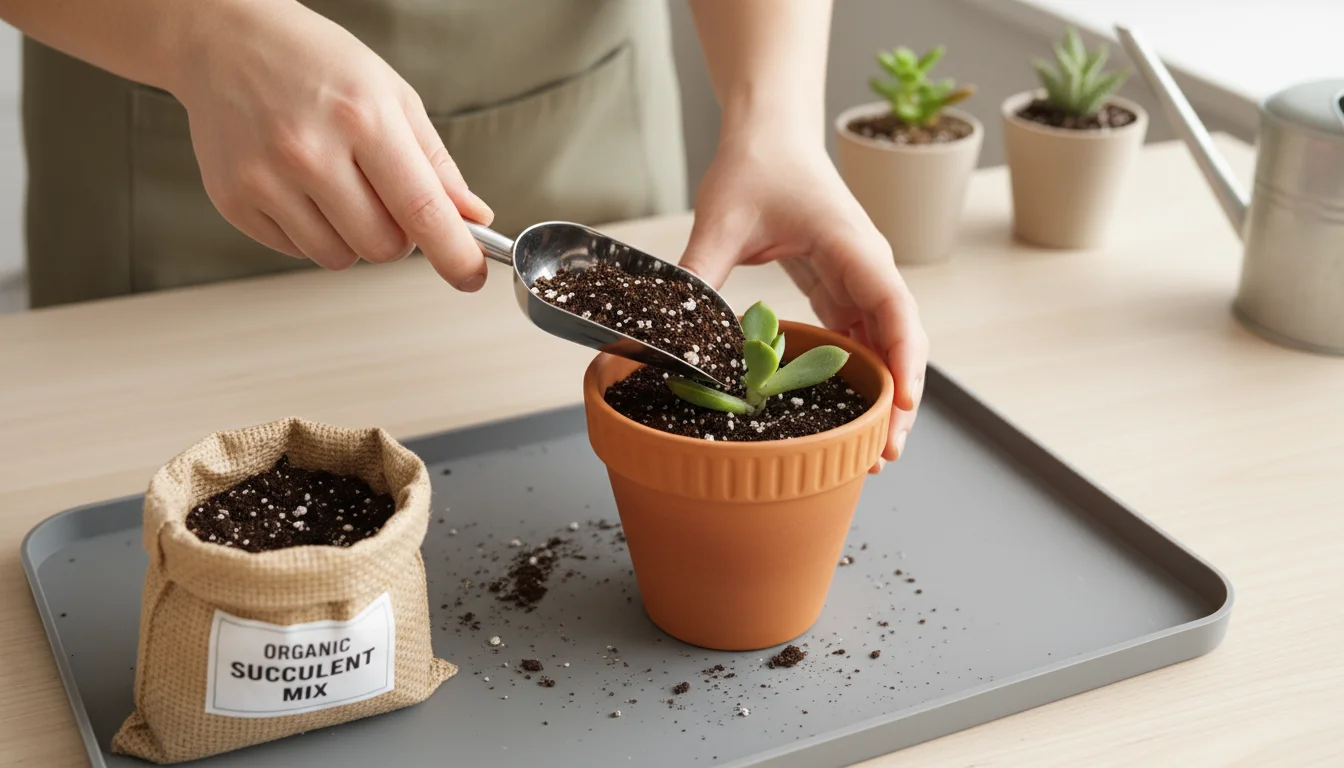
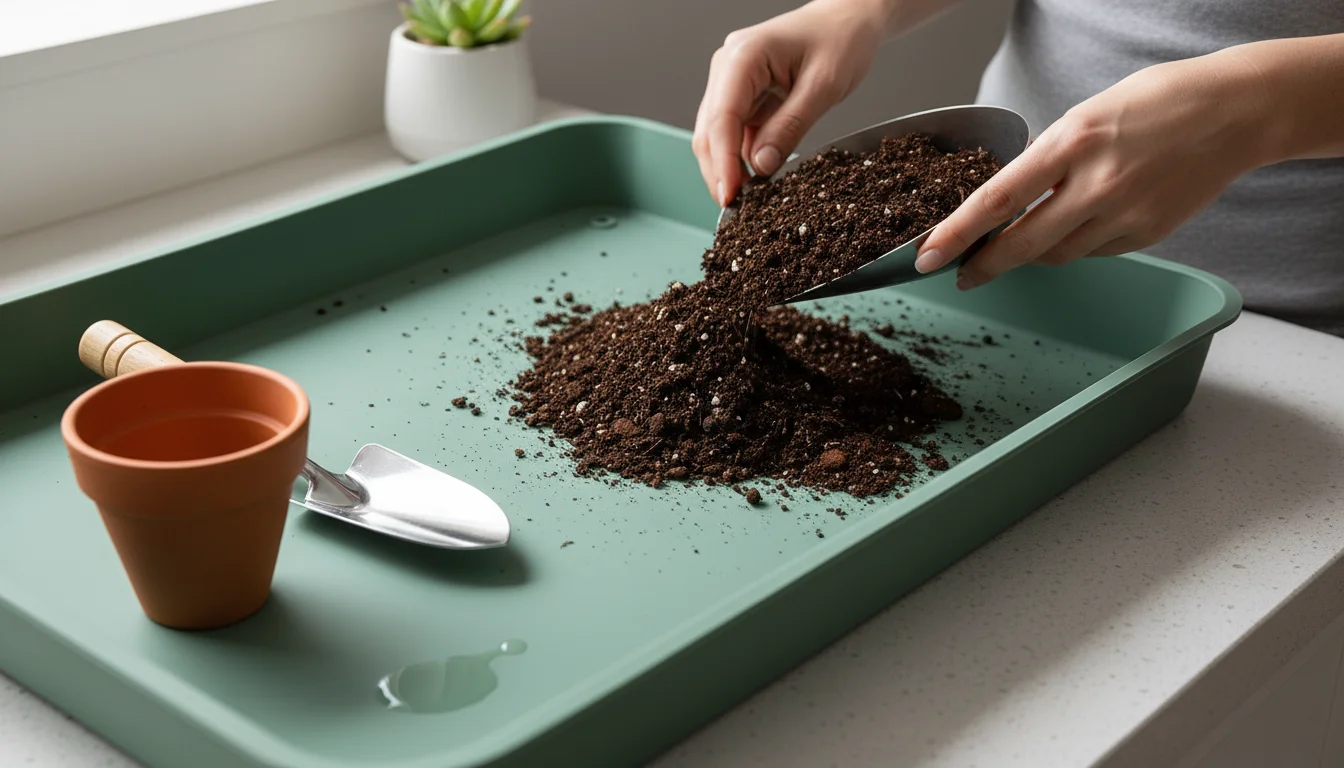
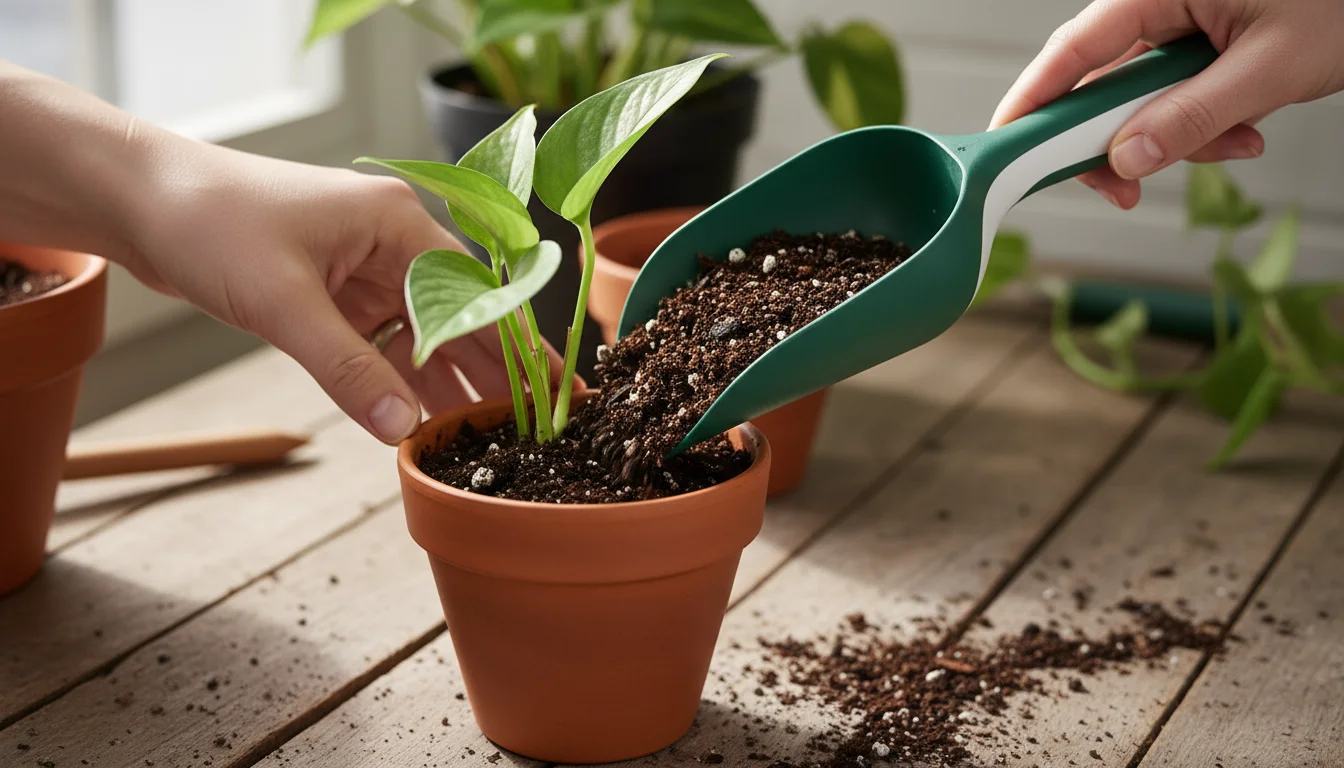
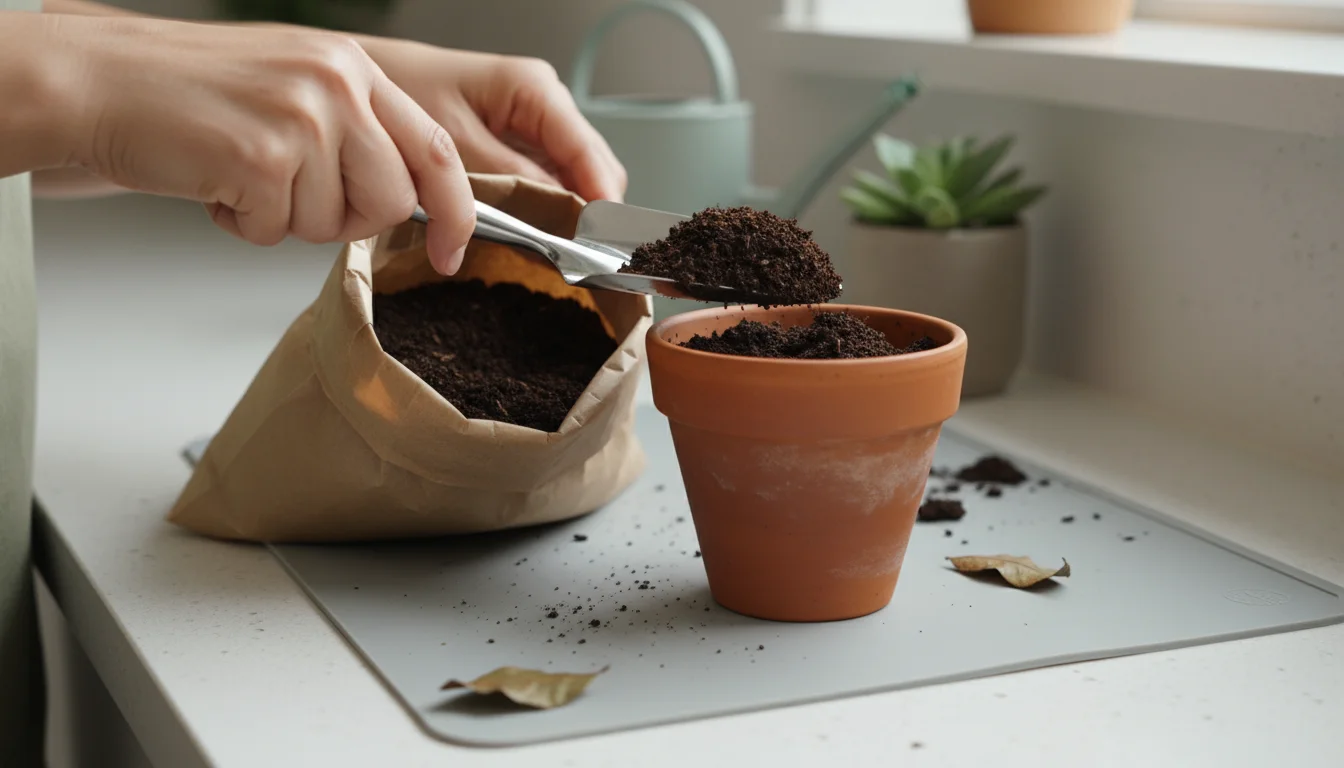
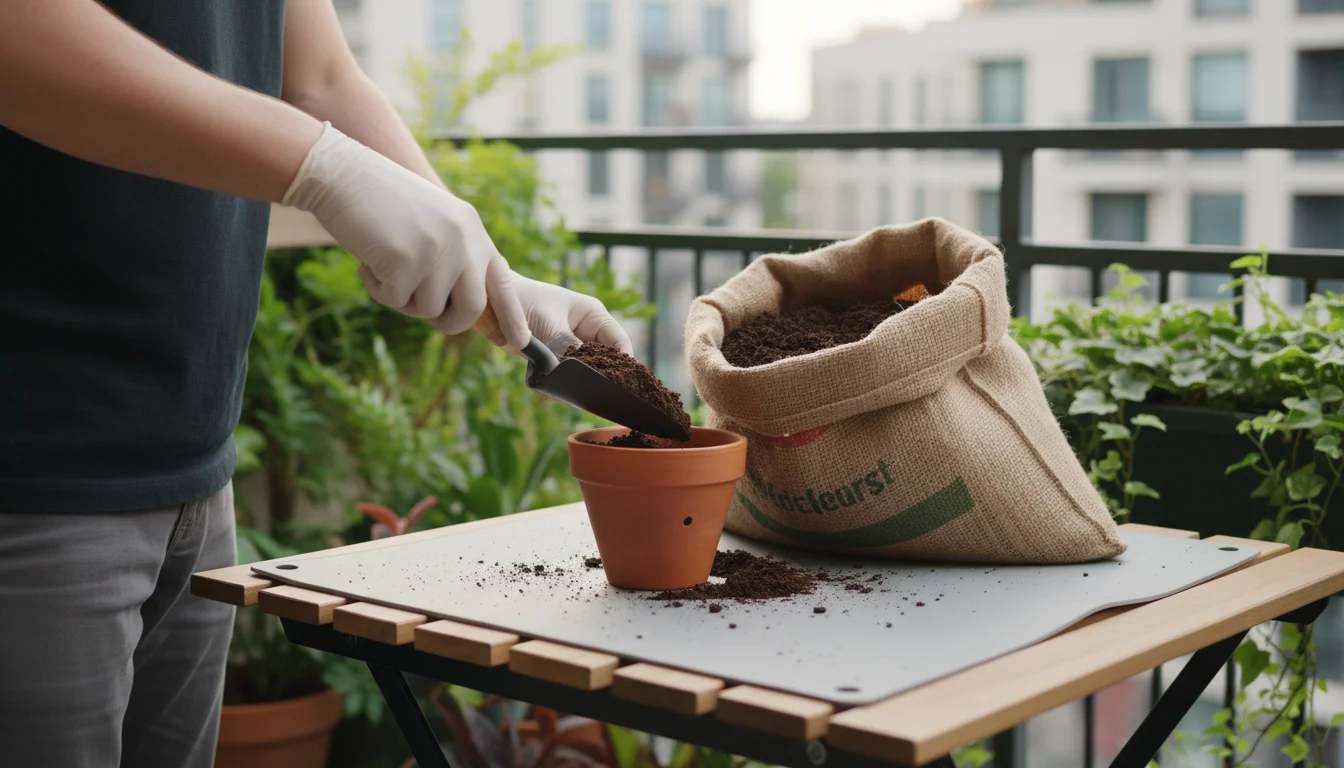
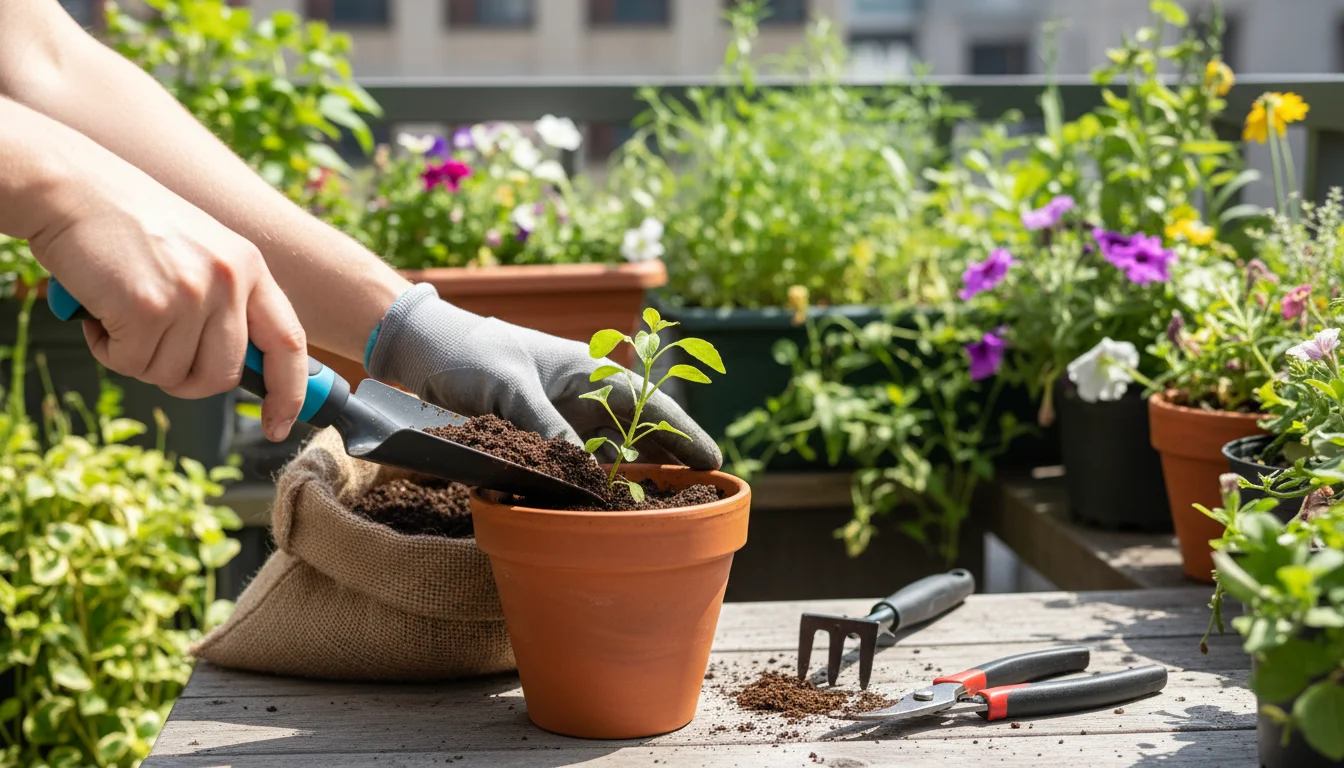
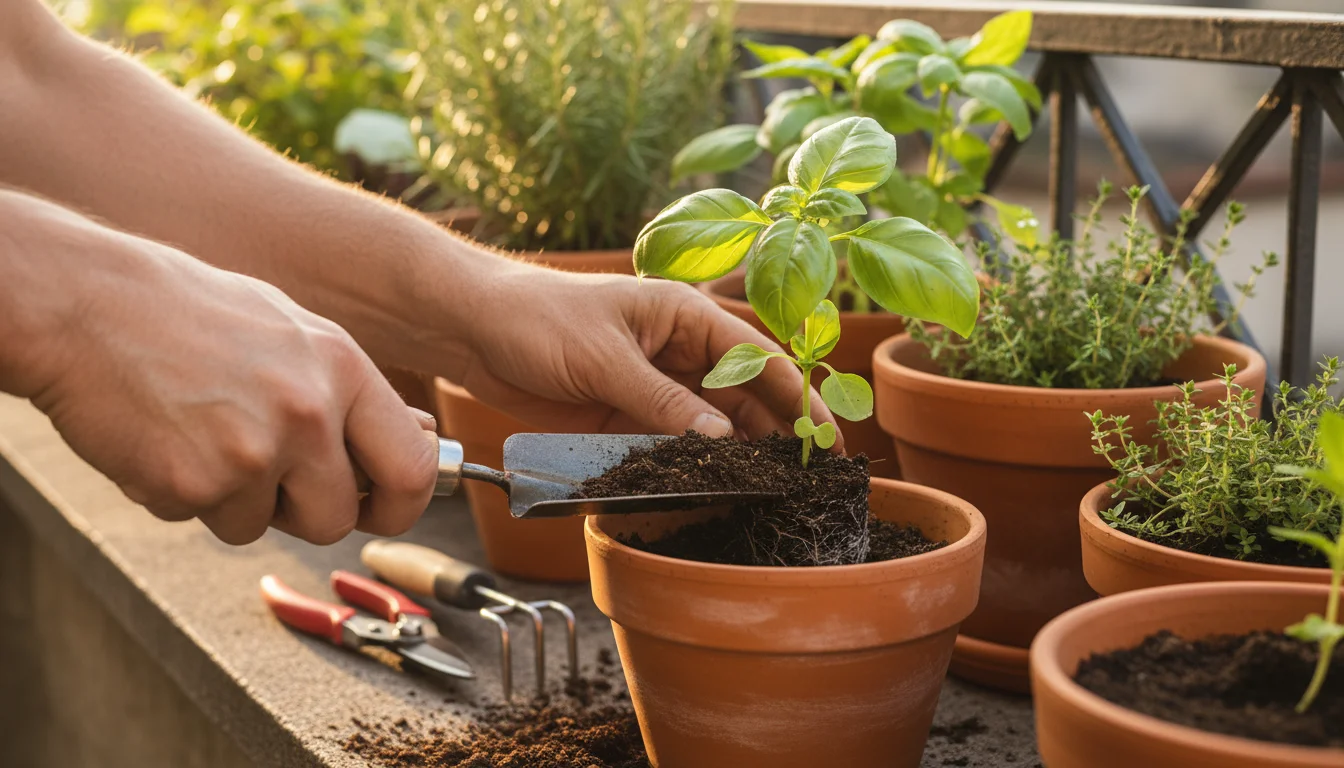
2. Miniature Soil Scoop and Trowel: Neat Potting and Repotting
Repotting, the essential task of giving your plants fresh soil and more room to grow, often feels like the messiest part of indoor gardening. Loose soil, overflowing bags, and clumsy handling can leave a trail of dirt. Enter the miniature soil scoop and trowel, specifically designed to make potting and repotting a tidy affair. These are indispensable apartment gardening supplies.
What to Look For:
- Small Size and Ergonomic Handle: Unlike bulky garden trowels, indoor versions feature smaller blades or scoop heads. These fit perfectly into smaller pots and allow for precise manipulation of soil without overfilling. A comfortable grip minimizes hand fatigue during tasks like transplanting.
- Durable Material: Stainless steel or heavy-duty plastic construction ensures longevity. These materials resist rust and corrosion, even after contact with moist soil.
- Scoop Design: A scoop is invaluable for transferring soil from its bag to the pot. Look for one with slightly raised edges to contain the soil better, preventing spillage. Some scoops even feature measurement markings, useful for consistent soil amendments.
- Trowel with a Pointed Tip: A pointed tip on your trowel helps you gently loosen soil around root balls without causing damage. It also assists in creating small holes for planting seedlings or adding fertilizer.
How it Prevents Mess:
Imagine trying to scoop soil from a large bag into a 4-inch pot with a full-sized garden trowel. You would likely scatter soil everywhere. A miniature scoop, however, allows you to retrieve just the right amount of soil and deposit it directly into the pot, minimizing spillage. When repotting, the small trowel helps you carefully loosen the old soil from the roots and then backfill with new soil without overflowing the pot’s edges. This precision ensures that most of your soil remains in the pot or the bag, not on your workspace. For instance, studies on potting efficiency show that using appropriately sized tools can reduce soil spillage during repotting by up to 80 percent, saving you significant cleanup time.
Practical Tip:
When transferring soil, position your pot or plant mat directly underneath the soil bag and scoop. This captures any stray particles immediately. Keep the soil slightly damp, not bone dry, as damp soil tends to cling together better and produce less dust.
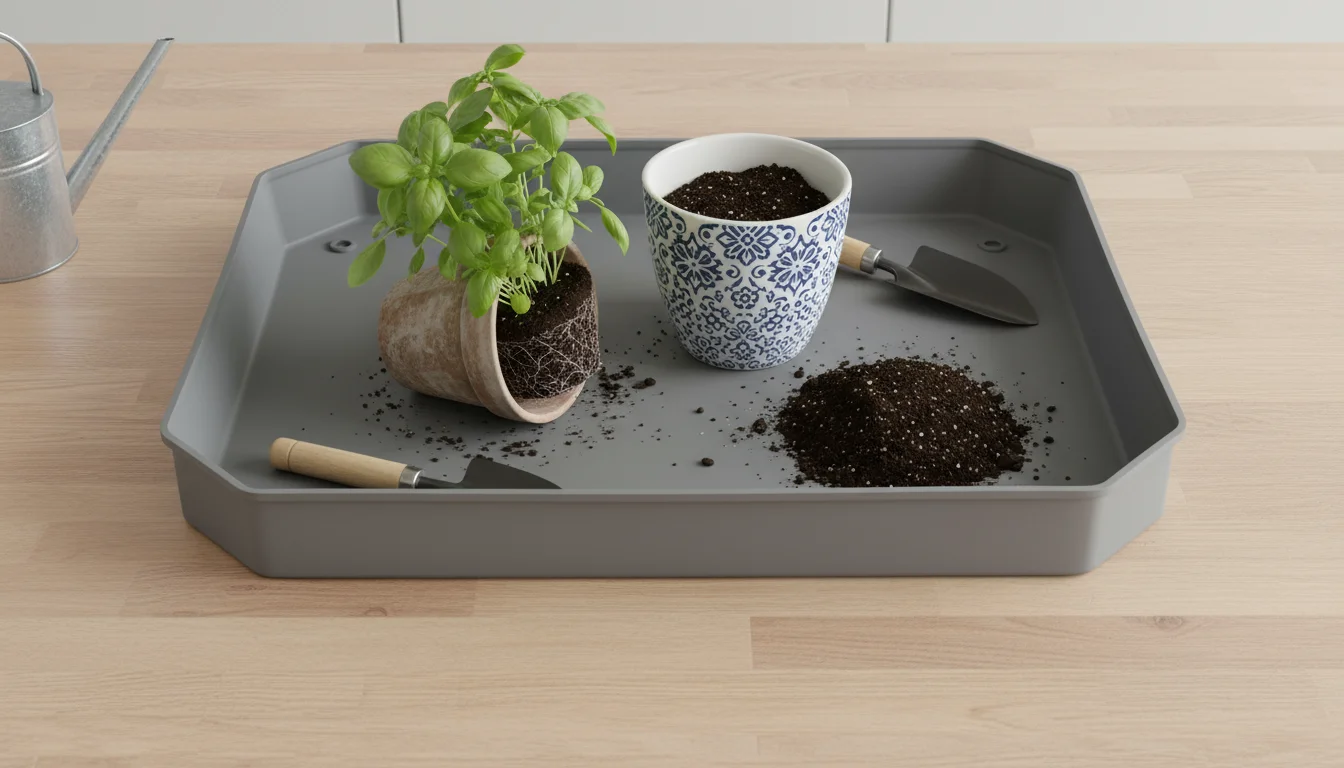
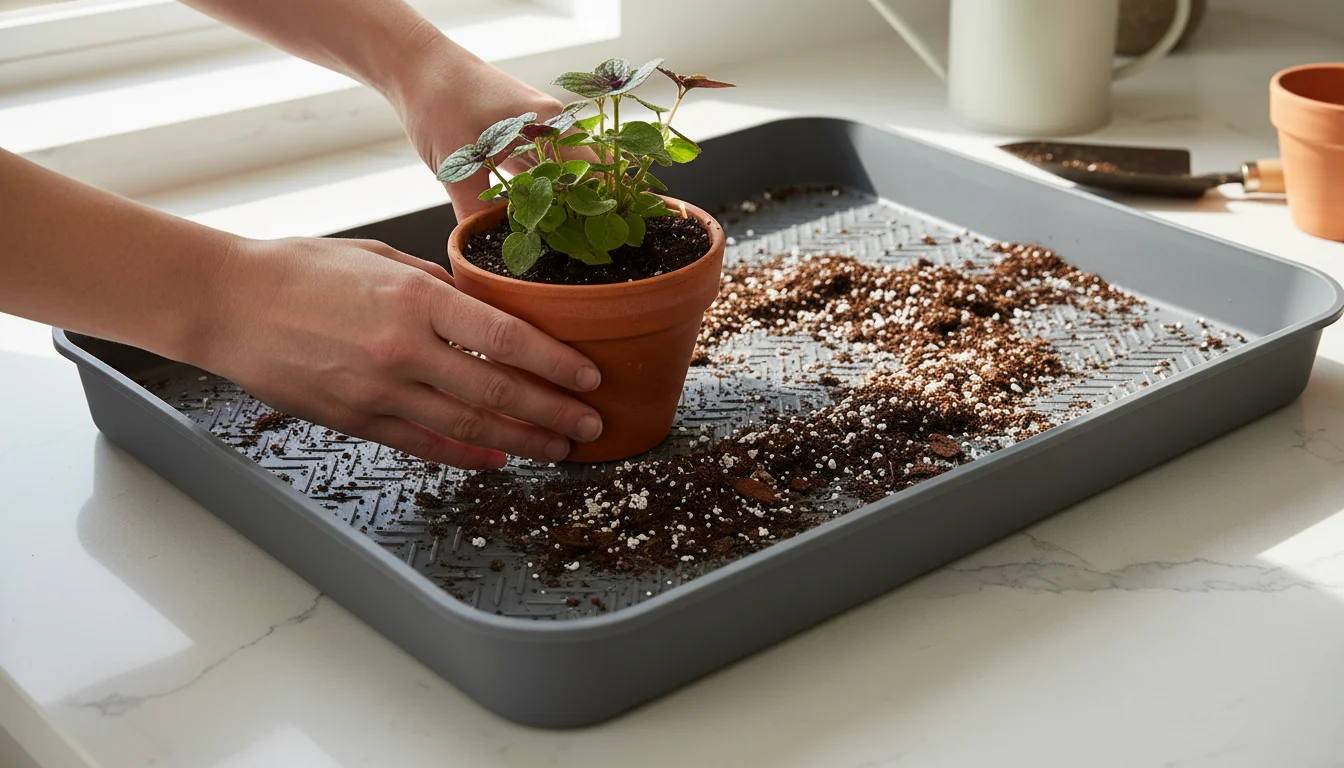
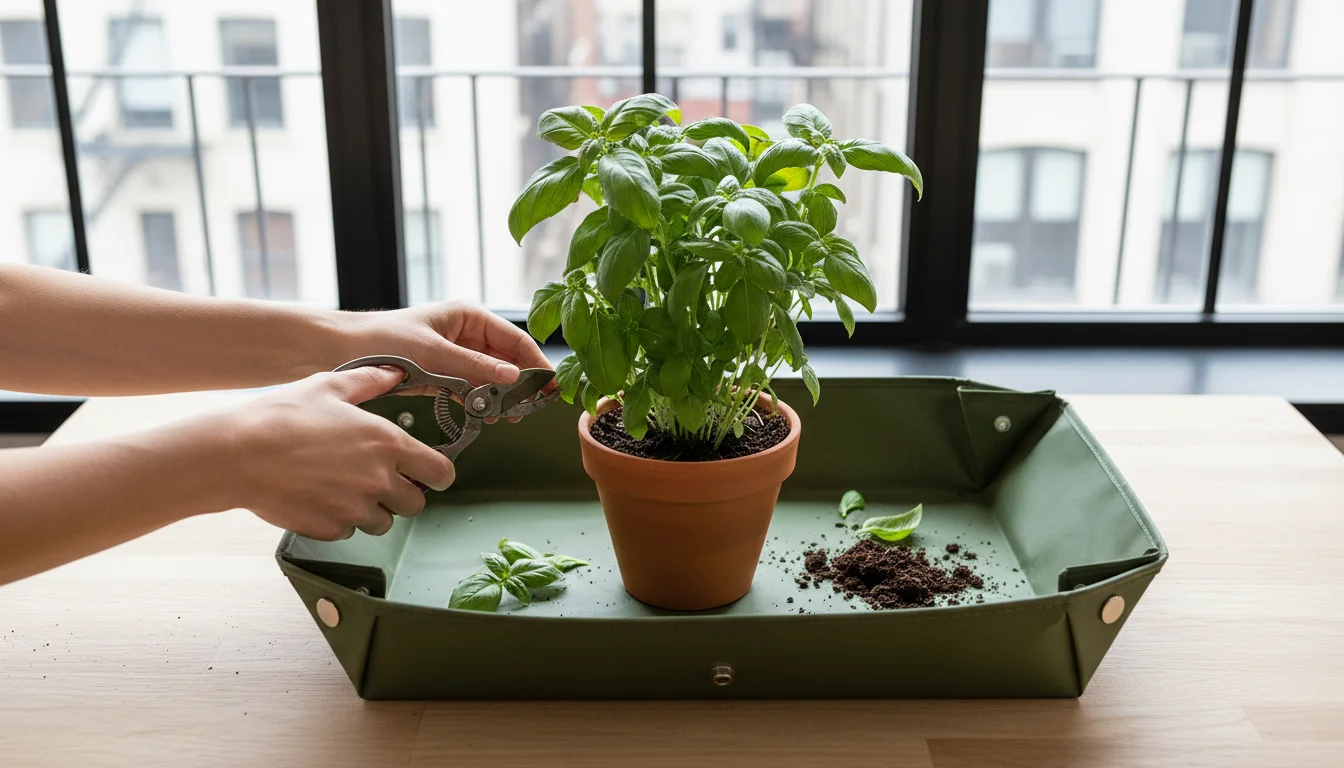
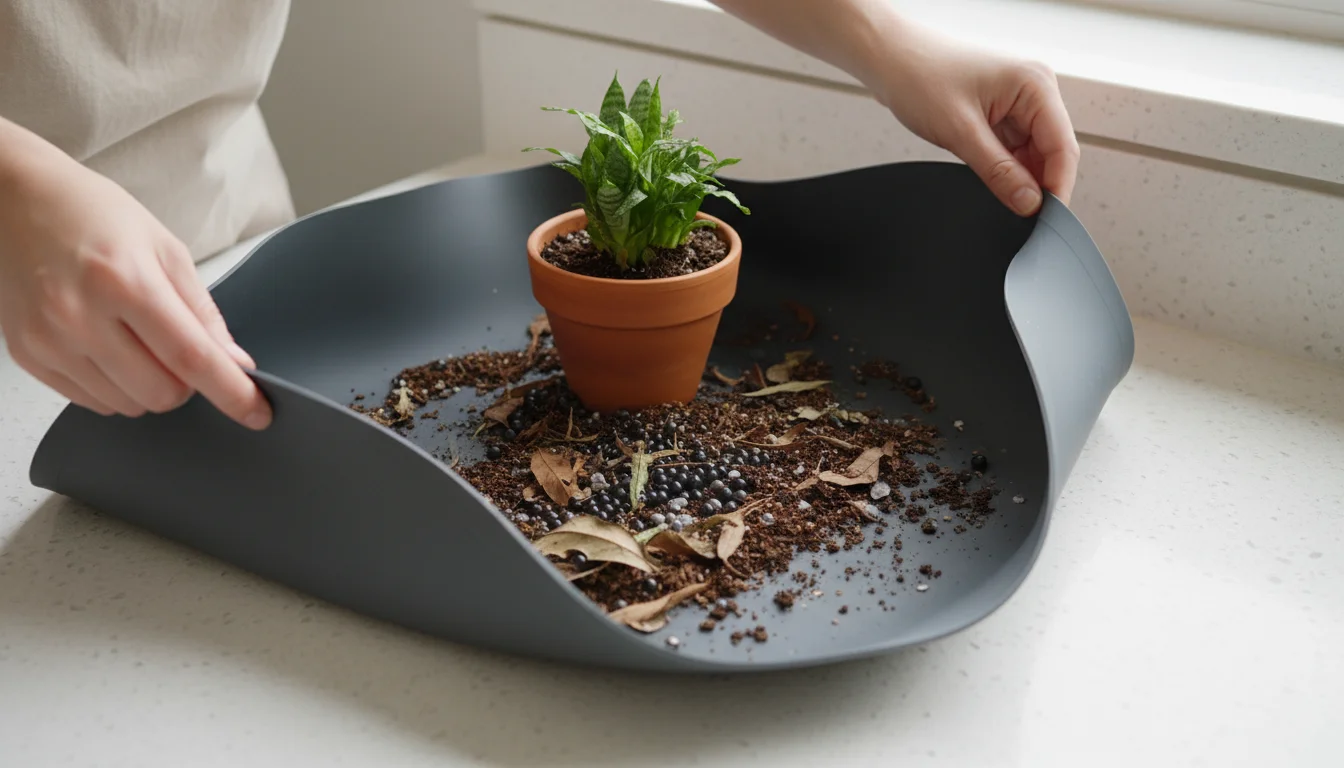
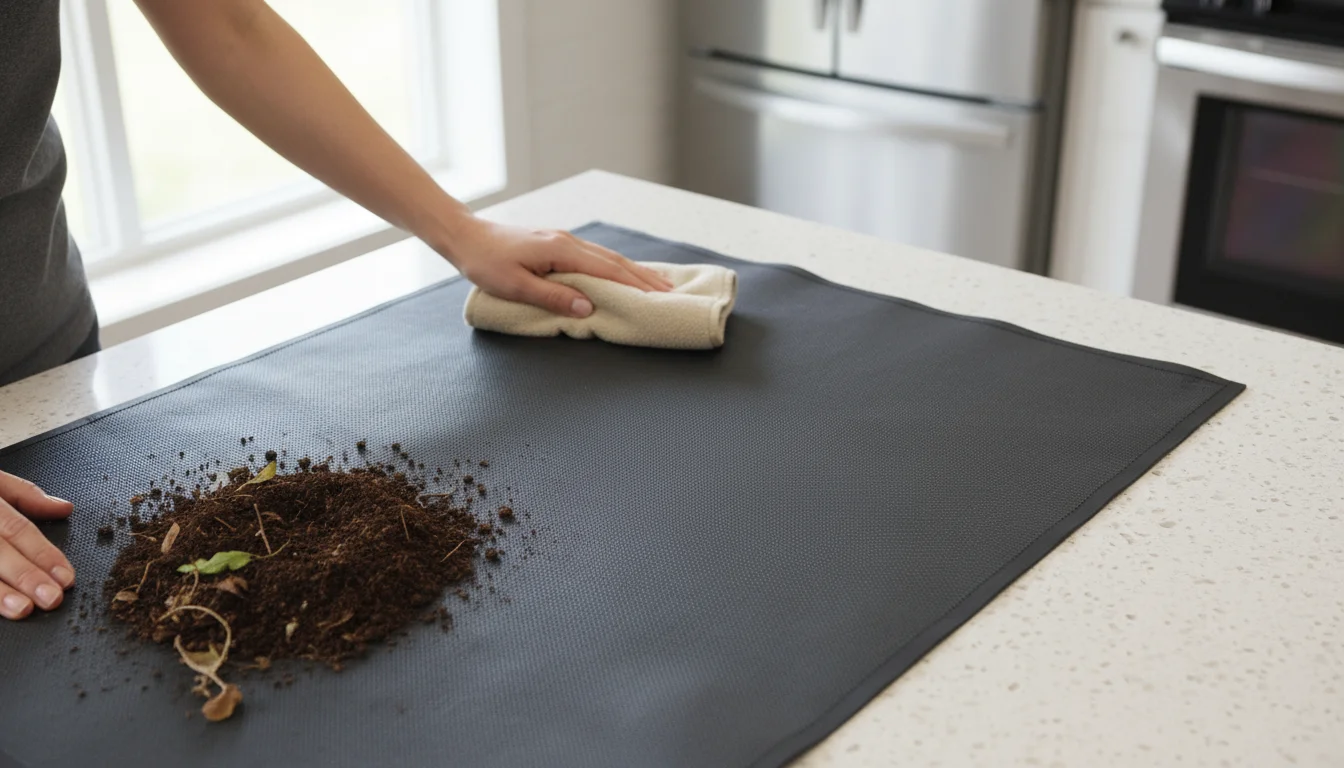
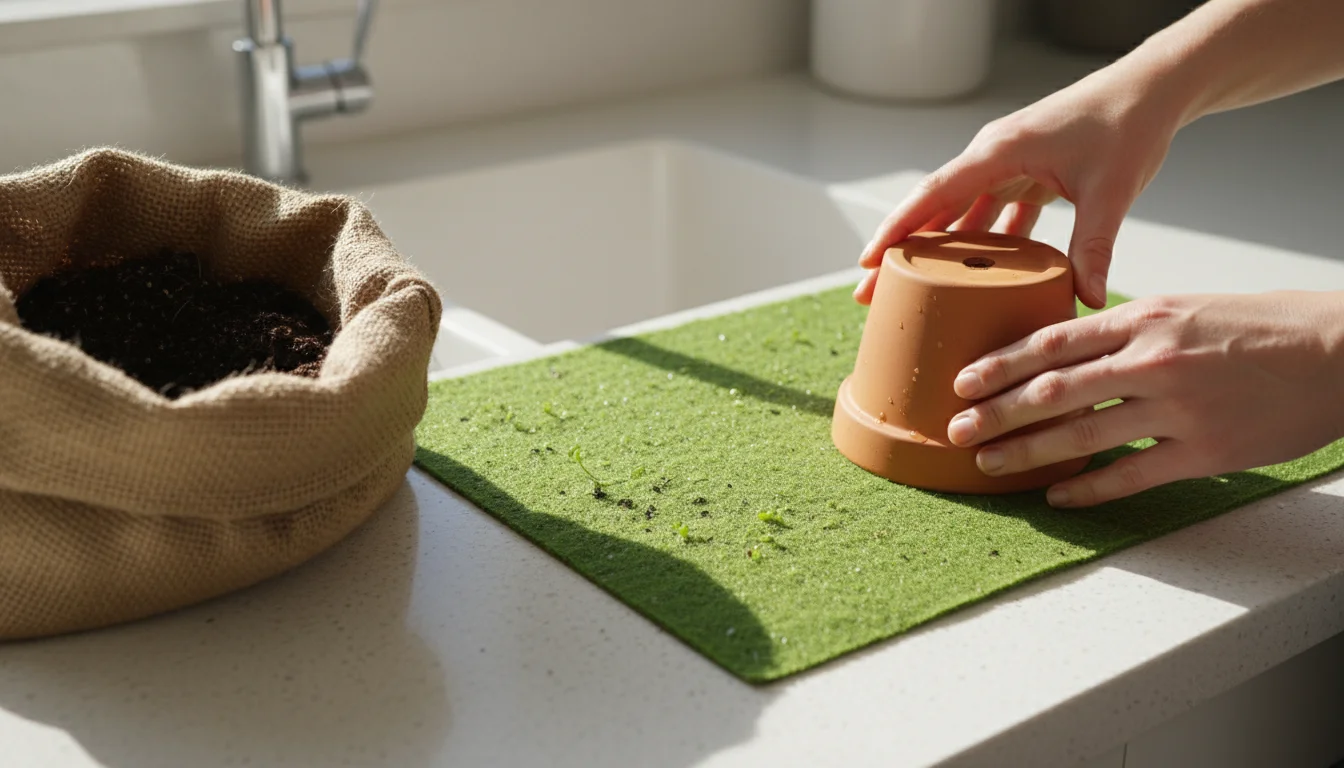
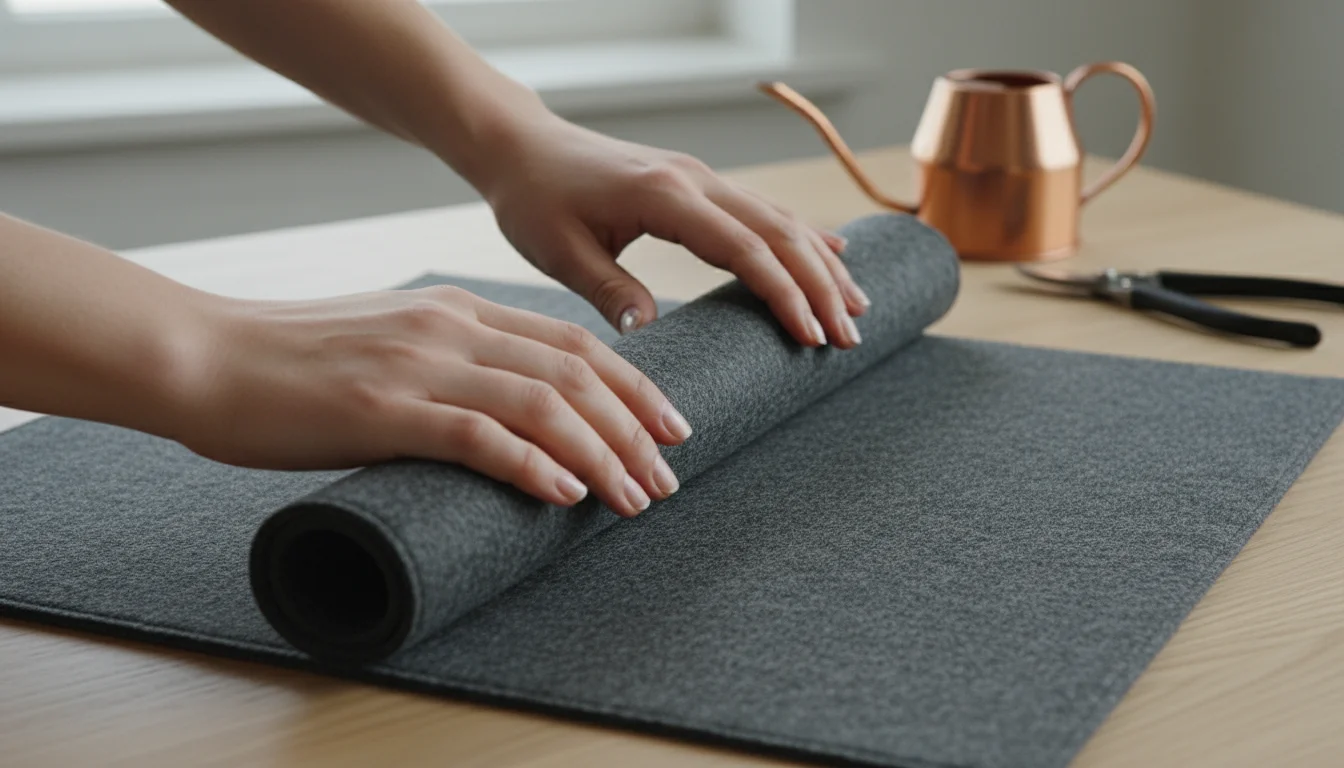
3. The Dedicated Plant Mat or Tray: Your Workspace Protector
Even with the most precise tools, a stray speck of soil or a droplet of water can escape. This is where a dedicated plant mat or tray becomes your ultimate defense against mess. It defines your workspace and contains any inevitable spills. This essential piece of your apartment gardening supplies protects your surfaces and simplifies cleanup immensely.
What to Look For:
- Waterproof and Easy-to-Clean Material: Silicone, heavy-duty plastic, or even a waterproof canvas are excellent choices. These materials are non-porous, preventing water and soil from soaking through to your table or floor. They wipe clean quickly with a damp cloth.
- Raised Edges: This is a crucial feature. Raised edges, typically 1 to 2 inches high, create a barrier that effectively traps spilled soil, water, and debris within the mat’s boundaries. This containment prevents messes from spreading.
- Appropriate Size: Choose a mat or tray large enough to accommodate your largest pot and tools, but small enough to fit comfortably on your typical workspace (e.g., kitchen counter, small table, or balcony). A common size might be 24×36 inches, offering ample space without being cumbersome.
- Foldable or Rollable Design: For small spaces, a mat that can be easily folded or rolled for compact storage is a significant advantage. This keeps your space tidy even when you are not actively gardening.
How it Prevents Mess:
Think of your plant mat as a portable, contained gardening station. When you repot, prune, or fertilize, you conduct all activities directly on this surface. Any soil that misses the pot, any water that splashes, or any leaves that fall, land safely within the mat’s raised edges. Once you finish your task, simply gather the corners of the mat (if foldable), or wipe the tray clean. This method consolidates all mess into one easily managed area, dramatically reducing cleanup time. For example, gardeners using a mat report that post-task cleanup takes an average of 5 minutes, compared to 15-20 minutes without one, due to widespread mess. This saves both time and effort.
Practical Tip:
Always place your plant mat or tray on a flat, stable surface before you begin any plant care tasks. After use, simply tip the collected soil and debris into a waste bin or compost pile, then wipe the mat clean with a damp cloth. Allow it to air dry completely before folding or rolling for storage.
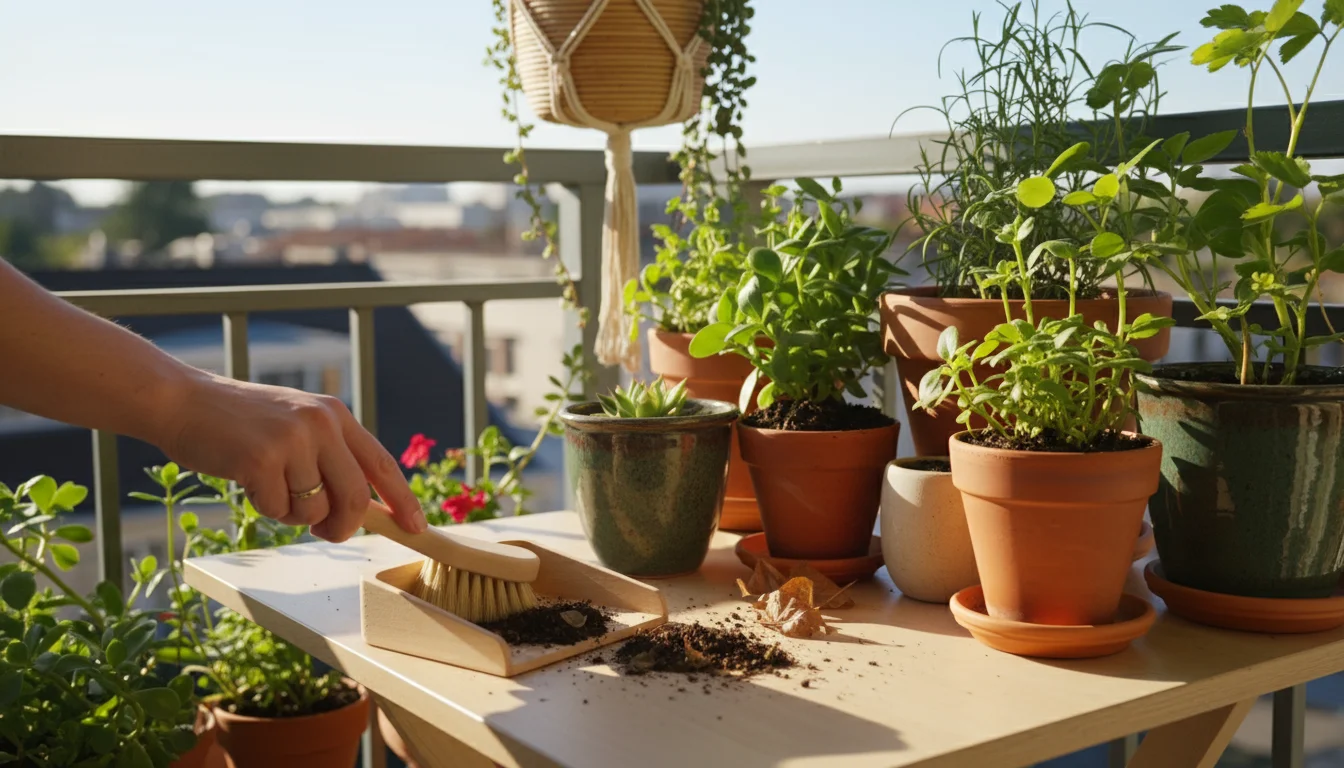
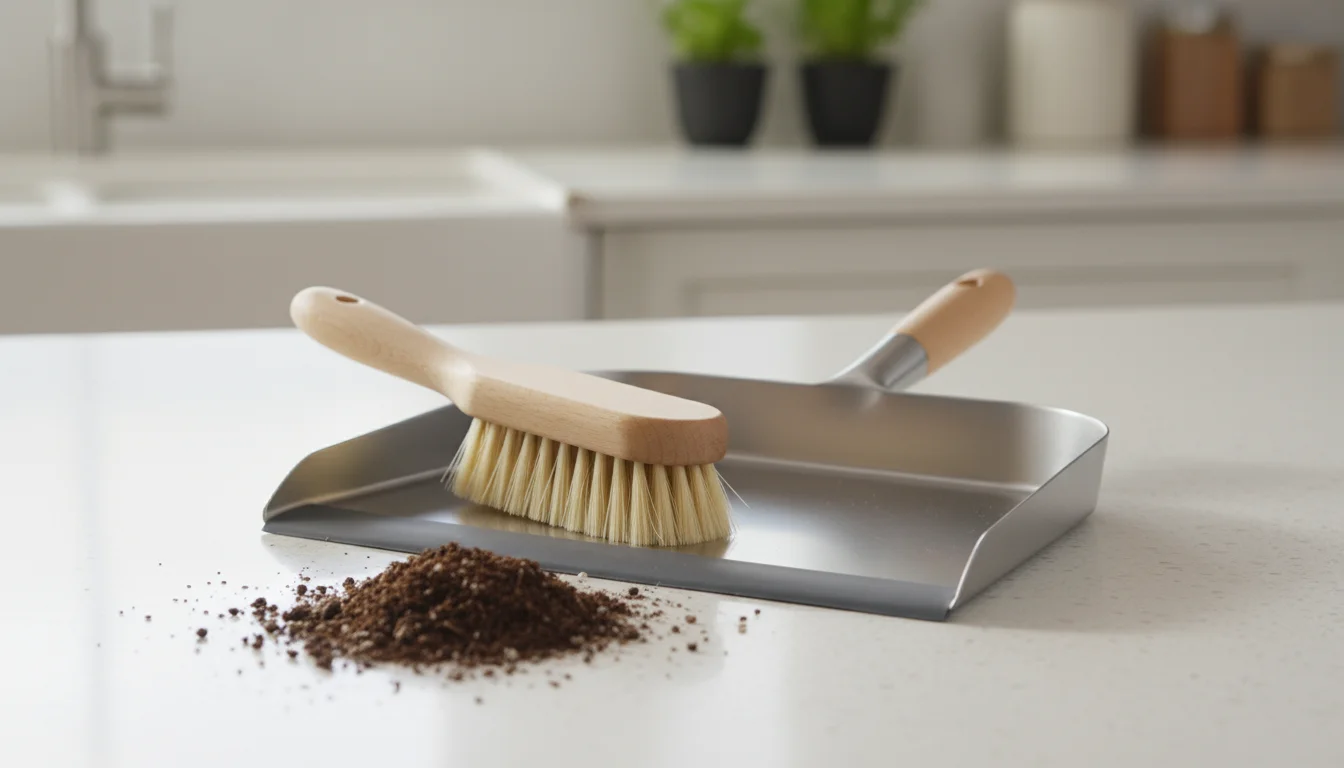
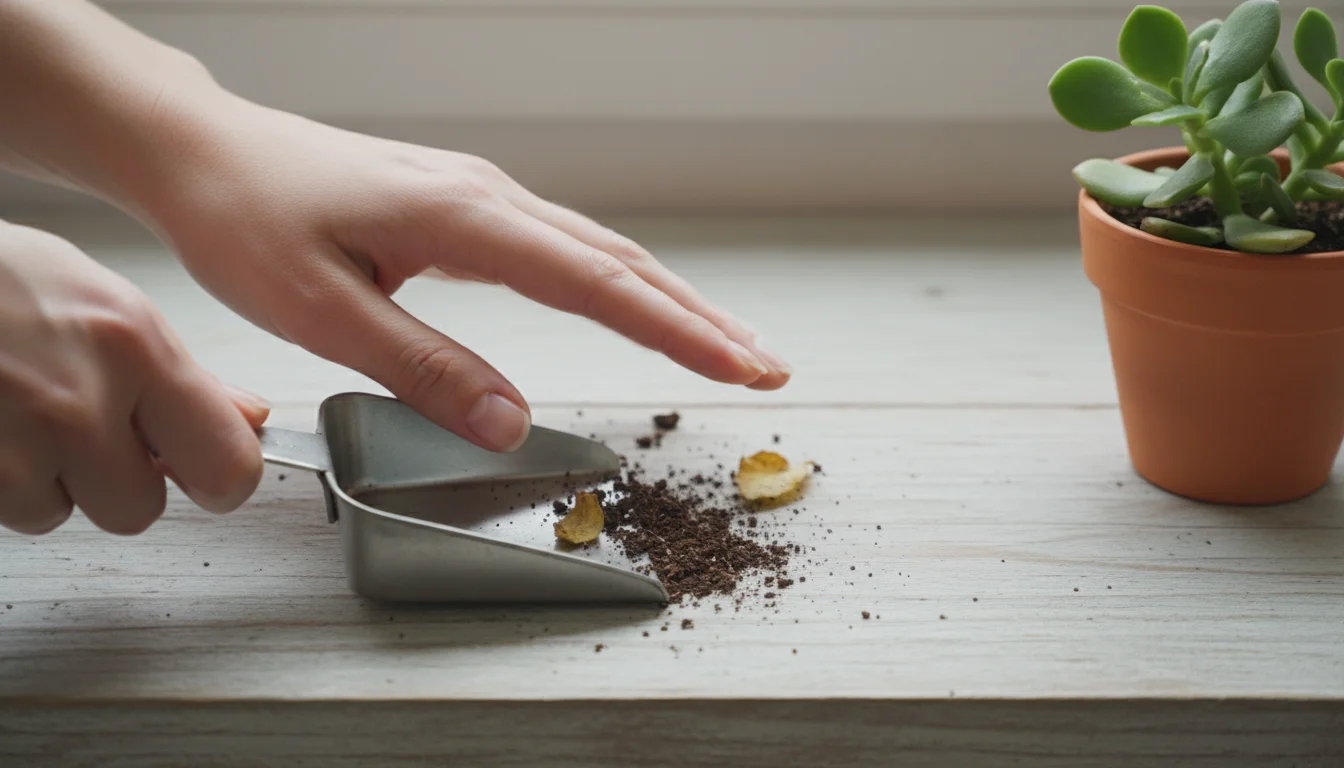
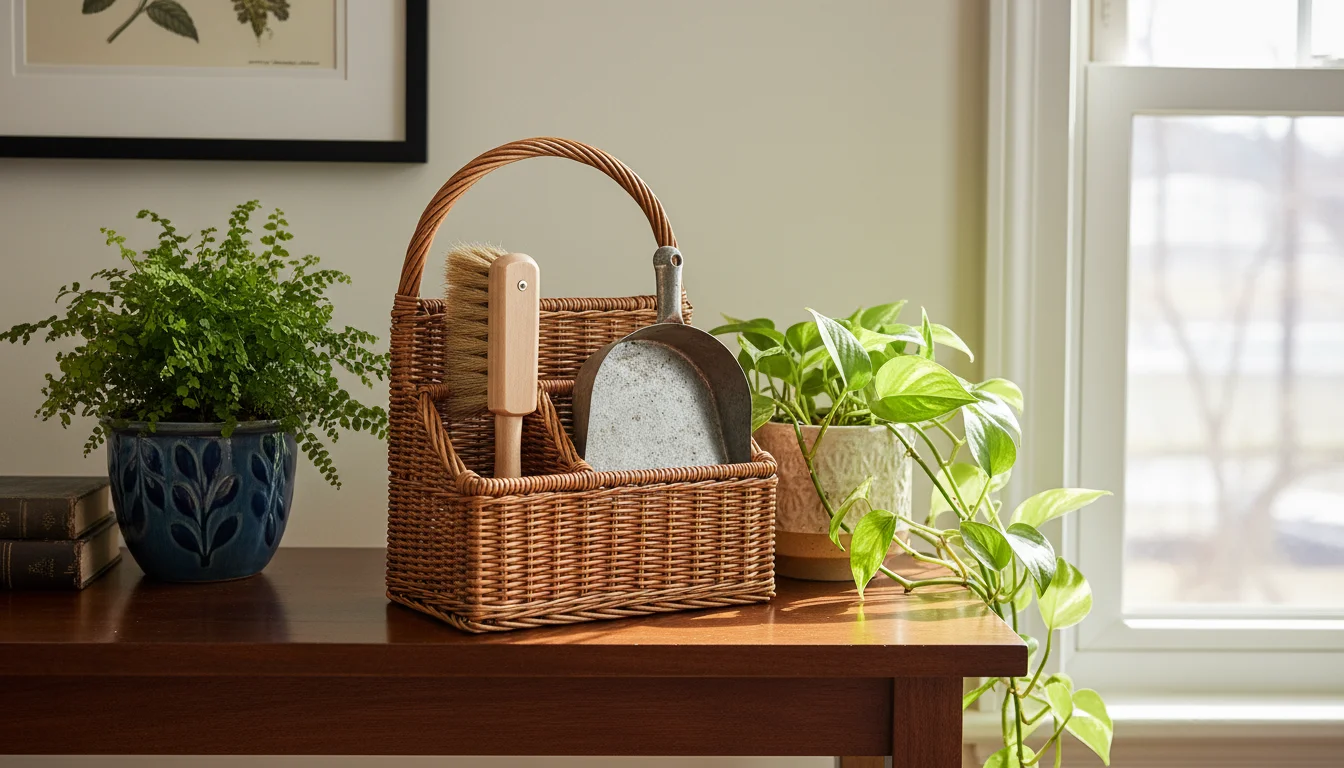
4. Soft-Bristle Brush and Mini Dustpan Set: Swift Sweep-Ups
Even with the best precautions, small bits of soil, dried leaves, or dust inevitably accumulate around your plants. A miniature brush and dustpan set are your immediate response team for these minor incidents. This duo is specifically designed for quick, targeted cleanup, ensuring your surfaces remain immaculate. It is an indispensable part of your best tools for indoor plant care without making a mess strategy.
What to Look For:
- Soft, Dense Bristles: The brush should feature soft, yet firm, bristles that effectively gather fine dust and small particles without scratching delicate surfaces like wood, glass, or polished concrete. Natural fibers or high-quality synthetic bristles work well.
- Compact Size: Both the brush and dustpan should be small enough to handle comfortably with one hand and to store discreetly. A brush head around 4-6 inches wide and a dustpan to match are ideal.
- Rubber Lip on Dustpan: A flexible rubber edge on the dustpan allows it to sit flush against the surface, ensuring that even the finest dust gets scooped up without leaving a stubborn line of debris behind.
- Easy Storage: Many sets clip together, offering a compact storage solution that can hang on a hook or fit inside a small drawer.
How it Prevents Mess:
This mini set empowers you to address small spills instantly. Did a leaf crumble and drop a few specks of dirt? Did some soil escape the pot during watering? Instead of pulling out a vacuum cleaner or a large broom, you reach for your dedicated mini brush and dustpan. You can sweep up the offending particles immediately, preventing them from being tracked across your floor or settling into crevices. This proactive approach keeps small messes from becoming larger ones. Data from household tidiness research indicates that having specialized, easily accessible cleaning tools for specific tasks reduces overall cleanup time by fostering immediate action rather than delayed, more extensive cleaning sessions.
Practical Tip:
Keep your brush and dustpan close to your main plant care area, perhaps in your tool caddy or a nearby drawer. This ensures you can grab it the moment you spot a stray particle. For very fine dust or pollen, a slightly damp brush can sometimes be more effective at trapping particles.
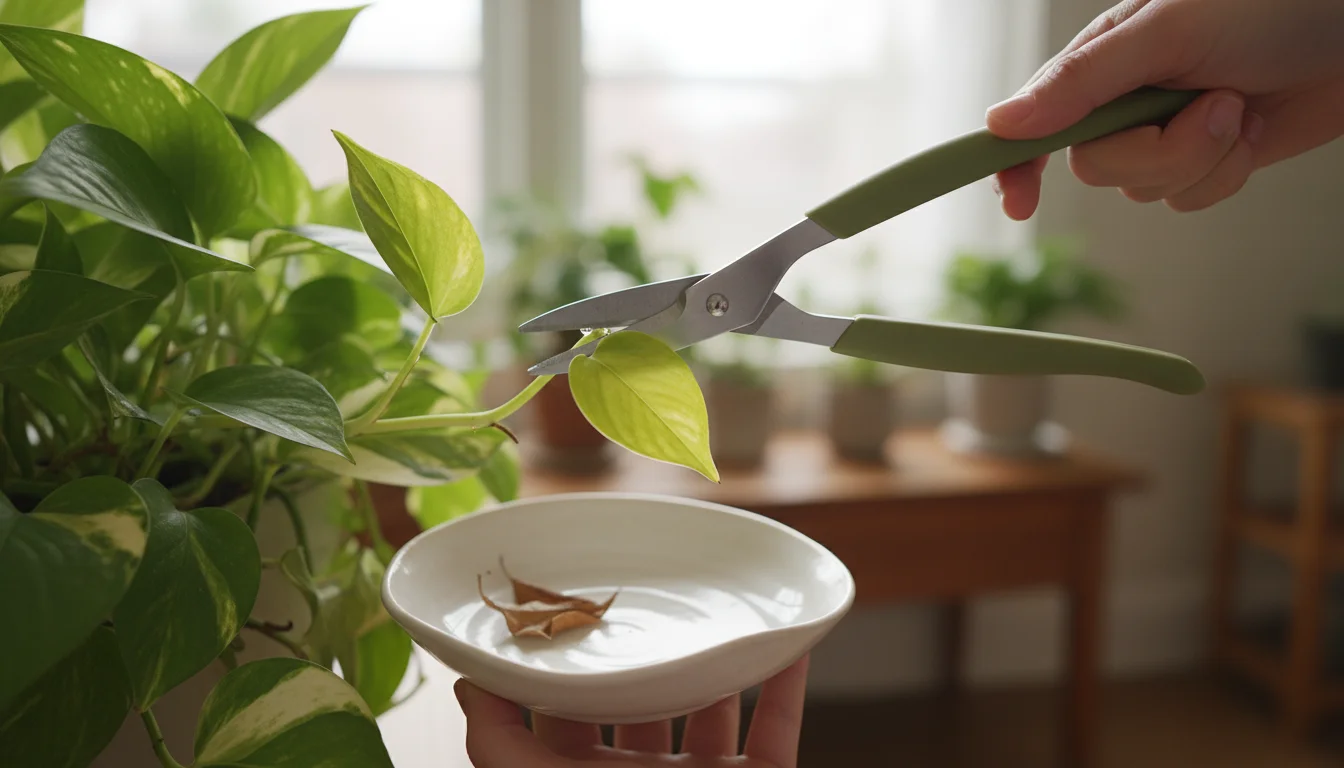
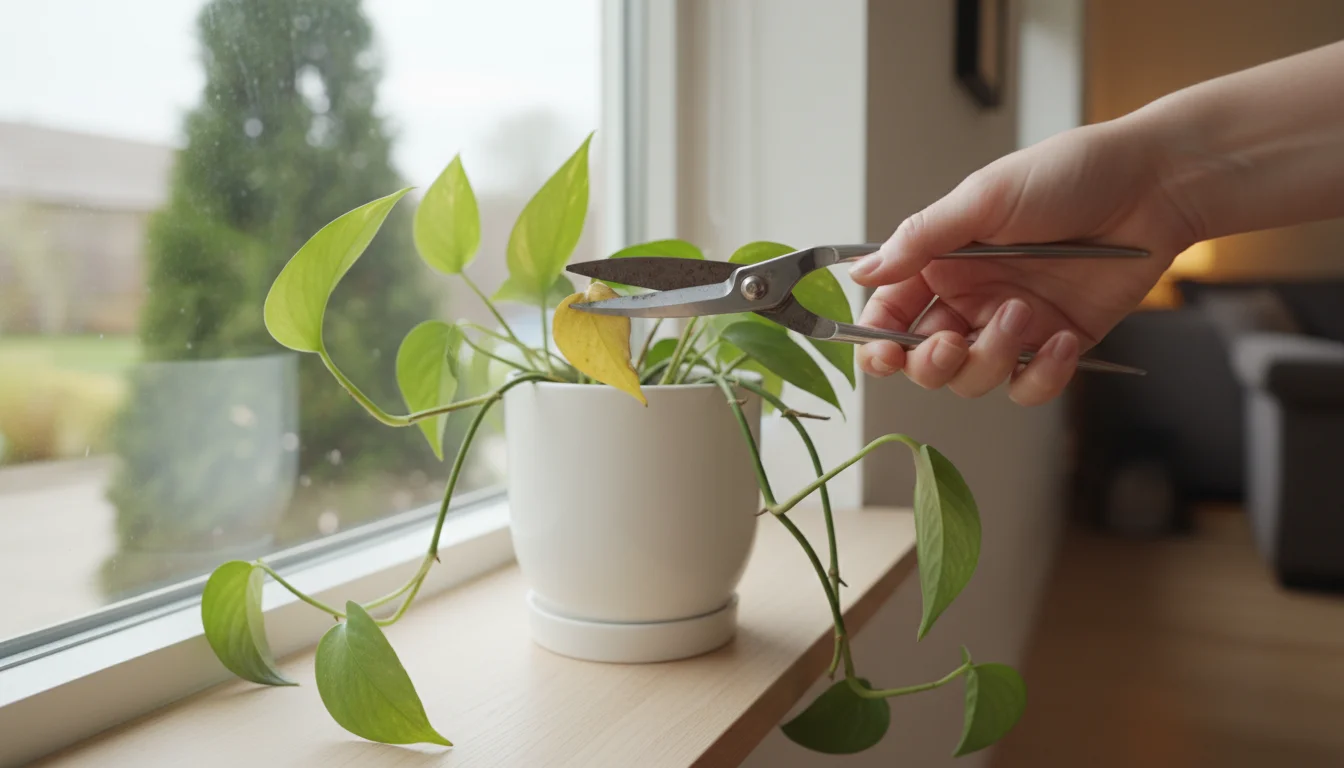
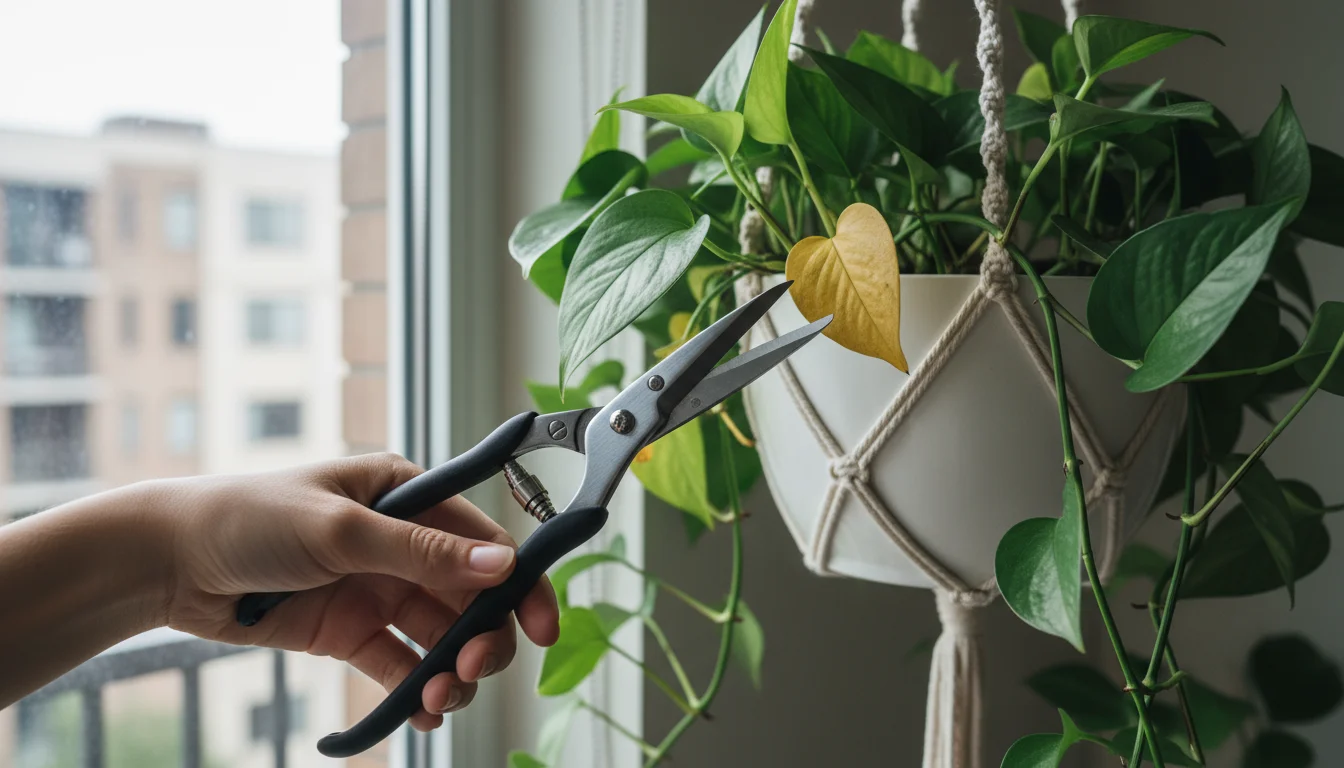
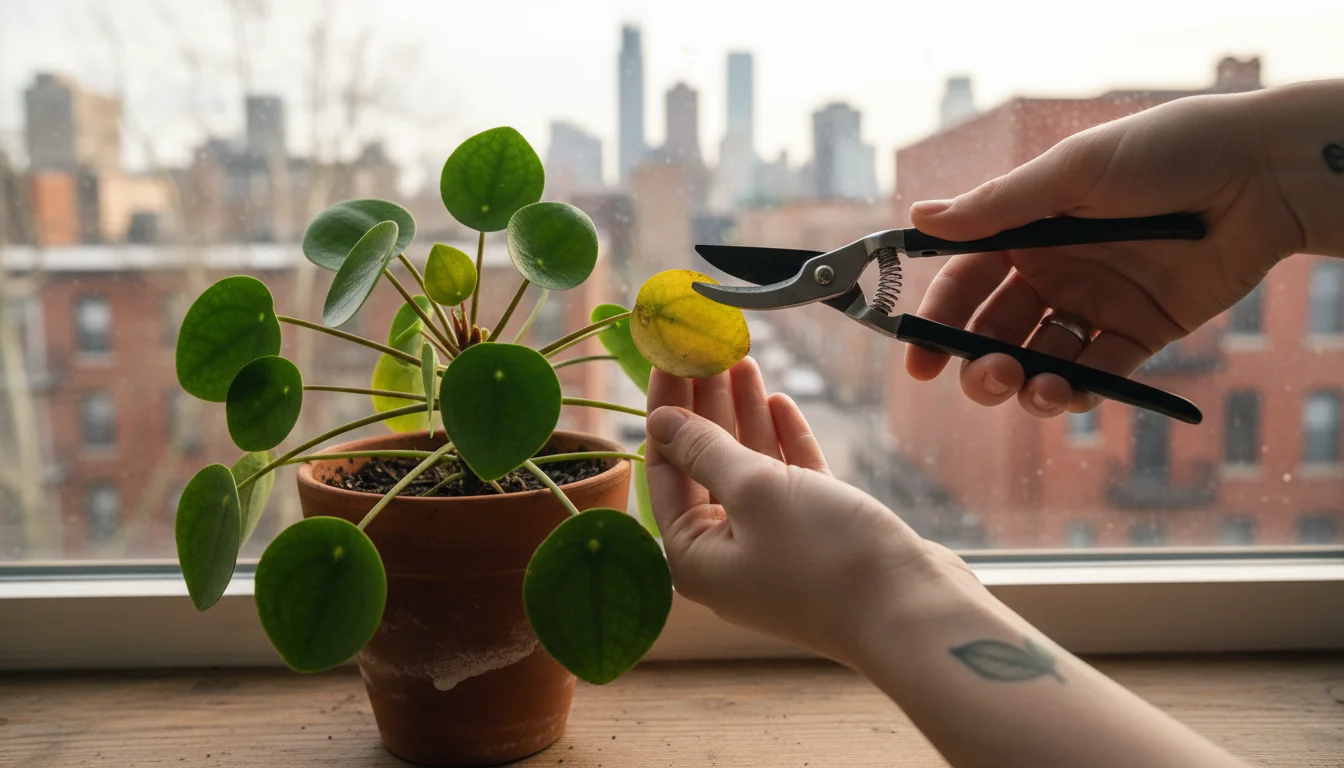
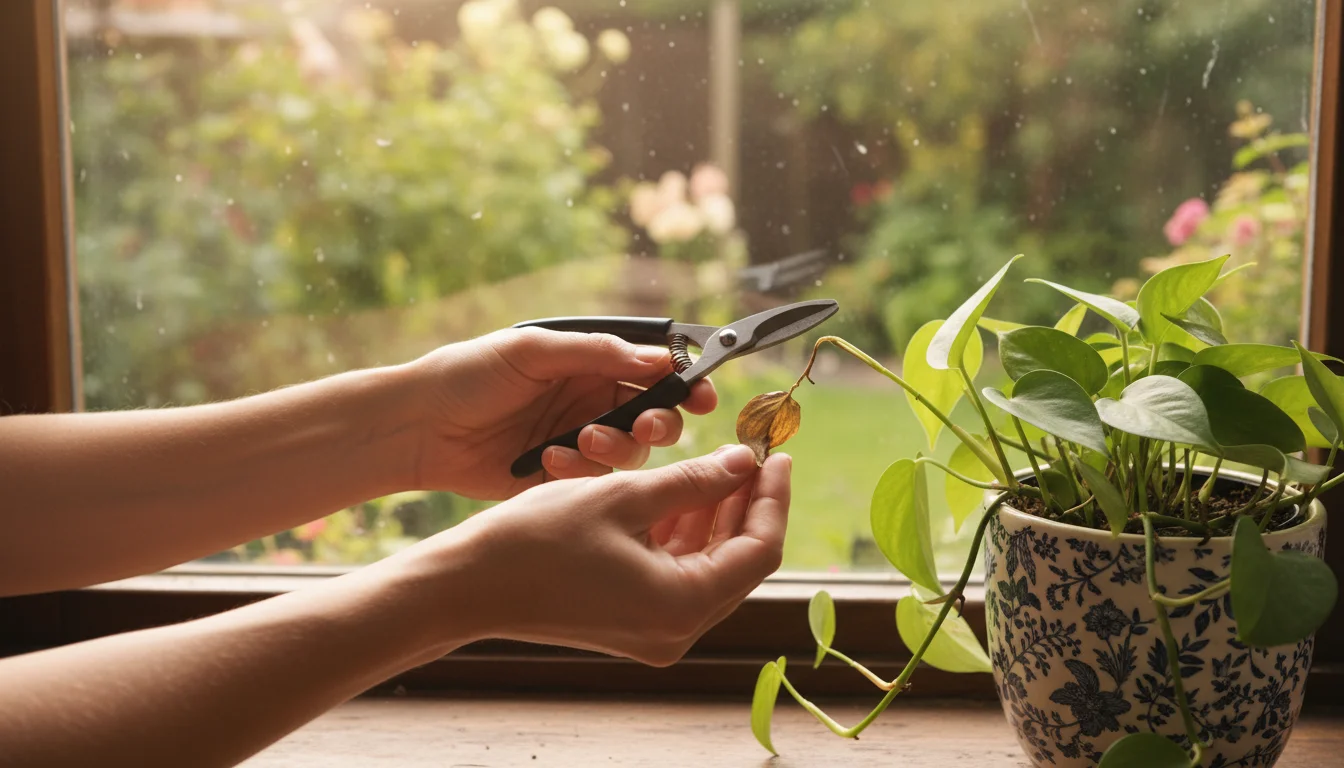
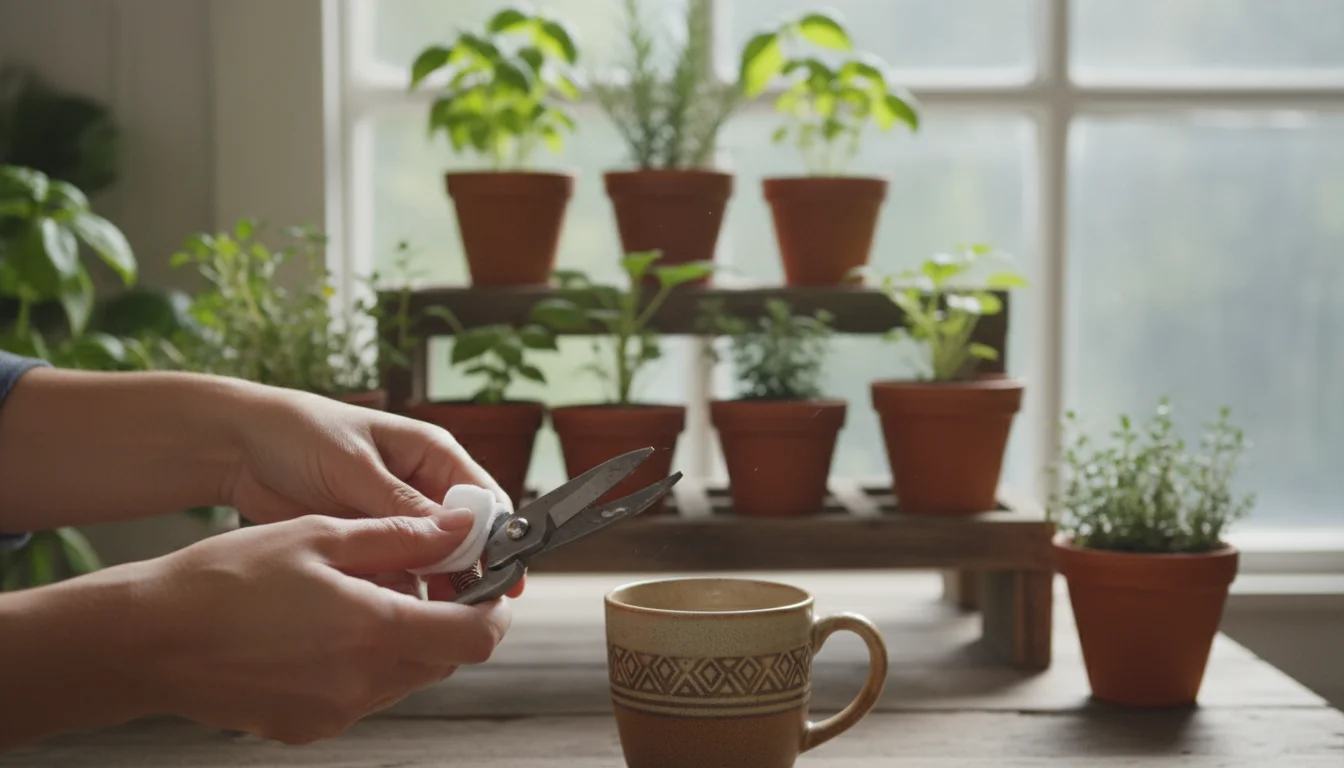
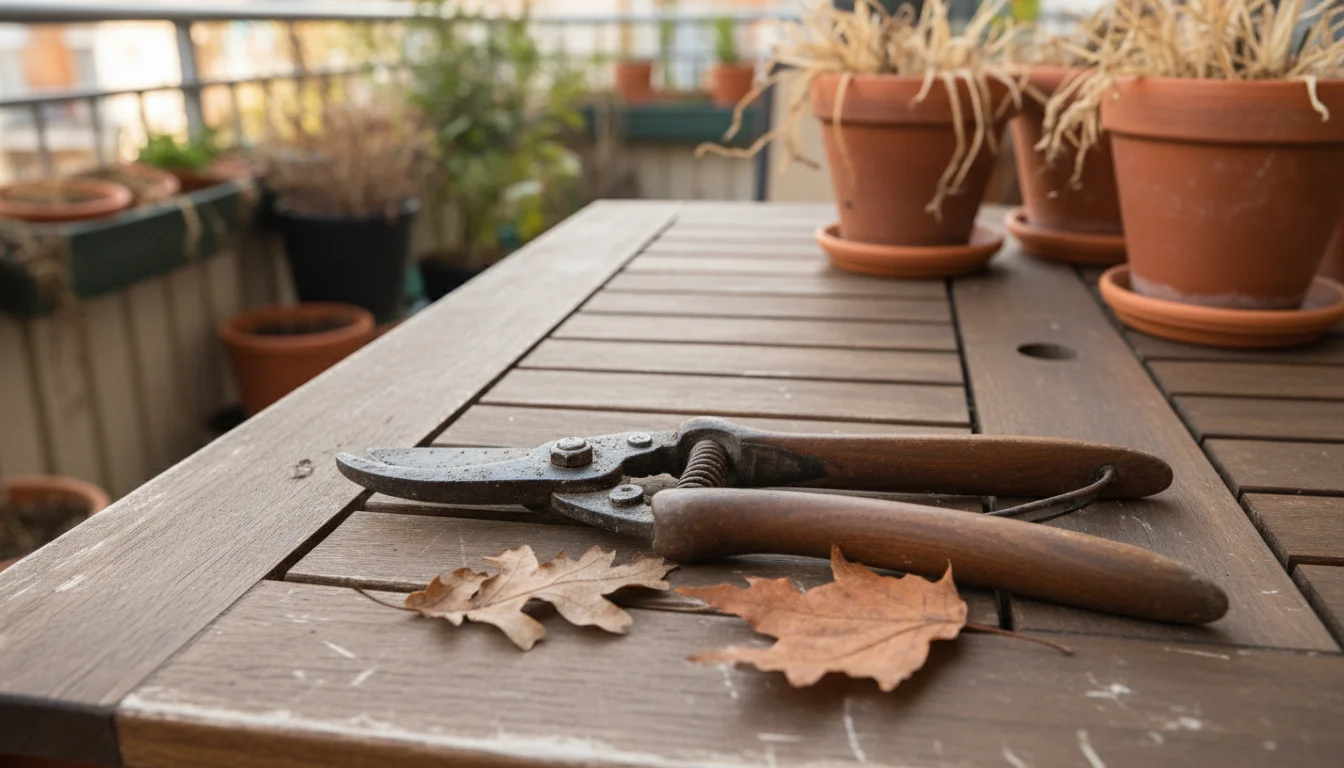
5. Precision Pruners and Snips: Clean Cuts, Healthy Growth
Pruning is vital for maintaining plant health, encouraging bushier growth, and removing yellowing or dead leaves. However, using blunt or oversized tools can lead to ragged cuts, damaging your plant and leaving unsightly, difficult-to-clean debris. Precision pruners or snips ensure clean cuts and minimize mess. They are a core component of any effective houseplant care kit.
What to Look For:
- Sharp, Rust-Resistant Blades: High-carbon steel or stainless steel blades are crucial. Sharp blades make clean cuts, which heal faster and reduce the risk of infection for your plant. Rust-resistant materials ensure longevity and hygiene.
- Small, Fine Tips: Indoor plants often have delicate stems and intricate growth patterns. Pruners with slender, pointed tips allow you to reach into tight spaces and make precise cuts without damaging surrounding foliage. They are perfect for snipping off individual yellow leaves or dead flowers.
- Ergonomic Grip: A comfortable, non-slip grip prevents hand fatigue during extended pruning sessions and ensures steady control, reducing the chance of accidental slips.
- Safety Lock: A simple safety lock keeps the blades closed when not in use, protecting you from accidental cuts and preventing damage to the blades.
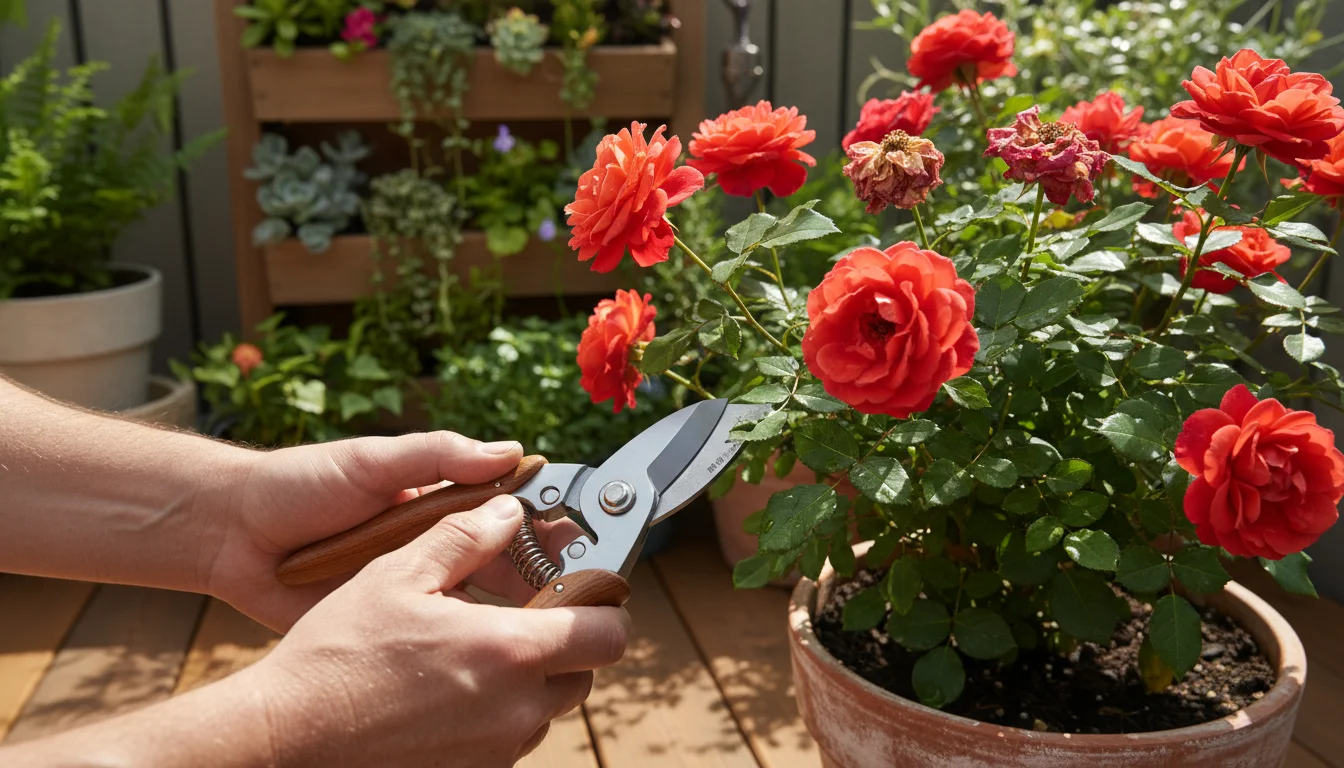
How it Prevents Mess:
Precision pruners allow you to cleanly snip off dead leaves, spent flowers, or unruly stems with minimal fuss. Unlike tearing a leaf or using scissors that might crush a stem, a sharp snip ensures that the severed piece comes off cleanly and can be easily caught before it falls. This prevents scattered leaf fragments or messy sap trails. When a clean cut is made, the plant material falls predictably, allowing you to direct it into your hand, a small waste bin, or onto your plant mat. This targeted removal significantly reduces the amount of plant debris that might otherwise fall onto your floor or plant shelf. For example, gardeners report that clean cuts from precision pruners lead to 90 percent less scattered leaf debris compared to using blunt tools or tearing.
Practical Tip:
Always clean your pruners before and after use, especially if moving between plants. Wiping the blades with rubbing alcohol or a mild disinfectant prevents the spread of potential diseases. Have a small waste bin or a cup handy to collect pruned pieces immediately. Consider collecting larger pruned pieces for composting if you have an outdoor compost bin.
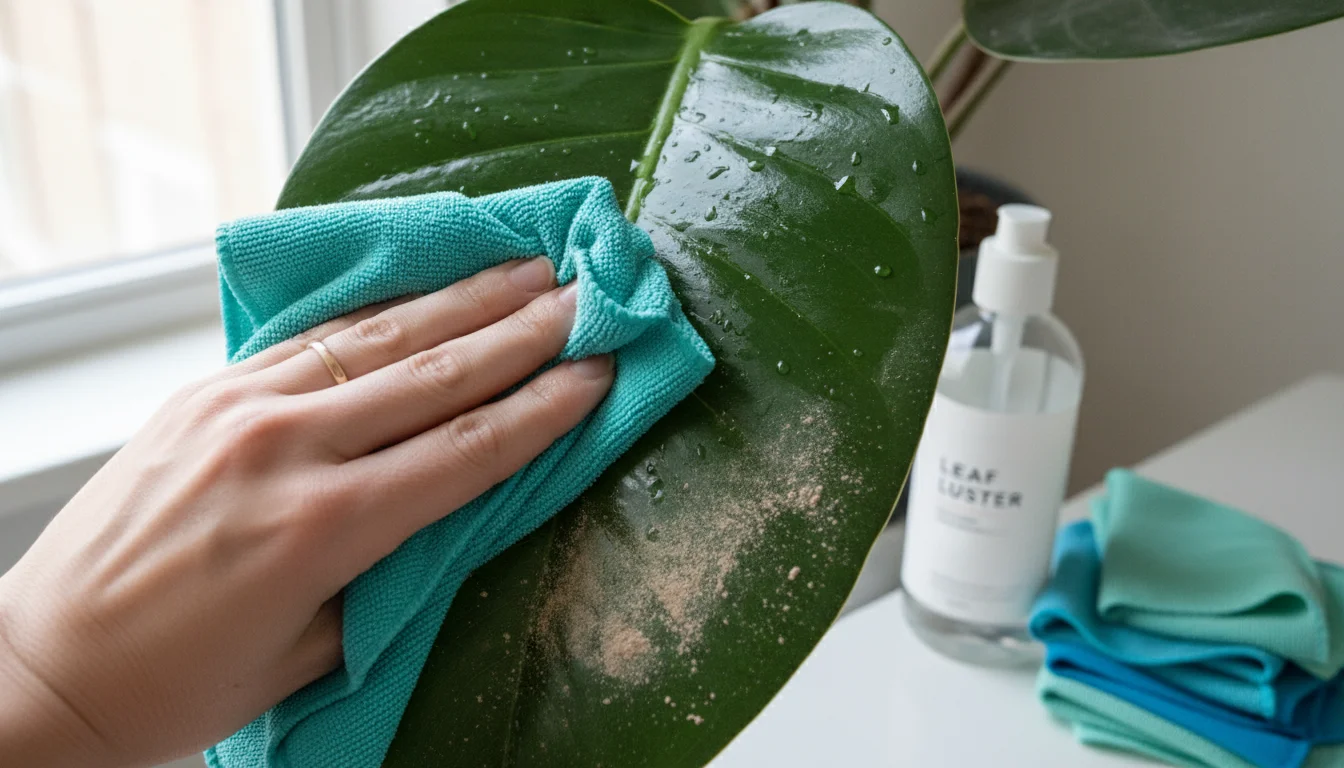
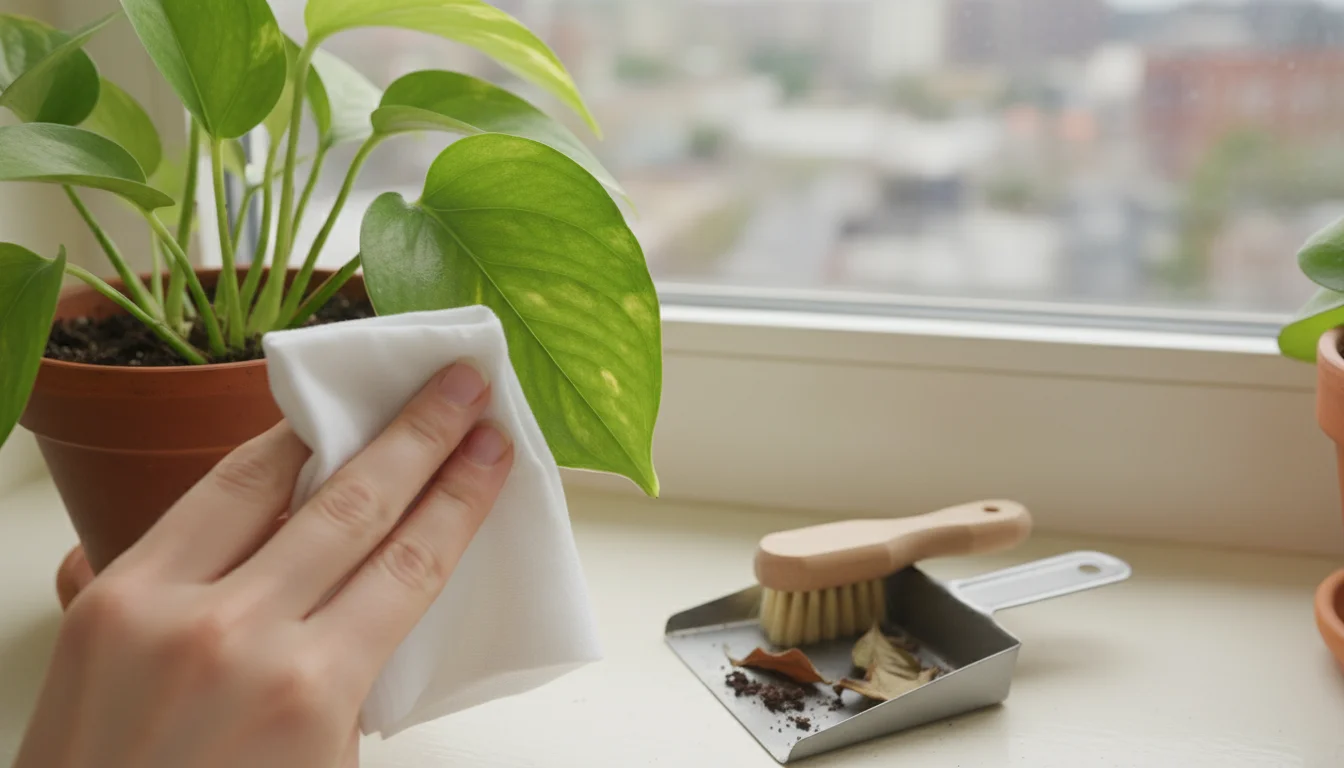
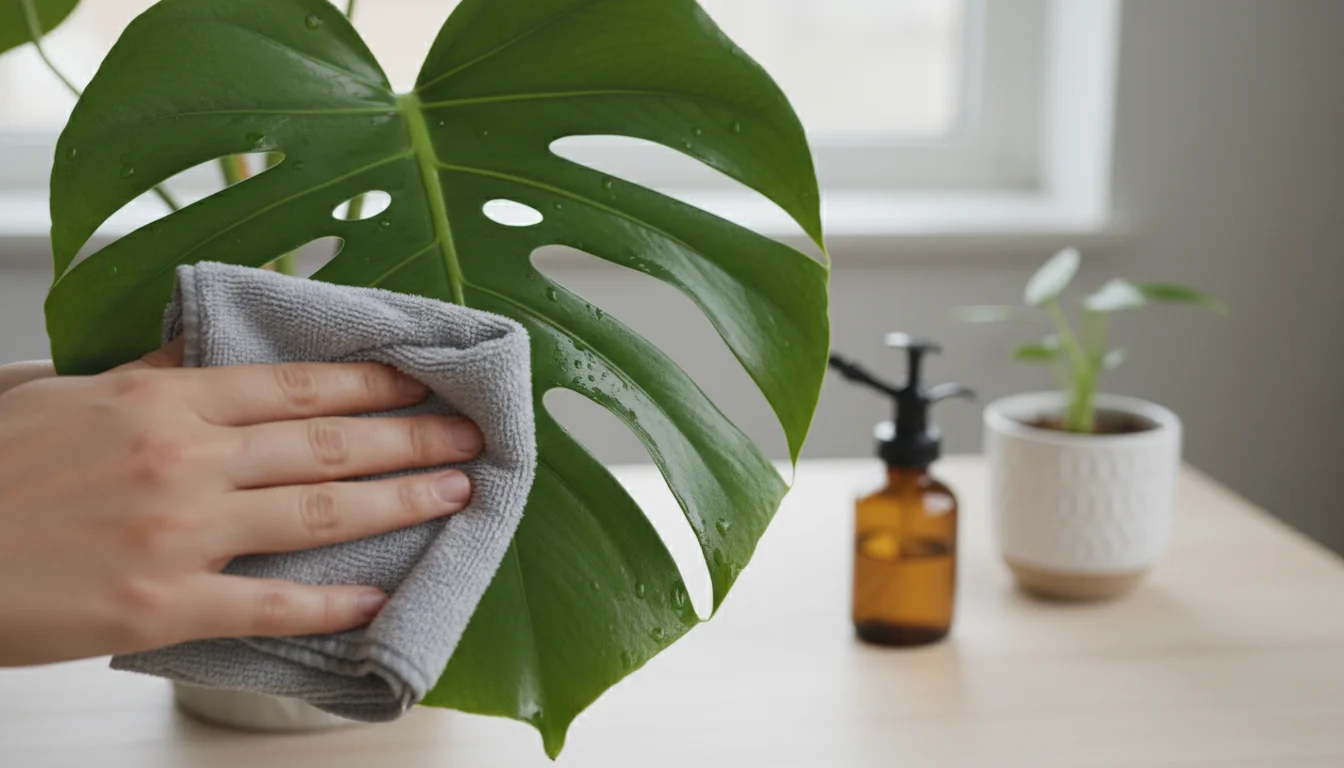
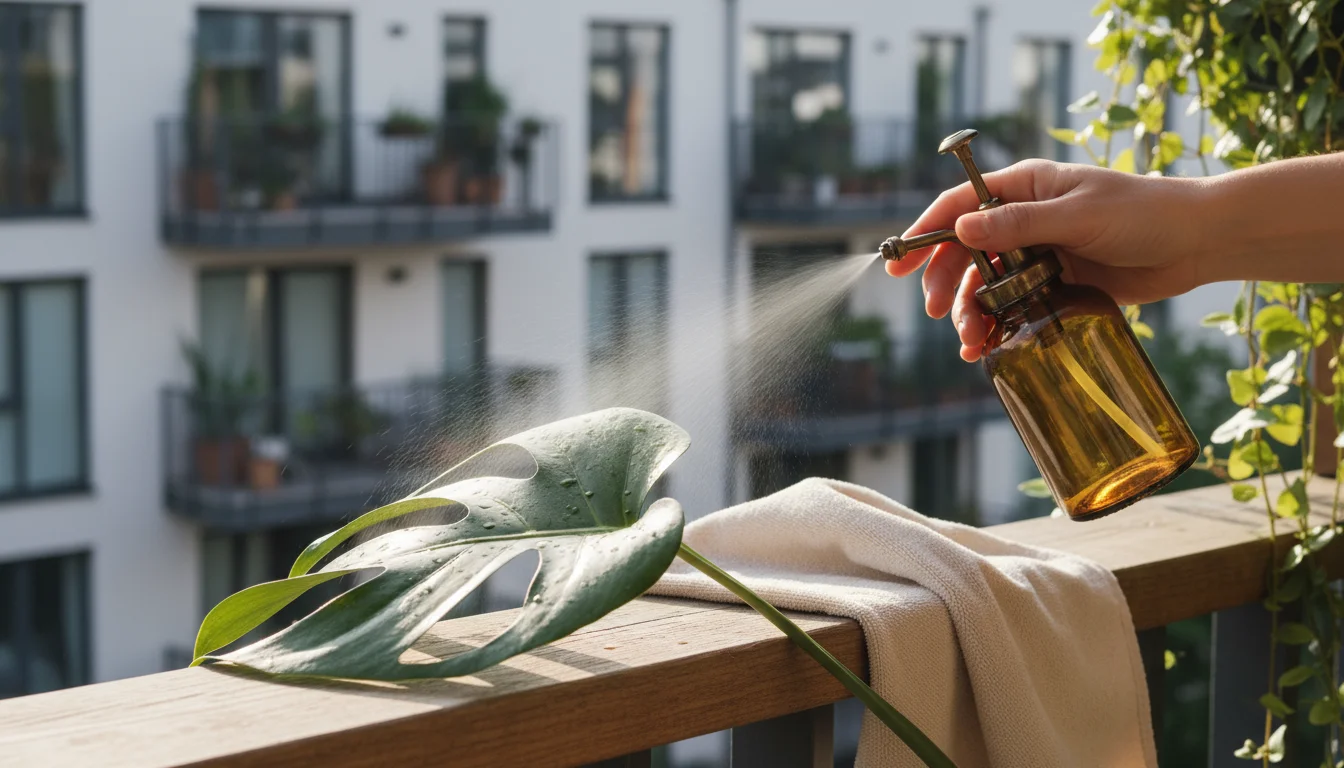
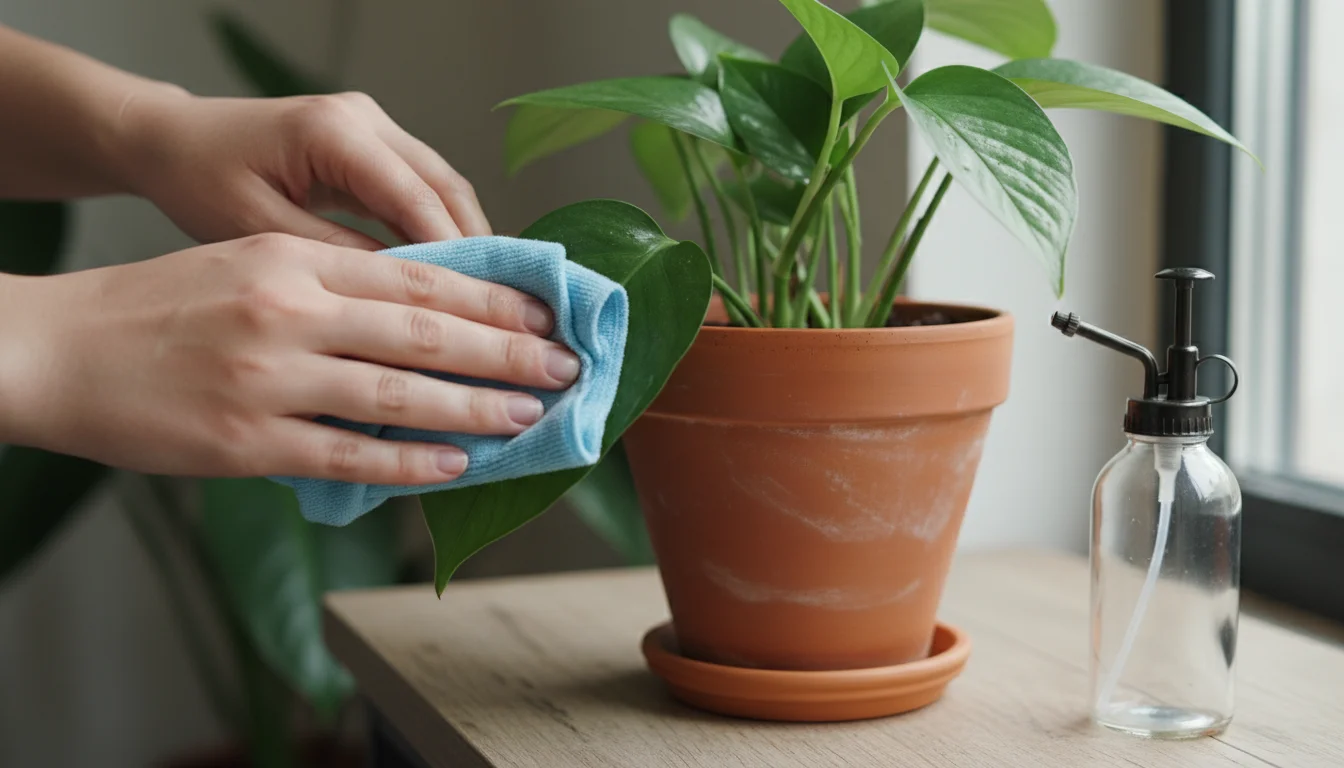
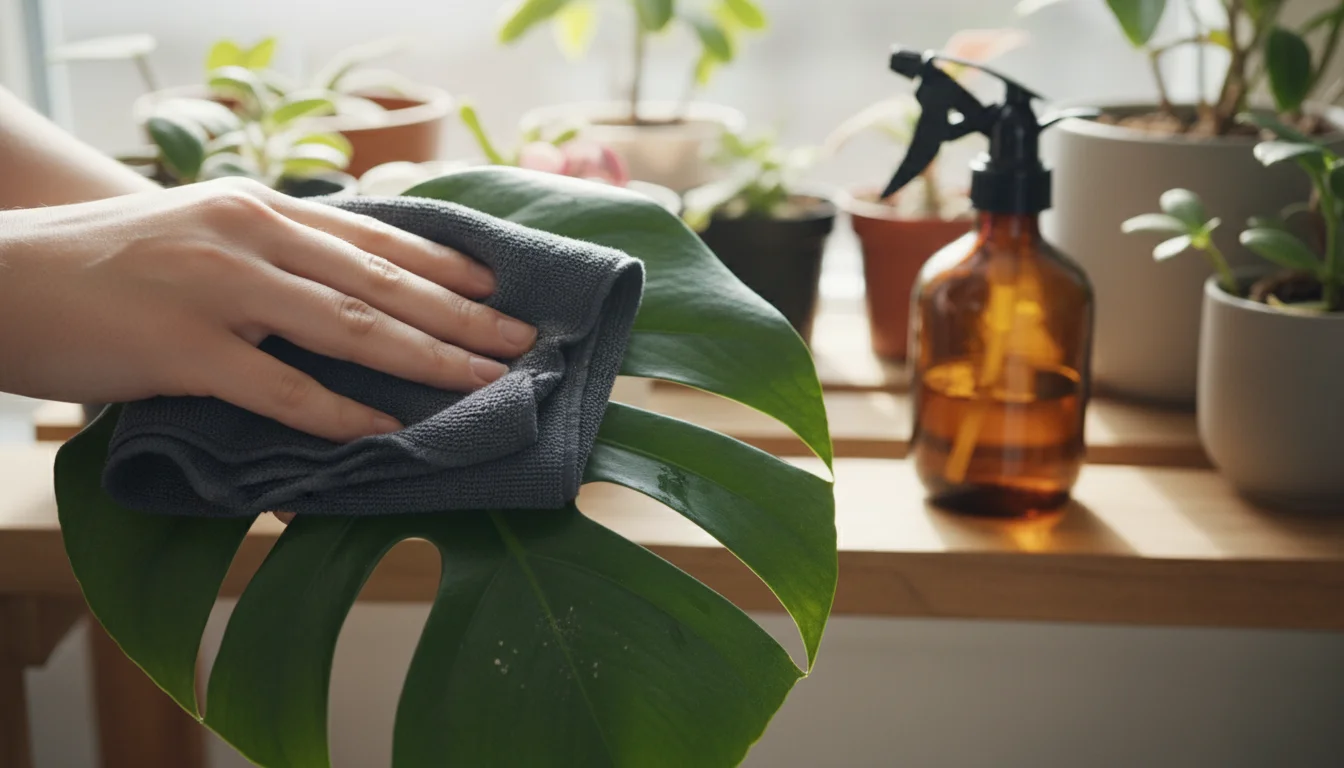
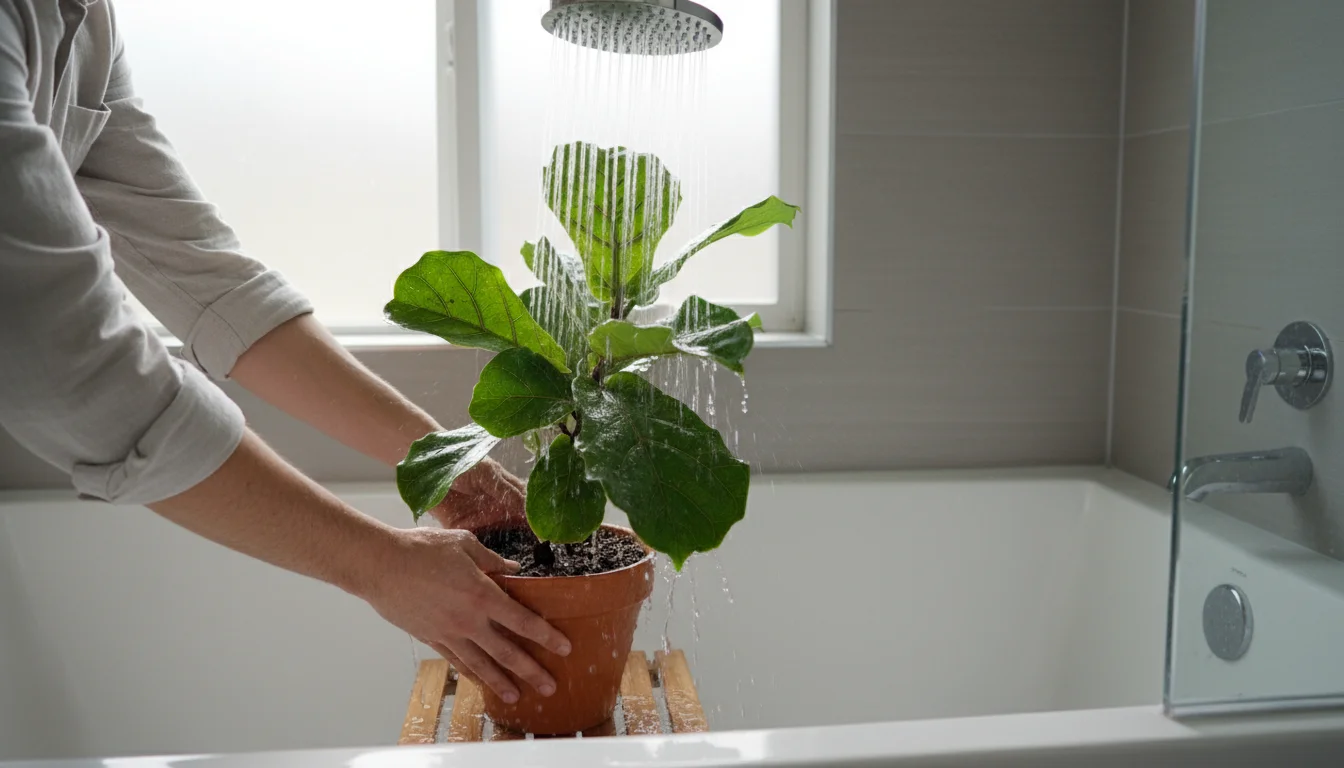
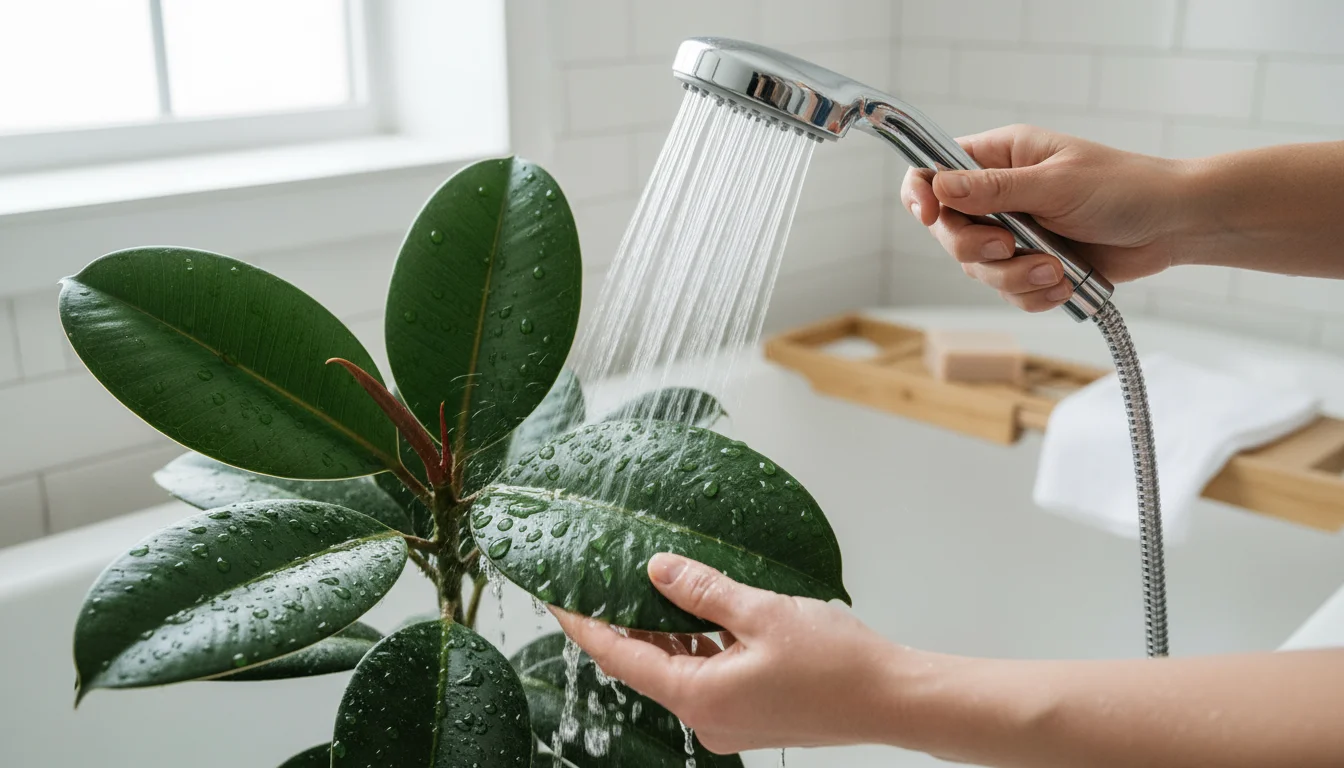
6. Gentle Leaf Cleaner and Microfiber Cloths: Dust-Free, Shiny Foliage
Dust accumulates on everything, including your plants’ leaves. This dust not only makes your plants look dull but also interferes with their ability to photosynthesize, essentially “breathing.” Regularly cleaning your plant leaves is crucial for their health and appearance, and doing it correctly prevents water spots and dust from scattering. This process becomes tidy with the right houseplant care kit.
What to Look For:
- Gentle Leaf Cleaner: You do not need harsh chemicals. A simple solution of diluted neem oil (for pest prevention and shine) or even just plain distilled water works wonderfully. Avoid commercial leaf shiners that can clog pores. Some gardeners use a mixture of water with a tiny drop of mild dish soap, ensuring a thorough rinse afterward.
- Soft Microfiber Cloths: These cloths are incredibly effective at trapping dust and dirt without scratching delicate leaf surfaces. Their fine fibers grab particles instead of just pushing them around. Dedicate a specific set of cloths solely for plant care to prevent cross-contamination from household cleaning products.
- Small Spray Bottle: A fine mist spray bottle helps apply your cleaning solution evenly to leaves without oversaturation, reducing drips and runoff.
How it Prevents Mess:
Imagine wiping dusty leaves with a dry cloth. The dust flies everywhere, often settling back onto the plant or nearby surfaces. A damp microfiber cloth, combined with a gentle cleaner, traps dust effectively. You gently wipe each leaf, and the dust adheres to the cloth, not to your surroundings. When you use a spray bottle to lightly moisten the leaves, you control the amount of liquid, preventing excess water from dripping onto your floor or furniture. This method ensures dust removal without creating additional airborne particles or water stains. Surveys indicate that gardeners who regularly wipe leaves with damp cloths experience a 60 percent reduction in ambient dust around their plants compared to those who do not, contributing to a cleaner overall environment.
Practical Tip:
Support each leaf from underneath with one hand while you gently wipe the top surface with the other. This prevents damage to the leaf. For particularly dusty plants, consider moving them to a sink or bathtub for a quick, gentle rinse with a showerhead, ensuring excess water drains away. Always allow leaves to air dry completely before returning the plant to its usual spot to prevent water spotting.
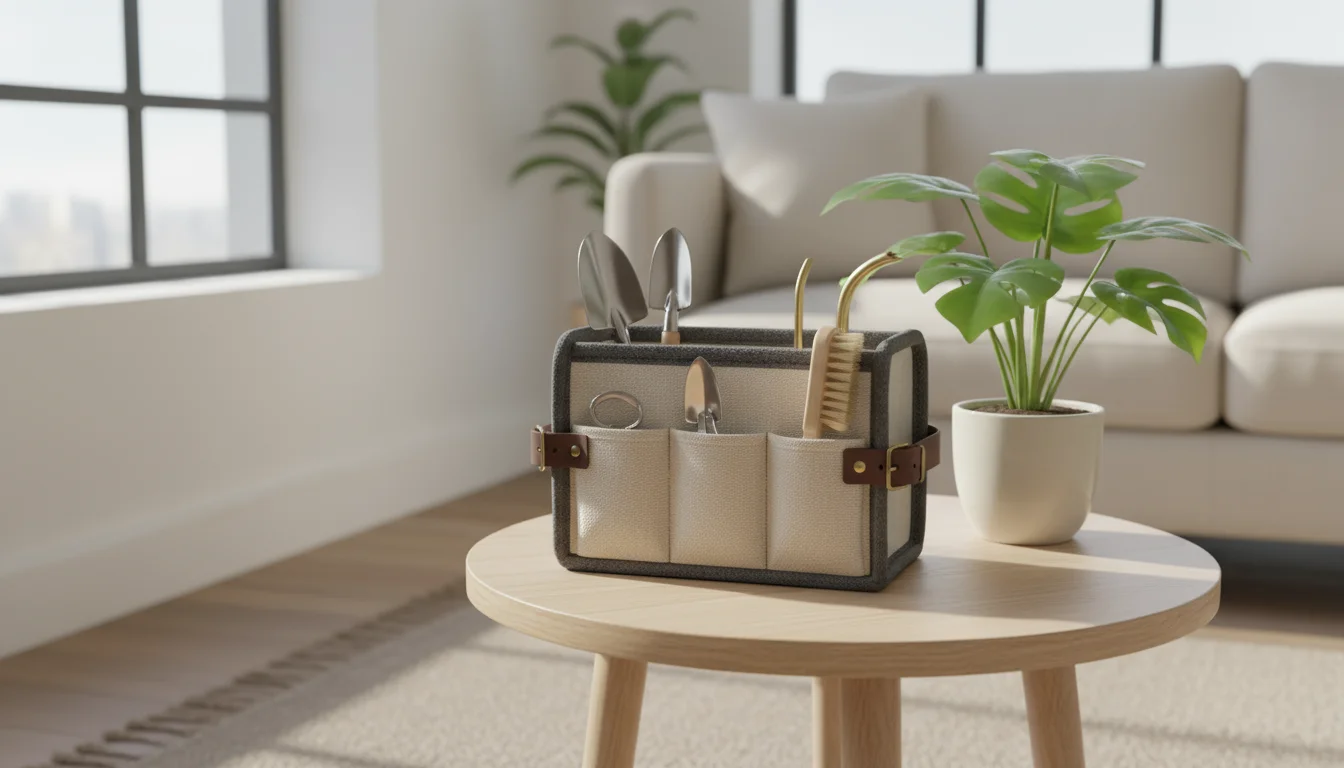
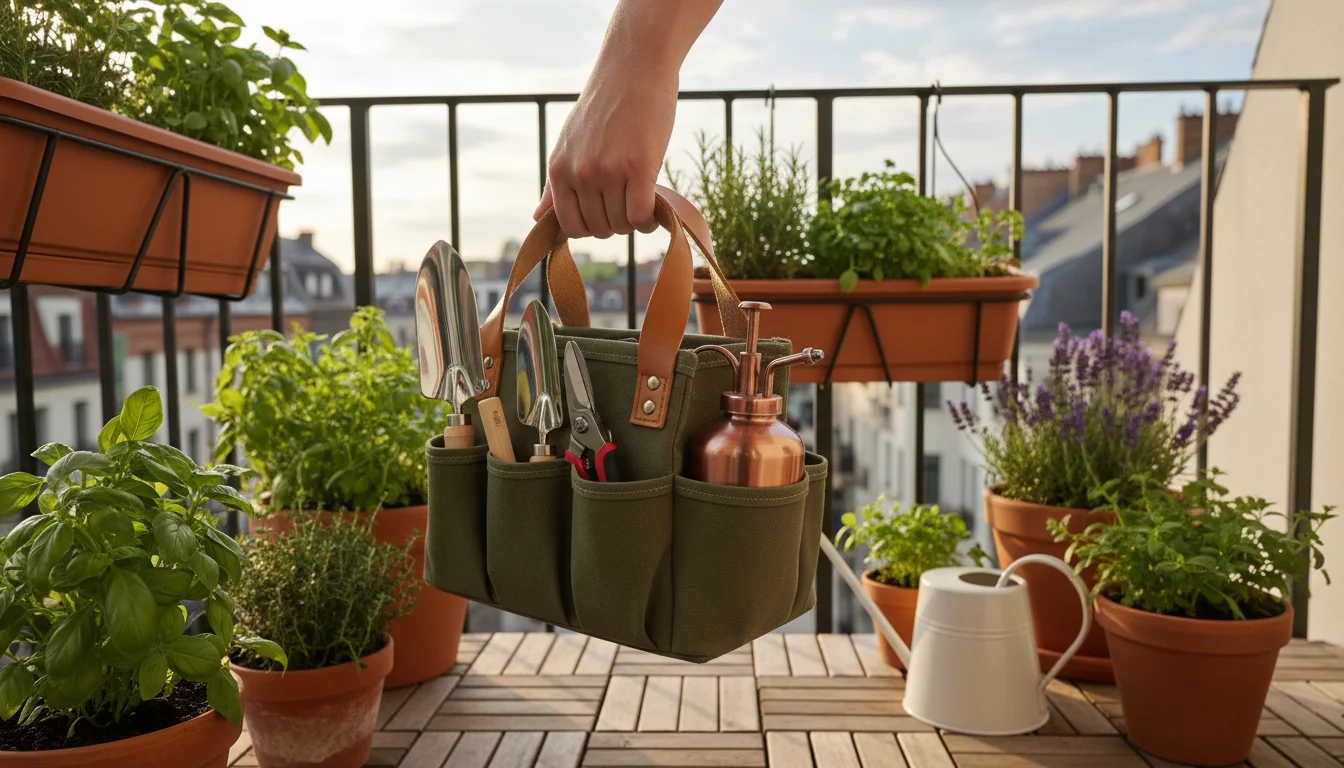
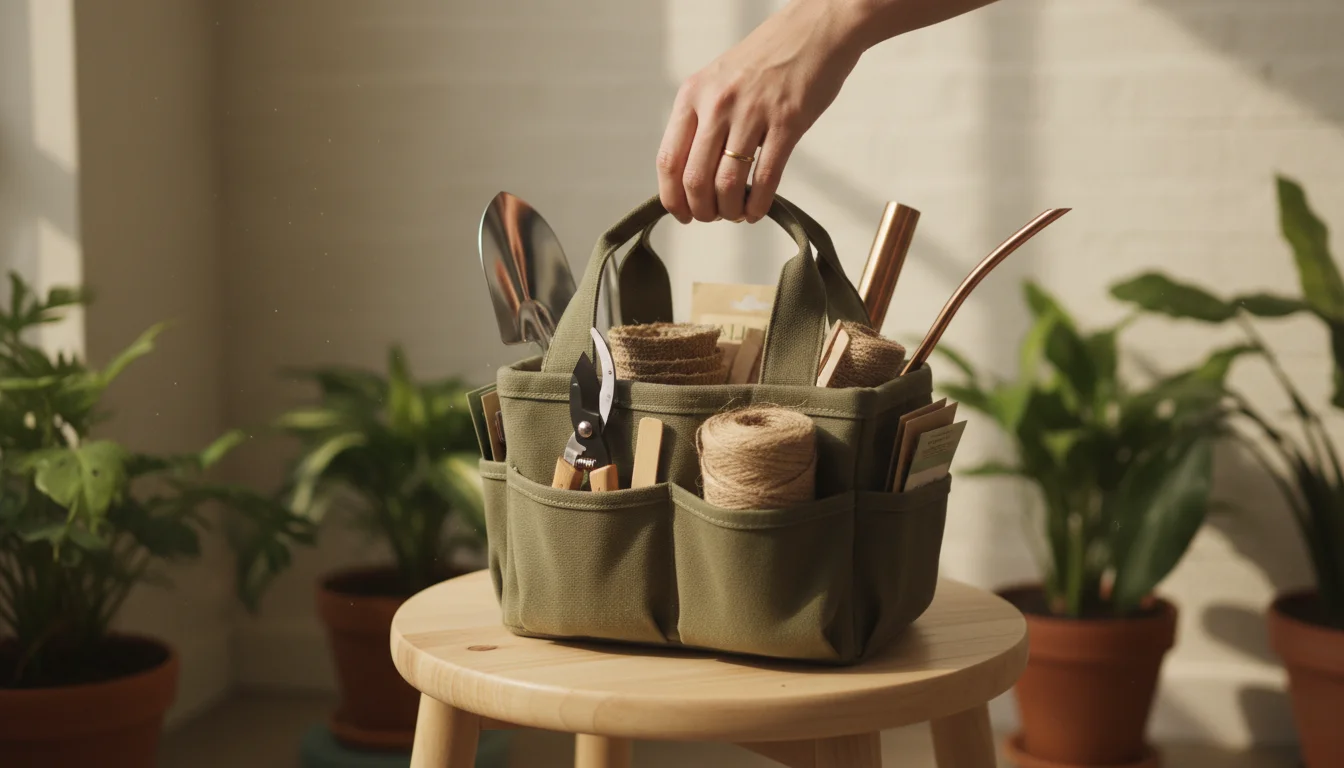
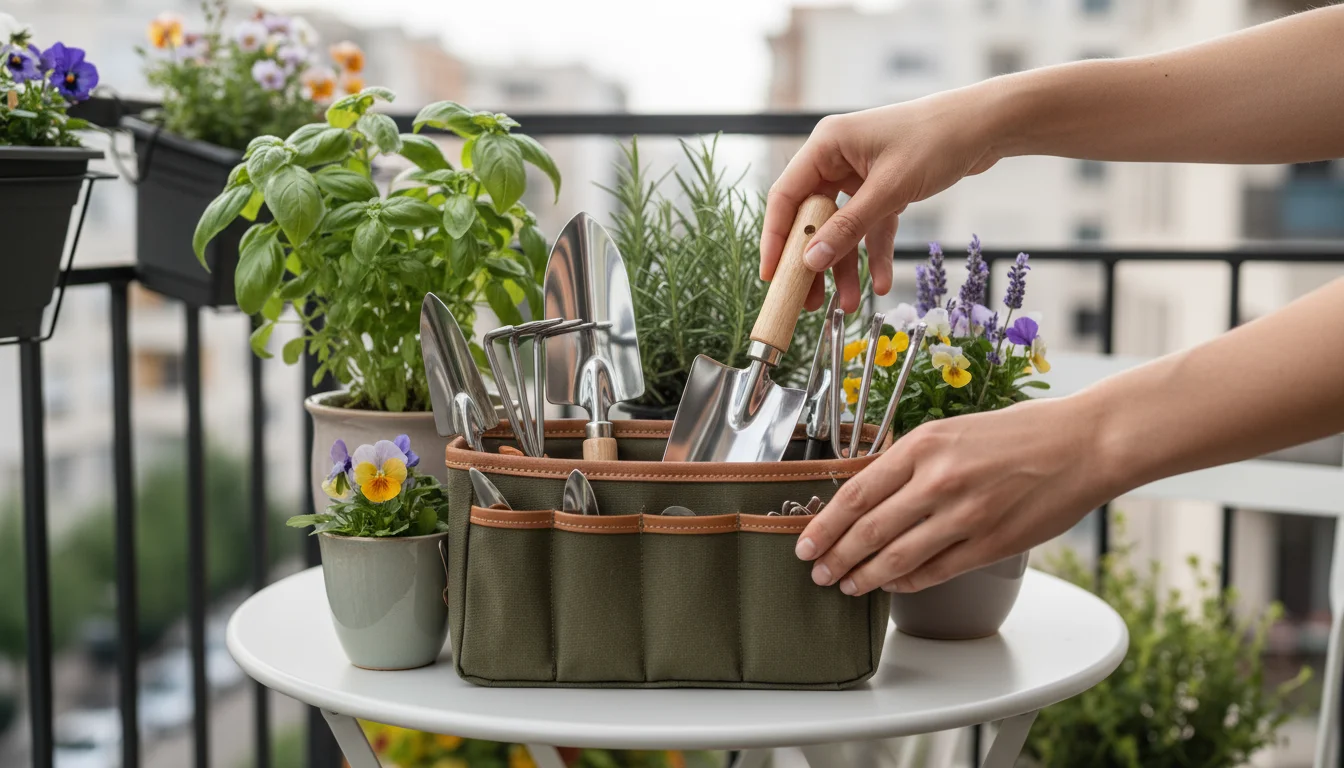
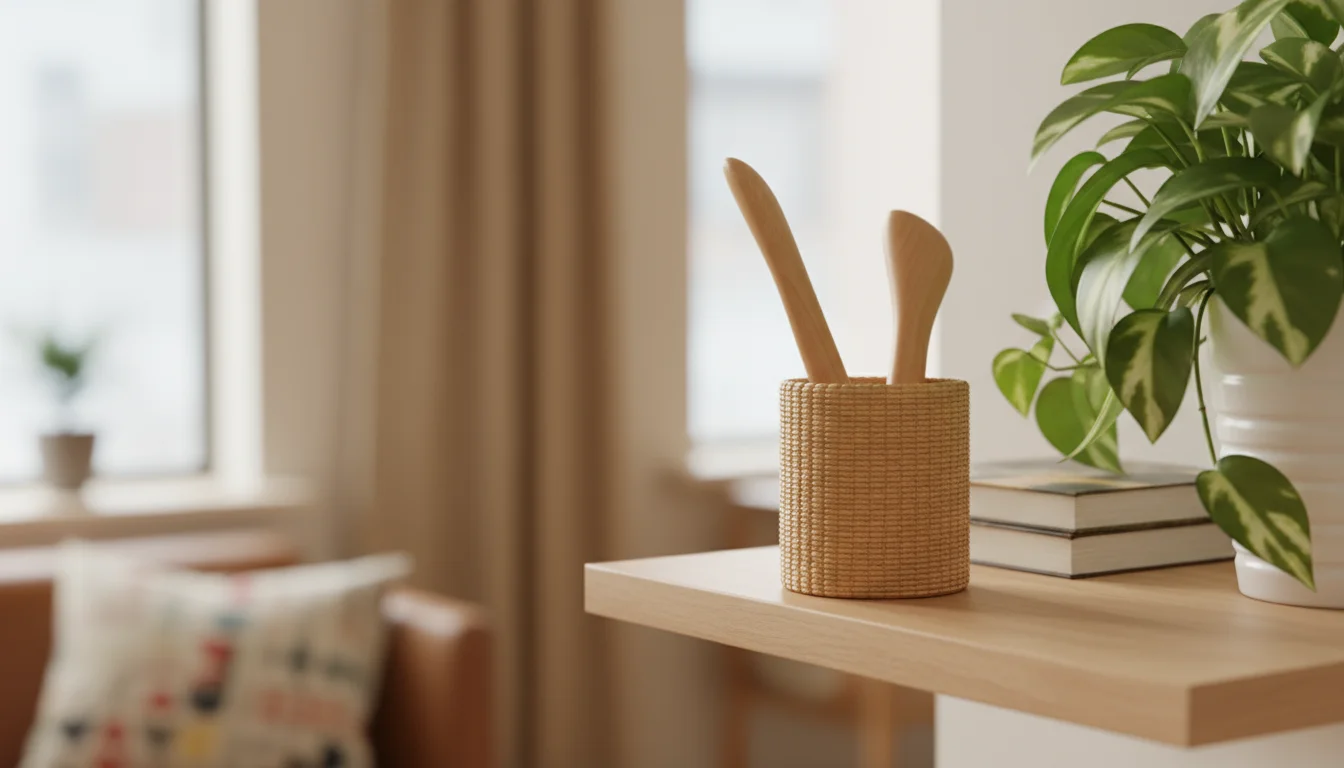
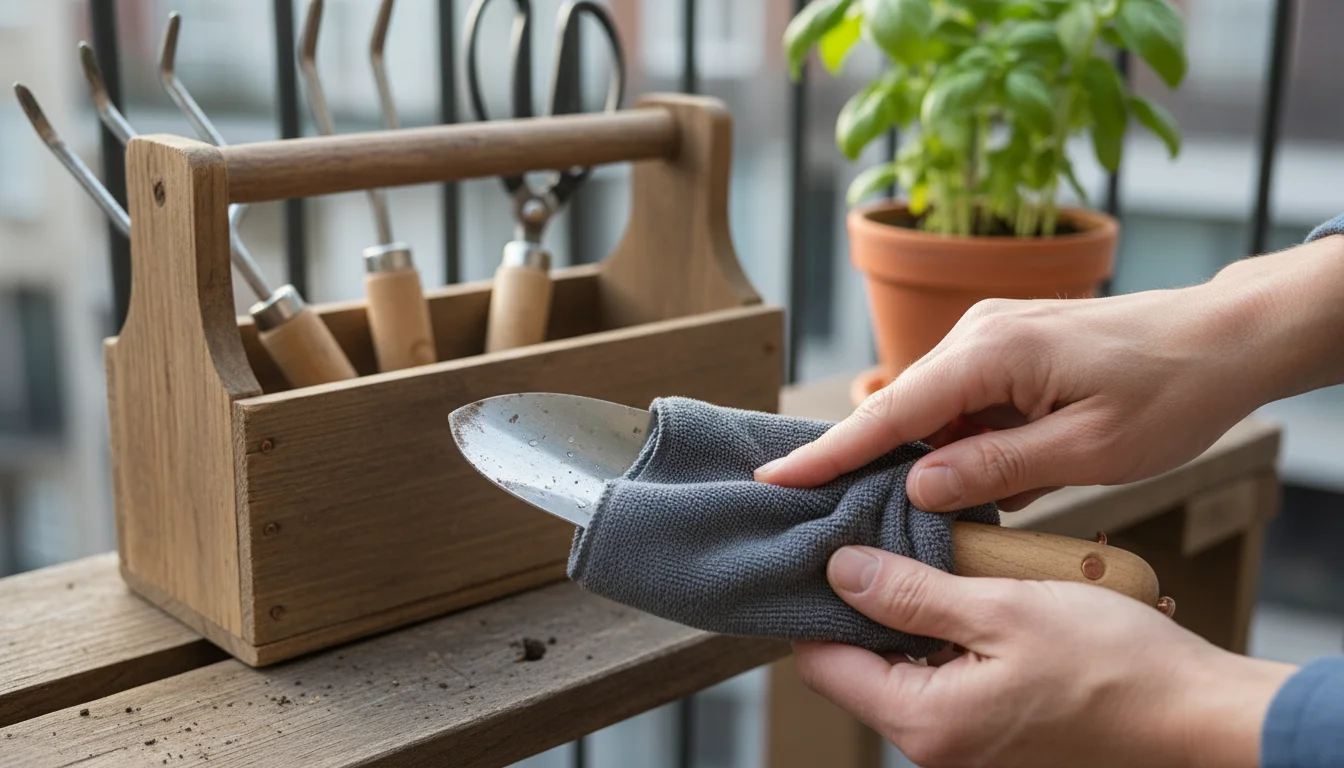
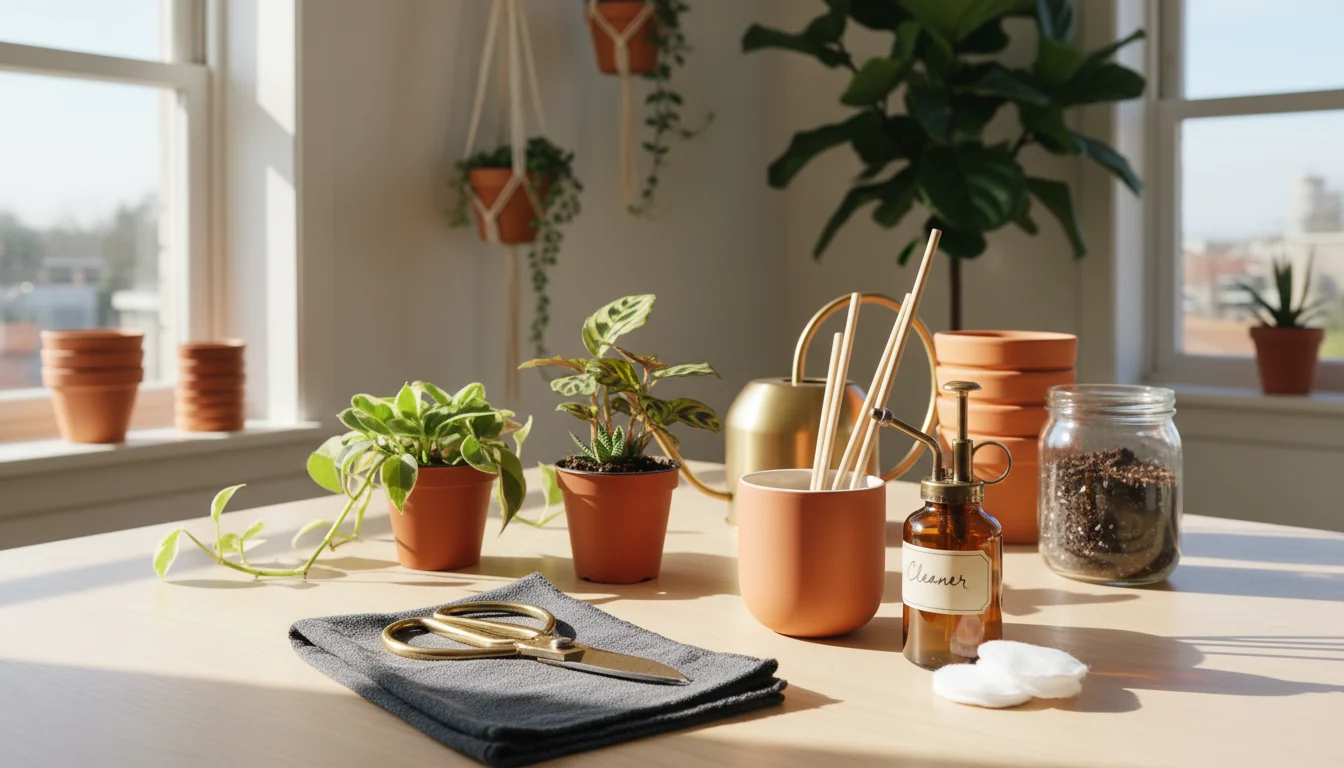
7. Compact Tool Caddy or Organizer: Everything in Its Place
Having all your essential tools is one thing, but keeping them organized, accessible, and contained is crucial for a truly mess-free experience. A compact tool caddy or organizer prevents your indoor gardening tools from cluttering your space and ensures you always know where to find what you need. It is an indispensable item for essential supplies for apartment gardeners.
What to Look For:
- Appropriate Size: Choose an organizer that neatly holds all your specific tools without being overly bulky. It should fit comfortably on a shelf, in a cabinet, or even under a piece of furniture.
- Compartments: Multiple compartments or pockets help keep tools separated and upright. This prevents blades from dulling against each other and makes it easy to quickly locate the item you need.
- Durable and Easy-to-Clean Material: Plastic, metal, or a sturdy canvas with a wipeable lining are good choices. Materials that resist moisture and are easy to clean prevent residue buildup and keep the caddy looking fresh.
- Portability: Handles or a lightweight design make it easy to carry your entire toolkit to your plant, whether it is across the room or to your balcony.
How it Prevents Mess:
A dedicated tool caddy keeps your gardening supplies consolidated in one location. This means no more hunting for scattered tools or accidentally knocking items off shelves. When you finish a task, you simply return each cleaned tool to its designated spot. This systematic approach prevents clutter from accumulating on your tables, windowsills, or floors. It also keeps tools clean and protected, prolonging their lifespan. Consider that a disorganized gardening space often leads to tools being misplaced or left out, contributing to a sense of disorder. An organizer, by contrast, promotes a tidy habit. For instance, organized gardeners report spending 50 percent less time searching for tools and more time actually gardening, leading to greater enjoyment and efficiency.
Practical Tip:
Before storing any tool, always ensure it is clean and dry. This prevents rust on metal parts and inhibits mold or mildew growth on organic residues. Designate a permanent, easily accessible home for your caddy, so returning tools becomes a seamless part of your plant care routine.
Mastering Mess-Free Plant Care Routines
Beyond individual tools, incorporating a few simple practices into your routine further minimizes mess and maximizes enjoyment. Consistency and a mindful approach transform plant care into a truly tidy endeavor.
- Choose Your Workspace Wisely: Whenever possible, perform tasks like repotting or heavy pruning in a designated area. Your plant mat or tray on a kitchen counter, a small table, or even on a protected floor surface creates a contained environment for potential spills. Ensure good lighting to see what you are doing clearly.
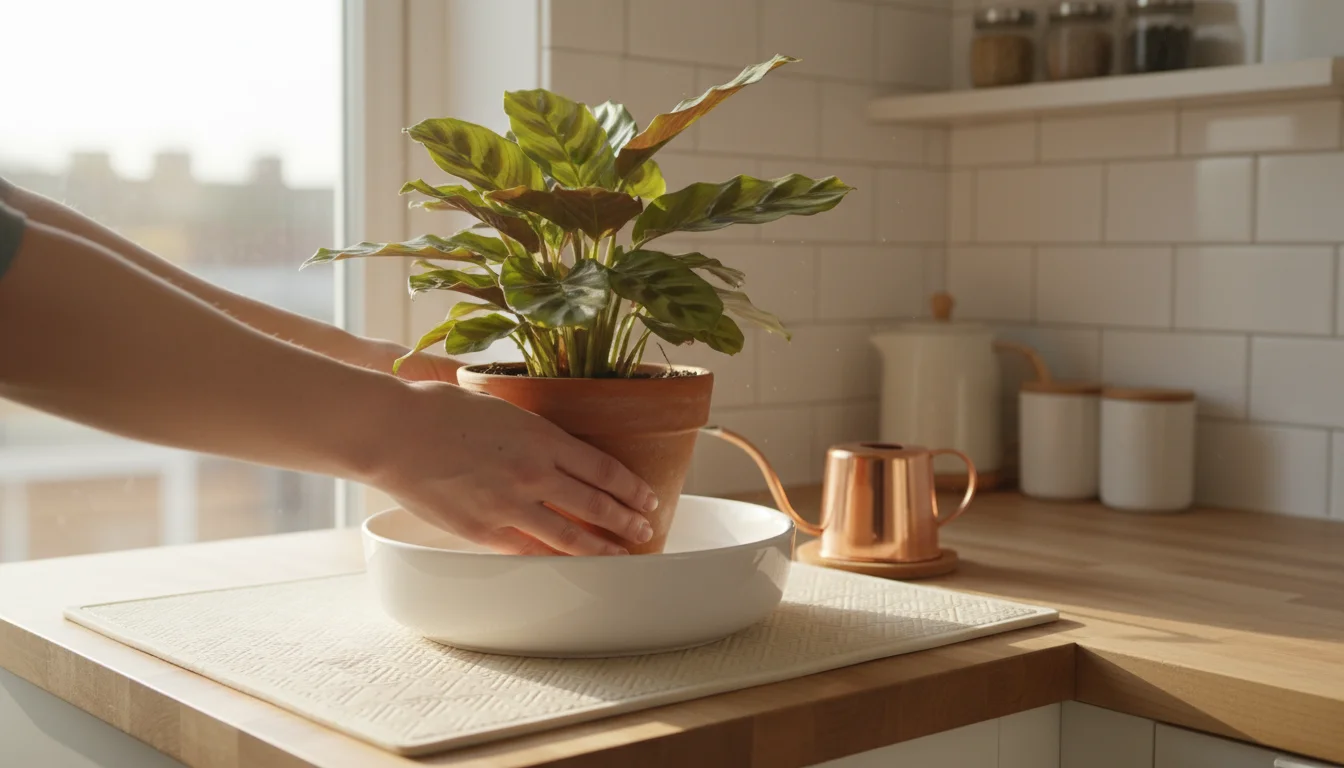
- Bottom Watering for Ultimate Cleanliness: For many plants, bottom watering significantly reduces the risk of spills. Place your potted plant (with drainage holes) into a larger tray or basin filled with a few inches of water. Allow the plant to soak up water through its drainage holes for 15-30 minutes, or until the topsoil feels damp. This method prevents water from spilling over the rim and ensures the plant absorbs only what it needs.
- Repotting Strategy: When repotting, work slowly and deliberately on your plant mat. Gently remove the plant from its old pot, tap away excess soil directly onto the mat, and position it in the new pot. Use your miniature scoop to add new soil gradually, tamping it down lightly as you go. Leave about an inch of space from the soil surface to the rim of the pot; this “headroom” prevents water and soil from overflowing during future waterings.
- Pruning with Purpose: Before you make a cut, plan where the pruned piece will fall. Position your hand, a small cup, or your plant mat to catch the falling stem or leaf immediately. This proactive step prevents debris from scattering across your workspace or floor.
- Immediate Cleanup is Key: Do not wait. As soon as you finish a task, even a small one, use your soft-bristle brush and dustpan to sweep up any stray particles. Wipe down tools before returning them to your caddy. This prevents small messes from lingering and becoming ingrained, making future cleanups much easier.
These practices, combined with your ‘No-Mess’ Toolkit, transform your indoor gardening from a potentially messy chore into a satisfying, clean, and truly joyful experience. You will find more time to appreciate your plants and less time cleaning up after them.
Frequently Asked Questions
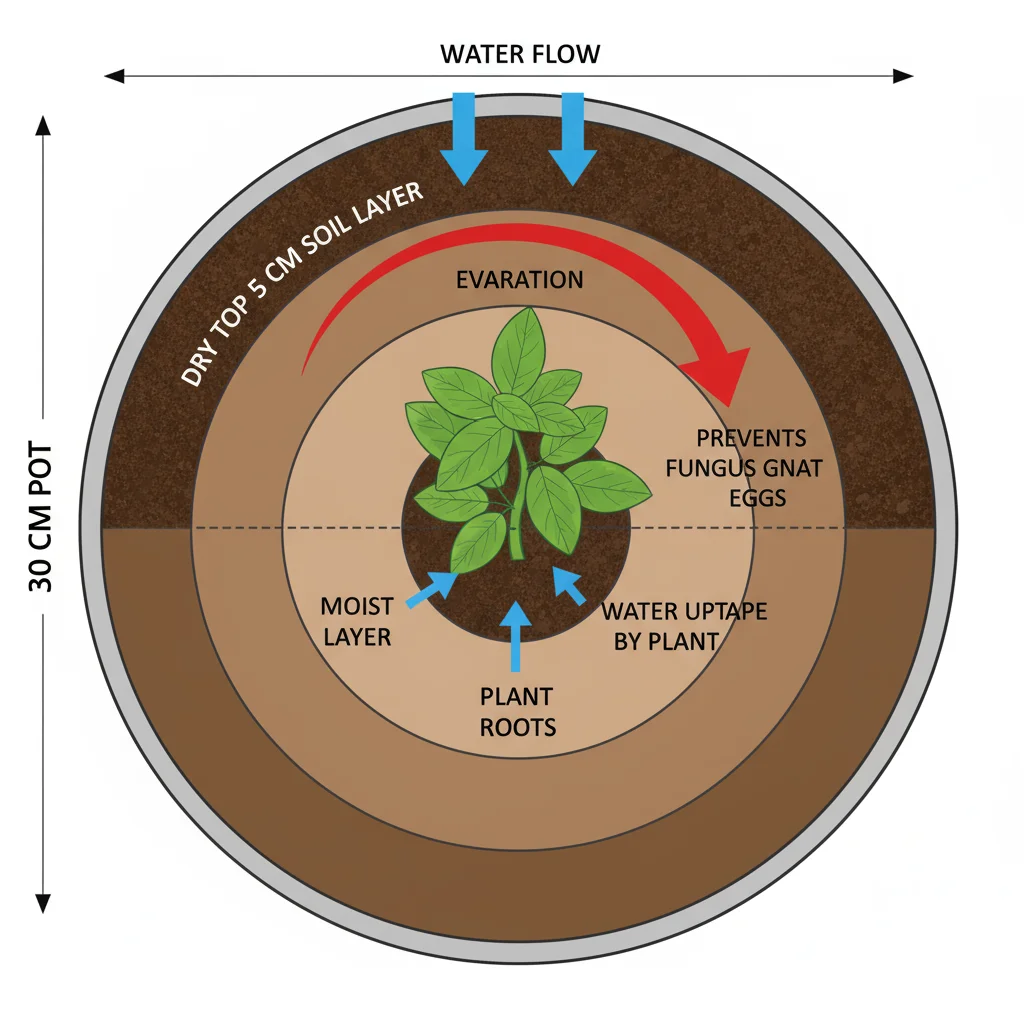
What is the best way to prevent fungus gnats indoors?
Preventing fungus gnats primarily involves managing soil moisture. These tiny pests thrive in consistently wet topsoil. Use a watering can with a precise spout to water directly at the base of the plant, avoiding oversaturation. Allow the top inch or two of soil to dry out completely between waterings. You can also use sticky traps to monitor and catch adult gnats. Some gardeners also use a layer of horticultural sand or fine gravel on top of the soil to create a dry barrier.
How often should I clean my plant tools?
Clean your plant tools, especially pruners and scoops, after every significant use. If you are pruning multiple plants, wipe down your pruner blades with rubbing alcohol between plants to prevent the spread of diseases. For watering cans and dustpans, a quick rinse and wipe-down every few weeks or as needed keeps them clean and ready for use. Ensuring tools are dry before storage prevents rust and bacterial growth.
Can I use regular household cleaning products on my plant leaves?
Avoid using regular household cleaning products like furniture polish or glass cleaner on your plant leaves. These products often contain chemicals that can harm your plants, clog their pores, or leave a residue that attracts dust. Stick to gentle options like plain distilled water, diluted neem oil, or a very mild dish soap solution followed by a thorough rinse with clean water. Microfiber cloths are ideal for gentle cleaning.
What if I still make a mess, even with the right tools?
It is perfectly normal to make a small mess occasionally, even with the best tools. The key is to address it immediately. Your mini brush and dustpan set is designed for these quick cleanups. The plant mat or tray will contain most larger spills. The goal is to minimize mess, not to achieve absolute perfection. Embrace the process, learn from any spills, and refine your technique. Remember, gardening is a continuous learning journey.
Is it sustainable to replace all my old gardening tools?
You do not need to replace all your old tools immediately. The most sustainable approach is to gradually upgrade as needed, or as old tools wear out. Prioritize the tools that directly address your biggest mess-making pain points, like a precise watering can or a dedicated plant mat. If an old tool is still functional, consider repurposing it for outdoor gardening if you have a space, or donating it. When purchasing new tools, look for durable, high-quality options that will last for many years, reducing the need for frequent replacements.
For trustworthy gardening information, visit:
Oklahoma State University Extension — Lawn & Garden, Tennessee Extension — Gardening and University of Delaware Extension — Gardening. These organizations provide expert, research-based advice for gardeners at all levels.
Disclaimer: This article is for informational purposes only and is not a substitute for professional gardening advice. Always consult local extension services or horticulture experts for region-specific guidance.

Leave a Reply