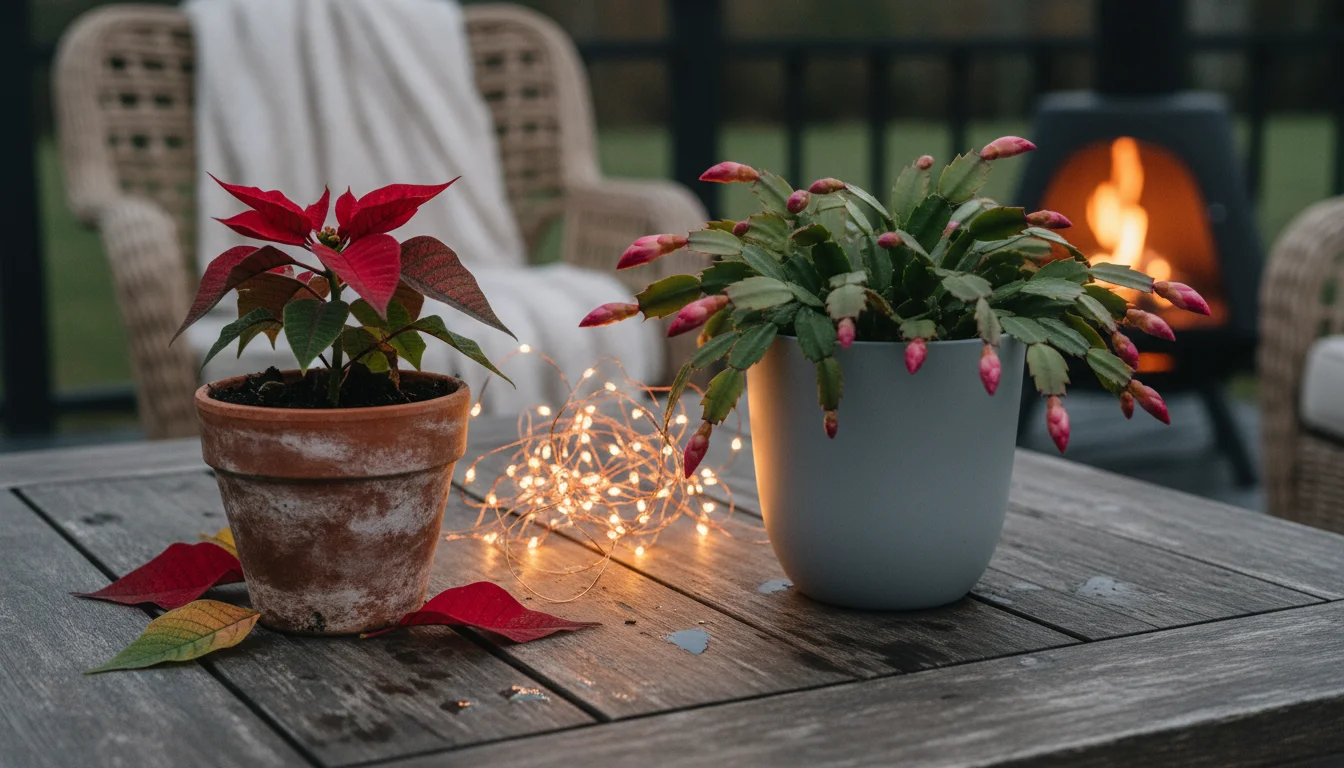
The festive season fills our homes with vibrant color, often thanks to the cheerful Poinsettia and the resilient Christmas Cactus. As the holiday decorations come down, you might notice your once-glorious plants looking a bit, well, less glorious. Drooping leaves, fading colors, and a general air of sadness are common sights. Do not despair! These beloved holiday gift plants are not destined for the compost bin. With a little post-holiday plant care, you can bring them back to health and even encourage future blooms. This guide equips you with practical, actionable insights to rescue your Poinsettia and Christmas Cactus, turning their post-celebration slump into a triumphant recovery.
You can transform these plants from temporary decor into lasting botanical companions. You will learn the specific needs of each plant, how to diagnose common issues, and the step-by-step actions you need to take. Get ready to revive your holiday plants and enjoy their beauty for seasons to come.
Understanding Post-Holiday Stress: Why Your Plants Need an ER
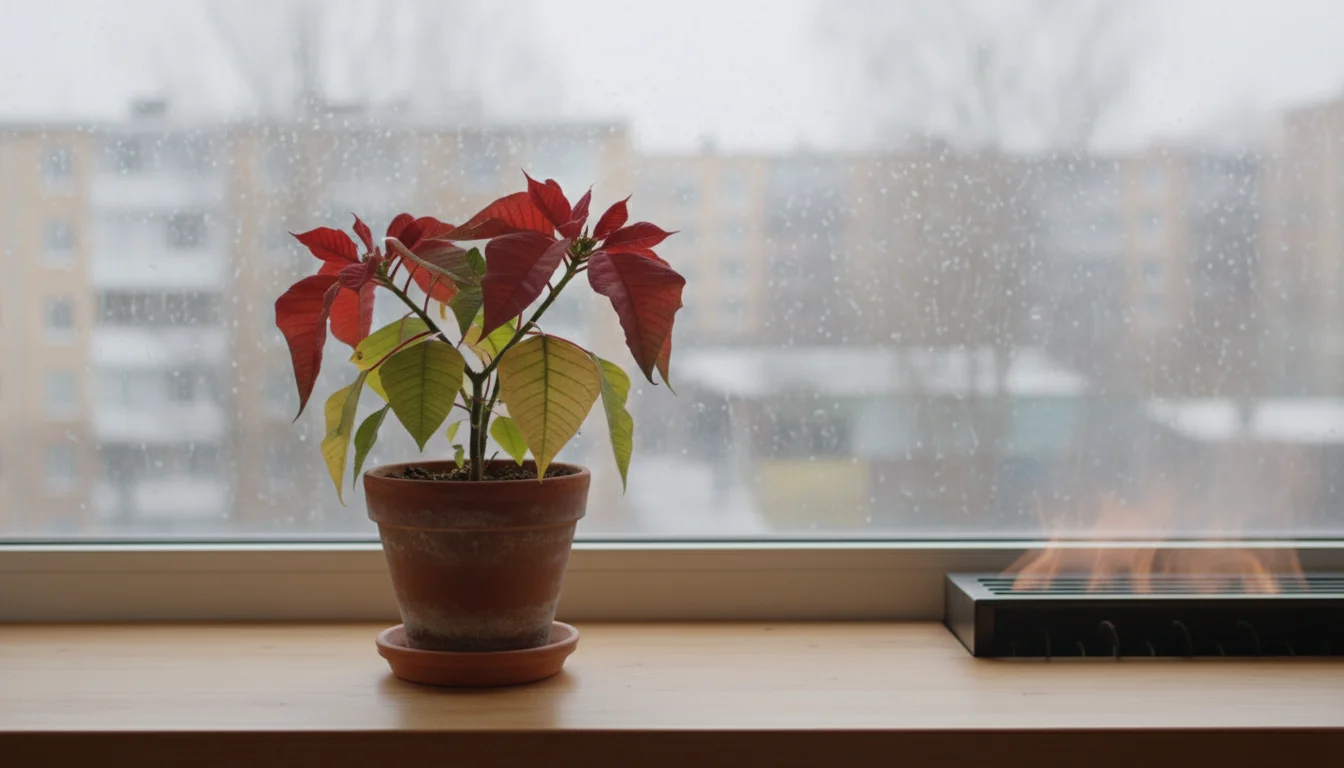
Many holiday plants arrive in your home having experienced significant stress even before you unwrap them. They travel from nurseries, enduring varying light, temperature, and humidity conditions. Once in your home, they often face less-than-ideal environments. Think about it: a spot near a drafty window, too close to a heat vent, or simply in an area with insufficient light. These factors contribute to their rapid decline once the holiday cheer subsides.
Poinsettias, for instance, are tropical plants. They thrive in consistent warmth and high humidity. The dry, often fluctuating temperatures of indoor winter environments shock them. Christmas Cacti, while more tolerant, still require specific light and watering regimens to truly flourish and rebloom. When you understand these basic needs, you can provide the targeted care necessary for reviving holiday gift plants and ensuring their long-term survival.
Recognizing the signs of stress is your first step in plant first aid. Yellowing leaves, wilting stems, or premature flower drop indicate your plant is struggling. Addressing these symptoms promptly gives your plant the best chance for recovery. You are not just saving a plant, you are also gaining valuable insight into its care, making you a more confident gardener.
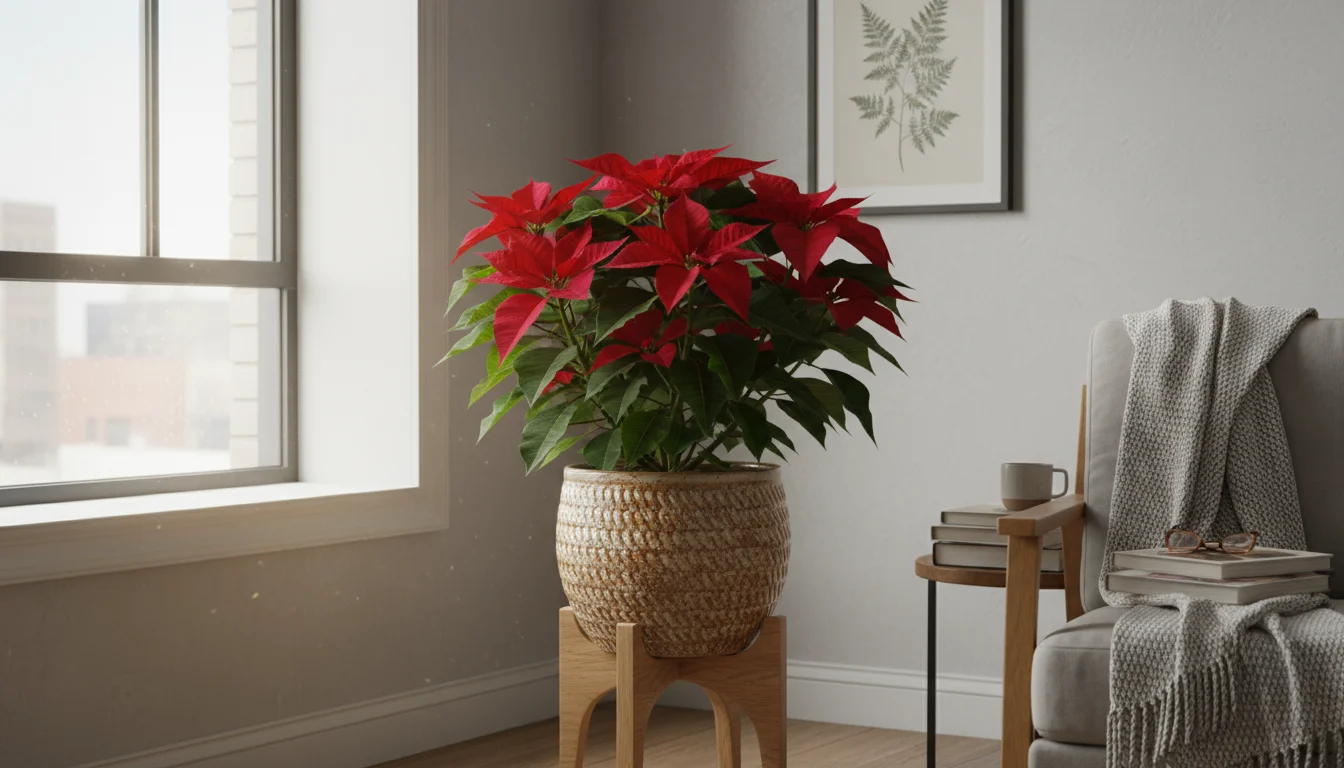
Poinsettia Post-Holiday Revival: A Step-by-Step Guide
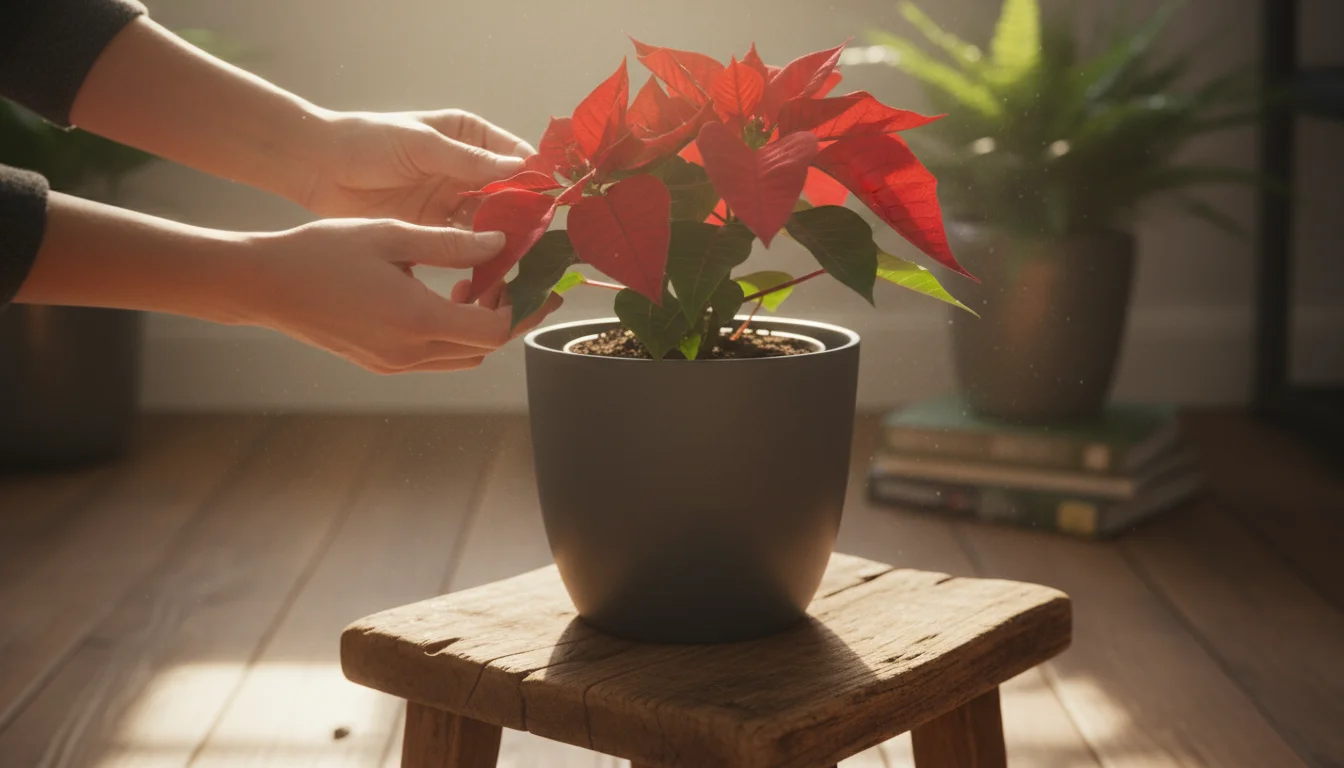
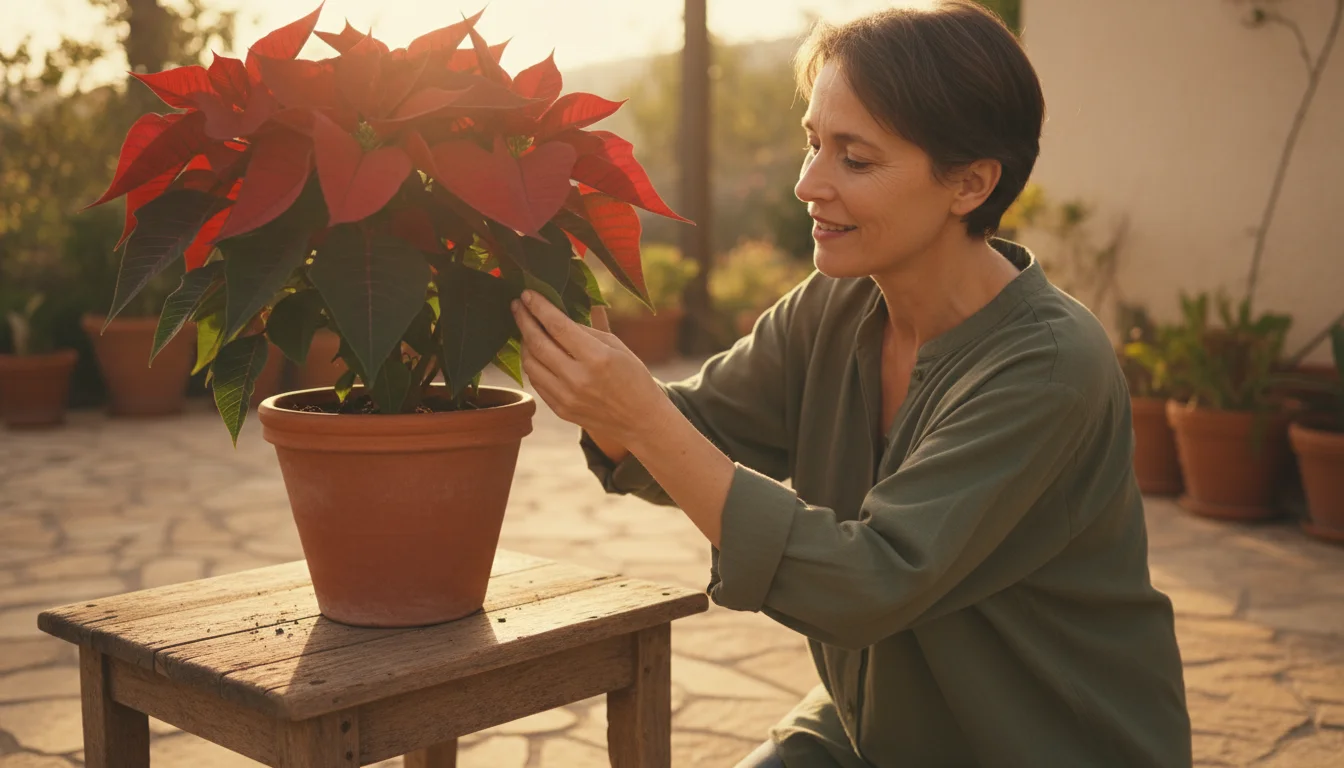
Your poinsettia, with its vibrant bracts, is often the star of holiday decor. After Christmas, these colorful leaves might start to fade or drop, signaling a need for intervention. Follow these steps for effective poinsettia care after Christmas.
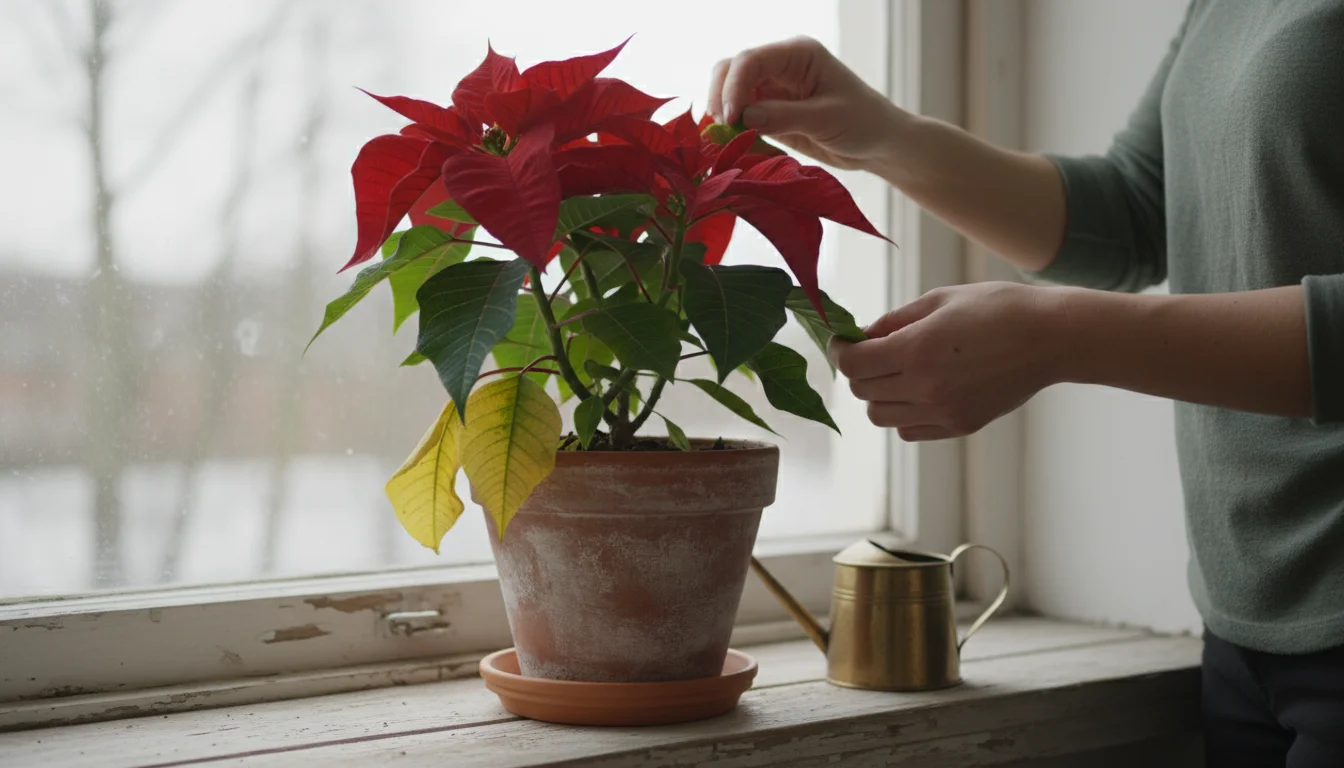
Step 1: The Initial Assessment and Location Adjustment
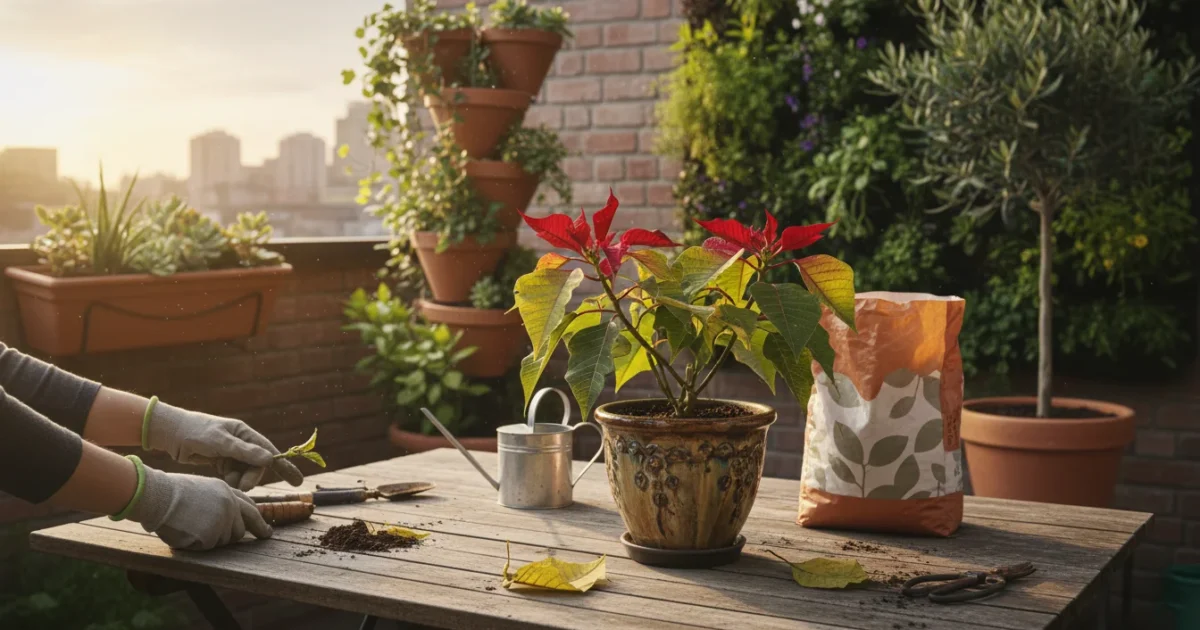
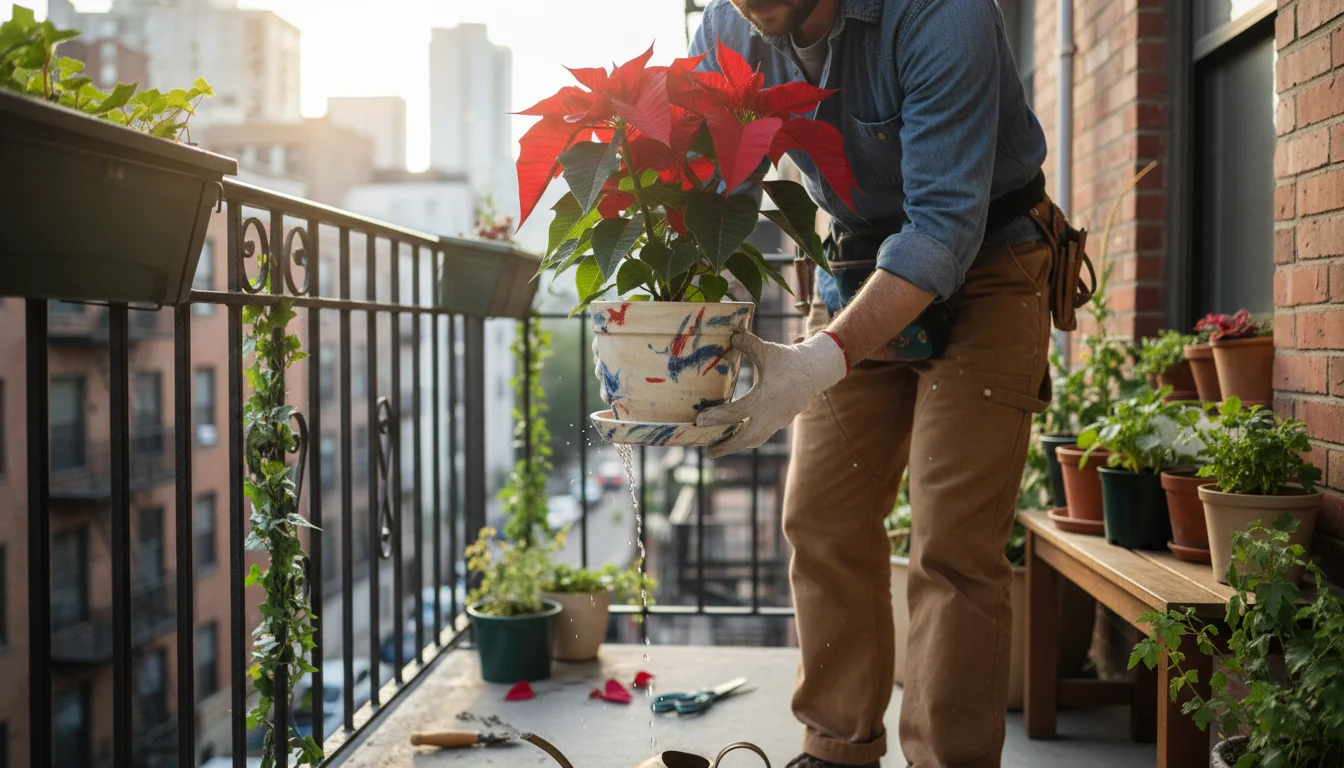
First, examine your plant. Remove any dead, yellowed, or damaged leaves and spent bracts. Look for signs of pests, such as tiny webs or sticky residue. Move your poinsettia to a new, stable location. It prefers bright, indirect sunlight. A south or east-facing window is ideal, but avoid direct hot sun that can scorch the leaves. Keep it away from drafts, heat vents, and exterior doors. Consistent temperatures between 65-70°F (18-21°C) are crucial for its recovery. Drastic temperature changes stress the plant, leading to leaf drop. Humidity also plays a significant role; consider placing your plant on a pebble tray filled with water, ensuring the pot does not sit directly in the water.
Step 2: Watering Wisely
Overwatering is a common killer of poinsettias. Water your poinsettia only when the top inch of soil feels dry to the touch. When you water, do so thoroughly until water drains from the bottom of the pot. Always empty any standing water from the saucer. Poinsettias hate wet feet, which leads to root rot, a primary cause of dying plants. Underwatering, on the other hand, makes the leaves wilt and turn crisp. Consistent moisture, not constant wetness, is the key to how to save a dying poinsettia.
Step 3: Pruning for Health and Shape
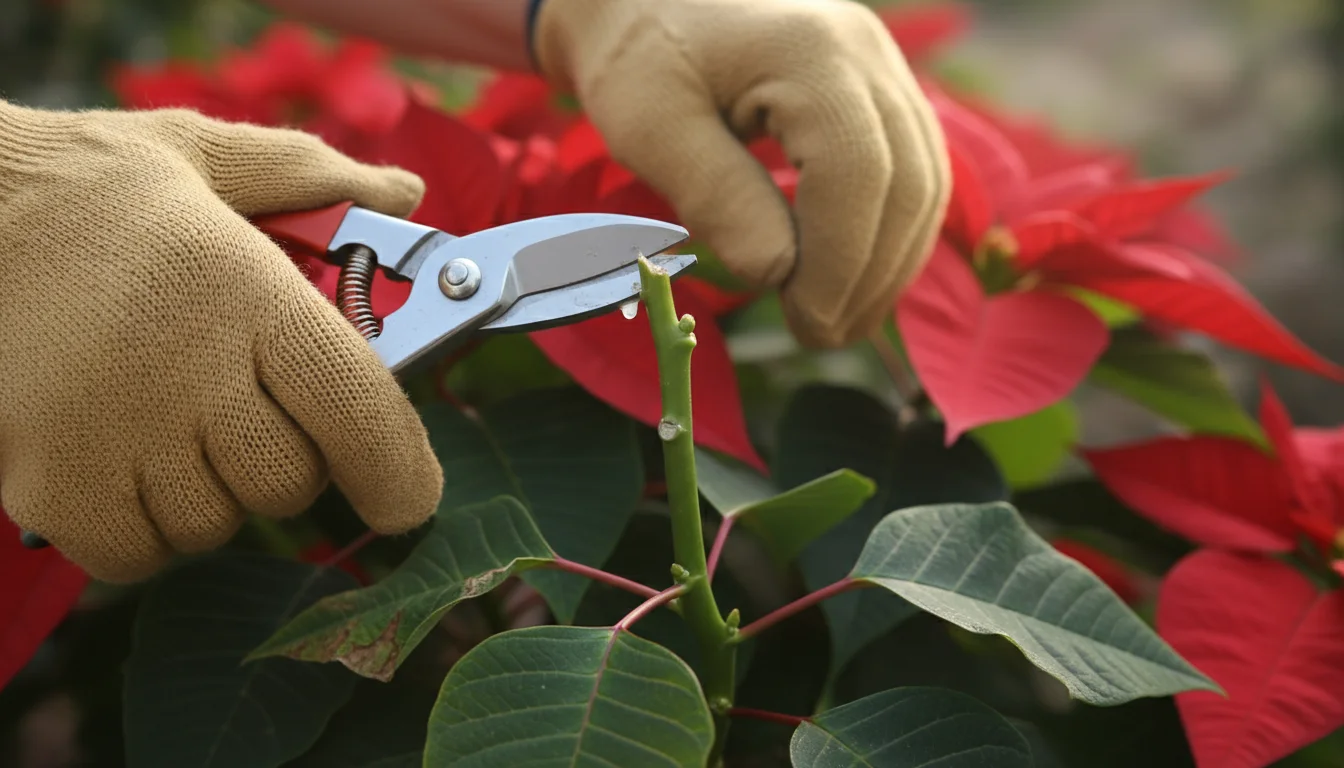
Around late March or early April, once the colorful bracts have faded and fallen, it is time for a significant prune. This step encourages bushy growth and prepares the plant for a new life cycle. Cut back each stem to about 6-8 inches in height, leaving at least 1-2 leaves on each stem. Make your cuts just above a leaf node, which is where new growth will emerge. Wear gloves when pruning, as poinsettias produce a milky sap that can irritate skin. This pruning is essential for rejuvenating your plant and promoting a more attractive, compact shape.
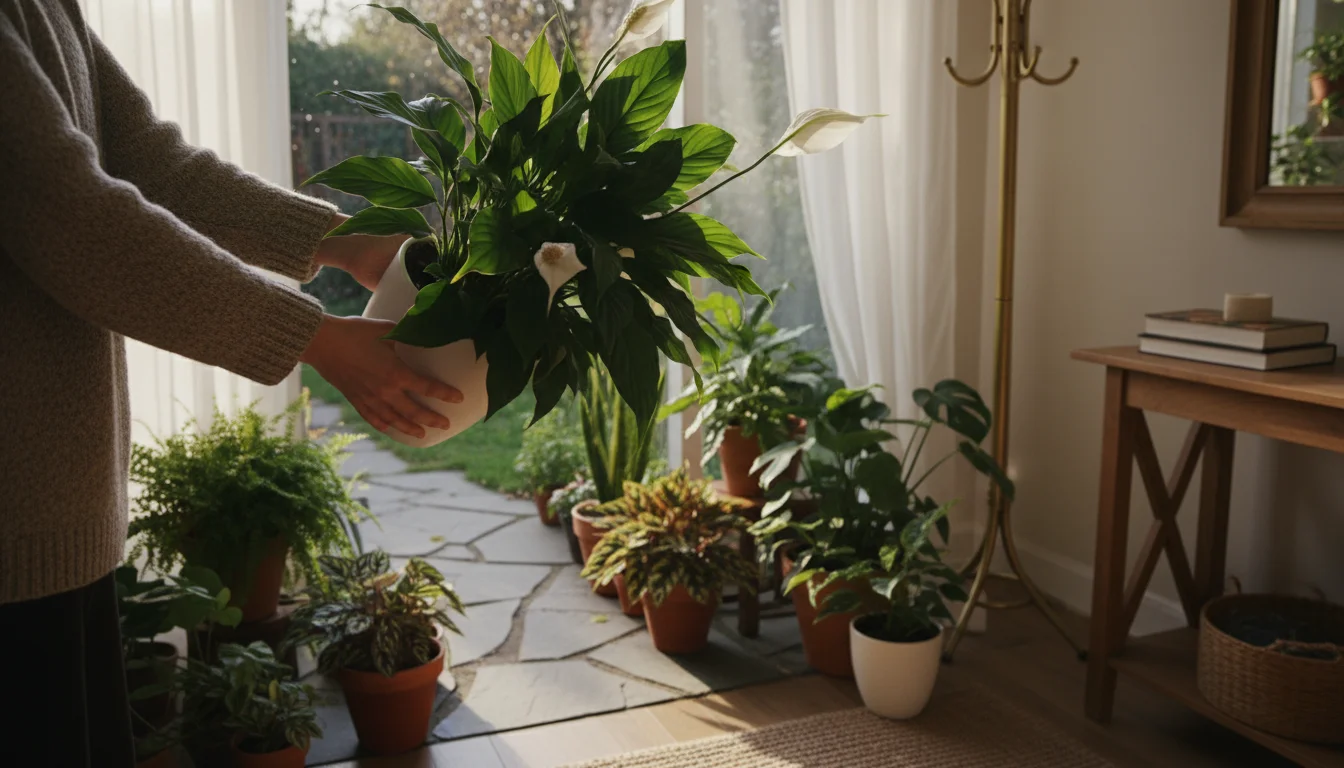
Step 4: Repotting and Soil Refresh
After pruning, consider repotting your poinsettia. If your plant is still in its original nursery pot, it likely needs more space and fresh nutrients. Choose a pot that is only one size larger than its current container, ensuring it has drainage holes. A general-purpose potting mix with good drainage is suitable. You can amend it with perlite or coarse sand to improve aeration. Gently remove the plant from its old pot, loosen any circling roots, and place it in the new pot, filling with fresh soil. Do not bury the stem deeper than it was in its previous pot. Water thoroughly after repotting.
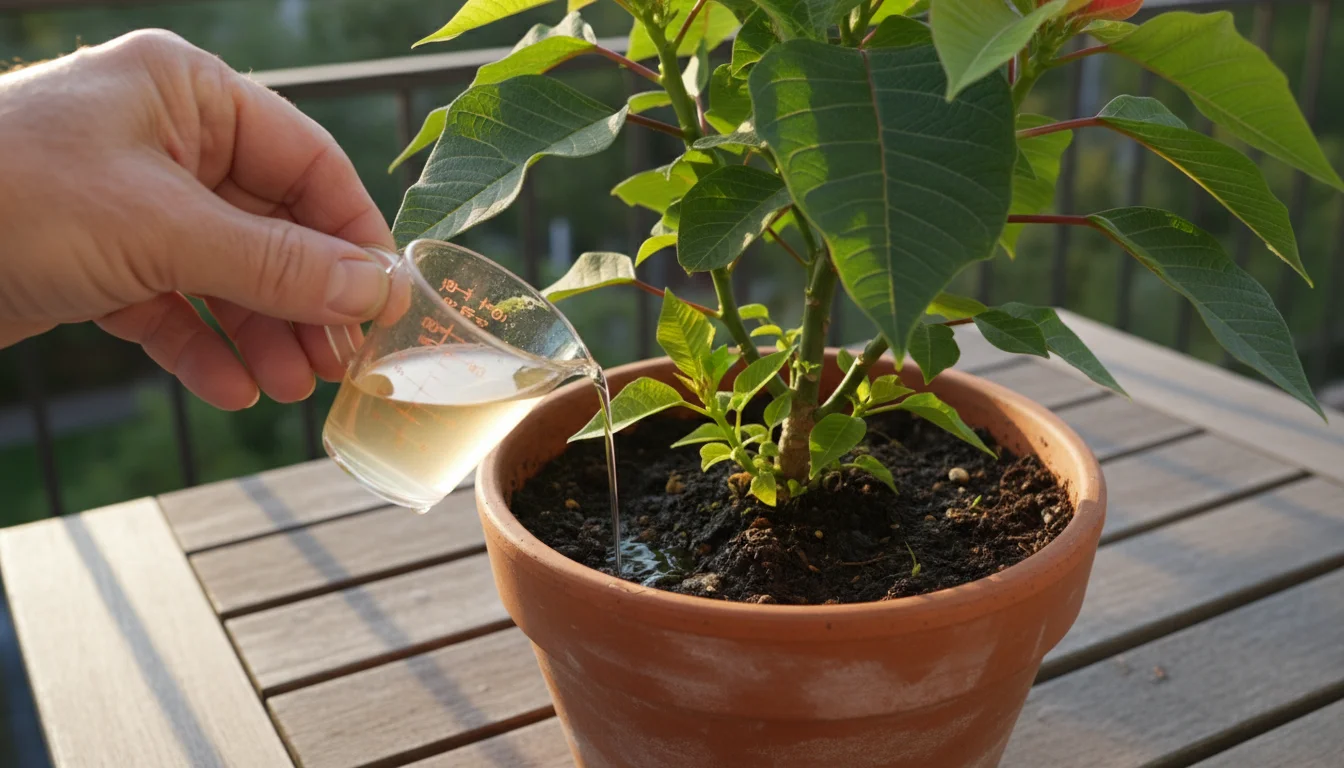
Step 5: Fertilization for New Growth
Once you see new growth emerging after pruning and repotting, begin fertilizing. Use a balanced houseplant fertilizer, diluted to half strength, every 2-4 weeks. Stop fertilizing in late summer, usually by September, to prepare the plant for its dormancy period. Proper nutrition supports vigorous growth and helps your poinsettia recover from its holiday performance.
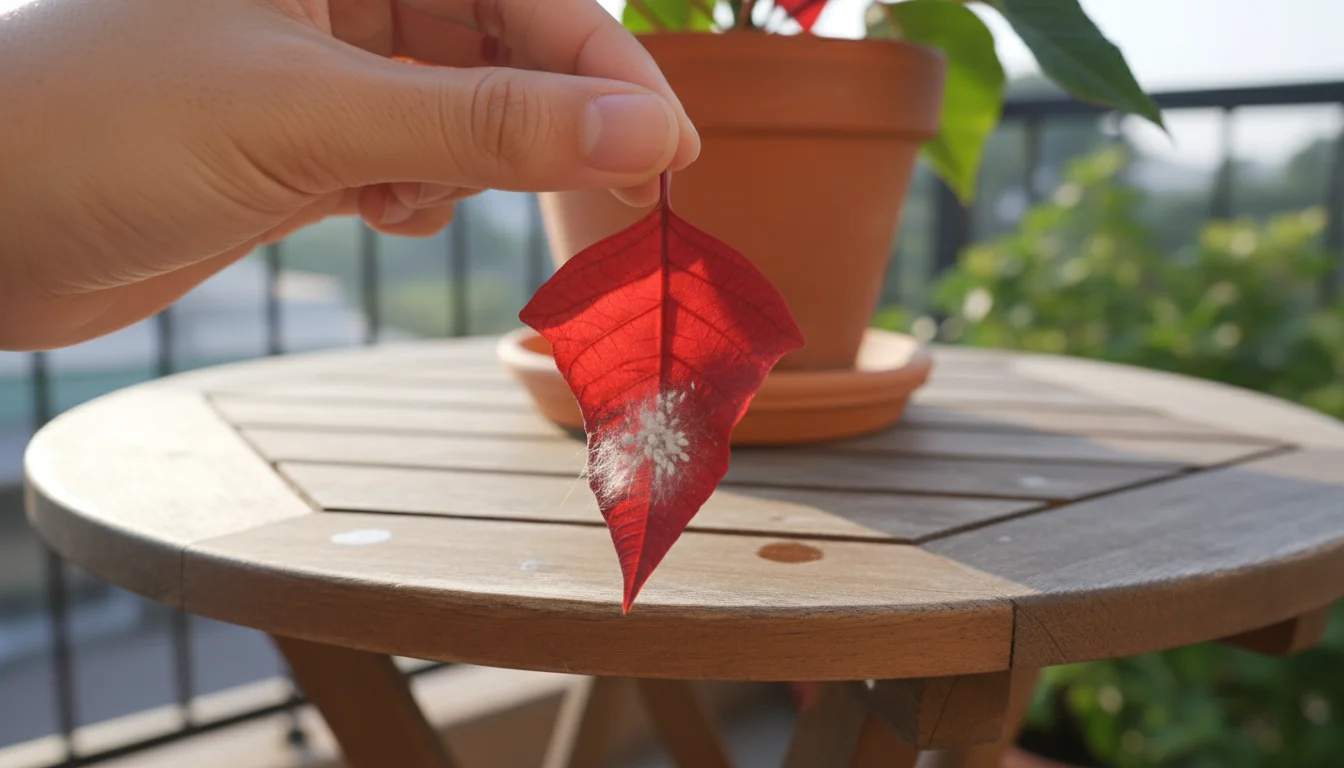
Step 6: Pest Vigilance
Poinsettias can attract pests such as whiteflies, spider mites, and mealybugs. Inspect your plant regularly, especially the undersides of leaves and stem joints. If you spot pests, isolate the plant immediately. Treat with insecticidal soap or neem oil, following product instructions carefully. Early detection and treatment prevent infestations from becoming severe and harming your plant.
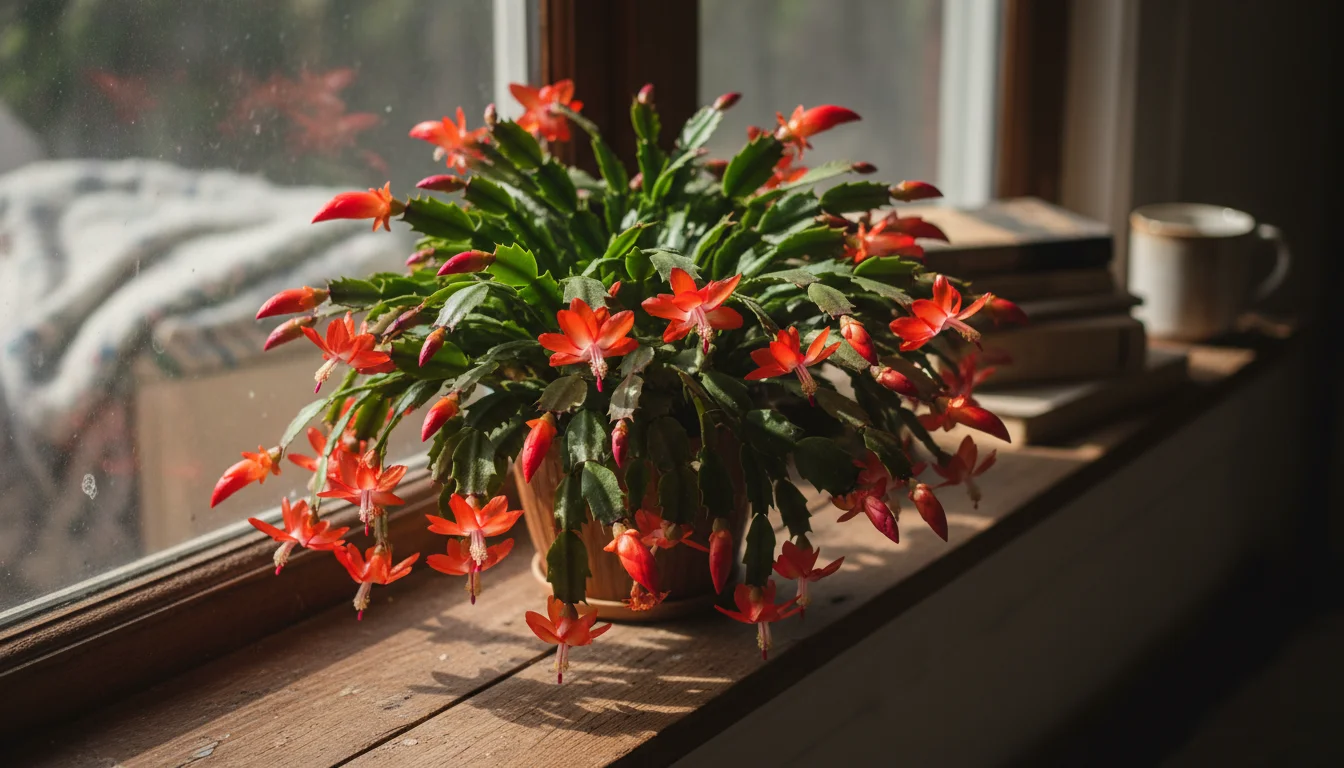
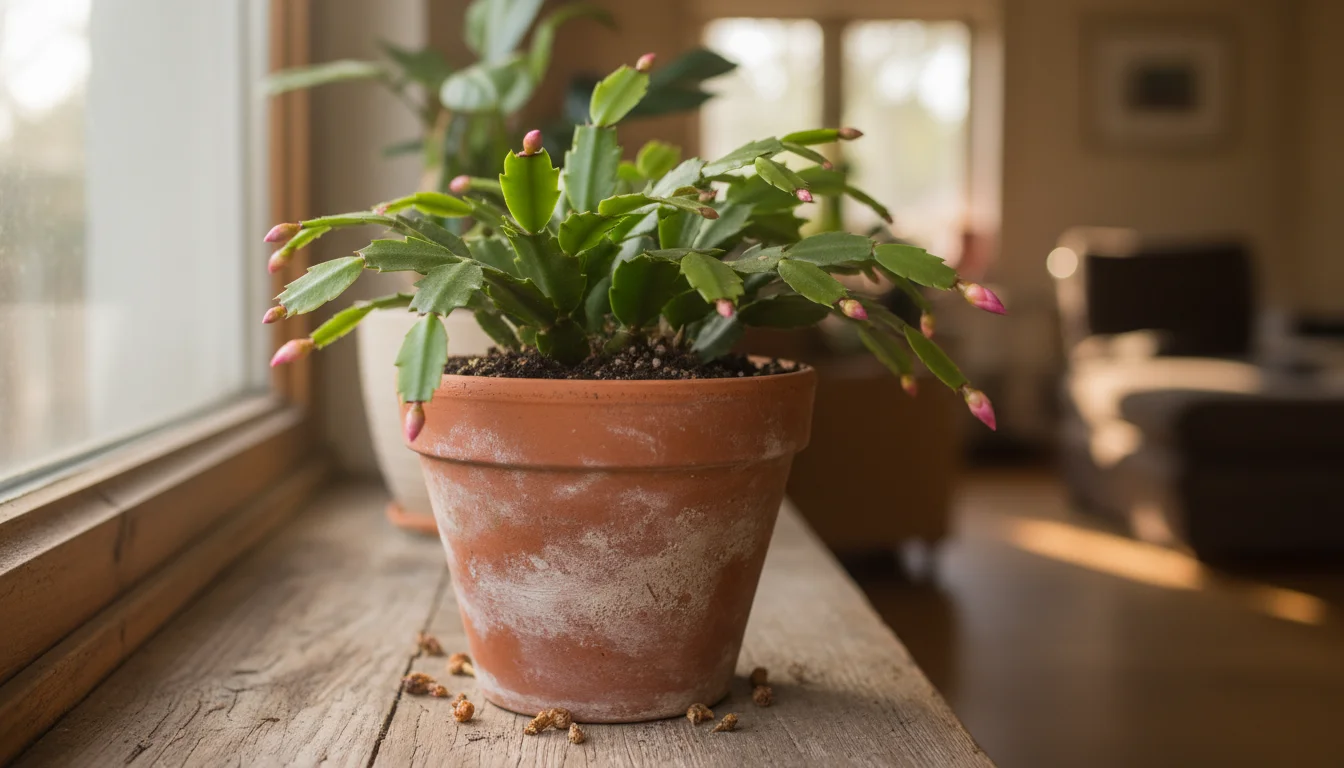
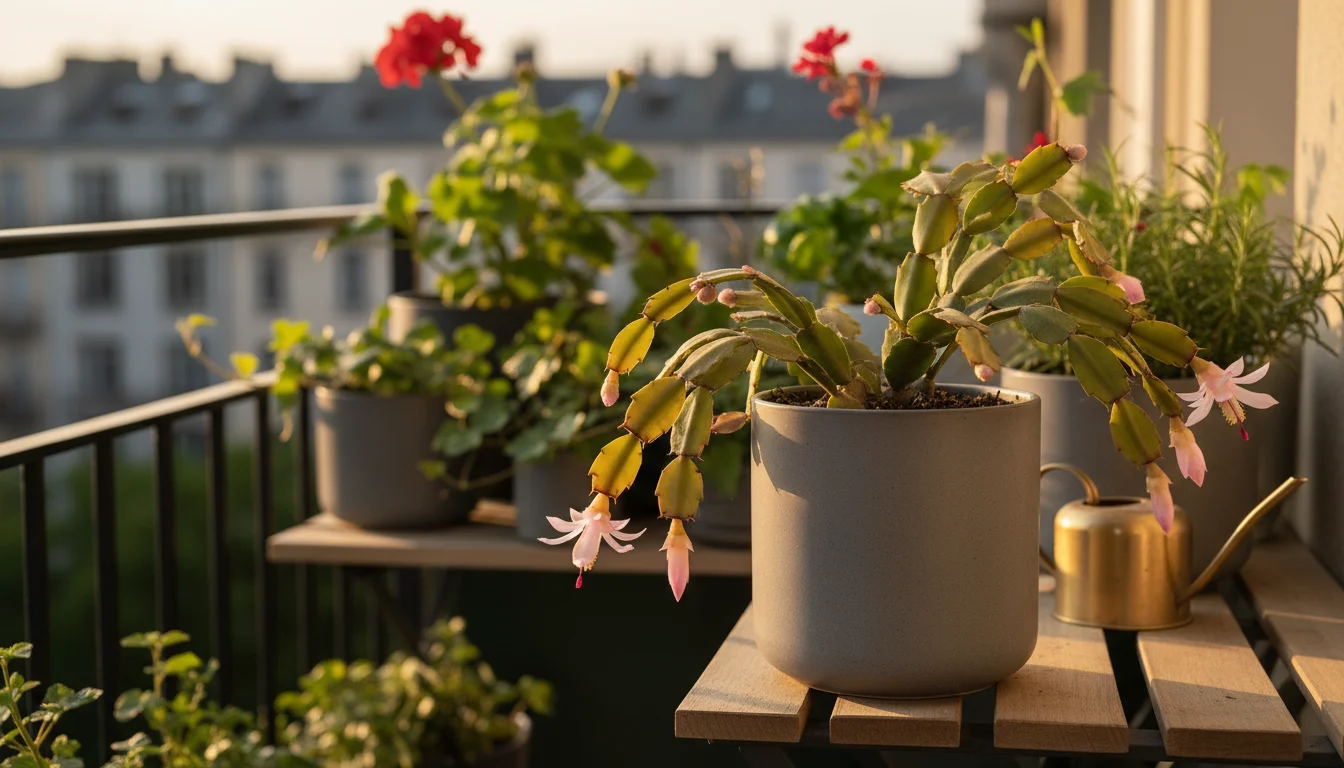
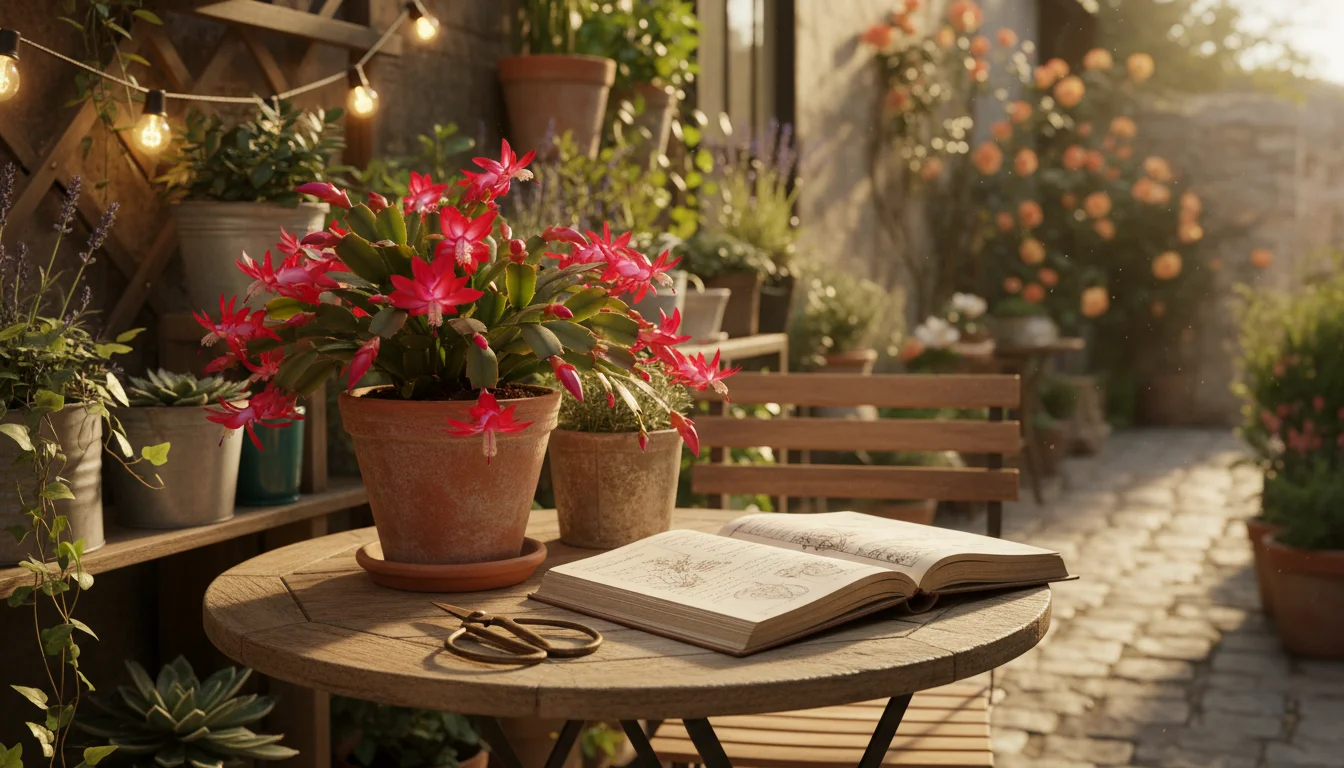
Christmas Cactus Rehab and Rebloom: Your Guide to Lasting Blooms
The Christmas Cactus, with its vibrant, segmented blooms, is a long-lived plant that can provide joy for decades with proper care. Its needs are slightly different from those of a true desert cactus; it is a tropical epiphytic plant. Learn the secrets to effective Christmas cactus care and how to make a Christmas cactus bloom again.
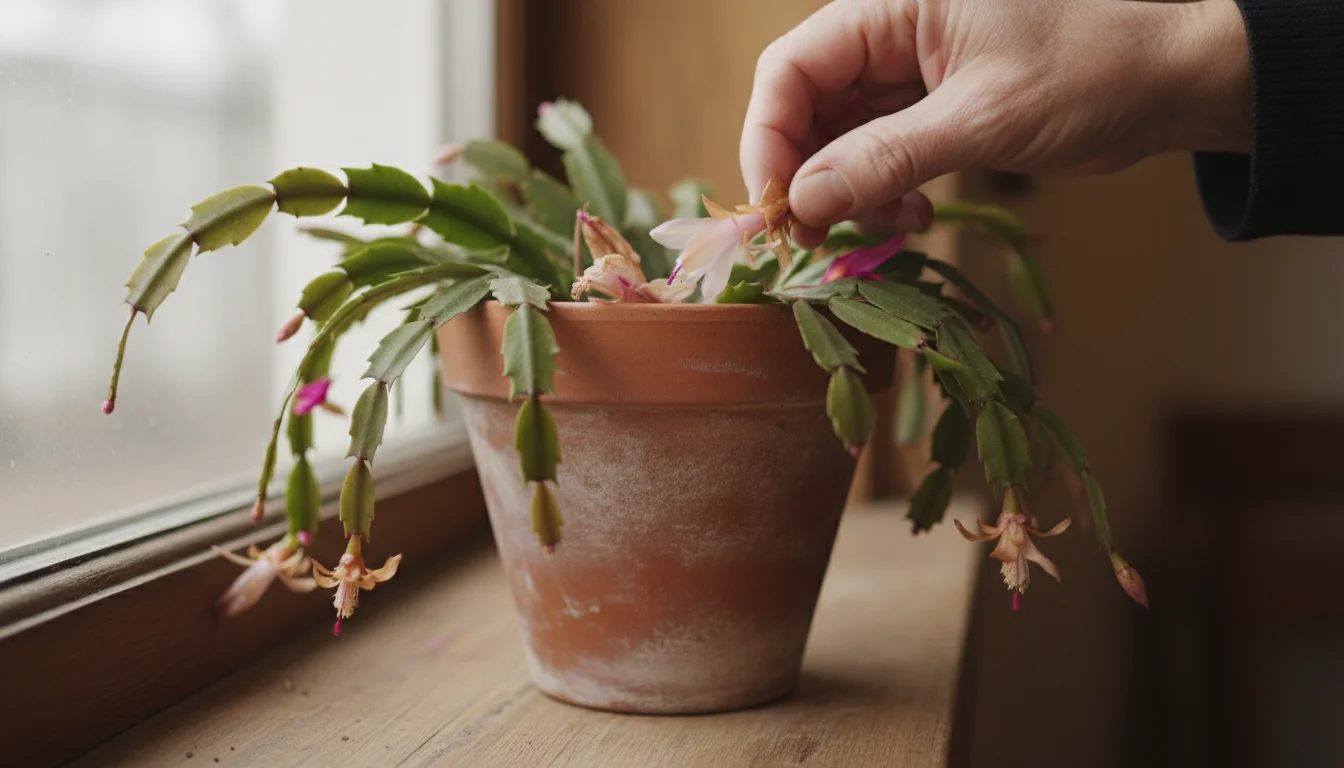
Step 1: Post-Bloom Assessment and Rest
After its beautiful holiday display, your Christmas Cactus needs a period of rest. During this time, reduce watering and stop fertilizing. Allow the plant to experience slightly cooler temperatures, ideally around 50-55°F (10-13°C), for about 4-6 weeks. This mimics its natural environment and helps it conserve energy for the next blooming cycle. Remove any spent flowers by gently twisting them off, which conserves the plant’s energy and prevents seed production.
Step 2: Light and Temperature Requirements
Place your Christmas Cactus in bright, indirect light. An east-facing window is often perfect, providing morning sun without the intensity of afternoon rays. Too much direct sun can scorch its segmented leaves, turning them reddish. During its active growing season, from spring to fall, maintain temperatures between 65-75°F (18-24°C). As you approach the reblooming period in the fall, cooler night temperatures, around 50-55°F (10-13°C), become essential. These cooler temperatures, combined with shorter daylight hours, trigger bud formation. This precise light and temperature management is vital for how to make a Christmas cactus bloom again.
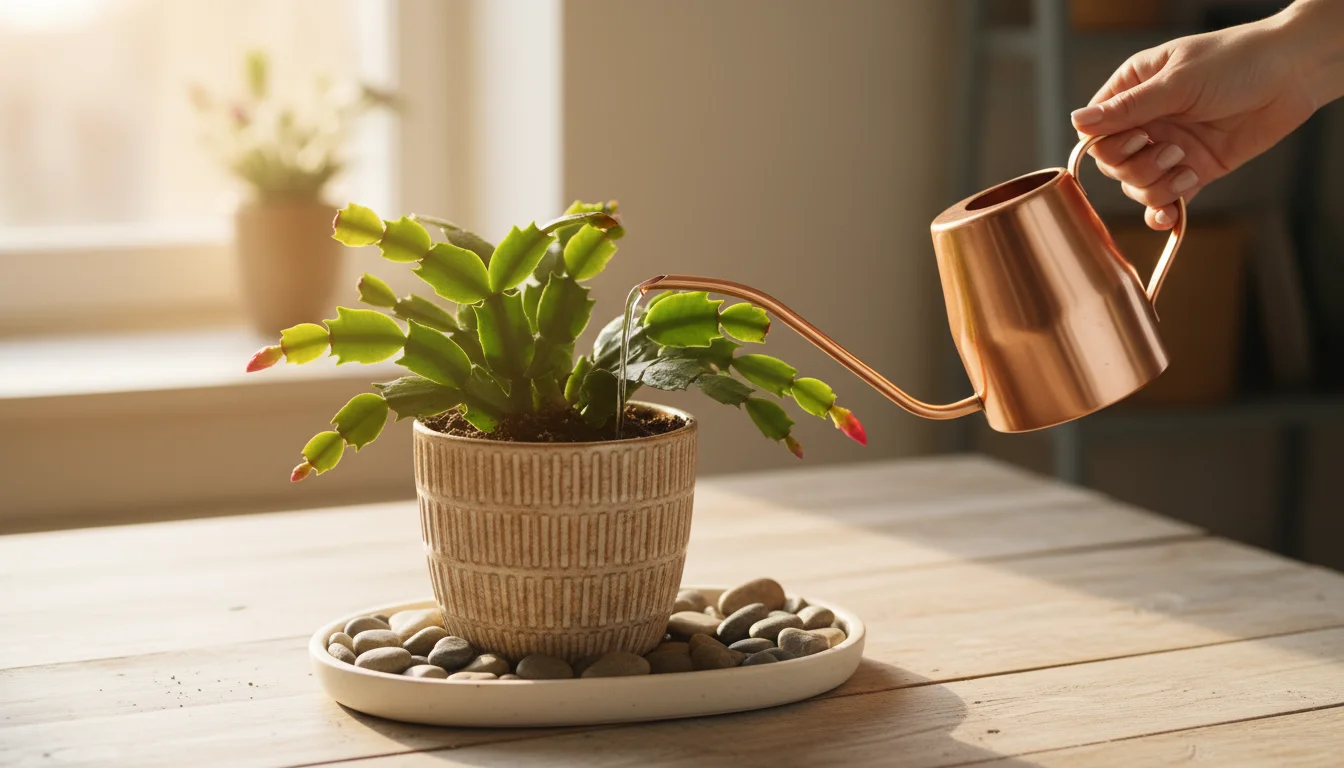
Step 3: Precise Watering Techniques
Water your Christmas Cactus when the top inch or two of soil feels dry. Like poinsettias, they do not tolerate soggy soil, which leads to root rot. Ensure your pot has excellent drainage. Water thoroughly until it drains from the bottom, then empty the saucer. During its active growth period, you will water more frequently. During the rest period after blooming and before reblooming, reduce watering significantly. However, do not let the plant completely dry out; the segments can shrivel. Increase humidity around the plant with a pebble tray or by misting, especially in dry indoor environments.
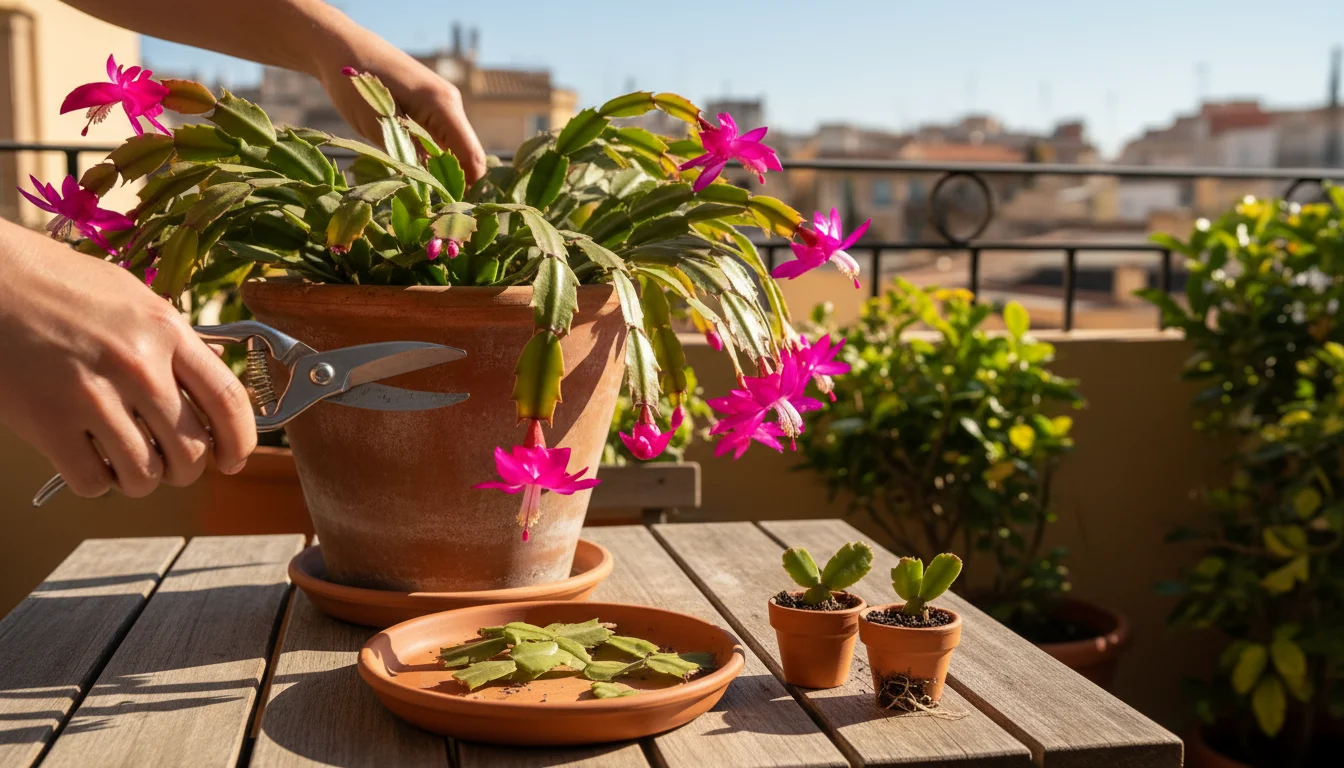
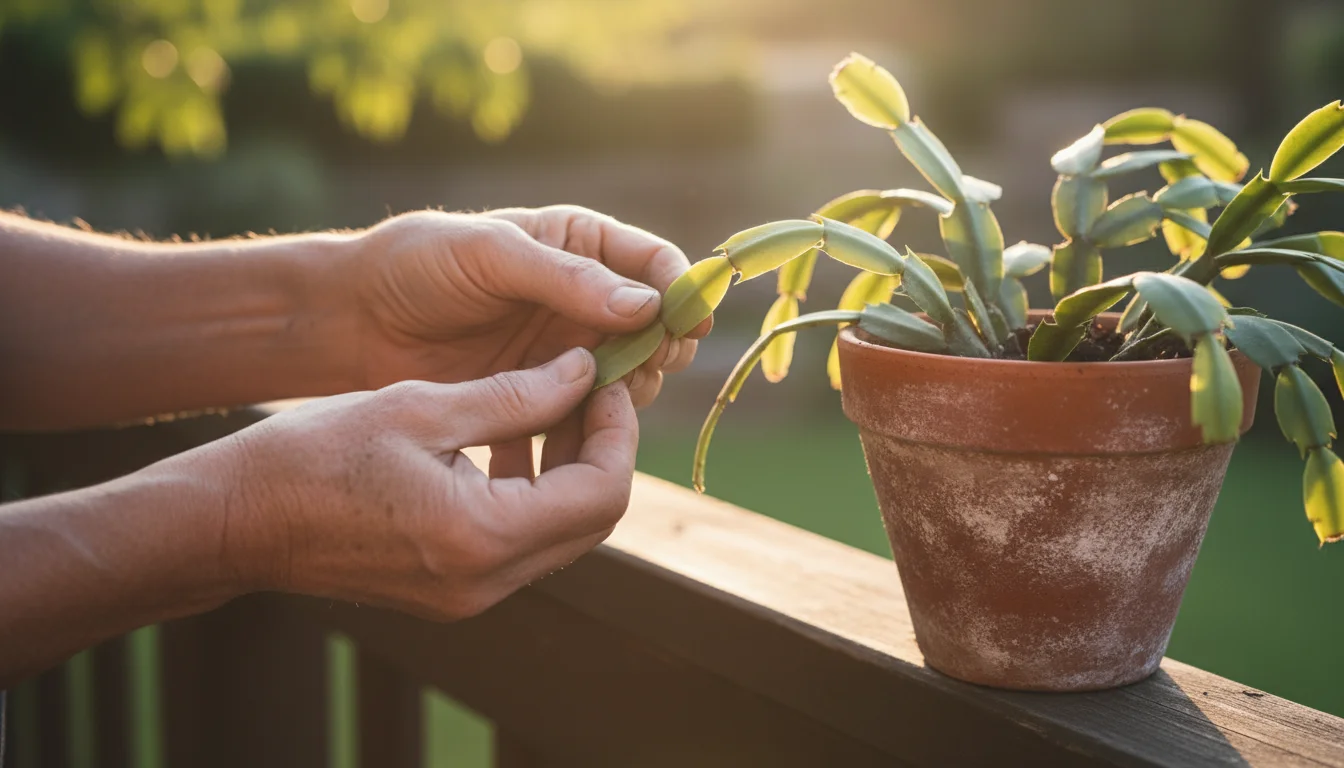
Step 4: Pruning for Shape and Propagation
The best time to prune your Christmas Cactus is usually in late spring or early summer, after the rest period and before new growth fully kicks in. Pruning encourages branching and helps maintain a compact, attractive shape. Use clean, sharp scissors or pruners to snip off 2-3 stem segments at a joint. You can easily propagate these cuttings by allowing them to dry for a day or two and then inserting them into moist potting mix. This pruning technique not only shapes your existing plant but also offers you new plants to grow or share.

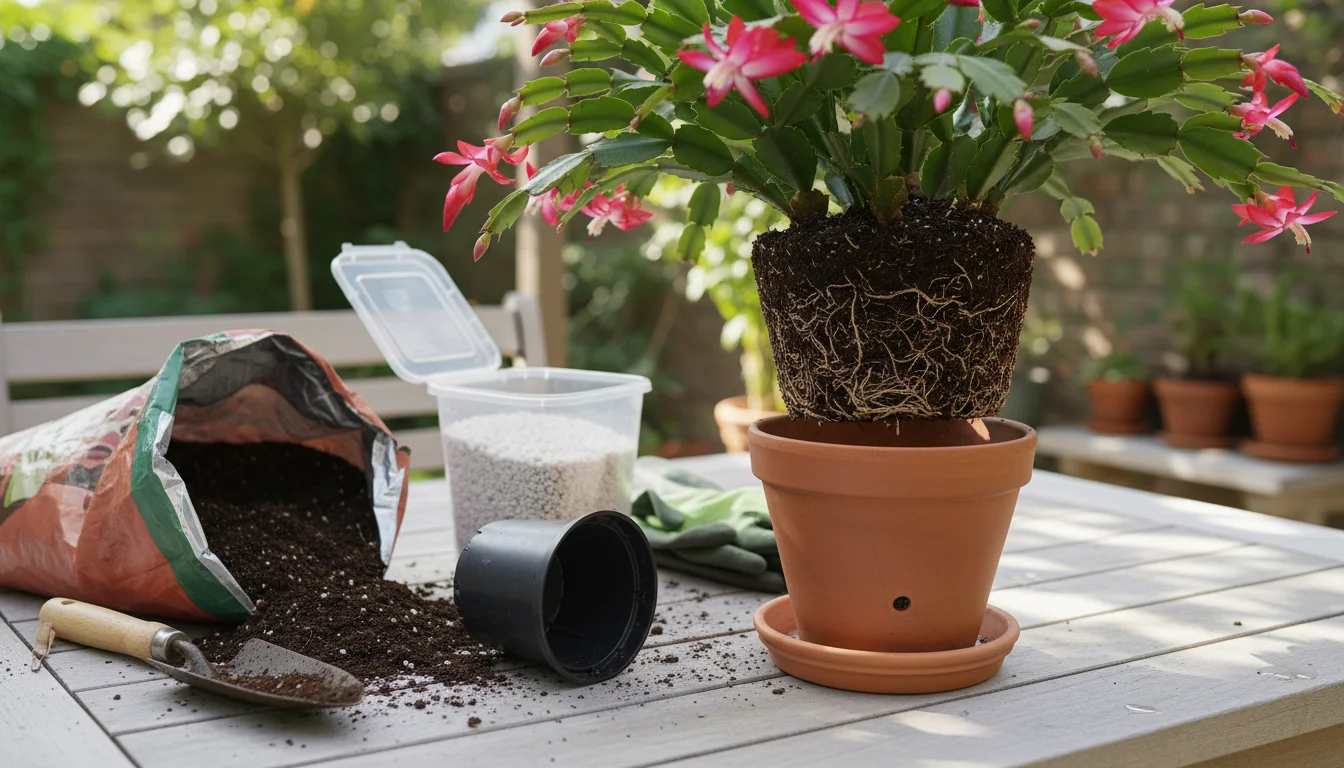
Step 5: Repotting and Soil
Christmas Cacti prefer to be slightly root-bound, so you do not need to repot them annually. Repot only every 2-3 years, or when you notice roots emerging from the drainage holes or the plant becoming top-heavy. Choose a pot only slightly larger than the current one. A well-draining potting mix is crucial. A good mix often includes standard potting soil combined with perlite, orchid bark, or sand to enhance drainage. Remember, their epiphytic nature means they thrive in an airy, fast-draining medium.
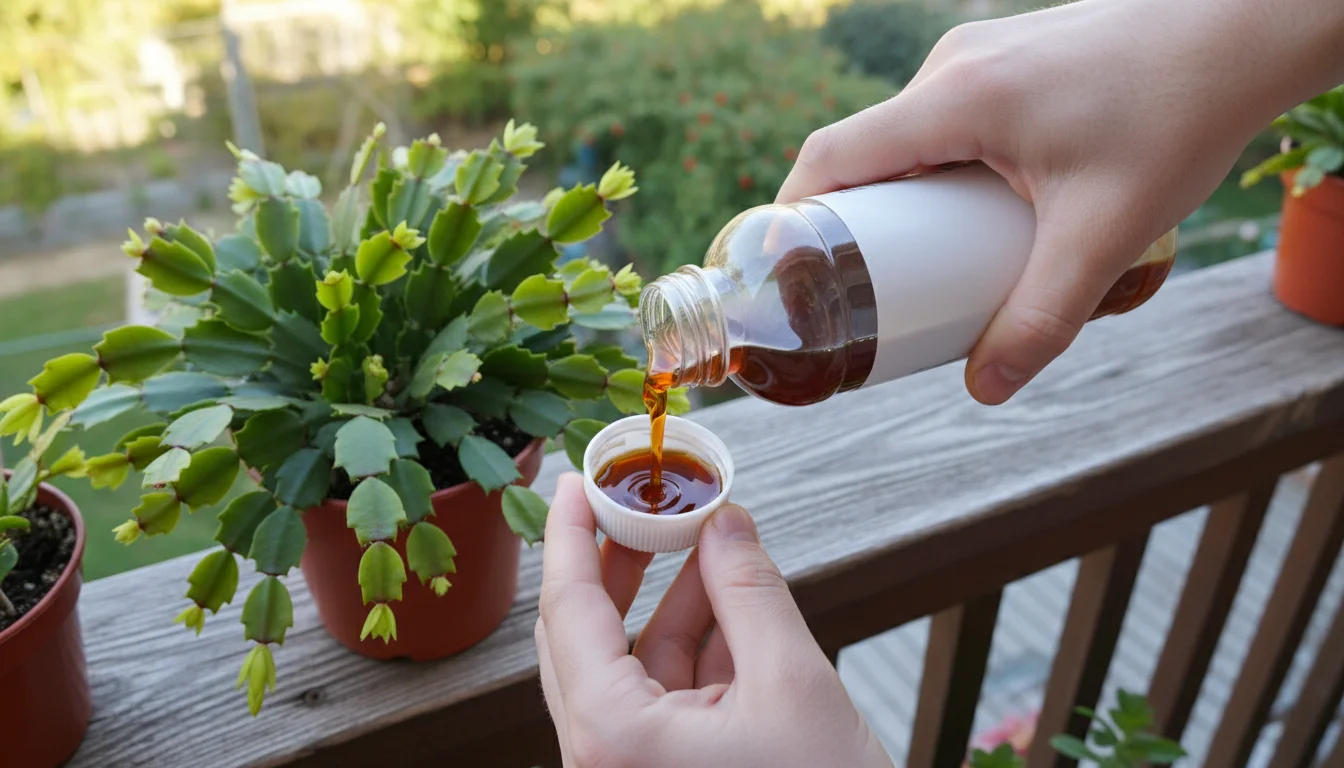
Step 6: Fertilization for Vigor and Blooms
Begin fertilizing your Christmas Cactus in spring, once new growth appears, and continue through late summer. Use a balanced liquid fertilizer, like a 20-20-20, diluted to half strength, every 2-4 weeks. Reduce or stop fertilizing in late summer or early fall to encourage flower bud formation. Resume fertilization after the blooming period and the subsequent rest phase. This controlled feeding regimen supports overall plant health and prepares it for its spectacular flower display.

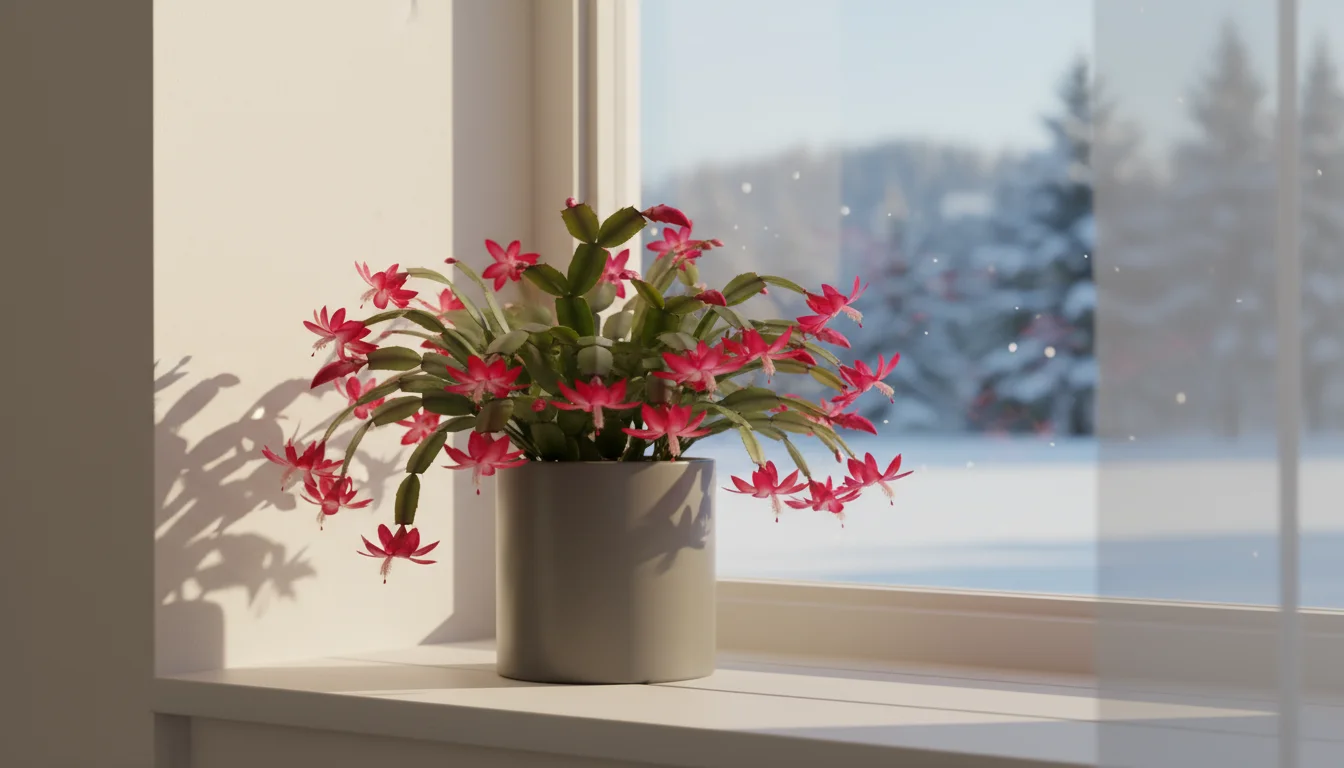
Step 7: Encouraging Rebloom
This is the magic trick for how to make a Christmas cactus bloom again. To trigger blooms, your plant needs specific light and temperature conditions. Starting in early fall, usually October, your plant requires 12-14 hours of uninterrupted darkness each day. Place it in a closet or under a dark cloth. This photoperiod sensitivity is crucial. Alongside the darkness, provide cooler nighttime temperatures, ideally 50-55°F (10-13°C). Continue this regimen for about 6-8 weeks, or until you see tiny flower buds forming at the tips of the segments. Once buds appear, you can move the plant back to its regular bright, indirect light location, maintaining consistent temperatures to prevent bud drop.
Common Troubleshooting for Holiday Plants
Even with the best intentions, your plants might face challenges. Here are common issues and how to address them.
Dropping Leaves
Both poinsettias and Christmas Cacti drop leaves due to environmental stress. For poinsettias, this often indicates cold drafts, sudden temperature changes, or overwatering. Ensure consistent warmth and proper watering. For Christmas Cacti, leaf segment drop can signify overwatering, underwatering, or sudden changes in light or temperature. Check soil moisture and adjust accordingly. Often, consistency is the remedy.
Yellowing Leaves
Yellowing leaves, particularly lower leaves, frequently point to watering issues. Overwatering causes root rot, which leads to yellow, drooping leaves. Underwatering also causes yellowing, often accompanied by crispy edges. Nutrient deficiencies can also cause yellowing. Ensure your watering schedule is appropriate and consider a balanced fertilizer if you have not fertilized recently. For poinsettias, lack of light can also cause lower leaves to yellow and drop.
Lack of Blooms or Bud Drop
If your Christmas Cactus is not blooming, review its light and temperature exposure in the fall. It needs that cool, dark period to set buds. If buds form but then drop, the culprit is often a sudden environmental change. This includes moving the plant, drastic temperature shifts, or inconsistent watering once buds appear. Maintain a stable environment after bud formation.
Pests (Mealybugs, Spider Mites, Whiteflies)
Infestations are frustrating but manageable. Look for sticky residue, tiny webs, or small, cotton-like masses on stems and undersides of leaves. Isolate the affected plant immediately. Treat with insecticidal soap or neem oil, ensuring thorough coverage. Repeat treatments as directed by the product. You can also physically remove mealybugs with an alcohol-dipped cotton swab. Regular inspection helps catch pests early, making them easier to control.
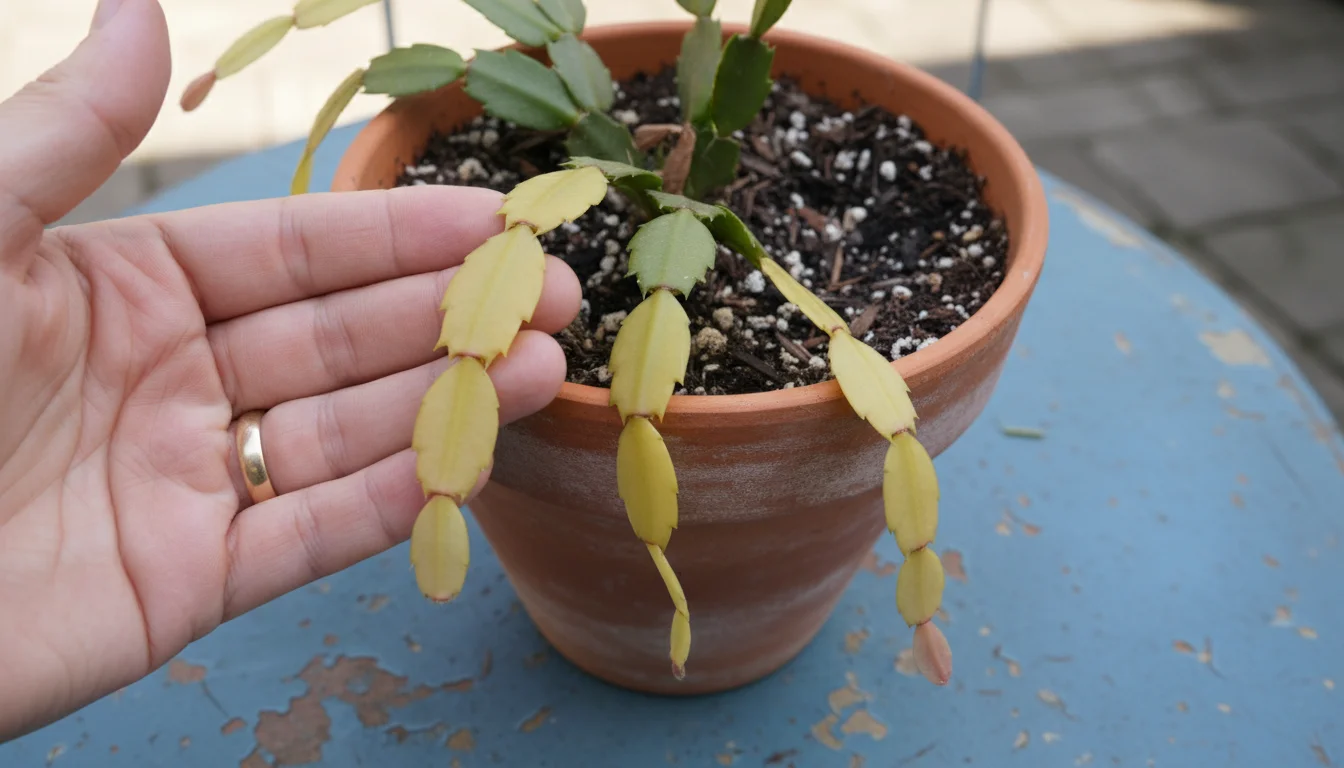
Wrinkling or Shriveled Leaves/Segments
For Christmas Cacti, wrinkling segments almost always signal underwatering. The plant uses its stored water, causing the segments to shrivel. Increase your watering frequency, but remember to still let the top soil dry out between waterings. For poinsettias, shriveling leaves are usually a sign of severe underwatering or extreme dryness in the air. Increase humidity and ensure consistent soil moisture.
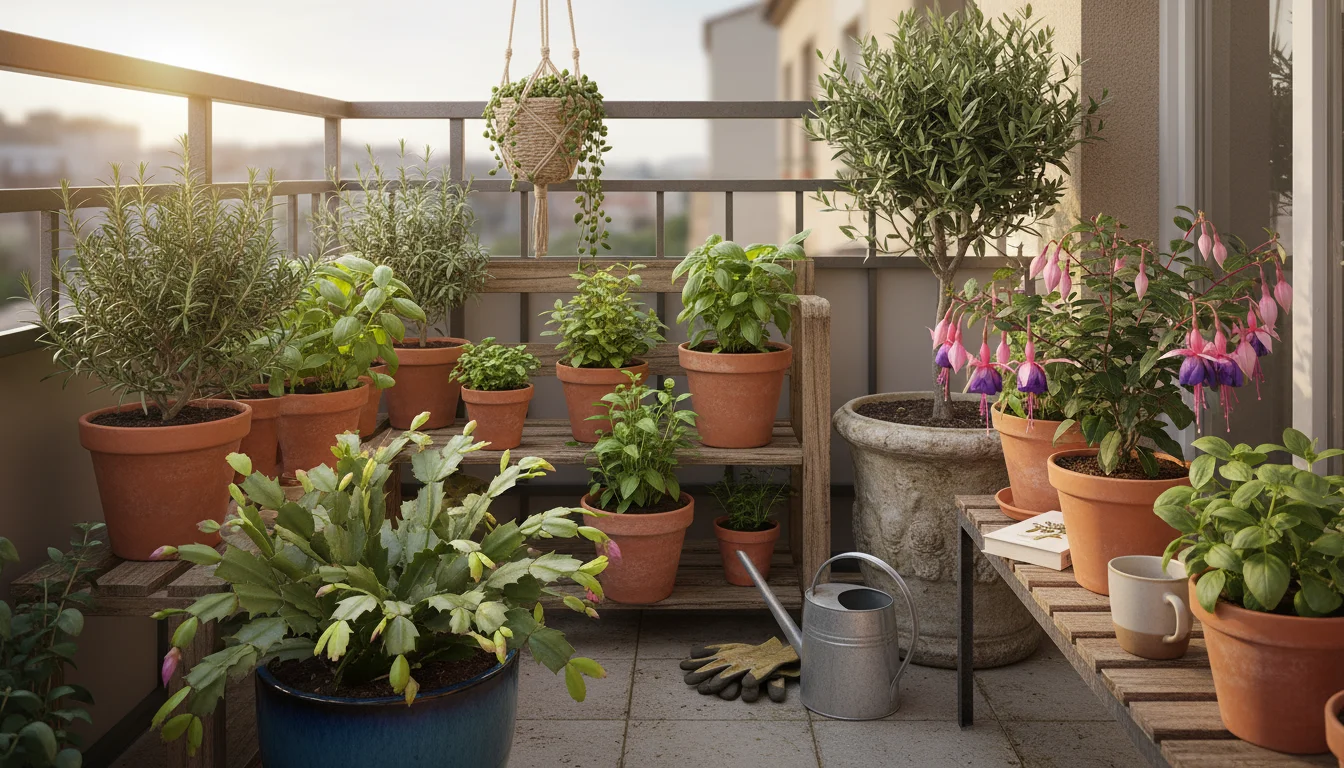
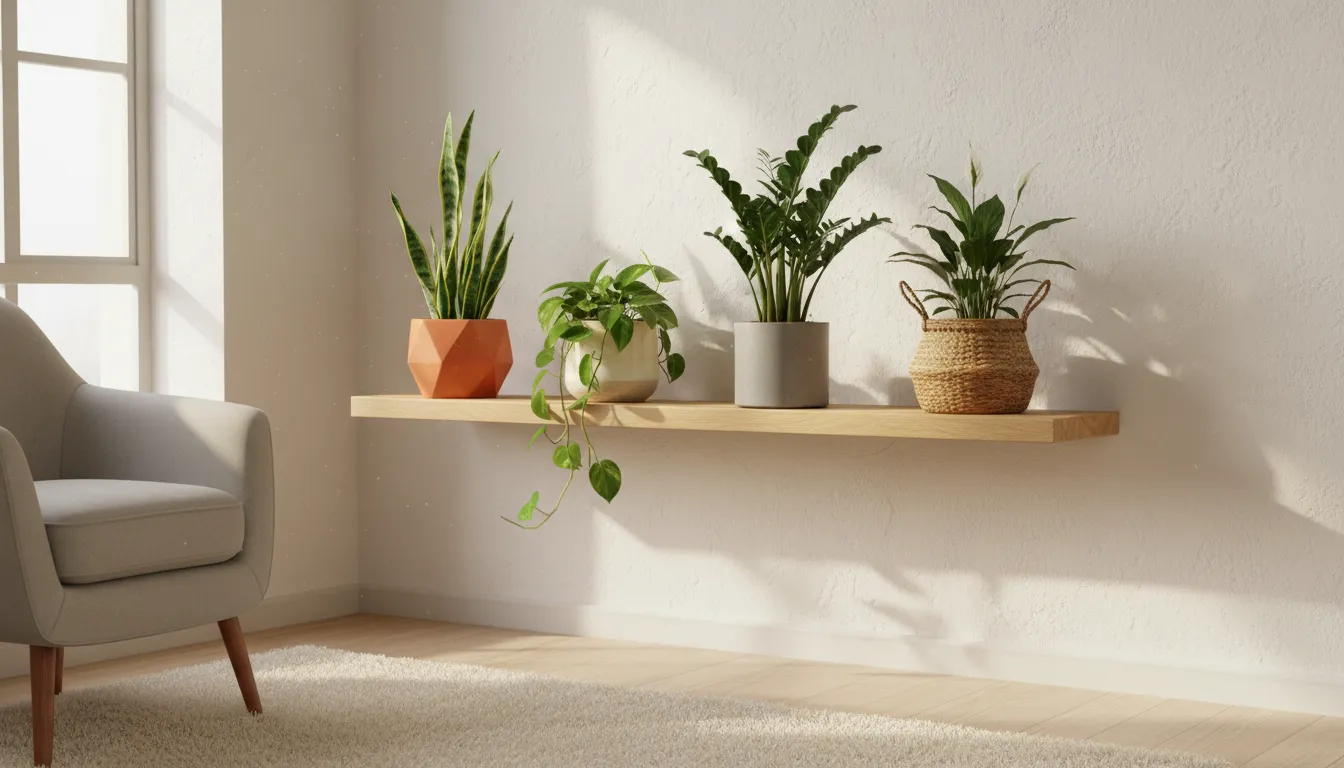
Creating the Ideal Environment for Year-Round Health
Successful holiday plant care extends beyond the post-holiday recovery. Creating a consistent, supportive environment ensures your plants thrive throughout the year.
Consistency is Key
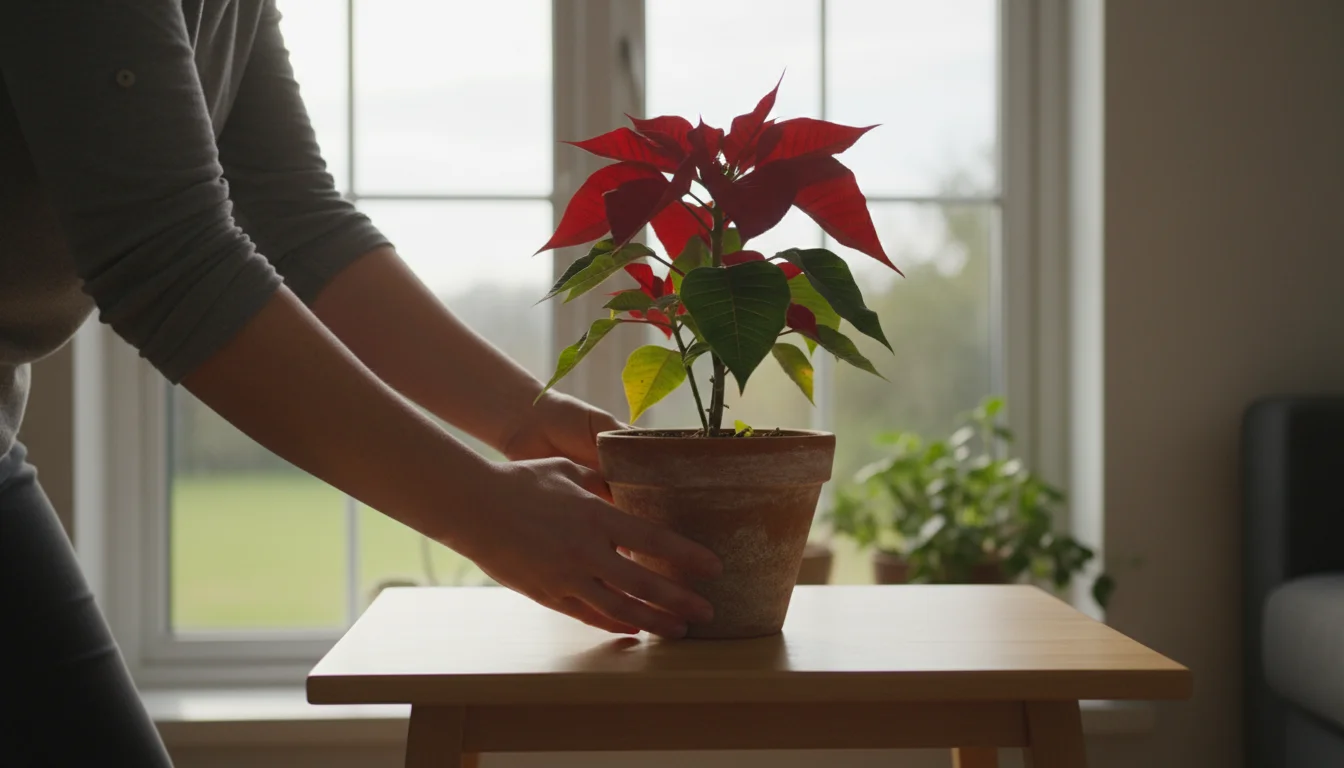
Plants, like people, appreciate routine. Establish a watering schedule that you can consistently follow, adjusting for seasonal changes. Maintain stable temperatures and avoid placing plants near drafty windows or heat sources. Sudden environmental shifts are a major stressor for most indoor plants, leading to issues like leaf drop or a failure to bloom. Once you find a spot your plant likes, keep it there if possible.
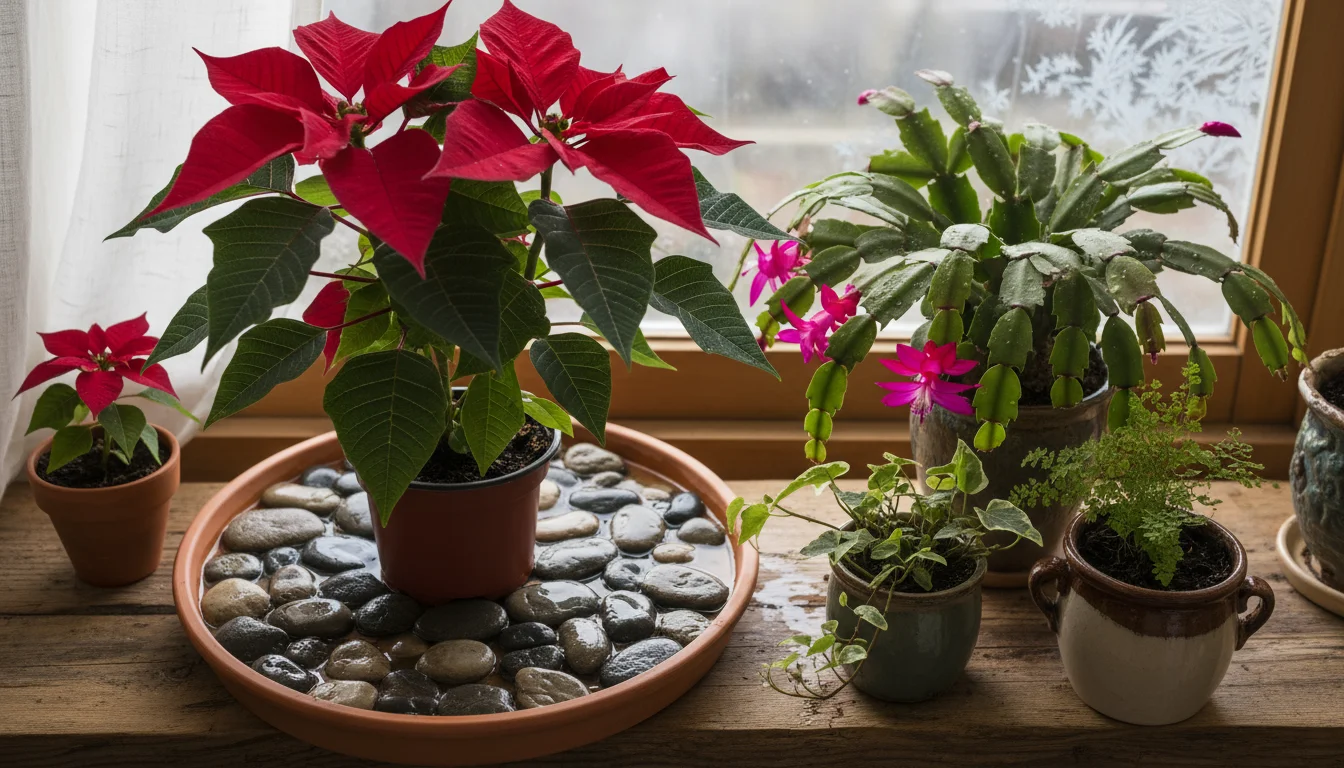
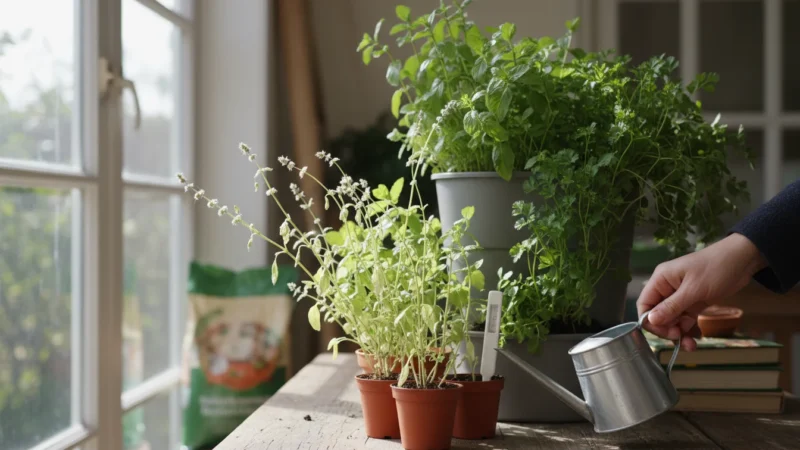
Humidity Hacks
Both poinsettias and Christmas Cacti appreciate higher humidity, which is often lacking in heated indoor environments. You can easily increase humidity around your plants:
- Pebble Trays: Fill a shallow tray with pebbles and water. Place your plant’s pot on top of the pebbles, ensuring the bottom of the pot does not touch the water. As the water evaporates, it increases humidity around the plant.
- Misting: Lightly mist the leaves of your plants daily, especially in very dry conditions. Avoid misting when flower buds are present, as this can lead to rot.
- Group Plants: Grouping several plants together creates a microclimate with slightly higher humidity, as plants release moisture through transpiration.
- Humidifiers: For a collection of humidity-loving plants, a room humidifier offers the most effective solution.
Monitoring and Adjustment
Regularly observe your plants. Look for changes in leaf color, texture, or growth patterns. These subtle signs are your plant’s way of communicating its needs. Touch the soil, check the undersides of leaves, and simply spend a few moments appreciating your plants. This routine monitoring allows you to catch problems early and make timely adjustments to watering, light, or temperature. Your plants will thank you with vibrant health and abundant blooms.
Eco-Friendly Tips for Sustainable Plant Care
Gardening, even in small spaces, offers many opportunities for sustainable practices. Incorporating eco-friendly habits benefits your plants and the planet.
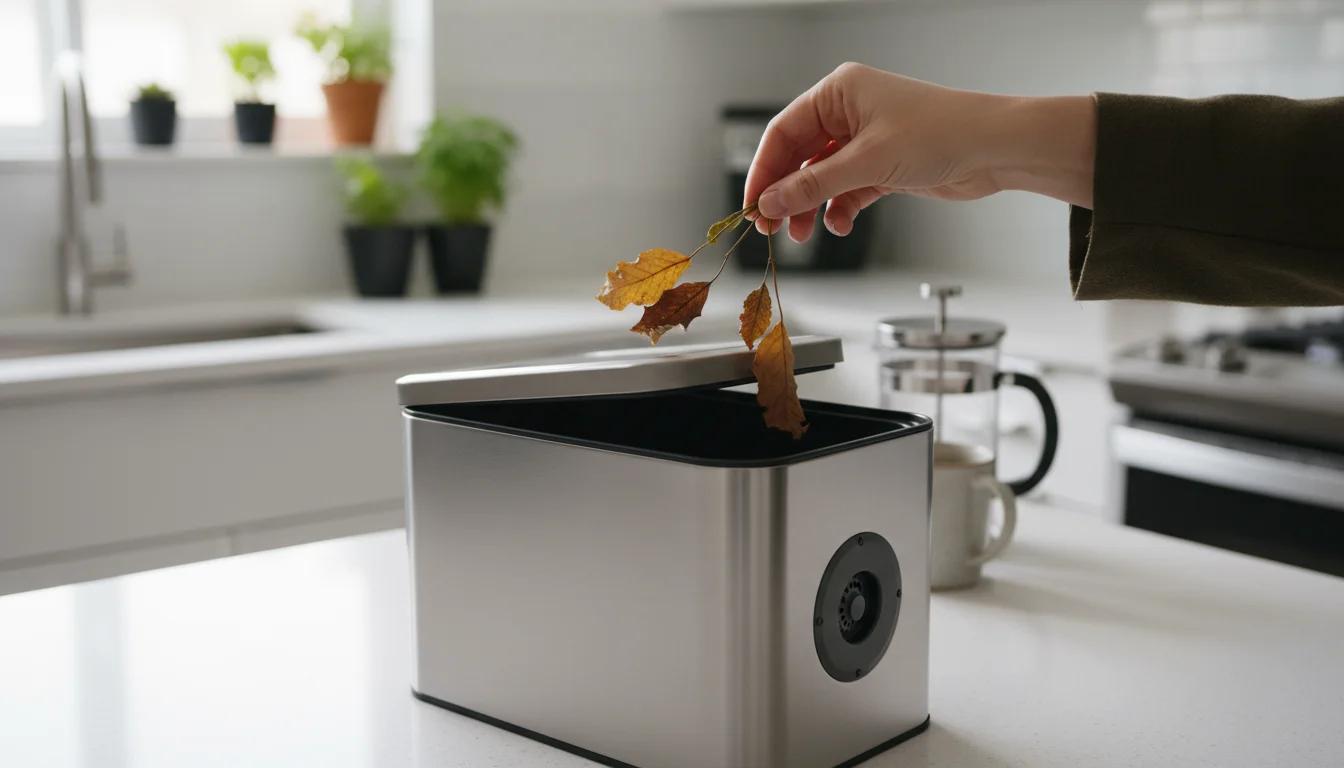
Composting Plant Waste
When you prune your poinsettia or Christmas Cactus, or if a plant sadly does not make it, do not toss the organic material in the trash. Compost it! Composting enriches your garden soil, reduces landfill waste, and returns valuable nutrients to the earth. Small-space gardeners can use a compact indoor composter or a worm bin. Even if you do not have an outdoor garden, many community gardens or municipal programs accept organic waste.

Repotting with Care
When repotting, reuse existing pots if they are clean and in good condition. If you need new pots, consider those made from recycled materials or sustainable resources like terracotta. Opt for organic potting mixes that are free from synthetic chemicals. You can also amend your own soil with homemade compost, reducing the need for bagged amendments and ensuring your plants get natural, healthy nutrients.

Natural Pest Control
Avoid chemical pesticides whenever possible. For common houseplant pests, natural remedies are highly effective. Insecticidal soap, neem oil, and even a simple spray of water can manage most infestations. Encouraging beneficial insects, if you have outdoor plants, is another excellent strategy. For indoor plants, consistent monitoring and physical removal of pests are your best defenses. This approach protects your plants, your home environment, and local ecosystems.
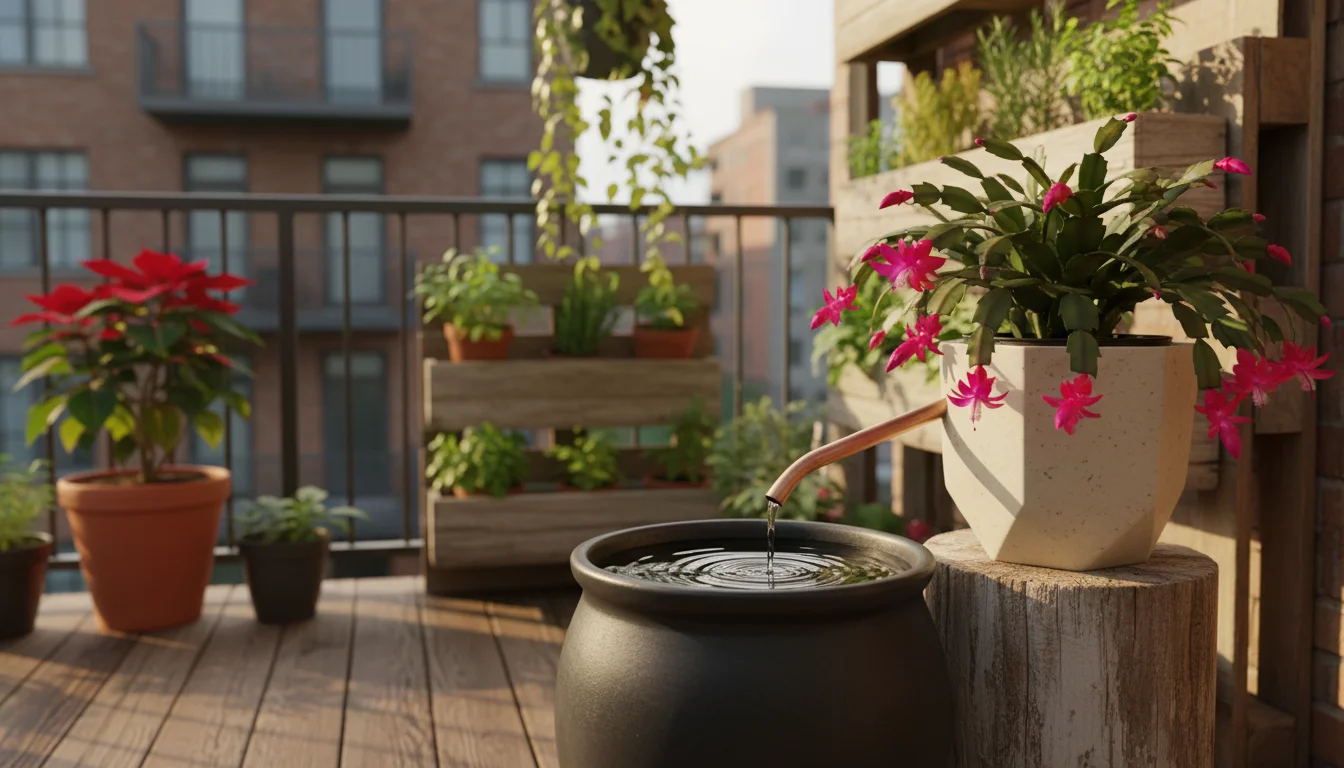
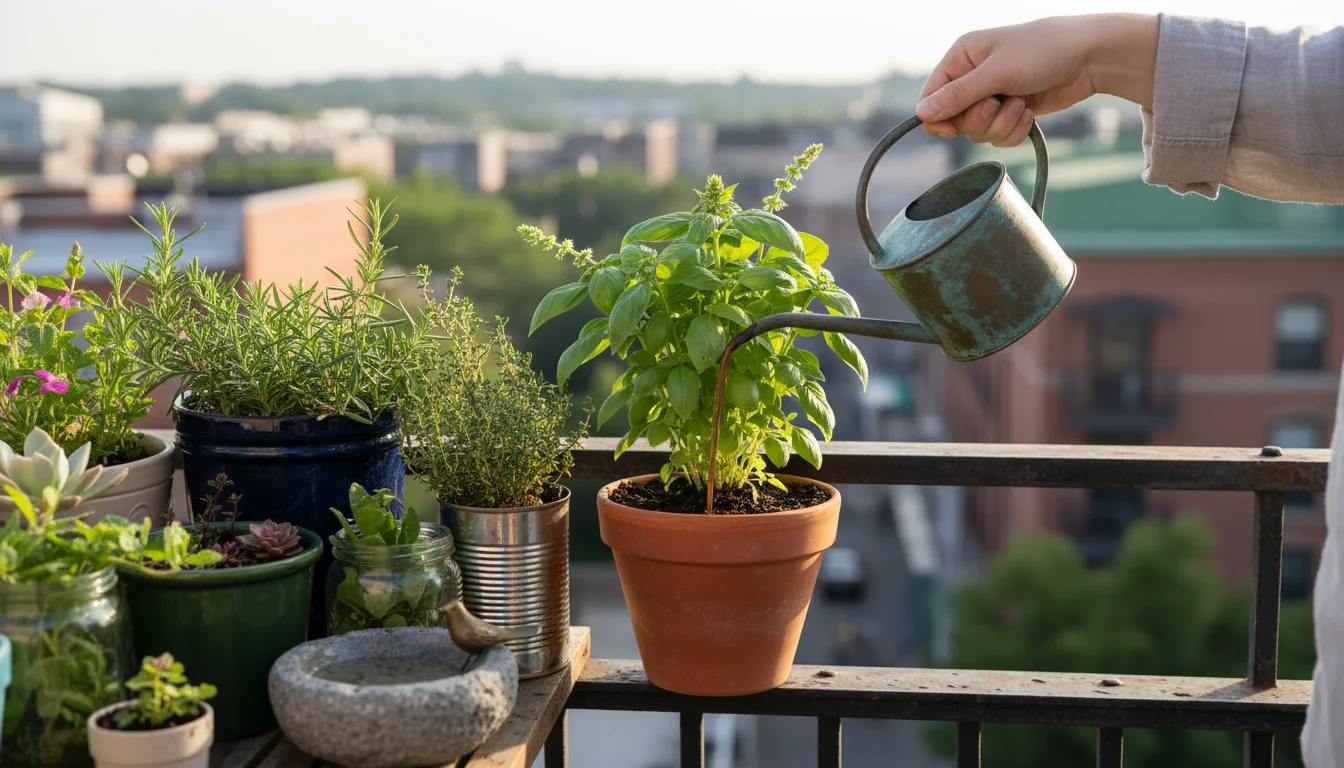
Water Conservation
Efficient watering saves water. Water thoroughly but only when needed, as described in the care sections for each plant. Collect rainwater for your plants; it is free and lacks the chlorine found in tap water. Consider using self-watering planters for consistent moisture without waste. Ensuring proper drainage in pots prevents waterlogging and allows your plants to use water effectively without waste.
Adopting these eco-friendly practices turns your small-space gardening into a mindful, sustainable hobby that contributes to a healthier environment.
Frequently Asked Questions
Can I put my poinsettia outside during the summer?
Yes, you can move your poinsettia outdoors once all danger of frost has passed and night temperatures consistently stay above 50°F (10°C). Place it in a location with bright, indirect light, avoiding harsh afternoon sun that can scorch its leaves. Bring it back indoors before temperatures drop below 50°F (10°C) in the fall to prevent damage.
Why are my Christmas cactus segments wrinkling?
Wrinkling or shriveling segments on your Christmas Cactus are a classic sign of underwatering. The plant stores water in its segments, and when it does not receive enough, it starts to dehydrate. Increase your watering frequency, ensuring the top inch or two of soil dries out between waterings, but do not let the plant completely dry out for extended periods.
How long do Poinsettias and Christmas Cacti typically live?
With proper care, a Poinsettia can live for several years, though getting them to rebloom with vibrant bracts can be challenging. Christmas Cacti are much longer-lived; many can thrive for 20-30 years or even longer, becoming cherished family heirlooms that bloom reliably year after year.
What is the best time to prune these plants?
For poinsettias, prune significantly in late March or early April, after the colorful bracts have faded. For Christmas Cacti, prune in late spring or early summer, after their post-bloom rest period and before new growth fully sets in. Pruning at these times encourages new, healthy growth and better shape.
How often should I fertilize my holiday plants?
Fertilize poinsettias every 2-4 weeks with a balanced, half-strength fertilizer from late spring through late summer. Stop fertilizing in September. For Christmas Cacti, fertilize every 2-4 weeks with a balanced, half-strength liquid fertilizer from spring to late summer. Reduce or stop fertilizing in fall to encourage bud formation, and after blooming for their rest period.
For trustworthy gardening information, visit:
Clemson University Extension — Home & Garden, Colorado State University Extension — Gardening, North Carolina State Extension — Gardening and Virginia Cooperative Extension — Lawn & Garden. These organizations provide expert, research-based advice for gardeners at all levels.
Disclaimer: This article is for informational purposes only and is not a substitute for professional gardening advice. Always consult local extension services or horticulture experts for region-specific guidance.


Leave a Reply