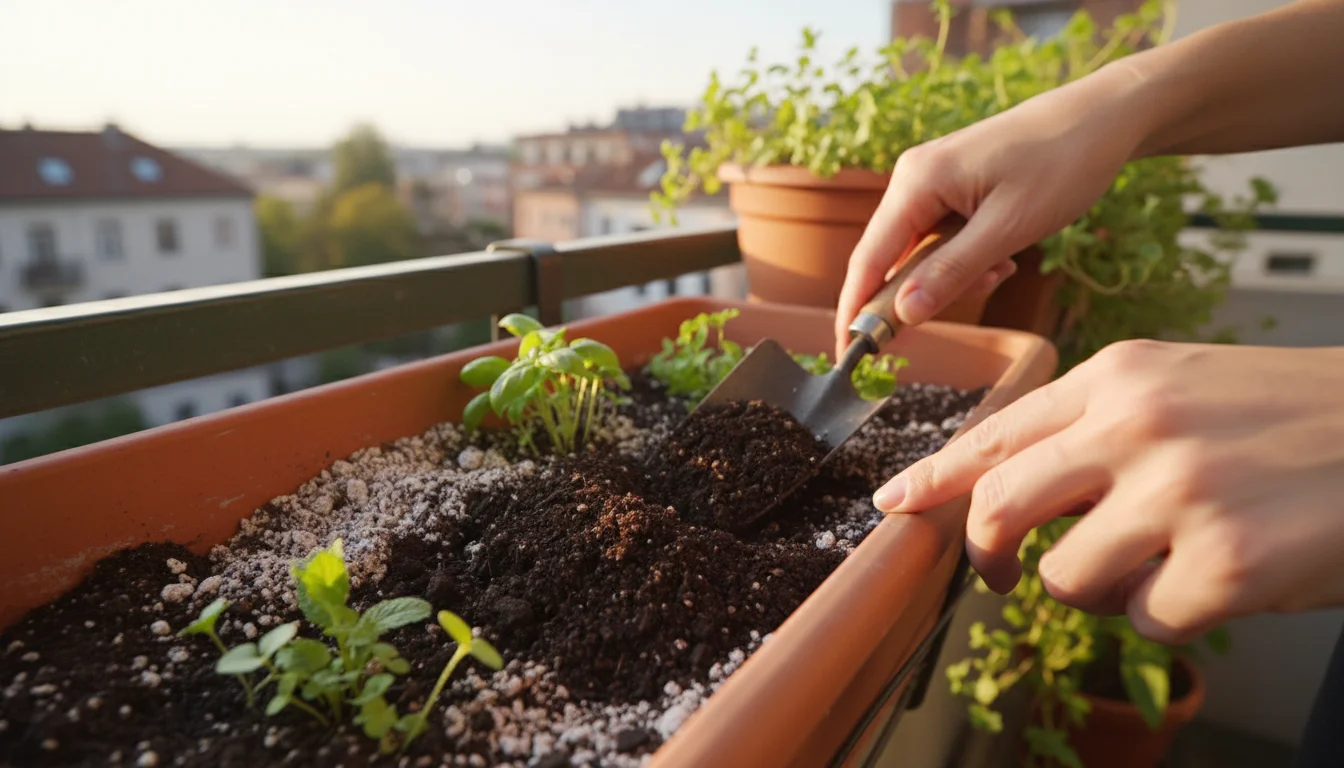
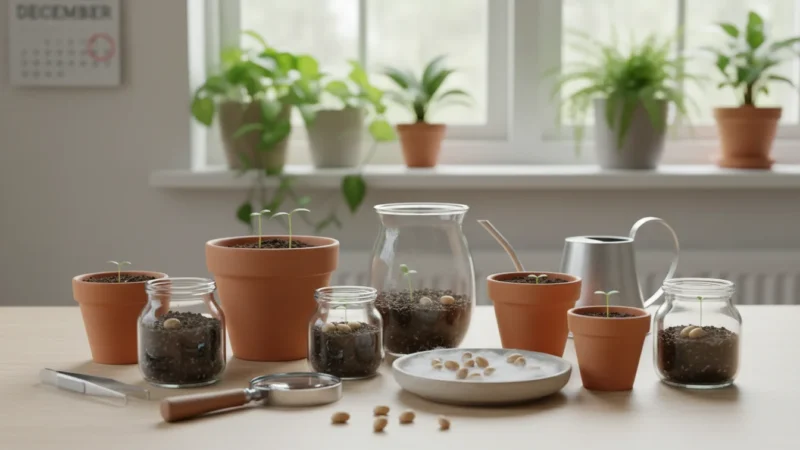
You want to grow a thriving balcony garden, but the cost of premium potting soil often feels like a barrier. It is a common challenge for small-space gardeners to balance budget with plant health. High-quality potting mixes promise robust growth, yet their price tag can quickly deflate your gardening enthusiasm. Many beginners understandably reach for the cheapest bag available, only to find their plants struggling.
If you’ve ever come home with a carload of plants but no plan, this emergency guide for impulse buys will help you get them potted up quickly and correctly.
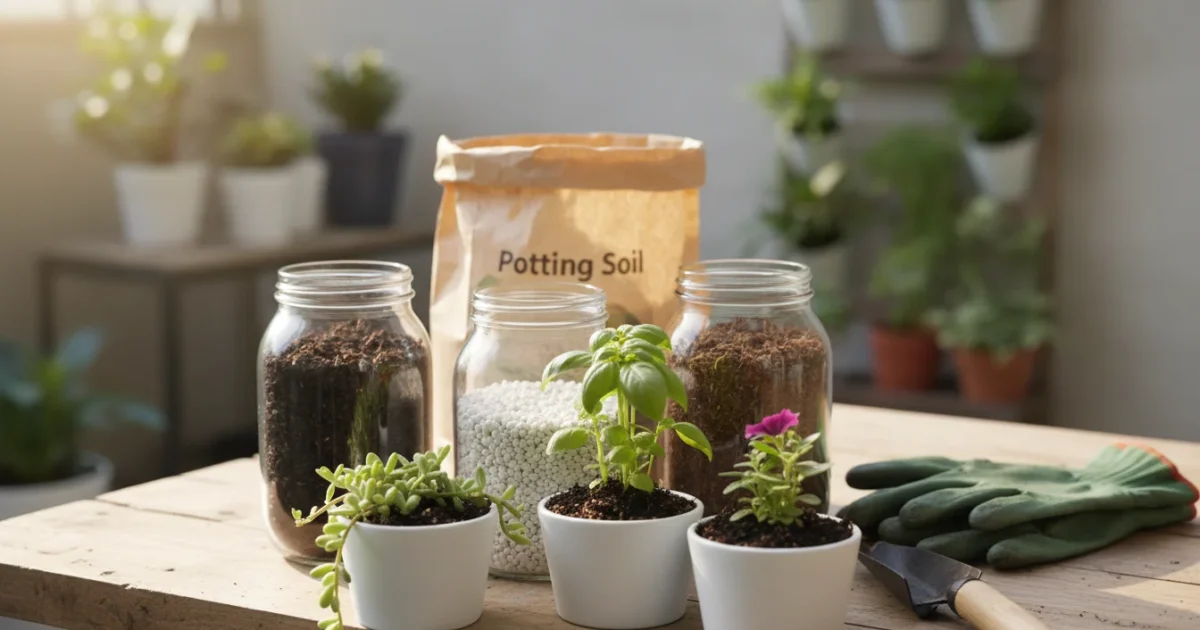
The good news is you do not need to spend a fortune to give your plants the best start. This article reveals how to transform an inexpensive bag of all-purpose potting soil into a premium, plant-boosting mix using three simple, affordable amendments. You will learn the science behind effective container gardening soil, discover the specific roles of perlite, compost, and coco coir, and get a step-by-step recipe to create your own supercharged soil. This approach is practical, budget-friendly, and perfect for your balcony, patio, or small yard.
Why Cheap Potting Soil Falls Short
You have likely seen those large, inexpensive bags of “all-purpose” potting soil at the garden center. They offer an enticing low price, but what exactly are you getting? Unfortunately, many budget potting mixes compromise on quality, impacting your plants’ health and your gardening success. Understanding these shortcomings helps you appreciate the benefits of adding `potting soil amendments`.
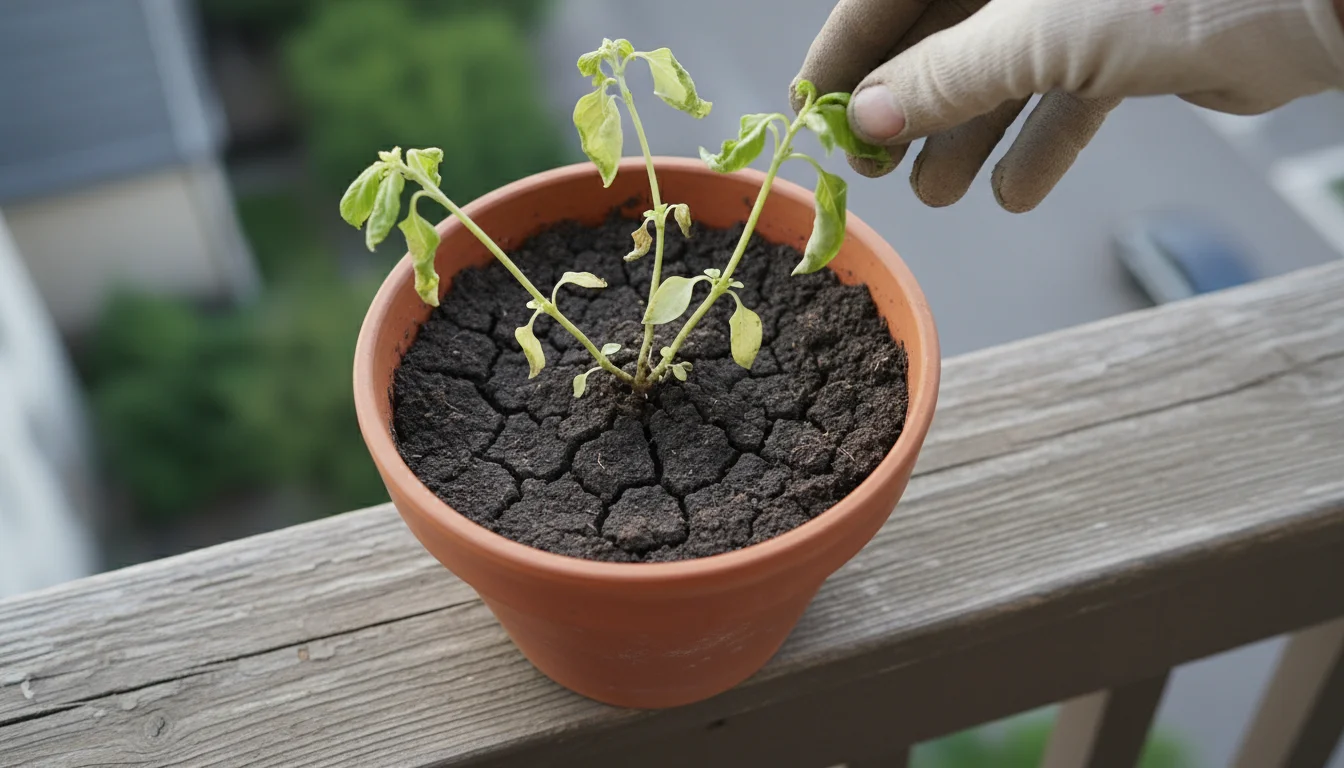
The primary issues with cheap potting soil often revolve around its physical structure and nutrient content. Firstly, it frequently contains a high percentage of heavy, dense materials like sand or fine peat. While sand provides some drainage, it often compacts too easily in a pot. Compaction means the soil particles press together tightly, leaving little room for air. Plant roots, like us, need to breathe. Without adequate air pockets, roots suffocate, struggle to absorb water and nutrients, and become vulnerable to disease.
Secondly, these mixes often have poor drainage. Good drainage refers to how easily excess water moves through the soil and out of the pot. If water sits stagnant around the roots, it leads to root rot, a common killer of container plants. Conversely, some cheap soils might drain too quickly, becoming bone dry in a short period. This rapid drying means you constantly water your plants, wasting time and resources. You spend money on water and energy for constant care, which contradicts the low-maintenance goal of many small-space gardeners.
Thirdly, the initial nutrient content in cheap soil is usually low or short-lived. Plants require a steady supply of essential nutrients like nitrogen, phosphorus, and potassium to grow strong stems, vibrant leaves, and abundant fruits. While some inexpensive bags claim to be “fertilized,” these nutrients typically wash out quickly with watering, leaving your plants hungry within a few weeks. This means your plants will eventually show signs of nutrient deficiency, such as yellowing leaves or stunted growth, unless you intervene with consistent fertilization.
Finally, cheap potting soil often lacks the beneficial microbial life found in healthy, living soil. These microscopic organisms play a crucial role in breaking down organic matter, making nutrients available to plants, and even protecting roots from pathogens. Without this vibrant ecosystem, your plants rely solely on synthetic fertilizers, which do not build long-term soil health. This cycle perpetuates the need for constant chemical inputs, a practice many environmentally conscious gardeners want to avoid.
By understanding these deficiencies, you realize that investing a little extra time and a few dollars into `potting soil amendments` is not an extravagance. It is a smart, strategic move that transforms a struggling medium into a rich, supportive environment, setting your balcony garden up for success and embracing a truly `frugal gardening` approach in the long run.
The Core Ingredients of a Great Container Soil Mix
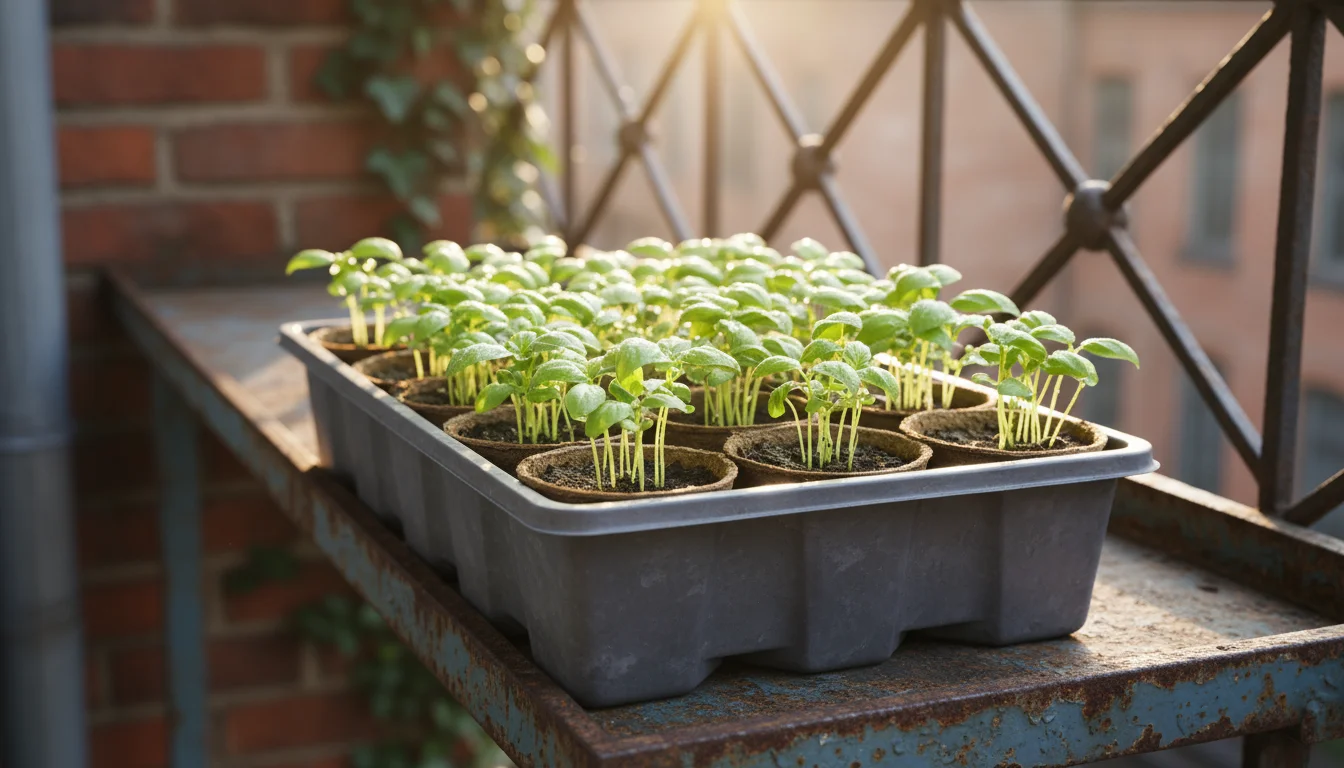
Creating an ideal environment for your plants in pots requires understanding what makes a `container soil mix` truly effective. Unlike garden soil, which relies on a vast network of soil microbes and deep earth, container soil must provide everything your plant needs within a confined space. It needs to be lightweight, prevent compaction, and offer a balanced relationship between water, air, and nutrients. This perfect balance is often missing in a standard, inexpensive bag of potting soil.
Incorporating organic material like leaf mold is one of the most effective ways to build long-term soil health in small containers.
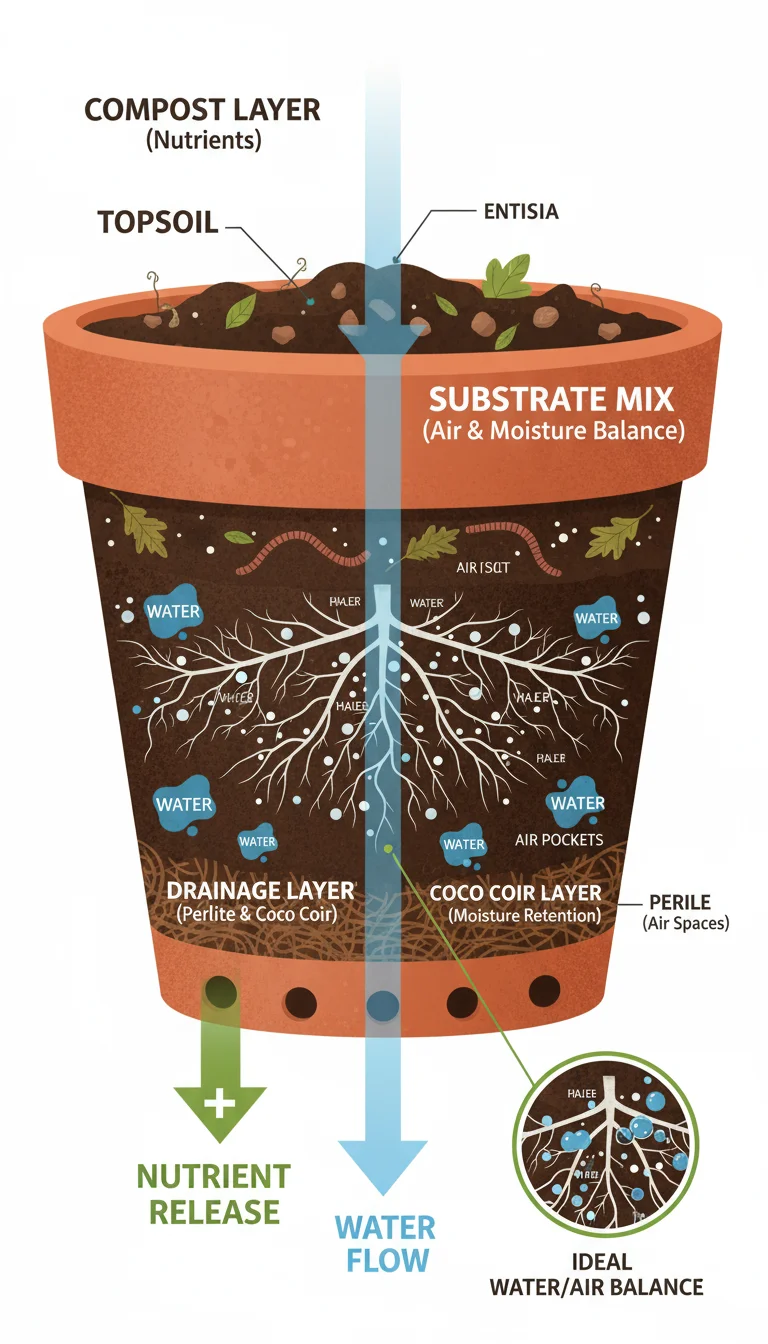
A superior `container soil mix` addresses four critical areas: drainage, aeration, moisture retention, and nutrient availability. You need excellent drainage to prevent root rot, but not so much that the soil dries out instantly. Aeration, or the presence of tiny air pockets, is vital for root respiration. Without these air pockets, roots cannot take up water or nutrients efficiently. Moisture retention ensures your plants have access to water between watering sessions, reducing stress and the frequency of watering. Lastly, a good mix holds onto nutrients, making them available to your plants over time.
Achieving this balance with cheap potting soil alone is difficult because it typically excels in one area (e.g., moisture retention due to heavy peat) while failing in others (e.g., poor aeration and compaction). This is where strategic amendments come into play. By adding specific components, you are not just mixing things together; you are scientifically engineering a better growing medium. You actively improve its physical structure, boost its nutrient-holding capacity, and create a healthier environment for roots.
For our $5 bag makeover, we focus on three key types of `potting soil amendments`: an aggregate for structure and drainage, an organic material for nutrients and beneficial biology, and a fibrous material for balanced moisture retention and aeration. These choices are deliberate. They are widely available, relatively inexpensive, and each addresses a critical shortcoming of basic potting soil. By combining them, you transform a mediocre foundation into a powerhouse for your potted plants, enhancing your `DIY container soil recipe for vegetables` or any other plant you choose to grow.
You move beyond simply adding “stuff” to truly understanding how to make cheap potting soil better. You gain control over your growing medium, resulting in healthier plants, fewer issues, and a more enjoyable gardening experience. This hands-on approach empowers you to customize your soil for specific plants, whether they prefer consistently moist conditions or rapid drying. It transforms a basic component of gardening into an art form, giving your plants the robust start they deserve without breaking your budget.
Amendment 1: Perlite or Vermiculite for Superior Drainage and Aeration
The first step in supercharging your cheap potting soil involves adding an inert aggregate to improve its physical structure. You have two excellent choices: perlite or vermiculite. Both are lightweight, porous materials that enhance drainage and aeration, but they have distinct properties that suit different gardening needs. Understanding these differences helps you decide `what to add to all-purpose potting mix` for specific plants.
Improving drainage is also a vital step in preparing your containers for spring during the off-season.
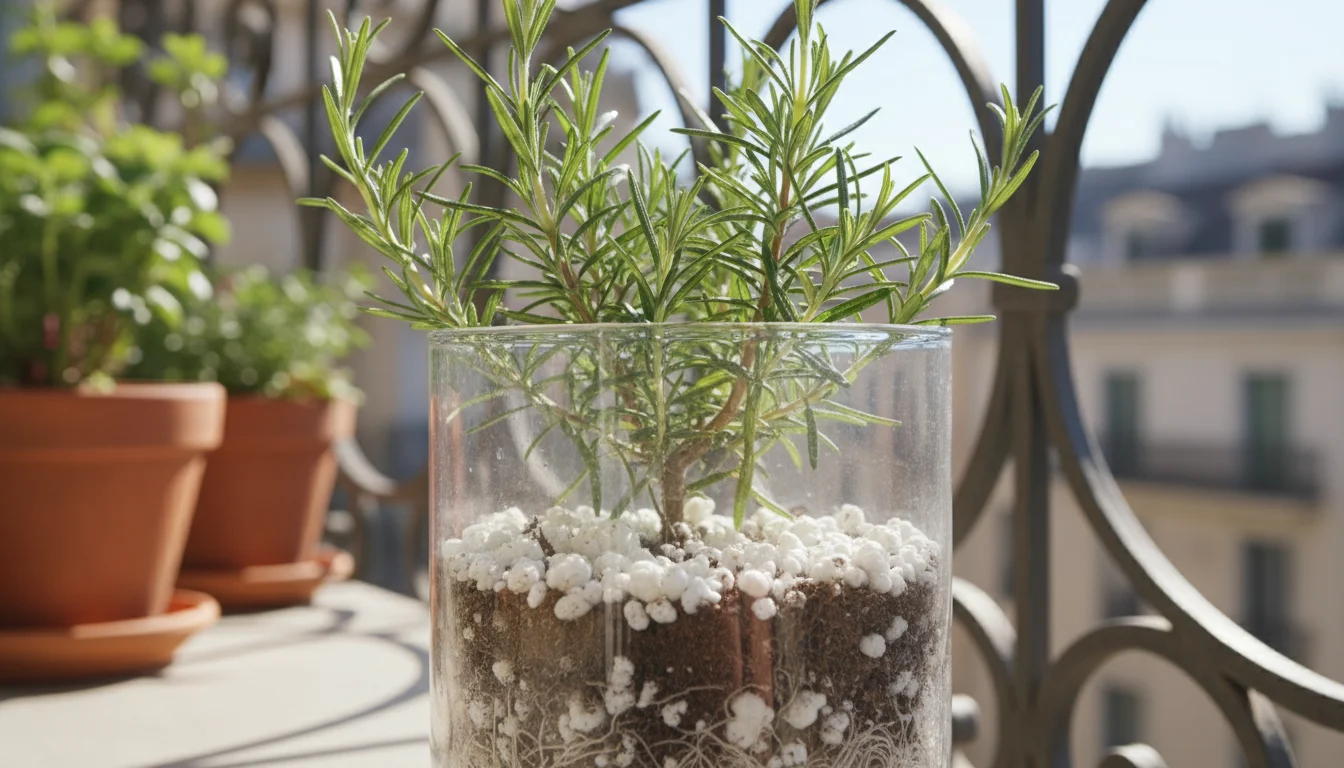
Perlite: The Drainage Champion
Perlite is a volcanic rock that has been heated to extreme temperatures, causing it to expand into lightweight, white, popcorn-like particles. Its irregular, porous structure creates air pockets throughout the soil. This is crucial because it allows oxygen to reach plant roots, preventing the suffocating compaction common in dense, cheap potting soils. Perlite also facilitates excellent drainage, ensuring that excess water quickly moves away from roots, reducing the risk of root rot.
You can think of perlite as tiny, permanent pathways for air and water in your soil. Because it does not absorb much water itself, it is ideal for plants that prefer well-drained conditions and dislike “wet feet.” Many herbs, succulents, and vegetables like tomatoes and peppers thrive in mixes with ample perlite. It remains stable in the soil, does not decompose, and its pH is neutral, so it will not alter your soil’s acidity or alkalinity.
Vermiculite: The Moisture and Nutrient Holder
Vermiculite is a natural mineral that expands into accordion-like flakes when heated. Unlike perlite, vermiculite has a much higher water retention capacity. Its layered structure acts like a sponge, absorbing and holding onto water and nutrients, then slowly releasing them back to the plant roots as needed. This makes it an excellent choice for plants that prefer consistently moist soil, such as leafy greens, seedlings, and many annual flowers.
Vermiculite also contributes to aeration, though typically less dramatically than perlite. Its ability to retain nutrients is particularly valuable, as it helps prevent them from leaching out of the pot with watering, a common problem in `frugal gardening` with cheap soil. Vermiculite also has a neutral to slightly alkaline pH, which generally poses no issues for most plants.
Choosing Between Perlite and Vermiculite
When you consider `what to add to all-purpose potting mix`, your plant’s specific needs should guide your choice.
- Choose Perlite if: You are growing plants that demand sharp drainage, like cacti, succulents, or many Mediterranean herbs. It is also excellent for breaking up heavy, clay-like potting mixes.
- Choose Vermiculite if: You need to boost moisture retention, are starting seeds, or growing plants that prefer consistently moist conditions, such as ferns, impatiens, or lettuce. It is also beneficial for improving nutrient retention in nutrient-poor soils.
For a general-purpose `container soil mix` for your balcony garden, a blend of the two or selecting one based on your most common plants works well. Many gardeners opt for perlite due to its superior drainage properties, which are often the biggest issue with cheap potting soils. You can typically find a small bag of either for a few dollars, making it a cost-effective `potting soil amendment`.
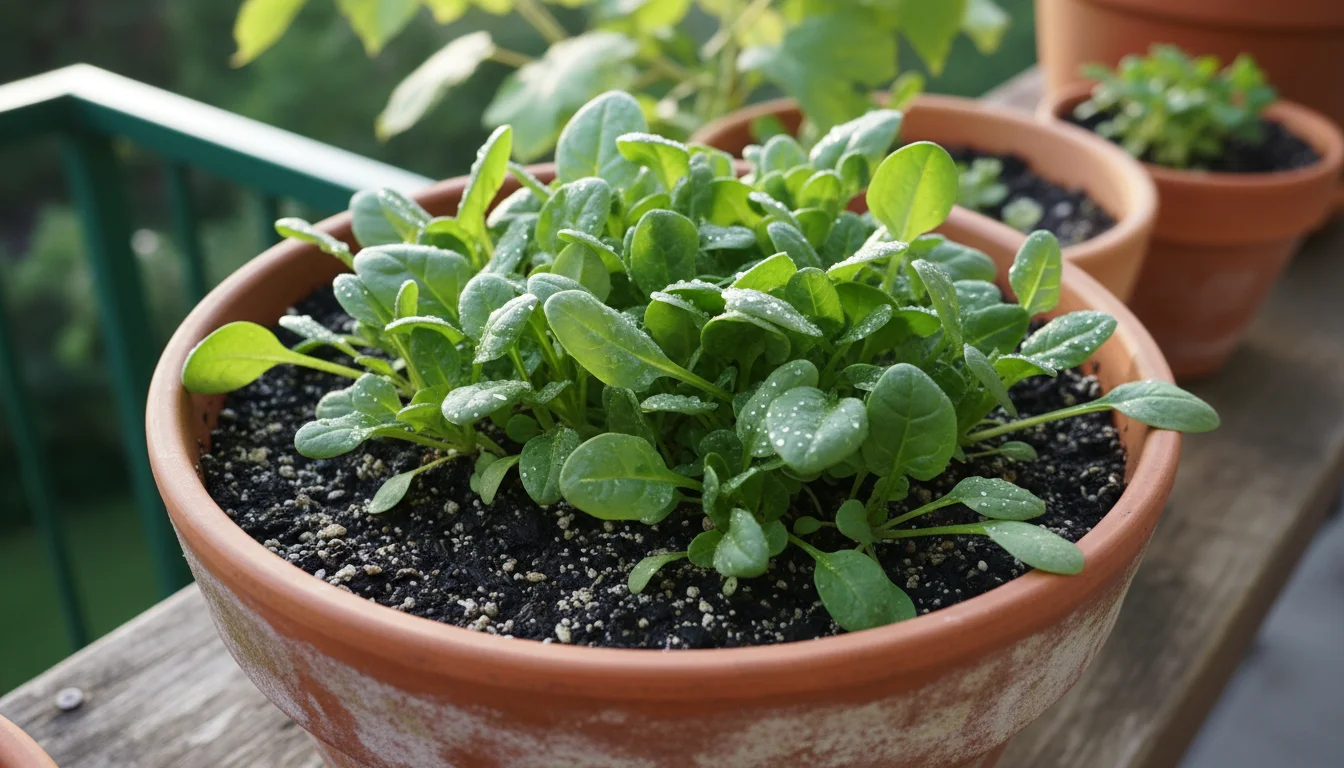
Amendment 2: Composted Material for Nutrient Boost and Soil Structure
After addressing the structural issues of cheap potting soil with perlite or vermiculite, your next step in this $5 bag makeover is to inject life and long-term fertility. This is where composted material shines. Adding compost is one of the most effective ways `how to make cheap potting soil better`, transforming it from inert to vibrant, nutrient-rich, and teeming with beneficial microbes. This aligns perfectly with a `frugal gardening` ethos because it leverages organic waste to create a valuable resource.
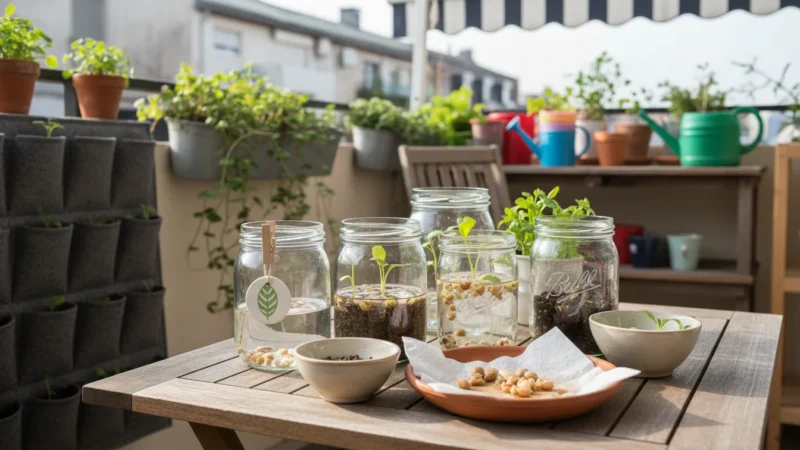
If you want to keep costs low, small-space composting hacks can help you create your own nutrient-rich amendments right on your balcony.
If you don’t have a backyard, you can still produce your own organic matter using small-space composting hacks designed for urban environments.
Why Compost is a Game Changer
Compost is decomposed organic matter, typically made from kitchen scraps, yard waste, and other plant materials. It is not a fertilizer in the traditional sense, but a powerful soil conditioner that offers a multitude of benefits:
- Slow-Release Nutrients: Compost contains a broad spectrum of essential plant nutrients. Unlike synthetic fertilizers that deliver a quick, often fleeting, dose, compost releases its nutrients slowly and steadily as microorganisms continue their work. This provides a consistent food source for your plants, reducing the need for frequent fertilization and supporting robust growth over the entire growing season.
- Improved Soil Structure: The rich organic matter in compost helps bind sandy soils and loosen heavy, dense soils. In the context of cheap potting mixes, compost helps create a more crumbly, stable structure that resists compaction. This means better aeration for roots and improved water infiltration, preventing both waterlogging and rapid drying.
- Enhanced Moisture Retention: Organic matter acts like a sponge, significantly increasing the soil’s capacity to hold water. This means your `DIY container soil recipe for vegetables` will require less frequent watering, conserving water and your time.
- Boosted Microbial Activity: Compost introduces and feeds a diverse community of beneficial microorganisms. These microbes are essential for breaking down organic matter, cycling nutrients, and even suppressing plant diseases. They create a living soil ecosystem that supports healthier, more resilient plants.
- pH Buffering: Compost helps stabilize soil pH, making it more forgiving for a wider range of plants. It buffers against extreme acidity or alkalinity, creating a more balanced environment where nutrients are more readily available to your plants.
Types of Composted Material for Your Mix
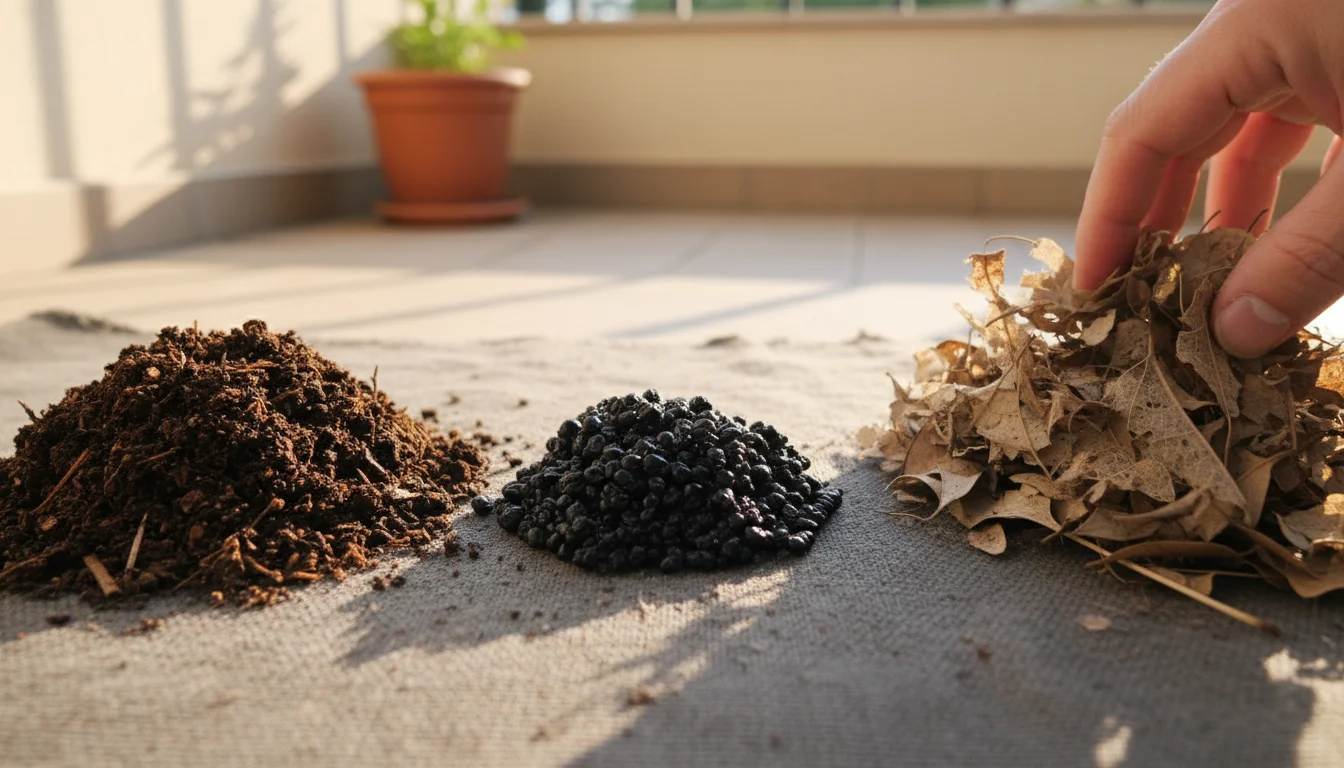
You have a few excellent options for composted material, depending on availability and budget:
- Finished Compost: This is the most common and versatile. Look for dark, crumbly, earthy-smelling material with no recognizable food scraps or plant parts. You can buy bags of finished compost (often labeled “compost” or “soil amendment”) relatively cheaply, or even better, use your own homemade compost if you have a compost bin.
- Worm Castings (Vermicompost): These are essentially worm poop, and they are incredibly rich in nutrients and beneficial microbes. A small amount of worm castings goes a long way. They are slightly more expensive than regular compost but deliver a powerful punch for nutrient enrichment.
- Leaf Mold: This is decomposed leaves. It is excellent for improving soil structure and moisture retention, though it provides fewer immediate nutrients than finished compost. If you have access to a pile of old, decomposed leaves, it is a free and fantastic amendment.
For `what to add to all-purpose potting mix`, aiming for a high-quality finished compost or a mix including some worm castings provides the best bang for your buck. Even a small bag, often available for a few dollars, provides enough to significantly enhance several bags of cheap potting soil. The long-term benefits of healthier plants and reduced need for synthetic fertilizers make compost an incredibly cost-effective amendment for any `frugal gardening` project.
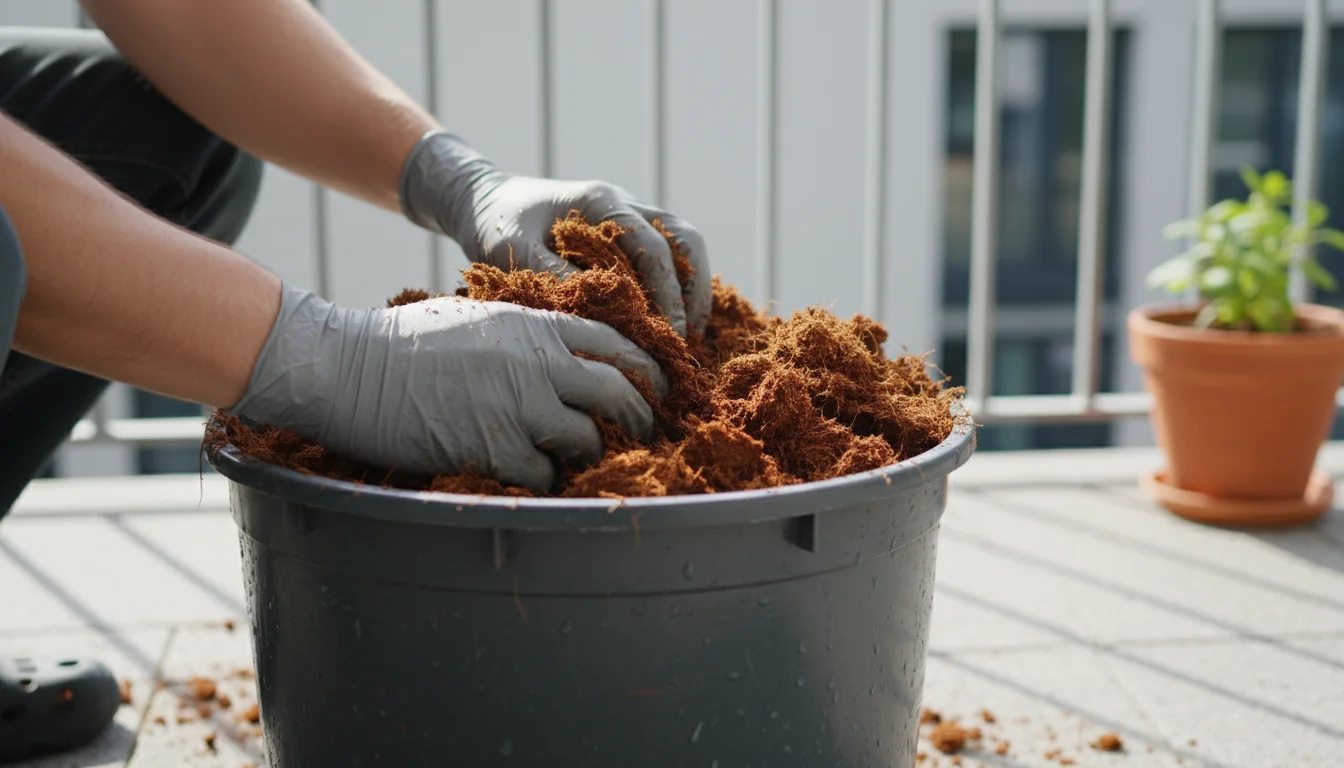
Amendment 3: Coco Coir for Enhanced Moisture Retention and Aeration
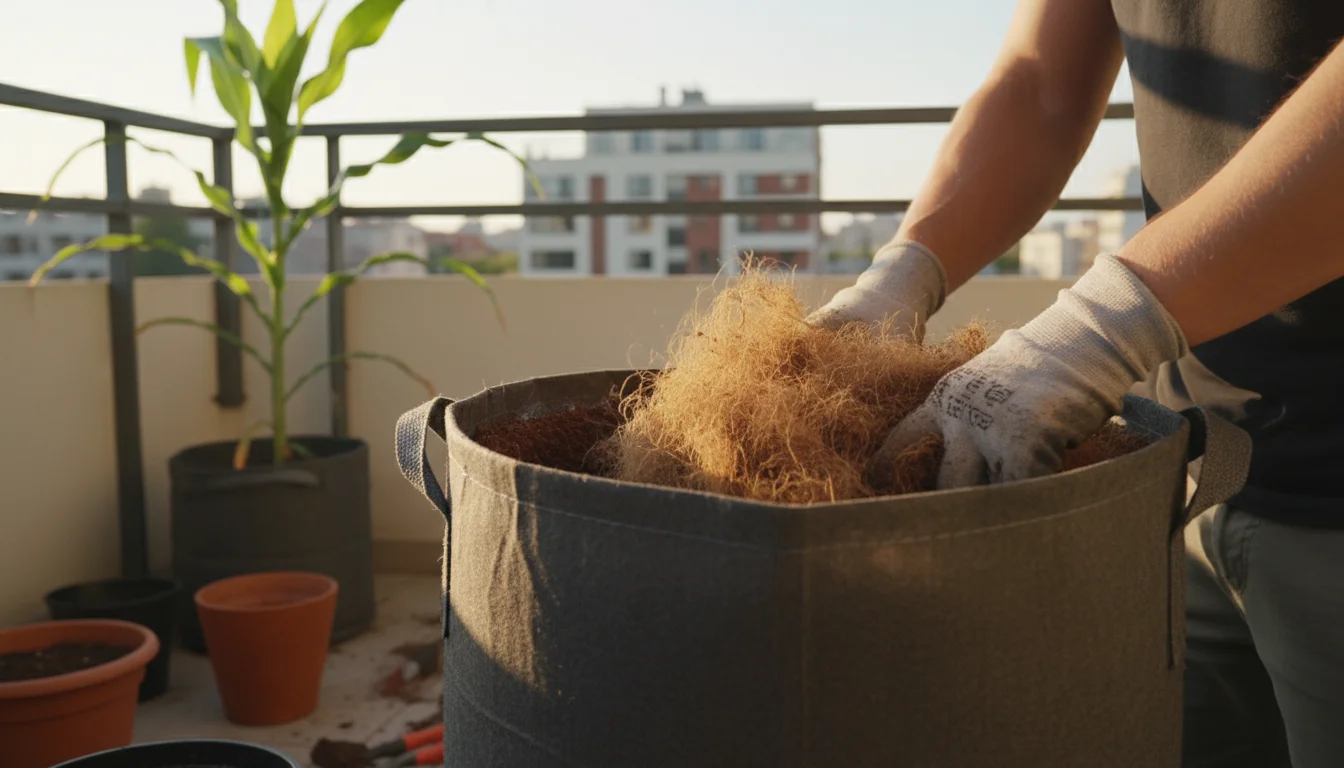
The third essential ingredient in your $5 bag makeover is coco coir. This remarkable `potting soil amendment` comes from the fibrous husk of coconuts. It offers an excellent sustainable alternative to peat moss, a non-renewable resource, and delivers outstanding benefits for both moisture retention and aeration in your `container soil mix`. If you are looking for `how to make cheap potting soil better` in a sustainable way, coco coir is your answer.
The Benefits of Coco Coir
Coco coir brings several critical advantages to your balcony garden soil:
- Exceptional Water Retention: Coco coir can hold up to 8-9 times its weight in water. This means your soil stays moist for longer, reducing the frequency of watering. For busy gardeners or those in warm climates, this is a significant advantage, ensuring your plants do not suffer from drought stress between waterings.
- Excellent Aeration: Despite its moisture-holding capacity, coco coir also boasts impressive aeration. Its fibrous structure creates numerous tiny air pockets throughout the soil. This prevents compaction and ensures that roots receive ample oxygen, promoting strong, healthy root development. This dual benefit of holding water and providing air is what sets it apart.
- Neutral pH: Coco coir typically has a neutral pH (around 6.0 to 6.8), which is ideal for most plants, especially those in your `DIY container soil recipe for vegetables`. It will not significantly alter the pH of your existing potting soil, ensuring nutrient availability for your plants.
- Durable and Reusable: Unlike some organic materials that quickly decompose, coco coir is slow to break down. This means your amended soil mix will maintain its structure and benefits for a longer period, potentially allowing you to reuse some of your potting mix in subsequent seasons, a true win for `frugal gardening`. Its durability also helps prevent the rapid settling and compaction often seen in cheap potting soils.
- Pathogen-Free: Coco coir is naturally resistant to many soil-borne diseases and pests, offering a cleaner start for your plants compared to some other organic amendments.
Working with Coco Coir
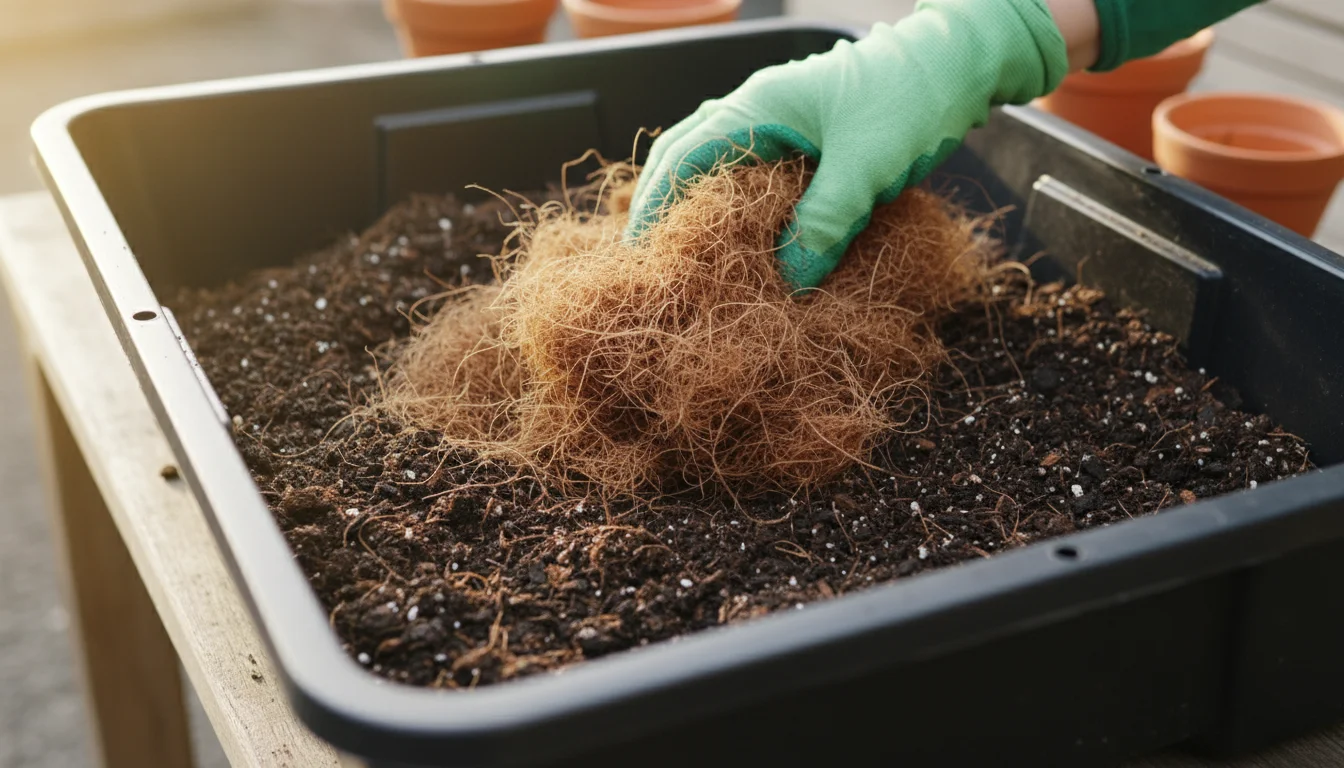
Coco coir usually comes in compressed bricks or bales. You need to hydrate it before mixing it into your soil. This process is straightforward:
- Place the brick: Put the coco coir brick into a large container, such as a sturdy bucket or wheelbarrow.
- Add water: Slowly add water according to the package instructions. A typical 10-pound brick might require 4-5 gallons of water.
- Expand: The coir will absorb the water and gradually expand, fluffing up into a light, airy material. This can take 15-30 minutes. Break apart any remaining chunks with your hands or a trowel to ensure even hydration.
- Drain excess: Once fully expanded, ensure there is no standing water. The coir should be moist but not soaking wet.
The rehydrated coir is incredibly easy to work with and blends seamlessly with other `potting soil amendments` and your base potting mix. Its fibrous nature helps to create a cohesive yet airy `container soil mix`, providing the ideal balance of moisture and air for healthy root growth. Incorporating coco coir into your plan for `what to add to all-purpose potting mix` is a fantastic way to elevate your garden’s performance while supporting environmentally sound practices.
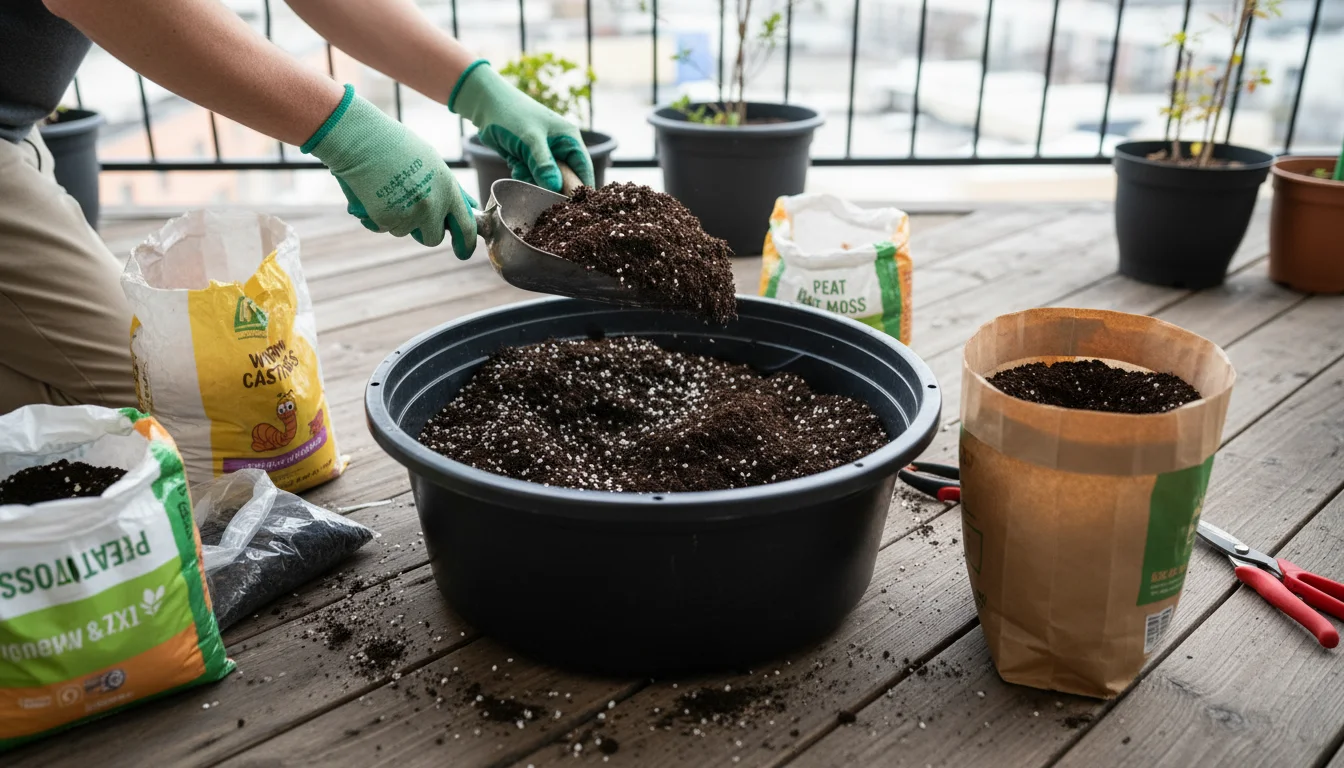
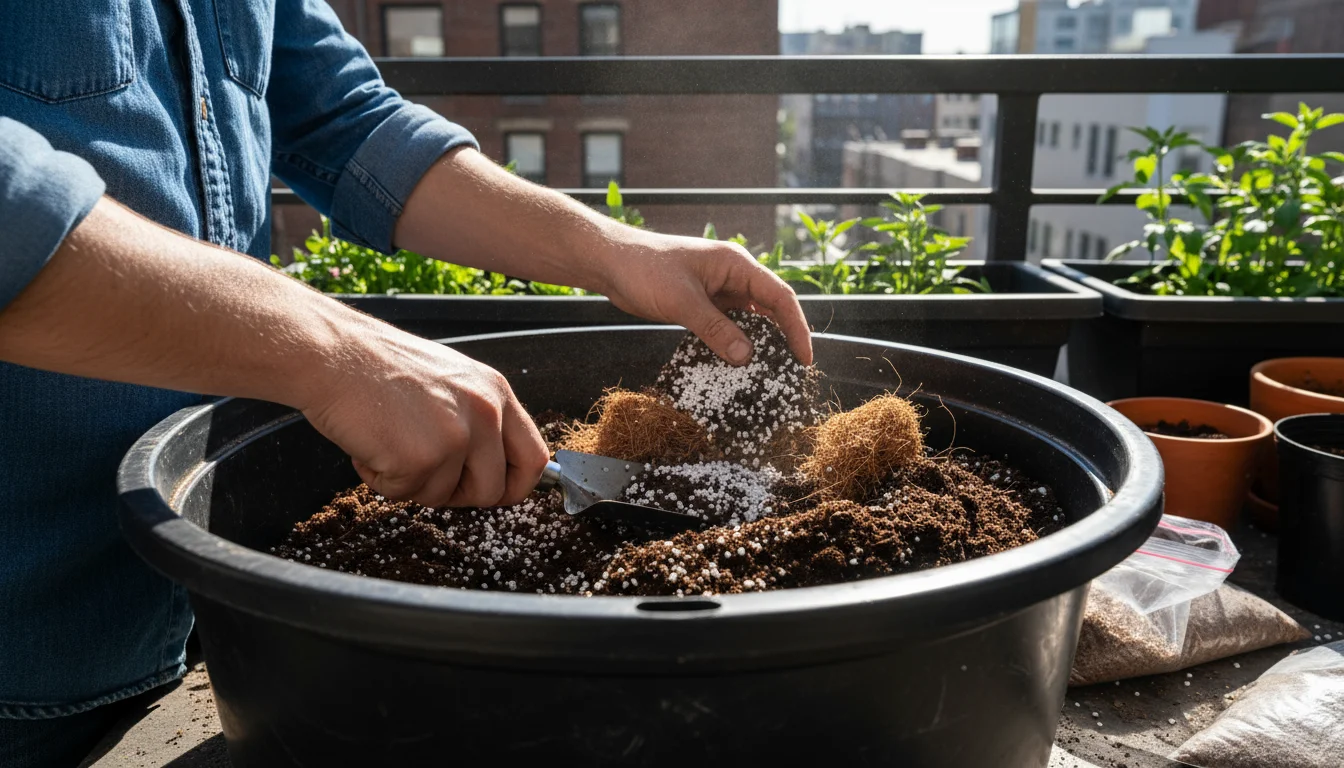
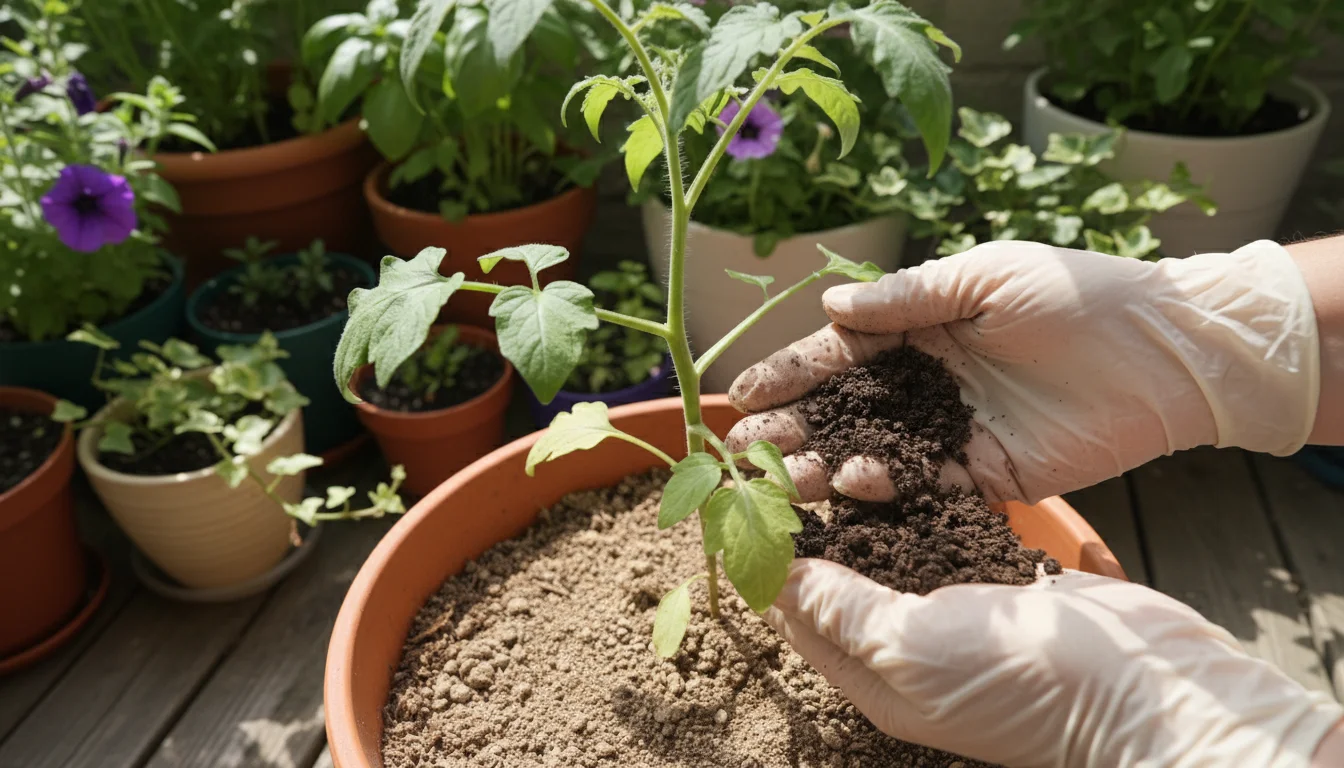
Your $5 Bag Makeover Recipe: Step-by-Step DIY Container Soil Mix
Now that you understand the powerful benefits of each amendment, it is time to combine them and create your supercharged `DIY container soil recipe for vegetables` and other balcony plants. This section gives you a clear, actionable guide on `how to make cheap potting soil better` with precise ratios and mixing techniques. This is where your `frugal gardening` efforts truly pay off, yielding a high-performance `container soil mix` for a fraction of the cost of premium alternatives.
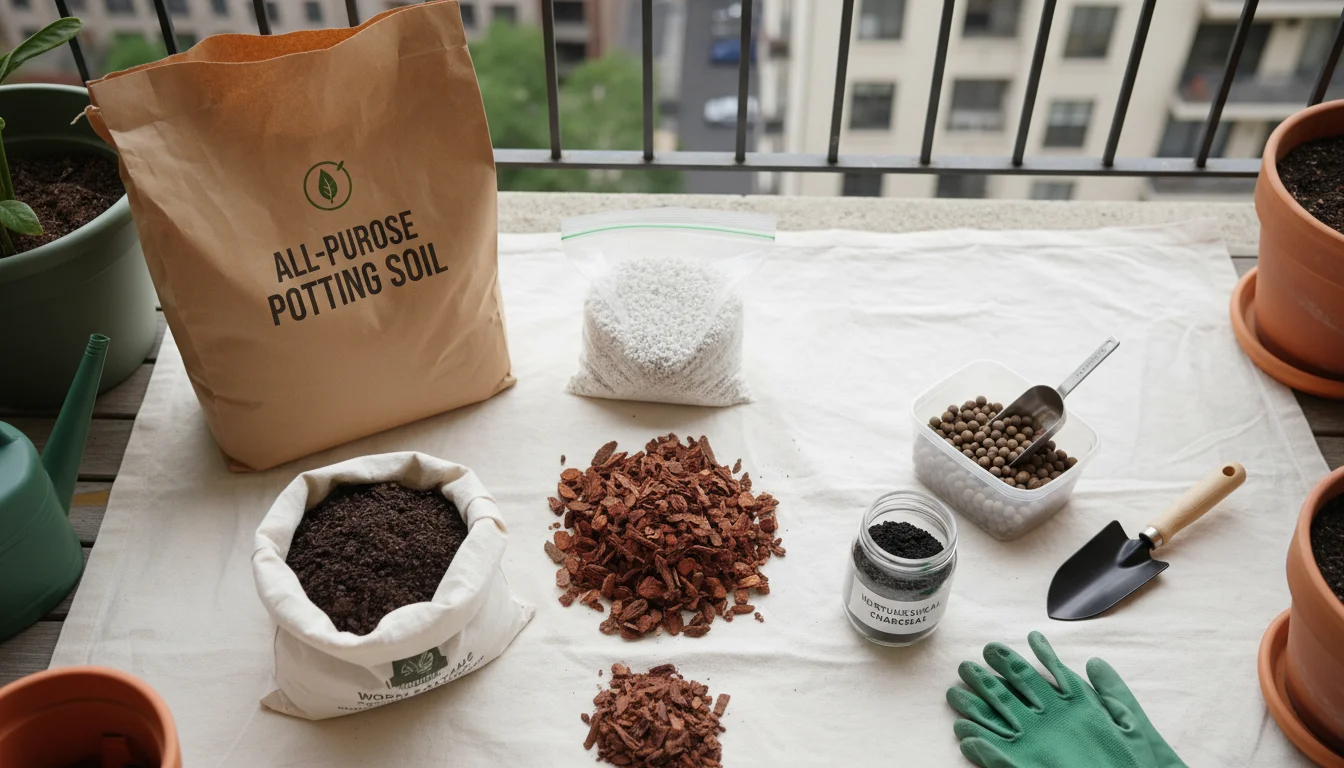
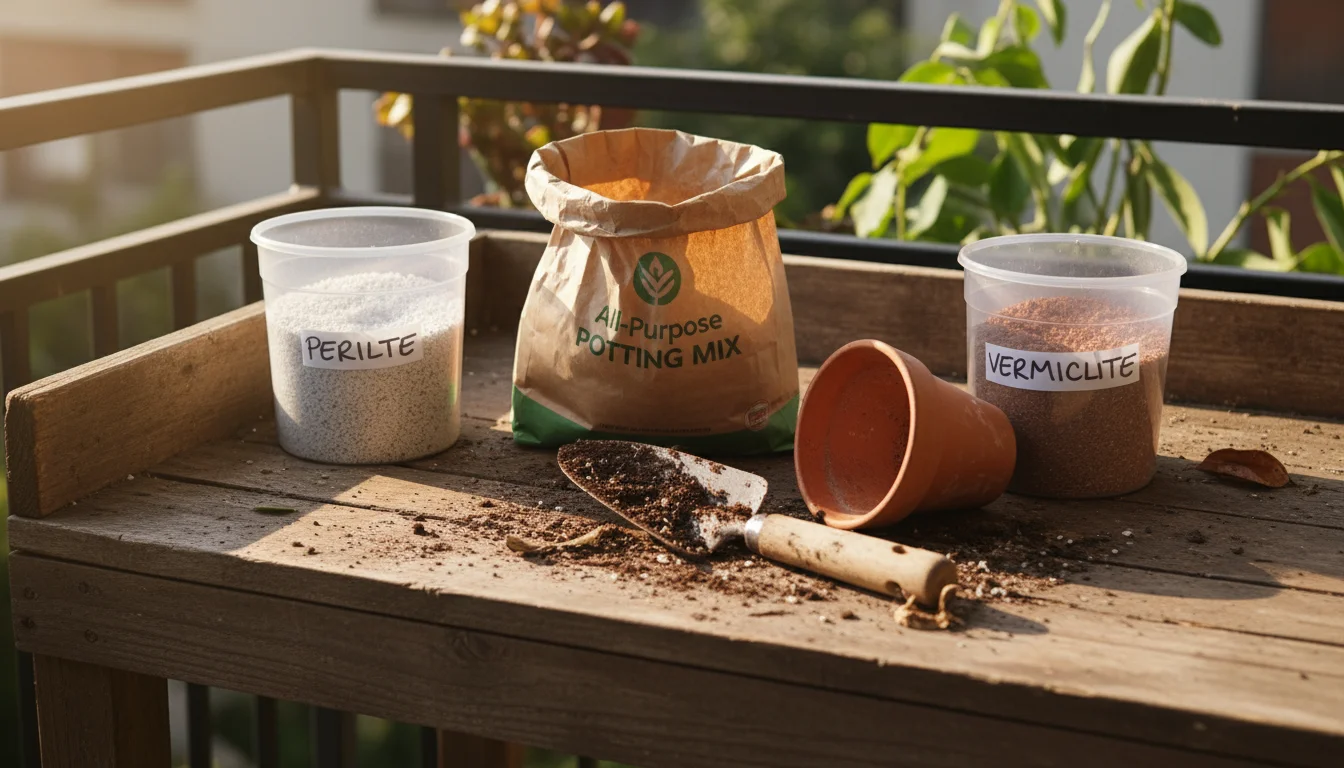
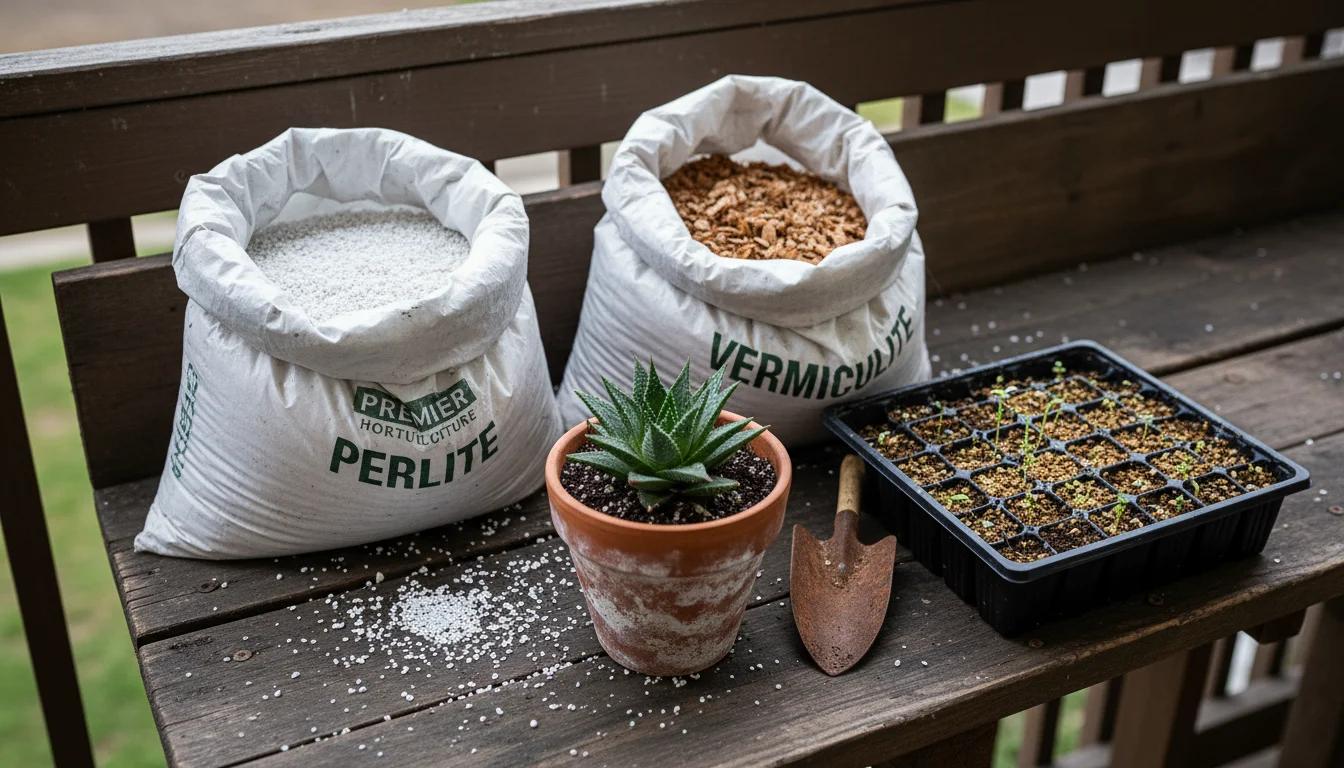
Gather Your Ingredients
You will need:
- One bag (1.5-2 cubic feet) of inexpensive all-purpose potting soil.
- One small bag of perlite OR vermiculite (1-2 quarts). Choose based on your plants’ drainage needs.
- One small bag of finished compost or worm castings (1-2 quarts).
- One small brick of coco coir (rehydrated, yielding 3-5 quarts of fluffed coir).
- A large mixing container: a sturdy wheelbarrow, a large plastic tub, or even a tarp spread on the ground.
- A shovel, trowel, or strong gloves for mixing.
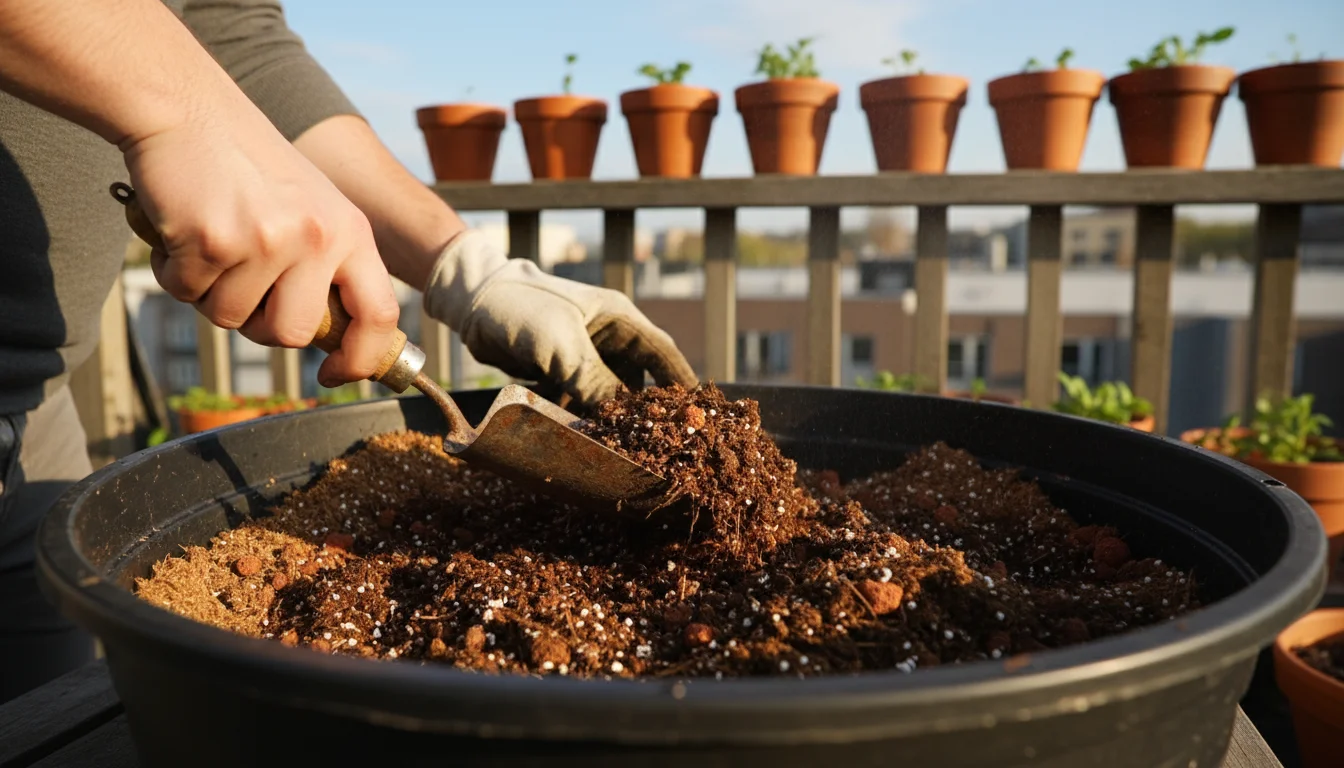
The SimpleGardenJoy.com SuperMix Ratio
Here is a general ratio that works wonderfully for most container plants. You can adjust this slightly based on your specific plants. For example, add more perlite for succulents or more coco coir for moisture-loving plants. This ratio is specifically designed `what to add to all-purpose potting mix` to optimize its performance.
| Ingredient | Approximate Proportion | Volume Example (for a 1.5 cubic ft bag of soil) |
|---|---|---|
| Cheap Potting Soil | 50% | ~1.5 cubic feet (the entire bag) |
| Coco Coir (rehydrated) | 25% | ~0.75 cubic feet (~5-6 gallons) |
| Compost/Worm Castings | 15% | ~0.45 cubic feet (~3-4 gallons) |
| Perlite OR Vermiculite | 10% | ~0.3 cubic feet (~2-3 gallons) |
Note: You do not need to be absolutely precise. These are approximate guidelines. The goal is to enhance the cheap soil, not create a lab-perfect mixture.
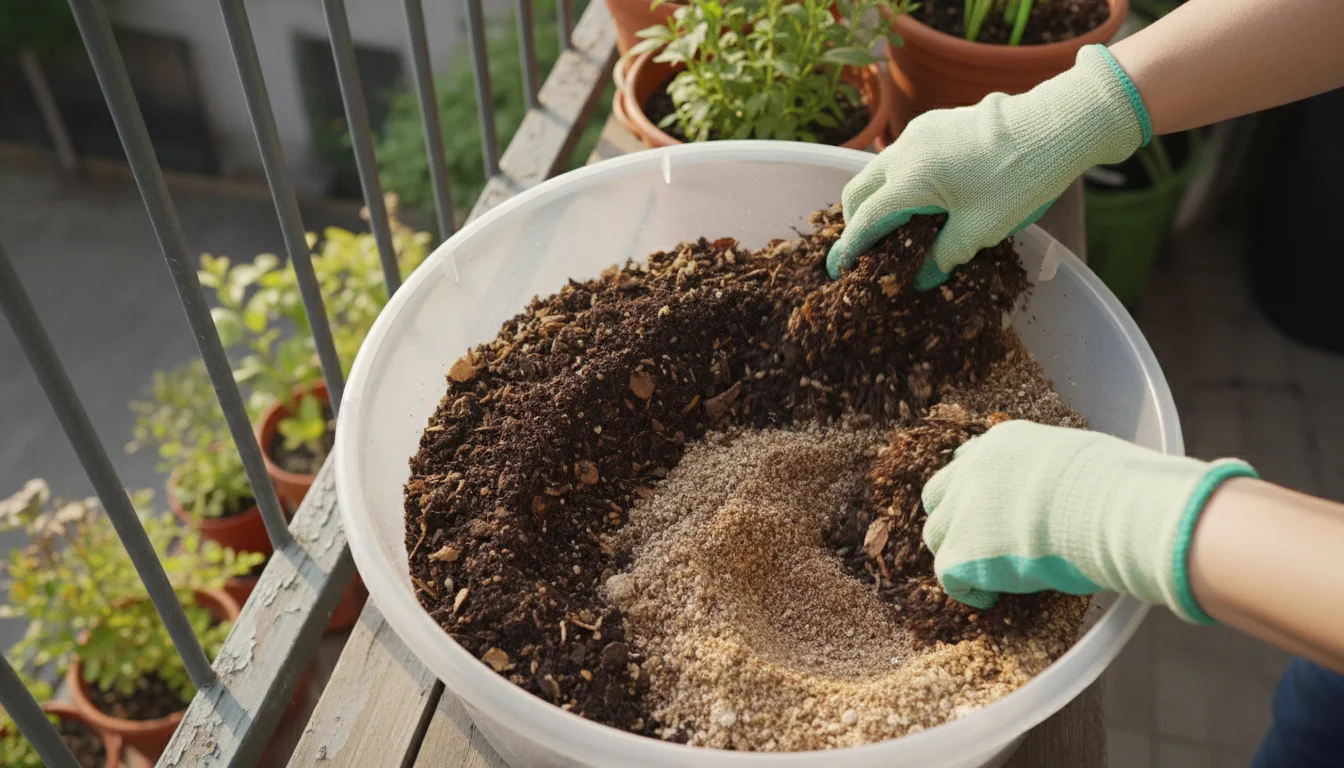
Step-by-Step Mixing Instructions
- Prepare Your Space: Lay down a tarp or choose a large container that allows for thorough mixing without spilling. Ensure you have easy access to water if you still need to hydrate your coco coir.
- Add Potting Soil: Empty your entire bag of cheap potting soil into your mixing vessel. Break up any large clumps with your hands.
- Incorporate Coco Coir: Add the rehydrated coco coir to the potting soil. Coco coir is airy and helps fluff up the dense potting soil immediately.
- Add Compost: Introduce the compost or worm castings next. Distribute it evenly over the mixture.
- Add Perlite or Vermiculite: Finally, sprinkle in your chosen aggregate. If using perlite, be mindful that it can create dust, so consider mixing in a well-ventilated area or wearing a mask if you are sensitive.
- Mix Thoroughly: This is the most important step. Use your shovel, trowel, or gloved hands to mix all the ingredients thoroughly. You want an even distribution of all components. Scoop from the bottom and fold over, ensuring no pockets of unamended soil remain. The final mix should be light, fluffy, and have a consistent texture and color.
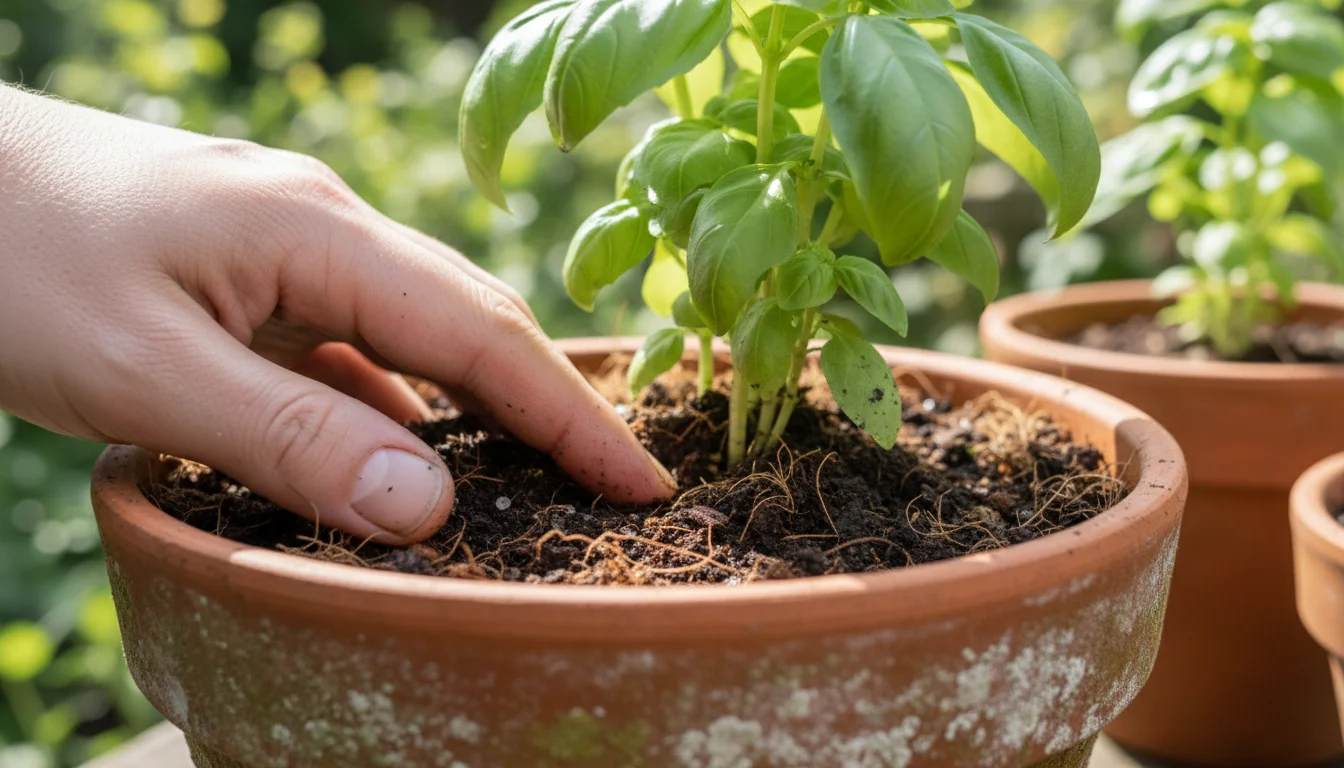
Once mixed, your supercharged `container soil mix` is ready for your containers! This process is straightforward and fun. You have just leveraged a little bit of knowledge and a few inexpensive `potting soil amendments` to create a growing medium that rivals expensive, premium brands. This is truly the essence of smart, `frugal gardening` for your small space.
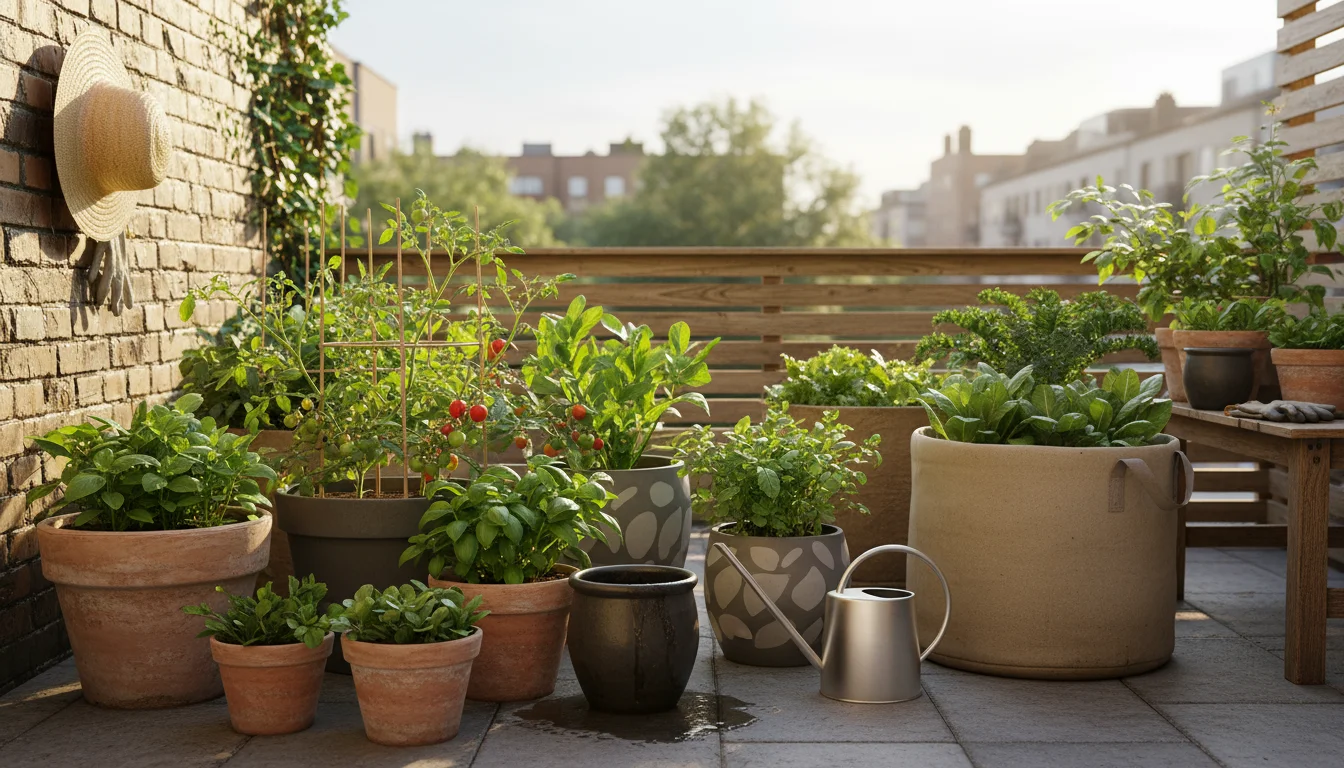
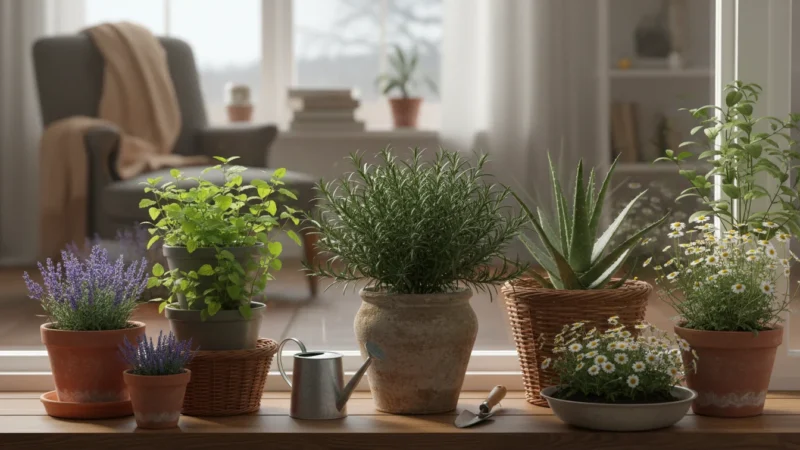
Beyond the Bag: Smart Container Choices and Watering for Small Spaces
Creating an excellent `container soil mix` is a significant step, but your gardening success on a balcony or patio also depends on smart choices regarding your containers and watering practices. These elements work in tandem with your supercharged soil to create an optimal environment for your plants. A holistic approach ensures your `DIY container soil recipe for vegetables` performs at its peak.
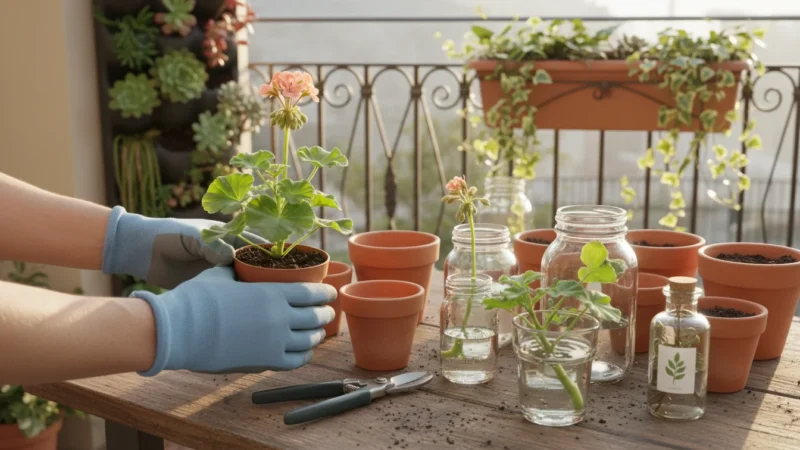
Once you have built this high-quality mix, you can even reuse your potting soil next season by following a few simple steps.
Choosing the Right Containers
The container itself plays a crucial role in drainage and root health. When selecting pots, prioritize these features:
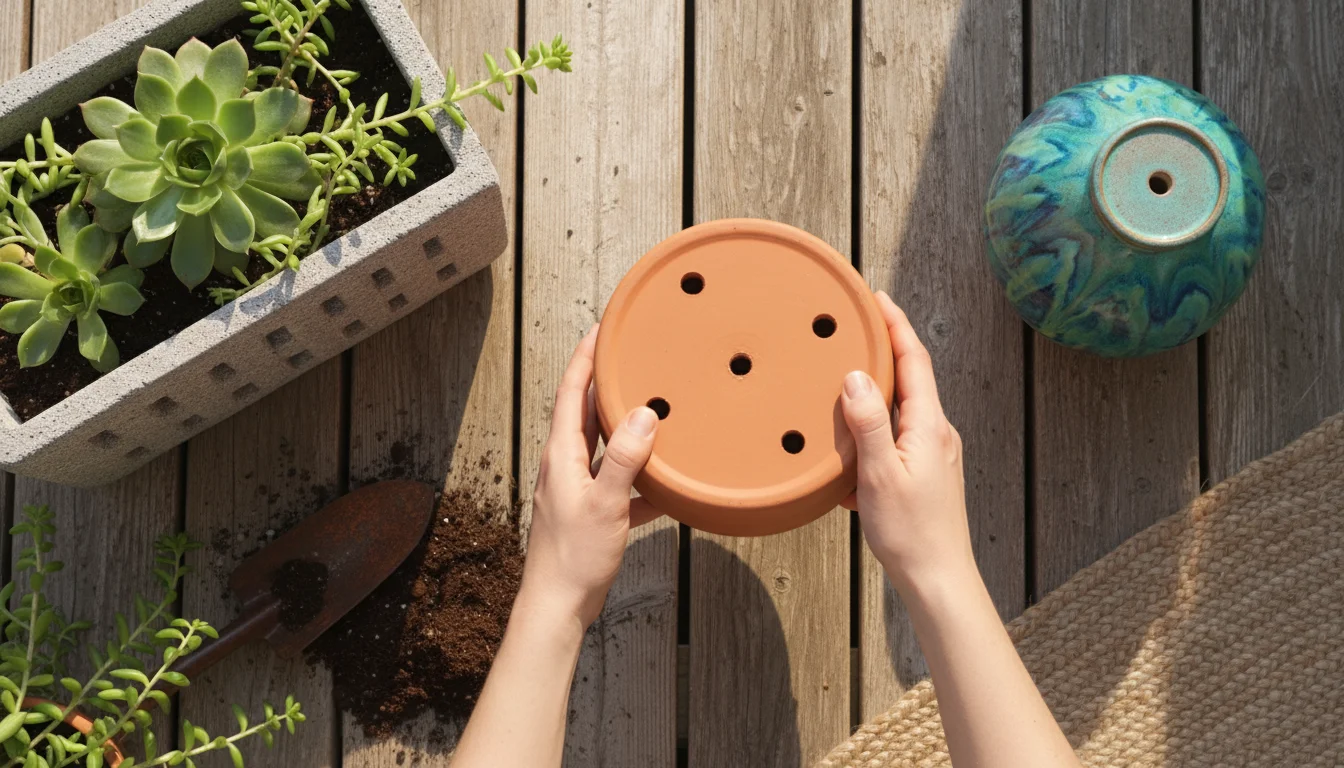
- Drainage Holes are Non-Negotiable: Every container must have drainage holes at the bottom. This allows excess water to escape, preventing your carefully amended soil from becoming waterlogged and suffocating roots. If a beautiful pot lacks holes, you can often drill them yourself or use it as a cachepot, placing a slightly smaller pot with drainage inside.
- Size Matters: Choose containers appropriate for the mature size of your plants. A tiny pot dries out too quickly and restricts root growth, while an oversized pot can hold too much moisture, leading to root rot. For most vegetables, herbs, and flowers, aim for containers that are at least 8-10 inches in diameter for smaller plants and 12-24 inches or more for larger plants like tomatoes or peppers.
- Material Considerations:
- Plastic Pots: Lightweight, inexpensive, and retain moisture well. Ideal for hot climates or plants that prefer consistent moisture.
- Terracotta Pots: Porous, allowing air and moisture to escape through the sides. Excellent for plants that prefer drier conditions or for preventing overwatering. They are heavier and dry out faster.
- Fabric Grow Bags: Offer excellent aeration and drainage through their breathable fabric. They prevent root circling and help regulate soil temperature. They can dry out faster but are incredibly lightweight and versatile for `frugal gardening`.
Your `container soil mix` will perform differently in each. For instance, a mix with more coco coir might be perfect for a terracotta pot to balance its faster drying nature.
The combination of an appropriate container and your amended soil creates a powerful growing system. Think of your `what to add to all-purpose potting mix` strategy extending to your container choice.
Mastering Watering for Your Supercharged Soil
Your new, improved soil mix significantly changes your watering routine. It holds moisture effectively while draining well, offering more forgiveness than cheap, unamended soil. However, proper watering technique remains critical.
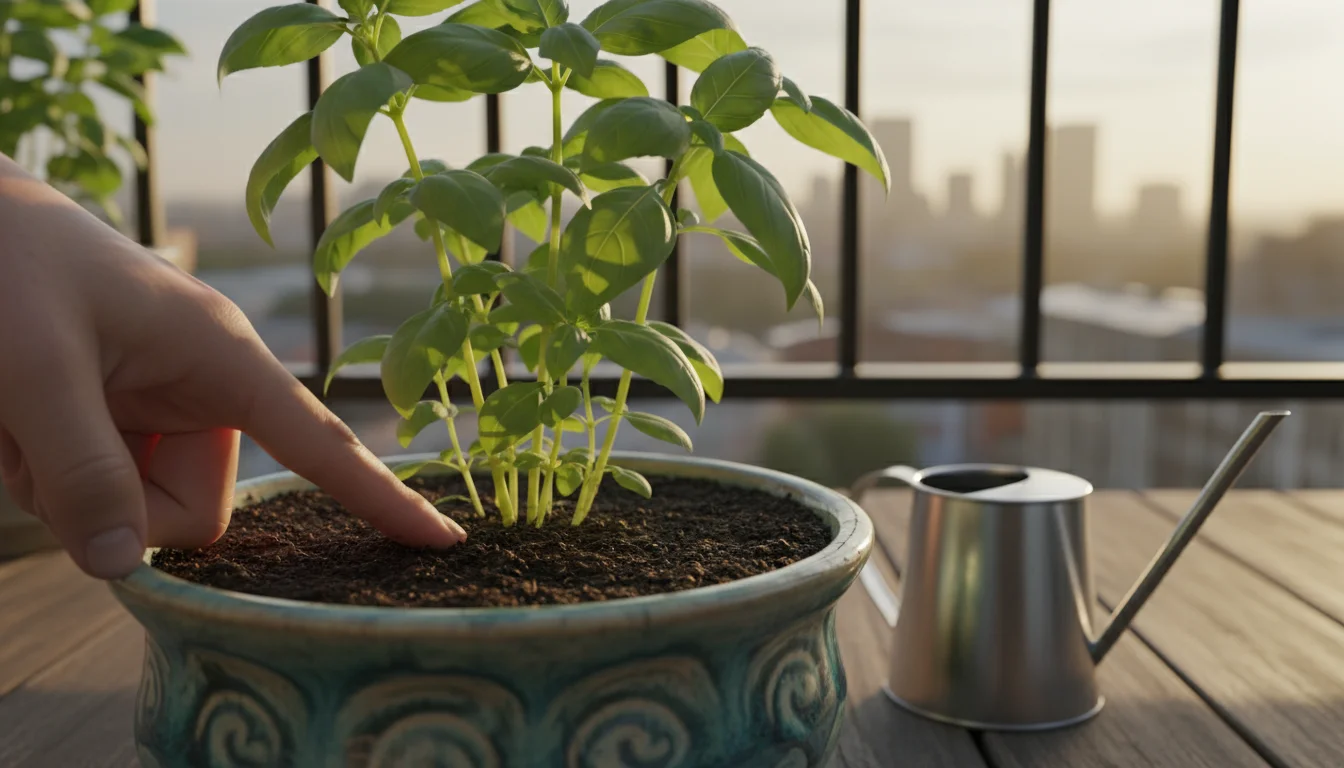
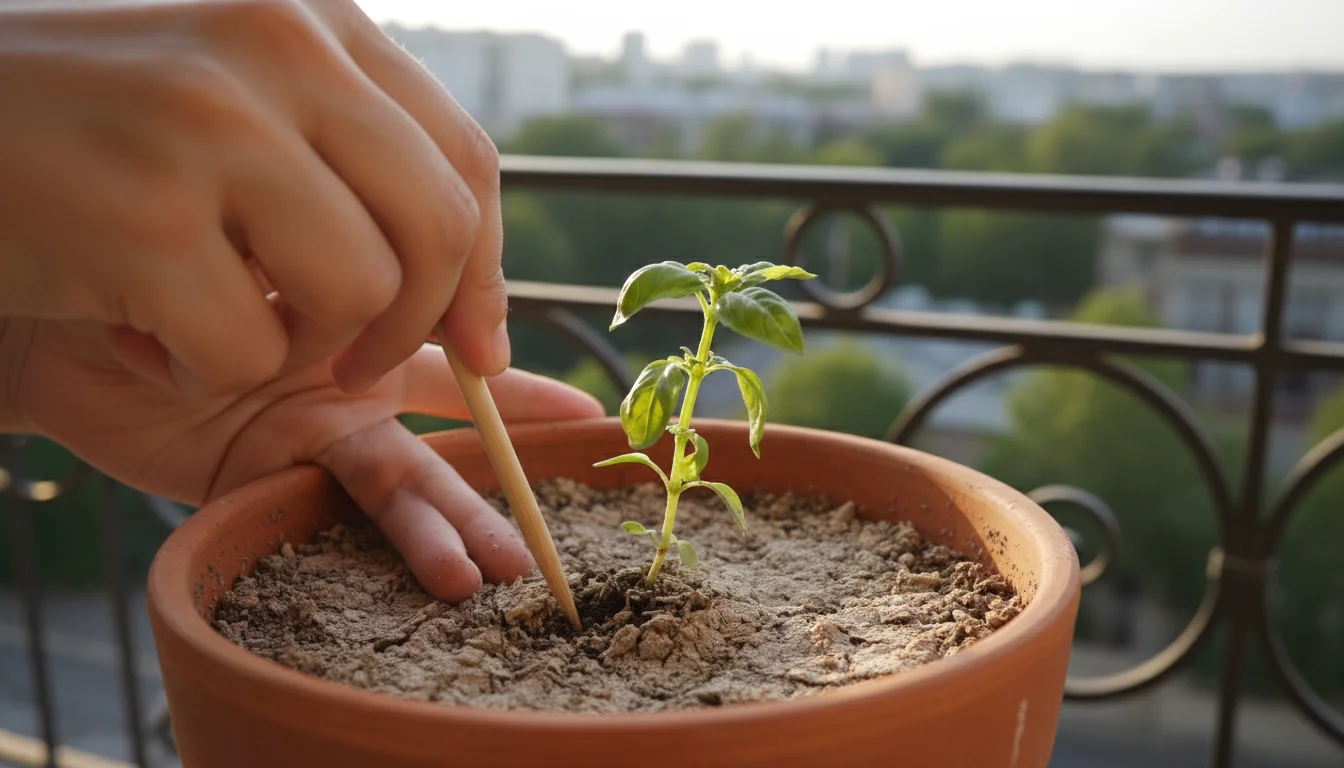
- Check Before You Water: Do not water on a strict schedule. Instead, check the soil moisture. Stick your finger 1-2 inches deep into the soil. If it feels dry, it is time to water. If it feels moist, wait. Your amended `potting soil amendments` mean it will likely stay moist longer than before.
- Water Thoroughly: When you do water, water slowly and deeply until you see water draining from the bottom of the pot. This ensures the entire root ball is saturated. Surface watering encourages shallow root growth, making plants more susceptible to drought.
- Avoid Overwatering: While your amended soil drains better, constant saturation still leads to problems. If water takes a long time to drain, you might be overwatering, or your soil still needs more perlite.
- Adjust for Weather and Plant Needs: Hot, windy weather or fast-growing, thirsty plants (like large fruiting vegetables) will require more frequent watering than small herbs or slower-growing plants. Observe your plants; wilting leaves are a sign of thirst, but they can also be a sign of overwatering (leading to root damage). Touch the soil to differentiate.
- Top Dressing for Continuous Feeding: As your plants grow, they consume nutrients. A great `frugal gardening` tip is to top-dress your containers with a layer of compost every 4-6 weeks. Simply spread a half-inch to an inch of compost over the soil surface. This provides a slow, continuous feed of nutrients, eliminating the need for constant liquid fertilizer, and keeps your `DIY container soil recipe for vegetables` performing optimally.
By integrating thoughtful container selection and precise watering with your superior soil, you create a robust, low-maintenance system that supports vibrant growth in your small-space garden. This holistic approach ensures your $5 bag makeover delivers maximum impact.
Troubleshooting Your Supercharged Soil: Common Issues and Solutions
Even with your meticulously crafted, supercharged `container soil mix`, challenges can occasionally arise. The beauty of understanding `potting soil amendments` is that you gain the knowledge to diagnose and fix issues, making you a more confident and effective gardener. Here, you will find practical solutions to common problems you might encounter with your enhanced soil, helping you keep your `DIY container soil recipe for vegetables` thriving.
Problem 1: Soil Dries Out Too Quickly
Diagnosis: Your amended soil, while improved, might still be drying out faster than you would like, especially in very hot or windy conditions, or if you are using porous terracotta pots or fabric grow bags. You might find yourself watering daily or even twice a day, which defeats the low-maintenance goal of `frugal gardening`.
Solution:
- Increase Coco Coir/Vermiculite: If this is a recurring issue, your next batch of soil can benefit from a higher proportion of coco coir or vermiculite. These amendments excel at moisture retention. When you next ponder `what to add to all-purpose potting mix`, consider a slightly larger percentage of these materials.
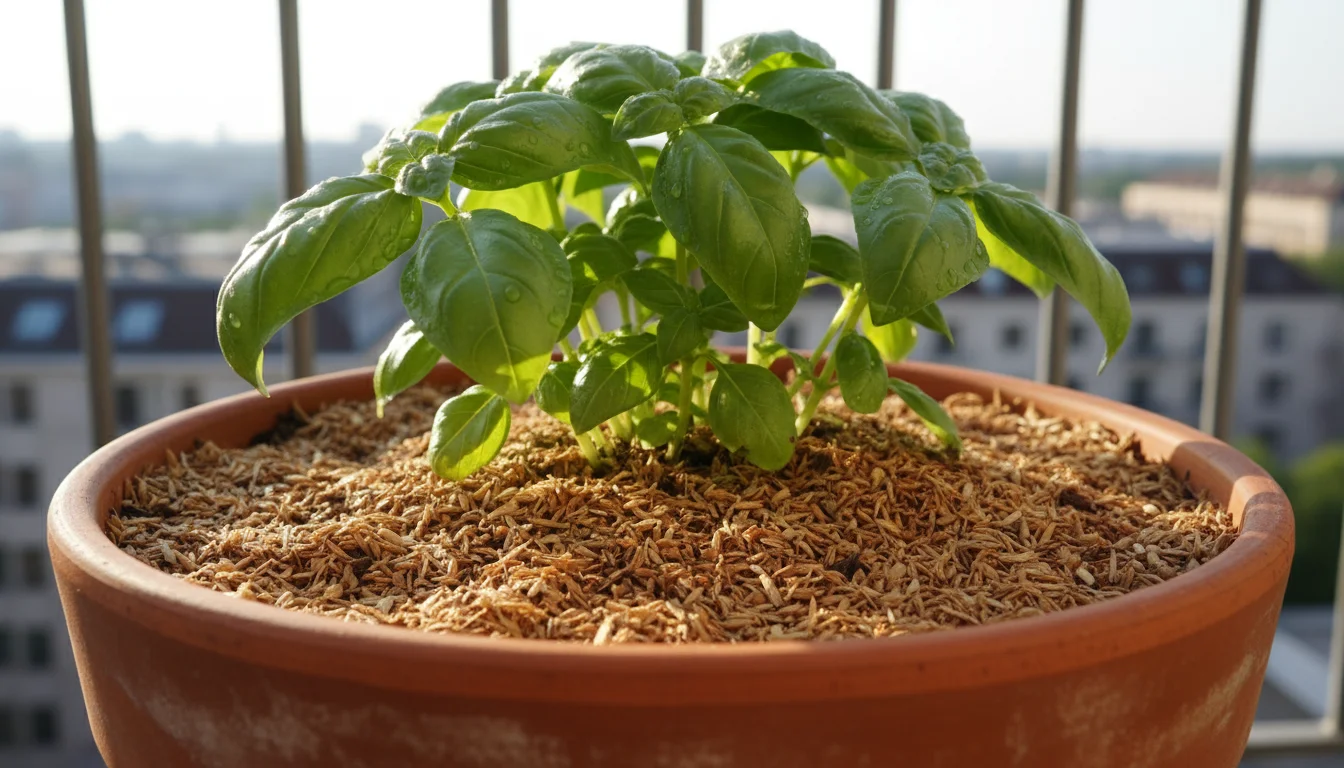
- Add Mulch: A layer of mulch (like shredded bark, straw, or even pebbles) on top of the soil surface significantly reduces evaporation. This is an easy, immediate fix.
- Relocate: Move containers to a shadier spot during the hottest part of the day, or group them together to create a microclimate that retains humidity.
- Consider a Self-Watering Planter: These containers have a reservoir at the bottom that wicks water up to the roots, providing a consistent moisture supply and drastically reducing watering frequency.
Problem 2: Soil Stays Too Wet, Leading to Yellowing Leaves or Wilting
Diagnosis: Despite adding perlite, your soil might still retain too much moisture, especially if your base potting soil was particularly heavy or if your containers lack sufficient drainage holes. Yellowing leaves, a general lack of vigor, or wilting (even when the soil is wet) often indicate root rot due to overly saturated conditions. This means your `how to make cheap potting soil better` strategy needs a minor adjustment.
Solution:
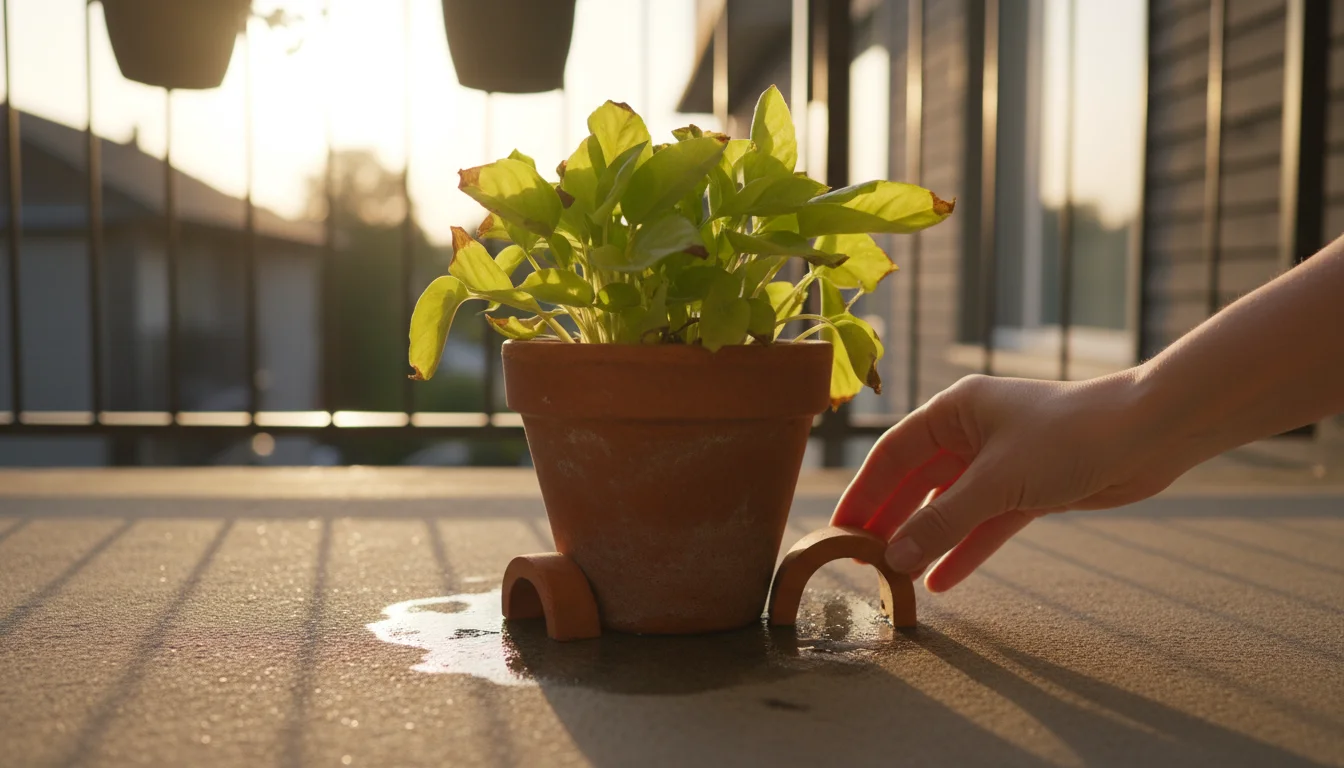
- Improve Drainage: Ensure every pot has adequate drainage holes. Lift pots slightly off the ground using pot feet or bricks to improve airflow beneath them.
- Increase Perlite: For your next batch of soil, increase the proportion of perlite significantly. Perlite is the king of drainage and aeration.
- Reduce Watering Frequency: Let the top 2-3 inches of soil dry out completely before watering again. Do not water until your finger test tells you it is necessary.
- Repot if Severe: If your plant is seriously struggling, carefully remove it from the pot. If the roots are brown and mushy, prune away the damaged sections and repot into a fresher mix with more perlite.
Problem 3: Plants Show Nutrient Deficiencies (Pale Leaves, Stunted Growth)
Diagnosis: While compost provides a slow release of nutrients, fast-growing or heavy-feeding plants can deplete nutrient reserves over time, especially in a limited container environment. You might see pale green or yellow leaves, stunted growth, or poor flowering/fruiting.
Solution:
- Top-Dress with More Compost/Worm Castings: As mentioned, a fresh layer of compost on the soil surface every few weeks replenishes nutrients. This is the most organic and `frugal gardening` friendly solution.
- Use a Balanced Liquid Fertilizer: If you need a faster nutrient boost, apply a balanced liquid fertilizer (like a 5-5-5 or 10-10-10 ratio) at half strength every 2-4 weeks. Organic options like fish emulsion or seaweed extract also work wonderfully. This complements your `potting soil amendments` rather than replacing them.
- Observe Plant Needs: Some plants are heavier feeders than others. Tomatoes, peppers, and most annual flowers will require more consistent feeding than herbs or leafy greens. Adjust your feeding schedule based on your specific plants and their growth stage.
By understanding these common troubleshooting scenarios, you empower yourself to react effectively and maintain a healthy, productive balcony garden. Your investment in `potting soil amendments` creates a resilient foundation, and with these tips, you can confidently address any minor hiccups along the way.
Frequently Asked Questions
Can I use garden soil in my containers instead of buying potting mix?
You should generally avoid using regular garden soil in containers. Garden soil is much denser than potting mix and compacts easily in a pot, which stifles roots and causes drainage issues. It can also harbor pests, diseases, and weed seeds that you do not want in your clean container environment. Your amended `container soil mix` is specifically engineered for potted plants.
How long does this supercharged potting soil last before I need to replace it?
Your amended `container soil mix` lasts longer than plain cheap potting soil due to the durability of coco coir and perlite. For most annuals, you can reuse the soil for 1-2 seasons, refreshing it each year with more compost and potentially a small amount of new perlite or coco coir. For perennial plants, you should repot with fresh soil every 2-3 years, or at least replace the top several inches of soil. This `frugal gardening` practice extends the life of your investment.
Can I make my own compost for this recipe?
Yes, absolutely! Making your own compost is one of the most environmentally friendly and `frugal gardening` practices. If you have a compost bin, use your finished, dark, earthy-smelling compost. It is rich in nutrients and beneficial microbes. This further enhances your `DIY container soil recipe for vegetables` and reduces waste.
Is it okay to add coffee grounds to my potting mix?
A small amount of used coffee grounds can be beneficial. They add organic matter and a touch of nitrogen. However, too many fresh coffee grounds can temporarily lower soil pH and clump together. It is best to add them sparingly (no more than 5-10% of the mix) and ensure they are mixed in well. Using them as a top dressing is often a safer approach than mixing them directly into the bulk soil, ensuring your `what to add to all-purpose potting mix` maintains its balance.
Can I grow any type of plant in this amended soil?
This versatile `container soil mix` is suitable for most vegetables, herbs, and flowering annuals. For highly specialized plants like orchids (which need extremely coarse, bark-based mixes) or acid-loving plants like blueberries (which require very acidic soil), you might need further specific adjustments or specialized mixes. However, for the vast majority of balcony garden plants, this supercharged soil provides an excellent foundation.
You now possess the knowledge and the recipe to transform inexpensive potting soil into a high-performance growing medium for your balcony garden. By strategically incorporating perlite, compost, and coco coir, you overcome the limitations of cheap soil, provide your plants with optimal conditions for growth, and save money in the process. This approach is practical, sustainable, and empowering, proving that `frugal gardening` can lead to lush, thriving container plants. Happy gardening!
For trustworthy gardening information, visit:
Colorado State University Extension — Gardening, North Carolina State Extension — Gardening, Virginia Cooperative Extension — Lawn & Garden and University of Maryland Extension — Home & Garden. These organizations provide expert, research-based advice for gardeners at all levels.
Disclaimer: This article is for informational purposes only and is not a substitute for professional gardening advice. Always consult local extension services or horticulture experts for region-specific guidance.

Leave a Reply