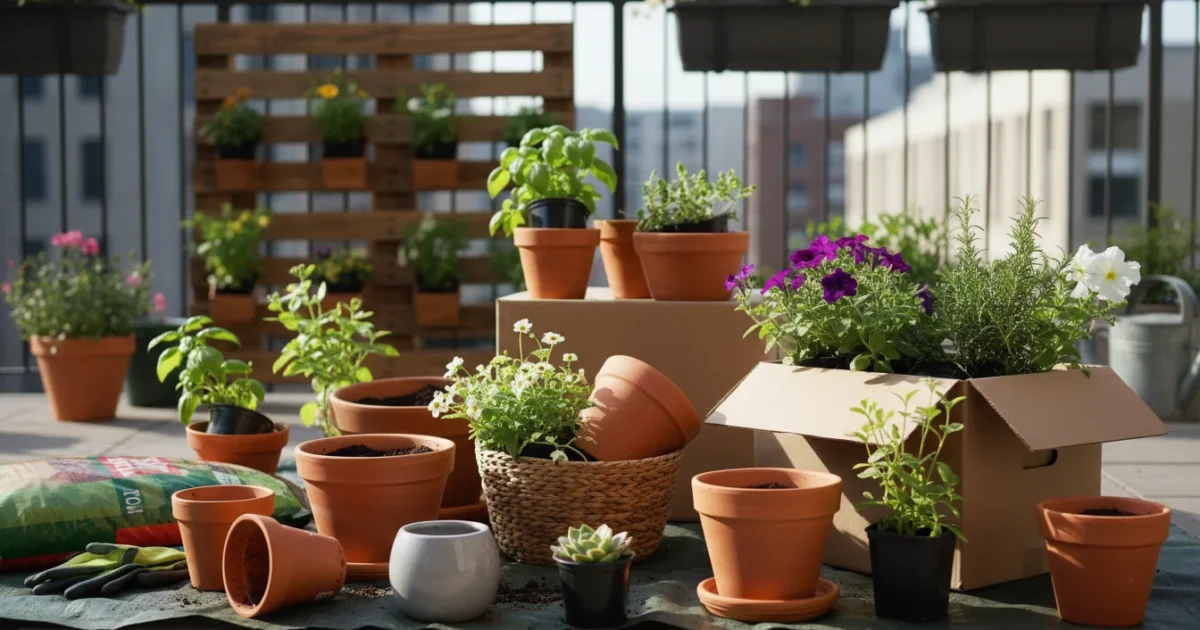
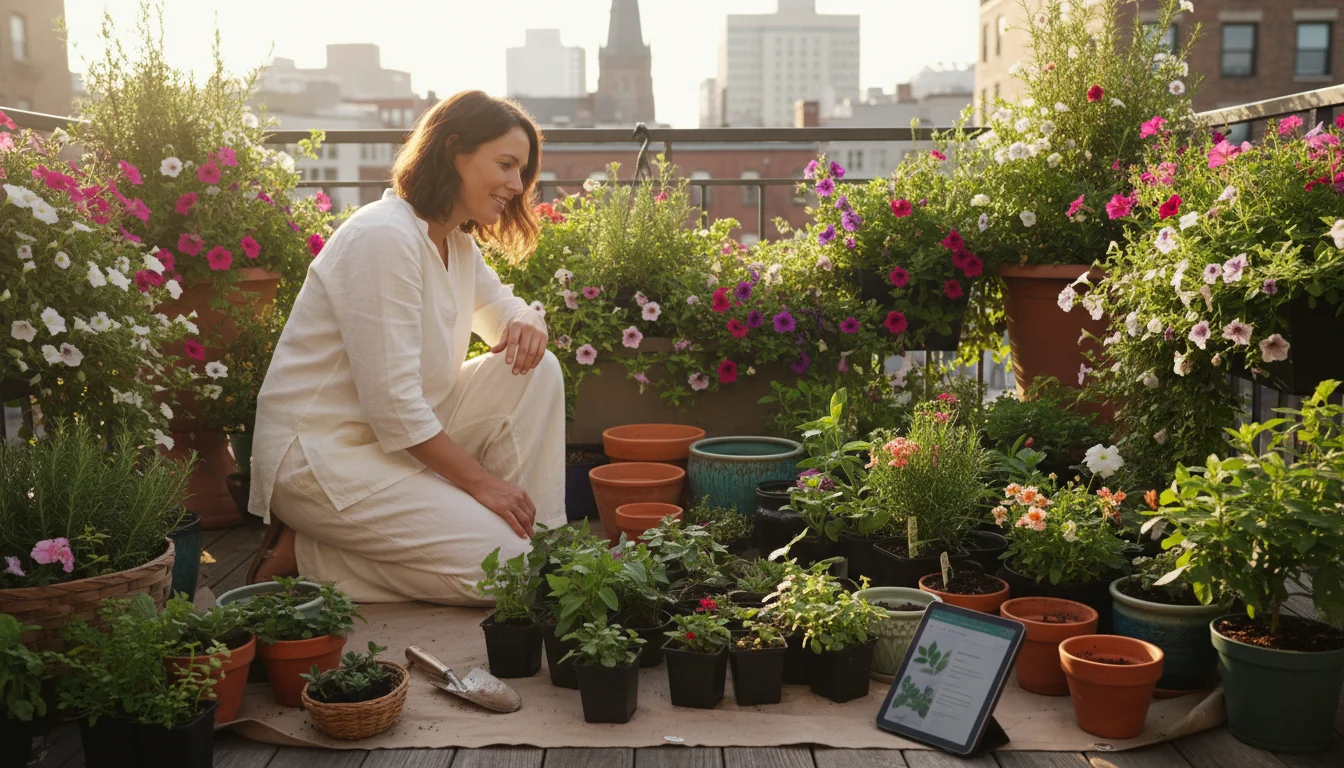
We have all been there. You walk into the nursery for one specific herb, and suddenly, your cart overflows with a rainbow of blooms, an exotic succulent, and a promising-looking tomato plant. The thrill of spring planting is infectious. You arrive home, brimming with enthusiasm, only to realize your tiny balcony or patio looks a lot smaller now. This common scenario leaves many small-space gardeners wondering, “What do I do with all these plants? I have too many plants for small balcony!”
Having a few DIY garden tool hacks ready can make the sudden task of potting a large haul much easier.
Do not panic. This guide provides a practical, step-by-step plan to transform your impulse buys into a thriving, manageable container garden. You can create a beautiful and productive space, even when faced with limited room. We will cover everything from immediate triage after buying plants to smart container garden design and long-term care, ensuring your green impulse pays off.
Emergency Triage: Immediate Steps After the Nursery
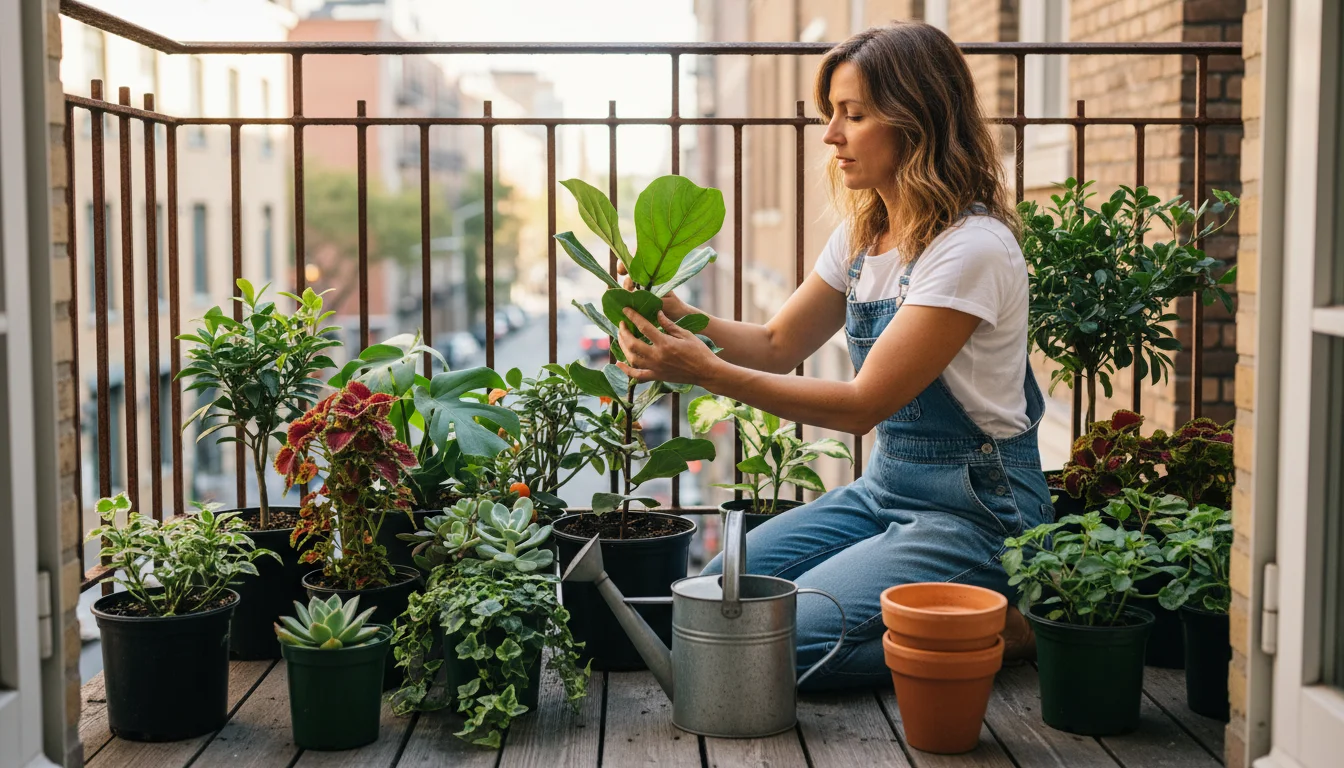
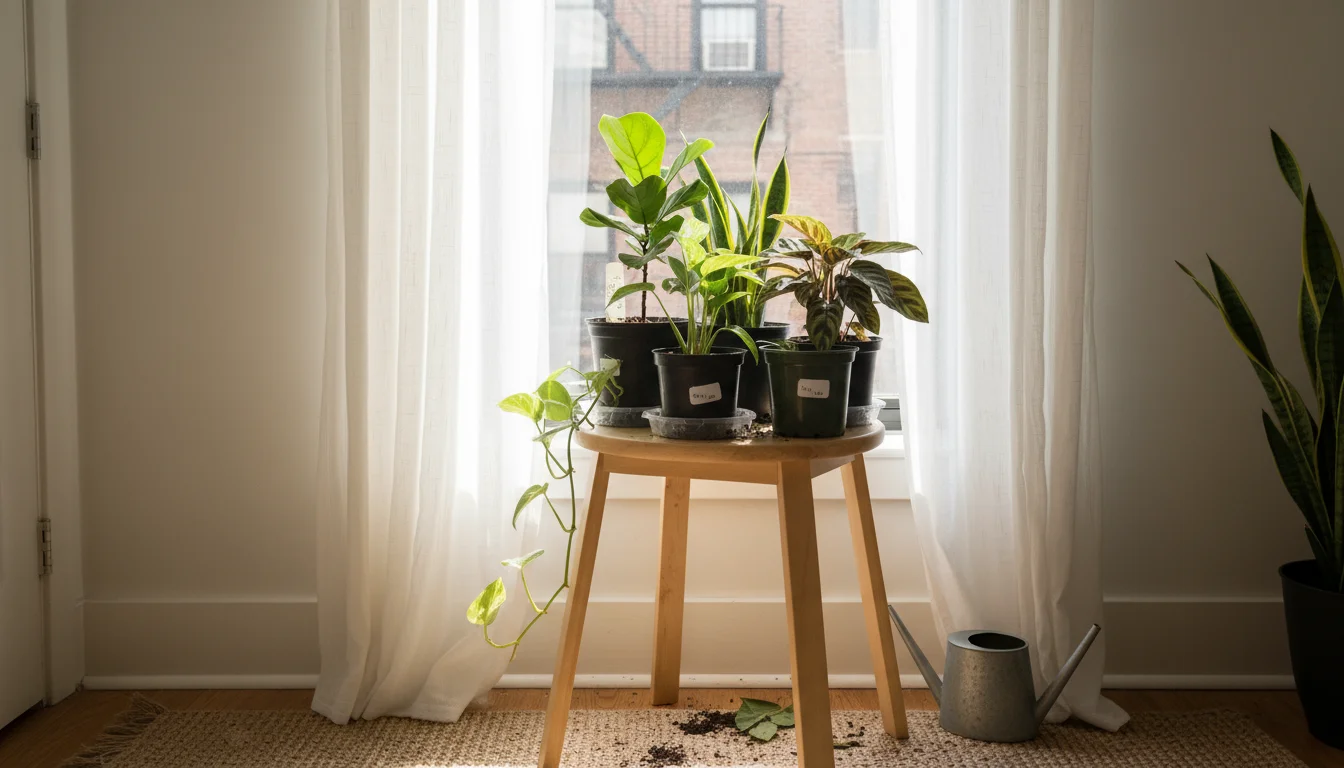
Bringing new plants home from the nursery is exciting, but it also signals a crucial transition period. Your plants need some immediate attention to reduce stress and prepare them for their new home, especially if you have an abundance of new plants. This is an important step for what to do right after buying plants from a nursery and finding yourself with more than you anticipated.
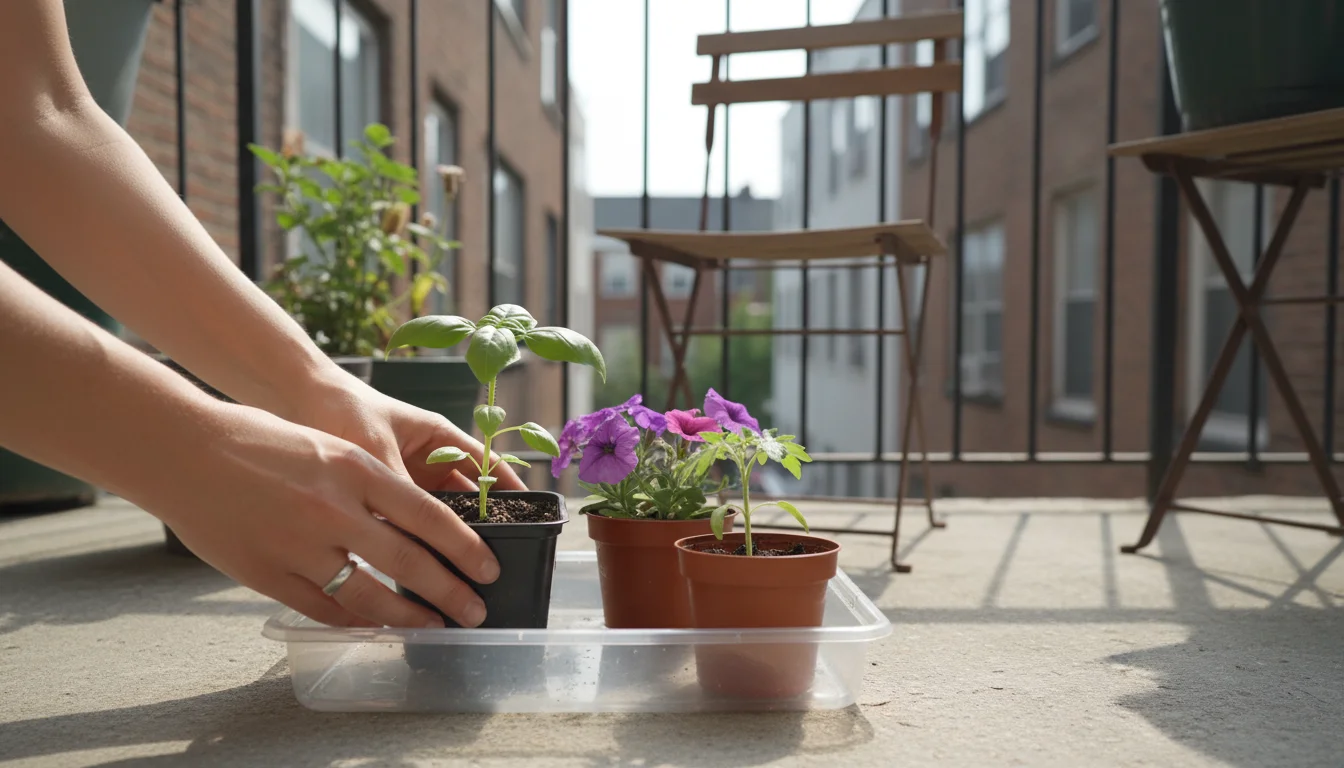
If you are working in a cramped indoor space, follow these tips to contain the mess while you get your new plants settled.
Starting with a thorough inspection is the best way to prevent common pests from hitching a ride into your small garden sanctuary.
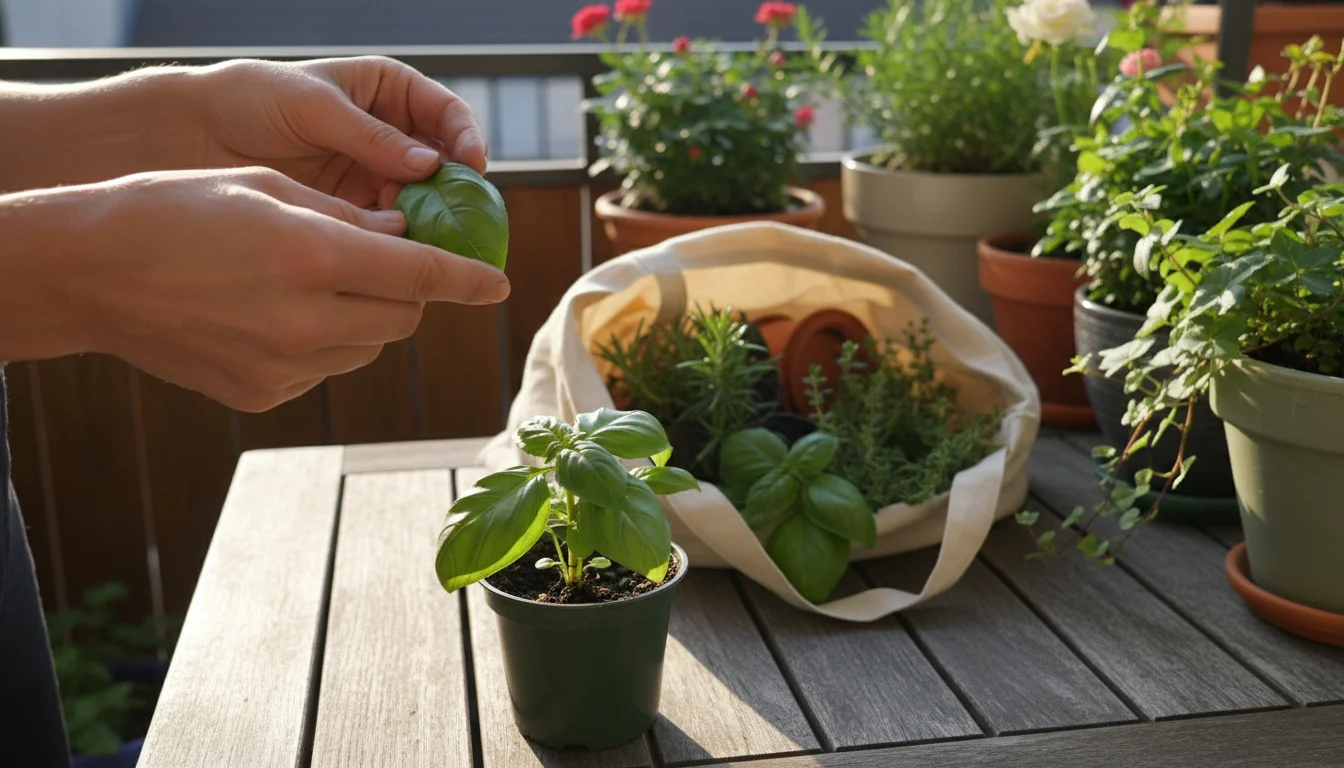
Unpack and Inspect
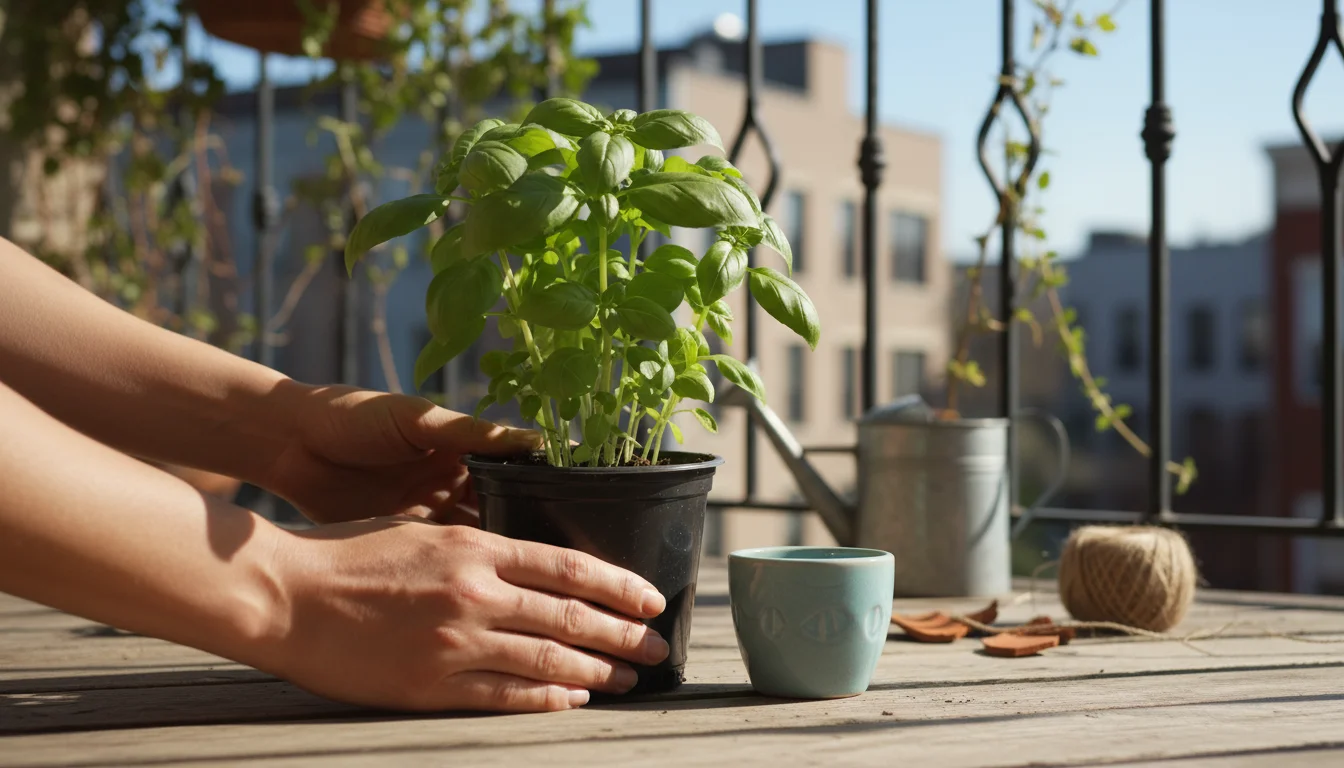
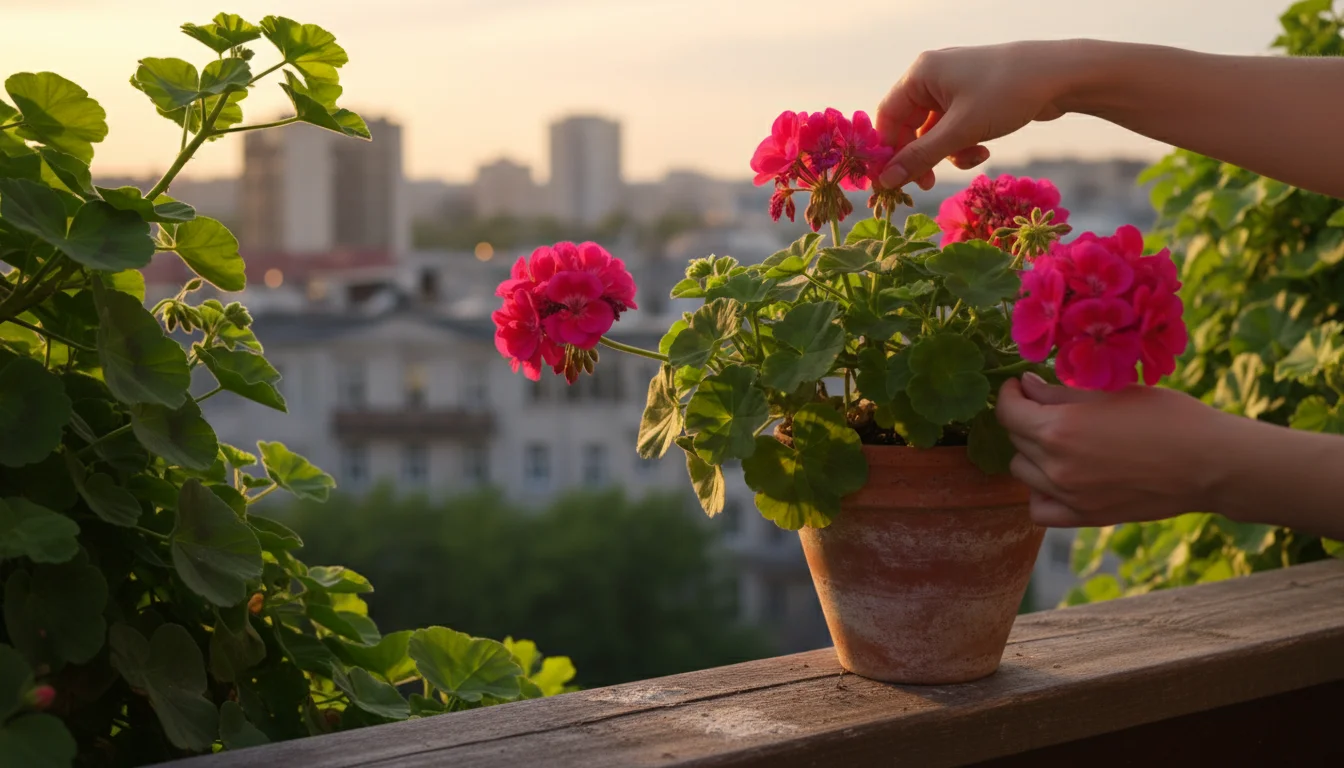
Gently remove plants from their bags or boxes. Take a moment to inspect each plant thoroughly. Look for signs of pests like tiny webs, sticky residue, or small insects on the undersides of leaves. Check for diseases, which may appear as spots, discoloration, or wilting. Isolating any suspicious plants immediately prevents potential problems from spreading to your existing plants or your new healthy additions.
Immediate Watering
Nursery plants often arrive thirsty. Their small containers dry out quickly. Give each new plant a good drink of water. If the soil is extremely dry and pulls away from the pot’s edges, let the plant sit in a shallow tray of water for 20-30 minutes, allowing it to soak up moisture from the bottom. This method is called bottom-watering, and it ensures the entire root ball gets hydrated without washing away essential nutrients from the topsoil.
Temporary Placement
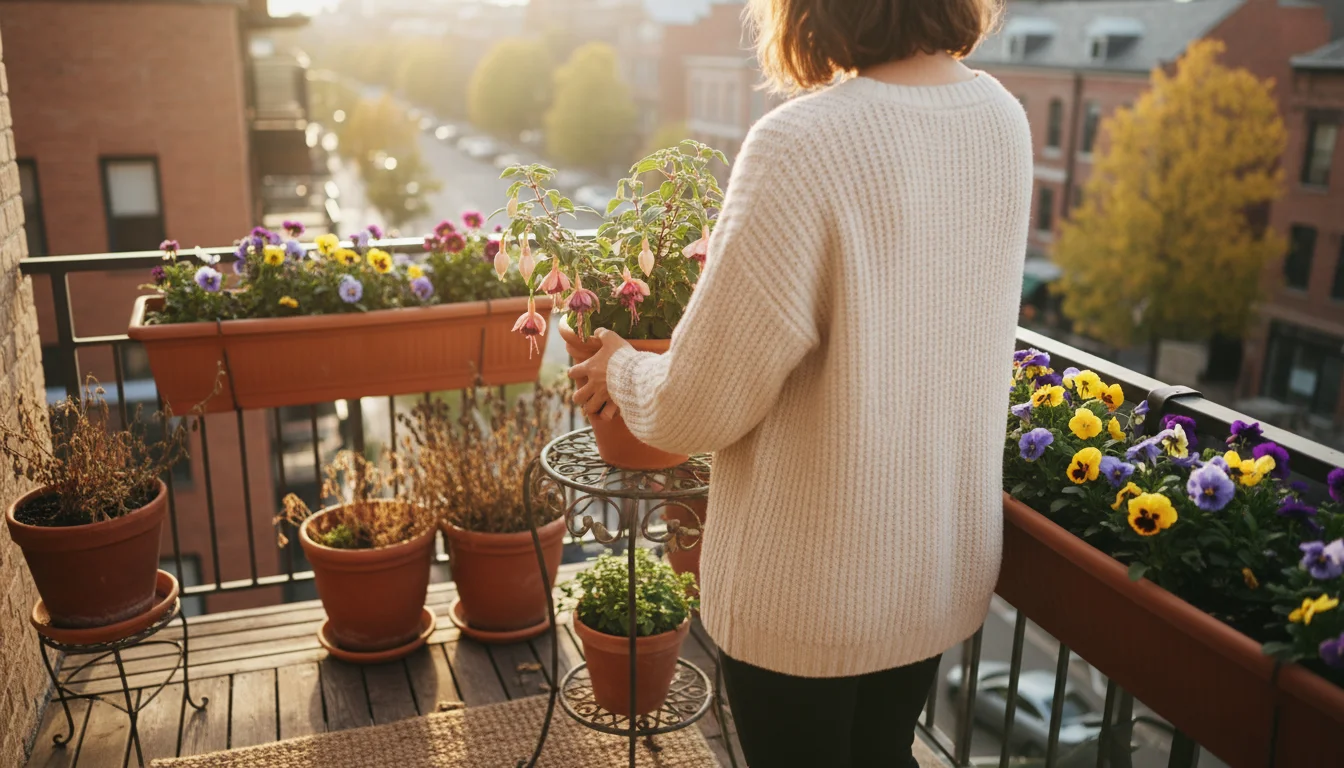
Until you can properly pot your new purchases, place them in a sheltered spot outdoors, or indoors near a window. Avoid direct, harsh sunlight immediately after purchase, as this can shock plants that have been in a more controlled nursery environment. A temporary holding area allows them to acclimate to your home’s conditions before the stress of repotting.
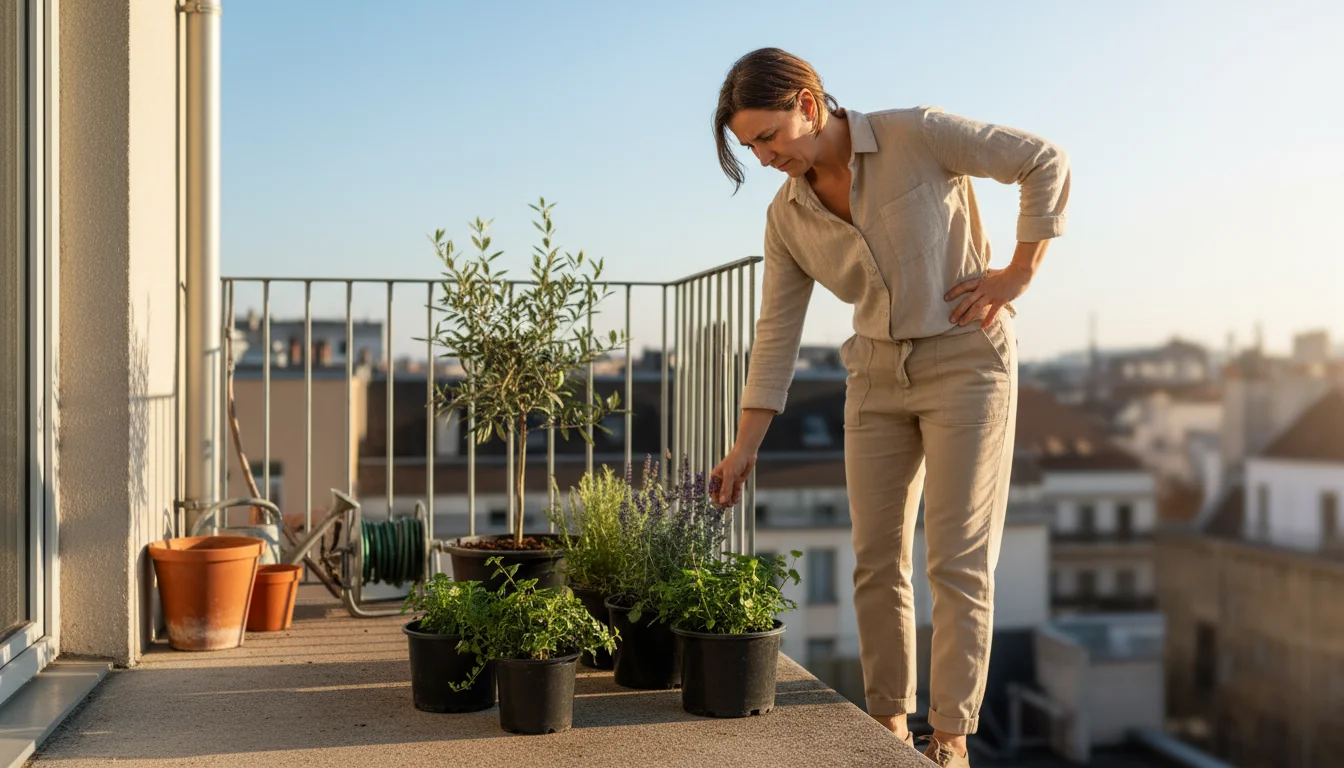
Assessing Your Small Space: Know Your Limits
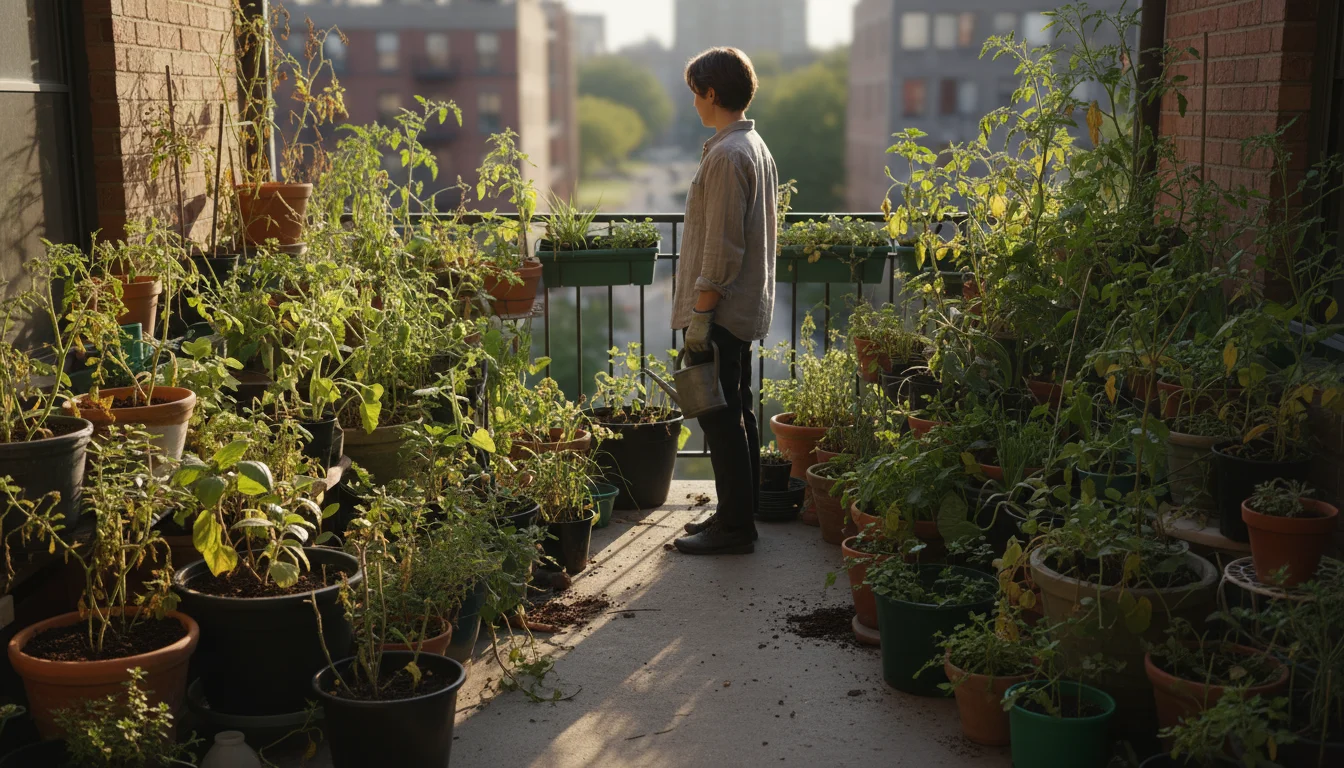
Before you dive into potting plants, take an honest look at your balcony or patio. Understanding its unique characteristics helps you make smart decisions and avoid future headaches when you realize you have too many plants for small balcony.
Understanding these spatial constraints now will help you perform a seasonal garden audit later to see what worked.
Sunlight Patterns
Observe your space throughout the day. Does it get full sun (6+ hours of direct sun), partial sun (3-6 hours), or shade (less than 3 hours)? This is the single most critical factor in successful gardening. Most vegetables and flowering annuals demand full sun, while many herbs, leafy greens, and shade-loving perennials thrive in less intense light. Knowing your sun exposure allows you to match plants to the right spots, preventing disappointment.
Weight and Structural Capacity
If you live in an apartment or condo, be mindful of your balcony’s weight limits. A single large pot filled with wet soil can weigh over 100 pounds. Multiple large containers, especially combined with heavy materials like terra cotta, can add significant stress. Distribute weight evenly, and if you have concerns, consult your building management or a structural engineer. Prioritize lighter container materials or elevated planters if weight is a major concern.
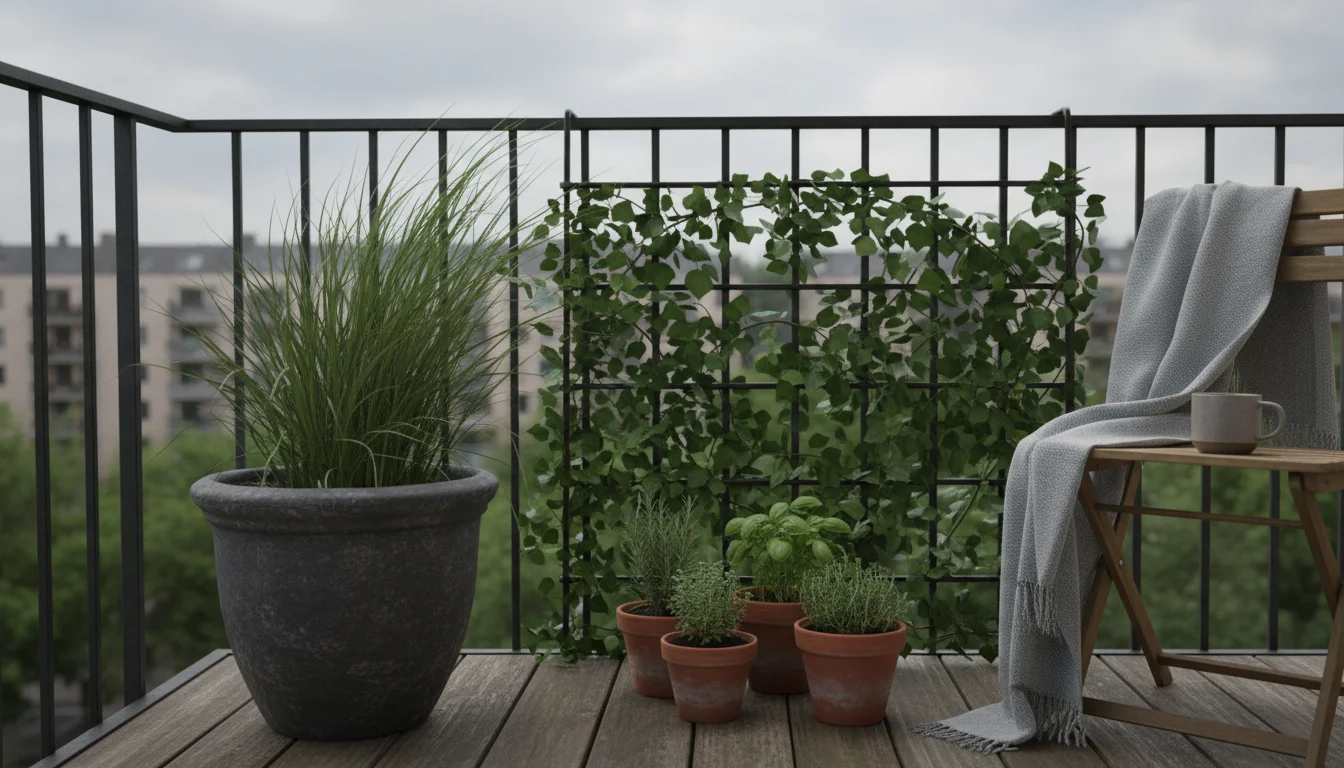
Wind Exposure
Balconies, especially on higher floors, can experience strong winds. Wind desiccates plants rapidly by stripping moisture from leaves and soil. It can also cause physical damage to delicate stems and foliage. Consider windbreaks like trellises with climbing plants, screens, or strategically placed furniture. Choose sturdy containers that resist tipping, or opt for heavier materials like ceramic or concrete for plants in exposed areas.
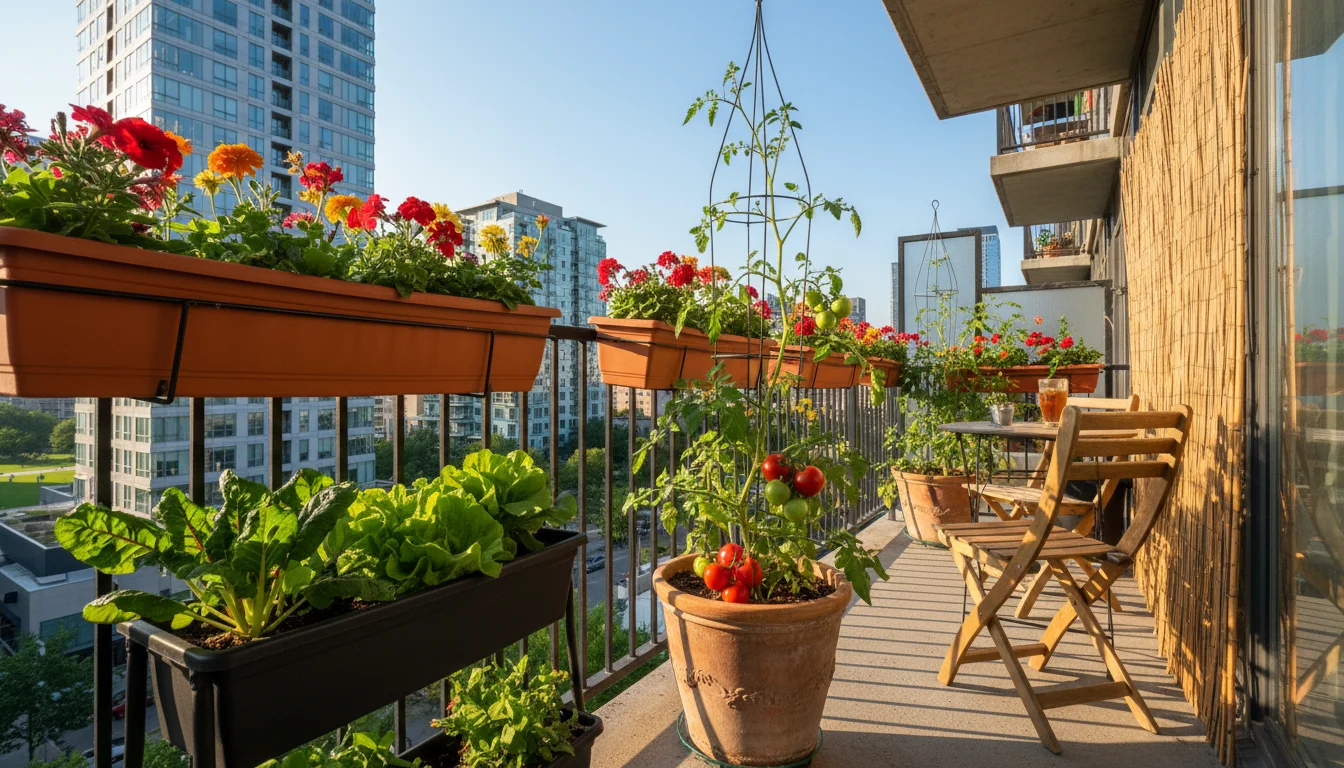
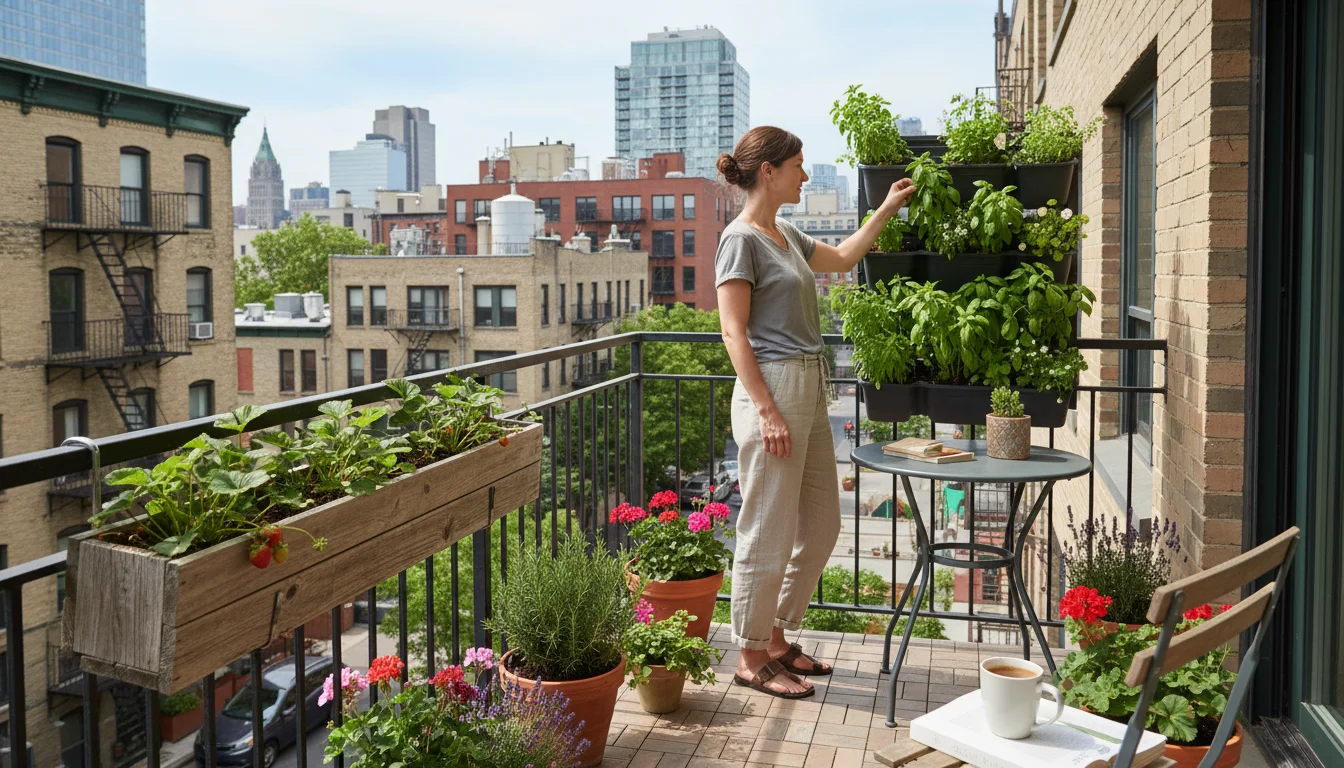
Available Footprint and Vertical Space
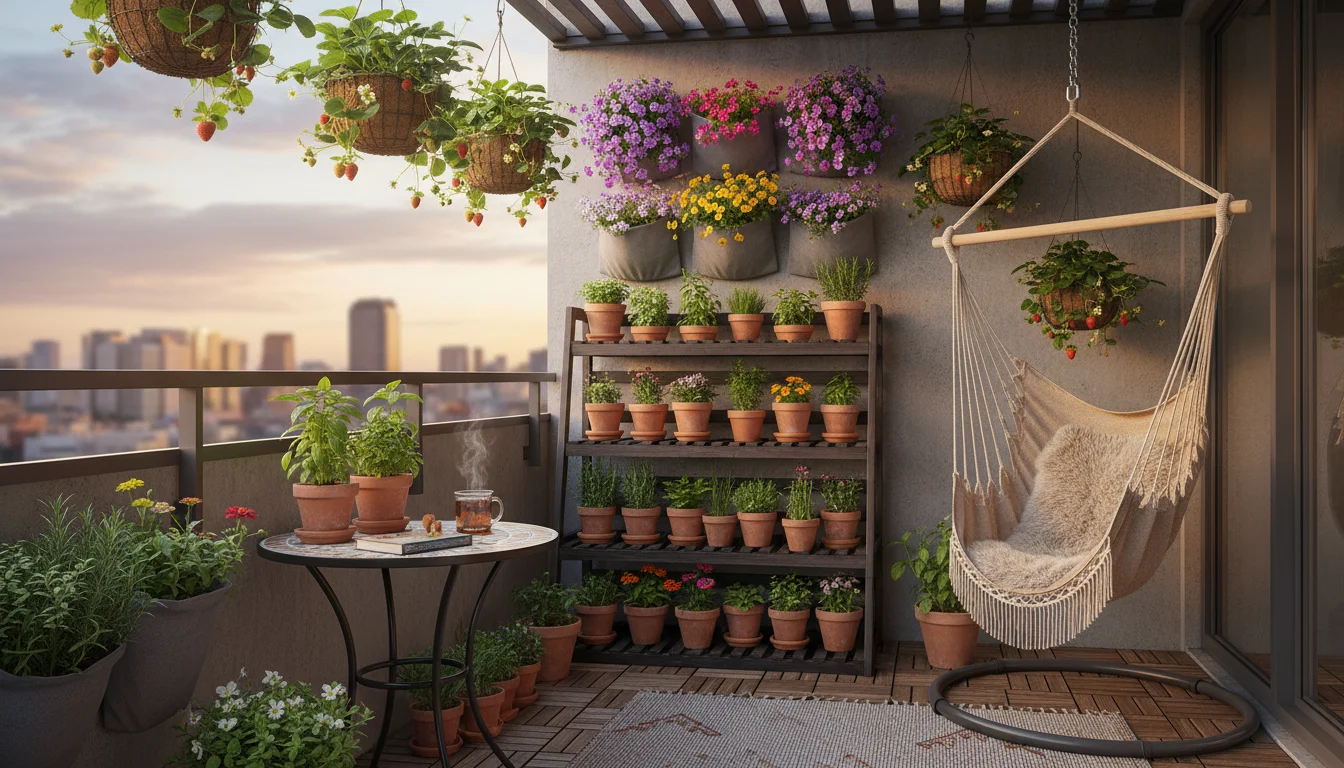
Measure your balcony. Note available floor space for pots, but also look up. Can you hang baskets? Install a wall-mounted planter? Add a tiered shelving unit? Vertical space is a game-changer for small-space gardens. It lets you grow significantly more plants without cluttering your valuable floor area. Thinking vertically is key to managing too many plants for small balcony situations.
Choosing the Right Pots: Smart Container Solutions
The right container is more than just a decorative element. It is crucial for your plant’s health and your garden’s overall success. When you have a limited footprint, making smart choices about your pots becomes even more vital for container garden design.
While focus is on utility, you can also learn how to mix and match pots to ensure your balcony looks intentionally designed.
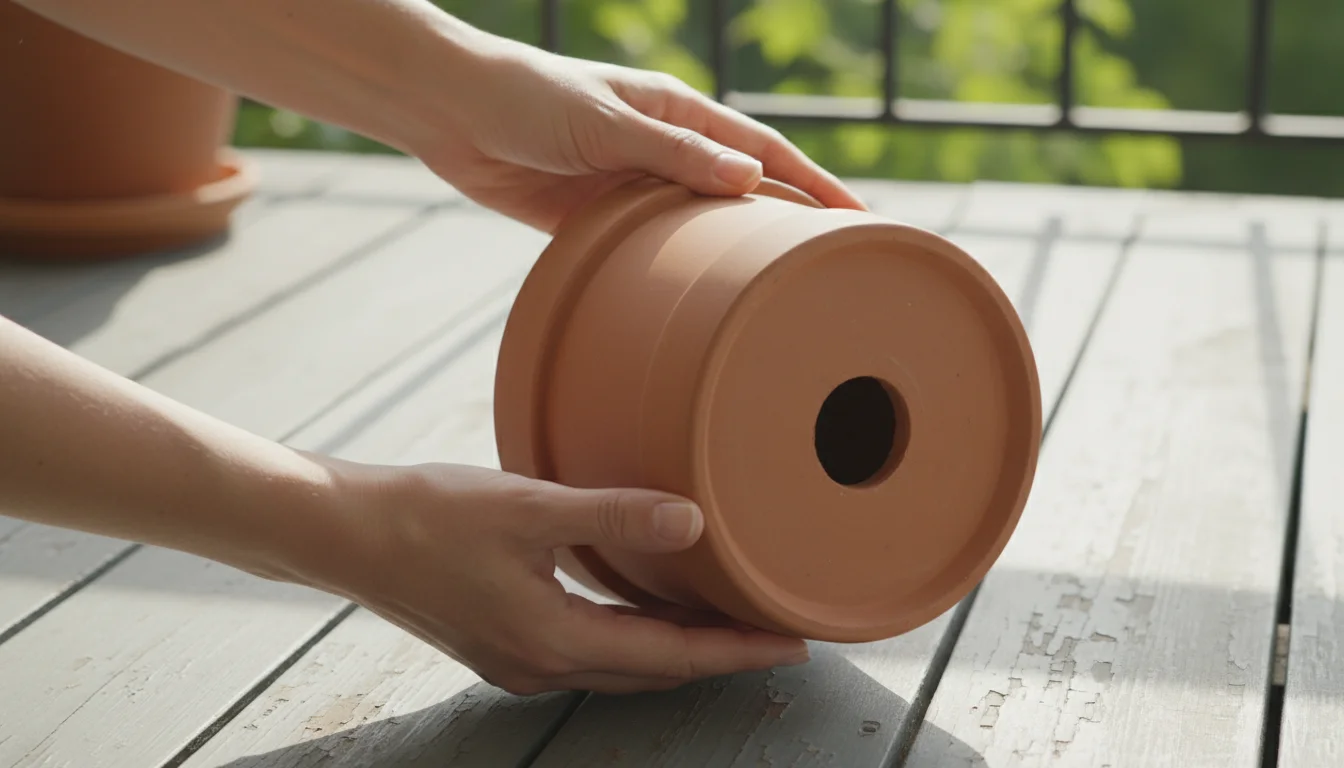
Drainage: The Golden Rule
Every single pot must have drainage holes. “Drainage” refers to how efficiently water can exit the bottom of the pot. Without drainage, water accumulates, suffocating roots and leading to root rot, a common killer of container plants. If a pot lacks holes, drill them yourself, or choose another container. Avoid adding gravel or broken pot shards to the bottom for drainage; this practice can actually hinder proper water flow. Instead, rely on good potting mix and adequate drainage holes.
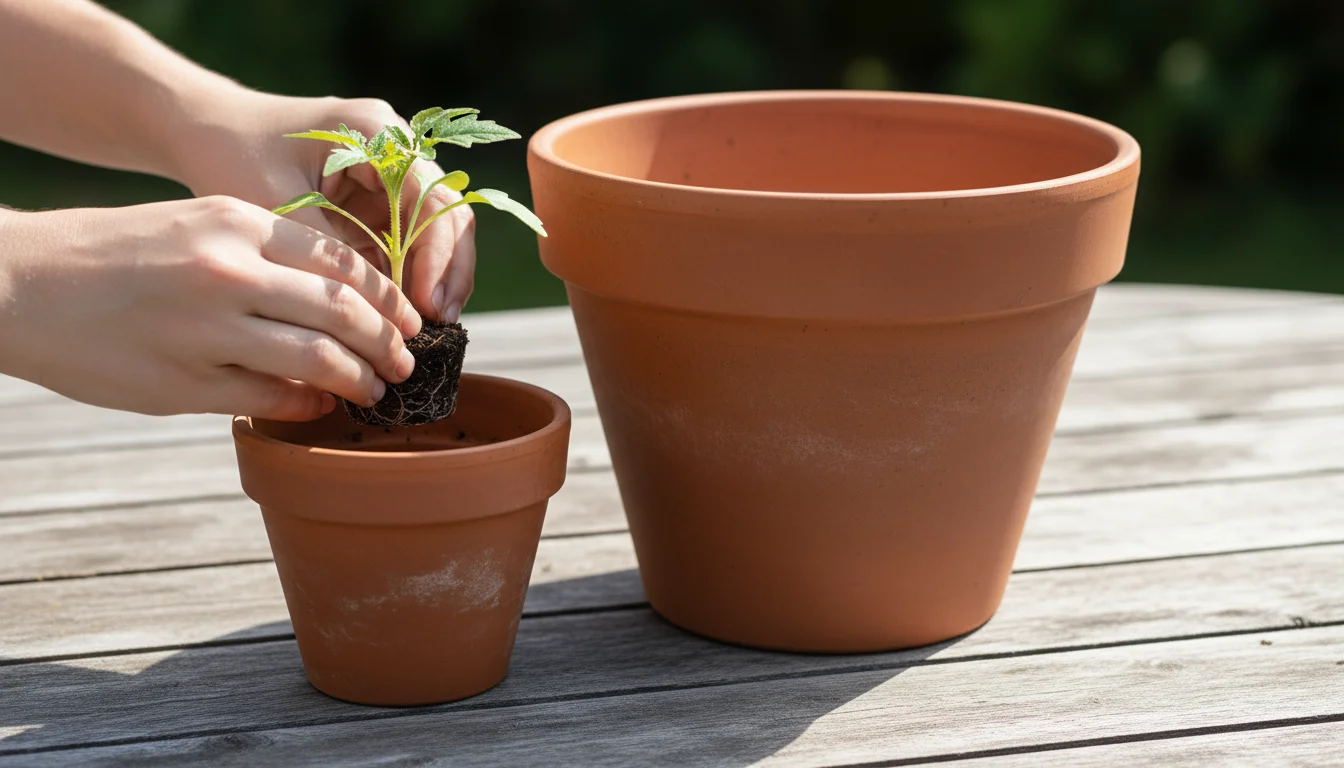
Size Matters for Growth
Plants need room to grow. A small pot restricts root development, stunting growth and requiring more frequent watering. As a general rule, choose a pot that is at least 6-8 inches in diameter for herbs and small annual flowers, and 10-12 inches or larger for vegetables like tomatoes or peppers. Root vegetables like carrots or radishes need deeper pots. When potting plants, ensure the container size accommodates the mature size of your plant.
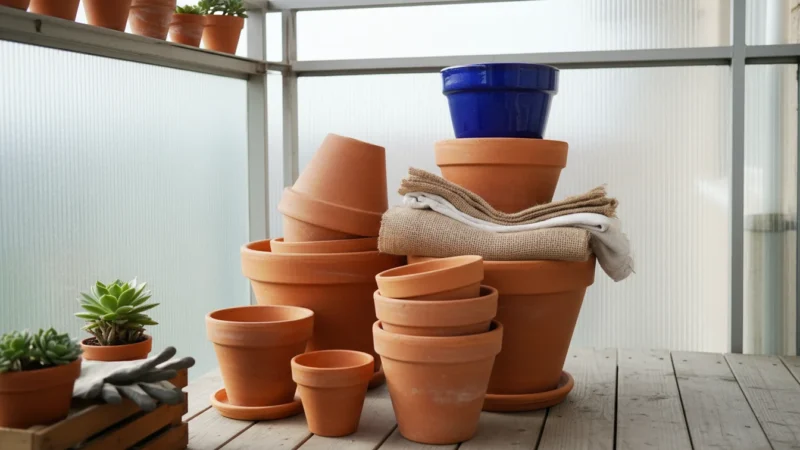
Material Considerations
- Terra Cotta/Ceramic: Porous, allowing roots to breathe and excess moisture to evaporate. This means they dry out faster, requiring more frequent watering, especially in hot climates. They are heavy, making them stable but hard to move.
- Plastic: Lightweight, inexpensive, and retains moisture well. Ideal for thirsty plants or if you travel frequently. They come in many colors and styles.
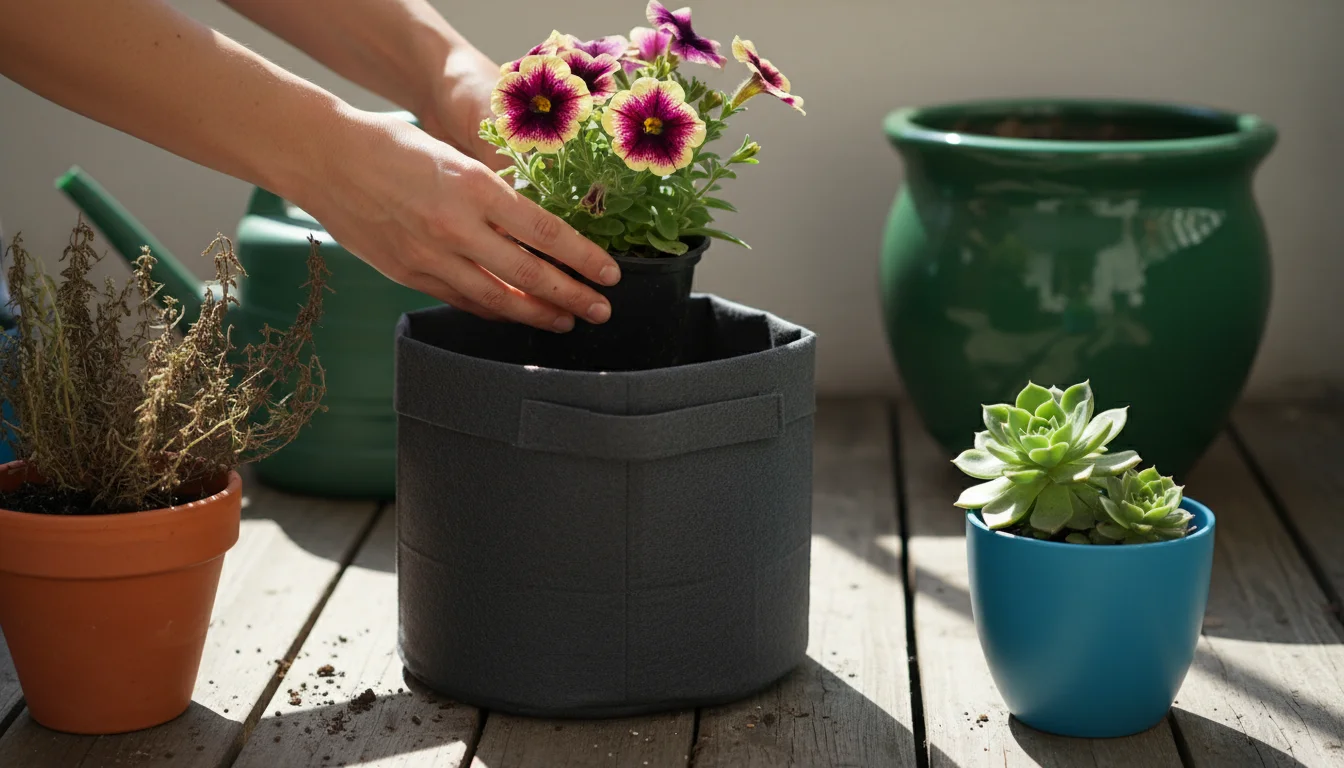
- Fabric Grow Bags: Excellent aeration and drainage. They prevent root circling (where roots grow in a tight spiral), leading to healthier root systems. Lightweight and easy to move or store when empty.
- Metal/Glazed Ceramic: Less porous than terra cotta. They retain moisture longer. Metal can heat up significantly in direct sun, potentially cooking roots.
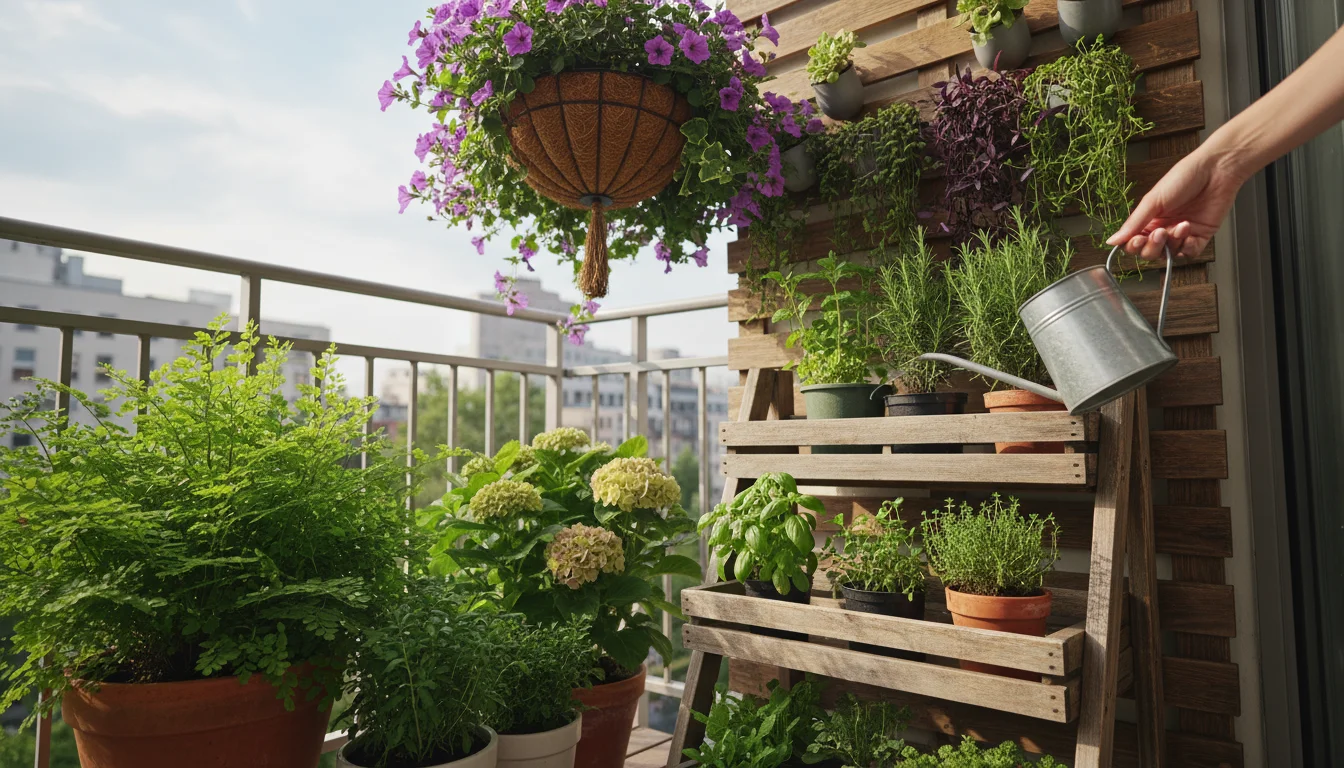
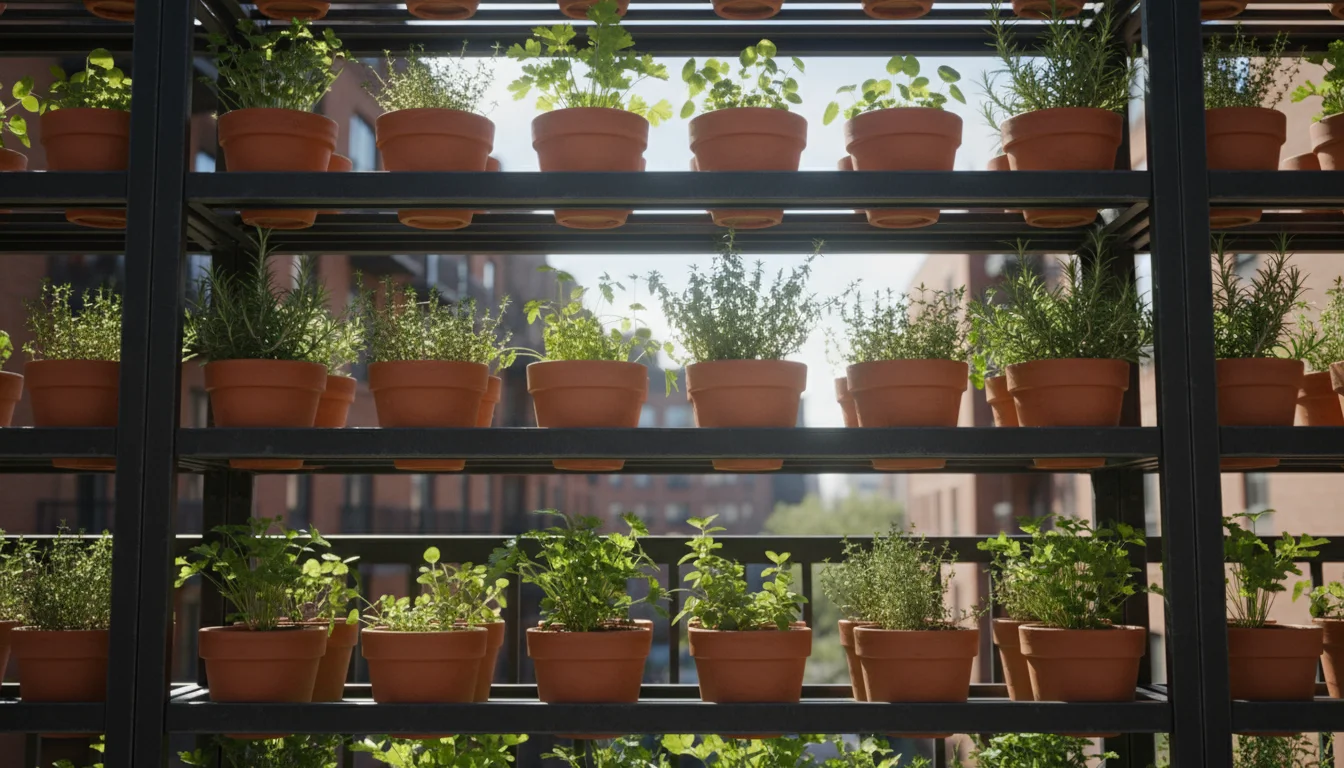
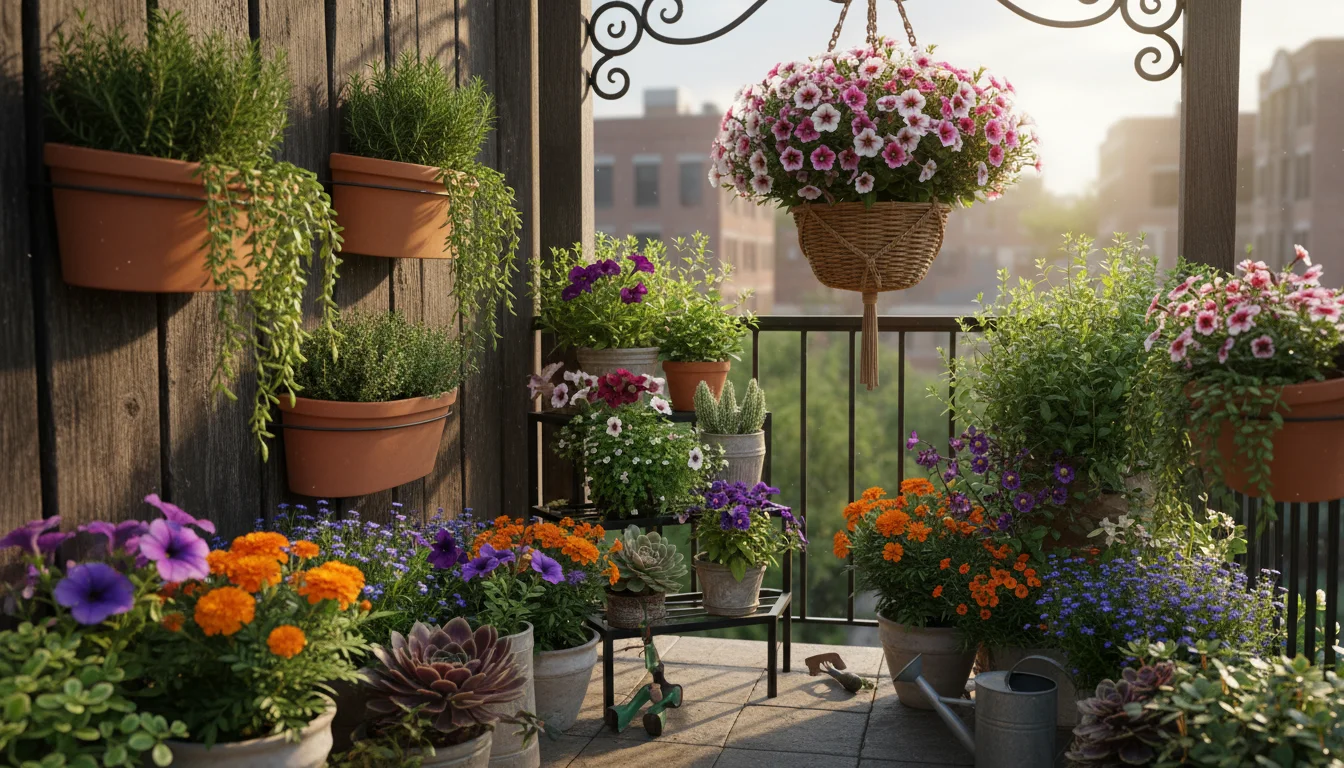
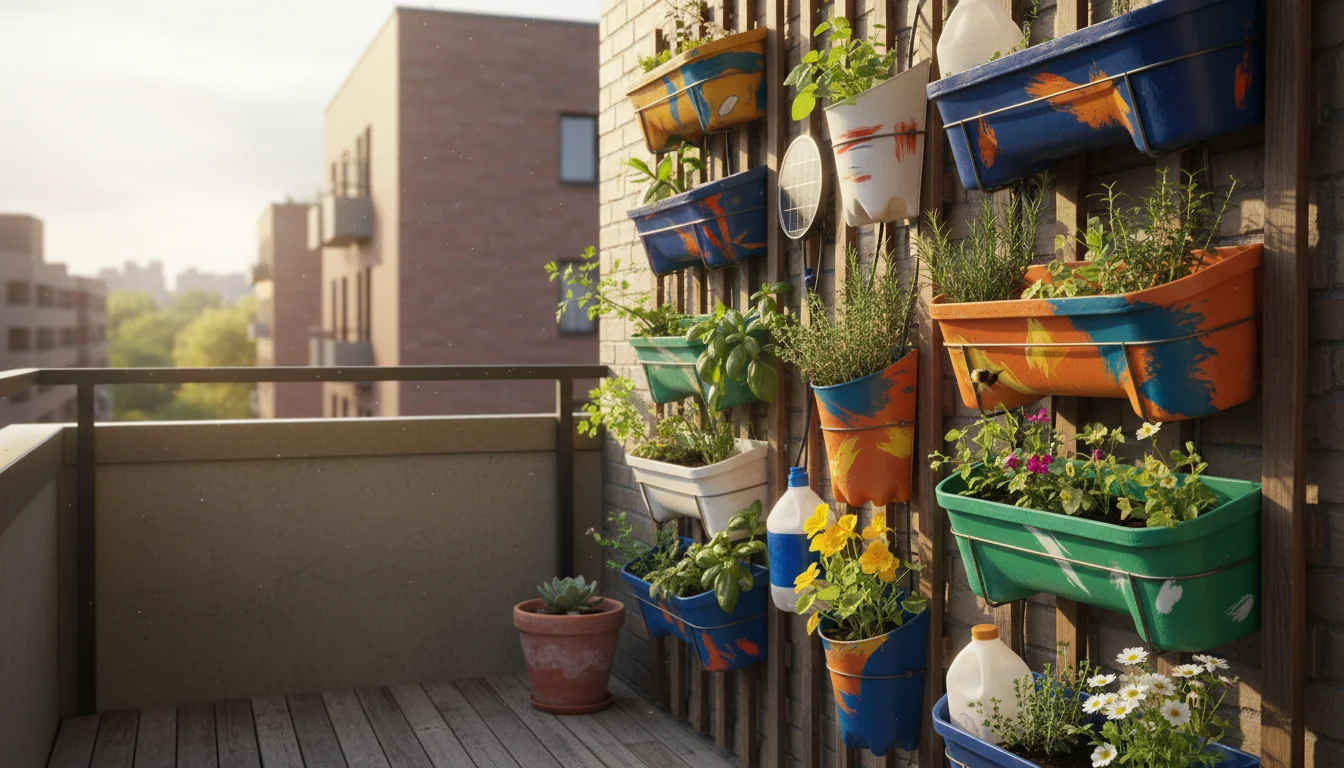
Vertical Gardening Solutions
To tackle having too many plants for small balcony, embrace vertical gardening. Options include:
- Wall-Mounted Planters: Systems that attach directly to a wall, holding multiple small plants.
- Tiered Shelving Units: Offer multiple levels for pots, maximizing vertical space.
- Hanging Baskets: Excellent for trailing plants like petunias, strawberries, or herbs, freeing up floor space.
- Trellises and Cages: Support climbing plants like peas, beans, cucumbers, or indeterminate tomatoes, training them upward.
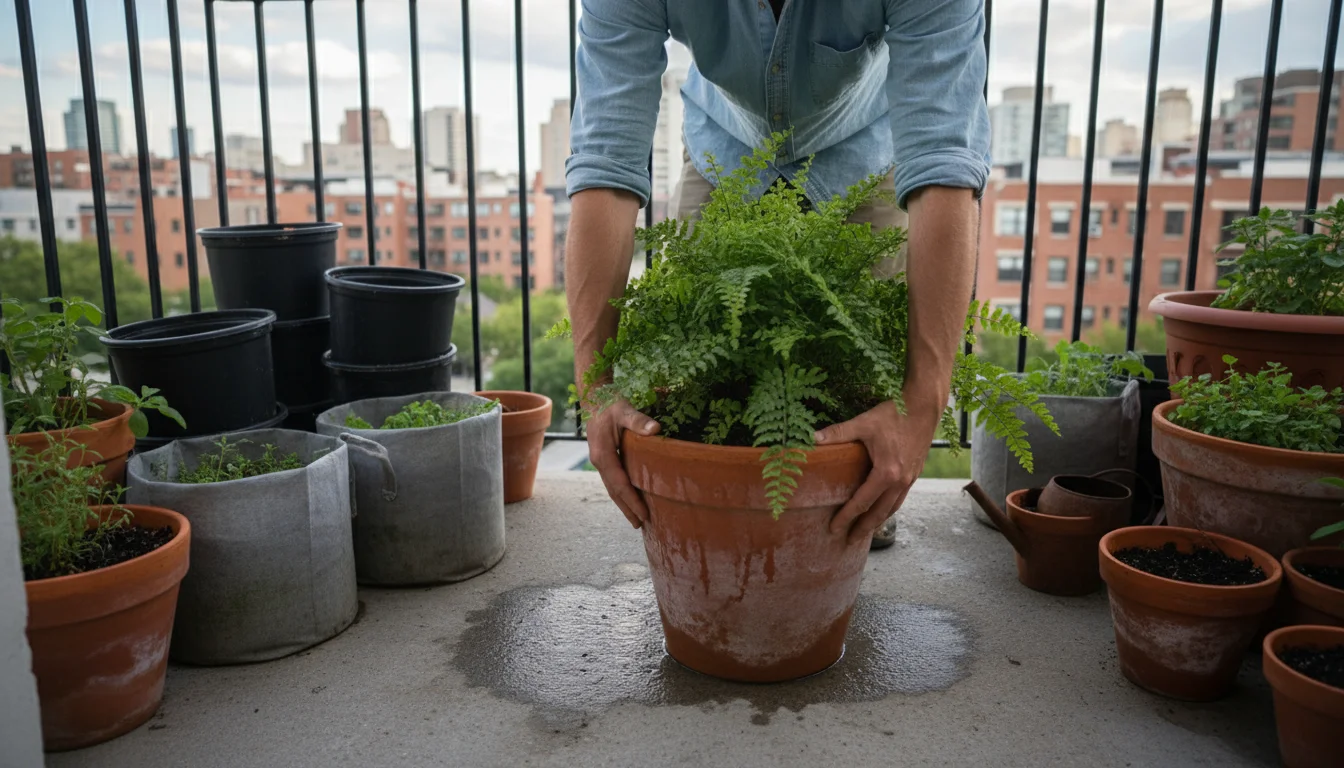
Potting Plants Like a Pro: A Step-by-Step Guide
Now that you have your new plants and chosen containers, it is time for the satisfying process of potting plants. Follow these steps for a smooth transition and a healthy start.

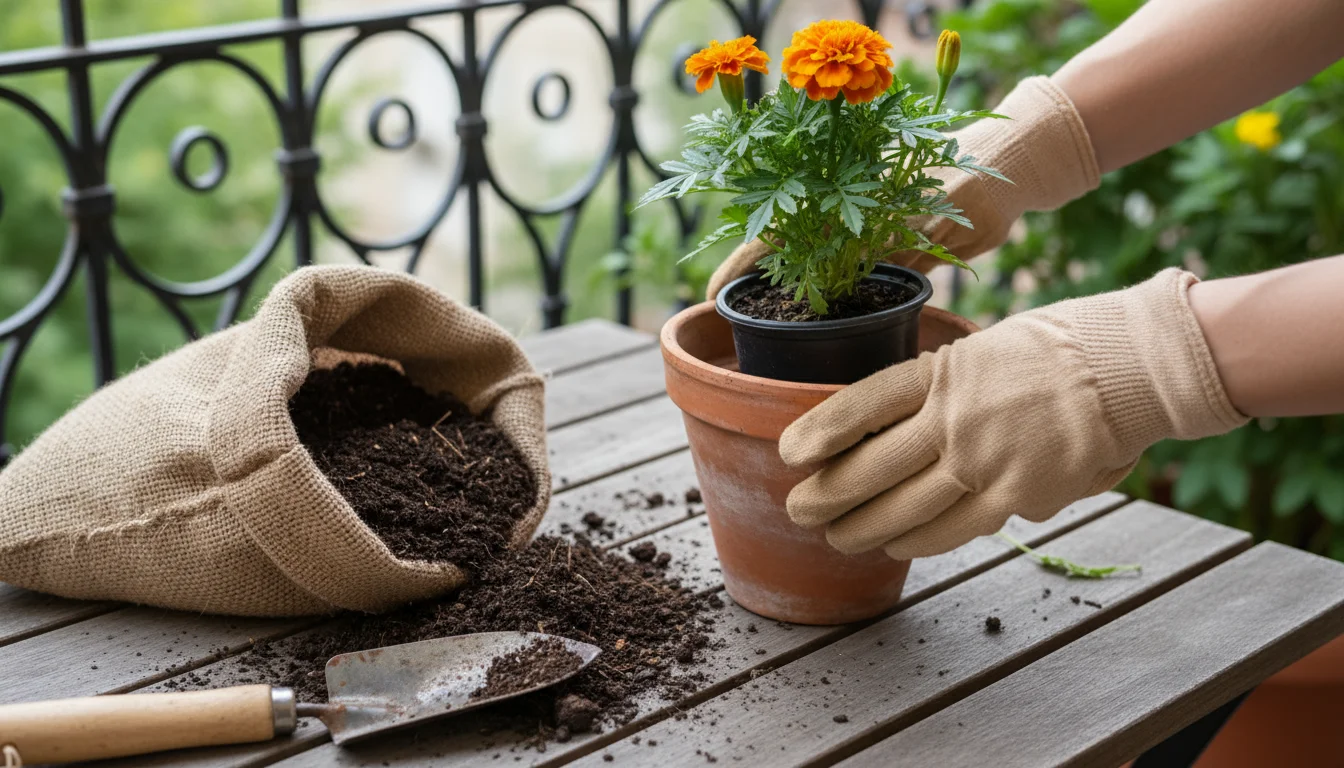
1. Gather Your Supplies
You will need:
- Your new plants.
- Chosen containers with drainage holes.
- High-quality potting mix (never garden soil).
- A small trowel or scoop.
- Gloves (optional, but recommended for clean hands).
- Watering can.
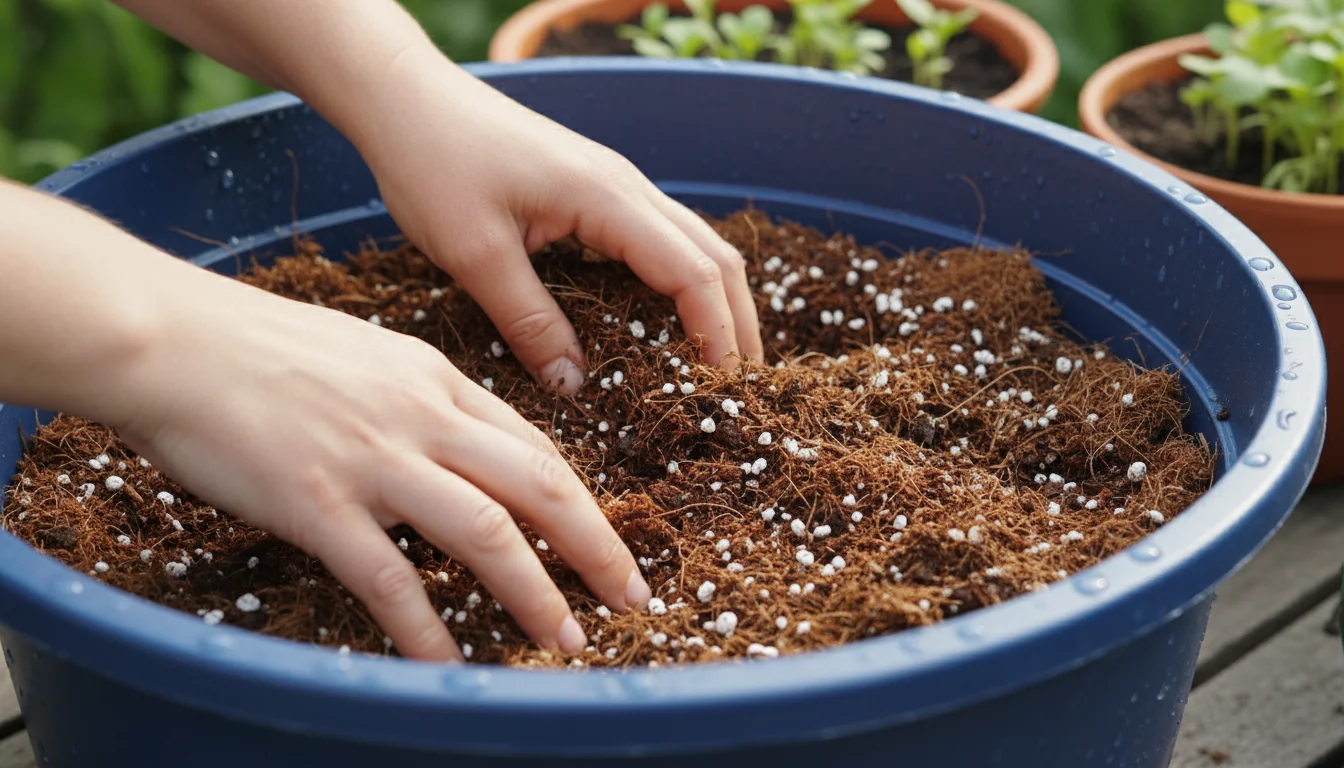
2. Choose the Right Potting Mix
This is critical. For container gardening, always use a sterile, soilless potting mix. Garden soil is too dense, compacts easily in pots, does not drain well, and can introduce pests or diseases. Potting mix is specifically formulated for containers; it is lighter, offers better aeration, and retains moisture effectively while allowing excess water to drain. Look for mixes containing perlite or vermiculite for improved drainage and aeration, and sphagnum peat moss or coco coir for moisture retention.
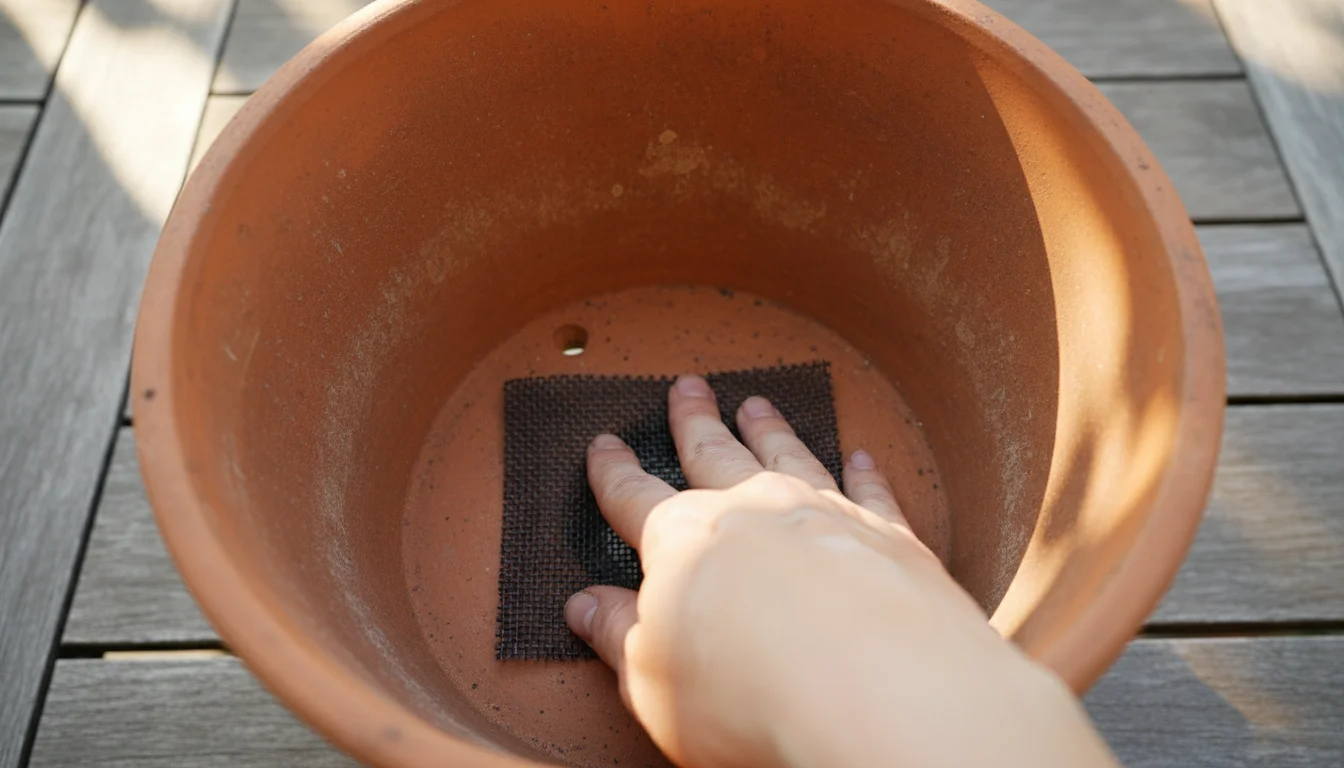
3. Prepare the Container
Place a small piece of mesh screen, a coffee filter, or even a paper towel over the drainage holes. This prevents potting mix from washing out while still allowing water to escape freely. Do not add gravel or broken pottery shards at the bottom. This old advice is a myth; it actually creates a “perched water table” that can lead to root rot by trapping water above the gravel layer.
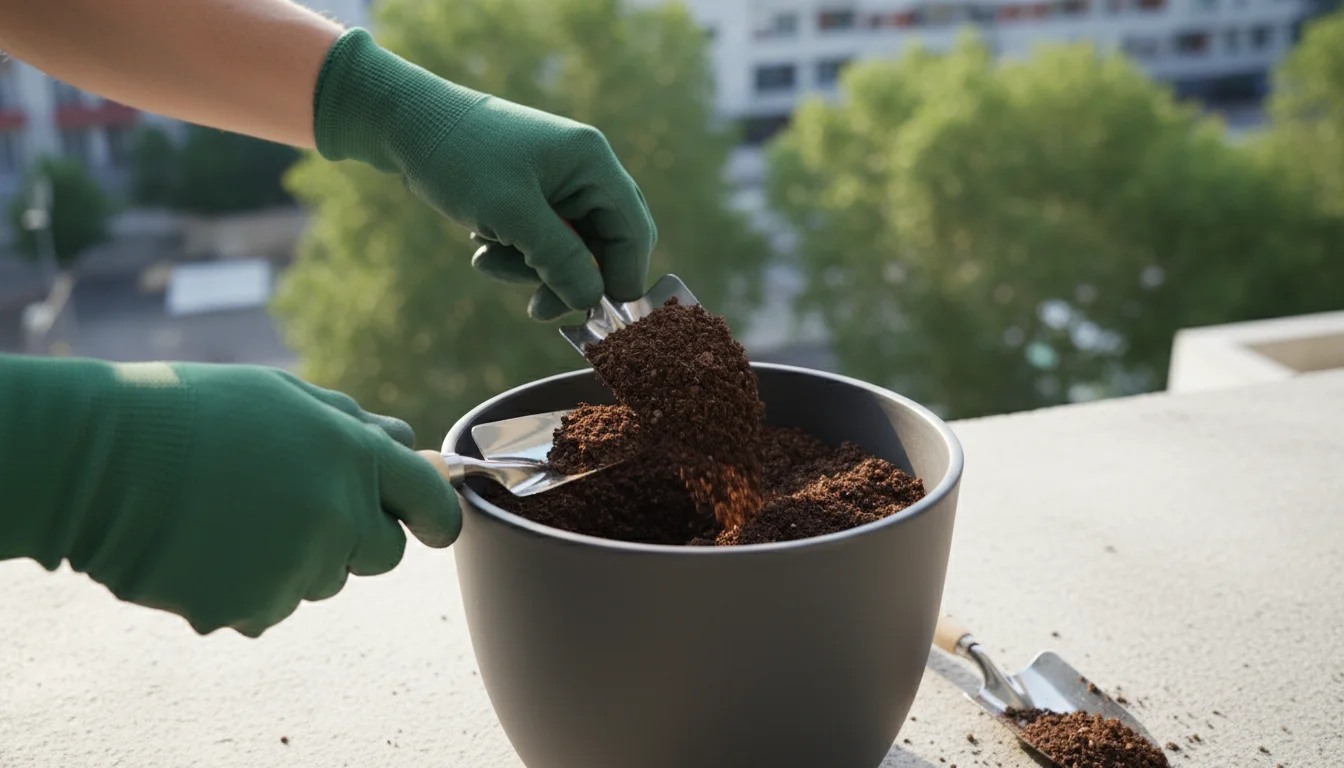
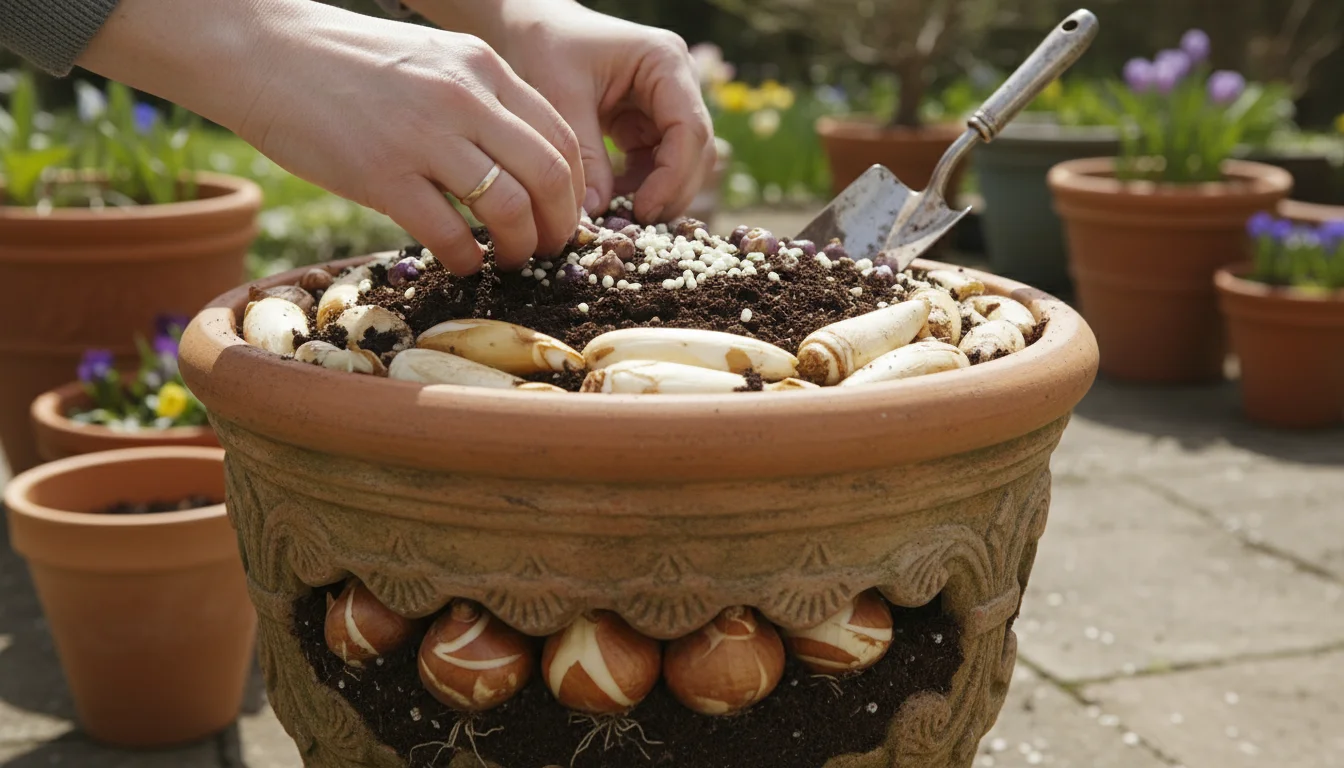
4. Add Potting Mix
Fill the bottom of your container with enough potting mix so that when you place your plant on top, the top of its root ball sits about 1 inch below the rim of the pot. This space, called the “headroom,” allows for watering without overflow.
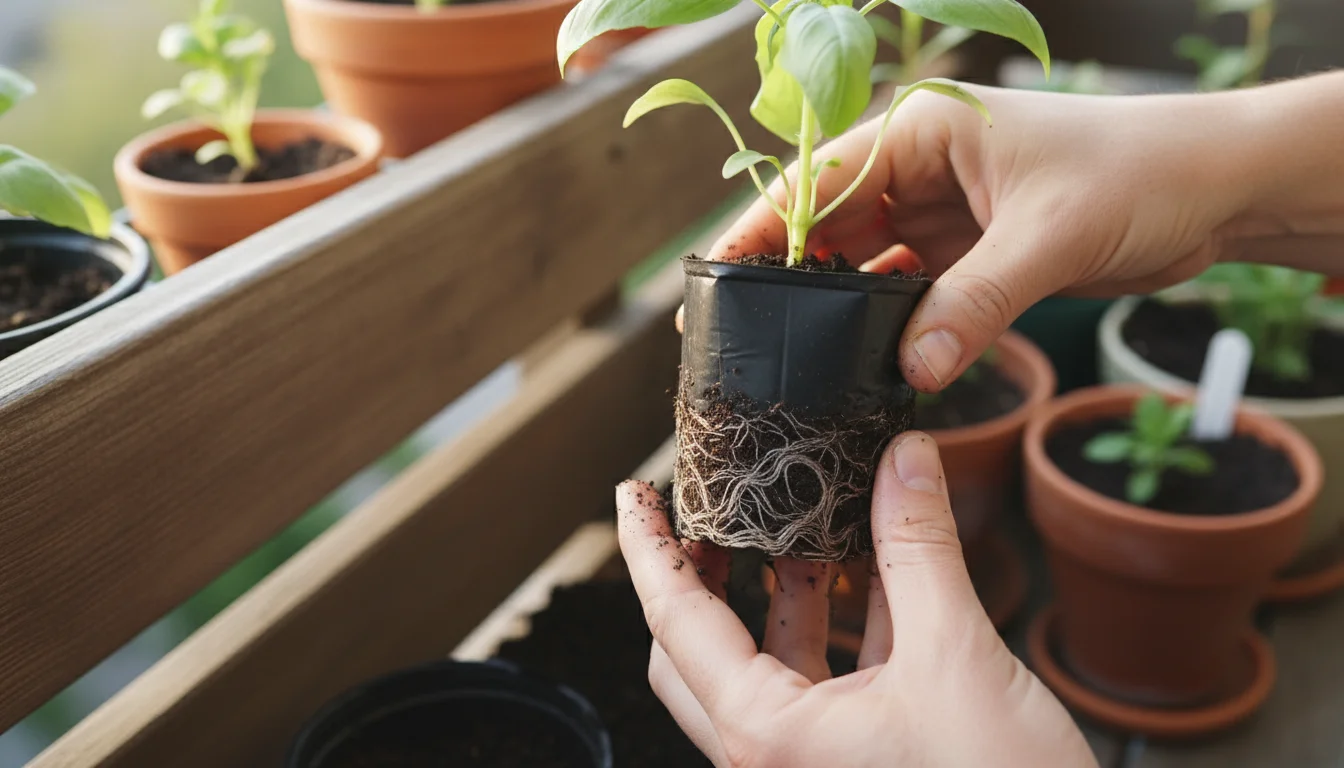
5. Remove the Plant from its Nursery Pot
Gently squeeze the sides of the nursery pot. Turn the plant upside down, supporting the stem with your fingers, and ease the plant out. If it is stuck, you may need to tap the bottom or carefully cut the nursery pot away. Avoid pulling the plant by its stem. If the roots are tightly bound (root-bound), gently loosen them with your fingers or make a few vertical slices in the root ball with a clean knife. This encourages roots to grow outward into the new potting mix.
6. Place and Fill
Center the plant in its new container. Hold it in place and begin adding potting mix around the root ball, gently firming it down to remove large air pockets. Do not compact it too tightly, as roots need air. Continue adding mix until the root ball is covered, maintaining that 1-inch headroom at the top.
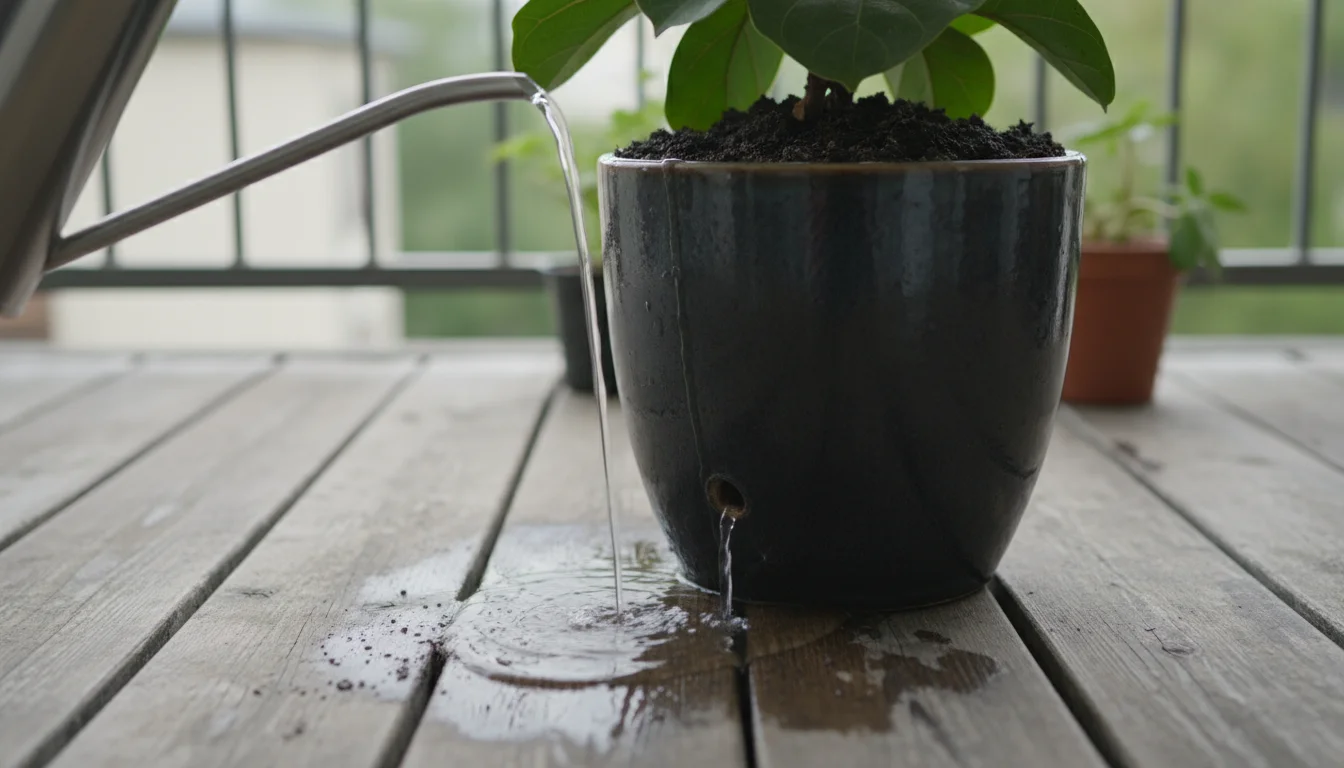
7. Water Thoroughly
Immediately after potting plants, water them deeply until water drains from the bottom of the pot. This settles the soil around the roots and eliminates any remaining air pockets. You may need to add a little more potting mix after the initial watering as it settles.
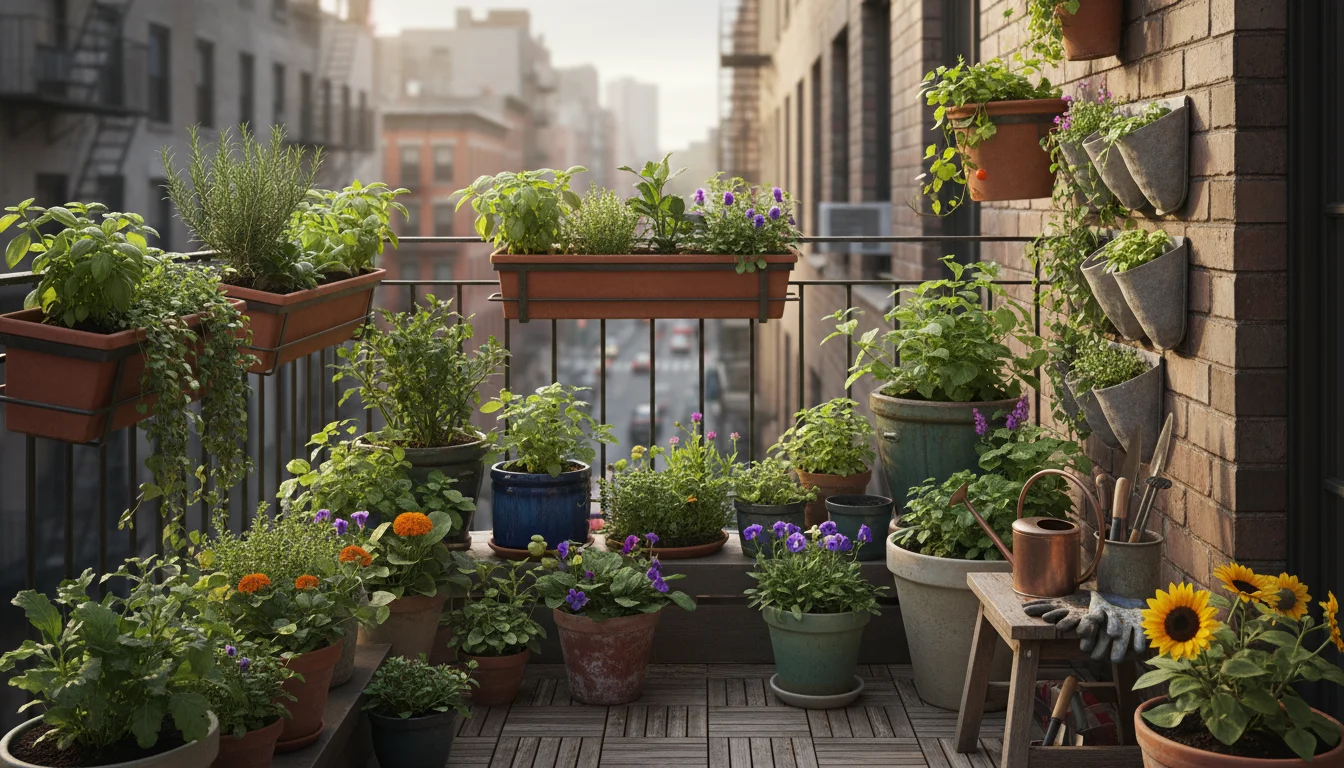
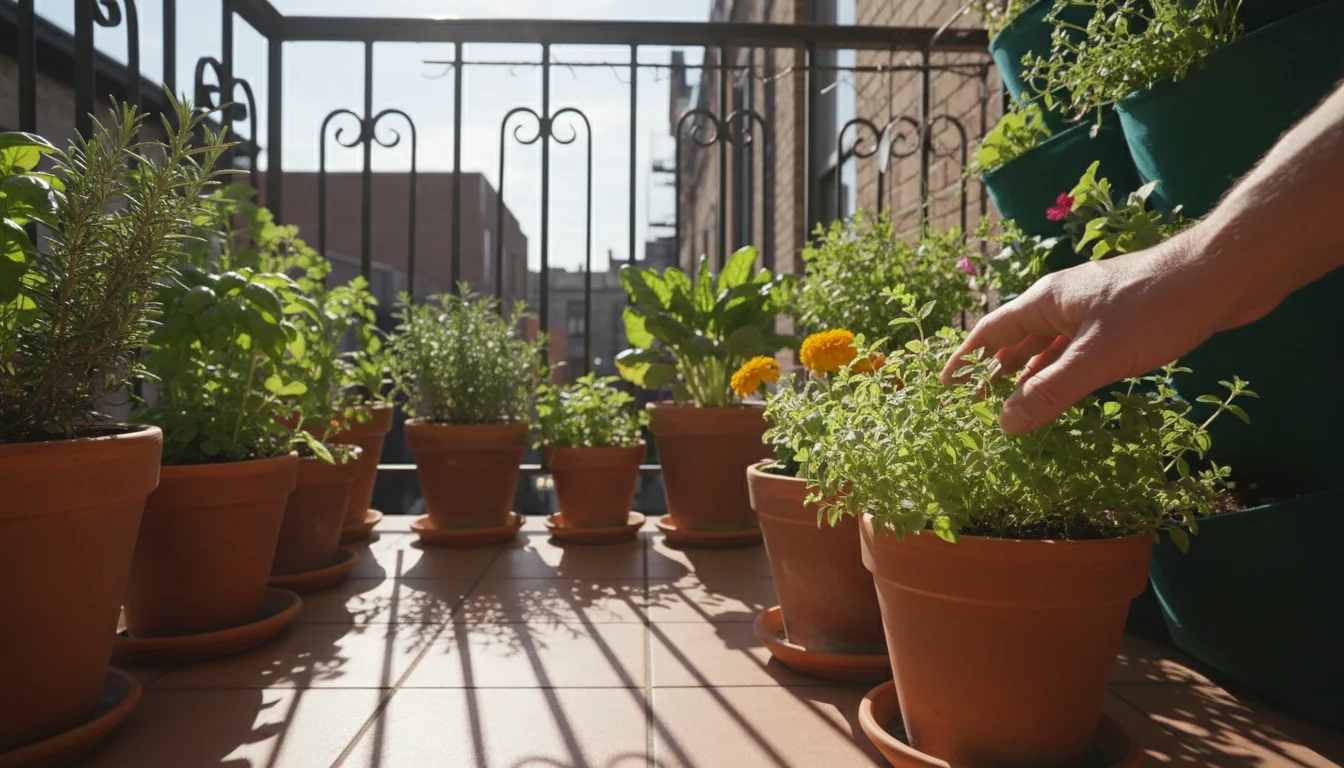
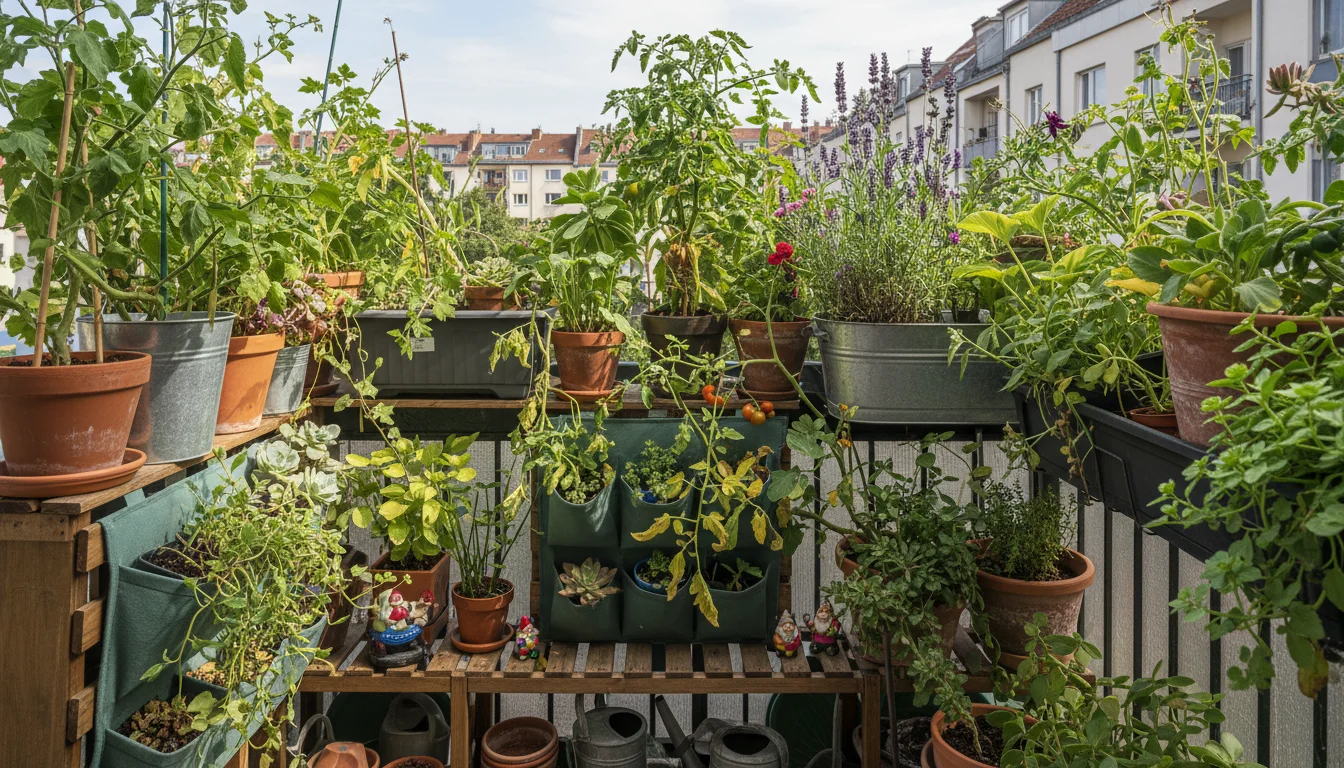
Mastering Container Garden Design for Tiny Spaces
Even with too many plants for small balcony, you can create a cohesive and attractive garden. Thoughtful container garden design makes your space feel intentional, not chaotic. This is where your inner artist comes out, combining plants for beauty and health.
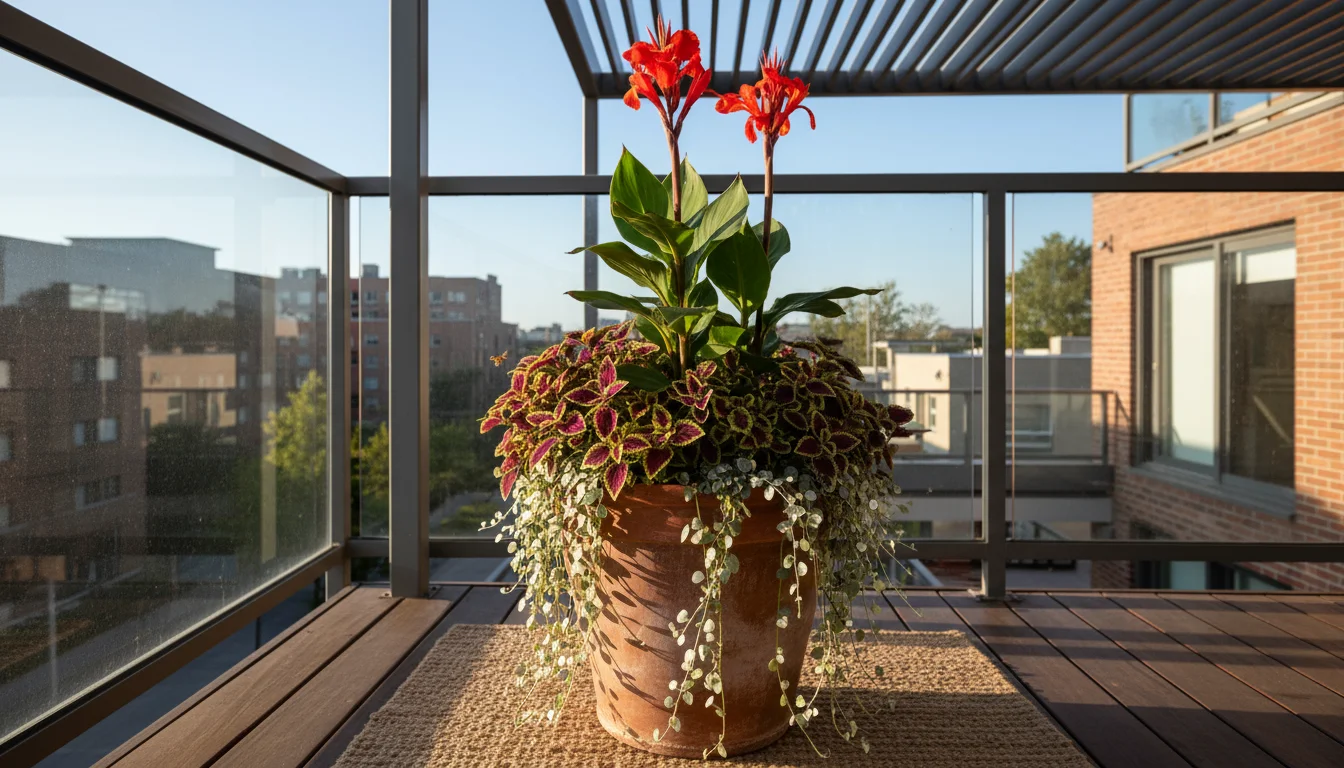
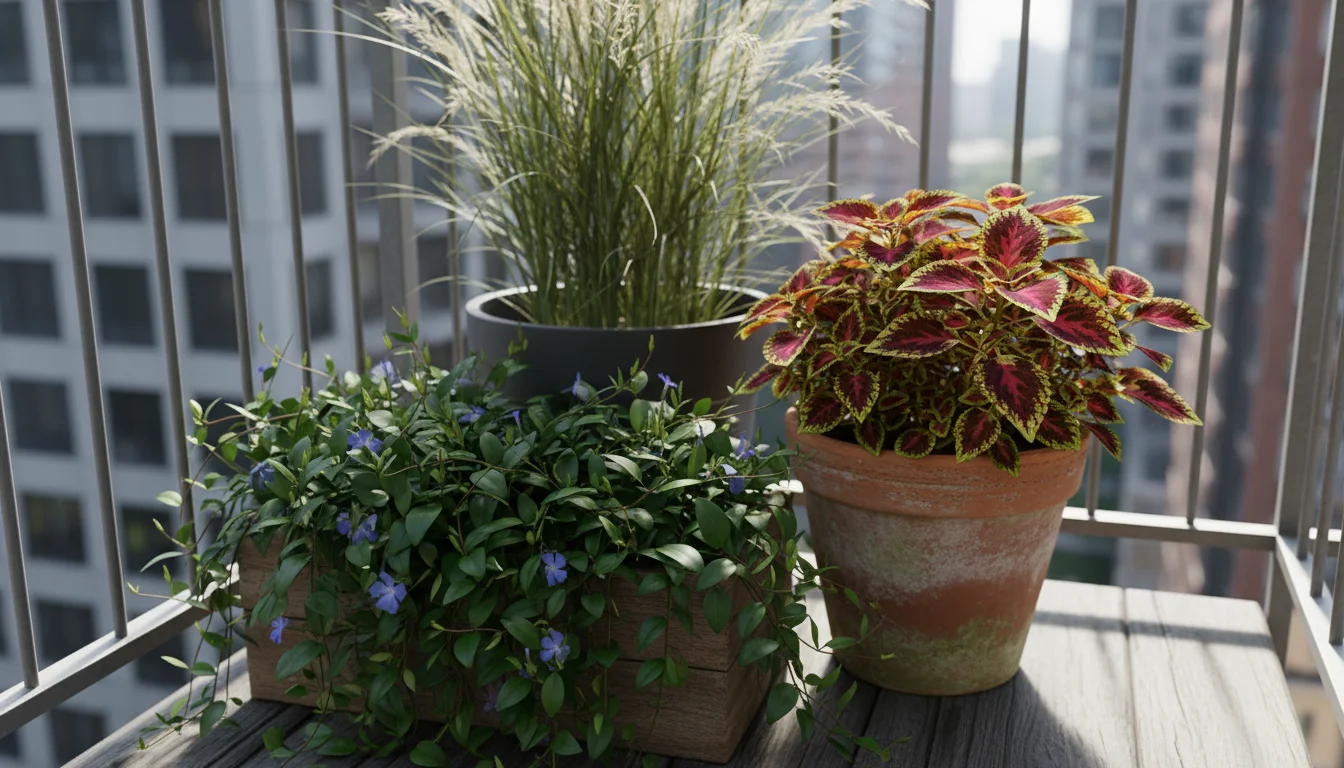
The “Thriller, Filler, Spiller” Concept
This popular design principle helps create visually appealing mixed containers:
- Thriller: A tall, dramatic plant that provides vertical interest and acts as a focal point. Examples include ornamental grasses, canna lilies, or a small upright shrub.
- Filler: Medium-height plants that fill in the space around the thriller, providing lushness and volume. Petunias, impatiens, coleus, or even bush beans can work.
- Spiller: Plants that trail over the edge of the pot, softening the container’s hard lines and adding a graceful cascade. Sweet potato vine, creeping Jenny, or cascading nasturtiums are excellent choices.
You do not need to use all three for every pot, but applying this thinking to your overall arrangement helps.
Grouping Plants by Needs
Combine plants with similar requirements for sunlight, water, and fertilizer. For example, do not put a sun-loving, drought-tolerant succulent with a shade-loving, water-hungry fern in the same pot. Grouping ensures all plants in a container thrive, rather than competing. This also simplifies ongoing care.
Varying Heights and Textures
Create visual interest by incorporating plants of different heights, leaf shapes, and textures. A mix of broad leaves, fine foliage, and spiky forms adds depth. Combine smooth, glossy leaves with fuzzy or variegated ones. This creates a dynamic and engaging display.
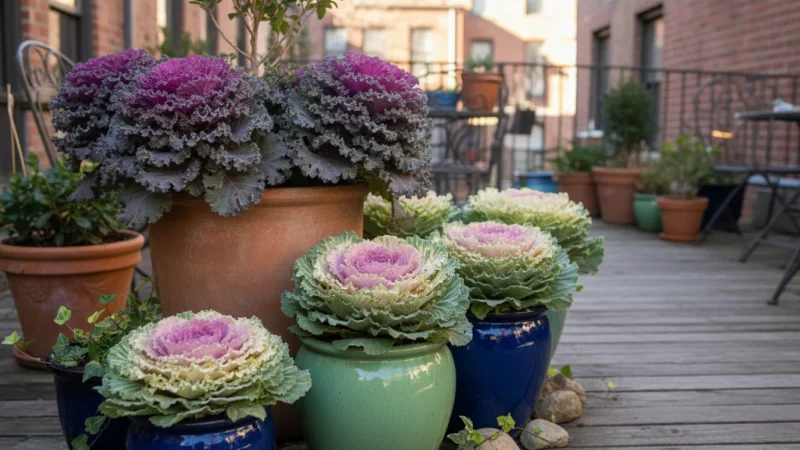
Color Palettes and Themes
Decide on a color scheme. Do you want a vibrant mix of complementary colors, or a calming monochrome palette? Think about how colors interact. Consider a theme, such as an edible garden (herbs, small veggies), a butterfly garden (pollinator-friendly flowers), or a fragrant oasis. A cohesive theme ties your “impulse buys” together.
Creating Focal Points
Even on a small balcony, you can have a focal point. This might be a particularly striking plant, a unique container, or a grouping of containers that draws the eye. Place your focal point strategically, perhaps at the corner or against a wall, to create a sense of depth and direction.
Strategic Plant Placement: Maximizing Light and Airflow
Once your plants are potted, the next challenge is figuring out how to arrange pots on a small balcony efficiently and effectively. Strategic placement is about more than just aesthetics; it is about providing the optimal environment for each plant while ensuring your space remains functional and inviting.
Match Plants to Sun Zones
Recall your sunlight assessment. Place sun-loving plants (like most vegetables, flowering annuals, and many herbs) in the brightest spots. Move shade-tolerant plants (like impatiens, ferns, or some hostas) to areas that receive less direct light. Do not force a plant to grow where it will not thrive; if you have too many plants for small balcony that do not match your light conditions, consider gifting some to friends or family.
Consider Airflow
Good air circulation is vital for preventing fungal diseases, especially in humid conditions. Avoid cramming pots too tightly together. Leave some space between them for air to move freely around the foliage. This is particularly important for plants susceptible to powdery mildew or other leaf diseases. Open arrangements also make watering and pest inspection easier.
Weight Distribution and Stability
Distribute heavy pots evenly across your balcony floor. Place taller, heavier containers on the ground or on sturdy plant stands to prevent tipping, especially in windy conditions. Lighter containers, like plastic pots or hanging baskets, can occupy shelves or railings.
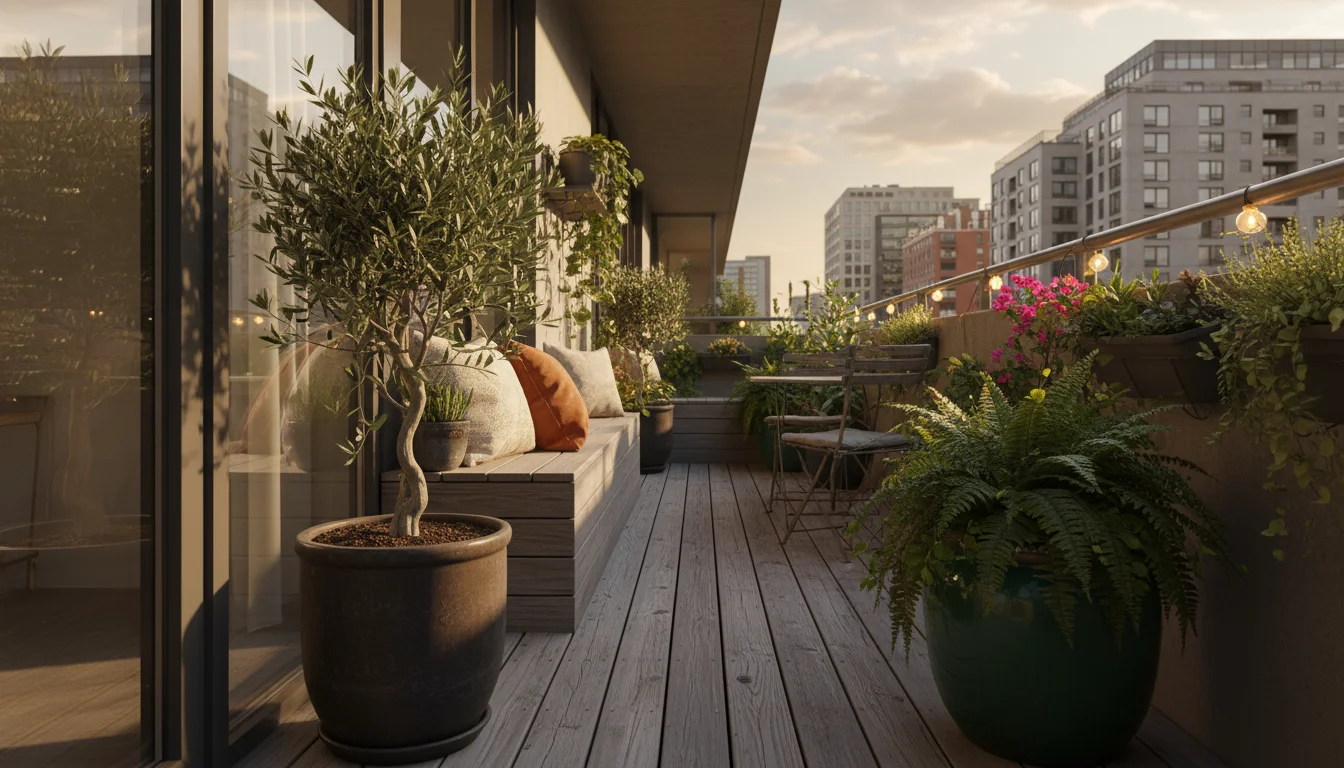
Accessibility and Functionality
Ensure you can easily reach all your plants for watering, pruning, and harvesting. Avoid blocking pathways or creating tripping hazards. If you use your balcony for sitting or dining, plan your garden layout around these functional zones. Think about how you move through the space and how the plants can enhance, rather than impede, your enjoyment.
Vertical Integration
Utilize every dimension. Mount planters on walls, hang baskets from ceilings or railing brackets, and use tiered plant stands. These vertical elements draw the eye upward, make the space feel larger, and significantly increase your growing capacity. This is an essential technique for managing too many plants for small balcony situations.
Ongoing Care for Your Balcony Oasis
Your new container garden needs consistent care to thrive. While spring planting is a joyful beginning, the true success lies in ongoing attention. Container plants have different needs than garden bed plants, primarily due to their confined root space.
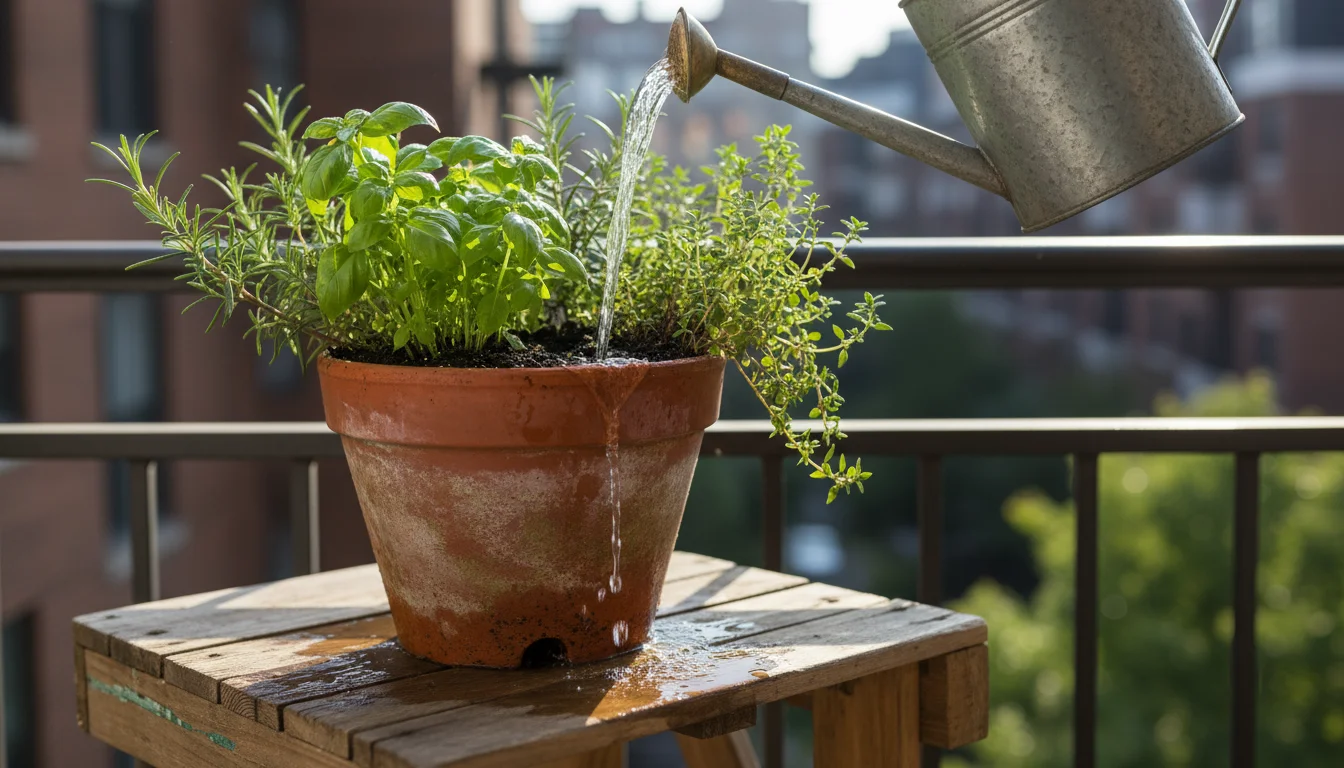
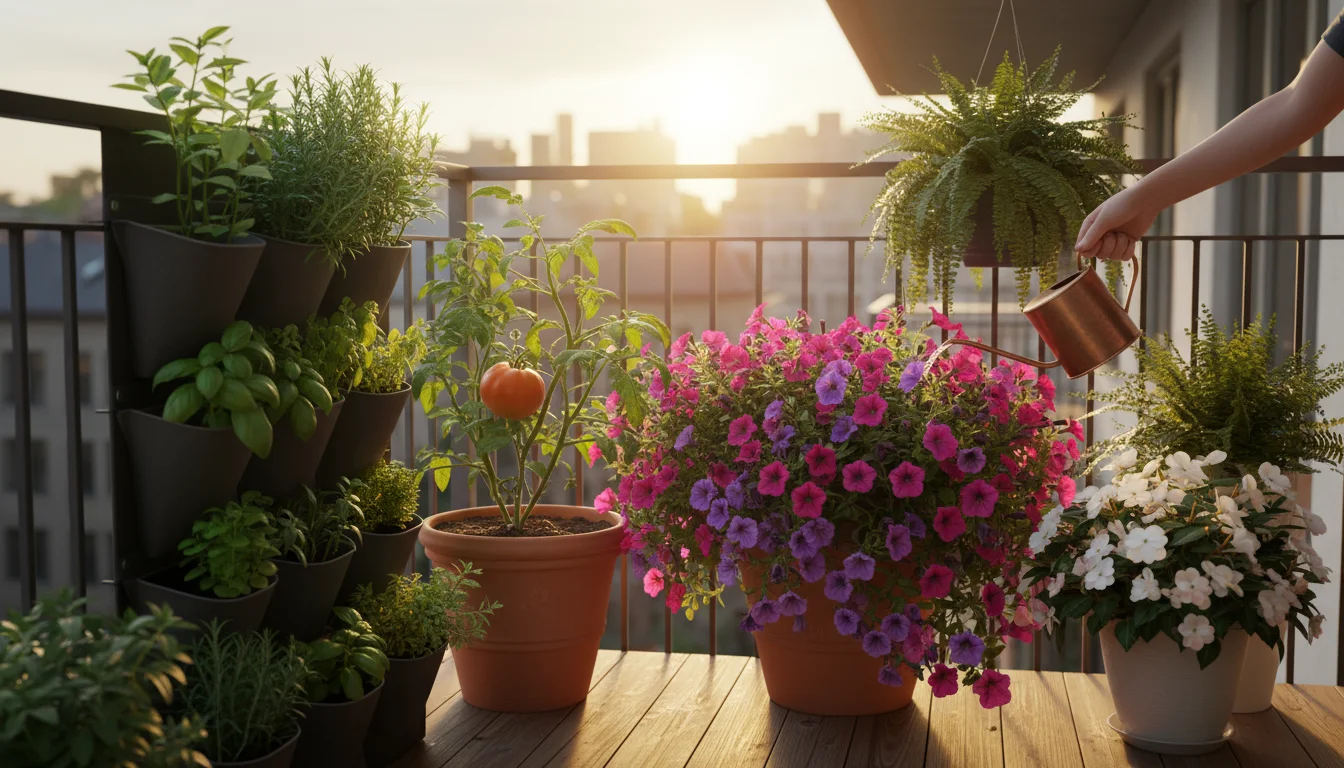
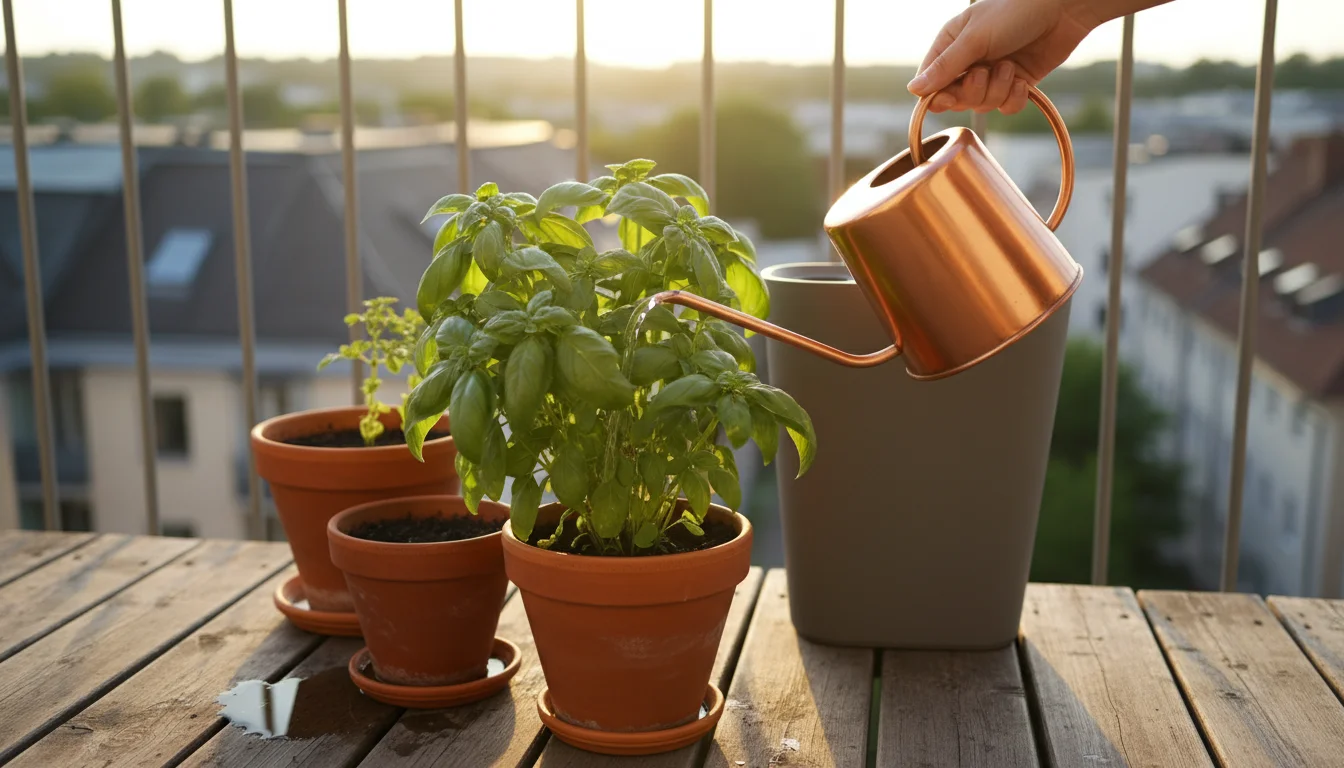
Watering: The Most Crucial Task
Container plants dry out faster than in-ground plants. Check soil moisture daily, especially during hot, sunny, or windy weather. Stick your finger about an inch or two into the soil; if it feels dry, it is time to water. Water deeply until you see water draining from the bottom. Do not water lightly, as this encourages shallow root growth. Use a watering can with a fine rose to avoid displacing soil, or use drip irrigation for convenience.

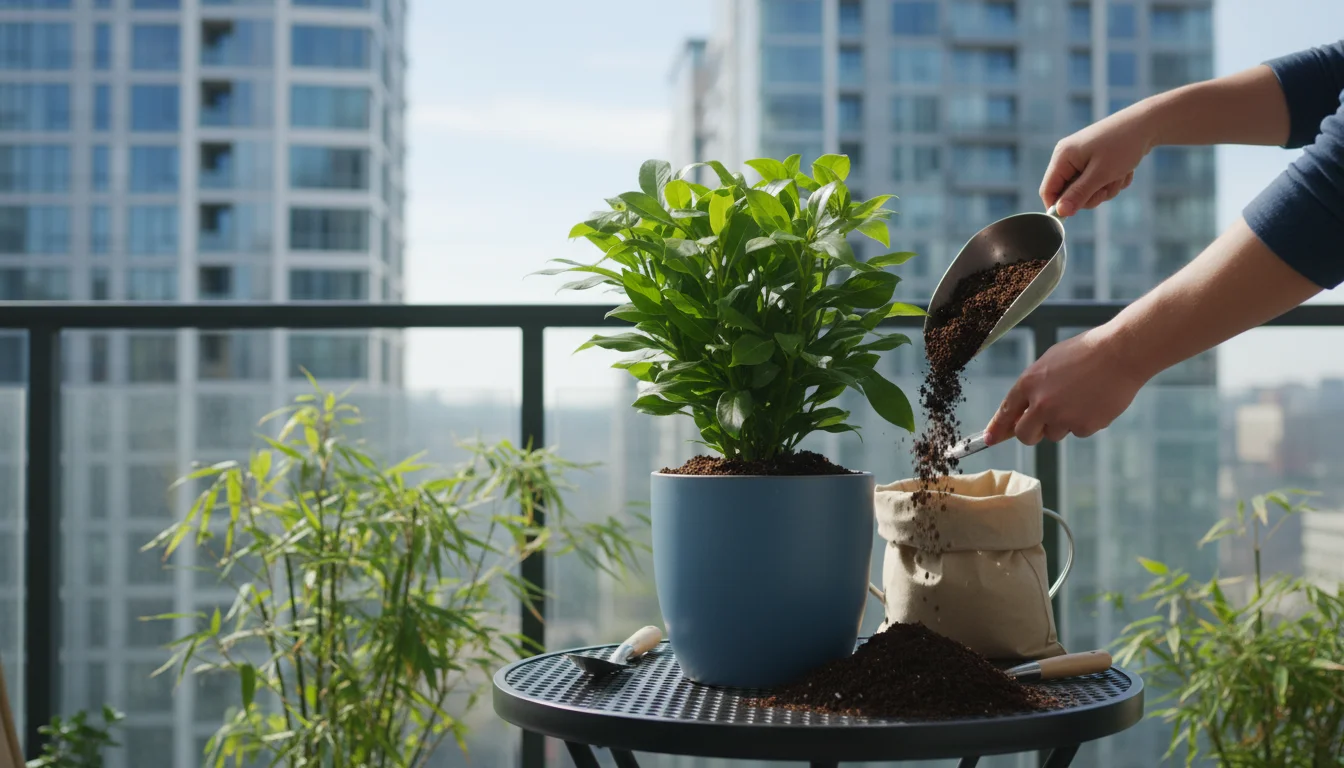
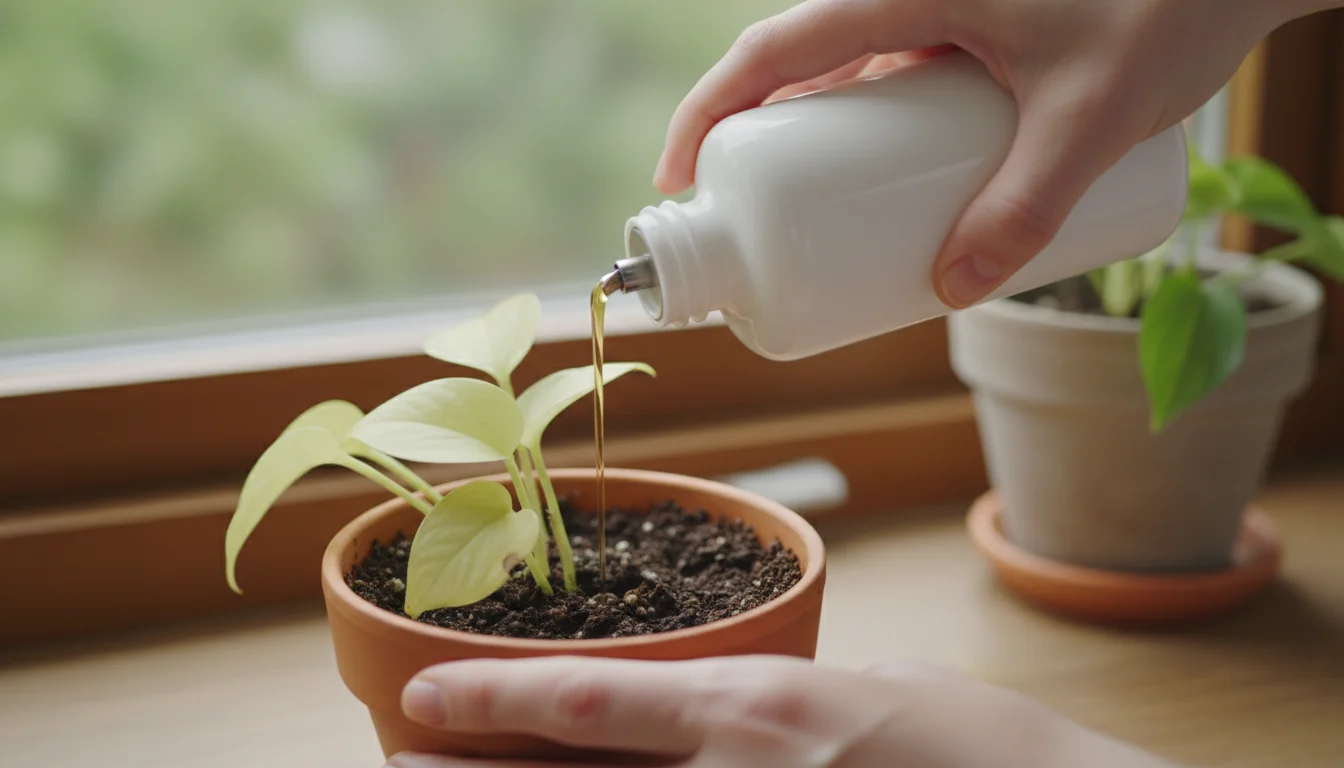
Fertilizing for Growth
Potting mix contains very few nutrients. Plants quickly deplete what is available. Begin fertilizing about two to four weeks after potting, once your plants have settled in. Use a balanced liquid fertilizer diluted to half strength, or a slow-release granular fertilizer, following product instructions carefully. Fertilize regularly throughout the growing season, typically every 2-4 weeks for liquid fertilizers, or as directed for slow-release types. This provides the continuous nourishment your plants need for lush growth and abundant blooms.

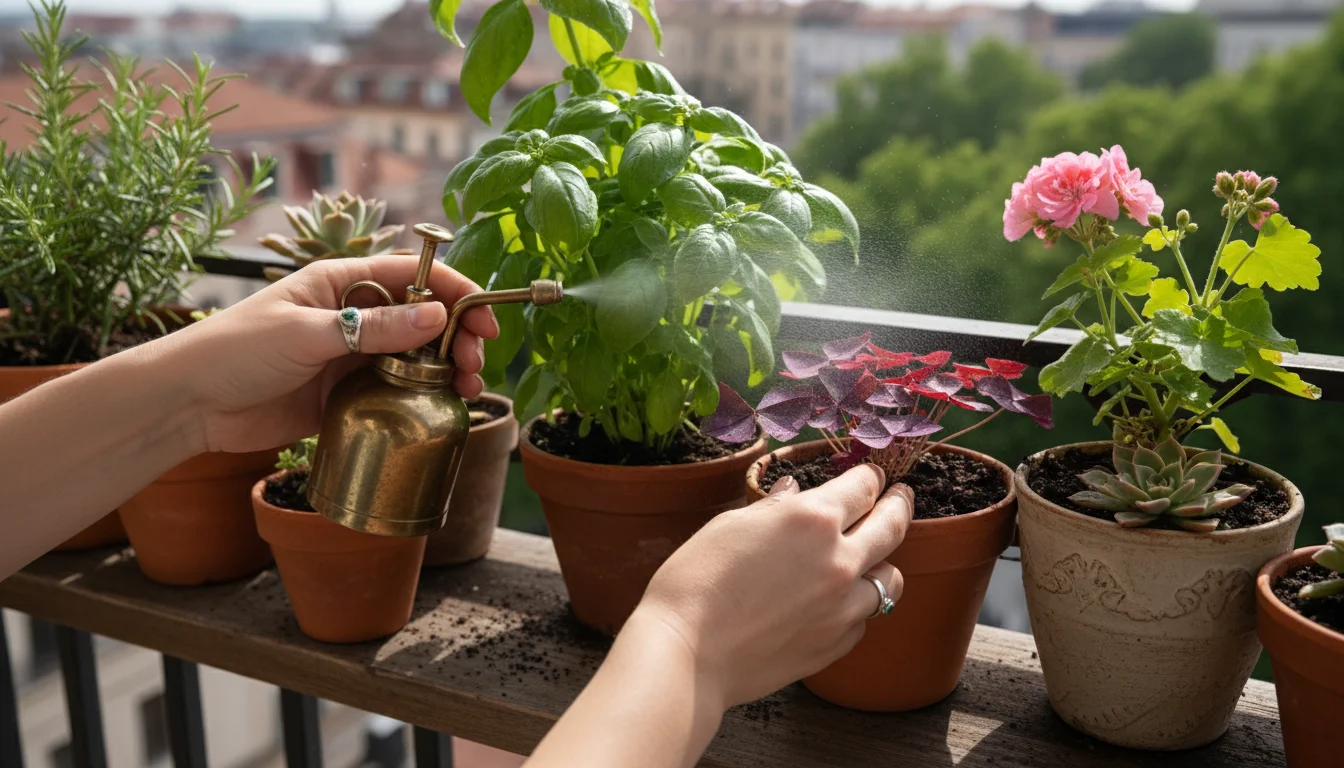
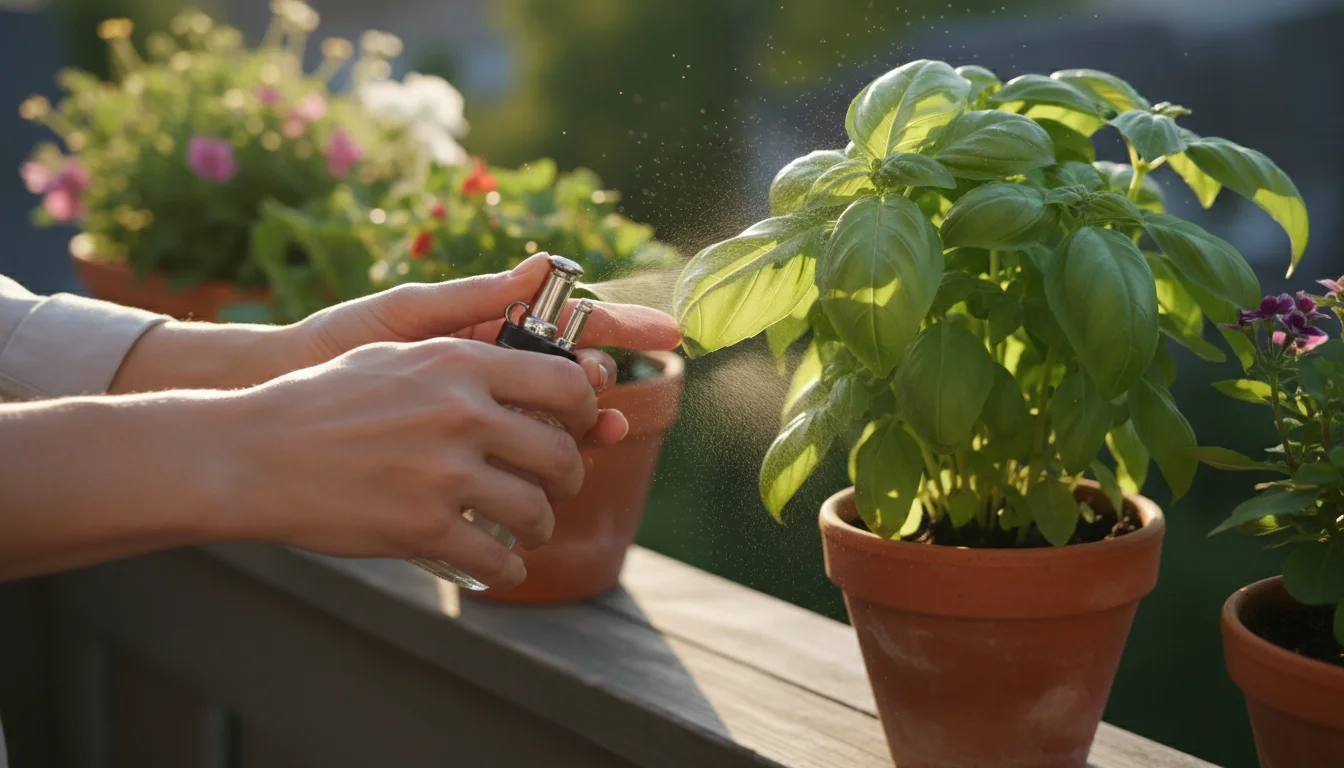
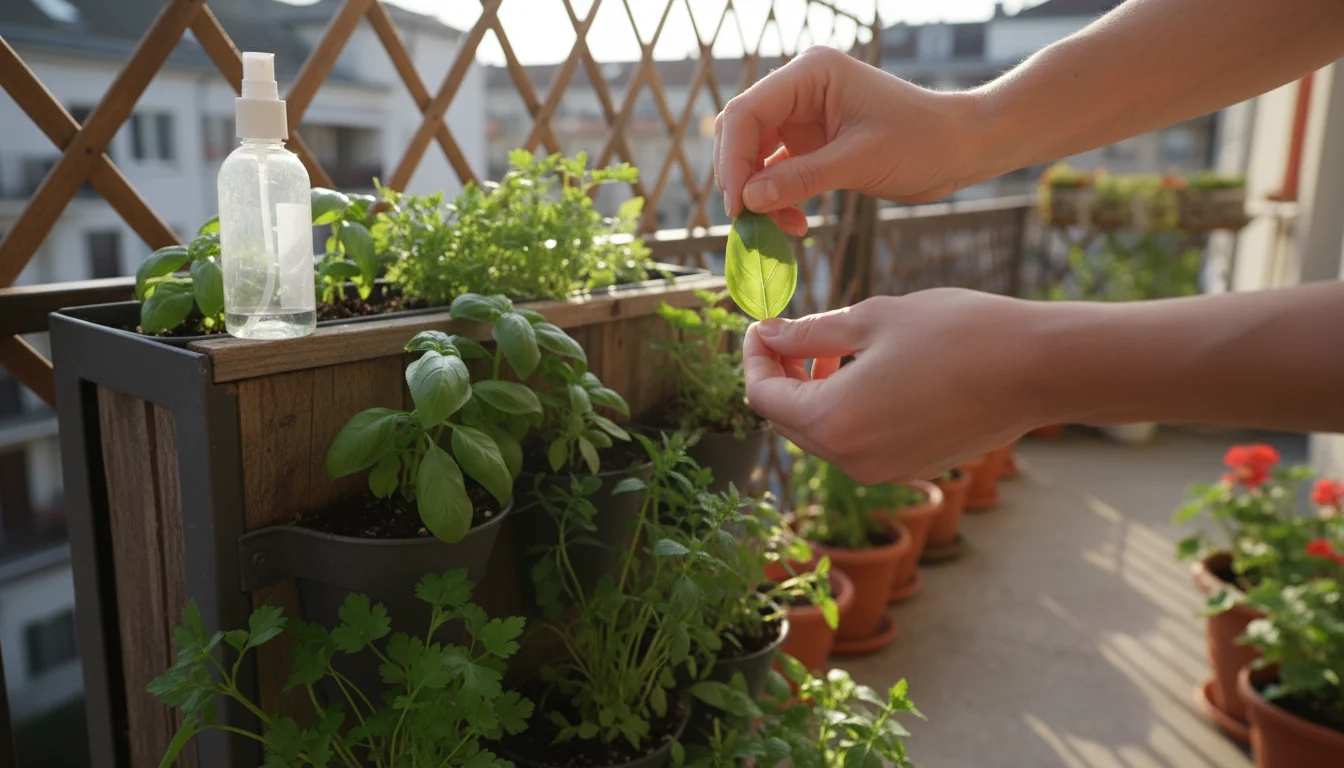
Pest and Disease Watch
Inspect your plants regularly for any signs of pests (aphids, spider mites, whiteflies) or diseases (leaf spots, mildew). Early detection is key. Many problems can be addressed with simple solutions like a strong spray of water to dislodge pests, or using insecticidal soap. Healthy plants are more resistant to pests and diseases, so consistent watering and fertilizing are your first line of defense.
Pruning and Deadheading
Pruning (trimming) encourages bushier growth and can redirect plant energy. Pinch back leggy (long and stretched) stems to promote branching. Deadheading (removing spent flowers) encourages plants to produce more blooms instead of putting energy into seed production. This keeps your garden looking tidy and vibrant throughout the season.
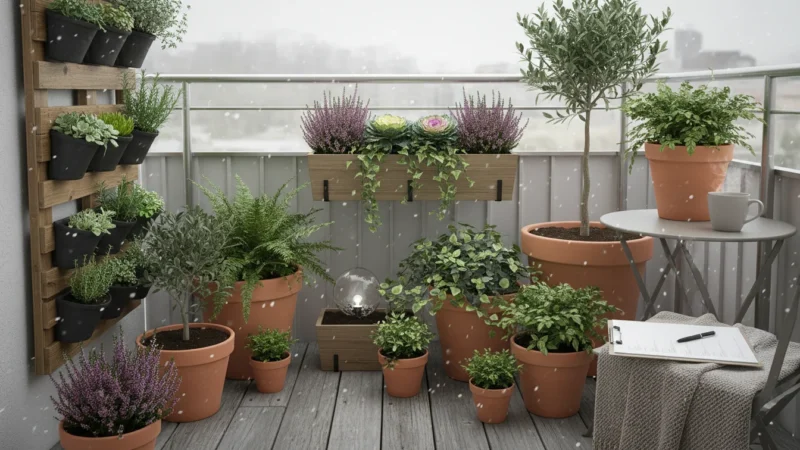
Seasonal Adjustments
As seasons change, so do your plants’ needs. In intense summer heat, some plants may need afternoon shade or more frequent watering. As autumn approaches, consider bringing tender perennials indoors or protecting them from frost. Plan for succession planting by replacing spent annuals with cool-season varieties, ensuring continuous interest in your container garden.
Troubleshooting Common Container Challenges
Even with the best intentions, container gardens can present a few common issues. Understanding these helps you quickly diagnose and fix problems, especially when dealing with too many plants for small balcony.
Overcrowding
If you have packed too many plants into one pot, or your small balcony is bursting at the seams, plants will compete for resources. Signs include stunted growth, yellowing leaves, or poor flowering.
Solution: Thin out seedlings if you started from seed. If pots are overcrowded, repot some plants into their own containers, or consider sharing or gifting extra plants to fellow gardeners. Sometimes, less is truly more for optimal plant health.
Nutrient Deficiency
Yellowing leaves, stunted growth, or a general pale appearance can indicate a lack of nutrients. As mentioned, potting mix has limited food.
Solution: Implement a consistent fertilization schedule using a balanced liquid or slow-release fertilizer. Follow product instructions carefully to avoid over-fertilizing, which can burn roots.
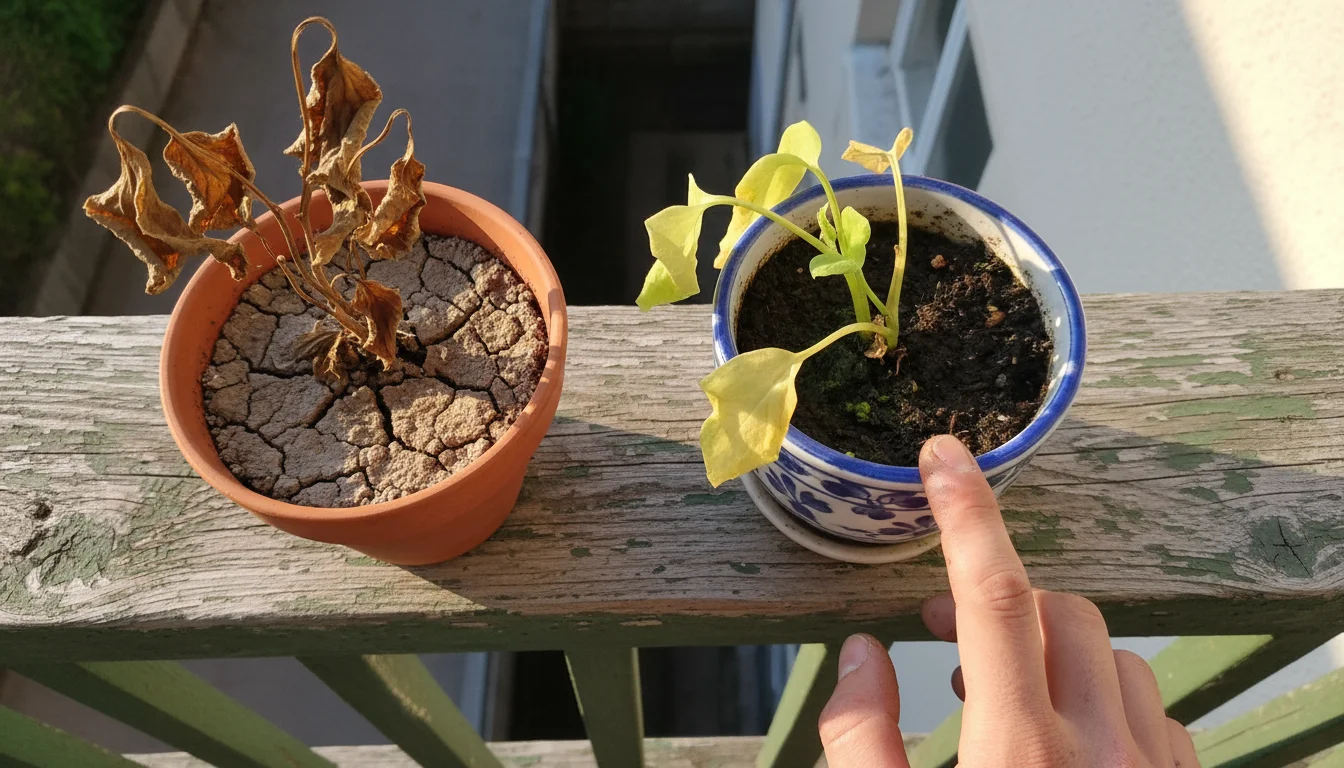
Watering Woes: Too Much or Too Little
This is the most frequent cause of container plant problems.
- Underwatering: Plants wilt, leaves become crispy, and soil is bone dry.
Solution: Water thoroughly until water drains from the bottom. Consider self-watering planters or add water-retentive amendments like coco coir to your potting mix. - Overwatering: Leaves turn yellow, plants look droopy despite wet soil, and roots can rot.
Solution: Ensure pots have excellent drainage. Allow the top inch or two of soil to dry out before watering again. If root rot is suspected, gently unpot, trim off mushy roots, and repot in fresh, well-draining soil.
Pest Infestations
Small insects or sticky residue can indicate pests.
Solution: Isolate affected plants if possible. For small infestations, a strong spray of water can dislodge pests. Insecticidal soap, neem oil, or beneficial insects (like ladybugs for aphids) are organic options. Identify the pest for the most effective treatment. Regular inspection helps catch problems early.

Lack of Light
Plants become “leggy,” stretching towards the light, with sparse foliage and few flowers.
Solution: Reassess your balcony’s light conditions. Move plants to brighter spots. Consider reflective surfaces or adding artificial grow lights if indoor space is an option. If outdoor light is simply insufficient for a particular plant, it may be better suited for a different environment.
Eco-Friendly Balcony Gardening Practices
As a responsible gardener, you can make choices that benefit both your plants and the planet. Incorporating sustainable practices into your small-space garden is easy and impactful, especially when you are managing too many plants for small balcony and trying to be efficient.
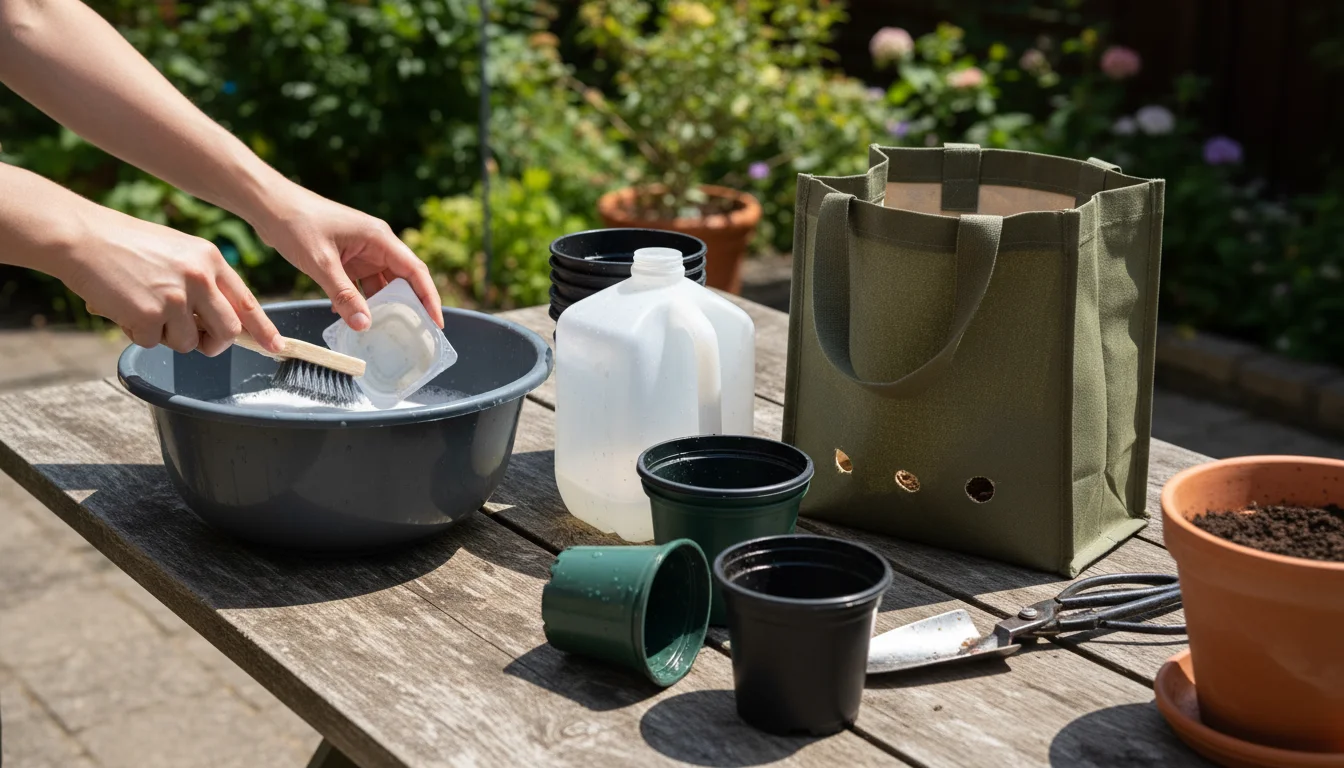
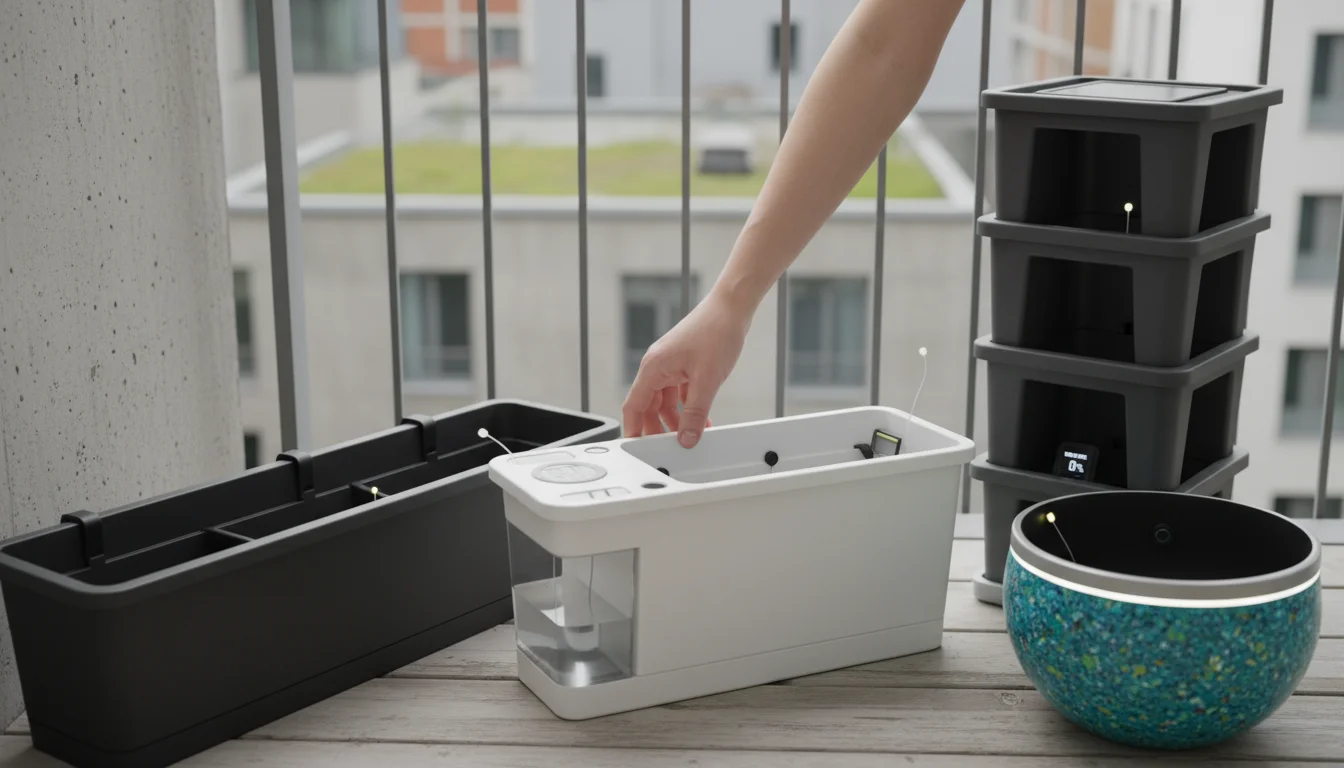
Reusing and Recycling Containers
Do not throw away old plastic nursery pots or food containers. Clean them thoroughly and reuse them for seedlings, temporary housing, or smaller plants. Consider upcycling items like old tires, buckets, or even sturdy grocery bags (with drainage holes added) into creative planters. This reduces waste and saves money, allowing you to get more mileage from your initial investment in potting plants.

Composting Kitchen Scraps
Even on a small balcony, you can compost. A small worm bin or a compact tumbling composter can turn vegetable peels, coffee grounds, and eggshells into nutrient-rich “black gold” for your plants. This diverts waste from landfills and provides free, high-quality fertilizer, enriching your potting mix naturally.
Water Conservation
Be mindful of your water use. Water in the early morning or late evening to reduce evaporation. Group plants with similar water needs together. Use saucers under pots to catch overflow, which can then be reabsorbed by the plant. Consider a self-watering planter for thirsty plants, which reduces the frequency of watering and conserves water.
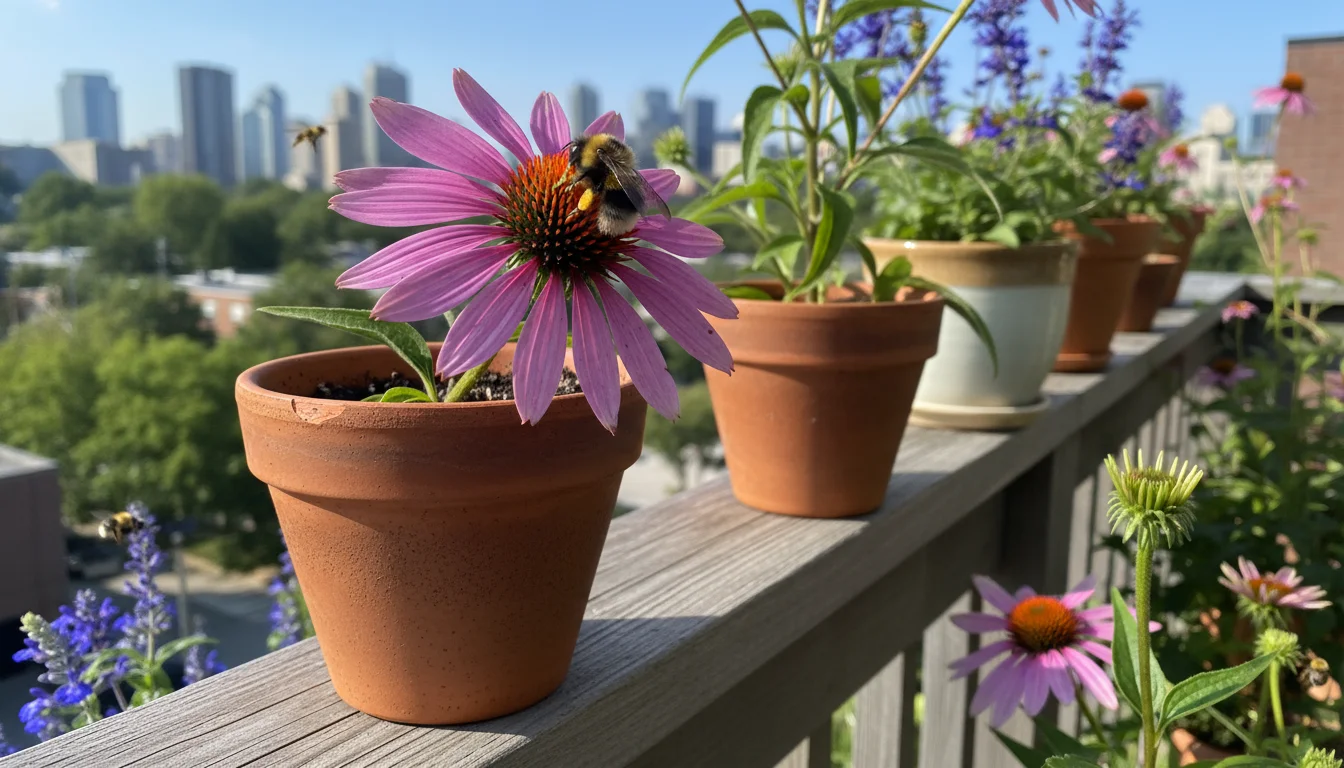
Choosing Native and Pollinator-Friendly Plants
Incorporating native plants, even in containers, supports local ecosystems and requires less intervention once established. Many native plants are beautiful and attract beneficial pollinators like bees and butterflies. Look for flowers that provide nectar and pollen, such as coneflowers, salvia, or borage. These plants contribute to biodiversity and make your balcony a vibrant hub for local wildlife, turning your spring planting efforts into an ecological win.
Using Organic Pest Control
Avoid chemical pesticides. Opt for organic solutions like insecticidal soaps, neem oil, or introducing beneficial insects. Focus on prevention through healthy plant care, good air circulation, and regular inspections. A healthy plant is less likely to succumb to pests.
Frequently Asked Questions
Can I put multiple plants in one pot?
Yes, absolutely! This is a cornerstone of container garden design. Just ensure the pot is large enough to accommodate the mature size of all plants, and that the plants have similar light, water, and nutrient needs. Use the “Thriller, Filler, Spiller” concept as a guide. Give each plant enough space for its roots to develop without intense competition.
How do I know when to water my container plants?
The most reliable method is to feel the soil. Stick your finger about an inch or two deep into the potting mix. If it feels dry to the touch, it is time to water. You can also lift the pot; a dry pot will feel significantly lighter than a watered one. Environmental factors like heat, wind, and plant size will affect how often you need to water, so a daily check is often necessary, especially for new plants and during hot weather.
What if my plants look stressed after potting?
It is normal for plants to experience a bit of “transplant shock” after repotting. They may wilt slightly or look a little droopy for a few days. Ensure they are well-watered (but not overwatered) and placed in a sheltered spot with indirect light until they recover. Avoid fertilizing immediately after repotting; wait a week or two to let them acclimate. Consistent care and patience are key for plants adjusting to their new homes after spring planting.
How often should I fertilize container plants?
Container plants need more frequent fertilization than in-ground plants because nutrients leach out of the potting mix with each watering. For most annuals and vegetables, aim to fertilize every 2-4 weeks with a balanced liquid fertilizer, or use a slow-release granular fertilizer once at the beginning of the growing season, following product instructions. Always water before fertilizing to avoid burning roots.
Is it okay to use soil from my yard for container gardening?
No, it is generally not recommended. Garden soil is too heavy and dense for containers. It compacts easily, preventing proper drainage and aeration, which leads to root rot. Garden soil also often contains weed seeds, pests, and diseases. Always use a high-quality, sterile potting mix specifically designed for containers. This ensures your plants have the light, airy, and well-draining environment their roots need to thrive in pots.
For trustworthy gardening information, visit:
University of Maine Cooperative Extension — Gardening, University of Rhode Island Cooperative Extension — Gardening, Connecticut Agricultural Experiment Station and Massachusetts Horticultural Society. These organizations provide expert, research-based advice for gardeners at all levels.
Disclaimer: This article is for informational purposes only and is not a substitute for professional gardening advice. Always consult local extension services or horticulture experts for region-specific guidance.

Leave a Reply