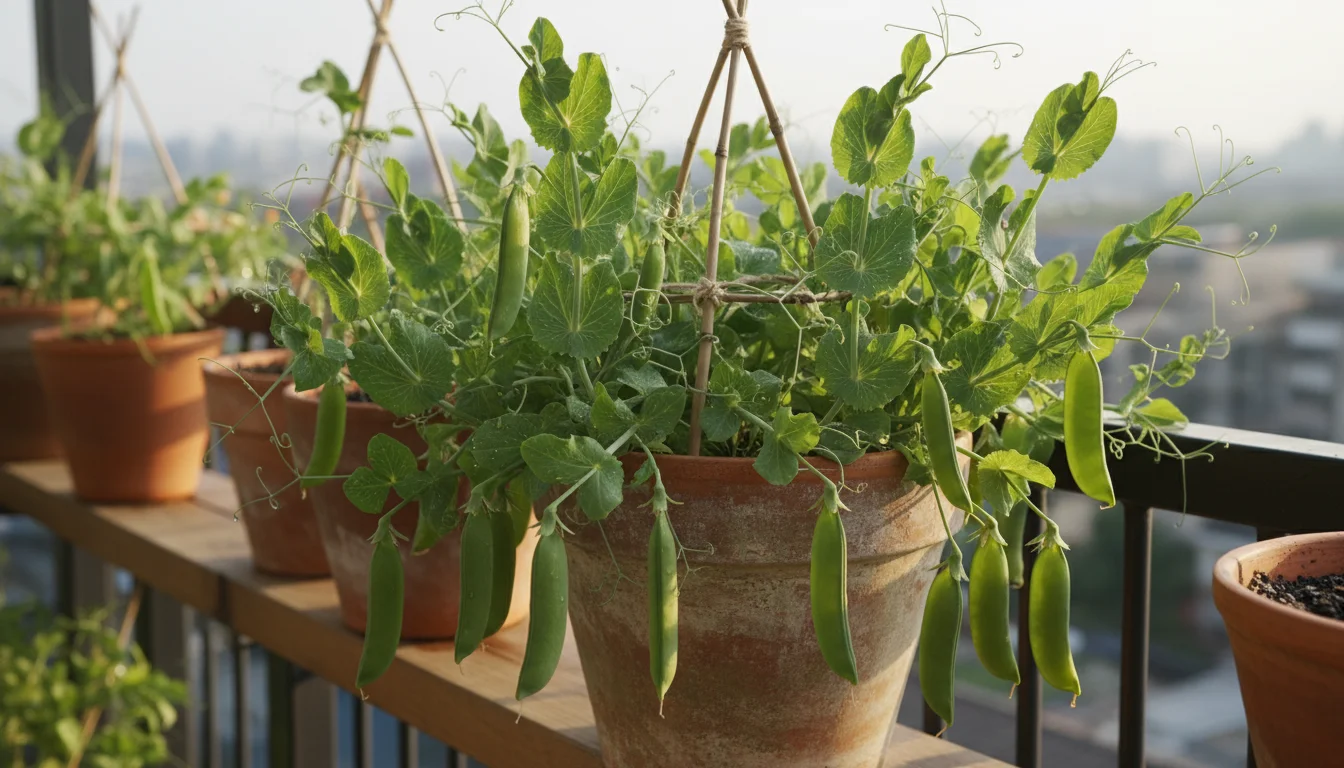
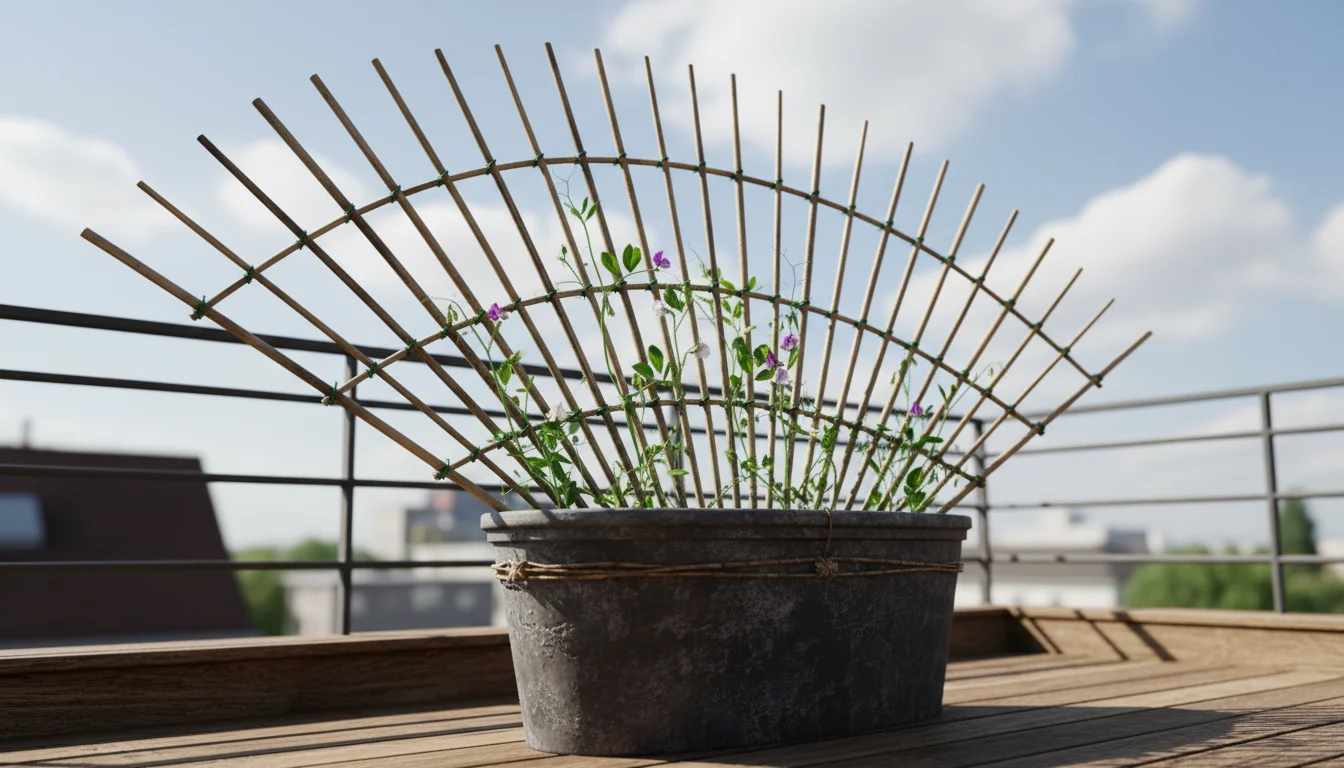
Do you dream of fresh, sweet sugar snap peas but believe your small balcony or patio limits your gardening ambitions? Think again! You possess the perfect opportunity for a vertical victory. Growing sugar snap peas in a single pot is an incredibly rewarding project, even for the most space-constrained gardener. These delightful legumes thrive when given support, and a simple DIY trellis transforms a modest container into a productive, green tower. Imagine stepping onto your balcony and plucking crisp, sweet pods right from the vine. This guide shows you exactly how to achieve that.
Once you master peas, you might want to try growing tomatoes in containers to keep your patio productive all summer long.
This approach emphasizes efficiency, maximizing your harvest in minimal space. You learn not only how to plant and care for your peas but also how to construct a sturdy, attractive trellis using readily available materials. Prepare to elevate your gardening game and enjoy a bumper crop of homegrown goodness.
Understanding Sugar Snap Peas: The Ideal Container Crop
Sugar snap peas, scientifically known as Pisum sativum var. macrocarpon, stand out as an exceptional choice for container gardening. They offer a unique combination of sweet flavor and crunchy texture, with edible pods that you enjoy whole. Unlike shelling peas, which require you to remove the tough outer skin, snap peas provide instant gratification. Their vining habit makes them perfect for vertical gardening, allowing you to produce a significant yield in a small footprint.
If you enjoy these legumes, you might also want to plant fava beans in pots as an overwintering crop for an even earlier harvest next year.
These plants are cool-season annuals, meaning they thrive in moderate temperatures and complete their life cycle within one growing season. This characteristic makes them adaptable to varying climates, especially if you time your planting correctly. They generally prefer daytime temperatures between 60 and 75 degrees Fahrenheit (15-24 degrees Celsius) and can tolerate light frosts. Planting them in early spring, as soon as the soil becomes workable, often yields the best results. In many regions, you can also plant a second crop in late summer for a fall harvest, extending your enjoyment.
When selecting varieties for growing peas in pots, look for “bush” or “dwarf” varieties if you prefer a more compact plant, though even vining types adapt well to containers when provided with a sturdy balcony trellis. Popular options like ‘Sugar Ann’, ‘Sugar Snap’, and ‘Super Sugar Snap’ offer excellent flavor and reliable performance. ‘Sugar Ann’ is a bush type that still benefits from some support, while ‘Sugar Snap’ is a classic vining variety known for its abundant production. ‘Super Sugar Snap’ provides larger pods and stronger vines. Understanding these subtle differences helps you select the best seeds for your specific container and trellis setup, ensuring you get the most out of your small-space garden.
Why Vertical Gardening Is a Game-Changer for Small Spaces
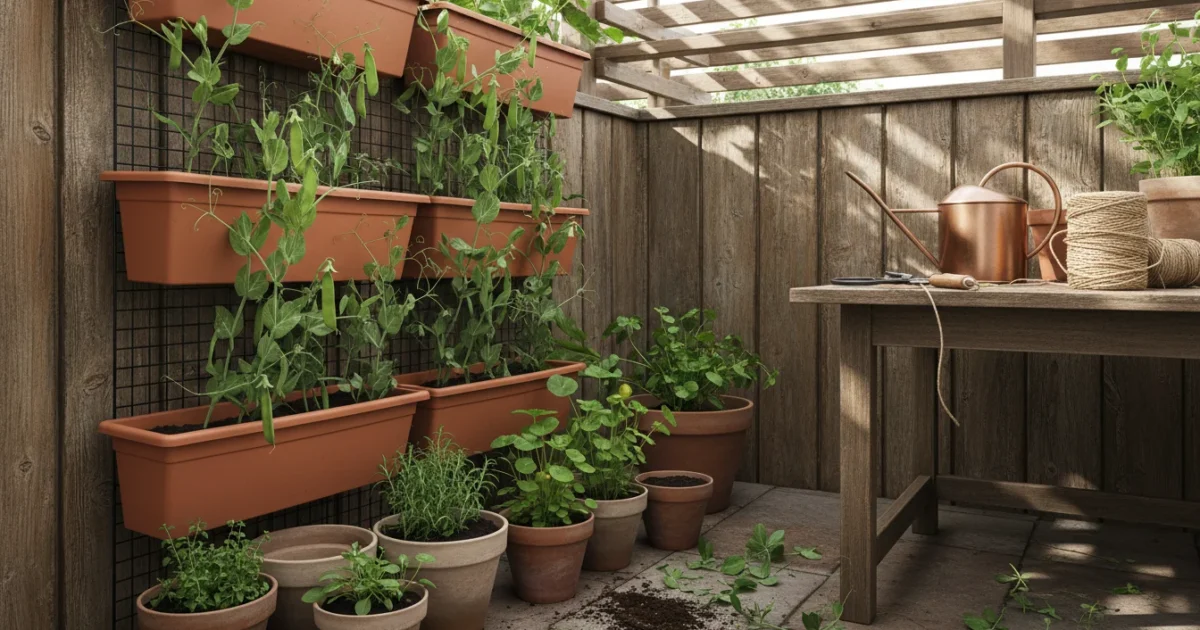
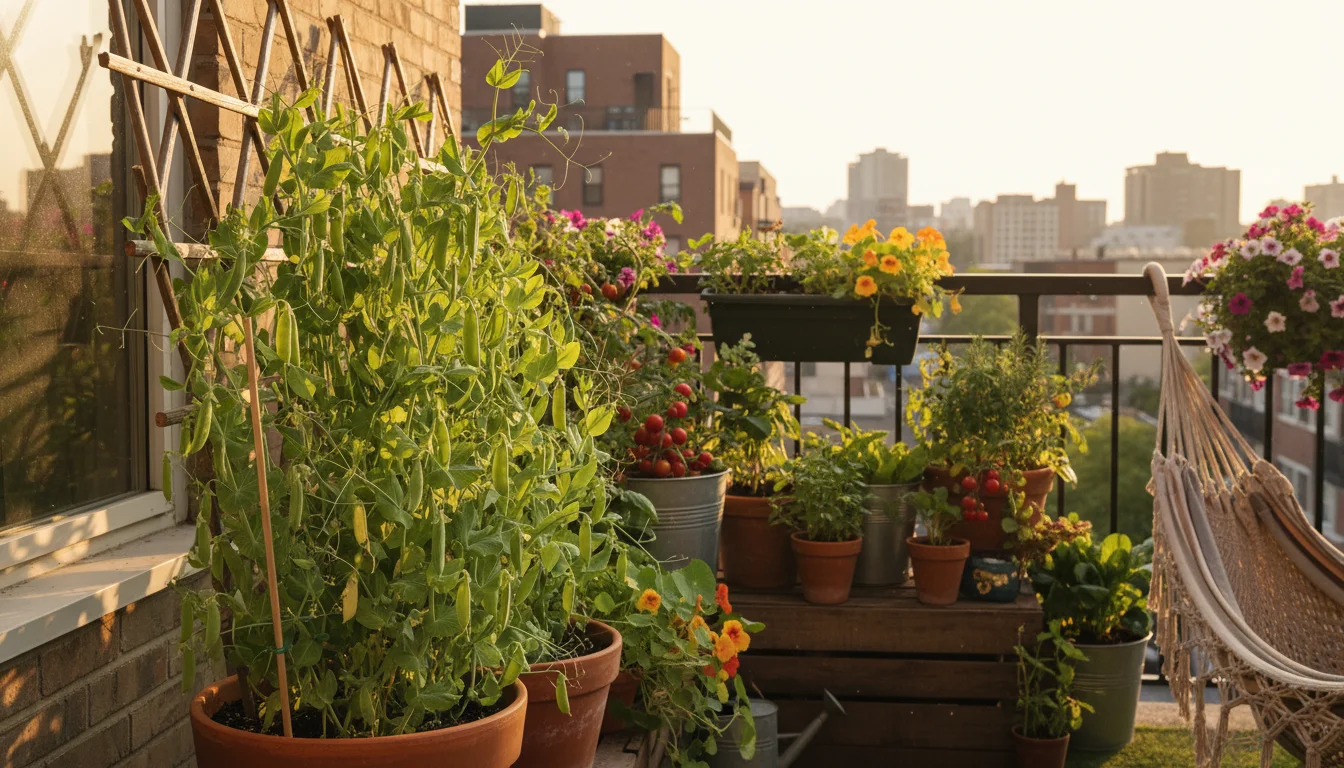
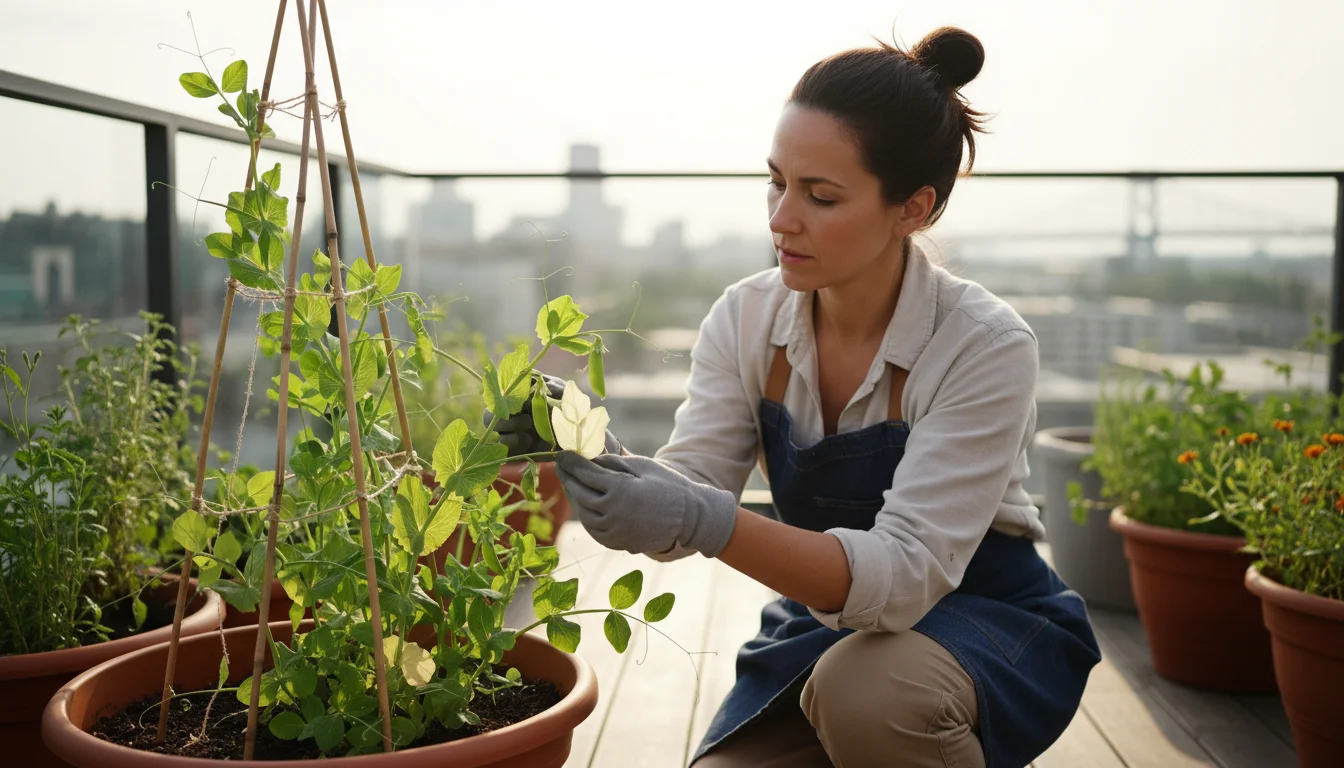
If you have limited ground space, vertical gardening transforms your growing potential. Instead of spreading out, your plants grow upwards, utilizing the often-underestimated vertical plane of your balcony or patio. This method dramatically increases your yield per square foot, making it possible to grow substantial amounts of food in urban environments or confined areas. Imagine harvesting armfuls of peas from a footprint no larger than a single pot.
To find the right setup for your specific balcony, explore how different vertical garden systems compare in terms of cost and efficiency.
Maximizing your vertical plane is a great way to avoid common balcony garden mistakes like overcrowding and poor air circulation.
Beyond simply saving space, vertical gardening offers several distinct advantages. It improves air circulation around your plants, which reduces the risk of fungal diseases like powdery mildew, a common issue for peas grown in dense conditions. Keeping foliage off the ground also minimizes pest access, as many ground-dwelling insects find it harder to reach elevated leaves and pods. Furthermore, vertical growth makes harvesting easier on your back, as you simply reach up rather than bend down. This ergonomic benefit is a significant plus for any gardener.
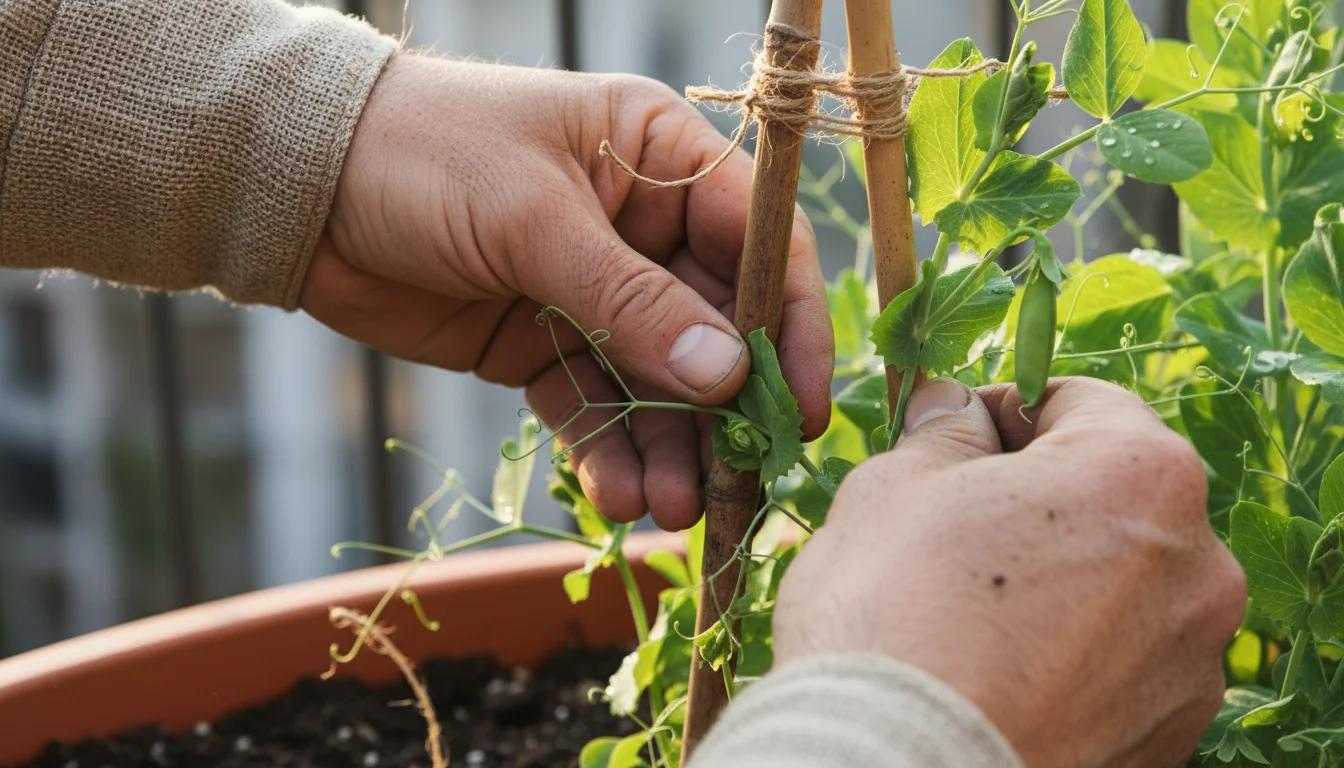
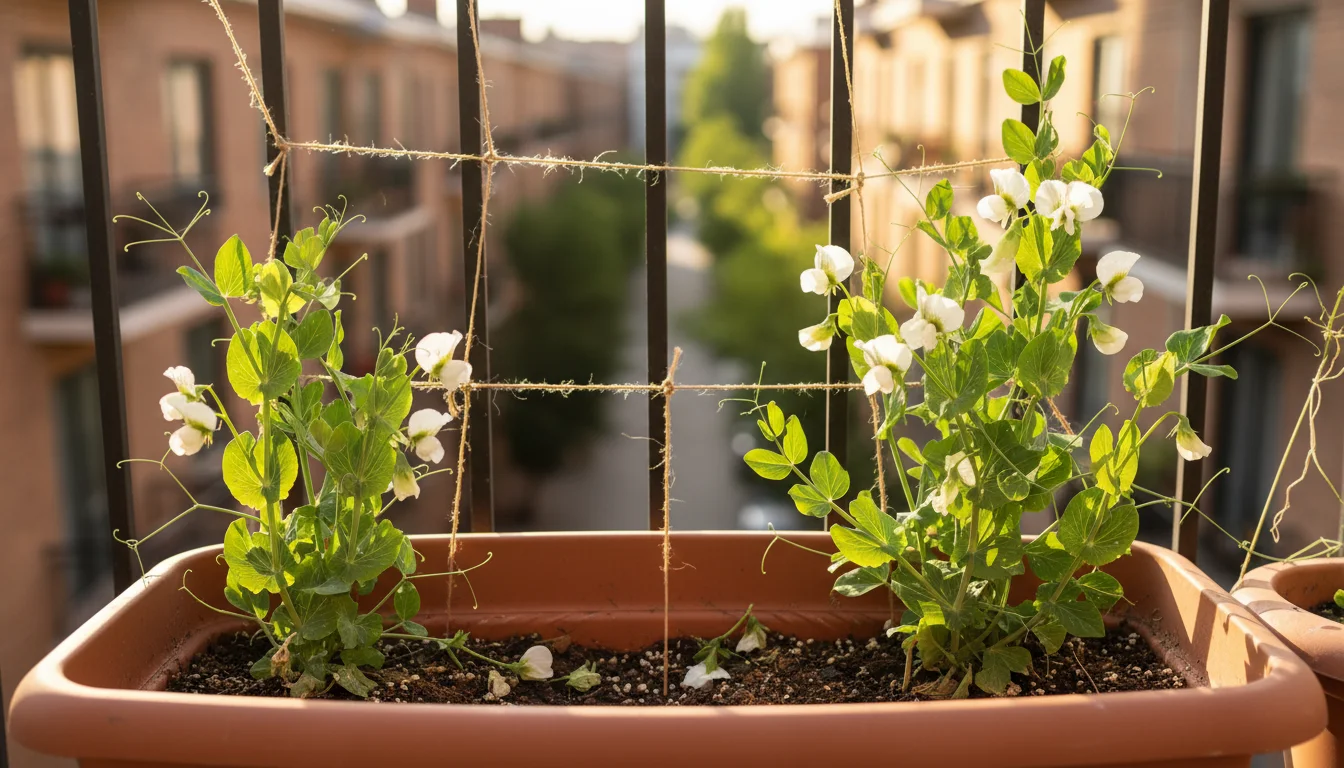
For crops like sugar snap peas, providing vertical support is not merely an option, it is a necessity. Pea plants naturally send out tendrils, which are specialized climbing organs that seek out anything to grasp onto. Without a trellis, these vines sprawl across the ground, becoming tangled, vulnerable to rot, and difficult to manage. A well-designed DIY trellis for small balcony spaces encourages robust growth, keeps the pods clean and accessible, and showcases the beauty of the growing plant. This strategic use of vertical space is the key to successfully growing peas in pots and unlocking your garden’s full potential.
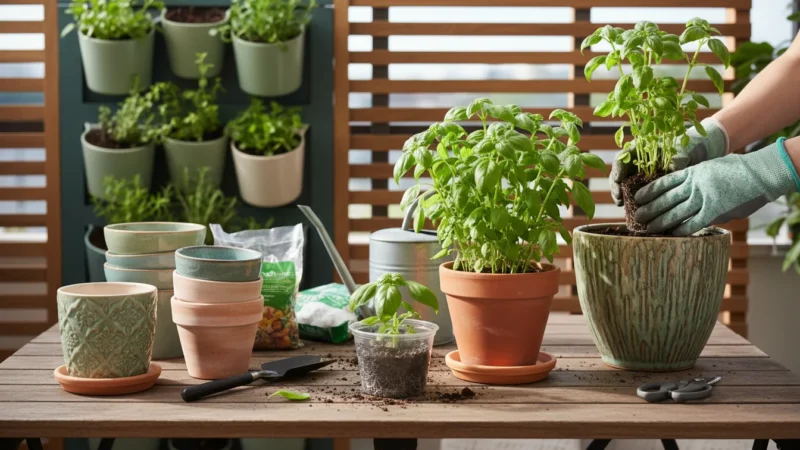
Selecting Your Container and Crafting the Perfect Soil Blend
The success of your container-grown sugar snap peas begins with choosing the right pot and filling it with an optimal growing medium. These choices directly impact the plant’s root development, water retention, and nutrient availability.
You can even pair peas with root vegetables, such as planting carrots in deep containers, to utilize the space below the trellis.
Selecting the right container is just as important as choosing the easiest vegetables for small spaces to ensure gardening success.
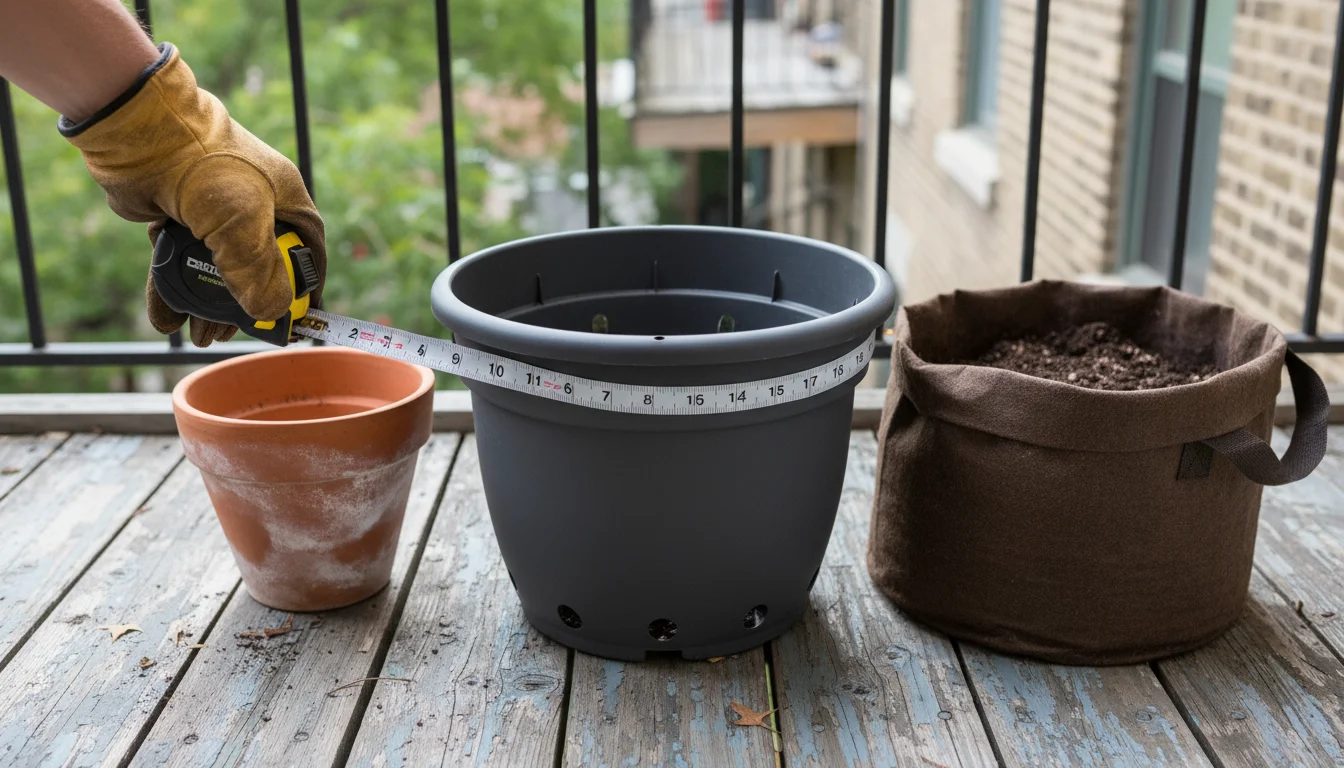
Choosing the Right Pot
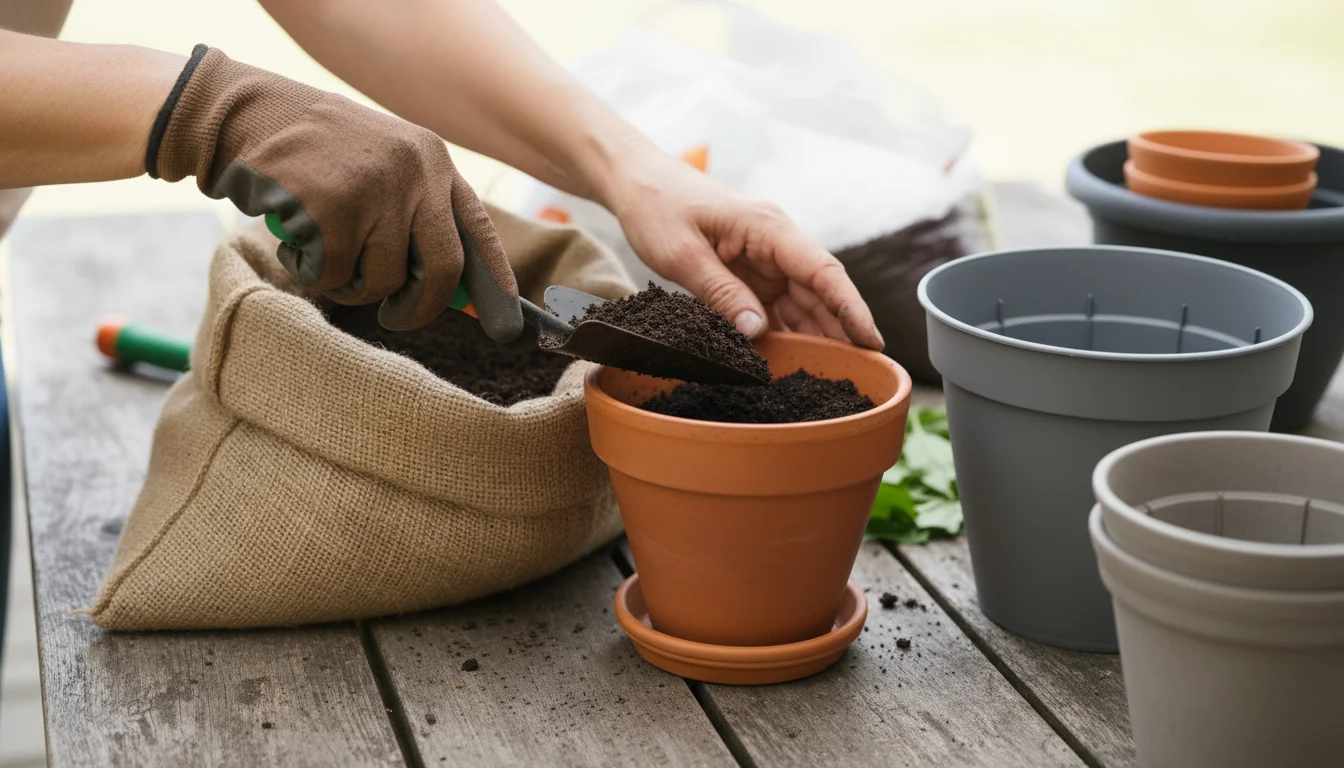
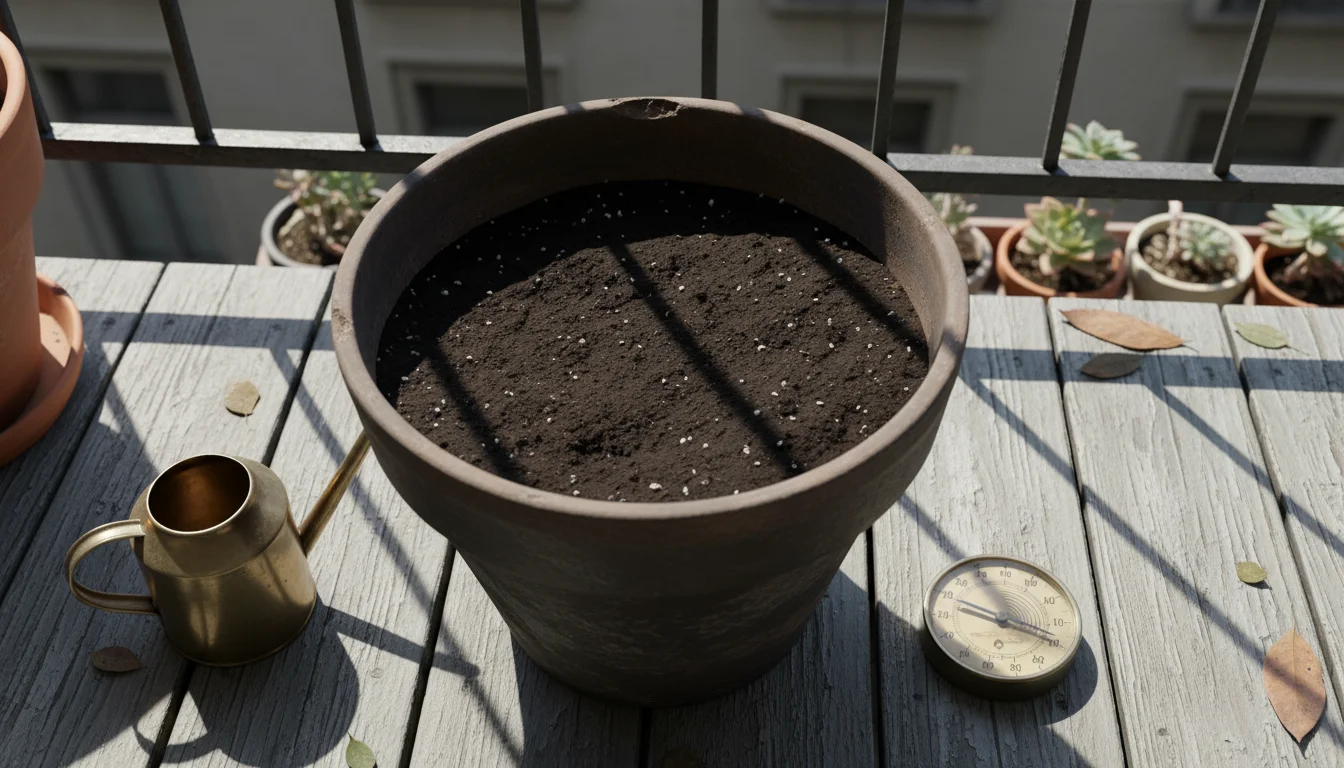
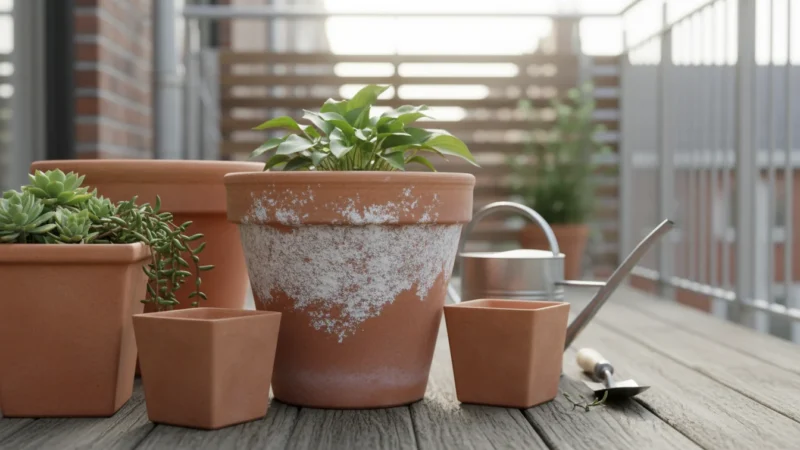
For sugar snap peas, a pot with a diameter of at least 12 to 16 inches (30-40 cm) and a depth of 10 to 12 inches (25-30 cm) is ideal. This size provides ample space for the root system to develop and supports the growth of several plants, maximizing your yield per container. You can comfortably plant 4 to 6 pea plants in a pot of this size. Larger pots offer more stability for the trellis and reduce the frequency of watering, making them a practical choice.
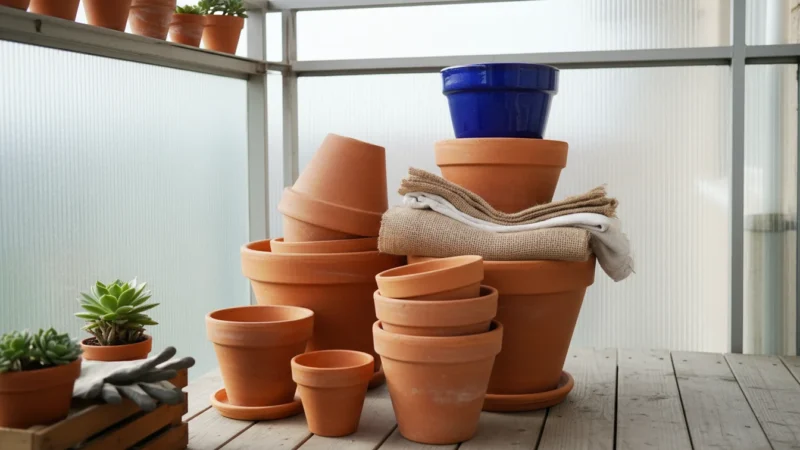
- Material: Terracotta pots offer good drainage and air circulation, but they dry out quickly. Plastic pots retain moisture longer. Fabric grow bags provide excellent aeration and drainage. Choose what suits your climate and watering habits.
- Drainage Holes: This is non-negotiable. Your pot must have drainage holes at the bottom. Without them, water collects, leading to root rot, which kills your plants. If your chosen pot lacks holes, drill several ¼ to ½ inch (0.6-1.2 cm) holes in the base before adding soil.
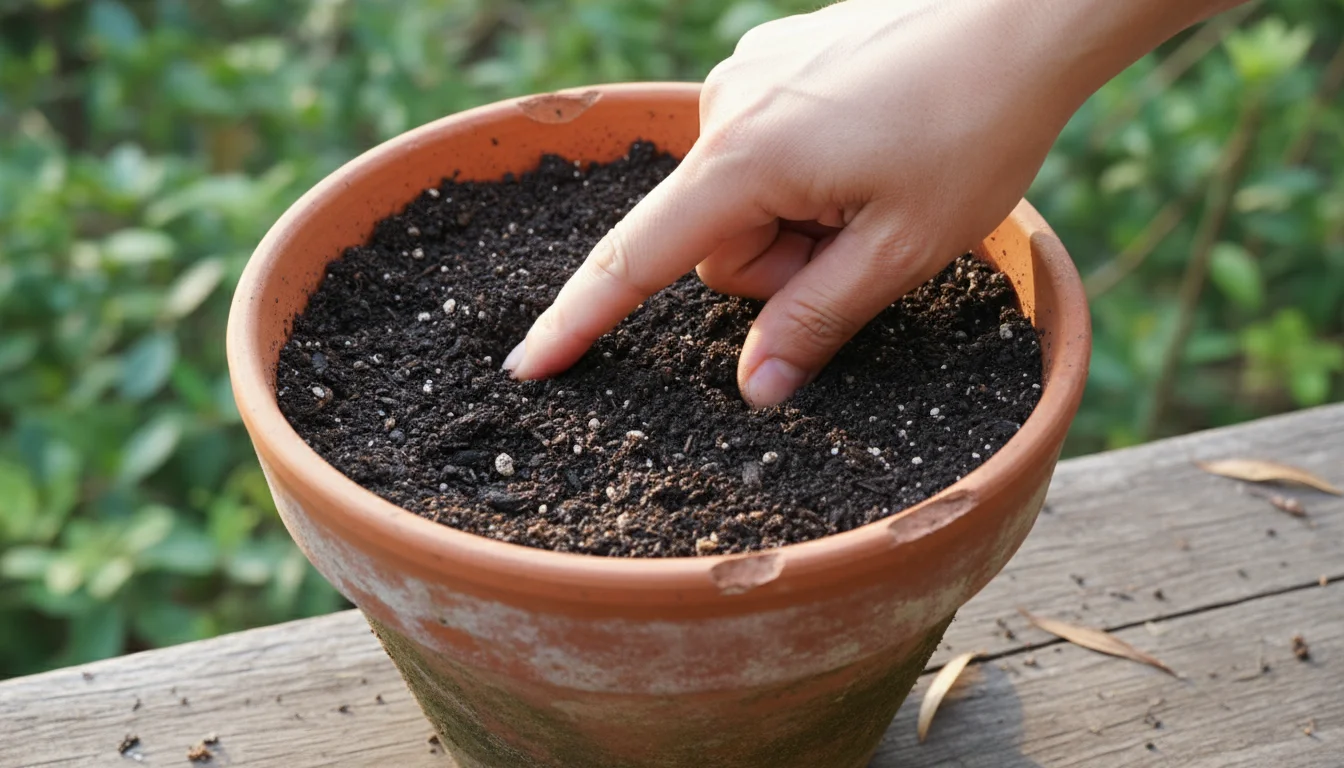
Crafting the Perfect Soil Blend
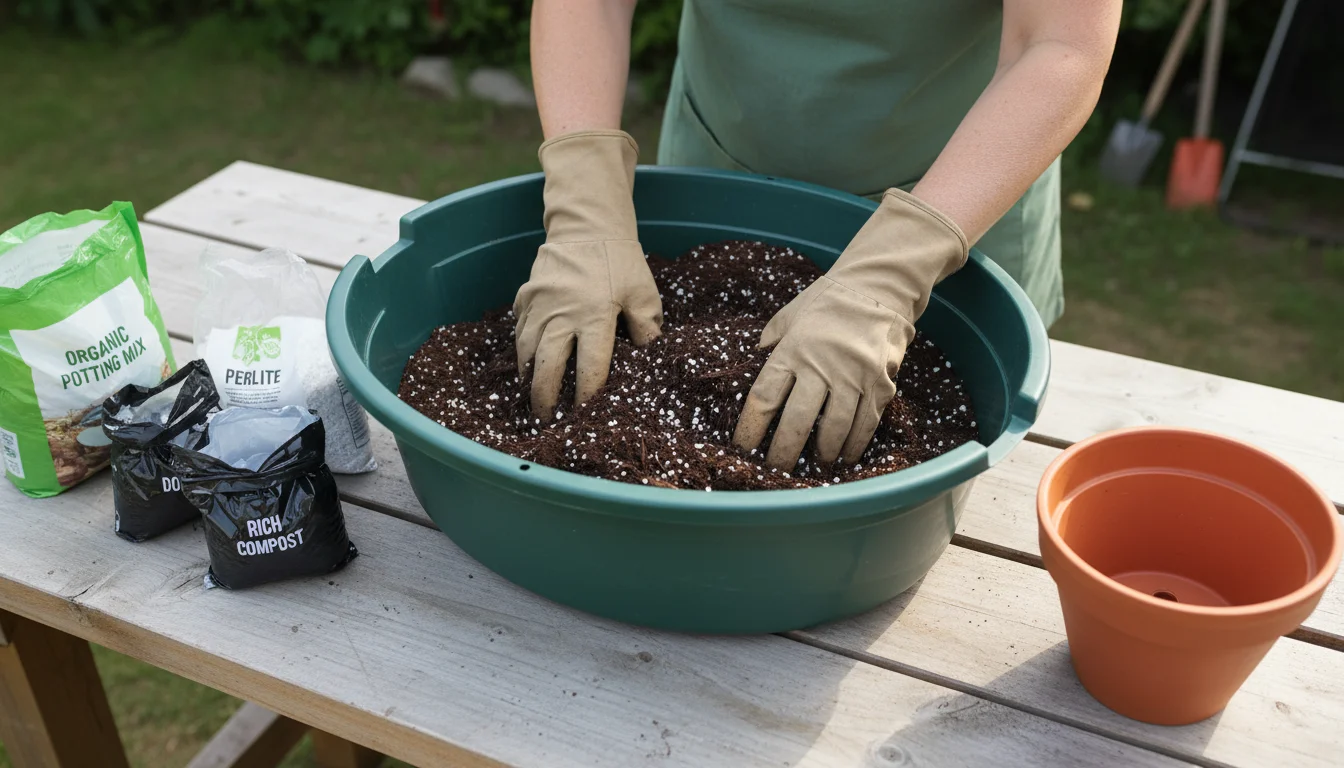
The quality of your soil significantly affects plant health. You need a mix that provides both good drainage and sufficient moisture retention, along with essential nutrients. Avoid using dense garden soil, as it compacts in containers, suffocating roots and hindering proper water flow.
- Start with a High-Quality Potting Mix: Purchase a good organic potting mix designed for containers. These mixes are typically lighter than garden soil, offering better aeration and drainage.
- Add Compost: Incorporate about 20-30 percent well-rotted compost into your potting mix. Compost enriches the soil with slow-release nutrients, improves soil structure, and enhances water retention. It acts as a natural fertilizer, feeding your peas gradually over time.
- Consider Perlite or Vermiculite: If your potting mix feels dense, adding a handful or two of perlite or vermiculite further improves drainage and aeration. Perlite is volcanic rock that helps create air pockets, while vermiculite, a mineral, retains water and nutrients while providing aeration.
- Avoid Sand: Despite common belief, adding sand to container soil often makes it heavier and hinders drainage, rather than improving it. Stick to compost, perlite, or vermiculite for soil amendments.
Thoroughly mix these components before filling your pot. The ideal soil for how to grow snap peas in a container should feel light, crumbly, and drain well when watered, yet retain some moisture when squeezed.
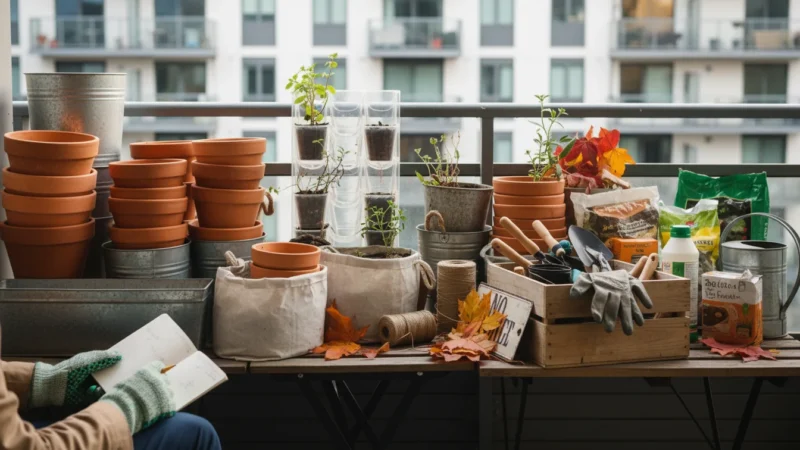
Materials and Tools for Your DIY Balcony Trellis
A successful vertical garden relies on strong, appropriate support. A DIY balcony trellis is not only cost-effective but also allows you to customize the size and style to perfectly fit your pot and space. This section outlines everything you need to build a sturdy and attractive support structure for your sugar snap peas.
For those who enjoy building their own structures, a DIY vertical pallet garden is another great way to expand your balcony’s growing capacity.
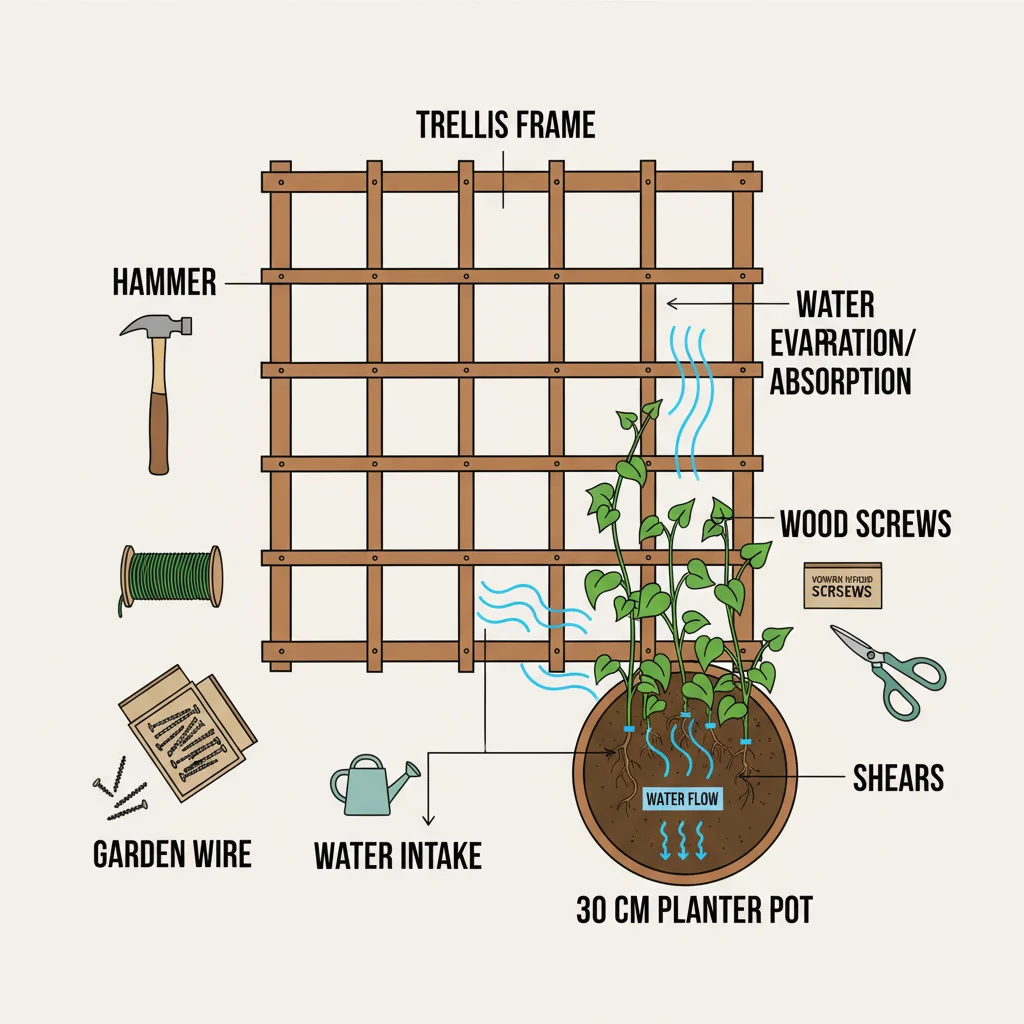
Trellis Design Considerations
When planning your DIY trellis for small balcony use, consider the mature height of sugar snap peas, which can reach 5 to 7 feet (1.5-2.1 meters) depending on the variety. Your trellis should ideally be at least 4 to 6 feet (1.2-1.8 meters) tall above the soil line to accommodate this growth. You need a design that anchors securely into your pot and provides plenty of climbing surfaces for the pea tendrils. A simple tepee, a cage, or a fan-style trellis works exceptionally well for single-pot cultivation.
Required Materials
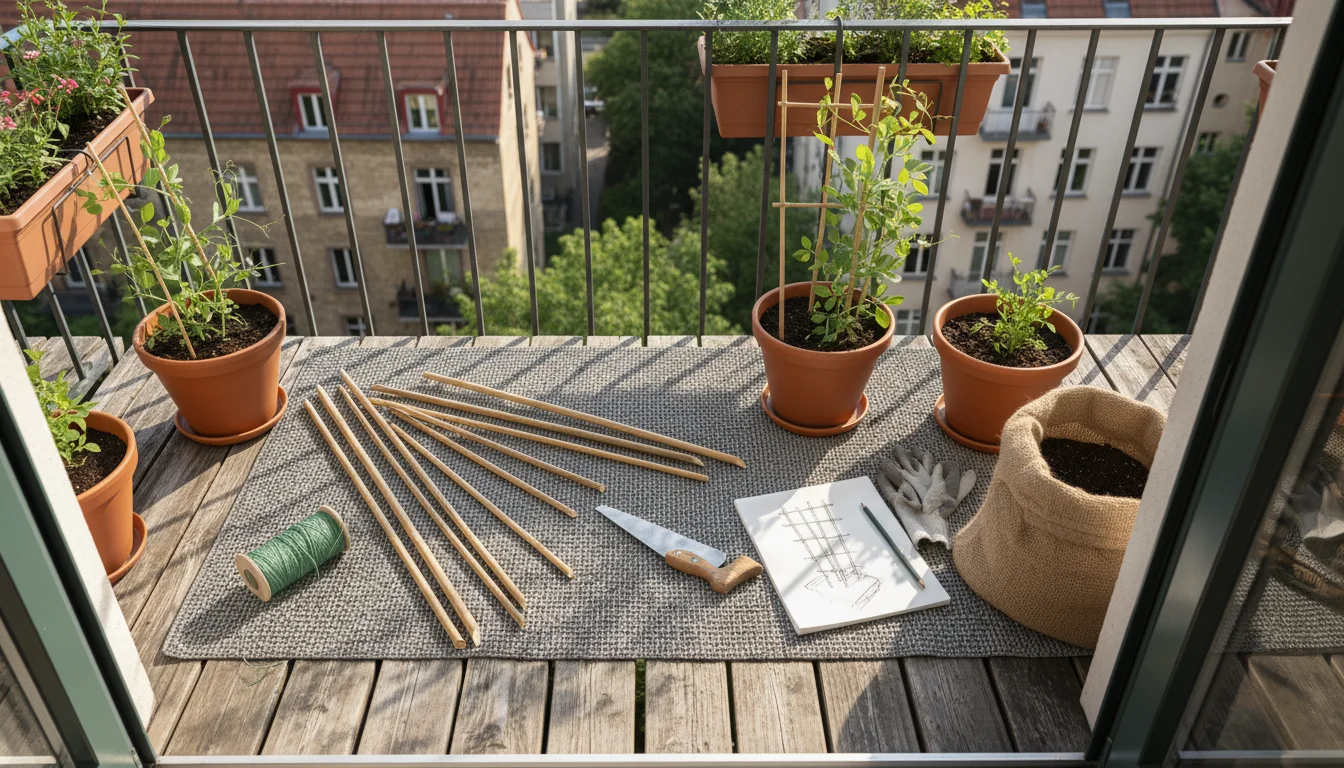
Gathering your materials beforehand simplifies the construction process. Most of these items are easily found at a local hardware store or garden center.
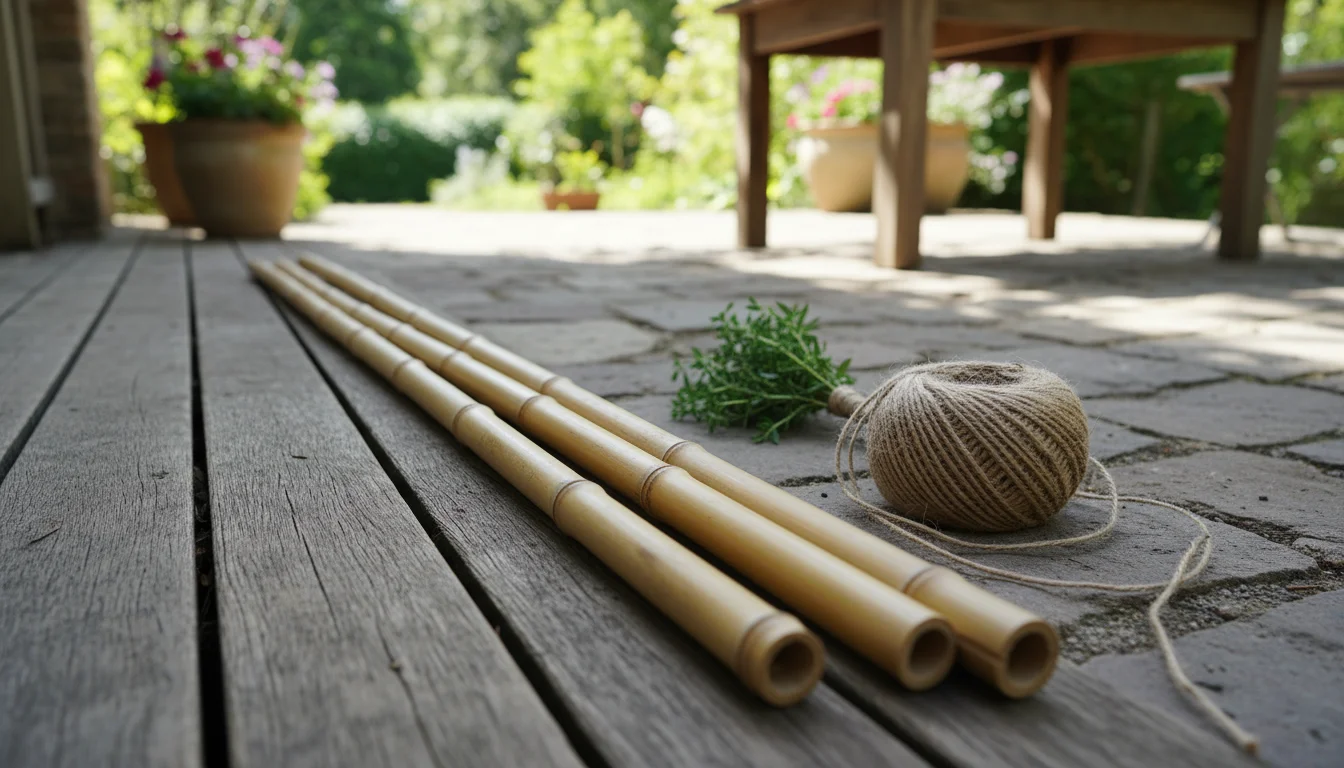
- Stakes or Poles: Choose three to four sturdy bamboo stakes, thin wooden dowels, or even strong branches. Each should measure approximately 6 to 8 feet (1.8-2.4 meters) in length. Bamboo is lightweight, weather-resistant, and relatively inexpensive, making it an excellent choice.
- Trellis Netting or Twine: Opt for natural jute twine, cotton string, or a lightweight plastic garden netting. Jute twine is biodegradable and offers a rustic look, while plastic netting provides durable support for multiple seasons. You need enough to create a grid or crisscross pattern between your stakes.
- Zip Ties or Garden Twine: Use these to secure the netting or twine to your stakes. Garden twine made from natural fibers is often preferred for its soft touch on plants and environmental friendliness.
- Wire Cutters or Strong Scissors: Essential for cutting your twine or netting to size.
- Tape Measure: For accurate measurements of stakes and trellis material.
- Permanent Marker: For marking cut points on stakes or netting.
- Optional: Wood Stain or Sealant: If using wooden stakes and you desire increased longevity and a more polished look, consider treating the wood. Ensure any sealant is non-toxic if it comes into contact with edible plants.
Building Your Balcony Trellis: A Step-by-Step Guide
Constructing your DIY trellis is a straightforward process that lays the foundation for your pea plants’ vertical growth. Follow these steps for a stable and effective structure.
If you’re unsure which structure is right for you, check out our comparison of different vertical garden systems to see how they perform.
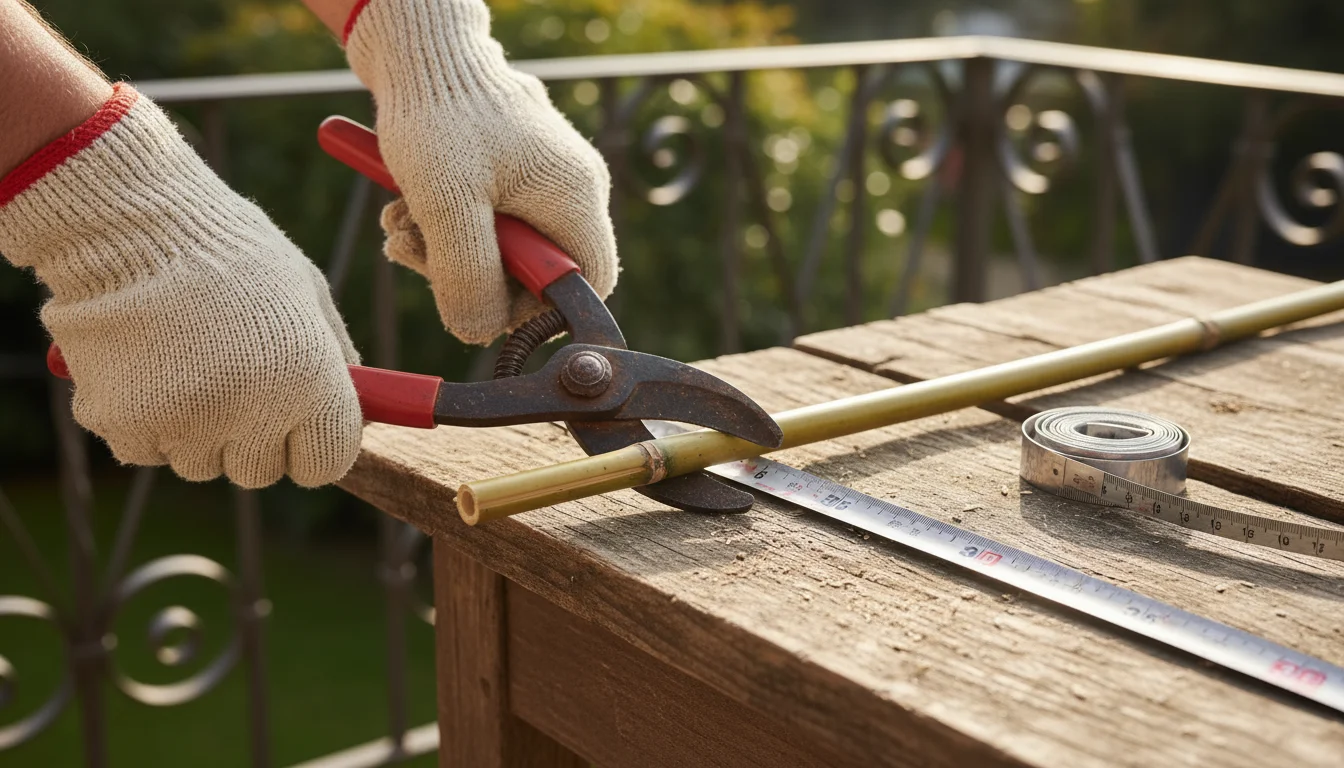
Step 1: Prepare Your Stakes
- Measure and Cut: If your bamboo stakes or dowels are too long, use a saw or strong loppers to cut them to your desired height. Remember, 4 to 6 feet (1.2-1.8 meters) above the soil line provides ample support. Consider adding an extra 10-12 inches (25-30 cm) for insertion into the soil.
- Optional: Treat Wood: If using wooden stakes and you chose to stain or seal them, do so now and allow them to dry completely before proceeding.
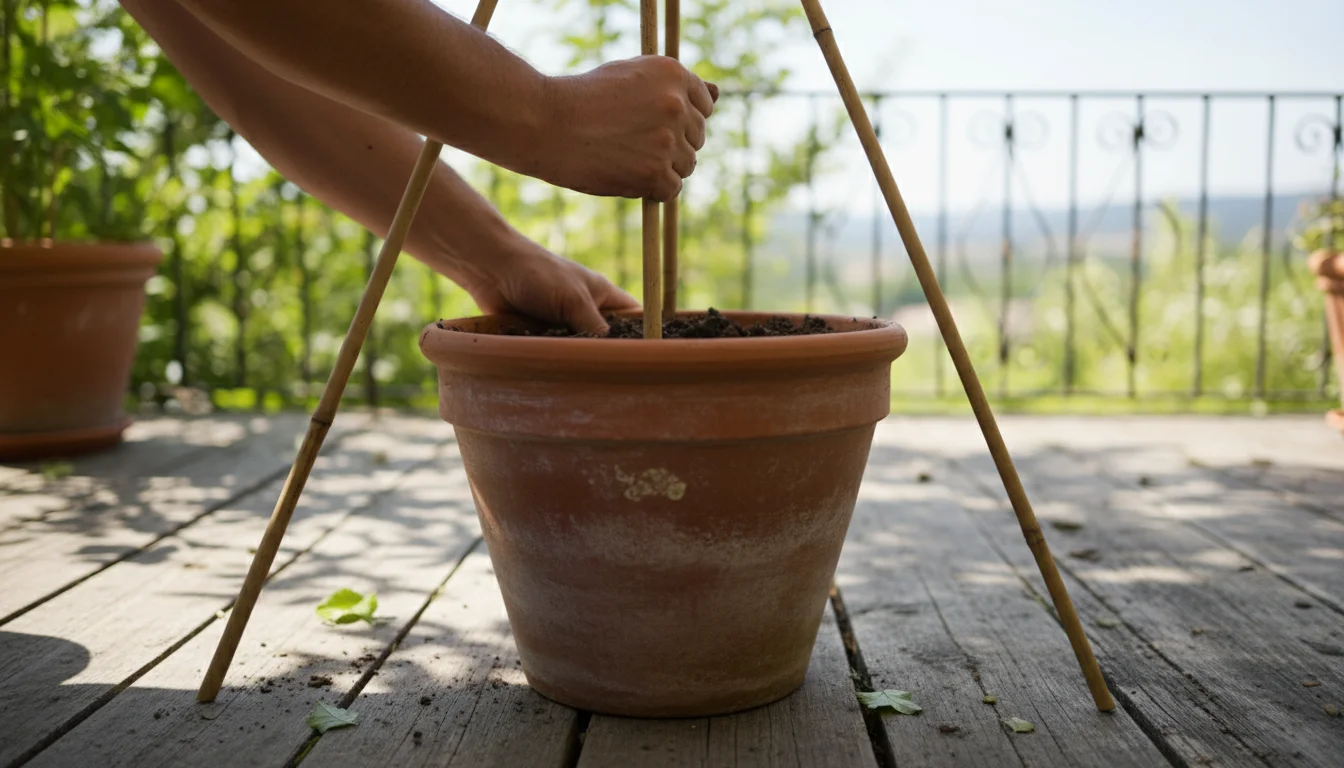
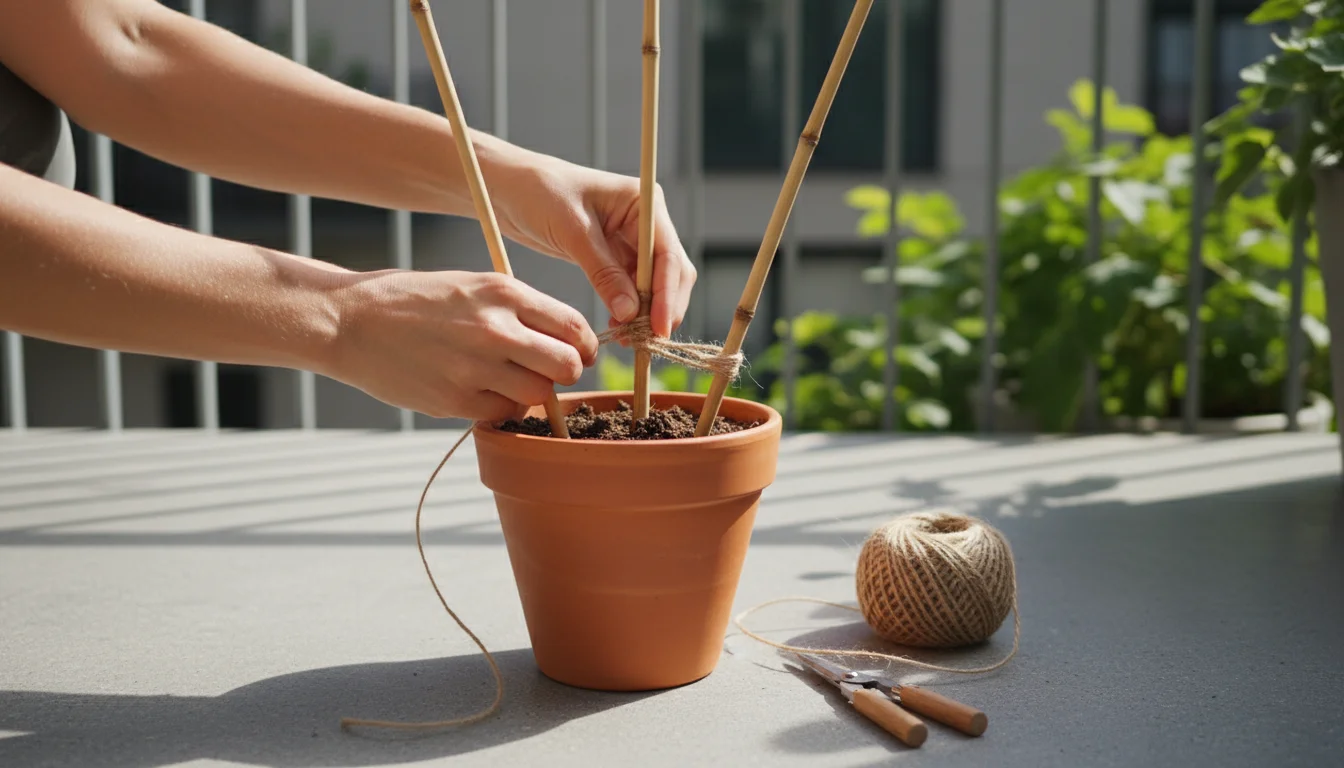
Step 2: Position Stakes in the Pot
Once your pot is filled with soil, you need to securely anchor the stakes. The best time to install the trellis is before or immediately after planting your pea seeds, as disturbing growing roots later can cause stress.
- Form a Tepee or Cage:
- For a Tepee: Take three or four stakes and insert them firmly into the soil around the perimeter of the pot, angling them inwards. Push them deep enough, at least 6-8 inches (15-20 cm), to ensure stability. Bring the tops of the stakes together in the center.
- For a Cage: Insert three to four stakes vertically and parallel to the pot’s sides, forming a square or triangular shape. Push them deep into the soil for maximum stability. This design works well for bushier, less aggressive climbers.
- Secure the Tops: Use strong garden twine or zip ties to firmly bind the tops of the stakes together where they meet (for a tepee) or to create a stable crossbar (for a cage). This union provides structural integrity against wind and the weight of the pea plants.
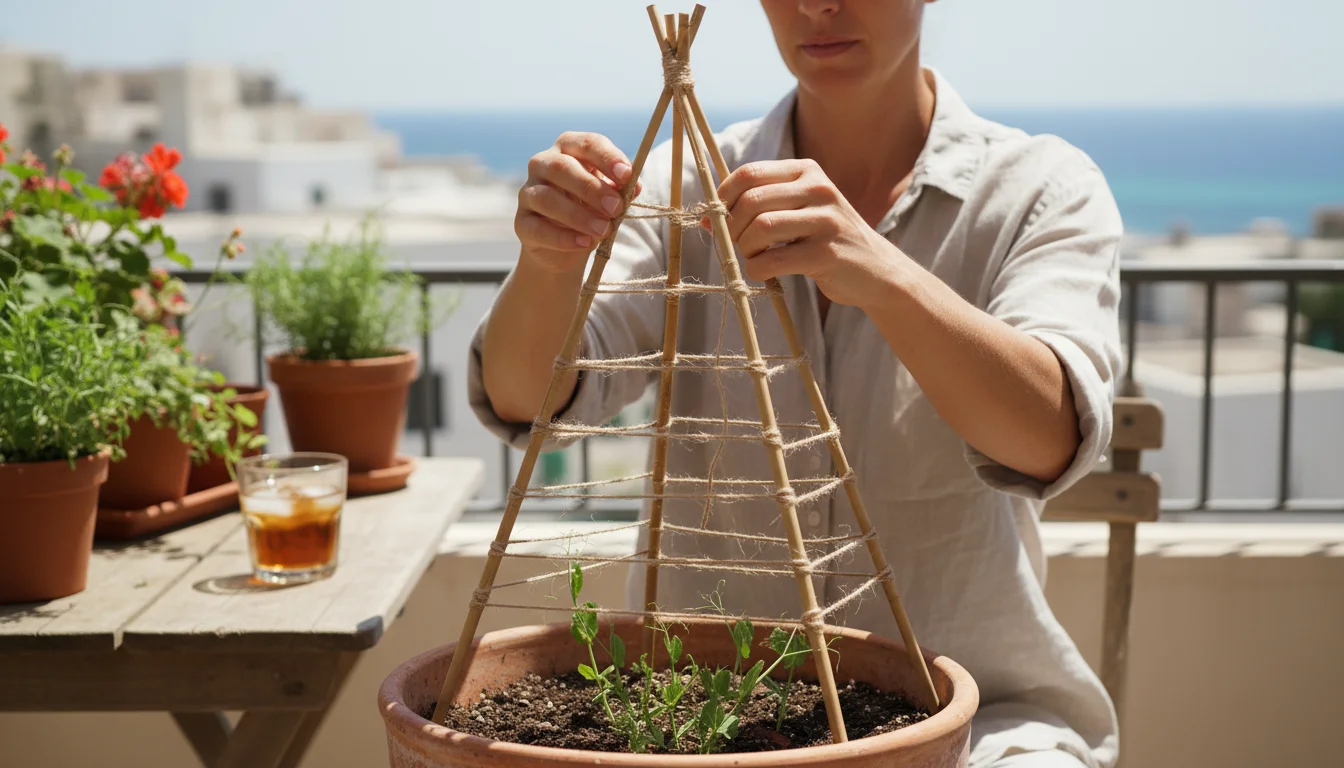
Step 3: Create Climbing Surfaces
Pea tendrils are small and need a fine structure to grasp. Simply having tall stakes is not enough; you need to provide horizontal or diagonal lines for them to climb.
- Using Twine:
- Horizontal Wraps: Start at the base of your stakes, about 6 inches (15 cm) above the soil. Tie your garden twine securely to one stake. Wrap the twine horizontally around each stake, moving upwards in a spiral or zig-zag pattern, creating horizontal lines every 6-8 inches (15-20 cm). Secure the twine to each stake with a knot or by looping it tightly. Continue until you reach the top.
- Crisscross Pattern: Alternatively, tie twine between opposite stakes, creating a crisscross or netting effect. This offers more points of contact for the tendrils.
- Using Netting: If you use garden netting, unroll it and attach it to your stakes.
- Wrap Around: For a tepee, you can wrap netting around the entire structure, securing it at various points with zip ties or twine.
- Stretch Between Stakes: For a cage, stretch sections of netting between the vertical stakes, creating flat climbing walls. Ensure the netting is taut so it does not sag under the weight of the vines.
Ensure all knots are tight and the structure feels robust. A well-built trellis withstands wind and supports a heavy crop of peas, proving essential for vertical gardening success.

Planting Your Sugar Snap Peas for Success
With your pot and trellis ready, it is time to bring your sugar snap peas to life. Proper planting techniques ensure strong germination and a healthy start for your plants.
Timing is Key
Sugar snap peas are cool-season crops. Plant them in early spring as soon as the soil can be worked, usually 4-6 weeks before the last expected frost date. Aim for soil temperatures above 45 degrees Fahrenheit (7 degrees Celsius). In areas with mild winters, you might be able to plant in late fall for an early spring harvest. Check your local frost dates for precise timing.
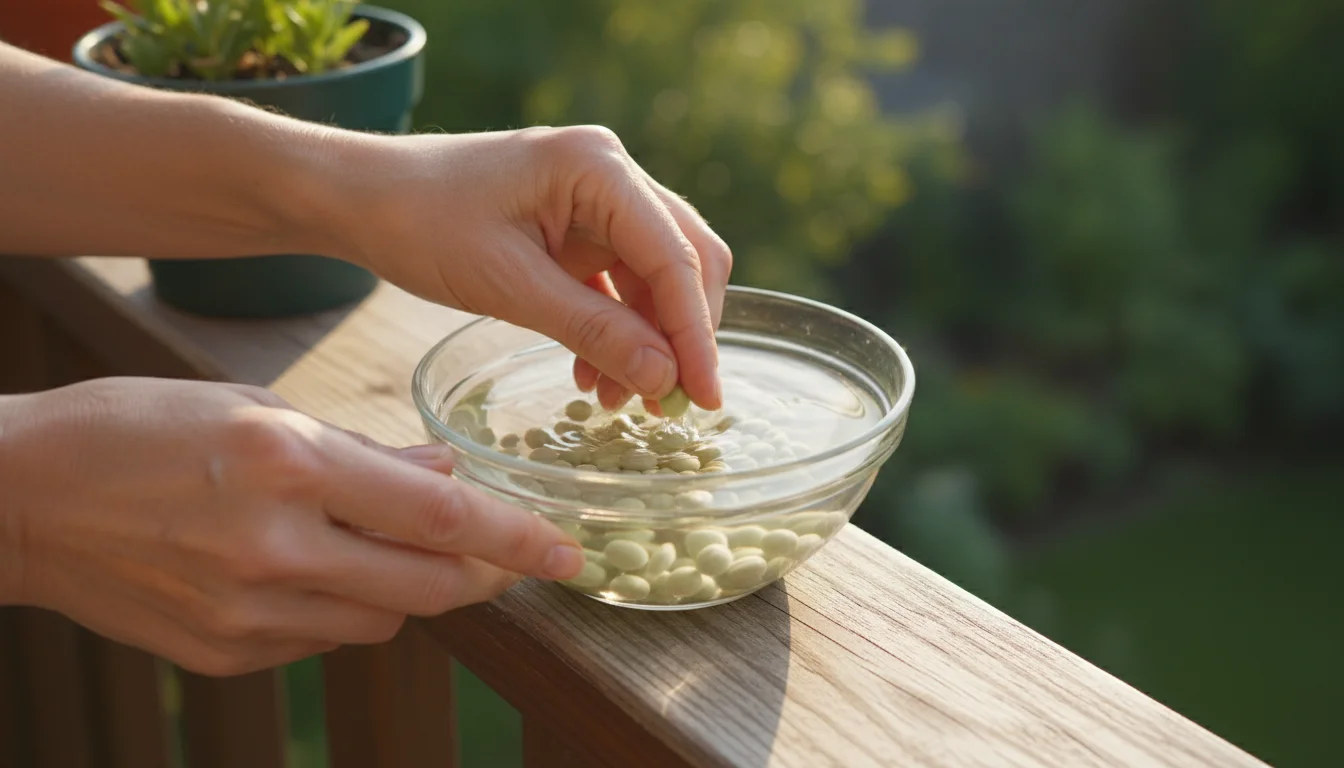
Seed Preparation
Pea seeds benefit from a little preparation to encourage faster and more even germination. While not strictly necessary, these steps improve your chances of success.
- Soaking (Optional but Recommended): Soak your pea seeds in lukewarm water for 12-24 hours before planting. This softens the seed coat, allowing water to penetrate more easily and initiating the germination process. Do not soak for longer than 24 hours, as this can lead to rot.
- Inoculation (Optional for New Gardeners): Pea plants are legumes, meaning they can form a symbiotic relationship with beneficial bacteria called Rhizobium, which helps them “fix” nitrogen from the air into the soil. If you have never grown peas or beans in your container before, consider purchasing a pea and bean inoculant. It comes as a powder; simply moisten your soaked seeds and toss them with the inoculant just before planting. This boosts nitrogen availability, reducing the need for external fertilizers.
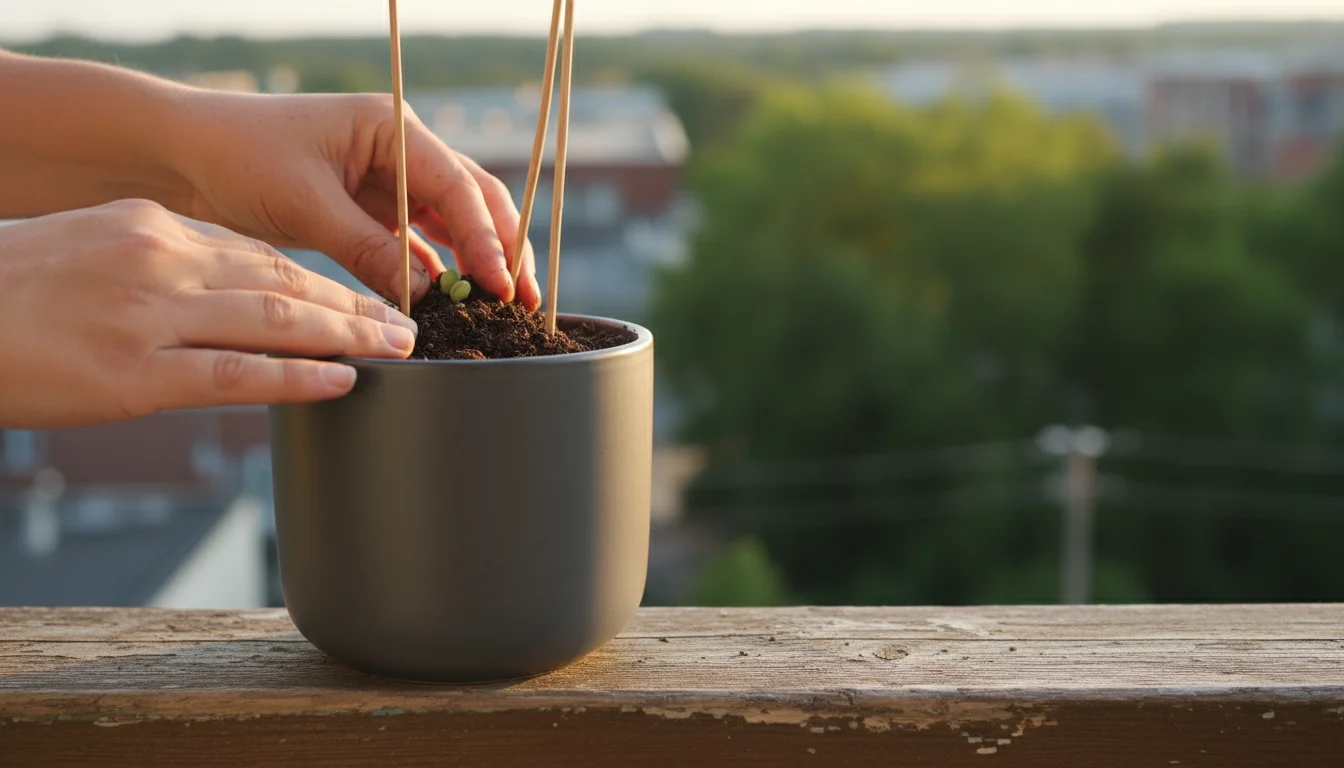
Planting the Seeds
Now, let us get those seeds into the soil.
- Spacing: Plant pea seeds about 1 inch (2.5 cm) deep and 2-3 inches (5-7.5 cm) apart. For a 12-16 inch (30-40 cm) diameter pot, you can comfortably plant 4-6 seeds evenly spaced around the base of your trellis. This gives each plant enough room to thrive while still providing a good yield.
- Arrangement: Distribute the seeds in a circle around the base of your trellis stakes. This ensures each seedling has direct access to the support structure as it begins to grow.
- Cover and Water: Gently cover the seeds with about 1 inch (2.5 cm) of soil. Lightly firm the soil over the seeds and then water thoroughly. The soil should feel moist, not waterlogged.
Initial Care After Planting
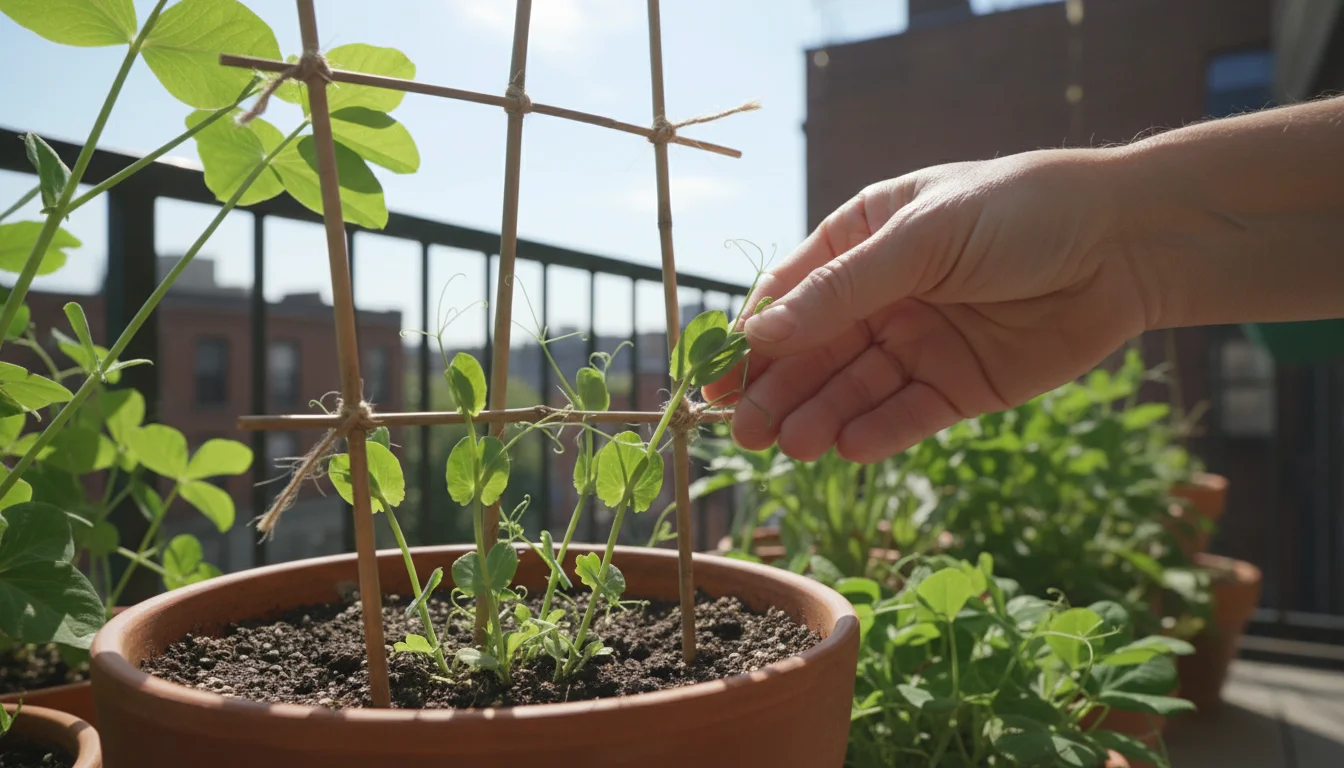
After planting, consistent moisture is critical for germination. Keep the soil consistently moist but never soggy. Germination usually occurs within 7-14 days, depending on the variety and soil temperature. Once seedlings emerge, ensure they receive at least 6-8 hours of direct sunlight daily. If your balcony receives less sun, your plants may still produce, but yields might be lower.
As the young pea plants grow, their tendrils will naturally reach out for the trellis. Gently guide any stray vines towards the nearest support. This initial training helps them establish their climbing habit and ensures maximum utilization of your balcony trellis. You are well on your way to enjoying fresh growing peas in pots.
Ongoing Care and Maintenance for a Bountiful Harvest
Consistent care during the growing season transforms your small plants into prolific producers. Attention to watering, feeding, and pest management ensures a healthy and abundant harvest from your container-grown sugar snap peas.
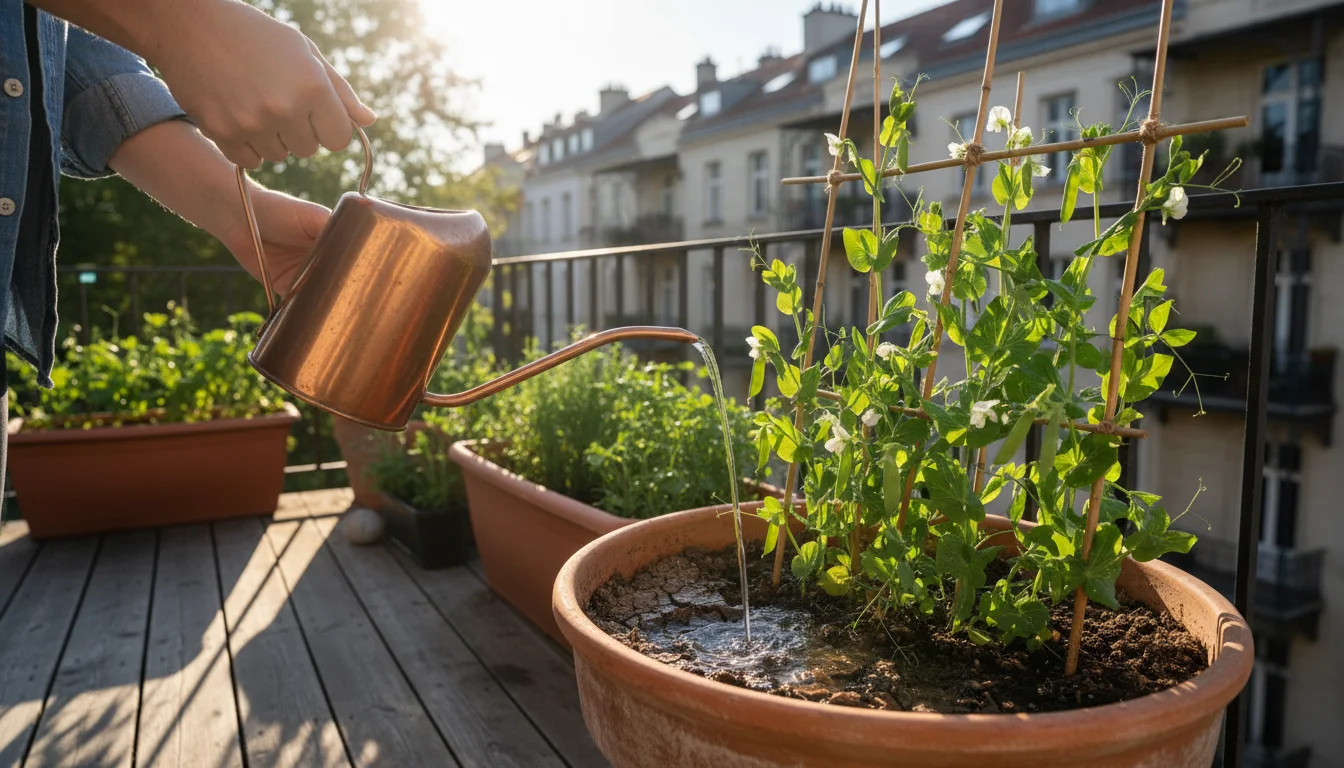
Watering: The Foundation of Growth
Peas require consistent moisture, particularly once they begin flowering and forming pods. Dry soil can stress plants, leading to reduced yields and tough, less flavorful pods. Container plants generally dry out faster than in-ground gardens, so monitor soil moisture daily.
- Frequency: Water thoroughly when the top inch (2.5 cm) of soil feels dry to the touch. In warm, sunny weather, this might mean daily watering, possibly even twice a day for smaller pots.
- Method: Water deeply until you see water draining from the bottom of the pot. This indicates the water reached the entire root zone. Avoid overhead watering, which can encourage fungal diseases. Instead, water directly at the soil line.
- Drainage: Ensure your pot has adequate drainage. Waterlogging suffocates roots and causes rot. If water sits on the surface for extended periods, your soil mix might be too dense, or drainage holes are blocked.

Fertilization: Targeted Feeding for Peas
Peas, as legumes, fix nitrogen from the air into the soil. This means they generally require less supplemental nitrogen than other vegetables. Too much nitrogen encourages leafy growth at the expense of pod production.
- Initial Boost: If you incorporated compost and potentially an inoculant at planting, your peas likely have sufficient nutrients to start.
- Mid-Season Boost (Optional): Once flowering begins, consider a light application of a balanced organic liquid fertilizer, or one slightly higher in phosphorus and potassium (e.g., a 5-10-10 formulation). Apply at half strength every 2-3 weeks. Follow product instructions carefully.
- Foliar Feed: A diluted seaweed or fish emulsion spray provides micronutrients and can perk up plants without over-fertilizing with nitrogen.
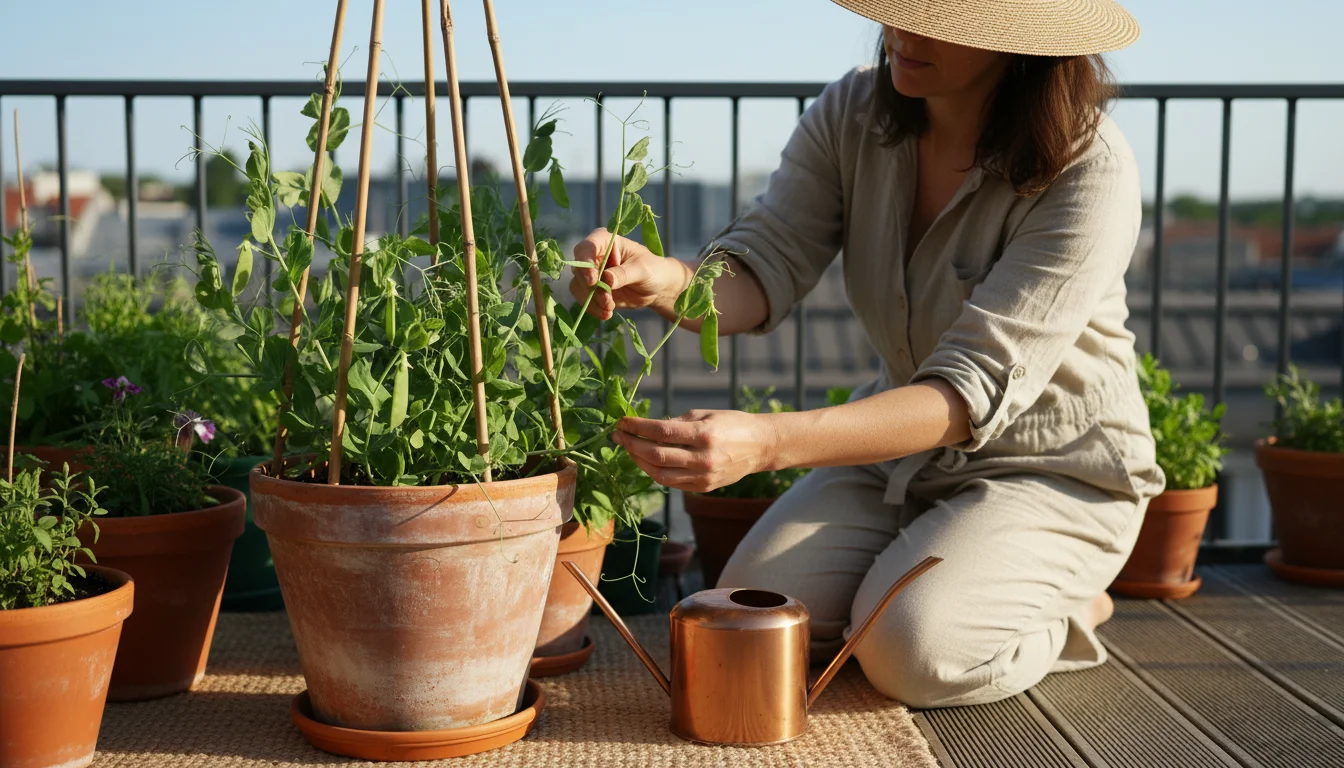
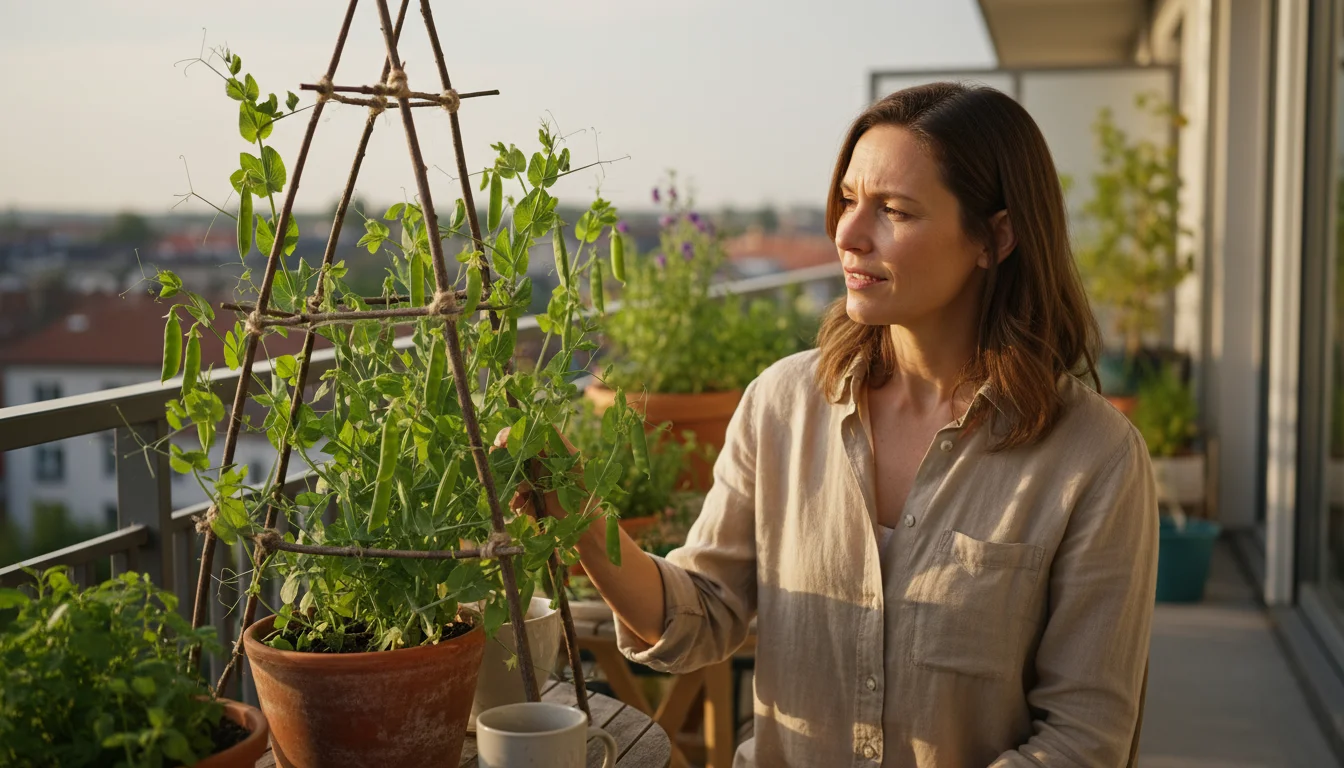
Supporting and Training Vines
Your trellis is there to guide growth. Regularly check your pea vines and gently train any stray tendrils to grasp onto the support structure. This ensures even sunlight exposure for all parts of the plant and keeps pods off the ground, promoting clean growth and easier harvesting. The constant effort helps you maximize your vertical gardening efforts.

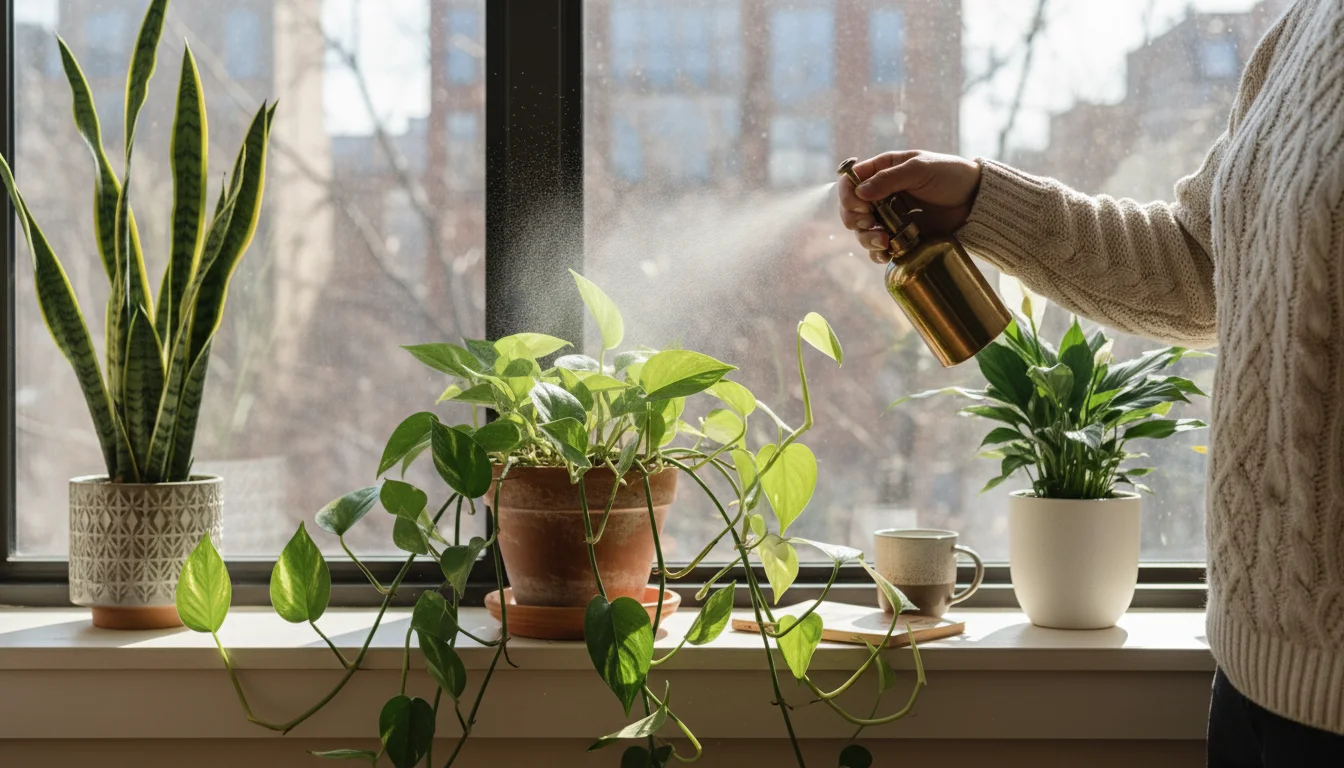
Pest and Disease Management
Even with good air circulation from vertical growth, pests and diseases can still appear. Regular inspection helps you catch problems early.
- Common Pests:
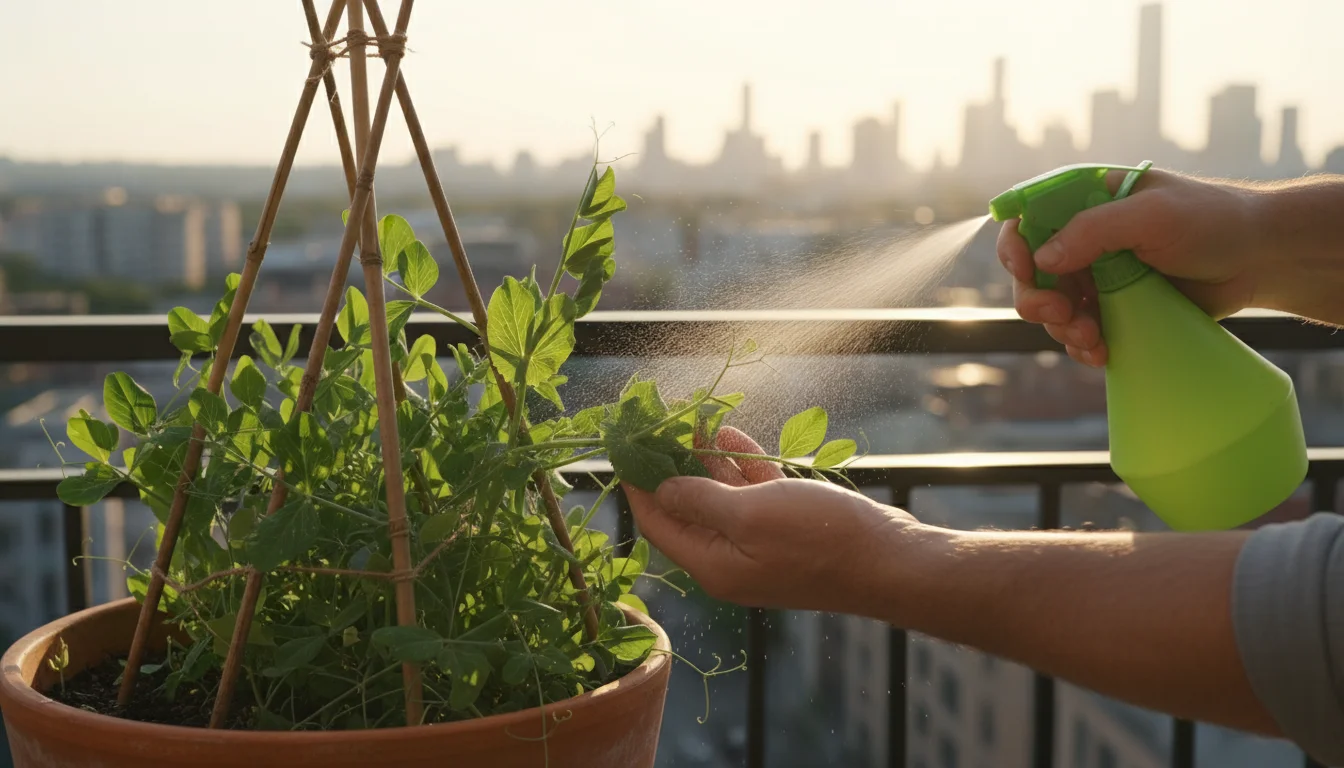
- Aphids: Small, soft-bodied insects clustering on new growth. Blast them off with a strong jet of water or use insecticidal soap.
- Spider Mites: Tiny pests causing speckled leaves and fine webbing. Increase humidity around plants, spray with water, or use insecticidal soap.
- Common Diseases:
- Powdery Mildew: White, powdery patches on leaves. Improve air circulation, avoid overhead watering, and consider organic fungicides like neem oil or baking soda solution.
- Root Rot: Yellowing, wilting plants despite adequate water. Caused by overwatering or poor drainage. Ensure proper drainage and avoid soggy soil.
- Prevention: Choose disease-resistant varieties when possible. Maintain good garden hygiene, removing any diseased plant material immediately. Healthy, well-fed plants are more resistant to pests and diseases.
Consistent monitoring and prompt action keep your how to grow snap peas in a container project thriving, setting you up for a truly bountiful harvest.
Troubleshooting Common Pea Growing Challenges
Even experienced gardeners encounter issues. Understanding common problems with container-grown sugar snap peas and knowing how to address them helps you keep your plants healthy and productive. This proactive approach minimizes setbacks and maximizes your harvest.
Problem 1: Seeds Not Germinating or Slow Germination
- Possible Causes:
- Cold Soil: Pea seeds need soil temperatures above 45°F (7°C) to germinate well.
- Too Dry/Too Wet: Inconsistent moisture or waterlogged soil inhibits germination.
- Old Seeds: Seed viability decreases over time.
- Deep Planting: Seeds planted too deep might struggle to emerge.
- Solutions:
- Check Temperature: Wait for warmer soil, or use a dark-colored pot that absorbs more sun.
- Monitor Moisture: Keep soil consistently moist but not soggy. Pre-soaking seeds helps.
- Fresh Seeds: Always use fresh, high-quality seeds.
- Correct Depth: Ensure seeds are planted at the recommended 1 inch (2.5 cm) depth.
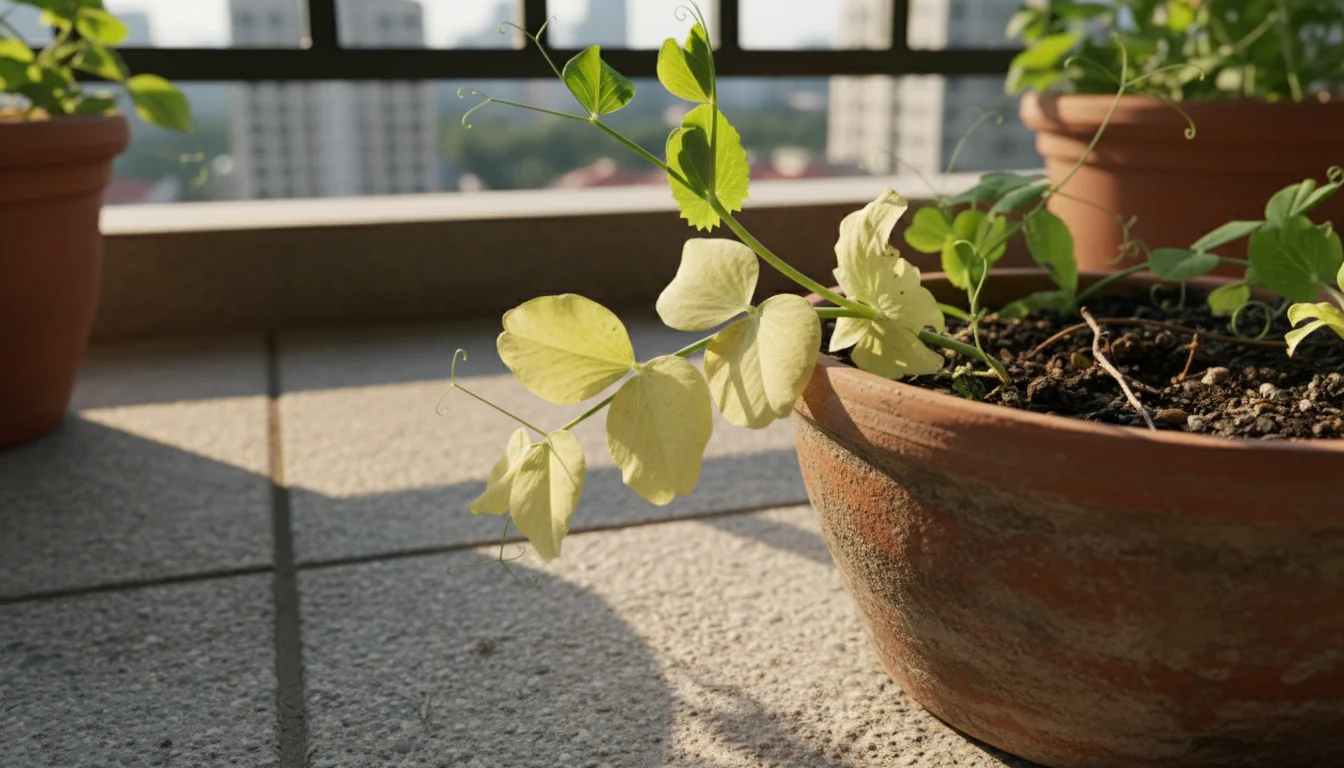
Problem 2: Yellowing Leaves
- Possible Causes:
- Nitrogen Deficiency: While peas fix nitrogen, they can still become deficient, especially in poor soil or if the symbiotic bacteria are absent. Leaves turn uniformly yellow, starting from older leaves.
- Overwatering/Poor Drainage: Roots suffocated by waterlogged soil cannot absorb nutrients. Leaves turn yellow and may wilt.
- Lack of Sunlight: Insufficient light causes plants to weaken and yellow.
- Nutrient Lockout (pH Imbalance): Incorrect soil pH prevents plants from absorbing available nutrients.
- Solutions:
- Fertilize (Slightly): Apply a balanced organic liquid fertilizer at half strength. Ensure proper inoculation if growing peas in the container for the first time.
- Improve Drainage: Check drainage holes and ensure you are not overwatering. Allow the top inch of soil to dry before watering again.
- Increase Light: Move your pot to a location receiving 6-8 hours of direct sun.
- Test pH: A simple soil pH test kit helps determine if your soil is too acidic or alkaline for peas (they prefer slightly acidic to neutral, pH 6.0-7.0). Adjust as needed with appropriate amendments.
Problem 3: Flowers but No Pods (or Few Pods)
- Possible Causes:
- High Temperatures: Peas are cool-season crops. Temperatures consistently above 80°F (27°C) can cause flowers to drop without setting pods.
- Lack of Pollination: While peas are self-pollinating, extreme heat or lack of beneficial insects can sometimes reduce pollination efficiency.
- Stress: Inconsistent watering, nutrient deficiencies, or pests can all contribute.
- Solutions:
- Shade During Heat: Provide afternoon shade during heat waves by moving the pot or using a shade cloth. This extends your harvest season.
- Ensure Consistent Care: Regular watering and appropriate, light fertilization helps plants handle stress.
- Attract Pollinators: Planting flowering herbs like borage or dill nearby can help, although peas are largely self-pollinating.
Problem 4: Pests (Aphids, Spider Mites)
- Possible Causes:
- New Plants Introduced: Pests often arrive on new plants.
- Environmental Stress: Weakened plants are more susceptible.
- Lack of Natural Predators: An imbalance in the ecosystem.
- Solutions:
- Early Detection: Regularly inspect your plants, especially the undersides of leaves.
- Manual Removal: For aphids, blast them off with a strong stream of water. For spider mites, wipe leaves with a damp cloth.
- Organic Sprays: Use insecticidal soap or neem oil for persistent infestations, following package directions. Apply in the evening to avoid harming beneficial insects and prevent leaf burn.
- Good Air Circulation: Your balcony trellis already helps here, but trim any overly dense foliage to further improve airflow.
Addressing these common challenges promptly ensures your growing peas in pots project remains a success. Your proactive approach keeps your peas productive and your garden joyful.
Harvesting Your Homegrown Sugar Snap Peas
The moment of truth arrives, the delicious reward for your diligent efforts: harvesting your sugar snap peas! Knowing when and how to pick them ensures the best flavor and encourages continued production. This is the ultimate payoff for your how to grow snap peas in a container project.
Once your pea season ends, you can reuse the container for a one-pot fall salad bar to maximize your balcony’s output.
When to Harvest
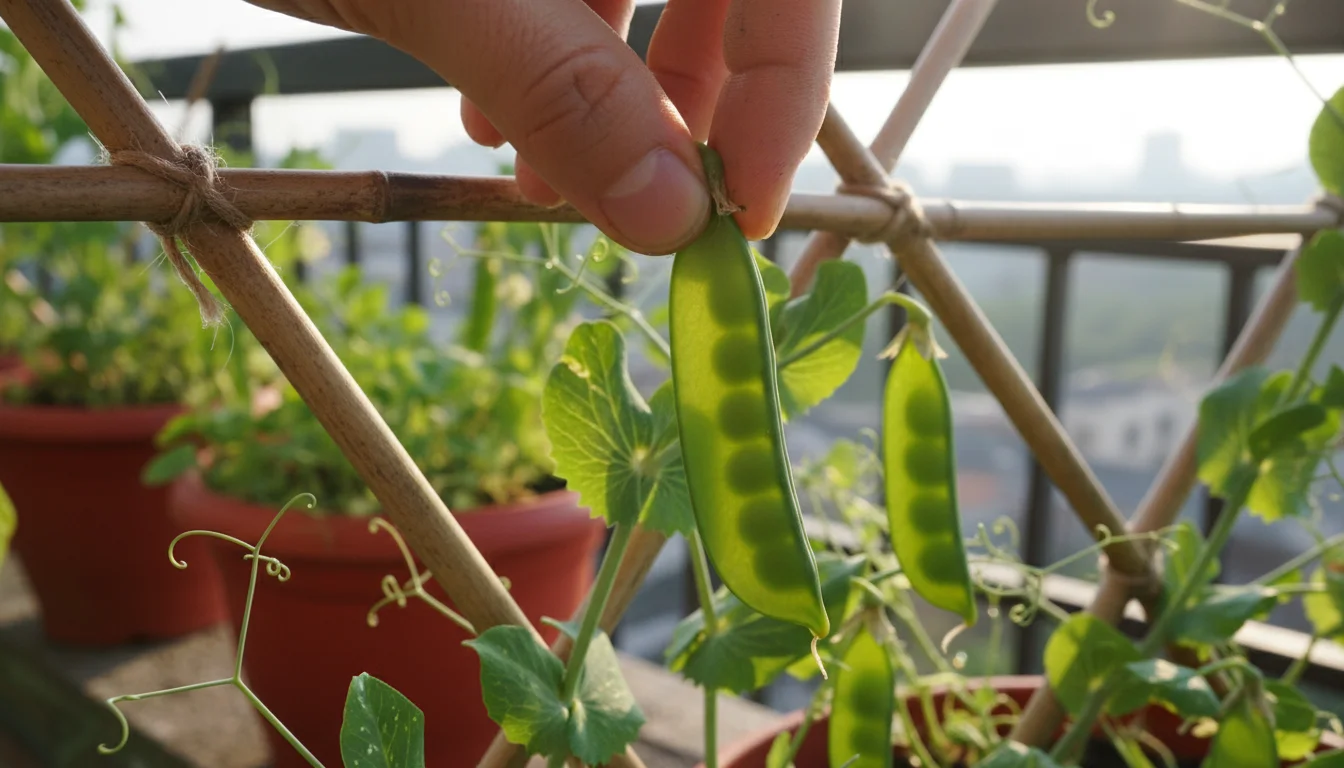
Sugar snap peas are typically ready for harvest about 60-70 days after planting, depending on the variety and growing conditions. The key is to pick them when the pods look plump and round, but before the peas inside become too large and starchy. The pods should snap cleanly when bent, indicating their crisp texture. If the pod feels soft or looks deflated, it is likely past its prime for optimal “snap.”
- Visual Cues: Look for pods that are bright green, firm, and swollen. You should see the individual peas bulging slightly within the pod.
- Taste Test: If unsure, pick one and taste it! It should be sweet, crunchy, and juicy.
- Avoid Over-Maturity: Overly mature peas become tough, fibrous, and lose their sweetness, turning starchy. Regular harvesting prevents this.
How to Harvest
Proper harvesting technique not only preserves the quality of your current crop but also signals the plant to produce more flowers and pods. This maximizes your yield over the entire season.
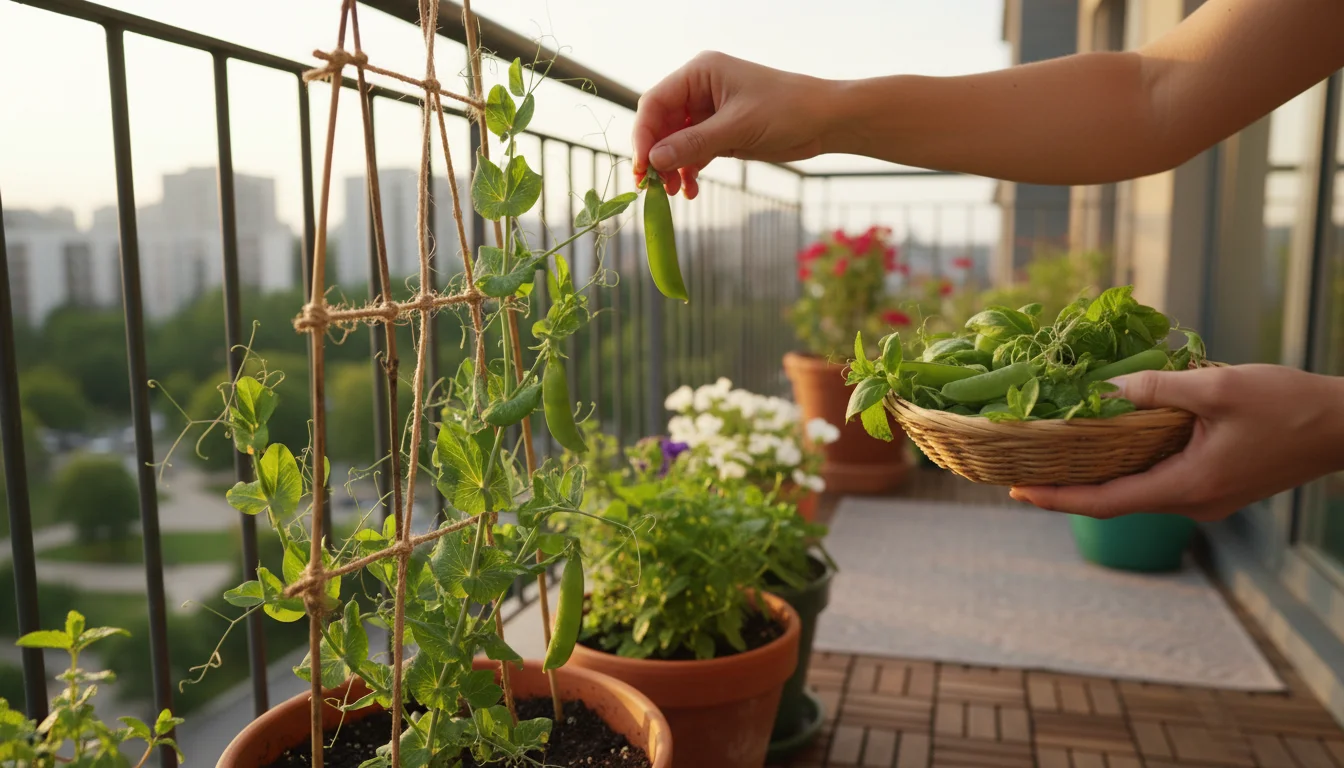
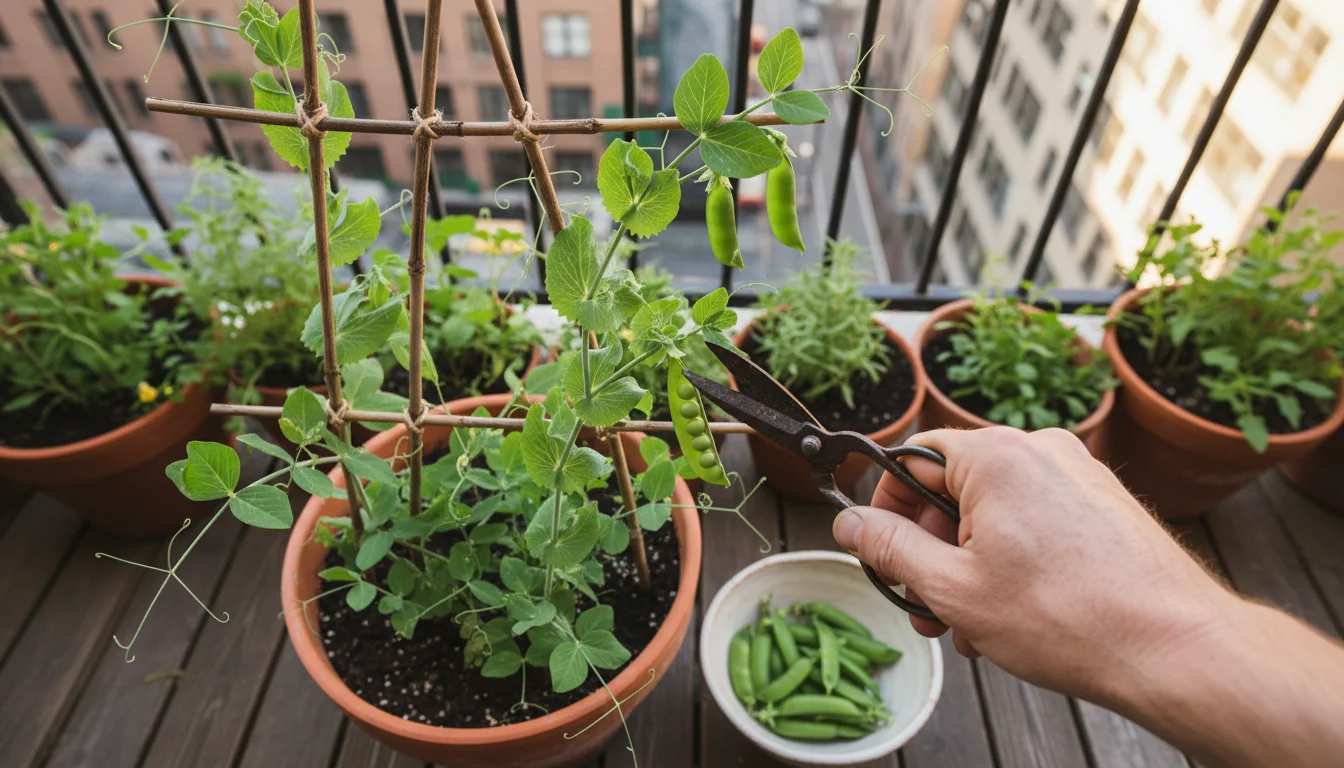
- Gentle Pinch or Snip: Hold the pea vine gently with one hand. With the other hand, snap the pod off at the stem attachment point with a quick, firm pinch. Alternatively, use small garden shears or scissors to snip the stem just above the pod. Be careful not to pull or tug forcefully on the vine, as this can damage the plant and reduce future production.
- Harvest Regularly: Sugar snap peas are “pick-and-come-again” plants. This means the more you pick, the more they produce. Aim to harvest every 1-2 days once they start producing. Neglecting to harvest encourages the plant to put energy into ripening existing seeds, signaling the end of its productive cycle.
- Inspect Thoroughly: Pea pods often hide among the foliage. Take your time to thoroughly inspect all parts of the plant, including underneath leaves and along the trellis, to find all ripe pods. This thoroughness contributes significantly to a bountiful yield from your balcony trellis setup.
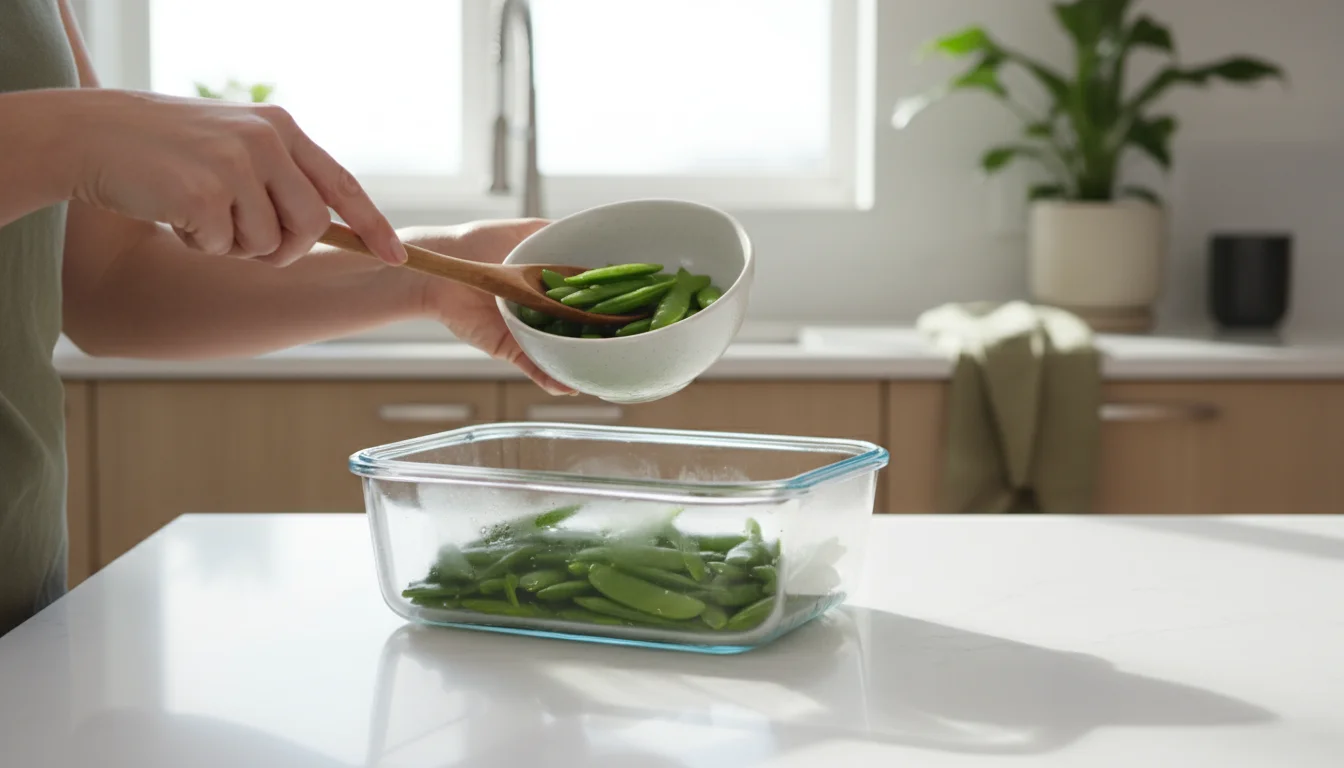
Post-Harvest Storage
Enjoy your freshly picked sugar snap peas immediately for the best flavor and crunch. If you have an abundant harvest, store them unwashed in a perforated plastic bag in the crisper drawer of your refrigerator. They remain fresh for about 3-5 days. For longer storage, blanch them briefly in boiling water, then shock them in ice water, drain, and freeze them in airtight containers. This method preserves their sweetness and crunch for months, allowing you to enjoy the fruits of your vertical gardening labor long after the growing season ends.
Frequently Asked Questions
Can I grow sugar snap peas in a small pot without a trellis?
While you can grow “bush” or “dwarf” varieties of sugar snap peas in smaller pots without a trellis, their yield will be significantly lower, and the plants will likely sprawl. Even bush varieties benefit immensely from some form of support, such as small stakes or a mini trellis, as they still produce tendrils and prefer to climb. Vining varieties absolutely require a trellis to thrive and produce a good harvest in a pot.
How much sun do sugar snap peas need on a balcony?
Sugar snap peas require at least 6-8 hours of direct sunlight per day to produce a strong yield. On a balcony, identify the spot that receives the most consistent sun exposure. While they tolerate some partial shade, especially in hotter climates, too little sun results in leggy plants, fewer flowers, and reduced pod production. Early morning sun is particularly beneficial, as it helps dry dew from leaves, reducing disease risk.
What is the ideal temperature range for growing sugar snap peas?
Sugar snap peas are cool-season crops. They thrive in temperatures between 60 and 75 degrees Fahrenheit (15-24 degrees Celsius). They tolerate light frosts but struggle in prolonged heat above 80 degrees Fahrenheit (27 degrees Celsius), which can cause flowers to drop and halt pod production. Plant them in early spring or late summer to align with these preferred temperatures, making them a perfect candidate for seasonal container gardening.
Do sugar snap peas need a lot of water in containers?
Yes, sugar snap peas, especially those growing peas in pots, require consistent moisture. Container plants dry out much faster than in-ground gardens. Water thoroughly when the top inch of soil feels dry, ensuring water drains from the bottom. During flowering and pod development, consistent watering is crucial to prevent stress, which can lead to tough pods or reduced yields. Avoid soggy soil, however, as this can lead to root rot. Good drainage is key.
Can I reuse the soil in my pot after harvesting sugar snap peas?
You can reuse your potting soil, but it benefits from rejuvenation. After harvesting, remove all plant debris and replenish the soil with fresh, nutrient-rich amendments. Mix in new compost, a small amount of fresh potting mix, and potentially some slow-release organic fertilizer. This replenishes nutrients and improves soil structure for your next planting. Avoid reusing soil if your previous crop experienced significant disease issues.
Your journey to homegrown sugar snap peas is now firmly established. You have selected your seeds, built your DIY trellis for small balcony, planted with care, and learned how to nurture your vines for a generous harvest. Embrace the simplicity and satisfaction of vertical gardening, and enjoy the unparalleled taste of peas picked fresh from your own patio or balcony.
For trustworthy gardening information, visit:
Kew Science — Plants of the World, Brooklyn Botanic Garden and Chicago Botanic Garden. These organizations provide expert, research-based advice for gardeners at all levels.
Disclaimer: This article is for informational purposes only and is not a substitute for professional gardening advice. Always consult local extension services or horticulture experts for region-specific guidance.


Leave a Reply