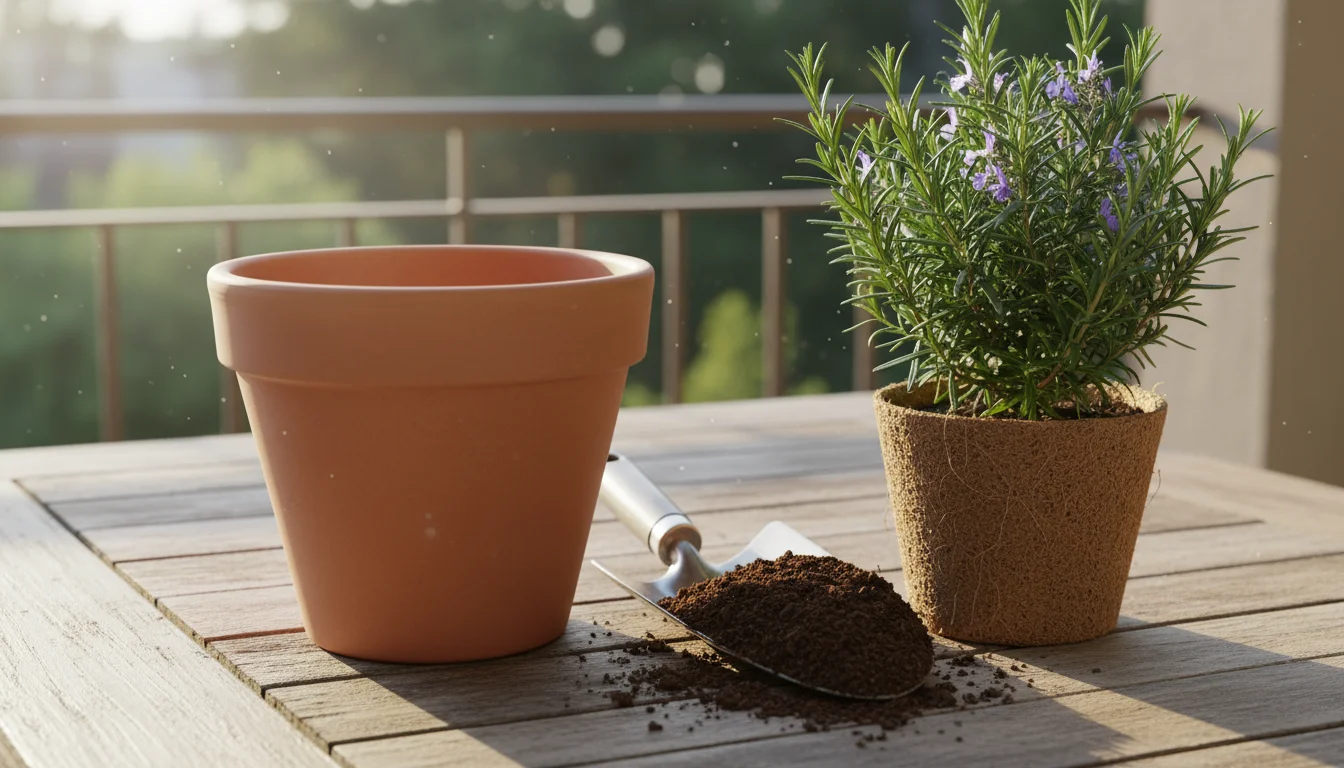
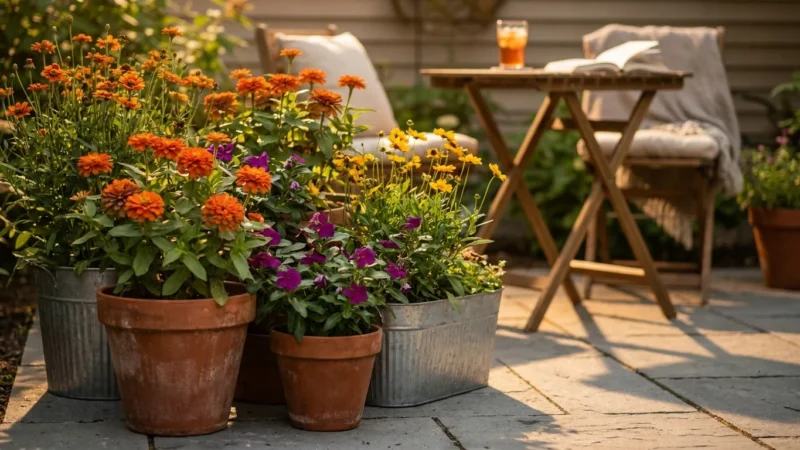
Spring stands ready to usher in a new season of growth, and your balcony pots await their awakening. After a long winter, these containers hold the promise of fresh herbs, vibrant flowers, and delicious vegetables. Preparing them correctly now lays the groundwork for a thriving container garden. This isn’t just about clearing out old debris; it’s about setting the stage for healthy plant life, ensuring good drainage, and providing essential nutrients. Embracing this annual spring garden prep ritual means your plants receive the best possible start, reducing future problems and maximizing your harvest or blooms.
Many beginner and intermediate gardeners find themselves wondering what to do with used potting soil from last year, or how to properly clean containers for optimal performance. You want practical, actionable steps for getting containers ready for spring, especially when working with limited space on a balcony or patio. This guide offers a clear, 5-step checklist to streamline your container garden cleanup, transforming your winter-weary pots into vibrant spring havens. Let’s get your balcony gardening efforts off to a fantastic start.
Awakening Your Balcony Garden: Why Spring Prep Matters
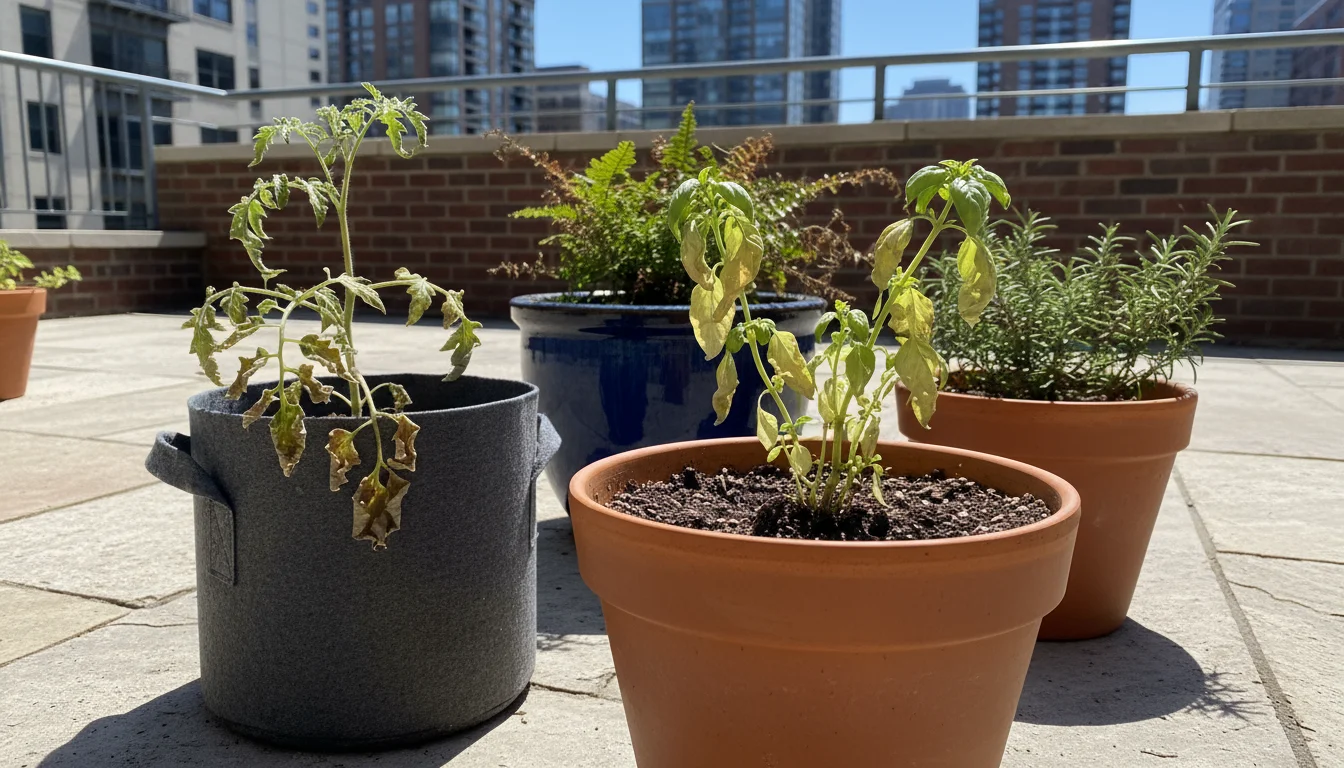
The transition from winter dormancy to spring vitality on your balcony begins with intentional preparation. You might feel tempted to simply add new plants to old pots, but a thorough spring garden prep routine saves you time and effort in the long run. Imagine planting a delicate seedling into depleted, compacted soil, or into a pot harboring disease spores from last season. Your plant struggles, its growth stunted, its yields disappointing. This highlights the critical importance of a proper container garden cleanup.
The efforts you put into your autumn cleanup and pot swap will make this spring transition much smoother as you start your new arrangements.
Effective preparation ensures your plants have the best possible foundation for growth. It means your potting mix can effectively deliver water and nutrients, your containers are free from pathogens, and your chosen plants receive adequate support. Neglecting these steps can lead to poor drainage, nutrient deficiencies, pest outbreaks, and overall weak plant health. For those engaging in balcony gardening, where every square inch counts, optimizing your containers translates directly into a more productive and beautiful display. Data shows that well-prepared soil can increase plant vigor by as much as 30 percent, leading to better blooms and yields.
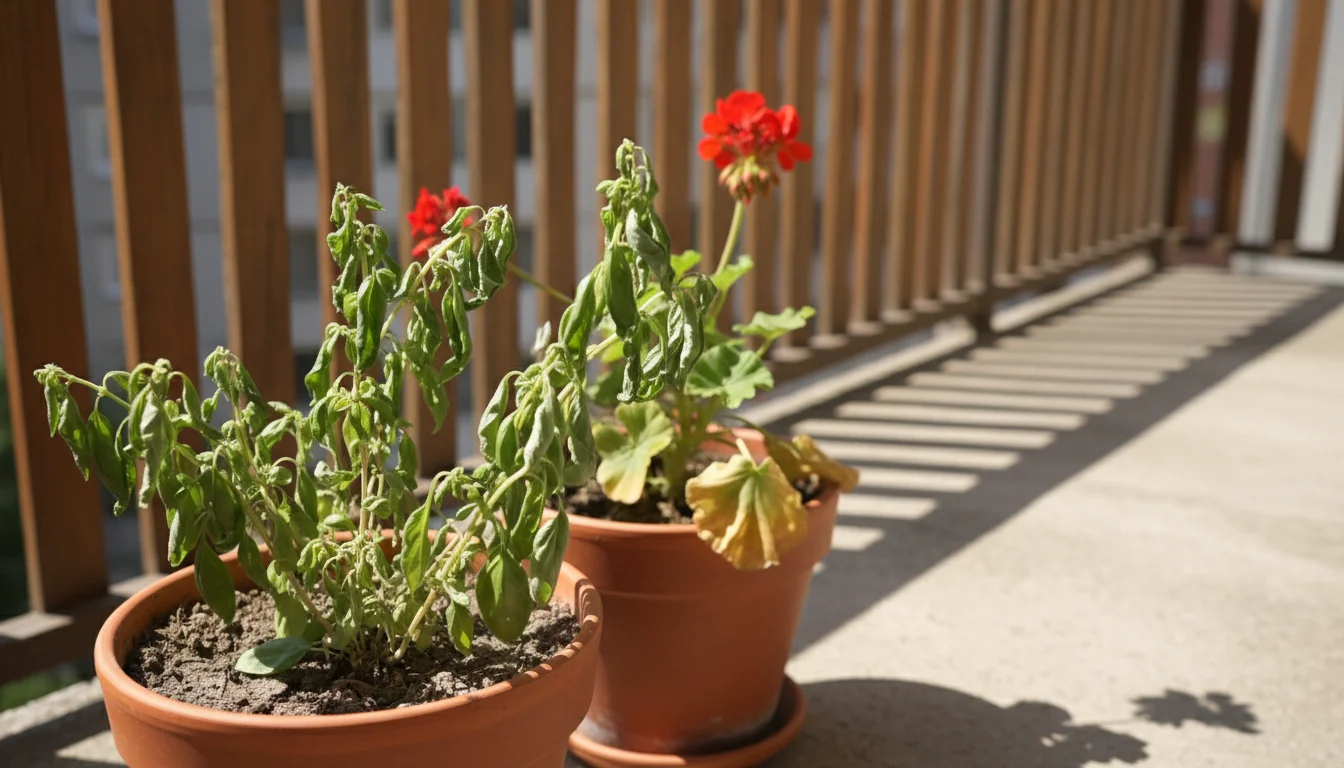
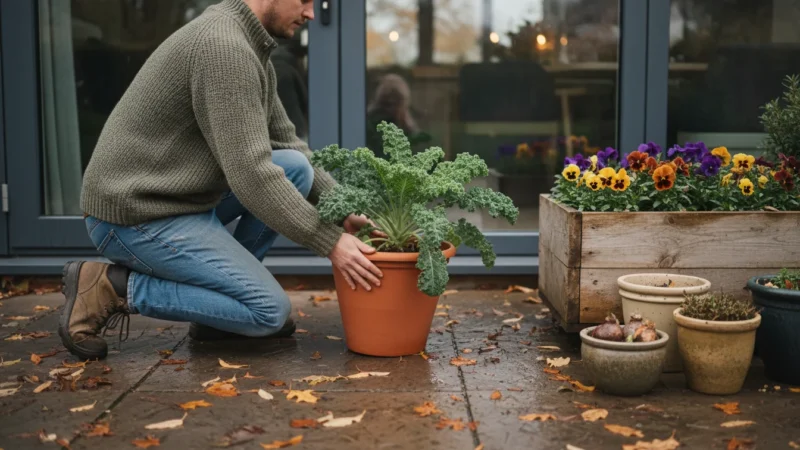
Step 1: Assessing and Clearing Winter’s Remnants
Your first step in waking up your balcony pots involves a critical assessment and thorough removal of anything that doesn’t belong. Winter often leaves behind a messy legacy: dead plant material, fallen leaves, and accumulated debris. This material can harbor pests, fungal spores, and bacteria, creating an unhealthy environment for new plantings. Start with a clear slate to prevent these issues from carrying over into the new growing season.
If you used the tuck-in method to protect your pots last fall, you will find this clearing process much faster.
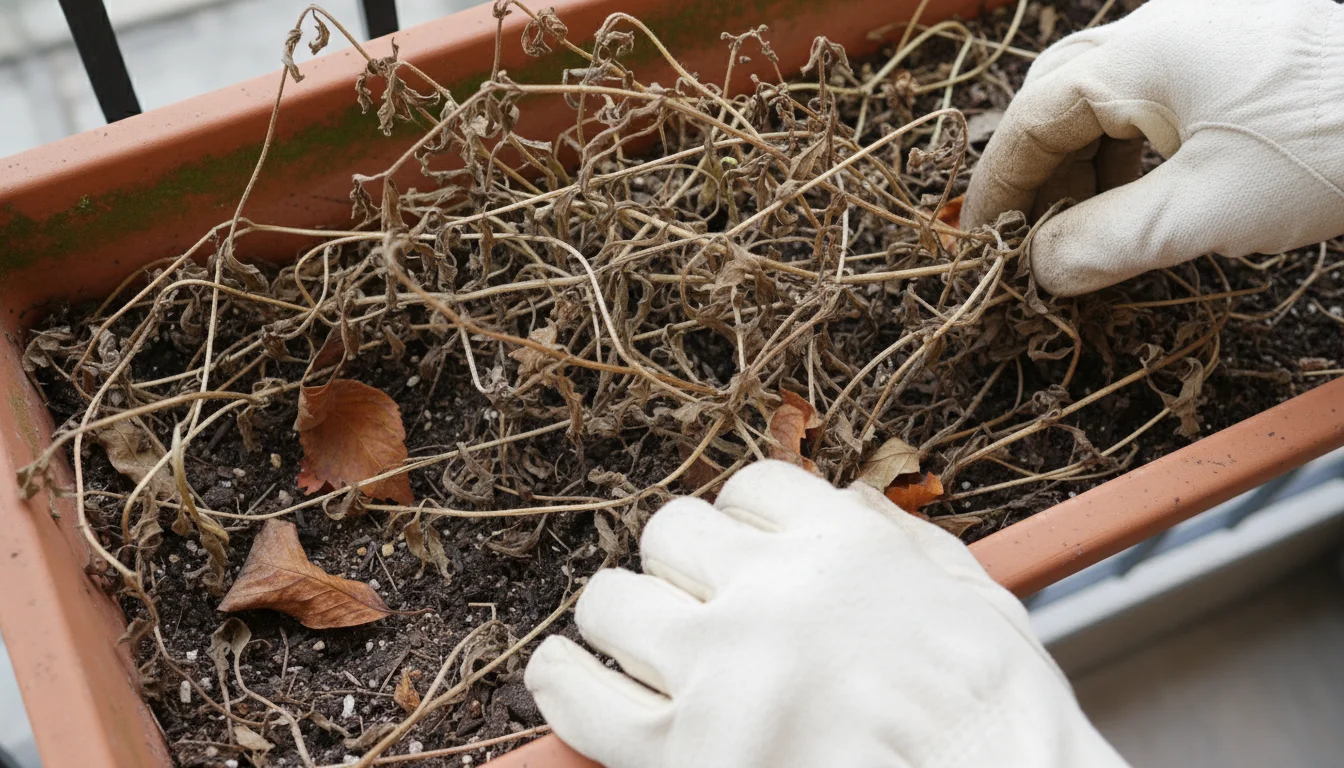
Actionable Insight: Clear Out Old Growth and Debris
- Remove Dead Plants: Gently pull out or cut back any plants that did not survive the winter. This includes withered annuals, frozen perennials, or spent herbs. Ensure you remove the entire root ball if possible. Leaving dead roots in the soil can create pockets for disease.
- Clear Surface Debris: Sweep away fallen leaves, twigs, and any other organic matter that has collected on the soil surface. This organic layer can become a breeding ground for pests and diseases if left undisturbed. Use a small hand brush or your gloved hands.
- Check for Winter Damage: Inspect the pots themselves. Look for cracks, especially in terracotta or ceramic pots, which are prone to damage from freezing and thawing cycles. Note any damage that might compromise the structural integrity or drainage of the container.
- Empty Saucers: If your pots have saucers, empty any standing water and clean them thoroughly. Stagnant water attracts mosquitoes and can lead to root rot if the pot sits in it for too long.
This initial clearing provides a visible transformation and sets the stage for deeper cleaning and soil revitalization. By diligently removing old material, you immediately improve the aesthetic of your balcony and reduce potential problems for your spring plants. Think of it as spring cleaning for your garden, a necessary step in preparing balcony pots for spring planting.
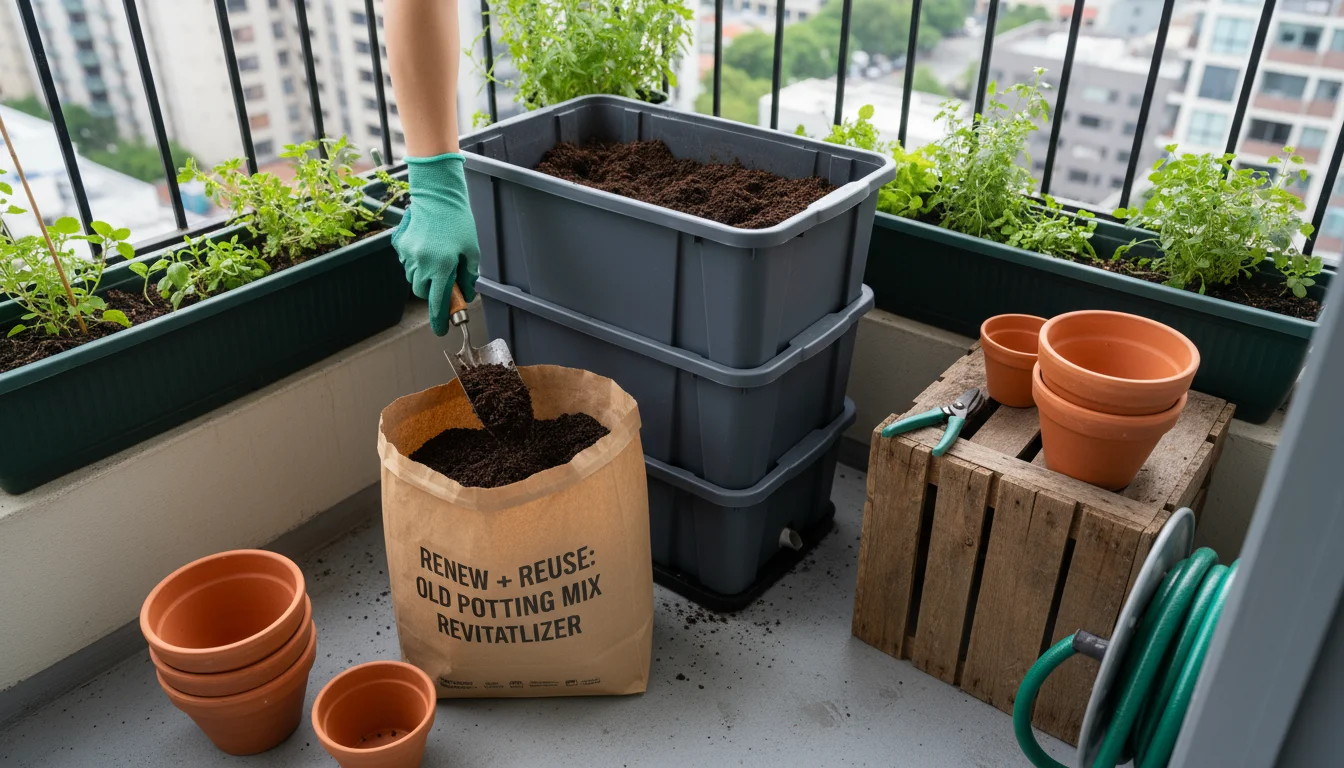
Step 2: Revitalizing Your Potting Mix
After a season of growth and a winter of dormancy, the potting soil in your containers is likely depleted. Plants extract nutrients, organic matter breaks down, and the soil structure can become compacted. Simply topping off old soil often proves insufficient. Revitalizing your potting mix is a cornerstone of spring garden prep, ensuring your new plants have access to the resources they need for robust growth. This addresses a common question: what to do with used potting soil from last year.
Performing a quick assessment of your potting mix from the previous season will reveal exactly what nutrients and amendments are needed for revitalization.
Understanding Potting Mix Health
Potting mix differs significantly from garden soil. It’s designed to be light, well-draining, and rich in organic matter, providing an ideal environment for roots in a confined space. Over time, however, these qualities degrade:
- Nutrient Depletion: Plants consume available nutrients, and watering leaches them out.
- Compaction: Repeated watering and root growth can compact the soil, reducing aeration and drainage. This restricts root access to oxygen and makes it harder for water to penetrate evenly.
- Organic Matter Breakdown: Peat moss, coir, and other organic components decompose, further contributing to compaction and reducing water retention capacity.
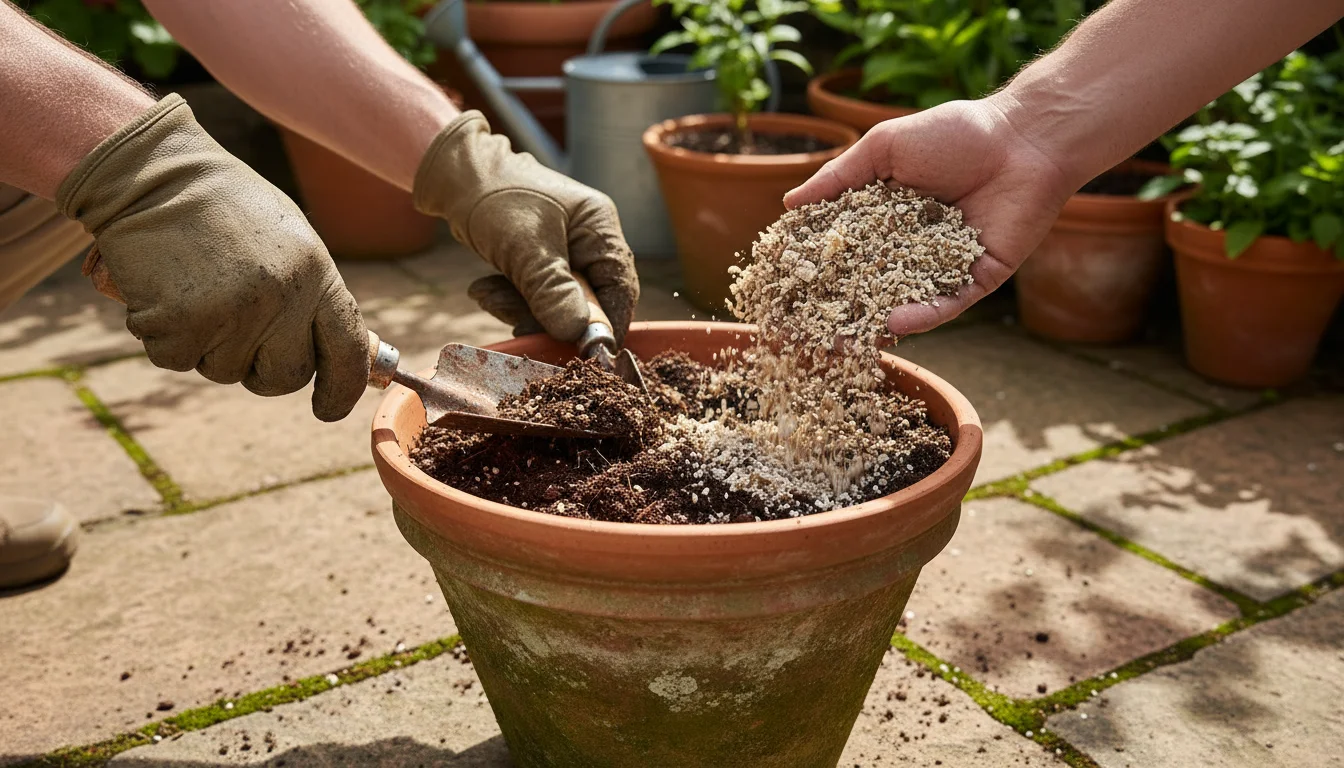
Actionable Insight: Refreshing Your Old Potting Soil
You do not always need to discard all your old potting soil. For many gardeners, especially those committed to eco-friendly practices, reusing and refreshing is the preferred approach. Here’s how to do it effectively for getting containers ready for spring:
- Assess the Old Soil: Examine the used potting soil. Does it look crumbly and dark, or is it dense and clumpy? If it smells sour or has visible signs of disease (mold, fungal growth that looks like cobwebs), it’s best to discard it or sterilize it thoroughly. For minor issues or healthy-looking soil, proceed with revitalization.
- Break Up Compaction: Empty the old soil into a wheelbarrow, large tub, or tarp. Use your hands or a small trowel to break up any large clumps. Aerating the soil at this stage helps restore its structure.
- Amend with Fresh Potting Mix: Incorporate about 30-50 percent fresh, high-quality potting mix. This introduces new organic matter, fresh nutrients, and improves overall texture. Aim for a ratio that visibly lightens and enriches the old soil. For example, if you have two parts old soil, add one part new.
- Add Organic Amendments:
- Compost: Mix in a generous amount of well-rotted compost (10-20 percent of the total volume). Compost provides a slow release of nutrients, improves soil structure, and introduces beneficial microorganisms.
- Worm Castings: These are excellent for nutrient boosting and microbial activity. A handful per gallon of soil can make a significant difference.
- Perlite or Vermiculite: If your soil still feels heavy or drainage was an issue last year, add a handful or two of perlite (for aeration) or vermiculite (for moisture retention). Perlite helps with drainage by creating air pockets, while vermiculite absorbs water and releases it slowly.
- Incorporate Slow-Release Fertilizer: For long-term feeding, mix in a slow-release granular fertilizer according to package directions. Alternatively, you can plan to use liquid feeds throughout the season.
- Moisten and Store (if not planting immediately): Lightly moisten the revitalized mix. If you are not planting right away, store it in a covered container or bag to keep it moist and prevent weed seeds from blowing in.
By taking these steps, you transform depleted, tired soil into a nutrient-rich, well-aerated medium perfectly suited for a new season of balcony gardening. This sustainable practice reduces waste and provides superior growing conditions for your plants.
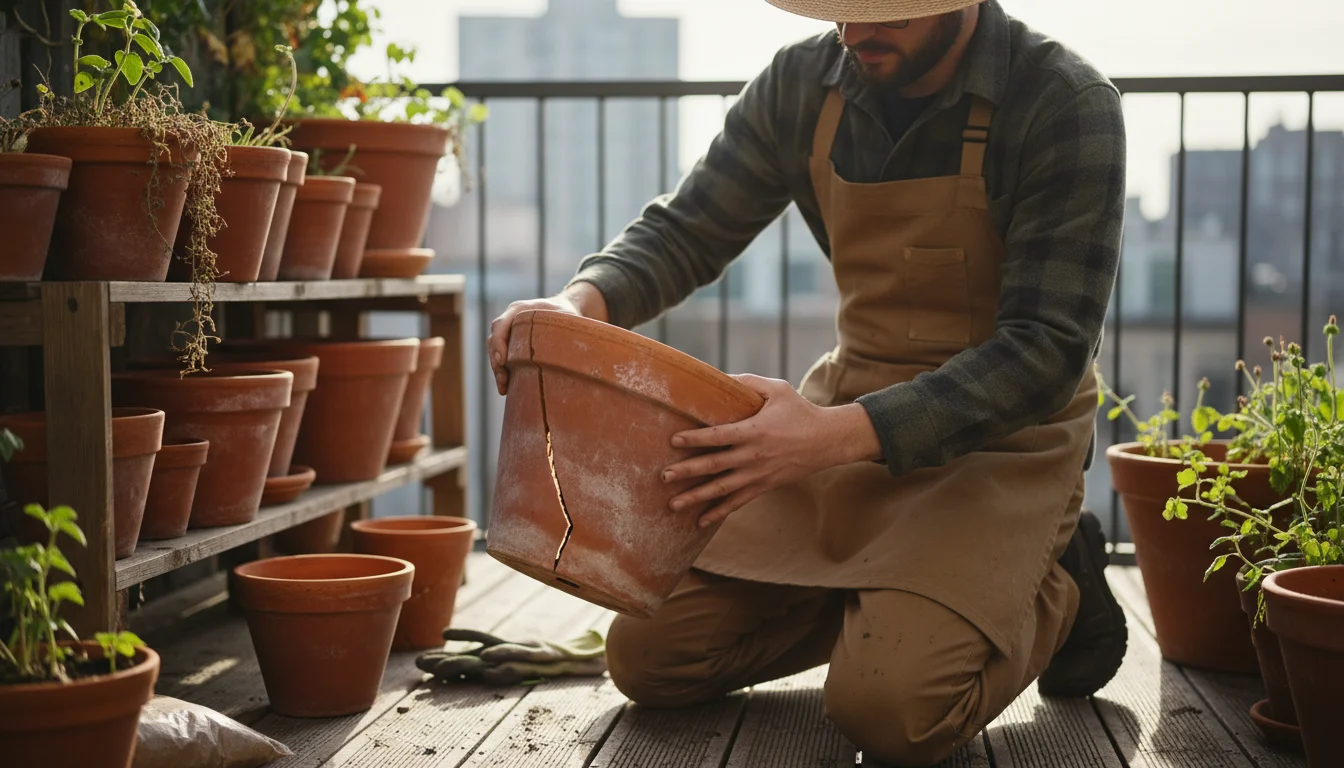
Step 3: Inspecting Pots for Damage and Pests
After clearing debris and addressing the soil, turn your attention to the containers themselves. Your pots are more than just decorative vessels; they are crucial components of your plant’s environment. A thorough inspection for physical damage and hidden pests is an essential part of getting containers ready for spring.
Physical Damage Assessment
Cold winter temperatures can wreak havoc on certain materials, particularly porous ones. Frost heave, where water expands as it freezes, puts immense pressure on container walls. This can lead to:
- Cracks: Especially common in terracotta, ceramic, and unglazed clay pots. Small hairline cracks can expand over time, leading to structural failure.
- Chipping or Flaking: The outer layers of certain materials might chip off.
- Disintegration: Less durable materials, if exposed to harsh winter conditions, might start to break down.
Examine each pot carefully, inside and out. Pay close attention to the rims, sides, and especially the drainage holes. A crack at a drainage hole can quickly spread and compromise the pot’s integrity. For damaged pots, consider their fate. Small, superficial cracks might be tolerated for a season, but severely damaged pots should be replaced to prevent accidents and ensure plant health.
Pest and Disease Patrol
Winter provides a surprising sanctuary for many garden pests and plant diseases. While your plants might have been dormant, many unwelcome guests have simply been biding their time. Common culprits that overwinter in pots or old soil include:
- Fungus Gnats: Their larvae can reside in damp soil.
- Slugs and Snails: Often hide under pot rims or in crevices.
- Spider Mite Eggs: Can lay dormant on residual plant material or pot surfaces.
- Fungal Spores: Powdery mildew, botrytis, and other diseases can persist in old plant debris or on contaminated pot surfaces.
Actionable Insight: Spotting and Preventing Issues
- Scrutinize Surfaces: Look for tiny egg clusters, webbing, or the tell-tale slime trails of slugs. Check under the lip of the pot and in any decorative indentations.
- Examine Old Roots: If you are completely replacing soil, check the root ball of any old plants for signs of root rot (mushy, dark roots) or nematode cysts.
- Sanitize Suspect Pots: If you find any signs of pests or disease, clean the pot thoroughly. We will cover cleaning in the next step, but a preliminary check helps you identify which pots need extra attention. For persistent issues, consider sterilizing the pot using a diluted bleach solution (1 part bleach to 9 parts water) or a horticultural disinfectant. Rinse thoroughly after cleaning to remove any residue.
Taking the time to inspect now prevents these issues from affecting your new spring plantings. An ounce of prevention in spring garden prep saves you from a pound of pest control later, making your balcony gardening experience much more enjoyable.
Step 4: Ensuring Optimal Drainage and Cleanliness
Cleanliness and proper drainage are non-negotiable for healthy container plants. Poor drainage, where water sits in the bottom of the pot, leads to root rot, a common killer of potted plants. Dirty pots can harbor lingering diseases and pests. This step solidifies your container garden cleanup efforts and is crucial for getting containers ready for spring.
Proper drainage is particularly important when watering pots during unpredictable spring weather to prevent root rot.
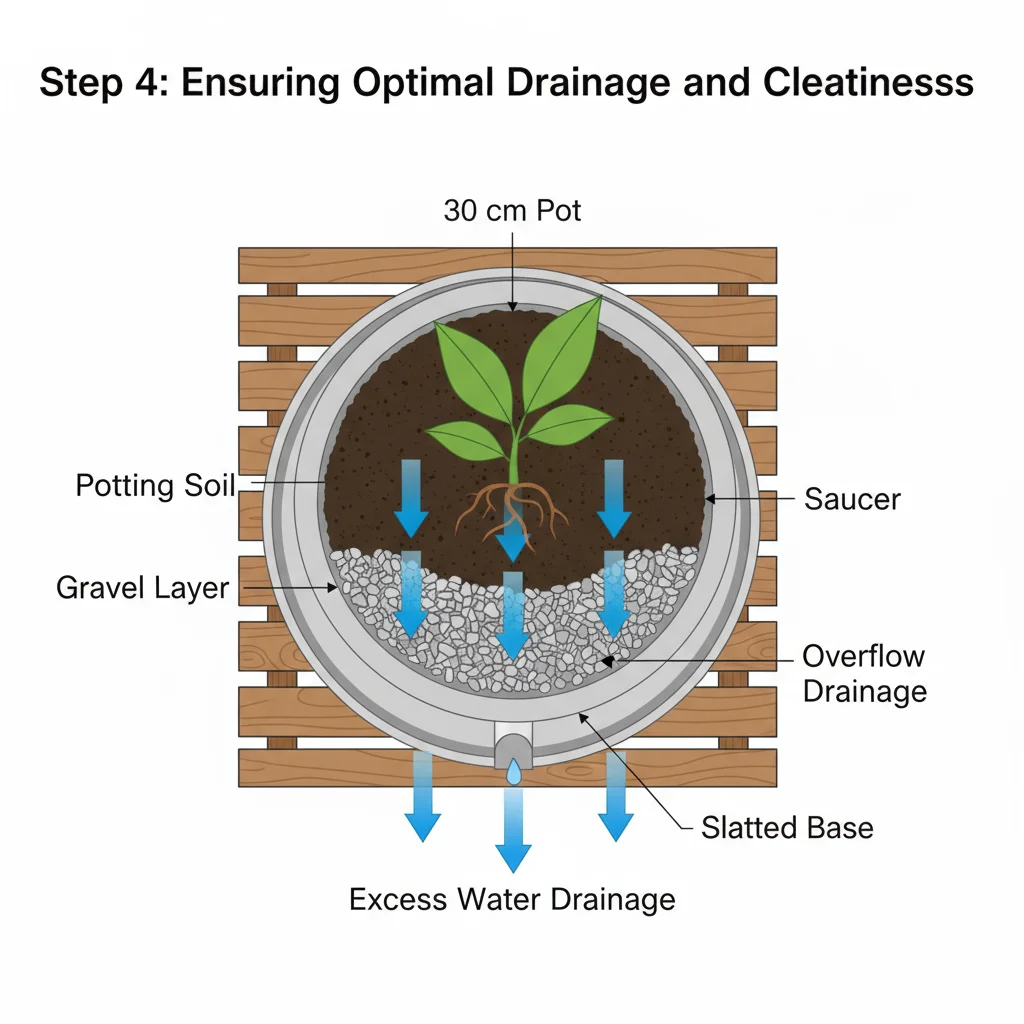
Understanding Drainage
Drainage refers to how effectively water moves through the soil and out of the pot. Good drainage means excess water exits the container quickly, preventing the soil from becoming waterlogged. Roots need oxygen to thrive, and waterlogged soil deprives them of this essential element. Many factors influence drainage, including pot material, soil structure, and most importantly, the drainage holes themselves.
Actionable Insight: Cleaning and Optimizing Drainage
- Empty and Scrub Pots: For all pots that held plants last season, empty any remaining soil or debris. Use a stiff brush, warm water, and a mild soap solution to scrub the inside and outside surfaces. Pay special attention to the rim and bottom, where residues often accumulate. This removes mineral deposits, algae, and potential disease pathogens. Rinse thoroughly until no soap residue remains.
- Disinfect (if necessary): If a pot housed a diseased plant last year, or if you noticed persistent pest issues, disinfect it. A solution of one part household bleach to nine parts water works effectively. Soak the pot for at least 30 minutes, then scrub and rinse extremely well. Allow pots to air dry completely before reuse. This step is critical for preventing the spread of diseases.
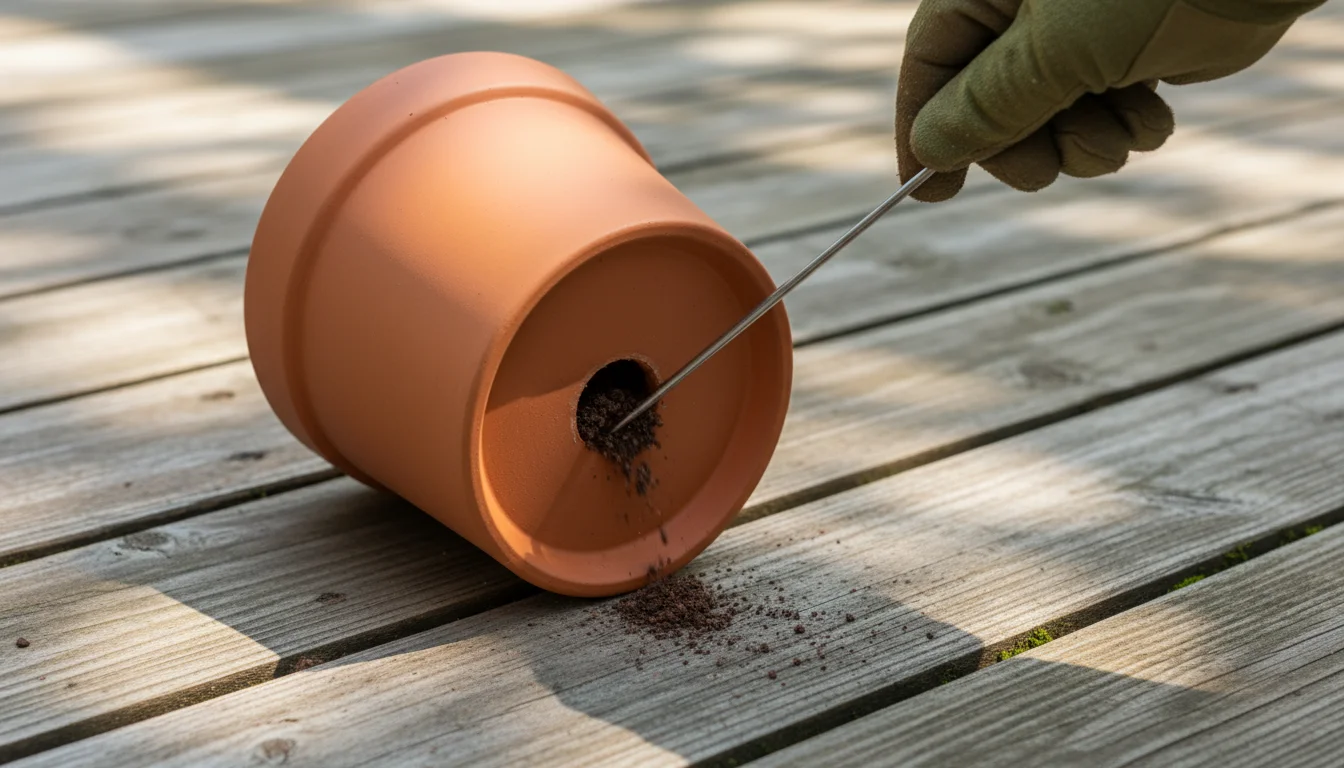
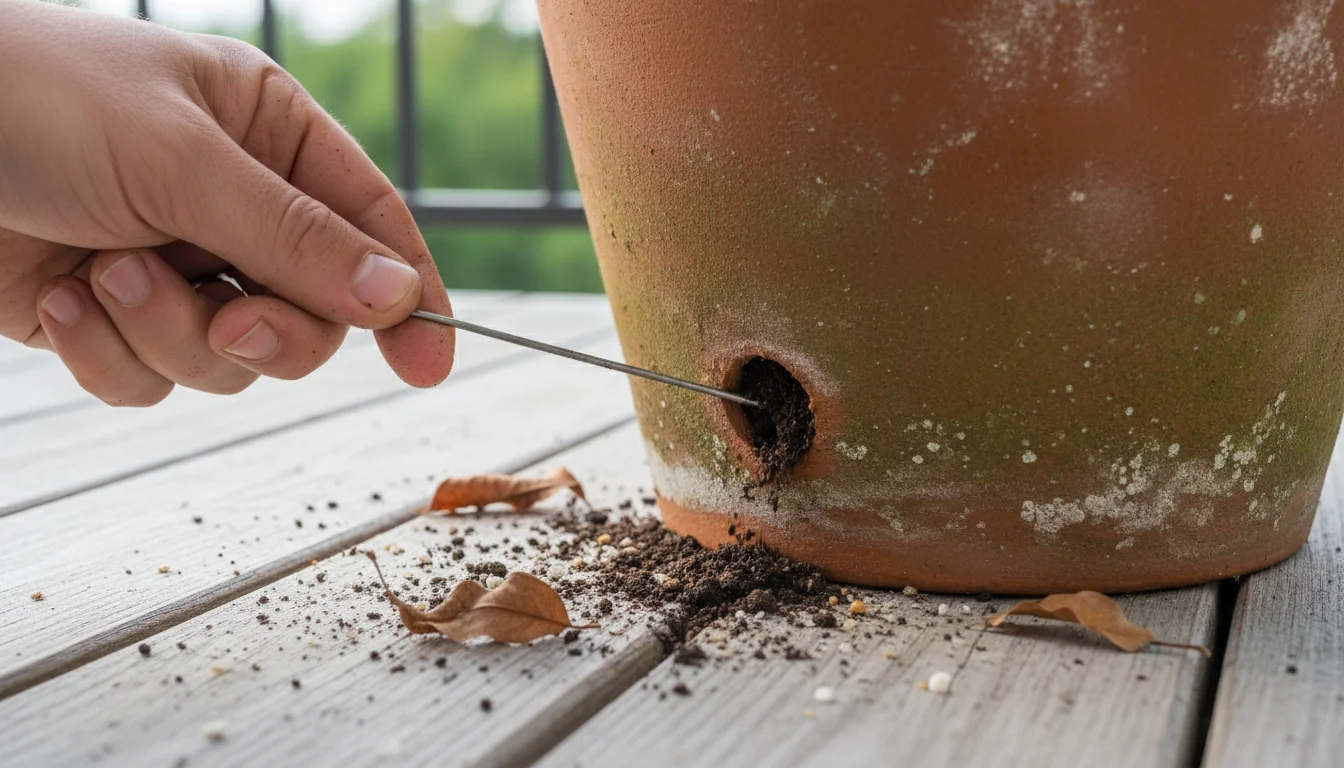
- Clear Drainage Holes: Inspect every drainage hole. They must be completely clear. Use a stick, a skewer, or even a drill bit (carefully) to ensure no soil or roots obstruct them. Blocked drainage holes are a primary cause of root rot in container plants.
- Consider Drainage Layers (and why to avoid most): Historically, gardeners added a layer of gravel, broken pottery, or packing peanuts at the bottom of pots. However, modern horticultural science largely advises against this for most situations. These layers can create a “perched water table,” where water accumulates just above the drainage layer, making drainage worse, not better. Good quality potting mix and clear drainage holes provide sufficient drainage. The only exception might be for extremely large, heavy containers where reducing overall weight is a priority, but even then, a layer of lightweight, porous material like coarse bark chips or a few inches of fresh, chunky potting mix is better than gravel.
- Prepare Saucers and Pot Feet: If using saucers, ensure they are clean. Consider using “pot feet” or small risers to elevate pots slightly off the ground or saucer. This improves air circulation around the drainage holes, further preventing waterlogging and allowing roots to breathe.
This meticulous cleaning and drainage check ensures your pots are truly ready to support new life. It’s a foundational element of effective balcony gardening, setting your plants up for success from day one.
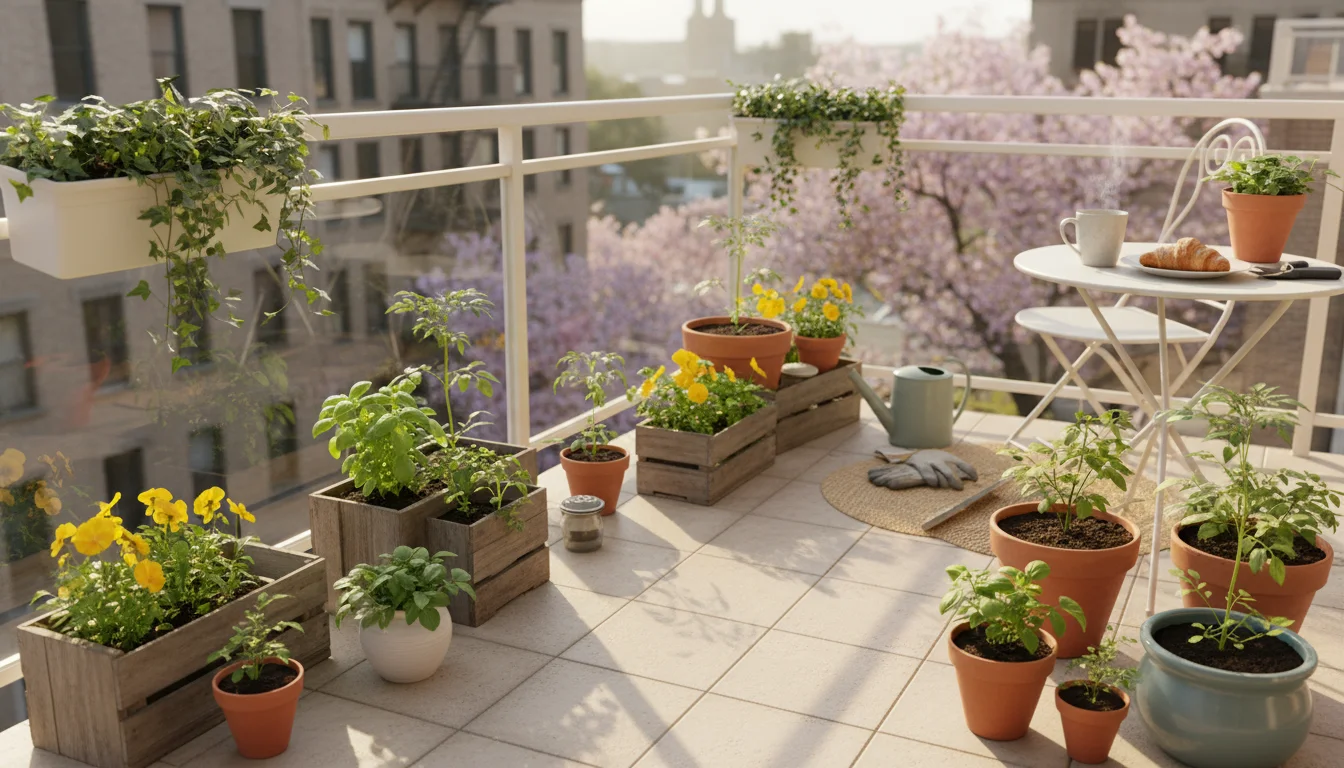
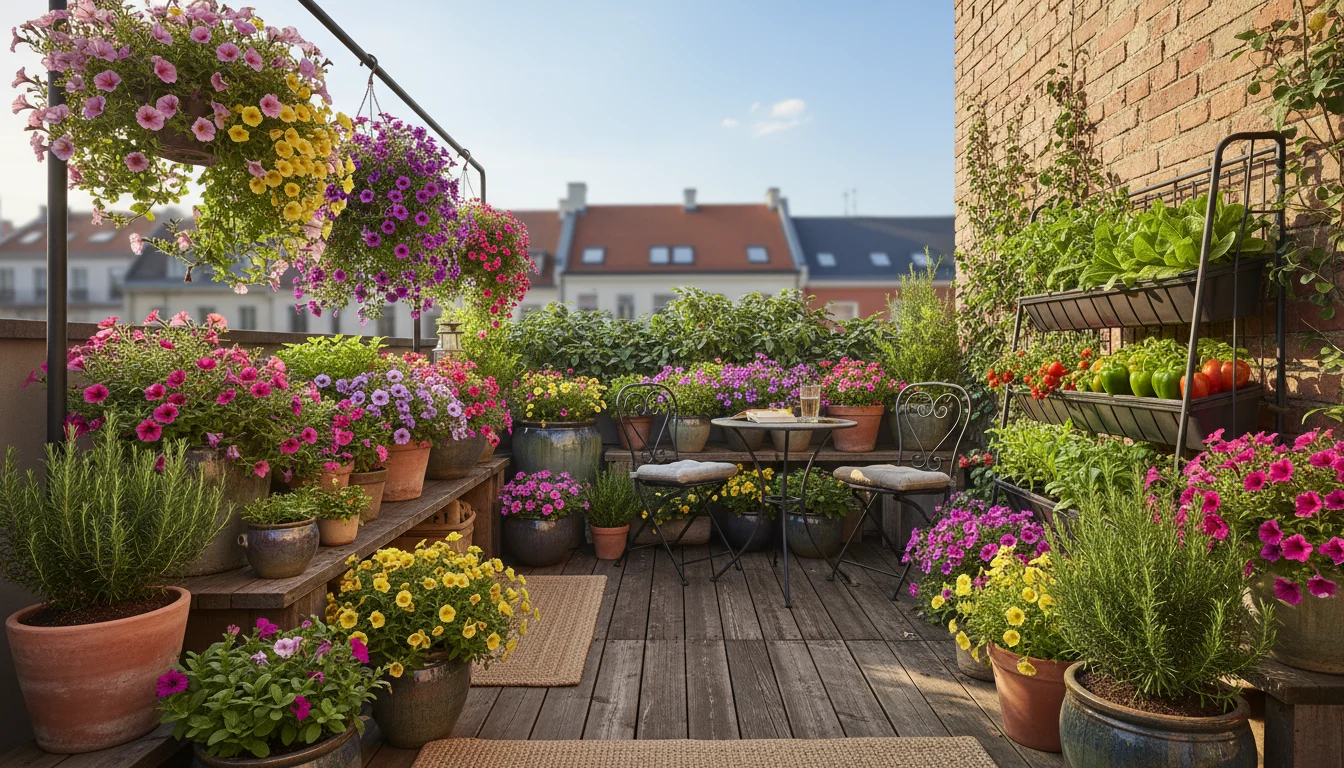
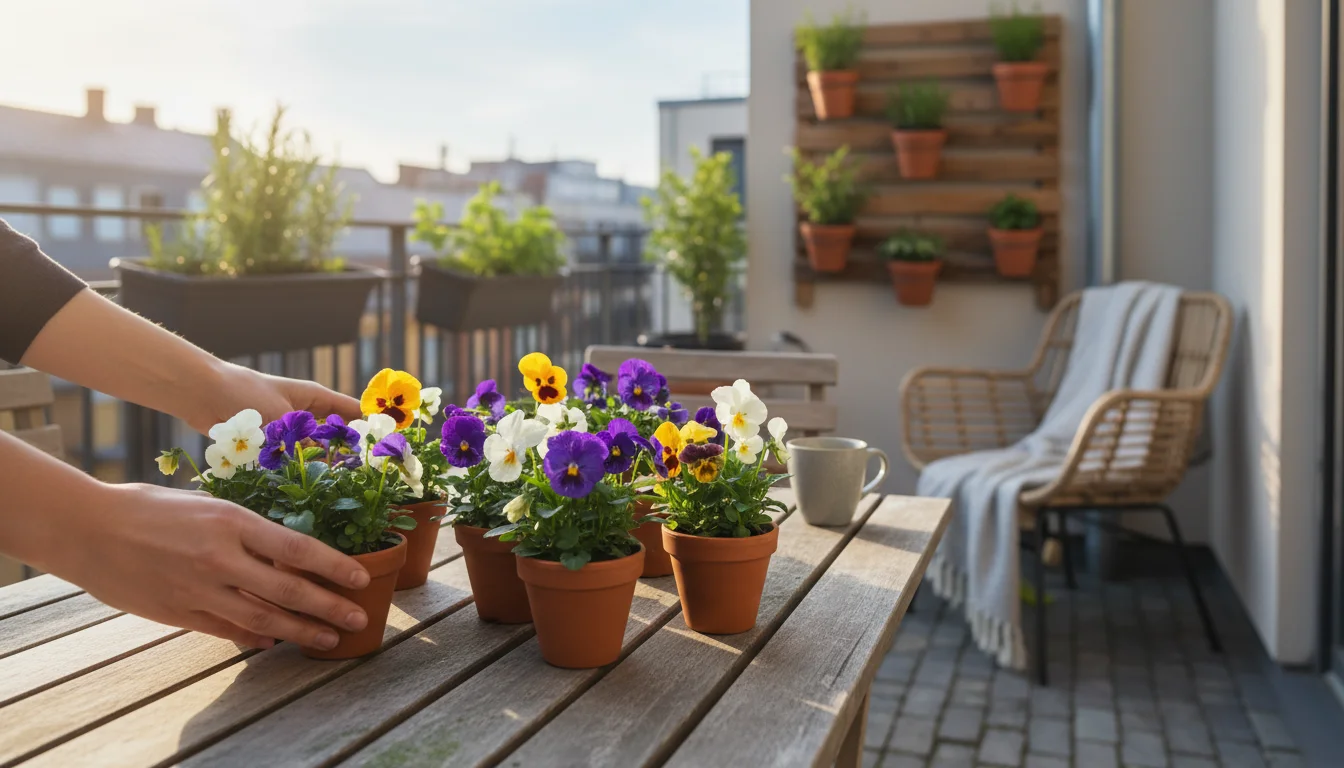
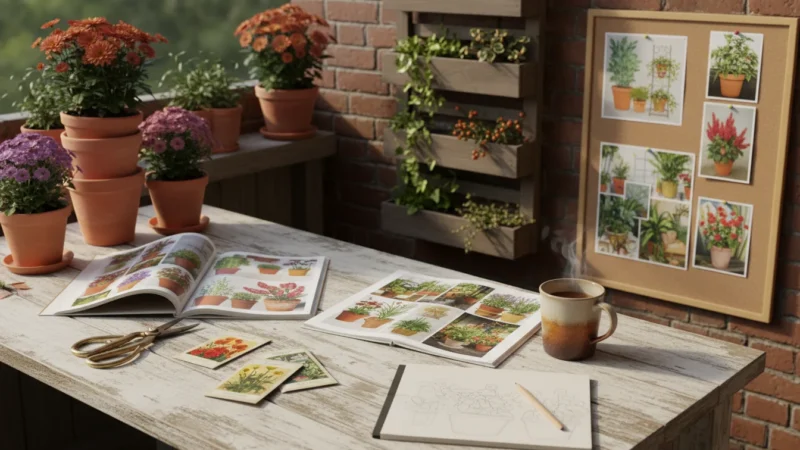
Step 5: Planning Your Spring Planting Palette
With your pots clean and your soil revitalized, you stand at the exciting threshold of selecting what to grow. This final step in your spring ‘un-tucking’ checklist shifts your focus from preparation to creation. Thoughtful plant selection and arrangement are key to maximizing your balcony’s potential, creating a vibrant, productive, and low-maintenance container garden. Consider your available light, your local climate, and your personal preferences for getting containers ready for spring.
Once you begin planting, keep in mind that watering balcony pots in erratic spring weather requires a careful balance to prevent root rot.
You might even want to use a free app to plan your balcony garden so you know exactly which plants will fit in your refreshed pots.
As you select your flowers and herbs, consult our spring planting guide for container gardeners for the best varieties to use.
Understanding Your Balcony’s Environment
Before you even browse plant tags, understand the microclimate of your balcony. Light exposure is paramount:
- Full Sun (6+ hours direct sun): Ideal for most vegetables (tomatoes, peppers, eggplant), many herbs (basil, rosemary, thyme), and sun-loving flowers (petunias, marigolds, zinnias).
- Partial Sun/Partial Shade (3-6 hours direct sun, often morning sun): Good for leafy greens (lettuce, spinach), many herbs (mint, cilantro, parsley), and shade-tolerant flowers (impatiens, begonias).
- Shade (less than 3 hours direct sun, or dappled light): Best for ferns, hostas, some impatiens, and mosses. While fewer edible options, you can still create lush, green displays.
Also consider wind exposure. Balconies can be windy, which desiccates plants quickly. Choose resilient plants or provide windbreaks.
Actionable Insight: Selecting and Arranging Your Plants
- Choose Appropriate Plants: Select plants that match your balcony’s light conditions and your container size. Remember the mantra: “thriller, filler, spiller” for aesthetically pleasing arrangements.
- Thriller: A tall, upright plant providing a focal point.
- Filler: Medium-sized plants that fill out the middle of the pot.
- Spiller: Trailing plants that cascade over the edge of the container.
For edible balcony gardening, consider compact varieties of vegetables and herbs specifically bred for containers. For example, ‘Patio’ tomatoes, bush beans, or dwarf basil.
- Consider Plant Groupings: Group plants with similar water and light needs in the same container. This simplifies watering and care. For instance, drought-tolerant succulents should not share a pot with moisture-loving ferns.
- Don’t Overcrowd: While you might want a lush look, overcrowding leads to competition for nutrients, water, and light, often resulting in weaker plants and increased disease risk. Read plant tags for mature size and spacing recommendations. A general rule of thumb: leave at least a few inches between smaller plants, and more for larger ones.
- Initial Watering: Once planted, water your containers thoroughly. Water until it drains from the bottom, indicating the entire root ball and soil are hydrated. This settles the soil around the roots and removes any air pockets.
- Labeling: Label your plants, especially if you have multiple varieties or similar-looking seedlings. This helps you remember what you planted and track growth.
This thoughtful planning transforms your container garden cleanup from a chore into an exciting creative endeavor. By aligning your plant choices with your environment and practicing smart spacing, you set the stage for a thriving and beautiful balcony garden all season long.
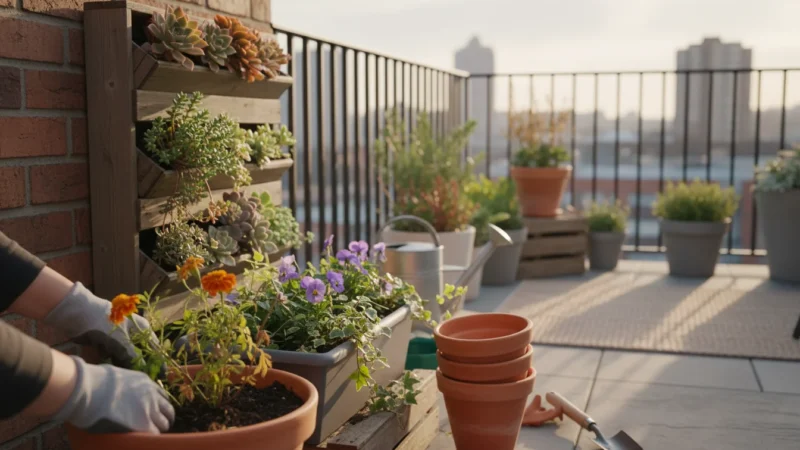
Sustainable Practices for Balcony Gardeners
Balcony gardening inherently embraces small-space living, and this offers excellent opportunities to integrate sustainable, eco-friendly practices. Every choice you make, from soil management to water use, contributes to a healthier environment. Adopting these habits not only benefits the planet but also often leads to healthier, more resilient plants and reduced costs for you. This aligns perfectly with the ethos of simple, low-maintenance gardening.
Compost and Soil Management
As discussed, reusing your potting mix is a cornerstone of sustainable container garden cleanup. Instead of discarding old soil, amend it. This significantly reduces waste. You can take this a step further by creating your own compost. Even on a balcony, a small worm bin (vermicomposting) can transform kitchen scraps into rich, nutrient-dense worm castings, which are gold for your revitalized potting mix. If a worm bin isn’t feasible, consider a small countertop composter for non-odorous materials or find a local community composting program. Every bit of organic waste diverted from landfills helps.
Water Conservation
Water is a precious resource, and efficient watering practices are vital for balcony gardening. Container plants dry out faster than in-ground plants, so thoughtful watering is key:
- Mulch: Apply a layer of organic mulch (shredded leaves, straw, or small bark chips) to the top of your containers. Mulch reduces water evaporation from the soil surface by up to 30 percent, keeps soil temperatures more consistent, and suppresses weeds.
- Water Deeply and Less Frequently: Instead of frequent shallow watering, water thoroughly until water drains from the bottom. This encourages deeper root growth. Then, allow the top inch or two of soil to dry out before watering again.
- Catch Rainwater: If permissible on your balcony, a small rain barrel or even just a bucket can collect rainwater, which is ideal for plants as it contains no chlorine or salts.
- Consider Self-Watering Pots: These containers have a reservoir at the bottom that wicks water up to the soil, significantly reducing watering frequency and water waste.
Pest Management and Biodiversity
Embrace natural solutions for pest control rather than harsh chemicals. Healthy plants are often more resistant to pests. Encourage beneficial insects like ladybugs by planting nectar-rich flowers. Use insecticidal soaps or neem oil for pest outbreaks, which are less harmful to the environment than synthetic pesticides. Companion planting, where certain plants deter pests or attract beneficials, also works well in containers. For example, marigolds can deter nematodes, and nasturtiums can act as a trap crop for aphids.
By integrating these sustainable practices into your spring garden prep and ongoing care, you cultivate a thriving balcony garden that not only beautifies your space but also supports ecological balance. This approach embodies truly responsible balcony gardening.
Common Pitfalls and How to Avoid Them
Even with the best intentions, beginner and intermediate gardeners sometimes encounter setbacks. Identifying common mistakes during spring garden prep and knowing how to avoid them will save you frustration and lead to a more successful balcony gardening season. Remember, every gardener learns through experience, but you can sidestep some common issues with a bit of foresight.
Overlooking Drainage Issues
This is perhaps the most common and damaging mistake. You might clean your pots and refresh your soil, but if the drainage holes are blocked or the soil compacts quickly, your plants will suffer from waterlogged roots.
Avoid It: Always double-check drainage holes (Step 4). When revitalizing soil, ensure you incorporate enough fresh potting mix, compost, and possibly perlite to maintain an open, well-aerated structure. Consider using pot feet to elevate containers, promoting better airflow beneath and around drainage holes.
Using Unsuitable Potting Mix
Some gardeners make the mistake of using garden soil from their yard in containers. Garden soil is too heavy, compacts easily, and often harbors weed seeds and pathogens. This leads to poor drainage, poor aeration, and ultimately, struggling plants.
Avoid It: Always use a high-quality, lightweight potting mix specifically formulated for containers. For annuals, vegetables, and herbs, a general-purpose potting mix works well. For succulents or cacti, choose a specialized fast-draining mix. If you reuse old soil, ensure you amend it generously with fresh potting mix and organic matter to restore its structure and nutrient content (Step 2).
Planting Too Early or Too Late
The allure of spring can sometimes lead to planting tender plants before the last frost date. Conversely, waiting too long means your plants miss out on prime growing time.
Avoid It: Know your local last frost date. Local extension services provide reliable information (check resources like the University of Rhode Island Cooperative Extension — Gardening). For heat-loving plants like tomatoes and peppers, wait until nighttime temperatures consistently stay above 50-55°F (10-13°C). Cool-season crops (lettuce, spinach, peas) tolerate cooler temperatures and you can plant them earlier. Starting seeds indoors or buying established seedlings closer to planting time can also help you manage timing.
Overcrowding Containers
It’s tempting to cram many plants into one pot to create a lush display. However, plants need space to thrive. Overcrowding leads to competition for water, nutrients, and light, and increases humidity, making plants more susceptible to fungal diseases and pests.
Avoid It: Read plant labels for mature sizes. Follow spacing recommendations. Remember the “thriller, filler, spiller” approach, but choose appropriate plant sizes. If in doubt, err on the side of giving plants more space. You will get healthier, more productive plants that truly flourish.
Neglecting Fertilization
Even with revitalized soil, container plants deplete nutrients faster than in-ground plants because nutrients leach out with frequent watering. Assuming new soil provides all necessary nutrients for the entire season is a common oversight.
Avoid It: Plan a feeding schedule. Incorporate a slow-release fertilizer into your potting mix at planting time (Step 2), or commit to a regular regimen of liquid organic fertilizer every few weeks. Observe your plants for signs of nutrient deficiency (yellowing leaves, stunted growth) and adjust your feeding as needed.
By being aware of these common pitfalls, you can navigate your spring garden prep with confidence, ensuring your balcony pots provide a fantastic growing environment for all your plants.
Frequently Asked Questions
Do I really need to replace all my potting soil every year?
No, you typically do not need to replace all your potting soil annually, especially for general container gardening. You can effectively reuse much of it by following a process of revitalization. This involves removing old roots, breaking up compaction, and then enriching the old soil with 30-50 percent fresh potting mix, well-rotted compost, worm castings, and perhaps some slow-release fertilizer. This approach conserves resources and provides excellent growing conditions, reducing waste from your spring garden prep.
How can I tell if my old potting soil is still good to use?
Inspect your used potting soil carefully. Good soil should still feel light and crumbly, not heavy or compacted. It should have a pleasant, earthy smell. If the soil appears dense, clumpy, or feels very heavy, it needs significant amendment. If you notice signs of disease, such as persistent mold, strong foul odors, or visible pest infestations, it’s safer to discard that batch of soil. You can add it to a compost pile if you have one, or dispose of it rather than risking the health of new plants, particularly when getting containers ready for spring.
What’s the best way to clean my balcony pots?
The best way to clean your balcony pots involves emptying all old soil and debris, then scrubbing them thoroughly. Use a stiff brush, warm water, and a mild dish soap solution. This removes mineral buildup, algae, and any lingering soil particles. For pots that held diseased plants, disinfect them with a solution of one part bleach to nine parts water. Soak for 30 minutes, then rinse exceptionally well and allow to air dry completely. This crucial container garden cleanup step ensures a clean slate for new plantings.
Can I use regular garden soil in my balcony pots?
You should generally avoid using regular garden soil in your balcony pots. Garden soil is much denser and heavier than potting mix, making it prone to compaction in containers. This leads to poor drainage, suffocating plant roots and hindering growth. Garden soil also often contains weed seeds, pests, and disease pathogens that can thrive in a confined container environment. Stick to specialized potting mixes designed for containers, as these offer the ideal balance of aeration, drainage, and water retention for healthy potted plants, essential for successful balcony gardening.
How do I prevent my pots from drying out too quickly on a sunny balcony?
Several strategies help prevent rapid drying in sunny balcony pots. First, ensure your pots are appropriately sized; larger pots retain moisture better than smaller ones. Use a high-quality potting mix with good water retention properties, such as those containing coir or vermiculite. Apply a layer of organic mulch (like shredded leaves or straw) on top of the soil surface to reduce evaporation. You can also group pots together to create a microclimate that reduces wind exposure and evaporation. For very thirsty plants or busy gardeners, consider self-watering containers, which have built-in water reservoirs.
For trustworthy gardening information, visit:
University of Rhode Island Cooperative Extension — Gardening, Connecticut Agricultural Experiment Station, Massachusetts Horticultural Society and Denver Botanic Gardens. These organizations provide expert, research-based advice for gardeners at all levels.
Disclaimer: This article is for informational purposes only and is not a substitute for professional gardening advice. Always consult local extension services or horticulture experts for region-specific guidance.
Leave a Reply