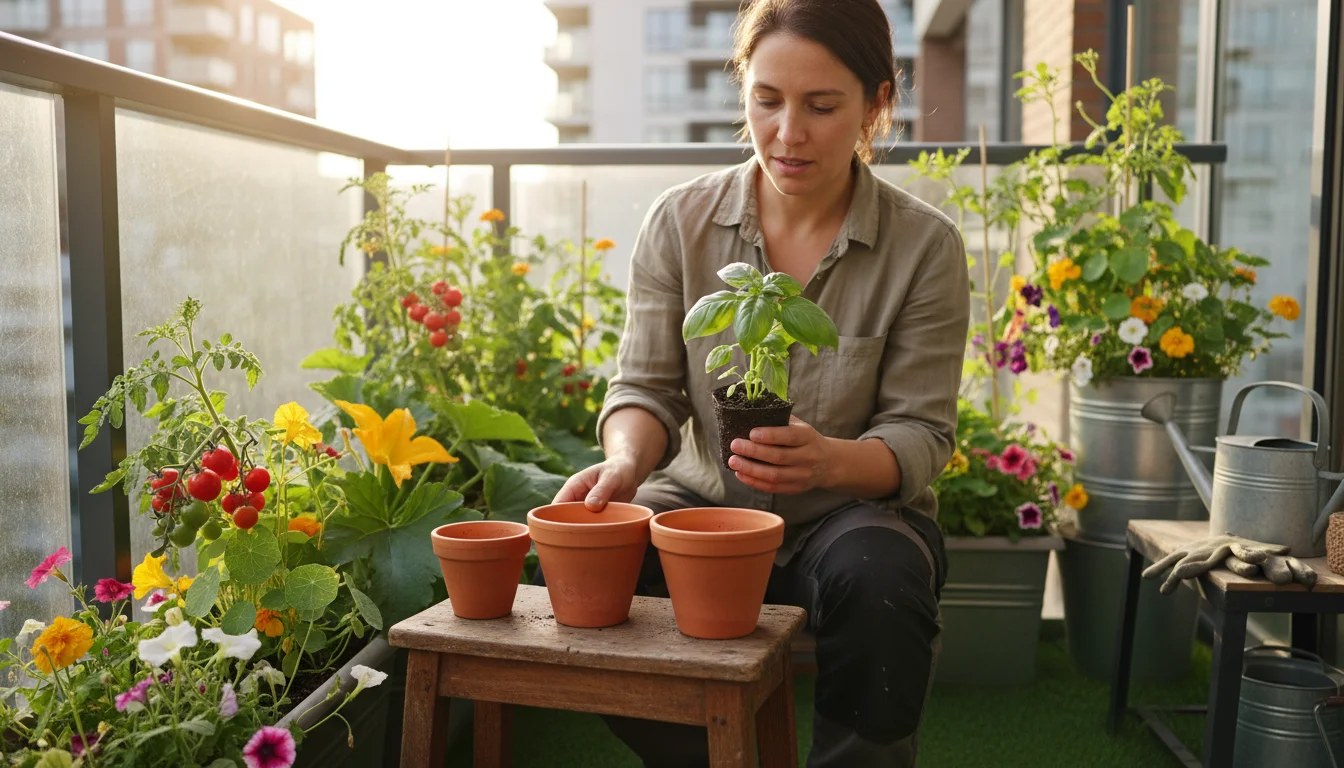
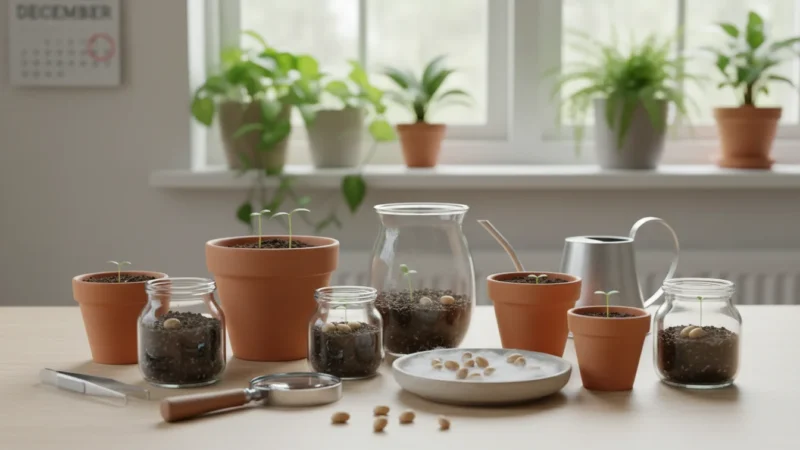
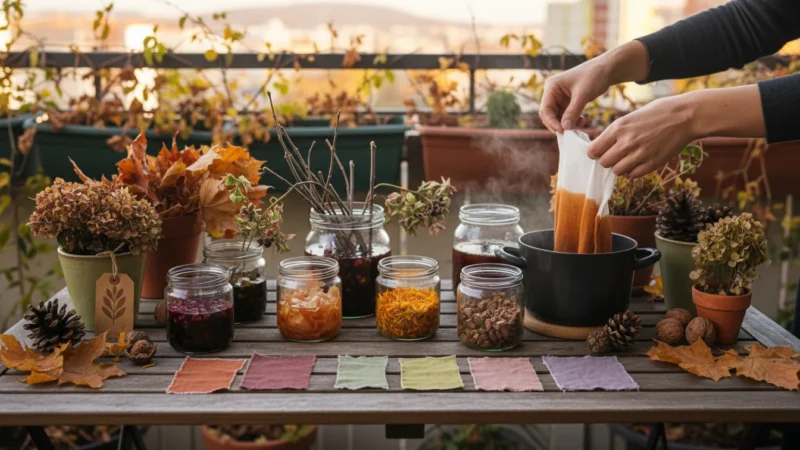
Welcome to SimpleGardenJoy.com, your go-to resource for making gardening accessible and rewarding, especially in small spaces. Spring brings excitement for new growth, and if you are planting in containers, knowing which pot fits which plant is your secret weapon for success. This guide simplifies the process of choosing the perfect pot size for your spring vegetables and flowers, helping you avoid common pitfalls and ensuring your plants thrive. You will discover how selecting the right container dimensions directly impacts plant health, yield, and overall beauty, transforming your balcony, patio, or small yard into a flourishing garden.
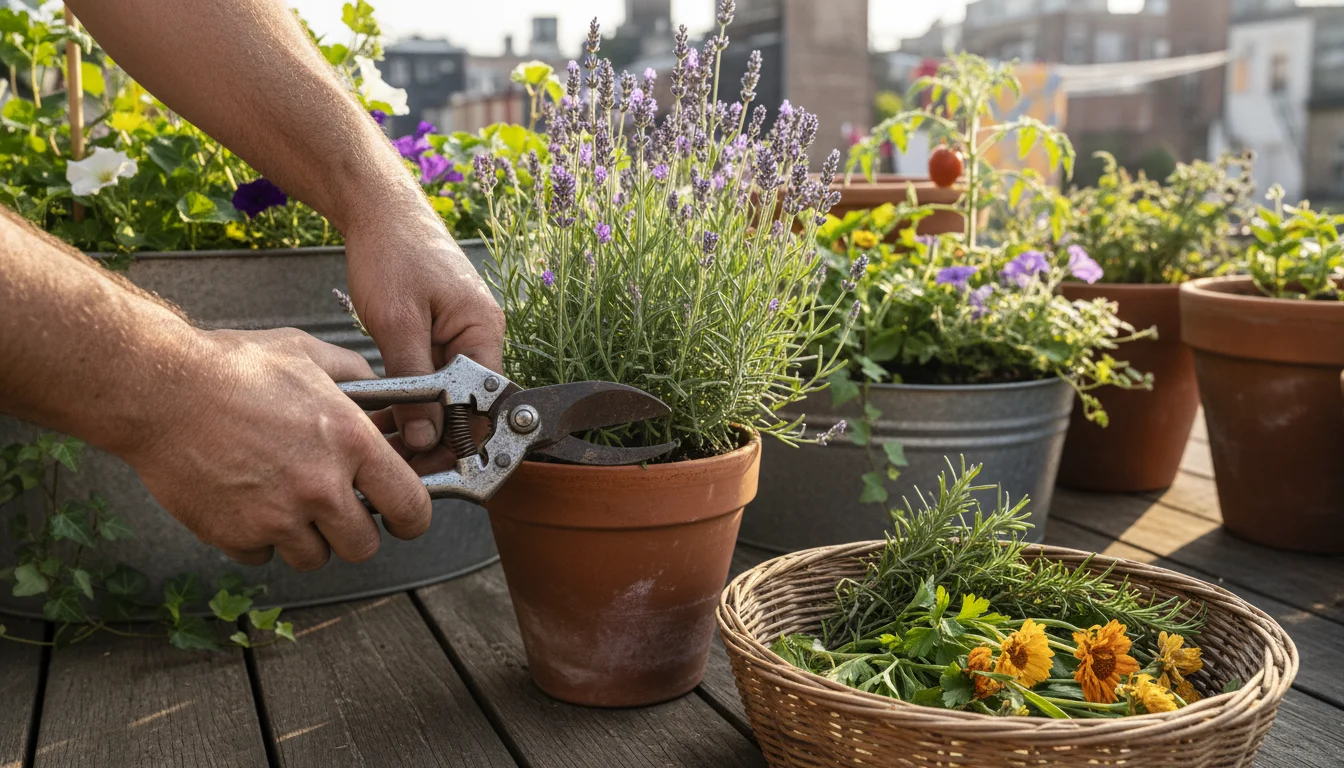
Beyond function, you can also plan for beauty throughout the year by creating seasonal container displays.
Understanding the ‘Right-Size’ Rule for Container Gardening
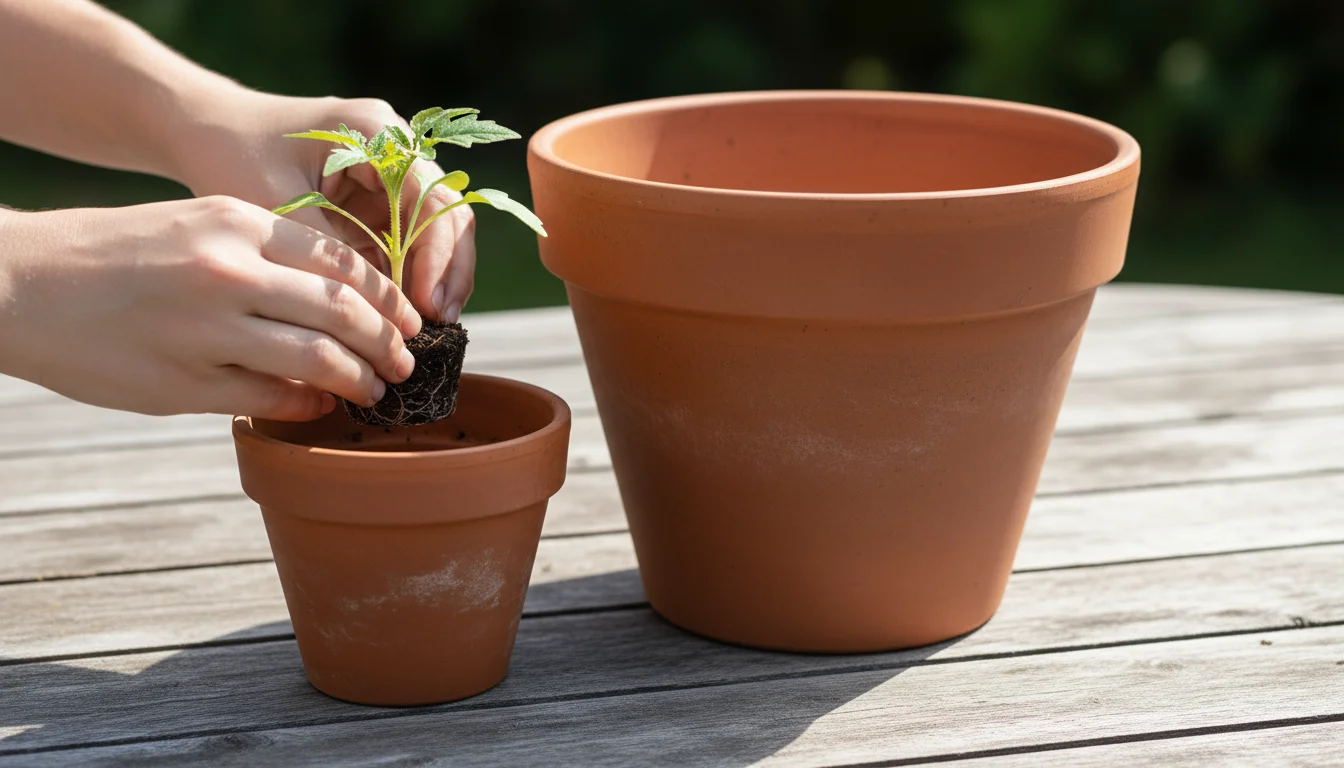
The ‘Right-Size’ Rule is fundamental for successful container gardening, particularly for beginners. It means selecting a planter that perfectly accommodates a plant’s mature root system and above-ground growth. Many new gardeners mistakenly believe a small pot suits a small plant, but this thinking often stunts development. Instead, you need to consider how large your plant will grow, not how large it appears when you buy it from the nursery.
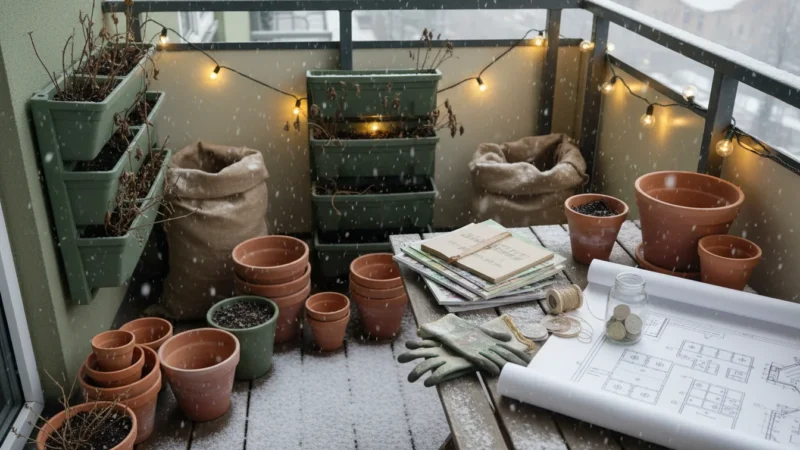
Before you start filling new containers, follow a checklist for waking up your balcony pots to refresh your space after the winter freeze.
Choosing the correct pot size provides your plants with adequate space to spread their roots, absorb nutrients, and access enough water. Roots are a plant’s lifeline, drawing moisture and food from the soil. If roots become constricted in a small pot, they cannot expand efficiently. This condition, known as being “root-bound,” chokes the plant, making it difficult for it to take up water and nutrients, resulting in stunted growth, yellowing leaves, and reduced yields for vegetables or fewer blooms for flowers.
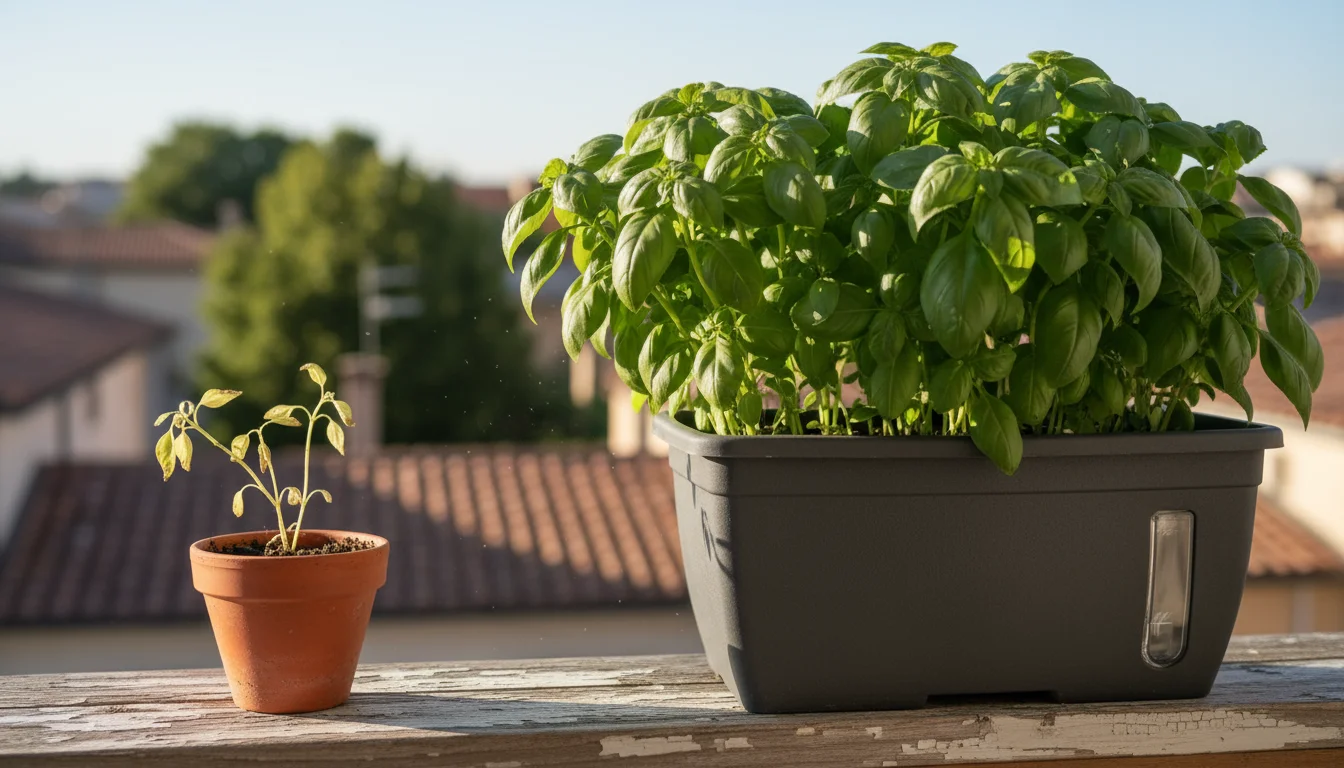
A properly sized container also helps regulate soil moisture. Too small a pot dries out quickly, requiring frequent, sometimes multiple times daily, watering. This constant drying and rewetting stresses plants and washes away essential nutrients. Conversely, a pot that is too large for a young plant holds excess soil, which remains wet for too long, potentially leading to root rot. Root rot occurs when roots sit in waterlogged soil, depriving them of oxygen and causing them to decay. The ‘Right-Size’ Rule strikes a balance, offering enough soil volume to sustain the plant without becoming waterlogged or drying out too rapidly. Implementing this simple rule creates a stable, nurturing environment, allowing your plants to thrive from spring planting through to harvest or full bloom.
The Science Behind Pot Size: Roots, Soil, and Growth
Understanding the interplay between a plant’s roots, the soil, and the pot size empowers you to make informed decisions for your container garden. Plant roots are not just anchors; they are sophisticated systems responsible for nutrient uptake and water absorption. Their ability to perform these vital functions directly correlates with the volume of soil available to them.
If your space allows for more than just pots, many of these plants are also among the easiest vegetables for small raised beds.
To keep your soil healthy year after year, it is also helpful to understand seasonal rotation for container vegetables.
Before you begin your seasonal setup, refer to our early spring garden prep checklist to ensure your containers and tools are ready for new growth.
When a root system has ample space, it expands freely, developing a robust network of fine root hairs. These hairs are crucial for absorbing dissolved minerals and water. A larger pot provides a greater volume of potting mix, which translates to a larger reservoir of both water and nutrients. For instance, a small, shallow root system, typical of lettuce, thrives in a wider, shallower container that offers lateral space. Deep-rooted plants, such as tomatoes, demand considerable depth to accommodate their extensive taproots and fibrous lateral roots. If you confine these plants to inadequate depth, their root development restricts, impairing their ability to draw sufficient resources for producing fruit.
Soil volume also influences temperature regulation. A larger mass of soil buffers against rapid temperature fluctuations, protecting roots from extreme heat or cold. In small pots, the soil temperature can swing wildly, especially on hot spring days, stressing the roots and impacting growth. Proper pot sizing also supports adequate drainage, which is how water moves through the soil. Good drainage prevents waterlogging, ensuring roots receive the oxygen they need to survive. A pot with sufficient volume and proper drainage holes allows excess water to escape while retaining enough moisture for the plant. Without enough soil, drainage can become either too fast, causing dehydration, or too slow, leading to root rot. By respecting the scientific principles of root space and soil dynamics, you give your plants the best possible foundation for strong, healthy growth and abundant yields.
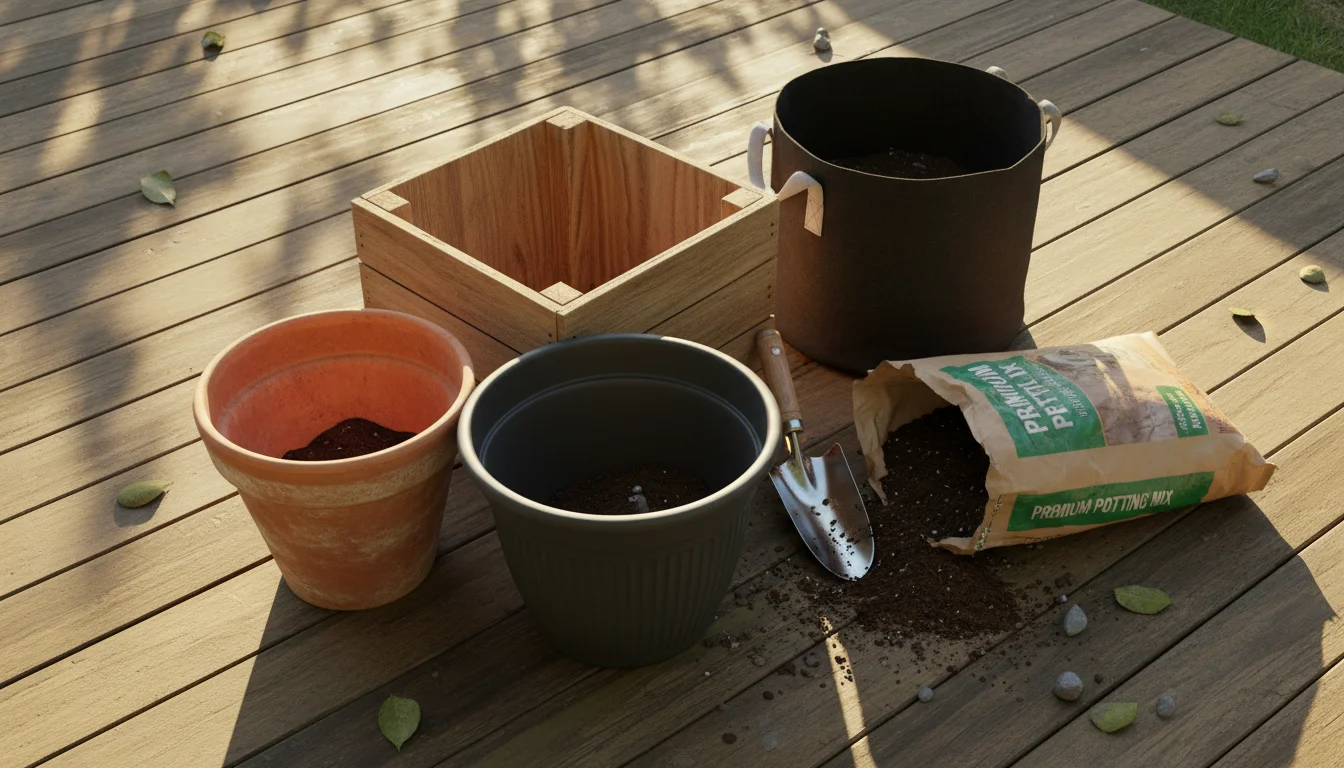
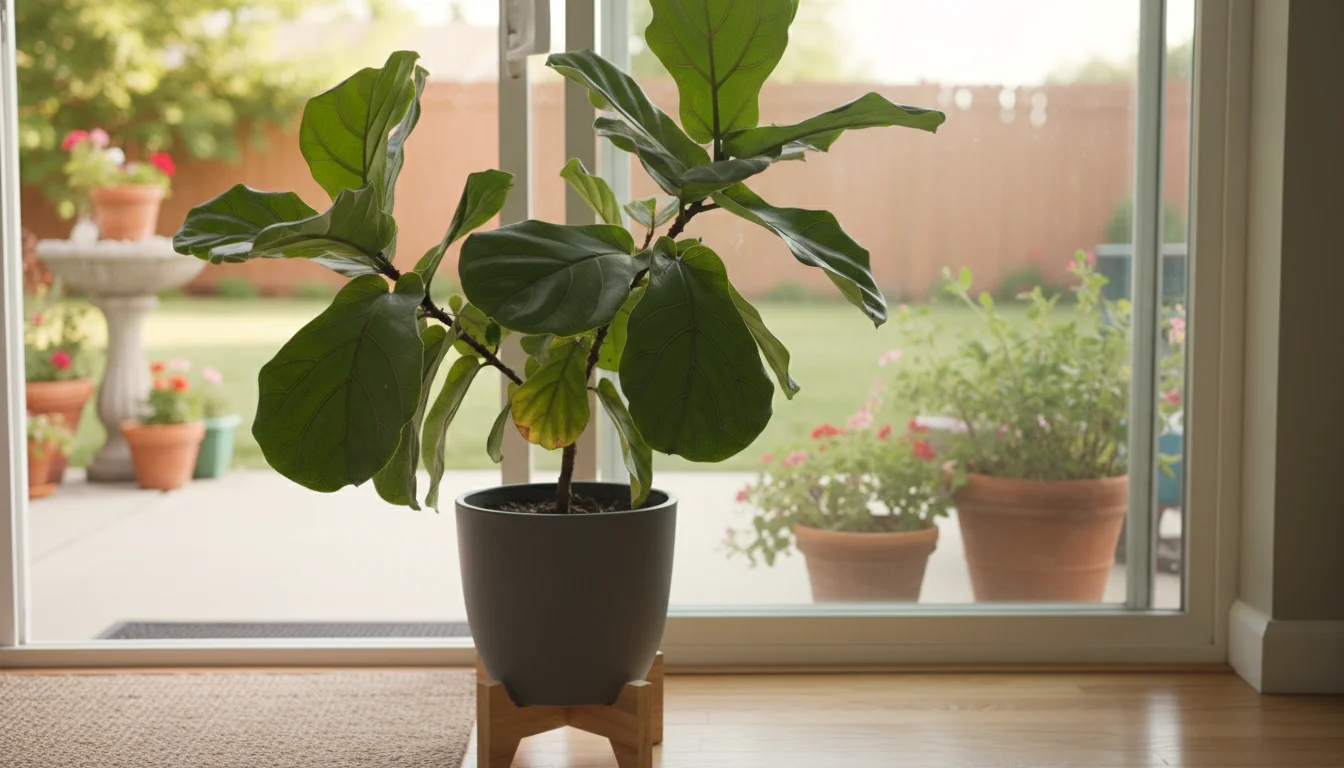
Choosing Your Container: Material Matters and Practical Considerations
Selecting the right container goes beyond mere size; the material and its features also play a significant role in your plant’s well-being. Different pot materials offer various advantages and disadvantages regarding weight, water retention, and durability.
If you are worried about the weight of large planters, there are several affordable garden gadgets like heavy-duty plant dollies that make moving them much easier.
Terracotta or Clay Pots: These classic pots are porous, meaning they allow air and moisture to pass through their walls. This porosity helps prevent root rot by promoting excellent aeration and evaporative cooling. However, this also means terracotta dries out quickly, requiring more frequent watering, especially during warm spring weather or for thirsty plants. They are heavy, sturdy, and provide a rustic aesthetic.
Plastic Pots: Plastic containers are lightweight, inexpensive, and retain moisture very well due to their non-porous nature. This is beneficial for plants that prefer consistent moisture or for gardeners who cannot water daily. Choose durable, UV-resistant plastic to prevent brittleness and cracking from sun exposure. Ensure plastic pots have ample drainage holes, as their moisture retention can lead to waterlogging if not properly drained.
Fabric Grow Bags: Increasingly popular for container gardening, fabric grow bags offer excellent aeration and drainage. Their breathable fabric prevents roots from circling, a common issue in hard-sided pots, and instead encourages “air pruning,” where roots grow to the edge and branch, leading to a more fibrous, efficient root system. They are lightweight, flexible, and easy to store but dry out faster than plastic pots.
Wooden Planters: Wood offers a natural, attractive look and good insulation for roots. Cedar and redwood are naturally rot-resistant, making them excellent choices. Ensure any wooden container you choose is untreated or treated with food-safe preservatives if you plan to grow edibles. Wood planters are durable but can be heavy and may degrade over many years.
Metal Containers: Metal pots can look sleek and modern, but they heat up quickly in direct sunlight, potentially scorching roots. If you use metal, choose lighter colors to reflect heat, or line the interior with insulation, such as styrofoam, to protect the roots. Always ensure adequate drainage.
Regardless of the material, always inspect containers for drainage holes. A minimum of three to five holes at the bottom is crucial for water to escape. Without proper drainage, your plants will sit in stagnant water, leading to root rot. If a pot lacks holes, you must drill them yourself before planting. Consider the weight of a filled container. A large terracotta pot filled with soil and a mature plant becomes extremely heavy, making it difficult to move. If you anticipate needing to relocate your plants, opt for lighter materials or pots with wheels.
Spring Veggies: Matching Plants to Pot Dimensions
Selecting the right pot size for your spring vegetables ensures healthy root development and a bountiful harvest. Here is a practical pot size guide for popular spring crops, focusing on minimum depth and diameter for optimal growth.
Don’t worry if you’re starting a bit late; there are plenty of fast-growing spring veggies that thrive in containers even when planted mid-season.
Once you have chosen your pots, you can use companion planting for small spaces to maximize productivity by grouping compatible species together.
| Vegetable | Minimum Pot Depth | Minimum Pot Diameter (or volume) | Tips for Success |
|---|---|---|---|
| Tomatoes (Bush/Dwarf varieties) | 18-24 inches | 18-24 inches (5-10 gallons) | Requires staking or caging. Choose determinate (bush) varieties for containers. Indeterminate (vining) types need much larger pots. Ensure consistent watering. |
| Peppers (Bell, Chili) | 12-16 inches | 12-16 inches (3-5 gallons) | Needs full sun and good drainage. May require light staking as fruit develops. |
| Herbs (Basil, Mint, Parsley, Chives) | 6-10 inches | 6-12 inches (1-2 gallons per plant, or larger for multiple) | Mint needs its own pot due to aggressive spreading. Group herbs with similar water needs. Pot size for herbs will be container size for peppers and herbs if you group them. |
| Lettuce & Leafy Greens (Spinach, Arugula) | 6-8 inches | 6-12 inches (wide, shallow containers work well) | Ideal for continuous harvesting (cut-and-come-again). Provide some shade in hot climates to prevent bolting. |
| Radishes | 6-8 inches | 6 inches (diameter for individual, wider for rows) | Fast-growing, perfect for succession planting. Requires consistent moisture to prevent cracking. |
| Carrots (Dwarf varieties) | 10-12 inches | 8-12 inches (wide container for multiple plants) | Use loose, stone-free potting mix. Look for ‘Paris Market’, ‘Danvers Half Long’, or ‘Little Finger’ varieties. |
| Bush Beans | 8-10 inches | 10-12 inches (for 3-4 plants) | Easy to grow. Plant seeds directly. Keep soil consistently moist. |
| Strawberries | 8-10 inches | 8-10 inches (individual); 12-18 inches (for 3-4 plants) | Excellent in hanging baskets or strawberry pots. Ensure crowns are not buried too deep. |
Remember these are minimums. Larger pots generally offer more stability for growth and greater forgiveness if you miss a watering. When you choose the right planter size for each vegetable, you are setting the stage for a thriving spring garden on your balcony or patio.
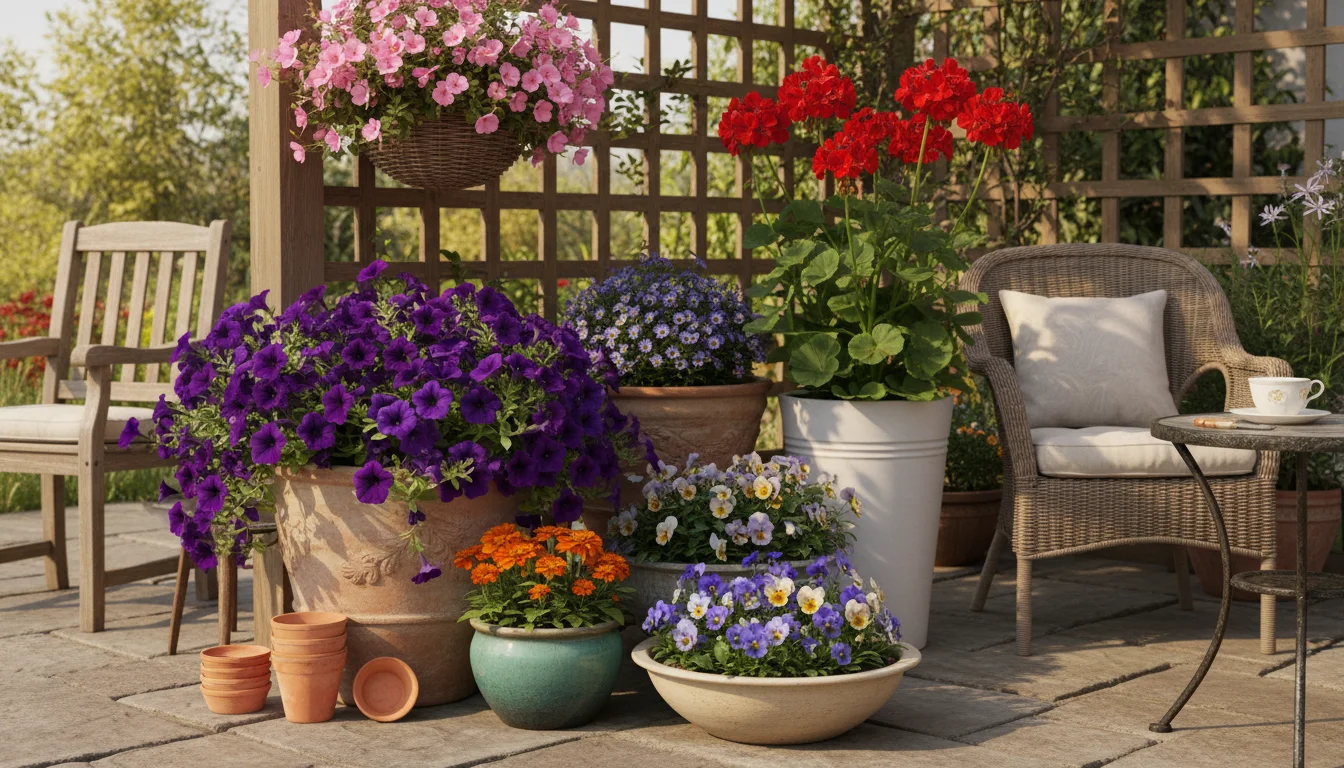
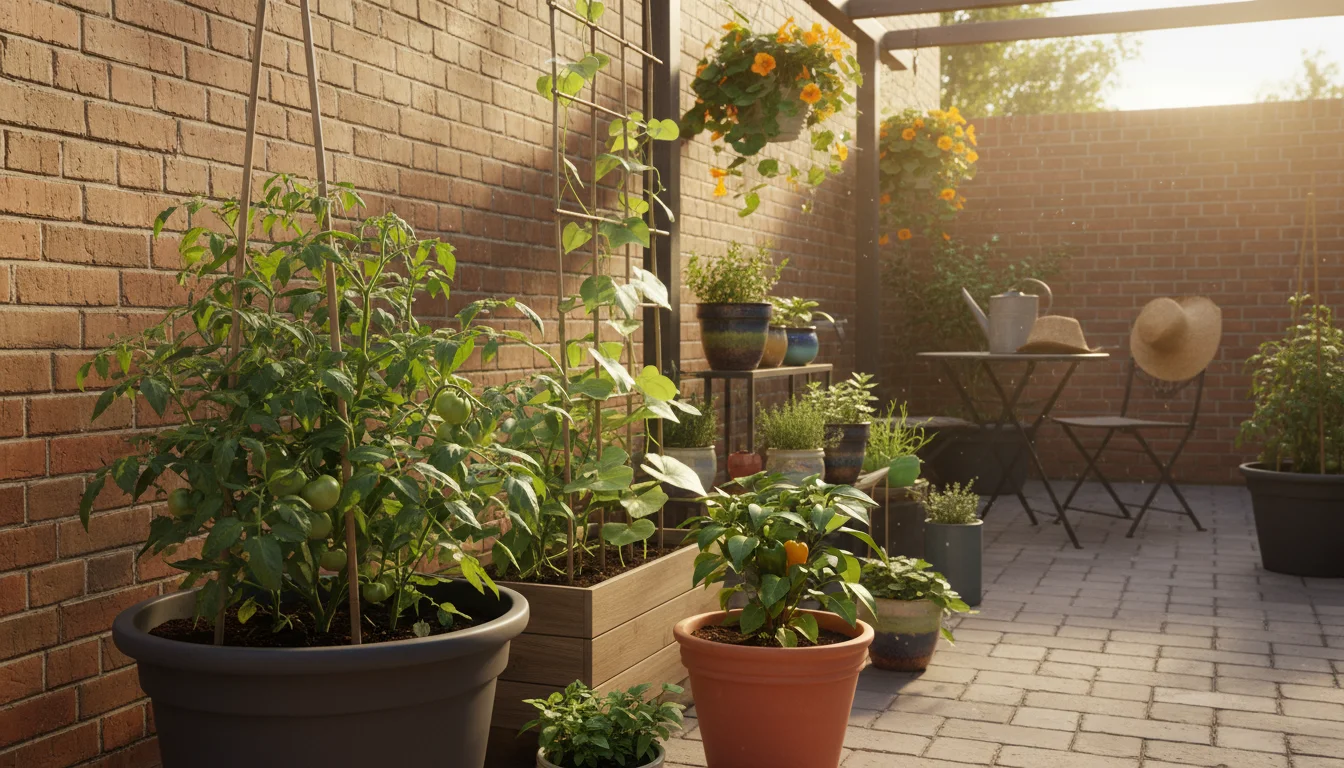
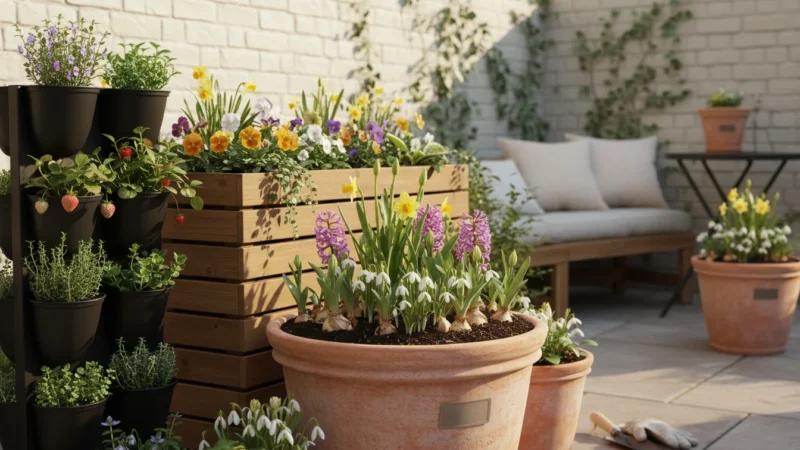
Spring Flowers: Selecting the Perfect Planter for Blooms
Container gardening is not just for edibles; it provides an excellent way to add vibrant splashes of color to your small space. Matching spring flowers to the perfect pot ensures robust growth and a spectacular display. The key is to consider the plant’s mature size, its root system, and how you plan to combine different species.
For single, robust flowering plants like geraniums or petunias, a pot with a minimum diameter of 10-12 inches and a depth of 8-10 inches typically suffices. This allows their fibrous root systems enough room to spread and supports their substantial top growth. If you are planting a single, larger specimen, such as a compact rose or a small hydrangea, you will need a pot that provides what size pot for tomatoes might need, meaning a diameter of at least 18 inches and a similar depth to support its woody structure and extensive root ball.
When creating mixed arrangements, sometimes called “thriller, filler, spiller” combinations, you need a larger container. A thriller is a tall, dramatic plant, a filler provides mid-height volume, and a spiller trails over the pot’s edge. For such combinations, a pot with a diameter of 14-20 inches and a depth of 12-16 inches is often ideal. This larger volume provides sufficient soil for multiple plants, reducing competition for resources and enabling all components of your arrangement to flourish. For example, you might pair a tall ornamental grass or snapdragon (thriller) with a petunia or marigold (filler), and sweet alyssum or nasturtium (spiller).
Here are some popular spring flowers and their general pot size needs:
- Petunias: Individual plants thrive in 8-10 inch pots. For a lush display or mixed container, use a 12-16 inch pot for 3-4 plants. They have moderate root systems and benefit from consistent moisture.
- Marigolds: Smaller marigolds (French types) do well in 6-8 inch pots. Larger African marigolds need 10-12 inch pots. Their fibrous roots enjoy well-drained soil.
- Nasturtiums: These charming vining flowers are perfect for hanging baskets or pots 8-12 inches deep and wide. They are relatively shallow-rooted but appreciate room to spread.
- Pansies/Violas: Excellent for early spring color, they are shallow-rooted and thrive in pots 6-8 inches deep and wide. You can plant several in a wider, shallower container (10-12 inches).
- Sweet Alyssum: A delicate trailing plant, ideal for filling edges of larger containers or in its own 6-8 inch pot. Its fine root system does not demand much depth.
- Dianthus: Compact and vibrant, dianthus grows well in 6-8 inch pots for individual plants or a 10-12 inch container for a small grouping.
Remember to choose pots with good drainage and consider the sun exposure. Many spring flowers, like petunias and marigolds, love full sun, while pansies appreciate some afternoon shade in warmer climates. By selecting the right size pot, you provide ample room for roots, sufficient soil volume for moisture and nutrients, and the perfect canvas for a stunning floral display that brightens your small space.
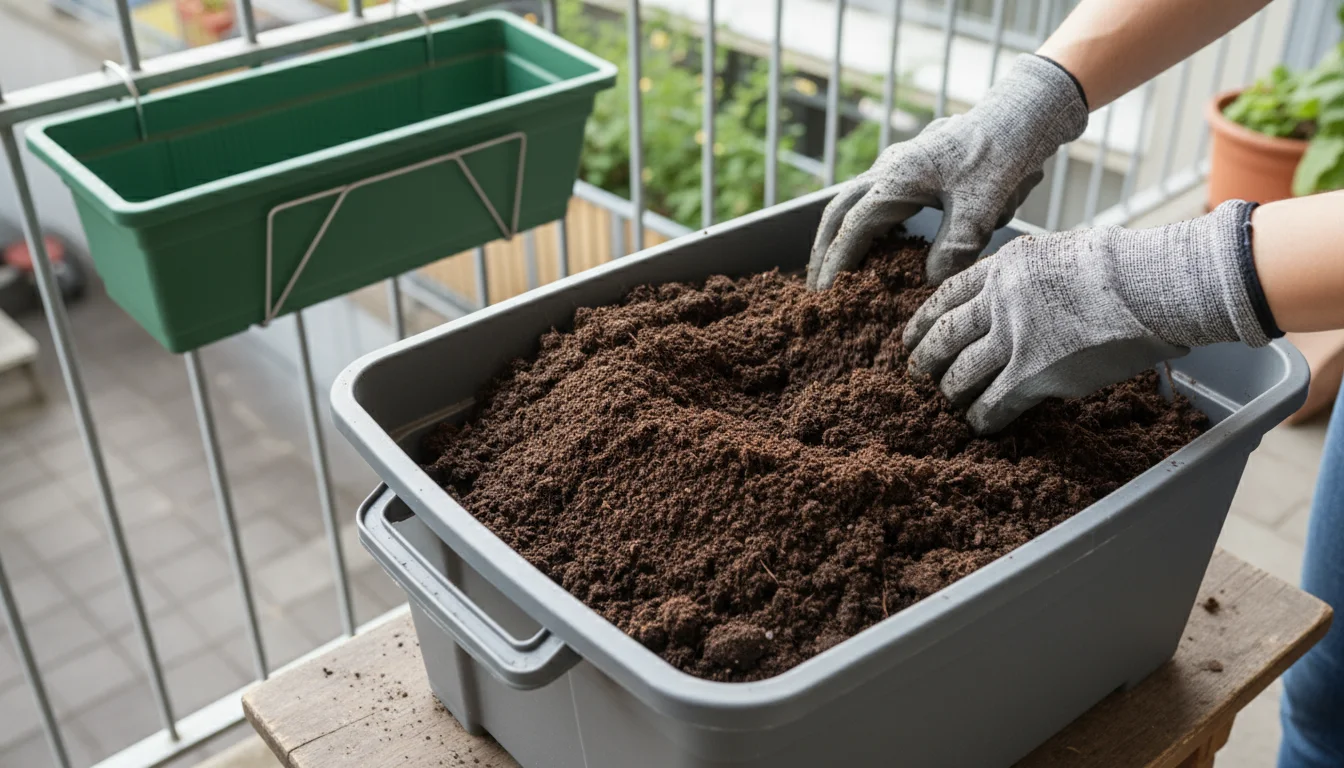
Potting Mix Perfection: Fueling Growth from the Ground Up
Choosing the right pot is only half the battle; the soil you fill it with is equally critical for your plants’ success. Garden soil is too dense for containers and can introduce pests and diseases. Instead, you need a high-quality potting mix. Potting mix, also known as potting soil, is a specially formulated blend designed for container gardening. It offers a balance of aeration, drainage, and moisture retention that garden soil cannot provide in a confined space.
A good potting mix typically contains a combination of ingredients that create an ideal environment for roots. Peat moss or coir (coconut fiber) provides excellent water retention while remaining lightweight. Perlite or vermiculite are crucial for aeration and improving drainage, preventing the soil from compacting. Some mixes also include compost for slow-release nutrients, and a wetting agent to help the mix absorb water evenly.
When selecting a potting mix, look for phrases like “all-purpose potting mix” or “container mix.” For vegetables, especially heavy feeders like tomatoes, consider a potting mix fortified with slow-release fertilizer or one you can amend with compost. The best way to choose the right planter size is to also choose the right soil.
Here are a few tips for using potting mix:
- Never use garden soil: Garden soil compacts easily in pots, suffocating roots and hindering drainage. It also often harbors weed seeds, pests, and disease pathogens.
- Moisten before use: Dry potting mix repels water. Lightly moisten your potting mix before filling your containers. It should feel damp, like a wrung-out sponge, not soaking wet. This ensures even moisture distribution once you water your planted container.
- Fill properly: Leave about one inch of space between the top of the potting mix and the rim of the pot. This “headroom” prevents water and soil from overflowing when you irrigate.
- Refresh annually: Potting mix degrades over time. Its structure breaks down, and nutrients deplete. For annual plants, replace the potting mix entirely each season. For perennials, refresh the top few inches annually and consider repotting every 2-3 years.
A quality potting mix provides the optimal balance of air, water, and nutrients directly to your plants’ roots, laying the foundation for vigorous growth and abundant blooms or harvests. You create a nurturing micro-environment for your plants when you pair the correct pot size with the ideal potting mix.
Common Mistakes in Pot Sizing and How to Avoid Them
Even with the best intentions, gardeners sometimes make mistakes when choosing pot sizes. Understanding these common pitfalls helps you sidestep issues and ensure your container garden flourishes.
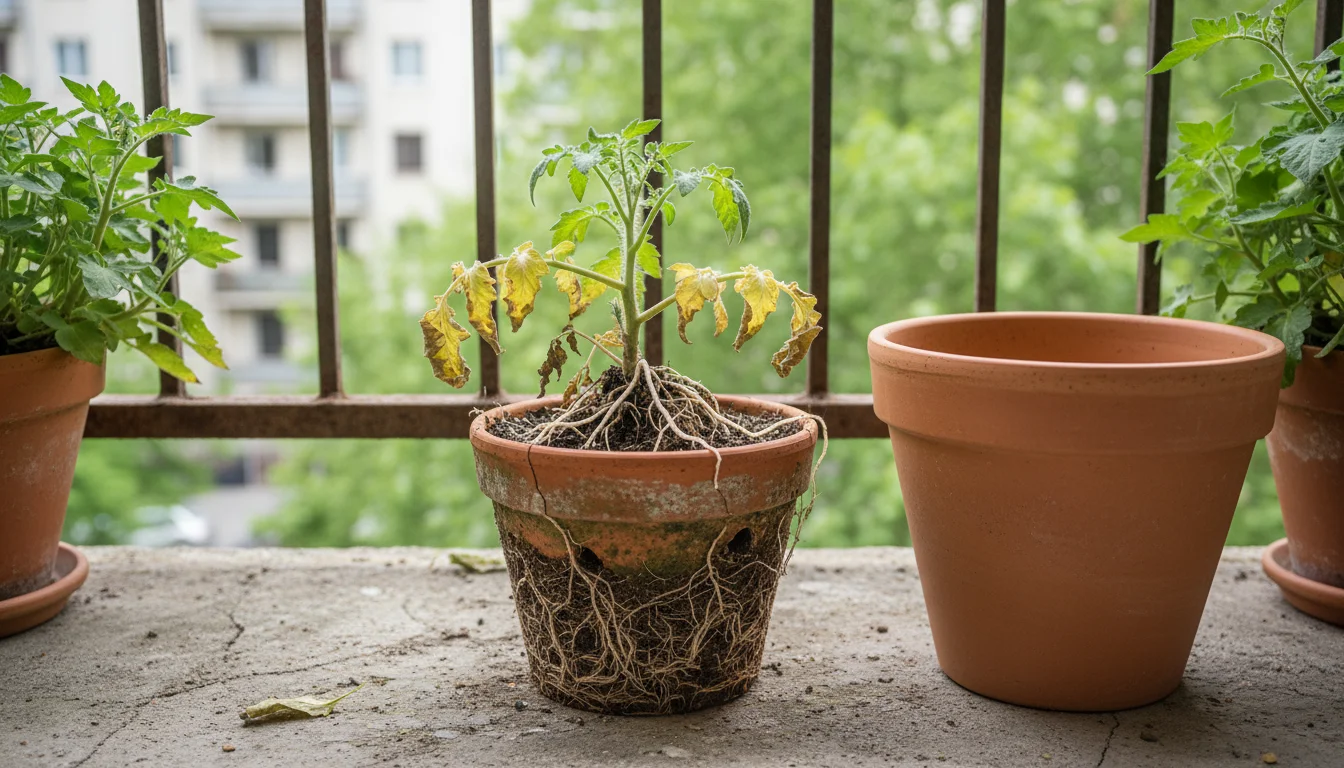
- Problem: Roots become “root-bound,” circling tightly within the limited space. This restricts water and nutrient uptake, leading to stunted growth, yellow leaves, wilting, and poor flowering or fruiting. The soil also dries out extremely fast, requiring constant watering.
- Solution: Always select a pot size based on the plant’s mature size, not its current nursery size. Refer to a pot size guide, like the one provided in this article, for minimum recommendations. When in doubt, err on the side of a slightly larger pot.
- Problem: A tiny plant in a massive pot means a large volume of soil around the roots, which stays wet for too long after watering. This waterlogging starves roots of oxygen, promoting fungal diseases like root rot. It can also dilute nutrients, making them less accessible to the plant.
- Solution: Match the pot size to the plant’s current root ball and its anticipated growth over the next few weeks or months. For plants that grow rapidly, you can start with a slightly larger pot, ensuring excellent drainage and careful watering to prevent waterlogging around the still-small root system. For very young plants, gradually “pot up” into larger containers as they grow, rather than transplanting directly into a giant final pot.
- Problem: Excess water accumulates at the bottom, creating a stagnant, anaerobic (oxygen-deprived) environment. This leads to root rot, where roots turn mushy and dark, killing the plant.
- Solution: Always ensure your chosen pot has multiple drainage holes at the bottom. If it does not, drill them yourself before planting. A common rule of thumb is at least 1/2 to 1 inch of drainage hole diameter for every 12 inches of pot diameter. Avoid adding gravel or broken pot pieces at the bottom of containers, as this actually impedes drainage.
- Problem: Overcrowding leads to intense competition for water, nutrients, and light. Plants become stressed, grow poorly, and may become more susceptible to pests and diseases.
- Solution: Refer to individual plant spacing recommendations and apply them to your container. For example, if a plant needs 6 inches of space, ensure each plant has at least 6 inches from its neighbor, and the pot is wide enough to accommodate this. For three plants, you might need a container three times as wide as for a single plant, even if a container size for peppers and herbs might be smaller.
By avoiding these common pot sizing mistakes, you provide your spring veggies and flowers with the ideal conditions to thrive, ensuring a successful and rewarding container gardening experience.
Sustainable Potting Practices: Reusing and Repurposing
Embracing sustainable practices in your container garden benefits the environment and often saves you money. Reusing and repurposing pots extends their lifespan, reduces waste, and minimizes your environmental footprint.
- Cleaning is Crucial: Before reusing any pot, especially if a previous plant showed signs of disease or pest issues, thoroughly clean it. Wash pots with warm, soapy water, scrubbing away any soil residue. For terracotta pots, use a stiff brush to remove mineral deposits.
- Sanitization (Optional, but Recommended): To eliminate potential pathogens, soak pots for at least 30 minutes in a solution of one part bleach to nine parts water. Rinse thoroughly with clean water afterward to remove any bleach residue, as it can harm plants. Let pots air dry completely before use. This step is particularly important for pots that held diseased plants.
- Check for Damage: Inspect pots for cracks or structural weaknesses that might compromise their integrity during the growing season. Ensure drainage holes remain clear and functional.
- Food Containers: Large plastic yogurt containers, coffee cans, milk jugs, or even sturdy plastic laundry detergent bottles can be repurposed. Always clean them thoroughly and, most importantly, drill ample drainage holes in the bottom.
- Tires: Old tires, painted vibrant colors, make surprisingly effective and robust planters, particularly for larger vegetables like potatoes or tomatoes. Their dark color absorbs heat, which can benefit heat-loving plants in cooler climates.
- Wooden Crates or Pallets: With a little modification, wooden crates can become attractive raised beds or window boxes. Line them with landscaping fabric or heavy-duty plastic (punctured for drainage) to protect the wood and contain the soil.
- Buckets: Five-gallon buckets, readily available, are excellent, inexpensive choices for larger plants like tomatoes or peppers. Drill plenty of drainage holes.
- Old Furniture: Drawers from old dressers or even old bathtubs can be transformed into quirky, spacious planters. Ensure drainage and consider sealing porous materials.
When repurposing, always prioritize drainage. A lack of proper drainage is the quickest way to kill a container plant. Also, consider the material: avoid anything that might leach harmful chemicals into the soil, especially for edibles. For example, some plastics might not be food-safe, so research your material if you are growing food. By embracing sustainable pot size guide choices, you not only reduce waste but also add character and personal flair to your small-space garden, making your gardening journey even more rewarding.
Frequently Asked Questions
Here are some common questions about pot sizing and container gardening for beginners to help you confidently grow your spring veggies and flowers.
Can I put multiple plants in one pot?
Yes, you can absolutely put multiple plants in one pot, but success depends on careful planning. Choose plants with similar light and water requirements. Most importantly, ensure the pot is large enough to accommodate the mature root systems of all plants without overcrowding. For example, you might plant several lettuce varieties in a wide, shallow pot, or a “thriller, filler, spiller” combination of flowers in a large, deep container (14-20 inches diameter). Overcrowding leads to competition for resources, resulting in stunted growth.
How do I know if my plant is root-bound?
You can usually tell if your plant is root-bound by observing its growth or checking its roots directly. Signs of a root-bound plant include stunted growth, yellowing or wilting leaves despite adequate watering, water running straight through the pot when watered, or roots emerging from the drainage holes. To confirm, gently slide the plant out of its pot. If you see a dense, tangled mass of roots circling the outside of the soil ball, your plant is root-bound and needs a larger pot.
Do I need different pot sizes for spring planting versus summer planting?
Generally, the principles of matching pot size to plant size remain consistent regardless of the season. However, you might make practical adjustments. Spring planting often involves cooler-season crops (like lettuce, radishes, pansies) that may not require as large a pot as heat-loving, sprawling summer plants (like large tomatoes, cucumbers, or peppers). In hotter summer conditions, a slightly larger pot than the minimum recommendation can be beneficial because it holds more soil volume, buffering against rapid drying out and temperature extremes.
What is the best way to choose the right planter size for my specific plant?
The best way to choose the right planter size involves a few steps. First, identify your plant’s mature size and growth habit (e.g., sprawling, tall, deep-rooted). Second, consult a pot size guide or plant tag for specific recommendations regarding minimum depth and diameter or volume. Third, consider your local climate; larger pots provide more resilience against heat and drought. Finally, remember that it is generally better to err on the side of a slightly larger pot rather than one that is too small, providing more room for roots and soil moisture.
For trustworthy gardening information, visit: ASPCA Animal Poison Control, Michigan State University Extension — Gardening, University of Wisconsin Extension — Horticulture and Iowa State University Extension — Yard & Garden. These organizations provide expert, research-based advice for gardeners at all levels.
Disclaimer: This article is for informational purposes only and is not a substitute for professional gardening advice. Always consult local extension services or horticulture experts for region-specific guidance.
Leave a Reply