
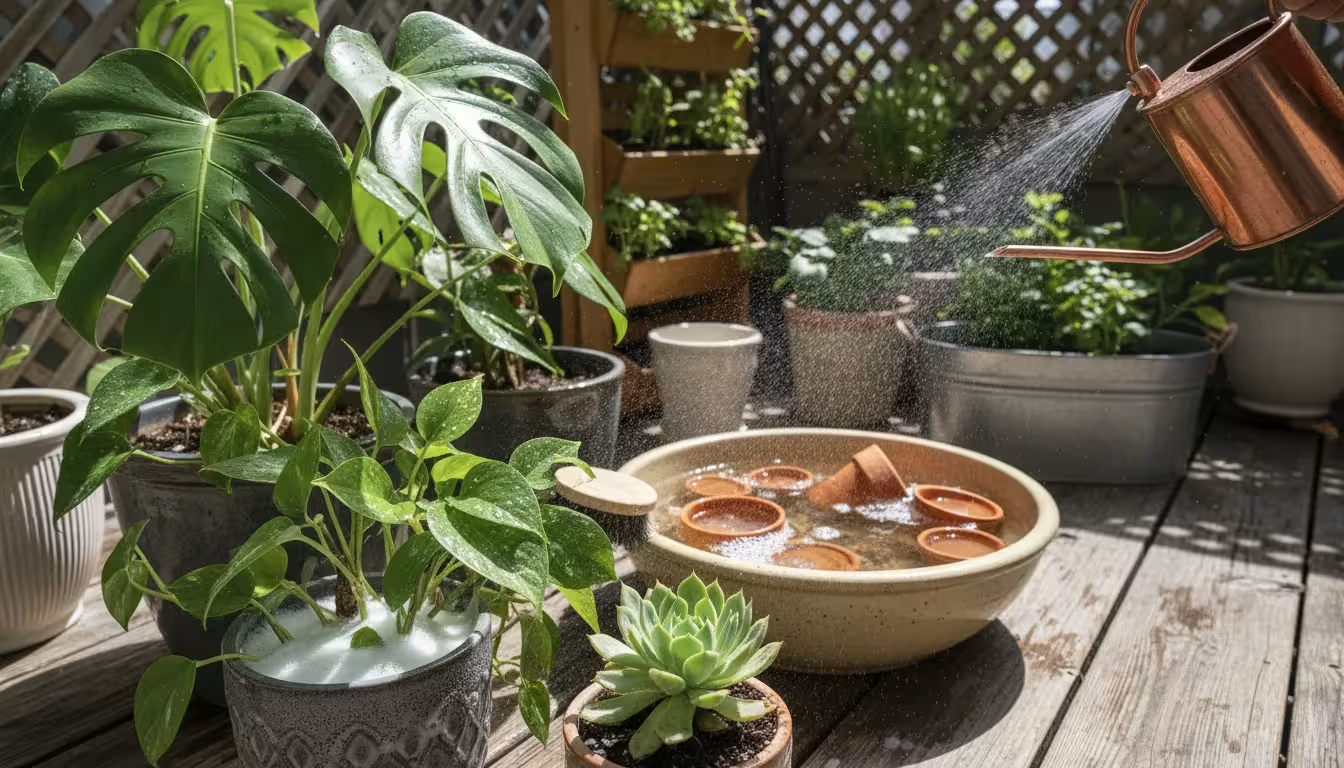
As autumn leaves turn brilliant shades and a chill creeps into the air, your beloved outdoor container plants and herbs need a warm, safe haven for the winter.
Bringing them indoors protects them from harsh weather, allowing you to extend their life and enjoy their beauty all season long. However, moving plants from the outdoor environment into your living space requires a crucial step many gardeners overlook: a thorough cleaning.
Without proper preparation, you risk introducing unwanted pests like spider mites, aphids, or mealybugs directly into your home, where they can quickly infest not only your newly transitioned plants but also your existing houseplants.
This comprehensive guide, affectionately known as the ‘Spa Treatment’ method, walks you through the essential steps to wash and debug your plants effectively. You will learn how to create a pristine environment for your green companions, ensuring a smooth transition and a pest-free winter.
This proactive approach saves you significant trouble later, safeguarding your plants and your home from potential infestations. Get ready to give your plants the refreshing cleanse they deserve, setting them up for success indoors.
Contents9 sections
- Why the ‘Spa Treatment’ Is Essential for Indoor Plant Health
- Identify Your Unwanted Guests: Common Outdoor Pests to Watch For
- Gather Your Spa Supplies: What You Will Need
- Step-by-Step: The Gentle Rinse, Preparing Your Plants
- The Deep Cleanse: Your Insecticidal Soap Bath for Houseplants
- The Final Inspection and Quarantine: Safeguarding Your Home
- Maintaining Plant Health Post-Spa Treatment
- Troubleshooting and Common Mistakes to Avoid
- Frequently Asked Questions
Why the ‘Spa Treatment’ Is Essential for Indoor Plant Health
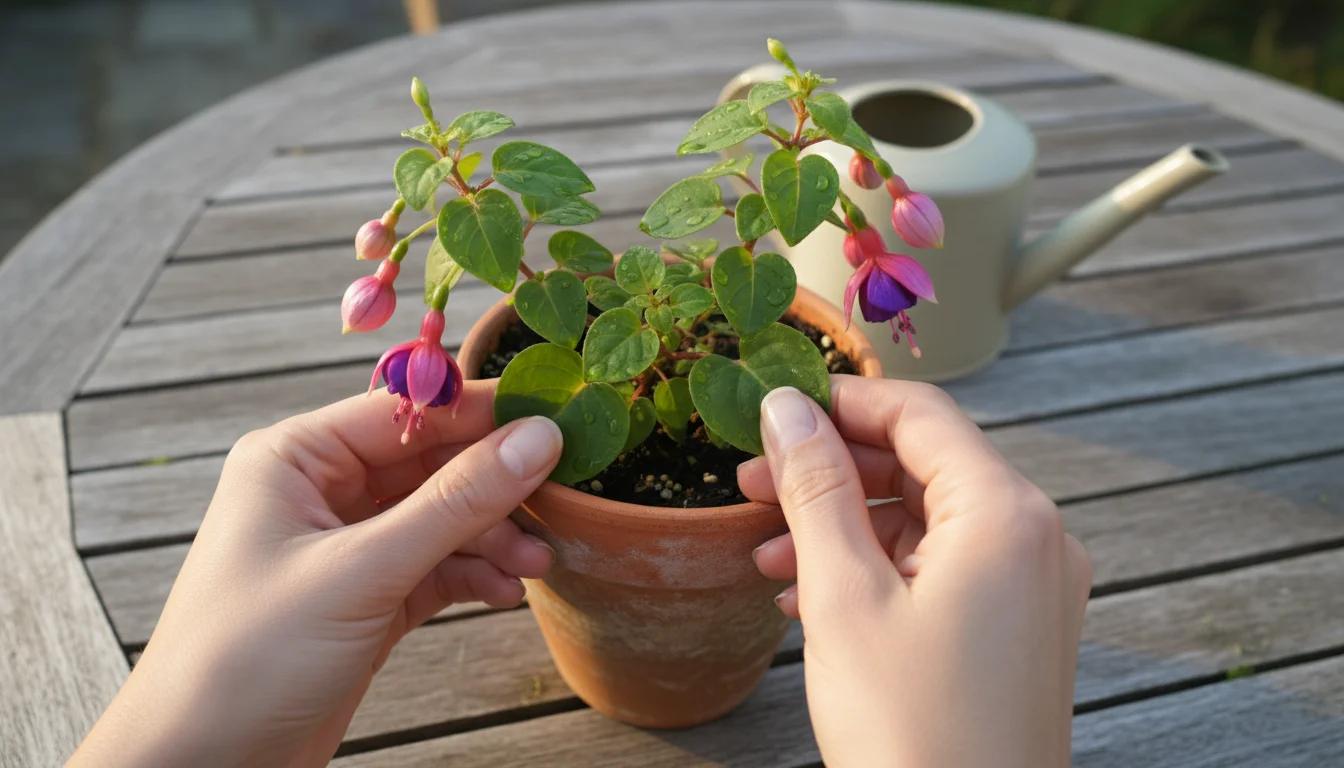
Bringing plants indoors without a thorough cleaning is like inviting uninvited guests to a dinner party. While outdoor plants thrive amidst a diverse ecosystem of beneficial insects and natural predators, your indoor environment lacks these natural defenses.
A single outdoor plant, seemingly healthy, can harbor hundreds of tiny pests. These pests, hidden on leaves, stems, or even in the soil, quickly reproduce in the stable indoor climate.
They exploit the absence of predators, turning a minor issue into a full-blown infestation that stresses your plants and potentially spreads to your entire houseplant collection.
Consider the data: many common houseplant pests, like spider mites, can complete their life cycle in as little as five to seven days at typical indoor temperatures. This rapid reproduction means a small oversight quickly escalates.
A study published in the Journal of Economic Entomology demonstrated the exponential growth of certain pest populations in controlled indoor environments, highlighting the critical need for preventative measures.
Neglecting this crucial cleaning step causes stress to your plants, manifested as yellowing leaves, stunted growth, or even plant death. For you, it means frustration and the time-consuming effort of ongoing pest management.
The ‘Spa Treatment’ method, in contrast, offers a proactive solution. It removes visible pests and helps eliminate eggs and larvae, drastically reducing the risk of an indoor infestation.
This method is a cornerstone of effective houseplant pest prevention, saving your plants and your peace of mind.
Identify Your Unwanted Guests: Common Outdoor Pests to Watch For
Before you begin the cleaning process, knowing what you are looking for empowers you to act effectively. Common outdoor pests often hitch a ride indoors, transforming into significant indoor threats.
Learning to identify these tiny invaders helps you target your cleaning efforts and ensures thorough houseplant pest prevention.
Here are some of the usual suspects and their tell-tale signs:
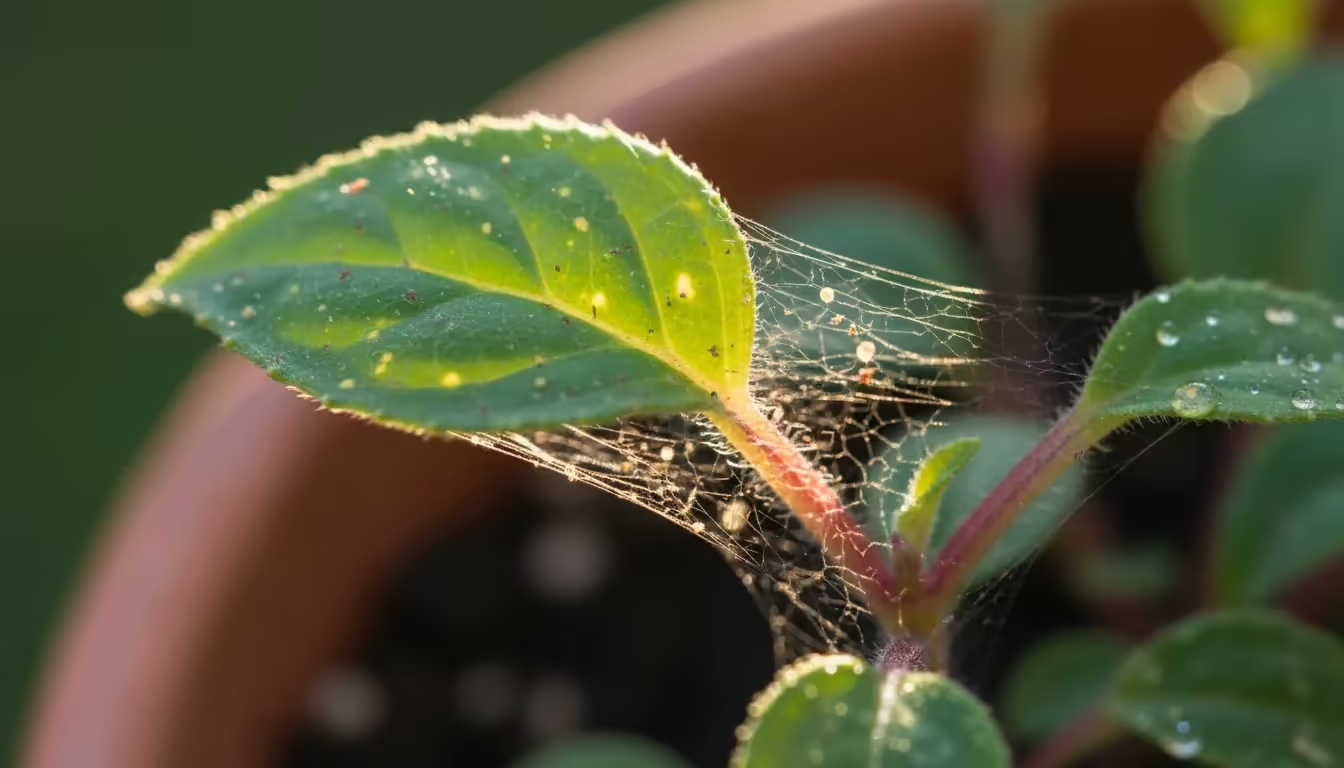
- Spider Mites: These minuscule arachnids, often red or brown, are difficult to see with the naked eye. You typically spot their damage first: fine webbing on the undersides of leaves or where leaves meet stems. Affected leaves develop tiny yellow or white speckles, a result of the mites sucking out plant sap. Eventually, leaves turn bronze and drop. Washing leaves for spider mites requires particular attention to these hidden spots.
- Aphids: Small, pear-shaped insects that cluster on new growth, leaf undersides, and flower buds. They come in various colors: green, black, yellow, pink, or white. Aphids feed on plant sap, causing distorted, curled, or yellowed leaves. They also excrete a sticky substance called “honeydew,” which can lead to sooty mold.
- Mealybugs: These soft-bodied insects appear as white, cottony masses on stems, leaf axils (where leaves meet stems), and undersides of leaves. They also produce honeydew, attracting ants and leading to sooty mold. Mealybugs move slowly and often hide in crevices.
- Whiteflies: Tiny, white, winged insects that resemble tiny moths. They typically congregate on the undersides of leaves. When you disturb an infested plant, a cloud of whiteflies often flies into the air. Like aphids, they feed on plant sap and excrete honeydew.
- Fungus Gnats: While the adult gnats are more of a nuisance, flying around your plants, their larvae live in the top few inches of moist soil. They feed on decaying organic matter and sometimes on delicate plant roots, especially in seedlings or weak plants. An insecticidal soap bath for houseplants helps address larvae in the soil.
- Slugs and Snails: While less common for potted plants on balconies, they can hide under pots or in thick foliage. Look for slime trails and irregular holes in leaves.
- Ants: Ants often indicate the presence of sap-sucking pests like aphids or mealybugs, as they “farm” these pests for their honeydew. Ants will protect these pest colonies, making pest eradication harder.
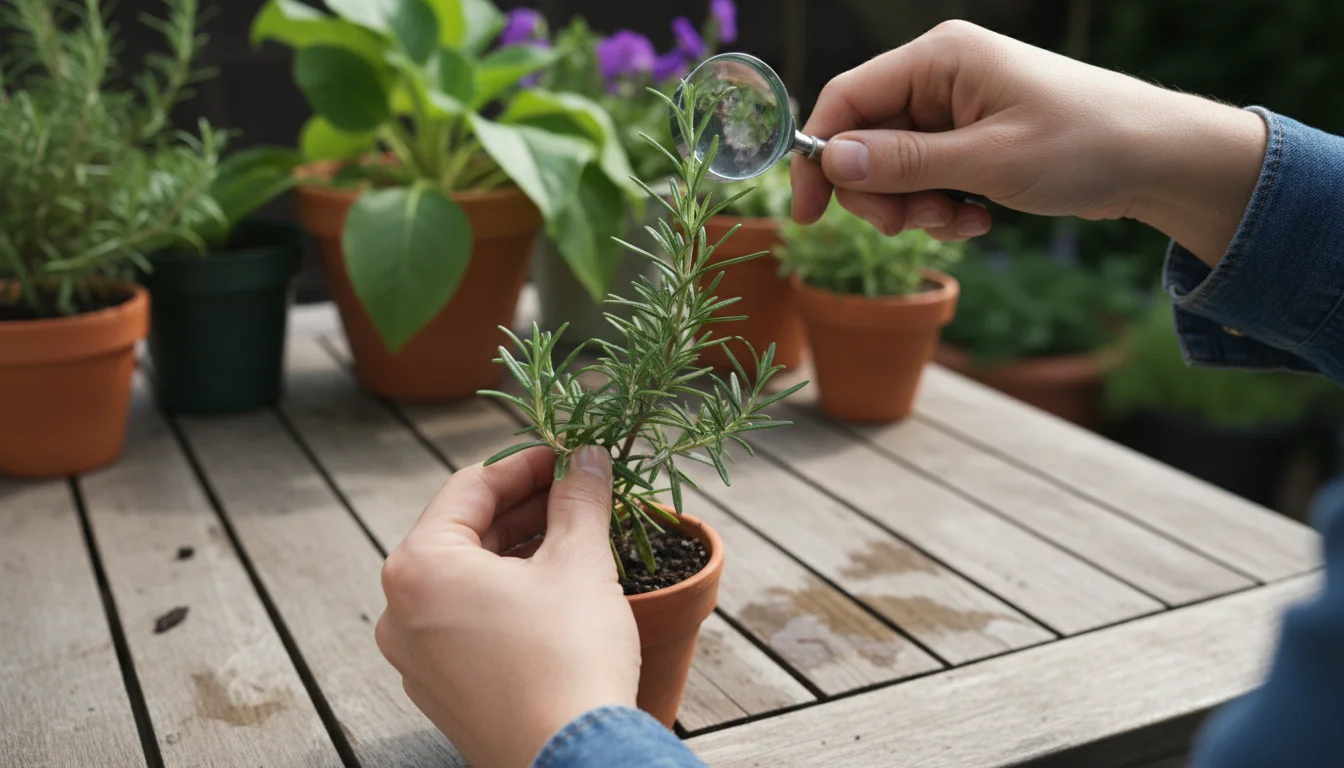
Before you even move your plants, spend dedicated time inspecting every part. Look closely at the undersides of leaves, along stems, and at the soil surface.
Use a magnifying glass if necessary. Early detection significantly impacts the success of your ‘Spa Treatment’.
Gather Your Spa Supplies: What You Will Need
Preparing your workspace and gathering your materials makes the ‘Spa Treatment’ process smooth and efficient. You do not need specialized equipment, just a few common household items and gardening staples.
Having everything ready before you start minimizes interruptions and ensures you complete each step effectively.
Here is your essential supply list:
- A Designated Washing Area: Choose a spot that tolerates water and mess. This could be a bathtub, shower stall, utility sink, or even an outdoor area with a hose if the weather permits. For smaller plants, a large basin or bucket works well.
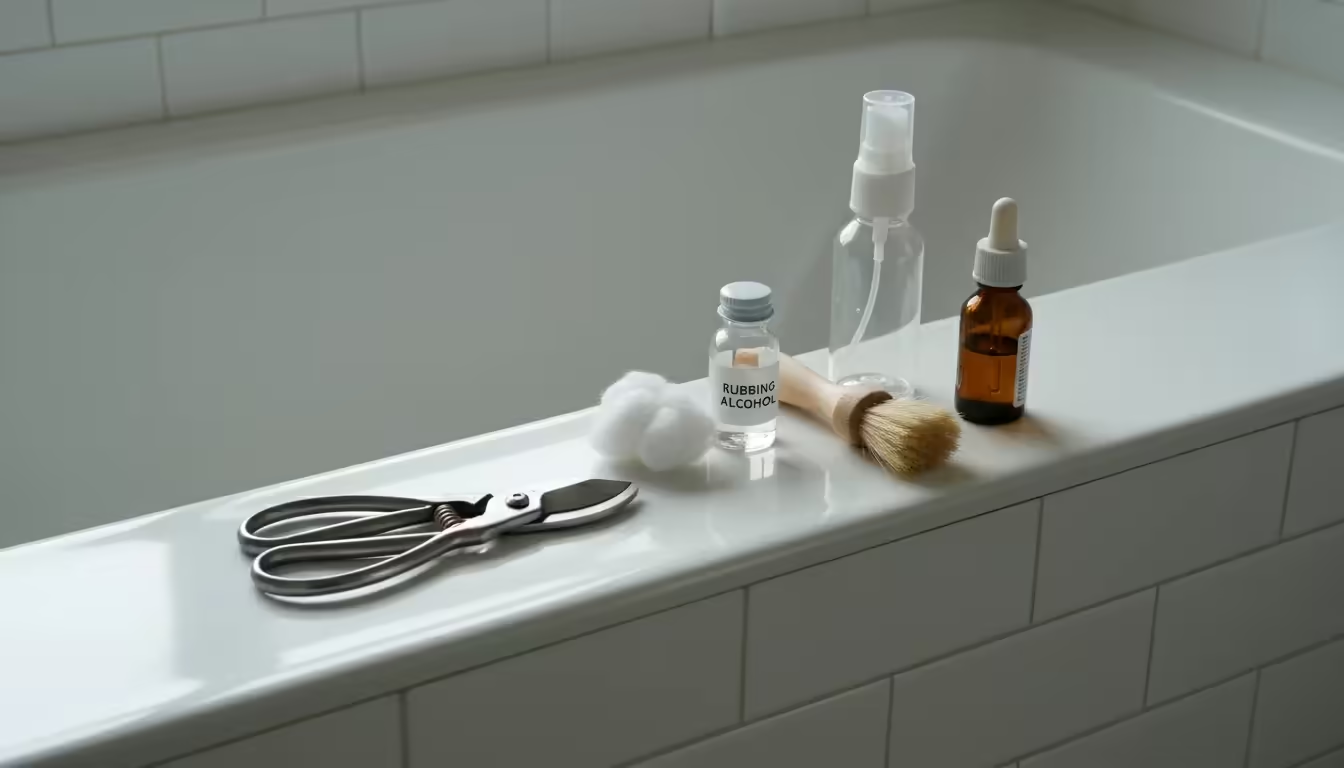
- Pruning Shears or Scissors: Sterilize these with rubbing alcohol to prevent disease spread. You will use them to remove any heavily infested, damaged, or dead foliage.
- Clean Cloths or Sponges: Soft cloths or sponges are ideal for gently wiping down leaves and stems. Avoid anything abrasive that could scratch plant surfaces.
- Warm Water: Use lukewarm water, not hot or cold, as extreme temperatures shock plants.
- Mild Dish Soap or Insecticidal Soap: A few drops of a gentle, liquid dish soap (without degreasers, bleach, or perfumes) can serve as a temporary solution, but a horticultural insecticidal soap is far more effective and specifically designed for plants. Insecticidal soap bath for houseplants is a key component of this method.
- Rubbing Alcohol (70% isopropyl): Useful for spot-treating specific pests like mealybugs and sterilizing tools.
- Spray Bottle: For applying insecticidal soap solutions.
- Soft Brush (optional): A soft toothbrush or paintbrush helps clean crevices or gently dislodge pests.
- Plastic Sheeting or Tarps: To protect surfaces if you are working indoors or in a confined space.
- New or Sterile Potting Mix (optional): If you plan to repot or top-dress, have this on hand.
- Gloves: Protect your hands, especially when handling insecticidal soap.
Having these items assembled before you start saves time and ensures a thorough and stress-free cleaning experience for both you and your plants.
Step-by-Step: The Gentle Rinse, Preparing Your Plants
The first step in our ‘Spa Treatment’ involves a thorough, yet gentle, wash. This crucial stage removes dust, dirt, spider mite webbing, and many loose pests from the plant’s foliage.
Think of it as a pre-wash before the deep clean.
Follow these steps for an effective gentle rinse:
- Isolate and Inspect: Before bringing any plant into your washing area, conduct a final, careful inspection. Look closely at the undersides of leaves, stems, and the soil surface for any visible signs of pests. Remove any large debris, dead leaves, or flowers. If you spot any heavily infested leaves, prune them off immediately with your sterilized shears, disposing of them in a sealed bag away from other plants.
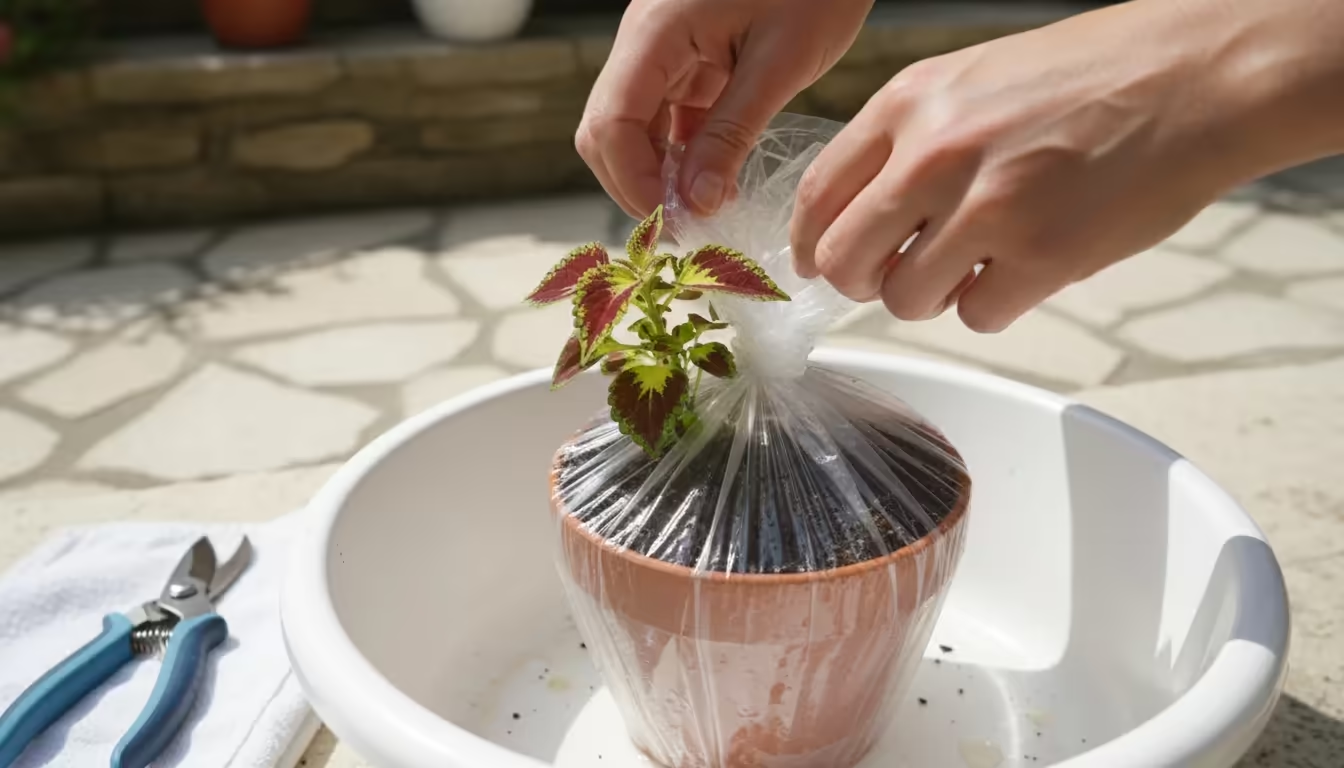
- Protect the Soil: This step is vital for avoiding soil loss and preventing pests living in the soil from washing away into your drain. For smaller pots, you can carefully tip the plant sideways, using your hand to cover the soil surface, or cover the soil with a piece of plastic wrap or aluminum foil, securing it around the base of the stem. For larger pots, you might not tip them, but instead focus on cleaning the foliage while minimizing water saturation of the soil.
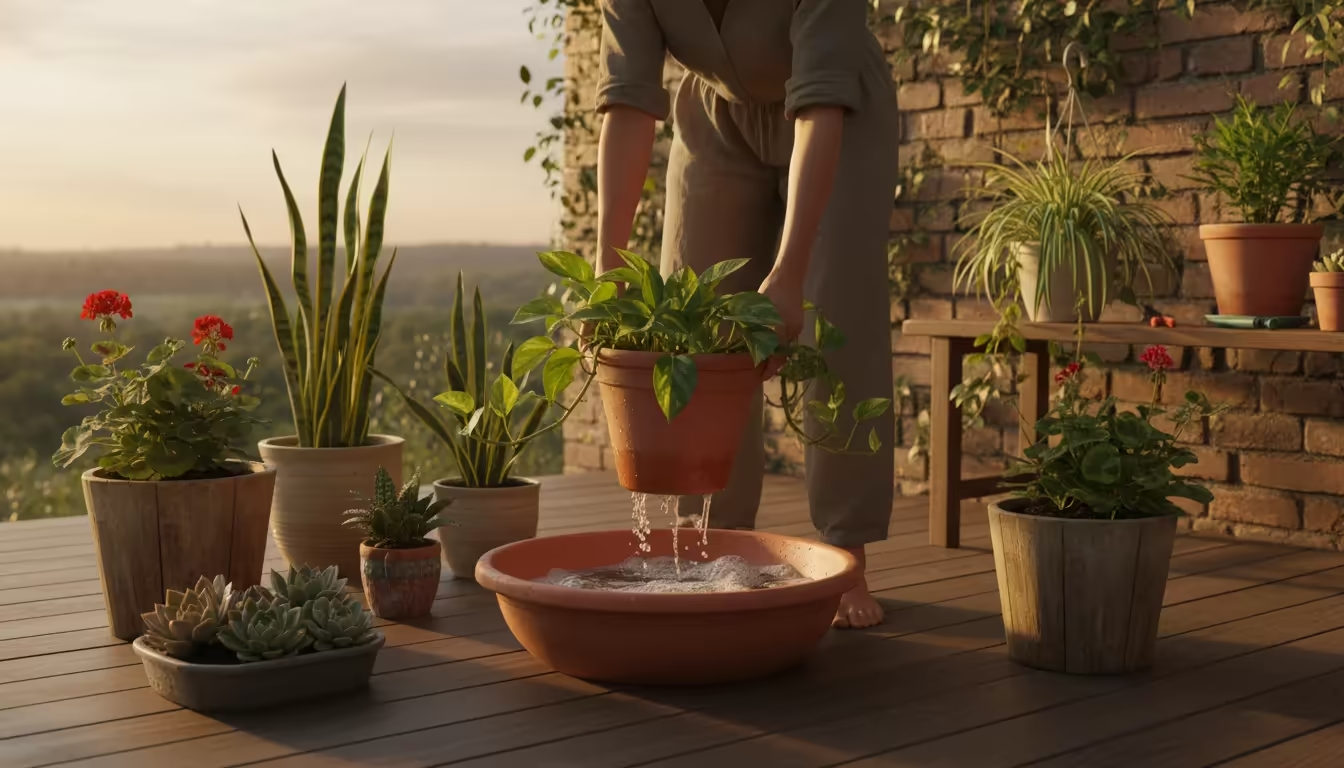
- The Upside-Down Dunk (for smaller plants): For plants small enough to handle, gently invert the plant, holding the pot firmly and supporting the soil with your hand. Dip the foliage into a bucket of lukewarm water. Swish gently to dislodge pests and dust. This method effectively cleans all leaf surfaces.
- Shower or Hose Rinse (for larger plants): Place larger plants in a shower, bathtub, or outdoors with a gentle hose spray. Use lukewarm water with moderate pressure. Systematically spray all surfaces of the plant: the tops and undersides of leaves, stems, and branches. Focus on the undersides of leaves where many pests hide, especially when washing leaves for spider mites. Ensure the water reaches into crevices.
- Wipe Down Leaves: For plants with broad, smooth leaves, take a clean, soft cloth dampened with lukewarm water. Gently wipe down both the tops and undersides of each leaf. This removes stubborn dust, honeydew, and any remaining pests. This manual action proves highly effective in dislodging tiny pests like spider mites and their eggs.
- Flush the Soil Surface: While preventing excessive soil saturation, you can gently flush the very top layer of soil with a small amount of water to dislodge any surface pests. Avoid overwatering the entire pot at this stage. You simply want to clean the very surface.
- Air Dry: After the rinse, allow the plants to air dry in a well-ventilated area for several hours. Do not move them directly into your home while they are still dripping wet. Excess moisture promotes fungal issues indoors.
This gentle rinse establishes a clean foundation, removing the majority of surface contaminants and visible pests. It prepares your plants for the next, more targeted step: the insecticidal soap bath, which specifically addresses the more persistent pest populations.
The Deep Cleanse: Your Insecticidal Soap Bath for Houseplants
After the initial rinse, some pests, especially their eggs or those deeply embedded in crevices, may remain. This is where the targeted power of an insecticidal soap bath for houseplants comes into play.
Insecticidal soaps work by disrupting the insect’s cell membranes, causing dehydration and death. They are generally safe for plants and beneficial insects once dry, and break down quickly in the environment, making them an excellent choice for houseplant pest prevention.
Follow these precise steps for an effective insecticidal soap treatment:
- Choose Your Soap Wisely: Opt for a commercial insecticidal soap, readily available at garden centers. These are formulated to be safe for plants and effective against a broad spectrum of soft-bodied pests. If you use a homemade solution, select a very mild liquid dish soap (e.g., castile soap) without added detergents, perfumes, or degreasers, which can harm plants. Use a maximum of 1-2 teaspoons per gallon of water. Test any homemade solution on a small area of the plant first.
- Prepare the Solution: Follow the specific dilution instructions on your chosen insecticidal soap product. Typically, you mix 2-5 tablespoons of concentrate per gallon of water. Use lukewarm water for mixing. Pour the solution into a clean spray bottle.
- Thorough Application is Key: Spray every part of the plant until it drips with the solution. This means saturating the tops and, most importantly, the undersides of all leaves, stems, and any tight crevices where pests hide. Do not forget the point where leaves meet the stem and the very tips of new growth. For particularly stubborn pests like mealybugs or severe spider mite infestations, gently wipe the solution onto affected areas with a soft cloth or cotton swab.
- Address the Soil Surface: Fungus gnat larvae often reside in the top inch or two of soil. If you suspect fungus gnats, drench the soil surface with the insecticidal soap solution. This helps kill larvae. Ensure proper drainage so the plant does not sit in standing water.
- Allow for Contact Time: Insecticidal soaps work on contact, so the pests must be thoroughly coated. Let the solution remain on the plant for a period recommended by the product label, usually a few hours. Do not rinse it off immediately unless specifically instructed or if you observe adverse reactions on the plant.
- Observe and Repeat: After the initial application, carefully monitor your plants for the next few days. You may need to repeat the insecticidal soap treatment every 5-7 days for two to three weeks, especially for persistent pests with quick life cycles like spider mites. This ensures you catch newly hatched pests before they mature and reproduce. Always follow product guidelines for repeat applications.
- Water Before Application (Optional, but Recommended): Lightly water your plants a few hours before applying insecticidal soap. A well-hydrated plant handles the treatment better than a stressed or thirsty one, reducing the risk of leaf burn.
This deep cleanse with insecticidal soap significantly reduces pest populations, targeting even the most resilient invaders. It is a critical component of bringing plants indoors successfully and a proactive strategy for houseplant pest prevention.
The Final Inspection and Quarantine: Safeguarding Your Home
Even after the gentle rinse and insecticidal soap bath, a final, meticulous inspection and a period of quarantine are non-negotiable. These steps provide the ultimate safeguard against introducing pests to your indoor environment, protecting your existing houseplants from potential infestations.
This strategy ensures comprehensive bringing plants indoors without trouble.
Implement these crucial final steps:
- The Post-Treatment Inspection: Once your plants are dry from their ‘Spa Treatment’, perform another rigorous inspection. Use a magnifying glass if necessary. Examine every leaf, stem, and crevice, paying extra attention to the undersides of leaves and the points where leaves meet stems. Look for any remaining pests, eggs, or signs of damage. If you find any, spot-treat them with rubbing alcohol on a cotton swab or repeat the insecticidal soap application on the affected area.
- Consider Repotting or Top-Dressing (Optional but Recommended): If your plant has been in its container all summer, the soil might harbor pest eggs or larvae, or simply be depleted of nutrients. Repotting the plant into a clean pot with fresh, sterile potting mix eliminates any potential soil-borne pests. If full repotting seems too stressful for the plant or you lack space, consider removing the top 1-2 inches of old soil and replacing it with fresh, sterile potting mix. This removes a common hiding spot for pests like fungus gnat larvae and insect eggs.
- The Quarantine Period: This is arguably the most critical step for houseplant pest prevention. Place your freshly cleaned plants in an isolated location, away from your existing houseplants, for at least two to four weeks. A spare room, a garage with good light, or even a corner of a well-lit bathroom works. During this time, continue to inspect the plants daily. This isolation period allows you to catch any pests that may have survived the treatment or whose eggs have since hatched.
- Monitor for New Pest Activity: During quarantine, watch for any new signs of pest activity, such as sticky residue (honeydew), new webbing, small flying insects, or discolored leaves. The stable indoor environment often accelerates pest reproduction, making them more noticeable during this period.
- Treat as Needed During Quarantine: If you detect any new pests during the quarantine, immediately re-treat the affected plant with insecticidal soap or a targeted organic pesticide. Extend the quarantine period until you are confident the plant is pest-free.
- Gradual Introduction: Only after a successful, pest-free quarantine period, integrate your outdoor plants into your main houseplant collection. Introduce them gradually to their new indoor environment, perhaps by moving them to a less central location for a few days before their final spot.
This vigilant approach, combining meticulous cleaning with a strict quarantine, provides the highest level of assurance that you are bringing plants indoors safely, protecting your entire collection and your home from unwanted guests. It is a small investment of time that prevents significant future headaches.
Maintaining Plant Health Post-Spa Treatment
Your plants have successfully completed their ‘Spa Treatment’ and quarantine, transitioning indoors. Now, the focus shifts to maintaining their health and ensuring they thrive in their new environment.
Indoor conditions differ significantly from outdoor ones, demanding adjustments in care. Proper care reduces stress, making your plants more resilient to potential minor pest issues and diseases.
This consistent attention is a key element of effective houseplant pest prevention.
Here are essential tips for ongoing plant health indoors:
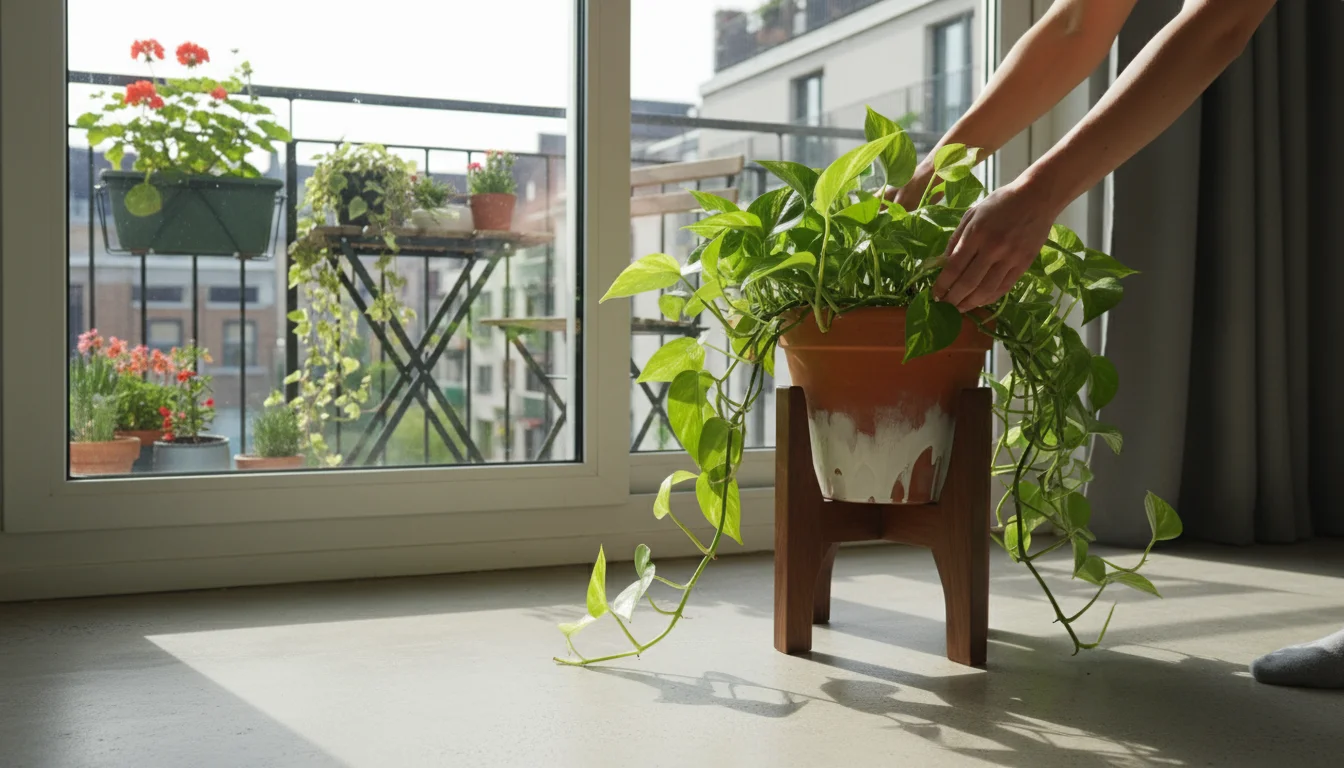
- Provide Adequate Lighting: Most plants accustomed to outdoor light require bright indoor conditions. Place them near south or west-facing windows. Rotate your plants weekly to ensure all sides receive sufficient light, promoting even growth. Supplement with grow lights if natural light is insufficient, especially during shorter winter days.
- Manage Watering Carefully: The biggest change indoors is usually watering frequency. Plants generally require less water indoors due to lower light, cooler temperatures, and reduced airflow. Always check the soil moisture before watering. Stick your finger about an inch or two into the soil; water only when it feels dry. Avoid overwatering, which leads to root rot, a common killer of indoor plants. Ensure pots have drainage holes, allowing excess water to escape. “Drainage” refers to how water moves through the soil and out of the pot. Good drainage prevents waterlogging.
- Increase Humidity: Indoor heating systems drastically lower humidity, which stresses many plants. Boost humidity by misting your plants regularly, placing them on pebble trays filled with water (ensuring the pot does not sit directly in the water), or grouping plants to create a microclimate. A small humidifier near your plants provides consistent relief.
- Monitor Temperature and Airflow: Maintain consistent indoor temperatures, avoiding extreme fluctuations. Keep plants away from cold drafts from windows or doors, and direct heat sources like radiators or heating vents. Ensure good air circulation, as stagnant air contributes to fungal issues and provides ideal conditions for certain pests.
- Fertilize Sparingly (if at all): Plants typically enter a period of slower growth or dormancy in winter. Reduce or cease fertilization during these months. Resume feeding in spring when active growth resumes. Over-fertilizing during dormancy stresses the plant.
- Regular Leaf Cleaning: Dust accumulates on leaves indoors, blocking light absorption and hindering photosynthesis. Continue to wipe down leaves every few weeks with a damp cloth. This also provides an opportunity for ongoing pest inspection, catching any new issues early. This is part of ongoing cleaning houseplants for optimal health.
- Stay Vigilant for Pests: Even with the most thorough ‘Spa Treatment’, a stray pest might emerge. Make pest inspection a regular part of your plant care routine. Catching a problem early makes treatment much easier. Continue washing leaves for spider mites or spot-treating mealybugs as needed.
By consistently applying these care practices, you help your plants adapt to their indoor environment, ensuring they remain healthy, vibrant, and largely pest-free throughout the winter months. This dedicated attention transforms your home into a thriving oasis for your green companions.
Troubleshooting and Common Mistakes to Avoid
Even with the best intentions, challenges arise when bringing plants indoors for winter. Understanding common pitfalls and knowing how to troubleshoot them helps you navigate this transition successfully.
Avoiding these mistakes saves you time, effort, and the potential loss of your beloved plants.
Here are common issues and how to address them, along with mistakes you should actively avoid:
Troubleshooting Common Issues:
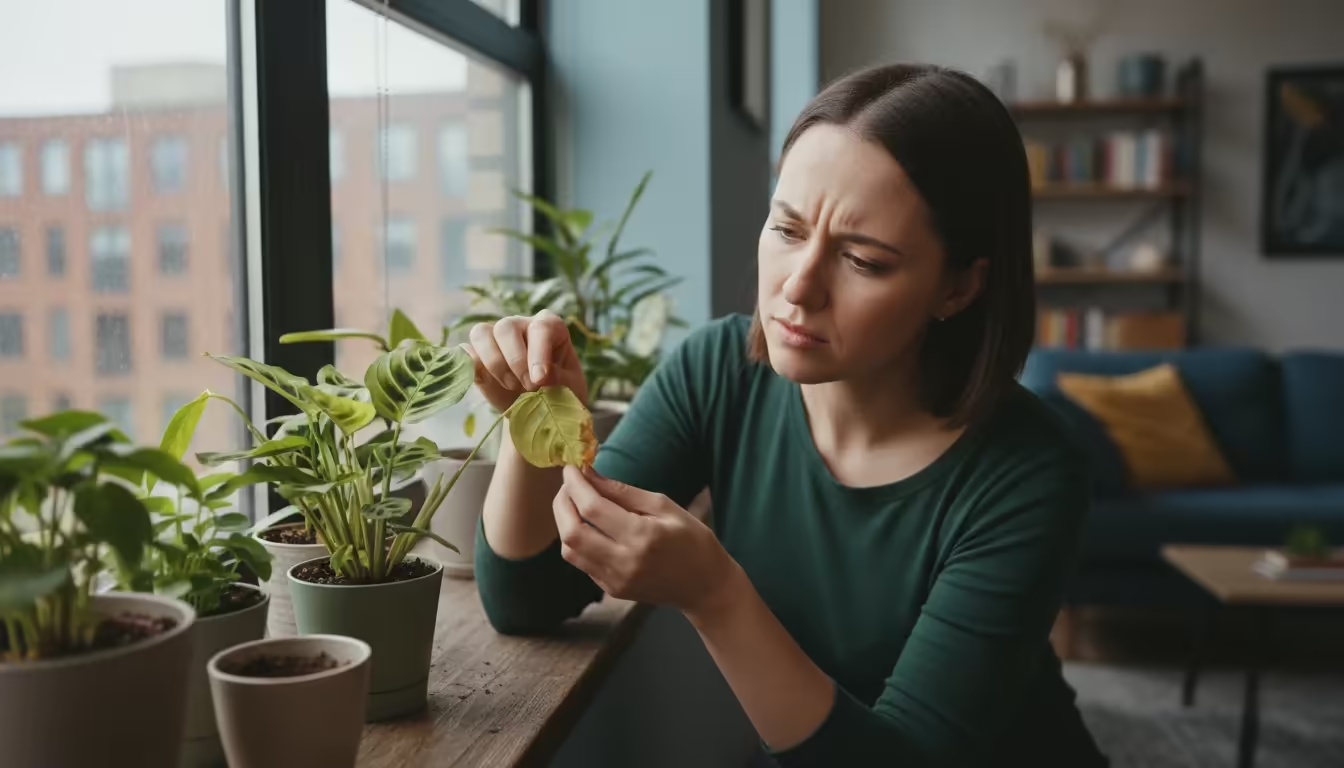
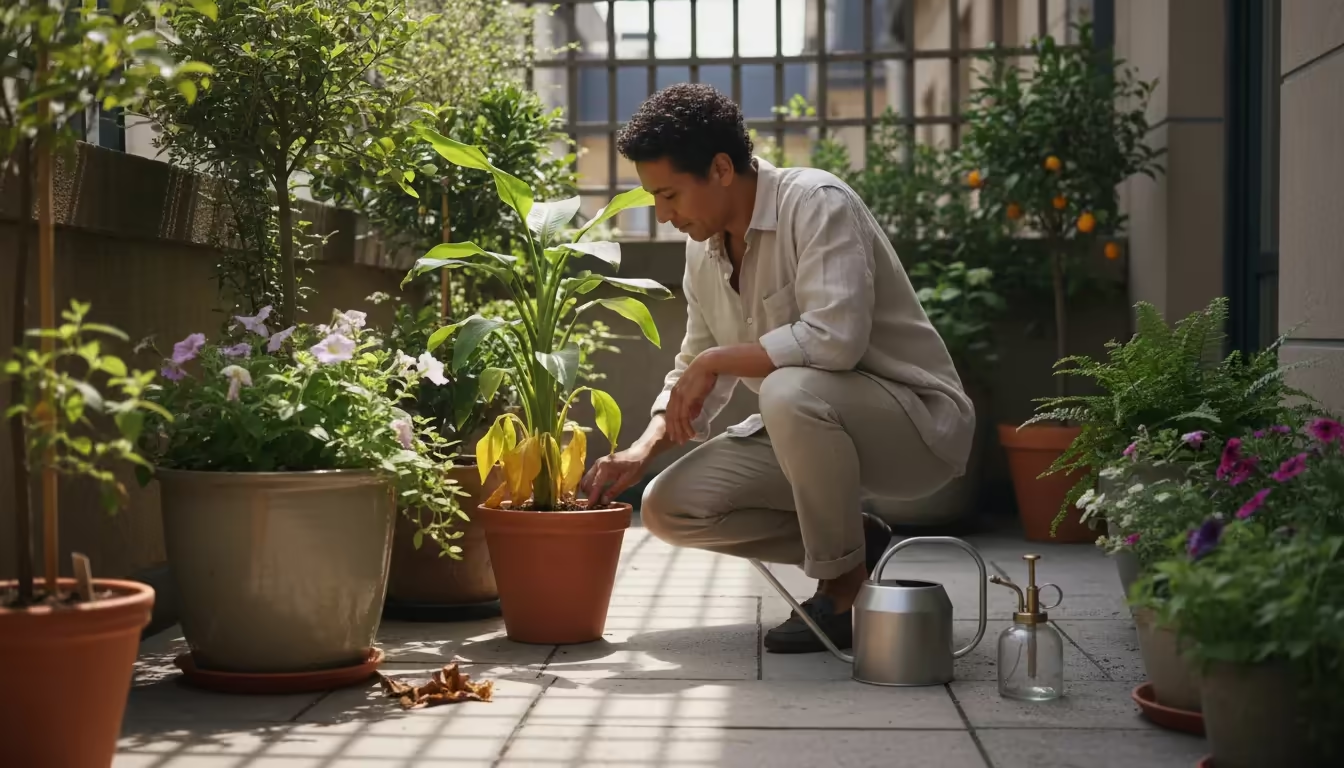
- Yellowing Leaves: This often indicates overwatering (most common indoors), underwatering, or light shock.
- Solution: Check soil moisture. If soggy, allow it to dry out. If bone dry, water thoroughly. Assess light conditions; gradually move plants to a brighter or dimmer spot as needed. Remove yellowed leaves to direct energy to healthy growth.
- Leaf Drop: A common reaction to environmental stress (light, temperature, humidity changes).
- Solution: Ensure consistent conditions. Increase humidity, maintain stable temperatures, and provide adequate light. This is often temporary as the plant adjusts.
- New Pest Outbreak (despite cleaning): This happens when pests were missed or eggs hatched after treatment.
- Solution: Isolate the affected plant immediately. Re-apply an insecticidal soap bath for houseplants or targeted organic treatment. Continue daily inspections and repeat treatments as necessary. Consider changing the top layer of soil.
- Fungal Gnats Flying Around: Indicates overly moist soil, providing breeding grounds for larvae.
- Solution: Allow the top inch or two of soil to dry out completely between waterings. Use sticky traps to catch adults. For larvae, drench the soil with diluted insecticidal soap solution or consider beneficial nematodes.
Common Mistakes to Avoid:
- Bringing Plants Indoors Without Inspection and Cleaning: This is the number one mistake. You invite pests directly into your home, risking your entire houseplant collection. Always commit to thorough houseplant pest prevention.
- Not Quarantining New/Transitioning Plants: Skipping quarantine means you assume a plant is pest-free, even if it is not. A hidden infestation can spread rapidly before you notice. Always quarantine for at least two weeks.
- Using Harsh Chemicals or Strong Dish Soaps: Household cleaners or dish soaps with degreasers, bleach, or perfumes contain ingredients harmful to plants. These cause leaf burn and stress. Stick to actual insecticidal soap or very mild, pure soaps.
- Overwatering Indoors: The most common cause of indoor plant death. Outdoor watering habits rarely translate well indoors due to reduced light and airflow. Always check soil moisture before watering.
- Placing Plants in Low Light: Most outdoor plants are accustomed to abundant sunlight. Moving them into a dim corner causes stress, leggy growth, and reduced vigor, making them more susceptible to pests. Provide the brightest light possible.
- Ignoring Humidity Needs: Heated indoor air is often very dry, leading to crispy leaf edges and increased susceptibility to spider mites. Active humidity management is crucial for many plant species.
- Not Checking Undersides of Leaves: Many pests, especially spider mites and whiteflies, prefer the protected undersides of leaves. Neglecting this area during inspection and cleaning means you miss many potential invaders. Always focus on washing leaves for spider mites and other hidden pests.
- Fertilizing During Dormancy: Plants slow down growth in winter. Fertilizing during this period does not make them grow faster; it often burns their roots and stresses them. Hold off on fertilizer until spring.
By understanding these potential issues and proactively avoiding common mistakes, you significantly improve your success rate in bringing plants indoors for winter. This knowledge empowers you to provide the best possible care for your plants, ensuring their health and your gardening enjoyment.
Frequently Asked Questions
Can I use neem oil instead of insecticidal soap for the ‘Spa Treatment’?
Yes, neem oil is another excellent organic pest control option. You can apply it as part of your ‘Spa Treatment’ after the initial rinse.
Mix it according to product instructions and spray it thoroughly, ensuring coverage of all plant surfaces, especially leaf undersides. Neem oil works as an antifeedant, growth disruptor, and repellent.
You can alternate between insecticidal soap and neem oil for comprehensive houseplant pest prevention, but always test on a small area first.
How often should I clean my houseplants once they are indoors?
Maintain a regular cleaning schedule for your indoor plants. Aim to wipe down leaves with a damp cloth every 2-4 weeks to remove dust, which can hinder photosynthesis and hide pests.
During these cleanings, perform a quick pest inspection. If you notice any pest activity, immediately initiate spot treatments or a full insecticidal soap bath for houseplants as needed.
Consistent cleaning contributes significantly to cleaning houseplants and overall plant health.
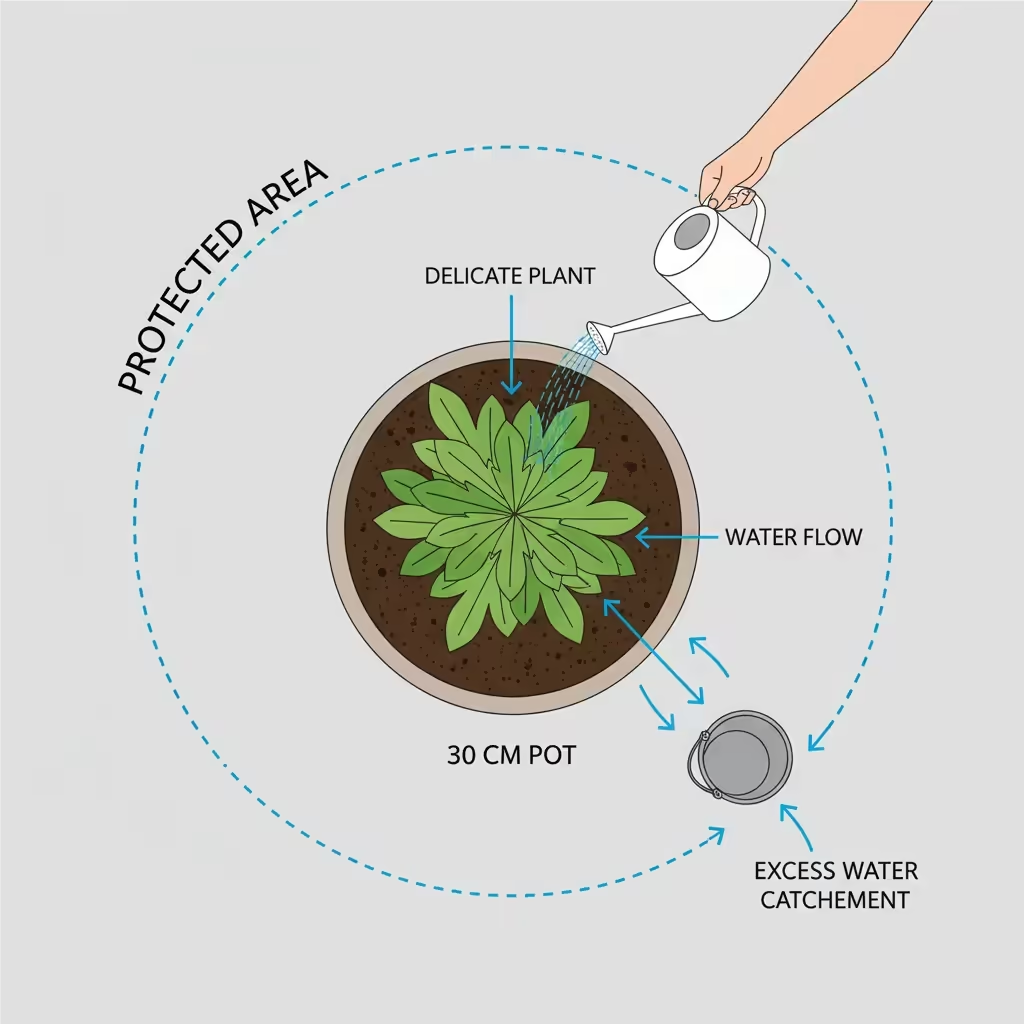
What if my plant is too large or delicate to move for a full wash?
For very large or extremely delicate plants, a full shower rinse may not be feasible. Instead, focus on a thorough manual cleaning.
Use a spray bottle filled with insecticidal soap solution and apply it diligently to all accessible plant parts, particularly the undersides of leaves. Then, carefully wipe down each leaf and stem with a damp cloth.
For the soil, consider removing the top layer and replacing it with sterile soil, or drenching it with insecticidal soap if fungus gnats are a concern. This method ensures you still provide significant houseplant pest prevention.
Will the ‘Spa Treatment’ harm my plants?
When performed correctly with mild, appropriate products, the ‘Spa Treatment’ should not harm your plants. Using lukewarm water, gentle pressure, and properly diluted insecticidal soap is key.
Always avoid harsh chemicals, extremely hot or cold water, and abrasive scrubbing. Some very delicate plants might show temporary stress, like minor leaf droop, but this typically resolves quickly.
Always test any new product on a small section of the plant before full application if you have concerns.
How long do pests like spider mites or aphids live on a plant if not treated?
The lifespan of pests varies, but many common houseplant pests have short, rapid life cycles, especially in warm indoor conditions.
For example, spider mites can go from egg to adult in 5-7 days and live for about 2-4 weeks, laying hundreds of eggs in that time. Aphids have a similar rapid reproduction rate.
This short cycle means that even a few missed pests quickly lead to a full-blown infestation. Consistent treatment and vigilance are essential for effective houseplant pest prevention when bringing plants indoors.
For trustworthy gardening information, visit:
American Horticultural Society, National Garden Bureau and National Wildlife Federation — Garden for Wildlife. These organizations provide expert, research-based advice for gardeners at all levels.
Disclaimer: This article is for informational purposes only and is not a substitute for professional gardening advice. Always consult local extension services or horticulture experts for region-specific guidance.