
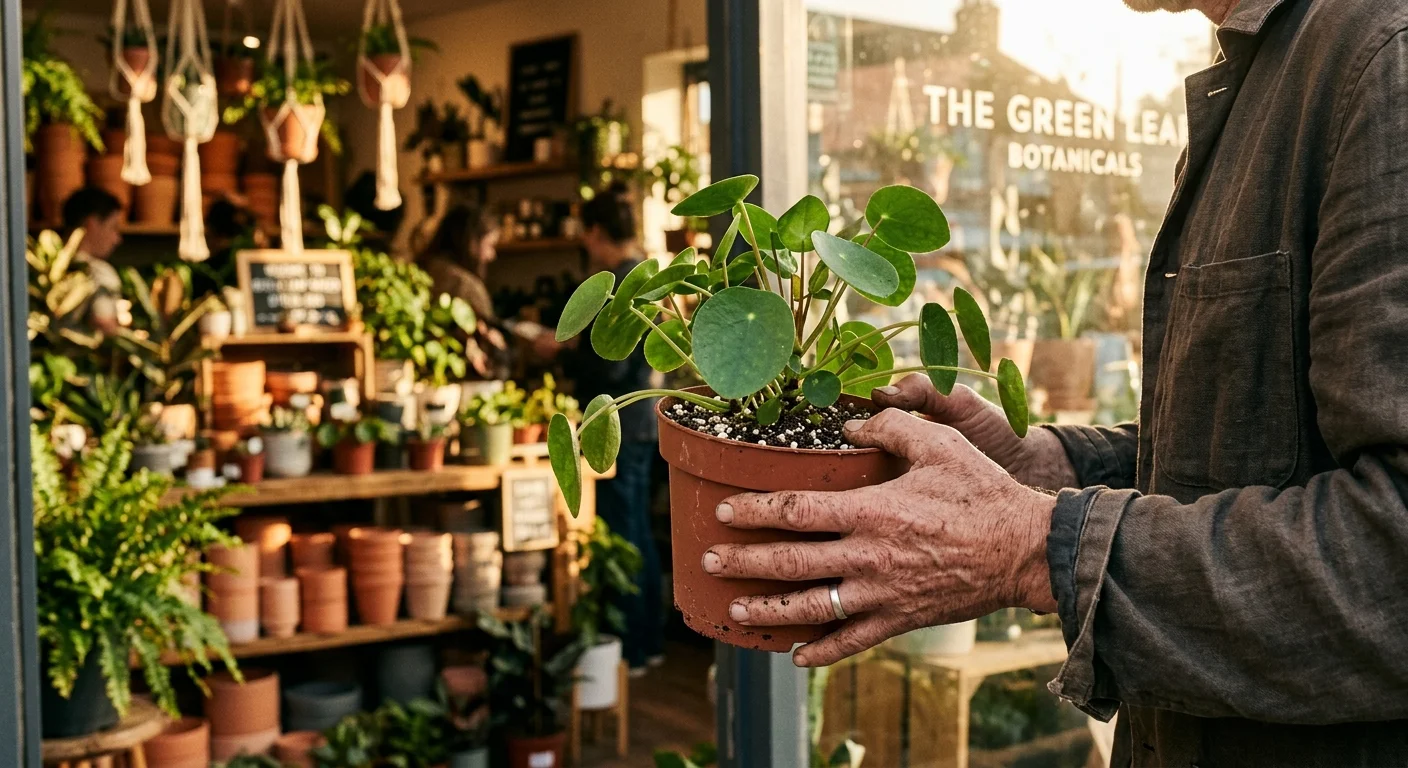
Navigating a plant store successfully requires more than picking the prettiest foliage; you must actively avoid costly mistakes that sabotage your indoor garden before you even head home.
Nursery employees witness shoppers making the same fundamental errors every day, from traumatizing delicate root systems to unintentionally buying aggressive pest infestations. Understanding exactly what to avoid empowers you to select healthier specimens that will genuinely thrive in your small apartment or balcony.
By sidestepping these common blunders, you protect your existing houseplants and ensure your money goes toward vibrant, resilient greenery. Here is the definitive guide to the seven behaviors you should strictly avoid during your next plant shopping trip.
If you are planning to dress up your outdoor space as well, review these common balcony garden mistakes so you don’t repeat them on your patio.
Before heading out, it helps to understand the basics of indoor gardening by reviewing a complete indoor plant survival guide to ensure your new green companions survive long-term.
Contents9 sections
- Repotting Plants Before You Bring Them to the Register
- Buying Plants Without Checking for Pests First
- Ignoring Your Actual Light Conditions at Home
- Overlooking the Roots and the Drainage Situation
- Mishandling Delicate Foliage Just to Check Growth
- Purchasing Distressed Plants Hoping You Can Save Them
- Leaving the Store Without Asking Essential Care Questions
- Sustainable Plant Shopping Practices for Small Spaces
- Frequently Asked Questions
Repotting Plants Before You Bring Them to the Register
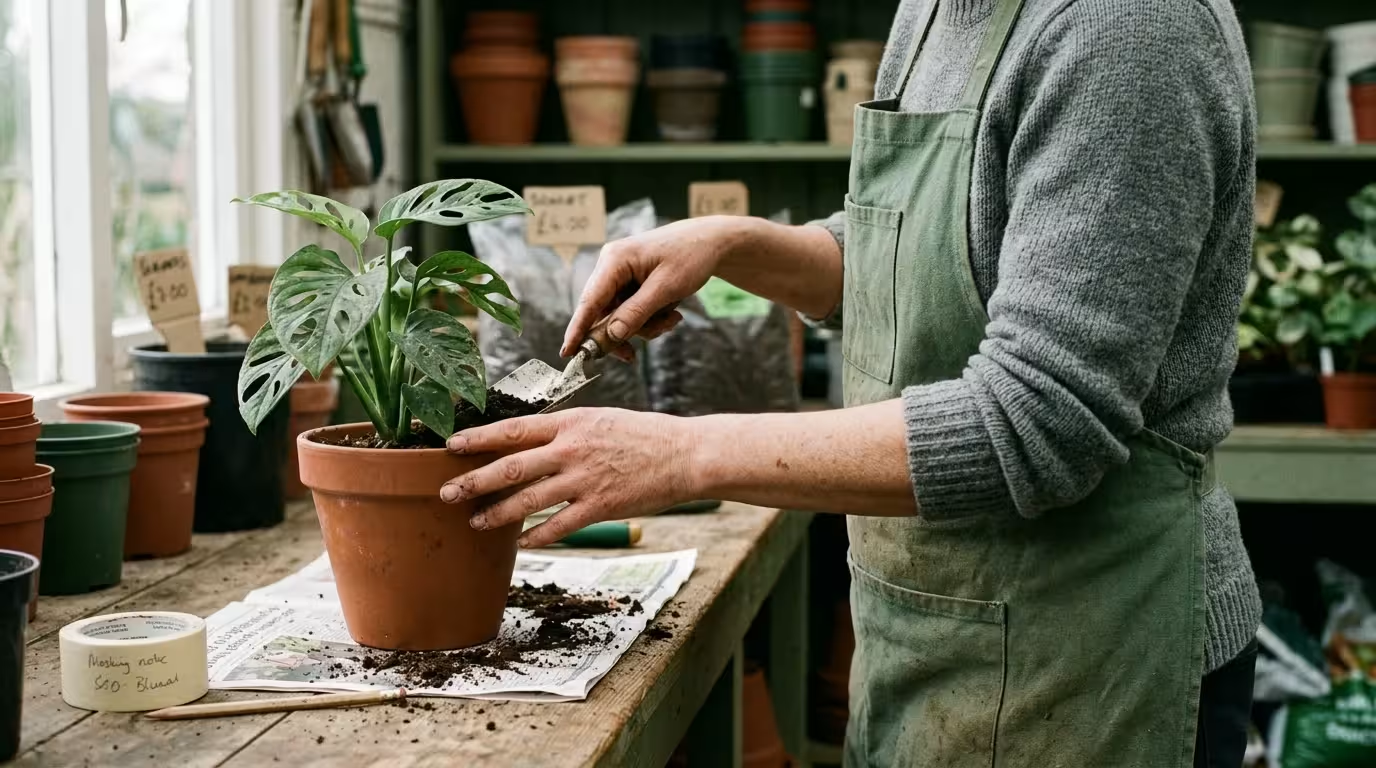
One of the most frequent mistakes nursery employees observe is customers attempting to repot a plant directly in the store—or demanding the staff do it for them immediately upon purchase.
Shoppers often want to avoid the mess of soil in their small apartments, so they purchase a decorative ceramic pot and attempt to transfer the plant before checking out. You should absolutely avoid doing this.
When a houseplant travels from a humid, climate-controlled commercial greenhouse to a retail store, it already experiences significant environmental stress. Forcing that plant out of its established soil compounds this stress, leading directly to a condition known as transplant shock.
Transplant shock occurs when a plant’s fine, microscopic root hairs suffer damage during the transition. These tiny hairs absorb the vast majority of the water and nutrients the plant needs to survive.
Ripping the plant from its nursery pot severs these delicate structures.
When you subsequently move the freshly repotted plant into a drafty car and then into your home, the overlapping stressors often cause the plant to drop its leaves, halt all new growth, or completely collapse.
Instead of repotting immediately, utilize the cachepot method. A cachepot is simply a decorative outer container with no drainage holes.
You take the plant home in its original plastic nursery pot and slide that entire pot directly into the decorative cachepot. This method offers incredible benefits for small-space gardeners.
It contains any mess, prevents water from leaking onto your apartment furniture, and allows you to easily lift the inner plastic pot out to water the plant in your sink.
You should allow your new plant to acclimate to the temperature, humidity, and lighting of your specific home for at least two to four weeks before you even consider repotting it into fresh soil.
Buying Plants Without Checking for Pests First
Nothing frustrates a plant store employee more than a customer bringing back a dead, pest-ridden plant two weeks after purchase—especially when a simple visual inspection could have prevented the issue entirely.
Greenhouses pack thousands of plants tightly together, creating an ideal breeding ground for common indoor pests. Even the most reputable boutique plant shops struggle to eradicate pests completely.
If you blindly grab a lush-looking pothos or fern off the shelf without inspecting it, you risk introducing highly contagious insects to your existing indoor garden.
This level of caution is also critical when bringing houseplants indoors for fall to prevent outdoor pests from hitchhiking into your living space.
Implementing a strict new plant quarantine protocol is the most reliable way to prevent accidental infestations from spreading to your healthy collection.
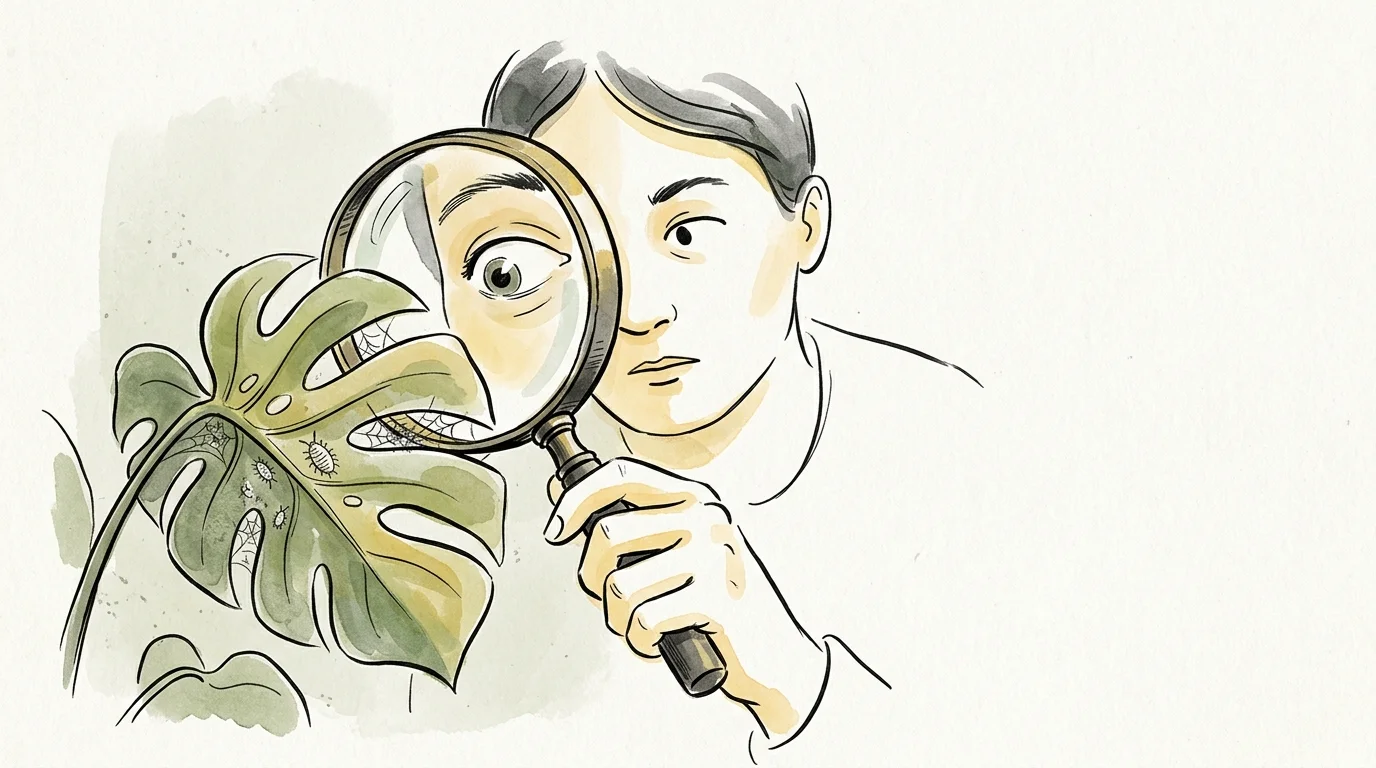
You must scrutinize every plant you intend to buy. Start by holding the leaves up to the light.
Look for tiny, moving specks or fine, silvery stippling on the top of the foliage, which often indicates spider mites.
Run your finger gently along the stems and the undersides of the leaves; if you feel sticky residue, you are likely dealing with honeydew—a sugary substance excreted by aphids or scale insects.
Finally, gently scratch the top half-inch of the soil to see if tiny black flies emerge. These are fungus gnats, and they thrive in the damp soil typical of retail nurseries.
To help you identify potential threats before you reach the checkout counter, use this quick reference guide to common plant store pests:
| Pest Name | Visual Identification | Where to Look on the Plant |
|---|---|---|
| Spider Mites | Tiny red or brown dots; fine webbing resembling miniature spider webs. | The undersides of leaves and where stems meet the main branch. |
| Mealybugs | Small, fuzzy, white cotton-like masses. | Nestled in the deepest crevices, leaf axils, and sometimes near the soil line. |
| Thrips | Slender, fast-moving black or yellow bugs; silvery streaks on foliage. | New growth areas and unfurling leaves. |
| Fungus Gnats | Tiny black flies hovering near the dirt; translucent larvae in the soil. | The surface of the soil and the drainage holes at the bottom of the pot. |
If you spot any of these signs, put the plant down immediately. Alert an employee so they can remove the infested plant from the sales floor, and thoroughly wash your hands before touching any other greenery in the store.
Ignoring Your Actual Light Conditions at Home
Buying a plant solely based on its aesthetics—without evaluating the environmental reality of your home—is a guaranteed recipe for failure.
Store employees constantly see shoppers purchasing sun-loving cacti or towering Birds of Paradise with the intention of placing them in windowless bathrooms or dark apartment hallways. Plants manufacture their own food through photosynthesis, and light is the essential fuel for that process.
Depriving a high-light plant of sunshine is quite literally starving it to death.
Mismatched lighting is just one of the common care mistakes that well-meaning plant parents make when trying to keep their greenery happy.
Before you ever set foot in a plant store, you must accurately assess the light levels in the specific spot where you plan to place your new addition. Gardening terminology defines light in three primary categories.
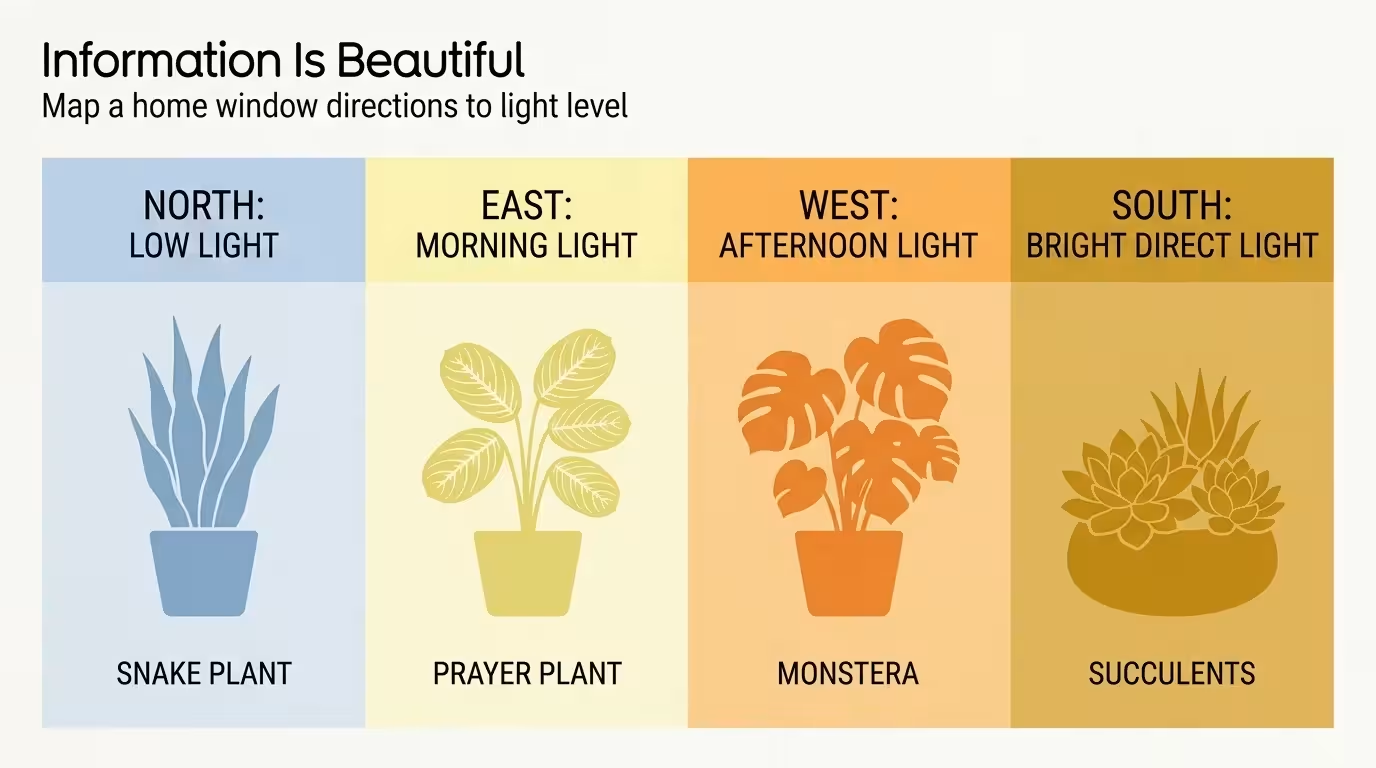
“Direct light” means the sun’s rays hit the plant’s leaves without any obstruction, typically found in unobstructed South- or West-facing windows.
“Bright indirect light” occurs when a plant sits near a sunny window but receives light diffused by a sheer curtain or the shade of an outdoor tree.
“Low light” environments are spaces located several feet away from windows, or rooms with North-facing windows that never receive direct sunbeams.
Perform the simple shadow test to understand your space. Hold your hand about twelve inches above the spot where the plant will sit during the brightest part of the day.
If your hand casts a sharp, highly defined shadow, you have bright light. If the shadow has soft, blurry edges, you have medium or indirect light.
If you can barely see a shadow at all, you are dealing with low light. Armed with this concrete data, you can read the care tags on the nursery pots and select a species that matches your apartment’s natural ecosystem.
If you only have low light, skip the Ficus trees and opt for resilient alternatives like the ZZ Plant (Zamioculcas zamiifolia) or the Cast Iron Plant (Aspidistra elatior).
Overlooking the Roots and the Drainage Situation
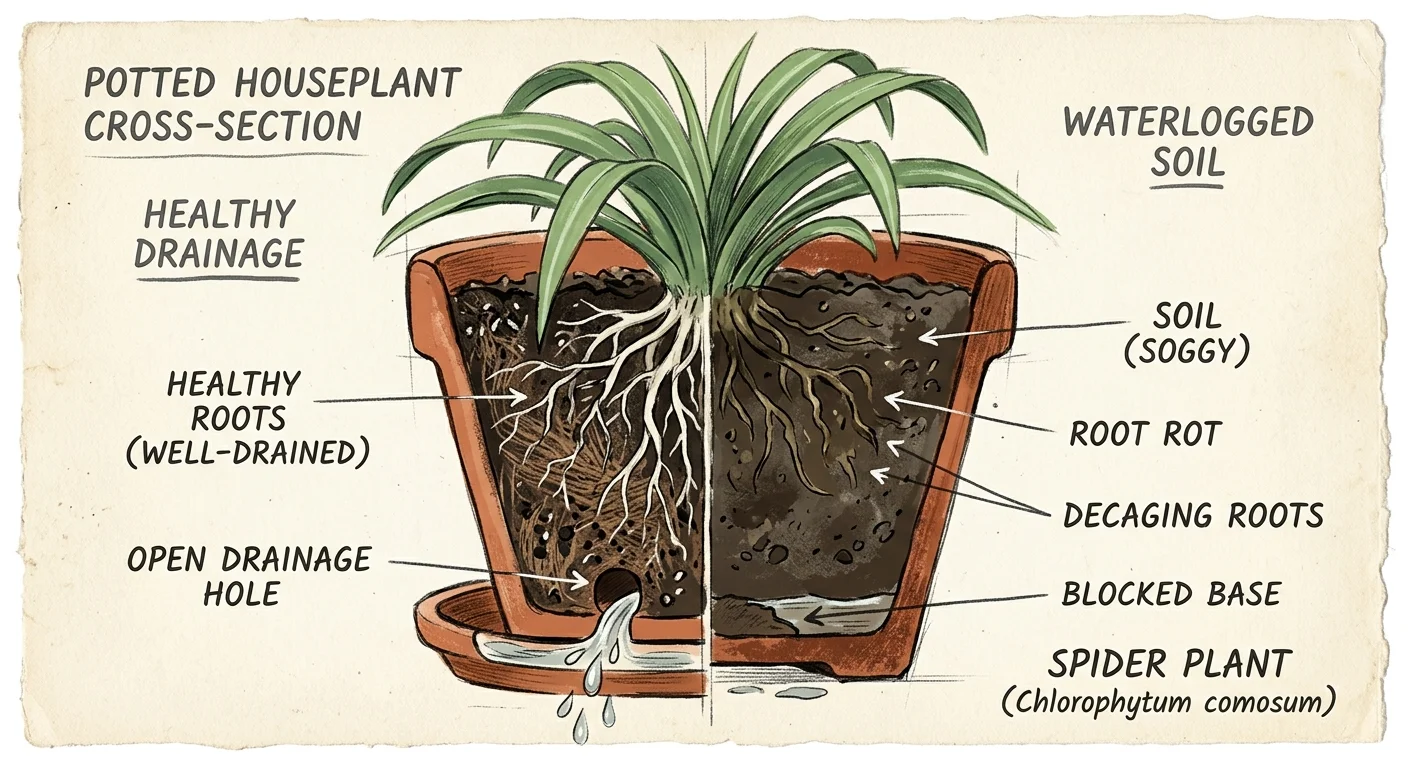
While lush, vibrant leaves attract your attention, the true indicator of a plant’s health lies beneath the soil. Many beginners purchase a houseplant based solely on its foliage, completely ignoring the root system and the pot’s drainage capacity.
In horticultural terms, drainage refers to how efficiently water moves through the soil profile and exits the container. Proper drainage pulls essential oxygen down to the root zone as the water drains away.
Without drainage, water pools at the bottom of the pot, suffocating the roots and creating a toxic, anaerobic environment that leads to root rot.
Inspecting the root system of a new plant is similar to performing a routine houseplant health check during the winter to assess overall vitality.
When shopping, you should never assume the plant in the decorative pot has proper drainage. Gently lift the plastic nursery pot to inspect its base.
If you see roots tightly circling the bottom or aggressively bursting through the drainage holes, the plant is severely root-bound. While some plants tolerate tight quarters, a massively root-bound plant will struggle to absorb water because the pot contains more roots than soil.
When you water a root-bound plant, the liquid often rushes down the sides of the container and out the bottom without ever soaking into the root ball.
Furthermore, smell the soil. Healthy soil emits a rich, earthy scent reminiscent of a forest floor after a rainstorm.
If you detect a foul, swampy, or sulfurous odor, the plant is likely suffering from advanced root rot caused by chronic overwatering at the store. Put the plant back on the shelf.
You want to choose specimens with firm, white or tan roots visible just at the very bottom of the drainage holes, indicating robust health and proper moisture management.
Mishandling Delicate Foliage Just to Check Growth
Plant store employees cringe when they see customers aggressively handling the merchandise. In their excitement to examine a potential purchase, shoppers often rub velvety leaves, unroll new growth, or violently shake stems to check for sturdiness.
This tactile approach causes microscopic—and sometimes macroscopic—damage to the plant’s delicate anatomical structures.
Instead of touching delicate leaves, learn how to clean your houseplant leaves safely once they are in your home to support their growth.
Gentle physical handling is key, as trying to force growth or intervene too much can be as damaging as using harmful houseplant hacks that disrupt your plant’s natural lifecycle.
Many popular indoor plants, particularly succulents like Echeveria and certain varieties of Kalanchoe, possess a powdery white coating on their leaves called epicuticular wax, or farina.
This waxy layer acts as a natural sunscreen, preventing the plant from burning under intense light, and it severely limits water loss through transpiration. When you run your fingers across these leaves, the natural oils on your skin strip away this protective wax.
The plant cannot regenerate farina on existing leaves, leaving those touched areas permanently scarred and vulnerable to sunburn.
Similarly, forcing a new leaf to unroll before it is ready will severely damage the delicate cellular tissue. Plants like Monsteras and Calatheas tightly coil their new leaves to protect them as they develop.
Manually pulling these leaves apart tears the tissue, resulting in a permanently deformed, brown-edged leaf once it finally matures. To properly examine a plant in a store, you should gently support the plastic nursery pot from the base and rotate the entire container.
If you need to check the undersides of the leaves for pests, use a single finger to gently lift the tip of a mature leaf, avoiding any friction against the surface.
Purchasing Distressed Plants Hoping You Can Save Them
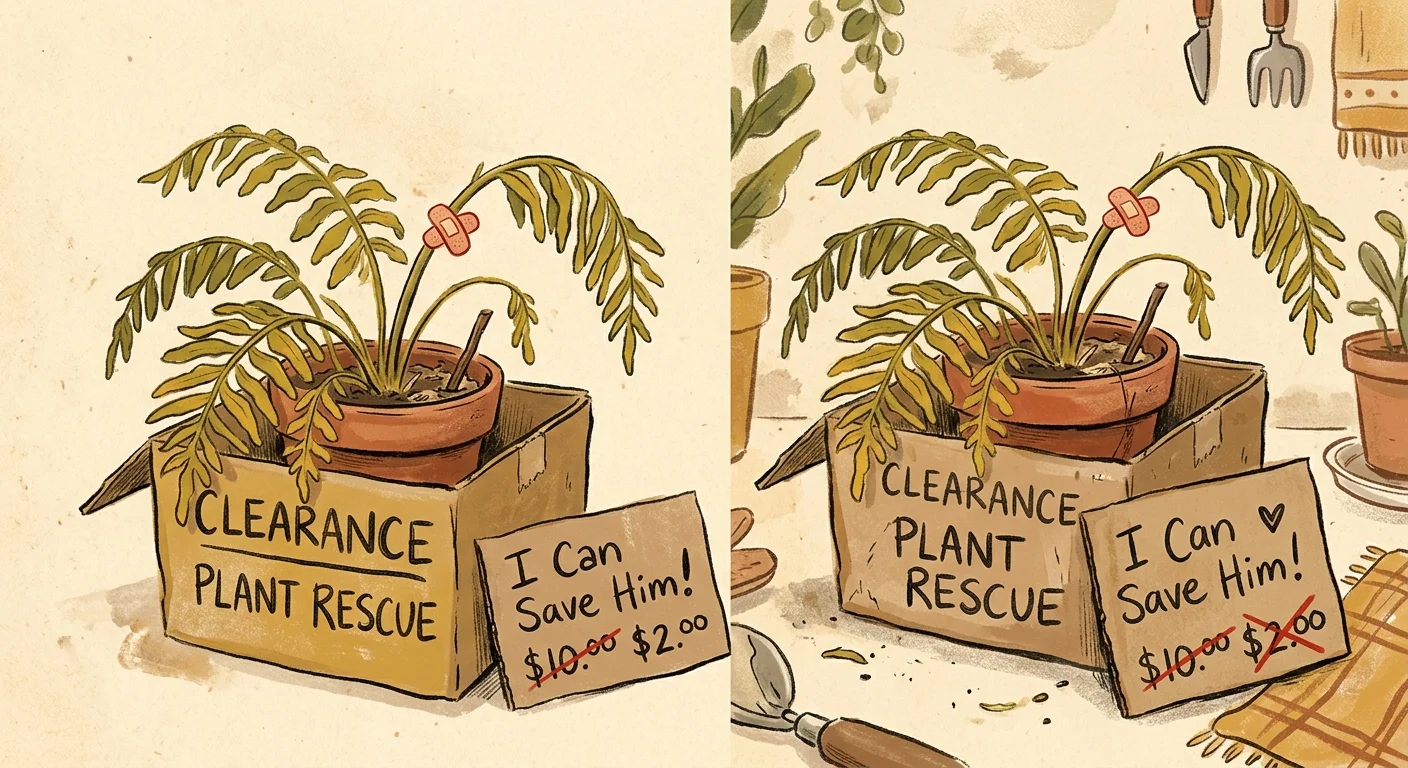
The clearance rack at the back of the nursery constantly tempts empathetic gardeners.
You see a wilting, yellowing Alocasia marked down by seventy percent, and the “plant savior” instinct kicks in. However, buying highly distressed plants is one of the most common traps beginners fall into.
You should never buy a dying plant hoping to rehabilitate it, especially if you have limited space at home.
While keeping a healthy plant flourishing can be simplified with a comprehensive indoor plant survival guide, nursing a dying specimen back to health is a much steeper uphill battle.
A severely distressed plant requires significant investments of time, specialized soils, targeted fertilizers, and chemical treatments to recover. The financial cost of saving a five-dollar clearance plant often exceeds the cost of simply buying a healthy twenty-dollar specimen.
More importantly, heavily stressed plants possess compromised immune systems, making them absolute magnets for pests and fungal diseases. When you bring a sick plant into a small apartment or a crowded balcony garden, you cannot physically isolate it far enough away from your healthy plants.
The pests or pathogens afflicting the clearance plant will rapidly spread to your pristine, established collection.
Leave the rehabilitation projects to highly experienced horticulturalists who have dedicated, physically separated quarantine rooms. As a practical gardener, your goal is to curate a low-maintenance, joyful space.
You achieve this by selecting robust, vibrant specimens showing vigorous new growth and sturdy stems. If a plant exhibits entirely shriveled bases, completely black stems, or widespread yellowing across all lower leaves, it has likely crossed the point of no return.
Save your money and protect your existing indoor garden by passing it by.
Leaving the Store Without Asking Essential Care Questions
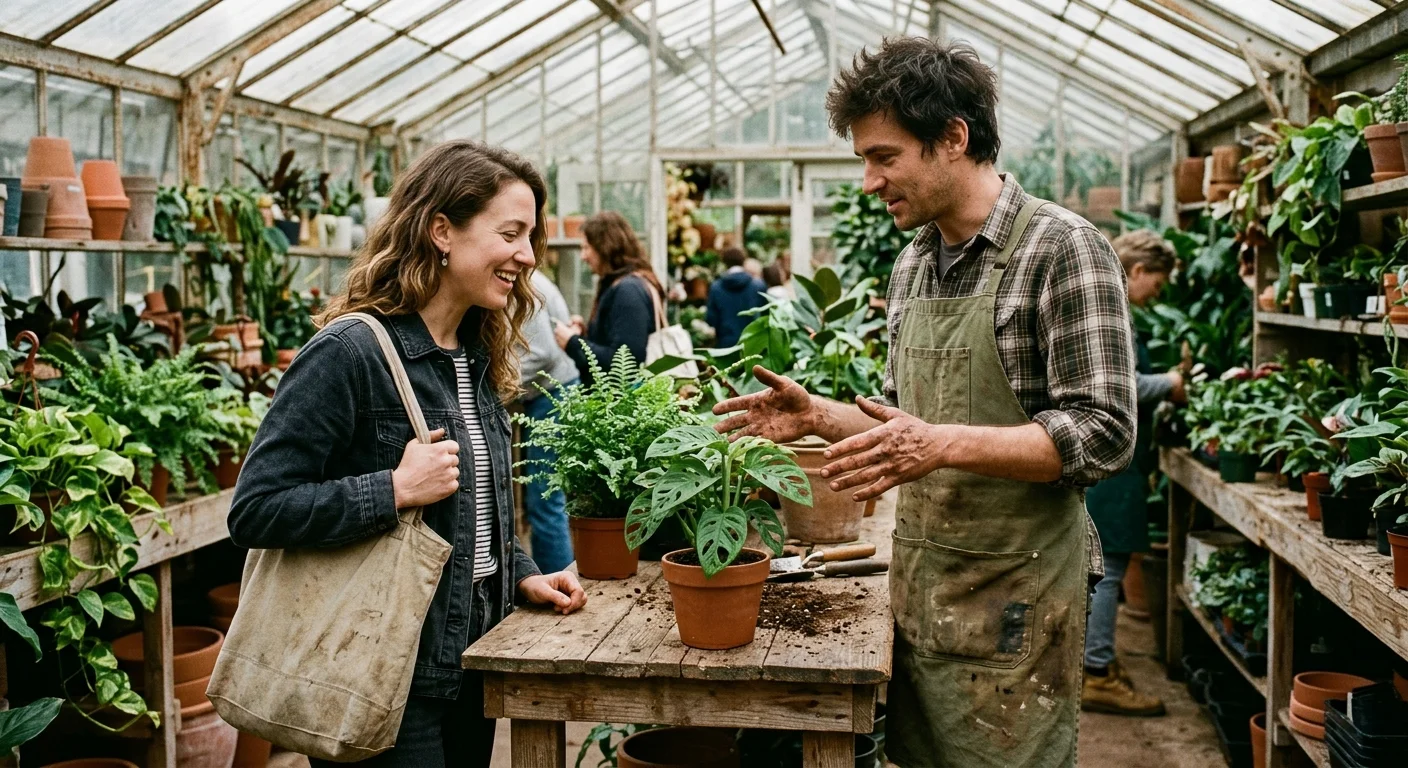
Independent plant stores and local nurseries employ knowledgeable staff who understand the specific history of the inventory. Yet, many shoppers treat the checkout process exactly like buying groceries—they pay and leave without speaking a word.
You should always leverage the expertise of the staff before you walk out the door. The transition from the store to your home dictates the plant’s survival, and gathering data ensures you make that transition as smooth as possible.
First, ask the employee when the plant was last watered. Overwatering a plant on its first day in your home is a primary cause of rapid decline.
If the nursery watered the plant that morning, you know you can safely ignore it for at least a week while it acclimates. Next, ask about the specific soil composition in the pot.
Commercial growers often use heavy peat-based mixtures designed to retain water during long shipping routes. Knowing this tells you that the soil will dry out much slower in your apartment than a standard chunky potting mix, requiring you to adjust your watering frequency accordingly.
Finally, ask if the nursery treats their plants with systemic pesticides or beneficial insects.
If they use beneficial insects (like predatory mites), you absolutely should not spray the plant with neem oil or insecticidal soap when you get home, as you will kill the helpful bugs protecting your plant.
Gathering this specific, actionable information takes only two minutes but drastically increases your chances of keeping the plant alive during its critical first month in your care.
Sustainable Plant Shopping Practices for Small Spaces
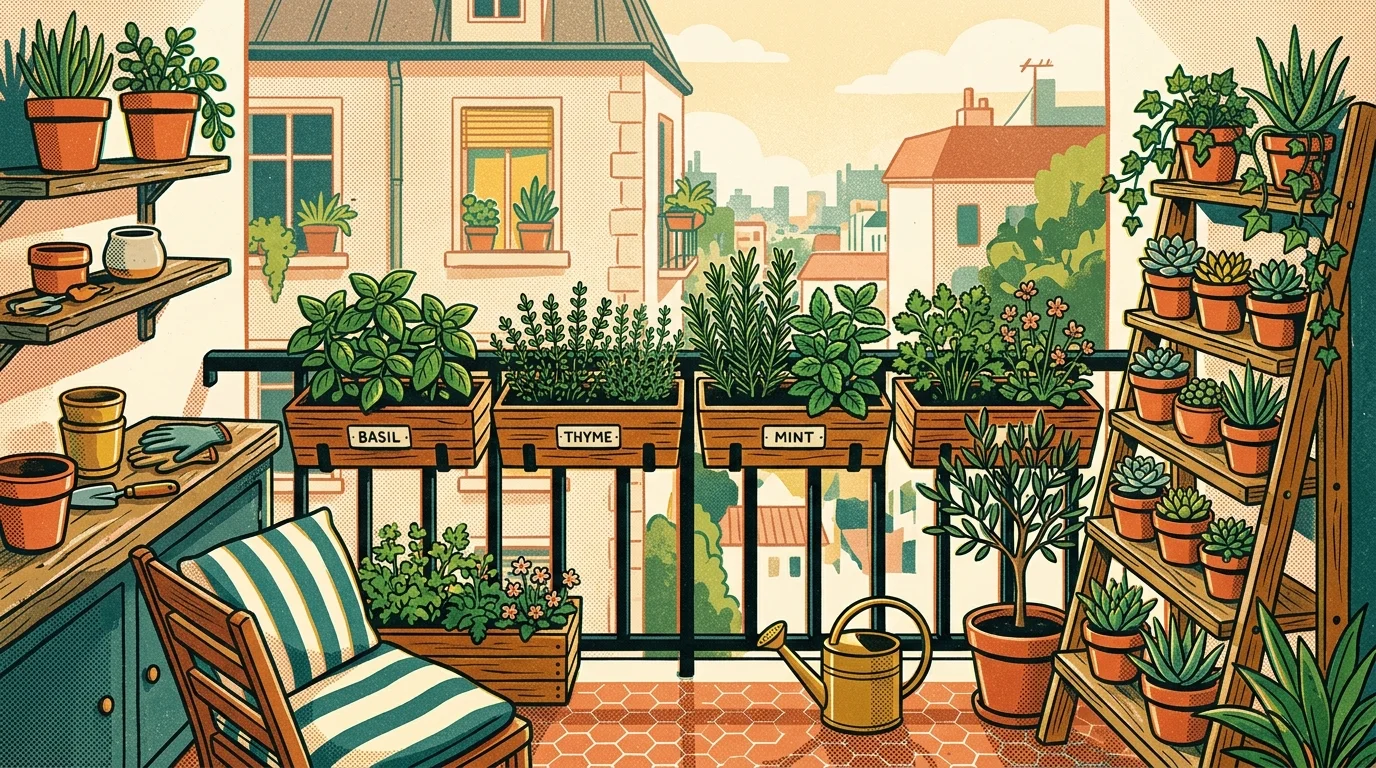
Cultivating an indoor garden connects you with nature, but the houseplant industry relies heavily on single-use plastics and environmentally destructive harvesting practices. As a responsible gardener, you should avoid supporting unsustainable habits while shopping.
The most immediate change you can make involves the plastic packaging. Cashiers often attempt to slide your new purchase into a disposable plastic sleeve to protect your car.
Politely decline these sleeves. Instead, bring your own reusable canvas totes or a sturdy cardboard box lined with an old towel to safely transport your greenery.
You should also pay close attention to the potting medium you purchase alongside your plants. Historically, the industry has relied heavily on peat moss.
However, harvesting peat destroys natural bogs, which act as vital carbon sinks for the planet. While shopping, actively seek out and purchase peat-free potting soils.
Look for blends utilizing coconut coir, rice hulls, or sustainable composts. These alternatives provide excellent moisture retention and drainage for indoor containers without the massive environmental footprint.
Lastly, consider the lifecycle of the ubiquitous thin black plastic nursery pots. Many municipal recycling programs cannot process this specific type of plastic due to its color and chemical composition.
Instead of throwing them in the trash when you eventually repot your plants, ask your local nursery if they feature a take-back program.
Many independent shops eagerly accept clean, used nursery pots to sanitize and reuse for their own propagation projects, keeping unnecessary waste out of local landfills.
Frequently Asked Questions
How long should I quarantine a new houseplant in a small apartment?
You should quarantine any new houseplant for a minimum of fourteen to twenty-one days. This timeframe covers the incubation period for most common indoor pests, allowing unhatched eggs hidden in the soil or leaf axils to emerge where you can see them.
In a small apartment, create a temporary isolation zone in a separate room, such as a well-lit bathroom.
If you lack multiple rooms, you can place a large, clear plastic storage bag loosely over the new plant to create a physical barrier that prevents pests from jumping to your established collection.
Can I safely return a dying plant to the nursery?
Return policies vary drastically between big-box hardware stores and independent boutiques. Large retail chains often offer a generous one-year return policy on tropical houseplants, allowing you to return them even if they die.
However, independent plant shops typically offer zero returns on live goods once they leave the premises, as they cannot control the light, water, or temperatures the plant experiences in your home.
You should always ask the cashier to clarify the shop’s specific live-plant return policy before completing your purchase.
Should I water a new plant the exact same day I bring it home?
Generally, you should not water a new plant immediately upon bringing it home. Nurseries typically adhere to strict watering schedules, and the soil is usually adequately moist at the time of purchase.
Sticking your finger roughly two inches down into the soil will give you an accurate reading. If the soil feels damp or cool to the touch, leave the plant alone.
Forcing extra water into the pot while the plant is dealing with relocation stress frequently triggers rapid root rot.
What size pot should I buy if I plan to repot the plant later?
When selecting a new pot for future use, you must follow the rule of incremental sizing. You should only purchase a container that is one to two inches wider in diameter than the plant’s current nursery pot.
If you place a small root system into a massive container, the excess soil holds too much water, taking weeks to dry out. This prolonged moisture suffocates the roots.
Upsizing gradually ensures the plant can quickly absorb the moisture in the soil, promoting vigorous and healthy growth in your small space.
For trustworthy gardening information, visit:
International Society for Horticultural Science (ISHS), Plantlife (UK) and Botanical Society of America. These organizations provide expert, research-based advice for gardeners at all levels.
Disclaimer: This article is for informational purposes only and is not a substitute for professional gardening advice. Always consult local extension services or horticulture experts for region-specific guidance.