
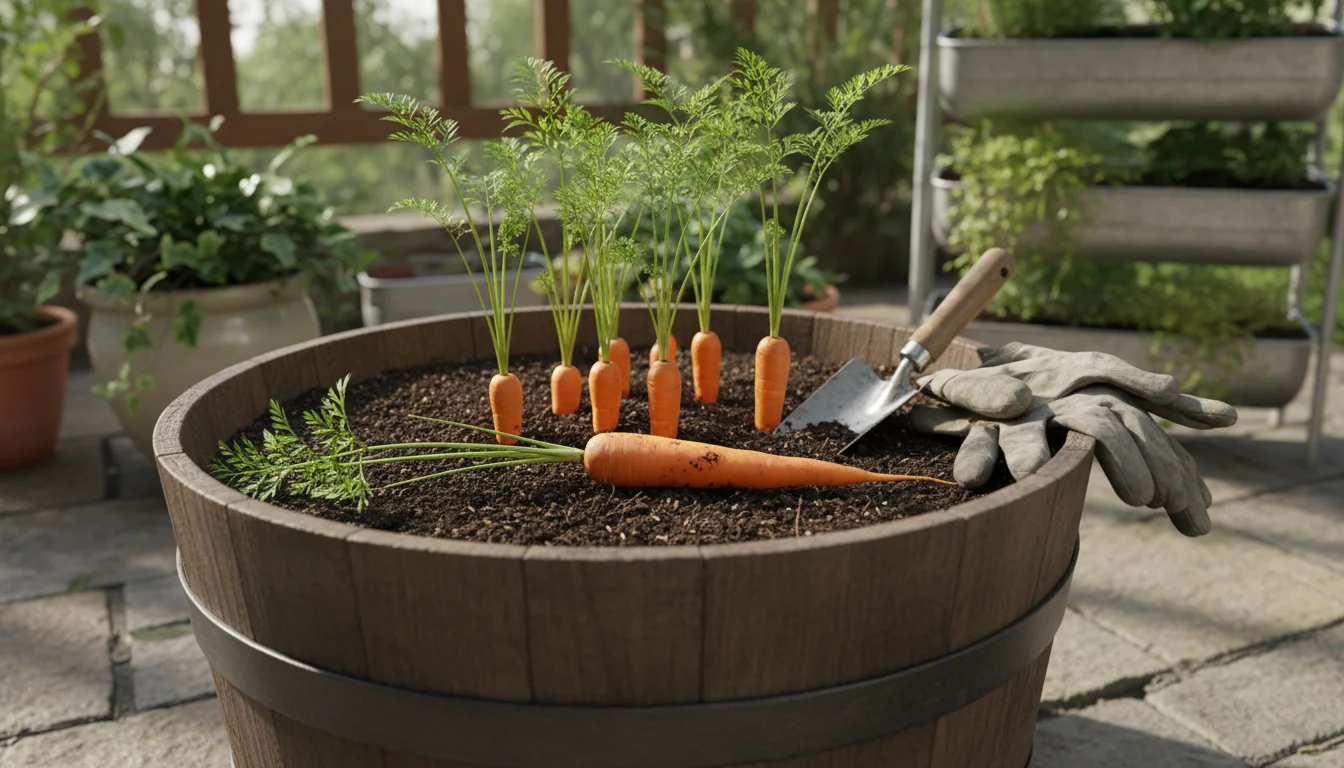
Imagine pulling vibrant, sweet carrots from a pot on your balcony or patio, their earthy scent filling the crisp autumn air. Growing fall carrots in containers offers an incredibly rewarding experience for small-space gardeners.
You do not need a sprawling garden to enjoy fresh, homegrown produce. With a deep pot and a bit of know-how, you can achieve a bountiful harvest right outside your door.
This guide provides all the practical, actionable insights you need to grow crunchy, flavorful carrots this fall, even if you are new to gardening.
Contents9 sections
- Why Fall Carrots Are Your Balcony’s Best Secret
- Choosing Your Deep Dive Container: Size and Material Matter
- Selecting the Perfect Carrot Varieties for Pot Success
- Crafting the Ideal Home: Soil Mix for Container Carrots
- Planting Carrots in Pots: Step-by-Step for Autumn Sowing
- Nurturing Your Underground Treasure: Care and Maintenance
- Harvesting Your Sweet Success: Knowing When to Pull
- Troubleshooting Common Container Carrot Challenges
- Frequently Asked Questions
Why Fall Carrots Are Your Balcony’s Best Secret
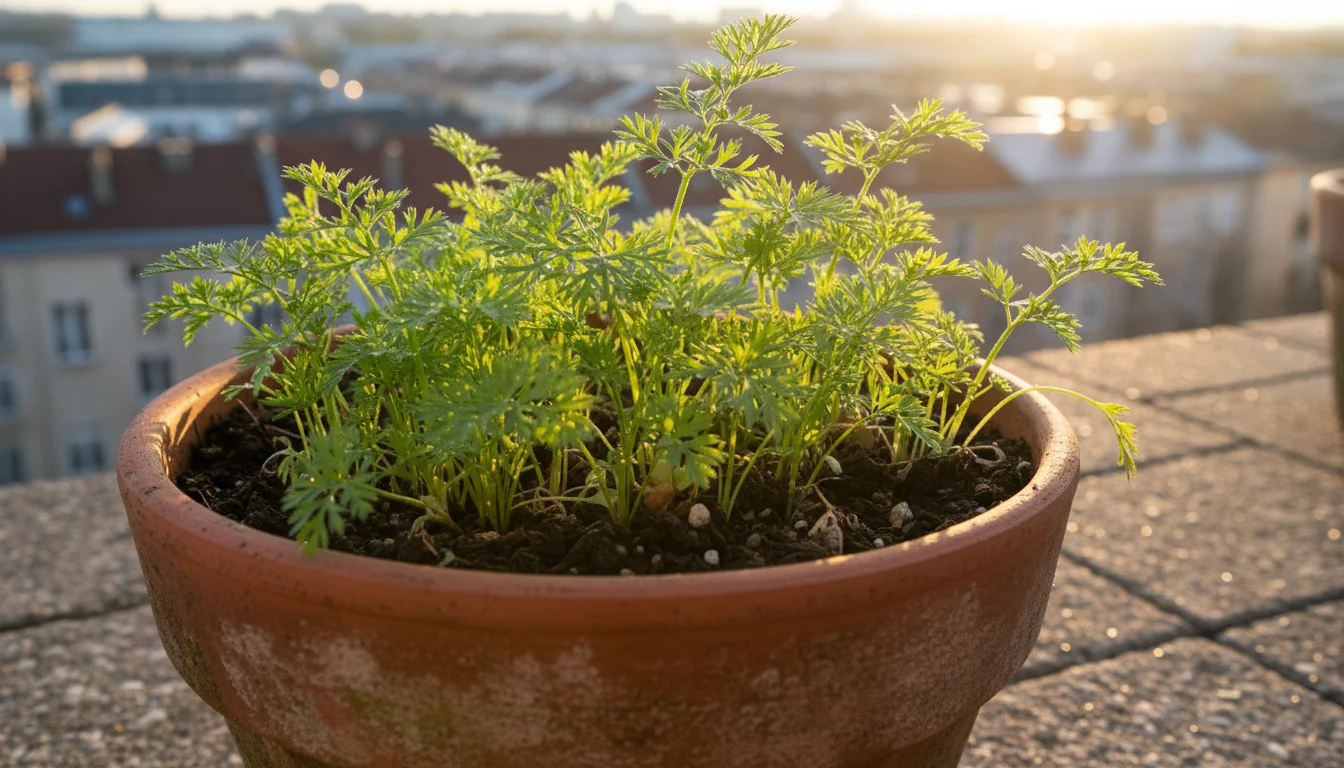
Fall presents an often-overlooked opportunity for growing carrots, especially for gardeners working with limited space. When you plant carrots in autumn, you unlock several distinct advantages that make your gardening journey simpler and more successful.
Understanding these benefits helps you maximize your yield and enjoy tastier results.
Superior Flavor and Texture
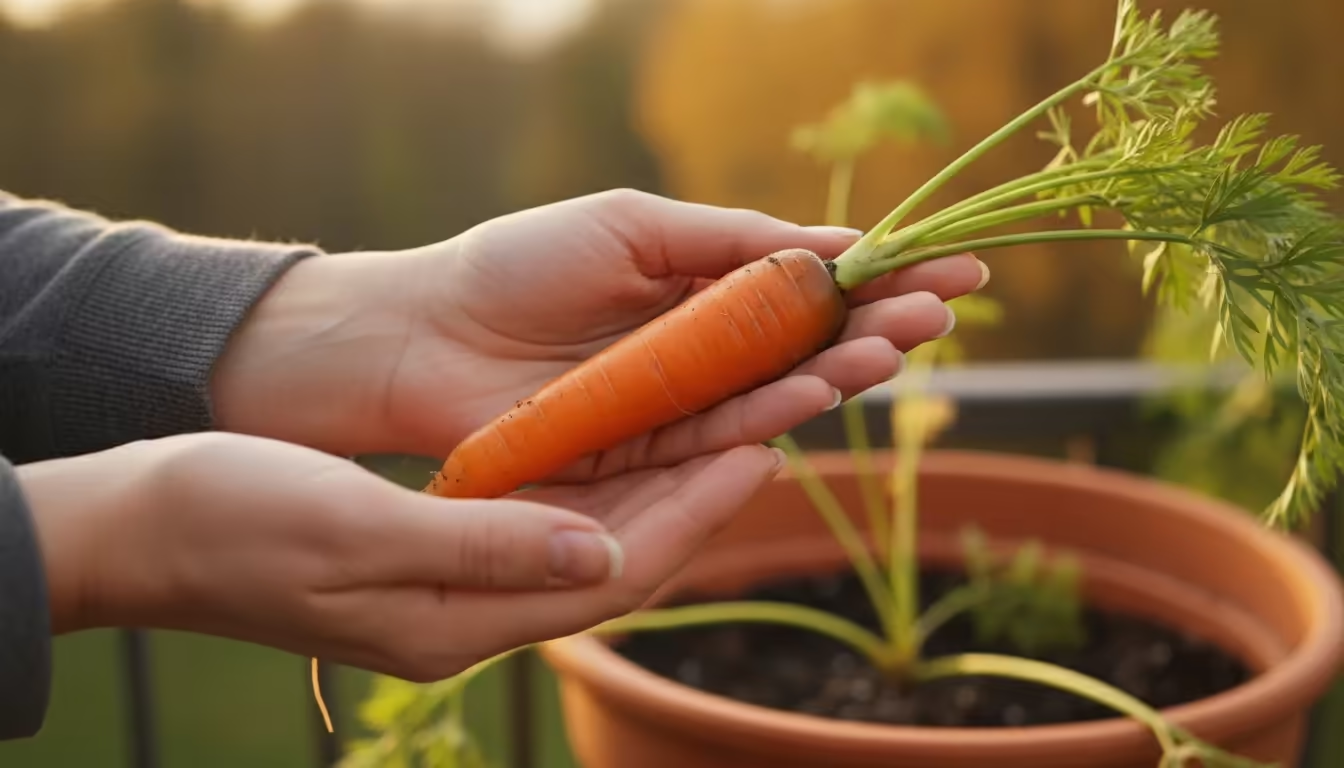
Cooler fall temperatures significantly enhance the flavor profile of carrots. As the days shorten and nights grow chillier, carrots respond by converting starches into sugars.
This natural process yields a sweeter, more tender carrot than those grown in the heat of summer. You will notice a remarkable difference in taste, making your homegrown fall carrots a culinary delight.
Many experienced gardeners consider fall carrots the best-tasting of the year due to this cold-induced sweetness.
Reduced Pest Pressure
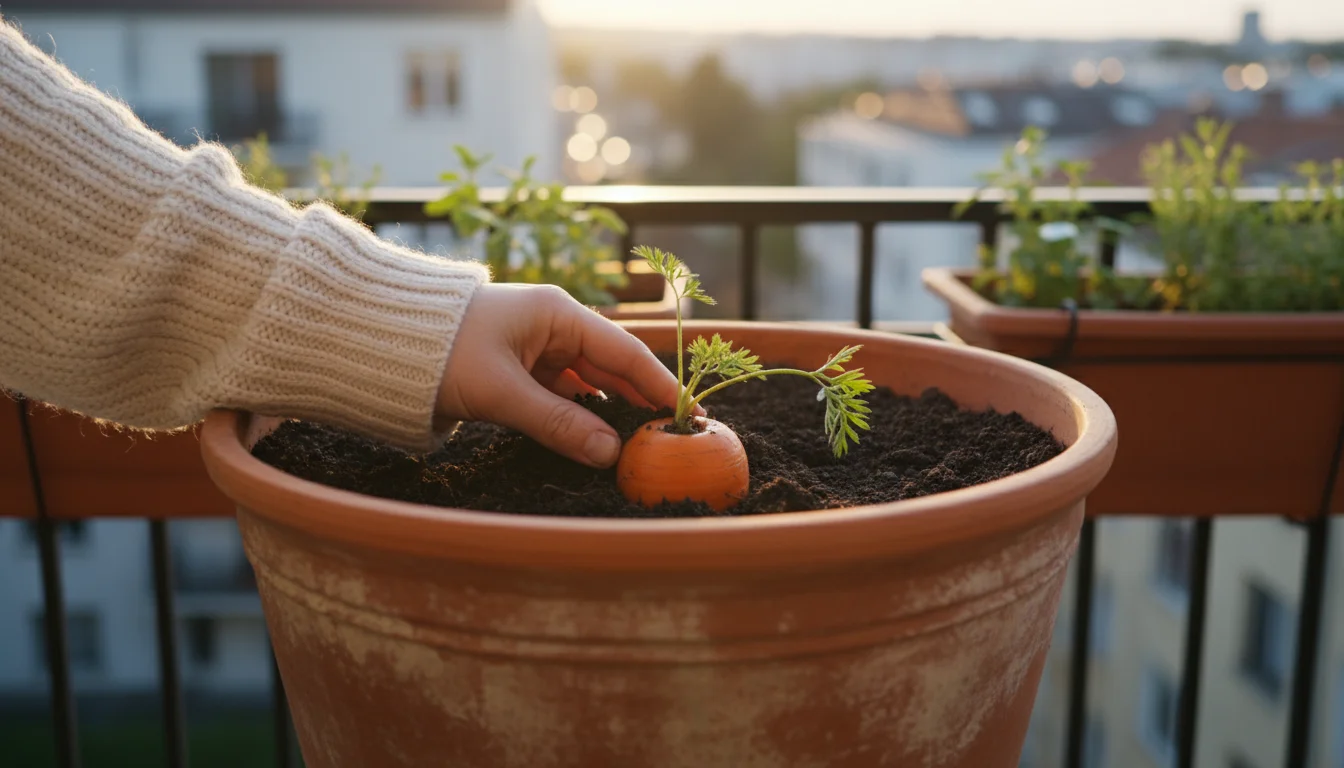
Spring and summer gardens often battle a relentless onslaught of pests. Insects like the carrot rust fly, which can devastate an early crop, are less active or absent during the cooler fall months.
By shifting your planting schedule, you naturally reduce the likelihood of severe pest infestations. This means less vigilance required from you and a higher chance of a pristine, unblemished harvest.
Fewer pests also translate to less need for intervention, aligning perfectly with low-maintenance gardening principles.
Ideal Growing Conditions
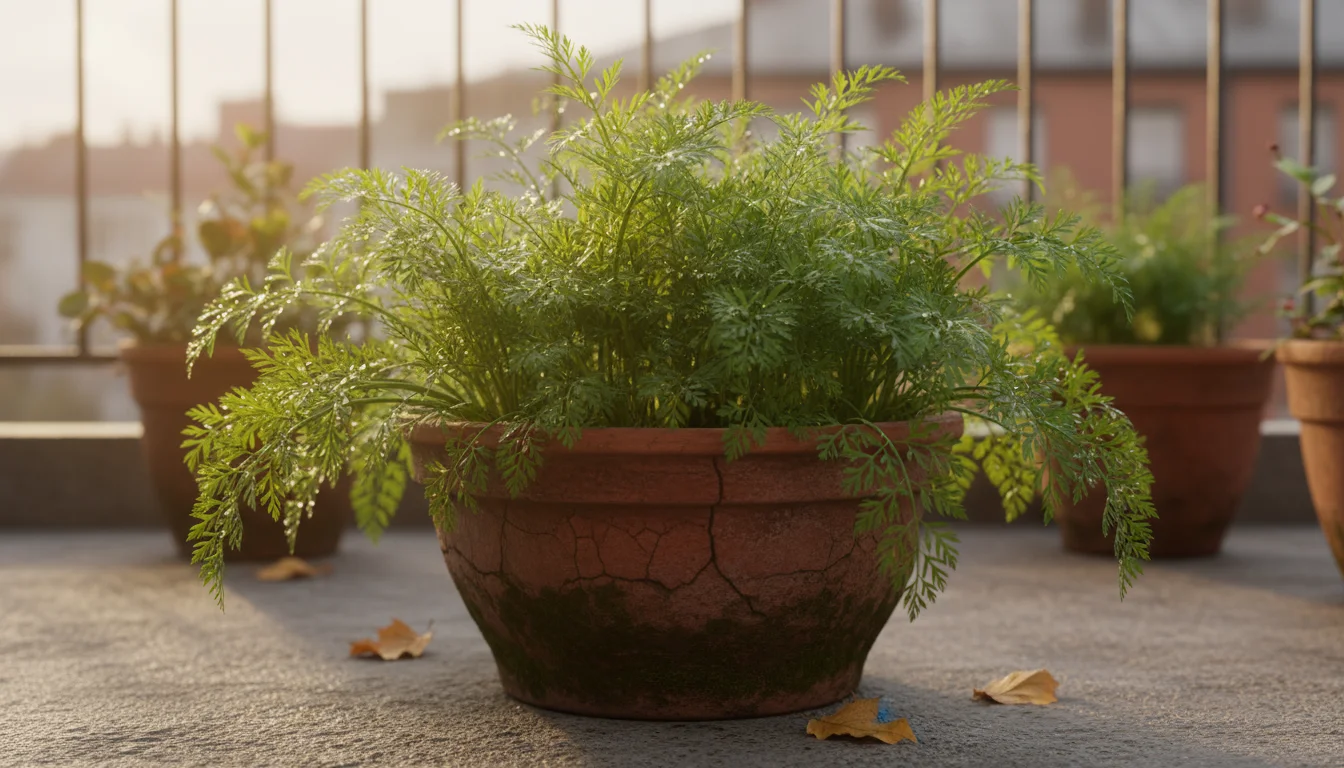
Carrots thrive in soil temperatures between 50 and 75 degrees Fahrenheit (10-24 degrees Celsius). While spring can offer this, summer often pushes temperatures too high, causing carrots to become bitter or woody.
Fall planting, however, perfectly aligns with these ideal conditions. The soil gradually cools, providing a stable, comfortable environment for root development.
Consistent moisture, often more readily available in autumn due to increased rainfall and less intense evaporation, further supports healthy growth. These optimal conditions create strong, uniformly sized roots, offering a consistent and abundant harvest from your fall container vegetables.
Extending Your Growing Season
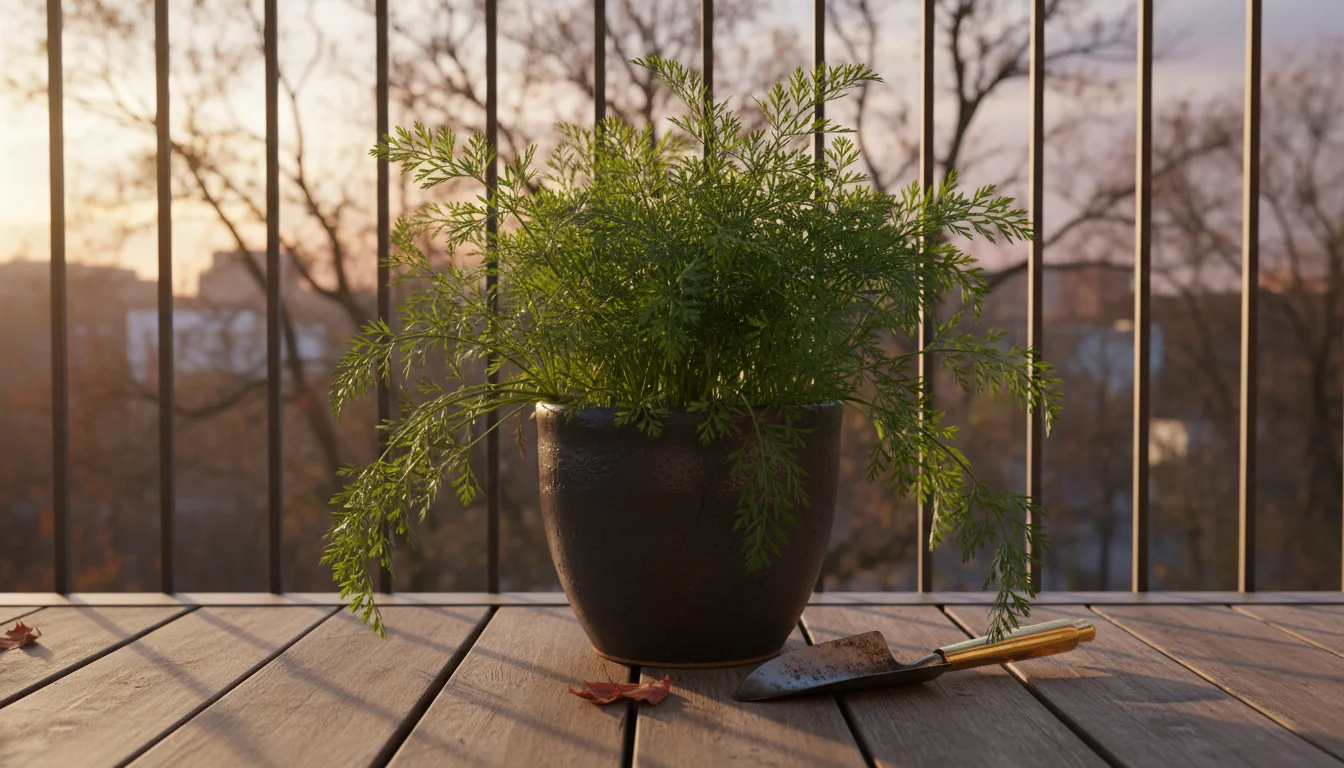
Fall gardening allows you to extend your enjoyment of fresh produce well beyond the traditional summer season. For many regions, planting carrots in pots in autumn means you can be harvesting fresh vegetables into late fall or even early winter, depending on your local climate.
This not only provides you with fresh food for longer but also maximizes the productivity of your balcony or patio space. Think of it as getting a second, often better, growing season out of your container setup.
Adding a simple balcony cold frame over your container can trap ambient warmth and protect your roots well past the first hard freeze.
Embracing fall carrot cultivation is a smart move for any small-space gardener. It promises superior flavor, reduces common gardening headaches, and extends your harvest window, truly making your balcony a year-round productive oasis.
Choosing Your Deep Dive Container: Size and Material Matter
The success of your container carrots hinges significantly on your choice of pot. Carrots are root vegetables, meaning their edible part grows beneath the soil.
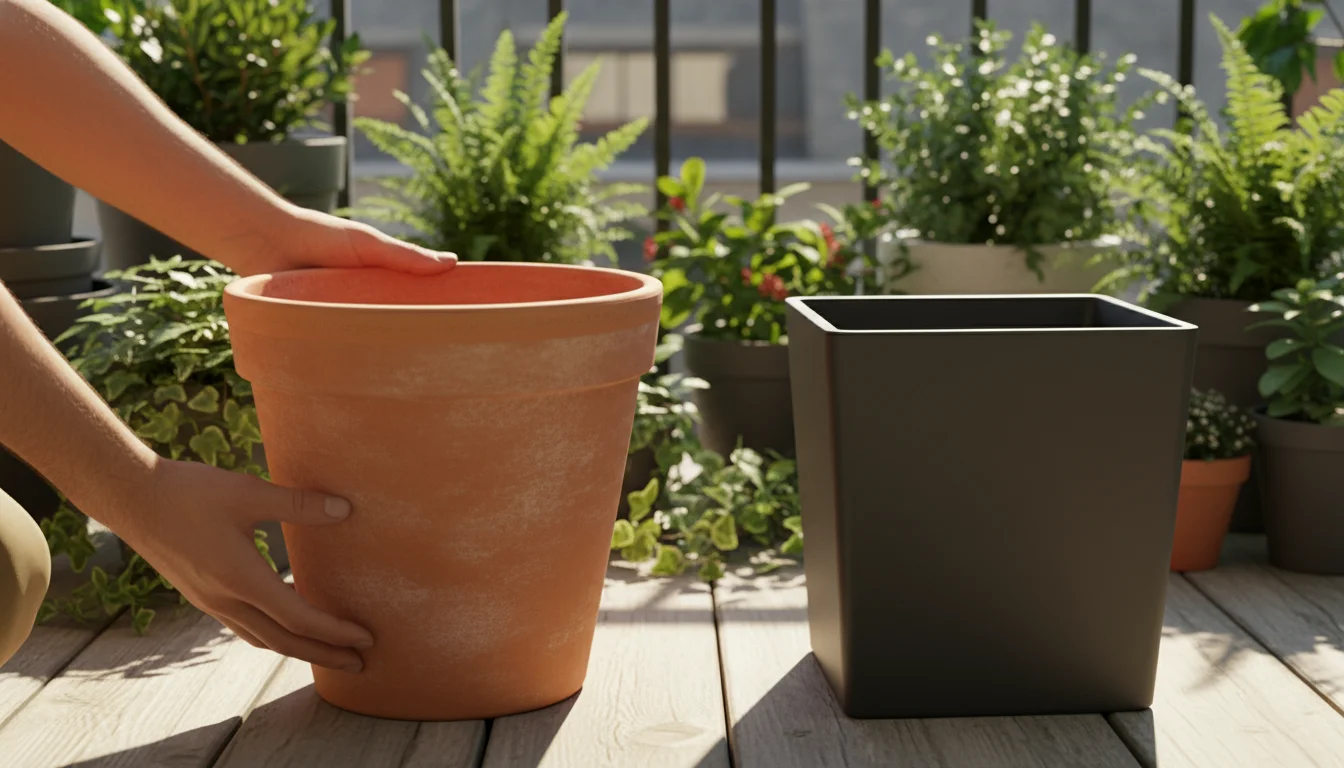
Providing adequate space for this development is paramount. When considering deep pot gardening for carrots, focus on both the dimensions and the material of your chosen container.
Selecting the right pot addresses the crucial question: how deep does a pot need to be for carrots?
Minimum Depth Requirements
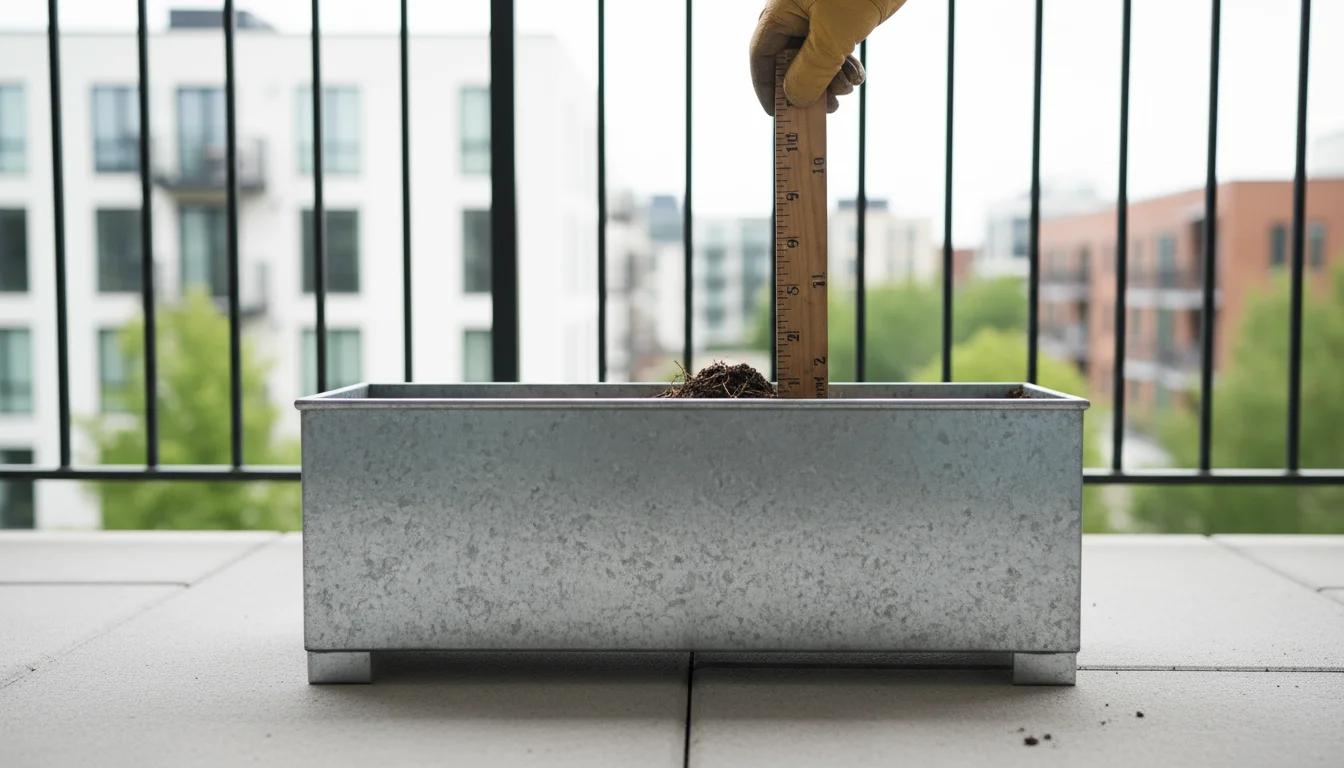
For most standard carrot varieties, a minimum depth of 12 inches (30 cm) is essential. However, to truly allow for robust root development and prevent stunting or forking, a depth of 15-18 inches (38-45 cm) is even better.
This extra depth gives the taproot ample room to grow straight and long, resulting in well-formed, uniform carrots. Remember, the depth of the pot directly dictates the potential length of your harvest.
While some short, “Paris Market” type carrots can manage in 8-10 inches, focusing on deeper containers gives you more flexibility and better results for most common varieties.
Width and Drainage
Beyond depth, consider the width of your container. A wider pot allows you to plant more carrots, maximizing your yield per container.
A minimum width of 10-12 inches (25-30 cm) is practical, but larger is always better for maximizing your planting space. Good drainage is also non-negotiable.
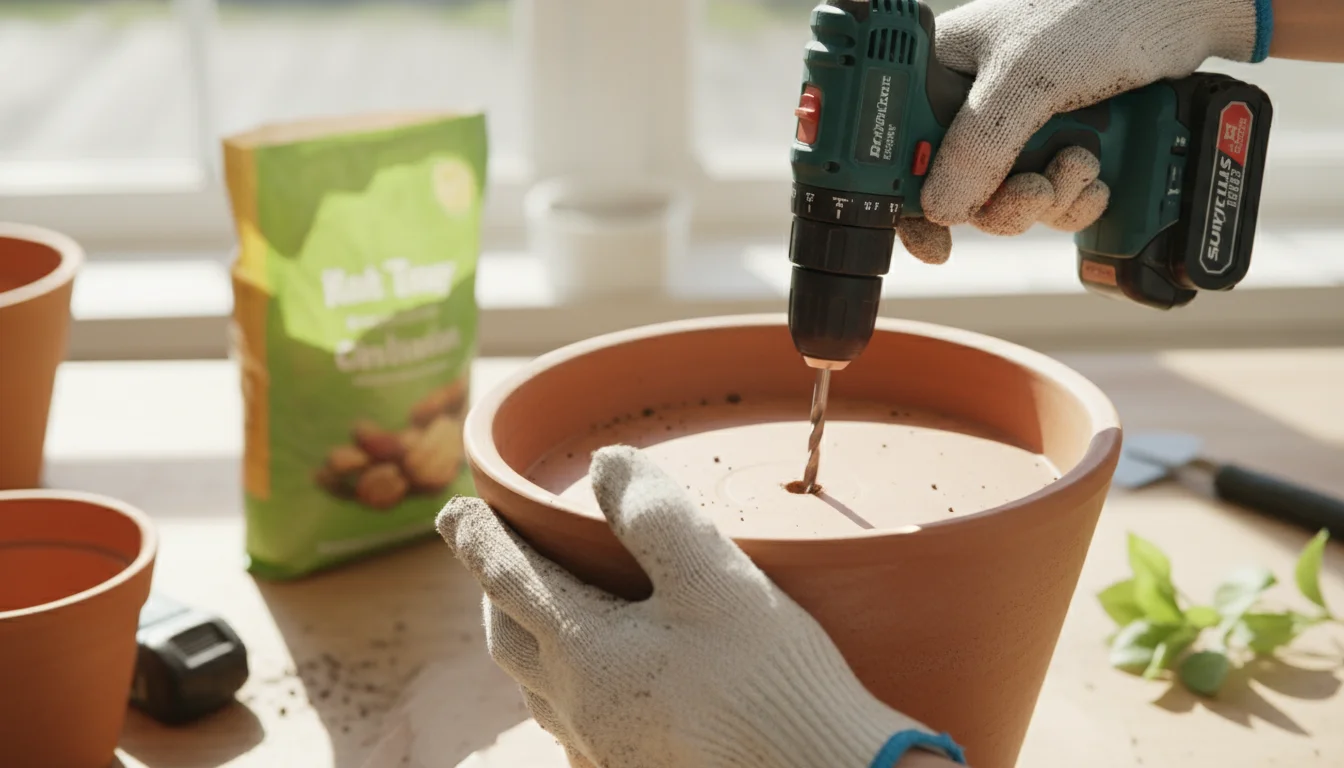
Carrots hate soggy feet. Ensure your chosen pot has multiple drainage holes at the bottom.
If it only has one small hole, you might need to drill a few more to prevent waterlogging, which can lead to root rot and other issues.
Container Material Options
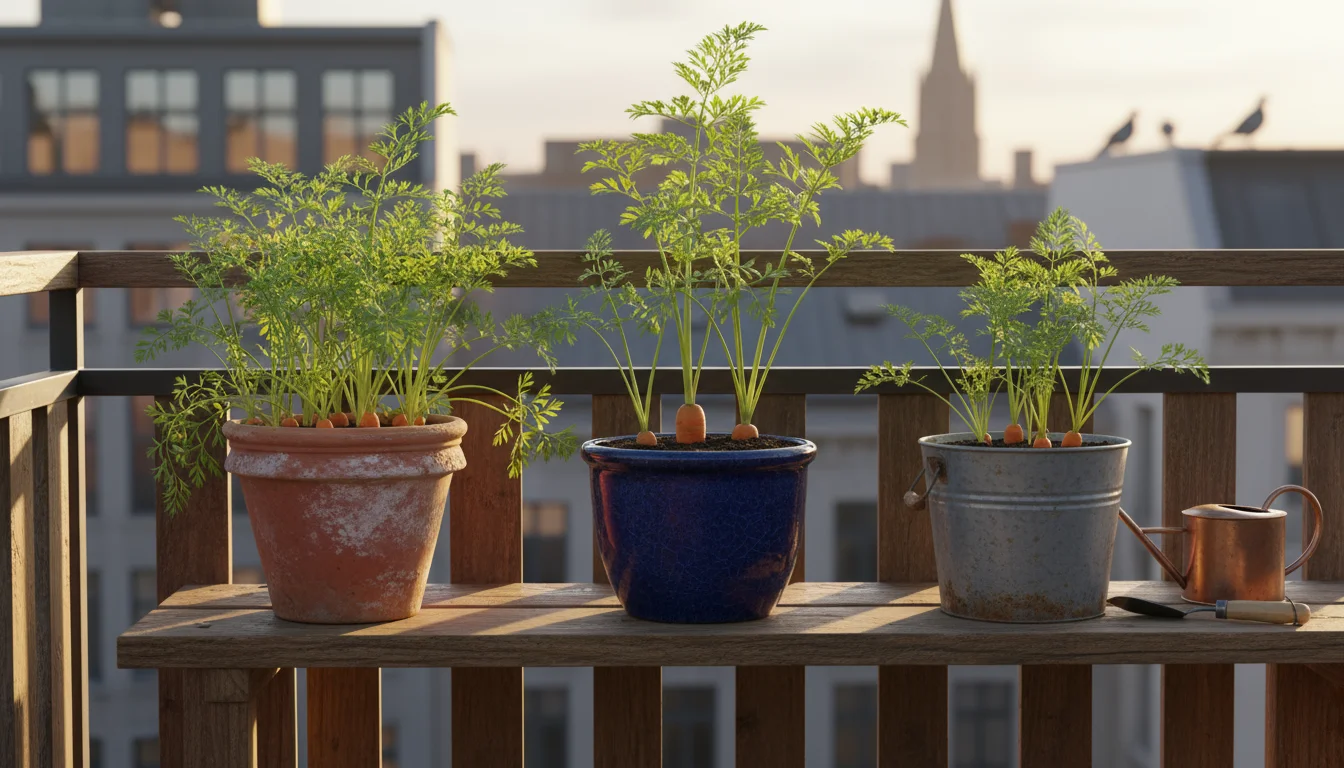
Different pot materials offer varying advantages for growing carrots in pots:
- Terracotta or Clay Pots: These are classic choices known for their aesthetic appeal. Terracotta is porous, meaning it allows air and moisture to pass through, which helps prevent overwatering and can keep the soil cooler. However, this porosity also means the soil dries out faster, requiring more frequent watering, especially during dry spells. Choose glazed terracotta if you want to retain moisture longer, but ensure it still has excellent drainage holes.
- Plastic Pots: Lightweight, inexpensive, and excellent at retaining moisture, plastic pots are a practical choice. They come in a vast array of sizes and colors. The primary drawback is that they can overheat in direct sunlight, potentially cooking the roots. Choose lighter-colored plastic pots to reflect sunlight and prevent excessive heat buildup. Ensure they are made from food-grade plastic if you are concerned about chemical leaching, though most garden-specific plastics are safe.
- Fabric Grow Bags: These are increasingly popular for container gardening. Made from breathable fabric, grow bags offer excellent aeration, preventing root circling and promoting a healthy root system. They also provide superior drainage, naturally air-pruning roots as they reach the edge of the bag. Grow bags prevent overheating as well, as their porous nature allows heat to escape. They are lightweight, flexible, and easy to store when not in use. Consider 5-gallon (or larger) grow bags for fall container vegetables.
- Wooden Planters: If you are handy, a wooden planter box offers an attractive and often customizable option. Wood provides good insulation, protecting roots from temperature extremes. Use rot-resistant wood like cedar or redwood, and line the interior with a thick plastic liner (with drainage holes) to extend its life and prevent soil contact with treated wood.
Regardless of the material, always elevate your containers slightly using pot feet or bricks. This ensures proper airflow beneath the pot and prevents drainage holes from becoming blocked, which is crucial for preventing waterlogged soil and maintaining healthy root development.
A well-chosen container sets the stage for a thriving fall carrot harvest.
Selecting the Perfect Carrot Varieties for Pot Success
When you grow carrots in pots, the variety you choose significantly impacts your success. Not all carrots are created equal, especially concerning their suitability for container life.
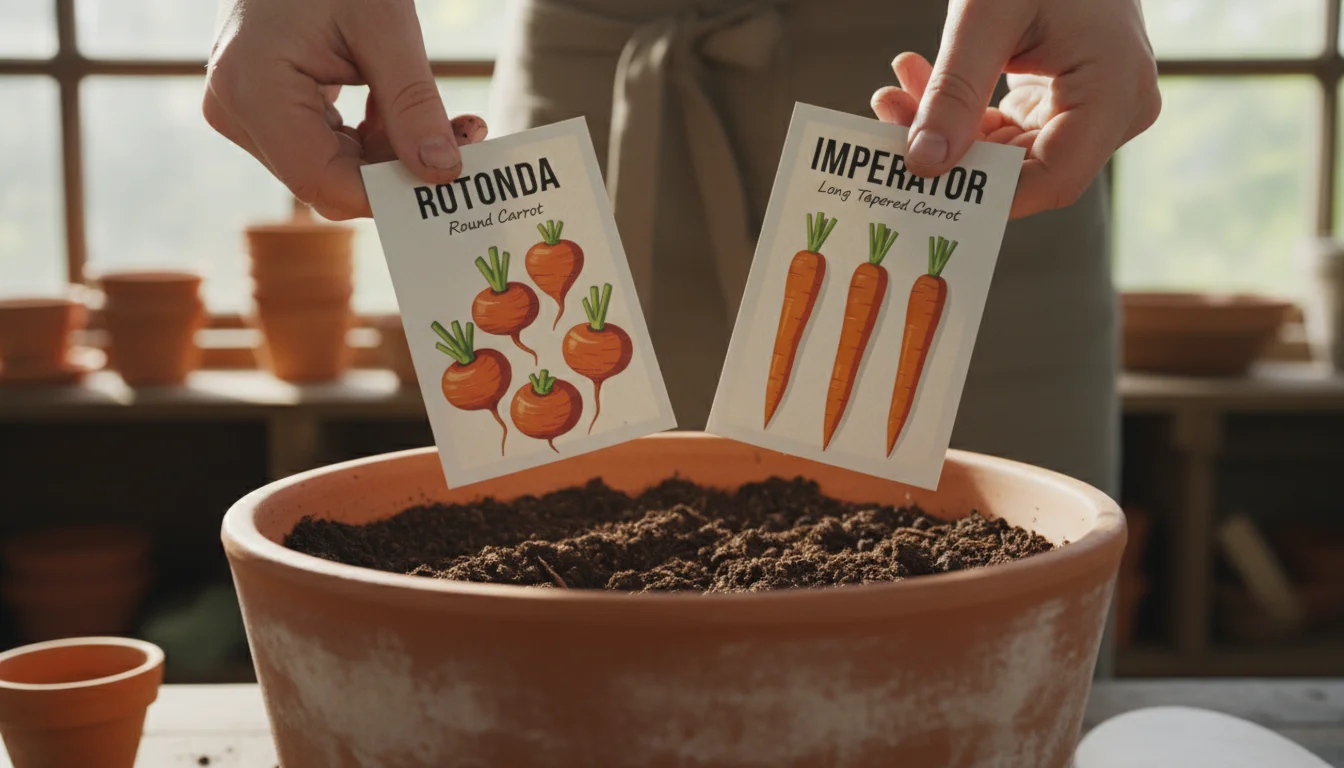
Forget about those super long, slender varieties you see in seed catalogs; they are typically bred for deep, loose garden soil. For deep pot gardening, you need varieties that mature faster, have shorter root systems, or possess a “stump-rooted” characteristic.
Focusing on these types prevents frustration and yields a much more satisfying harvest of fall container vegetables.
Ideal Carrot Types for Containers
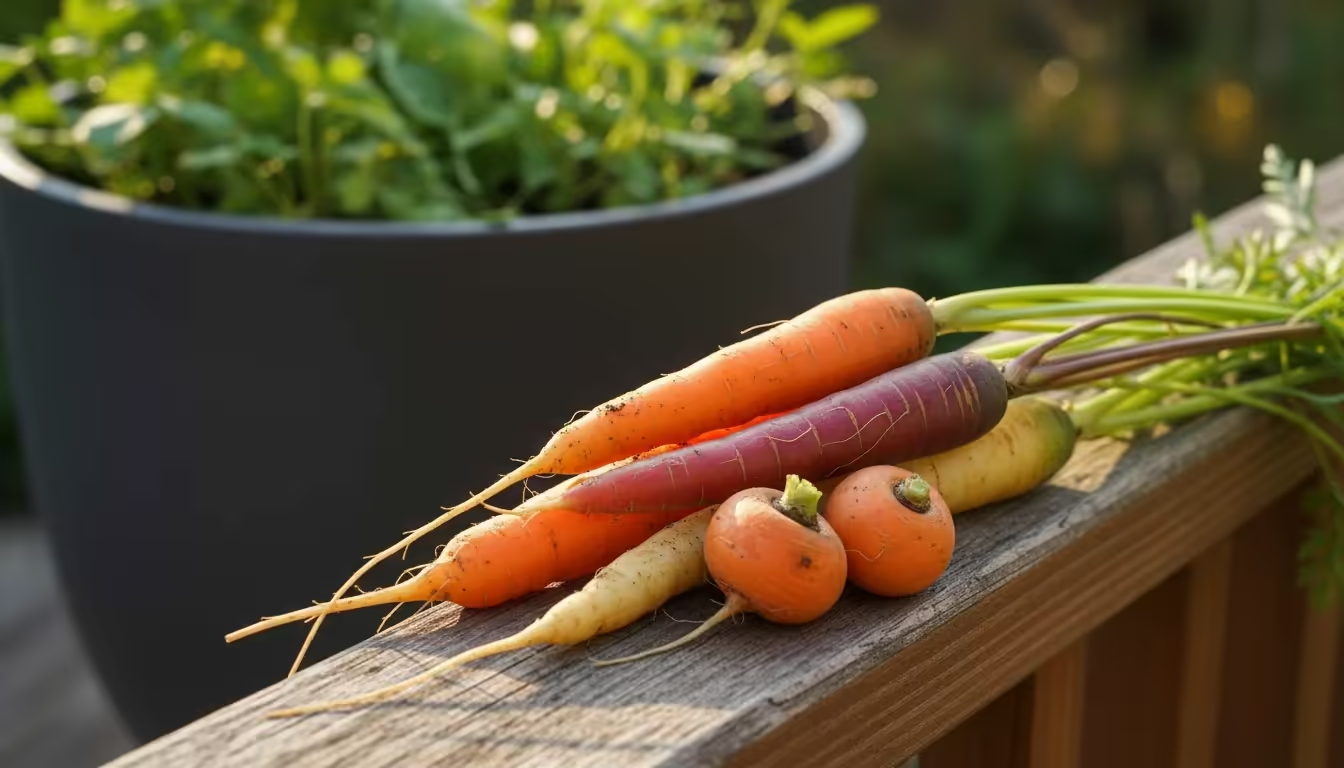
Look for varieties categorized as “half-long,” “stump-rooted,” “mini,” or “round.” These terms indicate that the carrots develop roots that are either shorter, wider, or more compact, making them perfectly suited for the confined space of a deep pot.
- Nantes Type Carrots: These are perhaps the most popular and reliable for containers. Nantes varieties grow to about 6-7 inches long, are cylindrical, and have blunt, rounded tips (stump-rooted). They mature relatively quickly, often in 60-70 days, and are known for their sweet flavor and tender texture.
- Specific Varieties to Try: ‘Nantes Half Long’, ‘Scarlet Nantes’, ‘Napoli’, ‘Mokum’. These perform consistently well in pots.
- Danvers Type Carrots: Slightly broader at the shoulder and tapering to a point, Danvers carrots are also good choices for containers, especially the ‘Half Long’ varieties. They can reach 6-8 inches and are quite robust.
- Specific Varieties to Try: ‘Danvers Half Long’. This is a very adaptable and resilient choice, known for its strong carrot flavor.
- Mini or Finger Carrots: These are specifically bred for small spaces and quick maturity. They are usually 3-5 inches long and are excellent for snacking.
- Specific Varieties to Try: ‘Little Finger’, ‘Paris Market’ (a round carrot that looks like a radish, ideal for very shallow pots, but a deeper pot gives it more flexibility), ‘Romeo’. These are perfect for small hands and quick gratification.
- Chantenay Type Carrots: These are conical, broader at the top, and typically shorter than Danvers. Their robust, triangular shape makes them suitable for slightly heavier soils, and they adapt well to containers.
- Specific Varieties to Try: ‘Chantenay Red Cored’. This variety offers good disease resistance and a classic carrot flavor.
Why Long Carrots Struggle in Containers
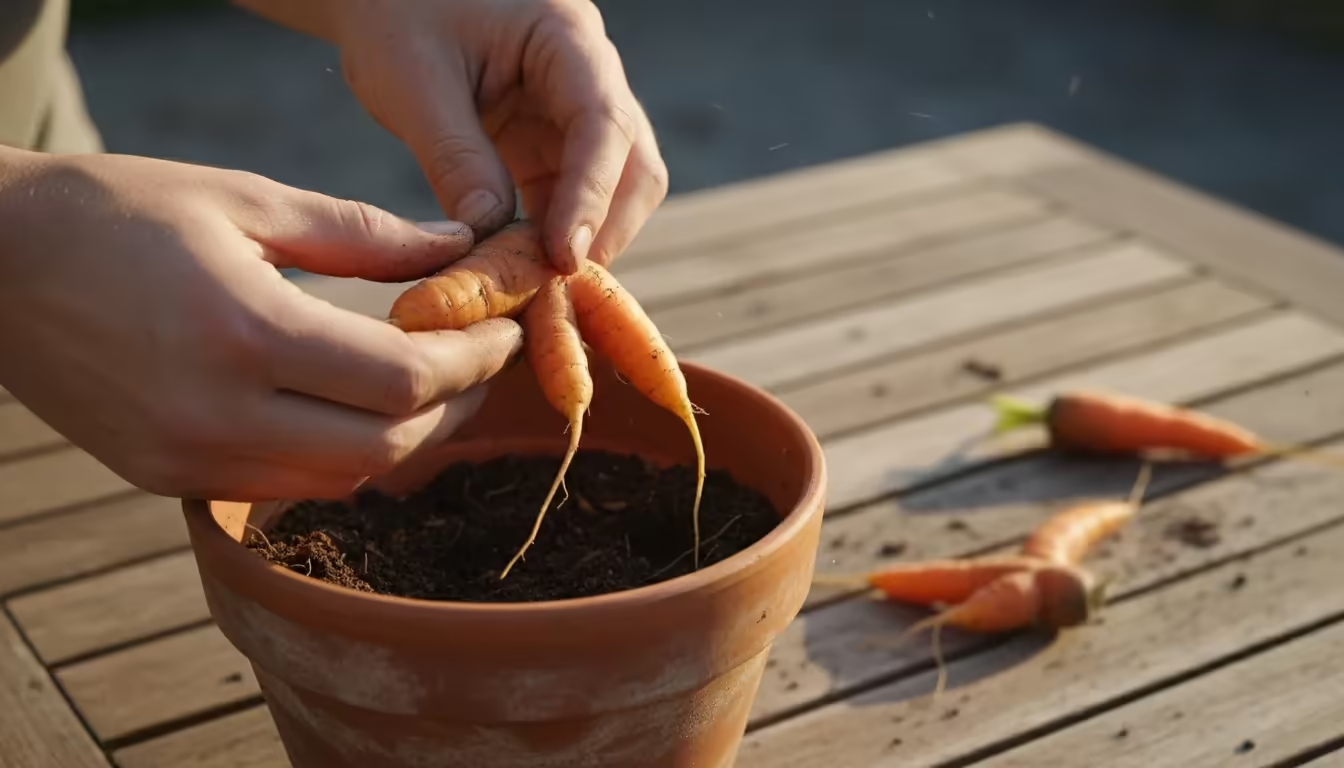
You might wonder why those beautiful 10-12 inch ‘Imperator’ or ‘Kuroda’ carrots are not suitable. These varieties develop very long, slender taproots.
In a container, their growth is restricted. They hit the bottom of the pot, causing them to either stop growing, fork (split into multiple roots), or become deformed.
This results in small, misshapen, or inedible carrots. By choosing varieties specifically adapted for container culture, you set yourself up for success and a rewarding harvest of smooth, well-formed roots.
Seed Selection Tips
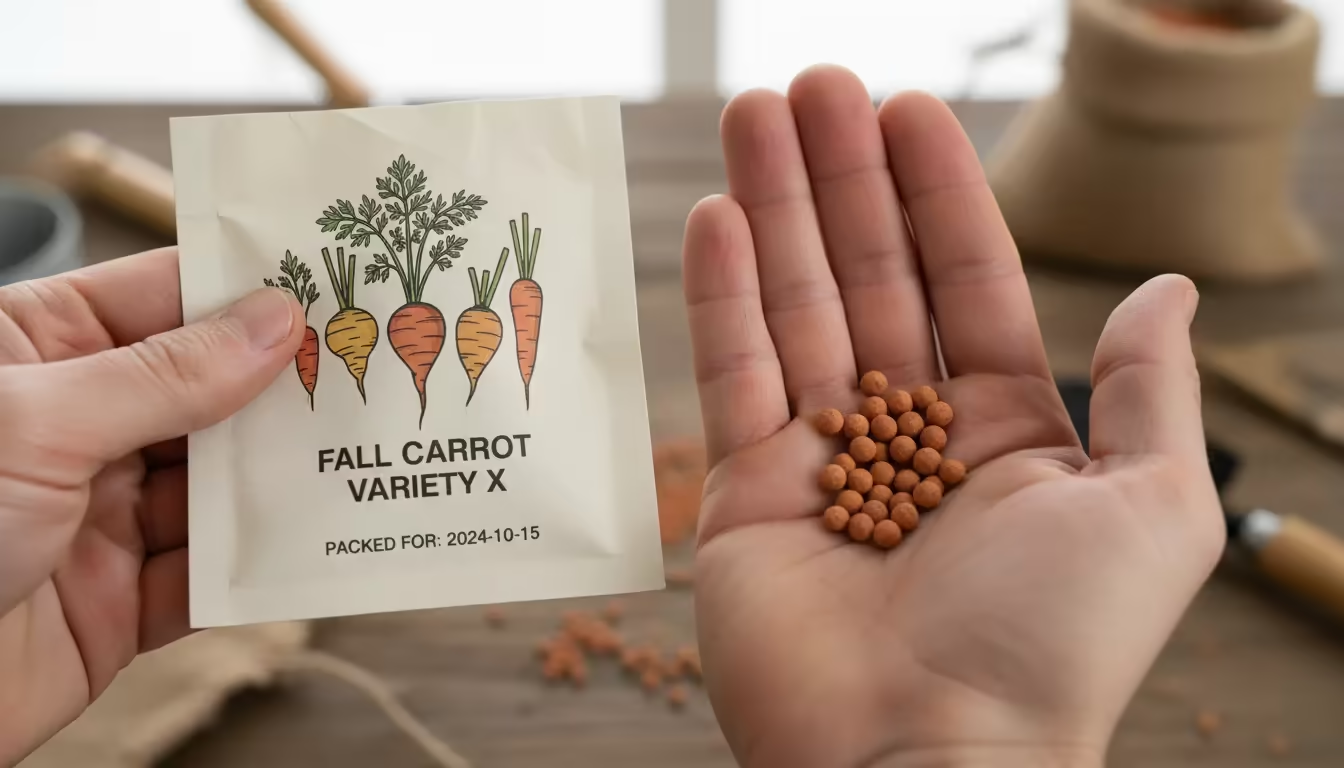
Always purchase fresh carrot seeds. Carrot seeds have a relatively short shelf life, and germination rates decline significantly after one year.
Check the packed-for date on the seed packet. For easier handling and spacing, consider pelleted seeds.
These are individual seeds coated in a clay material, making them larger and easier to plant at the correct spacing, which is especially helpful when planting carrots in pots in autumn.
With the right variety, you empower your fall container vegetables to reach their full potential, ensuring a delicious and visually appealing harvest.
Crafting the Ideal Home: Soil Mix for Container Carrots
The soil in your deep pot is the foundation for your carrots’ growth. Since they grow underground, the quality and characteristics of the soil directly dictate their shape, size, and flavor.
For successful deep pot gardening, you cannot simply scoop garden soil into your containers. You need a mix that is light, well-draining, and rich in the right nutrients.
This tailored environment ensures healthy root development and prevents common problems.
Why Garden Soil Fails in Containers
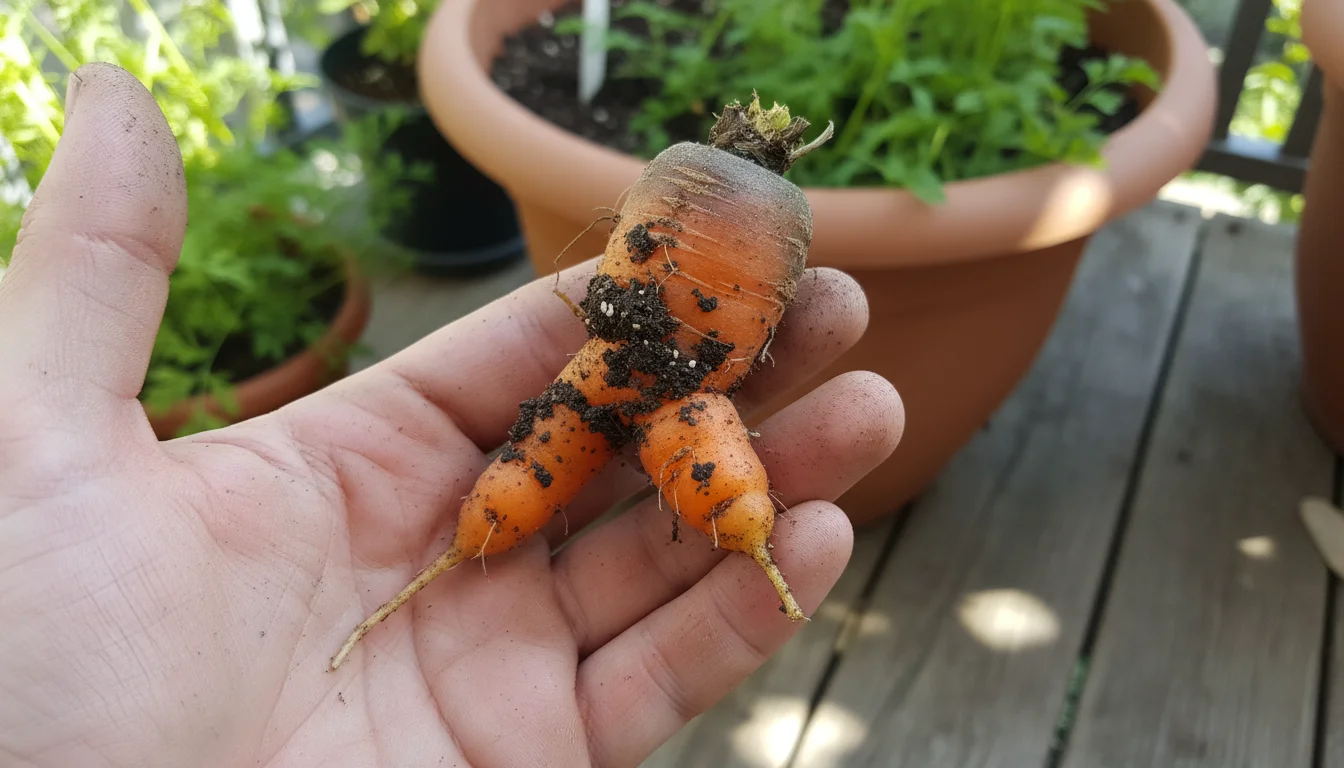
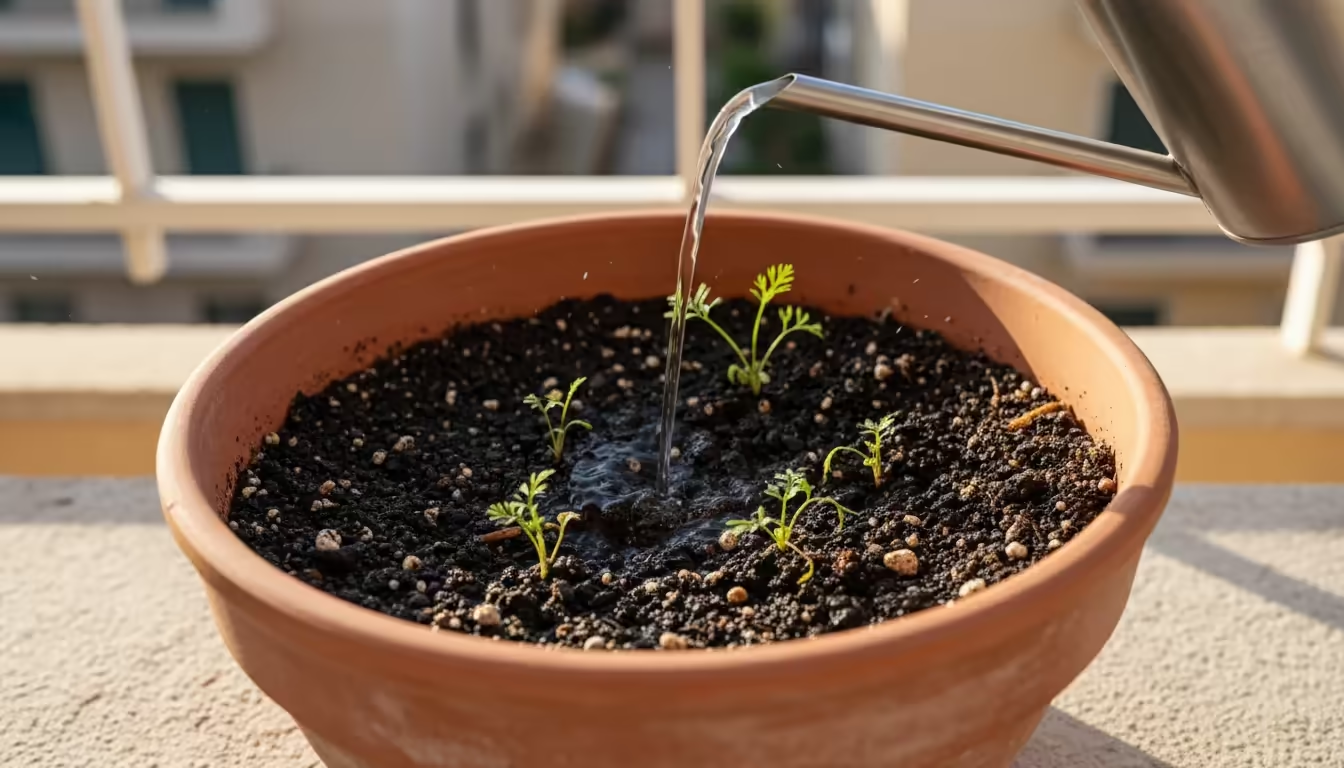
Garden soil, while excellent in the ground, becomes compacted and heavy in a confined container. It drains poorly, holds too much water, and lacks the aeration necessary for healthy root growth.
In a pot, heavy garden soil can suffocate carrot roots, leading to stunting, rot, and misshapen vegetables. It also often contains weed seeds and disease pathogens that are best avoided in a small, controlled environment.
Key Characteristics of Ideal Carrot Potting Mix
- Light and Loose: Carrots need to push their way through the soil easily. A loose mix allows for unrestricted, straight growth.
- Well-Draining: While carrots need consistent moisture, they cannot tolerate soggy conditions. Excess water must drain away quickly to prevent root rot. “Drainage” means how efficiently water moves through the soil without pooling.
- Moisture-Retentive: The soil should hold enough moisture to keep the roots hydrated between waterings.
- Nutrient-Rich: A good potting mix provides essential nutrients without being overly dense or heavy.
- Aerated: Roots need oxygen to respire and grow. A well-aerated soil mix allows air to circulate, preventing compaction.
Creating Your Own Potting Mix
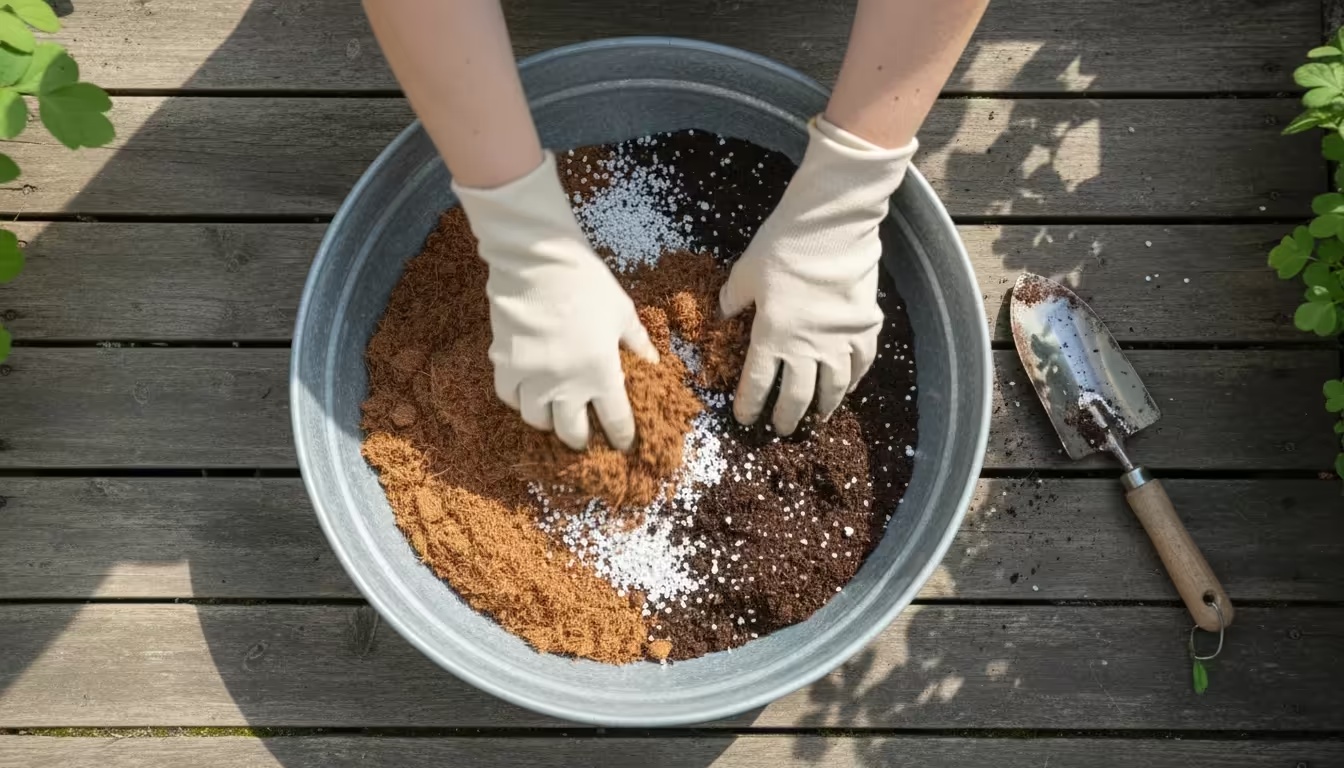
Making your own potting mix allows you to tailor it precisely for growing carrots in pots and can be more economical for multiple containers. Here is a tried-and-true recipe:
SimpleGardenJoy’s Carrot Potting Mix Recipe:
- 1 part high-quality sphagnum peat moss or coco coir: These provide excellent moisture retention and a light, airy base. Coco coir is a more sustainable option.
- 1 part perlite or coarse sand: These are crucial for drainage and aeration. Perlite is lightweight and improves porosity. Coarse sand (not play sand) adds weight and ensures good drainage.
- 1 part compost or well-rotted manure: This is your primary source of nutrients and organic matter, enriching the soil and supporting beneficial microbial activity. Use aged compost to avoid nutrient burn.
- Optional additions:
- A small handful of bone meal for phosphorus (important for root development).
- A light sprinkling of an organic, balanced granular fertilizer if your compost is not particularly rich.
- A small amount of garden lime if your peat moss or coco coir makes the mix too acidic (carrots prefer a slightly acidic to neutral pH, around 6.0-7.0).
Mix all ingredients thoroughly in a large tub or on a tarp until uniformly combined. The mixture should feel light, fluffy, and crumble easily in your hand.
Using Commercial Potting Mixes
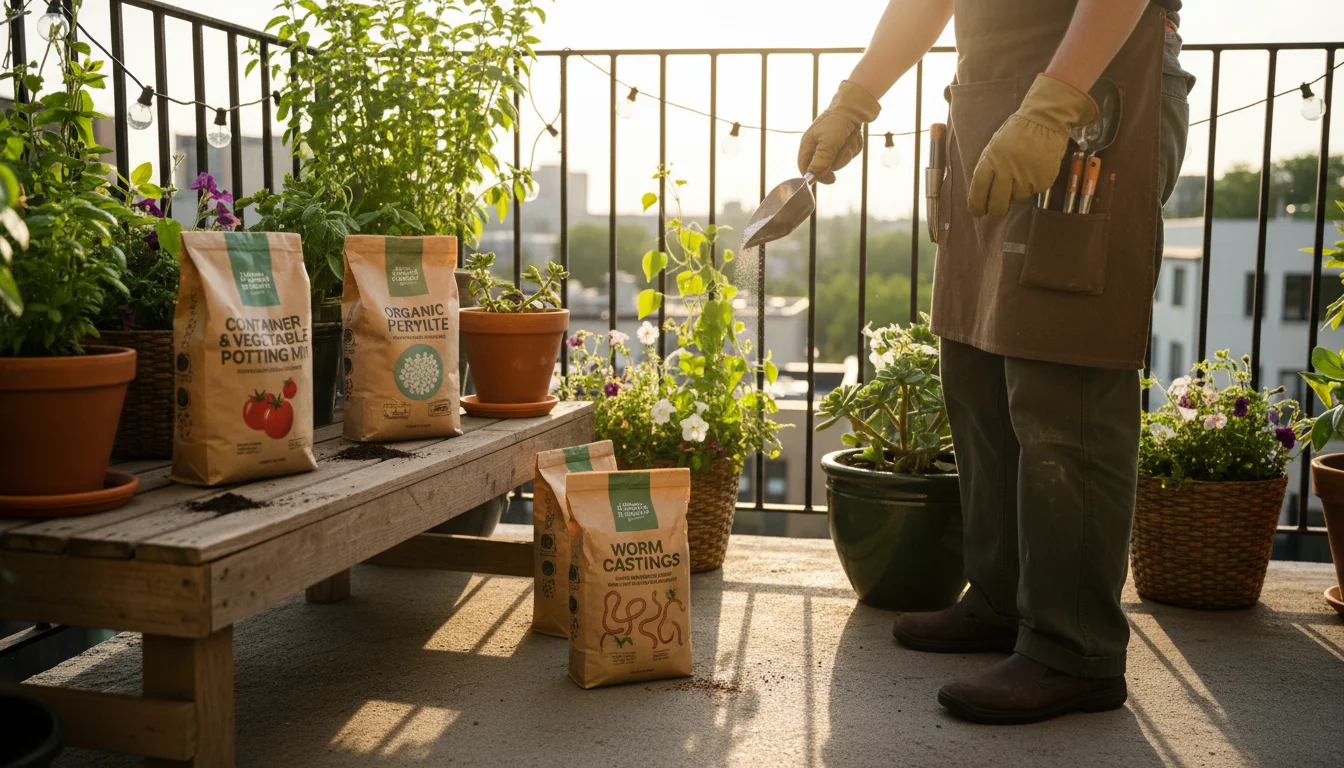
If you prefer convenience, select a high-quality commercial potting mix. Look for bags labeled for “containers,” “vegetables,” or “raised beds.” Avoid “topsoil” or “garden soil” for containers.
Even with commercial potting mix, you can enhance it for carrots:
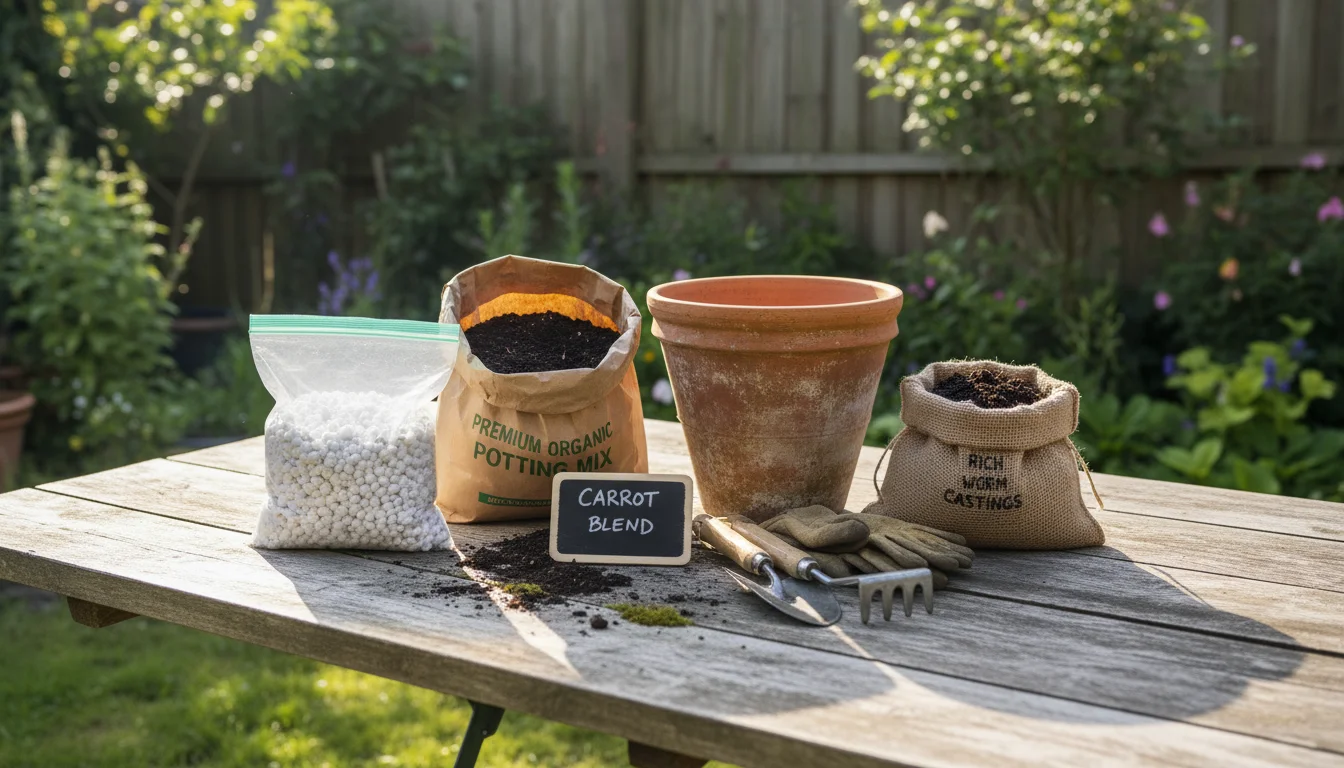
- Add 10-20% perlite or coarse sand to improve drainage and lightness.
- Incorporate 10-20% compost or worm castings to boost nutrients and organic matter.
Filling Your Deep Pot
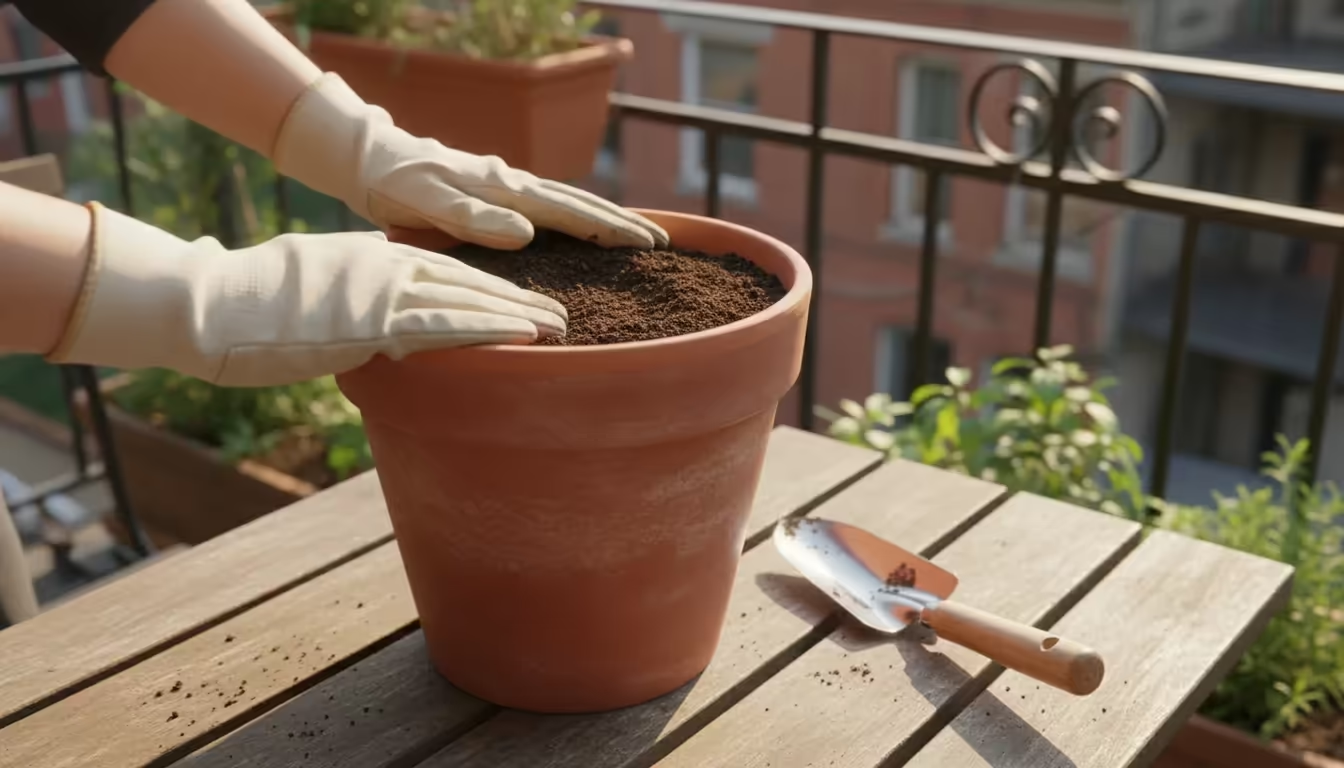
Once you have your ideal soil mix, fill your chosen deep pot. Leave about an inch (2.5 cm) of space from the rim to allow for watering without overflow.
Gently pat the soil down to remove large air pockets, but do not compact it heavily. You want it firm but still loose enough for roots to penetrate.
A properly prepared soil mix ensures your `growing carrots in pots` venture starts on the right foot, promising straight, delicious roots.
Planting Carrots in Pots: Step-by-Step for Autumn Sowing
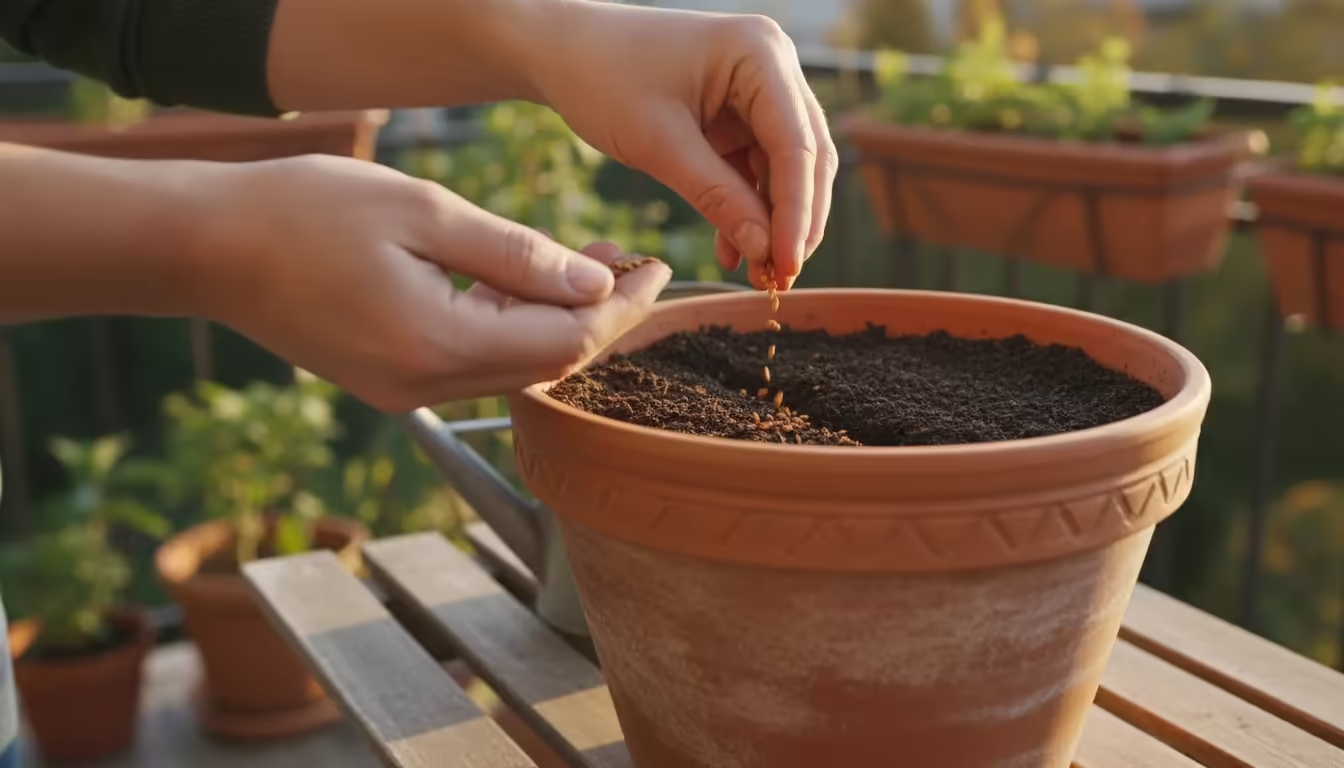
Successfully planting carrots in pots in autumn involves more than just tossing seeds into soil. Careful timing, precise spacing, and consistent moisture are key to germinating these notoriously finicky seeds and nurturing them into robust roots.
This step-by-step guide walks you through the process, ensuring your `growing carrots in pots` endeavor is fruitful.

Step 1: Determine Your Planting Window
The ideal time for planting carrots in pots in autumn is typically 8-10 weeks before your region’s first anticipated hard frost. Carrots need about 60-80 days to mature, depending on the variety.
A “hard frost” is generally defined as temperatures of 28°F (-2°C) or lower for several hours. Consult your local extension office or a reliable online resource for your specific frost dates.
Planting too early means they might suffer from lingering heat; planting too late means they might not fully mature before deep cold sets in. You want them to grow well during the mild autumn temperatures.
Step 2: Prepare Your Deep Pot and Soil
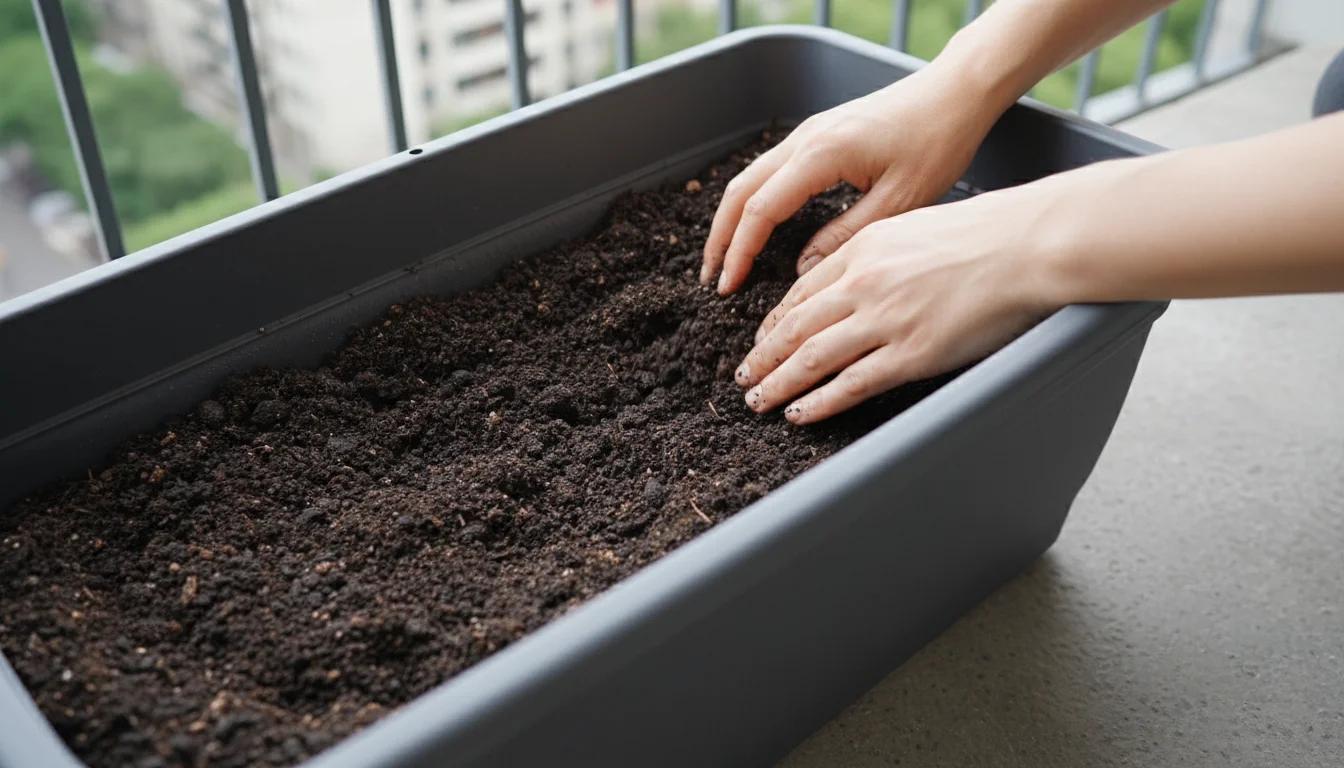
Ensure your chosen pot (at least 12-18 inches deep) has excellent drainage holes. Fill it with your carefully prepared light, loose, and well-draining potting mix, leaving about an inch of space from the rim.
Lightly moisten the soil throughout. It should be damp, not soggy, similar to a wrung-out sponge.
Step 3: Sow Your Carrot Seeds
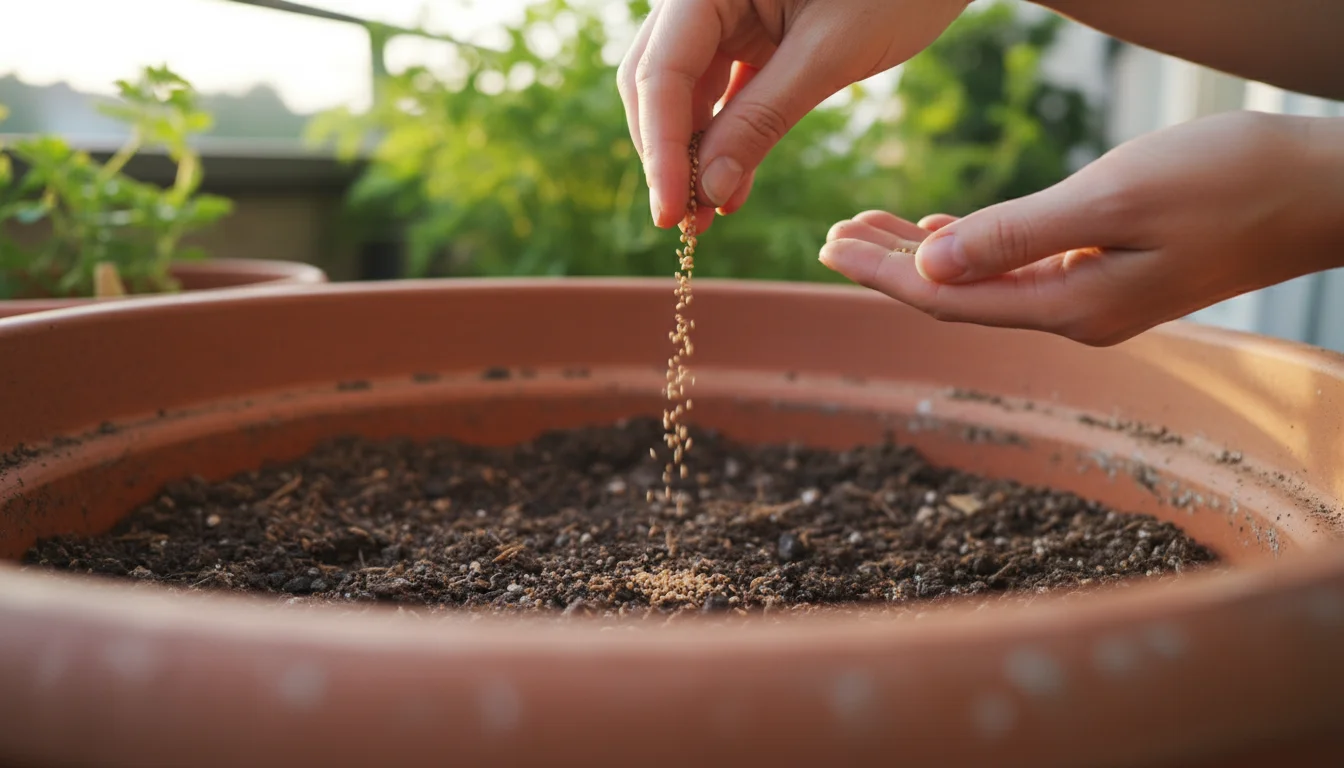
Carrot seeds are tiny, which makes precise spacing a challenge, but it is a critical step to prevent overcrowding. Overcrowding leads to small, twisted, or forked carrots.
Aim to plant seeds about 1/2 inch deep and 1 inch apart. You can achieve this in a few ways:
- Direct Sowing: Scatter seeds thinly over the surface of the moistened soil. Then, gently cover them with 1/4 to 1/2 inch of fine potting mix or vermiculite.
- Using Seed Tapes: These pre-spaced seeds embedded in biodegradable paper strips simplify planting and minimize the need for thinning later. Simply lay the tape on the soil surface and cover.
- Mixing with Sand: For regular seeds, mix them with a small amount of fine sand. This bulks up the seeds, making them easier to handle and spread thinly.
Step 4: Maintain Consistent Moisture for Germination
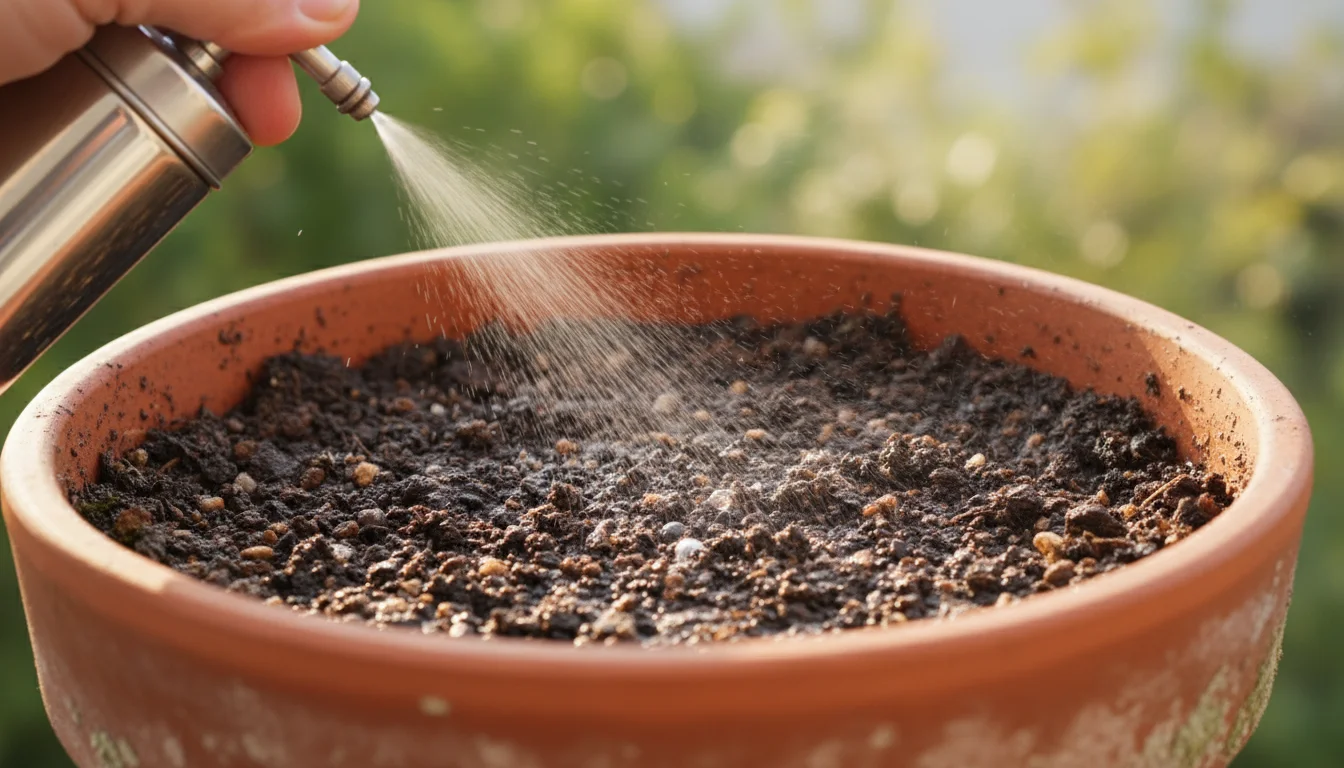
Carrot seeds require consistent moisture to germinate. If the soil dries out even once during this crucial period, germination will fail.
This is often the trickiest part of growing carrots.
- Gentle Watering: Immediately after sowing, water very gently using a fine mist sprayer or a watering can with a rose attachment. This prevents dislodging the tiny seeds.
- Covering (Optional): Some gardeners lightly cover the pot with clear plastic wrap or a pane of glass after watering. This creates a mini-greenhouse effect, maintaining humidity. Remove the cover as soon as you see sprouts to prevent fungal issues.
- Daily Checks: Check the soil surface daily and re-mist as needed. It should always feel slightly damp to the touch. Germination can take anywhere from 7 to 21 days. Be patient.
Step 5: Thinning Your Seedlings
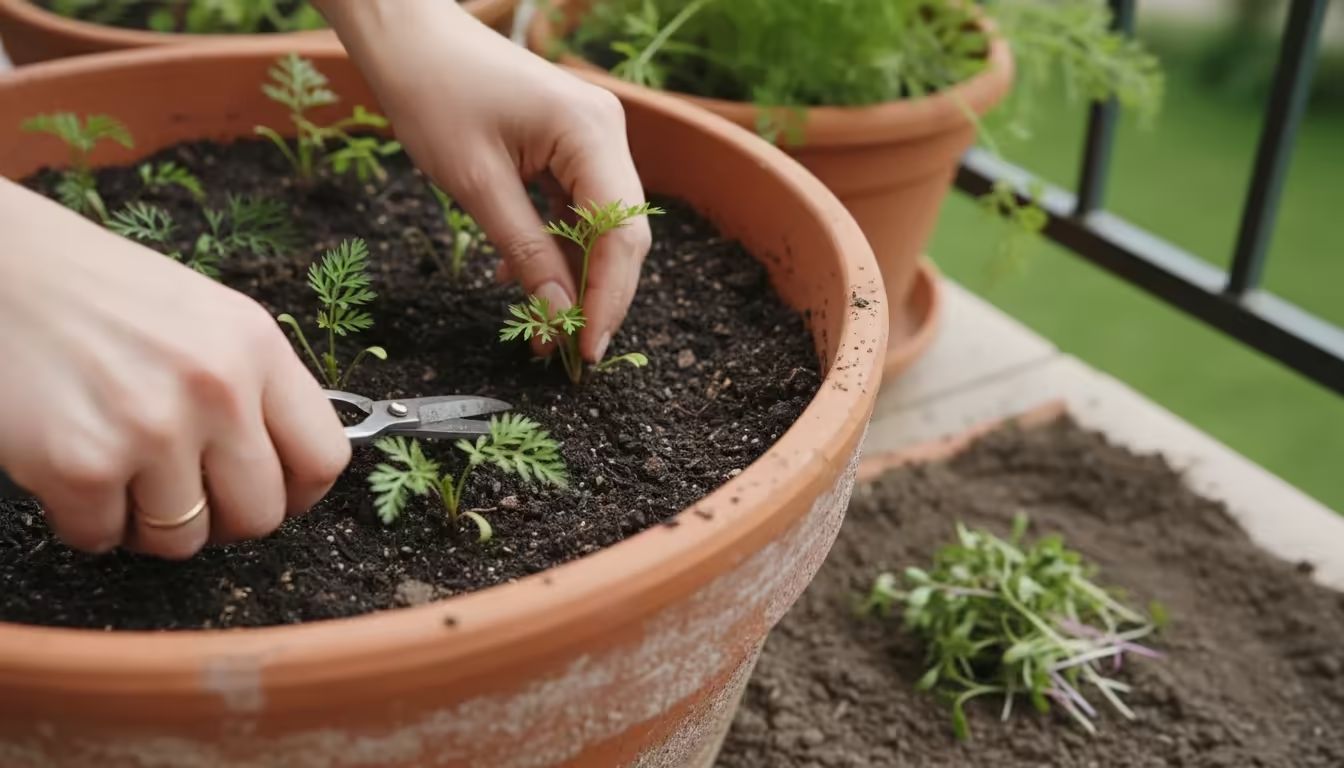
Once your carrot seedlings emerge and develop their first set of true leaves (which look like miniature versions of carrot tops, not the initial cotyledons), it is time to thin them. This is absolutely critical for healthy root development.
- Wait until seedlings are 2-3 inches tall.
- Gently pull out the weaker seedlings, leaving the strongest ones spaced 2-3 inches apart. Snip them at the soil line with small scissors to avoid disturbing the roots of the remaining plants.
- Do this in stages if you are unsure. You can thin them once to 1 inch apart, then again a couple of weeks later to the final 2-3 inch spacing.
- The thinnings can be eaten as microgreens.
Proper thinning ensures each remaining carrot has enough space, light, and nutrients to grow large and straight. It is a vital step in successful `fall container vegetables` cultivation.
Nurturing Your Underground Treasure: Care and Maintenance
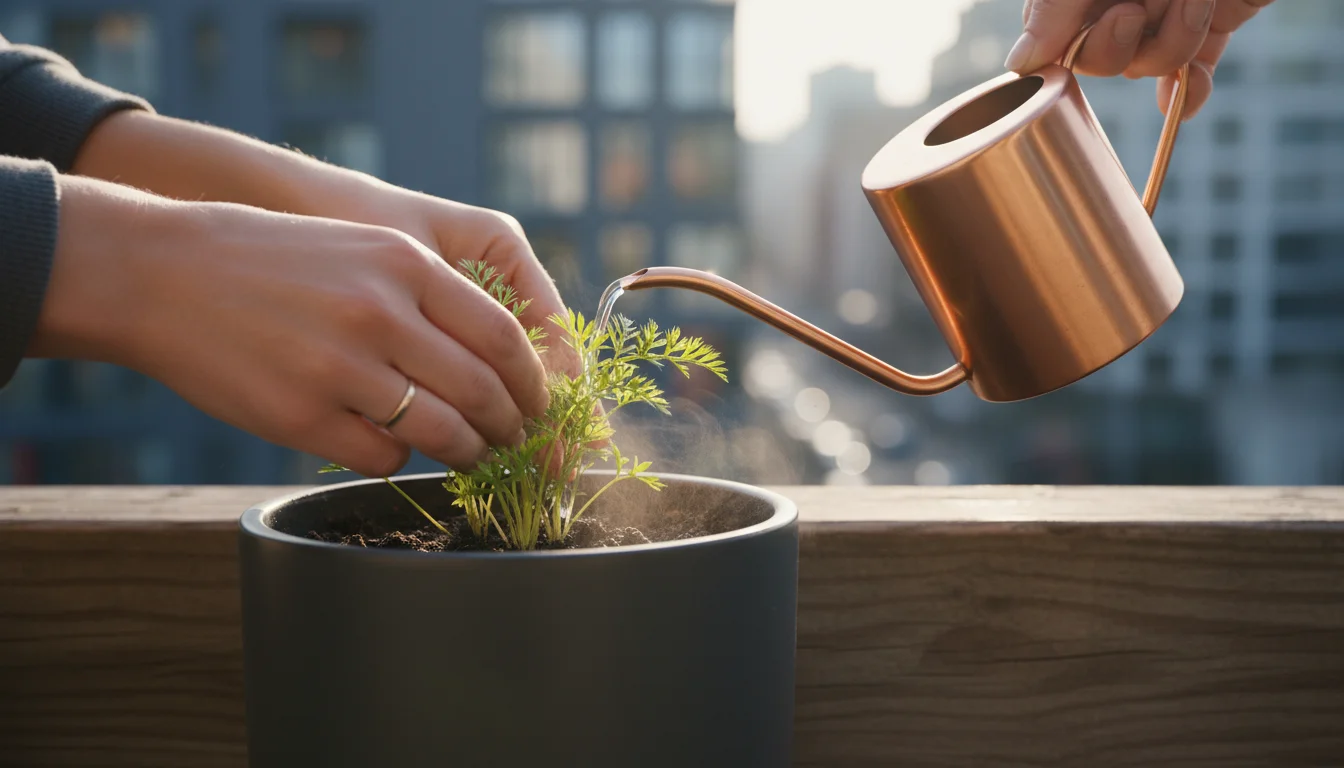
Once your fall carrots have germinated and been thinned, they require consistent care to grow into sweet, crisp roots. Think of yourself as a diligent caretaker, providing the stable environment your underground treasures need.
Regular watering, mindful feeding, and attention to detail ensure a bountiful harvest from your `deep pot gardening` efforts.
Consistent Watering is Paramount
Carrots are very sensitive to inconsistent moisture. Irregular watering leads to tough, bitter, or cracked roots.
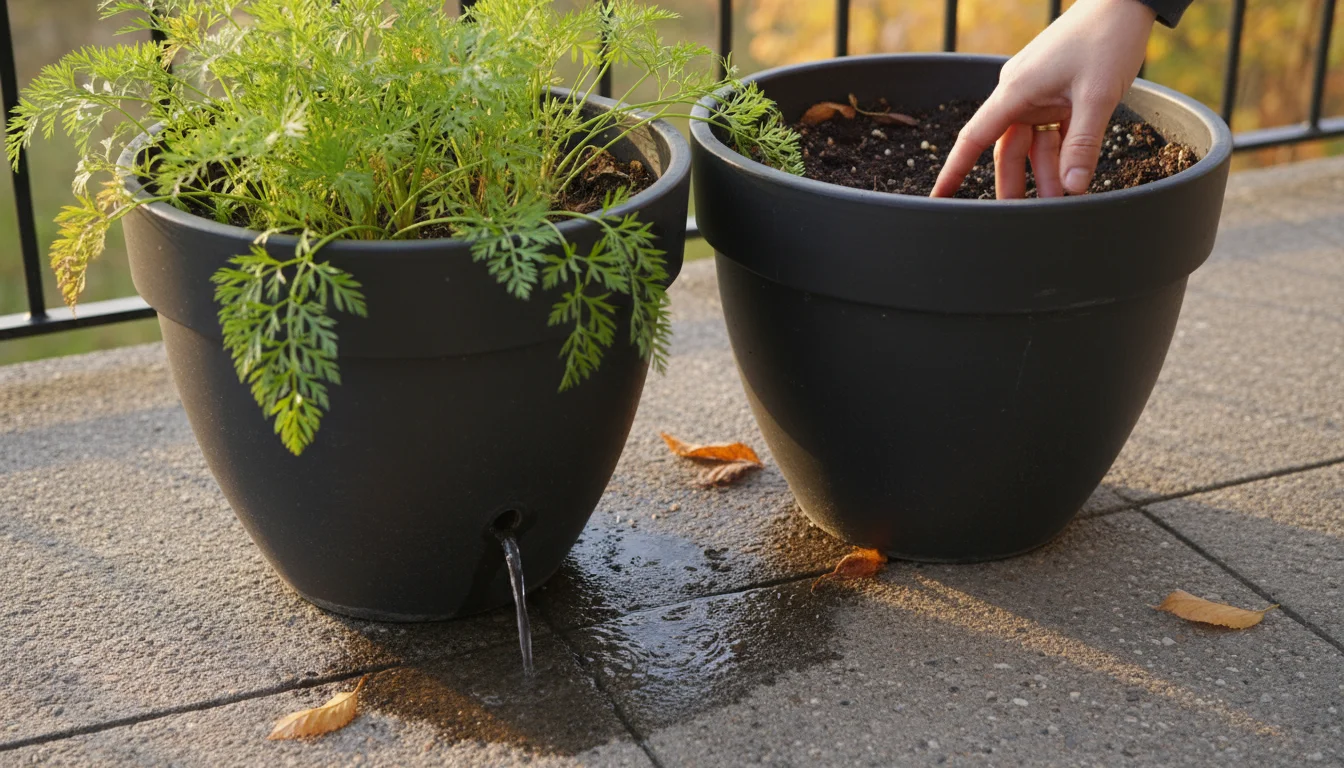
Your goal is to keep the soil consistently moist but never waterlogged. “Consistently moist” means the soil should feel like a wrung-out sponge. You should not see standing water, but it should not dry out completely either.
- How Often: In containers, soil dries out faster than in the ground. Check your pots daily. Stick your finger about an inch into the soil. If it feels dry, it is time to water. In warm, sunny autumn days, this might be daily. In cooler, overcast periods, it might be every 2-3 days.
- How Much: Water thoroughly until you see water draining from the bottom of the pot. This indicates that the entire root ball has been moistened. Avoid shallow watering, which encourages shallow root growth.
- Watering Technique: Use a watering can with a fine rose attachment to avoid disturbing the soil or delicate seedlings. Water at the base of the plants to minimize leaf wetness, which can reduce disease risk.
Light Fertilization for Root Development
Carrots do not need heavy feeding, especially if you started with a rich, compost-based potting mix. Too much nitrogen, in particular, encourages lush leafy growth at the expense of root development, leading to beautiful tops but small, underdeveloped carrots.
If your soil mix was already rich in compost, you might not need any additional fertilizer.
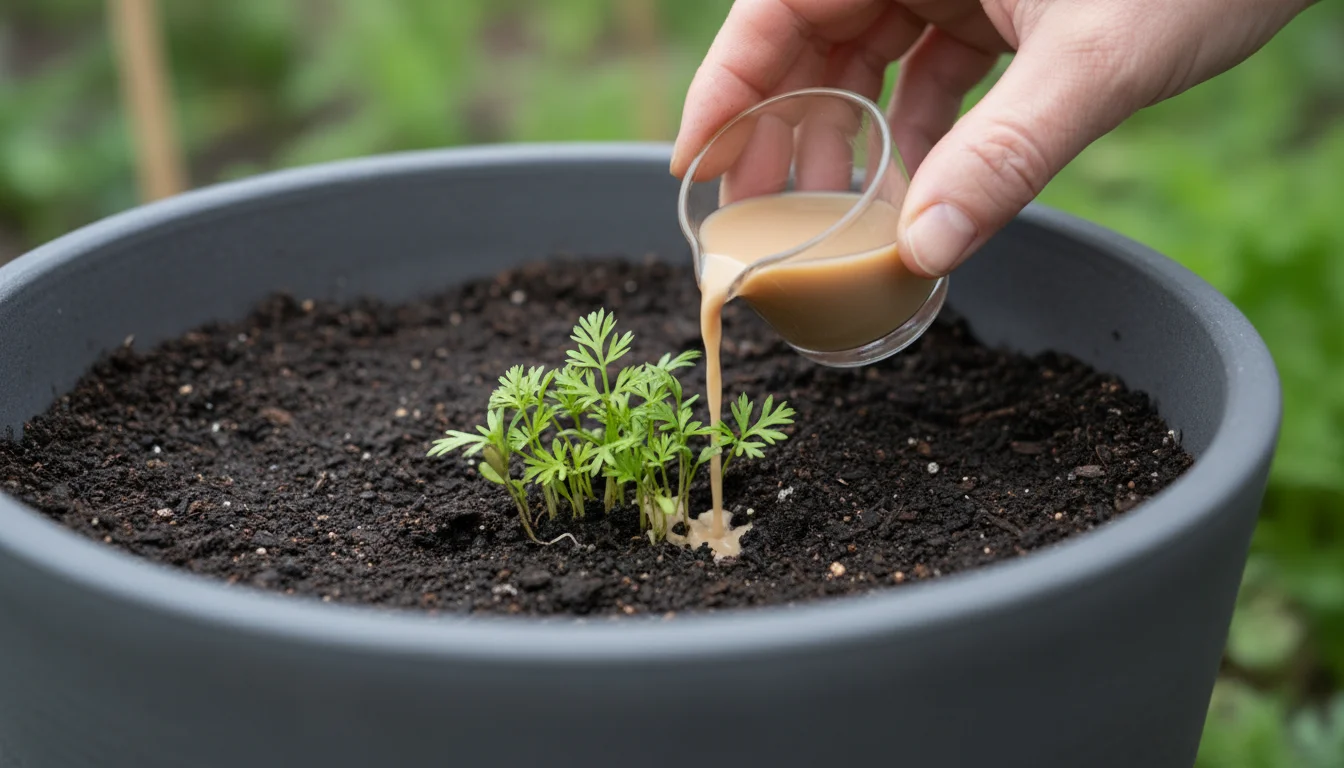
- When to Fertilize: If you notice slow growth or pale foliage about 3-4 weeks after germination, consider a light feeding.
- What to Use: Opt for a balanced, all-purpose liquid organic fertilizer (e.g., 5-5-5 or similar) at half strength, or a fertilizer with a slightly higher phosphorus (P) and potassium (K) content, which supports root development.
- How Often: Apply liquid fertilizer every 3-4 weeks, or as directed on the product label for container vegetables, always erring on the side of less.
Protecting the “Shoulders” (Hilling Up)
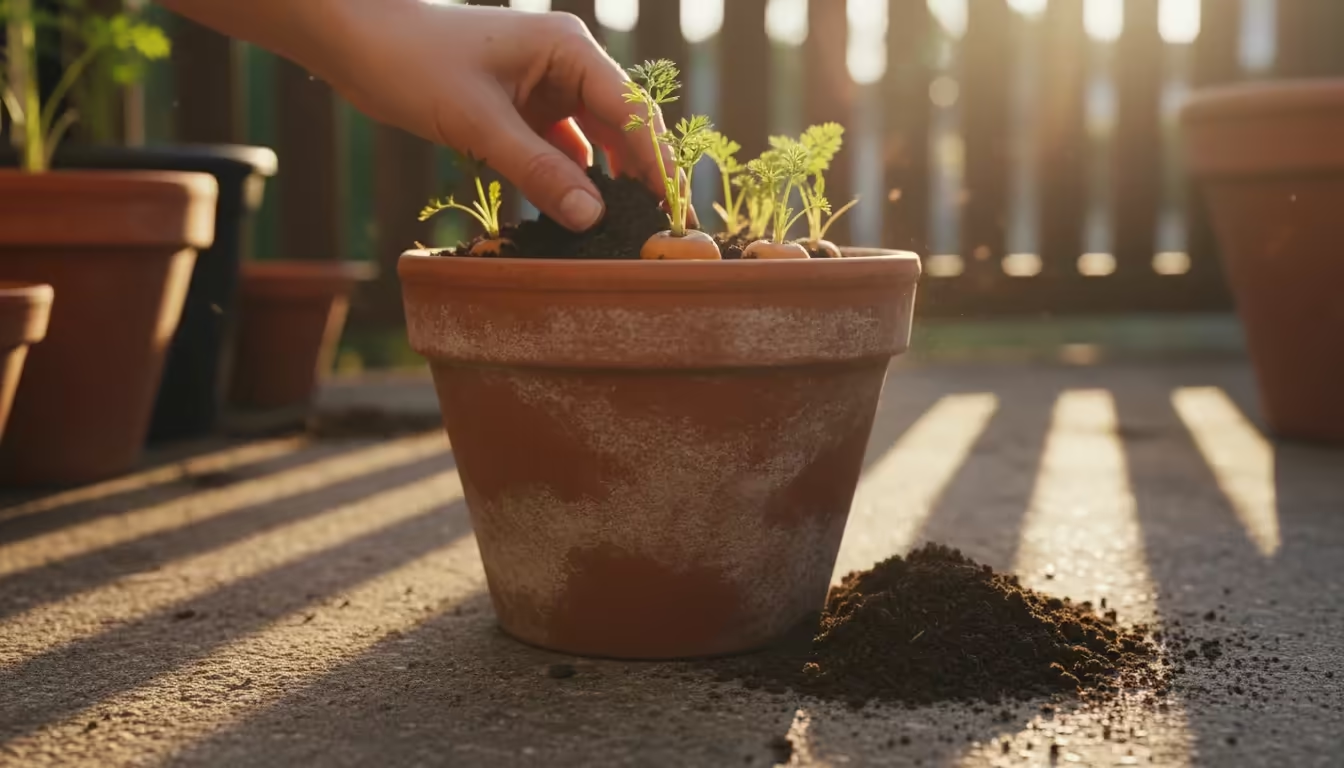
As carrots grow, the top portion (the “shoulder”) can sometimes push out of the soil and be exposed to sunlight. This exposure can cause the shoulders to turn green and develop a bitter taste.
This phenomenon is called “greening” or “shouldering.”
- Solution: When you notice carrot shoulders emerging, gently mound additional soil or a thin layer of compost around them. This “hilling up” protects the developing roots from sunlight, ensuring they remain sweet and orange. This is a simple but effective technique for healthy `fall container vegetables` production.
Pest and Disease Watch
While fall planting generally reduces pest pressure, it is still wise to monitor your plants. Inspect the foliage regularly for any signs of trouble.
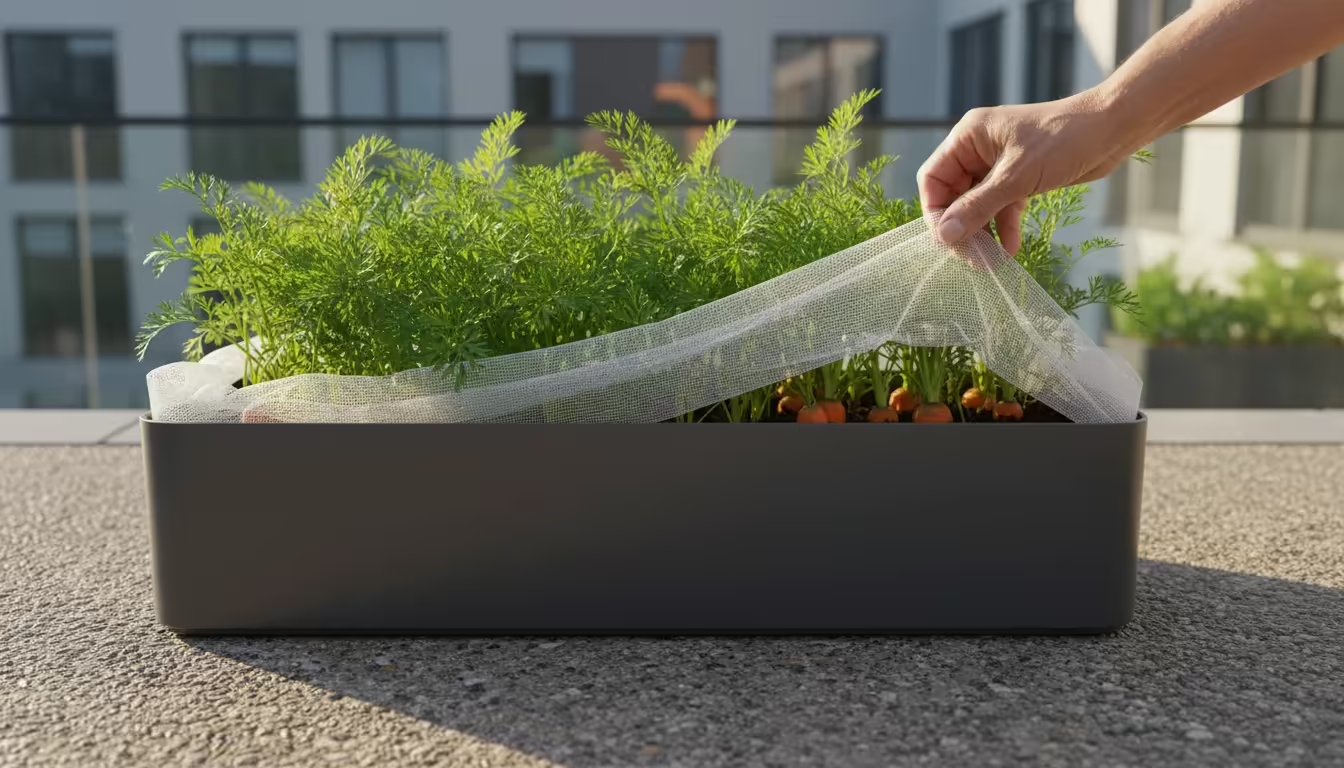
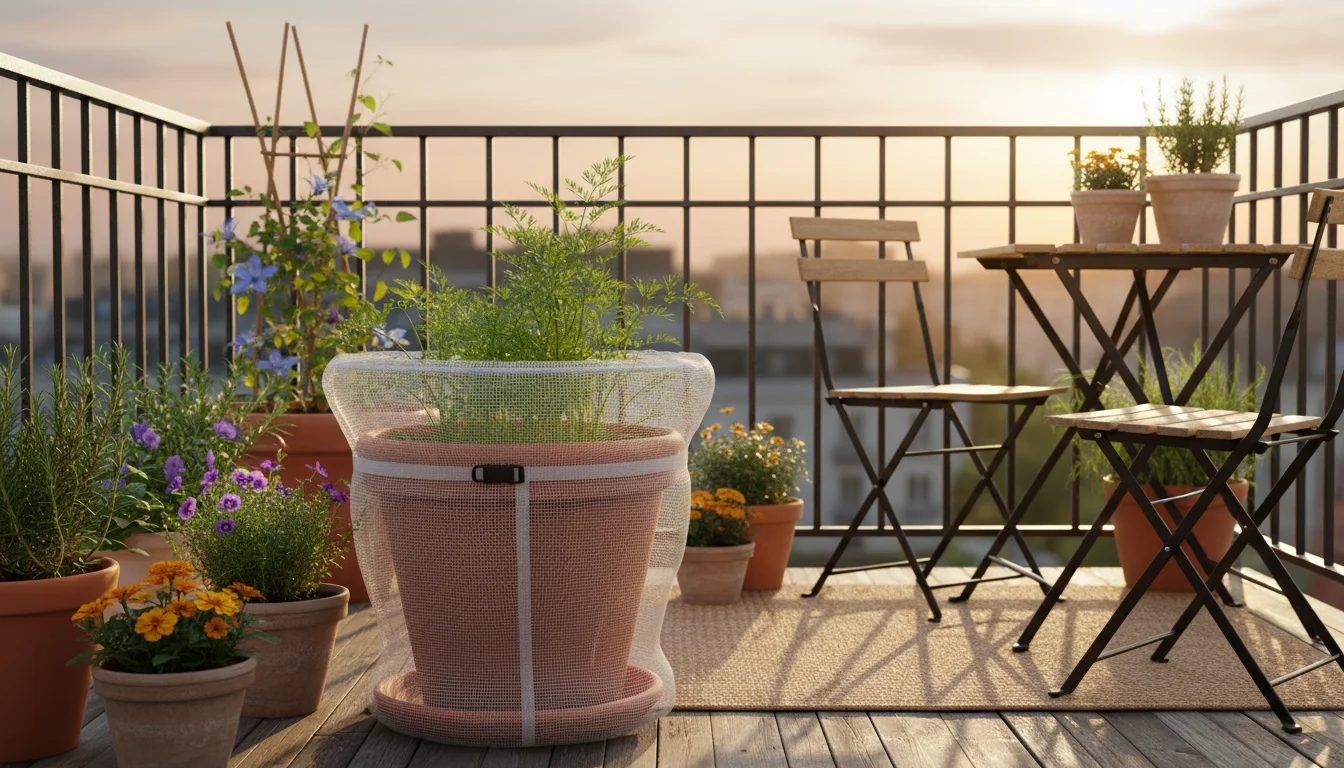
- Common Pests: Aphids can sometimes appear, clustering on new growth. Blast them off with a strong stream of water or treat with insecticidal soap if the infestation is severe. The carrot rust fly, while less common in fall, can be a problem. Its larvae tunnel into the roots. Covering your pots with a fine insect mesh (row cover) from planting until harvest provides excellent protection.
- Diseases: Good air circulation and proper watering usually prevent most fungal diseases. If you notice any signs of disease, remove affected leaves promptly.
Mulching for Soil Health (Optional for Containers)
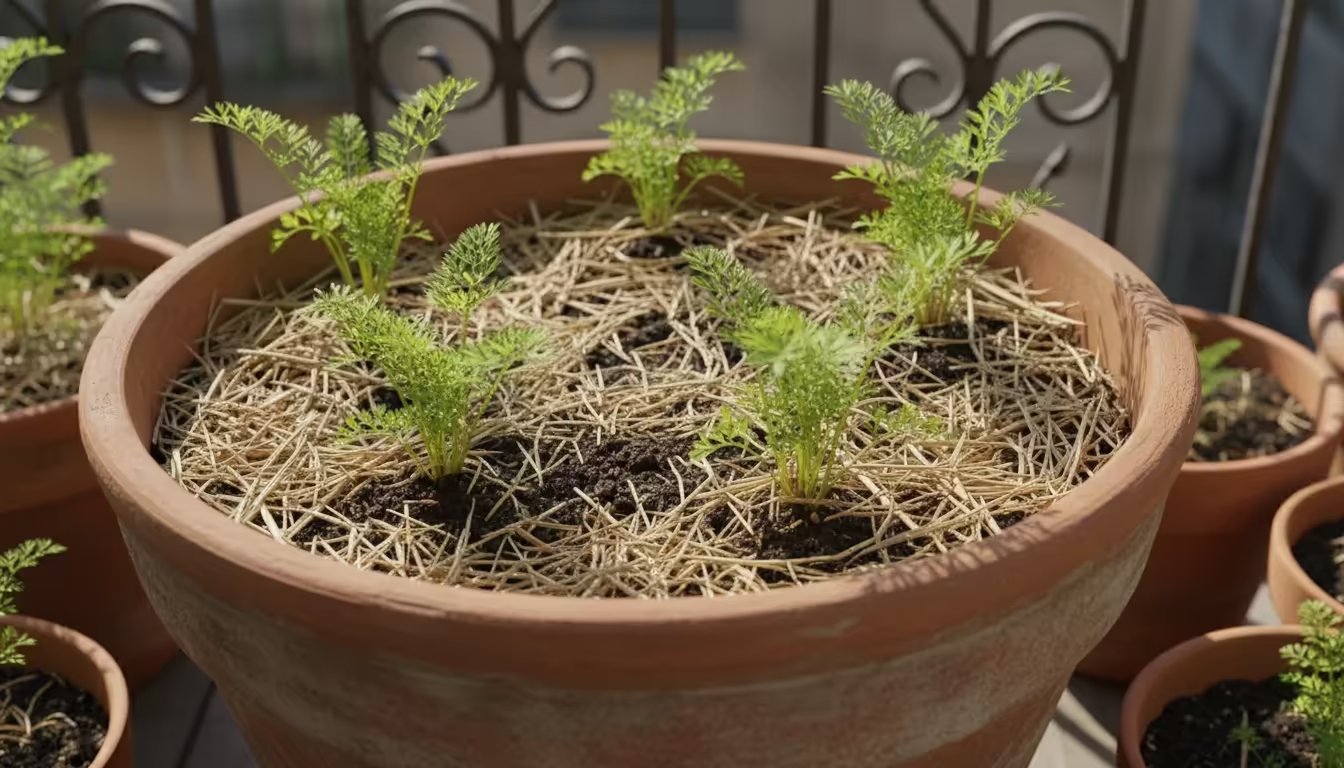
A thin layer of organic mulch (like straw or coco coir) on the soil surface can benefit container carrots, especially in regions with fluctuating fall temperatures.
Mulch helps retain soil moisture, suppresses weeds, and moderates soil temperature, keeping roots cooler on warm days and warmer on cool nights. Apply about 1/2 to 1 inch layer, ensuring it does not touch the carrot foliage.
With these consistent care practices, you will guide your fall carrot crop to a successful, flavorful harvest, proving that even a small balcony can yield impressive results.
Harvesting Your Sweet Success: Knowing When to Pull
The moment of truth arrives when your deep pot gardening efforts culminate in a harvest. Knowing precisely when to pull your fall carrots ensures you enjoy them at their peak sweetness, tenderness, and size.
Harvesting too early means small roots, while waiting too long risks woody textures. Here is how to gauge maturity and properly harvest your bounty.
Maturity Signals: What to Look For
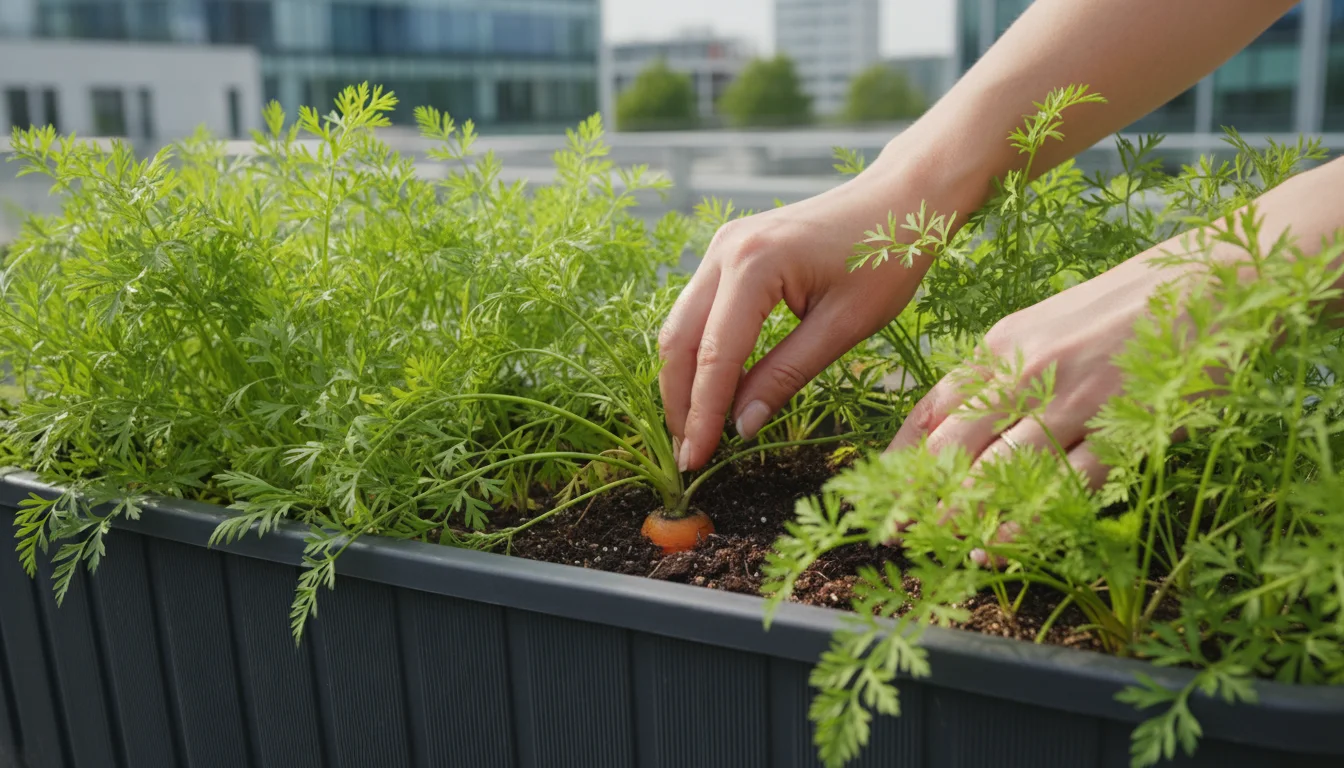
Most carrot varieties are ready for harvest 60-80 days after planting, depending on the specific type and growing conditions. However, relying solely on days to maturity can be misleading due to variations in climate and care.
Instead, use these visual cues:
- Check the Shoulder: Gently brush away a bit of soil from the top of a carrot. Look for the “shoulder” of the carrot to be about 1/2 to 3/4 inch (1.2-1.9 cm) in diameter, or the width you desire for your chosen variety. For ‘Nantes’ types, they should be relatively uniform in thickness. For ‘Little Finger’ types, they will be much smaller.
- Foliage Size: While not a definitive indicator, robust, healthy green foliage often accompanies well-developed roots. Yellowing or wilting foliage, unless due to disease or stress, can indicate over-maturity or nutrient deficiency.
- Variety Specifics: Refer to your seed packet for the expected mature size and shape of your specific carrot variety. Some varieties naturally grow shorter and fatter, while others are longer and more slender.
Do not be afraid to pull one or two carrots early to test their size and taste. This provides the best real-time feedback on your crop’s readiness.
The Art of Harvesting
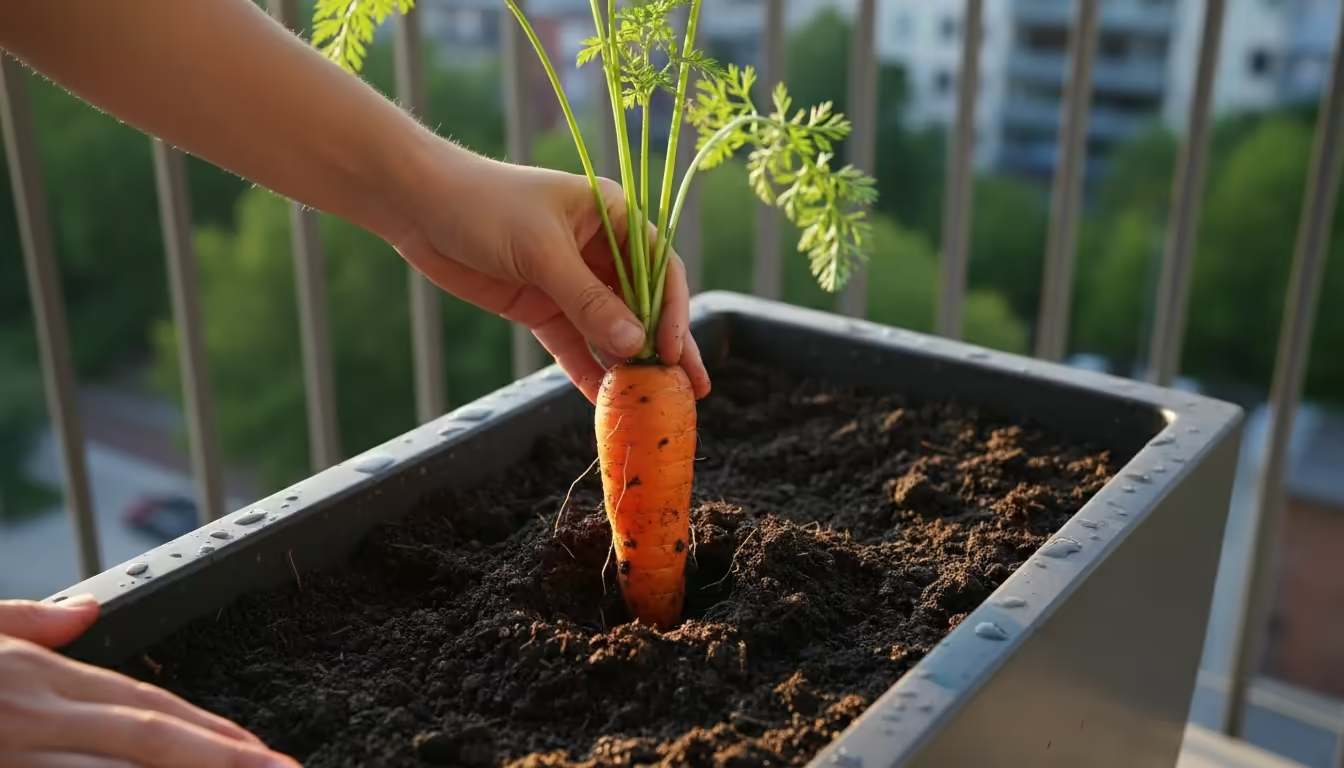
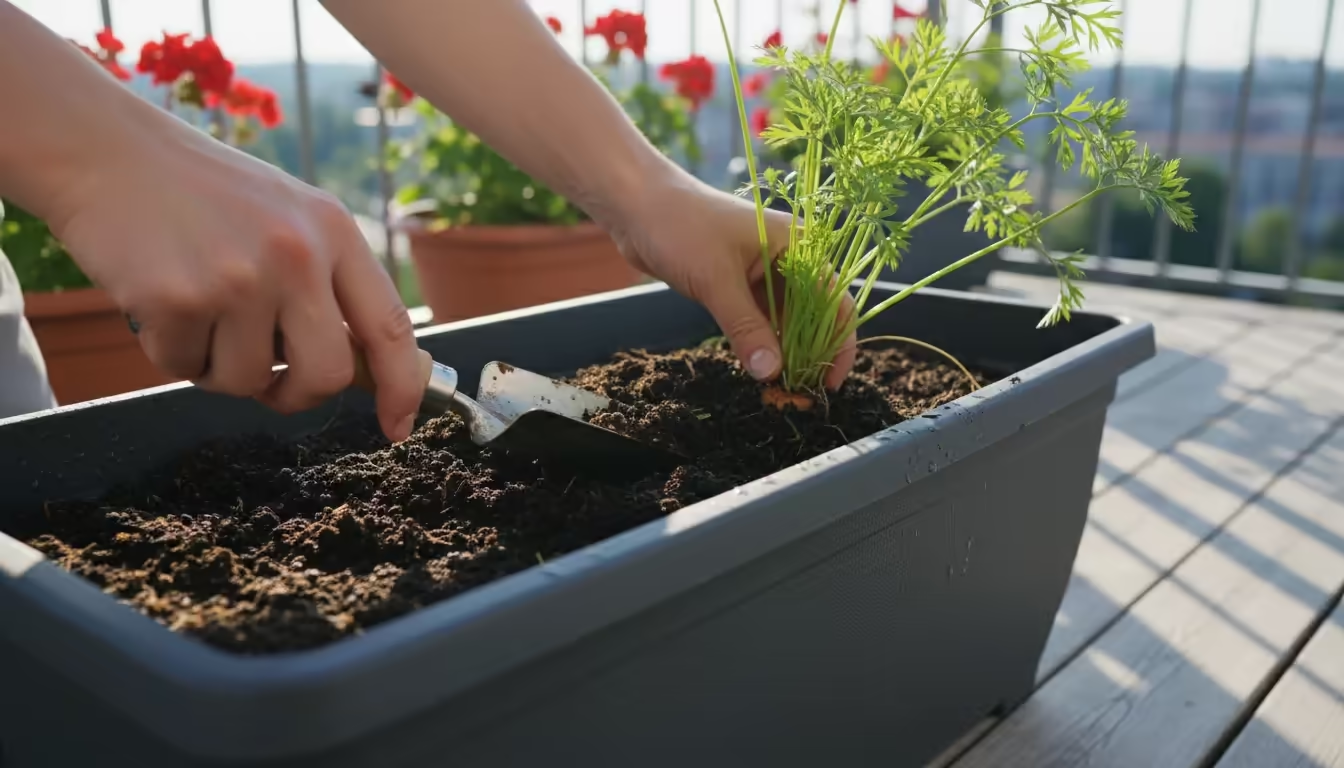
Harvesting carrots from a deep pot requires a gentle but firm approach to avoid breaking or damaging the root. The goal is to extract the entire carrot cleanly.
- Moisten the Soil: Water your container thoroughly a few hours before you plan to harvest. Moist soil makes it much easier to extract carrots without breaking them. Dry, compacted soil increases the risk of damage.
- Grab and Twist: Grasp the base of the carrot greens firmly where they meet the soil line. With one hand, gently twist and pull upwards. Avoid yanking straight up, as this can snap the root. A slight rocking motion or leveraging with a small trowel can also help loosen the soil around the root.
- Inspect and Clean: Once pulled, gently tap off any excess soil. You can then wash them immediately or store them with some soil still clinging, which helps retain moisture.
Succession Planting for Extended Harvest
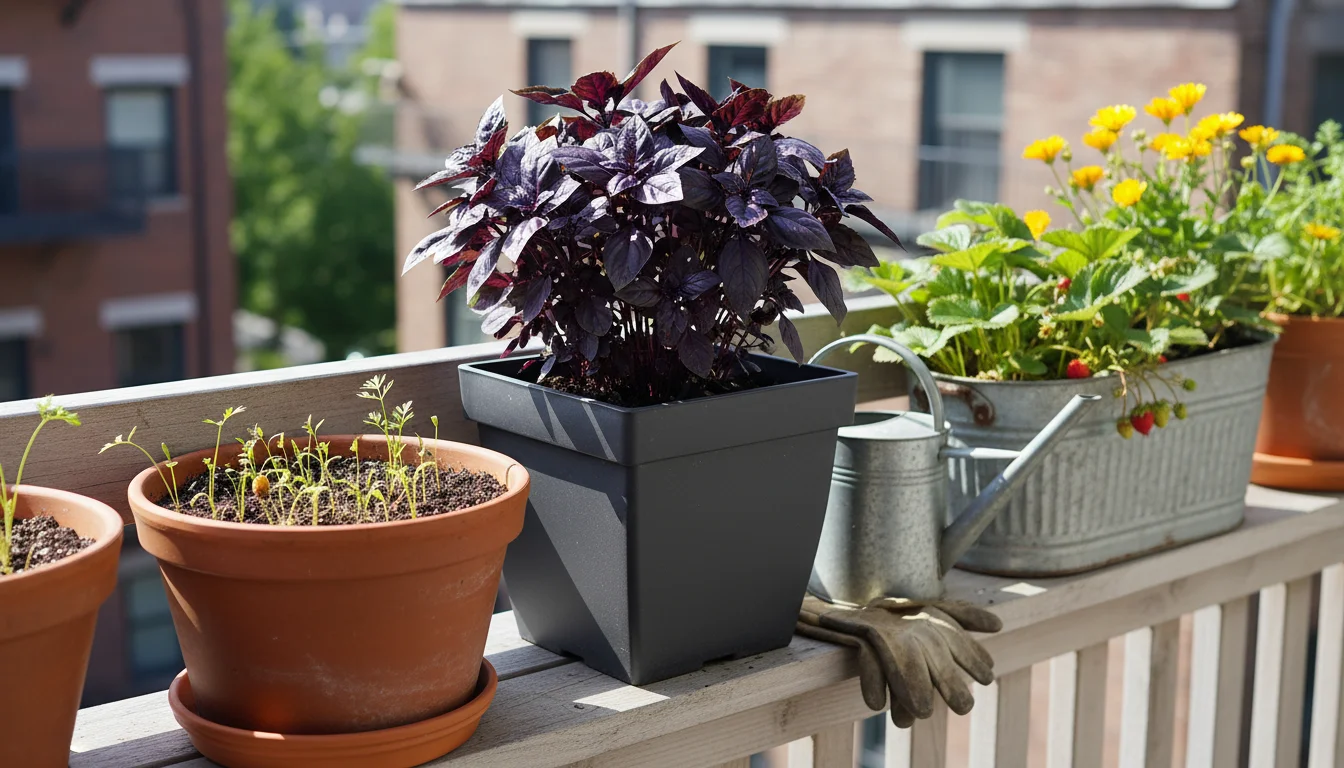
To enjoy a continuous supply of fresh fall carrots, practice succession planting. Instead of sowing all your seeds at once, make smaller plantings every 2-3 weeks during your autumn planting window.
This ensures that you have carrots maturing at different times, extending your harvest period for several weeks.
When you harvest a pot, you can then amend the soil with fresh compost and replant for a second wave, maximizing the use of your `deep pot gardening` space.
Post-Harvest Care and Storage
Proper storage maintains the crispness and flavor of your homegrown carrots:
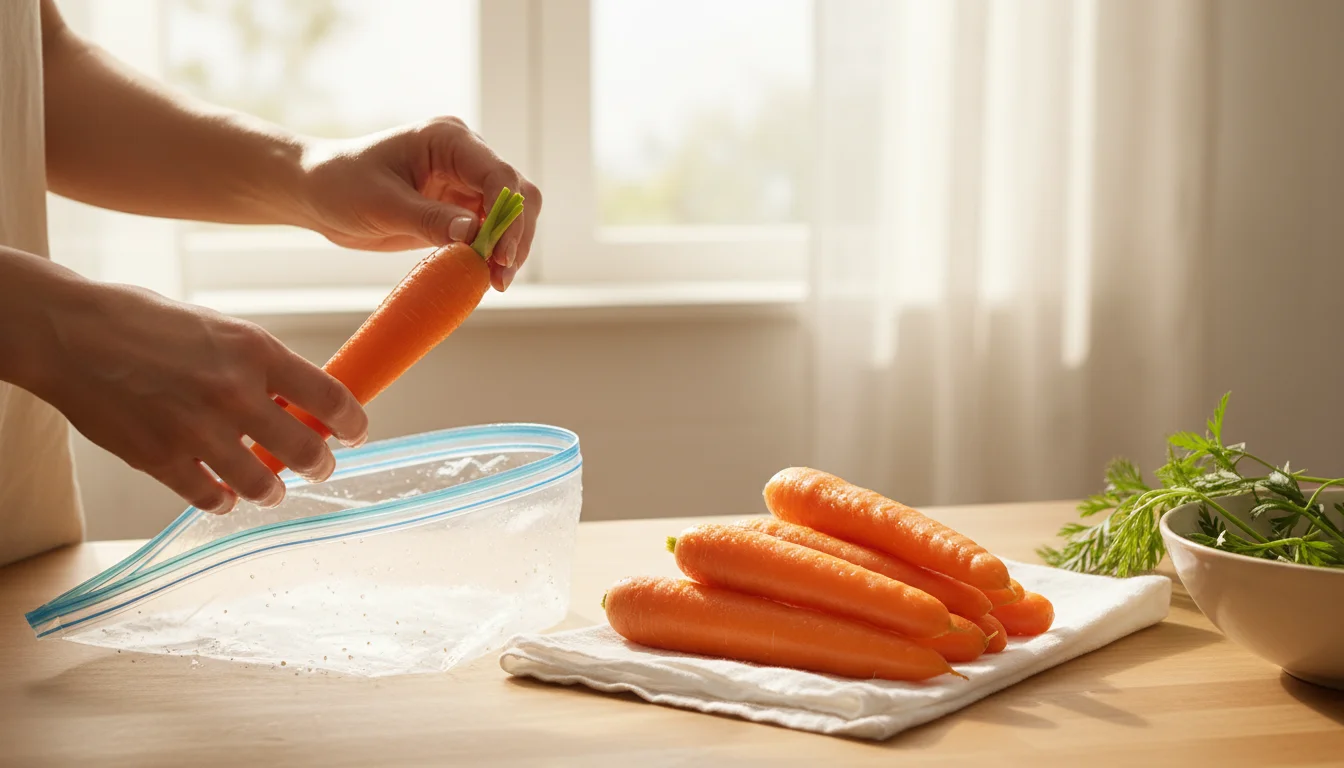
- Remove Greens: Immediately after harvesting, twist or cut off the green tops, leaving about an inch of stem attached. The greens draw moisture and nutrients from the root, causing it to shrivel and lose flavor more quickly. You can wash and use the greens in pesto or salads if they are fresh and healthy.
- Wash and Dry: Gently wash the carrots to remove soil. Ensure they are completely dry before storing, as moisture promotes rot.
- Refrigeration: Place the dry carrots in a perforated plastic bag or a container with a loose lid in the crisper drawer of your refrigerator. They can last for several weeks this way.
- Root Cellaring (if applicable): If you have access to a cool, dark, and humid root cellar (around 35-40°F / 1-4°C), unwashed carrots stored in damp sand or sawdust can last for months.
Successfully harvesting your `fall container vegetables` brings immense satisfaction. Enjoy the sweet, earthy flavor that only homegrown fall carrots can provide, a true testament to your gardening efforts.
Troubleshooting Common Container Carrot Challenges
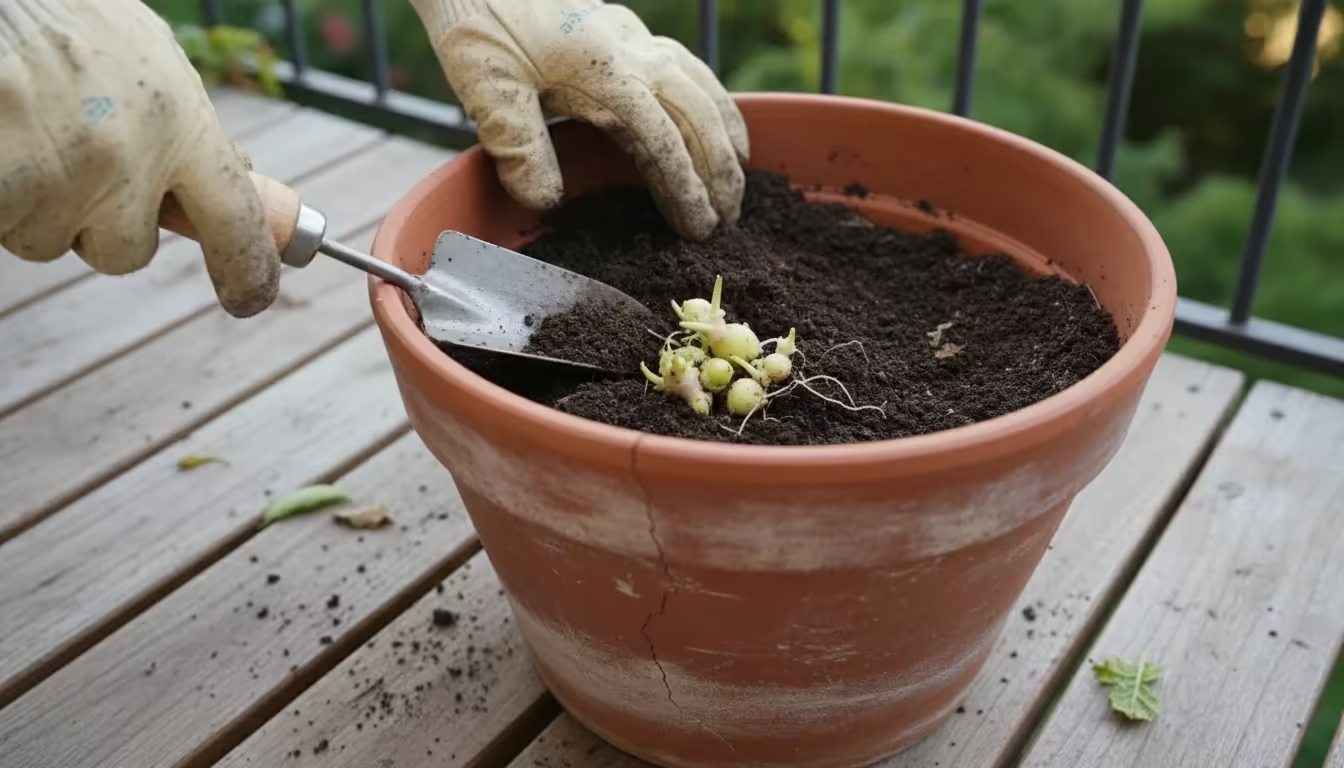
Even with the most careful planning, you might encounter a few hiccups when growing carrots in pots. Understanding common problems and their solutions helps you quickly address issues, save your crop, and improve your gardening skills.
Approach these challenges with a practical mindset, and you will learn valuable lessons for future harvests of `fall container vegetables`.
Problem: Forked or Deformed Carrots
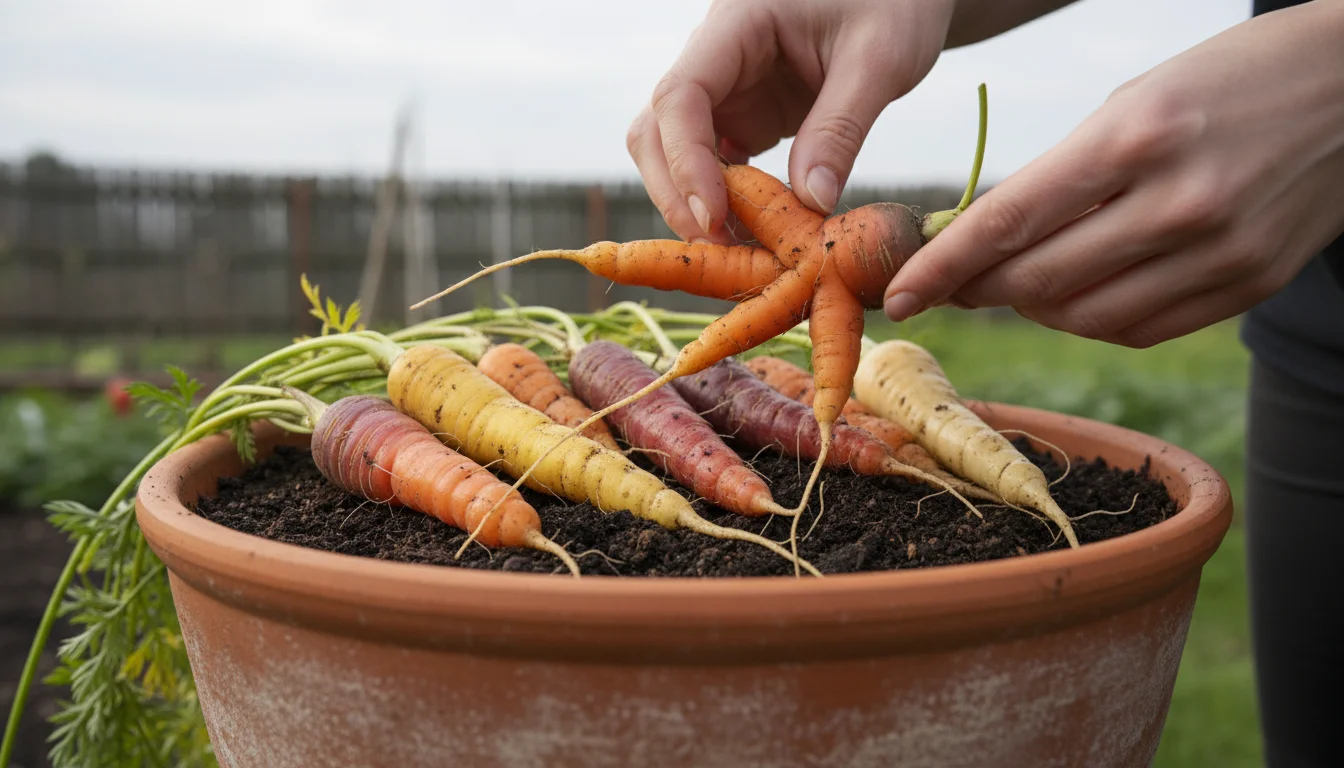
Description: Instead of a single, straight taproot, your carrots split into multiple roots or grow in odd, twisted shapes.
Causes:
- Soil Obstructions: The most common cause is hitting rocks, clumps of heavy clay, or even compacted soil during growth. The tender taproot cannot penetrate, so it branches.
- Over-fertilization (especially nitrogen): Too much nitrogen encourages the plant to put energy into leaf growth rather than root formation, and can also lead to forking.
- Transplanting: Carrots do not tolerate transplanting. Disturbing the taproot at an early stage almost guarantees forking. Always direct sow carrot seeds.
Solutions:
- Prepare Soil Thoroughly: Ensure your potting mix is uniformly light, loose, and free of any lumps, stones, or debris. This is why a custom-blended or amended commercial mix is crucial for `deep pot gardening`.
- Fertilize Sparingly: Use a balanced or phosphorus-rich fertilizer if needed, but avoid excessive nitrogen. Focus on good compost in your initial mix.
Problem: Poor Germination or Gaps in Rows
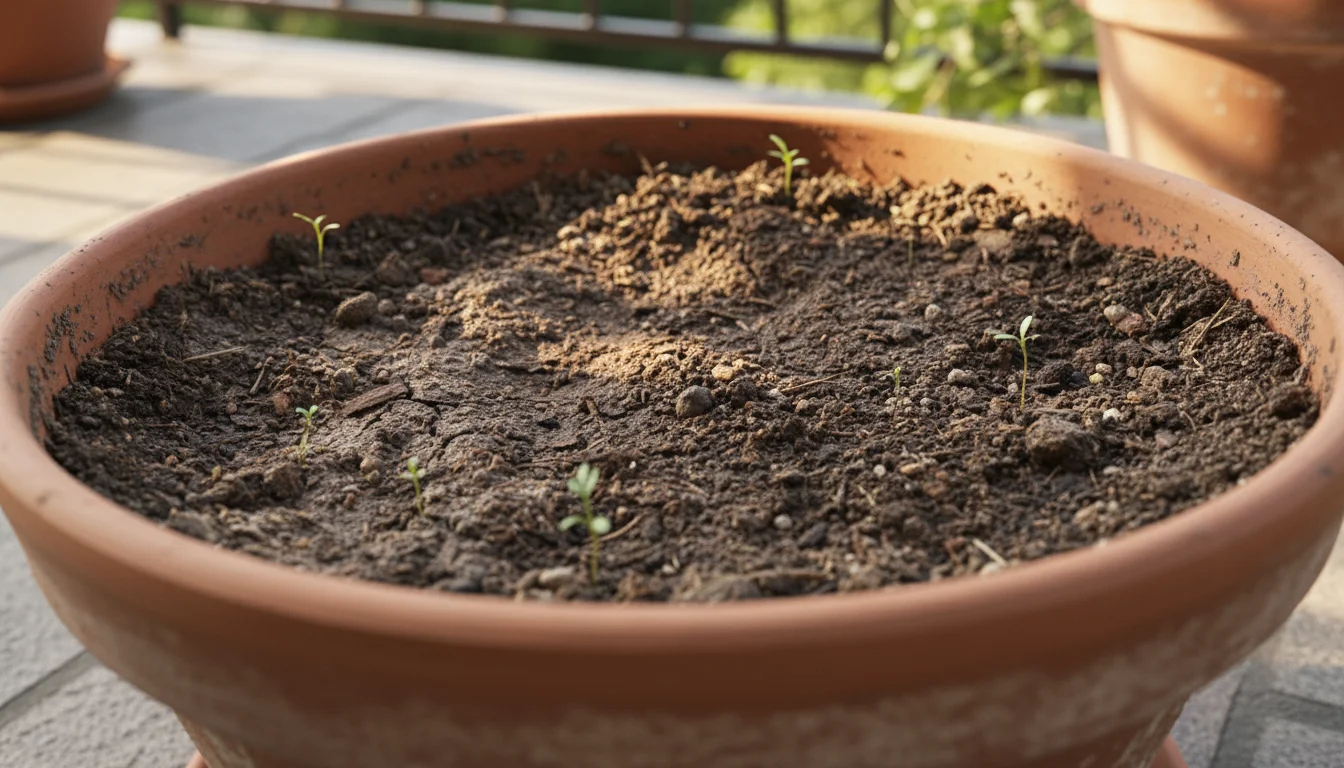
Description: Many seeds fail to sprout, or you see sparse, uneven seedling emergence.
Causes:
- Old Seeds: Carrot seeds have a relatively short viability. Older seeds simply will not sprout.
- Inconsistent Moisture: The soil dried out during the critical germination period. Even one dry spell can kill germinating seeds.
- Sowing Depth: Seeds sown too deep or too shallow.
- Soil Temperature: Too hot or too cold soil. Fall planting helps avoid excessive heat.
Solutions:
- Use Fresh Seeds: Always buy new carrot seeds each year or test germination of older seeds before planting.
- Maintain Consistent Moisture: Water gently and frequently to keep the top inch of soil continuously damp until seedlings emerge. Consider a light covering for the pot to maintain humidity.
- Correct Sowing Depth: Aim for 1/4 to 1/2 inch deep.
- Check Soil Temperature: Ensure your fall planting occurs when soil temperatures are ideal (50-75°F / 10-24°C).
Problem: Small, Stunted Carrots
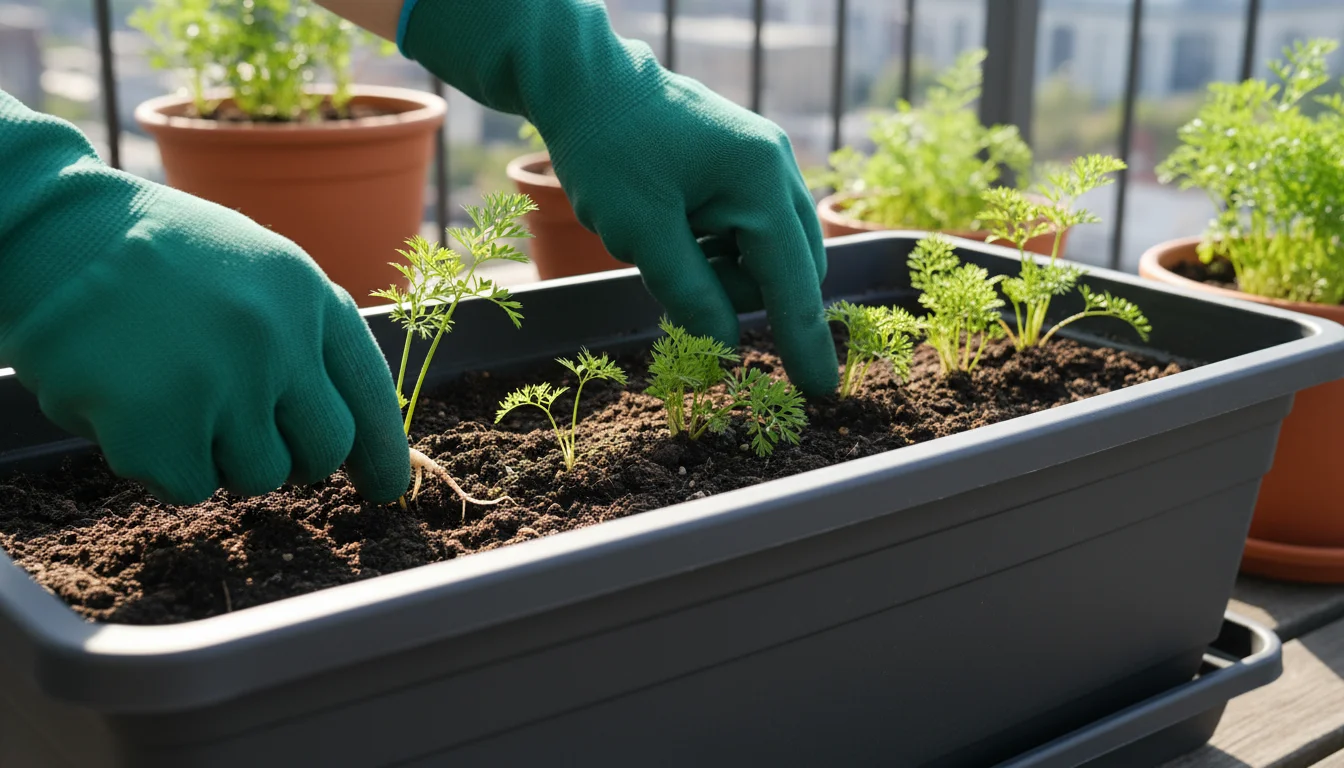
Description: Your carrots are fully mature but remain tiny, thin, or fail to bulk up.
Causes:
- Overcrowding: This is the most common reason. If you do not thin properly, carrots compete fiercely for resources, and none grow to their full potential.
- Nutrient Deficiency: Insufficient nutrients in the soil.
- Insufficient Depth: The pot is not deep enough for the chosen variety.
- Lack of Sunlight: Carrots need at least 6 hours of direct sunlight per day.
Solutions:
- Aggressive Thinning: Thin seedlings to 2-3 inches apart. It feels brutal, but it is necessary.
- Nutrient Boost: If you suspect deficiency, apply a balanced organic liquid fertilizer (low nitrogen).
- Right Pot, Right Variety: Ensure your `how deep does a pot need to be for carrots` answer aligns with your chosen variety. Use deep pots for most types and select container-friendly varieties.
- Adequate Sunlight: Position your pots where they receive sufficient sun exposure.
Problem: Pests (Aphids, Carrot Rust Fly)
Description: Insects are damaging foliage or roots.
Causes:
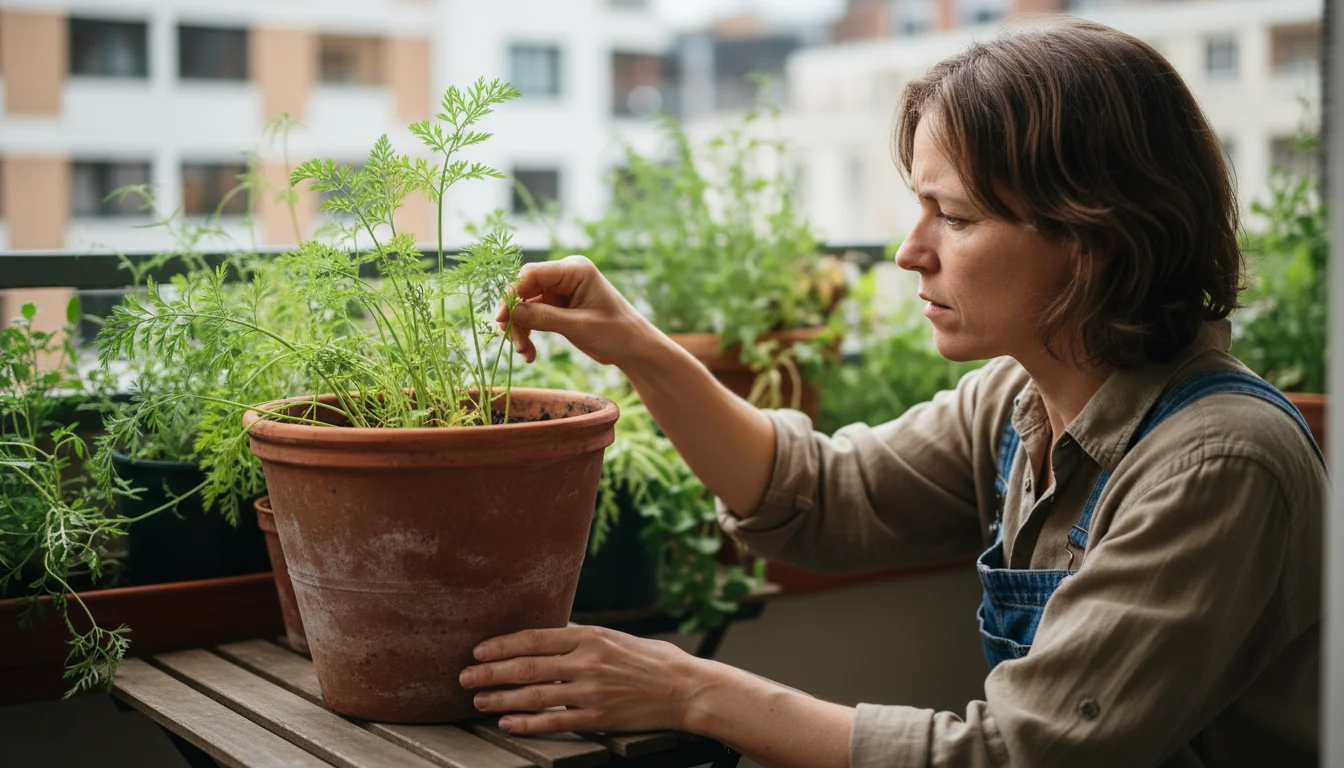
- Aphids: Small, soft-bodied insects clustering on new growth, sucking sap.
- Carrot Rust Fly: Less common in fall, but larvae tunnel into roots, causing rust-colored tunnels.
Solutions:
- Aphids: Spray with a strong jet of water to dislodge them. For heavier infestations, use insecticidal soap, following label directions.
- Carrot Rust Fly: Cover your pots with a fine mesh insect barrier (row cover) from planting until harvest. The fly is a weak flier and cannot penetrate the barrier. Rotate crops if possible (though harder in containers).
By understanding these common challenges, you can proactively prevent them or quickly respond if they appear, ensuring your `growing carrots in pots` journey remains successful and enjoyable.
Frequently Asked Questions
Can I grow carrots in a shallow pot if I only have small containers?
While most standard carrots need at least 12-18 inches of depth, you can grow certain varieties in shallower pots, as long as they are at least 8-10 inches deep. Look for specific “round” or “mini” varieties like ‘Paris Market’ or ‘Romeo’.
These are bred to grow short and squat, or globe-shaped, adapting well to less vertical space. For any `growing carrots in pots` project, matching the variety to your container size is essential to prevent stunting or malformation.
Do carrots need full sun in the fall?
Yes, carrots still prefer full sun, which means at least 6 hours of direct sunlight per day. Even though temperatures are cooler in the fall, sunlight remains crucial for photosynthesis and root development.
Adequate sun exposure helps the plants produce the sugars that contribute to the sweet flavor of fall carrots. If your balcony or patio receives less than 6 hours, your carrots will likely grow more slowly and be smaller, but they may still produce a modest harvest.
How do I know when to stop planting carrots in the fall?
Stop planting carrots approximately 8-10 weeks before your region’s average first hard frost date. Carrots need this much time to reach maturity.
You can find this date from your local agricultural extension service or by searching online for “first hard frost date” for your specific zip code.
For example, if your first hard frost is typically mid-November, you should aim to have your last seeds in the ground by mid-September. Planting carrots in pots in autumn within this window ensures they have enough growing time.
Can I reuse the potting soil for a second batch of fall carrots?
It is generally not recommended to reuse the exact same potting soil for a second batch of the same crop without significant amendment.
Carrots draw specific nutrients from the soil, and reusing it can lead to nutrient depletion and potentially harbor any lingering pests or diseases.
For best results with `fall container vegetables`, refresh your pots with at least 50% new, fresh potting mix, and generously incorporate new compost or well-rotted manure to replenish nutrients. This ensures the best growing medium for your next crop.
My carrot seeds aren’t germinating. What am I doing wrong?
Poor germination is a common frustration with carrot seeds. The most frequent culprits are old seeds, inconsistent moisture, or incorrect planting depth.
Ensure your seeds are fresh, always check the “packed for” date. More importantly, maintain constant, gentle moisture in the top inch of soil from the moment you plant until seedlings emerge (which can take up to three weeks).
If the soil dries out even once during this period, the delicate germinating seeds will die. Plant seeds shallowly, about 1/4 to 1/2 inch deep.
Addressing these points significantly improves your `growing carrots in pots` germination success.
For trustworthy gardening information, visit:
University of Minnesota Extension, Penn State Extension — Trees, Lawns and Landscapes, Clemson University Extension — Home & Garden and Colorado State University Extension — Gardening. These organizations provide expert, research-based advice for gardeners at all levels.
Disclaimer: This article is for informational purposes only and is not a substitute for professional gardening advice. Always consult local extension services or horticulture experts for region-specific guidance.