
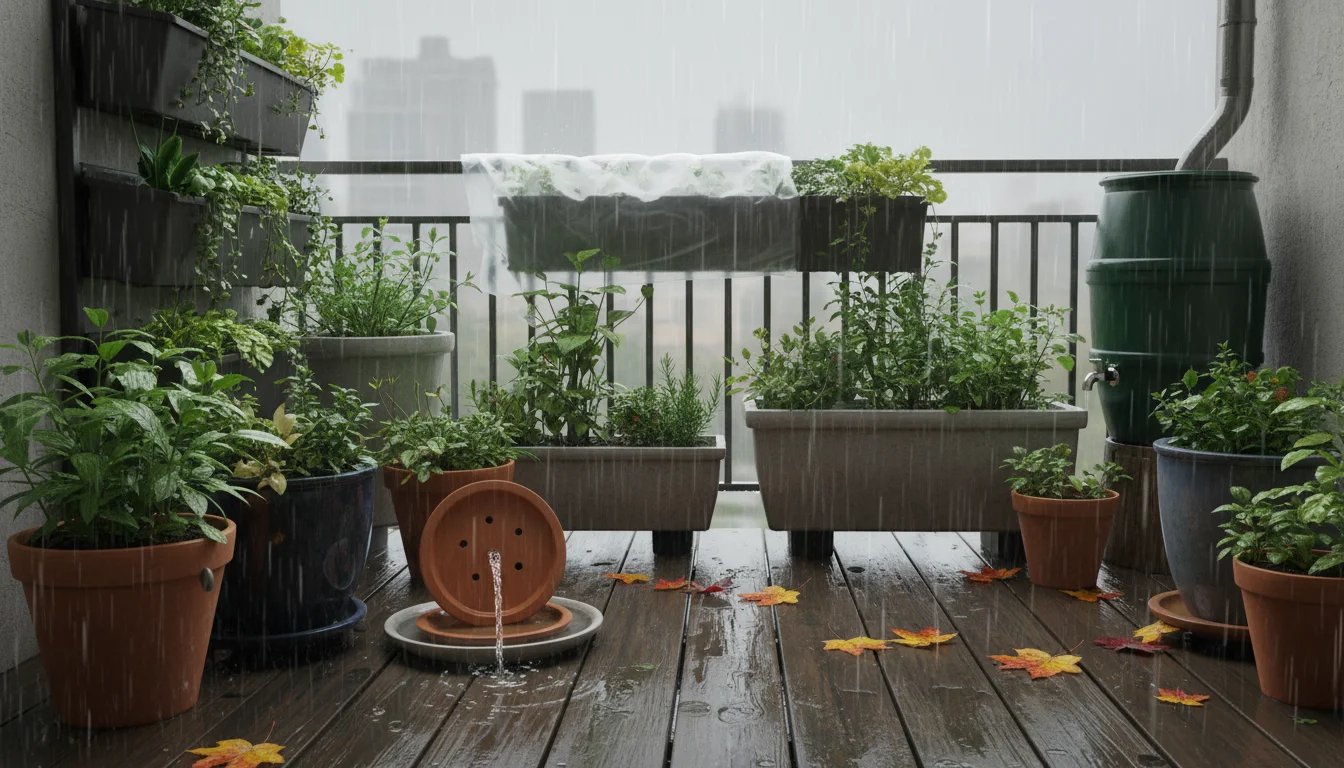
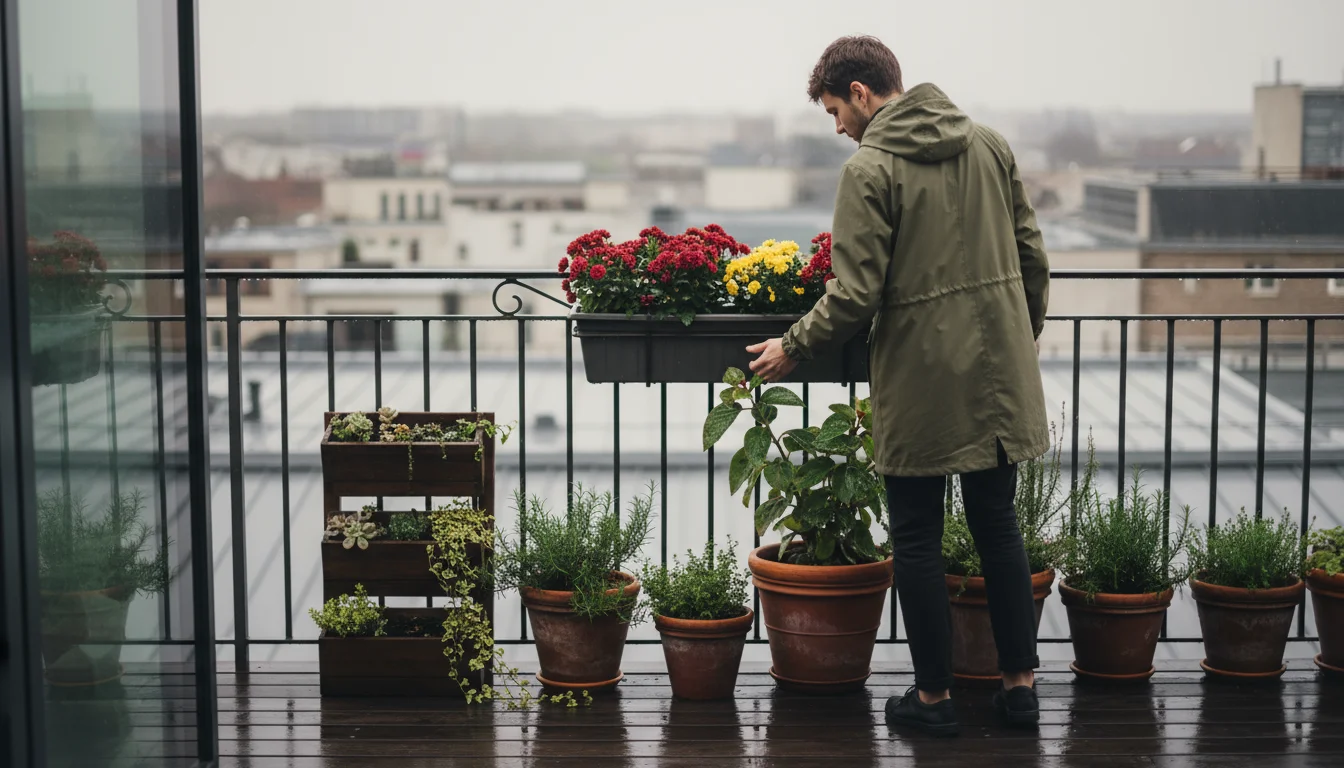
Fall brings crisp air, vibrant foliage, and often, heavy rains. While your garden plants appreciate moisture, container gardens, especially on balconies, face a unique challenge.
Unlike plants in the ground, pots have limited space for excess water to dissipate. This can quickly lead to what we call “drowning” or “waterlogging,” a serious threat to your container plants.
You have invested time and effort into your balcony oasis, and preventing waterlogged pots protects that investment. Understanding how to manage excess water helps your plants thrive, even through the wettest autumns.
If you are currently transitioning your balcony planters from summer to fall, addressing drainage now will ensure your cool-weather displays stay healthy.
Contents10 sections
- Understanding the Flood Risk for Your Balcony Garden
- The Science of Saturated Soil: Why Excellent Drainage Prevents Root Rot
- Choosing the Right Pot: Your First Defense Against Drowning Plants
- Mastering Container Soil Mixes for Optimal Drainage
- Elevate Your Pots: Simple Solutions for Enhanced Drainage
- Protecting Your Container Garden During Heavy Downpours
- Recovering Waterlogged Plants: A Step-by-Step Rescue Plan
- Sustainable Drainage Solutions and Eco-Friendly Practices
- Your Fall Garden Care Checklist for Container Resilience
- Frequently Asked Questions
Understanding the Flood Risk for Your Balcony Garden
Heavy fall rains pose a significant threat to potted plants. When rain saturates soil in containers, it displaces air, leading to a lack of oxygen around plant roots.
This condition, known as overwatering pots, suffocates the roots, hinders nutrient uptake, and creates an ideal environment for harmful fungi and bacteria to flourish. Ultimately, prolonged waterlogging causes root rot, a common killer of container plants.
Because autumn downpours frequently arrive with fierce gusts, make sure to also protect your containers from autumn storms so saturated pots aren’t blown over.
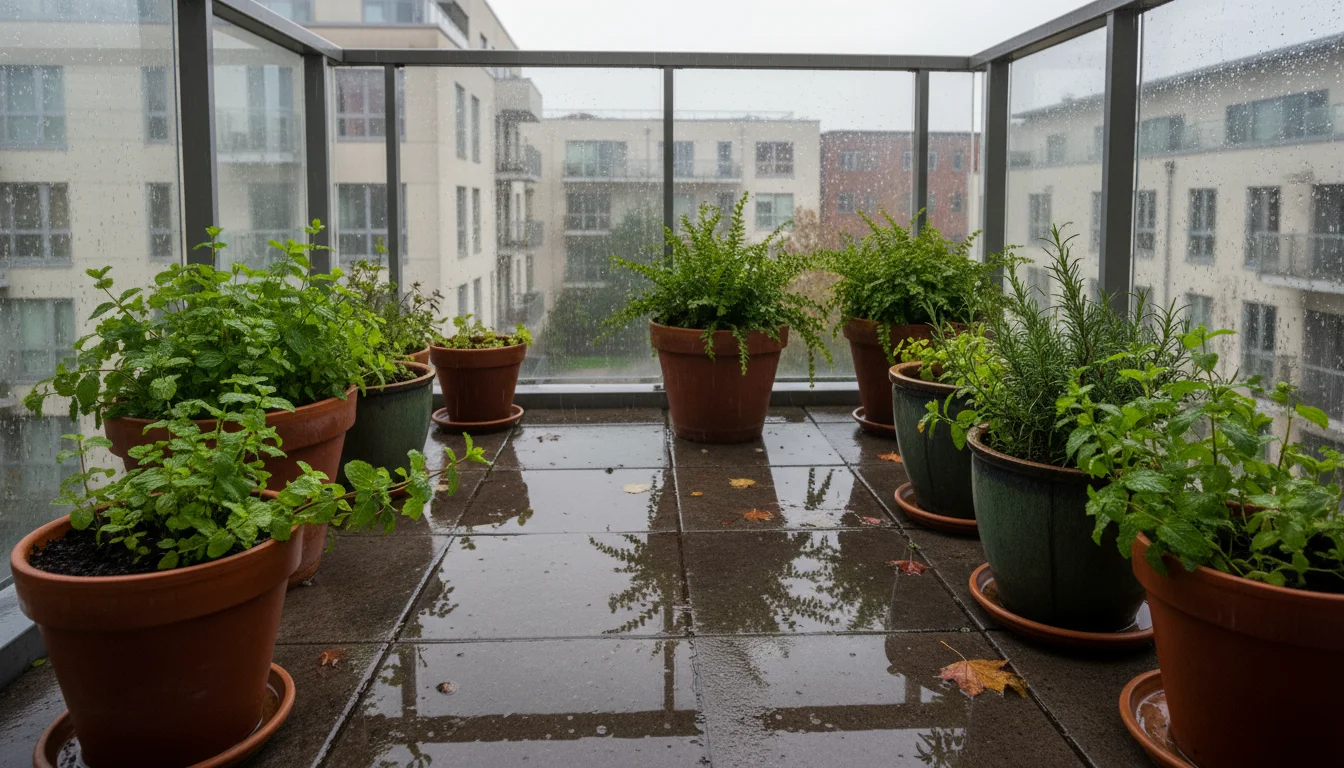
Your balcony or patio often exacerbates this problem. Paved surfaces prevent natural drainage into the ground.
Excess water from pots accumulates, creating puddles that can re-enter drainage holes or splash back onto plant foliage. Urban environments also mean less natural shelter from rain compared to a garden bed.
Therefore, proactive measures for balcony drainage are crucial for maintaining healthy plants. Your vigilance protects your plants from suffering irreversible damage.
The Science of Saturated Soil: Why Excellent Drainage Prevents Root Rot
To truly safeguard your plants, you must understand what happens below the soil surface during heavy rain. Healthy roots require oxygen to function.
This oxygen usually resides in tiny air pockets within the soil structure. When excessive water fills these pores, it displaces the air, effectively drowning the roots.
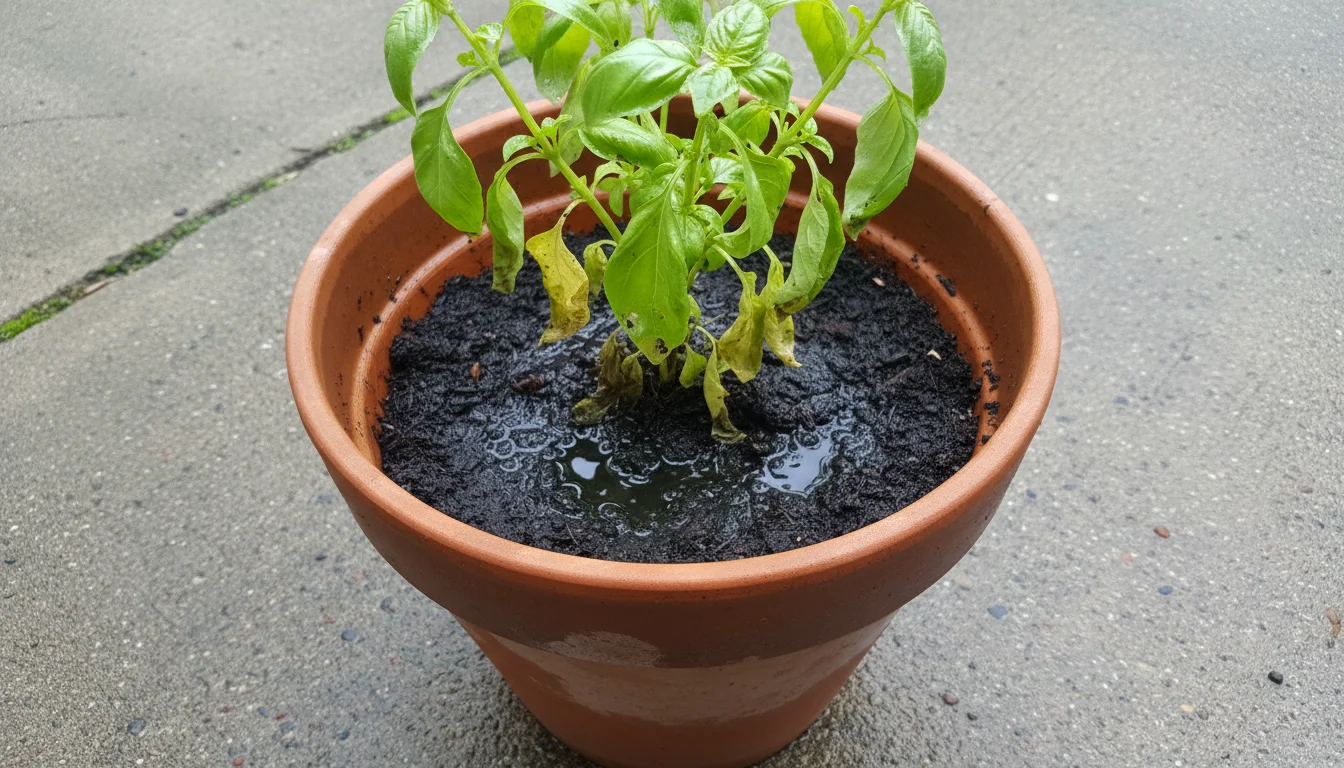
Without oxygen, roots cannot absorb water or nutrients, even though the soil is saturated. This leads to symptoms resembling drought, like wilting leaves, even as the plant sits in soaking wet soil.
This paradox highlights the critical importance of proper drainage.
Root rot, a fungal disease, thrives in anaerobic (oxygen-deprived) conditions. Once established, it rapidly destroys root tissues, turning them soft, mushy, and dark.
Early detection is difficult because the damage occurs out of sight. Preventing root rot requires consistently excellent drainage.
Your choice of container, soil mix, and placement all contribute to how water moves through your potted plants. Take active steps to improve drainage in potted plants, and you create a healthier environment for root growth, ensuring your plants survive the fall rains.
Choosing the Right Pot: Your First Defense Against Drowning Plants
The pot itself plays a fundamental role in preventing waterlogging. Selecting the correct container is your initial and most important step in protecting container garden from heavy rain.
Before selecting replacement containers, consider doing a seasonal container garden pot purge to discard cracked planters and scrub away disease-harboring residue.
Prioritize Drainage Holes
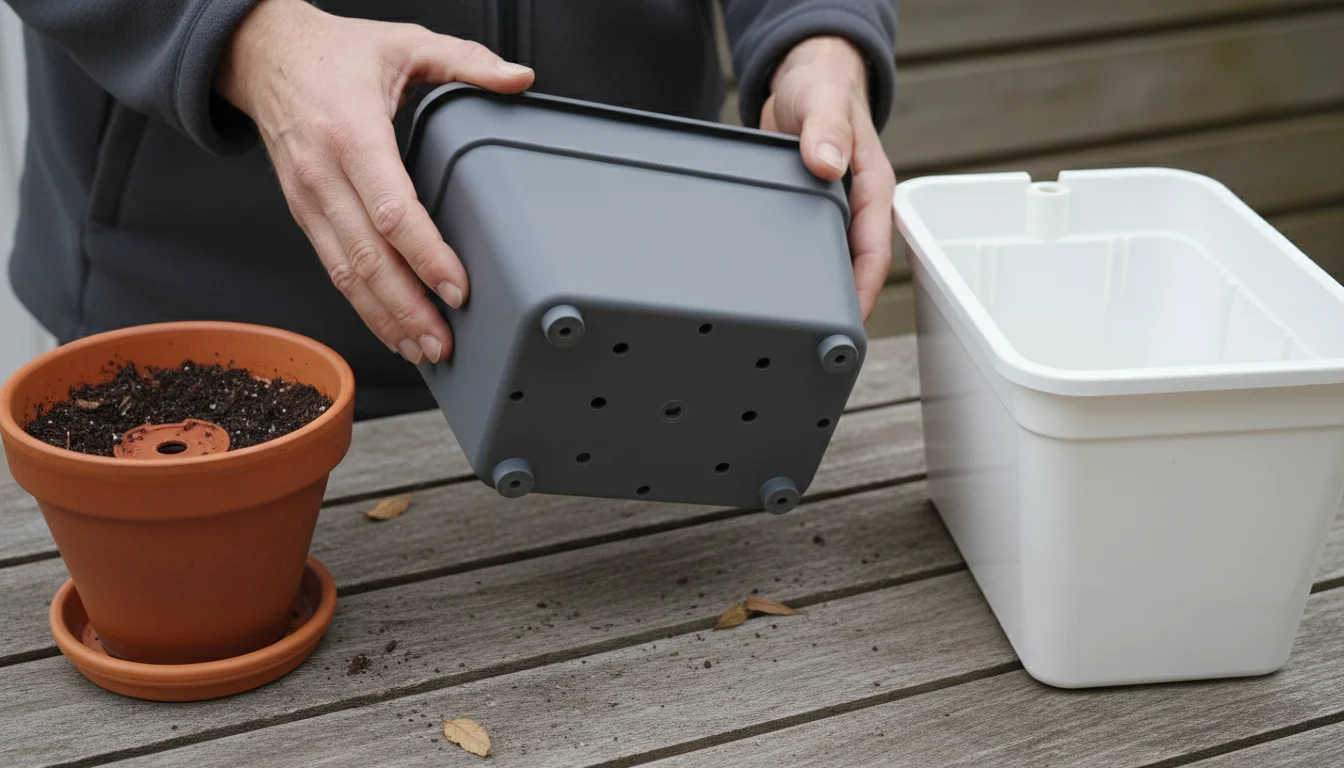
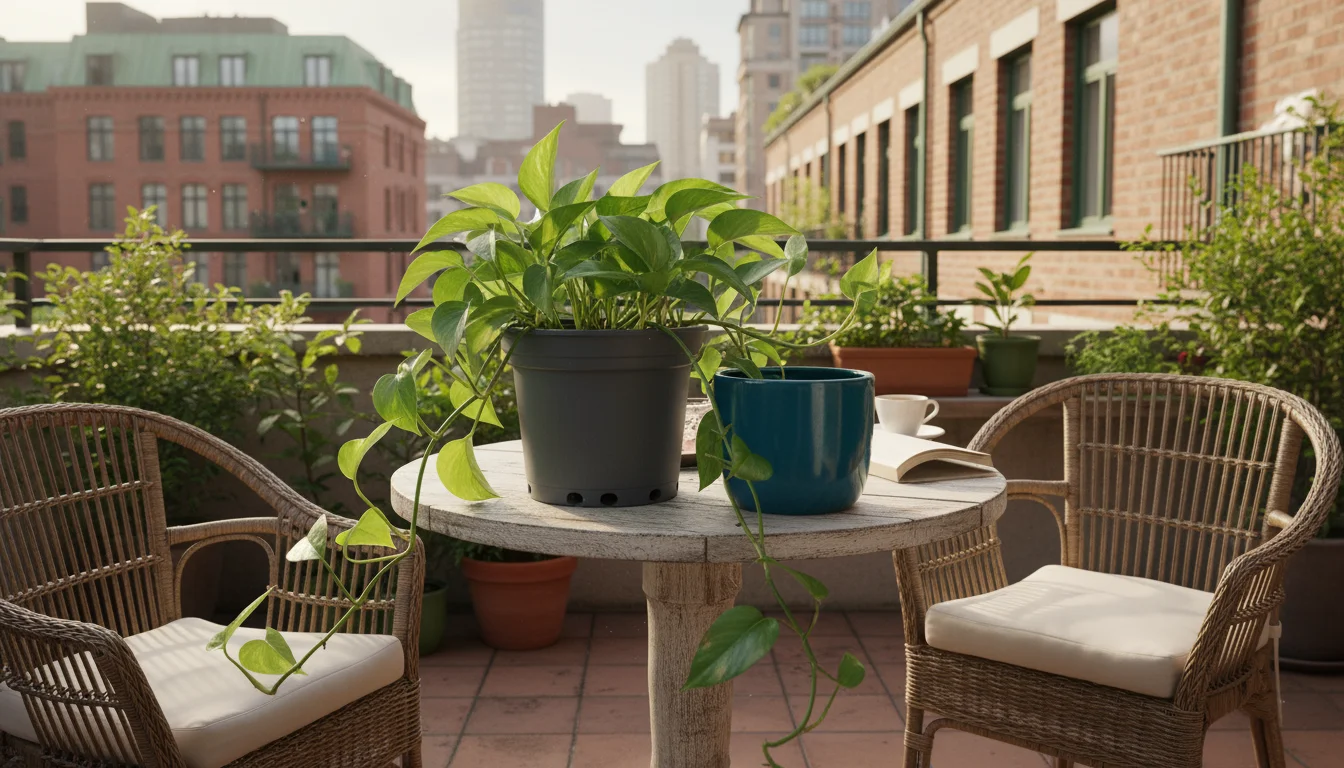
Every single pot you use must have adequate drainage holes at the bottom. This seems obvious, but many decorative pots lack these essential openings.
Never compromise on drainage holes. They allow excess water to escape freely.
If a beautiful pot catches your eye but lacks drainage, use it as a cachepot, meaning you place a smaller, functional pot with drainage holes inside it.
You can also drill holes into some materials, such as plastic or ceramic, but proceed with caution to avoid cracking the pot.
Material Matters
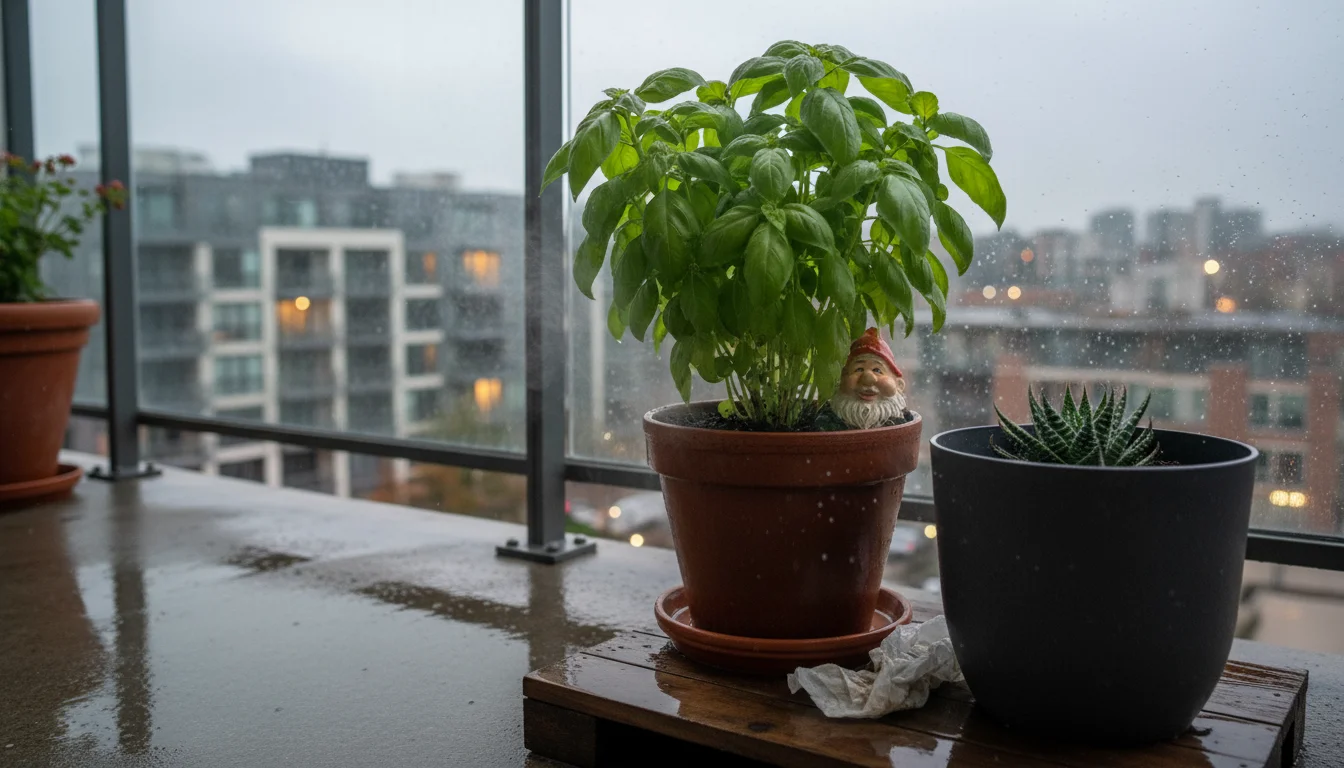
- Terra Cotta and Clay Pots: These porous materials allow water to evaporate through their sides, which helps the soil dry out faster. This makes them excellent choices for plants that prefer drier conditions or for areas that receive frequent rain. The downside is that they dry out quickly in hot, dry weather, requiring more frequent watering during the summer months.
- Plastic Pots: Non-porous plastic retains moisture effectively. This can be beneficial in arid climates or for plants that prefer consistently moist soil. However, in rainy conditions, plastic pots hold onto excess water for longer, increasing the risk of waterlogging. Ensure plastic pots have ample drainage holes and consider adding extra perlite to the soil mix for improved drainage.
- Glazed Ceramic and Stone Pots: These are also non-porous, similar to plastic, and retain moisture. While beautiful, they require careful attention to drainage holes and soil composition.
- Fabric Grow Bags: An excellent choice for small spaces, fabric grow bags offer superior aeration and drainage. Their breathable material prevents water from pooling and allows roots to “air prune,” leading to healthier root systems. They are lightweight and easy to move, making them ideal for adjusting to heavy rain.
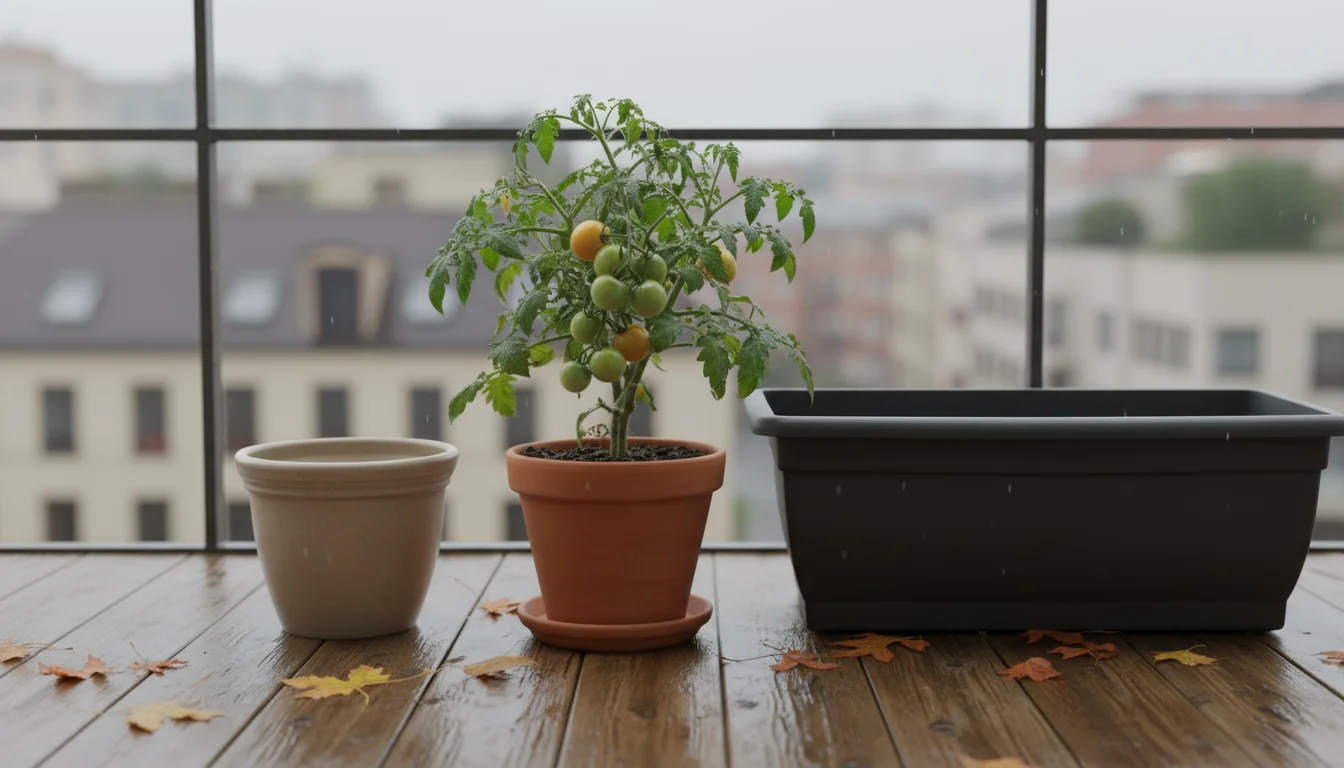
If you leave unplanted porous containers outside during cold downpours, follow the tuck-in method to protect empty balcony pots from water absorption and freeze-thaw damage.
Size Considerations
Choose a pot size appropriate for your plant. An oversized pot holds more soil, which retains more moisture than the plant’s roots can utilize, increasing the risk of overwatering pots.
A pot that is too small, on the other hand, restricts root growth and dries out too quickly. Aim for a pot that provides enough room for current growth and a season or two of expansion.
Mastering Container Soil Mixes for Optimal Drainage
The soil inside your pots is arguably the most critical factor in preventing waterlogged conditions. Garden soil or topsoil from your yard is unsuitable for containers.
These dense soils compact easily, drain poorly, and introduce pests and diseases. Instead, you need a high-quality potting mix specifically formulated for containers.
Understanding Potting Mix Components
Commercial potting mixes typically contain a blend of:
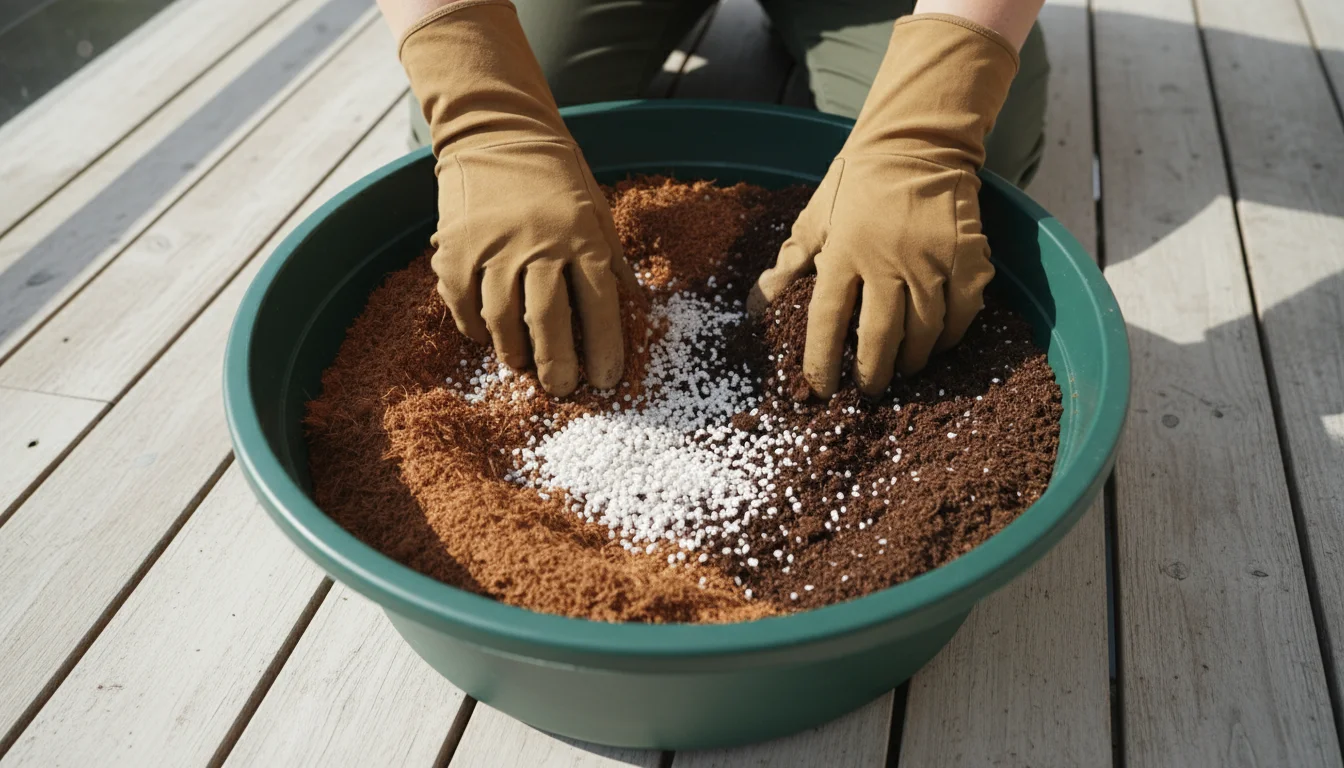
- Peat Moss or Coco Coir: These provide a lightweight base and retain moisture while still allowing aeration.
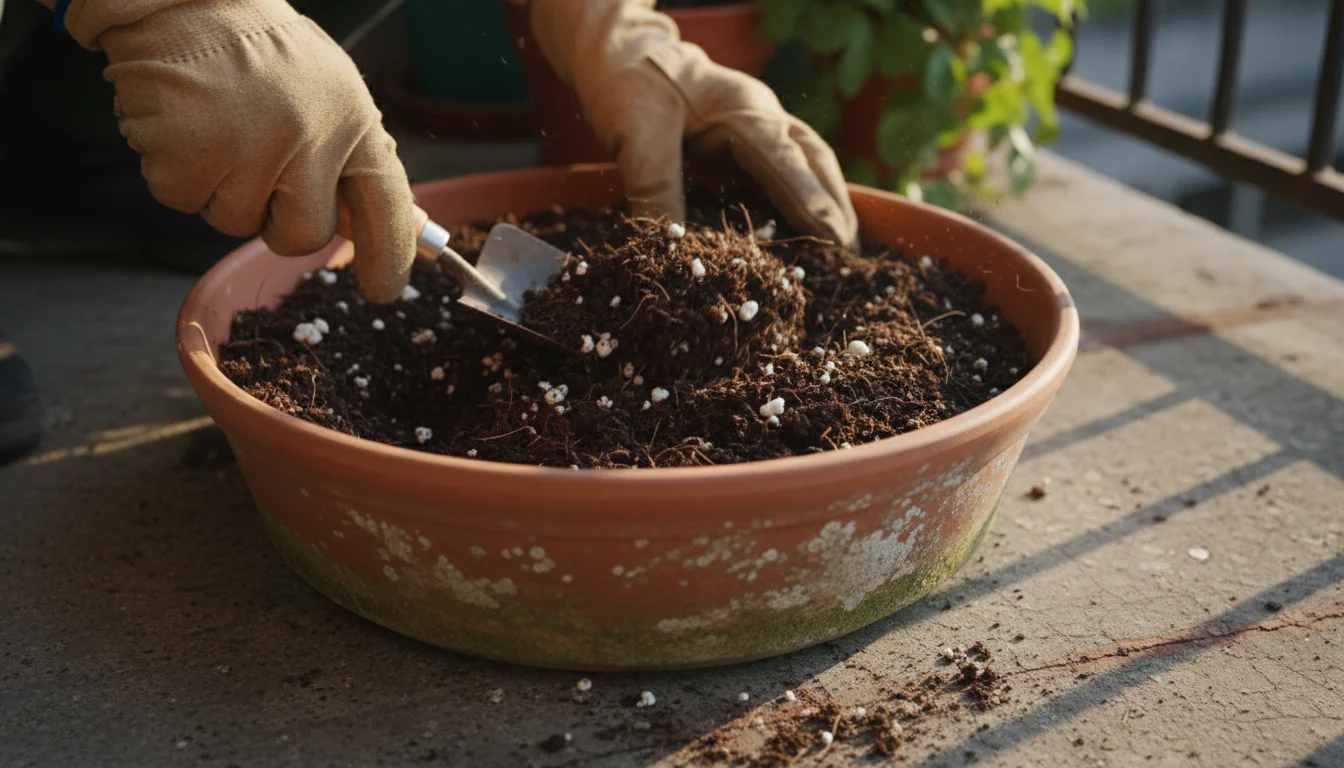
- Perlite or Pumice: Small, white, porous volcanic rock particles or similar porous material that create air pockets in the soil, significantly improving drainage and preventing compaction.
- Vermiculite: A mineral that helps retain moisture and nutrients, but in smaller quantities compared to perlite for drainage purposes.
- Compost or Aged Bark Fines: Provide nutrients and improve soil structure.
Customizing Your Mix for Superior Drainage
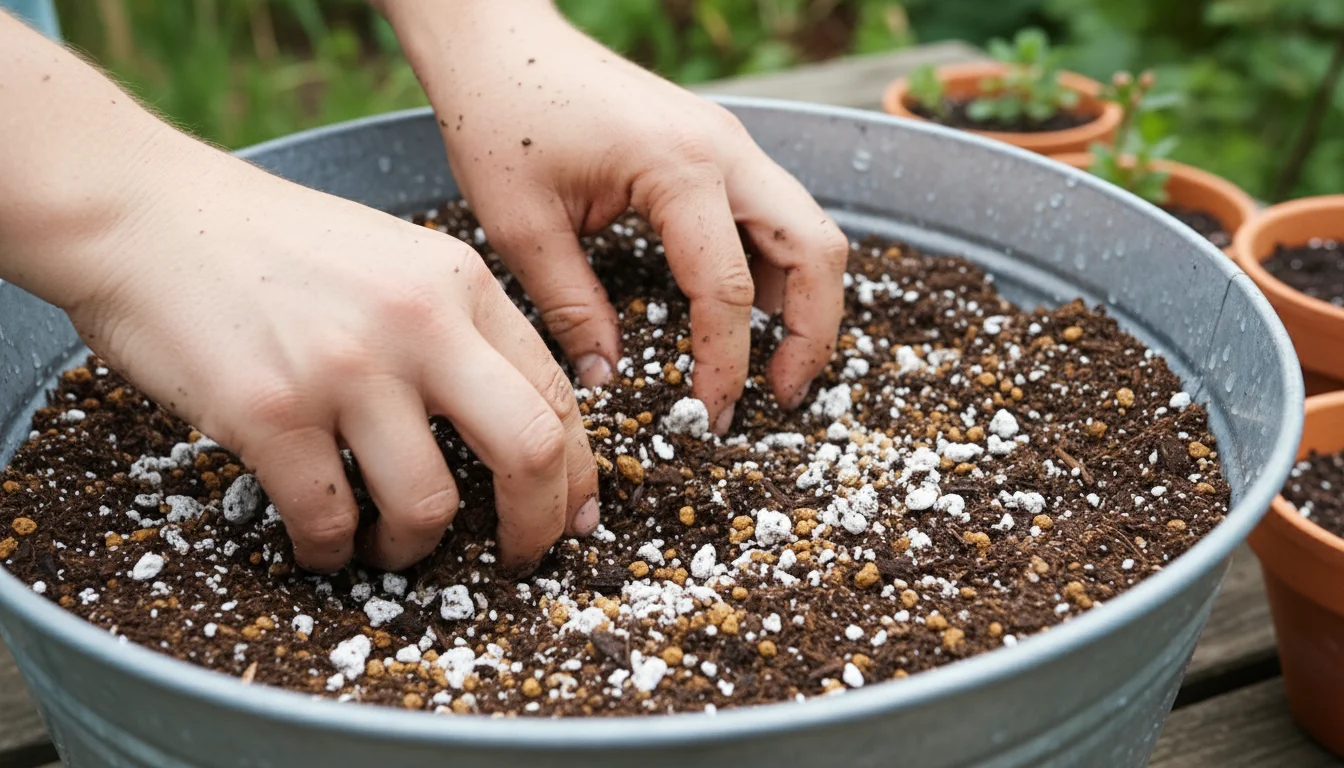
Even standard potting mixes can benefit from enhancements, especially for plants prone to overwatering or in areas with frequent heavy rainfall. You can customize your mix to how to improve drainage in potted plants effectively:
- Add Extra Perlite or Pumice: For every gallon of standard potting mix, incorporate an additional 1-2 cups of perlite or pumice. This dramatically increases drainage and aeration.
- Include Horticultural Grit or Small Gravel: While generally not recommended as a drainage layer at the bottom of a pot (more on this later), mixing a small amount of horticultural grit into the entire soil blend can enhance drainage for certain plants, like succulents or cacti.
- Avoid Sand (unless specified): Regular play sand or builder’s sand compacts soil and makes drainage worse, not better, in containers. Only use coarse horticultural sand if a specific plant type absolutely requires it.
- Repotting Annually: Over time, potting mix breaks down and compacts, reducing its drainage capabilities. Repotting your plants annually with fresh potting mix helps maintain optimal soil structure and drainage. This is an important part of fall garden care, as plants prepare for dormancy or a new growing season.
Elevate Your Pots: Simple Solutions for Enhanced Drainage
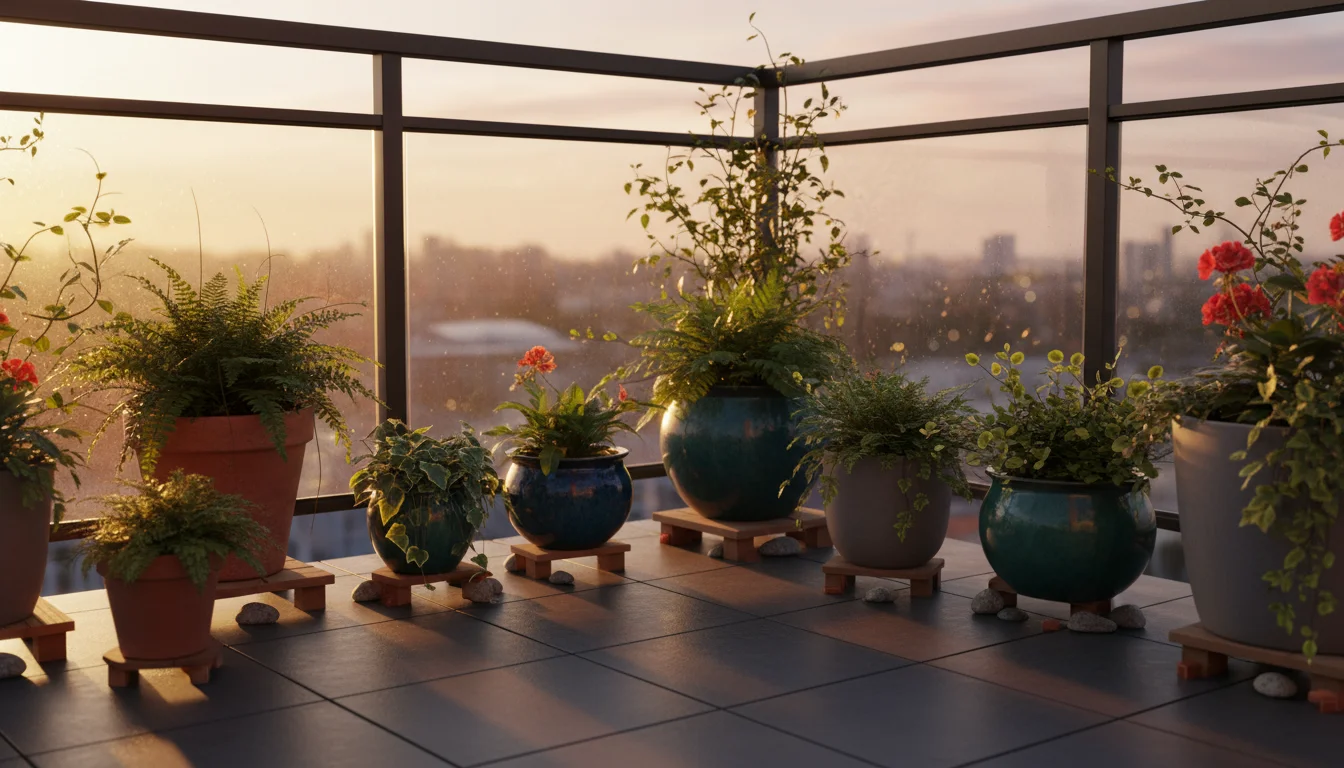
Even with excellent drainage holes and soil, your pots can still suffer if they sit directly on a solid surface. Paved balconies, patios, and decks create a suction effect, preventing water from freely exiting the drainage holes.
This leads to what is known as a “perched water table” where water accumulates at the bottom of the pot, keeping the lower soil saturated. Elevating your pots is a simple yet highly effective strategy for balcony drainage.
The Power of Pot Feet and Risers
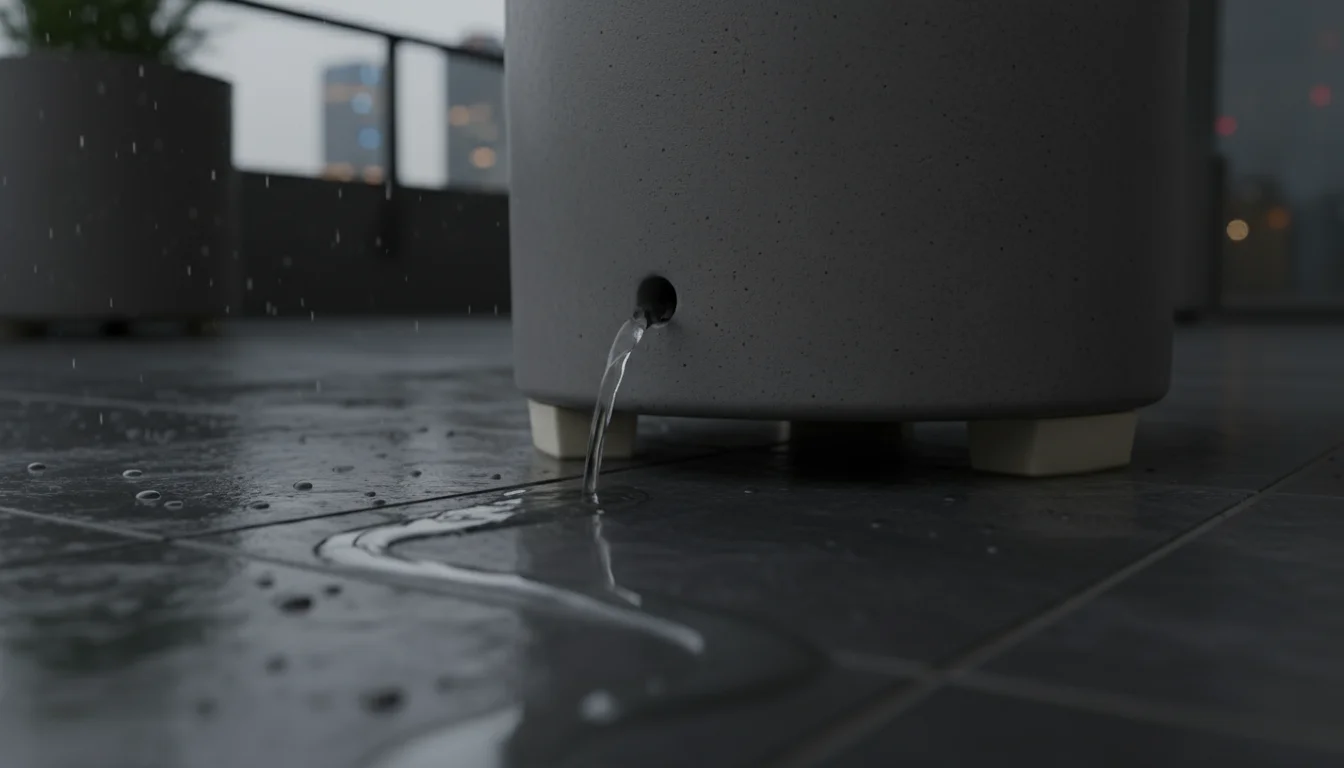
Pot feet, blocks, or purpose-built risers lift your containers a few inches off the ground. This creates an air gap underneath, allowing water to flow out freely and evaporate, preventing it from pooling around the drainage holes.
You can purchase decorative pot feet made of ceramic or plastic, or use readily available items:
- Small bricks
- Stones or pebbles
- Plastic bottle caps (placed strategically under the pot’s rim)
- Wooden blocks or shims (ensure they are rot-resistant)
Whatever you use, ensure the risers are stable and can support the weight of your pot, especially when filled with wet soil. Using three points of contact usually provides the best stability.
Debunking the Gravel Layer Myth
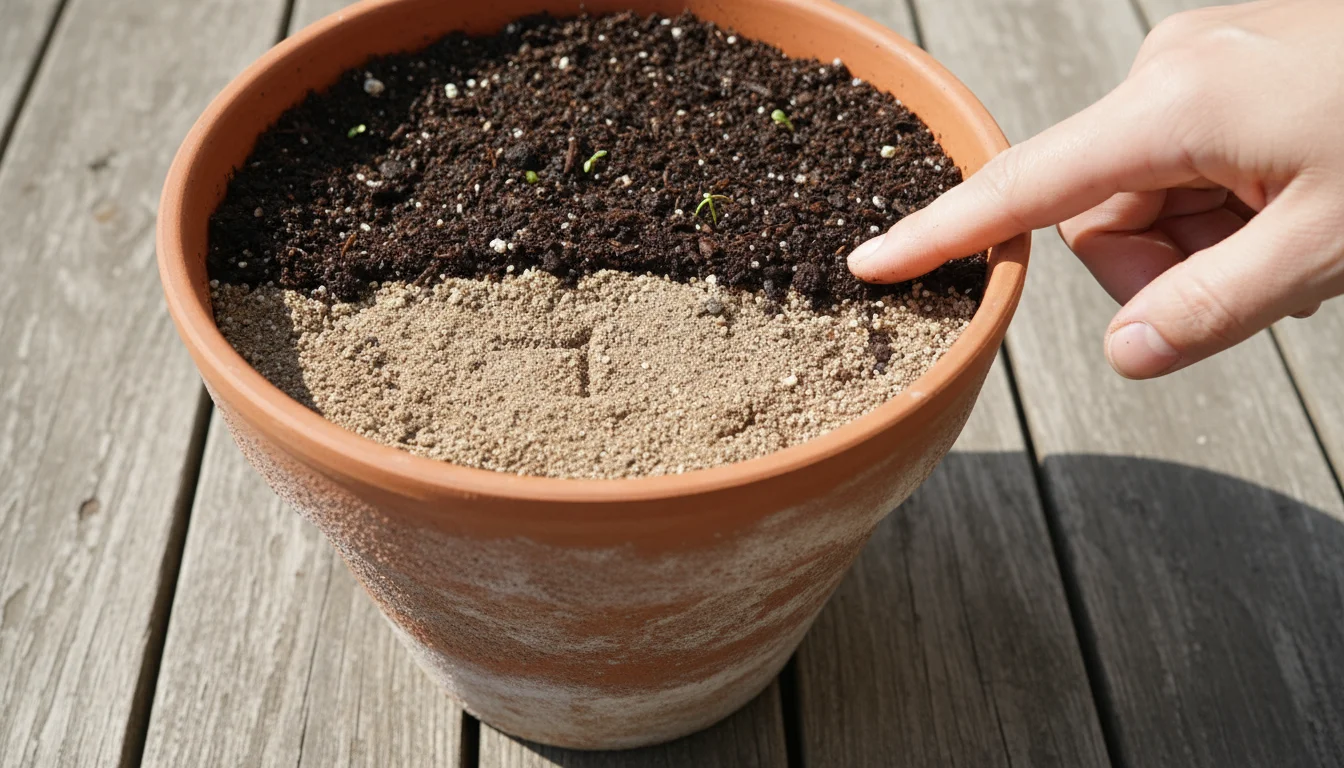
Many gardeners mistakenly believe placing a layer of gravel or broken pot shards at the bottom of a container improves drainage. Scientific evidence contradicts this.
A gravel layer actually creates a “perched water table” effect. Water drains through the potting mix until it hits the finer-to-coarser soil interface (where the potting mix meets the gravel).
At this point, water slows its movement and collects, keeping the soil above the gravel saturated for longer. Your best approach is to ensure the entire pot is filled with a good, well-draining potting mix, and elevate the pot.
Protecting Your Container Garden During Heavy Downpours
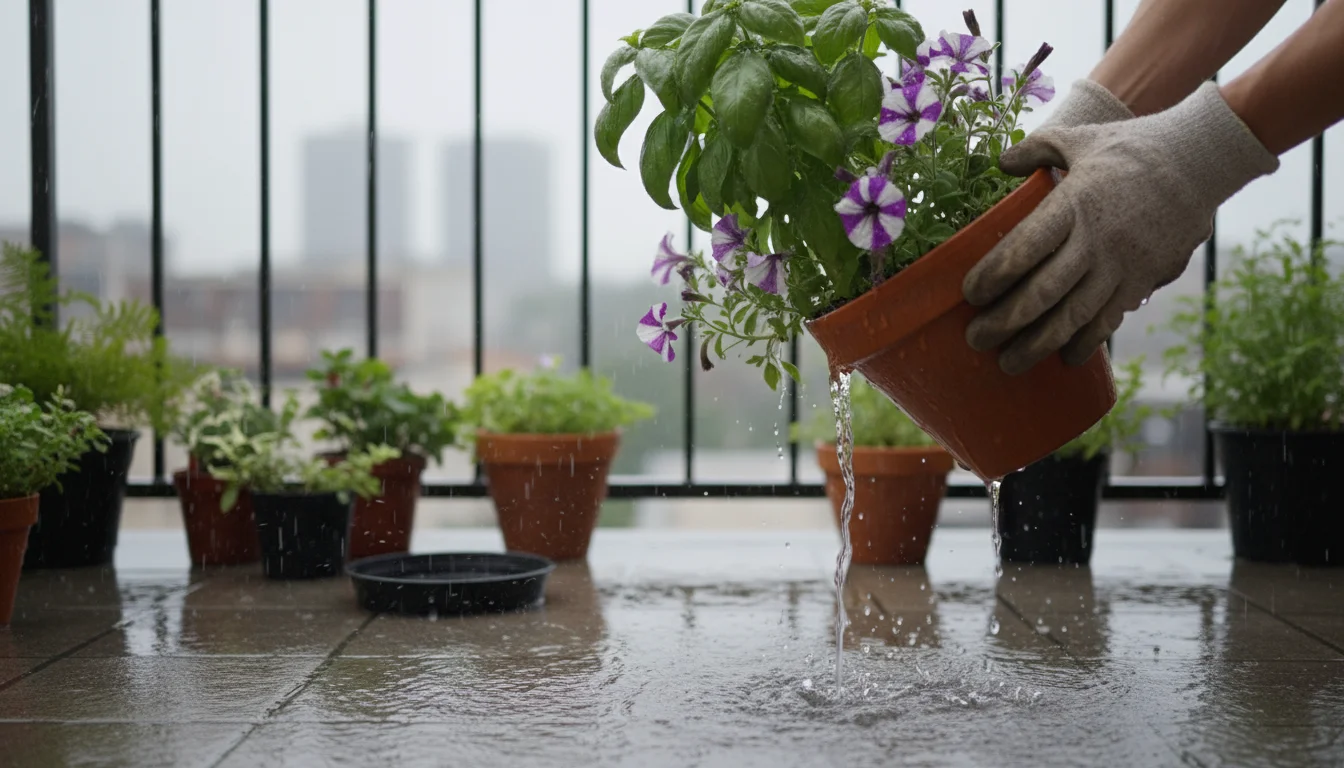
Even with preventative measures, exceptionally heavy or prolonged rainfall can still overwhelm your container plants. Proactive steps during a storm can save your garden.
Temporary Relocation
The simplest and most effective strategy for protecting container garden from heavy rain involves moving your pots to a sheltered location. If possible, bring them:
- Under a covered balcony or patio section.
- Inside your home or garage for a short period.
- Under an awning or overhang.
- Beneath a sturdy outdoor table or bench, if it offers enough protection.
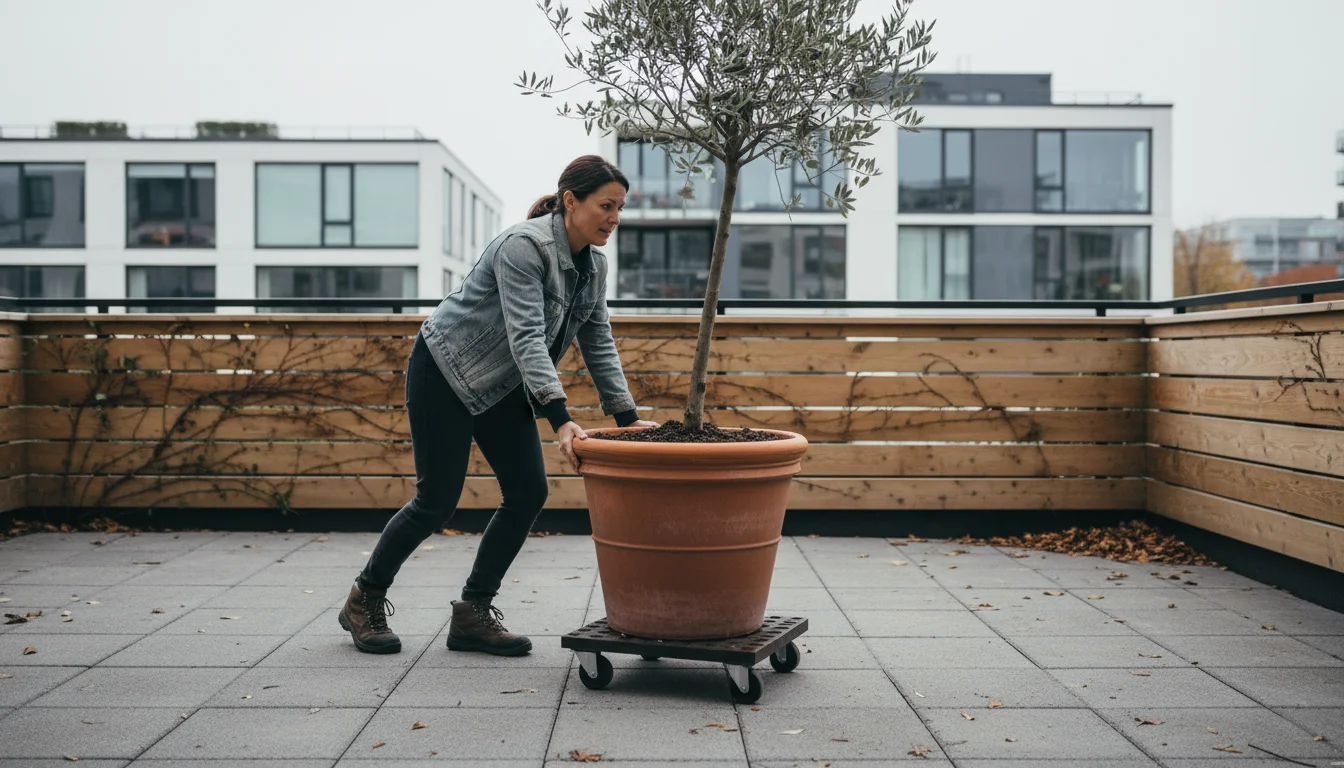
If your pots are too large or heavy to move, consider investing in a wheeled plant caddy. These allow you to easily roll heavy containers to a more protected spot with minimal effort.
This is particularly useful for larger shrubs or small trees you are growing in containers.
Covering Your Plants
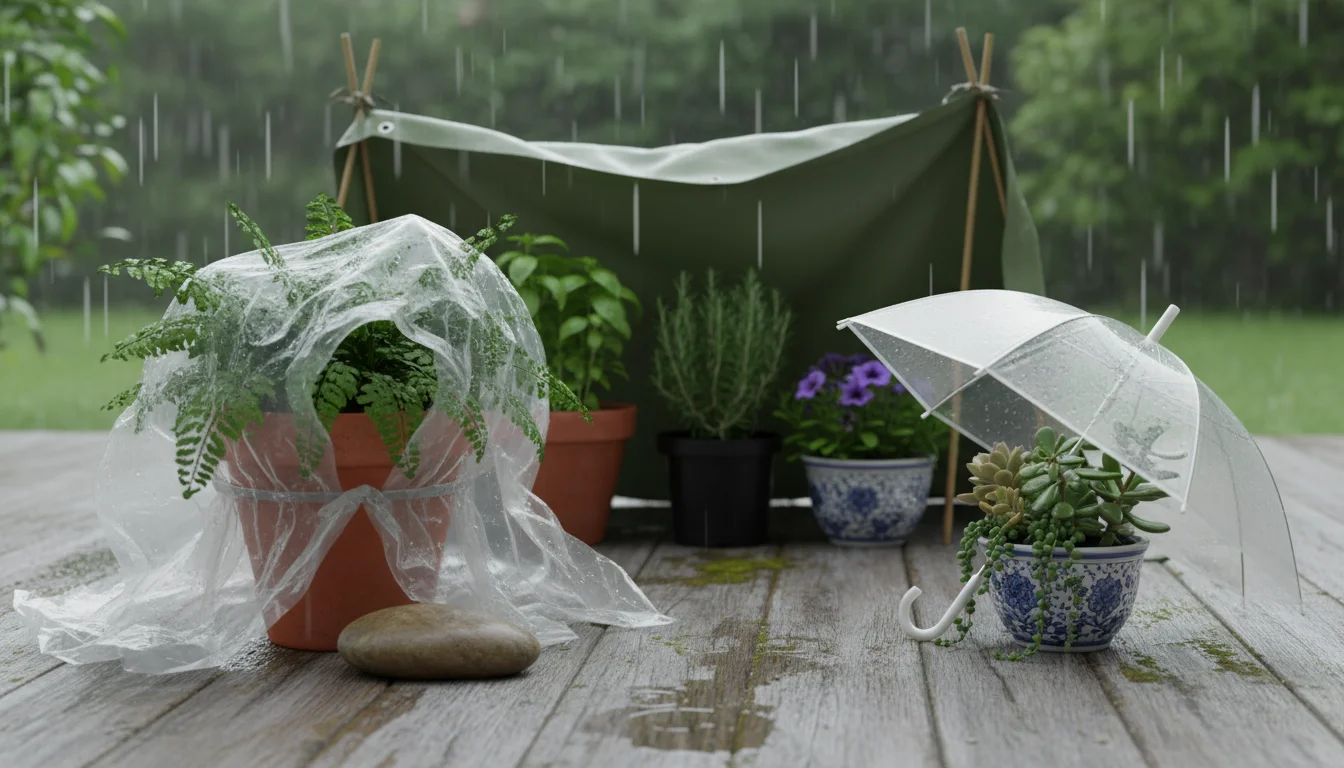
If moving pots is not an option, you can provide temporary rain protection. Drape waterproof tarps, plastic sheeting, or even large trash bags over your plants.
Secure them loosely to allow for air circulation but ensure they deflect the bulk of the rain. For individual pots, you can use an inverted bucket or a large plastic sheet secured around the pot’s base.
Remember, this is a short-term solution to prevent overwatering pots; remove covers once the heavy rain subsides to allow for air circulation and light.
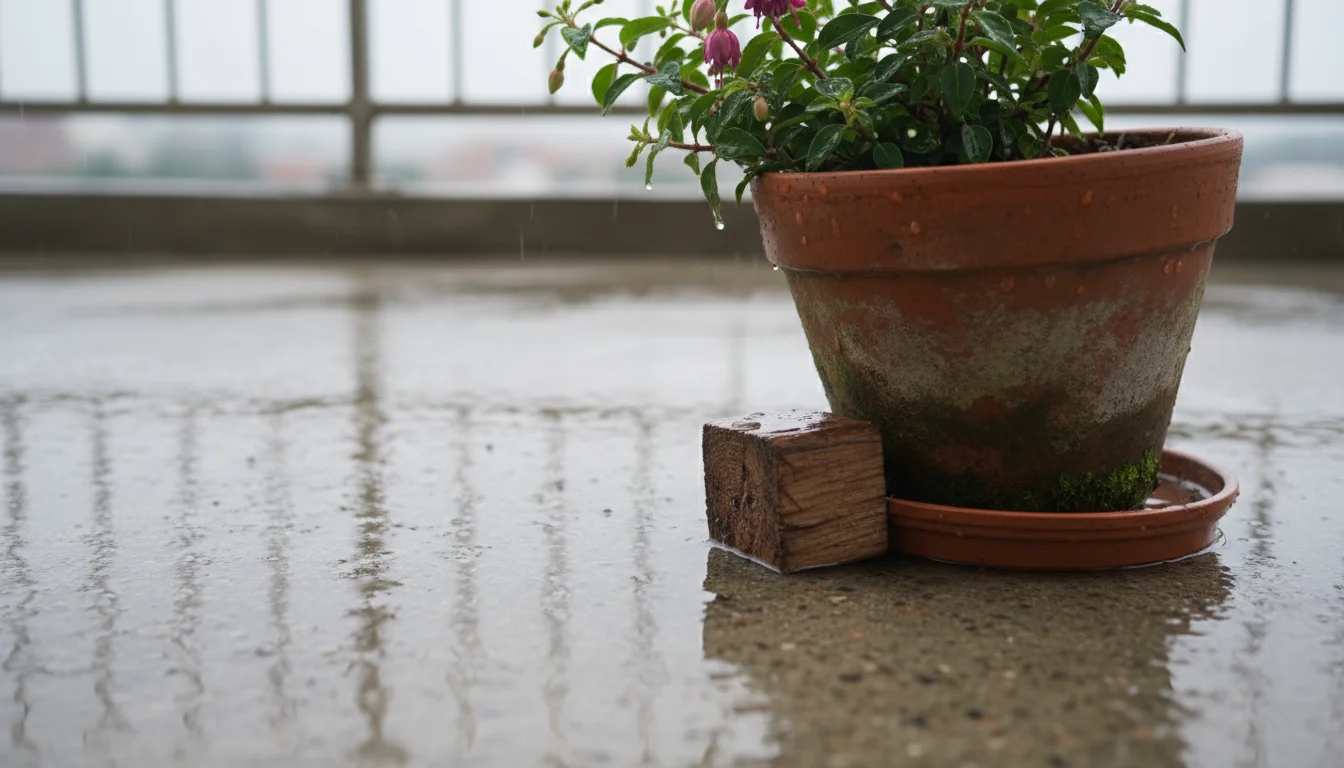
Tilting Pots
For pots without saucers, or those that you cannot move, a slight tilt can help. If you can, carefully prop one side of the pot up using a small block or piece of wood.
This slight angle encourages water to run off the surface and out the drainage holes more quickly, preventing it from sitting stagnant on the soil surface.
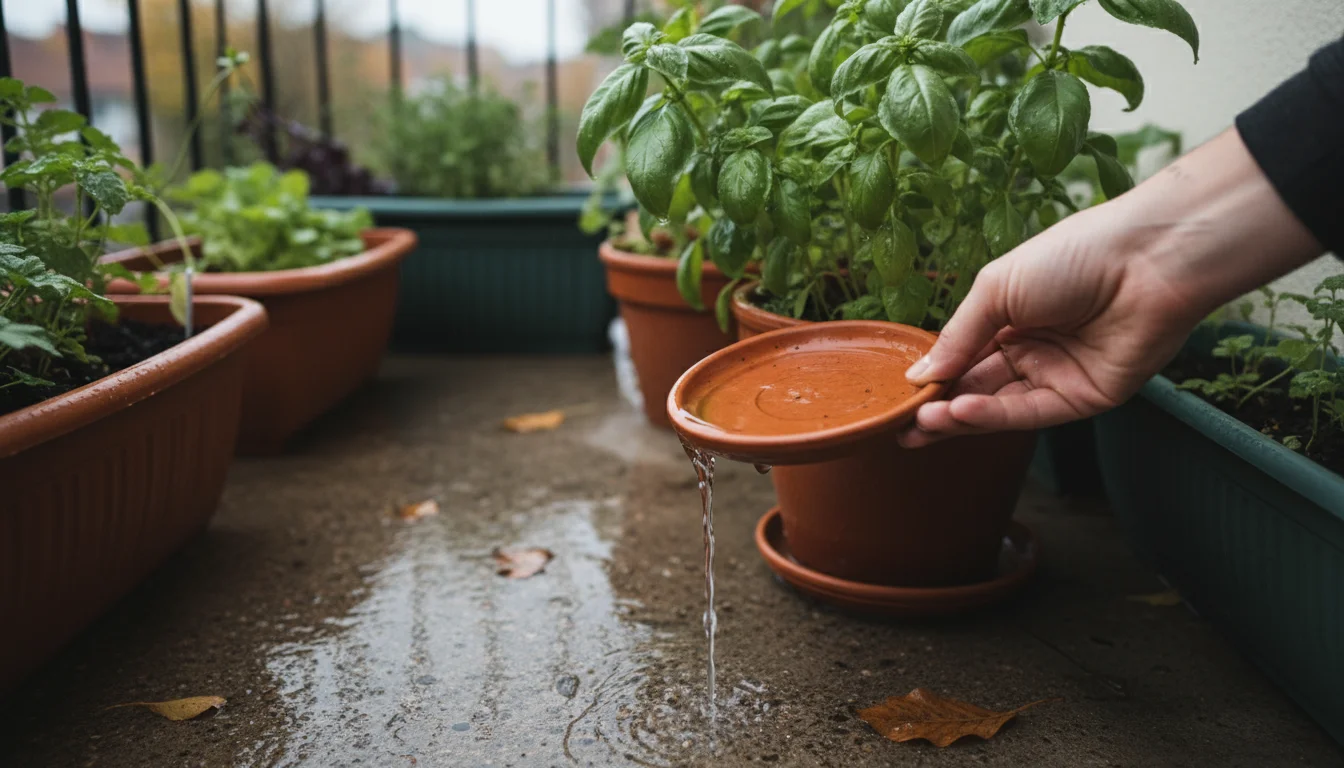
Emptying Saucers Promptly
If your pots sit in saucers, empty them as soon as the rain stops, or even during a lull in rainfall. Allowing water to sit in saucers defeats the purpose of good drainage.
The water will be reabsorbed by the soil, keeping it saturated and perpetuating the risk of root rot. Regularly checking and emptying saucers is a critical part of fall garden care, especially during wet periods.
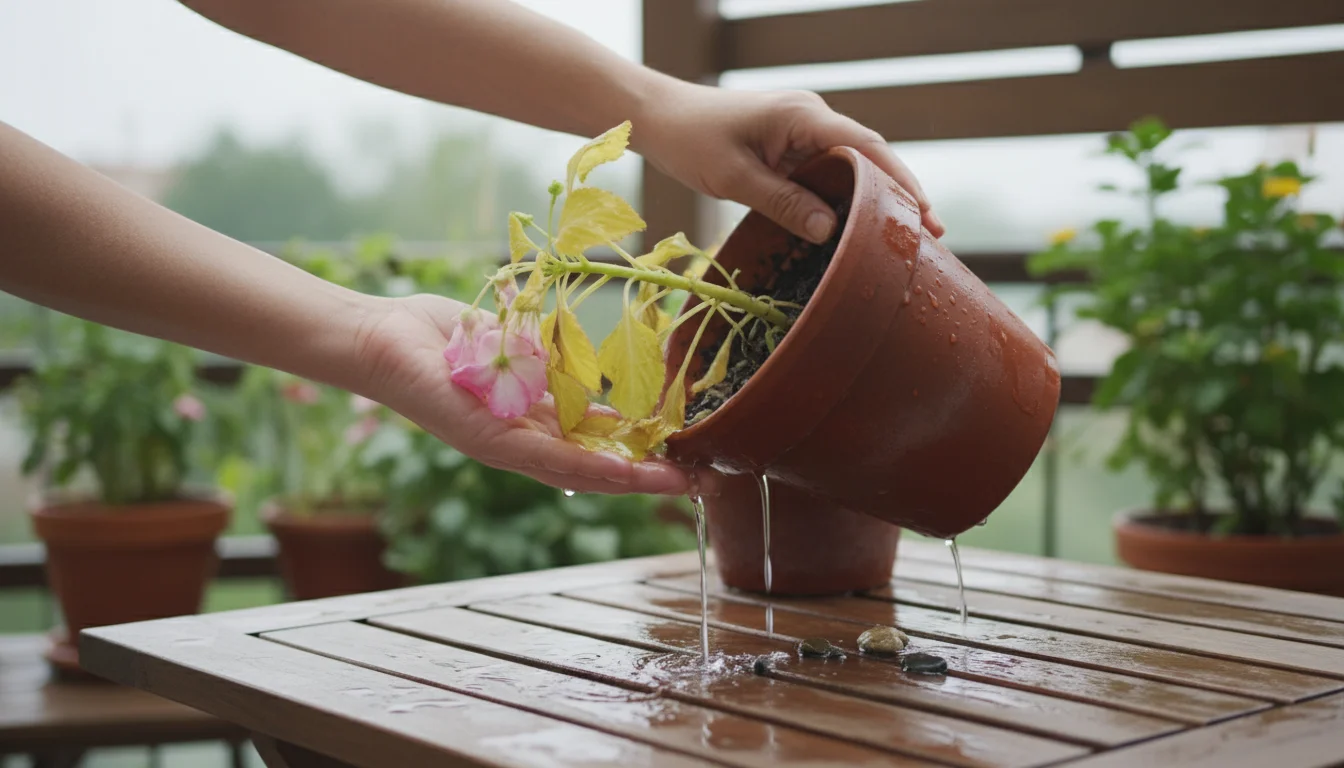
Recovering Waterlogged Plants: A Step-by-Step Rescue Plan
Despite your best efforts, sometimes heavy rain results in what to do with waterlogged pots in autumn. Act quickly if you suspect your plants are suffering from too much water.
Look for signs like wilting leaves, yellowing foliage, soft stems, and a strong, unpleasant odor coming from the soil.
- Immediately Move to Shelter: If the plant is still in the rain, move it to a dry, sheltered location as quickly as possible. This stops further saturation.
- Elevate and Inspect Drainage: Ensure the pot has proper drainage holes and that they are not blocked by roots or debris. Elevate the pot if it is not already. Gently tilt the pot to help any pooled water escape.
- Carefully Remove the Plant (if severe): For severely waterlogged plants, the best course of action is to carefully remove the plant from its pot. Gently loosen the root ball and inspect the roots. Healthy roots are firm and white or tan. Rotted roots appear mushy, brown, or black, and may smell foul.
- Address Rotted Roots: If you find rotted roots, use clean, sharp scissors or pruners to cut away all affected parts. Make clean cuts into healthy tissue. This prevents the spread of rot.
- Replace or Amend Soil: If the soil feels heavy and waterlogged, it is crucial to replace it with fresh, well-draining potting mix. If you must reuse some of the old soil, mix in significant amounts of perlite or coarse sand to improve its drainage capacity. Do not use soil that smells sour or moldy.
- Repot and Limit Watering: Repot the plant into a clean pot (or the original pot after cleaning and sterilizing it with a diluted bleach solution). Do not water immediately after repotting. Allow the soil to dry out significantly before its next watering. This gives the roots a chance to recover.
- Provide Air Circulation: Place the recovering plant in an area with good air circulation but away from direct, harsh sunlight, which could stress it further.
- Avoid Fertilizing: Do not fertilize a stressed or recovering plant. Its roots are too compromised to absorb nutrients effectively, and fertilizer salts can further damage them.
Recovery can take time, and some plants may not survive severe waterlogging. However, early detection and prompt action significantly increase your plant’s chances of survival.
Your proactive approach makes a real difference.
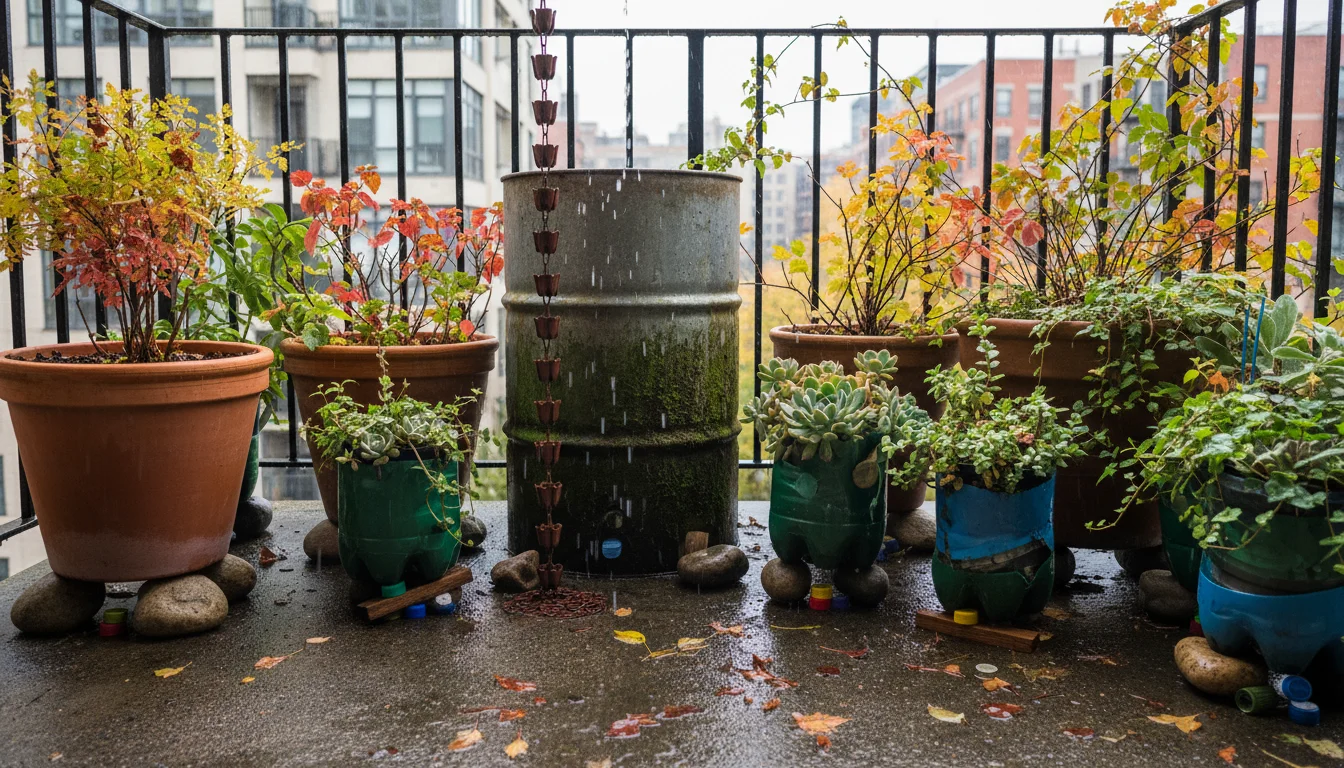
Sustainable Drainage Solutions and Eco-Friendly Practices
As a supportive and environmentally conscious gardener, you can integrate sustainable practices into your balcony drainage strategy. These methods not only protect your plants but also benefit the environment.
Rainwater Harvesting for Future Use
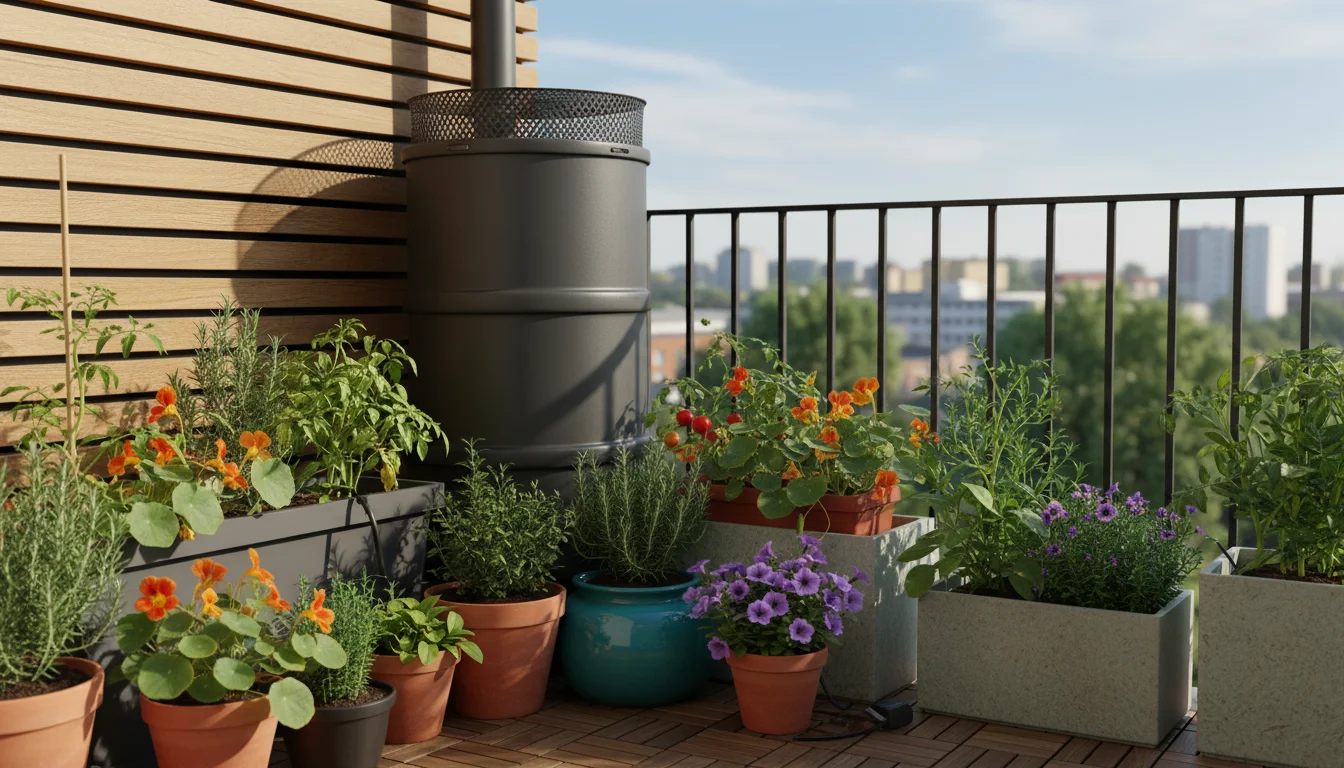
Instead of letting all that rain go to waste, consider simple rainwater harvesting. Small rain barrels or even strategically placed buckets can collect runoff from heavy rains.
You can then use this water for your plants during drier periods. Rainwater contains fewer salts and chemicals than tap water, making it excellent for plant health.
Ensure your collection system is mosquito-proof by using screens.
Choosing Water-Wise Plants
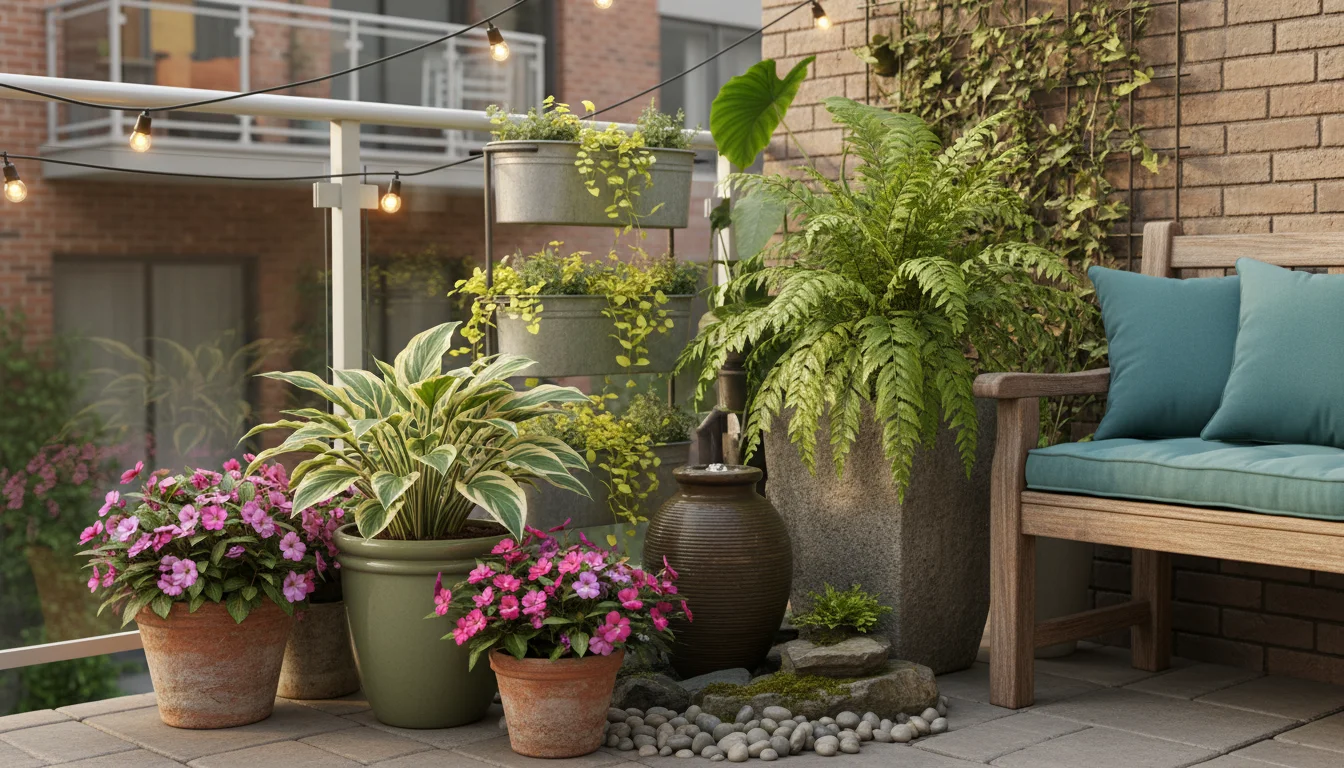
While this article focuses on drainage, selecting plants that naturally tolerate fluctuating moisture levels can ease your burden. Some plants thrive in moist soil, while others are highly susceptible to root rot.
Consider plants native to your region, as they often adapt well to local rainfall patterns. When planning your fall garden care, research plants that can handle a bit of extra moisture, making your garden more resilient.
Consider these plant types for improved resilience:
- Moisture-Tolerant Annuals: Impatiens, Lobelia, Coleus (some varieties).
- Moisture-Tolerant Perennials: Ferns, Hostas, Astilbe, many types of ornamental grasses.
- Semi-Aquatic Plants (for pots with intentional standing water): Papyrus, Horsetail, some water irises, but these require specific setup.
For most general container gardening, focus on plants that prefer well-drained, consistently moist soil, rather than truly wet soil. If you choose plants that are highly susceptible to overwatering, you commit to stricter drainage protocols.
Repurposing and Recycling
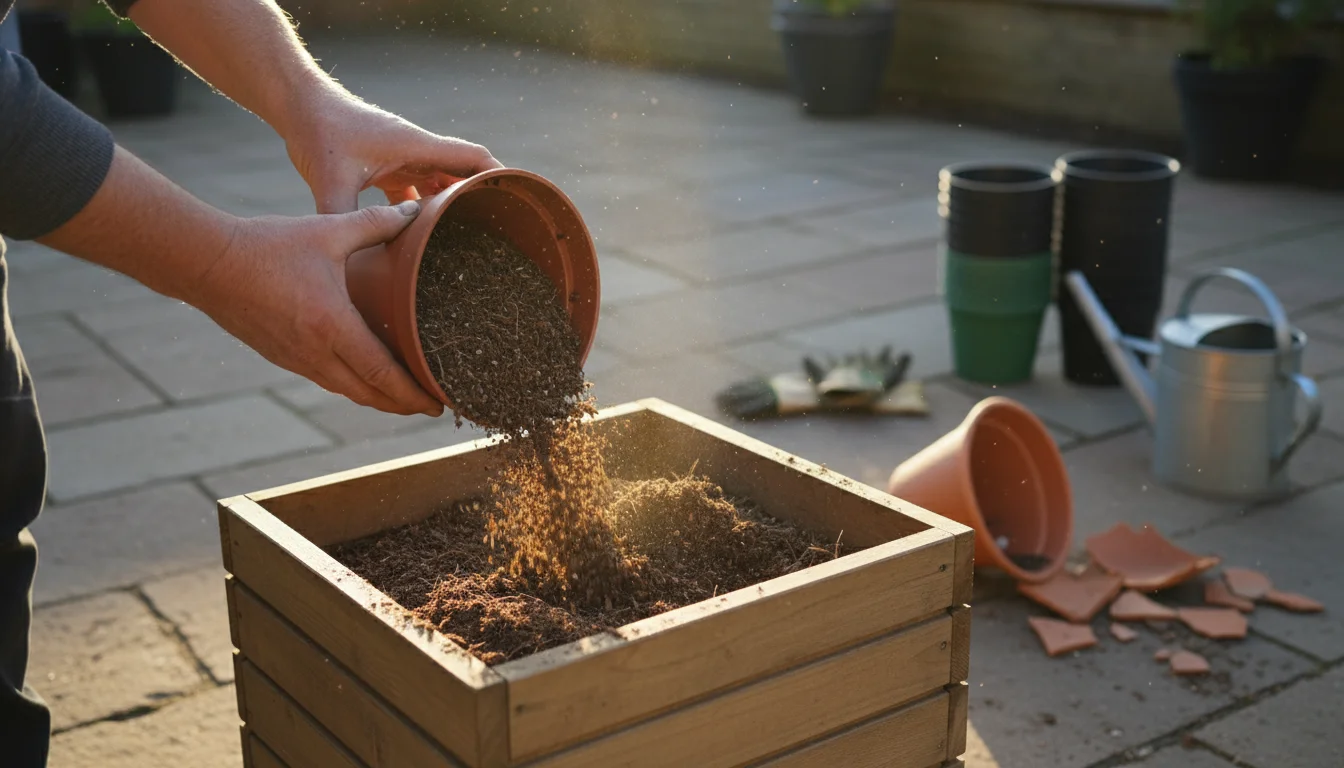
When you replace old pots or discard broken ones, ensure you dispose of them responsibly. Look for recycling programs for plastic pots.
Reuse old potting mix in garden beds (not containers, as it has lost its structure) or add it to your compost pile if it is disease-free. Your commitment to sustainability extends to every aspect of your garden.
Your Fall Garden Care Checklist for Container Resilience
Fall garden care goes beyond protecting against rain. A comprehensive approach ensures your container plants stay healthy and prepare for the colder months ahead.
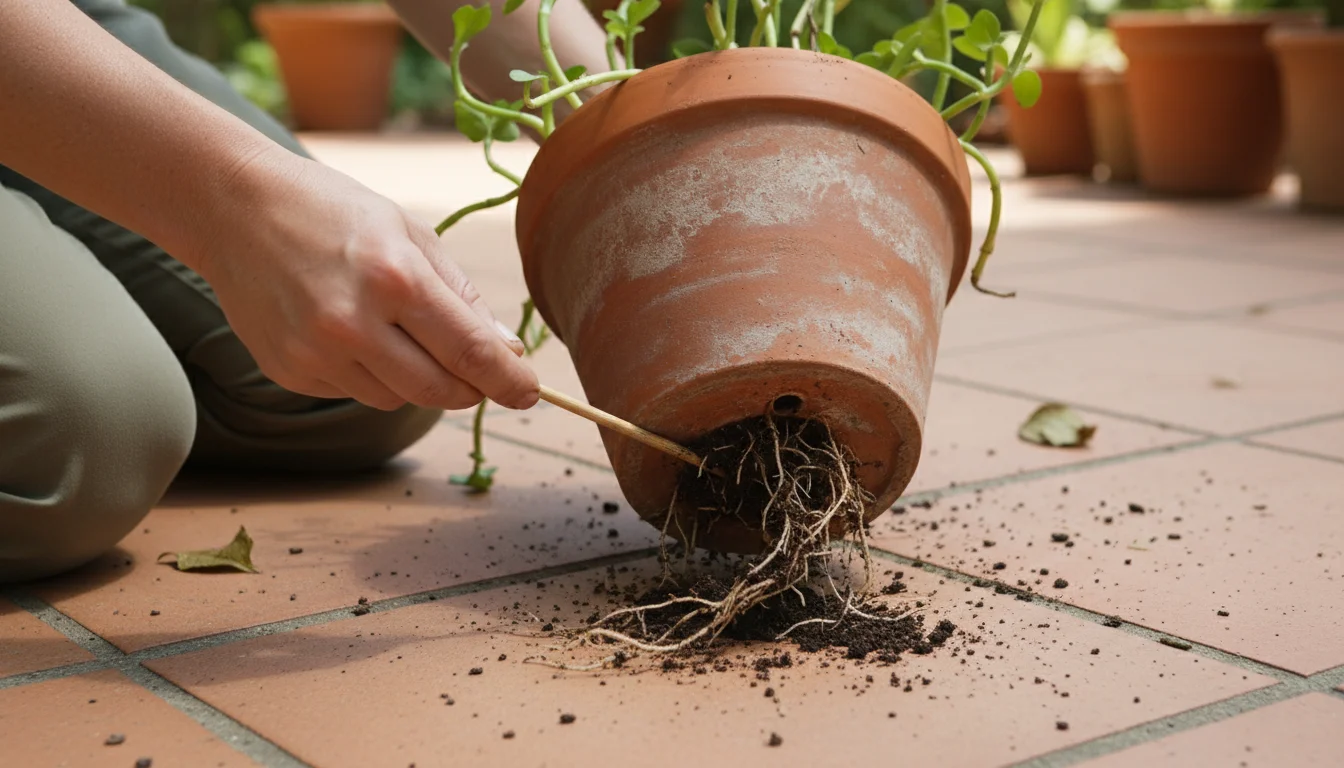
- Inspect Drainage Holes: Before the heavy rains begin, lift each pot and check that drainage holes are clear. Use a stick or skewer to dislodge any compacted soil or roots blocking the holes.
- Refresh Potting Mix: For perennial plants, carefully scrape off the top few inches of old potting mix and replace it with fresh, well-draining mix. This rejuvenates the soil and improves its structure. For annuals, consider replanting in fresh soil next season.
- Prune for Airflow: Trim back any dense foliage, especially on the lower parts of your plants. This improves air circulation around the plant, helping the soil dry faster and reducing the risk of fungal diseases.
- Add a Layer of Mulch: A light layer of mulch (like shredded bark or coco coir) on top of the soil surface helps regulate soil temperature and reduces soil splash-back during heavy rain. It also helps retain moisture during dry spells, requiring less frequent watering from you.
- Plan for Winter Protection: Depending on your climate, plan for overwintering tender plants. This might involve moving them indoors, insulating pots, or covering them. Preparing your plants now minimizes stress later.
- Monitor Watering Habits: Even in fall, check soil moisture regularly before watering. Rain gauges can inform you of natural rainfall amounts. Stick your finger two inches into the soil; if it feels damp, do not water. You want to avoid adding to the problem of overwatering pots.
- Clean and Store Empty Pots: As you clear out summer annuals, clean and store empty pots properly. Scrub them to remove any soil residue or disease spores, then store them upside down or covered to prevent water accumulation and pest infestation.
- Group Plants Strategically: Group moisture-loving plants together and those that prefer drier conditions in separate areas. This allows you to manage their protection and watering needs more efficiently.
By following these steps, you build a resilient container garden capable of weathering the fall season with grace. Your proactive management makes all the difference in keeping your balcony vibrant.
Frequently Asked Questions
What are the immediate signs of a waterlogged plant?
You will typically see leaves wilting or turning yellow, even though the soil is visibly wet. Stems may become soft and mushy, and the soil might develop a foul, sour odor.
Growth often stunts, and eventually, the plant may collapse due to root rot.
Can I add a layer of gravel at the bottom of my pots to improve drainage?
No, adding a layer of gravel at the bottom of your pots actually hinders drainage. This creates a “perched water table” where water accumulates just above the gravel layer, keeping the potting mix saturated for longer.
Instead, use a high-quality, well-draining potting mix throughout the entire container and elevate your pots with pot feet.
How do I improve balcony drainage if my balcony collects puddles?
If your balcony surface itself collects puddles, you cannot control the structural drainage of the building. However, you can prevent your potted plants from sitting in those puddles by elevating every single pot with sturdy pot feet, blocks, or risers.
Ensure the risers are tall enough to lift the pot above any standing water. You can also use wheeled plant caddies to move pots away from persistent wet spots.
Should I water my plants at all during a rainy fall?
During periods of heavy or consistent rain, you typically do not need to water your outdoor container plants. Always check the soil moisture first by sticking your finger about two inches deep.
If the soil feels damp, hold off on watering. Resume watering only when the top few inches of soil feel dry to the touch, preventing overwatering pots.
For trustworthy gardening information, visit:
Brooklyn Botanic Garden, Chicago Botanic Garden, New York Botanical Garden, ASPCA Animal Poison Control and Michigan State University Extension — Gardening. These organizations provide expert, research-based advice for gardeners at all levels.
Disclaimer: This article is for informational purposes only and is not a substitute for professional gardening advice. Always consult local extension services or horticulture experts for region-specific guidance.