
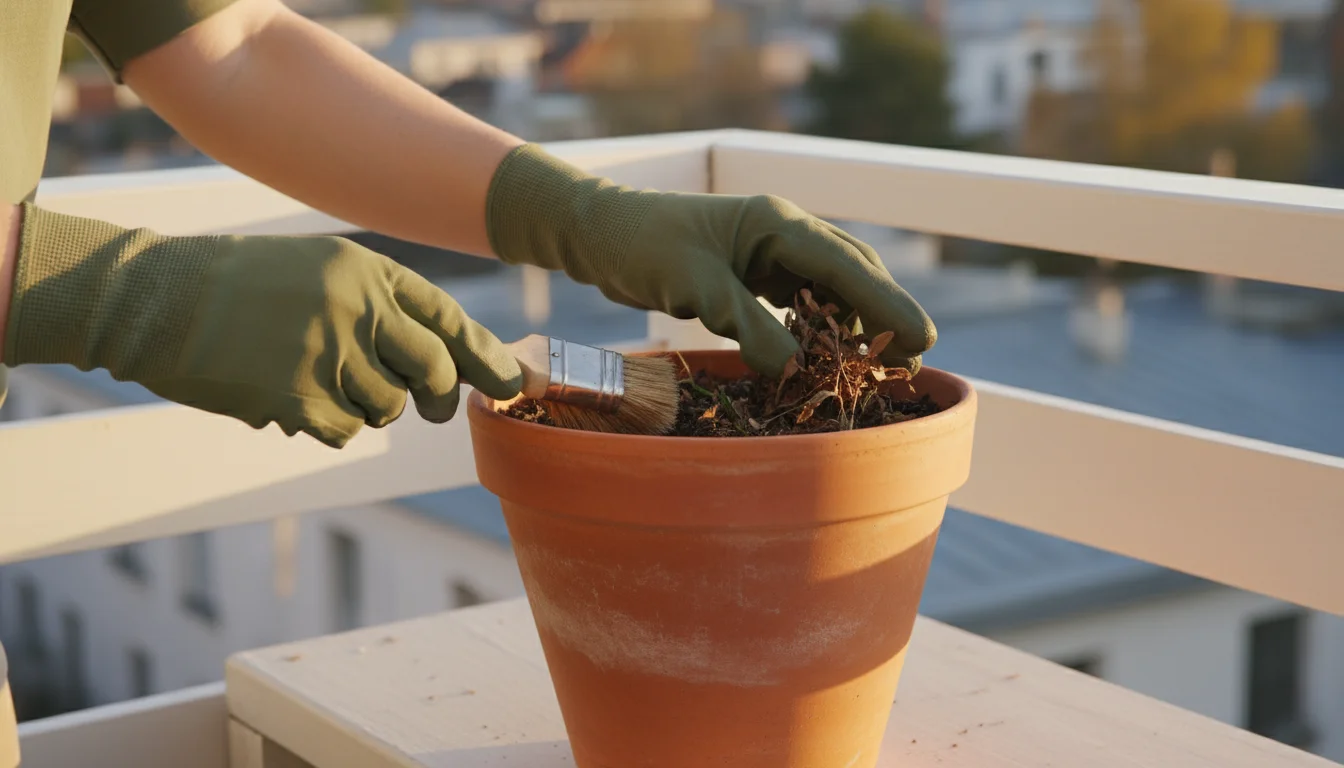
As the gardening season winds down, you might feel a sigh of relief, imagining a break from daily plant care. However, fall is not the time to neglect your balcony pots.
This seemingly quiet period is a critical window for a proactive attack against common garden pests.
Many of these unwelcome visitors do not simply disappear with the first frost; they hunker down, seeking shelter and laying eggs in your soil and containers, ready to unleash havoc when spring arrives.
Think of your containers as prime real estate for these overwintering pests. Fungus gnat larvae, spider mite eggs, and even various insect pupae can find refuge in spent soil and uncleaned pots.
Ignoring these hidden threats now guarantees a much bigger battle next spring. A thorough fall cleanup provides an indispensable layer of defense, ensuring your garden starts the next season healthy and pest-free.
This guide gives you actionable steps to perform a “No Vacancy” takedown, making sure no pest gets a free ride through winter in your beloved balcony garden.
Contents8 sections
- Why Fall Cleaning Is Your Best Defense Against Spring Pest Explosions
- Unmasking the Enemy: Common Overwintering Pests in Containers
- The Great Eviction: Clearing Out Your Container Garden
- Sanitizing Your Pots: No More Hideouts
- Managing Spent Potting Soil: Reclaim or Dispose?
- Preparing for a Pest-Free Spring: Next Season Strategies
- Eco-Friendly Fall Pest Management: Gentle on Nature, Tough on Pests
- Frequently Asked Questions
Why Fall Cleaning Is Your Best Defense Against Spring Pest Explosions
Understanding the life cycle of common garden pests reveals why fall sanitation is not merely a suggestion, but a crucial preventive measure. Pests do not simply vanish; many employ clever strategies to survive the winter.
They enter a dormant stage, lay hardy eggs, or seek protective cover, often right within your gardening supplies.
Consider the common fungus gnat. Its larvae thrive in moist soil, feeding on organic matter and plant roots.
If you leave infested soil in your pots over winter, those larvae simply continue their life cycle, albeit at a slower pace, or hatch into adults when temperatures rise.
When you bring those pots out next spring, you unwittingly reintroduce a thriving pest population into your new plants.
Spider mites, another persistent nuisance, lay tiny, resistant eggs on plant debris or directly on container surfaces. These eggs patiently wait for favorable conditions, emerging as hungry adults to infest your freshly planted herbs and flowers.
Aphids, while less likely to overwinter as adults in freezing climates, can leave behind overwintering eggs on plant stems or in sheltered crevices of your pots.
A comprehensive fall cleanup breaks these survival cycles. By removing plant debris, emptying and sanitizing pots, and properly managing spent soil, you eliminate the very places where pests seek refuge and reproduce.
This simple, seasonal chore drastically reduces the number of pests that can reemerge, making your gardening efforts much more successful and less frustrating next season. Investing this time now saves you significant effort and potential plant loss later.
Unmasking the Enemy: Common Overwintering Pests in Containers
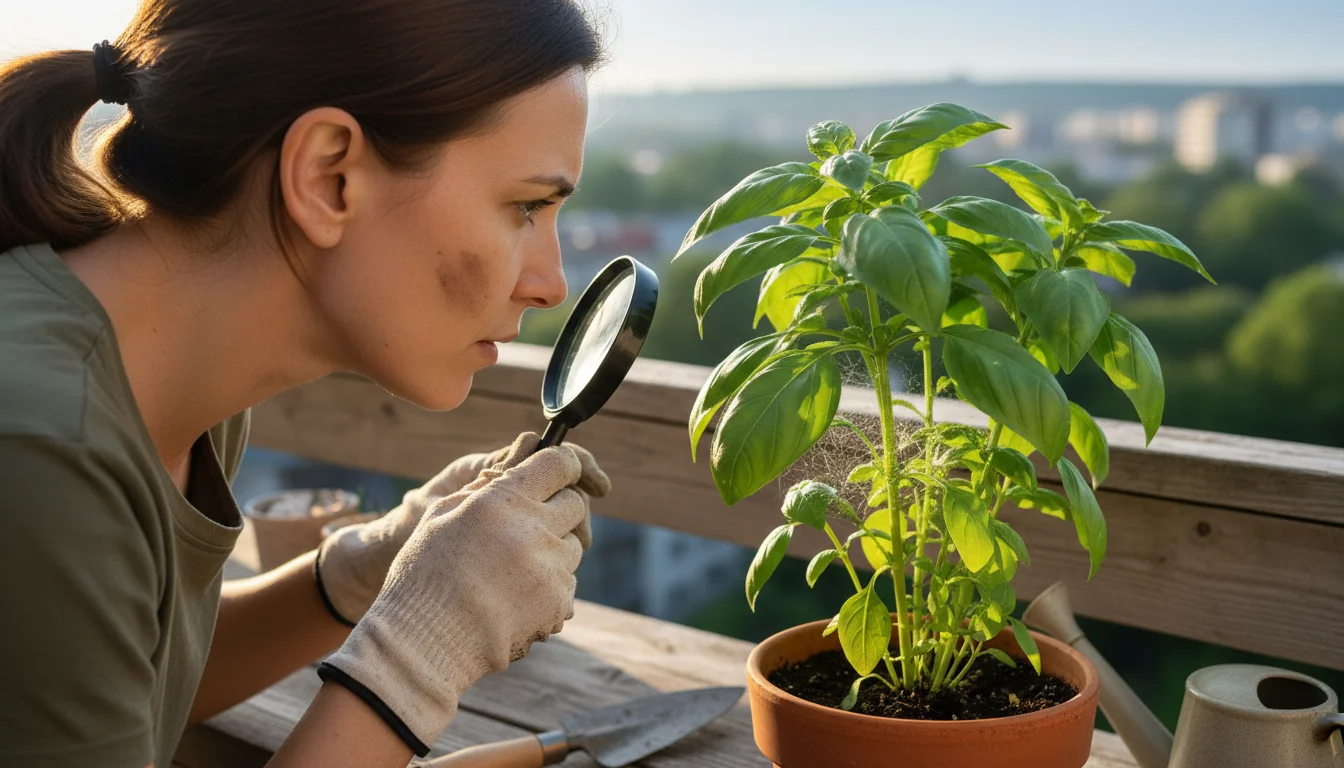
Before you launch your “no vacancy” campaign, know your adversaries. Identifying these common overwintering pests helps you target your cleaning efforts effectively.
You need to understand where they hide and what their most vulnerable life stages are.
* Fungus Gnats: These small, dark flies are often mistaken for fruit flies. Their larvae, tiny white worms with black heads, live in the top few inches of moist potting soil.
They feed on fungi, organic matter, and tender plant roots. In fall, if soil remains moist, these larvae can continue to develop or overwinter in the larval stage, ready to emerge as adults in spring.
You will see them flying around plants, but the real damage comes from their unseen larvae.
* Spider Mites: Barely visible to the naked eye, these tiny arachnids create fine webbing on plants and cause stippling (tiny dots) on leaves. Their eggs are incredibly resilient.
They often lay eggs on the undersides of leaves, along stems, or in crevices of pots and saucers. These eggs survive freezing temperatures and hatch once conditions become favorable in the spring, leading to rapid infestations of new plants.
Look for webbing, even faint strands, or tiny red/brown specks.
* Aphids: While many adult aphids die off in cold weather, some species lay overwintering eggs on host plants or nearby debris. These eggs are small, oval, and often shiny black.
They can also hide in sheltered spots on the container itself. When these eggs hatch, they unleash a new generation of sap-sucking pests onto your plants.
Examine any leftover plant bits or container edges closely.
* Slugs and Snails: These slimy creatures do not typically overwinter *in* pots in their adult form in freezing climates, but they often lay clusters of pearl-like eggs in moist soil or under pots.
These eggs can survive winter and hatch into young slugs and snails in spring, ready to munch on your seedlings. Check under pot rims and saucers, and around the base of plants.
* Mealybugs and Scale Insects: These pests often leave behind “crawlers” or eggs hidden in protected crevices on plants or pots.
Mealybugs, with their waxy, cottony appearance, and scale insects, with their hard, shell-like coverings, can cling to the inside rim of a pot, under a lip, or on any remaining plant material. These resilient forms can easily survive winter indoors or in milder climates.
Knowing what you are looking for empowers you to be thorough in your fall cleanup. A quick visual inspection of your pots and any remaining plant matter can reveal these hidden threats.
The Great Eviction: Clearing Out Your Container Garden
This is where the real work begins: systematically dismantling your summer garden to ensure no pests remain. Approach this like a military operation, leaving no stone unturned, no leaf unexamined.
-
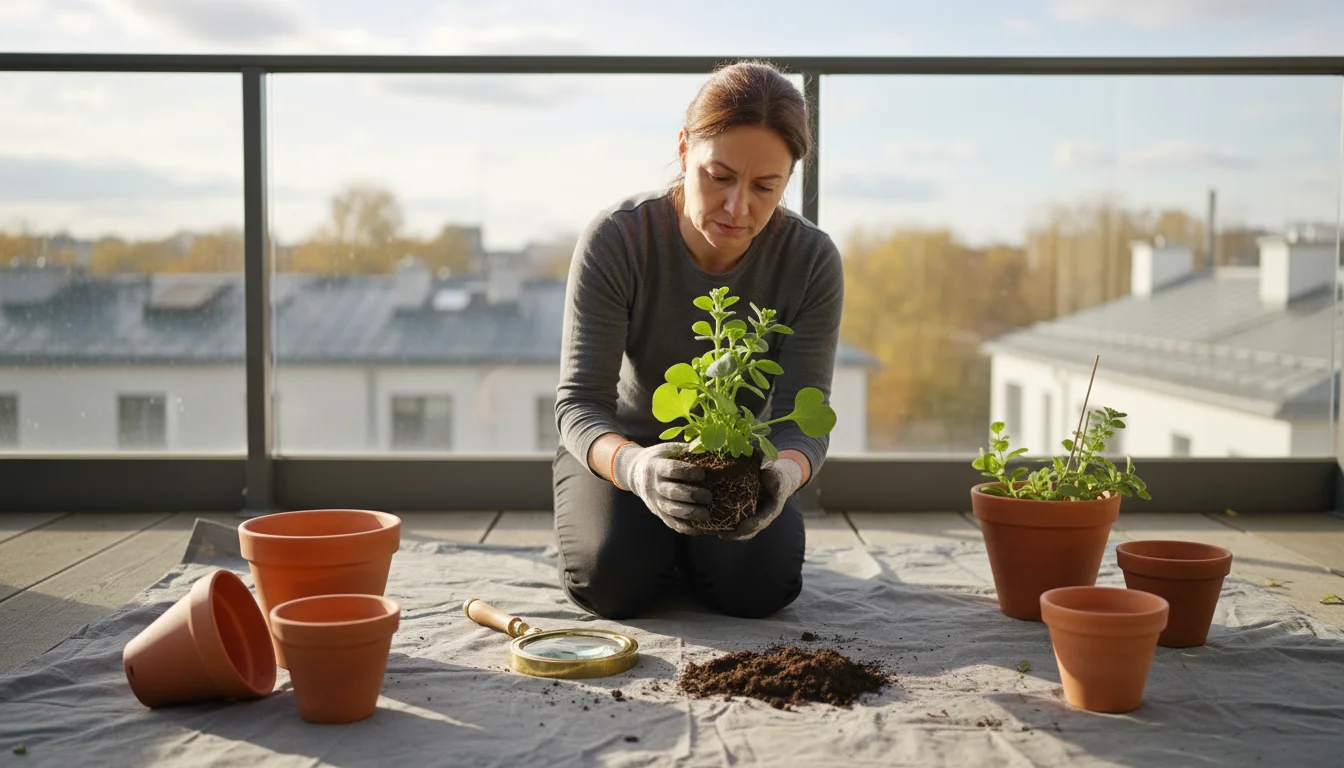
Remove All Plants: First, gently remove all plants from their containers. Even if a plant appears healthy, it can still harbor pest eggs or dormant larvae.
If a plant is going indoors for winter, this step becomes even more critical for preventing indoor infestations. For plants you will compost or discard, shake off as much soil as possible.
-
Inspect and Trim Housebound Plants: If you are bringing plants indoors, carefully inspect every leaf, stem, and the top layer of soil for any signs of pests: sticky residue, webbing, tiny eggs, or adult insects. Use a magnifying glass if you have one.
Trim back any heavily infested or yellowing foliage. Isolate these plants for a few weeks to monitor them closely, preventing any potential infestation from spreading to your indoor plants.
-
Address Diseased or Heavily Infested Plants: Do not compost plants that showed significant disease (like powdery mildew or rust) or heavy pest infestations. These issues can survive in compost and reintroduce problems later.
Bag these plants and dispose of them in the trash to break the disease and pest cycle. This ensures you do not inadvertently create a breeding ground for next year’s problems.
-
Empty All Containers: Once plants are removed, empty all potting mix from your containers. Do not just tip them upside down; scrape out every last bit of soil, paying special attention to the bottom and sides.
Pests and their eggs can cling to these surfaces. Collect the spent soil in a wheelbarrow or tarp.
-
Remove Plant Debris: Gather any fallen leaves, spent flowers, and other plant matter from around your container garden area. This organic material provides ideal hiding spots for slugs, snails, and various insect eggs.
Dispose of this debris appropriately: healthy material can go into your compost, while diseased or heavily infested material should go into the trash.
-
Clean Underneath and Around Containers: Lift up any saucers, pot risers, or decorative elements. Clean the surfaces underneath thoroughly.
Slugs, snails, and various insects love to hide in these dark, moist places. A stiff brush and some water work wonders here.
Completing these steps systematically ensures you have cleared the primary breeding and hiding grounds for overwintering pests. Your garden space now resembles a blank canvas, ready for the next phase of sanitation.
Sanitizing Your Pots: No More Hideouts
Emptying your pots is only half the battle. The containers themselves, especially their porous surfaces or intricate designs, can harbor pest eggs, larvae, or fungal spores.
Proper sanitation is essential to eliminate these hidden threats.
For all pot types:
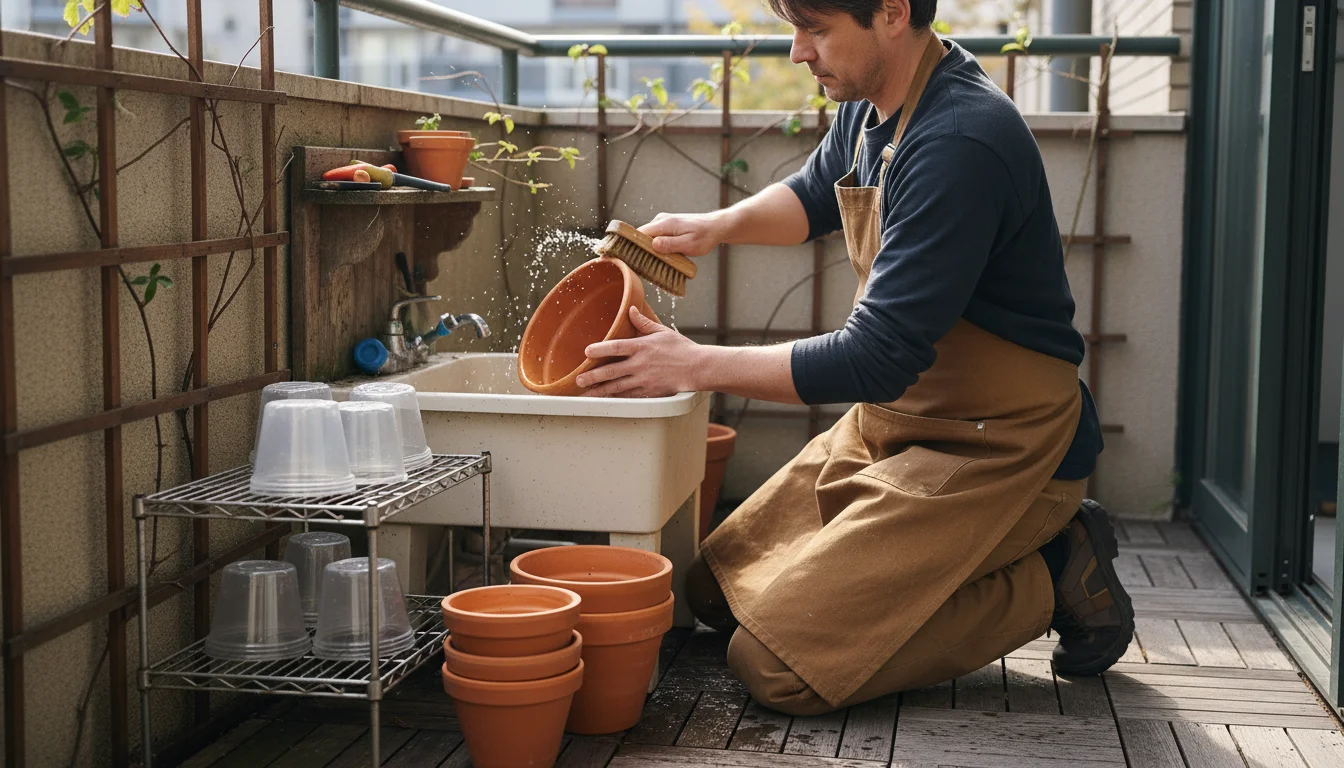
- Brush Off Debris: Start by using a stiff brush or a putty knife to scrape off any lingering soil, mineral deposits, or plant roots adhering to the inside and outside of the pots. Pay close attention to rims, drainage holes, and any decorative crevices.
- Rinse Thoroughly: Rinse the pots with a strong stream of water to remove loose particles.
Specific Cleaning Methods by Pot Material:
- Plastic Pots:
- Method: Plastic is non-porous and relatively easy to clean. After brushing and rinsing, soak plastic pots in a solution of 1 part bleach to 9 parts water (e.g., 1 cup bleach to 9 cups water) for at least 30 minutes. Bleach effectively kills bacteria, fungi, and insect eggs. If you prefer a bleach-free option, use a solution of 1 part distilled white vinegar to 4 parts water, or a strong dish soap solution.
- Scrub: Use a scrub brush or sponge to thoroughly scrub the entire pot, inside and out. Ensure you reach all corners and the drainage holes.
- Rinse and Dry: Rinse the pots completely with clean water to remove any bleach or soap residue. Allow them to air dry thoroughly in the sun, which provides an additional layer of natural sterilization, or wipe them dry before storing.
- Terracotta and Clay Pots:
- Method: These materials are porous, meaning they absorb water and can harbor salts, fungi, and pest eggs within their structure. A simple wash might not be enough. After brushing and rinsing, soak terracotta pots in the same 1:9 bleach solution for an hour or two. The porosity means they need a longer soak to allow the disinfectant to penetrate.
- Scrub: Vigorously scrub the pots with a stiff brush to dislodge any embedded grime and mineral deposits. You will often see a white crust of mineral salts on older terracotta; this is a good opportunity to remove it.
- Rinse and Dry: Rinse them meticulously with clean water, ensuring no bleach residue remains. Allow them to dry completely, preferably in the sun, for several days before stacking them for storage. Improperly dried terracotta can develop mold.
- Ceramic and Glazed Pots:
- Method: Like plastic, these pots are non-porous. Treat them similarly to plastic pots. A good scrub with hot, soapy water (using dish soap) followed by a rinse is usually sufficient. For extra sanitation, you can use the vinegar solution. Bleach is generally safe for glazed ceramics but always test a small, inconspicuous area first if you are concerned about color fading on decorative glazes.
- Scrub: Use a non-abrasive sponge or brush to avoid scratching the glaze.
- Rinse and Dry: Rinse thoroughly and air dry.
- Wood and Metal Containers:
- Method: Wooden containers can be tricky due to their porous nature and susceptibility to rot. Clean them with a stiff brush and hot, soapy water. For deeper sanitation, a vinegar solution works well. Avoid bleach as it can damage wood fibers. For metal containers, hot soapy water and a good scrub remove most issues. Ensure metal pots are completely dry to prevent rust.
- Inspect: Pay extra attention to seams, joints, and any cracks in wooden containers, as these are prime hiding spots for pests.
- Dry: Thorough drying is paramount for both to prevent issues.
After cleaning, store your pots in a clean, dry, and protected area away from any active infestations. Stack them neatly to maximize space, especially if you have a small balcony or patio.
Managing Spent Potting Soil: Reclaim or Dispose?
Your spent potting soil holds a surprising amount of residual value, but it can also be a reservoir for pests and diseases. Deciding whether to reclaim or dispose of it responsibly is a key part of fall sanitation.
When to Dispose of Potting Soil
- It housed diseased plants: Soil from plants that suffered from fungal diseases (like root rot, powdery mildew, or blight) or viral infections should not be reused. Disease spores and pathogens can persist, infecting future plantings.
- It was heavily infested with pests: If you battled a significant infestation of fungus gnats, spider mites, mealybugs, or other persistent pests, the soil is likely teeming with their eggs or larvae. Reusing it guarantees a pest problem next season.
- It contains unknown contaminants: If you are unsure about what might be lurking in the soil, err on the side of caution.
How to Dispose of Infested or Diseased Soil:
Do not add this soil to your compost pile, as you will spread the problem. Bag it securely and place it in the regular trash.
Some municipalities offer specific guidelines for soil disposal, so check local waste management resources.
When and How to Reclaim Potting Soil
If your soil is free from disease and heavy pest infestations, you can often rejuvenate and reuse it. Reclaiming soil saves resources and money.
The Challenges of Reusing Potting Soil:
Potting mix degrades over time. Organic components break down, reducing aeration and drainage (how easily water moves through soil).
Nutrient levels deplete, and beneficial microbial populations can dwindle. The soil structure compacts, making it less ideal for root growth.
Steps for Reclaiming Healthy Potting Soil:
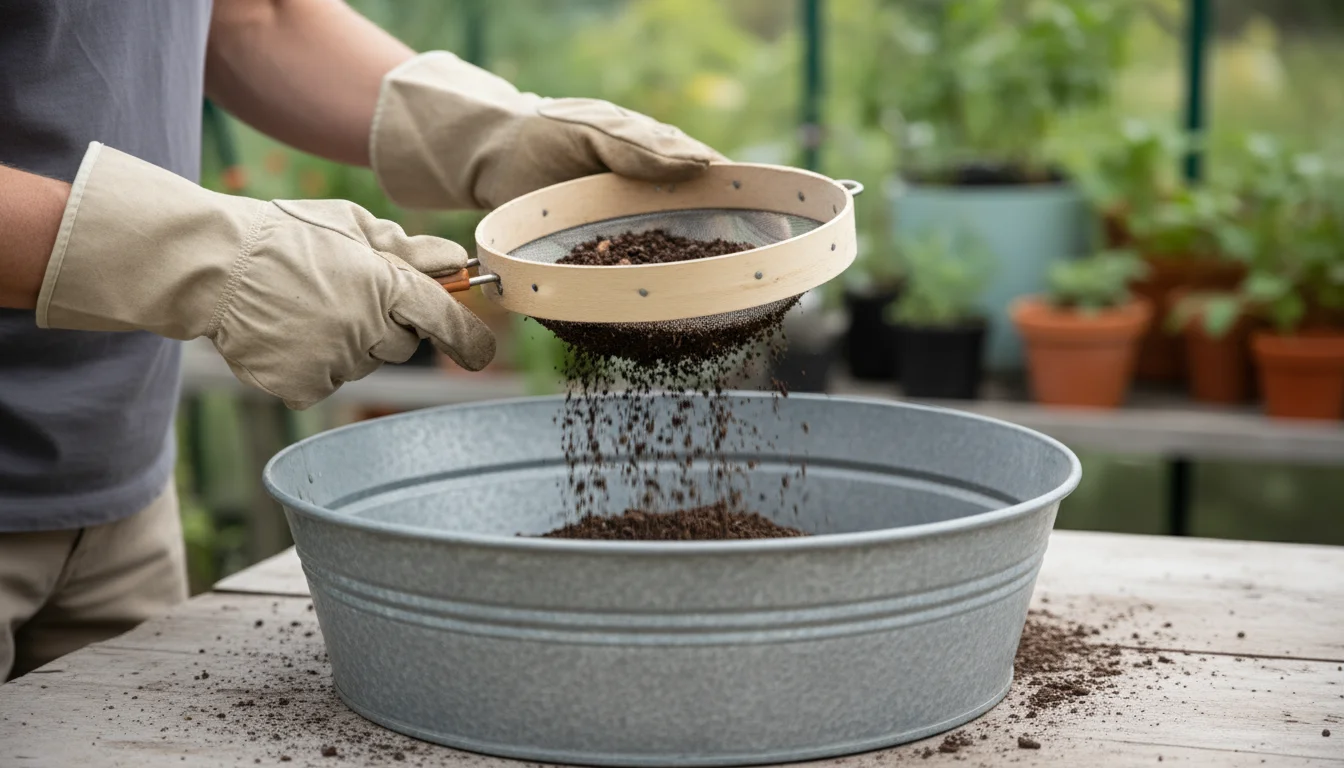
- Sift and Break Up Clumps: Spread the soil out on a tarp or in a large container. Break up any large clumps with your hands or a trowel. Remove old roots, plant debris, and any large foreign objects. You can use a garden sieve for a finer consistency.
- Solarization (for Pest/Disease Reduction): If you suspect light pest pressure or want an extra layer of sanitation, solarization is a passive, eco-friendly method. * Spread the soil thinly (about 4-6 inches deep) on a dark tarp in a sunny location. * Moisten the soil slightly. * Cover it with a clear plastic sheet, sealing the edges with rocks or soil to trap heat. * Leave it for 4-6 weeks during the hottest, sunniest part of fall. The sun’s heat, trapped under the plastic, can raise soil temperatures high enough to kill many weed seeds, pest eggs, and disease pathogens without chemicals. This method relies on consistent high temperatures, so it is best in regions with warmer autumns.
- Baking (for Thorough Sterilization): For guaranteed pest and disease eradication, baking is effective for smaller batches of soil. * Preheat your oven to 180-200°F (82-93°C). Do not go higher, as this can destroy beneficial microbes and organic matter, and create unpleasant odors. * Spread damp (not soaking wet) soil in shallow, oven-safe pans, no more than 4 inches deep. * Bake for at least 30 minutes after the soil reaches the target temperature. A meat thermometer can help monitor the internal temperature. * Let the soil cool completely before use. Be warned: this process can produce an earthy smell.
- Rejuvenate with Amendments: Sterilized soil becomes “dead” soil, stripped of much of its life. You need to replenish it to make it suitable for plants again. * Add Fresh Potting Mix: Blend your reclaimed soil with an equal amount of fresh, sterile potting mix. This replenishes beneficial organisms and improves overall structure. * Incorporate Organic Matter: Mix in compost (well-rotted, disease-free) or coco coir to improve water retention, aeration, and nutrient availability. * Add Perlite or Vermiculite: These amendments improve drainage and aeration, preventing compaction. Aim for about 10-20% by volume. * Slow-Release Fertilizer: Incorporate a balanced, slow-release granular fertilizer or some organic amendments like worm castings or a balanced granular organic plant food to provide essential nutrients for future plants.
By following these steps, you can significantly extend the life of your potting soil, reducing waste and creating a healthy foundation for next season’s growth.
Preparing for a Pest-Free Spring: Next Season Strategies
Your fall cleanup sets the stage, but maintaining a pest-free balcony garden requires ongoing vigilance and smart planning. Implement these strategies as you look forward to your next planting season.
* Choose Healthy Plants: Always start with pest-free plants. Inspect every new seedling or plant you bring home for any signs of insects or disease.
Quarantine new plants for a week or two, if space allows, to ensure they are clean before introducing them to your main garden. This simple step prevents importing problems.
* Use High-Quality Potting Mix: Begin each season with fresh, sterile potting mix, especially if you have not sterilized your old soil. High-quality mixes provide excellent drainage and aeration, which discourages many soil-dwelling pests like fungus gnats.
Avoid using garden soil in containers, as it compacts easily and often harbors pests, diseases, and weed seeds.
* Practice Proper Watering: Overwatering is a primary culprit for many pest issues, particularly fungus gnats. Allow the top inch or two of soil to dry out between waterings.
Use a moisture meter or simply stick your finger into the soil to check. Ensure your pots have adequate drainage holes; standing water invites trouble.
* Ensure Good Air Circulation: Crowded plants create humid, still environments that many pests, such as spider mites and powdery mildew, love. Space your containers to allow for air movement.
If your plants become too dense, prune them strategically to improve circulation.
* Regular Plant Inspections: Make weekly pest checks a part of your routine. Look at the undersides of leaves, along stems, and in the soil.
Early detection of a small pest population makes control much easier. Address any issues promptly.
* Rotate Crops (Even in Containers): If you grow edible plants, avoid planting the same crop in the same container season after season. Different plants have different pest vulnerabilities, and rotation can break pest life cycles.
For example, if you grew tomatoes in a pot one year, plant herbs or leafy greens there the next.
* Mulch Your Containers: A thin layer of mulch (like coco coir, fine bark, or decorative pebbles) on top of the soil can help in several ways: it conserves moisture, suppresses weeds, and acts as a physical barrier against fungus gnats trying to lay eggs in moist soil.
Just ensure the mulch does not sit right against the plant stem.
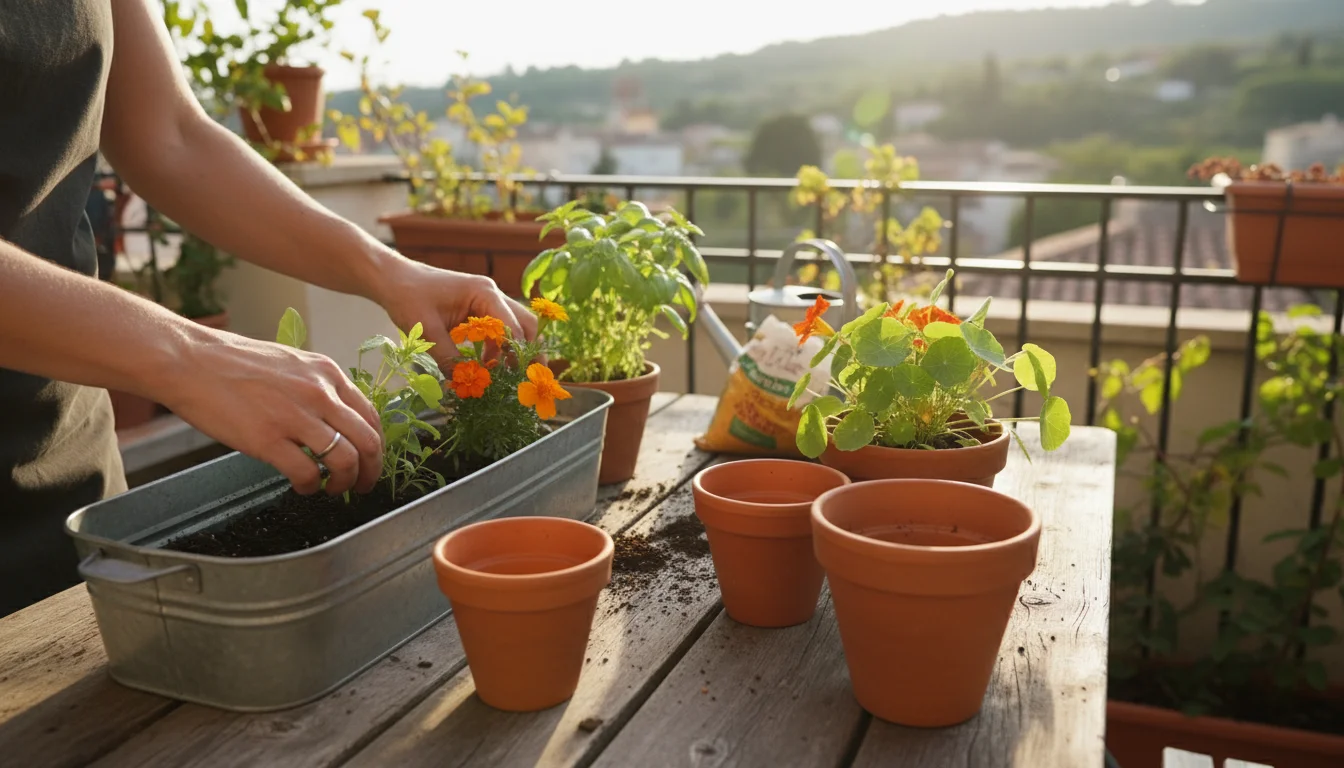
* Consider Companion Planting: Certain plants can deter pests. For example, marigolds are known to repel nematodes, and basil can deter flies.
Research beneficial plant combinations for your specific crops to naturally enhance pest resistance.
By integrating these strategies into your gardening practice, you build a resilient, pest-resistant system that supports healthy plant growth year after year.
Eco-Friendly Fall Pest Management: Gentle on Nature, Tough on Pests
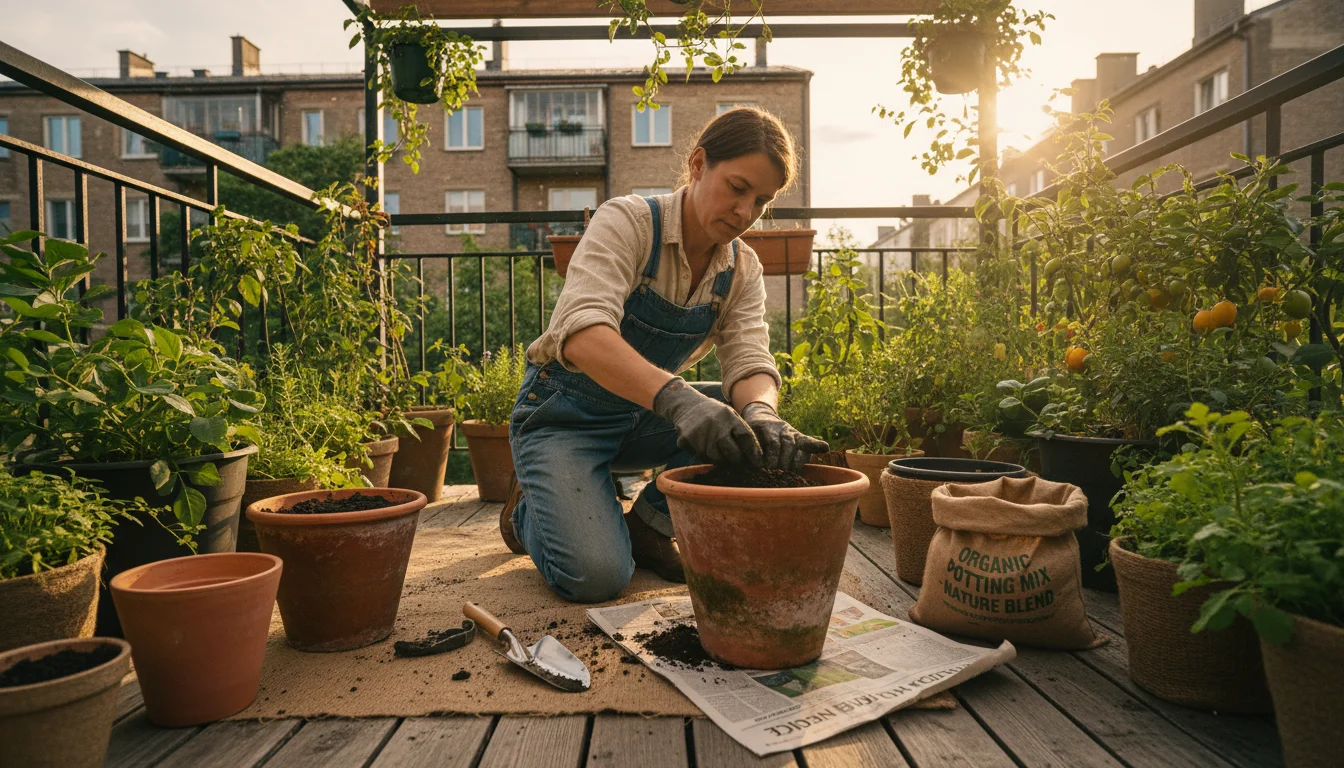
As a small-space gardener, you have a unique opportunity to lead with environmentally conscious practices. Eco-friendly pest management minimizes your garden’s impact on the planet while effectively safeguarding your plants.
Your fall cleanup is a prime example of sustainable pest control.
* Embrace Biological Control (Indirectly): By creating a healthy garden ecosystem, you indirectly support beneficial insects.
While you might not have ladybugs overwintering directly in your pots, maintaining a chemical-free environment allows these helpful predators to thrive in the wider landscape and return to your garden in spring.
Fall cleanup prevents harmful pests from taking hold, ensuring beneficial insects have a chance to succeed.
* Compost Wisely: Healthy plant material, free from disease or heavy pest infestations, makes excellent compost. Composting spent plants returns valuable nutrients to the soil and reduces waste.
Remember to avoid composting diseased or heavily infested plant matter to prevent spreading problems.
* Water Conservation: Proper watering techniques, as mentioned earlier, not only deter pests but also conserve precious water. Use watering cans with narrow spouts or drip irrigation systems for targeted watering, reducing runoff and evaporation.
* Recycle and Reuse Containers: Instead of buying new pots every season, sanitize and reuse your existing ones. This reduces plastic waste and saves resources.
Properly cleaned terracotta, ceramic, and plastic pots can last for many years.
* Avoid Chemical Pesticides: Your fall cleanup is a mechanical and cultural pest control method, entirely free of synthetic chemicals. This is especially important in small spaces where air circulation is limited and you might be growing edibles.
Chemical pesticides can harm beneficial insects, pets, and even you. Focus on prevention and natural remedies.
For any minor pest issues that arise, try solutions like insecticidal soap or neem oil, applied only to affected areas, as a last resort before more aggressive measures.
* Support Local Biodiversity: If your balcony garden allows, consider incorporating a small native plant that can serve as a host for beneficial insects or pollinators.
Even a small pot of a native perennial can contribute to local biodiversity and help attract natural pest controls to your area.
For trustworthy gardening information, visit: Botanic Gardens Conservation International, American Public Gardens Association, Plant Select (Colorado), Missouri Native Plant Society and Wild Ones — Native Plants, Natural Landscapes. These organizations provide expert, research-based advice for gardeners at all levels.
By integrating these eco-friendly practices, you create a garden that is not only beautiful and productive but also a responsible part of your local ecosystem. Your proactive fall cleaning becomes a cornerstone of this sustainable approach.
Frequently Asked Questions
Can I just leave my pots with soil out over winter without cleaning them?
Leaving pots with soil uncleaned significantly increases the risk of pest infestations next spring. Overwintering pests, such as fungus gnat larvae, spider mite eggs, and even some disease spores, find refuge in undisturbed soil and on container surfaces.
A thorough fall cleanup prevents these populations from establishing and emerging when new plants are introduced, saving you considerable trouble later.
Is it really necessary to sterilize potting soil? What if I do not have an oven?
Sterilizing potting soil is not always necessary if it came from healthy, pest-free plants. However, if you suspect any pest issues or diseases, sterilization eliminates them.
If you do not want to use an oven, solarization is an excellent alternative. Spread the soil thinly on a tarp, moisten it, cover it with clear plastic, and leave it in full sun for 4-6 weeks during warmer fall weather.
This passive method uses solar heat to kill many pests and pathogens.
What should I do with plants I am bringing indoors for winter?
Carefully inspect any plants you plan to bring indoors. Look closely for pests like aphids, spider mites, or mealybugs on leaves, stems, and in the soil.
Rinse foliage thoroughly and gently clean the top layer of soil if you find any signs of pests. Consider repotting the plant into fresh, sterile potting mix if it had a previous pest problem.
Isolate new indoor additions from your other houseplants for a few weeks to monitor for any hidden pests before integrating them into your collection.
Can I reuse the same potting soil year after year without adding anything?
No, you should not reuse potting soil year after year without amending it. Potting mix degrades over time; organic matter breaks down, nutrients deplete, and the structure compacts, reducing aeration and drainage.
This creates an unhealthy environment for plant roots and can lead to waterlogged conditions that encourage pests and diseases.
Always rejuvenate used soil by mixing it with fresh potting mix, compost, and amendments like perlite or vermiculite, and add a slow-release fertilizer for optimal plant growth.
How do I know if my cleaned pots are truly pest-free for storage?
After cleaning and rinsing your pots, ensure they are completely dry before storage. This prevents mold and mildew from forming.
Visually inspect them one last time, paying attention to any crevices or drainage holes, to confirm no debris or small organisms remain. Storing them in a clean, dry area further protects them from re-infestation until you are ready to use them next spring.
A clean, sanitized pot should look and feel ready for fresh soil and new plants.
Disclaimer: This article is for informational purposes only and is not a substitute for professional gardening advice. Always consult local extension services or horticulture experts for region-specific guidance.