
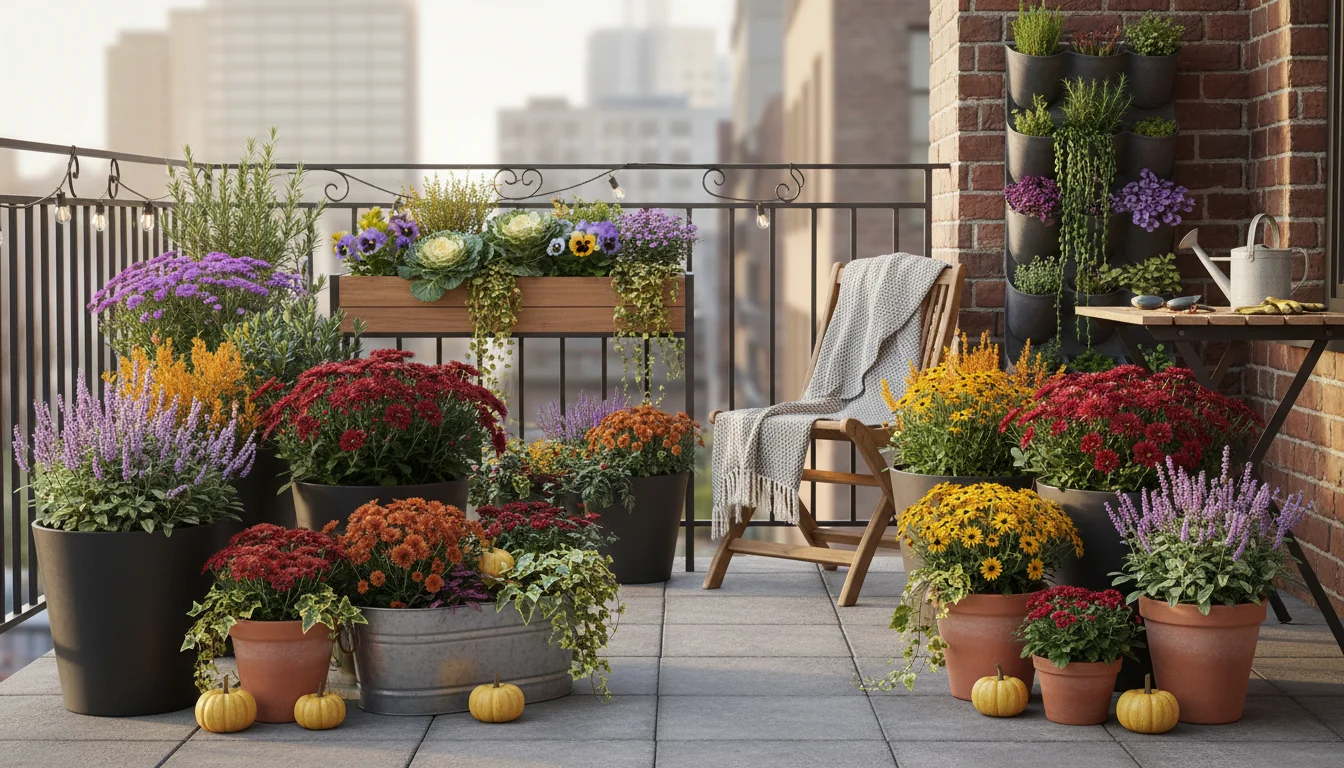
As the vibrant colors of summer flowers fade and your container gardens wind down, you might be tempted to simply empty your pots and store them away. Stop right there.
Leaving your soil bare over winter is a missed opportunity for boosting its health and preparing for an even more successful growing season next spring. This fall, transform your small-space garden into a powerhouse of soil regeneration by planting cover crops in your containers.
This simple, low-effort technique significantly improves your potting mix, making your future plants thrive with less work from you.
For beginner and intermediate gardeners, especially those working with balconies, patios, or small yards, cover crops offer an accessible, environmentally conscious way to practice sustainable gardening. They are your secret weapon for vibrant, healthy container gardens without needing a sprawling backyard.
Let’s dig in and discover how.
Contents9 sections
- What Are Cover Crops and Why Do Containers Need Them?
- The Unseen Magic: How Cover Crops Transform Your Potting Mix
- Choosing Your Container Cover Crop: Best Bets for Small Spaces
- Your Step-by-Step Guide to Planting Cover Crops in Pots
- Nurturing Your Winter Garden: Care and Maintenance
- The Grand Finale: Incorporating Cover Crops into Your Spring Planting
- Common Mistakes to Avoid When Growing Container Cover Crops
- Beyond the Basics: Advanced Tips for Small-Space Soil Building
- Frequently Asked Questions
What Are Cover Crops and Why Do Containers Need Them?
Cover crops are essentially plants grown not for harvest, but for the benefit of the soil itself. Gardeners typically use them in larger fields or garden beds to prevent erosion, add organic matter, and improve fertility.
For those of us with limited space, the concept of cover crops for containers might seem less intuitive, yet it holds immense value. Your potted plants, whether on a balcony or a small patio, face unique challenges.
Container soil, often a soilless mix, compacts easily, drains nutrients rapidly, and offers less microbial diversity than in-ground soil. Over a growing season, your prized petunias or tomatoes extract a significant amount of nutrients, leaving the potting mix depleted and lifeless.
This is where cover crops become invaluable. Instead of letting your pots sit empty and exposed through the fall and winter, you can sow specific types of seeds.
These plants will grow, establish root systems, and actively work to revitalize your soil. Think of them as living mulches and soil conditioners, naturally enhancing the growing medium for your next season’s crops.
This practice directly contributes to excellent fall soil health in your containers, setting the stage for robust growth when spring arrives.
By keeping the soil covered and active, you prevent nutrient leaching caused by rain and snow, ensuring those valuable elements stay where your plants can use them.
The beauty of this method lies in its simplicity and effectiveness. You do not need specialized equipment or a vast garden plot.
A few seeds and a little water transform your dormant containers into miniature soil-building factories. This proactive approach to improving balcony soil in fall or enhancing any containerized garden makes a tangible difference.
It is a fundamental step in sustainable, no-nonsense small-space gardening, reducing the need for constant soil replacement or heavy fertilization.
The Unseen Magic: How Cover Crops Transform Your Potting Mix
The benefits of planting cover crops in your containers extend far beyond just occupying empty space. These unassuming plants initiate a powerful, unseen transformation within your potting mix, making it more vibrant and fertile for the long term.
Understanding these mechanisms helps you appreciate the profound impact of this simple practice.
- Nutrient Retention and Replenishment: One of the most significant advantages is the role cover crops play in managing nutrients. As your summer plants grow, they consume nitrogen, phosphorus, and potassium from the soil. Without replenishment, the soil becomes barren. Cover crops act as “nutrient scavengers,” capturing residual nutrients that might otherwise leach out of the container with rainfall. Leguminous cover crops, such as various clovers, perform an even more remarkable feat. They host beneficial bacteria in their root nodules that convert atmospheric nitrogen into a form usable by plants. This process, known as nitrogen fixation, naturally enriches your soil, essentially giving it a free nutrient boost for your next planting cycle. Data suggests that legumes can add 50 to 150 pounds of nitrogen per acre to the soil, a substantial benefit even when scaled down to container gardening. This proactive approach significantly contributes to better fall soil health and reduces your reliance on synthetic fertilizers.
- Improved Soil Structure and Aeration: The roots of cover crops are tiny engineers. As they grow through your potting mix, they create intricate channels, breaking up compaction and improving aeration. This is crucial for container soil, which often compresses quickly due to watering and the weight of plants. Better soil structure means water drains more effectively, preventing waterlogged roots, while oxygen can reach deep into the soil, supporting healthy microbial life. When these roots decompose, they leave behind organic matter, further enhancing the soil’s structure and its ability to hold both water and nutrients.
- Weed Suppression: While weeds might seem less of an issue in containers than in a garden bed, they still appear, especially if you keep your pots outside. A dense cover crop canopy shades the soil surface, preventing weed seeds from germinating. This means less time spent pulling weeds next spring, allowing you to focus on planting your desired edibles or ornamentals.
- Increased Microbial Activity: The roots of cover crops exude substances that feed a diverse community of beneficial microorganisms in the soil. These microbes play a vital role in breaking down organic matter, cycling nutrients, and even suppressing plant diseases. A thriving microbial community indicates a healthy, living soil, which is the foundation for strong plant growth.
- Preventing Erosion and Nutrient Leaching: Bare soil in containers is vulnerable. Rain can splash away valuable topsoil, and nutrients can quickly wash out through drainage holes. Cover crops provide a living blanket, protecting the soil surface from the elements. Their root systems hold the soil particles in place, minimizing erosion and ensuring that precious nutrients remain in your containers, ready for your next planting season. This is a fundamental aspect of no-till container gardening, where you aim to disturb the soil as little as possible to preserve its structure and biological health.
These combined actions make cover crops a powerful tool for sustainable container gardening. They work tirelessly through the cooler months, transforming your depleted potting mix into a fertile, ready-to-go environment for spring.
Choosing Your Container Cover Crop: Best Bets for Small Spaces
Selecting the right cover crop is key to success in a small-space container garden. You need varieties that perform well in confined environments, tolerate cooler temperatures, and offer significant soil benefits.
The goal is to find crops that grow effectively over winter without becoming unwieldy. Here are some of the best cover crop for pots over winter, tailored for your specific needs.
Legumes: Nitrogen Fixers for Fertility
Legumes are superstars for their ability to fix nitrogen, a primary nutrient for leafy growth. They are an excellent choice for improving soil fertility naturally.
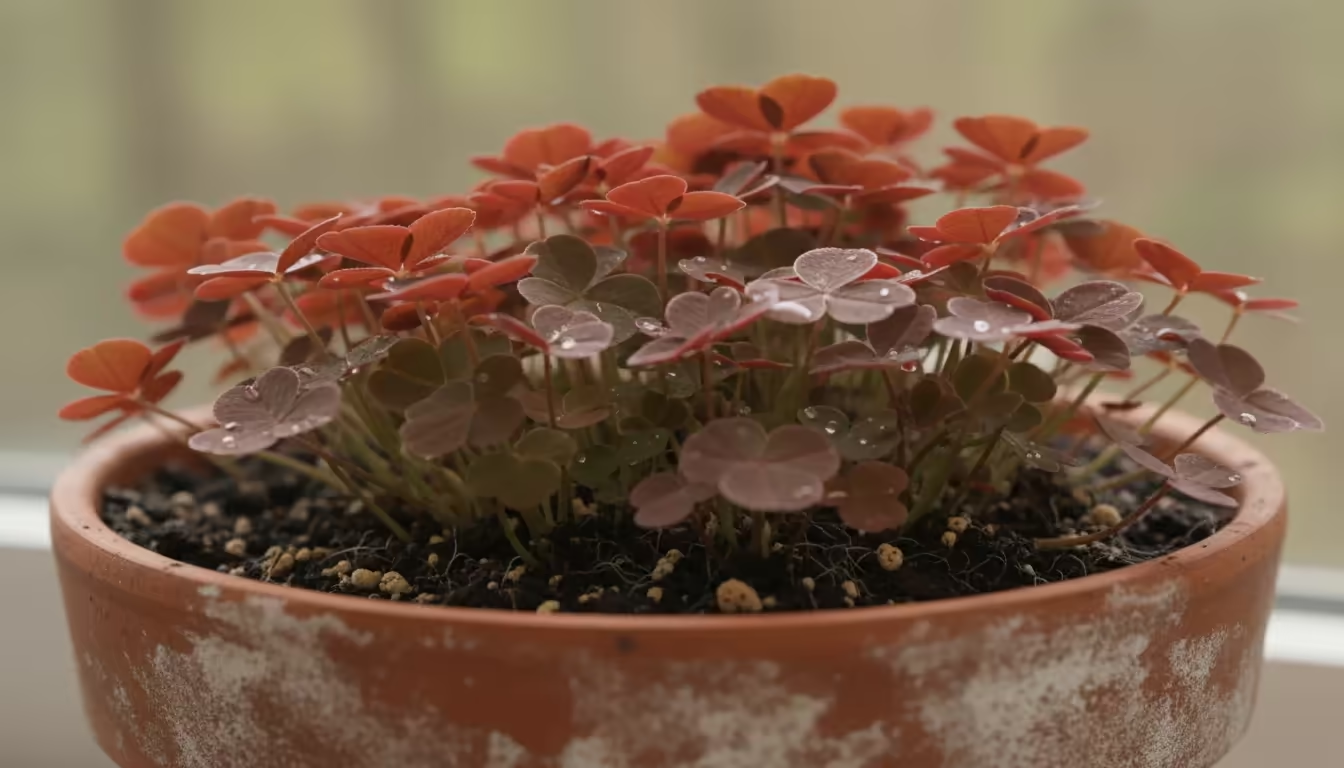
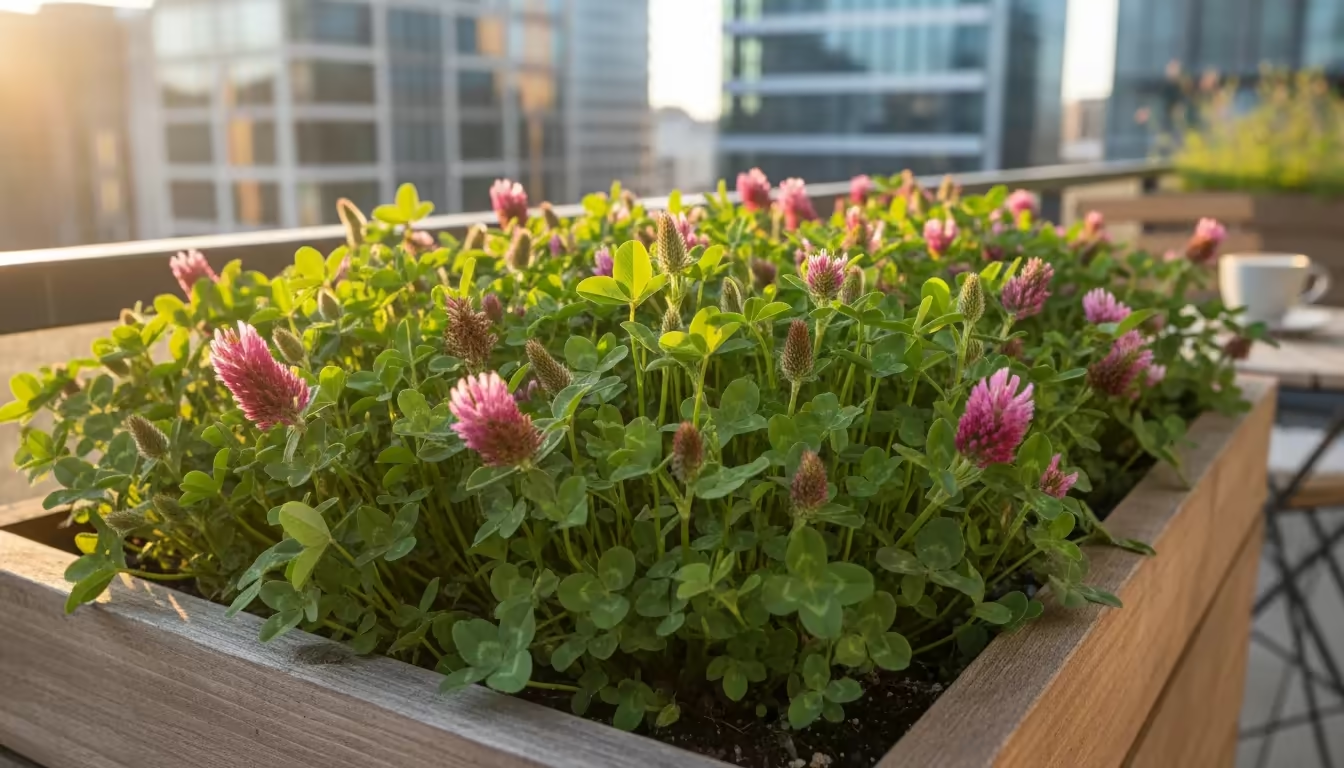
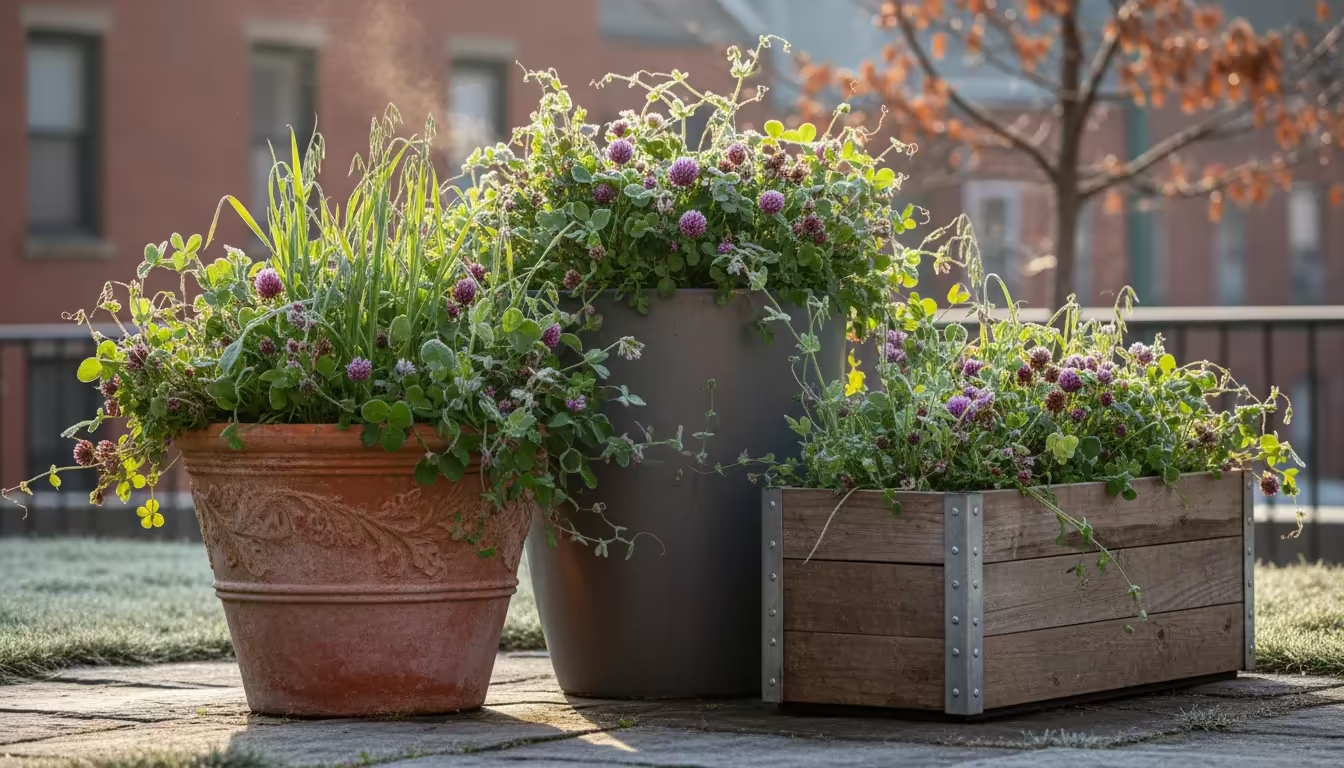
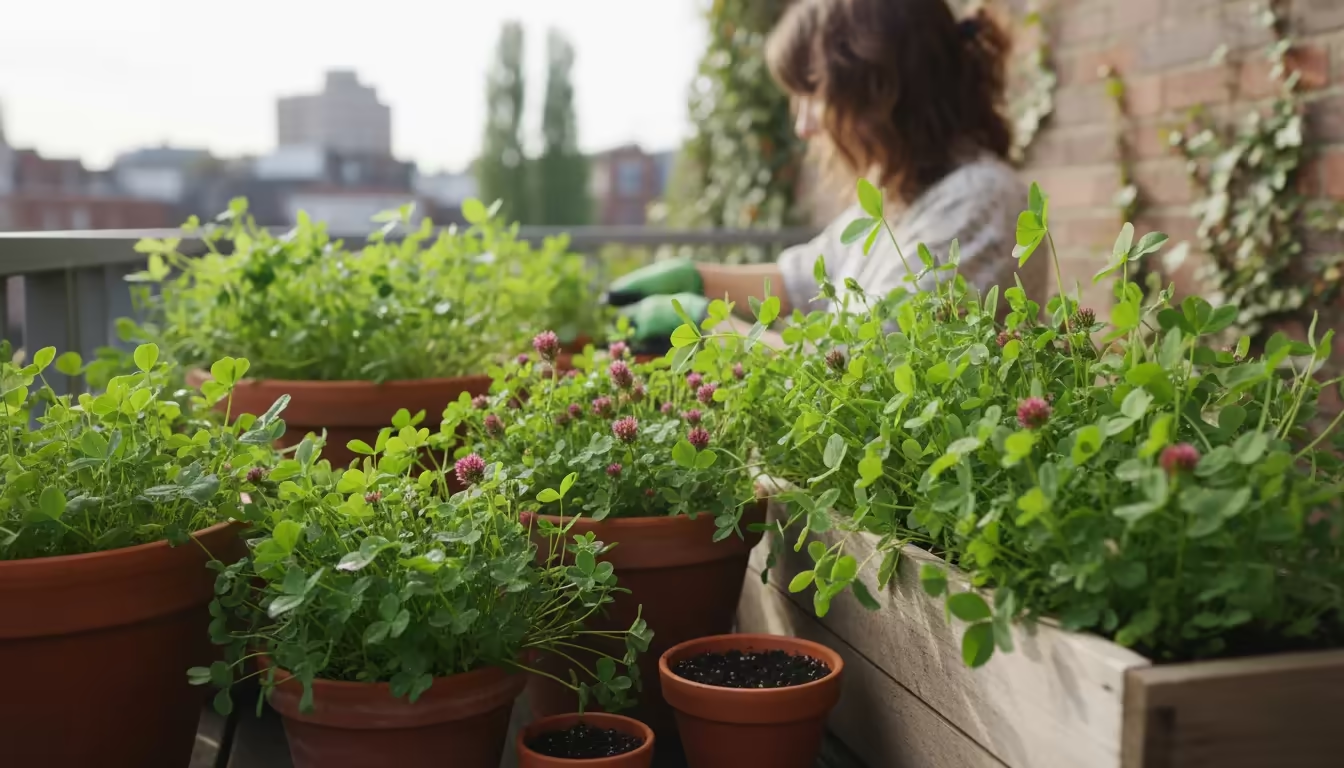
- Crimson Clover (Trifolium incarnatum): This is a highly recommended choice for containers. Crimson clover grows quickly in the fall, establishes a dense mat, and effectively fixes nitrogen. It is relatively low-growing, making it manageable in pots, and tolerates cooler temperatures well. Its distinctive crimson flowers in spring are an added bonus, though you should terminate it before it flowers to maximize nutrient transfer to your subsequent crops. If you are specifically interested in how to plant clover in a container for soil health, crimson clover is your go-to.
- White Clover (Trifolium repens): Another excellent option, white clover is even lower growing and can sometimes persist through warmer winters, acting as a living mulch. It is also a good nitrogen fixer. It does not grow as tall as crimson clover, making it very neat for balconies.
- Hairy Vetch (Vicia villosa): While a strong nitrogen fixer, hairy vetch can be vining and might require some light trimming to keep it tidy in smaller pots. If you have larger containers or want a more aggressive soil builder, it is a great choice, but be mindful of its growth habit.
Grasses: For Organic Matter and Soil Structure
Grasses are excellent at producing a large amount of organic matter and developing extensive root systems that improve soil structure and prevent erosion.
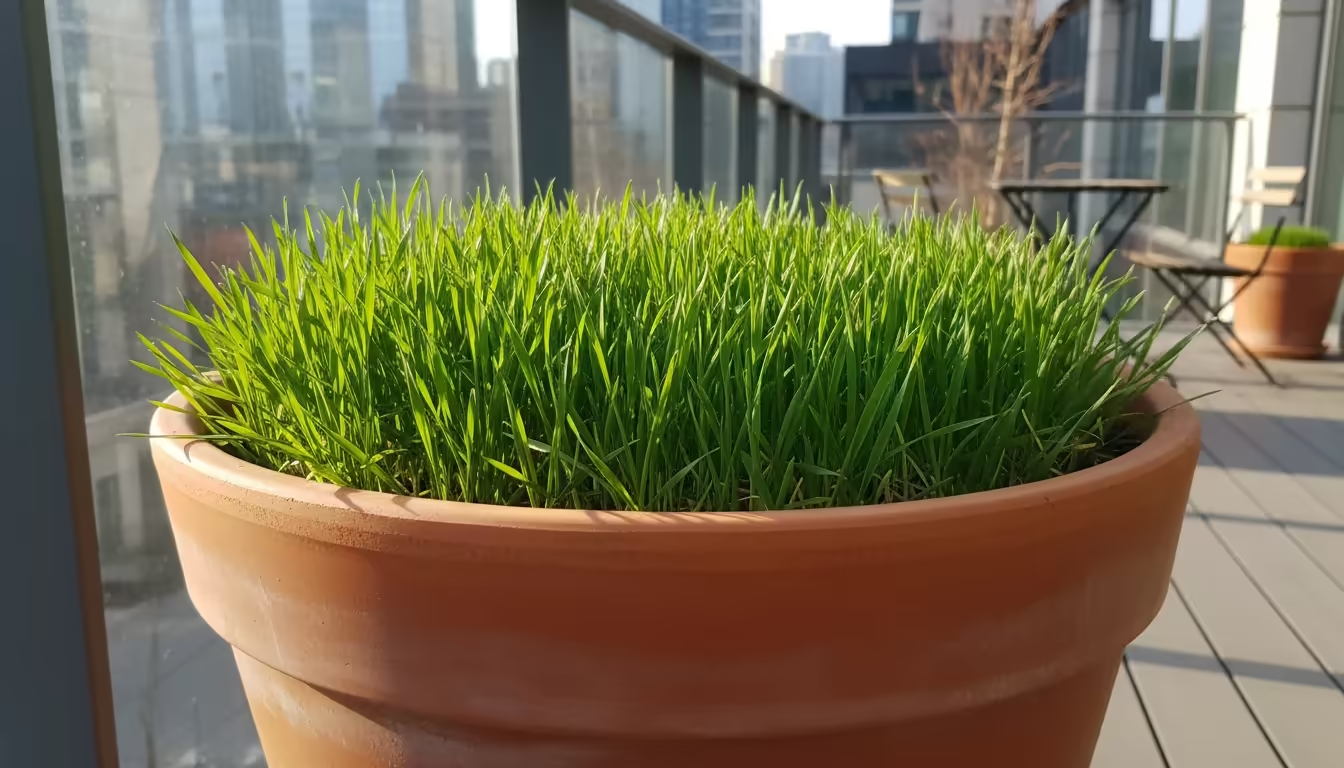
- Winter Rye (Secale cereale): This hardy grass grows well into late fall and early winter, even in colder climates. It produces a dense root system that excels at breaking up compacted soil and scavenging leftover nutrients. Winter rye also creates a significant amount of biomass, which, when incorporated, adds valuable organic matter to your potting mix. It can get quite tall in spring, so be prepared to chop it down before it goes to seed.
- Oats (Avena sativa): Oats are a good choice for container gardeners in milder climates. They establish quickly, provide good ground cover, and produce a respectable amount of organic matter. They are generally less cold-hardy than winter rye but still perform well through the fall and into early winter.
Combining for Maximum Benefit: Cover Crop Cocktails
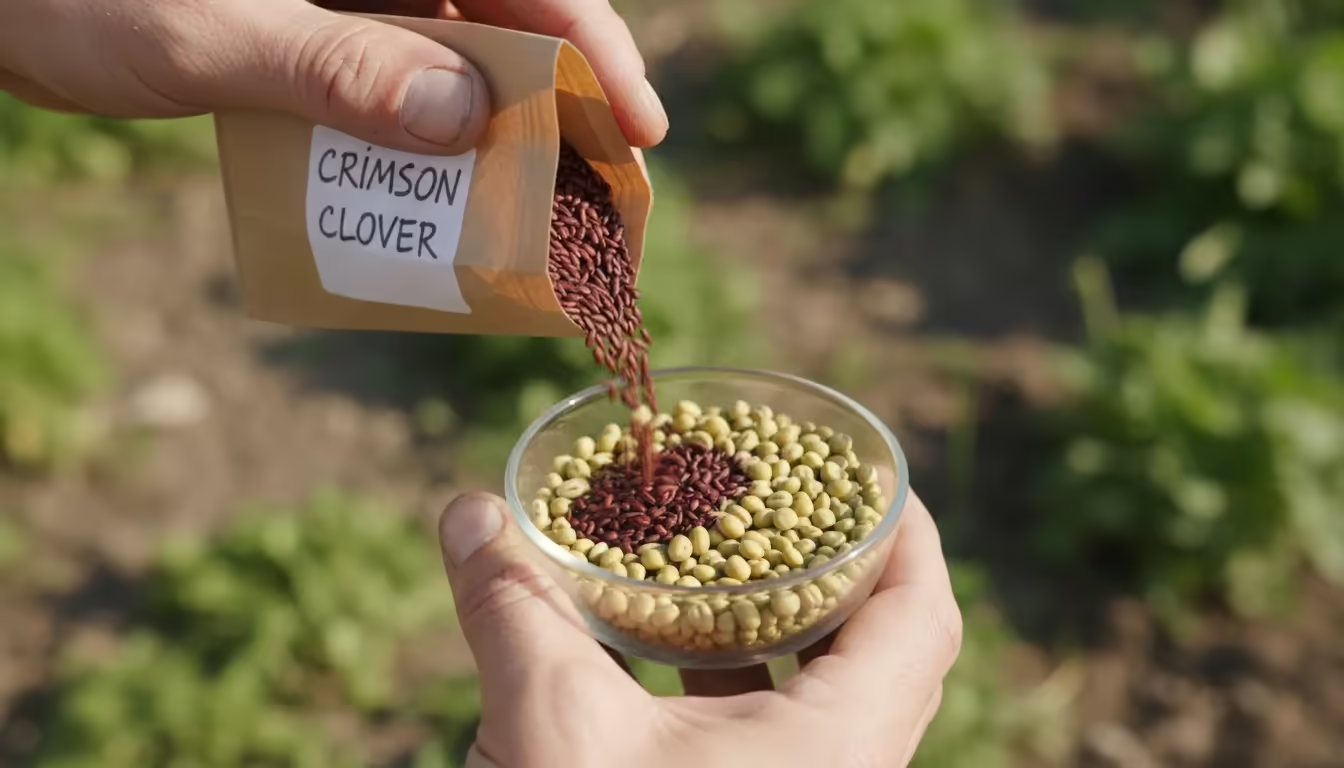
For the ultimate soil boost, consider planting a mix of a legume and a grass. This “cocktail” provides the benefits of both nitrogen fixation and extensive root development.
For instance, a mix of crimson clover and winter rye is a powerful combination for revitalizing container soil. The clover adds nitrogen, while the rye improves soil structure and scavenges other nutrients.
When selecting your seeds, look for varieties specified for cover cropping or “green manure.” These seeds are typically sold in bulk by weight, allowing you to get a good quantity for your containers without breaking the bank.
Always check the seed packet for specific planting times and temperature tolerances relevant to your local climate.
Your Step-by-Step Guide to Planting Cover Crops in Pots
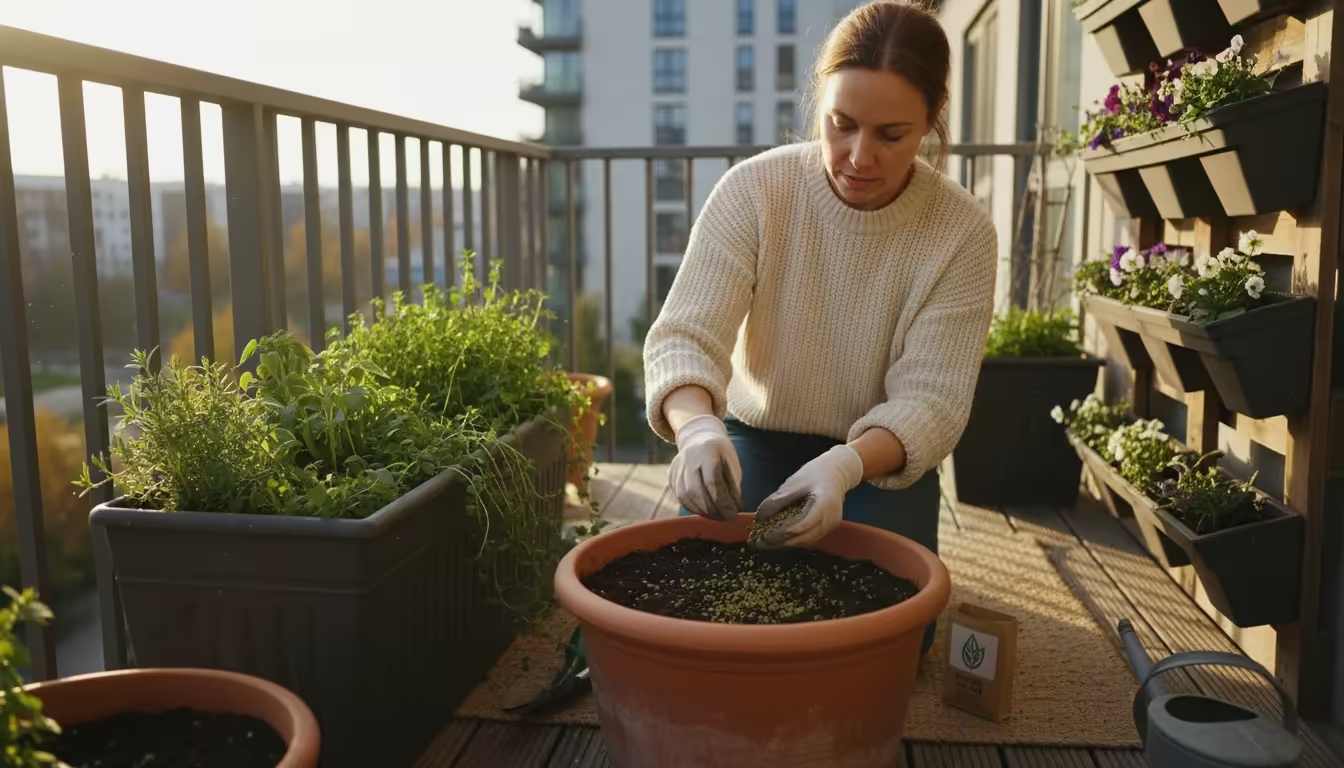
Planting cover crops in your containers is a straightforward process, making it an ideal project for beginner gardeners. Follow these steps to ensure a successful start to your fall soil health journey.
Step 1: Timing Your Planting
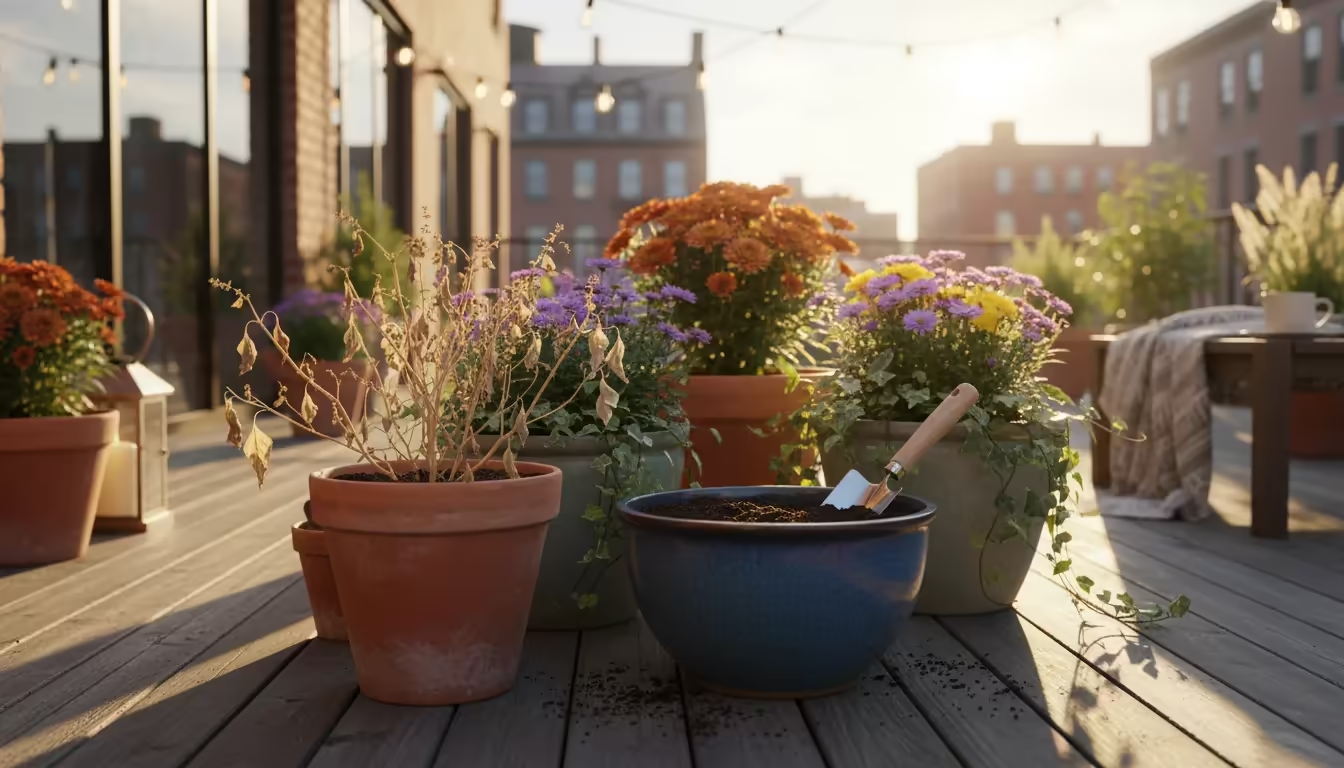
The ideal time to plant fall cover crops in containers is typically in late summer to early fall, after you have harvested your main summer crops but before the first hard frost.
This timing allows the seeds to germinate and establish a strong root system before temperatures drop significantly. Aim for about 4-6 weeks of mild weather after planting for optimal establishment.
If you live in a region with a very short fall, plant as soon as your summer crops finish producing.
Step 2: Prepare Your Containers
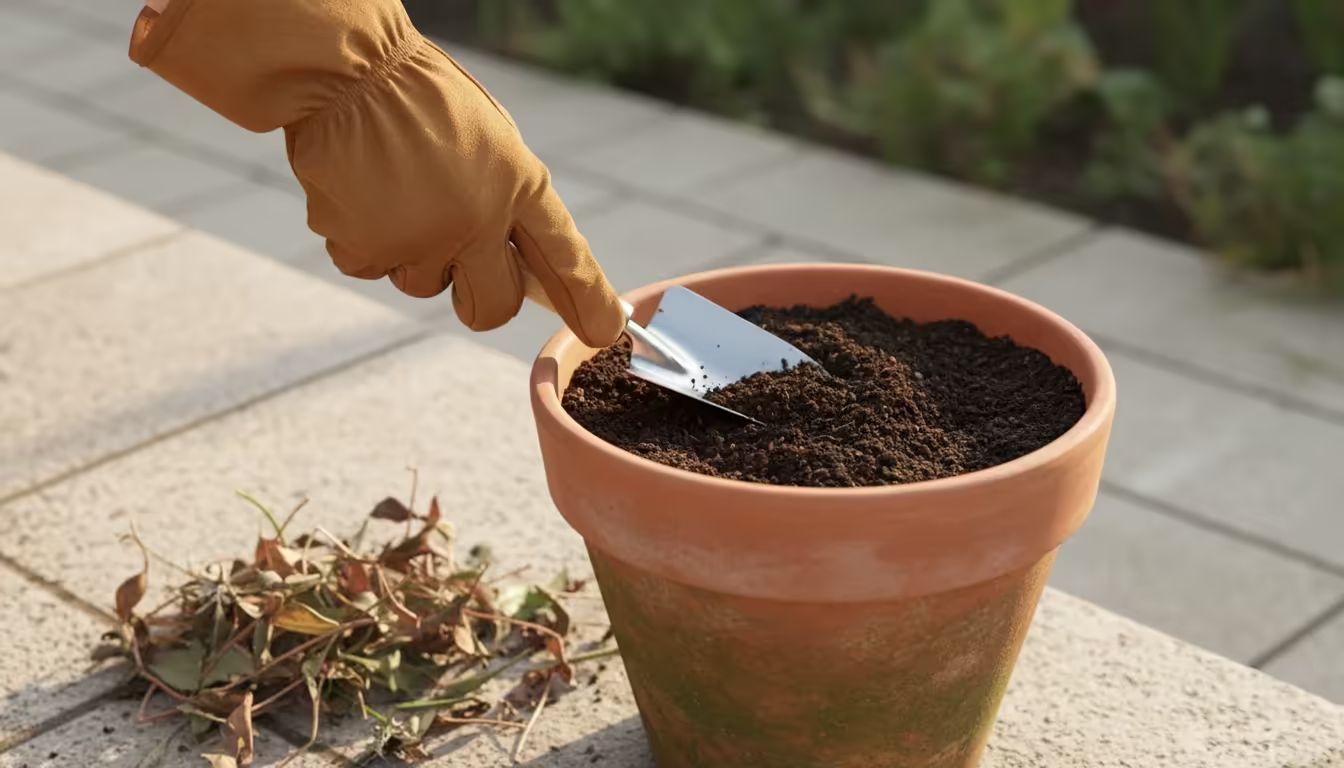
The beauty of this method is its minimal effort. You do not need to replace all your potting mix.
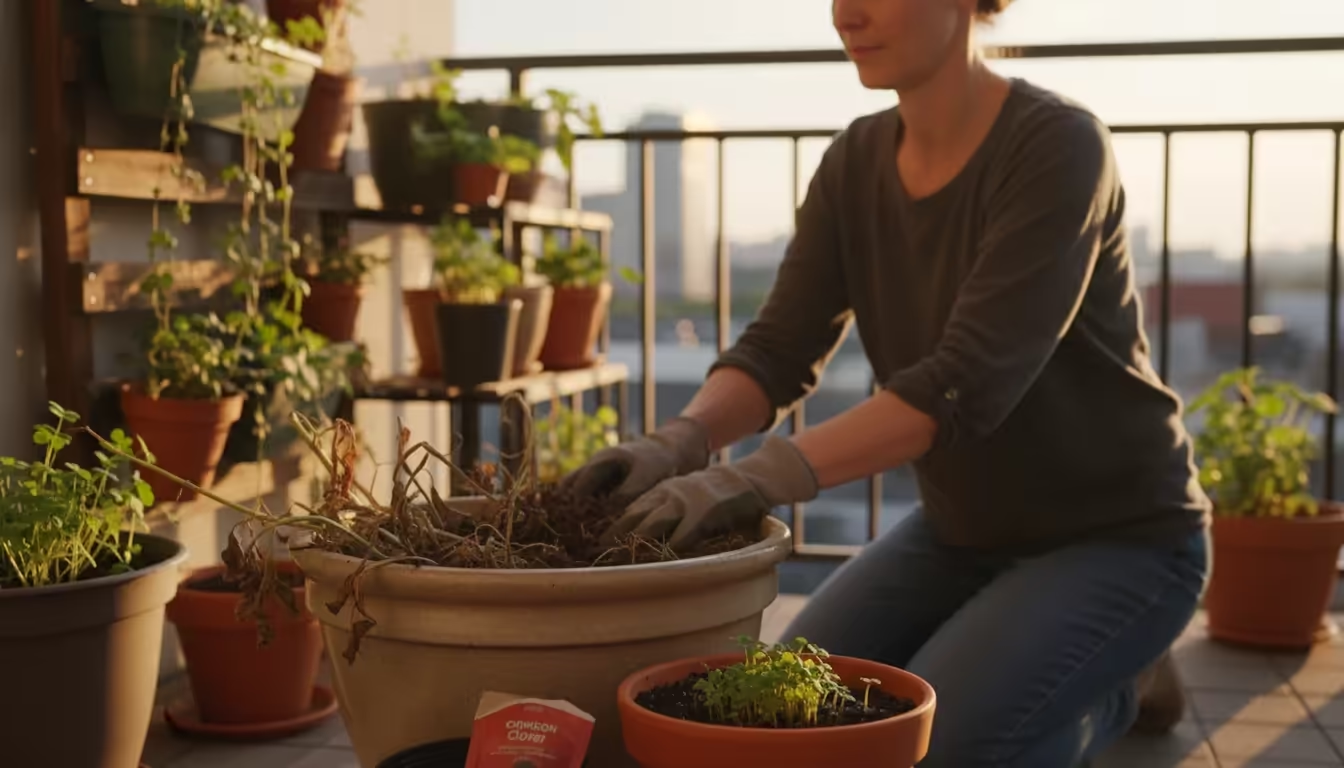
Simply remove the spent summer plants from your containers, roots and all. Lightly loosen the top 1-2 inches of existing potting mix with a hand trowel.
This provides a soft bed for the new seeds and improves seed-to-soil contact. You do not need to add compost or fertilizer at this stage, as the cover crops will do the work of revitalizing the soil.
Step 3: Select and Sow Your Seeds
Based on your research and the options discussed earlier, choose your preferred cover crop seed or mixture. Read the seed packet for specific planting depth and spacing recommendations.
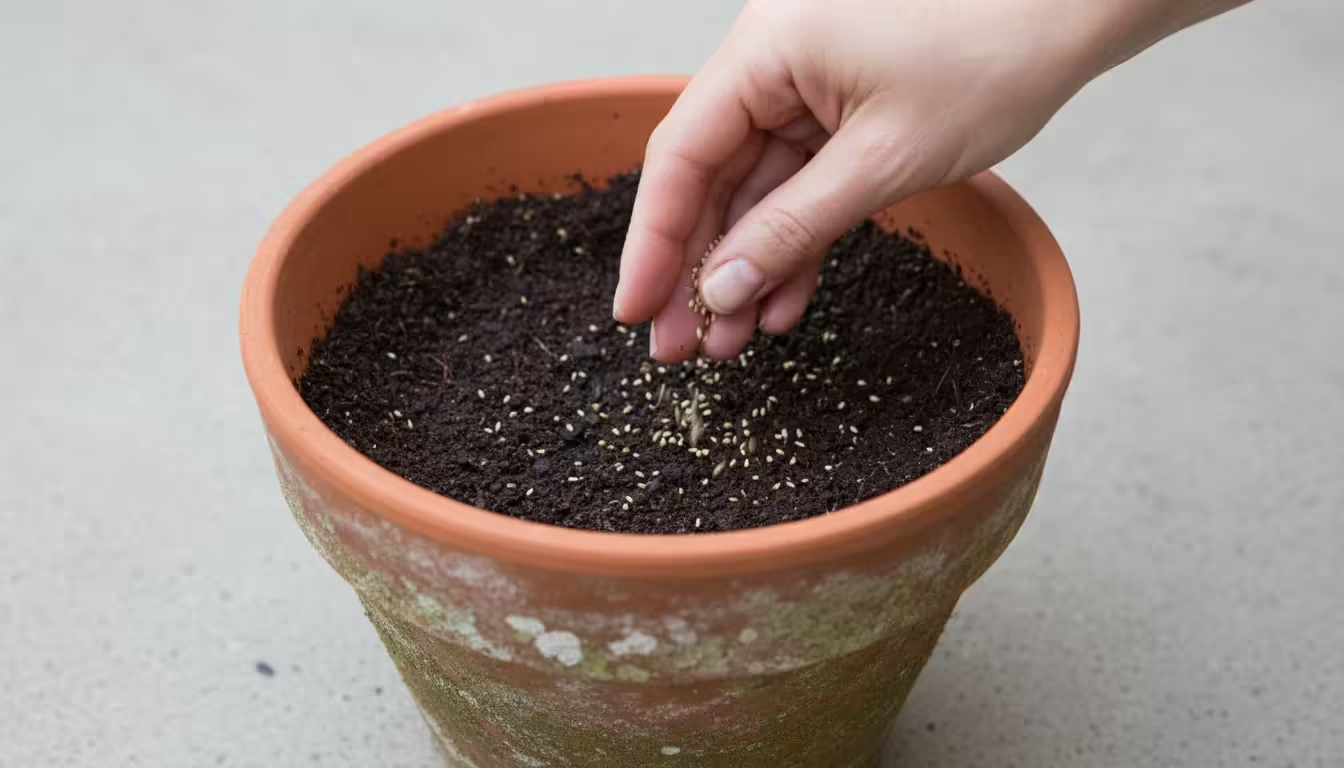
As a general rule for containers, you want a slightly denser sowing than you would for an open field, to ensure good ground cover. Sprinkle the seeds evenly across the surface of the potting mix.
For most small-seeded cover crops, a good rule of thumb is to aim for a density that roughly covers the surface of the soil with seeds, but not so densely that they are piled on top of each other.
A common recommendation for clovers is around 1/4 to 1/2 pound per 1,000 square feet, so for a 12-inch pot, this means just a pinch or two of seeds.
Step 4: Cover and Gently Press
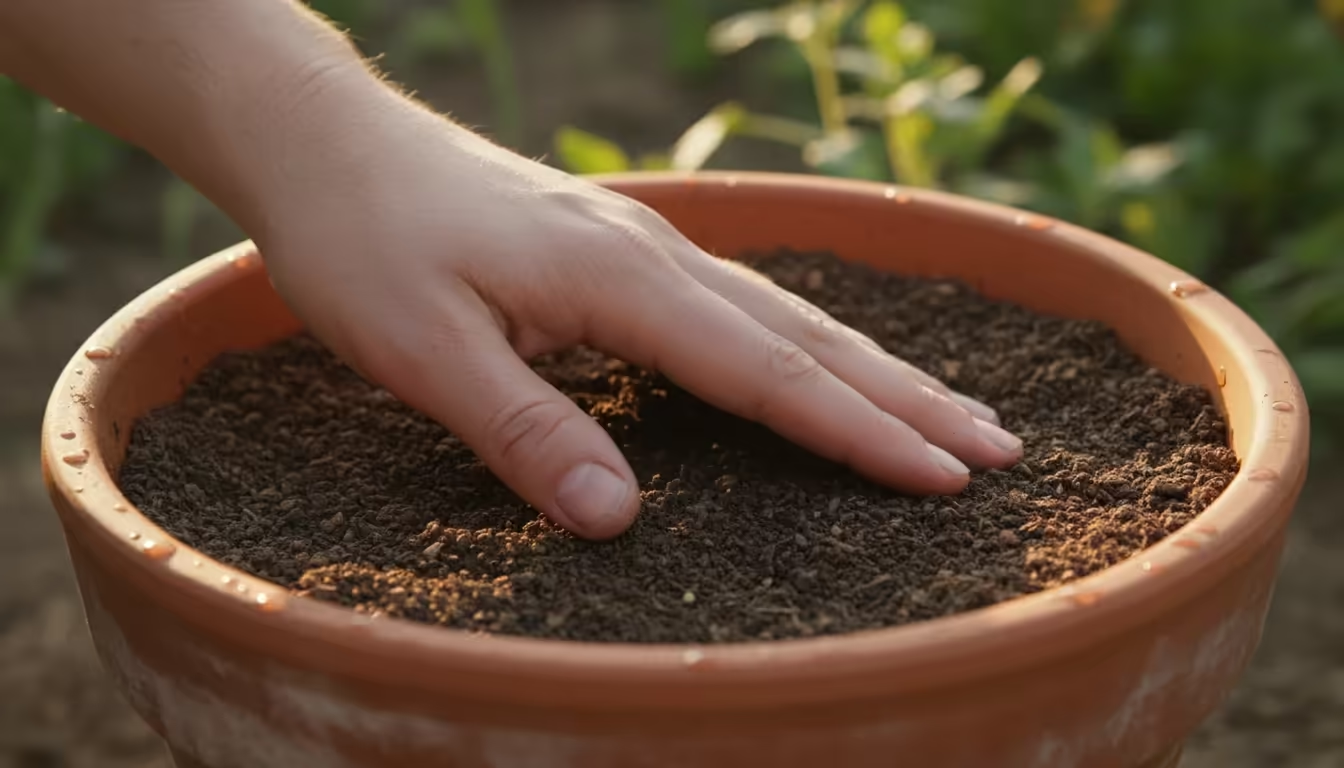
Once you have scattered the seeds, lightly cover them with about 1/4 to 1/2 inch of fresh potting mix or fine compost. This protects the seeds and helps maintain moisture.
You can use your hand or the back of your trowel to gently press the soil surface. This crucial step, known as “firming,” ensures good seed-to-soil contact, which is essential for successful germination.
Step 5: Water Thoroughly
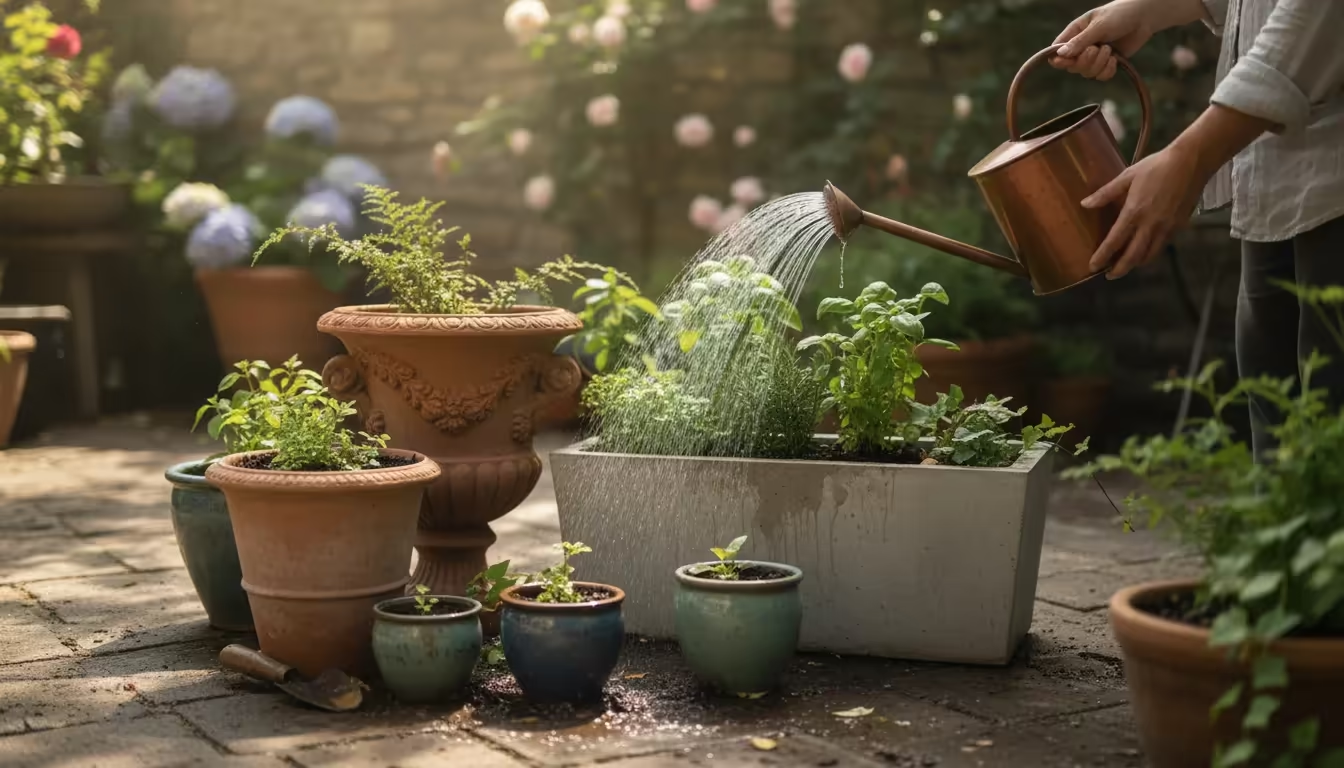
After planting, water the containers thoroughly and gently. Use a watering can with a fine rose attachment to avoid washing away the seeds.
The goal is to moisten the soil deeply without displacing the seeds. Keep the soil consistently moist, but not waterlogged, during the germination period.
This usually takes 5-14 days, depending on the cover crop type and environmental conditions.
Step 6: Initial Care
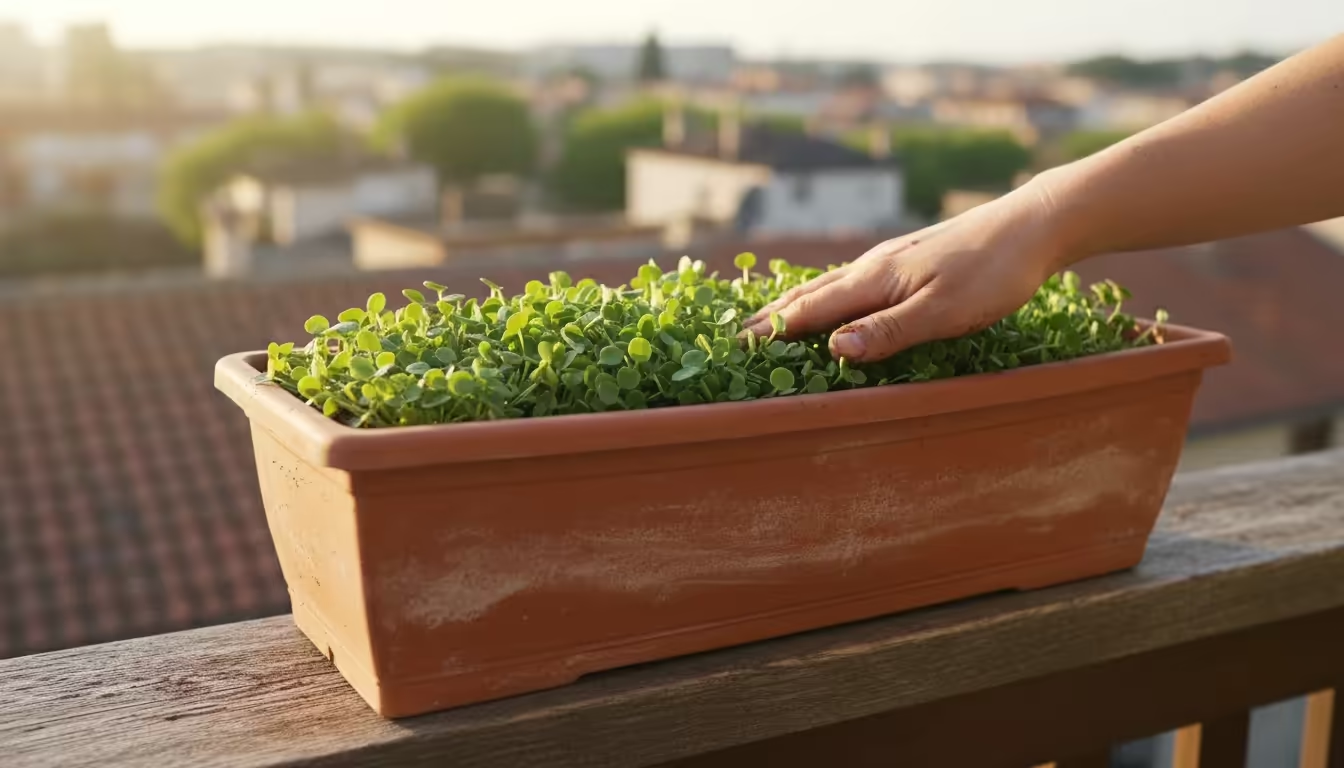
Once your cover crops sprout, continue to monitor moisture levels. They will require less frequent watering as they grow and temperatures drop, but do not let the soil dry out completely.
Position your containers in an area where they will receive adequate sunlight, typically 4-6 hours a day, to support healthy growth. Your newly planted cover crops are now on their way to improving balcony soil in fall and preparing it for spring.
Nurturing Your Winter Garden: Care and Maintenance
Once your fall cover crops are established in their containers, their care becomes quite minimal. This is part of their appeal for busy or small-space gardeners, allowing you to improve your soil without extensive daily tasks.
However, a few considerations ensure they thrive through the cooler months and deliver their maximum benefit.
Watering During Colder Months
As temperatures drop and daylight hours shorten, your cover crops will naturally slow their growth. Consequently, their water needs decrease significantly.
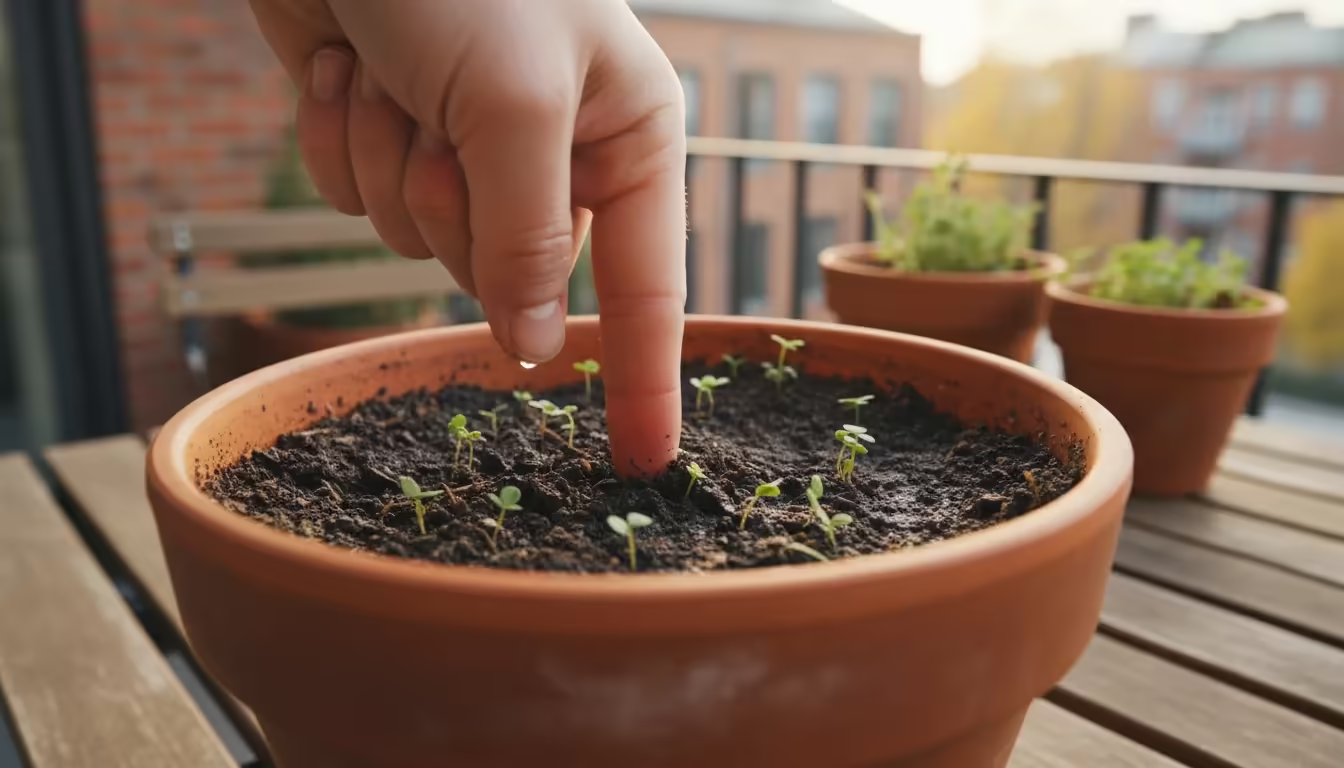
You do not want the soil to dry out completely, but overwatering can lead to root rot, especially in cold, damp conditions. Check the soil moisture by sticking your finger about an inch or two into the potting mix.
If it feels dry, give it a light watering. In many climates, winter rainfall or snow might provide sufficient moisture.
In sheltered balcony areas, however, you might need to water more actively, perhaps once every week or two, depending on the weather. Ensure your containers have adequate drainage to prevent water accumulation at the bottom.
Protection from Extreme Cold
Most recommended cover crops for containers, such as winter rye and crimson clover, are quite cold-hardy. They tolerate light frosts and often continue to grow slowly even under a thin layer of snow.
However, in regions with consistently severe freezing temperatures, or if you have chosen a less cold-tolerant variety like oats, your containerized cover crops might benefit from some protection.
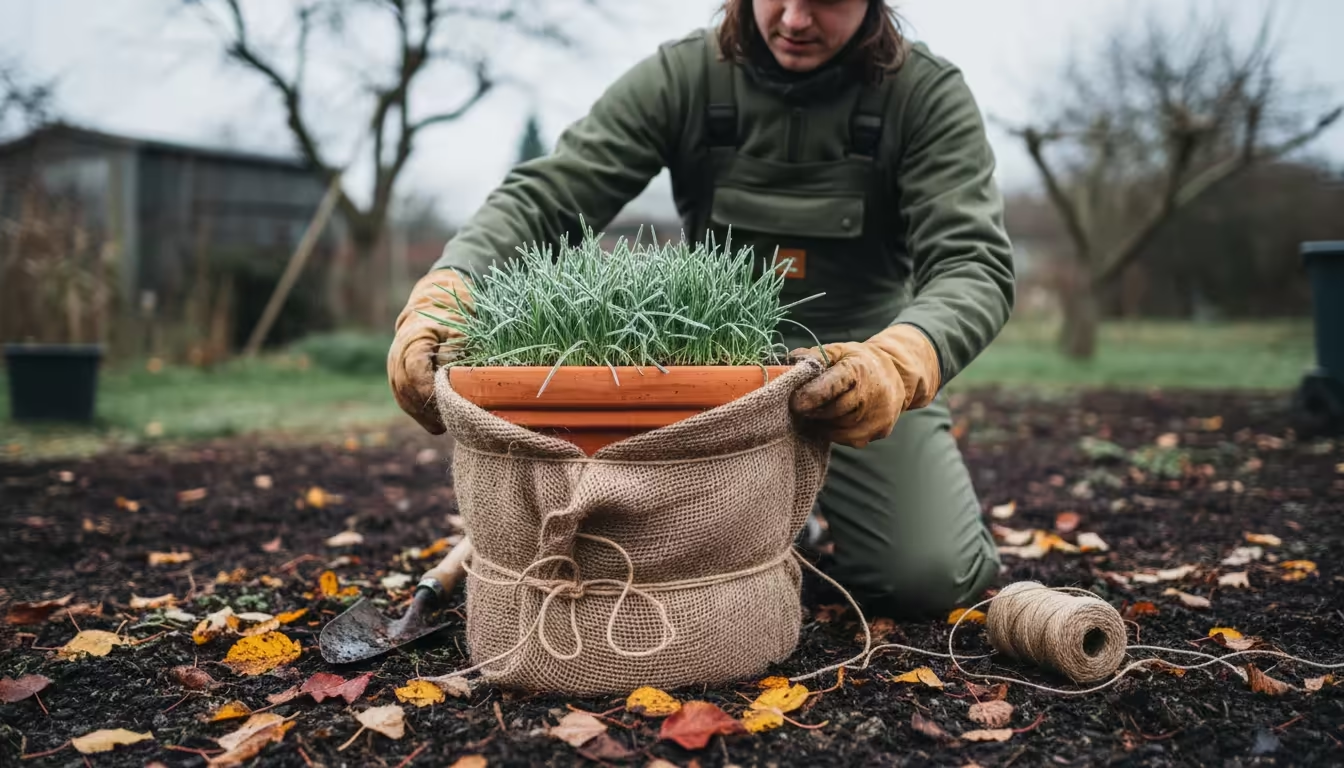
You can move smaller pots into a more sheltered location, such as against a warm house wall, under a porch, or into an unheated garage or shed during the coldest snaps.
For larger, immovable containers, wrapping them in burlap or bubble wrap can offer insulation to the roots, though the plants themselves are usually resilient.
Observing Growth and Health
Throughout the fall and winter, observe your cover crops. They should maintain a healthy green color.
Yellowing leaves could indicate overwatering or, less commonly, nutrient deficiency if your soil was extremely depleted. Sparse growth might suggest insufficient sunlight or planting too late in the season.
Generally, these plants are robust and require little intervention. Their primary job is to establish a strong root system and hold onto existing nutrients, contributing to excellent fall soil health.
Dealing with Leggy Growth
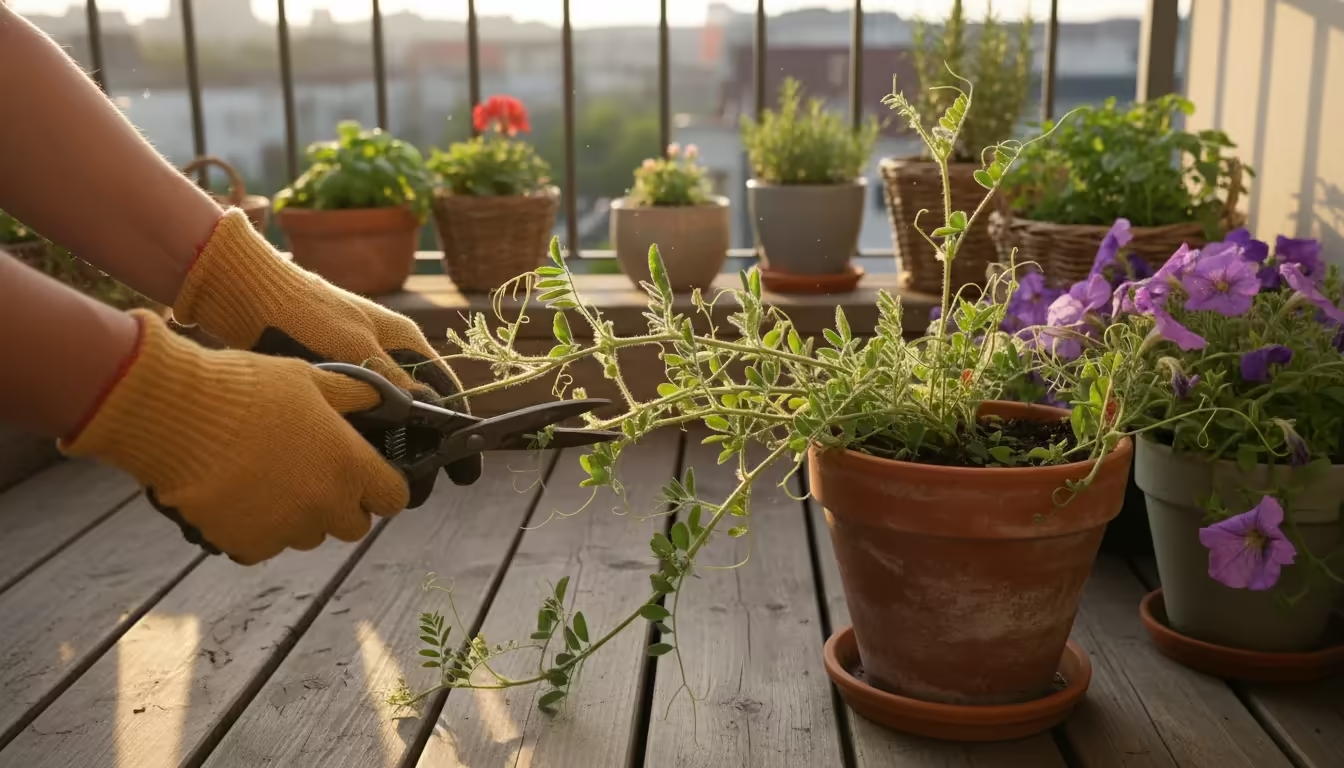
If you planted a cover crop like hairy vetch that tends to vine or if your cover crops become a bit leggy due to milder weather, do not hesitate to trim them back.
A light trim with scissors encourages bushier growth and keeps them manageable within your container space. This practice also helps keep them from overshadowing adjacent container plants if you are using them strategically.
By providing these minimal but attentive care steps, you ensure your cover crops perform their vital work, diligently improving your potting mix and reinforcing the principles of no-till container gardening through the non-growing season.
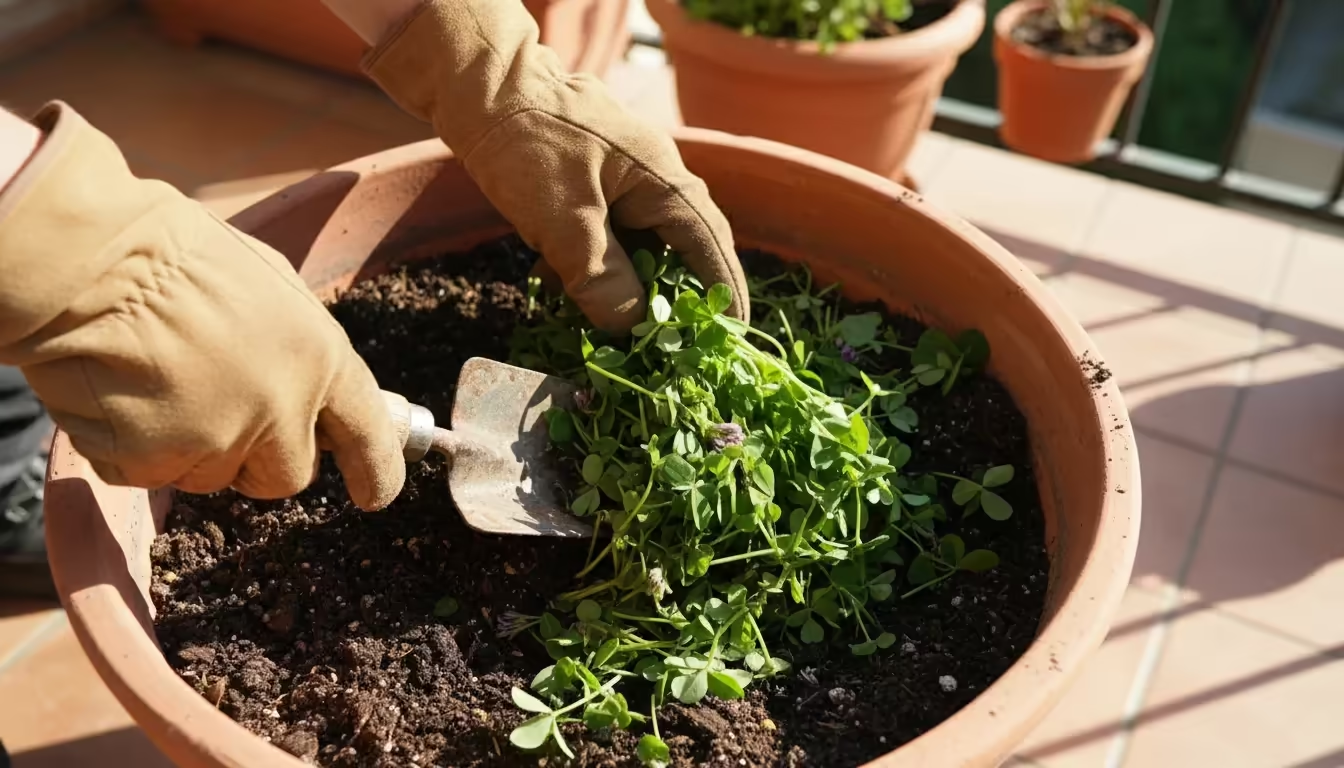
The Grand Finale: Incorporating Cover Crops into Your Spring Planting
The moment of truth arrives in early spring, when your cover crops have fulfilled their mission. Properly incorporating them back into your container soil is crucial for releasing the nutrients they have gathered and making them available for your next season’s plants.
This is the culmination of your efforts in improving balcony soil in fall.
Timing for Termination
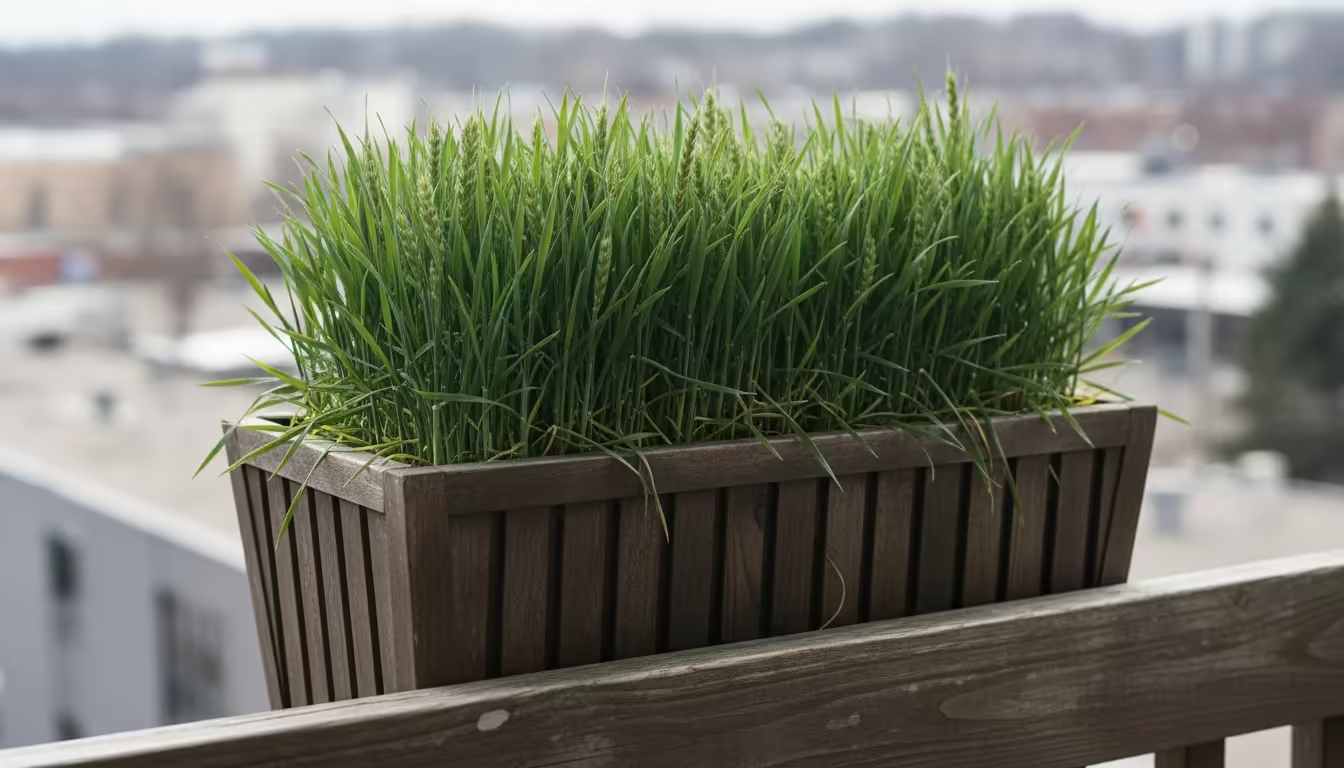
The ideal time to terminate your cover crops is typically 2-4 weeks before you plan to plant your spring vegetables or flowers. This allows sufficient time for the plant material to begin breaking down and releasing its nutrients into the soil.
If you wait too long, especially with fast-growing varieties like winter rye, they might go to seed, which you want to avoid to prevent them from becoming weeds. You also want to ensure they are not competing with your new spring plants for resources.
The “Chop and Drop” Method: No-Till for Containers
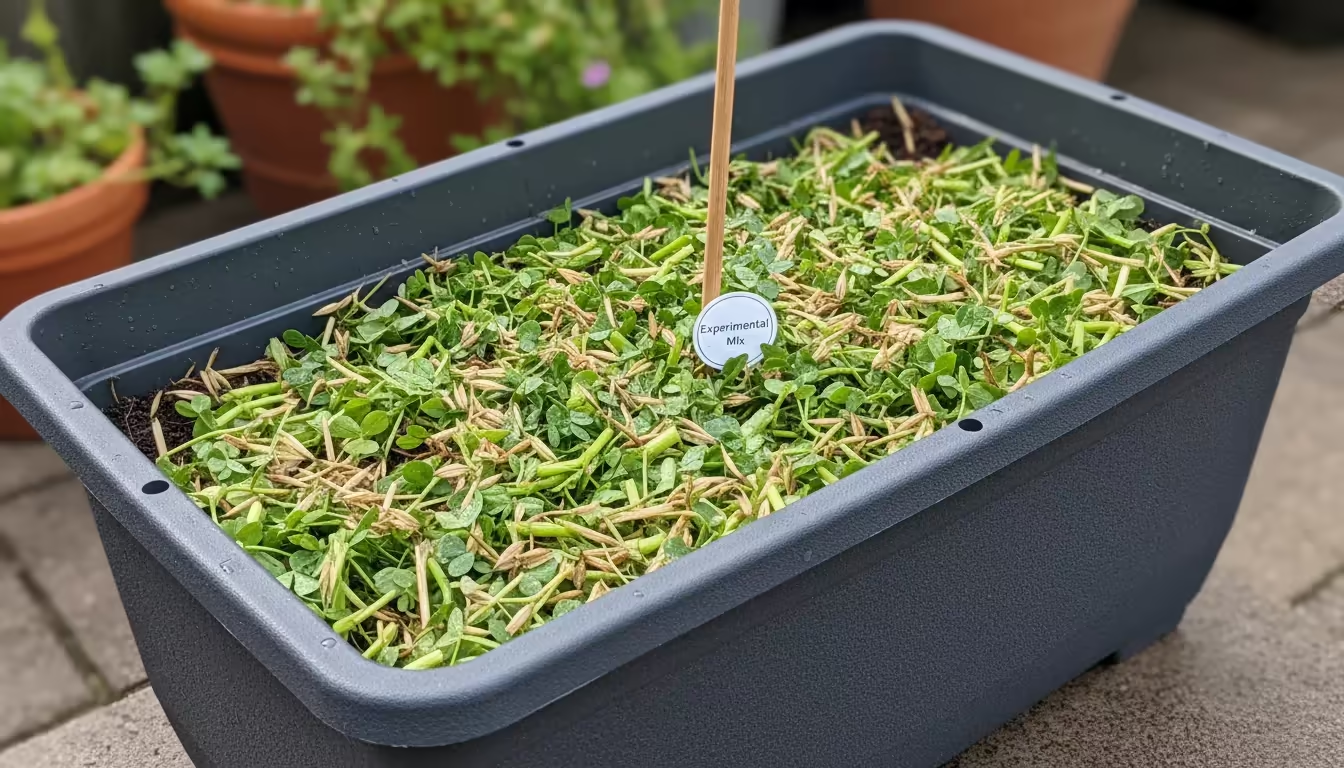
For container gardeners, the “chop and drop” method is the easiest and most effective way to incorporate cover crops. This technique aligns perfectly with no-till container gardening principles, minimizing soil disturbance and preserving its newly improved structure.
- Chop: Using sharp scissors or hand pruners, cut the cover crops down at the soil line. You can chop the plant material into smaller pieces, roughly 1-2 inches long, and leave it directly on top of the soil surface in your container.
- Drop: Allow the chopped plant material to remain on the soil surface. This material acts as a natural mulch, suppressing weeds, retaining soil moisture, and slowly decomposing. As it breaks down, it releases the stored nutrients back into the potting mix. This organic matter will continue to feed your soil and your subsequent plants.
Resist the urge to dig the plant material deeply into the soil. While traditional gardening sometimes involves tilling, for containers and small spaces, disturbing the soil as little as possible is beneficial.
Tilling can disrupt the delicate soil structure that your cover crop roots have worked hard to create and can also bring dormant weed seeds to the surface.
Preparing for Spring Planting
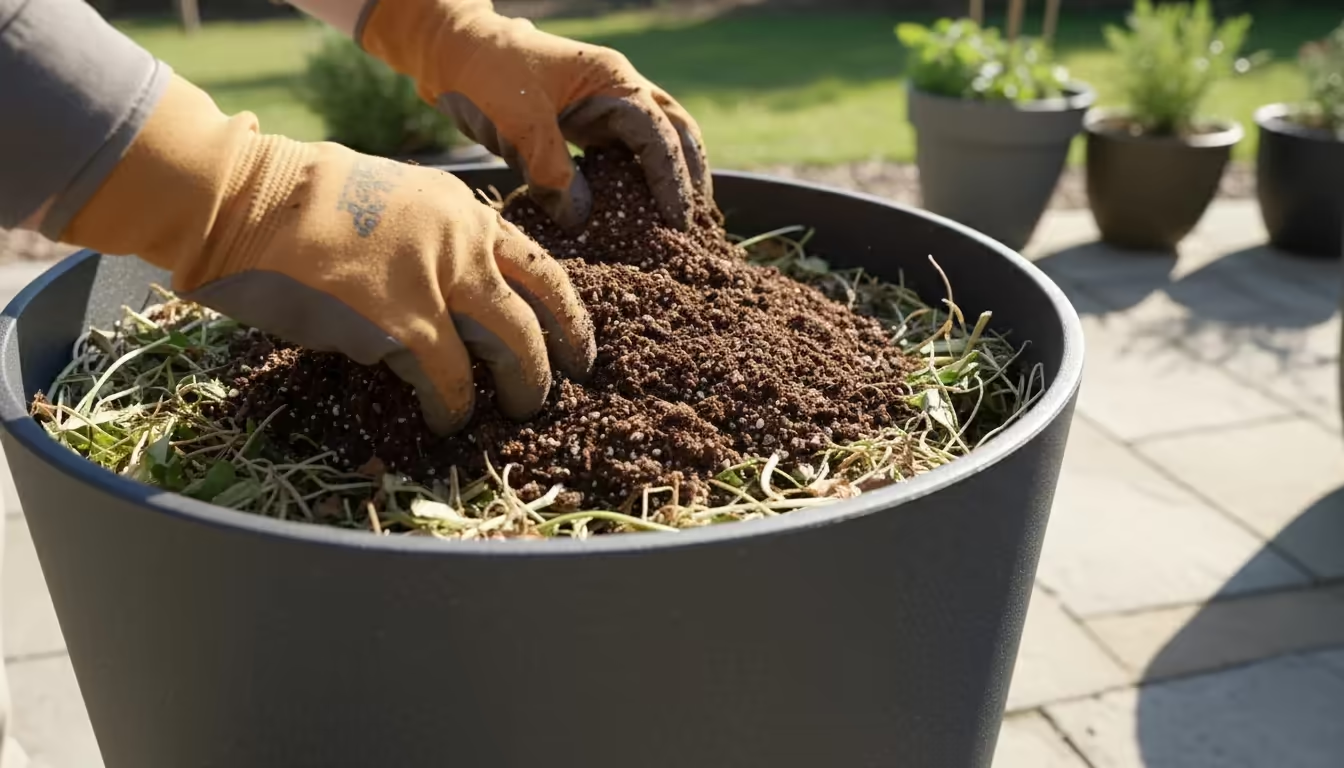
After chopping and dropping, you will have a layer of organic material on top of your container soil. This is excellent!
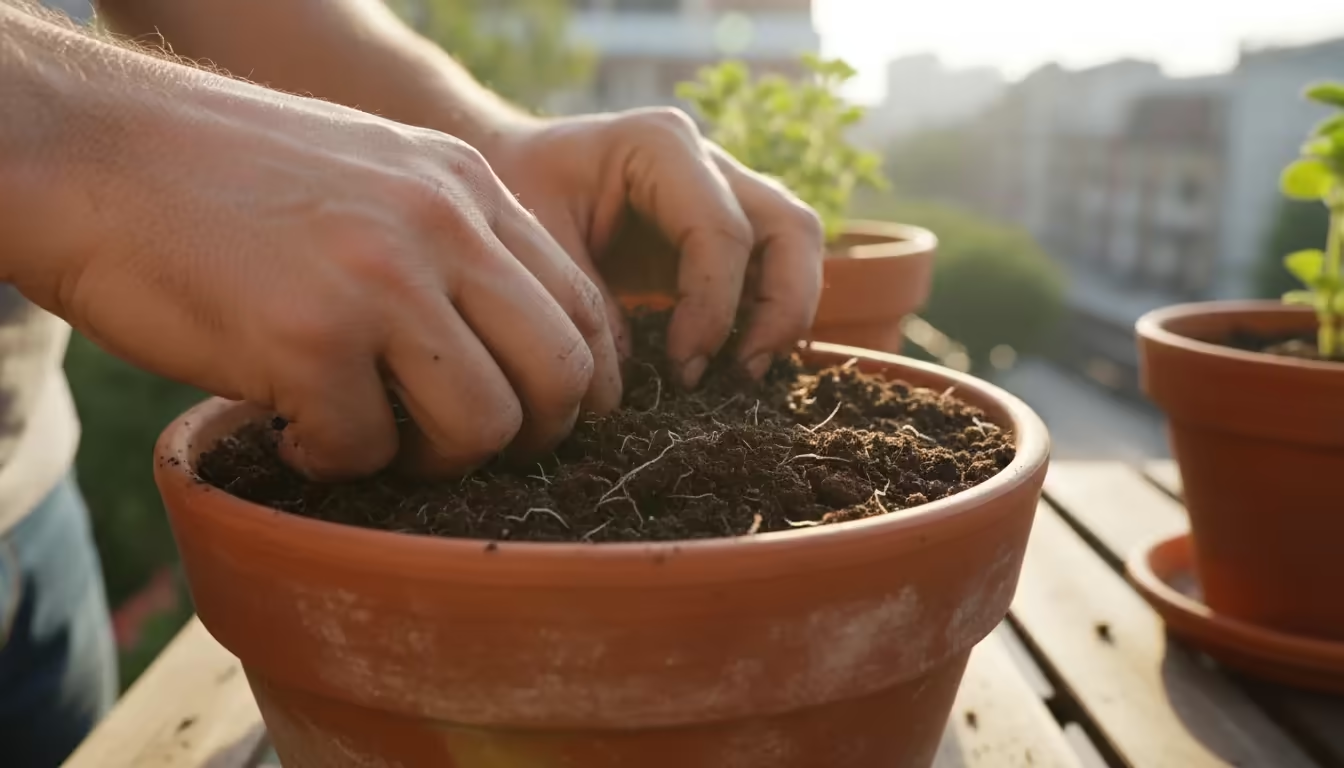
You can plant your new seedlings directly into this layer, gently pushing the organic matter aside to create space. Alternatively, you can add a fresh layer of compost or new potting mix (about 1-2 inches) on top of the chopped cover crops before planting.
This provides an extra boost of nutrients and a fresh surface for your spring plants. The roots of your new plants will then grow down into the enriched soil that your cover crops prepared.
Enjoying the Benefits
You will notice the difference. Your potting mix will feel lighter, more friable, and alive.
Your new plants will have access to a wealth of readily available nutrients, requiring less supplemental feeding. This entire cycle demonstrates how effective cover crops for containers are at boosting fertility and creating a thriving, sustainable small-space garden year after year.
It is a smart, eco-friendly investment in your garden’s future.
Common Mistakes to Avoid When Growing Container Cover Crops
While planting cover crops in containers is generally straightforward, a few common pitfalls can hinder your success. Being aware of these helps you avoid disappointment and ensures your efforts contribute effectively to fall soil health.
- Planting Too Late: The most frequent mistake is sowing seeds too close to the first hard frost. Cover crops need sufficient time, usually 4-6 weeks of mild weather, to germinate and establish a decent root system before freezing temperatures set in. If you plant too late, the seeds might not sprout, or the young seedlings might die off quickly, negating their soil-building benefits. Always consult your local climate data for average frost dates and plan accordingly.
- Using the Wrong Type of Seed: Not all cover crops are suitable for containers, and some might not be ideal for your climate. Using vigorous, vining types like some field peas or even certain clovers in a small pot can lead to an unruly mess. Conversely, choosing a cold-sensitive variety in a harsh winter climate will result in failure. Refer back to our recommended list for best cover crop for pots over winter to make an informed choice. Always read seed packet information carefully.
- Overwatering or Underwatering: While cover crops are generally low-maintenance, they still need proper moisture, especially during germination and establishment. Overwatering, particularly in cooler temperatures, can lead to seed rot or fungal issues. Underwatering means seeds will not germinate or young seedlings will shrivel. Strike a balance: keep the soil consistently moist but never waterlogged, particularly when starting out. Once established, reduce watering frequency.
- Not Terminating Them in Time: One of the critical steps is knowing when to “chop and drop” your cover crops in the spring. If you allow them to go to seed, they can become weeds in your container, competing with your desired plants. If you let them grow too large, they can be harder to chop down and might deplete the soil of moisture, rather than enriching it, before your next crop is planted. Aim to terminate 2-4 weeks before you plan to plant your spring crops.
- Planting Too Densely or Sparsely: While you want good coverage in your containers, planting seeds too densely can lead to overcrowding, competition, and weak, leggy plants. Too sparsely, and you will not get sufficient ground cover or root mass to significantly improve the soil structure or suppress weeds. Follow seed packet recommendations, adjusting slightly for container size, aiming for an even, moderate distribution. A good visual is generally one seed visible for every quarter inch or so on the surface, depending on seed size.
- Ignoring Drainage: Good drainage is always crucial in container gardening. Ensure your pots have adequate drainage holes. Cover crops, like any plant, will suffer in waterlogged soil. If your containers do not drain well, consider adding more perlite or coarse sand to your potting mix for future plantings or drilling additional holes.
By avoiding these common mistakes, you ensure your cover crops for containers successfully rejuvenate your potting mix, making your gardening journey smoother and more rewarding.
Beyond the Basics: Advanced Tips for Small-Space Soil Building
Once you are comfortable with the fundamentals of container cover crops, you can explore more advanced techniques to further elevate your small-space soil-building efforts. These strategies deepen your understanding of no-till container gardening and promote an even healthier growing environment.
Cover Crop Cocktails and Polycultures
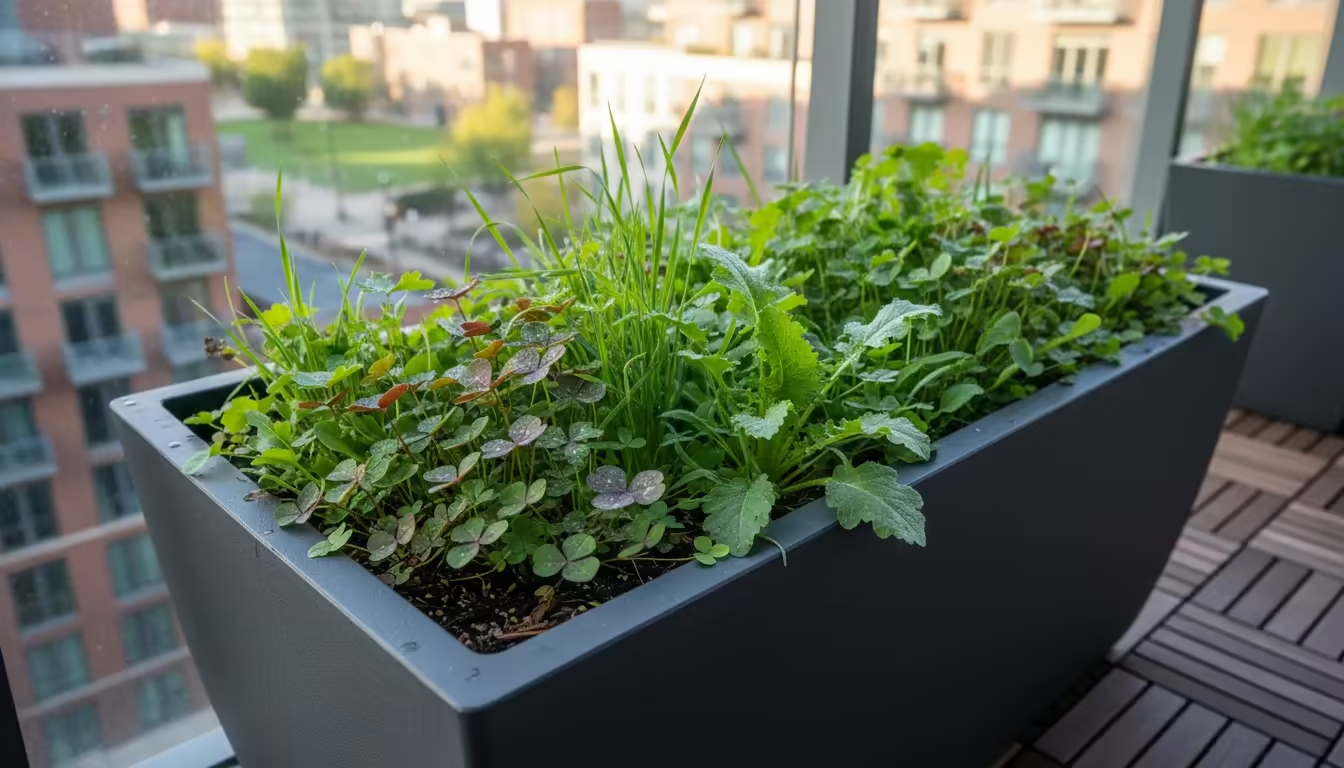
Instead of planting a single type of cover crop, experiment with “cover crop cocktails,” or mixtures of different species. Combining a legume (for nitrogen fixation) with a grass (for organic matter and deep roots) is a fantastic starting point.
For example, a mix of crimson clover and winter rye offers a balanced approach to improving both fertility and soil structure.
You can also add a brassica, such as oilseed radish, which has a deep taproot that can break up compaction and scavenge nutrients from deeper in the container.
These polycultures create a more diverse root zone, support a wider range of beneficial soil microorganisms, and offer a broader spectrum of soil-improving benefits. You can purchase pre-mixed cover crop blends or create your own custom mixes based on your specific needs and climate.
Integrating Compost and Worm Castings
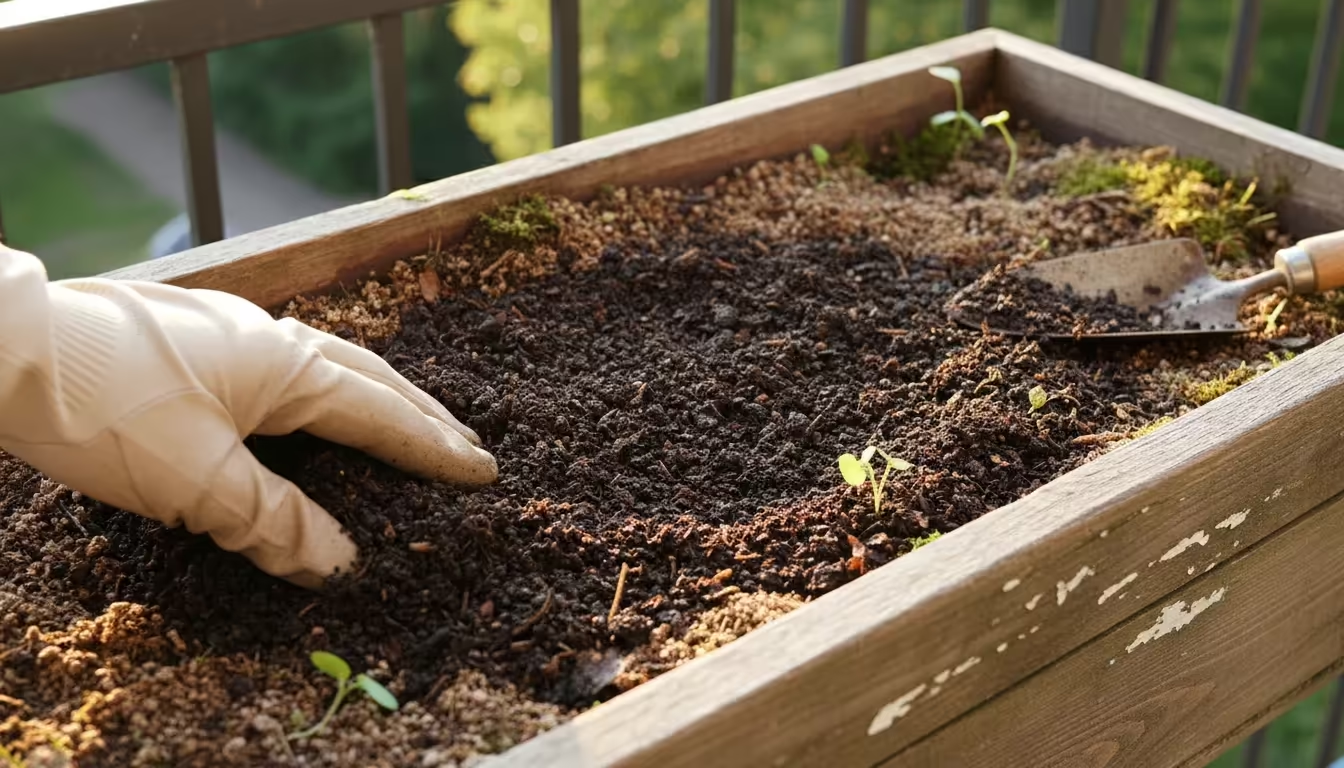
While cover crops do an excellent job of building soil, supplementing your potting mix with high-quality compost or worm castings dramatically boosts microbial activity and nutrient levels.
In the fall, after your summer crops finish, you can add a 1-2 inch layer of compost or worm castings to the top of your existing soil before sowing your cover crops.
The cover crops will then grow through this nutrient-rich layer, helping to integrate it into the soil structure.
Alternatively, you can add compost in the spring after you “chop and drop” your cover crops, creating an even more potent soil food web for your new plants.
This combined approach maximizes the benefits of both cover cropping and organic amendments for exceptional improving balcony soil in fall.
Continuous Soil Improvement Cycle
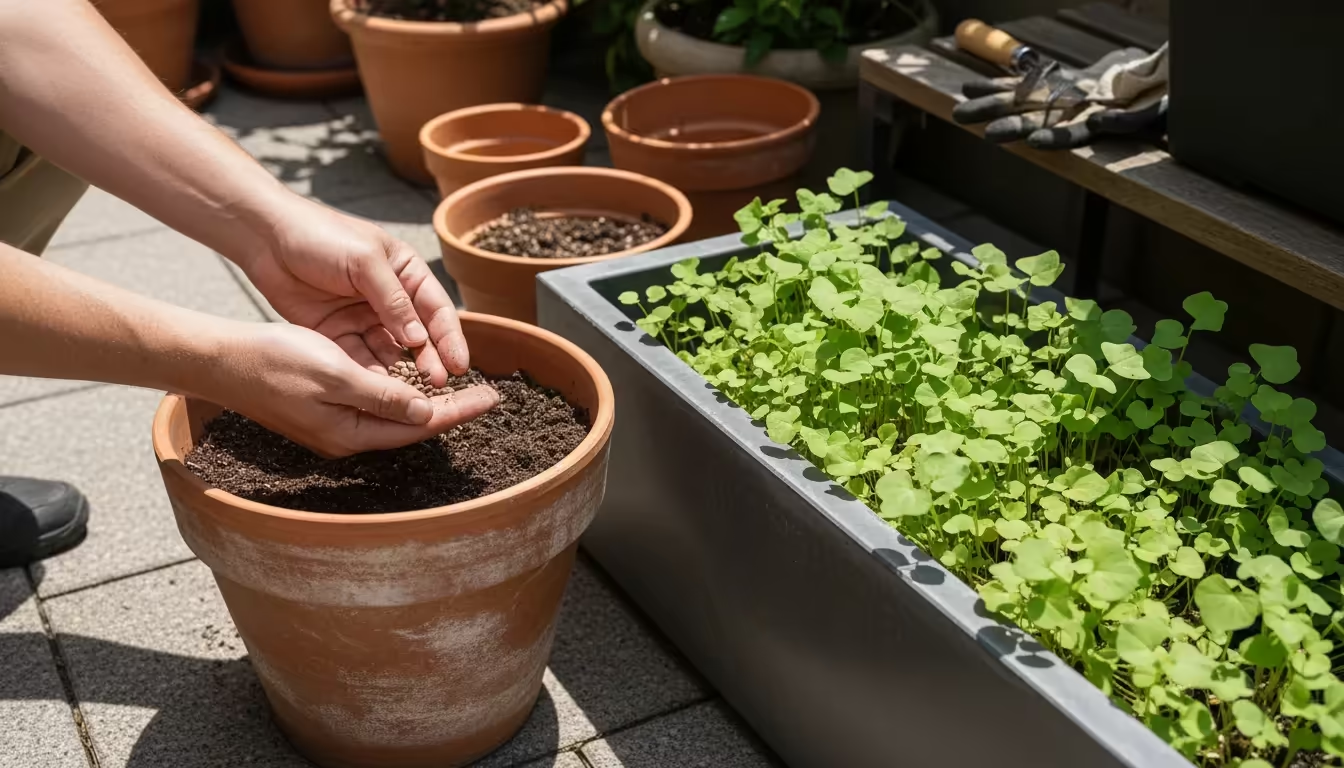
Think of your container gardening as a continuous cycle of soil improvement. After your spring and summer crops, always consider a fall cover crop.
If you have a short growing season or multiple crop rotations, you might even integrate short-term cover crops between main plantings.
For instance, after an early spring crop, you could plant a quick-growing buckwheat or a summer annual cover crop for 4-6 weeks before planting your fall vegetables.
This constant “feeding” of the soil ensures it remains vibrant and productive year after year, reducing the need to replace potting mix frequently. It truly embodies the spirit of sustainable, low-maintenance gardening.
Utilizing Microclimates and Protection
Small-space gardeners often have unique microclimates on their balconies or patios. Pay attention to areas that receive more sun, are sheltered from wind, or retain heat.
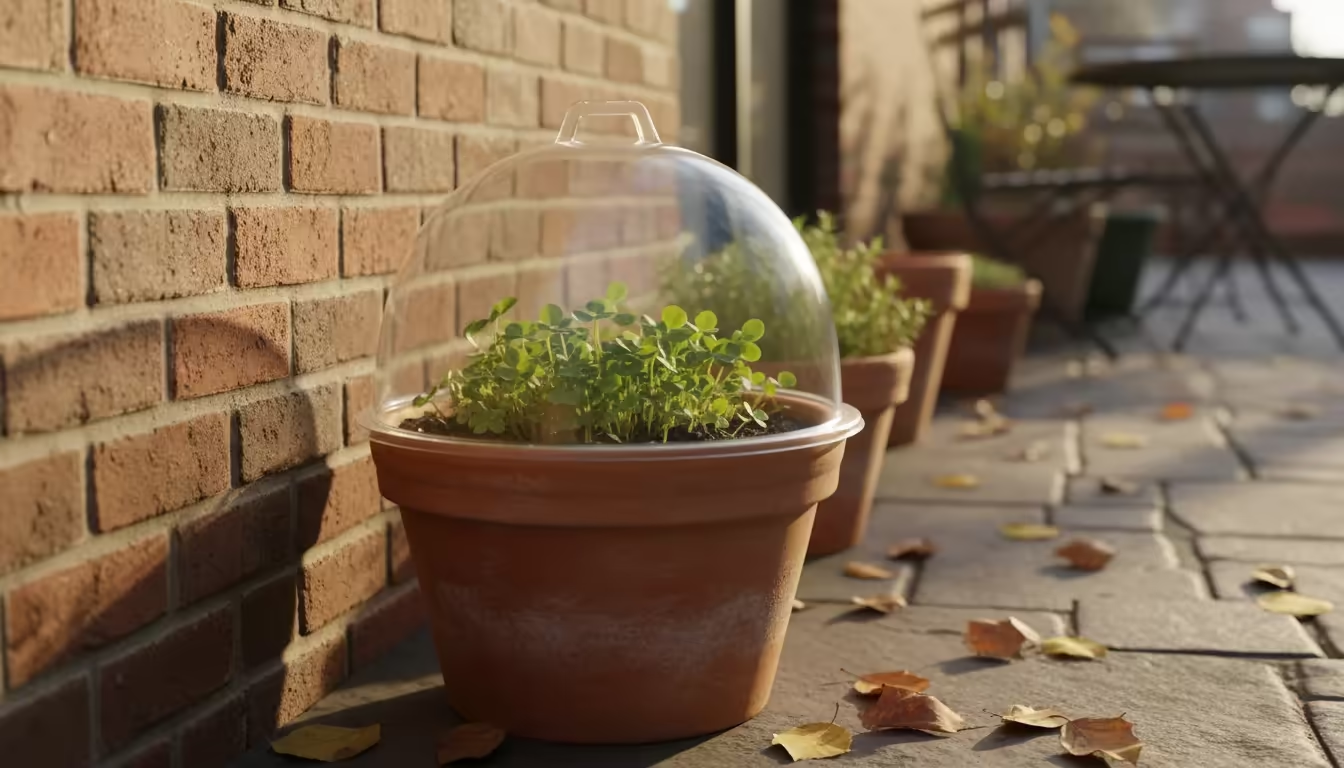
You can use these spots to extend the growing season of your cover crops or to experiment with slightly less cold-hardy varieties. For instance, a pot placed against a south-facing brick wall will stay warmer than one in an exposed corner.
Using simple cloches or row covers over individual containers can also protect young cover crops from early severe frosts, allowing them to establish robustly and contribute more to your fall soil health before winter truly sets in.
By incorporating these advanced tips, you move beyond basic container cover cropping to truly master the art of small-space soil regeneration, ensuring your containers are consistently overflowing with healthy, productive plants.

Frequently Asked Questions
Can I use just any seed from my pantry, like lentils or dried beans, as cover crops?
While some pantry items are legumes and can fix nitrogen, they are generally not ideal for cover cropping. Pantry seeds are often treated or intended for consumption, not for optimal germination and growth as a cover crop.
Additionally, their growth habits might not be suitable for containers. It is always best to purchase seeds specifically sold as cover crops or “green manure” from a reputable gardening supplier.
These seeds are selected for their vigor, cold hardiness, and soil-improving properties, ensuring you get the most benefit for your effort in improving balcony soil in fall.
Do I need to fertilize my cover crops?
No, you generally do not need to fertilize your cover crops. The purpose of cover crops is to feed the soil, not to be fed themselves.
Legumes, like clover, fix their own nitrogen from the air. Grasses are efficient at scavenging residual nutrients already in the soil.
Adding fertilizer can sometimes lead to excessive, leggy growth, which can make them harder to manage in containers. Focus on providing adequate water and ensuring proper light for their growth.
What if my cover crops get really tall or unruly in my container?
If your cover crops, especially taller grasses like winter rye or vining legumes like hairy vetch, start to grow excessively or become unruly, you can simply trim them back with scissors or hand pruners.
This helps keep them manageable within your container space and encourages bushier growth. Trimming does not harm the cover crop’s ability to improve the soil; it can even stimulate root development.
You can leave the trimmed material on the soil surface to act as a living mulch, further contributing to the organic matter in your container.
Can I reuse the potting mix in my containers year after year if I use cover crops?
Yes, absolutely! That is one of the primary benefits of using cover crops for containers.
By planting cover crops, you actively replenish nutrients, improve soil structure, and increase microbial activity. This practice revitalizes your potting mix, allowing you to reuse it for multiple seasons, which saves you money, reduces waste, and contributes to more sustainable gardening.
While you might still want to refresh the top few inches with fresh compost or a small amount of new potting mix each spring, the bulk of your container soil remains healthy and productive, embodying the principles of no-till container gardening.
Will planting cover crops attract pests to my containers over winter?
Generally, cover crops do not attract harmful pests over winter. In fact, many cover crops, especially clovers, can attract beneficial insects like ladybugs and predatory wasps that help control pest populations.
A diverse planting in your containers often leads to a more balanced ecosystem, which naturally deters outbreaks of problem pests. Always select healthy, disease-free seeds from a reputable source to minimize any risks.
For trustworthy gardening information, visit: U.S. National Arboretum, American Horticultural Society and National Garden Bureau. These organizations provide expert, research-based advice for gardeners at all levels.
Disclaimer: This article is for informational purposes only and is not a substitute for professional gardening advice. Always consult local extension services or horticulture experts for region-specific guidance.