
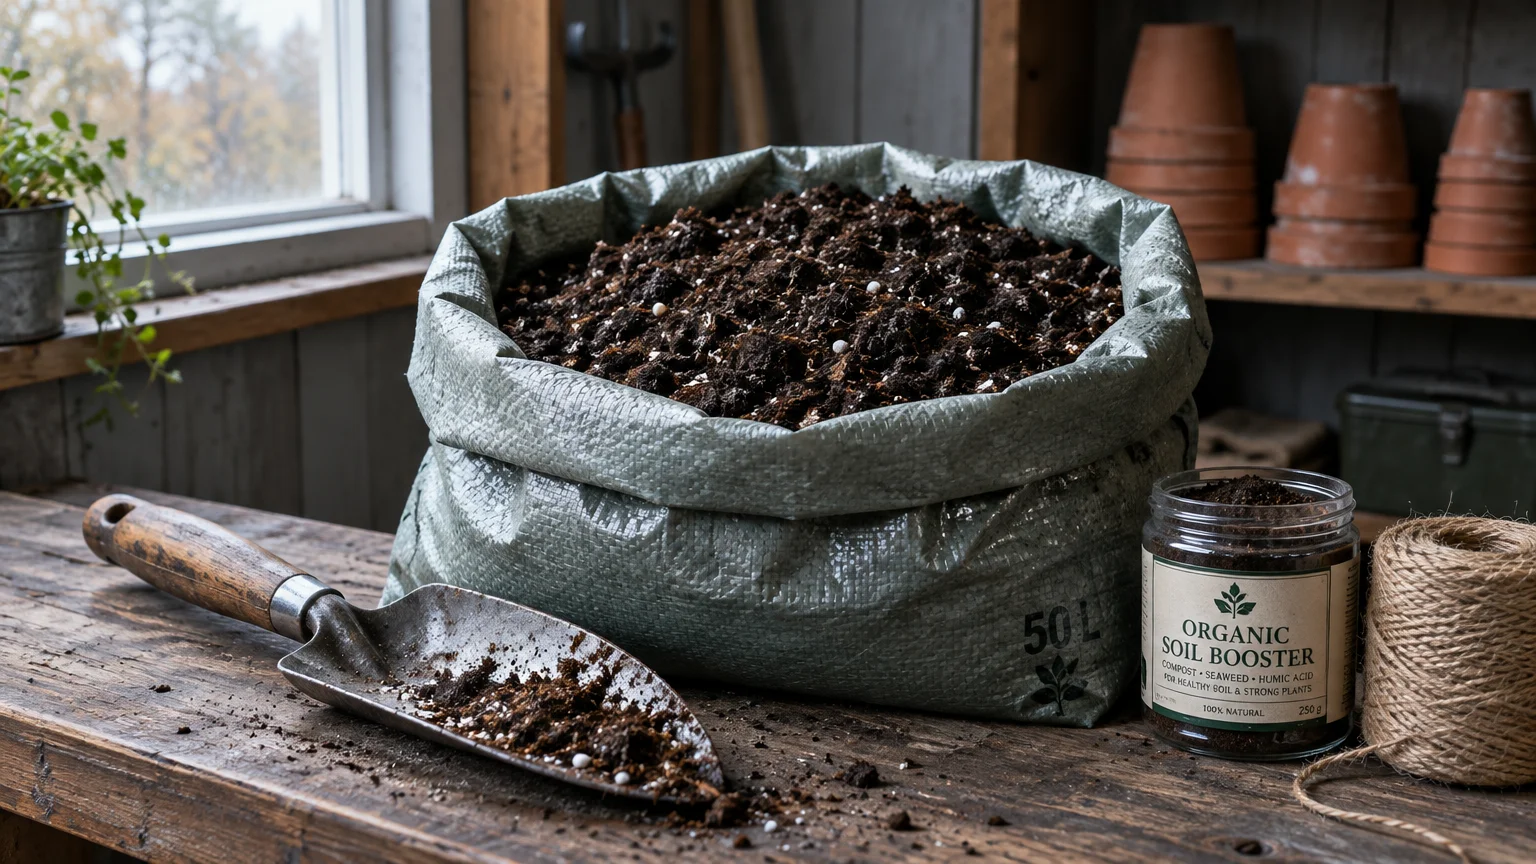
For many small-space gardeners, the end of a growing season presents a familiar challenge: what do you do with all that used potting mix? Discarding it feels wasteful, yet storing bulky pots of spent soil can overwhelm a balcony or patio.
You want to garden sustainably, save money, and make the most of your limited space. This is where the ‘Magic Bag’ Method steps in, offering a brilliantly simple, frugal, and environmentally conscious solution.
You can transform an entire bag of used potting mix into revitalized, nutrient-rich soil ready for next spring, all while optimizing your storage space this fall.
This practical guide walks you through each step, ensuring you gain actionable insights to refresh your soil and prepare for a vibrant new growing season.
Contents10 sections
- The Problem with Spent Potting Mix and Why Rejuvenate It
- What is The ‘Magic Bag’ Method? A Frugal and Space-Saving Approach
- Gather Your Tools and Essential Amendments
- Step-by-Step: Preparing Your Used Potting Mix for Rejuvenation
- Step-by-Step: The Art of Amending for Success
- Testing Your Rejuvenated Soil for Spring Success
- Storing Your ‘Magic Bag’ Over Winter
- Troubleshooting Common Issues and Avoiding Mistakes
- Environmental and Frugal Benefits of Rejuvenating Soil
- Frequently Asked Questions
The Problem with Spent Potting Mix and Why Rejuvenate It
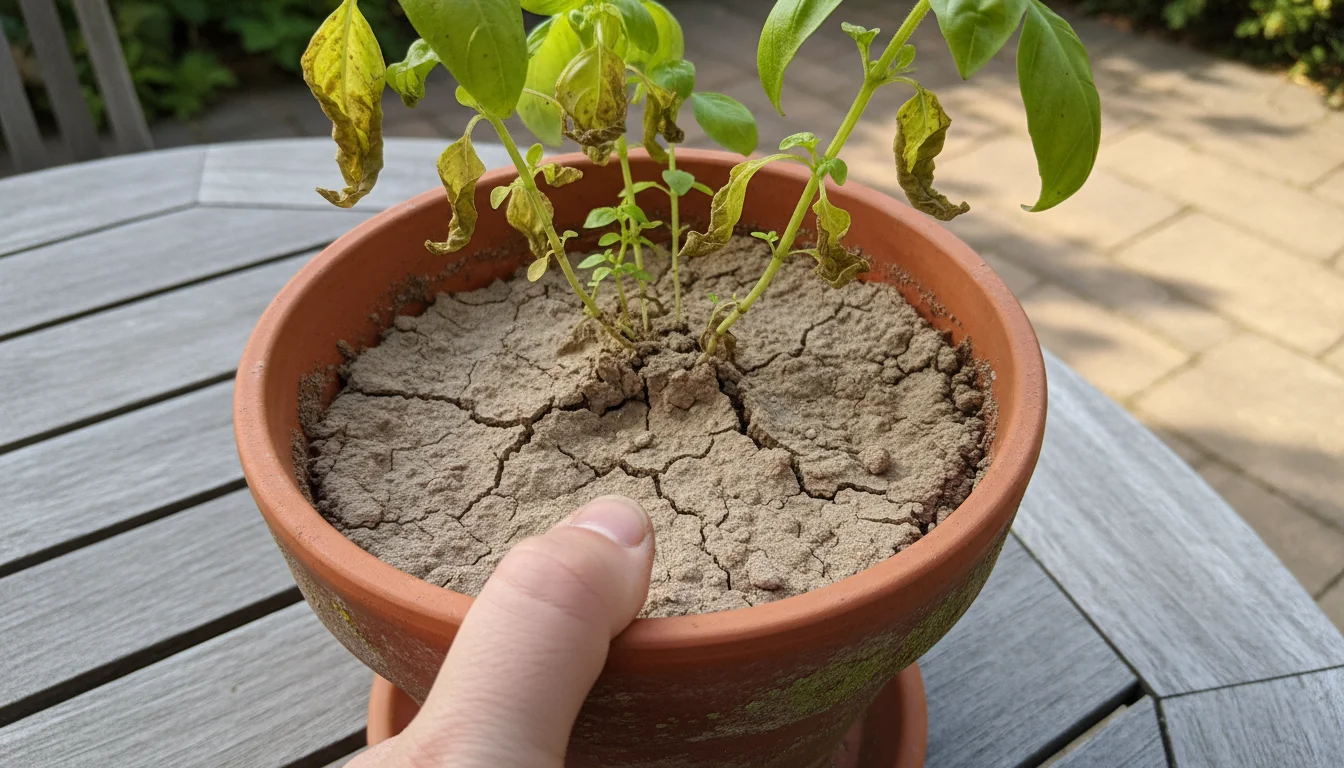
After a season of nurturing your container plants, your potting mix looks a bit tired. It probably feels lighter, drains too quickly, or holds too much water, and perhaps even harbors some lingering roots.
This seemingly inert material possesses an underlying potential. Understanding why this happens clarifies the immense value in rejuvenation.
Before starting your refresh, doing a quick potting mix check-up can help diagnose whether your soil suffered from severe salt buildup, compaction, or pest problems.
Potting mix is not soil from your garden. It is a carefully formulated blend designed to offer specific advantages for container growing.
These advantages include excellent drainage, which prevents waterlogged roots, and aeration, which ensures oxygen reaches the root system. Furthermore, potting mix often comes pre-enriched with a starter dose of nutrients to support early plant growth.
However, a season of watering, feeding, and plant growth takes its toll. Here is what happens:
- Nutrient Depletion: Plants consume nutrients from the soil mix. Regular watering also leaches soluble nutrients out of the container, especially if you do not fertilize consistently. This leaves behind a mix that lacks the essential elements plants need to thrive.
- Organic Matter Breakdown: Peat moss, coir, and other organic components that give potting mix its light, fluffy texture and water-retention capabilities naturally decompose over time. Microbes in the soil break these down, reducing the mix’s structure and its ability to hold water and nutrients.
- Compaction: Repeated watering and the weight of the plant itself can cause the mix to compact. When potting mix compacts, it reduces aeration, making it difficult for roots to breathe and for water to penetrate evenly. This impacts drainage, often causing water to run off the surface rather than soaking in.
- Salt Buildup: Fertilizers and municipal water supplies can leave behind mineral salts. These salts accumulate in the potting mix, especially along the rim of the pot. High salt levels can stress plant roots, hinder nutrient uptake, and even burn foliage, impacting overall plant health and growth.
- Pathogens and Pests: While not always present, a season of use increases the potential for dormant fungal spores, disease pathogens, or pest eggs to reside in the old mix. Reusing it directly without treatment risks reintroducing these problems to new plants.
- Root Fragments: Your old mix contains remnants of past root systems. While small root fragments can decompose and add organic matter, large amounts can interfere with drainage and take up space new roots need.
Simply throwing out this spent mix wastes a valuable resource and contributes to landfill volume. For small-space gardeners especially, continually buying new bags of potting mix can become expensive and create storage challenges for the empty bags.
Rejuvenating your used potting mix addresses these issues directly. You save money, reduce waste, and create a high-quality growing medium perfectly suited for your next planting season.
This sustainable practice makes your gardening efforts more efficient and environmentally friendly, which aligns perfectly with the ethos of Simple Garden Joy.
What is The ‘Magic Bag’ Method? A Frugal and Space-Saving Approach
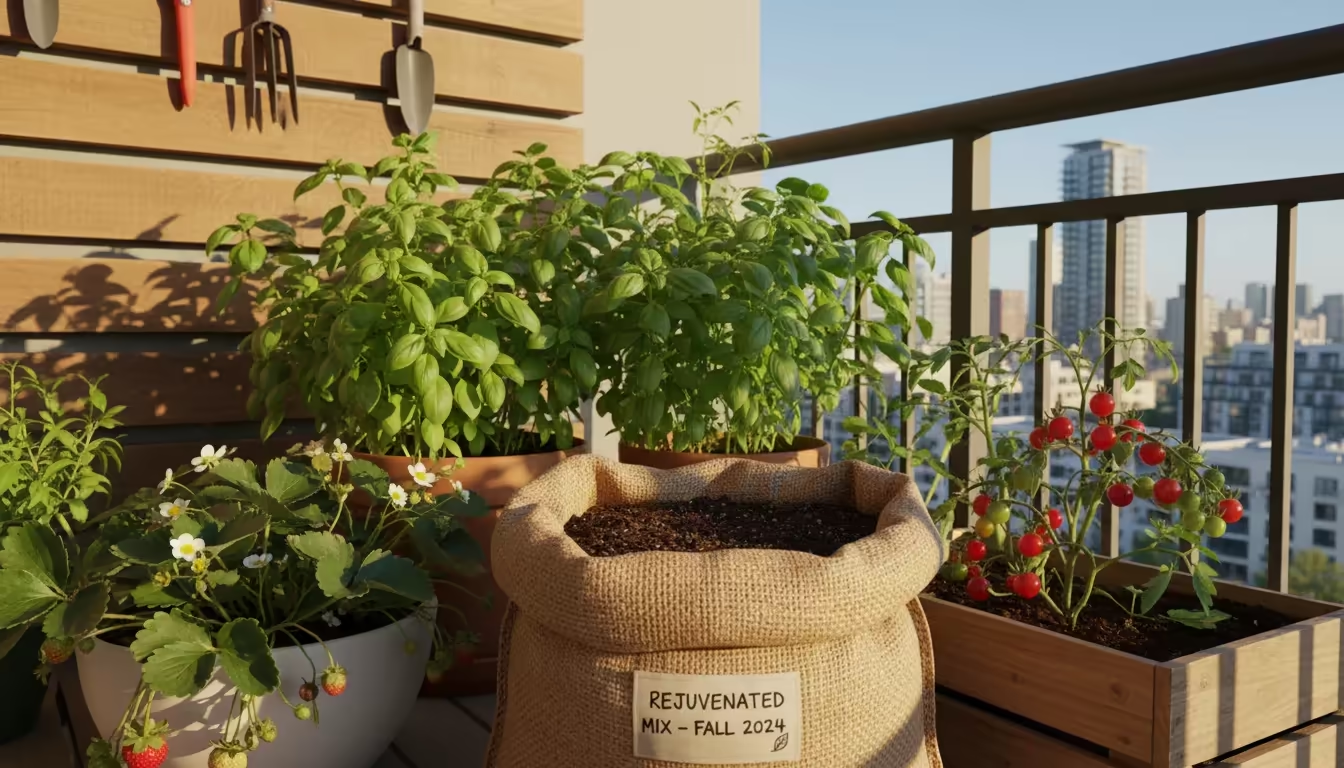
The ‘Magic Bag’ Method is a simple yet powerful technique to revitalize your used potting mix. It takes advantage of the very container your new potting mix arrived in, transforming it into a self-contained rejuvenation and storage unit.
This method eliminates the need for large bins or multiple buckets, making it ideal for gardeners with limited space, like those with balconies, patios, or small yards. You reclaim spent soil, enhance its quality, and prepare it for spring planting, all while minimizing clutter.
This approach is part of a broader fall soil reset that lets container gardeners revive spent dirt and cut costs next season.
At its core, the ‘Magic Bag’ Method involves collecting your used potting mix, removing debris, and then adding specific amendments directly into the original potting mix bag.
You seal the bag, allowing the amendments to meld with the existing material over the fall and winter months. This passive process means your soil improves while you enjoy a break from active gardening.
The benefits of adopting this approach are significant:
- Cost Savings: Potting mix is not cheap. By rejuvenating your used soil, you significantly reduce the amount of new mix you need to purchase each spring, stretching your gardening budget further. For instance, if you usually spend $200 on potting mix annually, imagine cutting that by half or more.
- Space Efficiency: This method is a dream for small-space gardeners. Instead of multiple containers of used soil or bags of new soil, you use one bag for both processing and storage. This keeps your outdoor area tidy and prevents gardening clutter from accumulating.
- Environmental Responsibility: Reusing potting mix reduces waste. Every bag you rejuvenate means one less bag going to a landfill, minimizing your environmental footprint. This practice supports a circular economy in your garden.
- Improved Soil Health: When done correctly, the rejuvenated mix often performs better than brand new, unamended potting soil. It gains a balanced structure, replenished nutrients, and enhanced microbial activity that new soil may lack. You are not just reusing; you are improving.
- Reduced Labor: The active work occurs in the fall, freeing up precious time in the spring when you are eager to get planting. The amendments slowly integrate during the dormant season, creating a rich, ready-to-use medium when spring arrives.
This method truly offers a gardening hack that aligns with practical living and environmental stewardship. It provides a simple, structured way to transform what might seem like waste into a valuable resource, ensuring your small garden remains productive and beautiful without added expense or mess.
Gather Your Tools and Essential Amendments
Before you begin the transformation of your used potting mix, ensure you have the right tools and amendments on hand. Having everything ready streamlines the process and ensures you achieve the best results.
You do not need specialized, expensive equipment; most items are common household or inexpensive garden supplies.
If you are short on time, you can also consider a few simple dump-and-go soil amendments to achieve similar results with minimal effort.
Here is what you will need:
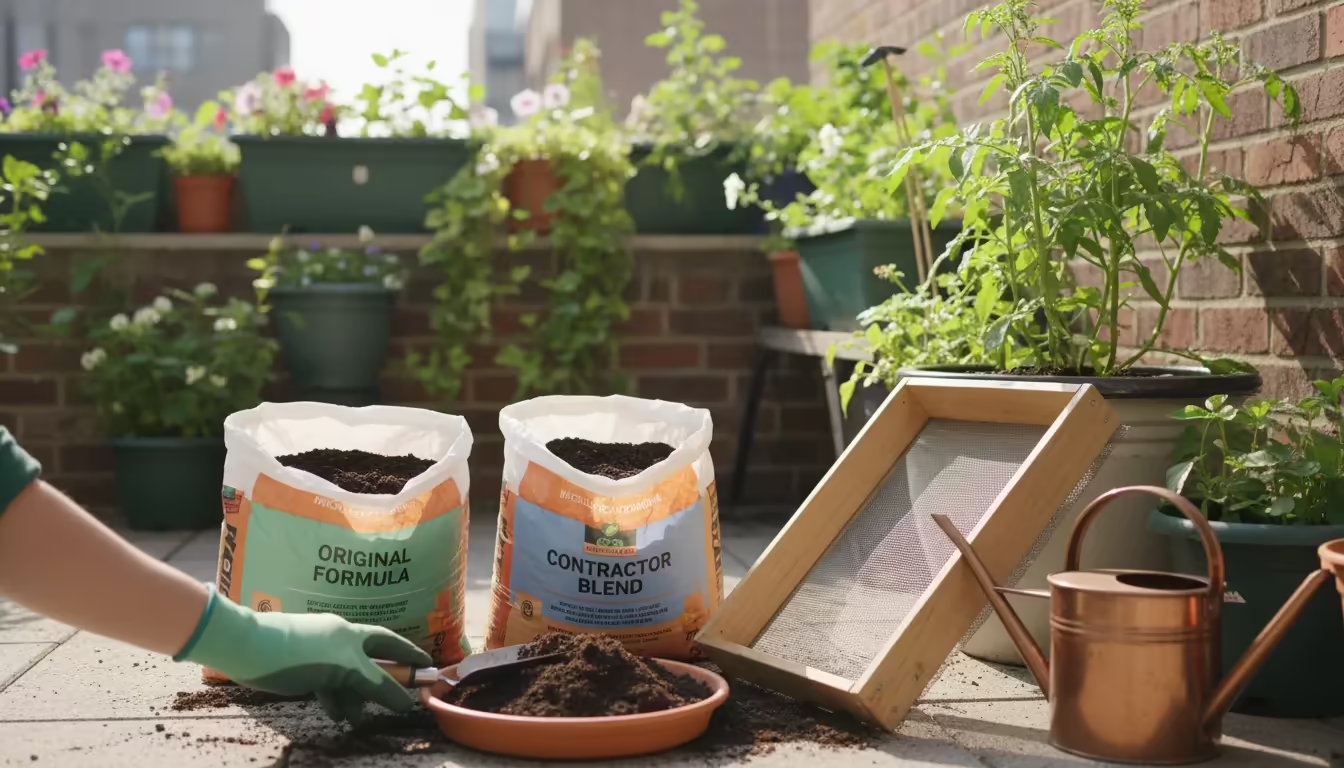
Basic Tools
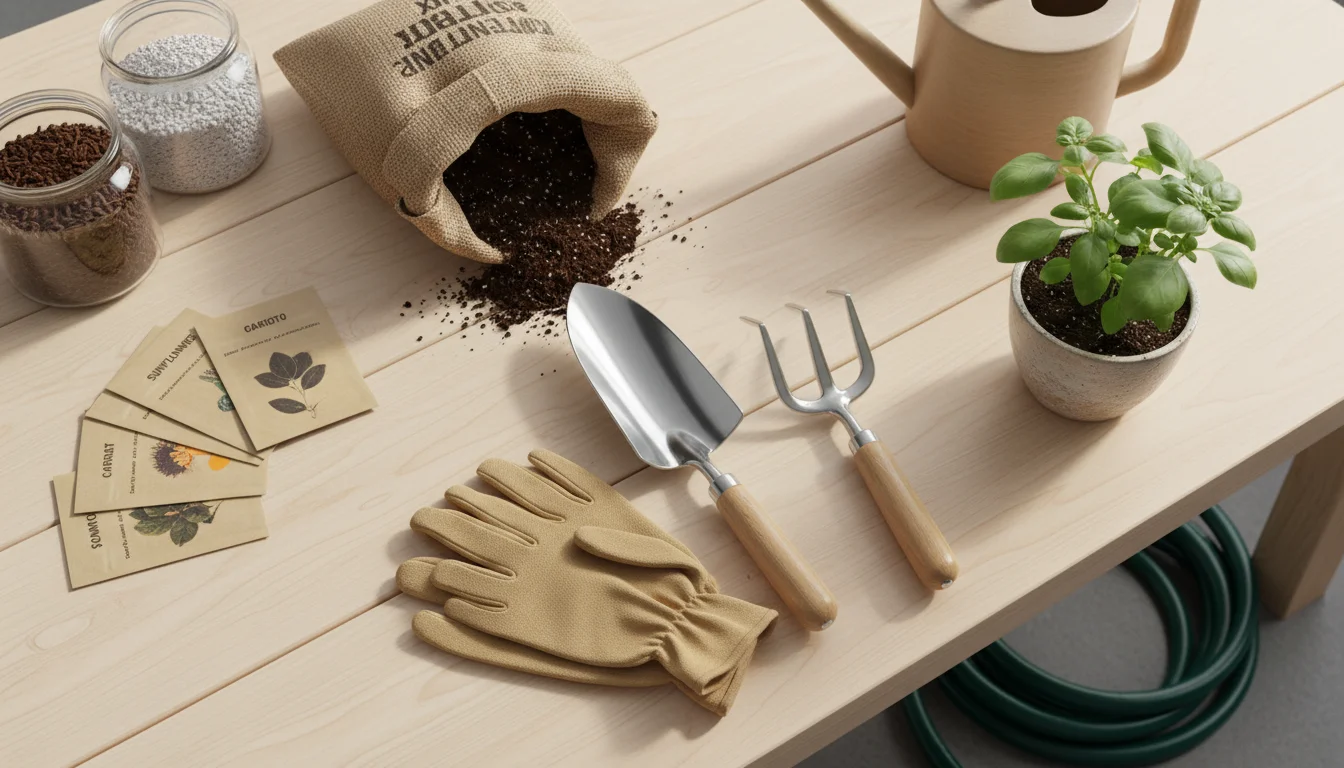
- Original Potting Mix Bags (or sturdy alternatives): These are your “magic bags.” Choose bags that are robust, can be sealed, and are not significantly torn. If you do not have original bags, heavy-duty contractor bags or large, sturdy leaf bags work well.
- Gardening Gloves: Protect your hands from soil and amendments.
- Small Shovel or Trowel: For scooping and mixing.
- Stiff Brush or Hand Rake: Useful for breaking apart compacted soil and roots.
- Sifter or Garden Mesh (optional but recommended): A soil sifter or even a piece of hardware cloth can help you remove large debris and old roots more efficiently. You can construct a simple one from an old screen or a piece of chicken wire stretched across a frame.
- Watering Can or Hose with a Gentle Spray: For moistening the soil.
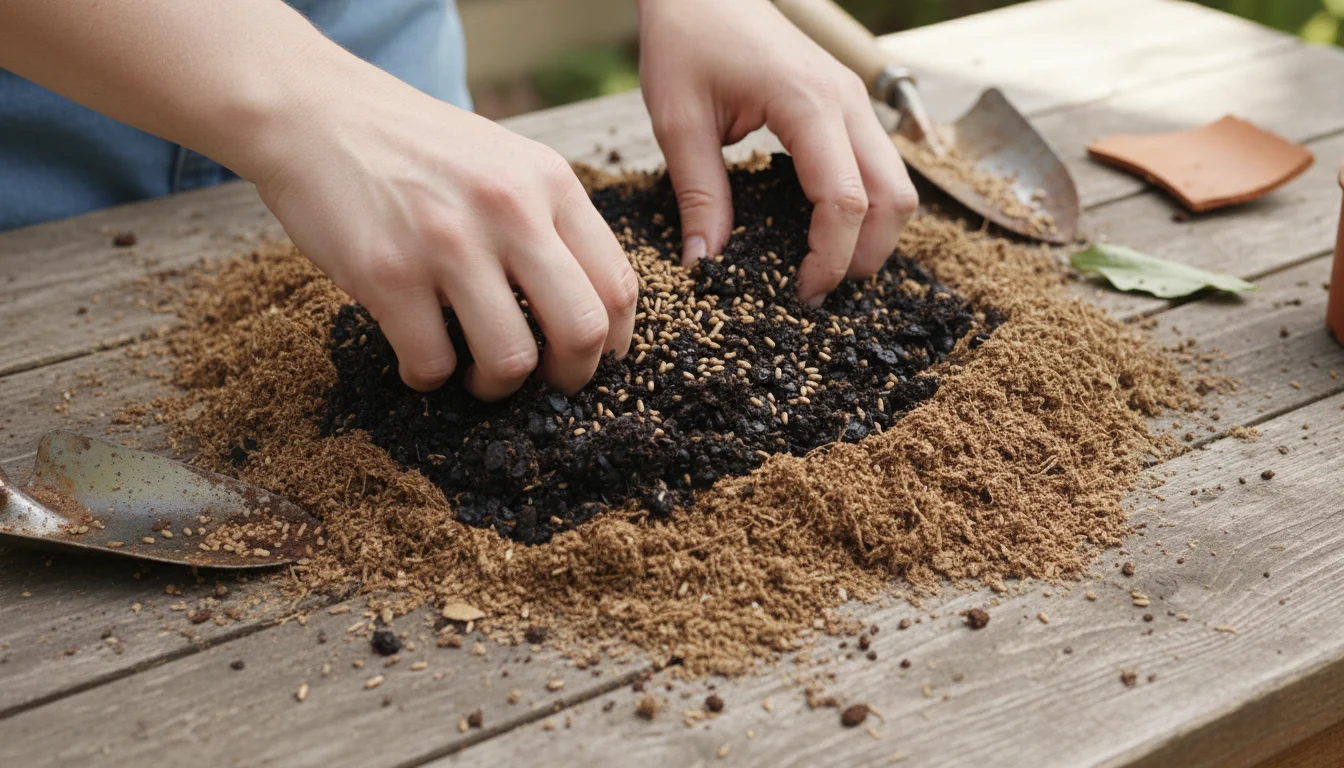
Essential Amendments
These ingredients revitalize your old potting mix, restoring its structure, nutrient content, and microbial life. The key is to aim for balance.
1. Organic Matter: This is crucial for improving soil structure, water retention, and providing slow-release nutrients.
- Compost: Finished compost (homemade or store-bought) is gold for soil. It adds a wealth of beneficial microbes, improves drainage in heavy mixes, and boosts water retention in sandy ones. Aim for a rich, dark, crumbly texture. Use approximately 20 percent of your total volume.
- Worm Castings: Often called “black gold,” worm castings are incredibly rich in nutrients, microbes, and trace minerals. They are highly effective even in small quantities. Add about 10 percent of your total volume.
- Aged Manure (well-composted): If available, thoroughly aged and composted manure adds significant organic matter and nutrients. Ensure it is fully composted to avoid burning plants. Use sparingly, around 5-10 percent.
2. Nutrient Boosters: These replace the minerals depleted by previous plants.
- Balanced Organic Fertilizer: Look for a granular, slow-release organic fertilizer with a balanced N-P-K ratio (e.g., 5-5-5 or similar). This provides a broad spectrum of nutrients for future plant growth. Follow package directions for application rates.
- Bone Meal (for Phosphorus): A good source of phosphorus, which promotes root development and flowering. Add a few tablespoons per cubic foot of mix.
- Kelp Meal (for Potassium and Trace Minerals): Provides potassium for overall plant health and resilience, along with vital trace minerals. Add a few tablespoons per cubic foot of mix.
- Greensand (optional, for Potassium and Trace Minerals): A natural source of potassium and trace minerals. It also helps improve soil texture.
3. Drainage and Aeration Enhancers: These prevent compaction and ensure roots get enough oxygen.
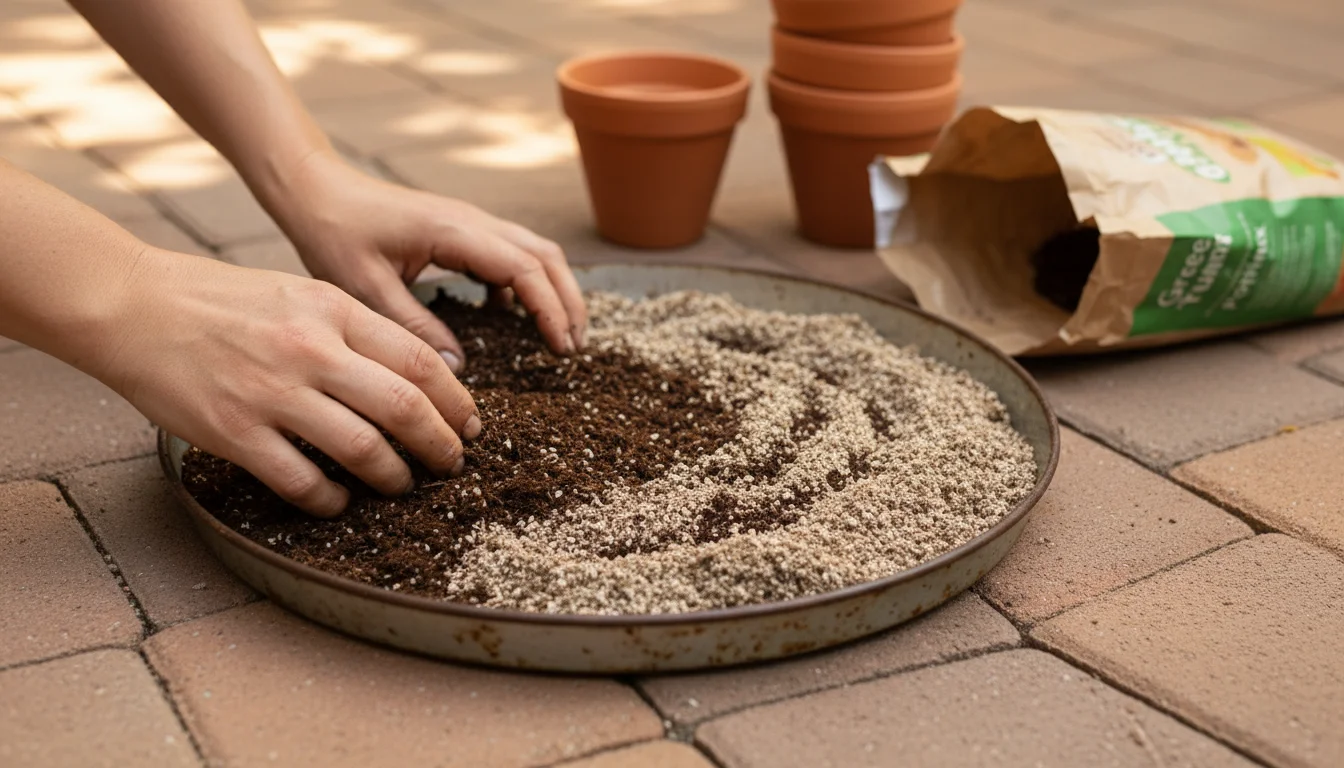
- Perlite: Lightweight, volcanic rock that improves drainage and aeration without adding significant weight. It creates tiny air pockets in the soil. Add about 10-15 percent of your total volume.
- Vermiculite (optional): Similar to perlite but has a higher water-holding capacity. It is good for seed starting mixes. Use 5-10 percent if your mix is drying out too quickly.
- Coarse Sand (for very fine mixes): Only use horticultural or builder’s sand, never play sand, which is too fine and can worsen compaction. This is useful if your original mix is excessively fine or clay-like, which is rare for potting mixes.
4. pH Adjusters (if needed): Most potting mixes are slightly acidic to neutral.
If you have concerns, a soil test kit provides accurate readings.
- Lime (if pH is too low/acidic): Dolomitic lime also adds calcium and magnesium.
- Sulfur (if pH is too high/alkaline): Rarely needed for potting mixes unless you have a specific plant requirement.
A good starting point for a basic rejuvenation blend is: 60 percent old potting mix, 20 percent high-quality compost, 10 percent worm castings, 10 percent perlite, plus a balanced organic granular fertilizer according to its label.
Adjust these ratios based on the condition of your old mix and your specific needs. Prepare these items, and you are ready to give your used potting mix a new lease on life.
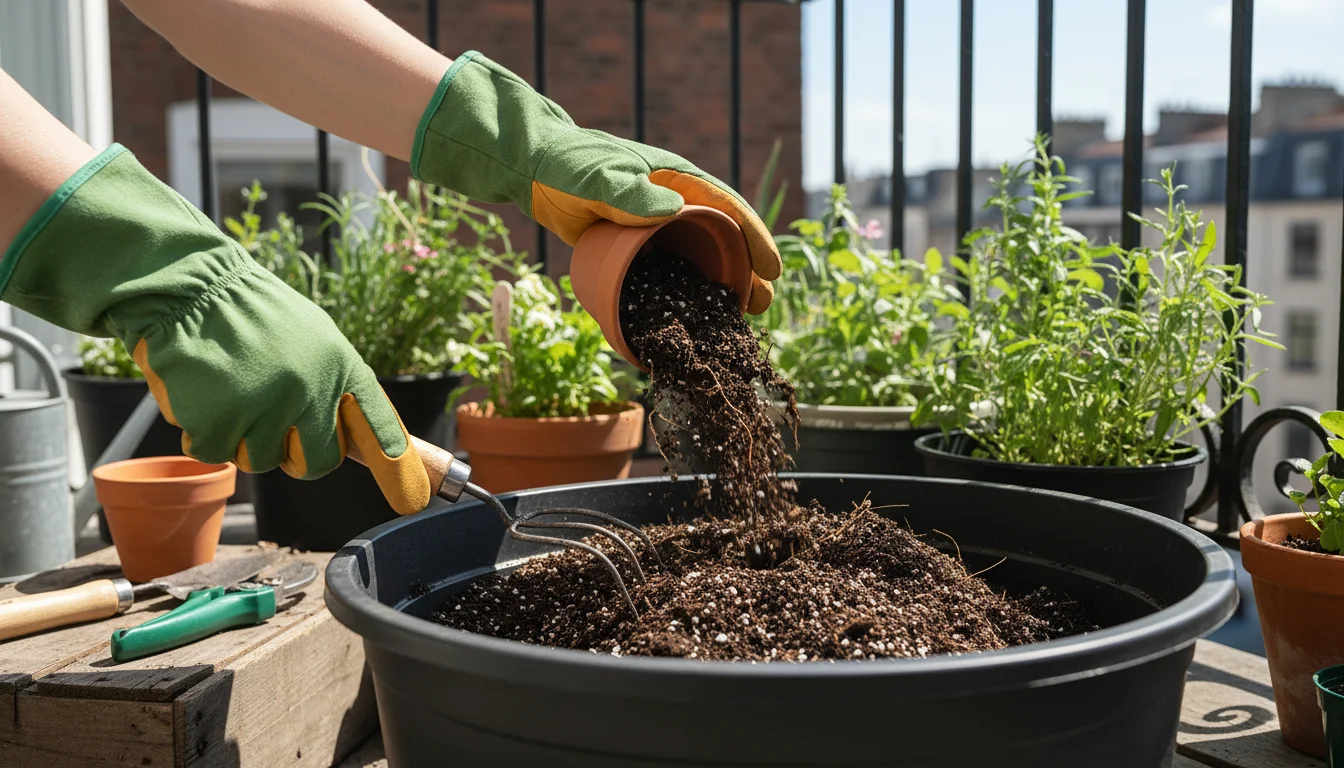
Step-by-Step: Preparing Your Used Potting Mix for Rejuvenation
The success of the ‘Magic Bag’ Method hinges on proper preparation of your used potting mix. This foundational step ensures you remove unwanted elements and create a clean slate for the amendments to work their magic.
Do not skip these crucial steps; they make a significant difference in the quality of your revitalized soil.
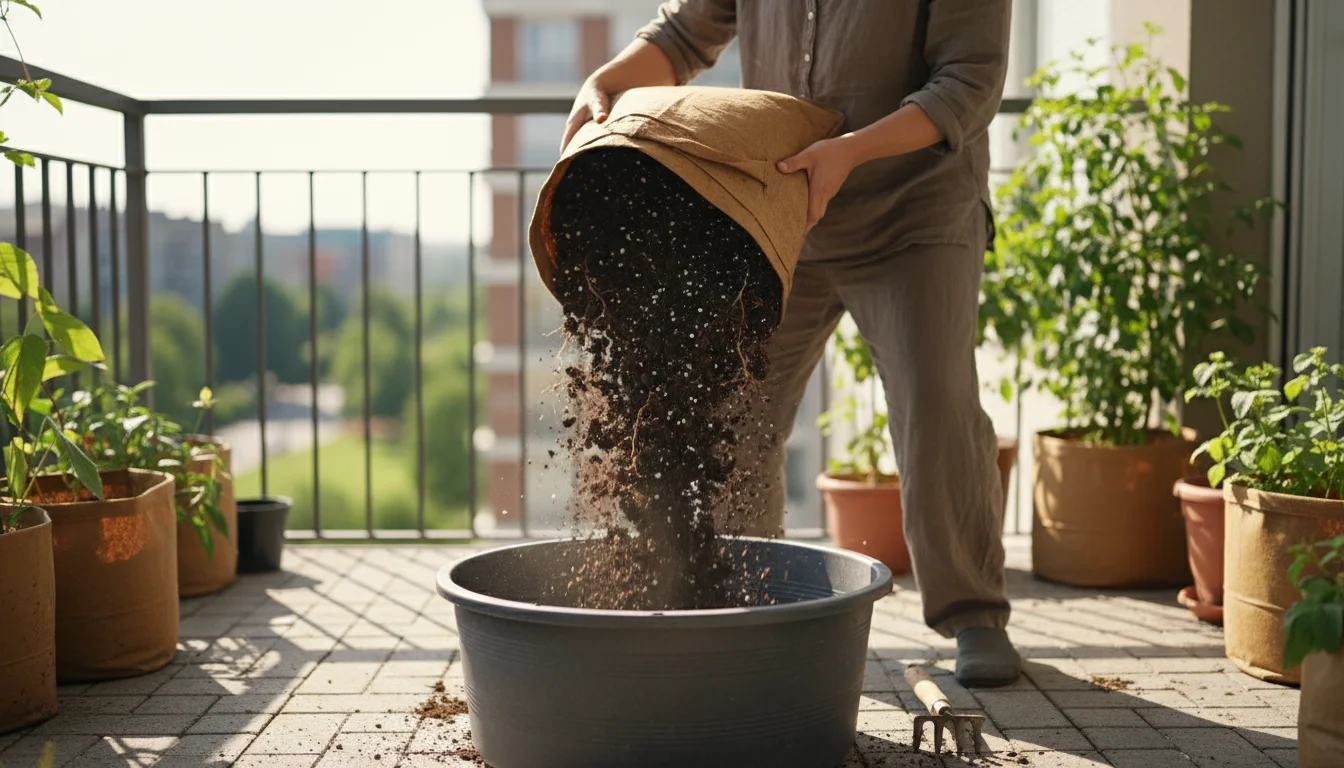
Step 1: Empty and Assess Your Used Soil
Once your growing season concludes and you have harvested your final plants, carefully remove the remaining plant material from your containers. Gently knock the soil out of the pots into a designated pile or directly into a large tarp.
As you do this, observe the soil’s condition. Note its texture, color, and smell.
Does it look compacted, or does it still retain some structure? Does it smell fresh and earthy, or does it have an off, sour odor?
This assessment helps you decide which amendments to prioritize later. For example, a very compacted mix will benefit more from perlite, while a nutrient-depleted mix needs more compost and fertilizer.
Step 2: Remove Large Debris and Old Roots
This is a critical cleaning phase. Your goal is to eliminate anything that could hinder future plant growth or introduce disease.
- Break Apart Clumps: Use your gloved hands, a trowel, or a stiff brush to break up any large clumps of soil. This exposes embedded roots and allows for easier sifting.
- Remove Plant Material: Carefully pick out all visible plant roots, stems, leaves, and any remaining plant debris. While some tiny root fragments will decompose and add organic matter, large chunks can interfere with drainage and harbor pests or diseases. Aim to remove anything larger than a quarter-inch.
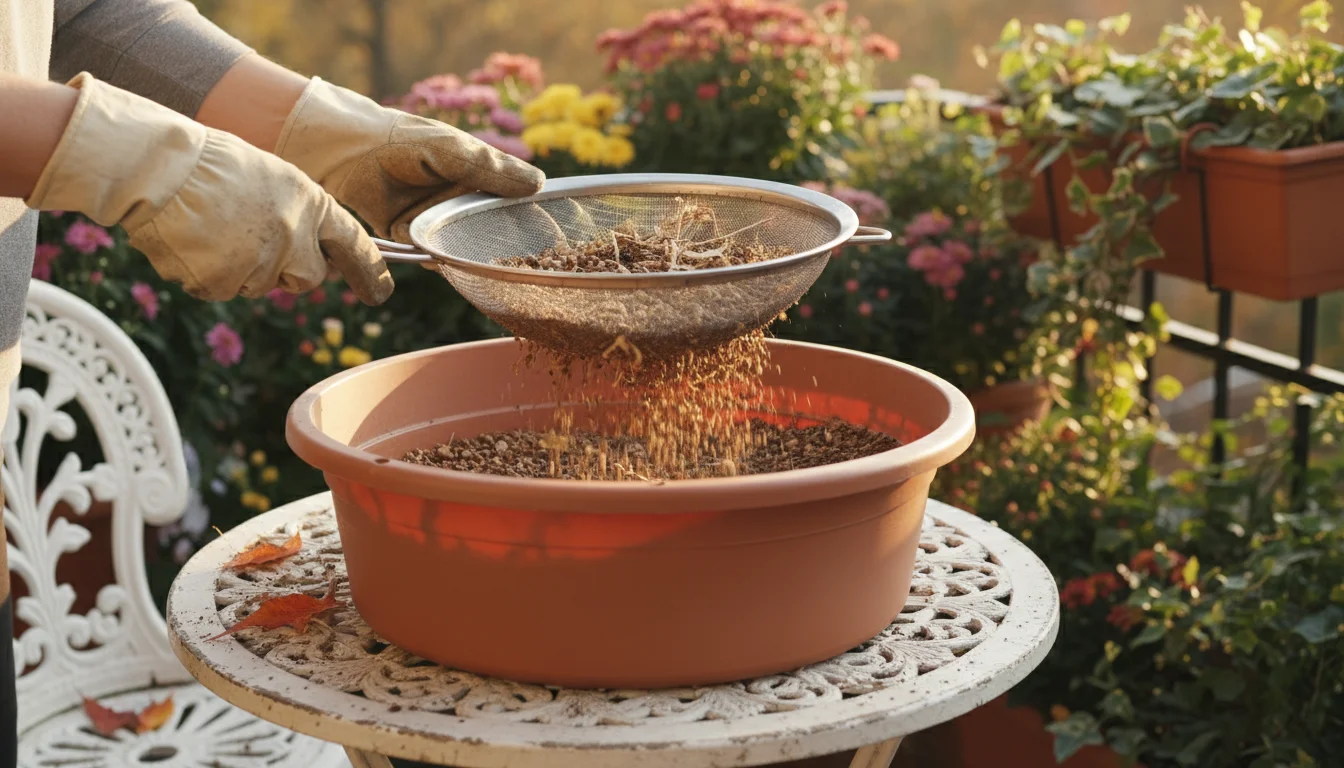
- Sifting (Optional, but highly recommended): For the cleanest mix, sift the soil through a garden sieve or a piece of hardware cloth. This step efficiently removes small stones, stubborn root pieces, and any hidden debris, leaving you with a fine, uniform base. If you do not have a sifter, spread the soil thinly on a tarp and pick through it meticulously.
Step 3: Sterilization (Optional, for problem soils)
If your plants suffered from disease or significant pest infestations during the previous season, consider sterilizing your used potting mix. This step kills pathogens, weed seeds, and pest eggs.
- Solarization (Outdoor Method): Spread the prepared soil thinly on a black plastic sheet in a sunny location. Cover it with another clear plastic sheet, sealing the edges to trap heat. The sun will heat the soil to temperatures lethal to many pathogens and weed seeds over several weeks. For best results, ensure the soil is slightly moist before covering.
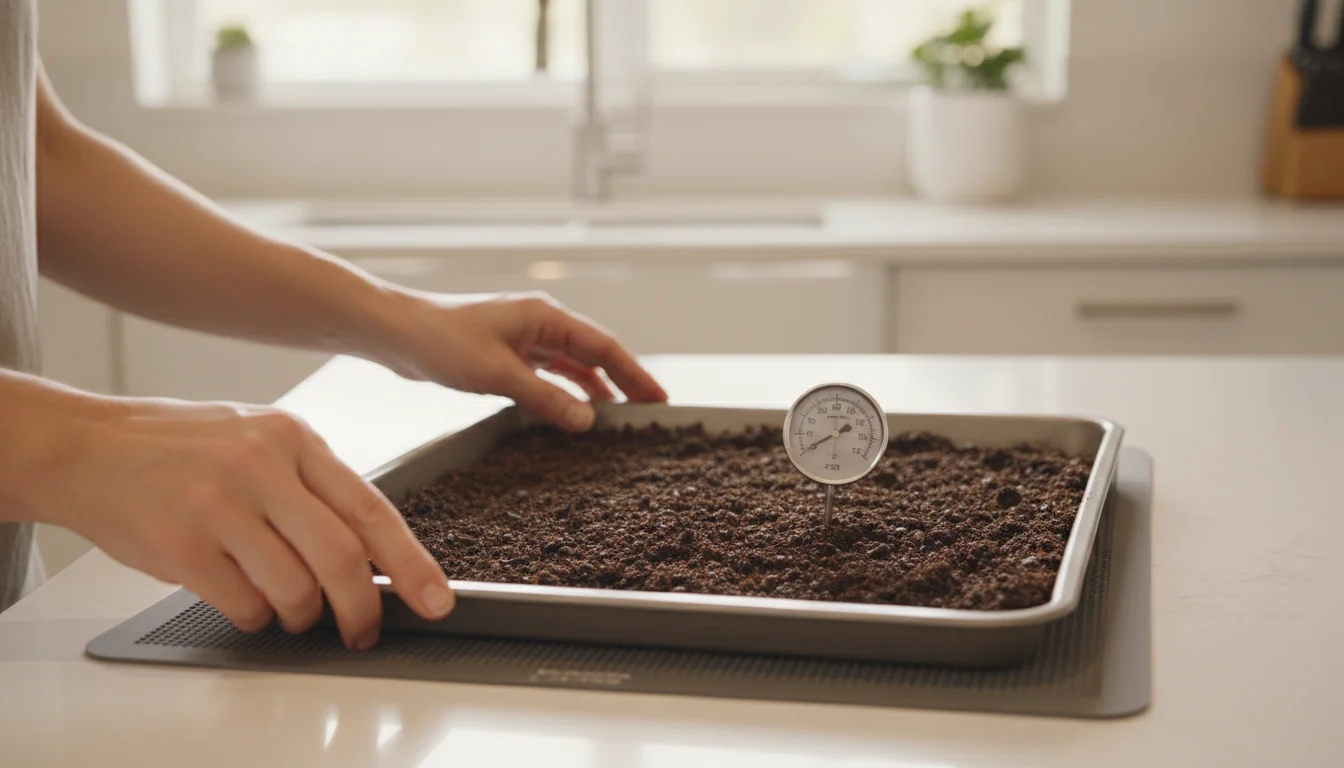
- Oven Baking (Indoor Method, use caution): Place slightly moistened soil in an oven-safe pan. Bake at 180-200°F (82-93°C) for at least 30 minutes, or until the internal temperature reaches 180°F for 30 minutes. This method creates a strong odor, so ensure good ventilation. This is generally only practical for small batches.
For most home gardeners reusing potting mix from healthy plants, thorough physical cleaning suffices. Skip sterilization unless you faced persistent issues.
Step 4: Moisten the Mix
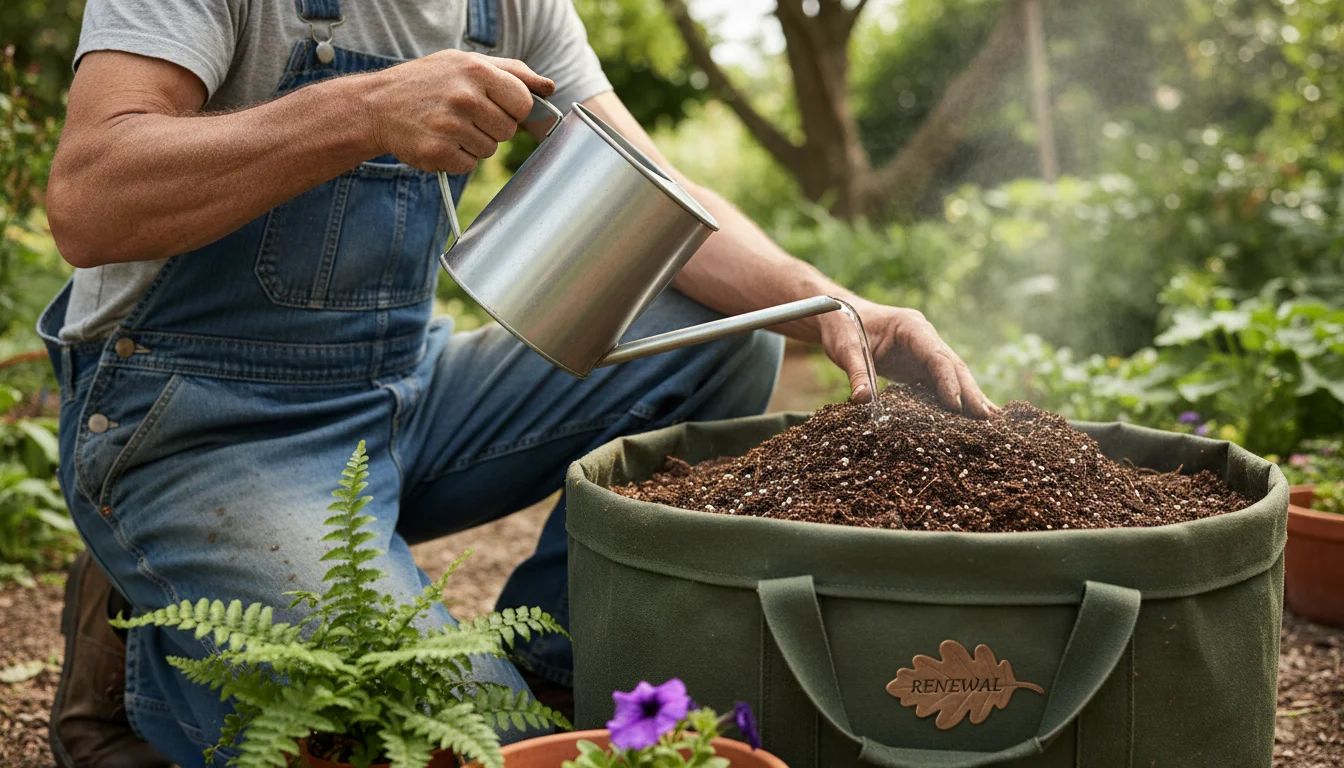
Once cleaned, lightly moisten the potting mix. It should feel damp, like a wrung-out sponge, but not waterlogged.
This moisture helps the amendments integrate properly and supports microbial activity during the rejuvenation period. If the mix is bone dry, the amendments will not blend as effectively, and beneficial microbes will struggle.
You are creating an ideal environment for the ‘magic’ to happen.
Now that your used potting mix is clean and ready, you are prepared to move on to the next exciting phase: adding the amendments that will truly transform it.
Step-by-Step: The Art of Amending for Success
With your used potting mix cleaned and slightly moistened, you are ready to introduce the ingredients that will bring it back to life. This is where you truly practice the ‘Magic Bag’ Method.
The goal is to restore nutrient balance, improve structure, and encourage beneficial microbial activity.
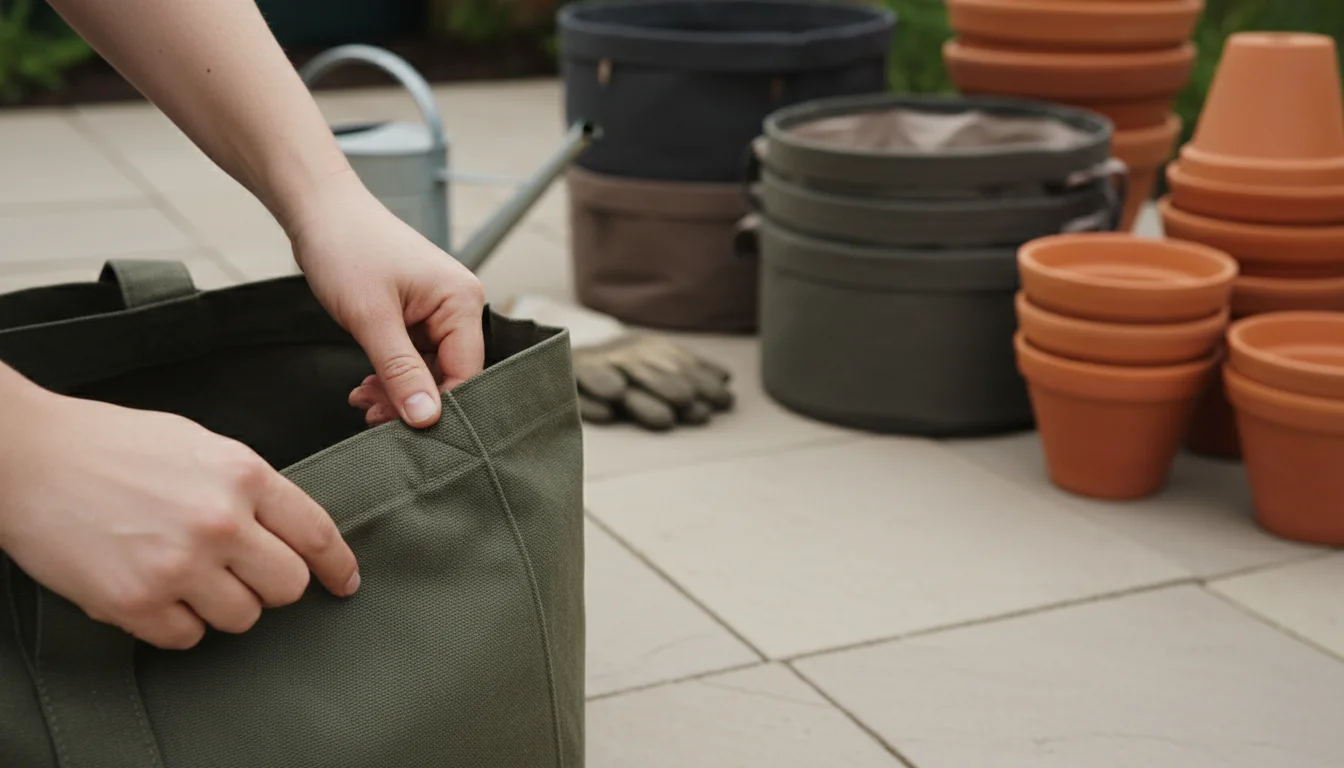
Step 1: Choose Your ‘Magic Bag’
Grab the original empty potting mix bag. If you tore it open along the top, you can often tape it shut after the process.
If it is beyond repair, use a new, sturdy, large-capacity garden or contractor bag. The key is durability and the ability to seal it.
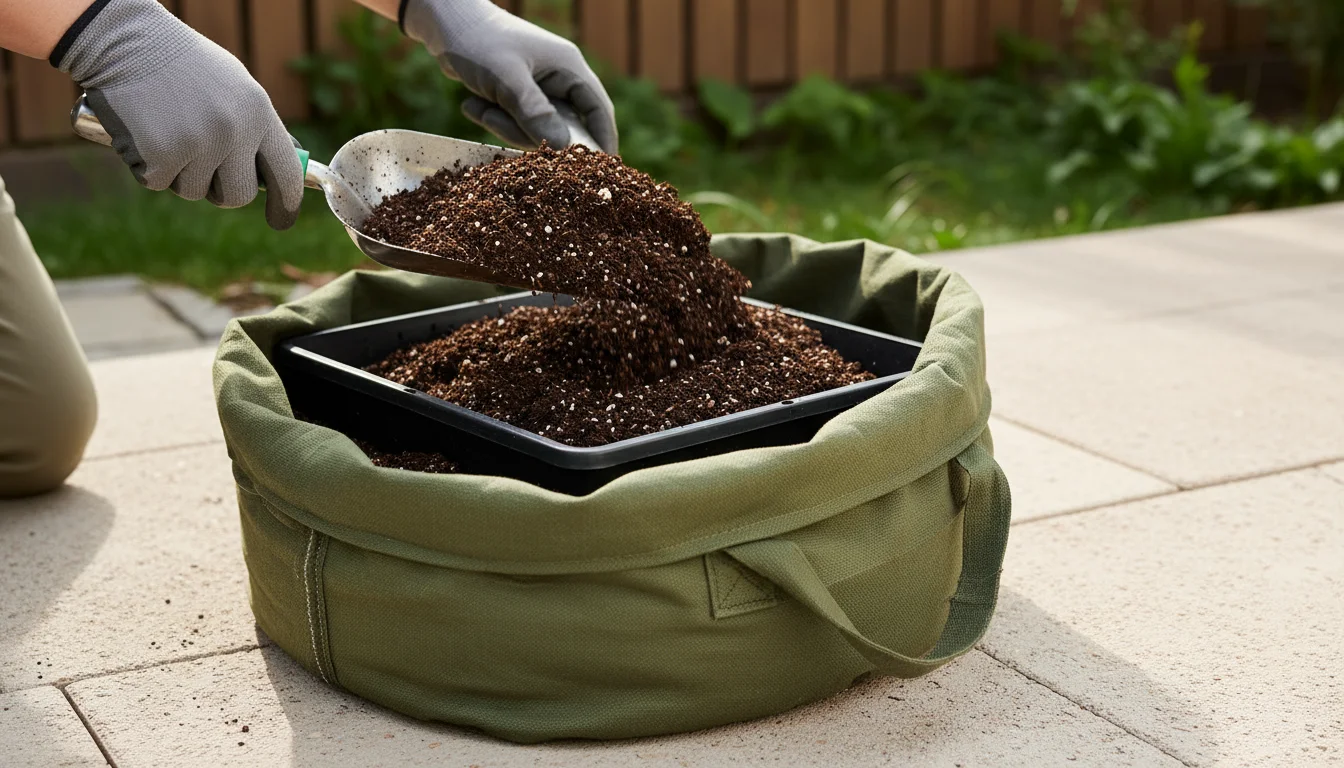
Step 2: Add Cleaned Potting Mix to the Bag
Carefully pour your cleaned, slightly moistened used potting mix into your chosen “magic bag.” Fill it to about two-thirds capacity to leave room for amendments and thorough mixing.
You want enough space to roll the bag around easily later.
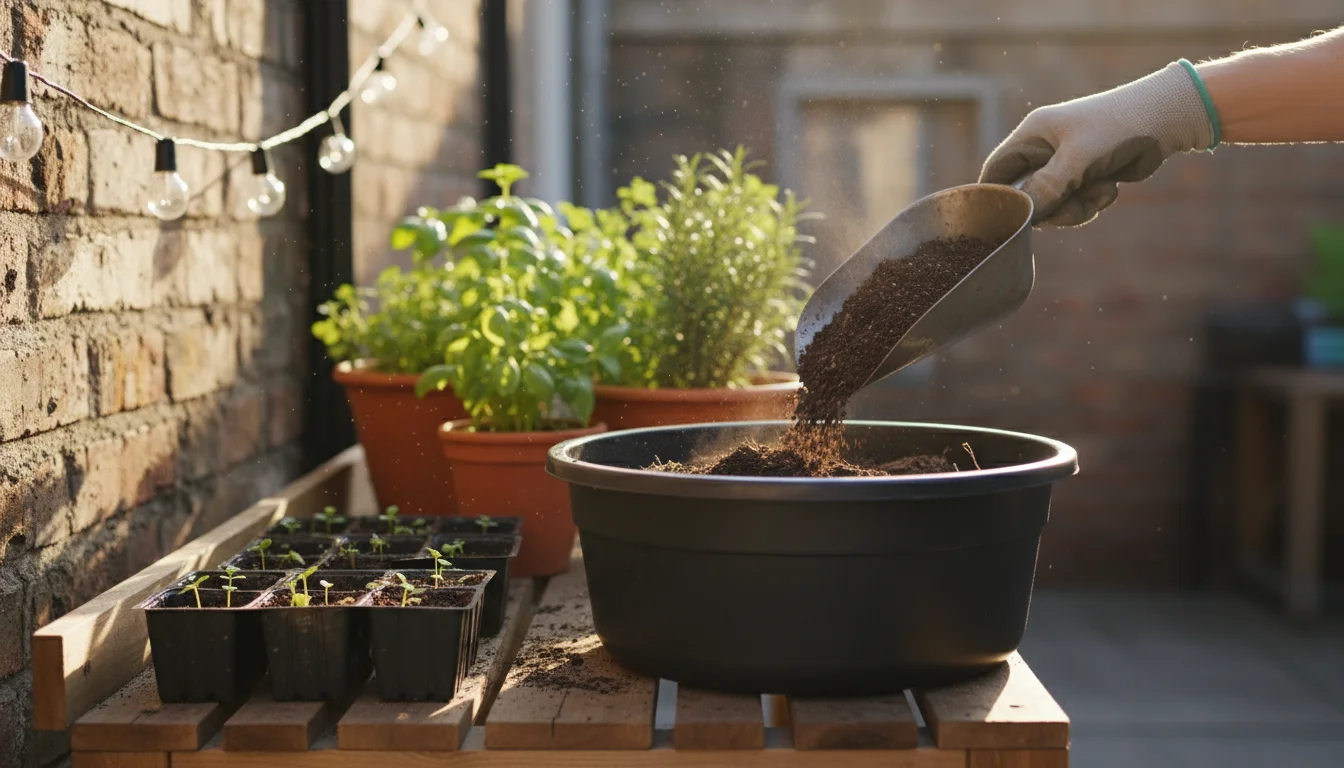
Step 3: Introduce Your Amendments Strategically
Now, layer in your chosen amendments. Remember the general guidelines from the “Gather Your Tools” section:
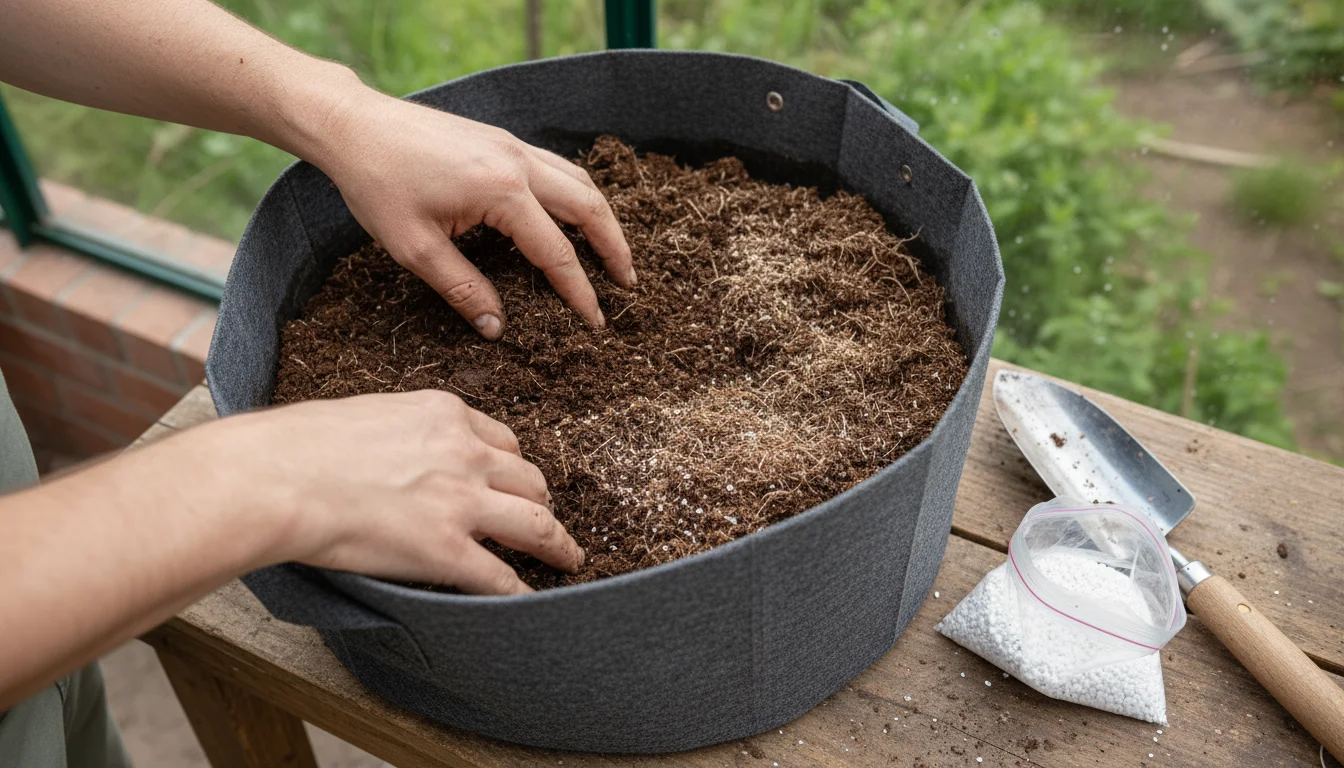
- Organic Matter First: Begin by adding your compost and worm castings. These are the bulk of your revitalizing ingredients. Sprinkle them evenly over the surface of the old potting mix in the bag. * Example Ratio: For a 1.5 cubic foot bag of old mix, add about 0.5 cubic feet (roughly 4-5 gallons) of compost and 0.25 cubic feet (about 2-3 gallons) of worm castings. This provides substantial organic replenishment and microbial boost.
- Drainage/Aeration Enhancers: Next, add perlite or vermiculite. These ensure proper air circulation and drainage, preventing compaction. Distribute them uniformly over the organic matter. * Example Ratio: Add about 0.25 cubic feet (2-3 gallons) of perlite for good aeration.
- Nutrient Boosters: Finally, sprinkle your chosen granular organic fertilizers like balanced organic fertilizer, bone meal, and kelp meal. Follow the package directions for application rates carefully. It is always better to under-fertilize than over-fertilize, especially with granular products that release slowly. * Example: For a 1.5 cubic foot bag, you might add 1 cup of balanced organic fertilizer, 1/4 cup bone meal, and 1/4 cup kelp meal. These amounts are approximate, always defer to product instructions.
- Moisture Check (if needed): If your mix feels too dry after adding all amendments, mist it lightly with a watering can or spray bottle. The goal is uniformly damp soil, not soggy.
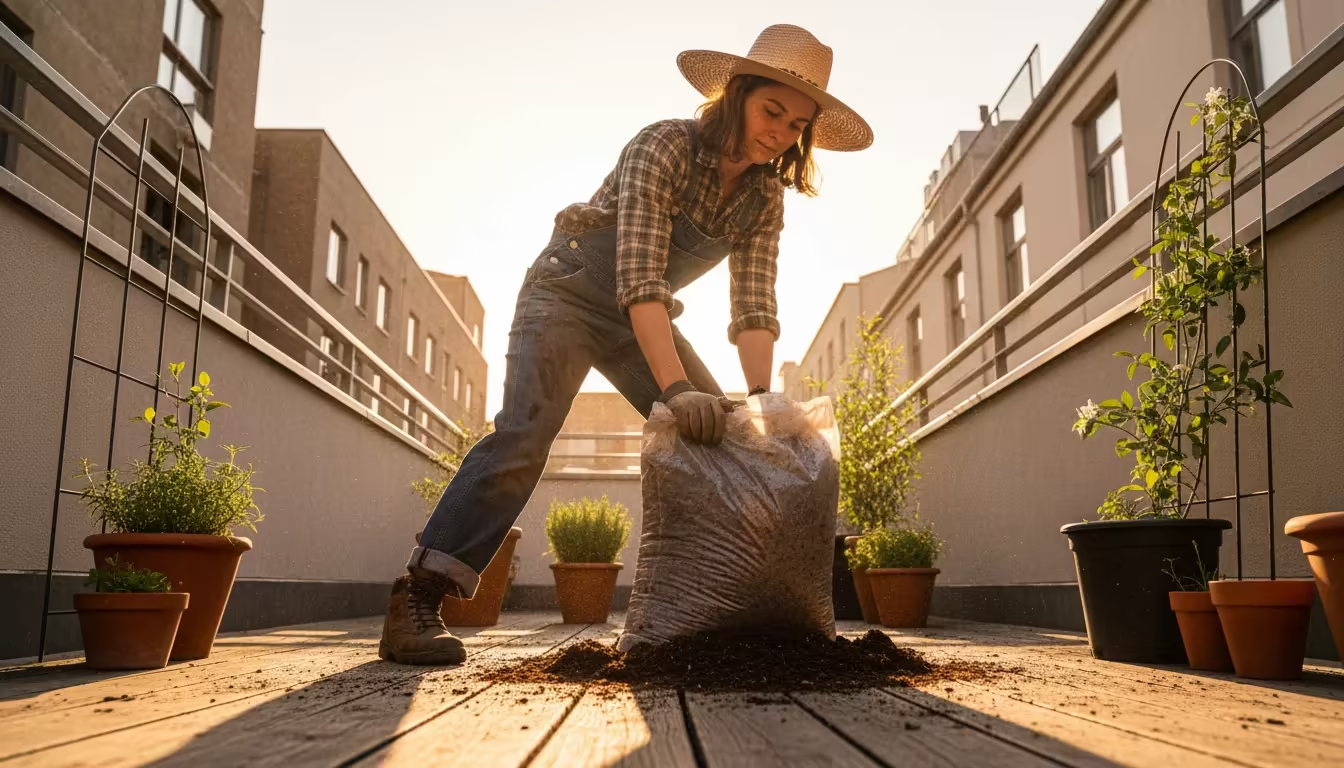
Step 4: Mix Thoroughly (The ‘Magic’ Part)
This is the most satisfying part of the ‘Magic Bag’ Method, as it replaces traditional shoveling and turning.
- Seal the Bag: Close the bag securely. If it is an original potting mix bag, you can fold the top over several times and secure it with strong duct tape or a sturdy clip. For contractor bags, tie the top firmly.
- Roll and Knead: Lay the sealed bag on its side. Now, gently roll, rock, and knead the bag. Imagine you are massaging a giant dough ball. Roll it from end to end, then flip it and roll it the other way. Knead the sides inward.
- Repeat: Continue this process for 5-10 minutes, ensuring all amendments are thoroughly distributed throughout the old potting mix. You want to see no distinct layers of amendments; everything should look like a homogenous, rich, dark soil blend. * Expert Tip: If the bag feels too heavy, you can amend smaller batches or work with a partner. The key is thorough mixing. Uneven distribution leads to inconsistent soil quality.
Once thoroughly mixed, your ‘Magic Bag’ of rejuvenated potting mix is ready for its winter slumber. The amendments will continue to integrate, and beneficial microbes will begin their work, transforming the mix into prime gardening soil.
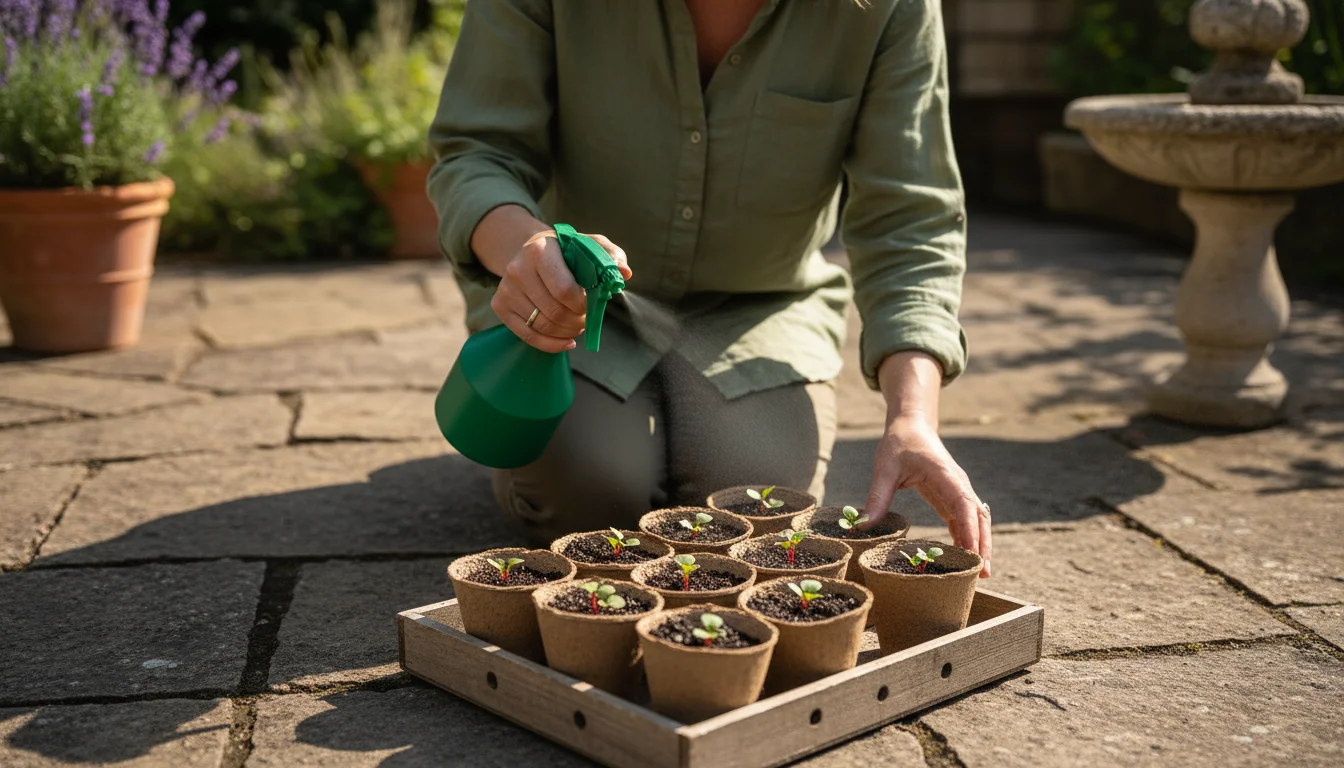
Testing Your Rejuvenated Soil for Spring Success
You have put in the work, and your “Magic Bag” has rested all winter. Now, as spring approaches, you probably wonder, “Is my rejuvenated potting mix truly ready?”
You can perform a few simple tests to ensure your soil provides the best possible environment for your new plants. These checks give you confidence and identify any last-minute adjustments.
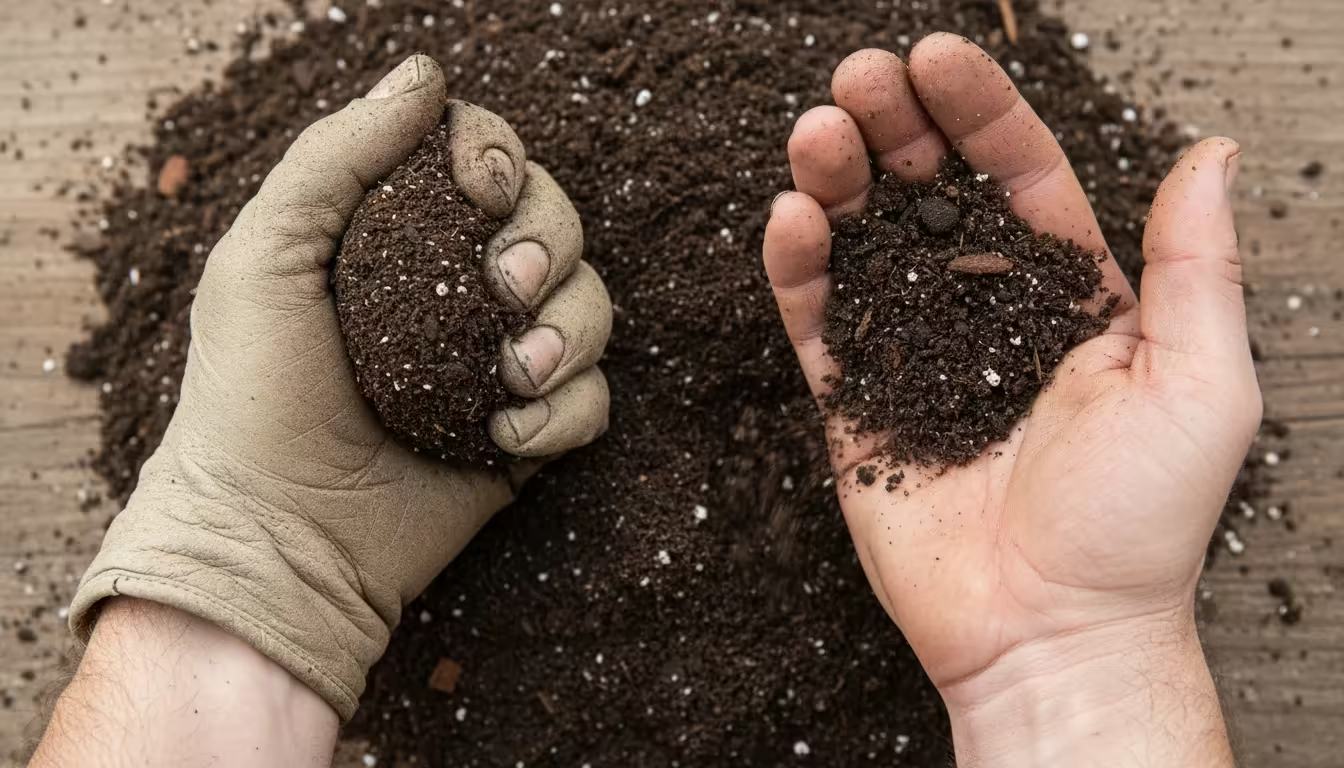
The Squeeze Test: Assessing Moisture and Drainage
This fundamental test quickly tells you about your soil’s structure and water retention.
- Grab a Handful: Reach into your ‘Magic Bag’ and grab a generous handful of the rejuvenated mix.
- Squeeze Firmly: Squeeze the soil tightly in your palm.
- Observe: * Perfect: When you release, the soil forms a loose ball that crumbles easily with a gentle poke. It feels uniformly damp, not soaking wet. This indicates good structure, appropriate moisture retention, and adequate drainage. * Too Wet: If water drips out when you squeeze, or the ball stays solid and muddy even after poking, your soil holds too much moisture. This suggests insufficient drainage. You may need to add more perlite or coarse sand and remix thoroughly. Allow it to air dry a bit before use. * Too Dry: If the soil immediately falls apart when you release your hand and feels dusty, it is too dry. This indicates poor water retention or simply a need for hydration. Moisten it thoroughly before planting.
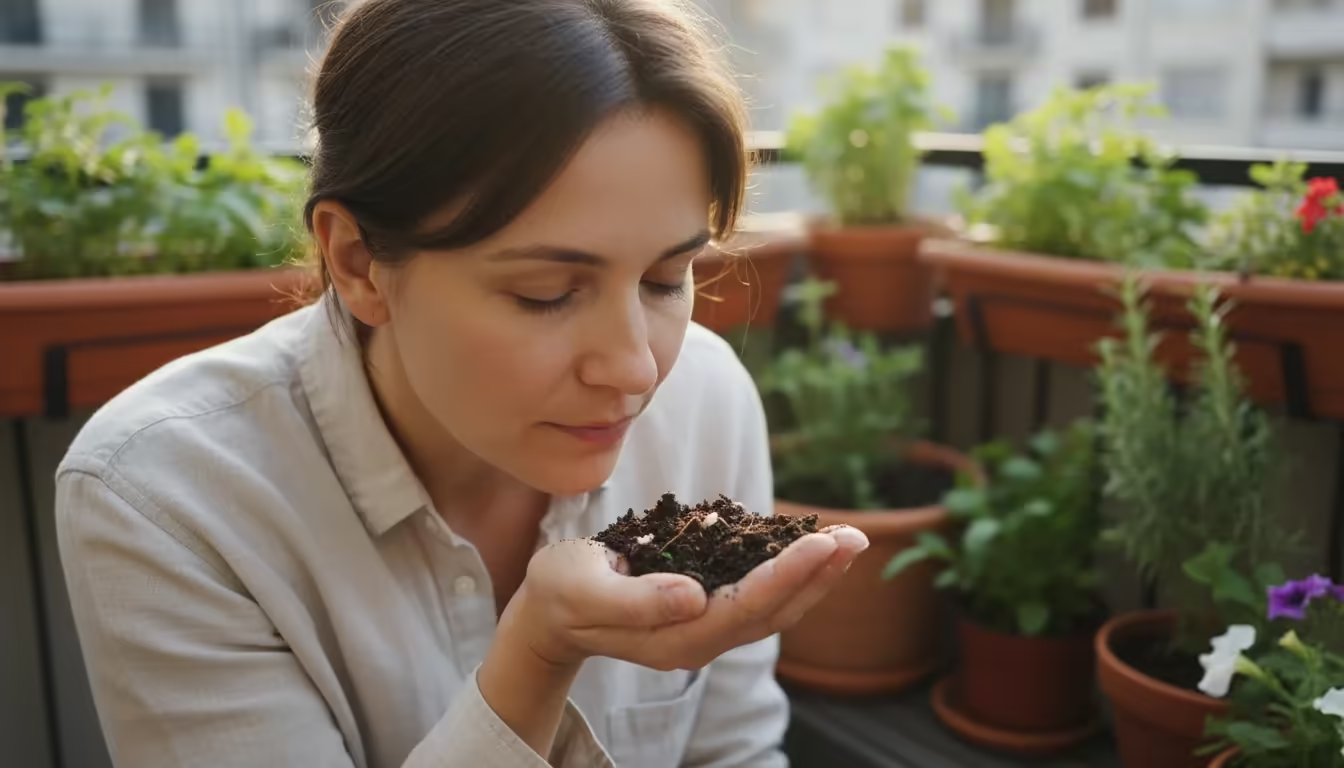
The Smell Test: Checking for Healthy Microbes
A healthy potting mix has a distinct, pleasant aroma.
- Inhale Deeply: Take a deep sniff of your rejuvenated mix.
- Interpret the Scent: * Healthy: It should smell fresh, earthy, and clean, like a forest floor after a rain. This indicates a thriving microbial community and good aeration. * Unhealthy: A sour, putrid, or alcoholic smell suggests anaerobic conditions. This often means the soil is too wet and compacted, lacking oxygen. If you detect this, empty the bag, spread the soil out to dry and air out, incorporate more perlite, and then remix before resealing.
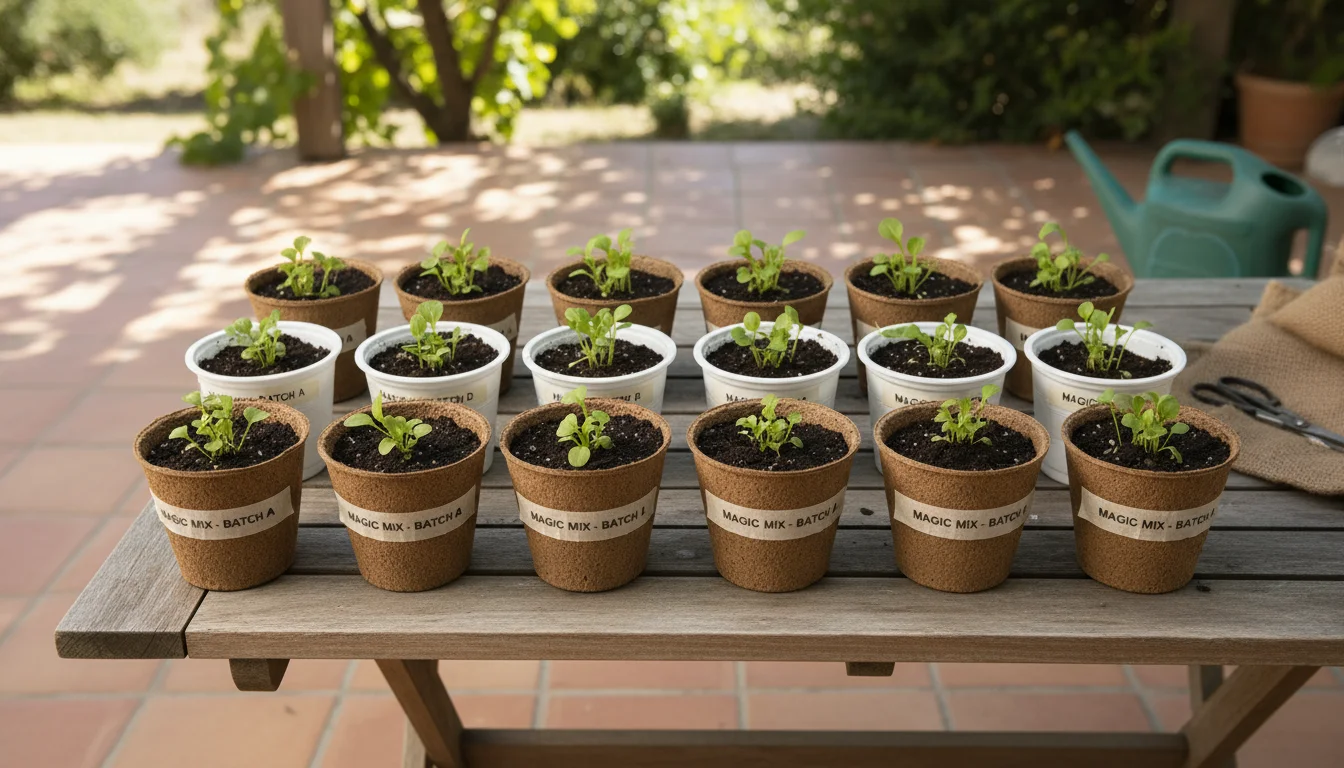
Germination Test: A Practical Performance Check
This test provides real-world feedback on your soil’s ability to support new life.
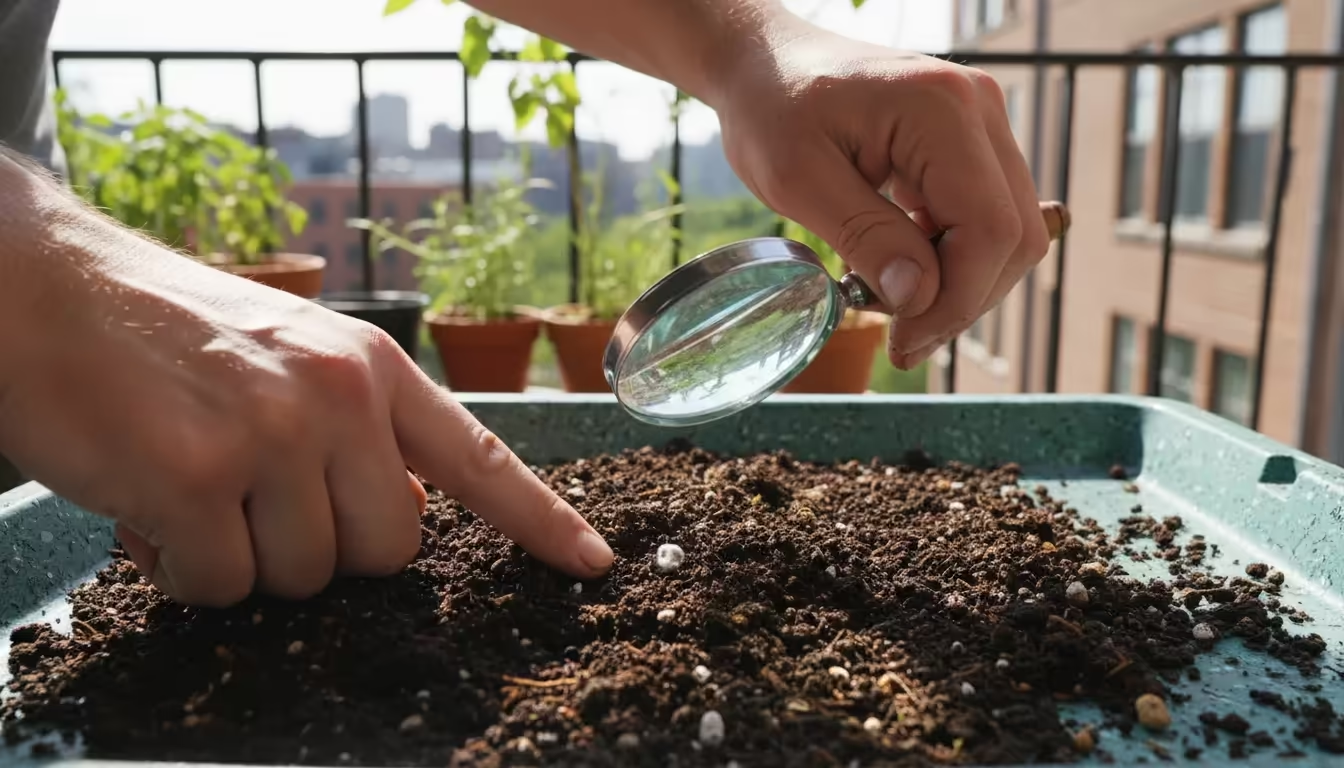
- Plant Seeds: Fill a small pot or seed-starting tray with your rejuvenated mix. Plant a few fast-germinating seeds, like radish, lettuce, or marigolds.
- Observe Growth: Water consistently and keep the pot in appropriate light and temperature conditions. Monitor how quickly the seeds sprout and how vigorously the seedlings grow.
- Evaluate: Healthy, strong germination and robust seedling growth indicate a fertile, well-structured mix. If germination is poor or seedlings are weak, your soil may still lack nutrients or have a pH imbalance. You can then consider adding a light dose of liquid organic fertilizer or conducting a soil pH test.
pH Test (Optional, for specific plant needs)
While most potting mixes aim for a neutral pH, some plants thrive in more acidic or alkaline conditions.
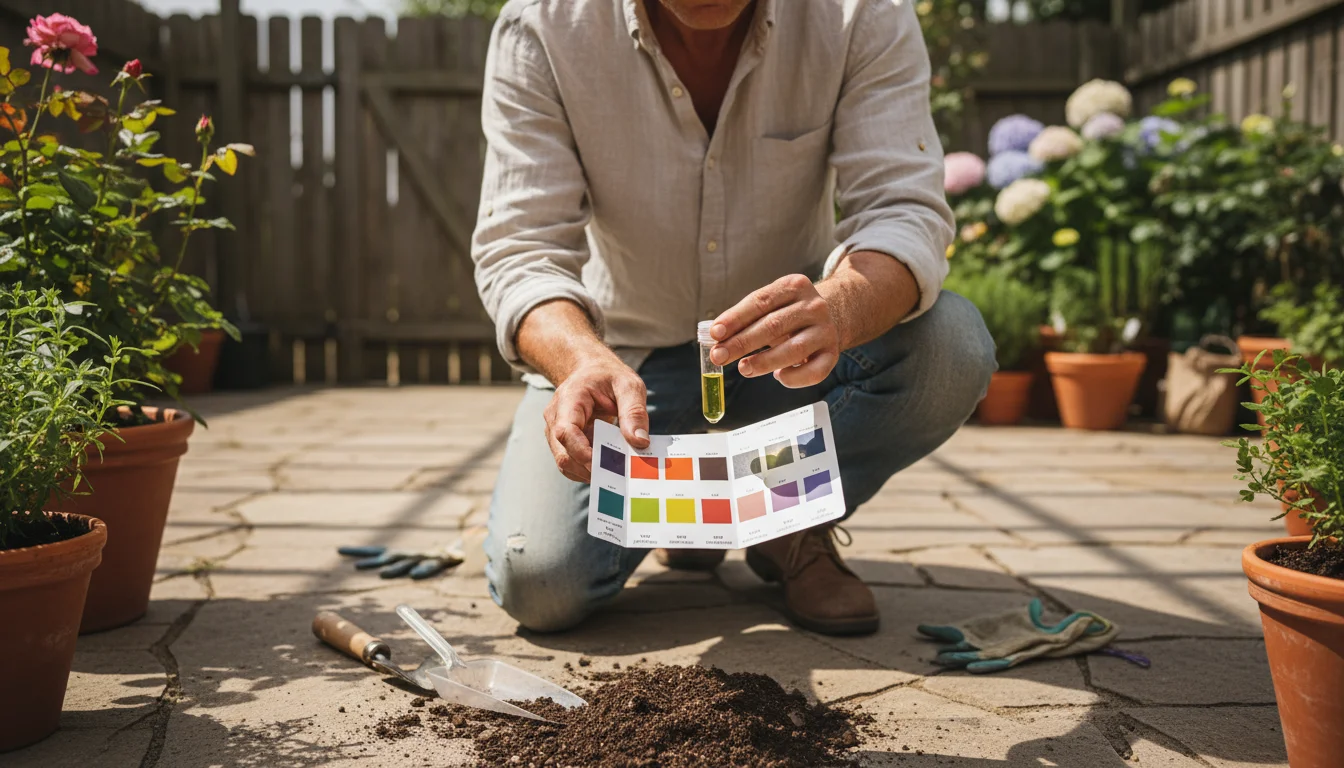
- Use a Kit: Purchase an inexpensive home soil pH test kit from your local garden center.
- Follow Instructions: Collect a small sample of your rejuvenated mix and follow the kit’s directions.
- Adjust if Necessary: Based on the reading and your planting plans, you can make minor adjustments. * To raise pH (make it more alkaline), add a small amount of dolomitic lime. * To lower pH (make it more acidic), add a small amount of elemental sulfur or sphagnum peat moss. Remember to mix thoroughly and retest after a few weeks.
By performing these simple tests, you gain valuable insights into the quality of your rejuvenated potting mix. You ensure it meets the essential requirements for healthy plant growth, preventing potential issues before you even plant your first seed.
This proactive approach saves you time and ensures a successful spring gardening season.
Storing Your ‘Magic Bag’ Over Winter
Once you have thoroughly mixed your rejuvenated potting mix in its ‘Magic Bag,’ the next crucial step is proper storage. This winter resting period allows the amendments to fully integrate, beneficial microbes to multiply, and any potentially lingering issues to dissipate.
Effective storage ensures your mix is perfectly primed for spring planting.
Choose the Right Location
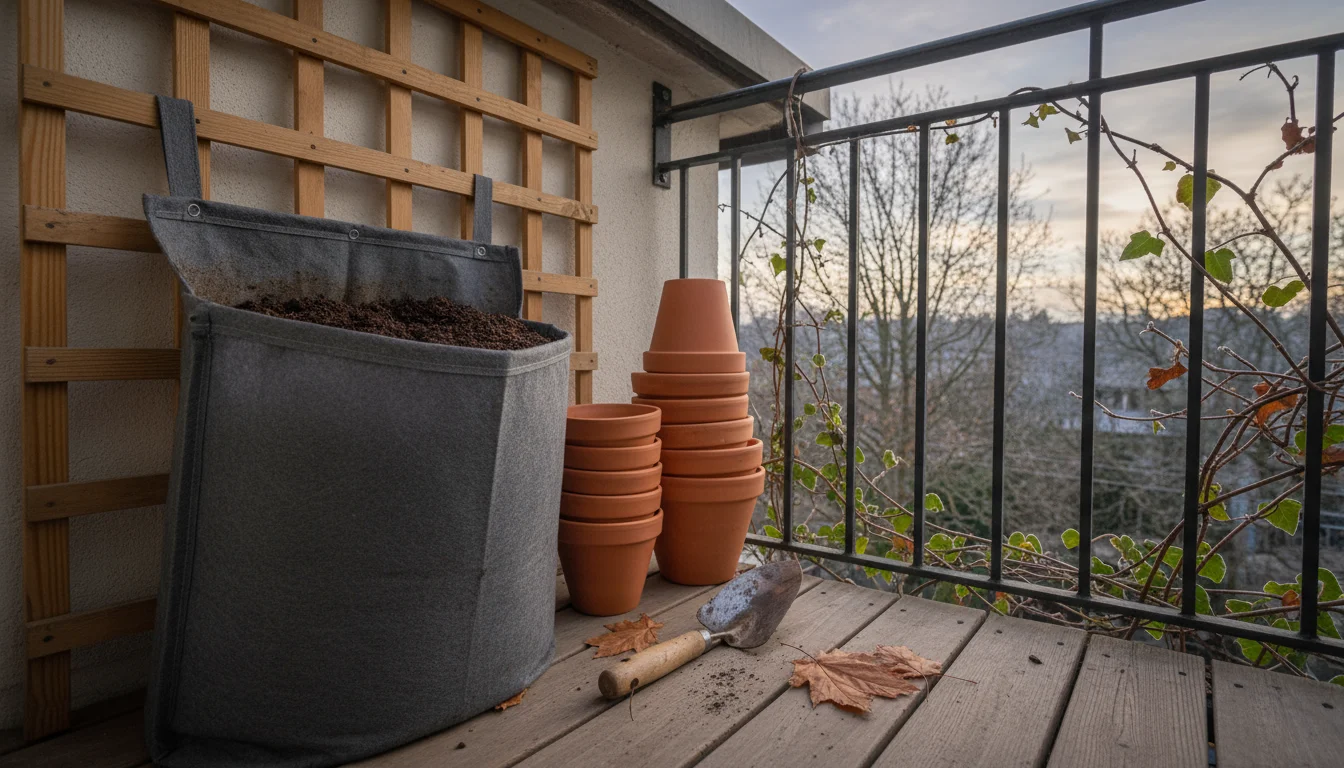
The ideal storage location for your ‘Magic Bag’ is cool, dark, and protected from extreme weather fluctuations.
- Garage or Shed: These are often excellent choices. They provide shelter from rain, snow, and direct sunlight, which can prematurely dry out the mix or promote anaerobic conditions if the bag gets too hot.
- Covered Patio or Balcony: If a garage or shed is not an option, place the bag on a covered patio or balcony. Ensure it is not exposed to direct sun for prolonged periods or susceptible to heavy rain. You might place it under a sturdy outdoor table or cover it with a tarp for extra protection.
- Avoid Freezing Solid: While some freezing is not harmful, repeated freezing and thawing can impact soil structure. Aim for a location where temperatures remain relatively stable, ideally above freezing but below 50°F (10°C). If it must be in a freezing environment, ensure the bag is well-sealed and the soil is slightly moist.
Ensure Proper Sealing
The bag needs to be securely sealed to maintain moisture, prevent contamination, and keep out pests.
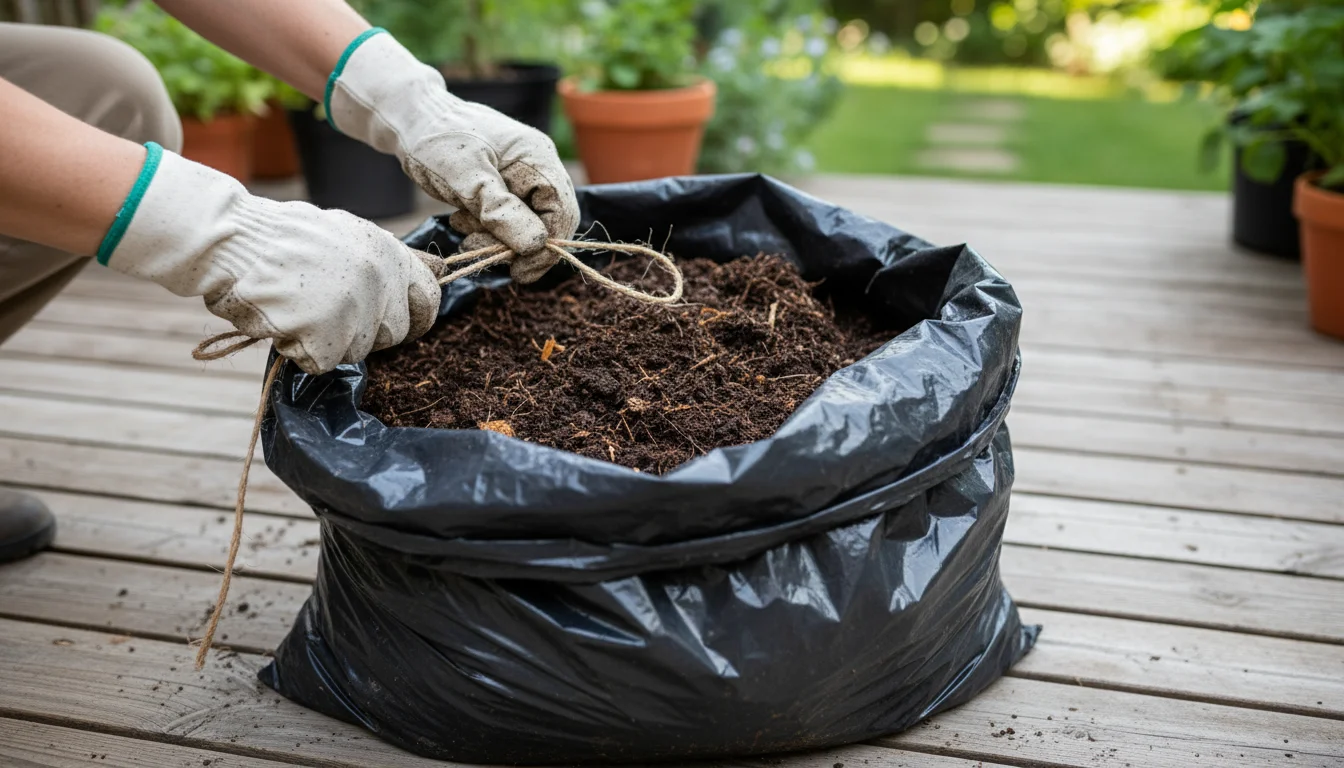
- Original Bag: If using the original potting mix bag, roll the top down several times and secure it tightly with strong duct tape, heavy-duty clips, or rope. Make sure there are no large gaps.
- Contractor Bag: Twist the top of the bag tightly, then tie it off with a strong knot, or use a zip tie.
- Why Seal? A good seal prevents excess moisture from getting in (which could lead to mold or anaerobic conditions) and prevents the mix from drying out. It also deters rodents and insects from making your bag their winter home.
Maintain Optimal Moisture
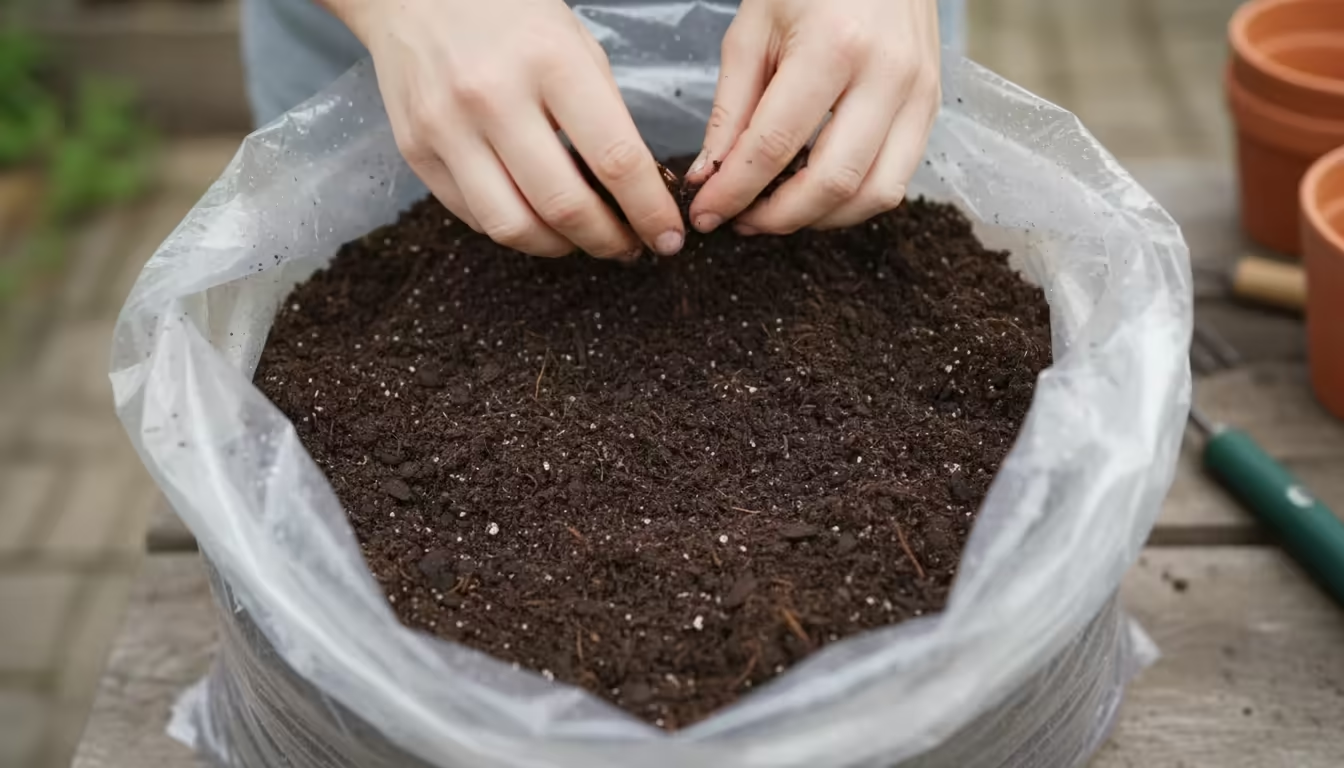
Your rejuvenated mix should be slightly damp when stored, like a wrung-out sponge. This moisture is vital for the continued activity of beneficial microbes that break down organic matter and integrate nutrients.
- Check Before Sealing: Before you seal the bag for winter, confirm the soil feels damp. If it is dry, lightly mist it with water and mix it one last time.
- Avoid Waterlogging: Do not over-moisten the soil before storage. Too much moisture, especially in a sealed bag with limited oxygen, can lead to anaerobic decomposition, causing unpleasant odors and potentially harmful compounds.
Consider Elevating the Bag (Optional)
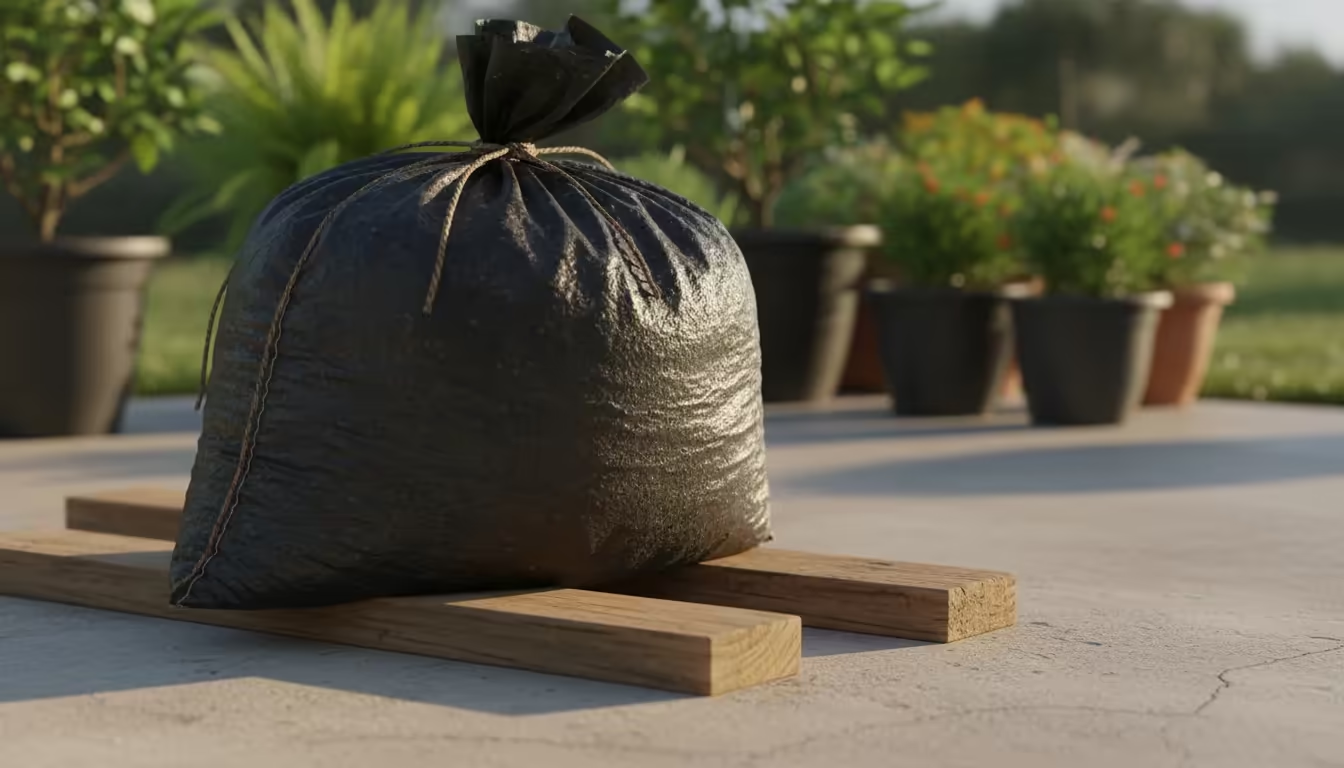
If you store the bag on a concrete floor in a garage or shed, consider placing it on a pallet, a few bricks, or a piece of scrap wood.
This simple step helps with air circulation underneath the bag and prevents it from sitting directly on a cold, damp surface, which can lead to moisture issues or mold.
Label Your Bag
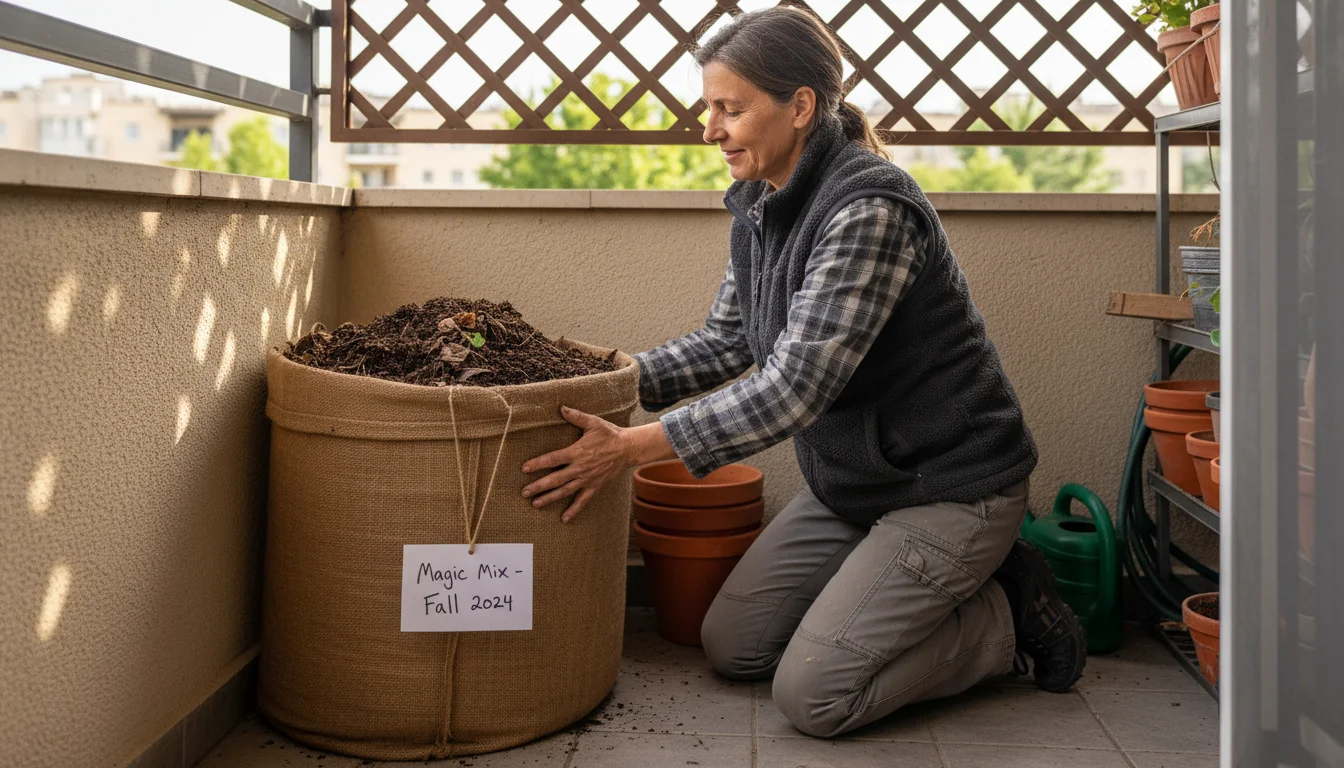
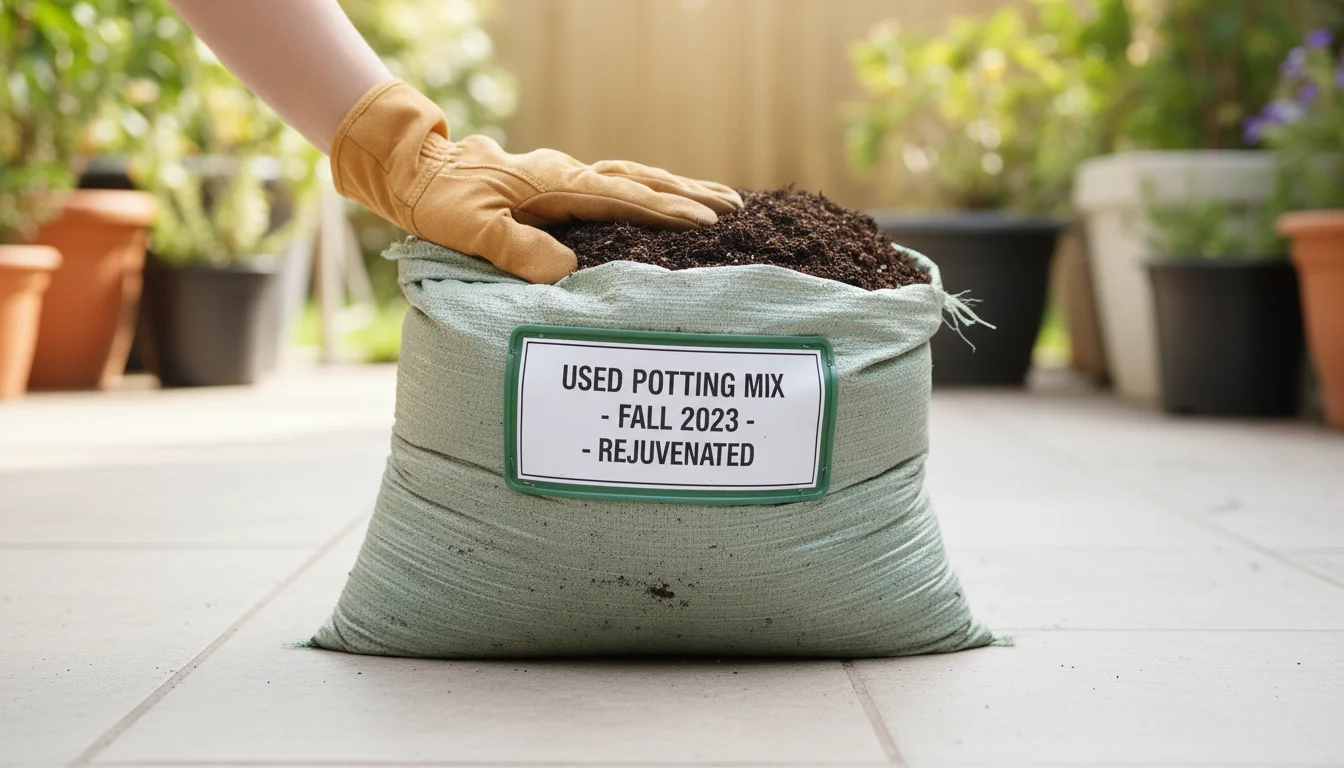
This seems small, but it is incredibly helpful. Write the date you prepared the mix and any specific amendments you added directly onto the bag with a permanent marker.
This helps you track its age and composition, especially if you store multiple bags.
By following these storage guidelines, you ensure your ‘Magic Bag’ of rejuvenated potting mix remains in prime condition throughout the fall and winter.
When spring arrives, you will simply open the bag to reveal a fresh, ready-to-use, nutrient-rich growing medium, saving you time, effort, and money right when you are eager to plant.
Troubleshooting Common Issues and Avoiding Mistakes
While the ‘Magic Bag’ Method is straightforward, you can encounter a few common pitfalls. Knowing how to prevent these issues or troubleshoot them if they arise ensures your rejuvenated potting mix is truly top-notch for spring planting.
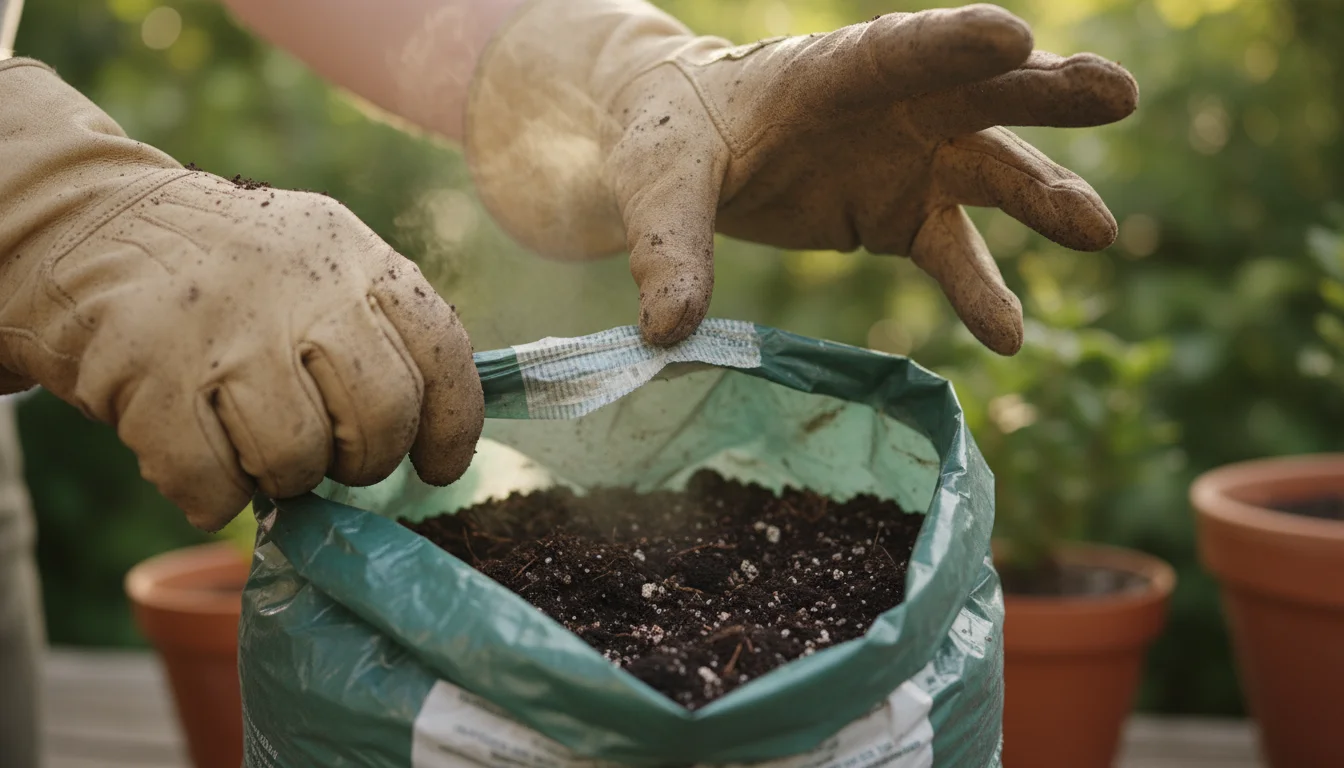
Common Issue 1: Sour or Foul Smell from the Bag
- Cause: This usually indicates anaerobic conditions. Too much moisture in the bag, combined with a lack of oxygen, causes beneficial microbes to die off and anaerobic bacteria to take over, leading to a putrid, rotten egg, or alcoholic smell. This can also happen if too much undecomposed organic matter (like fresh food scraps) was added.
- Prevention: Ensure the potting mix is only *damp*, not wet or soggy, before sealing the bag. Avoid adding fresh organic kitchen waste unless it is already fully composted.
- Troubleshooting: Open the bag immediately. Spread the entire contents out on a tarp in a well-ventilated area, preferably in a sunny spot. Let it air out and dry for a day or two. Incorporate more perlite to improve drainage and aeration, then remix thoroughly. If the smell persists, you might need to add more fresh compost to reintroduce beneficial microbes.
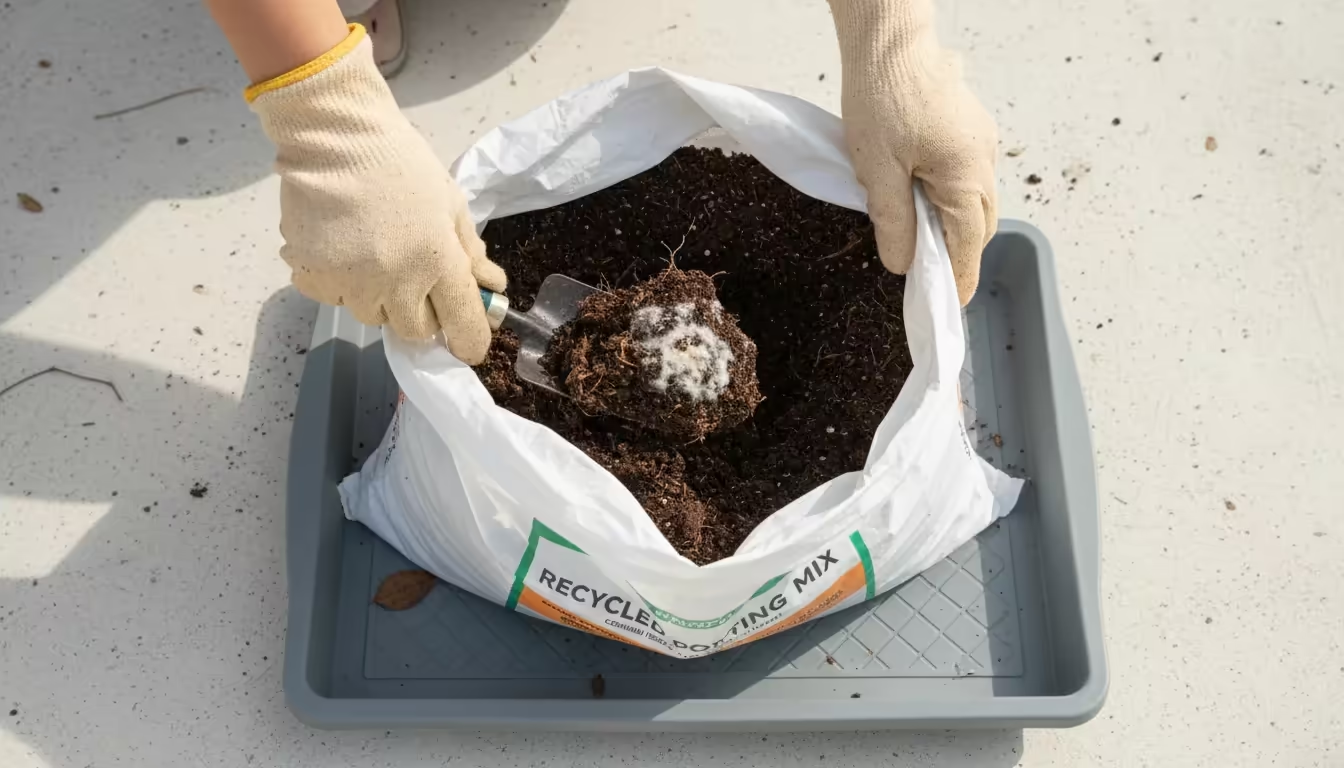
Common Issue 2: Mold or Fungi Growth
- Cause: Mold or fungus can appear if the mix is too wet, has poor air circulation, or contains too many undecomposed organic materials. White, fuzzy mold on the surface is often harmless saprophytic fungi breaking down organic matter, but excessive growth indicates an imbalance.
- Prevention: Maintain proper moisture levels (damp, not wet). Ensure the bag is not overfilled, allowing a small air pocket. Do not add raw food scraps.
- Troubleshooting: If it is just a bit of white surface mold, gently mix it back into the soil. If it is widespread or colorful (black, green), spread the soil out, let it dry, remove visible moldy clumps, and remix with fresh compost and perlite. If the mold is persistent and smells foul, it might be best to discard that batch to avoid plant diseases.
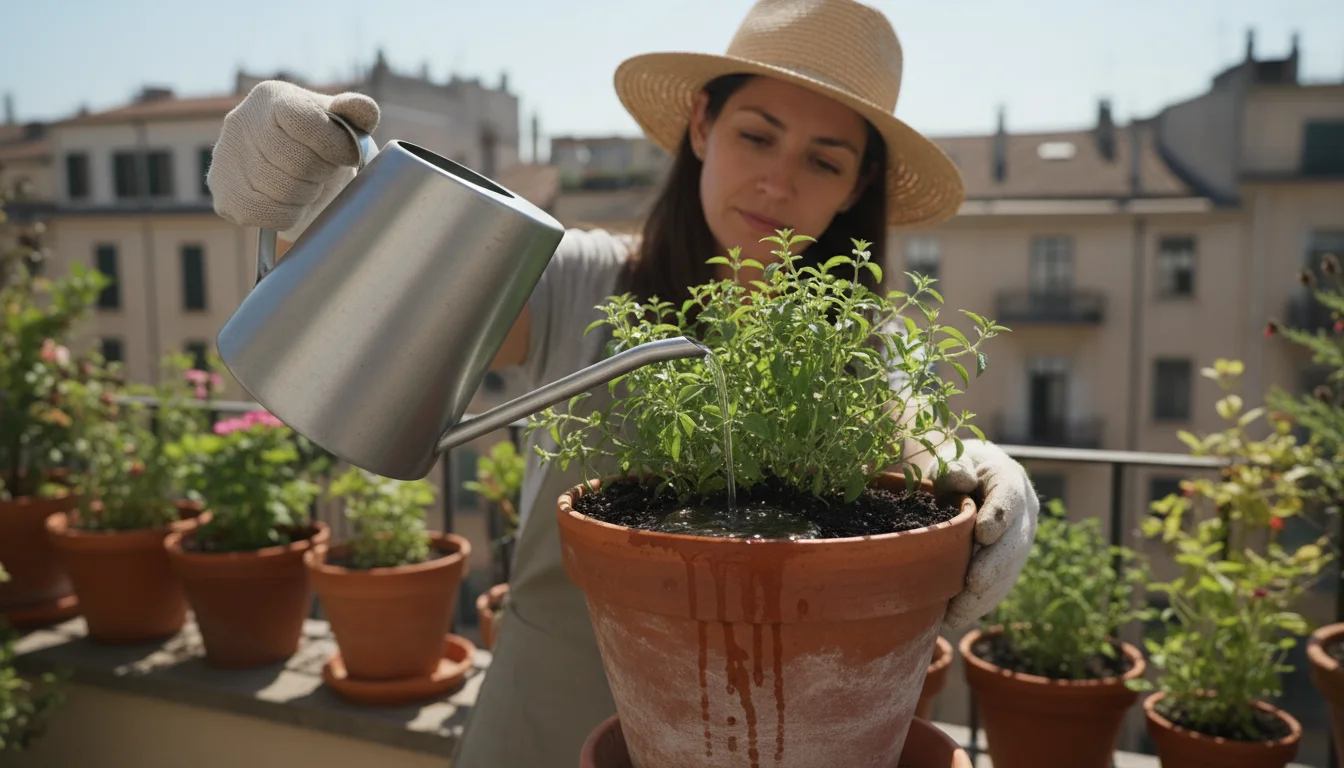
Common Issue 3: Soil Still Appears Compacted or Drains Poorly
- Cause: Insufficient perlite or other drainage enhancers, or inadequate initial mixing.
- Prevention: Be generous with perlite, aiming for 10-15 percent of the total volume. Spend adequate time thoroughly rolling and kneading the bag to ensure even distribution.
- Troubleshooting: If you notice this when preparing for spring, open the bag, add more perlite (about 5-10 percent more by volume), and remix the entire contents thoroughly. This improves aeration and water flow.
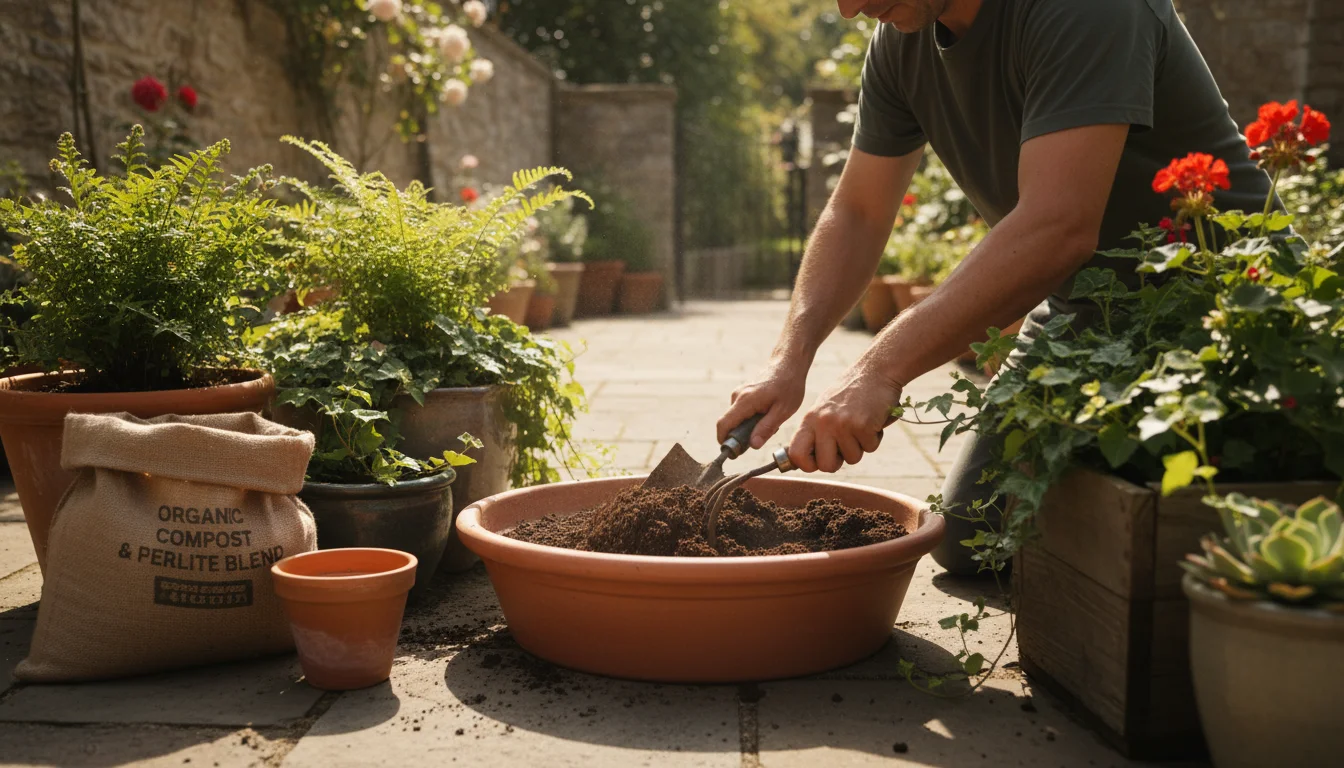
Common Issue 4: Uneven Nutrient Distribution
- Cause: Amendments were not thoroughly mixed into the old potting mix.
- Prevention: The “rolling and kneading” step is crucial. Do not rush it. Continue until you see a homogenous texture and color throughout the bag.
- Troubleshooting: Before planting in spring, give the bag another thorough mix. If you have concerns about specific nutrient deficiencies, consider a diluted liquid organic fertilizer application to your plants after they establish in the revitalized soil.
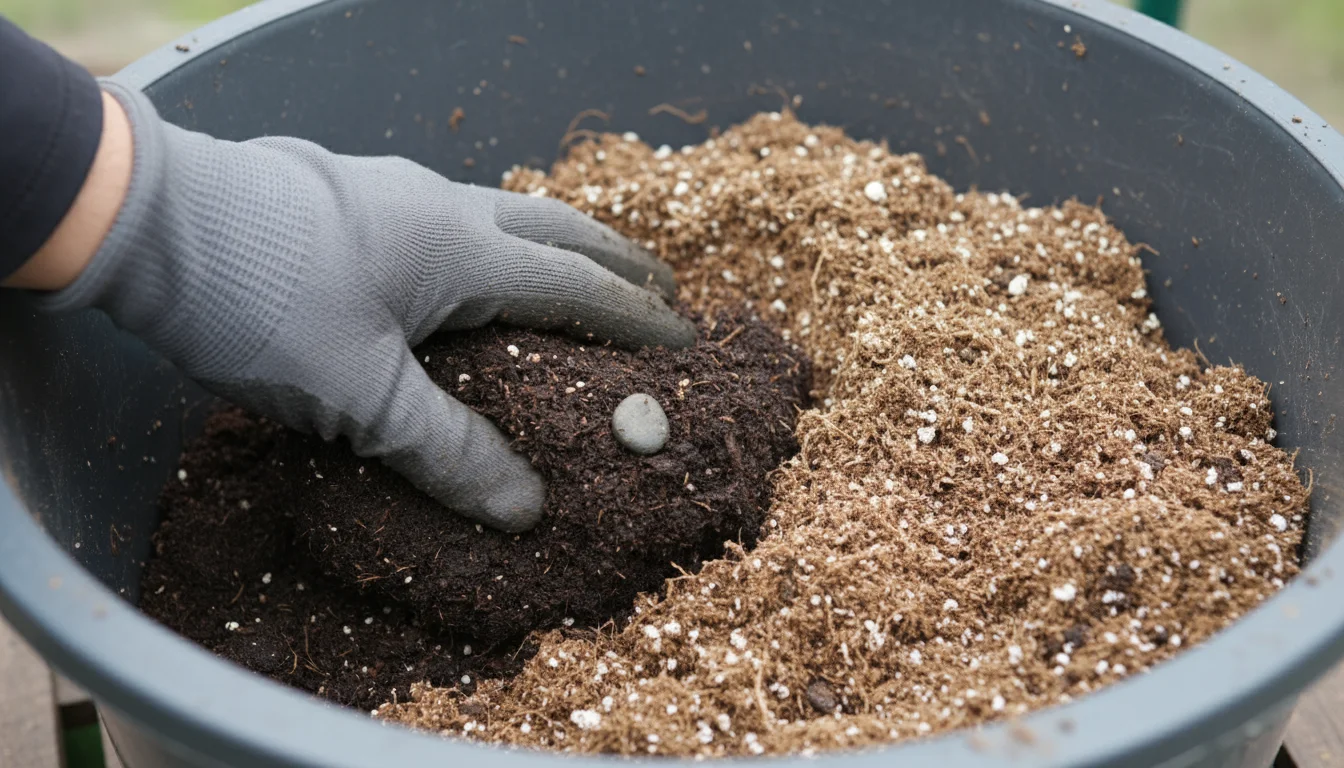
Mistake 1: Adding Fresh Garden Soil
- Why Avoid: Garden soil is too heavy for containers. It compacts easily, severely restricts drainage and aeration, and can introduce pests, diseases, and weed seeds into your sterile potting mix environment.
- Solution: Stick to the recommended amendments. Potting mix is formulated for containers; garden soil is not.
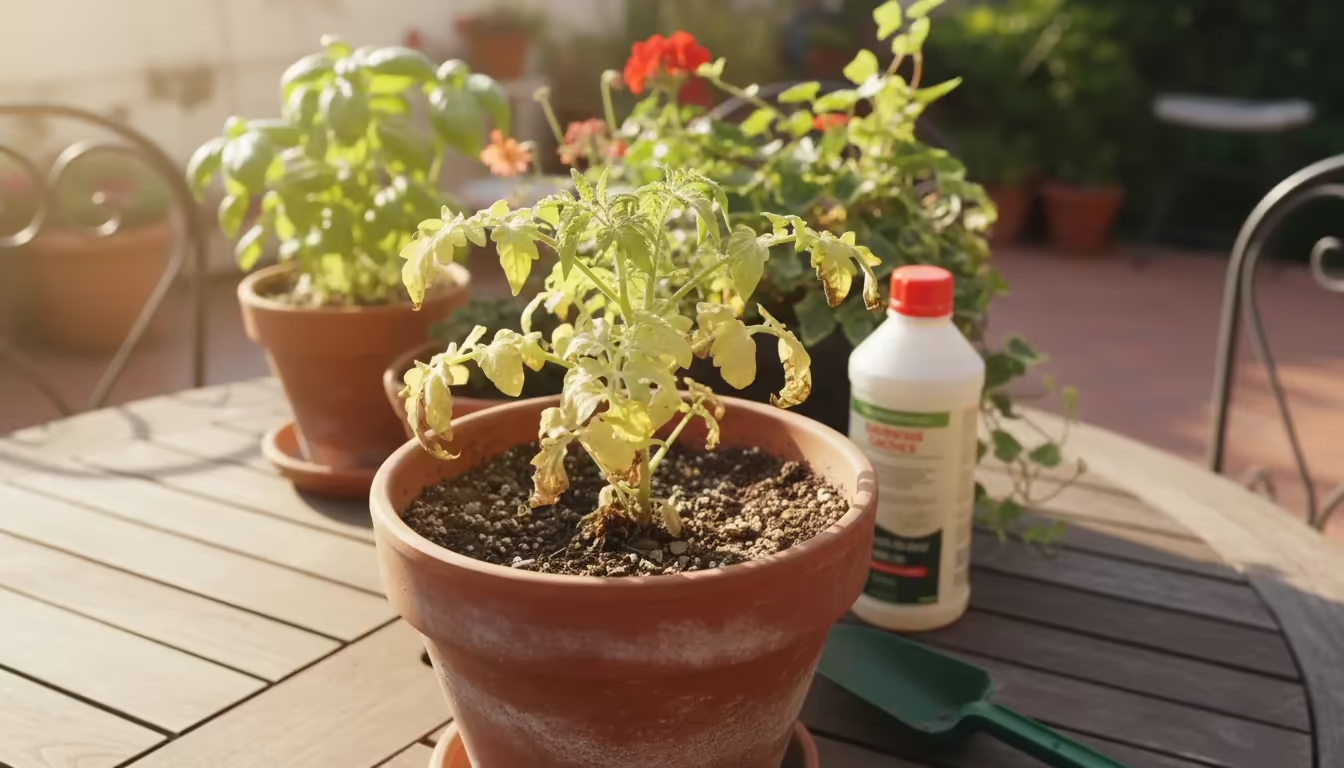
Mistake 2: Over-fertilizing
- Why Avoid: Too much fertilizer, especially synthetic, can lead to salt buildup, root burn, and nutrient lockout. Even organic fertilizers can cause issues if applied excessively.
- Solution: Always follow the package directions for granular organic fertilizers. Remember, organic amendments like compost and worm castings contribute significant nutrients over time, so you often need less additional fertilizer.
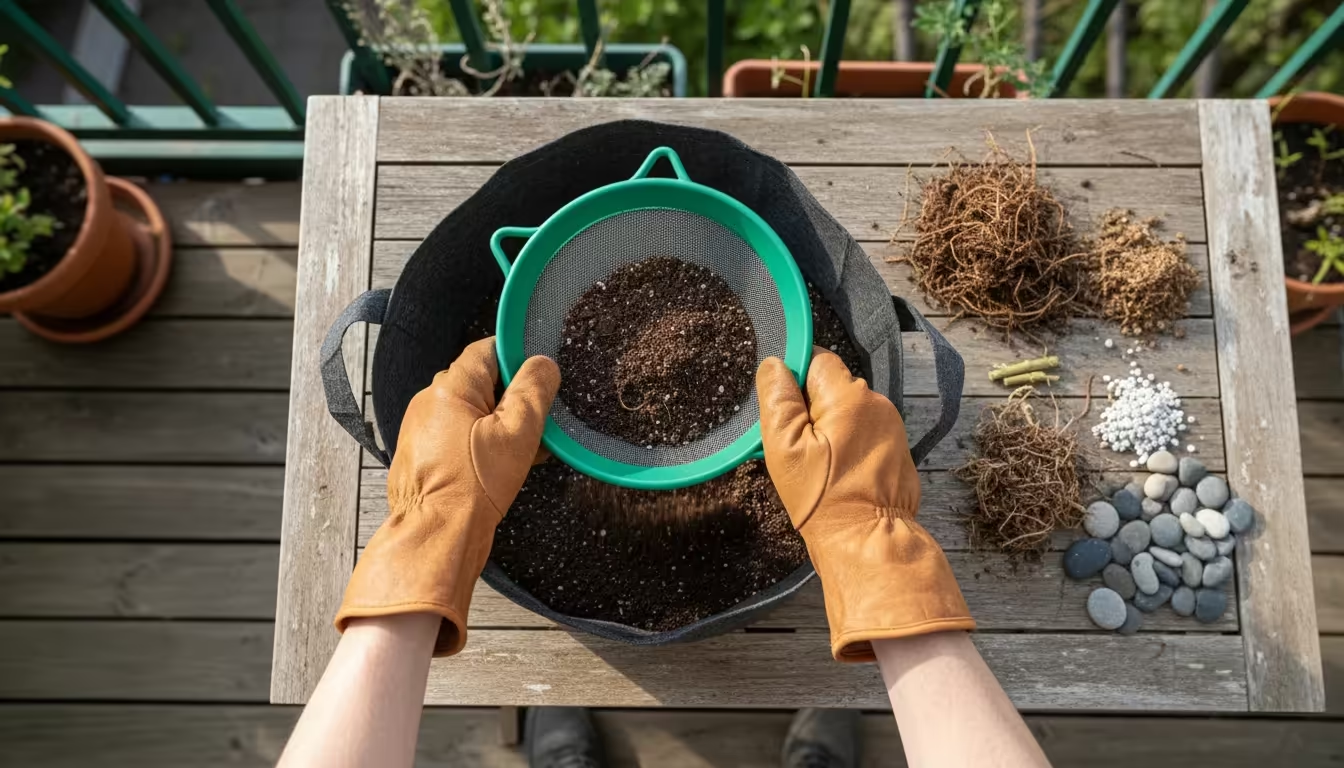
Mistake 3: Skipping Debris Removal
- Why Avoid: Leaving large root balls or plant debris can lead to uneven decomposition, harboring of pests and diseases, and physical impediments for new roots.
- Solution: Take the time to meticulously clean your used potting mix. Sifting is highly recommended for the best results.
By understanding these potential issues and implementing these preventative and troubleshooting tips, you significantly increase your success with the ‘Magic Bag’ Method. You gain valuable experience and grow into a more confident, resource-conscious gardener.
Environmental and Frugal Benefits of Rejuvenating Soil
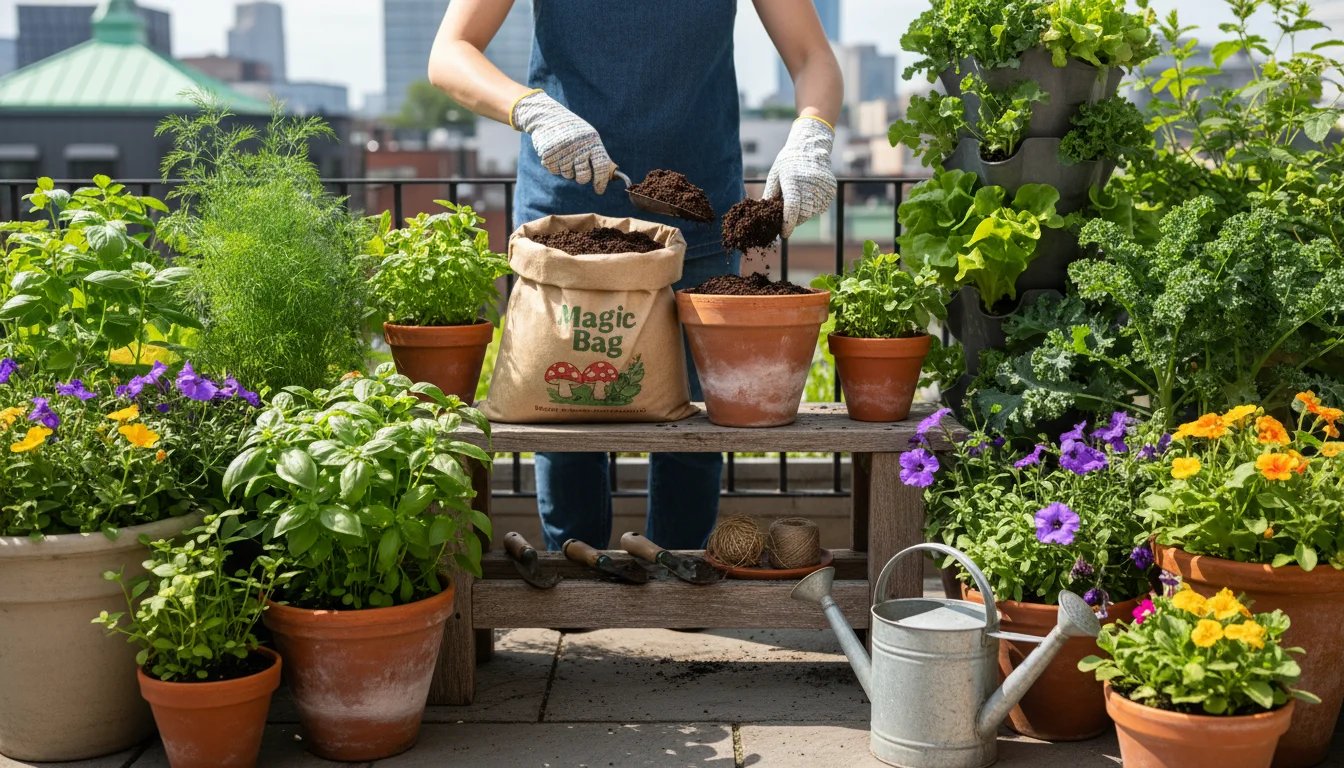
Embracing the ‘Magic Bag’ Method extends far beyond simply preparing for your next gardening season; it represents a tangible commitment to both environmental stewardship and smart financial management. For small-space gardeners, where every resource and every dollar counts, these benefits resonate deeply.
Environmental Impact: Reducing Waste and Resource Consumption
Every year, countless bags of used potting mix end up in landfills. While potting mix contains organic components, it also includes materials like perlite and vermiculite that are not easily biodegradable.
By rejuvenating your soil, you actively reduce this waste stream.
Consider the lifecycle of potting mix: it involves mining peat, processing coconut coir, extracting perlite, and manufacturing plastics for the bags. Each step consumes energy and resources.
When you reuse your potting mix, you directly lessen the demand for new products, thereby conserving these resources and minimizing the environmental footprint associated with their production and transportation.
This practice promotes a circular economy within your own garden, where materials are reused and recycled rather than discarded, which is a core tenet of sustainable living.
Furthermore, a healthy, living soil medium supports a thriving microbial ecosystem. When you add compost and worm castings, you introduce billions of beneficial microorganisms that contribute to soil health, nutrient cycling, and plant resilience.
This fosters a more biologically active soil that requires fewer synthetic inputs over time, leading to healthier plants and a reduced reliance on chemical fertilizers, which can harm local ecosystems through runoff.
Frugal Gardening: Saving Your Hard-Earned Money
The cost of gardening supplies, especially potting mix, adds up quickly. A single large bag of high-quality potting mix can cost anywhere from $15 to $30 or more.
If you maintain several containers or replace your soil annually, these expenses become substantial.
The ‘Magic Bag’ Method offers significant cost savings. While you invest in amendments like compost, perlite, and organic fertilizers, these are typically far less expensive than purchasing entirely new bags of potting mix.
For example, a bag of compost costs less than a bag of premium potting mix, and you use it to rejuvenate several batches of old soil. You are essentially turning a spent product into a valuable resource with minimal additional investment.
Over several seasons, these savings compound. Imagine reducing your potting mix purchases by 50-75 percent.
That money can then be allocated to other gardening delights, such as new plant varieties, unique containers, or even a specialized tool you have coveted.
This approach makes high-quality gardening more accessible and less of a financial burden, which is particularly important for those gardening on a budget or with fixed incomes.
In essence, the ‘Magic Bag’ Method empowers you to garden more responsibly and economically.
You contribute to a healthier planet by reducing waste and resource consumption, and you keep more money in your pocket, allowing you to enjoy your passion for gardening without unnecessary financial strain. This is a win-win for both you and the environment.
Frequently Asked Questions
You likely have questions about fine-tuning this method for your unique gardening situation. Here are answers to some common inquiries.
Can I rejuvenate potting mix that had diseased plants?
You can rejuvenate potting mix that housed diseased plants, but you must take extra precautions. Physically remove all plant material and roots.
Then, strongly consider sterilizing the soil using solarization or oven baking, as described in the preparation steps. This kills lingering pathogens.
If the disease was particularly aggressive or systemic, it might be safer to discard the soil to prevent reintroducing the problem to new plants. When in doubt, err on the side of caution.
How much compost and other amendments should I add?
A good starting point is to aim for roughly 20-30 percent of your total rejuvenated mix to be fresh organic matter, primarily compost and worm castings.
For instance, if you have a cubic foot of used potting mix, add about 0.2 to 0.3 cubic feet of compost and worm castings combined. Add perlite or vermiculite at about 10-15 percent by volume to ensure good drainage.
For granular organic fertilizers, always follow the specific product instructions, as concentrations vary widely. Adjust these ratios based on the initial condition of your used mix: more perlite for compacted soil, more compost for nutrient-depleted soil.
What if my potting mix contains slow-release fertilizer granules?
Most slow-release fertilizers are largely depleted after a single growing season. While some granules might remain, their nutrient output becomes negligible.
You should proceed with adding fresh organic amendments and a new dose of balanced organic granular fertilizer.
This ensures your revitalized mix provides a robust nutrient supply for the upcoming season, as you cannot rely on residual slow-release products from the previous year for effective feeding.
Can I use this method for raised beds or in-ground gardens?
While this method focuses on container potting mix, the principles of amending and revitalizing soil apply universally.
For raised beds or in-ground gardens, you would typically spread your used potting mix directly onto the bed, then incorporate compost, aged manure, and other organic amendments into the top 6-12 inches of existing garden soil.
The “Magic Bag” approach specifically targets the unique challenge of container soil and its storage, making it less necessary for larger, more permanent garden spaces where soil remains in place.
How long does the soil need to sit in the bag after amending?
Ideally, you should allow the rejuvenated potting mix to sit in the sealed ‘Magic Bag’ for at least 4-6 weeks, and preferably over the entire fall and winter season.
This resting period provides ample time for the amendments to break down, nutrients to become available, and beneficial microbial populations to establish. The longer it sits, the more integrated and “seasoned” the mix becomes, resulting in a more robust and uniform growing medium come spring.
For trustworthy gardening information, visit:
University of Maryland Extension — Home & Garden, Rutgers New Jersey Agricultural Experiment Station, University of Arizona Cooperative Extension — Gardening and University of Alaska Fairbanks Extension — Gardening. These organizations provide expert, research-based advice for gardeners at all levels.
Disclaimer: This article is for informational purposes only and is not a substitute for professional gardening advice. Always consult local extension services or horticulture experts for region-specific guidance.