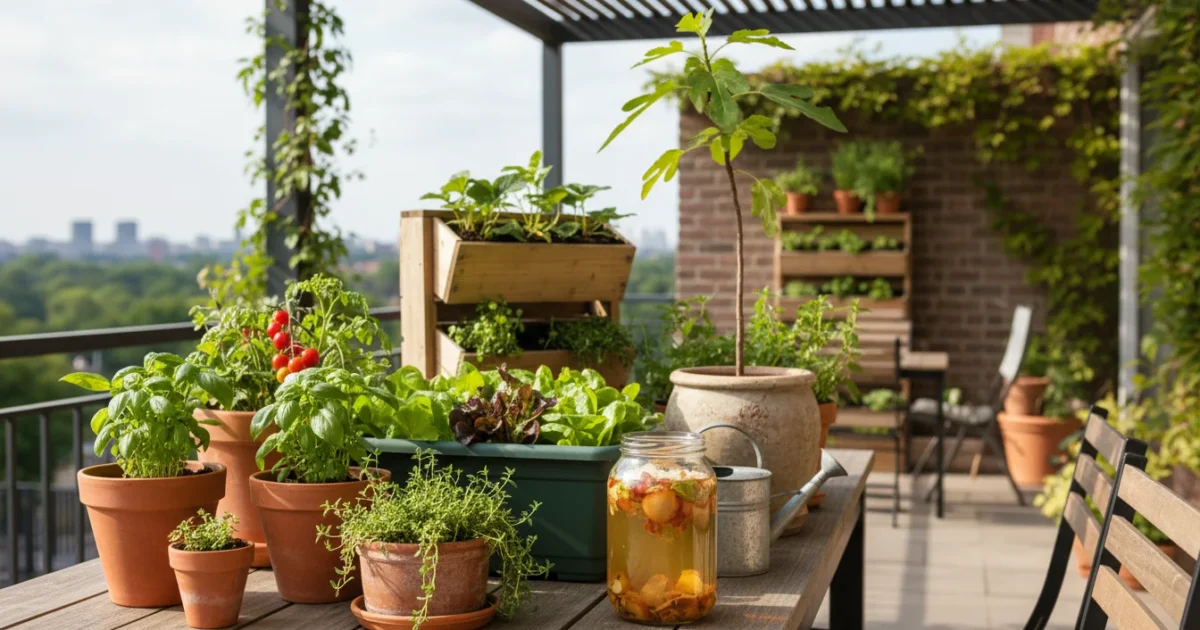
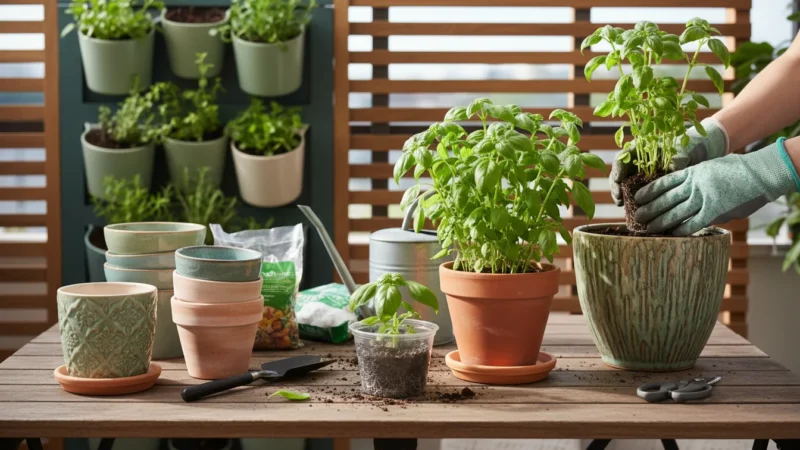
The ‘Kitchen Scrap’ Fertilizer Tea: A No-Cost Way to Feed Your Balcony Plants This Spring
Learn to make free, organic kitchen scrap fertilizer tea for your balcony plants this spring, enhancing growth and reducing waste.
Read More →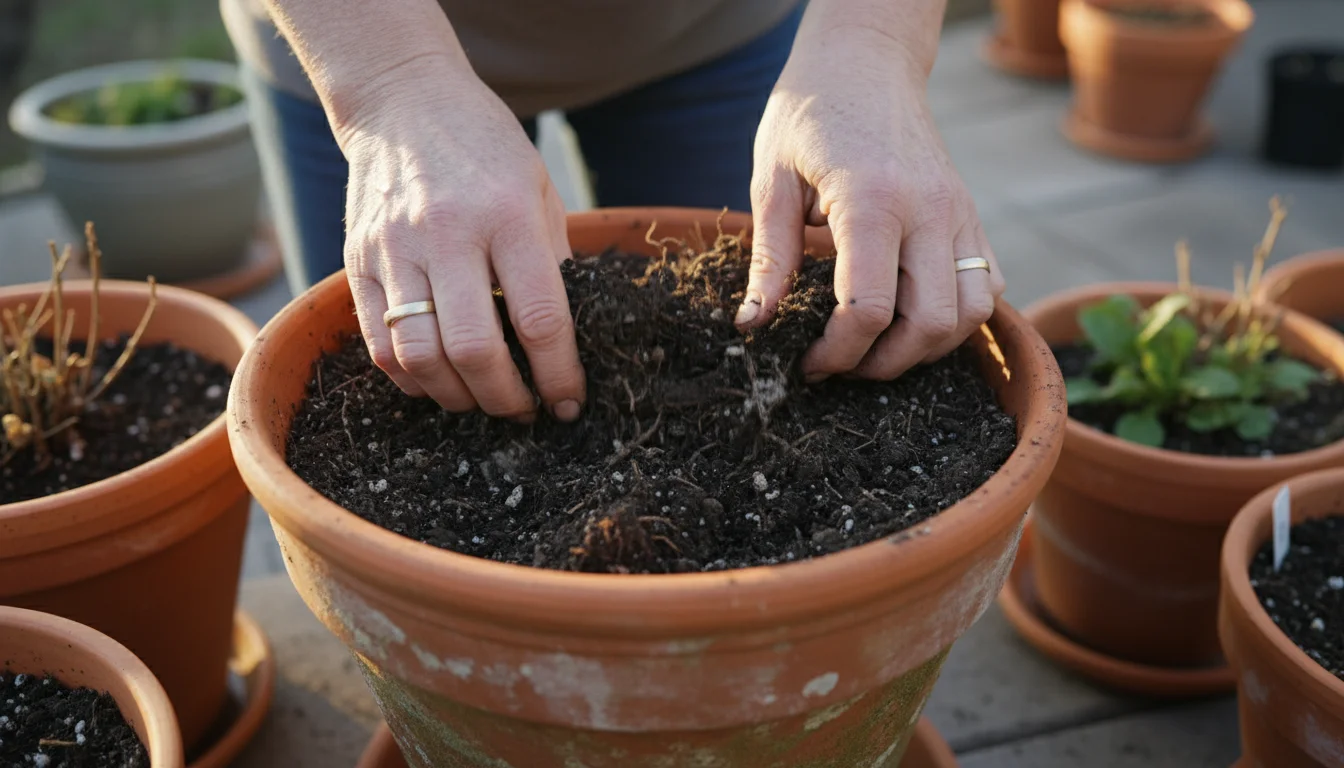
Learn our 3-step 'emergency refresh' for used potting mix this spring. Revitalize your containers and save money with practical, actionable advice.
Read Full Article →
Learn to make free, organic kitchen scrap fertilizer tea for your balcony plants this spring, enhancing growth and reducing waste.
Read More →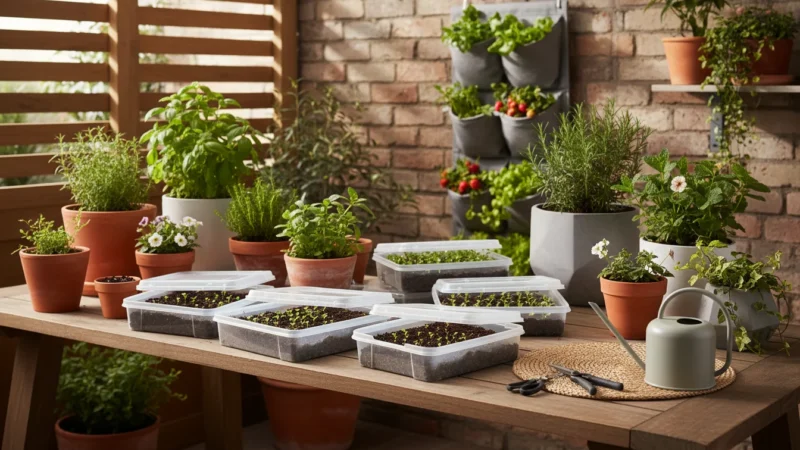
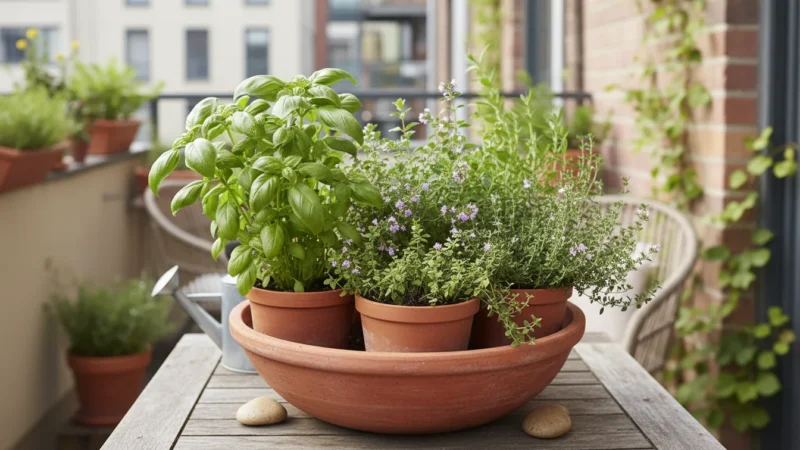
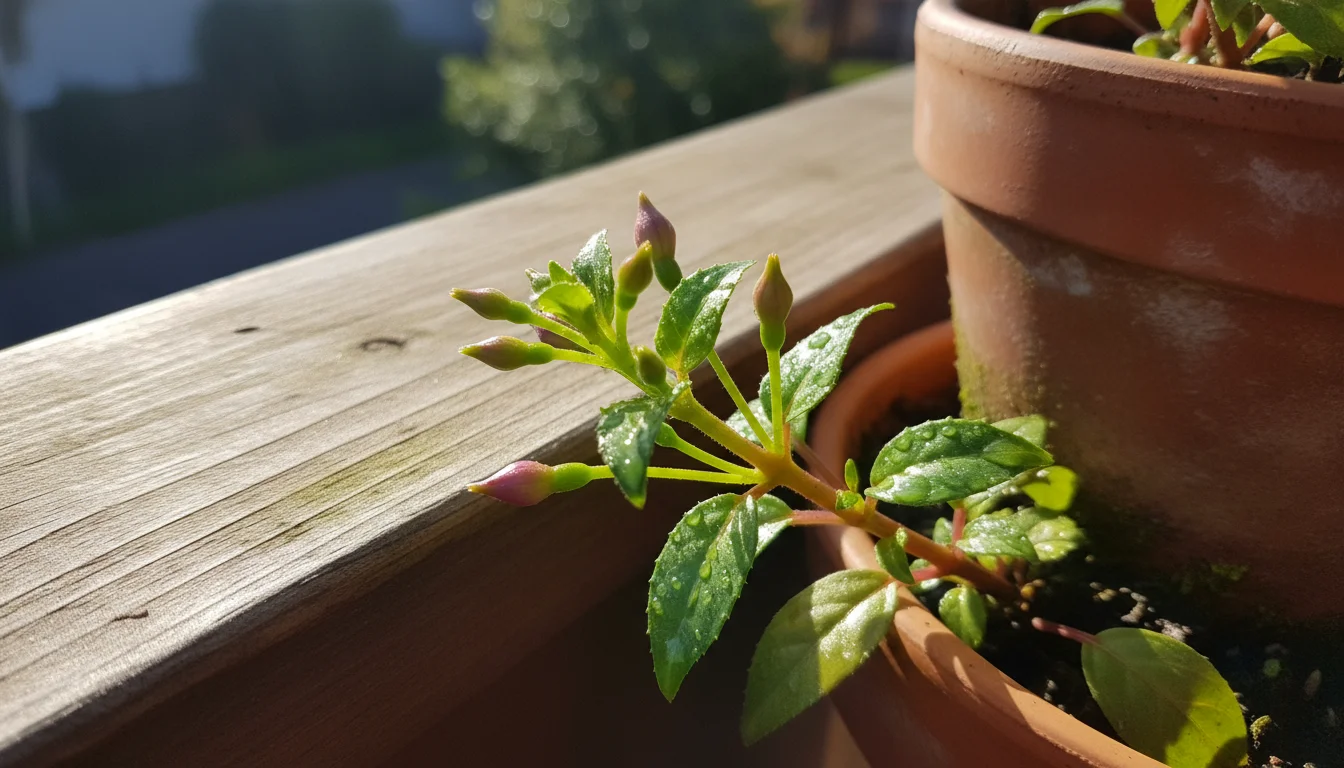
Learn when and how to give your potted plants their essential first feed of spring…
Read More →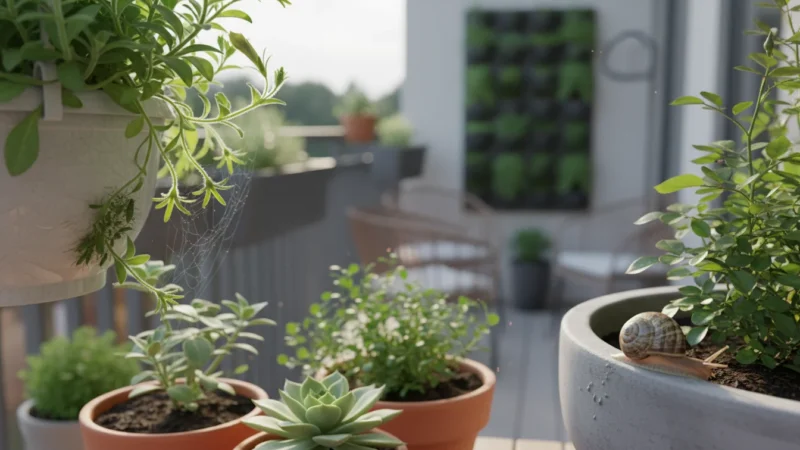
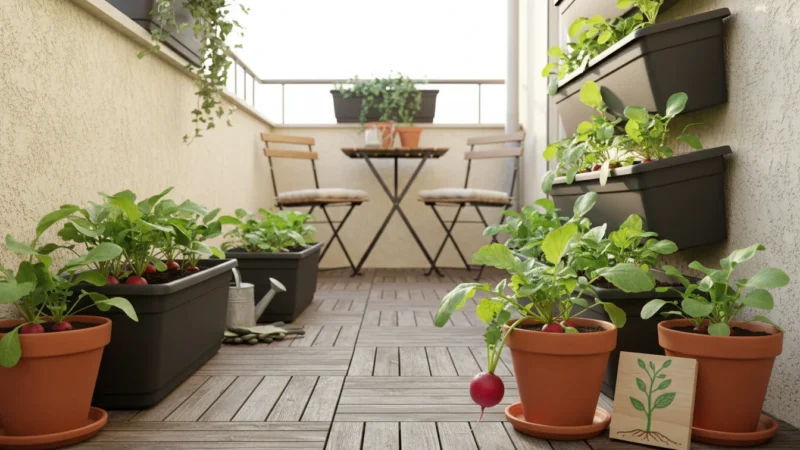
Learn to spot and stop aphids in your early spring balcony garden with this beginner's…
Read More →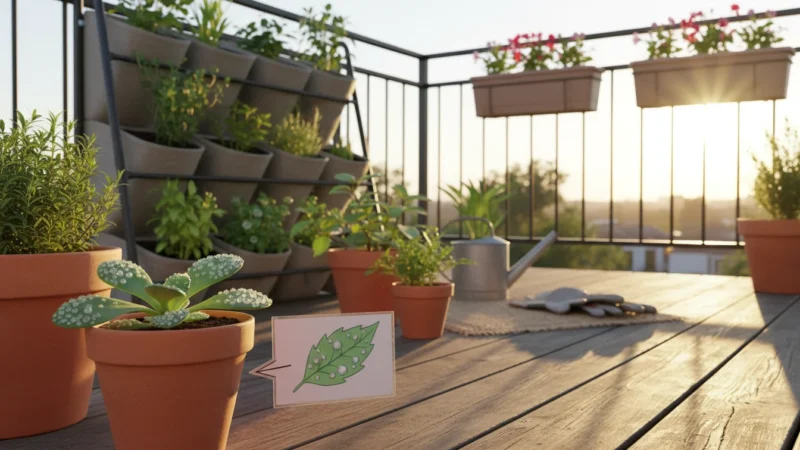
Discover why tiny blisters appear on your plant leaves in winter, a common issue called…
Read More →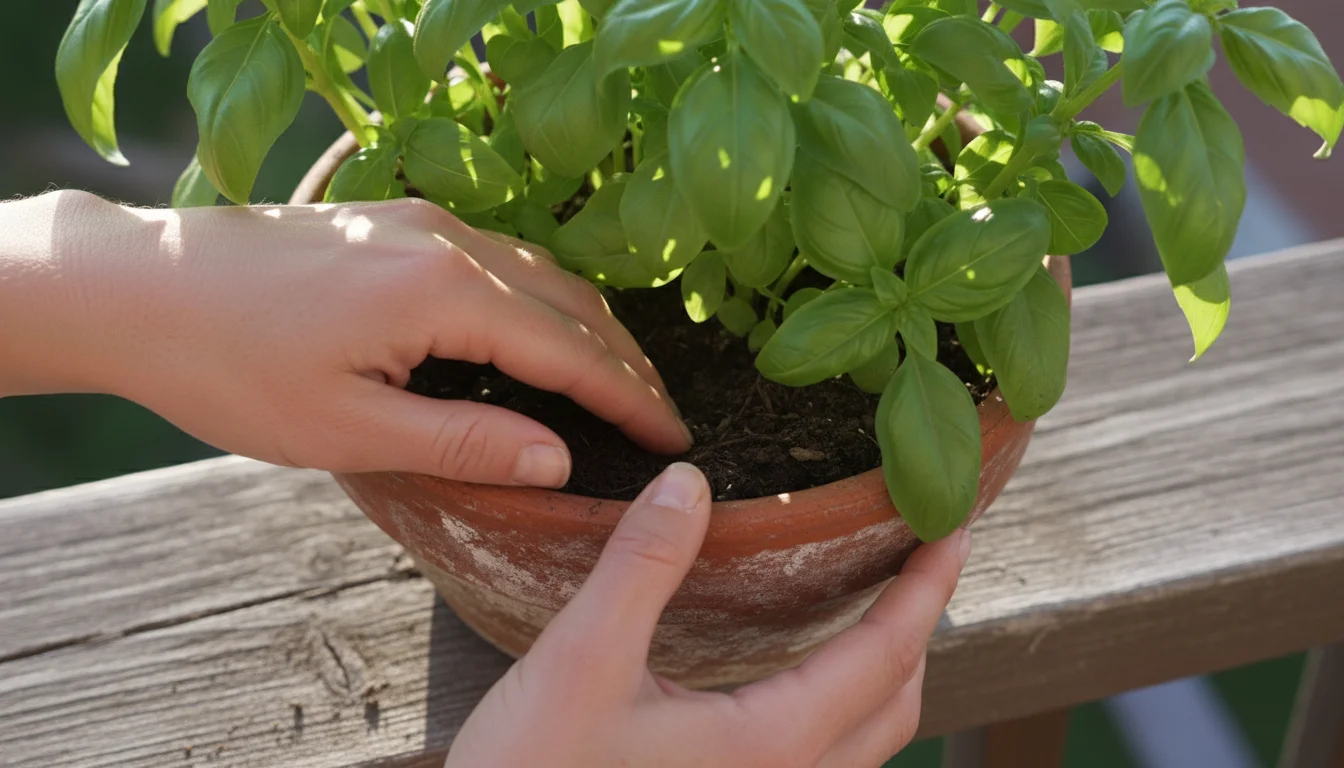
Learn 5 simple spring habits for effective balcony pest control. Prevent aphids, spider mites, and…
Read More →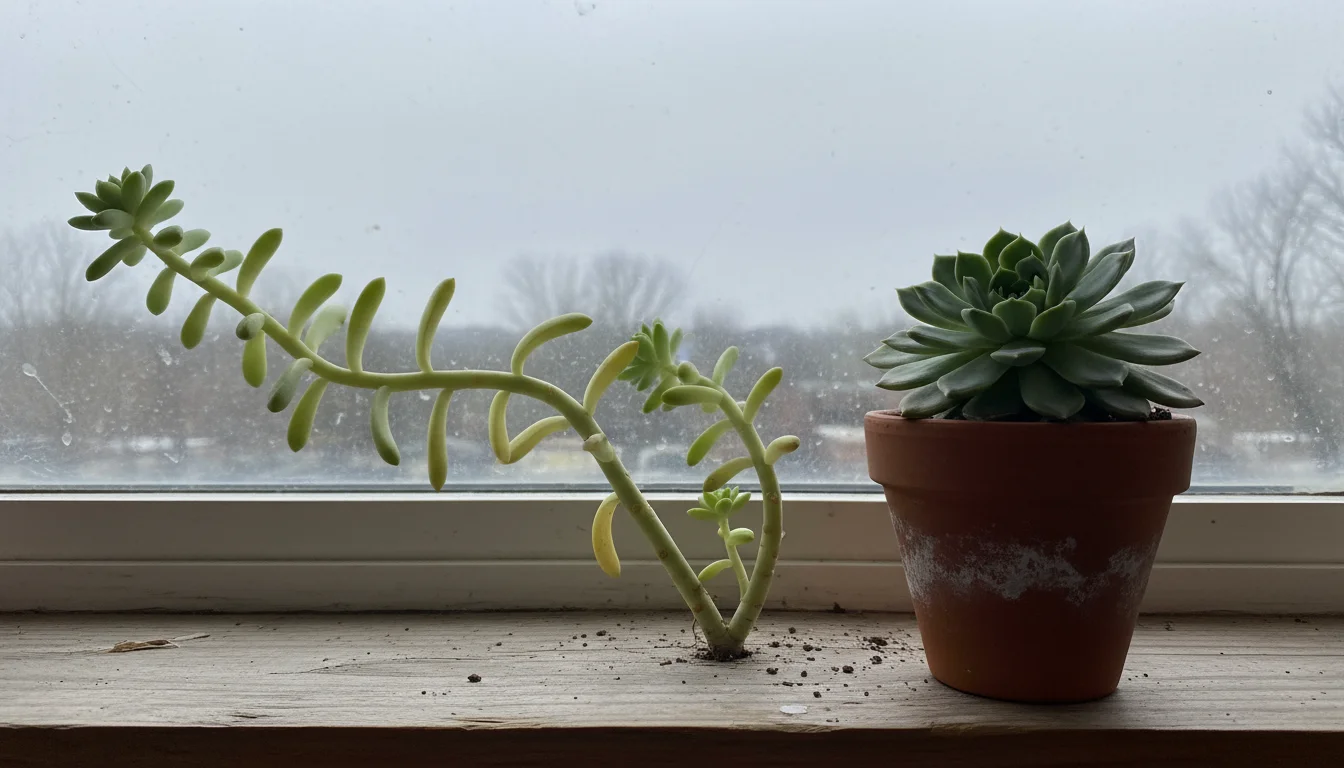
Learn why your succulent is stretching (etiolation) in winter and get practical tips for diagnosing,…
Read More →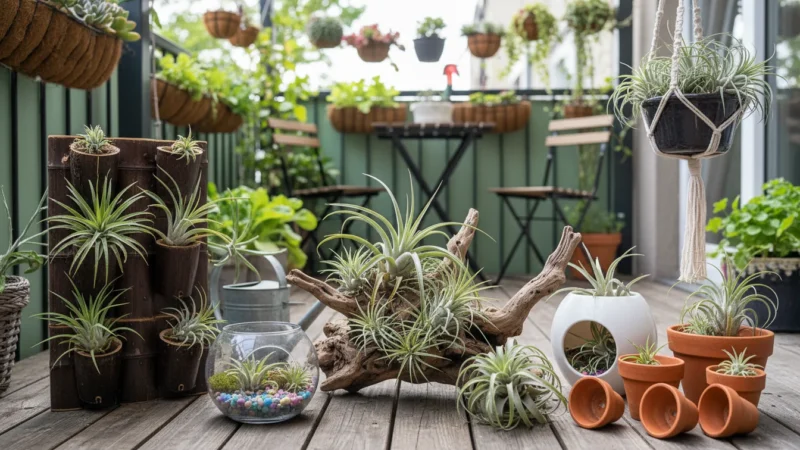
Learn essential air plant care tips for winter, including watering, humidity, and revival methods, to…
Read More →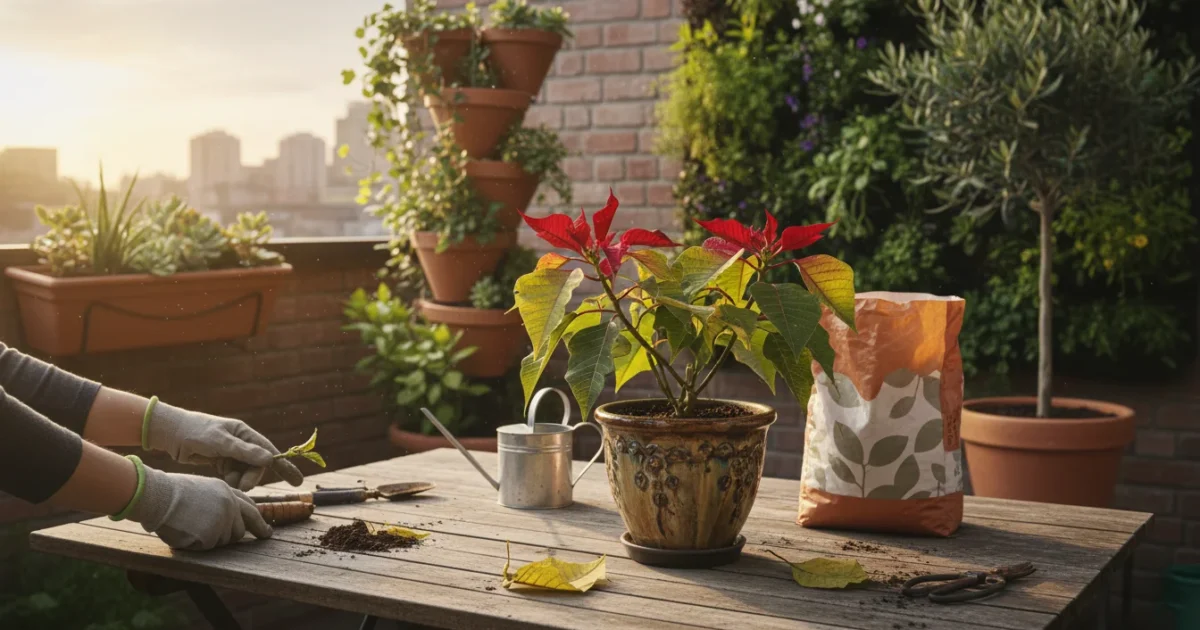
Learn how to revive your sad poinsettia and Christmas cactus after the holidays with this step-by-step guide, covering watering, pruning, and reblooming tips.
Read More →
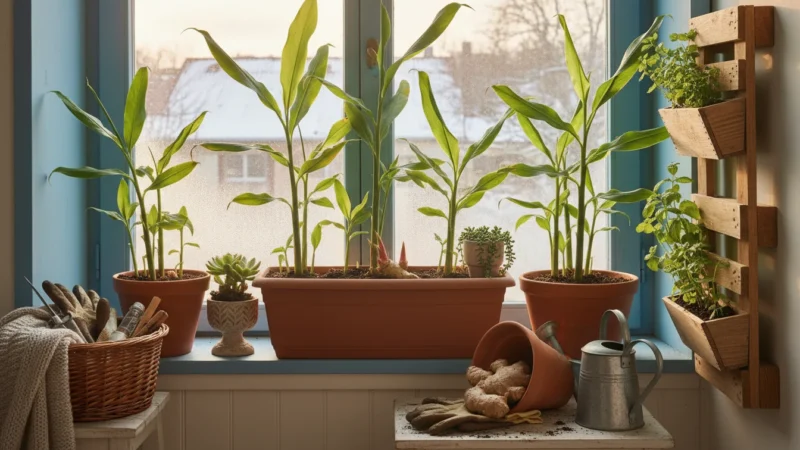
Grow fresh ginger on your windowsill this winter! This easy, rewarding project brings tropical spice…
Read More →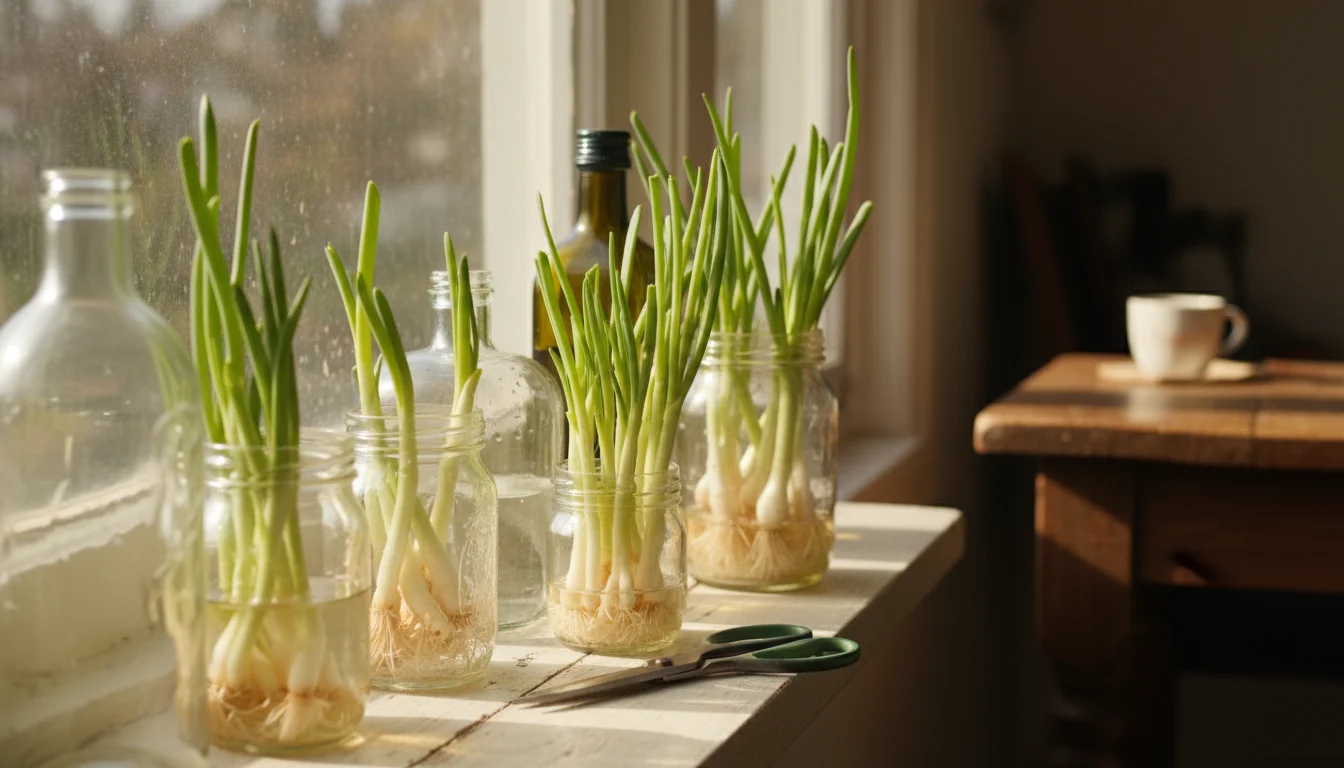
Learn how to grow an endless supply of green onions on your windowsill from kitchen…
Read More →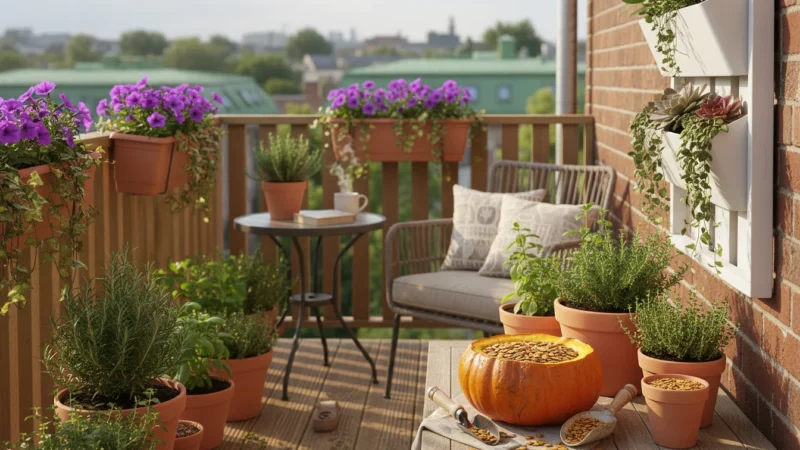
Transform your patio pumpkin into a delicious snack with this guide on how to roast…
Read More →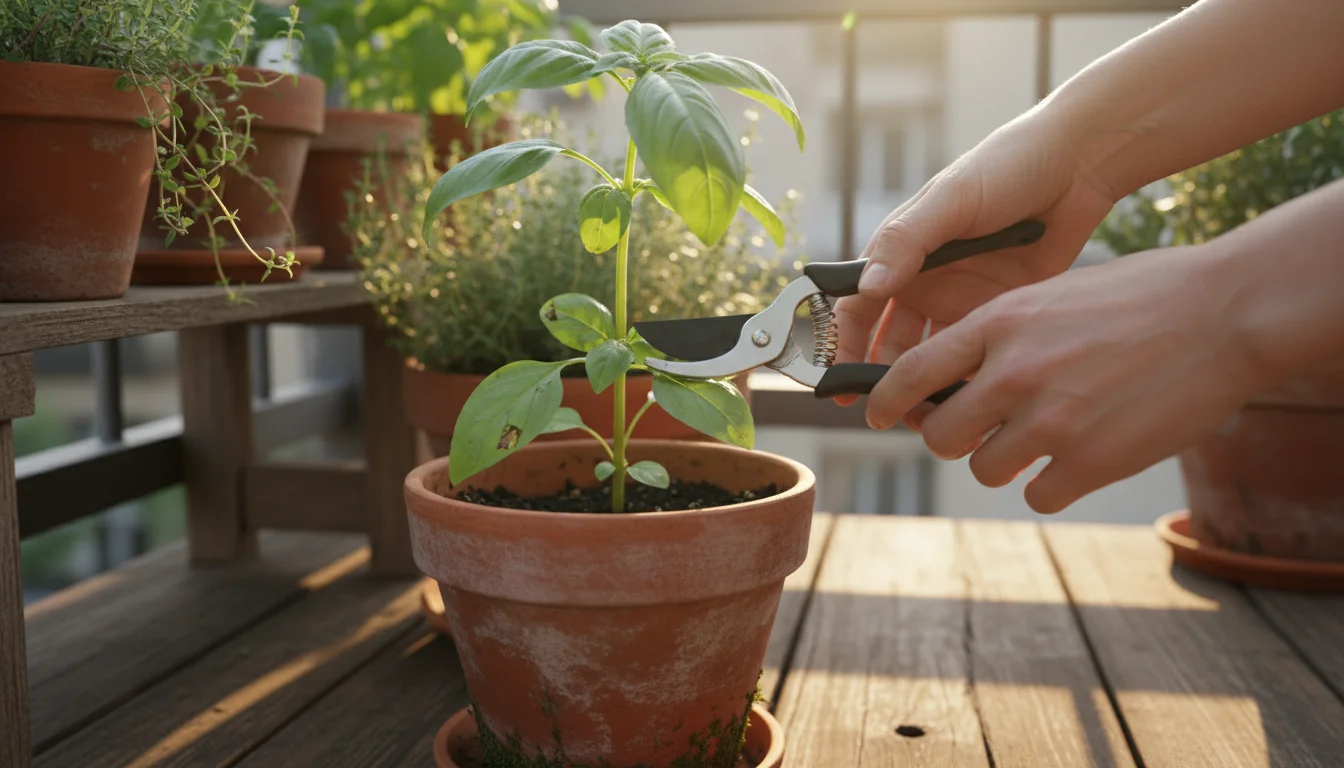
Learn the easiest way to preserve your fall herb harvest with our 5-minute herb salt…
Read More →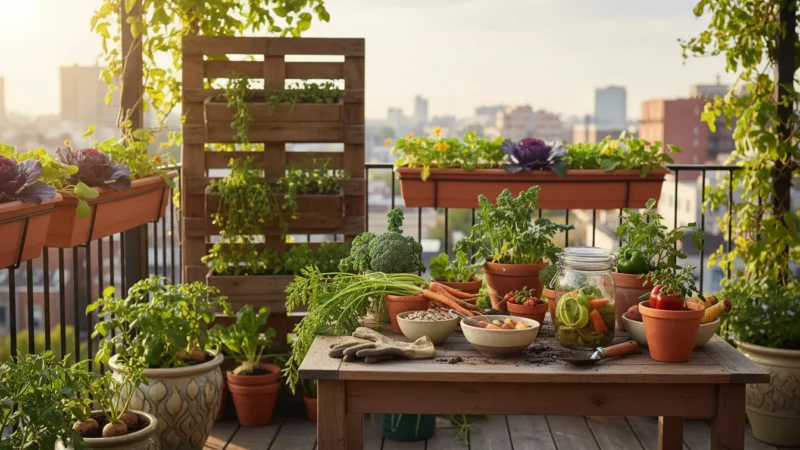
Learn how to transform carrot tops, beet greens, and broccoli stems from your container garden…
Read More →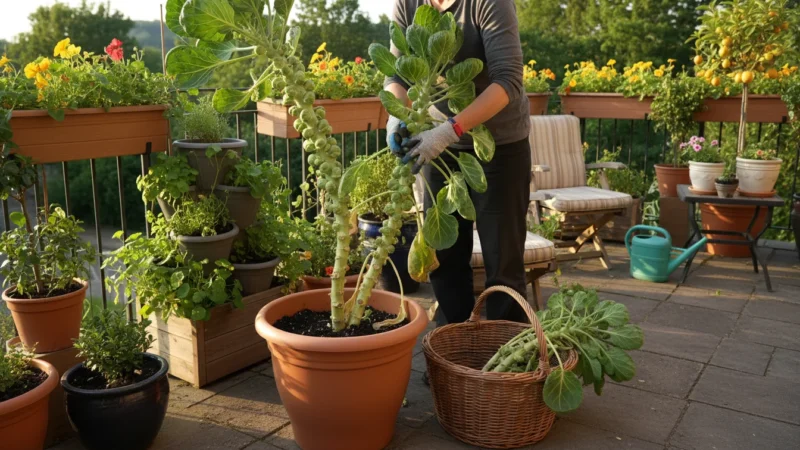
Grow and harvest brussels sprouts from containers! This beginner's guide covers planting, picking, and preparing…
Read More →
Transform your empty balcony pots into stunning winter art using bare branches and seed heads with this practical, eco-friendly guide.
Read More →