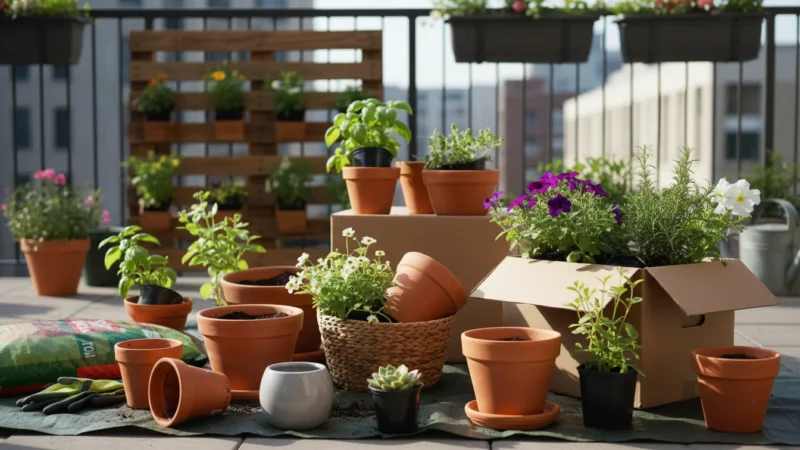
Help! I Didn’t Prep My Soil Last Fall: A 3-Step Spring ‘Emergency Refresh’ for Your Used Potting Mix
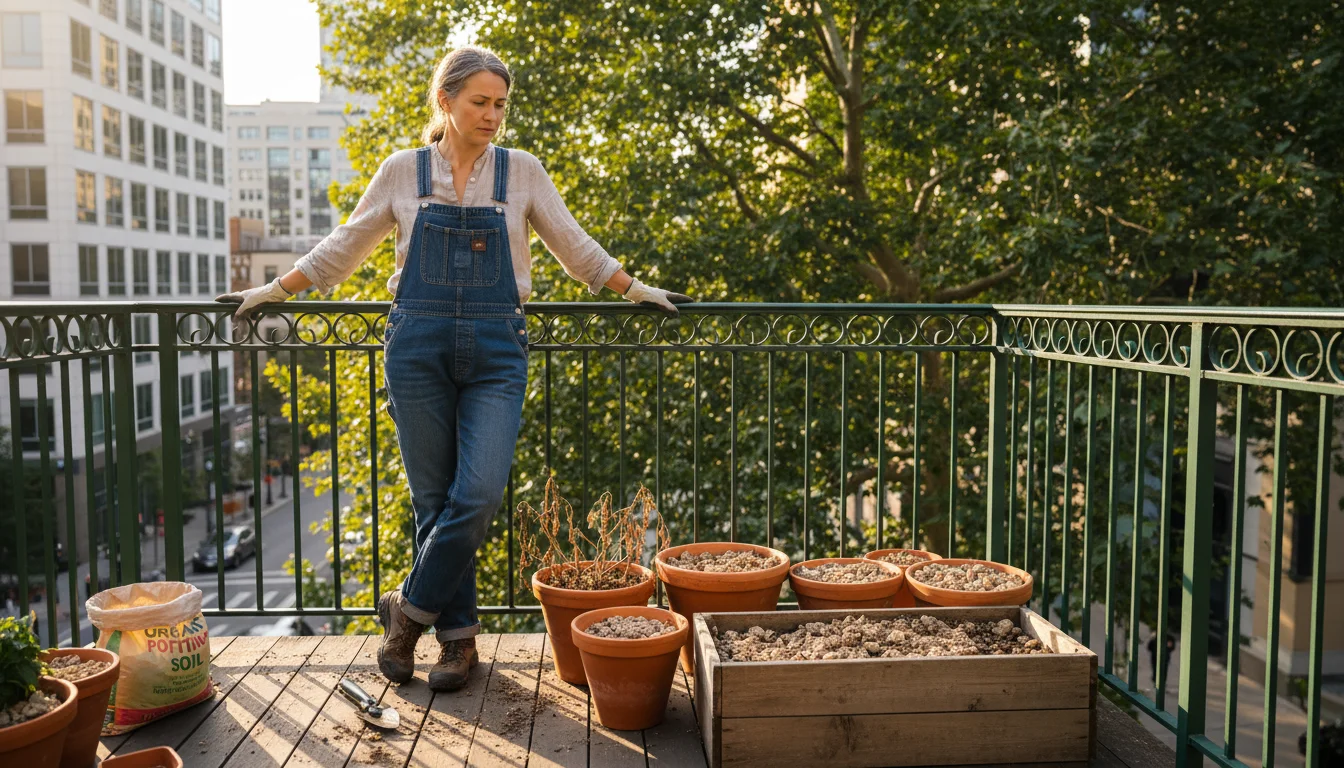
You stand at the threshold of a new gardening season, gazing at last year’s containers. Perhaps life got busy, or maybe you are new to gardening and did not realize fall soil prep was a thing. Now spring has arrived, and those pots are filled with tired, spent potting mix. Do not despair. You do not need to dump all that soil or buy entirely new bags for every container. SimpleGardenJoy.com understands your challenge. Many gardeners, especially those with limited space, face this exact situation. We offer a practical, non-judgmental solution: a three-step spring ’emergency refresh’ designed to revitalize your used potting mix, preparing it perfectly for a season of vibrant growth. This method saves you money, reduces waste, and gives your plants the healthy start they deserve. It ensures your containers burst with life, even if you did not get around to fall tasks.
If you want to avoid this spring scramble next year, you might consider planning a structured fall potting soil refresh when the current season ends.
Why Your Potting Mix Needs a Spring Wake-Up Call
Your container plants thrive on a delicate balance within their limited soil environment. Over a single growing season, that once-fluffy, nutrient-rich potting mix undergoes significant changes. It is not just “old soil” in the sense of being stale, it loses its fundamental properties essential for plant health. Think of it like a sponge that has been squeezed dry and left in the sun; it loses its structure and ability to absorb.
If you suspect last year’s soil harbored disease or pests, you should consider whether you need to sterilize used potting mix to protect your new plants.
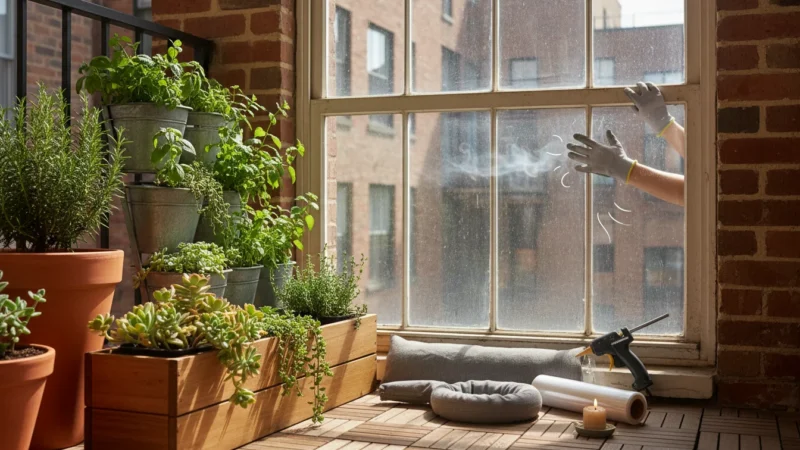
If your pots spent the winter outdoors, you can also use our checklist for waking up your balcony pots after winter to get your overall setup ready.
As you start waking up your garden, it helps to follow a comprehensive early spring garden prep checklist to ensure nothing is missed.
First, compaction occurs. The constant watering, the weight of the plants, and even the simple settling of the mix break down the airy structure that originally characterized your potting soil. This compaction reduces the crucial air pockets within the soil. Plant roots need air as much as they need water and nutrients. Without adequate air, roots struggle to breathe, absorb water, and take up nutrients, leading to stunted growth, yellowing leaves, and overall poor plant health. Studies indicate that ideal container soil maintains around 20-30 percent air space for optimal root respiration and microbial activity. Compacted soil significantly drops below this threshold.
Second, nutrient depletion is a major factor. Your plants actively consume the nutrients present in the potting mix throughout the season. Even if you diligently fertilized, much of the readily available nutrients leach out with watering. Potting mixes start with a measured amount of nutrients, but they are finite. By the end of a season, the levels of essential elements like nitrogen, phosphorus, and potassium significantly decrease. Imagine trying to grow strong, productive plants in an empty pantry; they simply will not thrive. Data from university extension services consistently highlights the rapid nutrient exhaustion in container media compared to in-ground garden beds, which benefit from a larger soil volume and natural nutrient cycling.
Third, salt buildup becomes an issue. Fertilizers, even organic ones, contain salts. Tap water, especially if hard, also contributes dissolved minerals. These salts accumulate in the potting mix as water evaporates, leaving behind a white crust on the soil surface or container rim. High salt concentrations can damage plant roots, hindering their ability to absorb water, even when the soil is moist. This phenomenon is known as “fertilizer burn” or “salt toxicity.” You may notice wilting plants despite adequate watering, or browning leaf tips, which are classic signs of excessive salt levels. Removing these accumulated salts is a critical part of spring soil amendment.
Lastly, the organic matter within the mix breaks down. Organic matter, such as peat moss, coir, or compost, provides structure, holds moisture, and houses beneficial microbes. As it decomposes, the soil loses its ability to retain water and nutrients effectively, making it harder for plants to access what they need. Without fresh organic material, your “old soil” becomes less like a dynamic ecosystem and more like inert filler. This breakdown, while natural, reduces the water-holding capacity and overall fertility of the mix, diminishing its ability to support robust plant growth in subsequent seasons.
Understanding these changes highlights why a simple refresh, not a complete replacement, offers a strategic approach. You leverage the still-viable components of your existing soil while addressing its deficiencies, ensuring a successful growing season for your small space.
The Core Benefits of Rejuvenating Your Container Soil
Rejuvenating your used potting mix offers significant advantages beyond simply having viable soil for your spring planting. This practice aligns perfectly with the ethos of small-space, low-maintenance gardening and delivers tangible benefits for your plants, your wallet, and the environment.
If you eventually decide to supplement your old mix with cheap new soil, you can easily supercharge cheap potting soil using simple, budget-friendly amendments.
First and foremost, you foster superior plant health and vigor. When you refresh old potting soil, you restore its ideal structure, nutrient balance, and water retention capabilities. Plants growing in healthy, well-amended soil develop stronger root systems, absorb water and nutrients more efficiently, and exhibit increased resistance to pests and diseases. Research consistently demonstrates that plants in optimal growing media show faster growth rates, produce higher yields of fruits and vegetables, and display more vibrant blooms. For instance, a tomato plant in revitalized soil will likely produce more fruit than one struggling in compacted, nutrient-depleted mix, even with identical watering and feeding schedules. You give your plants the best possible foundation for success.
Second, you save money significantly. Potting mix, especially high-quality blends, represents a recurring expense for container gardeners. By reusing potting mix and only adding amendments, you dramatically reduce the need to purchase entirely new bags of soil each season. Consider the cost of twenty large bags of potting mix versus a single bag of compost and a small bag of perlite. The savings become substantial over time, freeing up your budget for other gardening essentials like seeds, plants, or new containers. This cost-effective approach makes gardening more accessible and sustainable for everyone.
Third, you make a powerful statement for environmental sustainability. Every bag of potting mix you do not send to the landfill reduces waste. Many potting mixes contain peat moss, a non-renewable resource harvested from peat bogs that are crucial carbon sinks. By extending the life of your existing soil, you lessen your reliance on new peat-based products and minimize your overall environmental footprint. Reusing and amending potting soil for spring planting embodies a conscious effort to garden more responsibly, conserving resources and supporting eco-friendly practices. It is a tangible way to practice environmental stewardship in your own small garden.
Fourth, you improve water and nutrient retention. Properly amended soil acts like a better sponge, holding onto moisture and nutrients where plant roots can access them. This means you might need to water less frequently, a definite bonus for low-maintenance gardening. The amendments enhance the soil’s cation exchange capacity, its ability to hold onto positively charged nutrient ions, preventing them from washing away with irrigation. This leads to more efficient nutrient uptake by plants and reduces the amount of fertilizer needed, further contributing to both cost savings and environmental protection.
Finally, you gain better drainage and aeration. While it might seem contradictory to “retain” water but also improve “drainage,” it is about balance. Good drainage means excess water flows away, preventing root rot, while aeration ensures roots have access to vital oxygen. Amendments like perlite create pore spaces, allowing water to drain freely while preventing waterlogging, a common killer of container plants. This balance is particularly crucial for container gardening, where soil volume is restricted and environmental conditions can fluctuate quickly. You ensure your plants never sit in soggy conditions.
These benefits combine to create a more successful, enjoyable, and sustainable gardening experience. Knowing how to rejuvenate container soil empowers you to get the most out of your small space year after year.
Understanding What Makes Potting Mix Different
To effectively refresh your used potting mix, you need to understand its fundamental differences from garden soil. These differences dictate why certain amendments work and why you cannot simply scoop up dirt from your yard.
For gardeners who want to get a head start during the colder months, a winter soil remix is a fantastic way to improve drainage and keep plant roots happy.
For a deeper dive into container science, check out our guide on building healthy soil in containers.
Potting mix, often called potting soil, is actually a soilless medium. This means it contains little to no actual mineral soil, the stuff found in your garden beds. Instead, it is a carefully engineered blend of ingredients designed for the unique challenges of container gardening. Its primary components typically include:
- Peat Moss or Coir: These provide the bulk of the mix, offering excellent water retention and aeration while being lightweight. Peat moss is acidic, which many plants prefer, while coir (from coconut husks) is more neutral and a sustainable alternative.
- Perlite or Vermiculite: These lightweight, porous volcanic minerals are crucial for drainage and aeration. Perlite, the white, airy bits, prevents compaction and improves water flow. Vermiculite, a softer, shiner mineral, also improves aeration but has a greater capacity to retain both water and nutrients.
- Compost or Other Organic Matter: High-quality potting mixes often include compost, which slowly releases nutrients, improves soil structure, and introduces beneficial microorganisms.
- Nutrients: Most commercial potting mixes come with a starter charge of fertilizers, providing initial nourishment for young plants.
- Wetting Agents: Some mixes include these to help the medium absorb water more readily, as peat and coir can become hydrophobic (repel water) when completely dry.
Why is this “soilless” composition so important for containers?
- Lightweight: Containers move, and you often place them on balconies or patios. Garden soil is incredibly heavy when wet, making pots difficult to lift and potentially overloading structures. Potting mix weighs significantly less, reducing strain and increasing versatility.
- Drainage: Garden soil, especially clay-heavy varieties, compacts quickly in a container, leading to poor drainage and waterlogging. Potting mix, with its high proportion of perlite, vermiculite, and organic fibers, ensures rapid drainage, preventing root rot. You need water to pass through freely to avoid suffocating roots.
- Aeration: The loose, open structure of potting mix creates vital air pockets that plant roots need to “breathe.” In compact garden soil, these air pockets collapse, leading to oxygen deprivation for roots.
- Sterility: New potting mixes are often sterile or pasteurized, meaning they are free from weed seeds, disease pathogens, and garden pests that can plague traditional garden soil. This gives your container plants a clean slate.
Understanding these characteristics helps you grasp why simply adding more potting mix is insufficient and why specific amendments are necessary to revive the lost properties of your used soil. You are not just adding nutrients; you are rebuilding the ideal physical environment for container roots.
Your 3-Step ‘Emergency Refresh’ Revealed
This practical, three-step guide offers a clear path to revitalizing your used potting mix. Each step builds upon the last, ensuring you address the common issues of compaction, nutrient depletion, and organic matter breakdown. Follow these steps, and you will quickly have a thriving foundation for your spring garden, all without needing to buy entirely new soil.
- Step 1: Clear Out the Old and Assess Your Mix. This involves removing past season’s plant remains and evaluating the current state of your soil.
- Step 2: Amending Your Used Potting Mix for Spring Planting. Here, you will add the necessary components to restore structure, drainage, and fertility.
- Step 3: Replenish and Prepare for New Growth. This final stage involves thorough mixing, topping off, and preparing your containers for their new occupants.
Let us dive into each step with practical details.
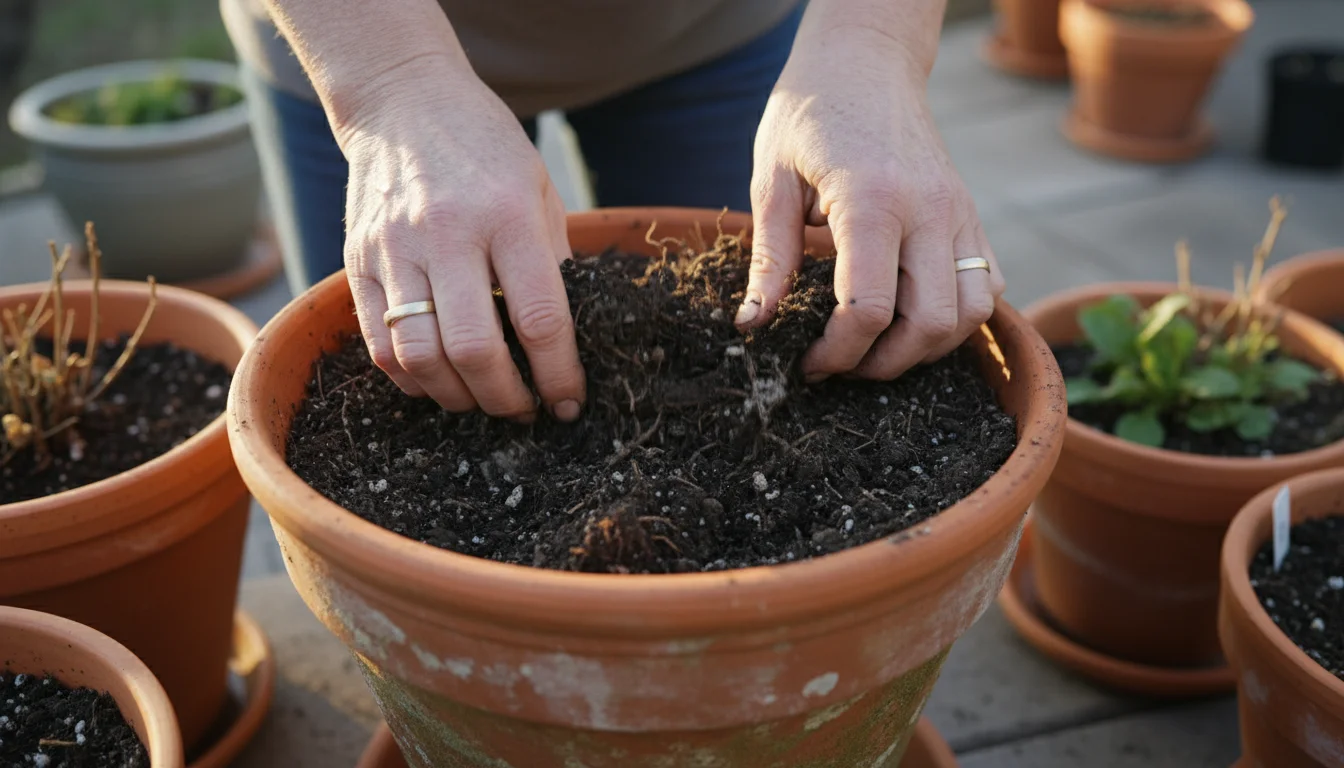
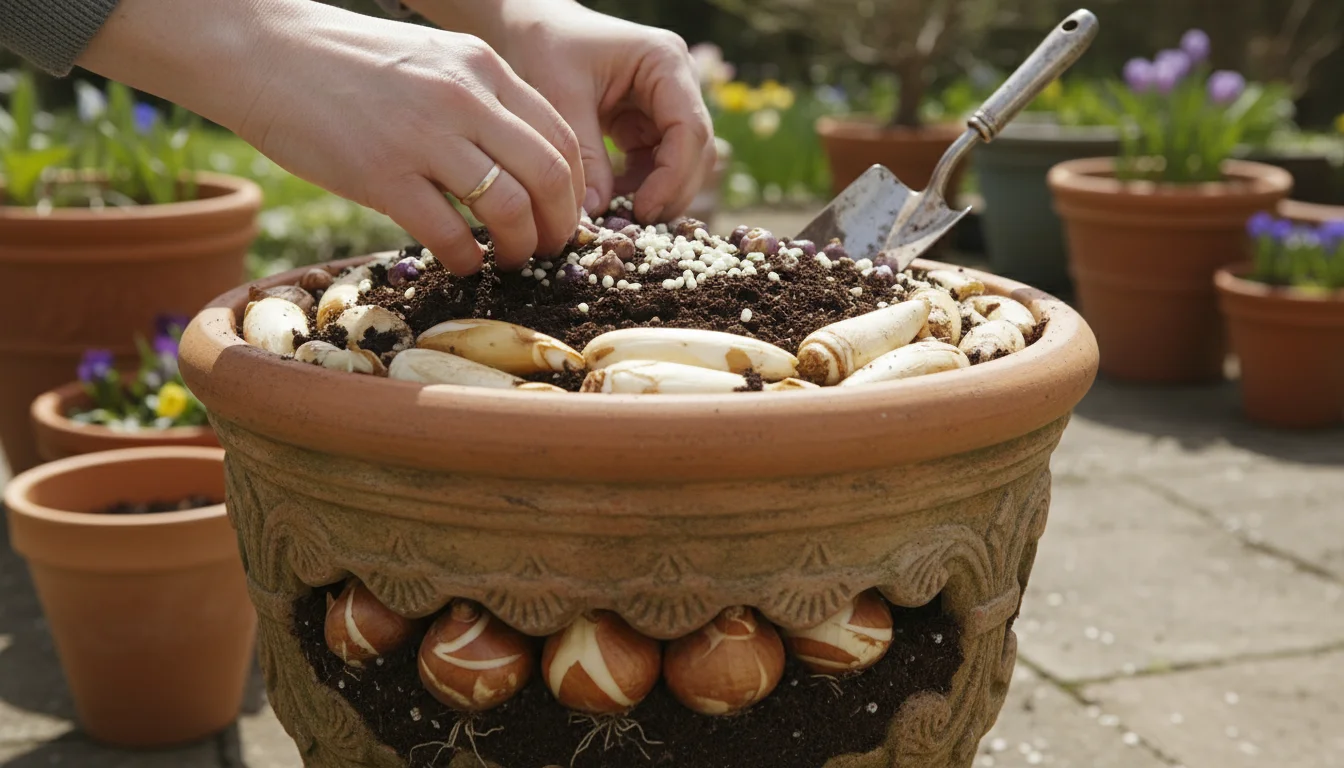
Step 1: Clear Out the Old and Assess Your Mix
Before you add any new amendments, you must prepare the canvas. This first step involves a thorough cleaning and a critical evaluation of your existing potting mix. This assessment dictates what amendments you prioritize and helps prevent future problems.
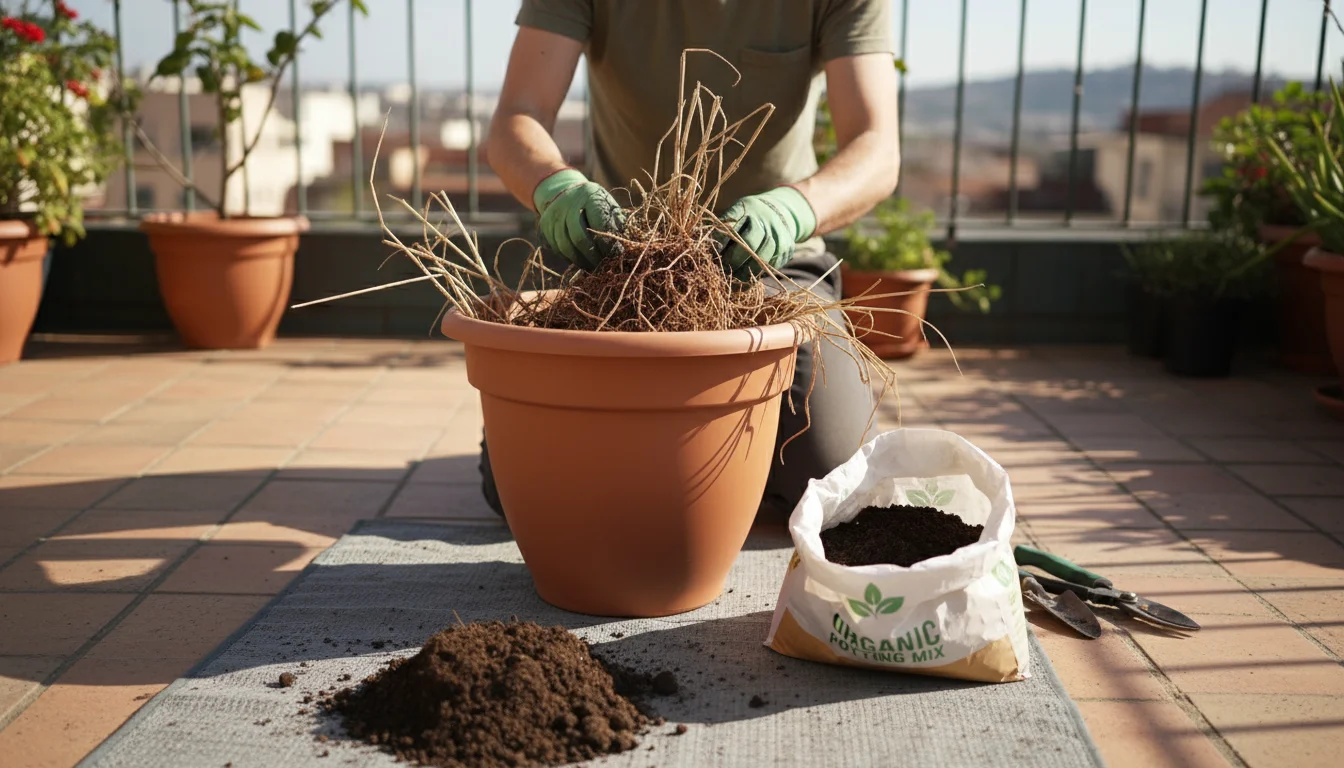
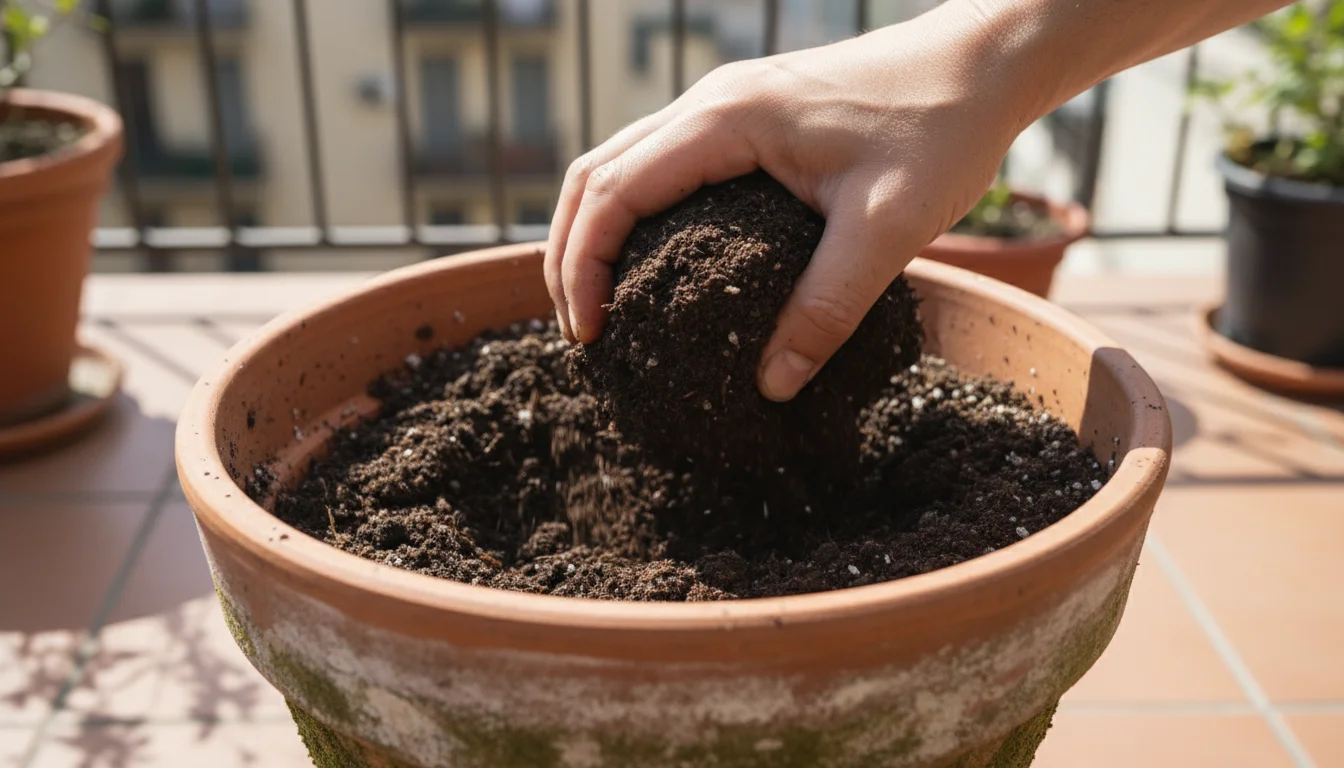
1. Empty and Clean Your Containers:
First, gently empty the old potting mix from your containers into a wheelbarrow, a large tub, or onto a tarp. Break apart any large root balls from previous plants. You want to separate the usable soil from plant debris. Once empty, clean your containers thoroughly. Scrub away any dried soil, salt crusts, or algae with a stiff brush and warm, soapy water. For an extra layer of protection, especially if you had plants with disease issues last season, disinfect your containers with a diluted bleach solution (1 part bleach to 9 parts water) or a strong hydrogen peroxide solution. Rinse them meticulously afterwards to remove any residue. Clean containers prevent the carryover of diseases and pests to your new plants.
2. Remove Old Plant Material and Debris:
Your goal is to isolate the potting mix. Sift through the emptied soil, removing all remnants of old plant roots, stems, leaves, and any visible debris. While a few small root fragments are acceptable, large pieces can continue to decompose, creating air pockets or harboring pathogens. Think of it as spring cleaning for your soil. You want a relatively uniform, debris-free base to work with.
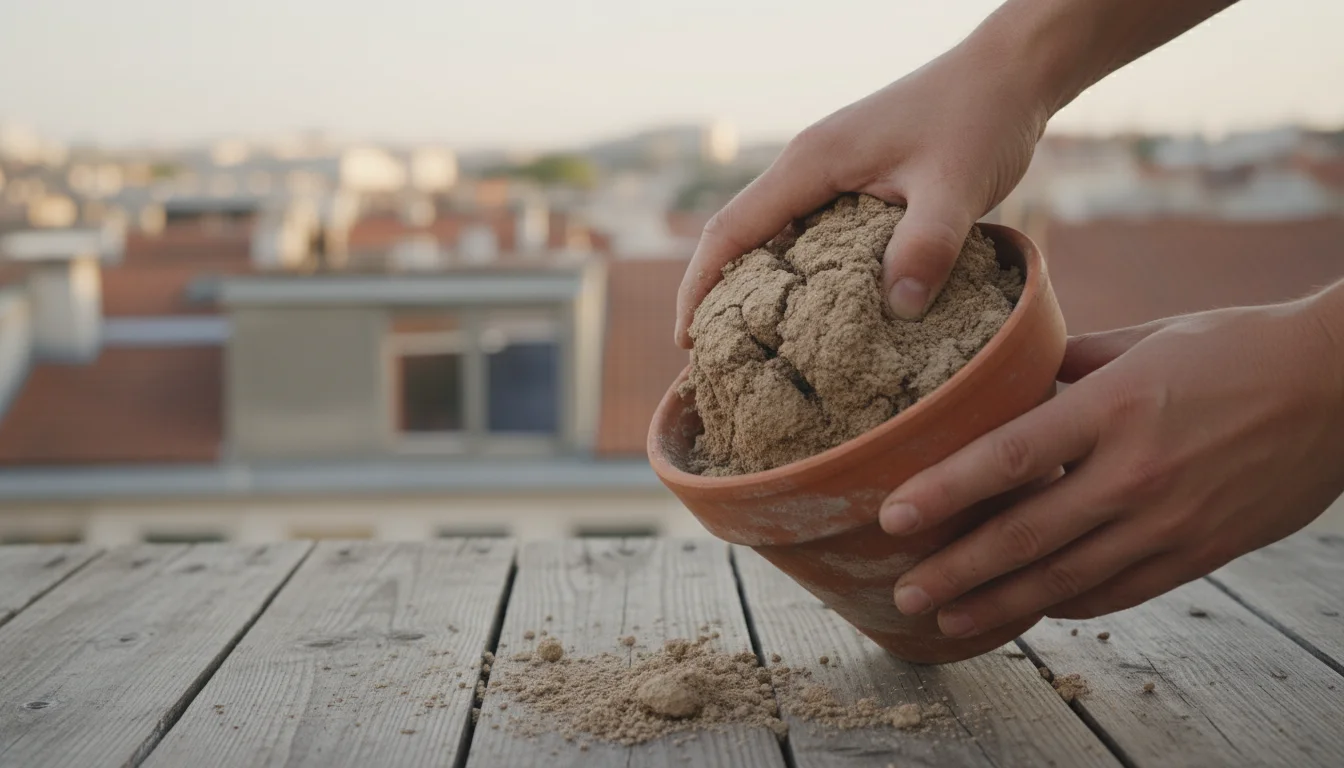
3. Assess the Potting Mix’s Condition:
Now, take a closer look at the “old soil.” This assessment is crucial for effective spring soil amendment.
- Texture: Does it feel dense, heavy, or clumpy? Or is it still somewhat light and crumbly? If it feels very compacted, you will need extra material to improve aeration and drainage.
- Color and Smell: Healthy potting mix often has a dark, earthy smell. If your soil smells sour, ammonia-like, or distinctly unpleasant, it might be waterlogged, anaerobic (lacking oxygen), or harboring harmful bacteria. If it smells strongly of chemicals, it likely has high salt buildup.
- Visible Salt Buildup: Look for white or yellow crusts on the surface of the soil or along the inside rim of your containers. This indicates excessive salt accumulation from fertilizers and water. You will need to flush this out.
- Presence of Pests or Diseases: Inspect the soil for any signs of lingering pests, such as fungus gnats, or disease (e.g., fungal growth, slime molds). If you find widespread evidence of a previous disease or a significant pest infestation that proved difficult to control, do not reuse that batch of potting mix. It is safer to discard it and start fresh to avoid transferring problems to your new plants. While rare, this is a critical exception.
Once you have cleaned your containers and thoroughly assessed your potting mix, you are ready to begin the exciting part: amending the soil to bring it back to life.
Step 2: Amending Your Used Potting Mix for Spring Planting
This is the core of your ’emergency refresh.’ Amending potting soil for spring planting involves adding specific ingredients that restore the physical structure and nutrient content that your old soil has lost. You are rebuilding the ideal environment for root growth and nutrient uptake.
Even if you start with a budget-friendly brand, you can supercharge cheap potting soil to provide a premium environment for your plants.
1. Loosen and Break Up the Old Mix:
Before adding anything, break apart any remaining clumps in your old potting mix. Use your hands, a trowel, or a small hand cultivator to loosen it thoroughly. You want a fine, crumbly texture, not large chunks. This step alone begins to restore some aeration and makes it easier for amendments to integrate evenly.
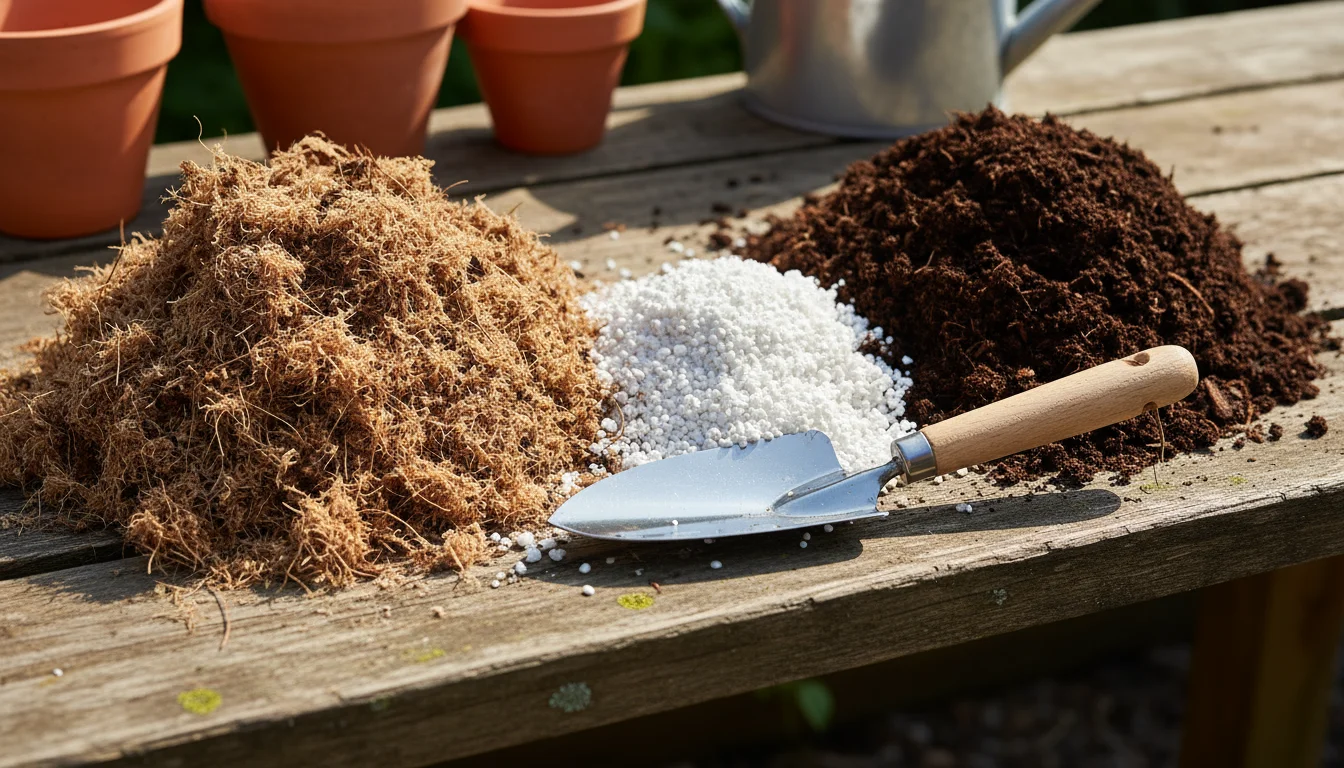
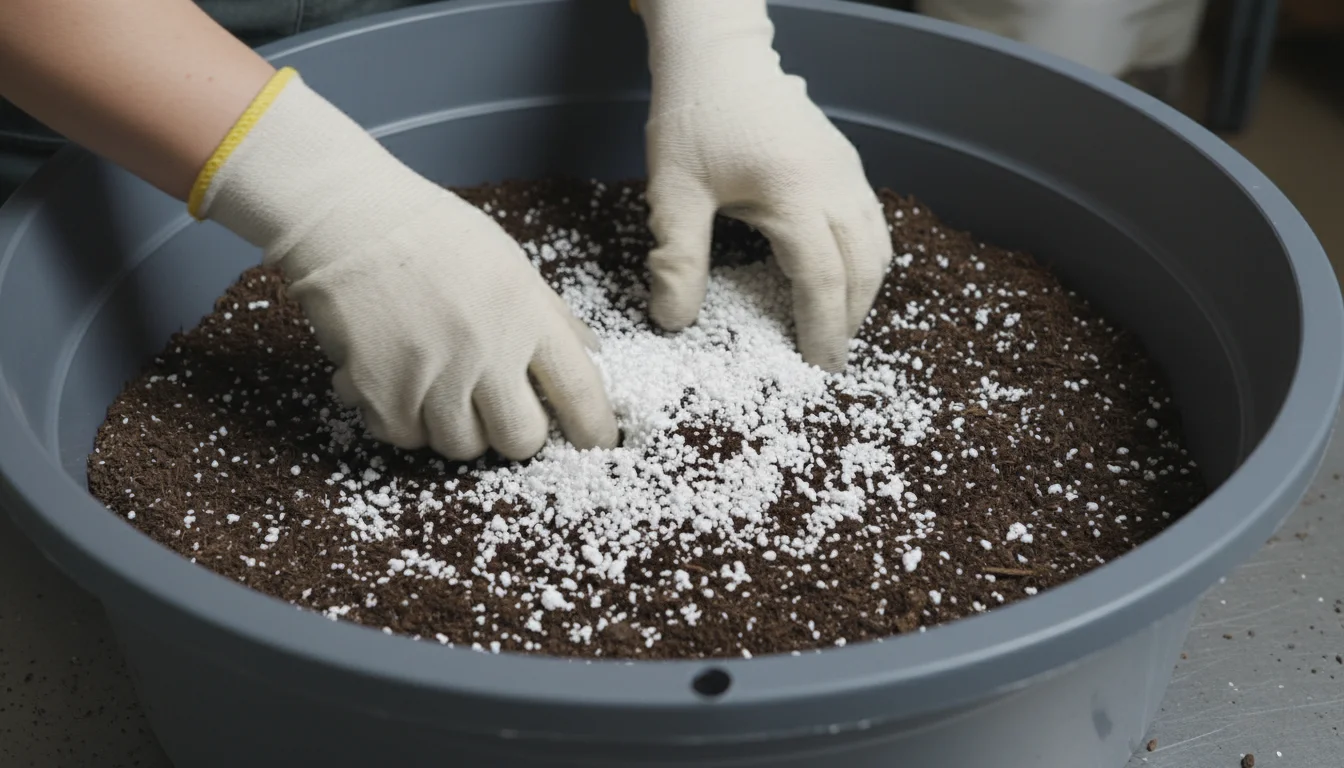
2. Add Amendments for Drainage and Aeration:
Compaction is a major issue, so improving drainage and aeration is critical.
- Perlite: This is your best friend for long-term container health. Perlite is a lightweight, volcanic rock that looks like small white foam balls. It creates permanent air pockets in the soil, preventing compaction and ensuring proper drainage, which is how water moves through soil. Aim to add about 10-20% perlite to your total soil volume. For example, if you have 10 parts of old potting mix, add 1-2 parts of perlite. You will notice the mix immediately feels lighter and fluffier.
- Coarse Sand (Optional): If you do not have perlite, or if your mix feels exceptionally heavy, you can use coarse horticultural sand. Avoid play sand or builder’s sand, which are too fine and can actually worsen compaction. Coarse sand offers similar benefits to perlite in improving drainage. Use it in similar proportions, around 10% of the total volume.
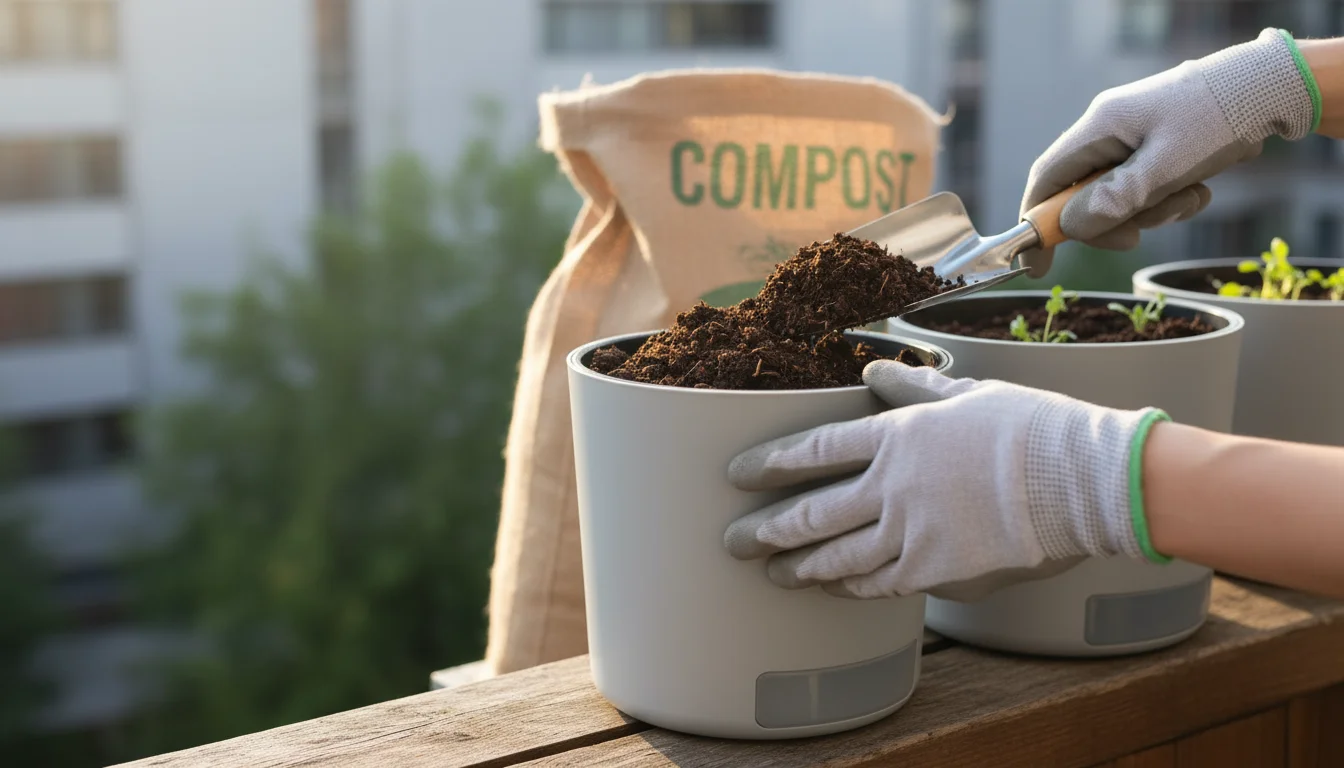
3. Boost Organic Matter and Nutrient Content:
This step replenishes the vital organic matter and the depleted nutrients, giving your plants the food they need. This is where you really focus on how to rejuvenate container soil.
- Compost: High-quality compost or worm castings are indispensable. These organic powerhouses provide a slow, steady release of nutrients, improve soil structure, enhance water retention, and introduce beneficial microorganisms that help plants absorb nutrients. Add a generous amount, about 20-30% of your total soil volume. If you have 10 parts of old mix, add 2-3 parts of compost. This is one of the best ways to refresh old potting soil.
- Aged Manure (Optional, use sparingly): If you have access to well-rotted, aged manure, it can provide a nutrient boost. Ensure it is fully composted, as fresh manure can burn roots. Use it cautiously, perhaps 5-10% of the total volume, combined with compost.
4. Incorporate a Balanced Fertilizer (Optional but Recommended):
While compost provides nutrients, a specific fertilizer ensures your plants get everything they need right away.
- Slow-Release Granular Fertilizer: For low-maintenance gardening, a slow-release granular fertilizer is excellent. It releases nutrients gradually over several weeks or months, feeding your plants consistently. Follow the product instructions for application rates, usually mixed into the top few inches of soil.
- Organic Fertilizer: Options like bone meal (for phosphorus), kelp meal (for micronutrients), or a balanced organic granular fertilizer provide a natural nutrient boost. Again, follow package directions for optimal use.
5. Adjust pH (If Needed):
Most potting mixes start at a slightly acidic to neutral pH, which suits most container plants. If you had issues with nutrient deficiencies last season despite fertilizing, a pH imbalance might be the cause. You can test your soil pH with an inexpensive kit. If it is too acidic, add a small amount of horticultural lime. If too alkaline, add elemental sulfur. However, for a quick ’emergency refresh,’ focusing on the core amendments usually suffices unless you know you have a specific pH problem. Your spring soil amendment process largely depends on what you are adding here.
By carefully selecting and integrating these amendments, you are not simply filling a pot; you are building a thriving ecosystem designed for maximum plant performance. The key is thorough mixing to ensure even distribution of all components.
Step 3: Replenish and Prepare for New Growth
With your old potting mix now amended and revitalized, this final step focuses on bringing everything together and getting your containers ready for planting. This is where your careful efforts in refreshing old potting soil truly pay off.
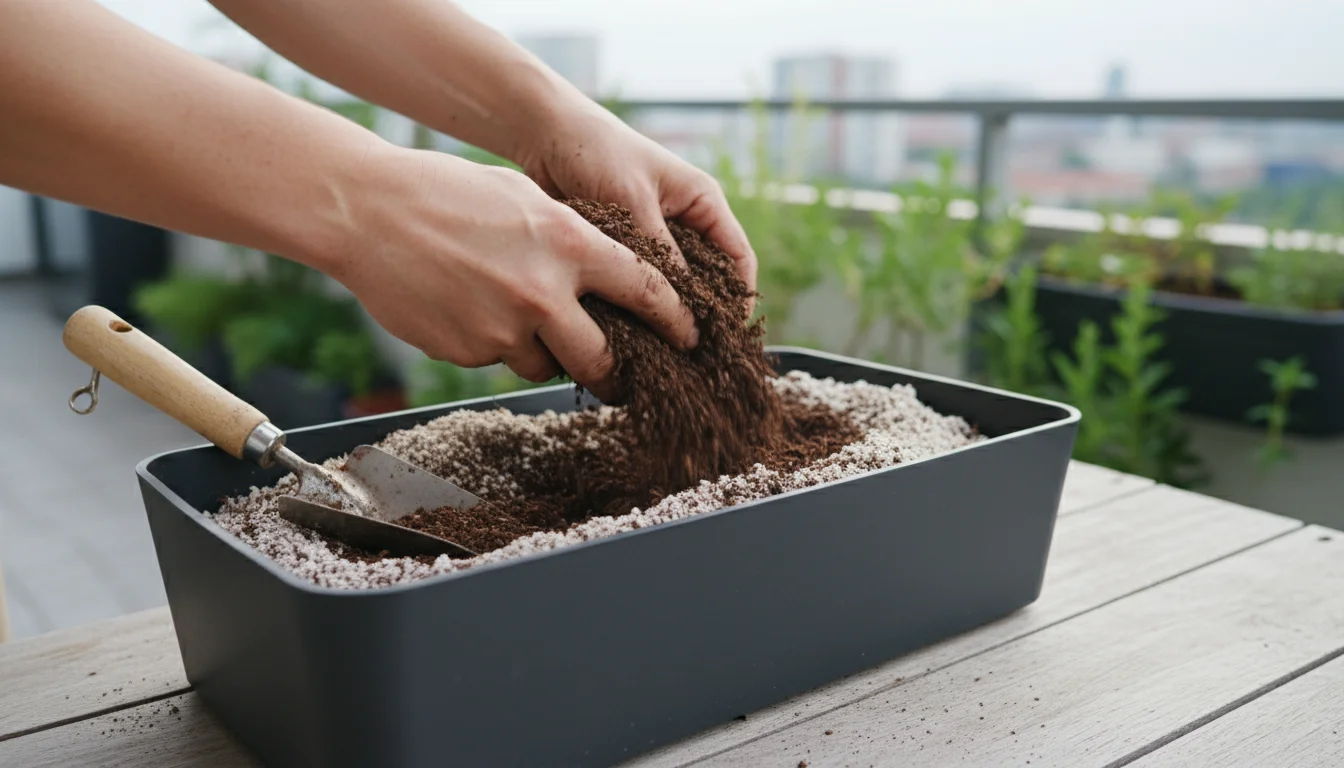
1. Thoroughly Mix All Ingredients:
This step is crucial. Do not just layer the amendments; mix them thoroughly with the old potting mix. If you are working in a wheelbarrow or a large tub, use a trowel, spade, or your gloved hands to churn and fold the mixture until it appears uniform. You should not see distinct layers of old soil, compost, and perlite. The goal is an even distribution of all components, ensuring every plant root encounters the same optimal growing conditions. Take your time with this, as incomplete mixing can lead to inconsistent growth.
2. Re-evaluate Soil Volume:
After amending and mixing, you might find you have slightly more volume due to the added amendments. However, if your containers are still not full enough, or if your old mix was particularly depleted, consider adding a fresh layer of new, high-quality potting mix. A common practice is to fill the bottom two-thirds of the container with your refreshed mix and then top off the remaining third with new potting mix. This provides an extra boost of fresh nutrients and ensures a clean surface for new seedlings or transplants. It also accounts for any volume lost over the season. This strategic use of new mix makes reusing potting mix even more effective.
3. Moisten the Refreshed Potting Mix:
Before planting, lightly moisten the refreshed potting mix. Aim for a consistently damp, not soggy, texture. Water slowly and evenly, allowing the mix to absorb the moisture. If your mix feels too dry, it can be difficult for plant roots to establish themselves and for the soil to properly hold water initially. The goal is to create a welcoming, hydrated environment for your new plants. You should be able to squeeze a handful of soil and see a few drops of water, but it should not drip excessively.
4. Fill Your Cleaned Containers:
Now, fill your thoroughly cleaned containers with the freshly rejuvenated potting mix. Leave about an inch or two of space from the rim of the container. This “headroom” is crucial for watering, as it prevents water from spilling over the sides and allows for a thorough, even soak without displacing the soil. This practice also gives roots room to grow without being immediately exposed at the surface.
5. Plant Your Spring Selections:
With your containers properly filled and prepared, you are ready to plant your chosen spring flowers, vegetables, or herbs. Follow standard planting guidelines, gently placing your plants into the prepared soil, ensuring their root crowns are at the same level as they were in their nursery pots. Gently firm the soil around the base of the plants, but do not compact it heavily.
6. Water Thoroughly After Planting:
After planting, give your containers a deep, thorough watering. Water until you see drainage coming from the bottom of the pot. This settles the soil around the roots, eliminates air pockets, and provides immediate hydration to your newly transplanted plants. This initial deep watering is vital for establishing new plants and signals the successful completion of your emergency refresh.
You have successfully completed the 3-Step Spring ‘Emergency Refresh’ for your used potting mix! Your containers are now revitalized, your soil is ready, and your plants have a fantastic start to the season.
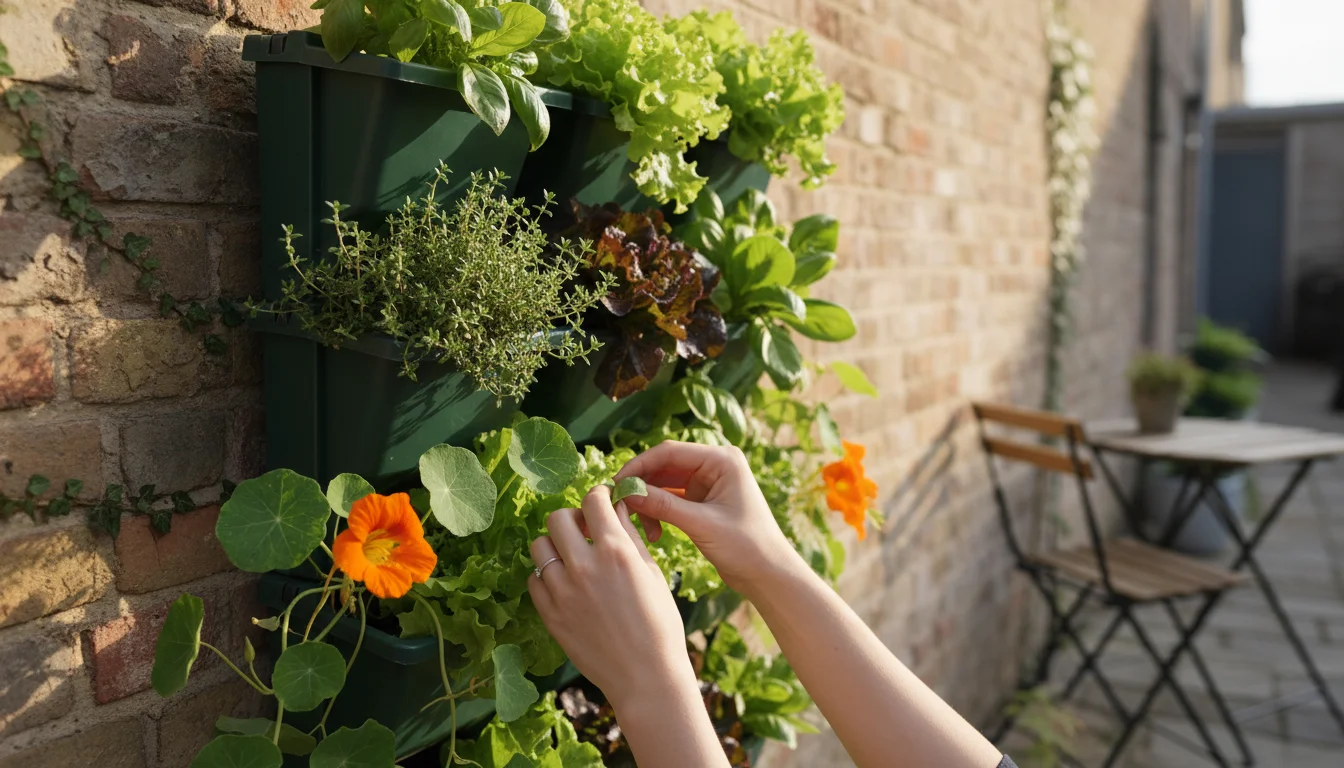
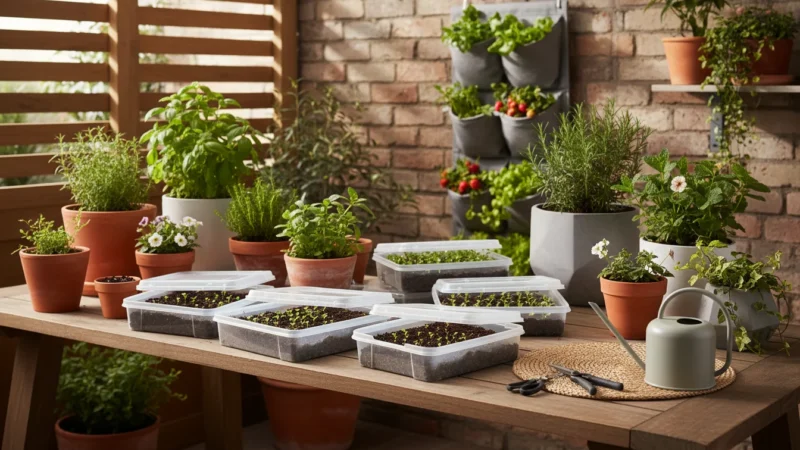
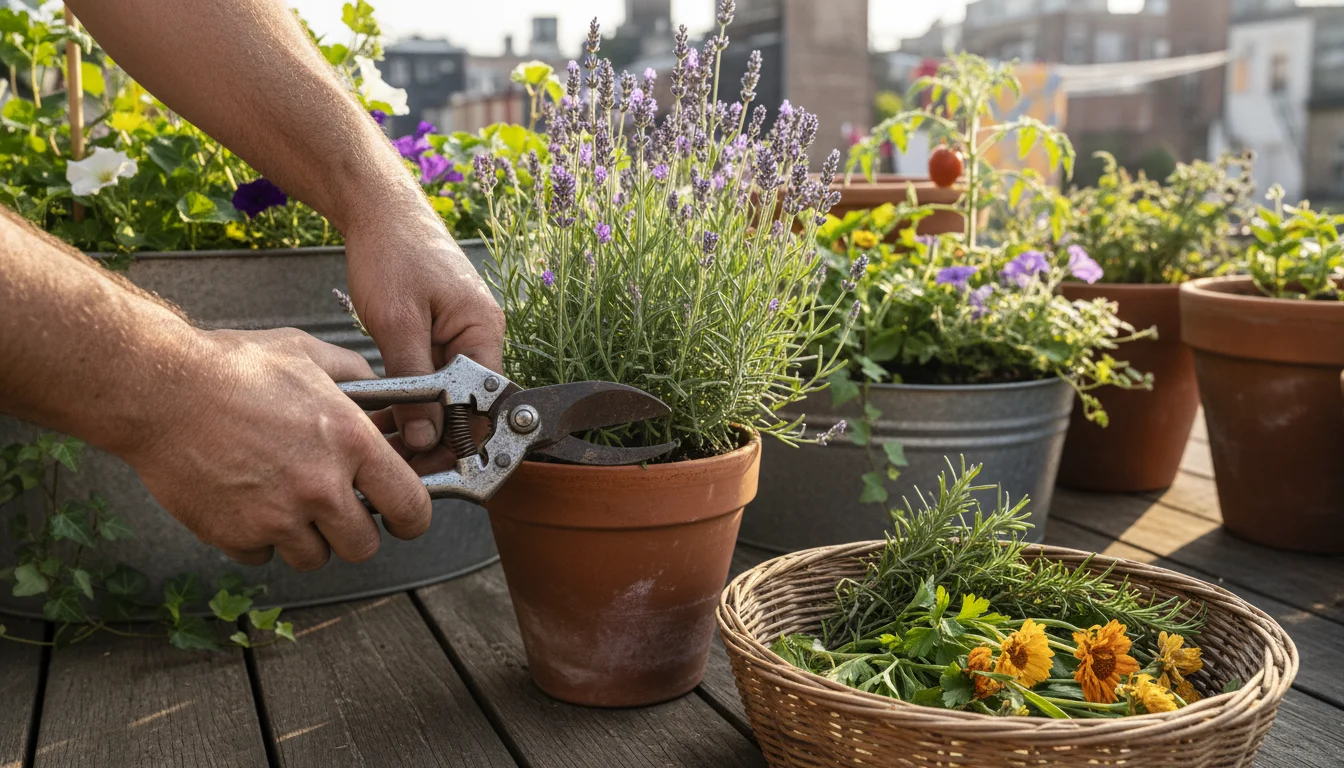
Smart Plant Choices for Refreshed Container Soil
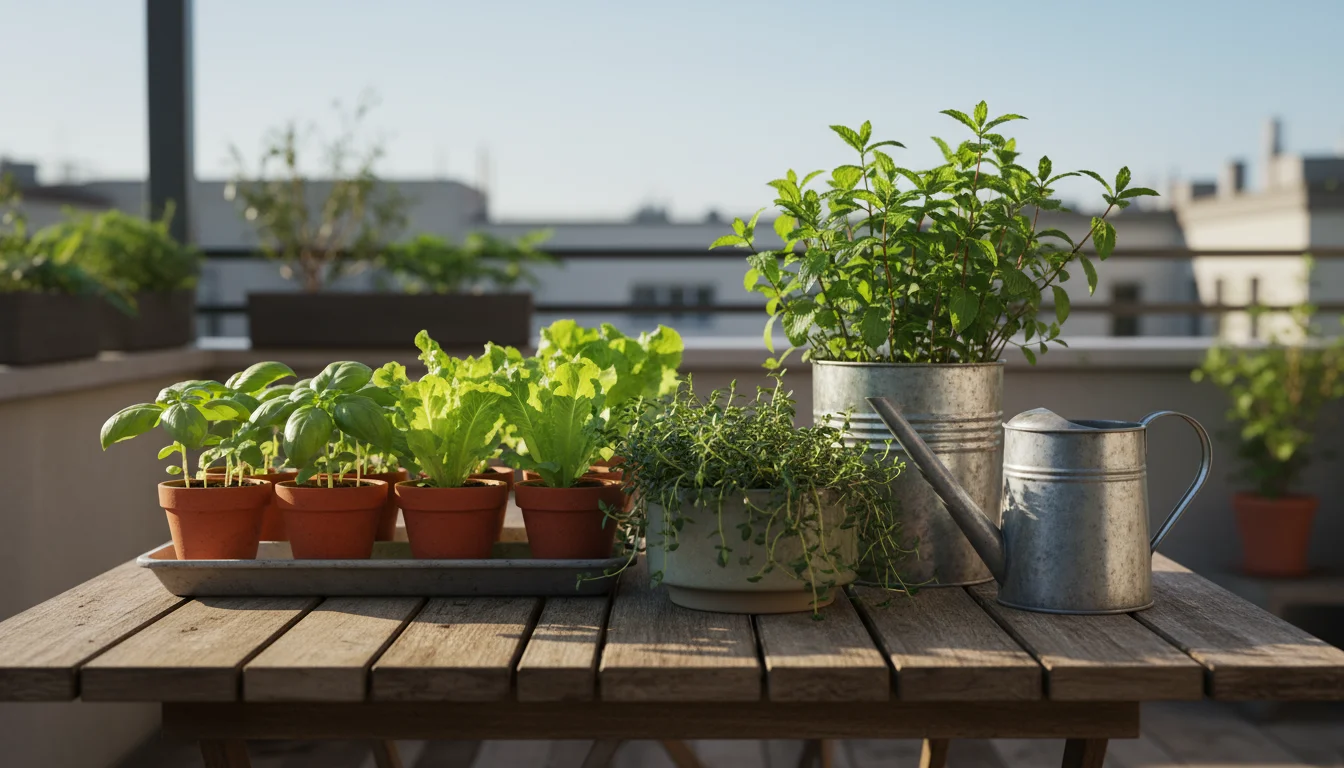
Now that you have expertly refreshed your old potting mix, you want to choose plants that will thrive in this revitalized environment. For small-space gardeners, selecting the right plants is as crucial as preparing the soil. Focus on varieties known for compact growth, productivity, and suitability for container life.
Herbs for Every Balcony: Herbs are perhaps the most rewarding plants for small spaces and thrive in well-drained, nutrient-rich refreshed potting mix. They offer continuous harvests and aromatic benefits.
- Basil: A culinary staple, basil loves consistent moisture and warmth. Pinch back flowers for more leaf production.
- Mint: Grow mint in its own container, even in refreshed soil, as it spreads aggressively.
- Rosemary: A drought-tolerant herb once established, perfect for sunny spots.
- Thyme: Low-growing and beautiful, thyme tolerates a bit of neglect.
- Cilantro & Parsley: Grow well in refreshed soil but tend to bolt (go to seed) in hot weather, so plant successionally.
Leafy Greens for Quick Harvests: Many leafy greens are ideal for continuous harvesting and do not require deep soil, making them perfect for your refreshed containers.
- Lettuce (Loose-leaf varieties): Cut the outer leaves as needed, and the plant continues to produce. Grow varieties like ‘Black Seeded Simpson’ or ‘Buttercrunch’.
- Spinach: Loves cool weather and provides tender leaves.
- Arugula: Offers a peppery kick and grows quickly.
- Swiss Chard & Kale (Compact varieties): Harvest outer leaves for a continuous supply of nutrient-dense greens.
Compact Vegetables for Patio Productivity: Do not assume you need a large garden for vegetables. Many compact varieties thrive in containers with refreshed soil.
- Bush Beans: Unlike pole beans, bush varieties do not require trellising and are very productive in containers.
- Radishes & Carrots (Short varieties): Choose ‘Danvers Half Long’ carrots or ‘Cherry Belle’ radishes, which do not need deep soil.
- Determinate Tomatoes: Look for varieties labeled “bush,” “patio,” or “determinate.” These grow to a manageable size and produce their fruit within a concentrated period. ‘Patio Princess’ or ‘Tiny Tim’ are excellent choices.
- Bush Cucumbers: Similar to bush beans, these vining plants offer compact growth and good yields. ‘Bush Pickle’ is a popular choice.
- Bell Peppers & Chili Peppers: Many pepper varieties are naturally compact and thrive in containers, providing a steady harvest.
Flowering Annuals for Beauty: Brighten your space with annual flowers that appreciate the rich, well-draining environment of refreshed potting mix.
- Petunias, Marigolds, Geraniums: Classic choices that offer continuous color throughout the season.
- Impatiens (New Guinea or Sun-tolerant varieties): Provide vibrant color for shady or sunny spots.
- Nasturtiums: Edible flowers and leaves, they spill beautifully over container edges.
When choosing your plants, always check their mature size and light requirements. Even with the best soil, a plant in the wrong conditions will struggle. Your refreshed potting mix provides an excellent foundation, so pick plants that align with your space and sunlight, and you will enjoy a bountiful, beautiful container garden.
Common Mistakes and How to Avoid Them
Even with the best intentions, gardeners sometimes make common errors when refreshing potting mix. Knowing these pitfalls helps you avoid them and ensures your spring refresh is truly successful.
- Mistake: Reusing containers without scrubbing away old soil, salt crusts, or disinfectant.
- Consequence: Allows disease pathogens and pest eggs to carry over, compromising your new plants before they even start. Salt buildup can immediately stress new roots.
- Avoid It: Always thoroughly clean and, if necessary, disinfect your containers between seasons. A simple scrub with warm, soapy water and a good rinse goes a long way. Use a diluted bleach solution for an extra layer of protection against persistent issues.
- Mistake: Adding too much of one amendment, like excessive perlite, or using garden soil in your containers.
- Consequence: Too much perlite can make the soil too free-draining, requiring constant watering. Adding garden soil introduces weed seeds, pests, diseases, and can quickly compact, negating the benefits of potting mix.
- Avoid It: Stick to recommended ratios, typically 10-20% perlite, 20-30% compost. Remember that potting mix is a soilless medium. Use only specific container amendments. Do not use garden soil unless you are specifically preparing a raised bed, which is a different scenario.
- Mistake: Layering amendments rather than thoroughly blending them into the existing potting mix.
- Consequence: Creates inconsistent pockets of nutrients, drainage, or compaction. Some plants might thrive while others struggle in the same container due to uneven soil conditions.
- Avoid It: Take the time to mix everything completely. Use a trowel, spade, or your hands to ensure a uniform texture and even distribution of all components. A wheelbarrow or large tub makes this process much easier.
- Mistake: Reusing potting mix that clearly had disease issues (e.g., powdery mildew, root rot, fungal spots) or visible pest infestations (e.g., persistent fungus gnats, grubs) from the previous season.
- Consequence: Directly transfers the problem to your new plants, leading to ongoing struggles and potentially killing your new seedlings.
- Avoid It: If you observed significant disease or pest problems in a specific container last season, it is often best to discard that soil. While inconvenient, this precaution safeguards your new plants. You can often add it to a compost pile if you hot compost (which kills pathogens), but never directly reuse it in containers.
- Mistake: Giving a light sprinkle of water after planting rather than a deep, saturating drink.
- Consequence: Leaves air pockets around roots, preventing good soil-to-root contact. The soil may also remain dry in deeper layers, stressing the new plant.
- Avoid It: After planting, water until you see water draining from the bottom holes of the container. This settles the soil, removes air pockets, and fully hydrates the roots.
By being mindful of these common mistakes, you ensure your ’emergency refresh’ is not just a quick fix but a truly effective strategy for a thriving small-space garden.

Making Soil Refreshing a Sustainable Habit
Mastering the spring ’emergency refresh’ is more than a one-time fix; it is an entry point into a more sustainable and rewarding gardening practice. Incorporating soil refreshing into your routine offers long-term benefits for your garden and the environment.
Embrace the Circular Economy in Your Garden:
Think of your garden as a closed-loop system. Instead of continuously purchasing new inputs and discarding old ones, you cycle resources. Reusing potting mix is a prime example of this circularity. You transform what might otherwise be waste into a valuable resource. This not only aligns with environmentally conscious principles but also fosters a deeper connection to your gardening process. You become a steward of your soil, not just a consumer of it.
The Economic Advantage Continues:
While the initial refresh saves you money, making it a habit amplifies those savings over time. Each season you reuse and amend, you chip away at the recurring expense of buying fresh potting mix. This financial benefit allows you to invest in other aspects of your garden, perhaps higher-quality seeds, unique plant varieties, or durable, attractive containers. Over several seasons, the cumulative savings are substantial.
Reducing Your Environmental Footprint:
Every bag of potting mix you reuse means less material extracted, processed, transported, and ultimately, less waste in landfills. Many conventional potting mixes rely on peat moss, a non-renewable resource from delicate wetland ecosystems. By extending the life of your existing soil, you reduce demand for these products and support more eco-friendly alternatives. Incorporating homemade compost into your refresh further reduces waste by diverting kitchen and yard scraps from landfills, turning them into nutrient-rich soil food. This practice truly embodies the “reduce, reuse, recycle” mantra within your garden.
Building Better Soil Over Time:
The beauty of consistent soil amendment lies in continuous improvement. While an emergency refresh targets immediate needs, regular additions of organic matter like compost can gradually build a more robust, biologically active soil environment. Over successive seasons, your “old” potting mix, with regular amendments, can actually become *better* than brand-new, sterile potting mix. It develops a rich microbial life, improved nutrient cycling, and enhanced resilience. This long-term approach to soil health means your plants will benefit year after year, demonstrating the true power of sustainable gardening.
Simplifying Future Prep:
Once you establish the habit of refreshing your potting mix, the process becomes second nature. You will inherently know what your soil needs, making future spring preparations quicker and more efficient. This reduces the “overwhelm” factor that often discourages new gardeners from proactive soil care. What felt like an “emergency” this year becomes a streamlined, expected part of your annual gardening rhythm.
Making soil refreshing a sustainable habit transforms your gardening from a series of isolated tasks into an integrated, thoughtful process. You will nurture healthier plants, save money, protect the environment, and cultivate a deeper, more satisfying connection with your small-space garden.
For trustworthy gardening information, visit:
Kansas State University Extension — Horticulture, Oklahoma State University Extension — Lawn & Garden, Tennessee Extension — Gardening, University of Delaware Extension — Gardening and University of Vermont Extension — Gardening. These organizations provide expert, research-based advice for gardeners at all levels.
Frequently Asked Questions
Can I just add new potting mix on top of the old?
While adding new potting mix on top provides some fresh nutrients, it does not address the underlying issues of compaction, nutrient depletion, or salt buildup in the lower layers of your old mix. The roots will still struggle to penetrate the compacted soil below. A full refresh, mixing amendments throughout, offers much better results for plant health.
How often should I refresh my potting mix?
For most annuals and vegetables, aim to refresh your potting mix annually before spring planting. For perennial plants in containers, you might refresh every 2-3 years, or top-dress with fresh compost annually, gradually replacing some of the old soil. Your soil will show you when it needs attention; compacted, slow-draining soil is a clear indicator.
What if my old potting mix smells bad or has mold?
A foul, sour, or ammonia-like smell often indicates anaerobic conditions (lack of oxygen) or decomposition of diseased plant material. White mold on the surface is usually harmless fungi breaking down organic matter, but black or green slimy mold suggests excessive wetness and potential root rot. If the smell is very strong and unpleasant, or if you see slimy mold, it is often best to discard that particular batch of soil. You cannot easily salvage severely compromised soil, and you risk transferring issues to new plants.
Can I use garden soil instead of potting mix for containers?
No, you should not use garden soil in containers. Garden soil is too heavy, compacts easily in pots, and lacks the proper drainage and aeration required for container-bound roots. It also often contains weed seeds, pests, and disease pathogens that thrive in a garden bed but cause problems in an isolated container environment. Potting mix is specifically formulated for containers, offering a lightweight, well-draining, and disease-free medium.
What if I forgot to save my old potting mix?
If you discarded your old potting mix, do not worry. Simply purchase new, high-quality potting mix for your containers this season. Implement the refreshing steps next fall or spring to reuse that new mix for future seasons. Every gardening journey starts somewhere, and learning to plan for next year is a valuable part of the process.
Disclaimer: This article is for informational purposes only and is not a substitute for professional gardening advice. Always consult local extension services or horticulture experts for region-specific guidance.

Leave a Reply