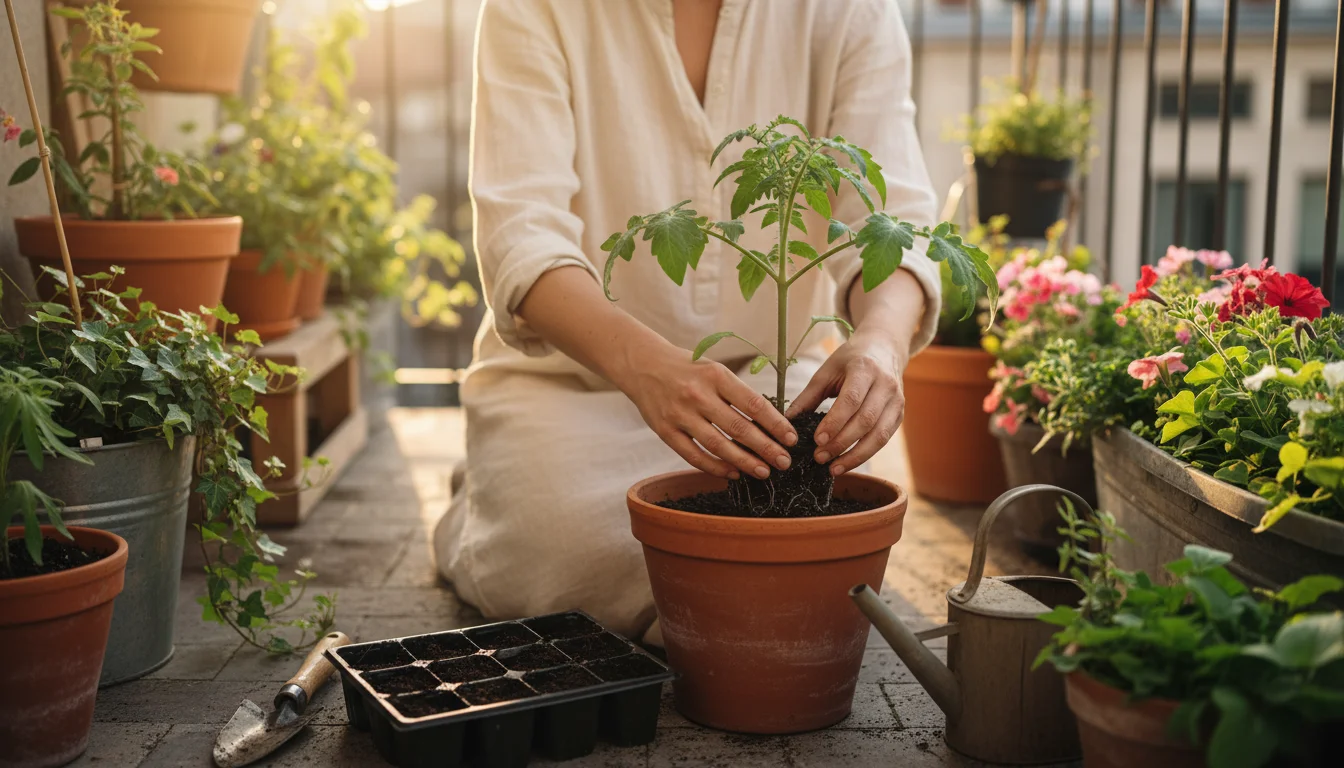
Do you dream of fresh herbs, crisp lettuce, or vibrant flowers, but feel limited by a small apartment, a tight budget, or the intimidating array of specialized gardening equipment? Many beginner gardeners share your experience. The idea of growing plants from tiny seeds often feels complex, requiring grow lights, heat mats, and dedicated seed-starting trays. However, urban living and a desire for homegrown goodness do not have to be mutually exclusive.
You possess a powerful tool for cultivating a thriving garden: ingenuity. This guide introduces you to the ‘Shoebox Method’ for seed starting, a revolutionary approach designed specifically for small spaces and minimal investment. This method offers you a practical, actionable path to nurture plants from seed right in your apartment, without buying expensive gear. It is a brilliant example of how to start seeds without special equipment, transforming common household items into efficient propagators. Prepare to discover the ultimate small space gardening hack, empowering you to embrace the joy of growing your own plants with simplicity and confidence.
What is the ‘Shoebox Method’? Your Apartment Seed Starting Secret Weapon
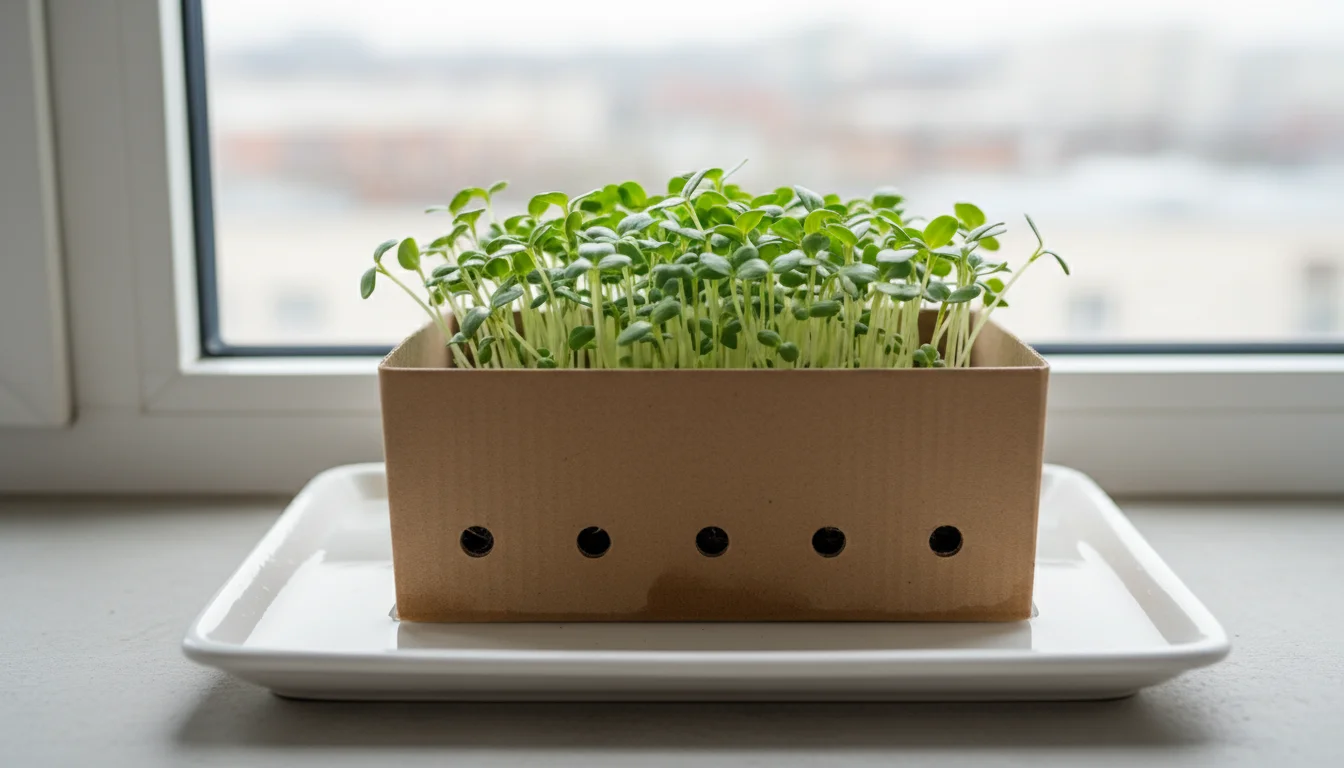
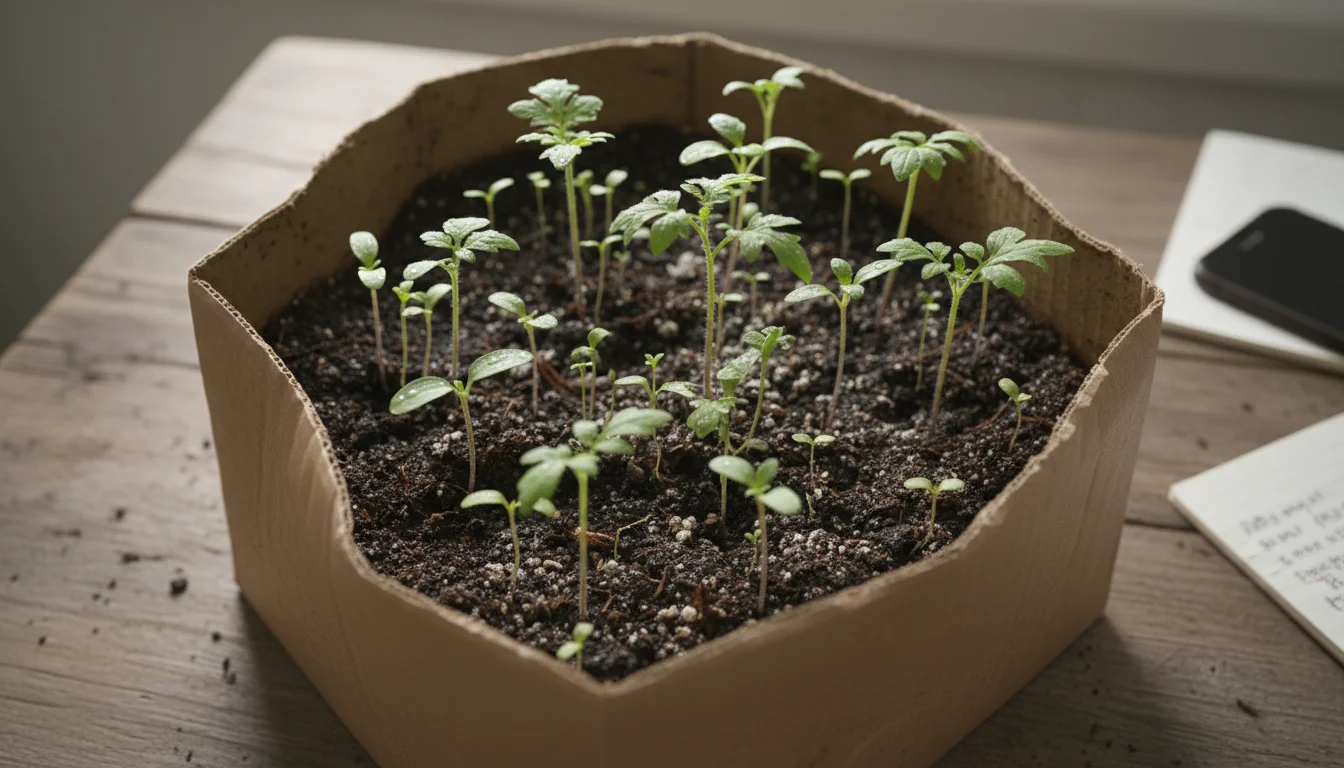
The ‘Shoebox Method’ redefines apartment seed starting. It simplifies the entire process by leveraging an ordinary cardboard shoebox as the foundation for your miniature seed nursery. Imagine a shoebox, not just for storing footwear, but as a cozy, controlled environment where your seeds can germinate and grow into robust seedlings. This ingenious approach hinges on creating a micro-greenhouse effect using readily available materials, making it a truly low budget seed starting idea for anyone with limited space.
For an even simpler indoor project that requires no soil at all, you might also try growing sprouts in a jar to get fresh greens in just a few days.
If you are looking for another ultra-compact alternative, you might also enjoy sprouting your first veggies in a ziplock bag directly on your window.
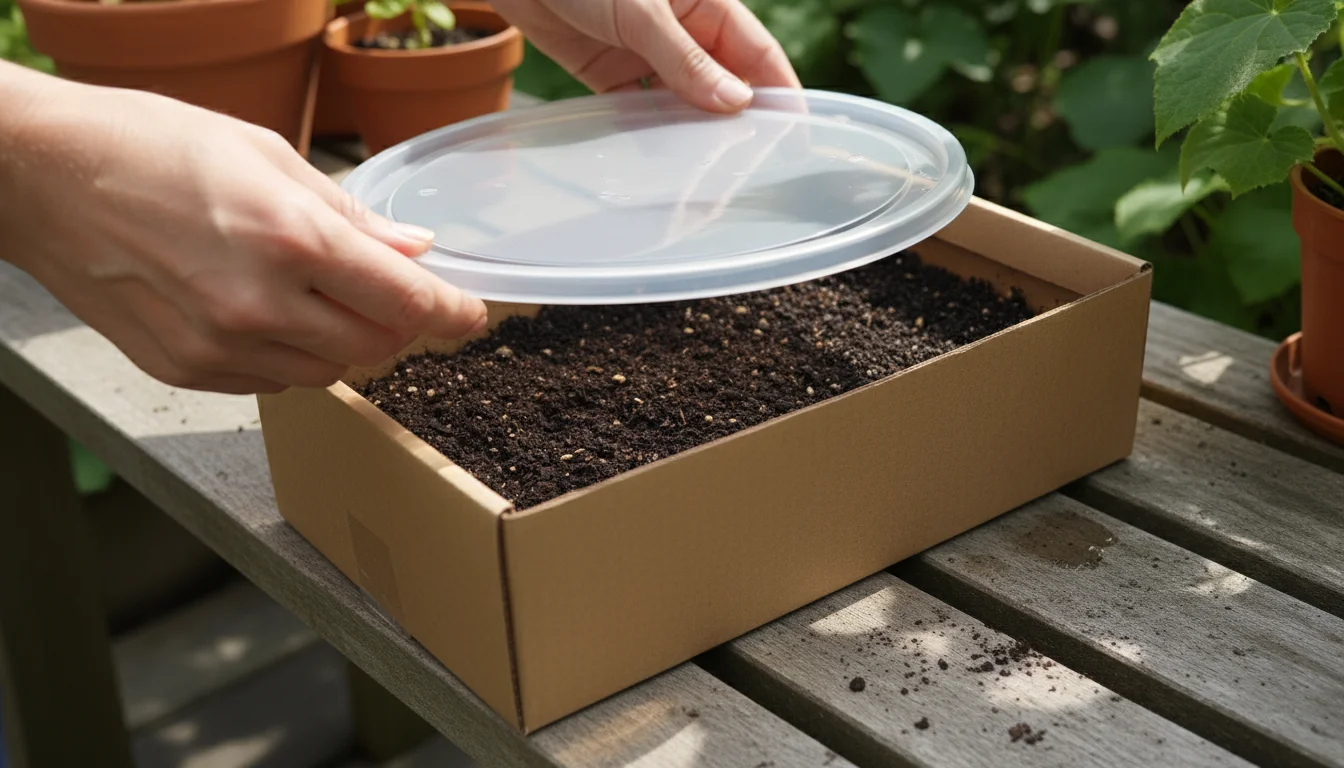
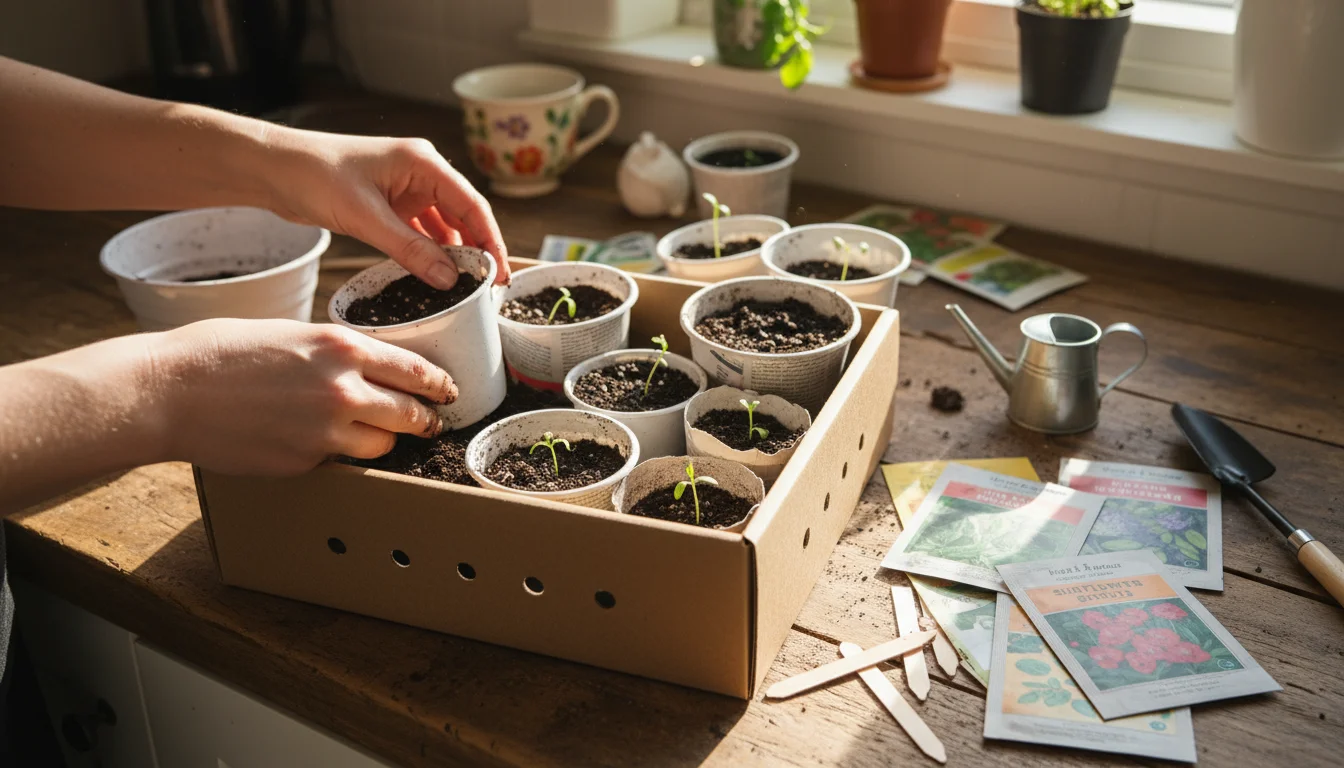
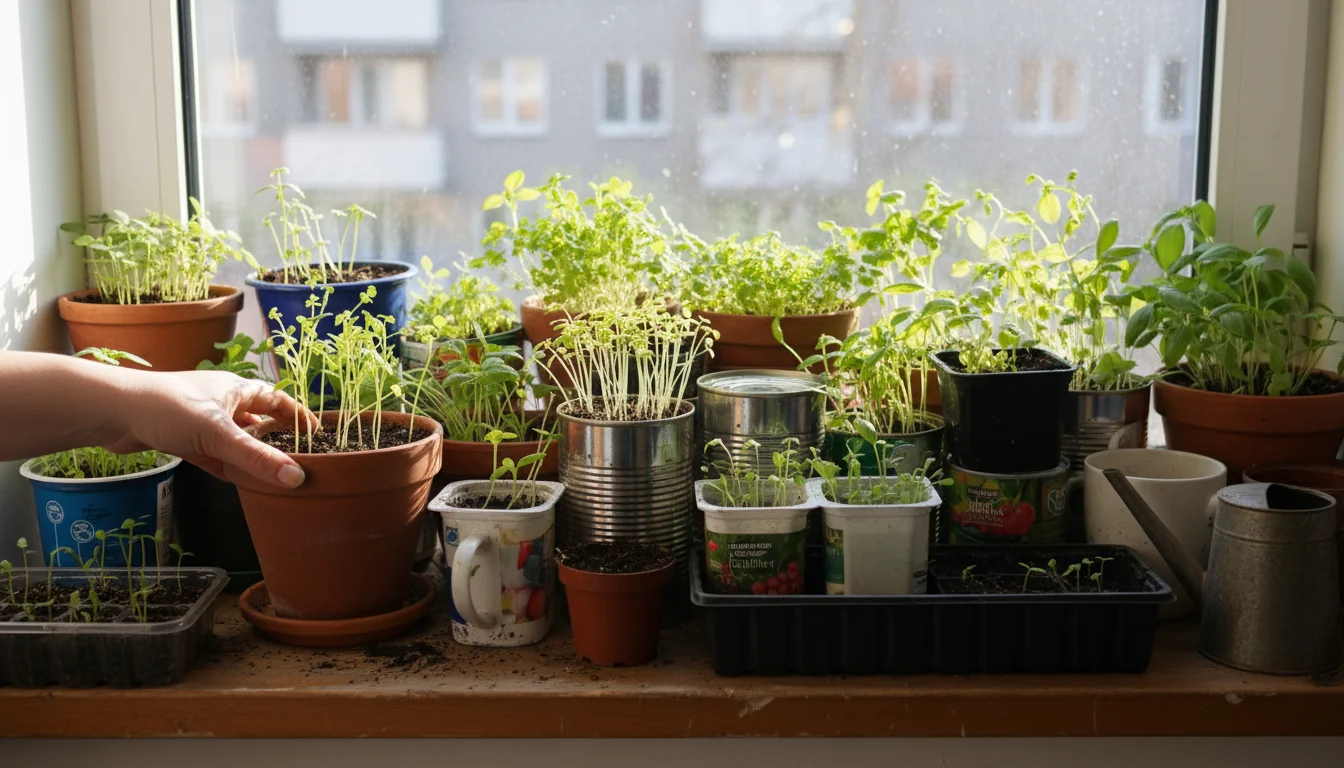
At its core, the shoebox method involves preparing a standard cardboard shoebox to hold seed-starting mix and provide adequate drainage. You then sow your seeds and cover the box with a clear plastic lid or plastic wrap, effectively trapping humidity and warmth. This mimics the ideal conditions found in commercial greenhouses, but on a miniature scale perfect for a windowsill, countertop, or small balcony. The beauty of this method lies in its accessibility. You do not need to invest in specialized trays, domes, or elaborate setups. Your primary container is free or nearly free, and the supplementary items are common household staples.
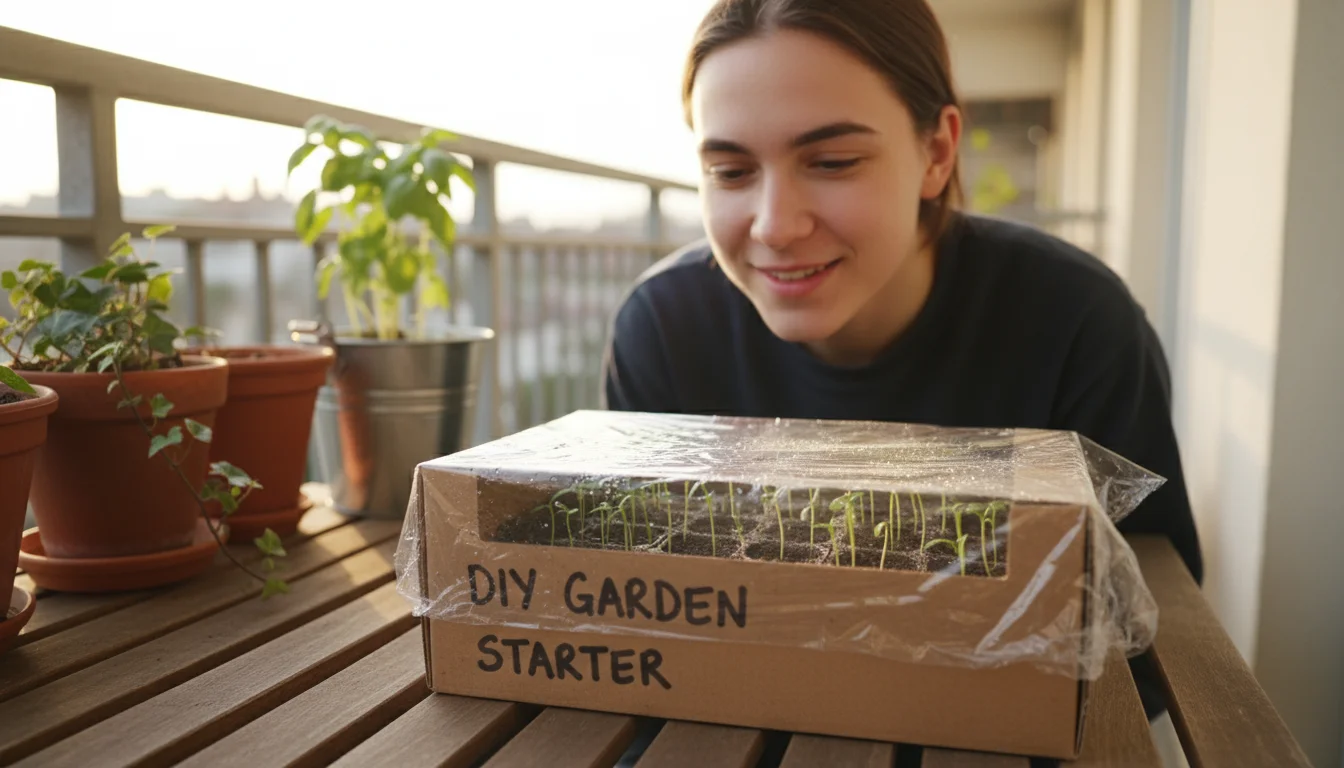
This technique is particularly effective because it addresses several key needs for successful seed germination. Seeds require consistent moisture, warmth, and protection from drafts. The shoebox, combined with a clear cover, forms an enclosed ecosystem that maintains these crucial conditions. The cardboard itself offers a degree of insulation, helping to stabilize soil temperatures. The transparent cover allows sunlight to penetrate while preventing rapid moisture loss, creating a humid atmosphere that encourages dormant seeds to sprout. This system proves that effective DIY seed starting does not demand complex solutions; often, the simplest ideas yield the best results, especially when you are learning how to start seeds without special equipment.
Many apartment dwellers find traditional seed starting systems cumbersome. They take up significant space, often requiring dedicated shelves or tables. The shoebox method, by contrast, occupies only a footprint similar to a shoebox itself. This makes it an ideal solution for small-space gardening, allowing you to cultivate a surprising number of seedlings in a confined area. It demystifies the seed-starting process, empowering you to take control of your garden from the very beginning, irrespective of your living situation.
Why Choose the Shoebox Method for Small Spaces?
When you live in an apartment or have a modest outdoor area, every inch of space counts. The shoebox method stands out as an exceptional choice because it directly tackles the common constraints of space and budget. Here are compelling reasons why this simple approach is a game-changer for your small space gardening hacks:
This minimalist philosophy is similar to the garden-in-a-box method, which helps you organize all your balcony supplies efficiently within a small home.
To ensure you time your project correctly, reference our apartment seed-starting calendar for month-by-month guidance.
- Unbeatable Cost-Effectiveness: Commercial seed-starting kits, while effective, come with a price tag. You need trays, domes, possibly heat mats, and sometimes even specific grow lights. The shoebox method, however, requires minimal financial outlay. You likely already have an old shoebox, and plastic wrap costs very little. This makes it an ideal low budget seed starting idea, allowing you to allocate your gardening funds to seeds or better quality soil rather than equipment. This cost saving is significant for new gardeners who want to experiment without a large initial investment.
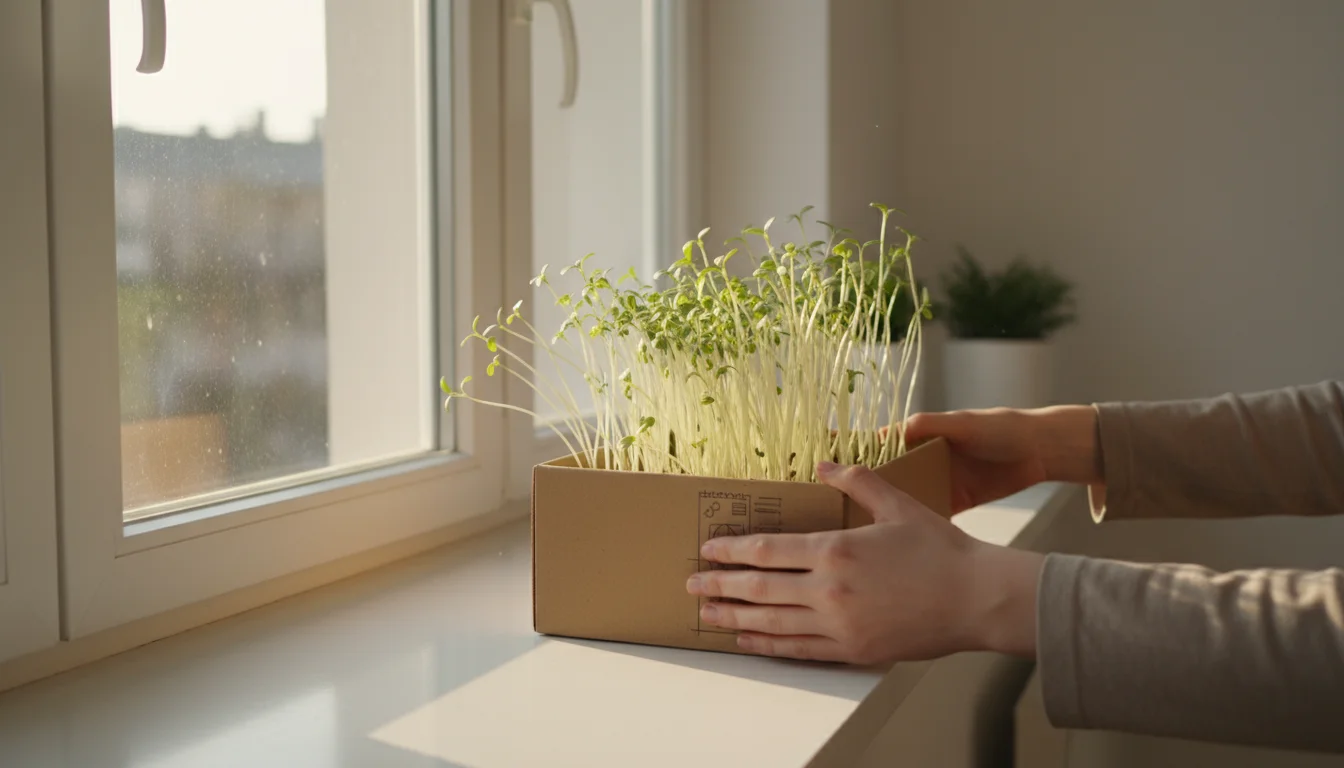
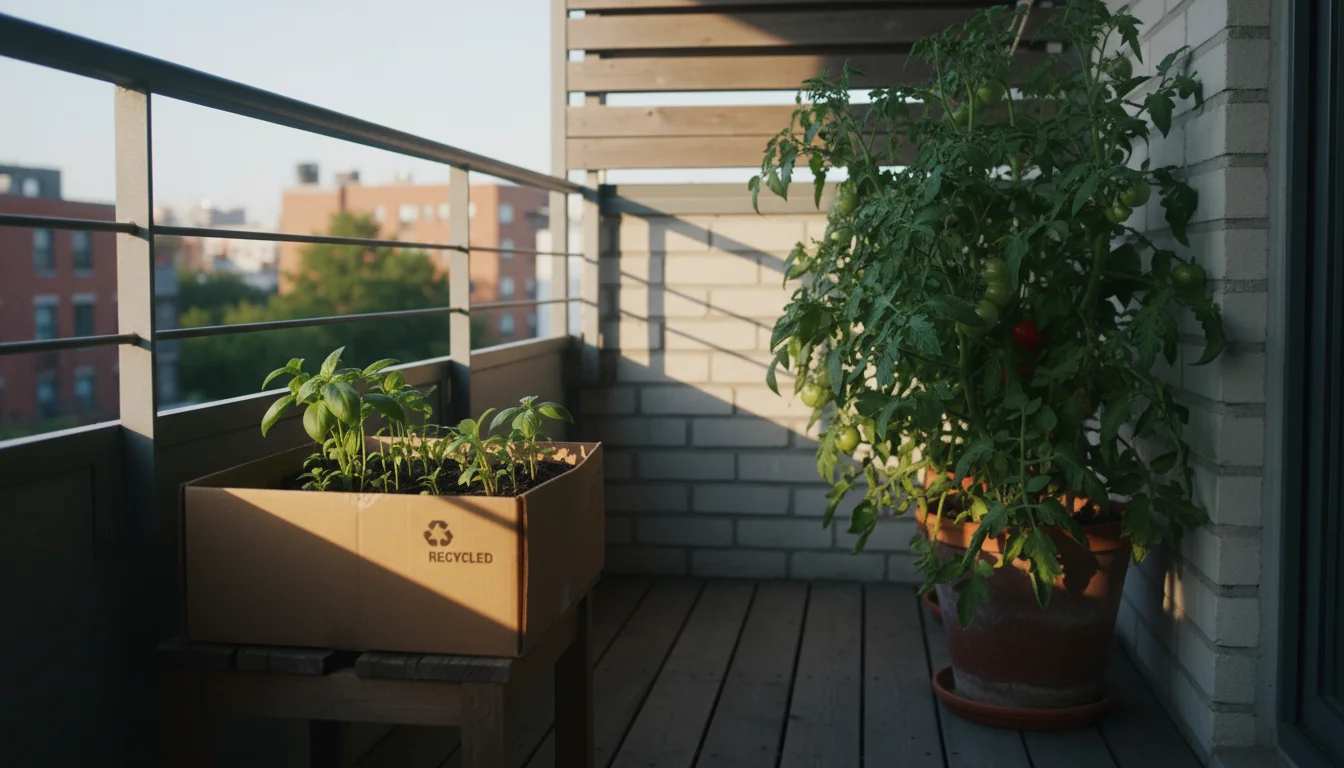
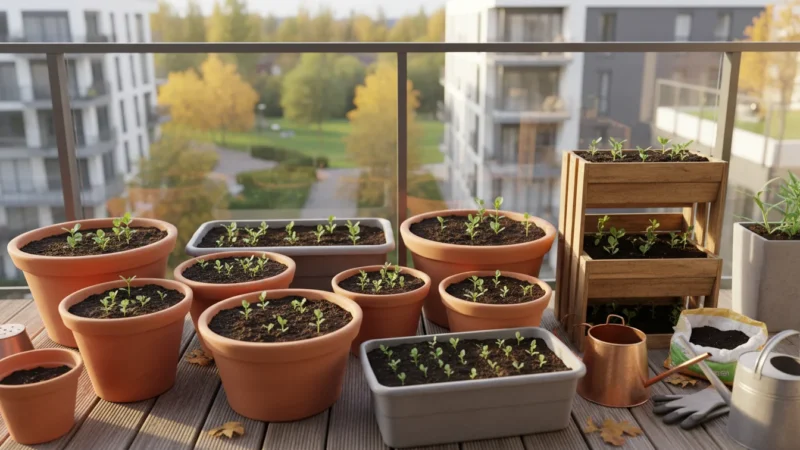
- Remarkable Space Efficiency: This is arguably the biggest advantage for apartment dwellers. A standard shoebox is compact and fits comfortably on a windowsill, a small corner of a kitchen counter, or a balcony railing. It does not demand a dedicated propagation station or a large footprint, freeing up your valuable living area. You can easily move it around to catch the best light or tuck it away when not in use. This flexibility is crucial for anyone engaging in seed starting in a small apartment.
- Environmental Friendliness: The shoebox method encourages reuse. Instead of buying new plastic trays that might eventually end up in a landfill, you are giving a second life to a cardboard box that might otherwise be discarded. This aligns perfectly with sustainable gardening practices, reducing waste and your environmental footprint. The cardboard is also biodegradable, offering an eco-conscious alternative to plastic.
- Simplicity and Approachability: For beginners, the thought of seed starting can feel overwhelming. The shoebox method strips away complexity. There are no intricate systems to assemble or specialized tools to learn. Its straightforward nature builds confidence, proving that anyone can succeed at DIY seed starting. This ease of use encourages you to try growing from seed, perhaps for the first time, without fear of failure or frustration.
- Excellent Germination Rates: Despite its simplicity, the shoebox method provides optimal conditions for seed germination. The enclosed environment maintains consistent humidity and temperature, two critical factors for successful sprouting. These stable conditions significantly increase the likelihood that your seeds will sprout, giving you a strong start to your gardening journey. Data consistently shows that controlled environments improve germination rates by ensuring constant moisture and warmth, and your humble shoebox delivers just that.
By choosing the shoebox method, you are not just starting seeds; you are embracing an accessible, sustainable, and empowering way to grow your own food and flowers, even in the most modest of spaces. It eliminates barriers, allowing your gardening aspirations to flourish.
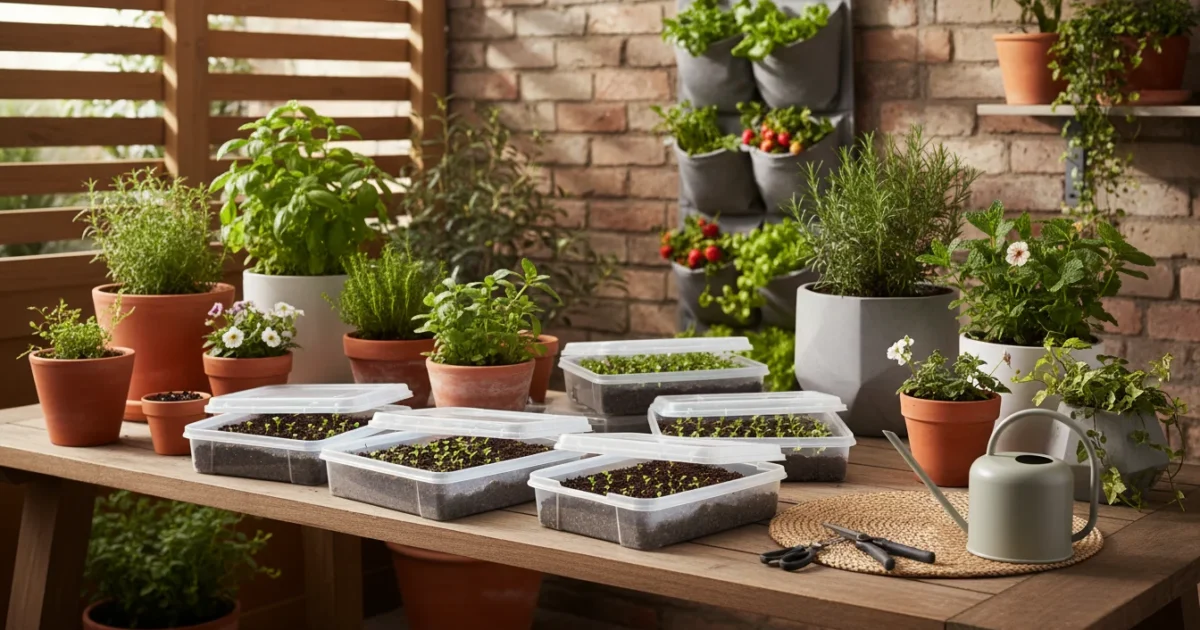
Gathering Your Minimalist Seed Starting Supplies
One of the most appealing aspects of the shoebox method is its minimal requirement for supplies. You do not need to visit a specialty gardening store to get started. Most items are likely already in your home or easily acquired on a small budget. Focusing on these essential items helps you keep your apartment seed starting project streamlined and affordable. Here is your minimalist checklist:
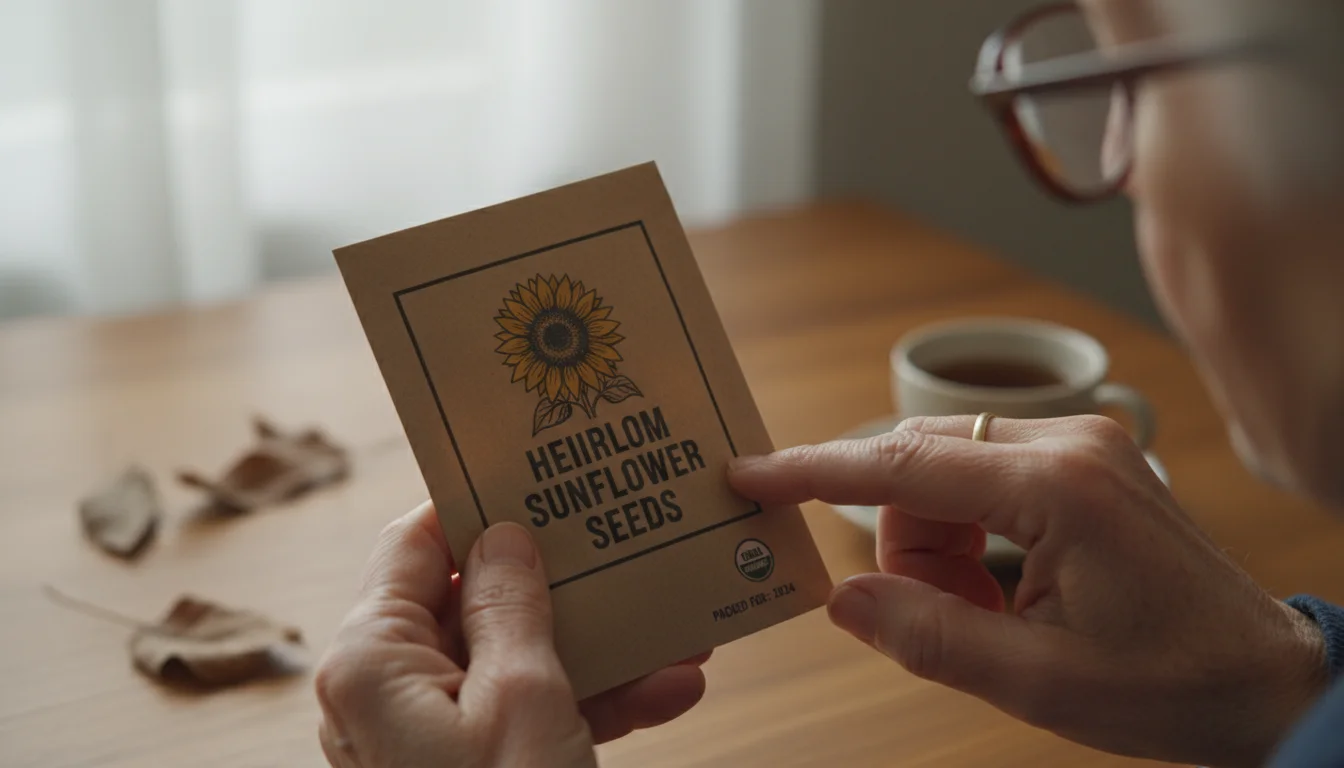
Before you begin, it is a good idea to perform a simple seed viability test if you are using older packets from previous seasons.
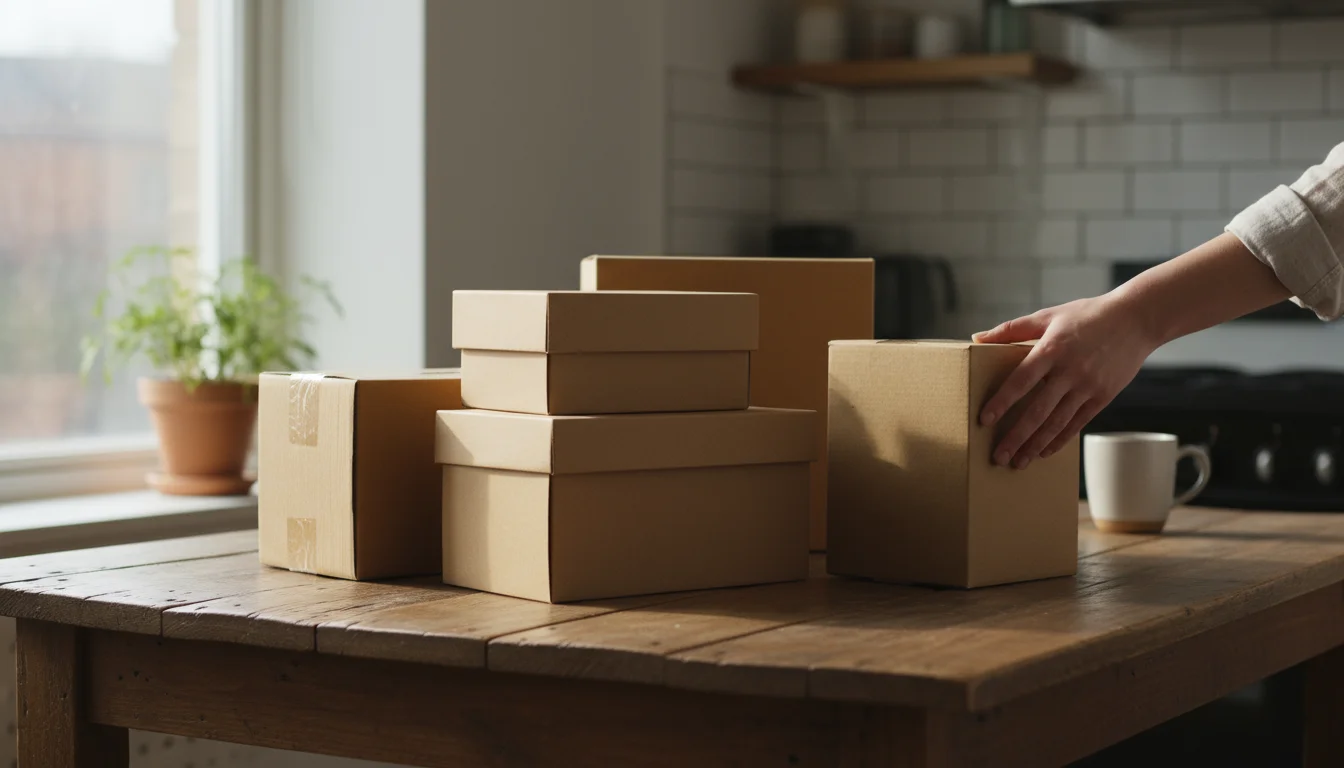
- Cardboard Shoeboxes: You need at least one, but gather a few if you plan to start different types of seeds or succession plant. Look for sturdy boxes that are not too deep, roughly 4-6 inches in height, to allow for good airflow and seedling development. Shoe boxes are ideal, but any similar-sized cardboard box works as long as it is clean and does not have any lingering odors or chemical residues.
- Clear Plastic Wrap or a Clear Plastic Lid: This acts as the “greenhouse dome.” A piece of plastic wrap large enough to cover the top of the shoebox is perfect. Alternatively, you can use the clear lid from a plastic food container or a clear plastic bag. The goal is to trap humidity and warmth, so ensure it creates a snug fit over the box.
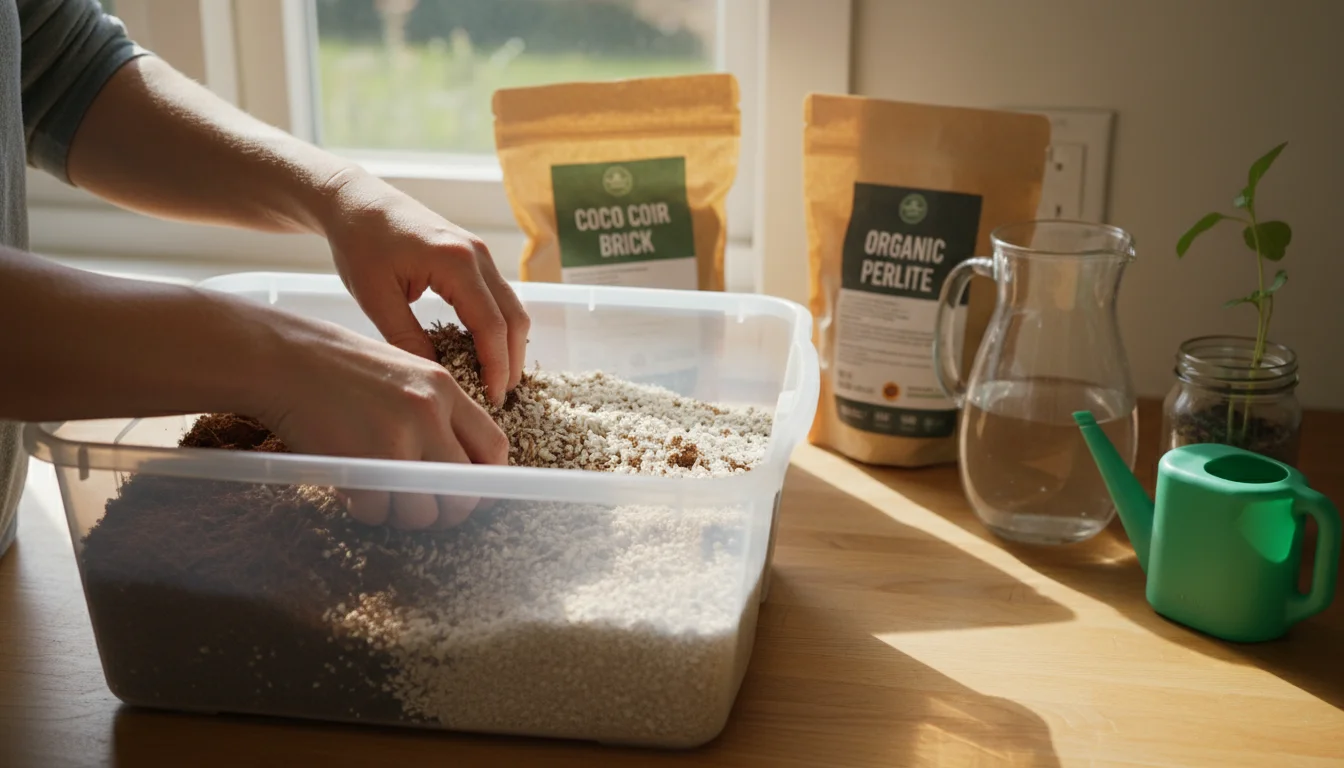
- Seed Starting Mix: This is crucial. Do not use garden soil or potting soil for seed starting. Seed starting mix is lighter, finer, and sterile, which helps prevent diseases like “damping-off” (a common fungal disease that kills young seedlings). You can purchase a small bag from a garden center or hardware store. For a truly low budget seed starting idea, consider making your own with equal parts peat moss (or coco coir), perlite, and vermiculite.
- Seeds: This is the exciting part! Choose seeds that are suitable for your space and climate, especially those known for successful apartment seed starting. Think compact herbs, leafy greens, or small flowering annuals. We will discuss seed selection in more detail shortly.
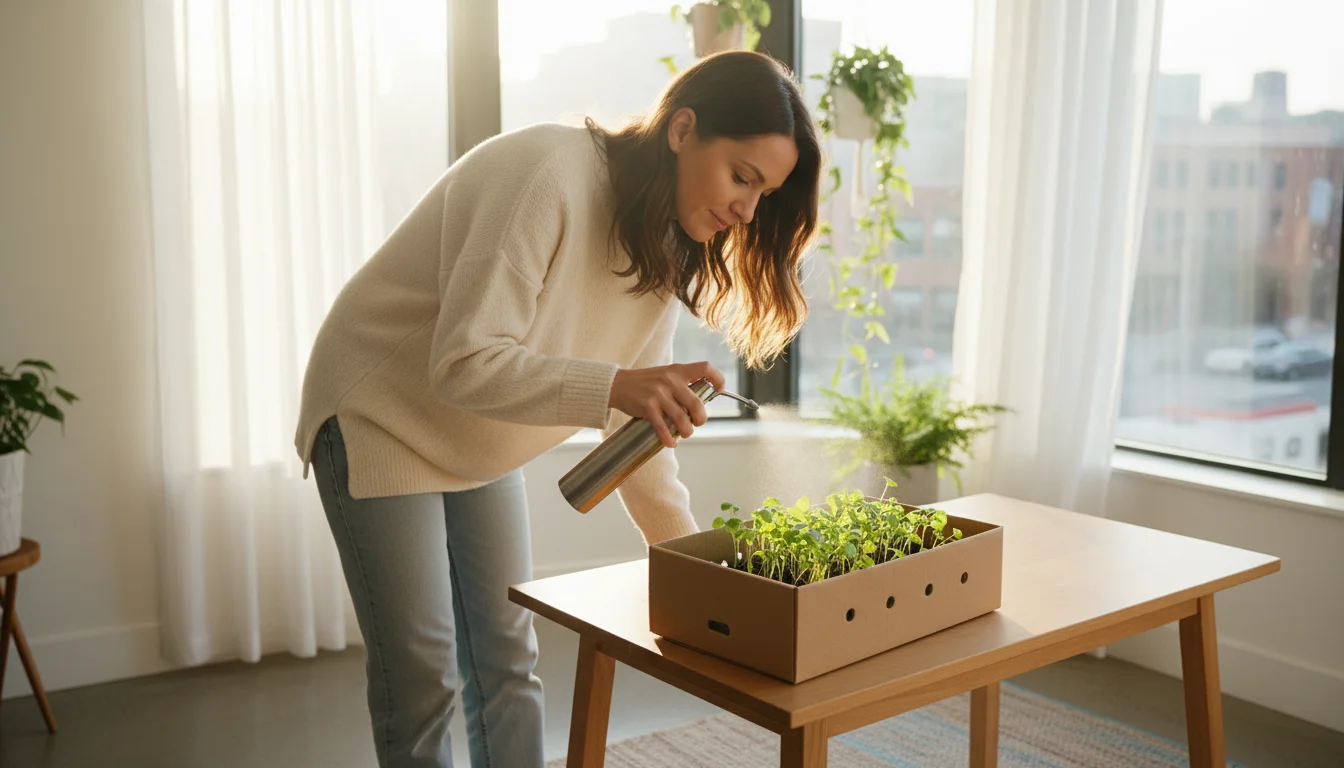
- Watering Can or Spray Bottle: A gentle stream of water is essential for delicate seeds and seedlings. A spray bottle works wonderfully for misting the surface and keeping the soil moist without disturbing the tiny seeds. If using a watering can, ensure it has a fine rose attachment.
- Scissors or Utility Knife: You will use these to create drainage holes in the bottom of your shoebox. Safety first: always use these tools carefully.
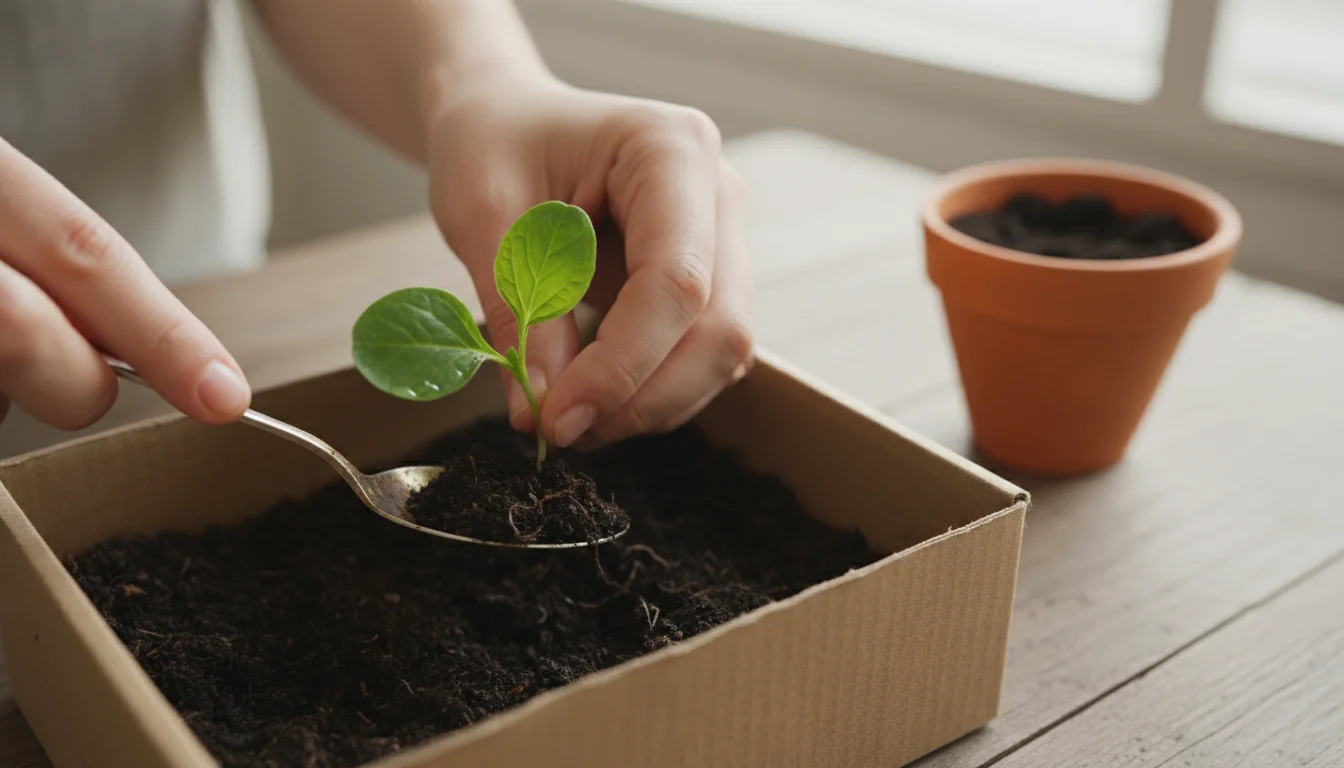
- Small Trowel or Spoon: For scooping and leveling your seed starting mix. A large spoon from your kitchen works perfectly.
- Labeling System: Crucial for remembering what you planted where! Craft sticks, plastic labels, or even masking tape with a permanent marker all work well.
You already possess many of these items, underscoring the simplicity and accessibility of the shoebox method. This straightforward collection of tools makes DIY seed starting approachable, even for those who have never grown anything from seed before. By focusing on these essentials, you avoid clutter and unnecessary expense, setting yourself up for success in your small garden space.
Step-by-Step: Implementing Your DIY Seed Starting System
Now that you have gathered your minimalist supplies, let us transform your humble shoebox into a bustling nursery. Follow these clear, actionable steps for successful DIY seed starting:
If you plan on starting several boxes at once, you can keep them organized by building a space-saving seed starting shelf that fits perfectly in a small apartment.
-
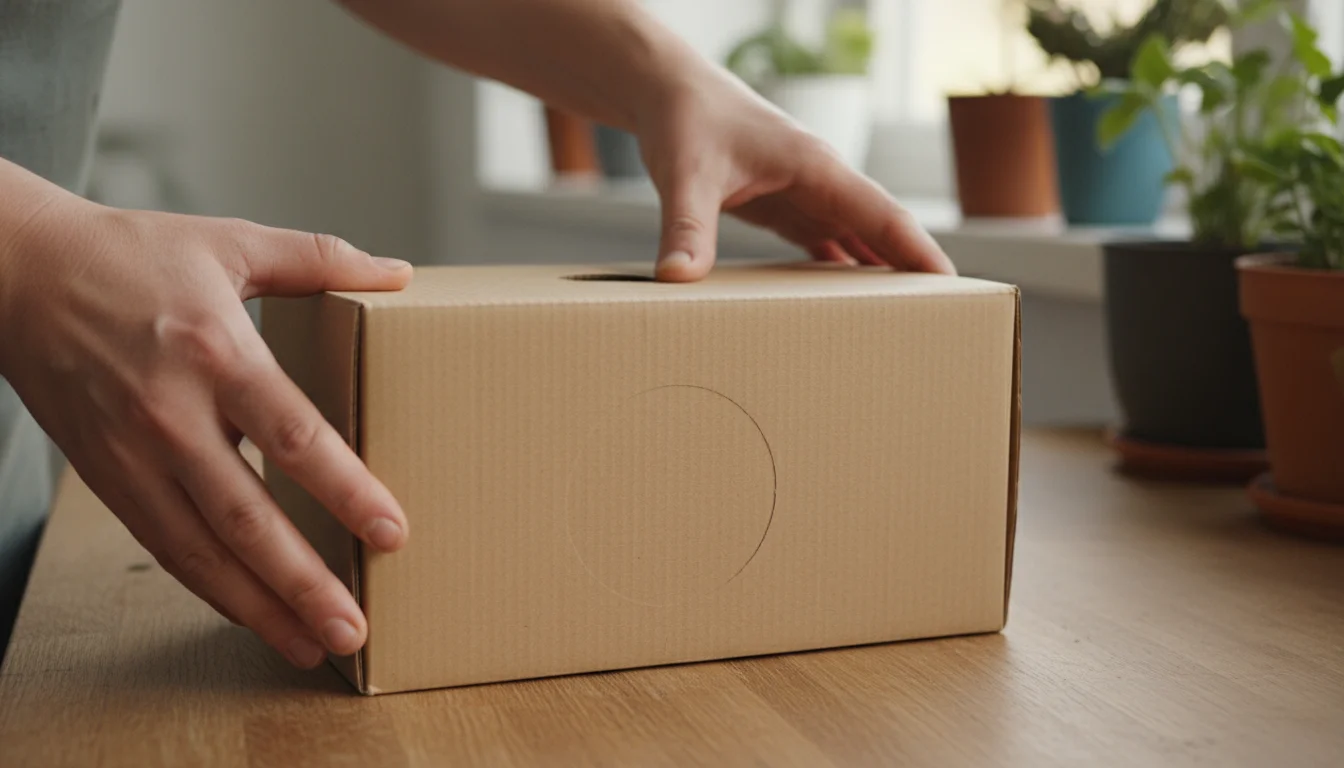
Prepare Your Shoebox: Create Drainage.
Good drainage is paramount for healthy seedlings; it is how excess water escapes the soil, preventing waterlogged roots and fungal issues. Take your cardboard shoebox and, using scissors or a utility knife, carefully punch or cut several small holes (about 1/4 to 1/2 inch in diameter) in the bottom. Aim for 4-6 holes, evenly spaced. These holes prevent water from accumulating, ensuring your seeds do not sit in soggy soil, which can lead to “damping-off” disease. You can also line the bottom with newspaper or a paper towel before adding soil to further aid wicking excess moisture, though this is optional if you have sufficient drainage holes. -
Fill with Seed Starting Mix.
Place your prepared shoebox on a protected surface. Open your bag of seed starting mix. If the mix feels very dry, lightly pre-moisten it in a separate bucket or tray until it feels like a wrung-out sponge – damp, but not dripping. This ensures consistent moisture for germination. Now, fill your shoebox with the moistened mix, leaving about 1/2 to 1 inch of space from the top of the box. Gently firm the mix down with your hand or a small trowel to remove large air pockets, but do not compact it too heavily. The mix needs to remain light and airy for root development. -
Sow Your Seeds.
Read your seed packet for specific planting depth and spacing instructions. These directions are critical for optimal germination and growth. Generally, small seeds (like lettuce or herbs) require shallow planting, often just sprinkled on the surface and lightly covered with a thin layer of mix, about 1/8 to 1/4 inch deep. Larger seeds (like beans or peas) might need to be planted deeper, around 1/2 to 1 inch. You can sow seeds in rows or broadcast them (sprinkle them generally) across the surface, depending on your preference and the quantity of seeds. Aim for even distribution to avoid overcrowding. Overcrowding leads to competition for light and nutrients, weakening your seedlings. For apartment seed starting, less can often be more in a small shoebox. -
Water Gently.
After sowing, it is crucial to water without displacing the seeds. Use your spray bottle to gently mist the surface of the soil until it is thoroughly damp. Alternatively, you can bottom-water: place the shoebox in a shallow tray filled with about an inch of water. Let the soil absorb water from the bottom until the surface appears moist. This method prevents disturbance and encourages roots to grow downwards. Remove the shoebox from the water tray once the surface is damp. Always use room temperature water. -
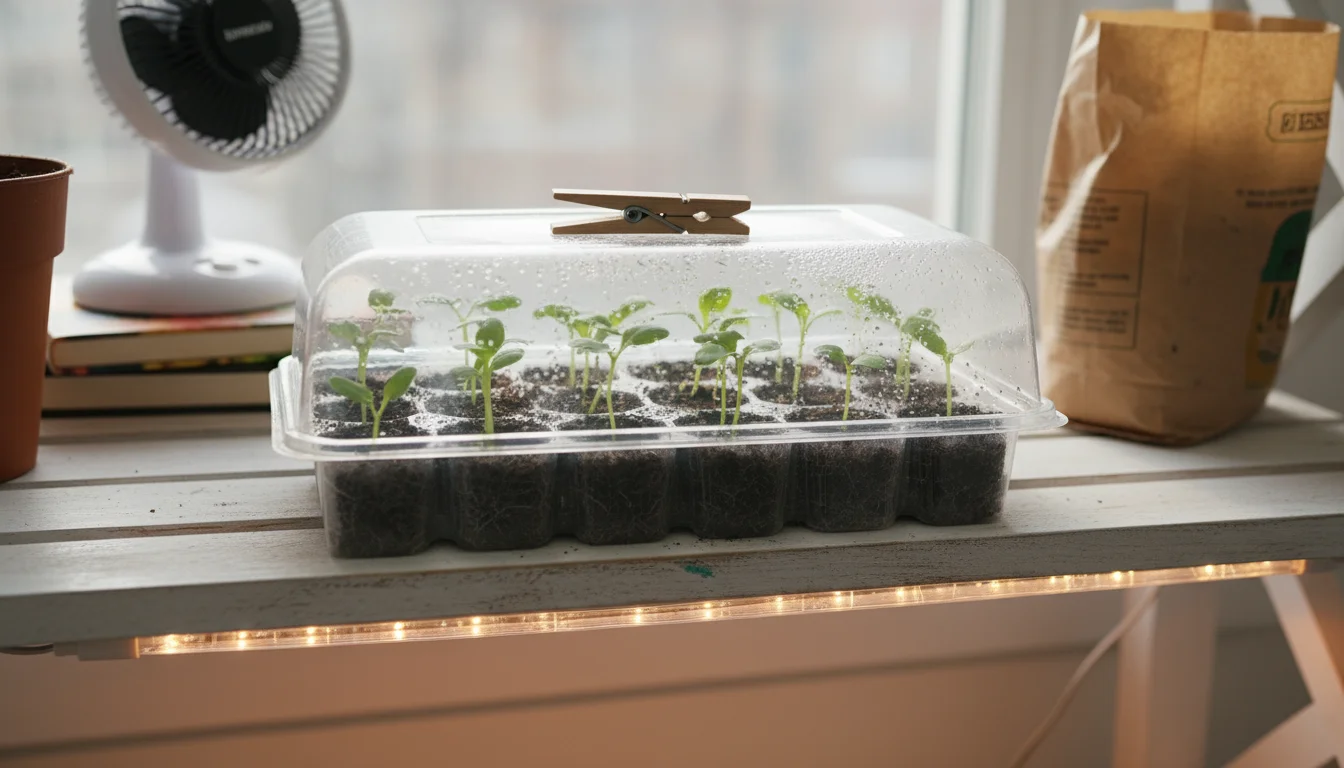
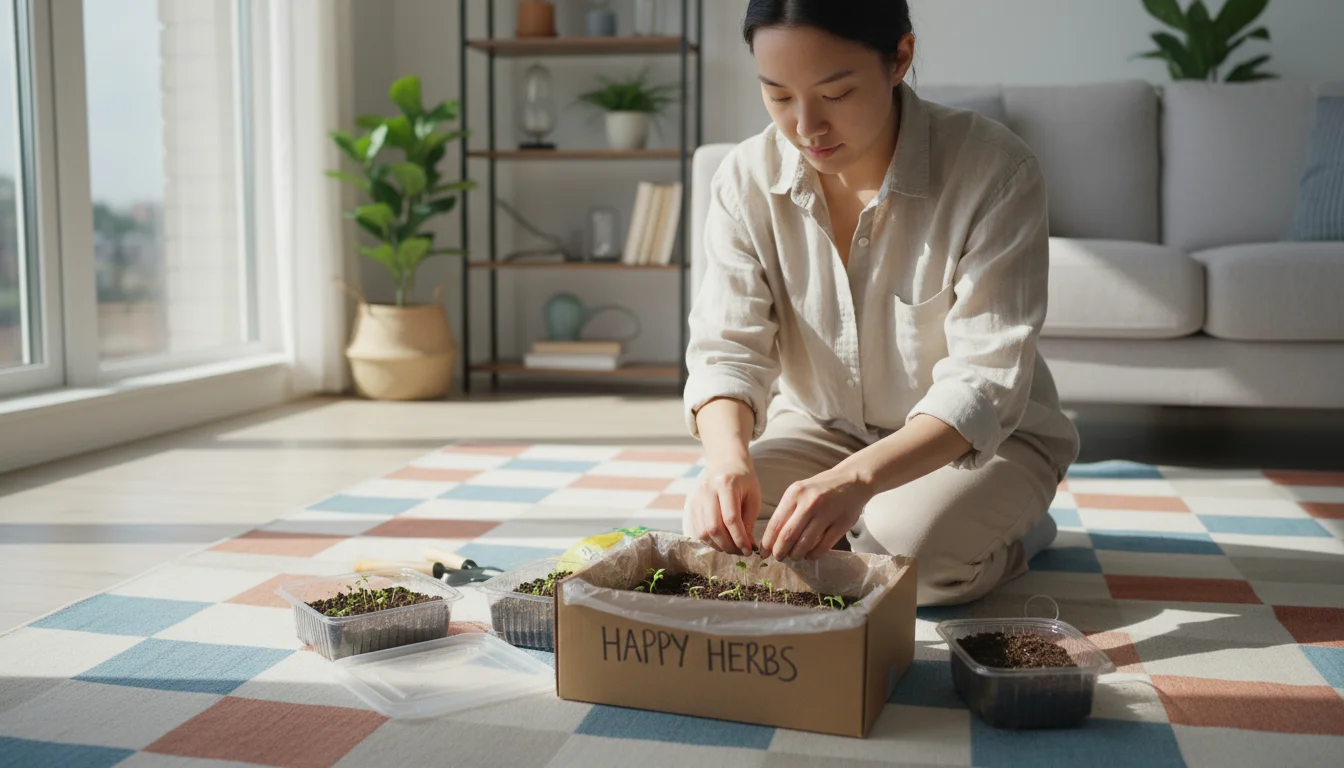
Cover for Humidity.
This step creates your mini-greenhouse. Carefully cover the top of the shoebox with your clear plastic wrap or plastic lid. Ensure it creates a relatively snug seal to trap humidity. The trapped moisture and warmth are vital for triggering germination. This covering simulates a greenhouse environment, providing the consistent conditions seeds need to sprout. You might notice condensation on the inside of the plastic; this is a good sign that your environment is maintaining high humidity. -
Provide Warmth and Light.
Place your covered shoebox in a warm location, ideally between 65-75°F (18-24°C), which is the optimal temperature range for most seed germination. A sunny windowsill is often sufficient for warmth, especially if it receives several hours of direct sunlight per day. However, seeds do not need light to germinate; they need warmth. Once seedlings emerge, they will require bright light. If your windowsill light is insufficient, consider supplementing with an inexpensive LED grow light or positioning the box under a bright fluorescent fixture. Consistent, moderate warmth significantly boosts germination rates. -
Label Your Plants.
Immediately after planting, use your chosen labeling system to clearly mark what you have sown in each section of the shoebox. Include the plant name and the date planted. This simple step prevents confusion later and helps you track germination times and growth rates for future reference. Knowing what you have grown is crucial for successful gardening, whether you are a seasoned expert or just beginning your low budget seed starting ideas.
By following these steps, you build a robust foundation for your DIY seed starting project. You have created an ideal, cost-effective environment for your seeds to thrive, ready to embark on their journey from tiny speck to vibrant seedling.

Selecting the Right Seeds for Your Shoebox Garden
Choosing the correct seeds is paramount for success, especially when working within the confines of a shoebox and an apartment. Not all plants are created equal in terms of their suitability for small spaces and initial seed starting. Focus on varieties known for their compact growth, fast maturation, and good performance in containers. This strategic selection is key for effective seed starting in a small apartment.
If you are looking for a quick win, consider growing radishes in a pot as they are among the fastest seeds to transition from your shoebox to a final harvest.
Compact and Fast-Growing Varieties are Your Best Friends
For your shoebox nursery, prioritize seeds that will not quickly outgrow their initial quarters and that mature relatively quickly. These include:
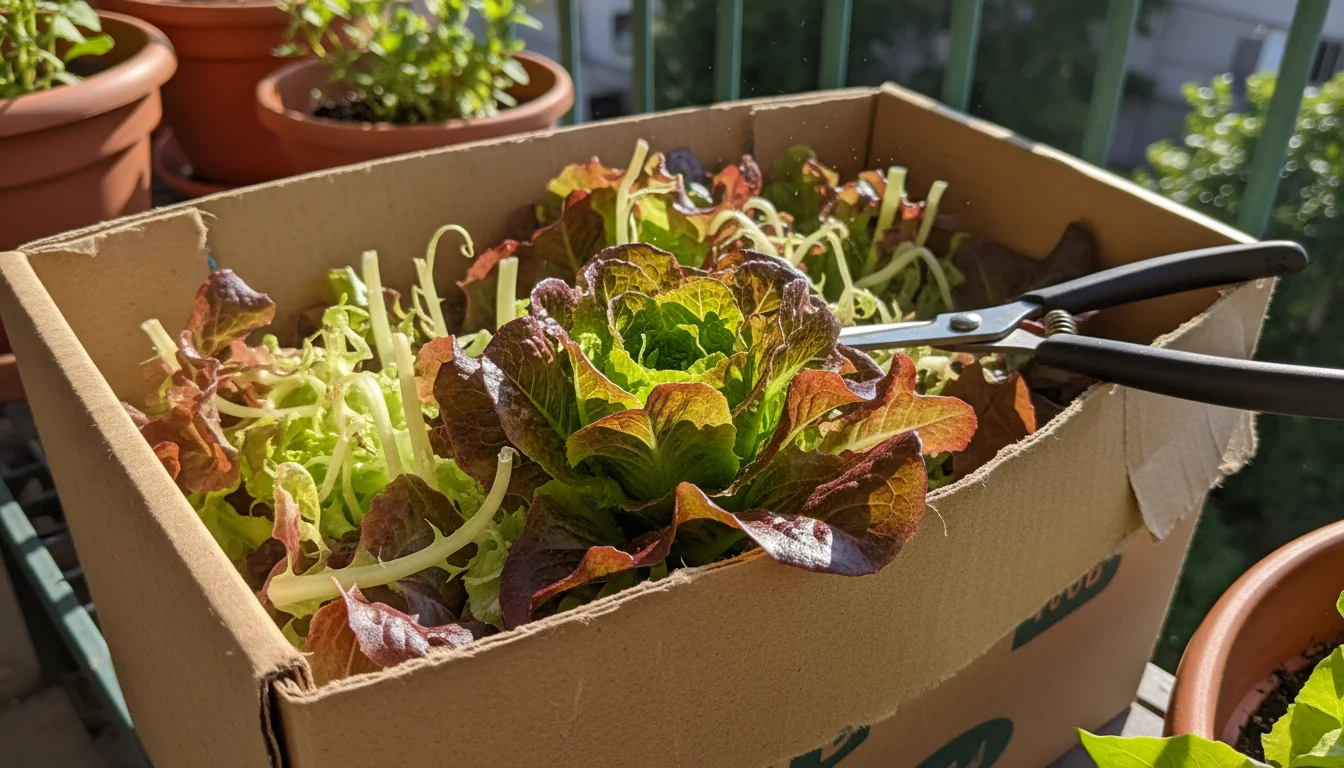
- Leafy Greens: Lettuce (especially loose-leaf varieties like ‘Black Seeded Simpson’ or ‘Red Salad Bowl’), spinach, arugula, and mesclun mixes are excellent choices. They germinate quickly, do not require deep roots, and you can often harvest them as “cut-and-come-again,” meaning you cut the outer leaves and the plant regrows. This makes them perfect for continuous harvests from a small space.
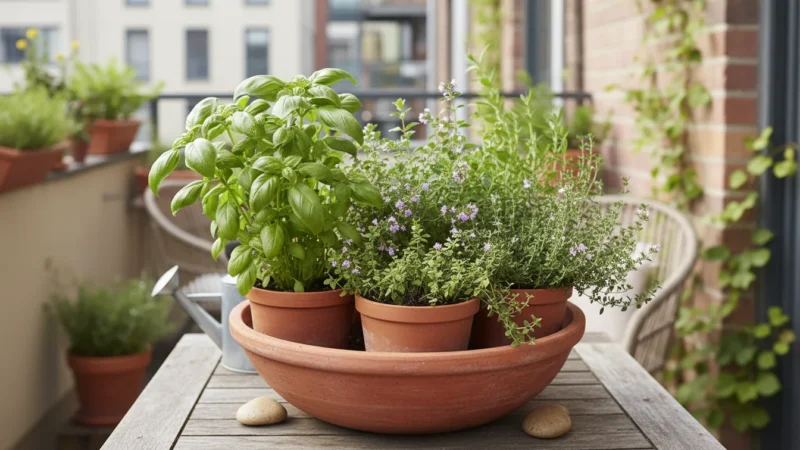
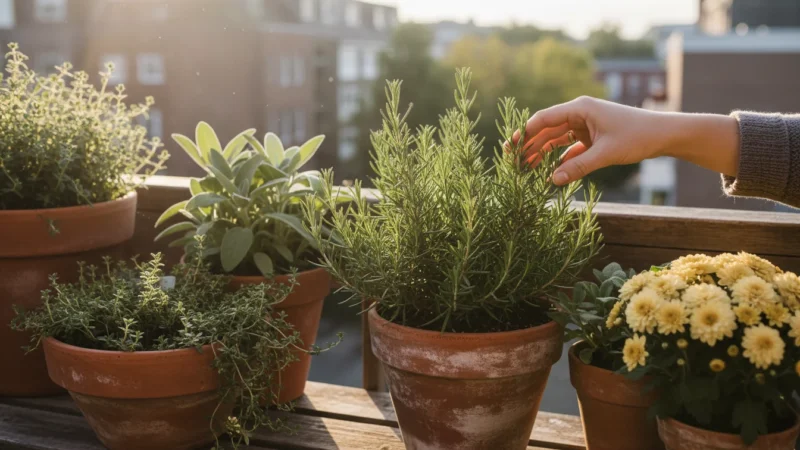
- Herbs: Basil, cilantro, dill, chives, and parsley are all fantastic candidates. Many herbs are compact and thrive in small containers. Starting them from seed gives you a continuous supply for your kitchen. Basil, for instance, germinates reliably and grows vigorously.
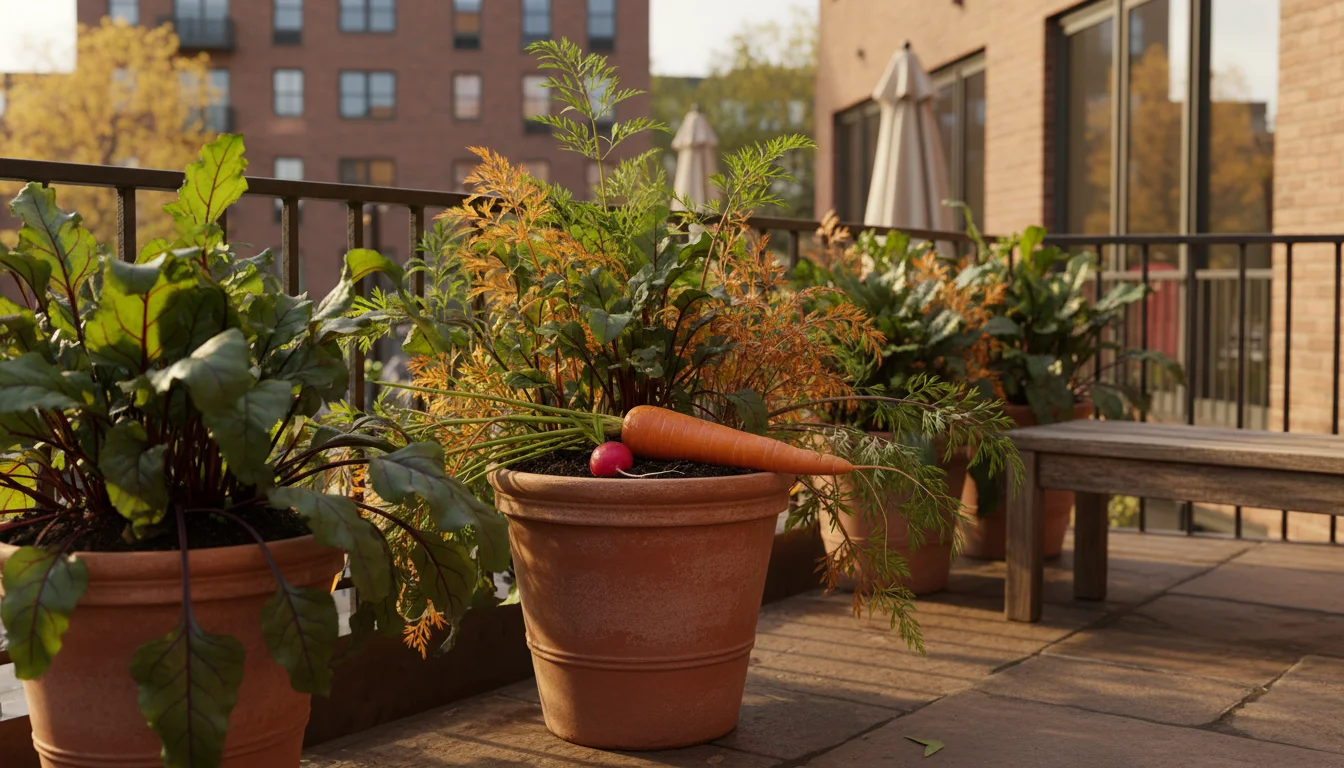
- Radishes: These root vegetables are surprisingly good for seed starting in a shoebox. They germinate quickly, often within 3-7 days, and mature rapidly, sometimes ready for harvest in just 3-4 weeks. Their small size makes them manageable.
- Bush Beans and Peas: Look for “bush” varieties, not pole varieties, as they are compact and do not require trellising. These grow a bit larger than other shoebox candidates, but you can start them here before transplanting to a larger container.
- Small Flowers: Marigolds, calendula, nasturtiums (bush varieties), and dwarf zinnias are easy to start from seed and add beauty to your small space. They also attract pollinators if you move them outdoors later.
Factors to Consider When Buying Seeds
When you are at the nursery or browsing online for your apartment seed starting project, keep these points in mind:
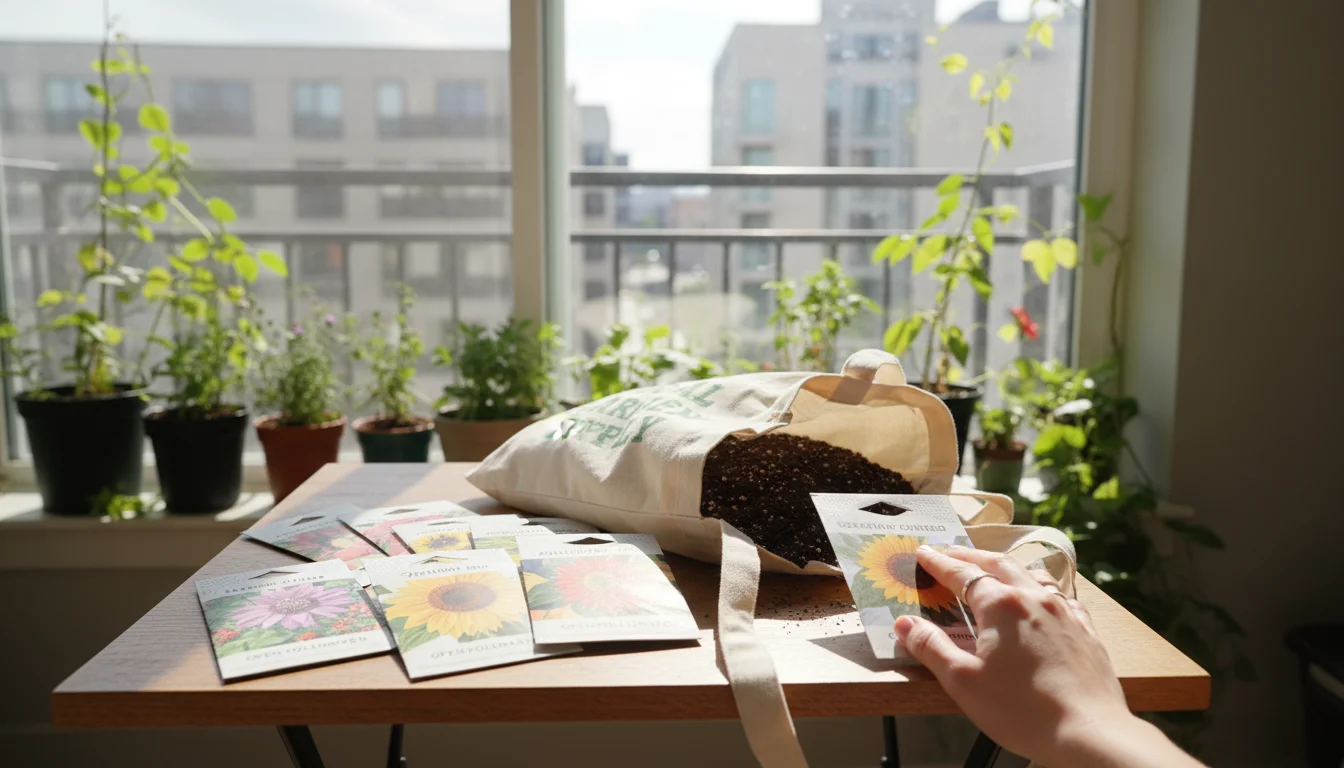
- Seed Viability/Expiration Date: Always check the packet for the “packed for” or “use by” date. Fresher seeds generally have higher germination rates. Older seeds might still sprout, but the percentage of success decreases significantly with age.
- Organic and Non-GMO: If sustainability and healthy eating are priorities for you, choose organic and non-GMO seeds. This ensures your plants start off on the right foot, free from certain chemical treatments or genetic modifications. Many companies offer a wide selection of these options.
- Seed Type (Open-Pollinated vs. Hybrid): Open-pollinated seeds will produce plants that are true to type if you save seeds from them. Hybrid seeds (F1) often offer specific desirable traits but will not reliably produce identical offspring if you save and replant their seeds. For beginners, either is fine, but knowing the difference informs your seed-saving decisions.
- Container Suitability: Some seed packets will specifically mention if the variety is suitable for containers. This is a helpful indicator for your small space gardening hacks.
By selecting seeds thoughtfully, you maximize your chances of success and ensure your efforts lead to a productive and enjoyable shoebox garden. Starting with reliable, well-suited seeds lays the groundwork for a bountiful harvest, even when you are working with limited room.
Essential Care: Nurturing Your Shoebox Seedlings
Once your seeds germinate and tiny green shoots emerge, the true work of nurturing begins. These delicate seedlings require consistent care to grow into strong, healthy plants ready for transplanting. Pay close attention to these vital aspects of seedling care within your shoebox environment.
Light Requirements: The Power Source
Light is the fuel for your growing seedlings. After germination, they need bright, consistent light for at least 12-16 hours per day. Insufficient light is the primary reason seedlings become “leggy” – tall, spindly, and weak – as they stretch excessively towards a distant light source. You have a few options for providing adequate light for your apartment seed starting:
- Sunny South-Facing Window: If you have a window that receives direct sunlight for several hours each day, this can work. Rotate your shoebox daily to ensure all sides of the seedlings receive light, preventing them from leaning too much in one direction. However, even the brightest window often struggles to provide enough intensity for truly robust growth, especially during shorter winter days.
- Supplemental Grow Lights: For the best results and to prevent leggy seedlings, consider an inexpensive LED grow light or fluorescent shop light. Position the light source just a few inches (2-4 inches) above the tops of your seedlings. As the seedlings grow, adjust the light upwards to maintain this distance. Timers are invaluable for ensuring consistent light duration without constant manual intervention. This small investment makes a huge difference in seedling vigor.
Watering Wisdom: Finding the Right Balance
Proper watering is critical. Too much water leads to root rot and damping-off disease, while too little causes wilting and stunted growth. The goal is consistently moist, but not soggy, soil. Since your shoebox has drainage holes, this is easier to achieve.
- Bottom Watering: Once seedlings emerge, bottom watering is often the best approach. Place your shoebox in a shallow tray with an inch or two of water. Allow the soil to soak up water from the bottom until the top surface appears damp. This encourages deeper root growth and prevents disturbing delicate seedlings. Remove the box from the water once saturated.
- Misting: For very young seedlings, continue to mist the soil surface with a spray bottle, especially if you notice the top layer drying out. Avoid heavy overhead watering that can flatten seedlings or splash soil.
- Check Soil Moisture: Feel the soil regularly. If the top inch feels dry, it is time to water. Do not wait for seedlings to wilt dramatically.
Temperature and Air Circulation: Maintaining a Healthy Environment
Most seedlings thrive in temperatures between 60-70°F (15-21°C) once germinated, slightly cooler than germination temperatures. Avoid extreme temperature fluctuations. Good air circulation is also vital to prevent fungal diseases. After most of your seeds have germinated, you can begin to gradually introduce more airflow. Crack the plastic lid or slightly lift the plastic wrap for an hour or two each day. As seedlings grow, remove the cover completely for increasing periods. A small oscillating fan running on a low setting nearby can also strengthen stems by gently swaying the seedlings, mimicking outdoor breezes, but ensure it does not dry out the soil too quickly.

Thinning: Making Room to Grow
If you sowed your seeds densely, you will likely have too many seedlings competing for resources. Thinning is a hard but necessary step. Once your seedlings develop their first set of “true leaves” (the second set of leaves that appear after the initial seed leaves), carefully snip off the weaker, smaller seedlings at the soil line with small scissors. Aim to leave the strongest seedlings spaced appropriately for their mature size. For example, lettuce might need 2-4 inches between plants, while basil could be 6 inches apart. This ensures your remaining plants receive enough light, nutrients, and space to flourish, leading to stronger, more productive plants.
By providing diligent care, you empower your shoebox seedlings to transition from fragile sprouts to vigorous young plants. This hands-on attention is a rewarding part of your DIY seed starting journey.
Troubleshooting Common Challenges in Apartment Seed Starting
Even with the best intentions and careful planning, you might encounter a few hurdles during your apartment seed starting adventure. Do not be discouraged; many common issues have simple solutions. Understanding these challenges helps you act quickly to save your seedlings and learn for future plantings.
-
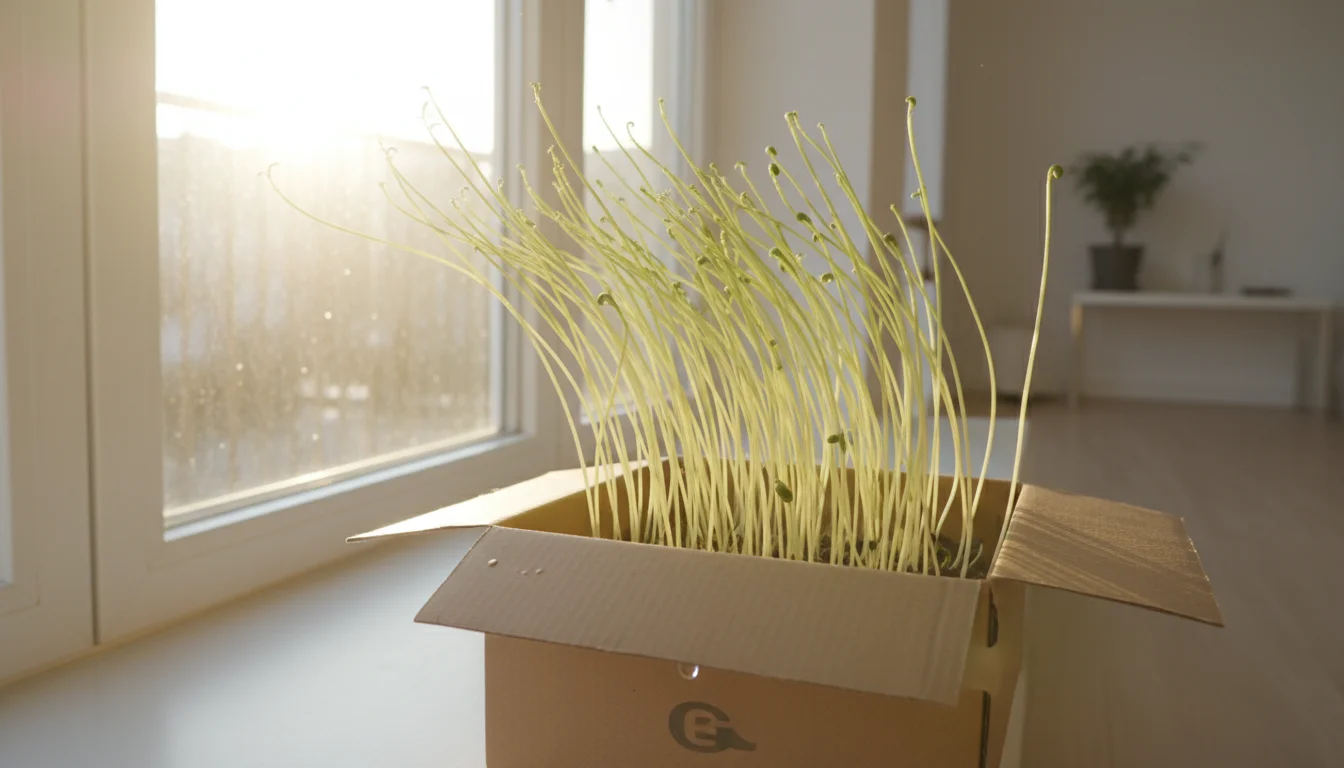
Leggy Seedlings: Tall, Thin, and Weak.
This is one of the most common problems for indoor seed starting. Leggy seedlings appear stretched, with long, thin stems and small leaves.
Cause: Insufficient light. The seedlings are literally stretching to find a brighter light source.
Solution: Increase light intensity and duration. If using a windowsill, move your shoebox to the brightest possible location, preferably south-facing, and rotate it daily. Better yet, introduce a supplemental LED grow light positioned just a few inches above the seedling tops. Ensure the light is on for 12-16 hours a day. You can also gently brush the tops of the seedlings with your hand daily; this subtle disturbance encourages stronger, stockier growth by simulating wind. If they are very leggy, you might need to transplant them deeper into new soil, burying part of the stem, when they develop true leaves. -
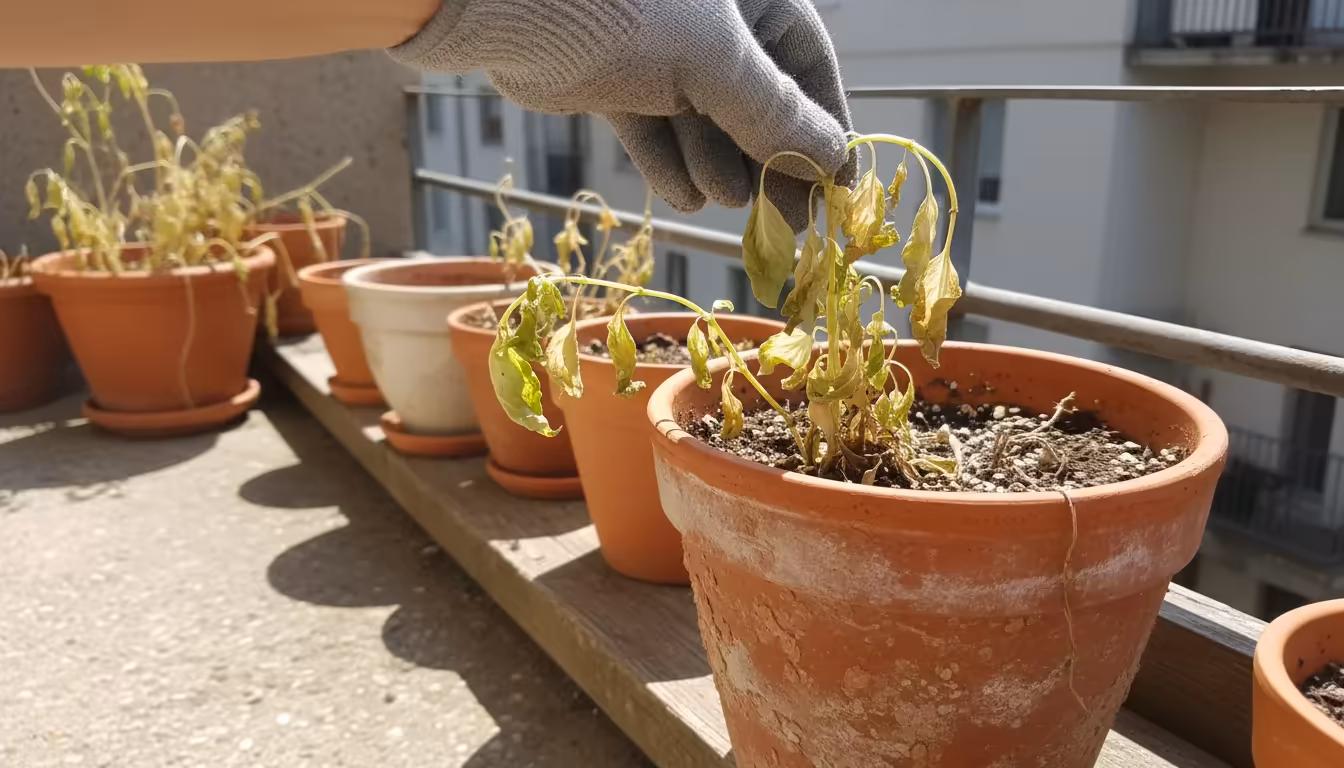
Damping-Off Disease: Seedlings Collapse at Soil Line.
This disheartening fungal disease causes healthy-looking seedlings to suddenly wilt and fall over at the soil line, seemingly overnight.
Cause: Overwatering, poor air circulation, or unsterile seed starting mix. The damp, stagnant conditions promote fungal growth.
Solution: Preventative measures are key. Always use a sterile, well-draining seed starting mix. Ensure your shoebox has adequate drainage holes. Avoid overwatering; let the top inch of soil dry slightly before watering again. Increase air circulation by lifting the plastic cover daily or using a small fan on a low setting. If it appears, carefully remove affected seedlings and their surrounding soil, as the fungus spreads quickly. -
Lack of Germination: No Sprouts After Expected Time.
You have waited patiently, but nothing has appeared.
Cause: Old or non-viable seeds, incorrect planting depth, improper temperature, or inconsistent moisture.
Solution: First, check the seed packet for the expected germination time and ensure your seeds are not past their viability date. Verify that you planted at the correct depth. Ensure the soil is consistently moist but not waterlogged, and that the temperature is within the recommended range for the specific seeds. Some seeds also require light for germination, while others need darkness; double-check your seed packet. Patience is also a factor; some seeds take longer than others. -
Yellowing Leaves: A Sign of Distress.
Seedling leaves turn yellow.
Cause: Often a sign of nutrient deficiency (though less common in fresh seed starting mix), or more frequently, overwatering or underwatering.
Solution: Check your watering routine. If the soil is consistently wet, reduce watering and ensure drainage. If it is too dry, water thoroughly. While seed starting mix does not have many nutrients, young seedlings usually have enough stored energy for their first few weeks. If true leaves are yellowing after several weeks, it might be time to gently apply a very diluted, organic liquid fertilizer or prepare for transplanting into a more nutrient-rich potting mix. -
Fungus Gnats: Tiny Flying Pests.
Small, dark, flying insects hovering around your seedlings. While generally harmless to established plants, their larvae can damage delicate seedling roots.
Cause: Overly wet soil, which attracts them to lay eggs.
Solution: Allow the top inch of soil to dry out between waterings. This often disrupts their breeding cycle. You can also place sticky traps near the shoebox to catch adult gnats. For severe infestations, consider using beneficial nematodes or a very diluted neem oil spray, ensuring it is safe for young seedlings.
Addressing these common problems quickly will keep your DIY seed starting project on track. Remember, every challenge is a learning opportunity that strengthens your gardening skills.
Transplanting Your Thriving Seedlings: Moving Beyond the Shoebox
Congratulations! Your shoebox full of tiny sprouts has grown into robust young seedlings. The next crucial step in your apartment seed starting journey is transplanting them into larger, individual containers or directly into their final garden spot. This process requires careful handling to minimize stress on your plants and ensure their continued growth.
Before moving your tender plants to their permanent outdoor home, be sure to follow a balcony hardening off guide to protect them from harsh urban winds.
When to Transplant: Look for True Leaves
The best time to transplant seedlings is when they have developed their first set of “true leaves.” These are the leaves that appear after the initial “cotyledons” or seed leaves. Cotyledons are embryonic leaves that often look different from the plant’s mature leaves. True leaves indicate that the seedling has developed a root system capable of supporting further growth and is ready to absorb nutrients from a more substantial potting mix. Typically, seedlings are ready for transplanting when they are 2-4 inches tall, depending on the plant type, and the shoebox environment starts to feel a bit crowded.
Hardening Off: Preparing for the Outdoors
If your seedlings are destined for an outdoor life on a balcony, patio, or garden bed, they need a gradual transition known as “hardening off.” This process acclimates them to outdoor conditions – stronger sunlight, wind, and fluctuating temperatures – to prevent shock. Failure to harden off can result in wilting, stunted growth, or even death of your tender plants. Hardening off typically takes 7-14 days.
- Start Gradually: Begin by placing your shoebox of seedlings outdoors in a sheltered, shady spot for just 1-2 hours on the first day.
- Increase Exposure: Each day, gradually increase the time your seedlings spend outdoors and expose them to slightly more sun and wind. Move them to an area with partial sun for a few hours, then eventually full sun.
- Monitor Conditions: Bring them indoors if extreme weather is expected (heavy rain, strong winds, or temperatures below 50°F / 10°C).
- Reduce Water: Slightly reduce watering during the hardening-off period to encourage stronger root growth, but do not let them completely dry out.
After 7-14 days of this gradual acclimatization, your seedlings are ready for permanent outdoor placement.
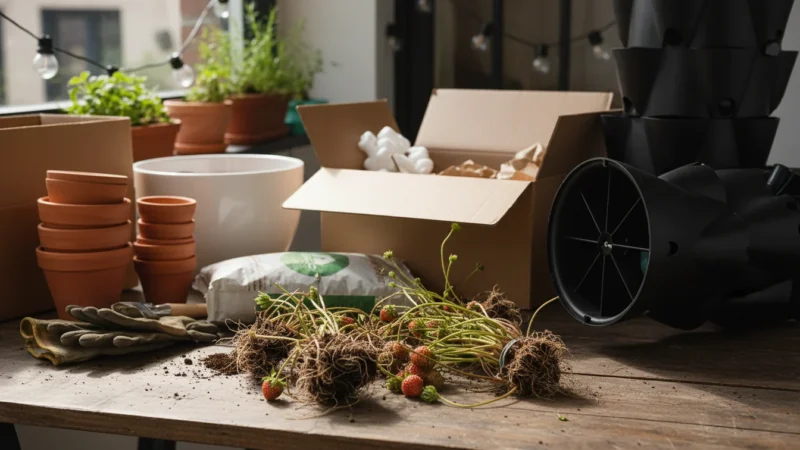
The Transplanting Process: Gentle Hands
- Prepare New Containers: Fill your new pots (which should be 4-6 inches in diameter for most herbs and greens) with a good quality potting mix. Water the mix thoroughly so it is evenly moist. This provides a welcoming environment for your seedling.
- Water Seedlings: Lightly water the shoebox seedlings about an hour before transplanting. This makes the soil cohesive and helps the root ball stay intact, reducing transplant shock.
- Handle Carefully: Using a small spoon, a dull knife, or a specialized seedling tool, gently loosen the soil around a seedling. Carefully lift the seedling by its leaves or the root ball, never by the delicate stem, which can easily break or get crushed.
- Place in New Pot: Create a small hole in the center of the new pot’s soil. Carefully place the seedling into the hole, ensuring it is at the same depth it was in the shoebox, or slightly deeper if it is a leggy seedling (burying part of the stem will encourage new root growth along the buried portion).
- Firm the Soil: Gently firm the soil around the seedling with your fingers, ensuring good contact between the roots and the new potting mix. Do not pack too tightly.
- Water Again: Water the newly transplanted seedling immediately. This helps settle the soil around the roots and eliminates air pockets.
- Provide Initial Shelter: For the first few days after transplanting, keep your seedlings in a slightly shadier, protected spot to allow them to recover from the stress of transplanting. Gradually move them to their final desired location.
Transplanting is a critical step that ensures your small space gardening hacks continue to thrive. With a little care, your shoebox-started seedlings will transition smoothly to their new homes, ready to produce a bountiful harvest or vibrant blooms.
Embracing Sustainability with Your Low-Cost Seed Starting
The ‘Shoebox Method’ inherently aligns with environmentally conscious gardening, making it an excellent choice for those who prioritize sustainability. Your approach to DIY seed starting can extend beyond just using a cardboard box; you can integrate other eco-friendly practices to further reduce your environmental footprint and promote a healthier planet. This is more than just low budget seed starting ideas; it is a commitment to responsible gardening.
To complete your eco-friendly cycle, you can also explore composting in small spaces to turn your kitchen scraps into rich soil for your next round of seeds.

Reduce, Reuse, Recycle: The Core of the Method
- Reusing Materials: The most obvious sustainable aspect is the reuse of cardboard shoeboxes. Instead of contributing to landfill waste, you are giving a common household item a new, productive life. Extend this principle to other materials. Can you use plastic containers from yogurt or takeout as smaller individual pots for transplanting? Can you repurpose clear plastic clamshell containers as mini greenhouse domes? Every item you reuse is one less new item consumed.
- Avoiding Single-Use Plastics: Traditional seed starting often involves numerous small plastic cells and trays, many of which are discarded after a season or two. By utilizing the shoebox method, you significantly reduce your reliance on these single-use plastic products, opting for biodegradable cardboard instead. This reduction in plastic waste is a tangible benefit for the environment.
Smart Sourcing and Resource Management
- Homemade Seed Starting Mix: While buying commercial seed starting mix is convenient, consider making your own. A common recipe involves equal parts coco coir (a sustainable alternative to peat moss), vermiculite, and perlite. This gives you control over the ingredients, often costs less in the long run, and reduces packaging waste. Ensure your coco coir is ethically sourced.
- Water Conservation: The enclosed nature of the shoebox method, with its plastic cover, helps to retain moisture, meaning you might water less frequently than with open trays. When watering, practice bottom watering or gentle misting to prevent waste and ensure water reaches the roots efficiently. Collecting rainwater for your plants is another excellent eco-friendly practice.
- Compost Spent Soil and Plant Matter: After your seedlings have moved on, do not throw away the used seed starting mix. If it is disease-free, you can add it to your compost bin, enriching your future garden soil. Similarly, any thinned seedlings or plant trimmings can go into your compost, closing the loop on your gardening waste.
Supporting Local and Organic
- Buying Organic Seeds: Opting for organic, open-pollinated seeds supports sustainable agriculture and biodiversity. Organic seeds are produced without synthetic pesticides or fertilizers, and open-pollinated varieties allow you to save seeds for future seasons, reducing your reliance on purchasing new seeds each year.
- Local Sourcing: When you purchase your seed starting mix or other supplies, try to buy from local garden centers. This supports local businesses and reduces the carbon footprint associated with long-distance transportation of goods.
The shoebox method is more than just a technique; it is a philosophy that encourages mindful, resourceful, and environmentally sound gardening. By integrating these sustainable practices into your apartment seed starting, you not only grow beautiful plants but also contribute positively to ecological health, demonstrating that impactful gardening does not require vast spaces or resources.
Frequently Asked Questions
What kind of shoebox works best for this method?
A standard cardboard shoebox, typically 12-14 inches long, 6-8 inches wide, and 4-6 inches deep, works perfectly. Ensure the cardboard is sturdy and clean, free from any strong dyes or chemical smells that could harm your delicate seedlings. You can use shoe boxes from adult shoes. Avoid very deep boxes, as they hold too much soil and can lead to overwatering issues; shallower boxes are better for seed starting.
How much light do my seedlings really need, and can I use just a window?
Once your seeds germinate and sprout, they need a significant amount of light, ideally 12-16 hours per day. A bright, south-facing window can work, but often, the light intensity is not enough, especially during winter months or in urban environments with obstructions. If your seedlings start to look long and leggy, stretching towards the light, you definitely need more light. Investing in an inexpensive LED grow light or a fluorescent shop light, positioned a few inches above your seedlings, provides much better results and ensures stocky, healthy growth. This is a common challenge in apartment seed starting.
When should I remove the plastic cover from my shoebox?
Keep the plastic cover on until a majority of your seeds have germinated and you see small sprouts emerging. The cover is essential for maintaining high humidity, which is critical for germination. Once most seeds have sprouted, gradually introduce airflow. Start by cracking the lid or lifting the plastic wrap for an hour or two daily. Over a few days, increase the time the cover is off. Once all seeds have germinated and seedlings are showing their first true leaves, you can remove the cover completely, provided you are diligent about checking soil moisture and maintaining appropriate humidity in the room. This transition prevents damping-off disease by improving air circulation.
My seedlings are getting very tall and thin, even with good light. What is wrong?
Even with good light, seedlings can still become leggy if they are too crowded, or if they are not experiencing enough “stress” to encourage stronger growth. First, check your light setup again; ensure it is close enough to the seedlings (2-4 inches) and on for long enough. If that is optimal, consider thinning your seedlings if they are planted too closely together; too much competition forces them to stretch. Additionally, gentle air movement can help. A small fan on a very low setting, gently rustling the leaves for a few hours a day, mimics outdoor breezes and helps strengthen stems. This slight physical stress encourages seedlings to grow stockier, not just taller.
Can I reuse the soil from my shoebox for another batch of seeds?
It is generally not recommended to reuse seed starting mix for new seeds, especially if you encountered any issues like damping-off disease or pest problems. Seed starting mix is designed to be sterile and light, reducing the risk of disease. Reusing it can introduce pathogens or pests, and the nutrient composition might be depleted. However, you can add the used seed starting mix (if it was disease-free) to your compost pile or mix it into outdoor garden beds or larger container plants, where it will add organic matter and improve soil structure. This aligns with a low budget seed starting idea by making the most of your resources, without risking new seedlings.
For trustworthy gardening information, visit:
Tennessee Extension — Gardening, University of Delaware Extension — Gardening, University of Vermont Extension — Gardening, University of New Hampshire Extension — Yard & Garden and University of Maine Cooperative Extension — Gardening. These organizations provide expert, research-based advice for gardeners at all levels.
Disclaimer: This article is for informational purposes only and is not a substitute for professional gardening advice. Always consult local extension services or horticulture experts for region-specific guidance.

Leave a Reply