
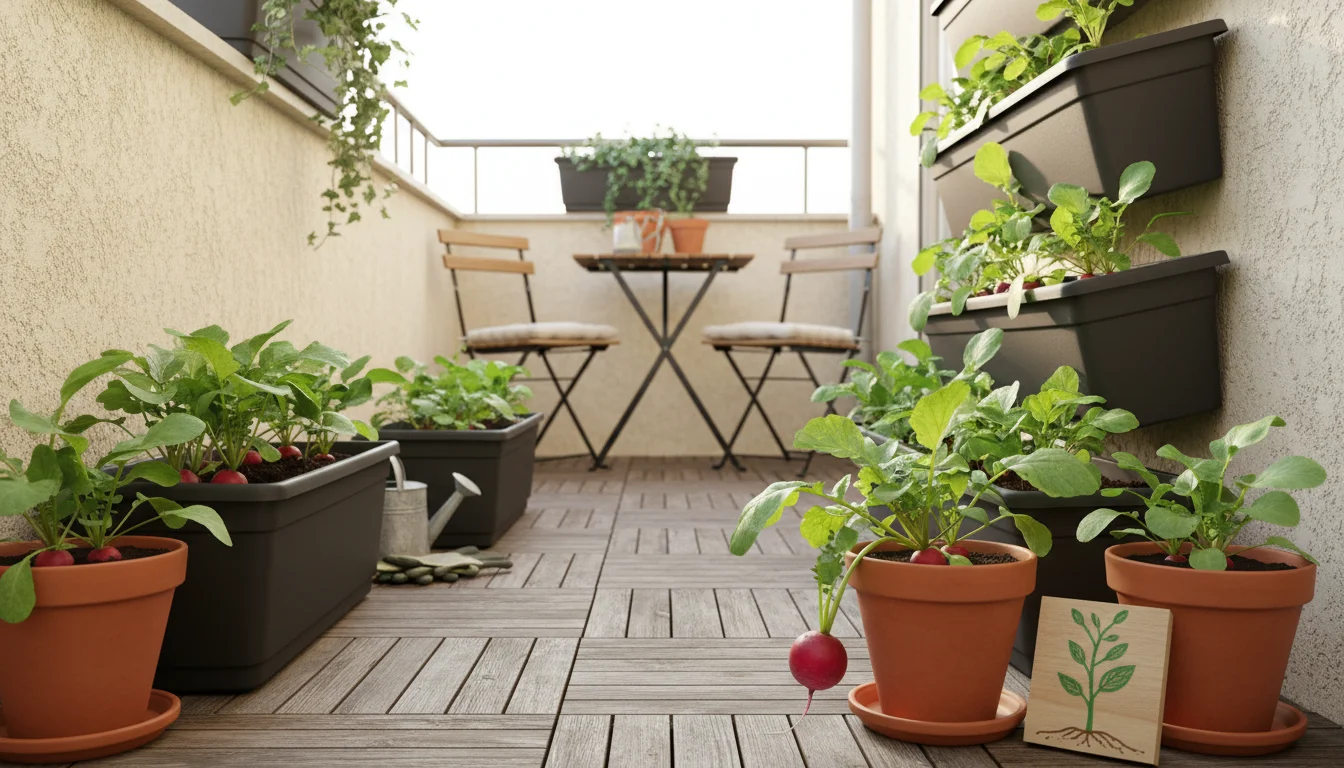
Imagine harvesting your very own fresh, crisp radishes in less than a month. It sounds almost too good to be true, especially if you have limited space on a balcony or patio.
But it is entirely possible, and even easy! Growing radishes in pots offers a rewarding, fast-growing vegetable experience perfect for beginners and seasoned small-space gardeners alike.
This guide shows you exactly how to achieve that quick harvest, boosting your gardening confidence with a tangible win.
Many aspiring gardeners feel intimidated by the perceived complexity or time commitment of growing vegetables. However, radishes defy these expectations.
They are one of the fastest growing vegetables, often ready to pick in 20-30 days from seeding. This makes them an ideal choice for spring container gardening, allowing you to enjoy homegrown produce early in the season.
You do not need a sprawling yard or extensive knowledge; just a few basic supplies, a sunny spot, and this step-by-step approach.
This article provides practical, actionable insights, ensuring you understand not just what to do, but why. We support our claims with clear explanations and concrete examples, addressing you directly as your personal gardening coach.
By following these instructions, you will soon enjoy the delicious satisfaction of biting into a radish you grew yourself.
Contents9 sections
- The Thrill of a 30-Day Harvest: Why Radishes Reign Supreme for Small Spaces
- Gather Your Gear: Essential Supplies for Potting Radishes
- Perfect Potting Mix: Building the Foundation for Fast Growth
- Planting Your Radish Seeds: Step-by-Step for Success
- Daily Care for Rapid Radishes: Watering, Sun, and Thinning
- Harvesting Your Homegrown Radishes: Knowing When and How to Pick
- Troubleshooting Common Radish Growing Issues
- Beyond the Bulb: Maximizing Your Balcony Radish Yields and Enjoyment
- Frequently Asked Questions
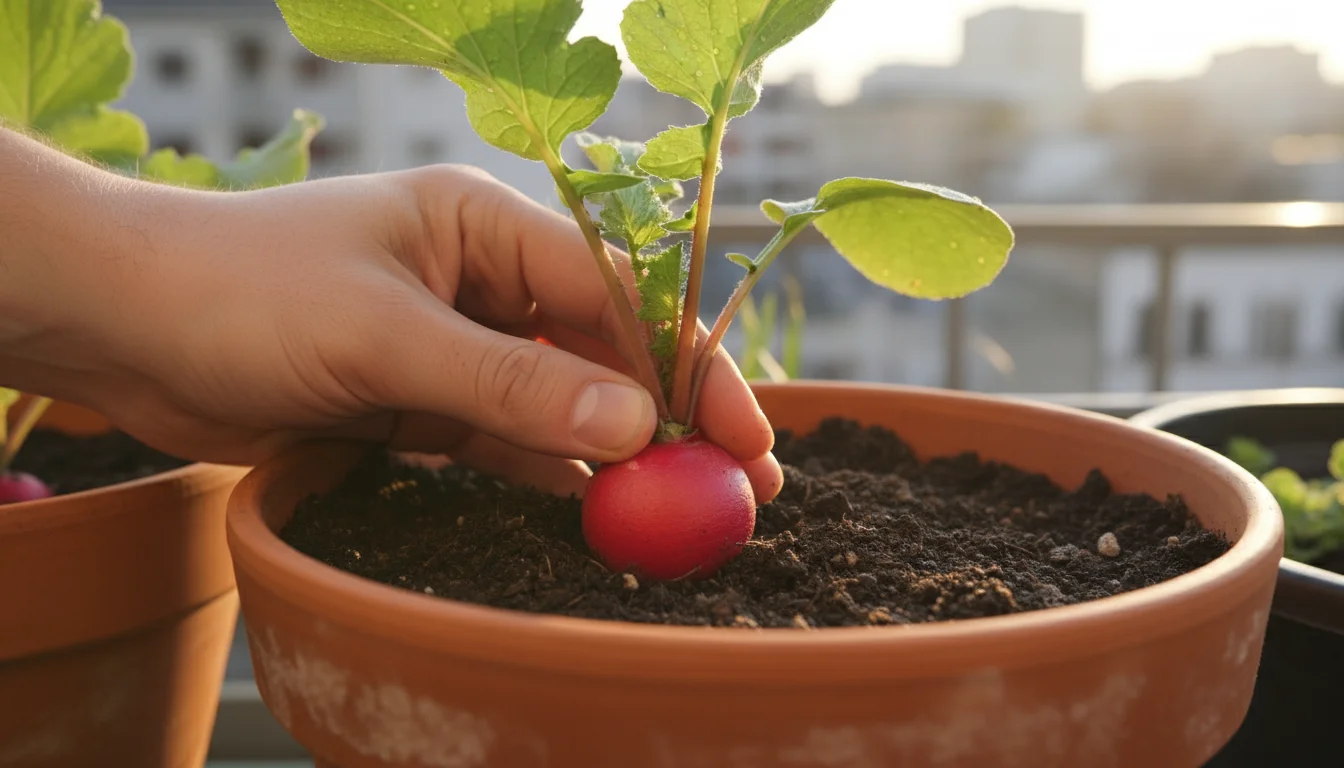
The Thrill of a 30-Day Harvest: Why Radishes Reign Supreme for Small Spaces
When you start your gardening journey, quick successes are powerful motivators. Radishes deliver exactly that.
Their rapid growth cycle means you see results quickly, fueling your enthusiasm and building confidence. This makes them one of the easiest vegetables for balcony beginners and an excellent choice for anyone interested in quick harvest vegetables for pots.
To build a complete home-grown salad, consider pairing your radishes with fast-growing salad greens that thrive in similar container environments.
Consider these compelling reasons why radishes should top your small-space gardening list:
- Unmatched Speed: Many radish varieties mature in 20-30 days. This means you can sow seeds at the beginning of the month and be enjoying your harvest by the end. No other common vegetable offers such a swift turnaround from seed to table. This rapid growth also allows for succession planting, enabling multiple harvests in a single spring season.
- Compact Nature: Radishes do not require much horizontal space. Their root grows downwards, and their leafy greens stay relatively small. This makes them perfect for various container sizes, from window boxes to deeper pots, fitting seamlessly into a small patio or balcony setup.
- Low Maintenance: Once planted, radishes demand minimal fuss. Consistent watering and adequate sunlight are the primary requirements. They do not typically suffer from complex pest issues or require intricate trellising. This simplicity is a huge advantage for new gardeners.
- Nutritional Punch: Beyond their quick growth, radishes offer health benefits. They are low in calories, high in Vitamin C, and contain antioxidants. The greens are also edible and packed with nutrients, offering a bonus harvest.
- Versatility in the Kitchen: From crisp additions to salads and sandwiches to pickling or roasting, radishes bring a delightful peppery crunch to many dishes. Growing your own ensures the freshest, most flavorful bulbs.
In essence, choosing radishes for your first container gardening project provides a high probability of success, a fast reward, and a delicious outcome. It sets the stage for further gardening adventures by proving that you can grow your own food, even with limited resources.
Gather Your Gear: Essential Supplies for Potting Radishes
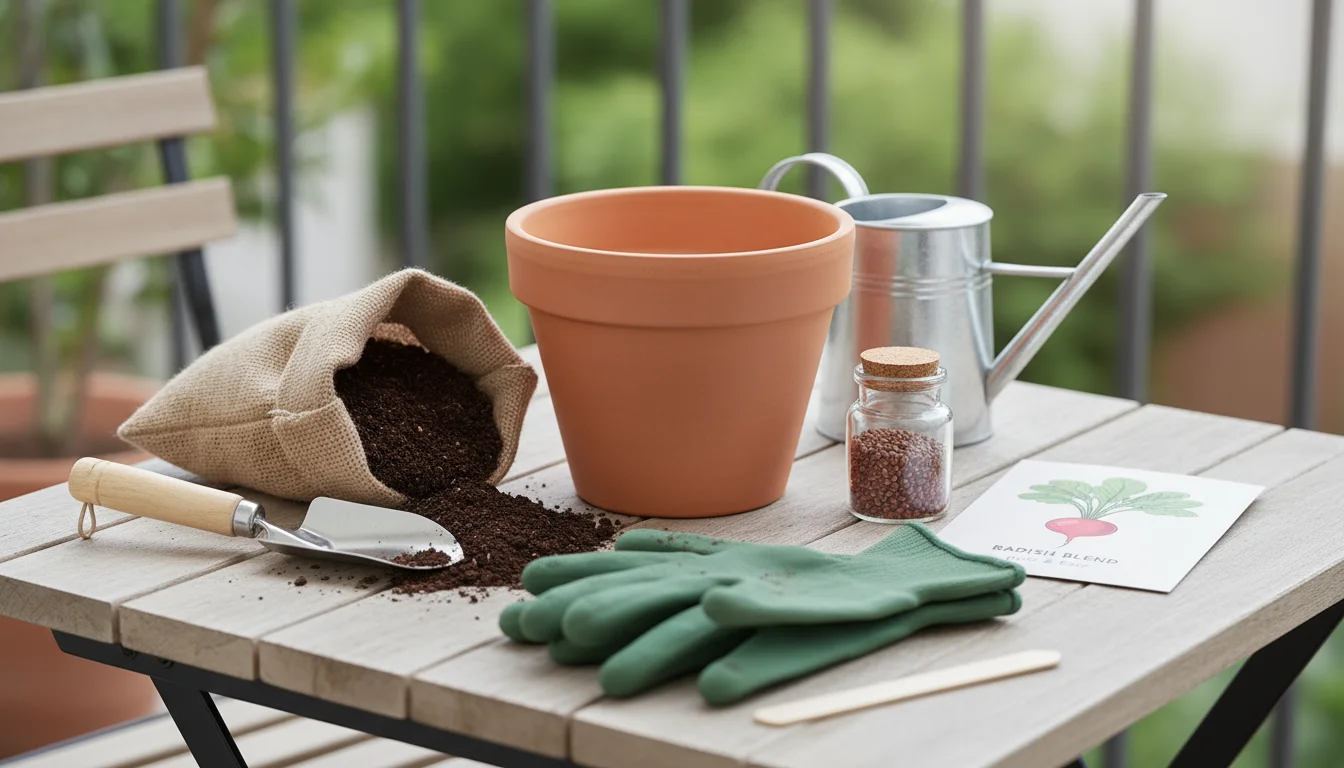
Successful radish growing starts with the right tools. You do not need a lot of specialized equipment, but choosing appropriate containers, soil, and seeds makes a significant difference.
Here is what you need to gather:
Setting up your containers correctly is vital, as avoiding common balcony garden mistakes will ensure your crops thrive from day one.
If you are planning your garden later in the year, you might also enjoy our guide to growing fall radishes in a window box.
1. Containers
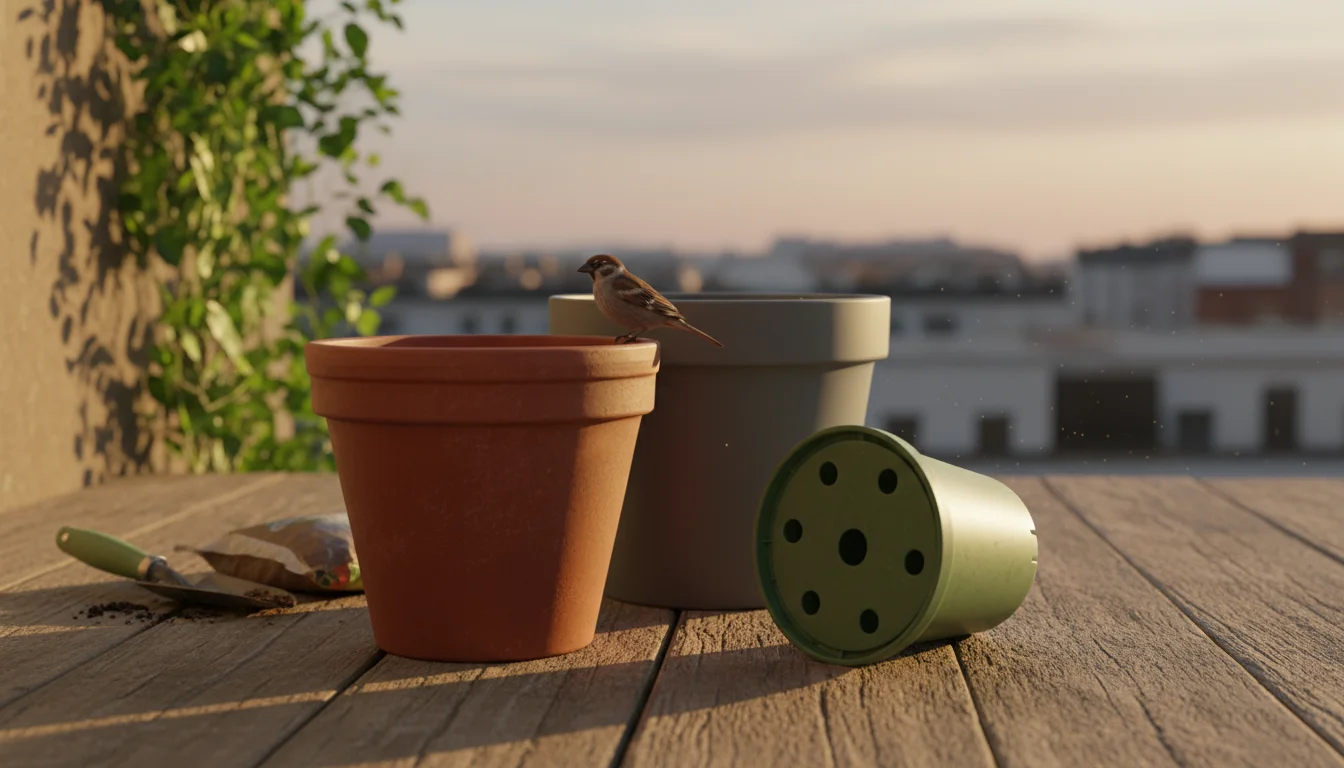
The right pot provides the necessary space for root development and ensures proper drainage. Here is what to look for:
- Size: Radishes are small, but their roots need room to swell. Choose pots that are at least 6 inches (15 cm) deep and wide. Deeper pots are generally better as they provide more consistent moisture and temperature for the developing root. You can grow multiple radishes in a wider pot.
- Material: Plastic, terracotta, ceramic, or even repurposed food-grade containers work well. Plastic pots retain moisture longer, which can be beneficial in hot climates. Terracotta pots breathe better, reducing the risk of waterlogging, but they dry out faster. Whatever material you choose, ensure it has good drainage holes.
- Drainage Holes: This is non-negotiable. Without drainage holes, water accumulates at the bottom, suffocating roots and leading to rot. If your chosen container lacks holes, you must create them. A drill works well for plastic or ceramic, or you can use a hammer and nail for plastic. Aim for several small holes rather than one large one for even drainage.
2. Potting Mix
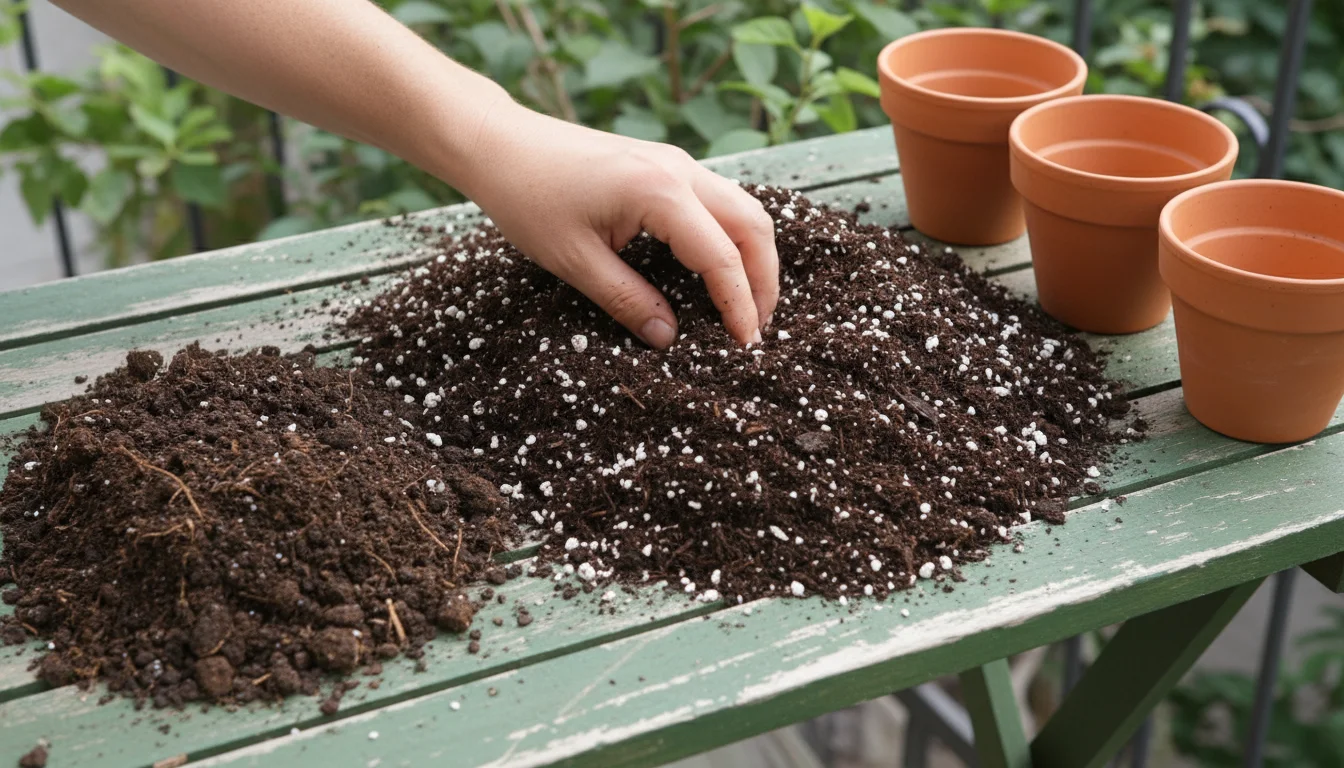
Your soil choice directly impacts radish growth. Do not use garden soil, which is often too dense for containers and can harbor pests or diseases.
- High-Quality Potting Mix: Look for a sterile, lightweight potting mix specifically formulated for containers. These mixes typically contain peat moss or coir, perlite or vermiculite for aeration, and sometimes a slow-release fertilizer. A good potting mix ensures excellent drainage, allowing water to pass through freely, and provides air pockets for healthy root growth.
- Avoid Garden Soil: Garden soil compacts easily in pots, restricting root development and leading to poor drainage. It also often contains weed seeds, pests, and pathogens not ideal for container environments.
3. Radish Seeds
Variety matters, especially for beginners.
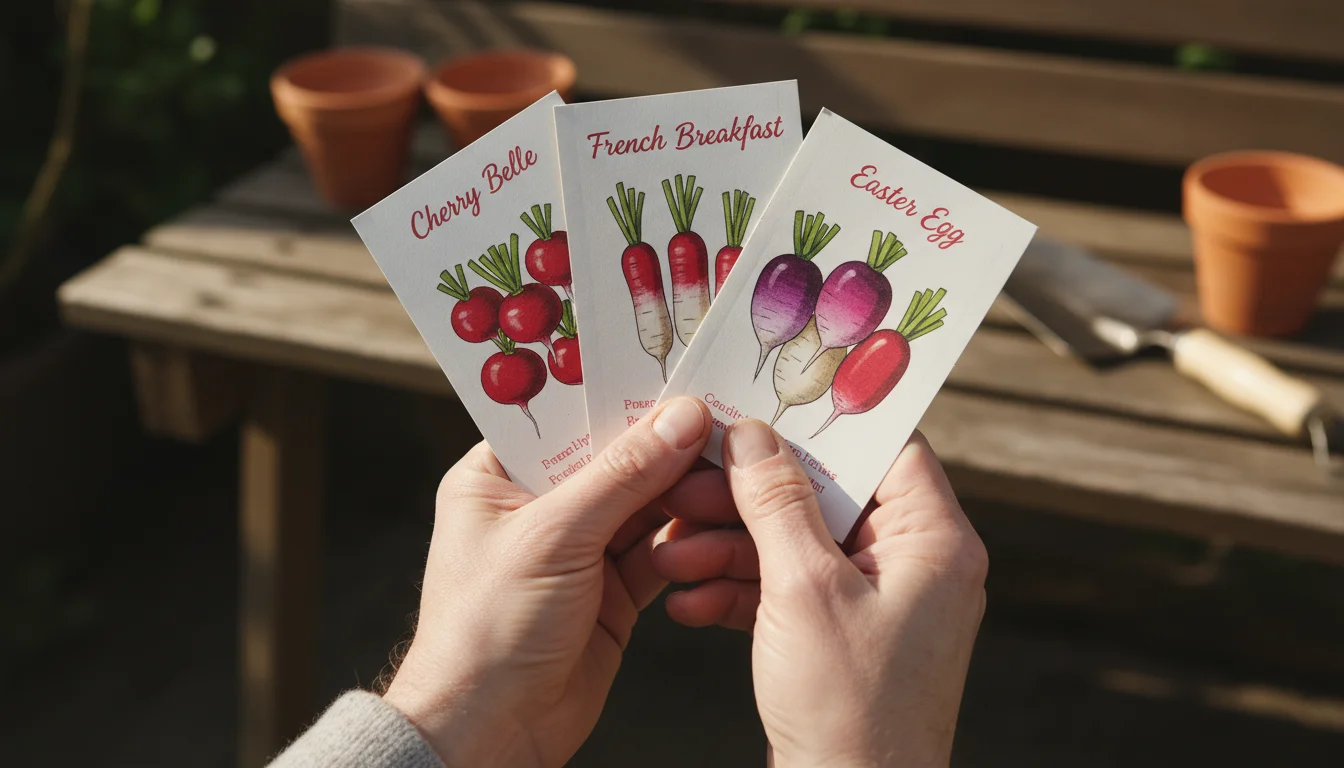
- Variety Selection: Look for “quick maturing” or “early harvest” varieties. Popular choices include ‘Cherry Belle,’ ‘French Breakfast,’ ‘Sparkler,’ or ‘Easter Egg.’ These varieties are known for their consistent growth and flavor. Purchase fresh seeds each year for the best germination rates.
4. Watering Can or Spray Bottle
Gentle watering is key for delicate seedlings.
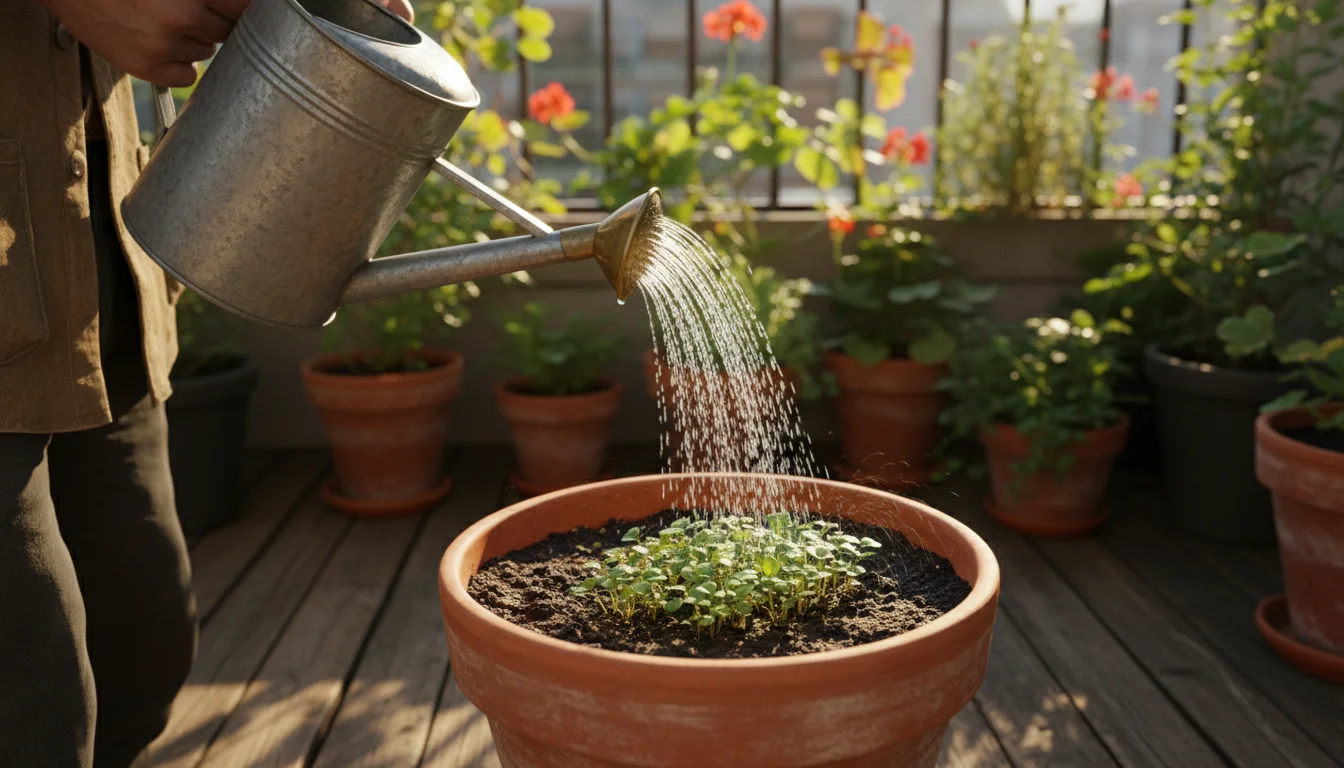
- Fine Rose Attachment: A watering can with a fine rose attachment disperses water gently, preventing soil and seeds from washing away. A spray bottle set to a mist setting also works well for initial watering.
5. Small Hand Trowel or Scoop
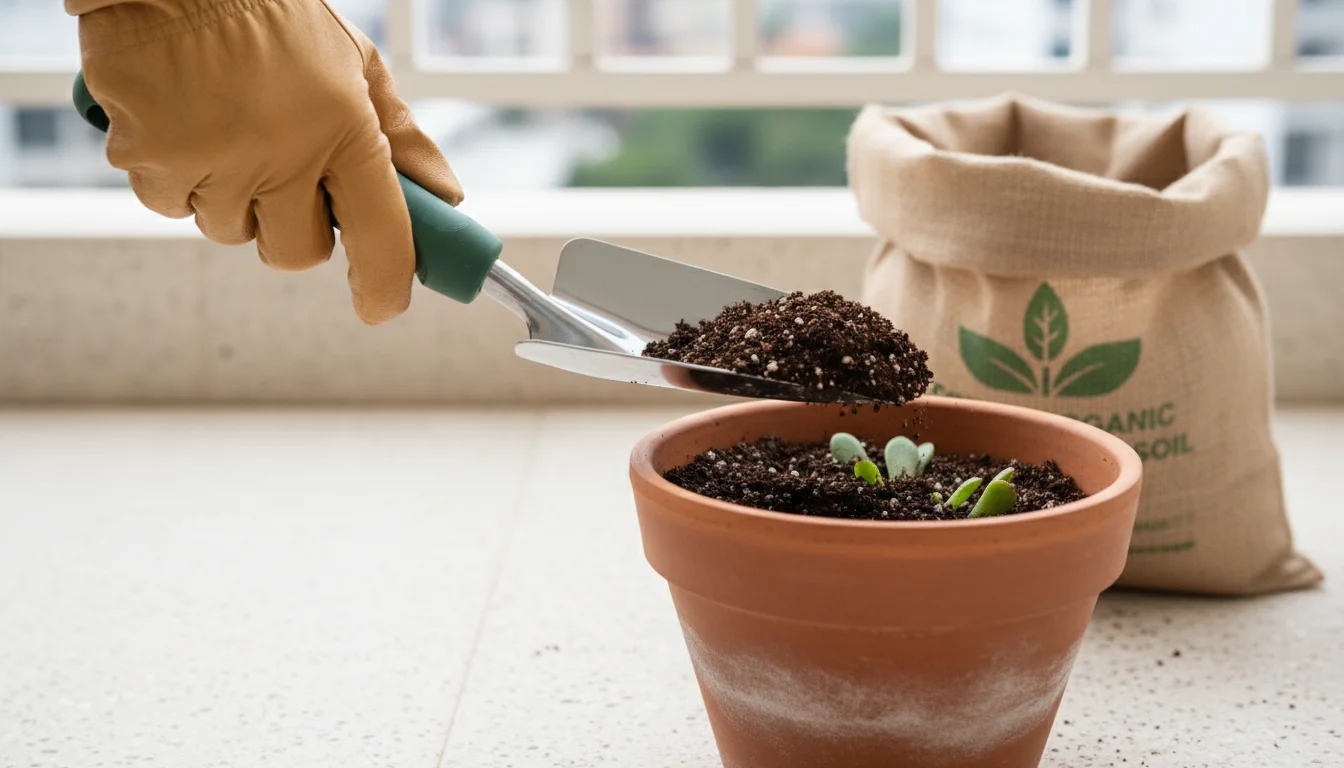
Useful for filling pots and making small furrows.
6. Optional: Plant Markers
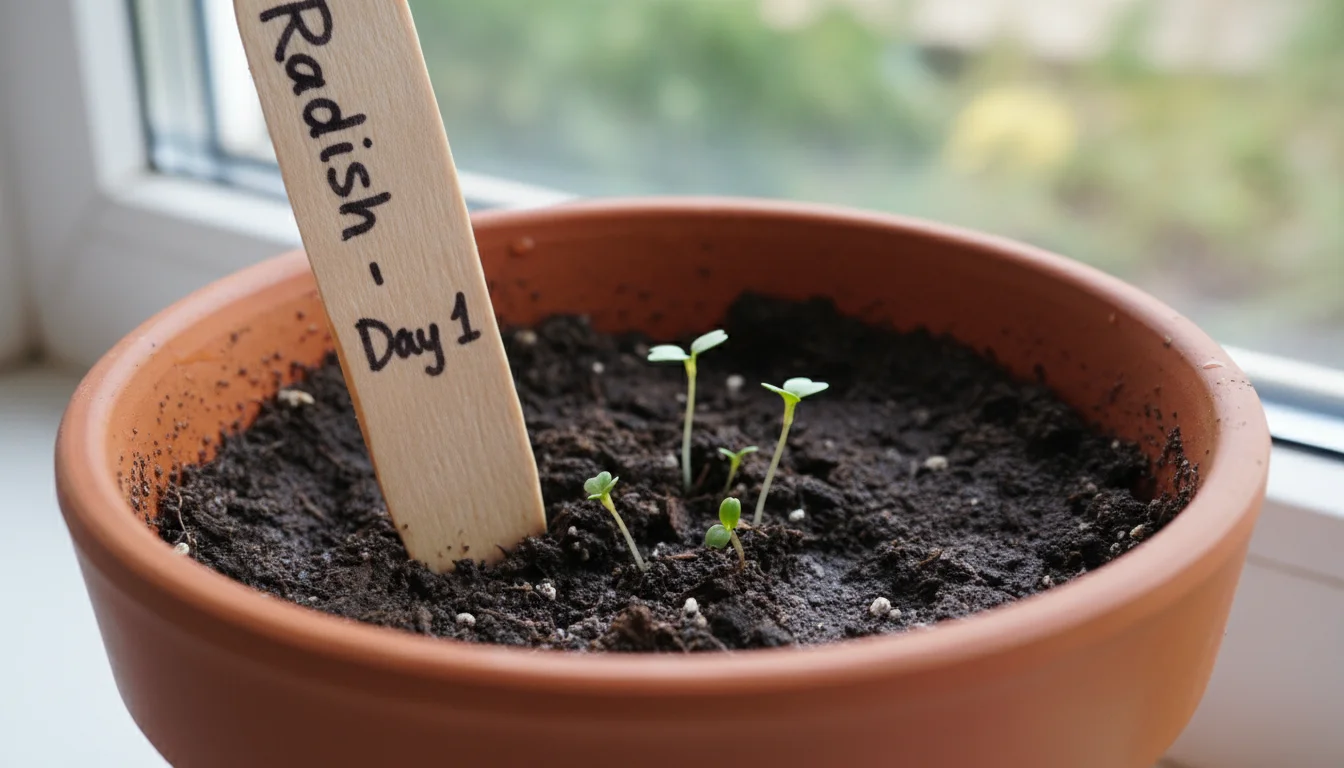
Helps you remember what you planted and when, especially if you are growing multiple varieties or succession planting.
Perfect Potting Mix: Building the Foundation for Fast Growth
The success of your container-grown radishes hinges on the quality of your potting mix. Think of it as the foundation of your radish home.
A good potting mix provides structural support, delivers essential nutrients, and, crucially, manages water effectively. When you select a commercial potting mix, you are choosing a carefully balanced blend designed for container plant health.
If you are working with limited horizontal space, growing sugar snap peas vertically is another great way to maximize your balcony harvest.
Understanding Drainage and Aeration
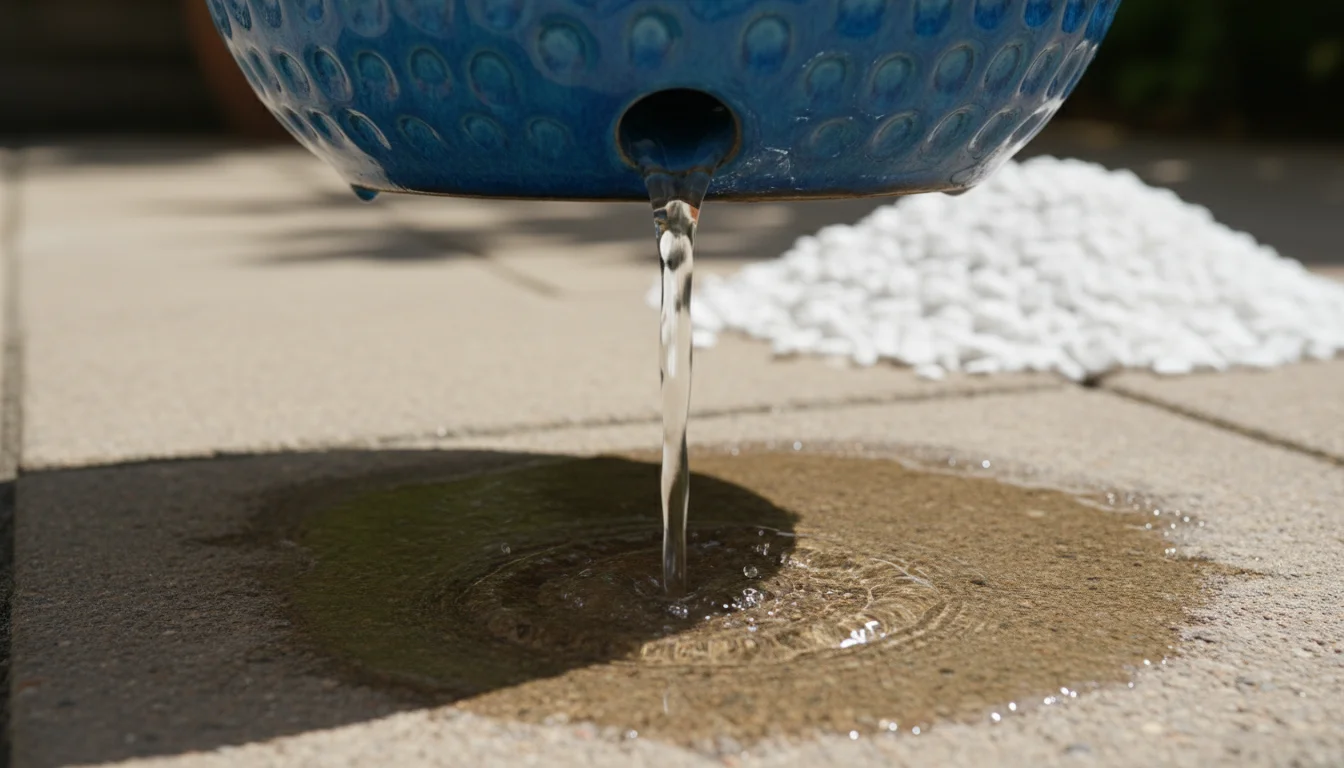
For radishes, optimal drainage is paramount. This means water should flow through the soil relatively quickly, preventing the roots from sitting in stagnant water.
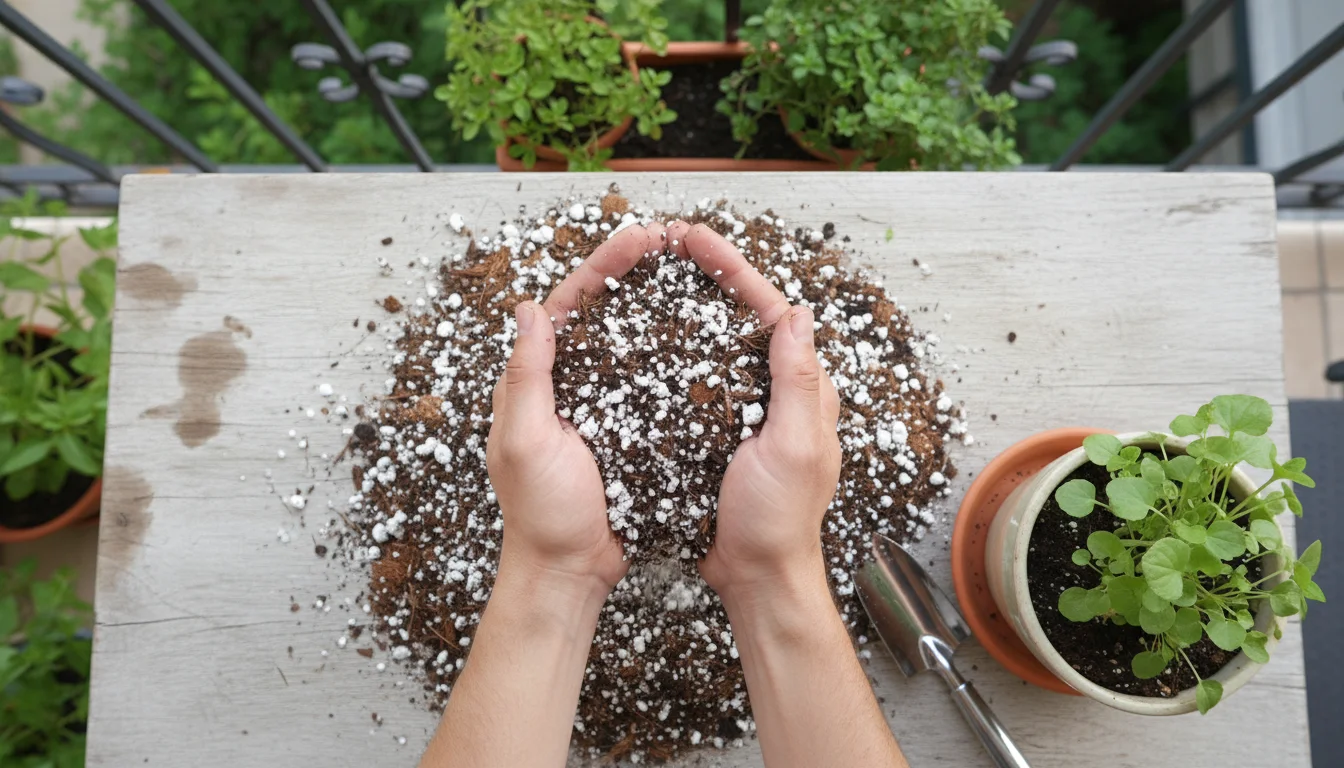
Stagnant water deprives roots of oxygen, leading to root rot and ultimately plant death. Good potting mixes contain materials like perlite or vermiculite, which are lightweight, porous particles that create air pockets in the soil.
These air pockets allow oxygen to reach the roots and facilitate water movement.
What to Look For in a Potting Mix
- Sterile and Disease-Free: High-quality potting mixes are sterilized to eliminate weed seeds, fungal spores, and insect eggs. This gives your radishes a clean start without competition or disease pressure.
- Lightweight and Fluffy: A good mix feels light and airy. This texture allows radish roots to expand easily as they develop into edible bulbs. Dense, heavy soil, like garden soil, compacts readily in a pot, hindering root growth and restricting bulb formation.
- Water Retention and Drainage: The best mixes strike a balance. They hold enough moisture to keep your plants hydrated but allow excess water to drain away freely. Components like peat moss or coir absorb water, while perlite ensures it does not become waterlogged.
- Nutrient Content: Many commercial potting mixes include a small amount of slow-release fertilizer, providing initial nutrients to your young plants. This is a good starting point, but you will likely need to supplement with liquid feed as your radishes grow.
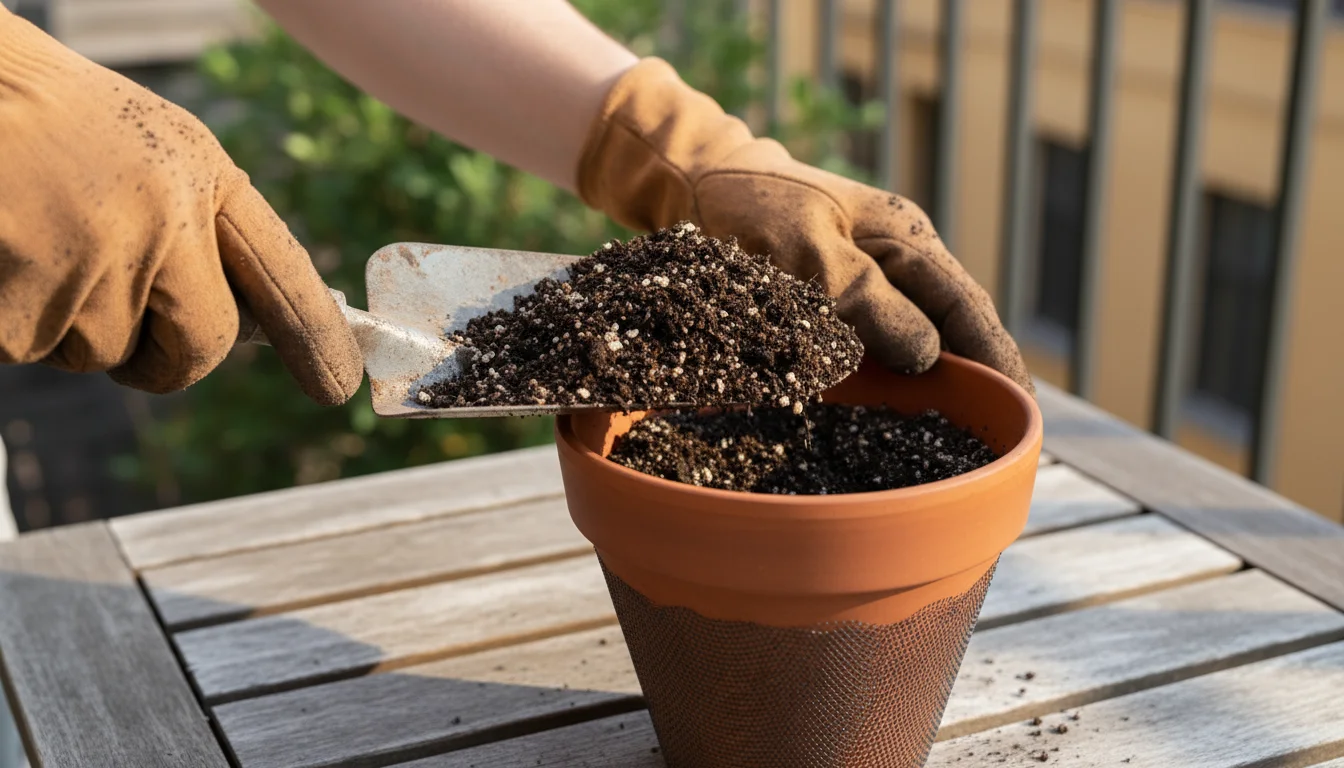
Filling Your Containers
- Cover Drainage Holes (Optional but Recommended): While not strictly necessary, placing a small piece of mesh screen, a coffee filter, or even a few small pebbles over the drainage holes can prevent the potting mix from washing out prematurely. Avoid using large rocks, which can impede drainage rather than improve it.
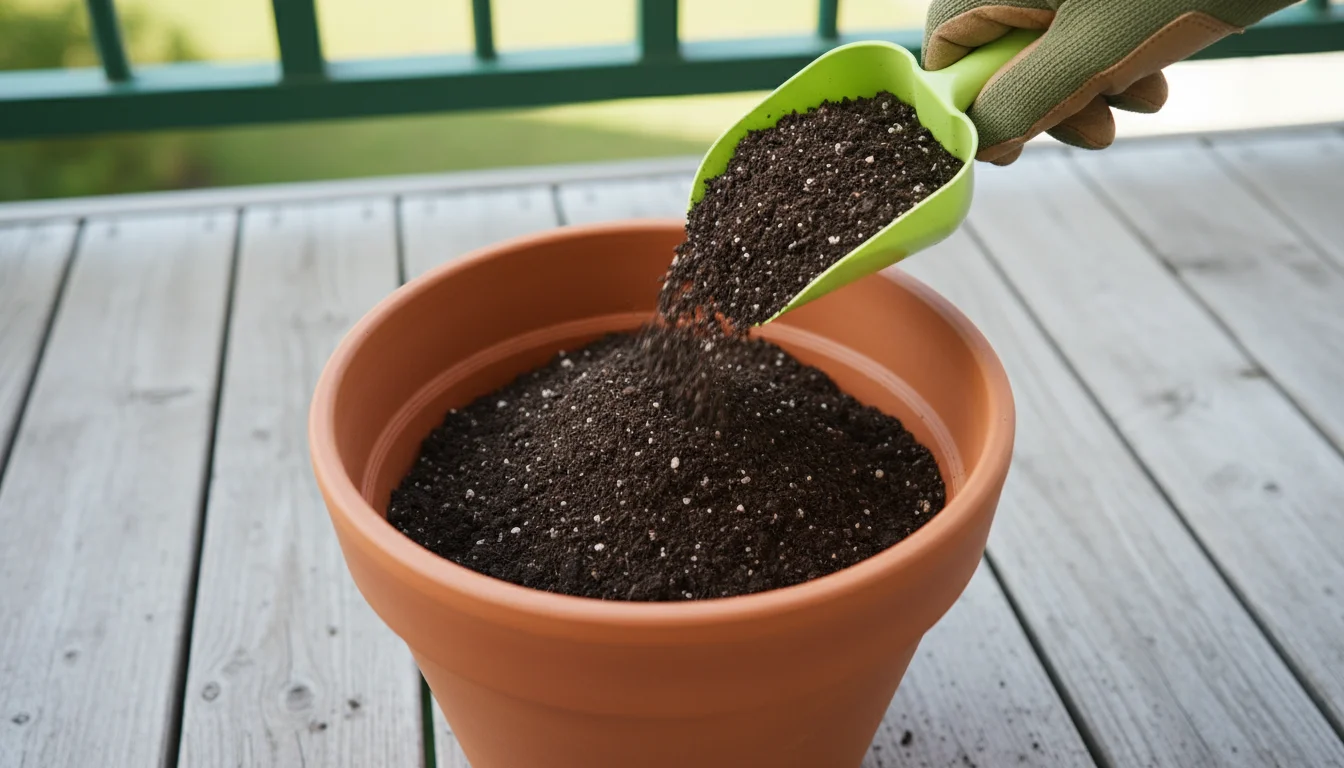
- Fill with Potting Mix: Fill your chosen container almost to the brim, leaving about an inch (2.5 cm) of space from the top. Gently pat the soil down to remove large air pockets, but do not compact it too firmly. Remember, radishes thrive in loose soil.
- Moisten the Soil: Before planting, lightly moisten the potting mix. This prevents seeds from washing away when you water after planting and ensures a uniformly damp environment for germination. The soil should feel consistently moist, like a wrung-out sponge, not soaking wet.
By investing in a quality potting mix and preparing your containers correctly, you lay the groundwork for a robust and successful radish harvest. This fundamental step prevents many common problems new gardeners face, setting your radishes up for their rapid growth cycle.
For trustworthy gardening information, visit:
Iowa State University Extension — Yard & Garden, Washington State University Hortsense, University of Minnesota Extension and Penn State Extension — Trees, Lawns and Landscapes. These organizations provide expert, research-based advice for gardeners at all levels.
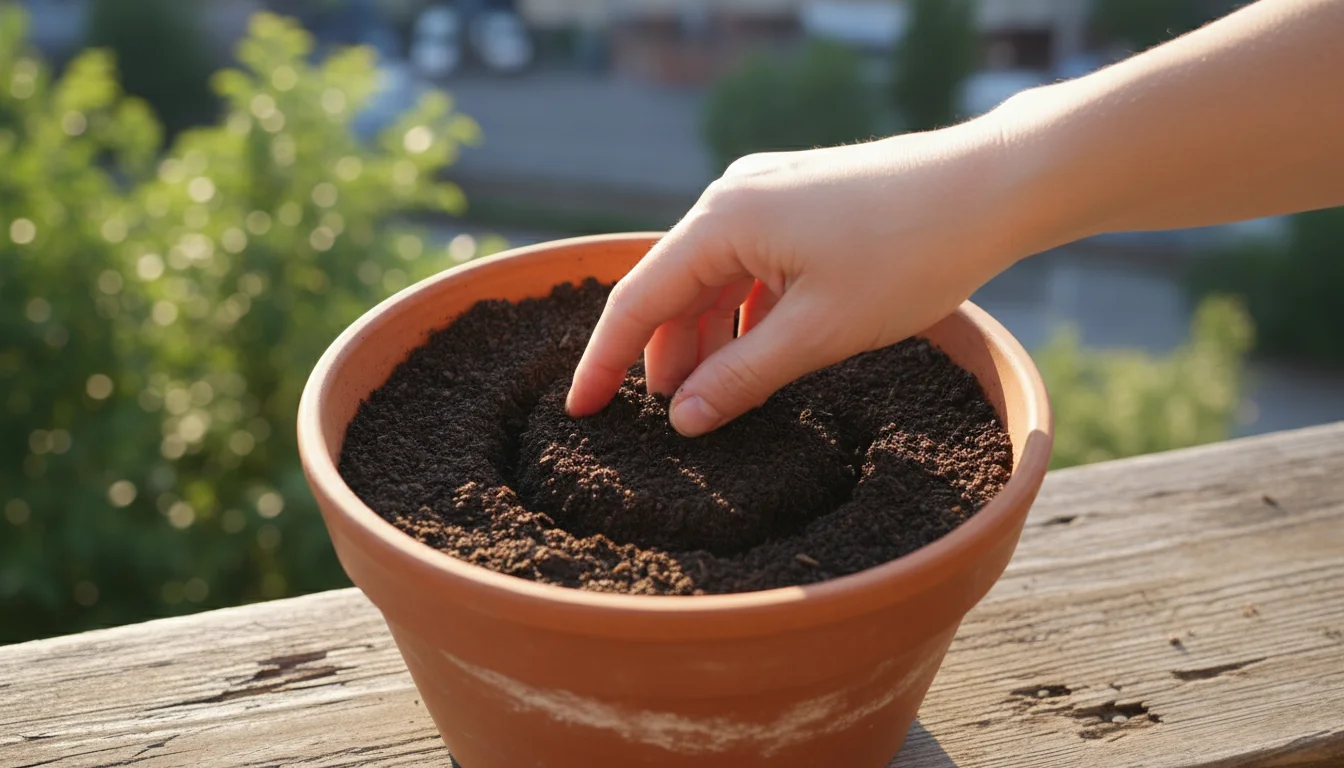
Planting Your Radish Seeds: Step-by-Step for Success
With your containers and potting mix ready, the exciting part begins: planting your radish seeds. Proper spacing and planting depth are crucial for developing those crisp, round bulbs.
Follow these steps for successful germination and growth:
- Check Seed Packet Instructions: Always start by reading your seed packet. It provides specific information about planting depth, spacing, and days to maturity for your chosen radish variety. This article provides general guidelines, but your seed packet offers tailored advice.
- Create Planting Furrows or Holes:
- For planting in rows within a wider container, use your finger or a small stick to create shallow furrows approximately ½ inch (1.25 cm) deep.
- For individual planting, make small depressions ½ inch deep at your desired spacing.
Remember, radish seeds are relatively small, so deep planting prevents them from emerging.
- Space Your Seeds: This is a critical step for developing good-sized radishes. Overcrowding leads to competition for nutrients, water, and light, resulting in small, stunted, or misshapen bulbs.
- Place seeds about 1 inch (2.5 cm) apart within your rows or individual depressions. This might seem generous, but it gives each radish enough room to develop without needing aggressive thinning later.
- If planting multiple rows in a wider pot, space rows at least 4-6 inches (10-15 cm) apart.
While it is tempting to sow thickly, resisting this urge saves you work and improves your harvest quality.
- Cover the Seeds: Gently cover the radish seeds with about ½ inch (1.25 cm) of potting mix. Do not pack the soil down firmly; keep it loose to allow seedlings to push through easily.
- Water Gently: Use a watering can with a fine rose attachment or a spray bottle set to mist. Gently water the newly planted area until the soil is thoroughly moist. Avoid a strong stream of water, which can dislodge seeds or create craters in the soil. Consistent moisture is vital for germination.
- Label Your Pots: If you are planting different varieties or multiple crops, use plant markers to label each pot with the radish variety and the planting date. This helps you track their progress and know when to expect a harvest.
Radish seeds typically germinate quickly, often within 3-7 days under ideal conditions. Maintain consistent moisture during this period, and ensure your pots receive adequate sunlight.
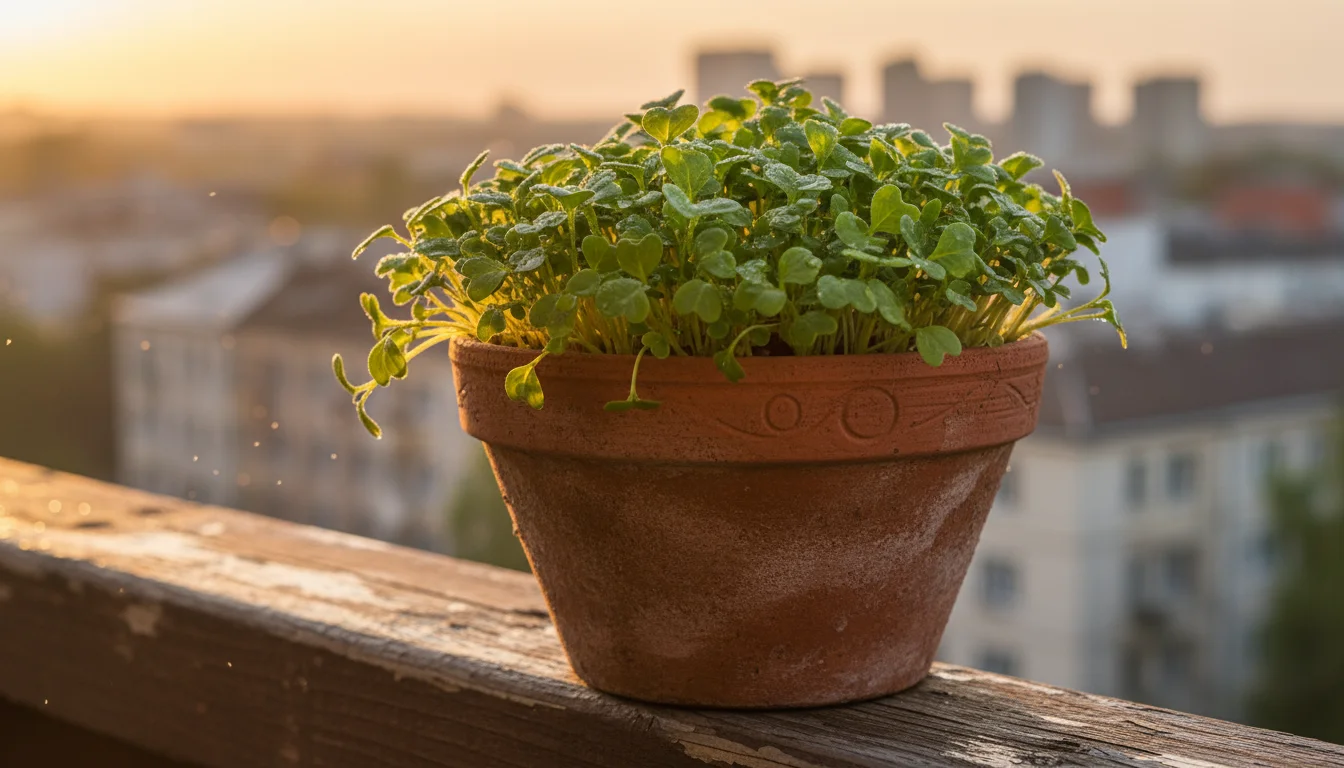
Daily Care for Rapid Radishes: Watering, Sun, and Thinning
Once your radish seeds germinate, consistent care ensures they develop into crisp, flavorful bulbs. Neglecting basic needs can lead to a stringy, woody, or overly pungent harvest.
Focus on these three key areas: watering, sunlight, and thinning.
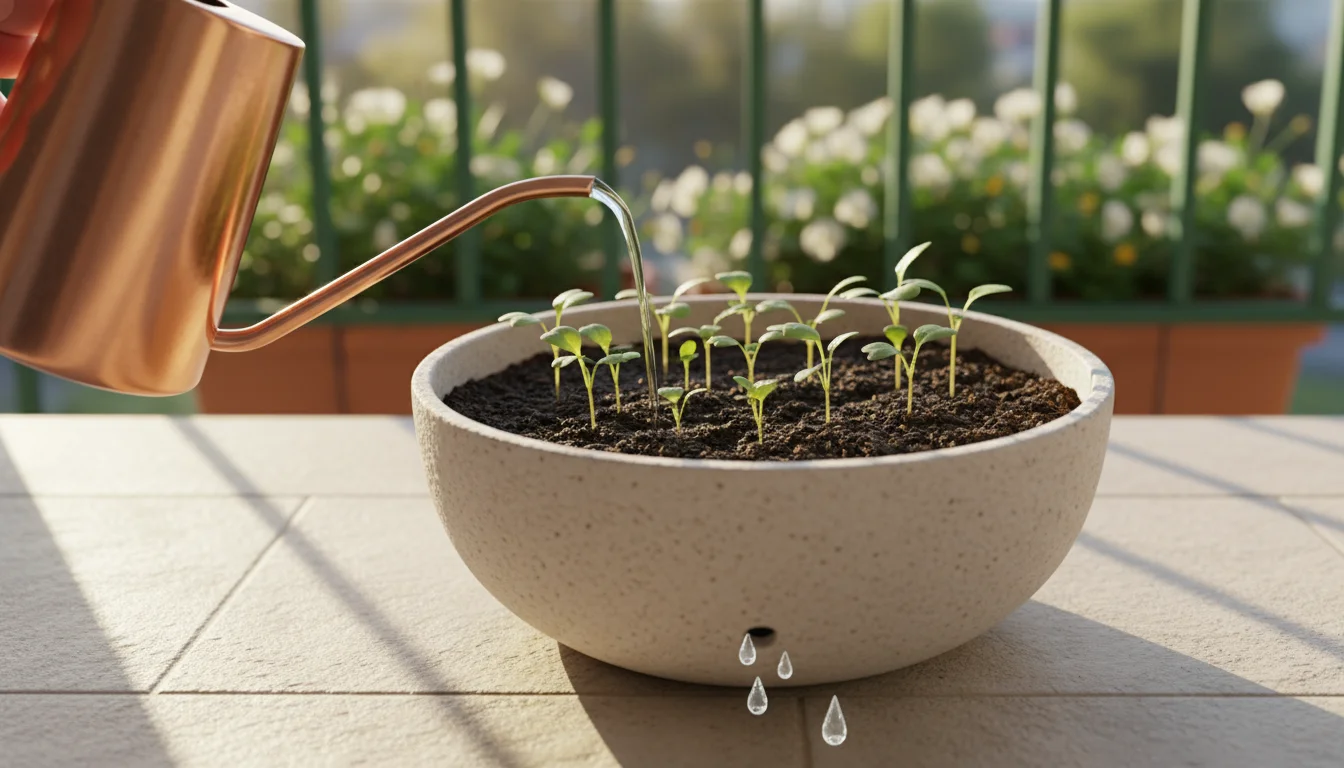
Consistent Watering
Radishes need consistently moist soil to grow quickly and develop tender, juicy roots. Fluctuations in moisture, particularly allowing the soil to dry out between waterings, stress the plants and can cause the radishes to become hot, woody, or split.
- Frequency: In containers, soil dries out faster than in garden beds. You will likely need to water daily, especially during warm, sunny weather. In very hot conditions, twice a day might be necessary.
- How to Check: Stick your finger about an inch (2.5 cm) into the soil. If it feels dry, it is time to water.
- Watering Technique: Water thoroughly until you see water draining from the bottom of the pot. This ensures the entire root zone receives moisture. Avoid shallow watering, which encourages shallow root growth and makes plants more susceptible to drought stress. Use a gentle stream to avoid disturbing the young seedlings.
- Avoid Overwatering: While consistency is key, do not let your pots sit in standing water. Excellent drainage is vital. If your saucer fills with water, empty it after about 30 minutes to prevent roots from sitting in waterlogged conditions.
Adequate Sunlight
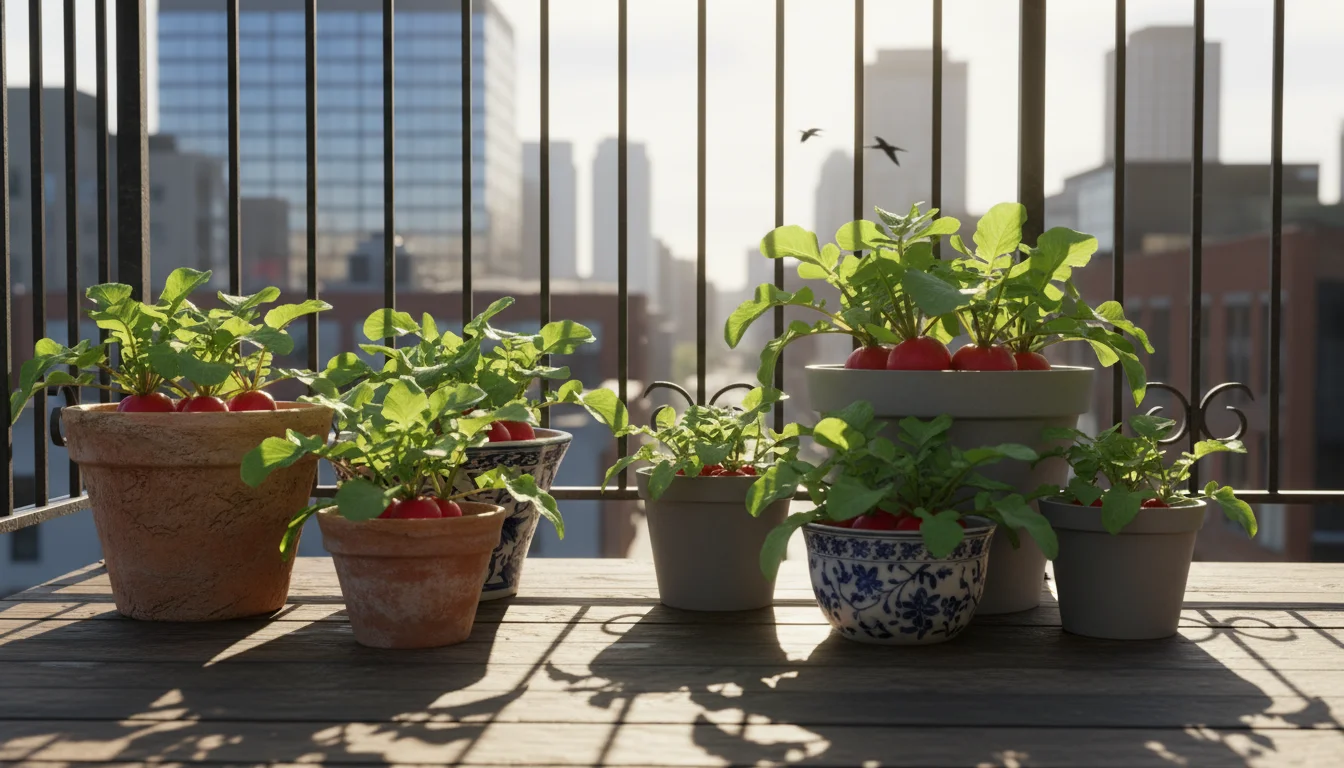
Radishes are cool-season crops but require ample sunlight to grow vigorously.
- Minimum Requirement: Aim for at least 6 hours of direct sunlight per day. More sunlight, up to 8 hours, is even better for quick growth and good bulb development.
- Balcony Placement: Position your radish pots in the sunniest spot on your balcony or patio. Observe the sun’s movement throughout the day to find the optimal location.
- Too Much Heat: While they love sun, radishes do not like extreme heat. As temperatures rise above 75°F (24°C), radishes can bolt (go to seed) prematurely, resulting in a bitter, inedible harvest. If a heatwave hits, you can try moving your pots to a shadier spot during the hottest part of the day or providing some temporary shade. This helps extend your spring container gardening season.
Timely Thinning
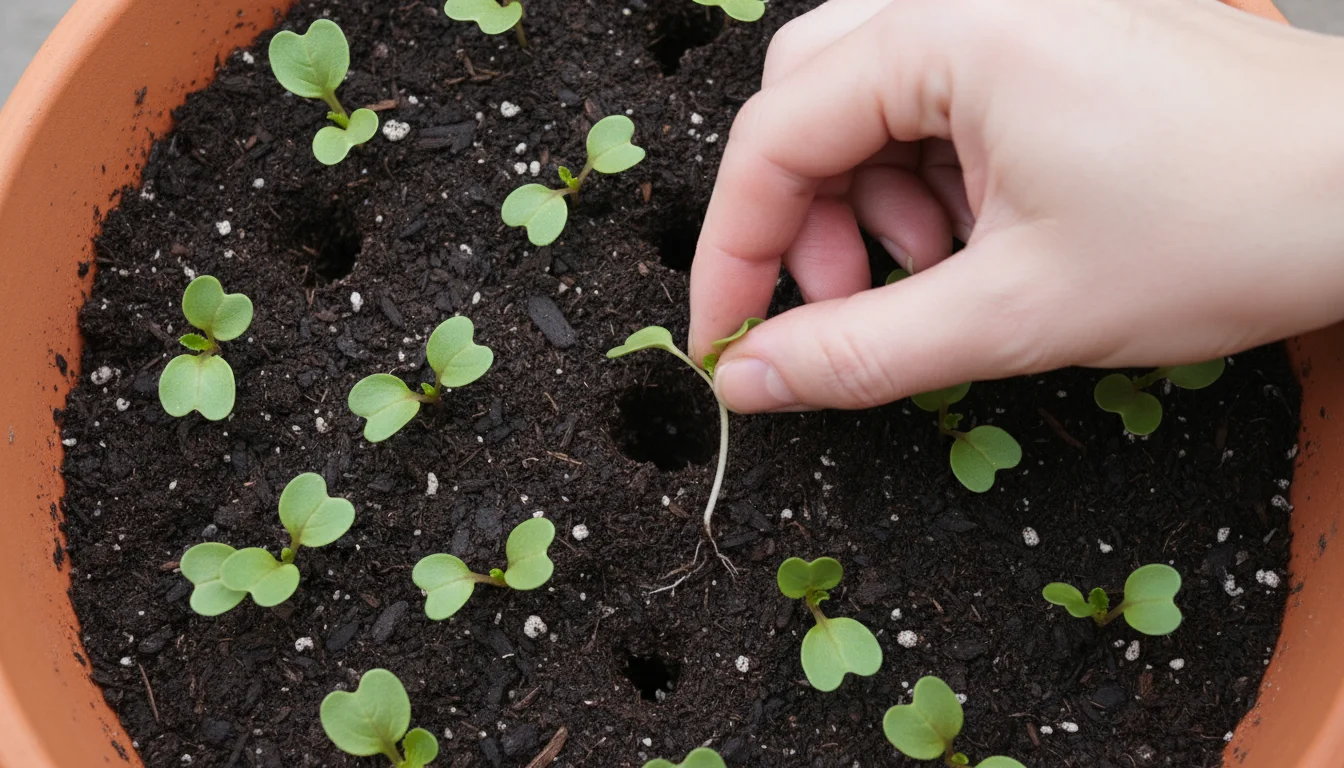
Even if you spaced your seeds perfectly, some varieties or conditions might result in a few extra seedlings. Thinning is the process of removing excess seedlings to give the remaining plants adequate space to grow.
- When to Thin: Thin your radish seedlings once they develop their first set of true leaves (the leaves that appear after the initial two seed leaves). This usually happens about a week to 10 days after germination.
- How to Thin: Gently pull out the weaker, smaller seedlings, leaving the strongest plants spaced about 2-3 inches (5-7.5 cm) apart. You can also snip them at the soil line with small scissors to avoid disturbing the roots of the remaining plants.
- Why Thinning Matters: Proper spacing is crucial. Overcrowding leads to competition for resources, resulting in small, misshapen, or undeveloped radish bulbs. It also impedes air circulation, which can increase the risk of fungal diseases. Think of it as giving each radish its best chance to reach its full potential.
- Bonus Harvest: The thinned radish greens are edible! They have a slightly peppery flavor and are excellent added to salads. This gives you an early taste of your labor.
Harvesting Your Homegrown Radishes: Knowing When and How to Pick
The moment you have been waiting for arrives quickly when you are growing radishes in pots! Most varieties are ready for harvest in just 20-30 days from seeding.
Knowing exactly when and how to pick ensures you get the crispest, most flavorful bulbs. This quick harvest vegetables for pots strategy is what makes them so rewarding.
After you enjoy your radishes, consider growing tomatoes in pots to keep your patio productive throughout the warmer summer months.
When to Harvest: Signs of Readiness
Determining readiness is straightforward:
- Check the Days to Maturity: Refer to your seed packet. This provides the estimated time frame for your specific variety. Keep in mind this is an estimate; actual maturity can vary slightly based on growing conditions.
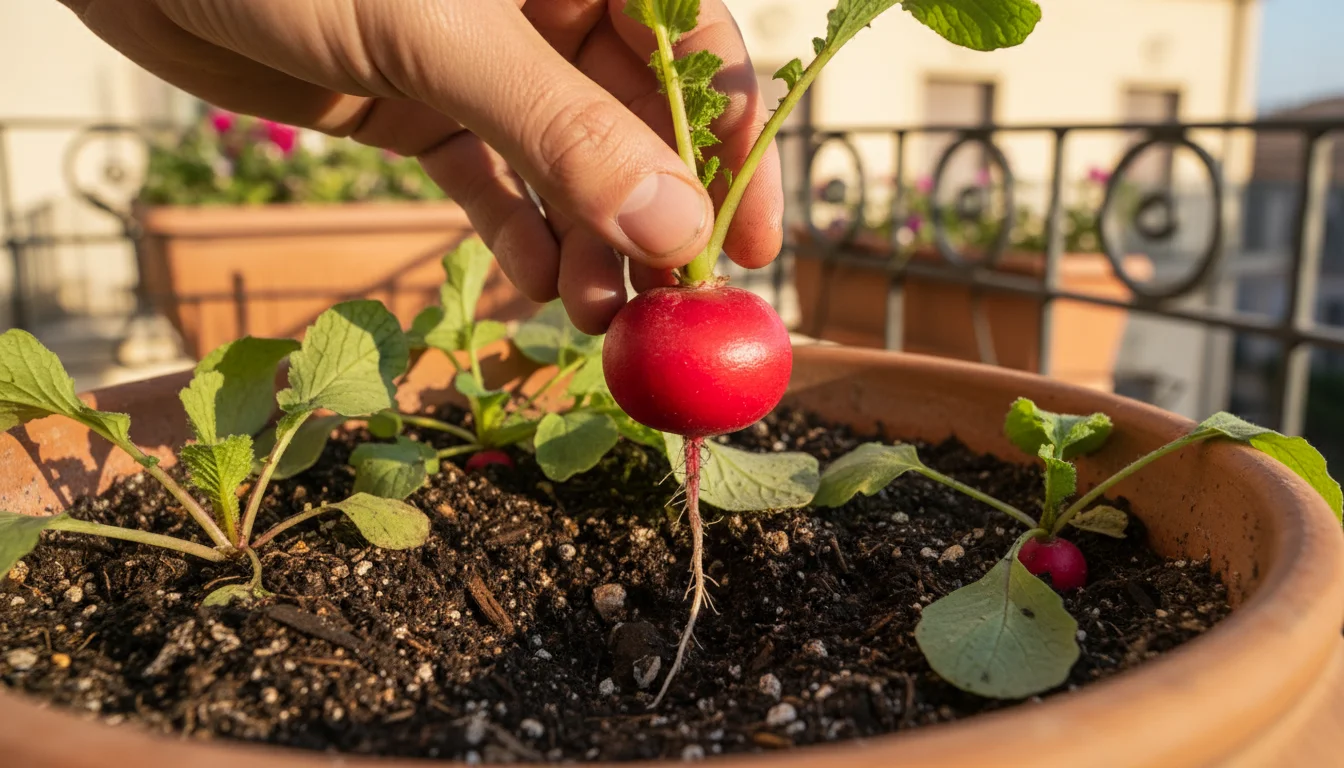
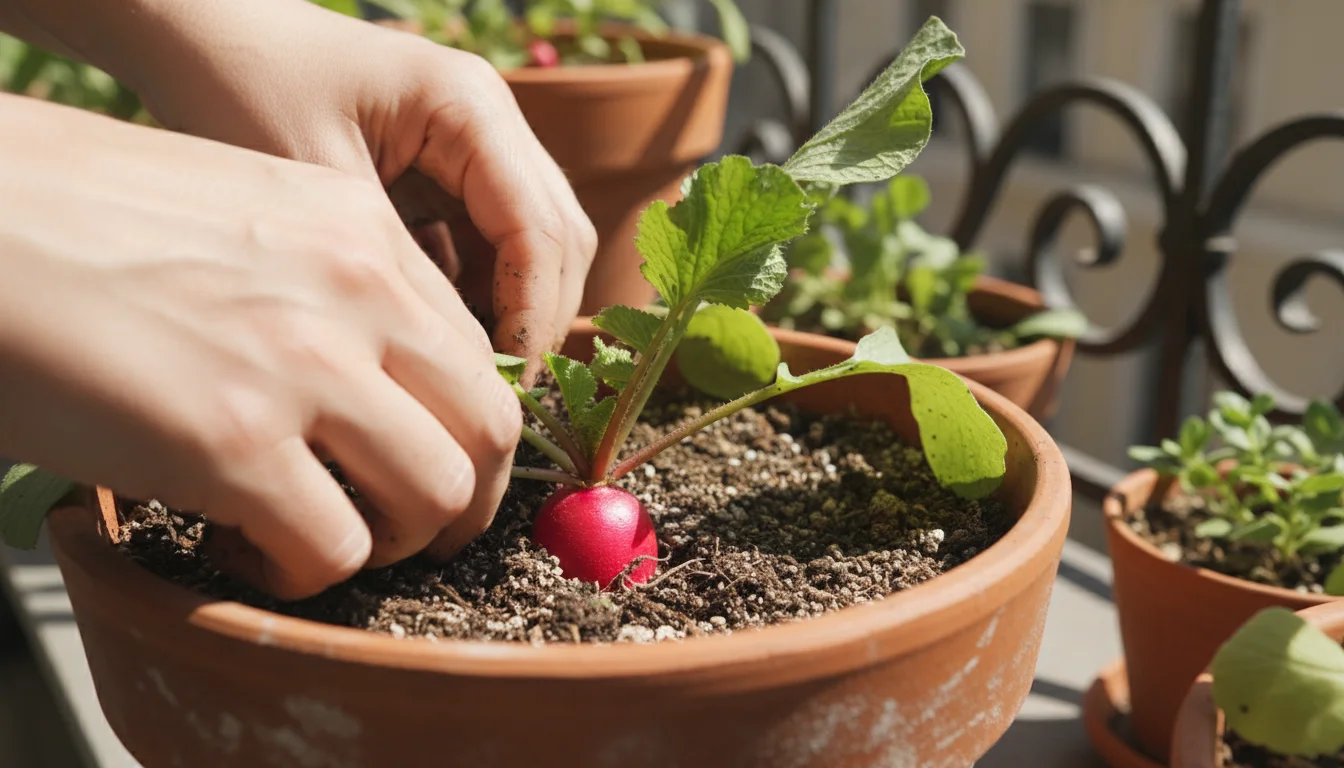
- Observe the Size of the Root: The most reliable indicator is the visible portion of the radish bulb. As radishes mature, the top of the root begins to swell and push out of the soil.
- Gently brush away a bit of soil around the base of a plant. If you see a bulb roughly ¾ to 1 inch (2-2.5 cm) in diameter (or the size indicated for your specific variety), it is ready to pick.
- Do not wait too long! Over-mature radishes become woody, pithy (spongy inside), and excessively hot or bitter. They also tend to crack.
- Leaf Size is Not an Indicator: The size of the radish greens does not necessarily correlate with the size of the root. A plant with large leaves might have a small bulb, and vice versa. Focus on the bulb itself.
How to Harvest: Picking for Freshness
Harvesting radishes is simple:
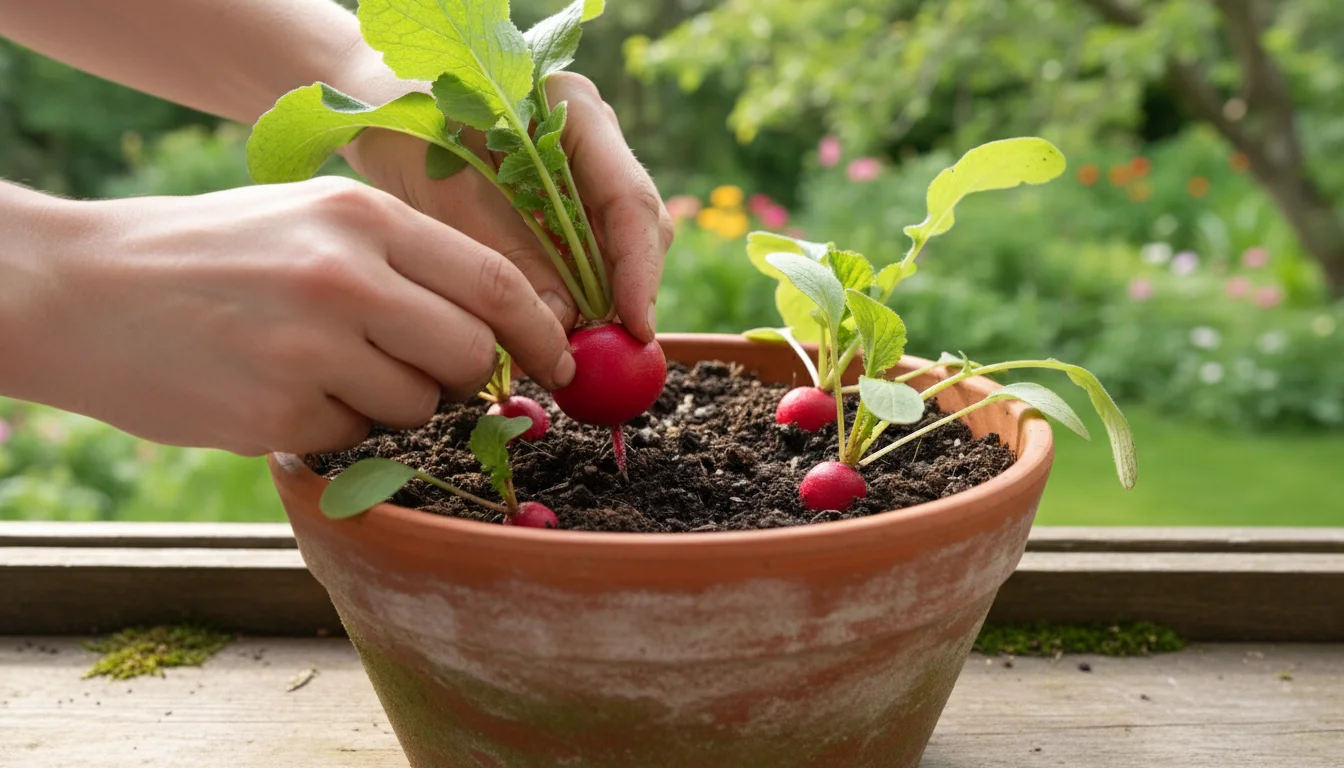
- Choose Individually: Radishes in a pot often mature at slightly different rates. Rather than harvesting all at once, pick them individually as they reach the desired size. This allows smaller radishes to continue growing.
- Gently Pull: Grasp the leaves at the base of the plant where they emerge from the soil. Gently pull upwards. The radish should easily come out of the loose potting mix. If it resists, twist gently while pulling, or use a small hand trowel to loosen the soil around it.
- Clean and Prepare: Once harvested, brush off any excess soil. You can rinse them under cool water. Trim off the root tip and the leafy greens. While the greens are edible and nutritious, they draw moisture from the bulb, making it go soft faster if left attached.
- Immediate Use or Storage: For the best flavor and crispness, eat your radishes as soon as possible after harvesting. If you need to store them, place them in an airtight container or a perforated plastic bag in the refrigerator. They typically remain fresh for about a week.
Succession Planting: Extending Your Harvest
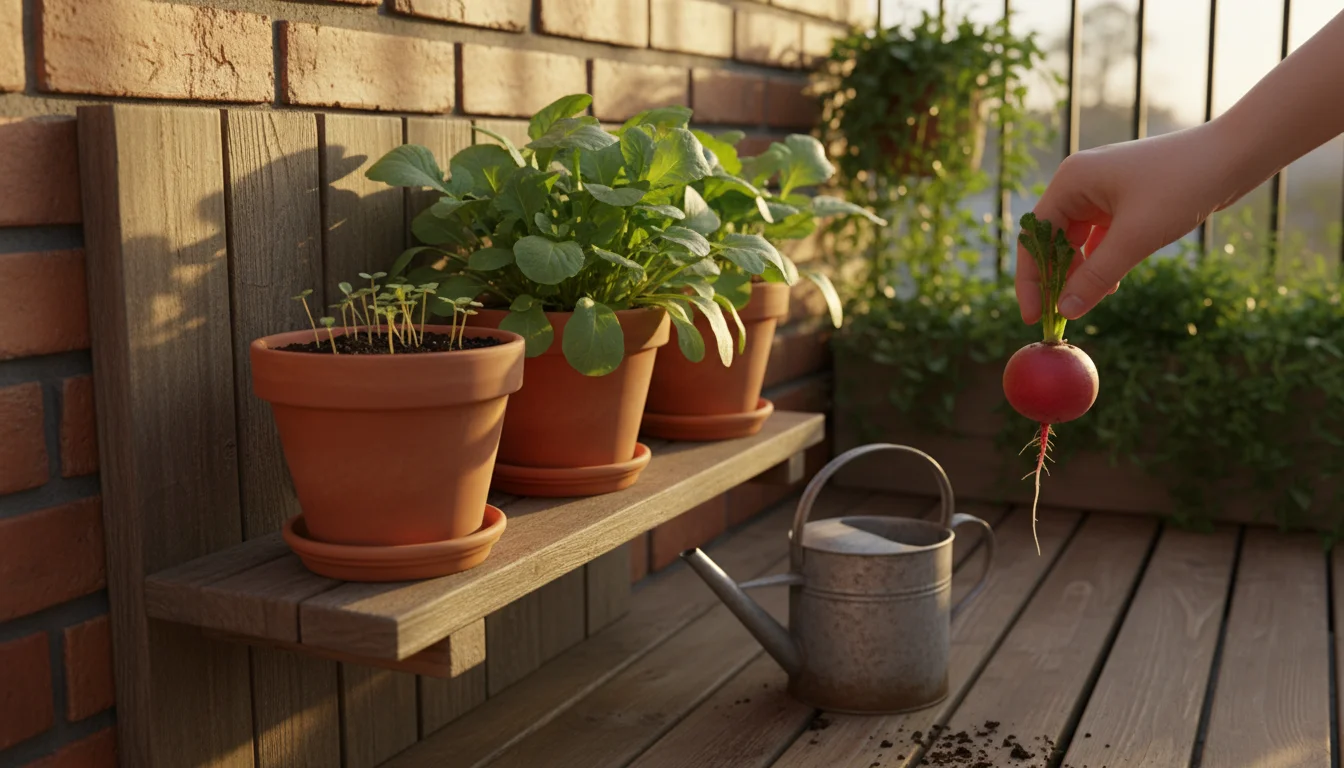
Because radishes grow so quickly, you can practice succession planting. This means planting a small batch of seeds every 1-2 weeks.
This staggered planting ensures a continuous supply of fresh radishes throughout the spring and early summer, rather than a single large harvest.
It is a fantastic strategy for maximizing your output from a small container garden and a prime example of quick harvest vegetables for pots.
Troubleshooting Common Radish Growing Issues
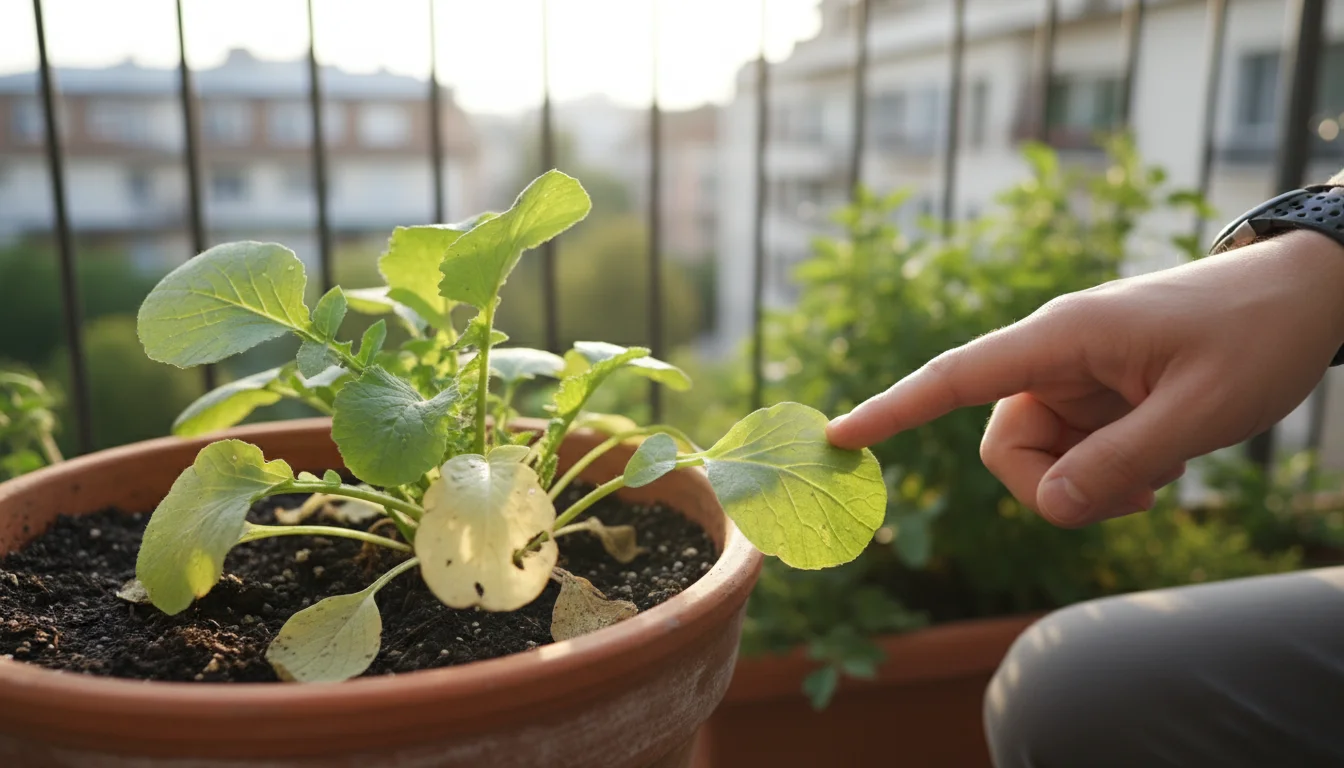
While growing radishes in pots is generally straightforward, you might encounter a few common challenges. Understanding these issues and their solutions ensures you maintain a healthy crop and achieve that satisfying 30-day harvest.
To ensure your first season goes smoothly, it helps to be aware of balcony garden mistakes beginners always make.
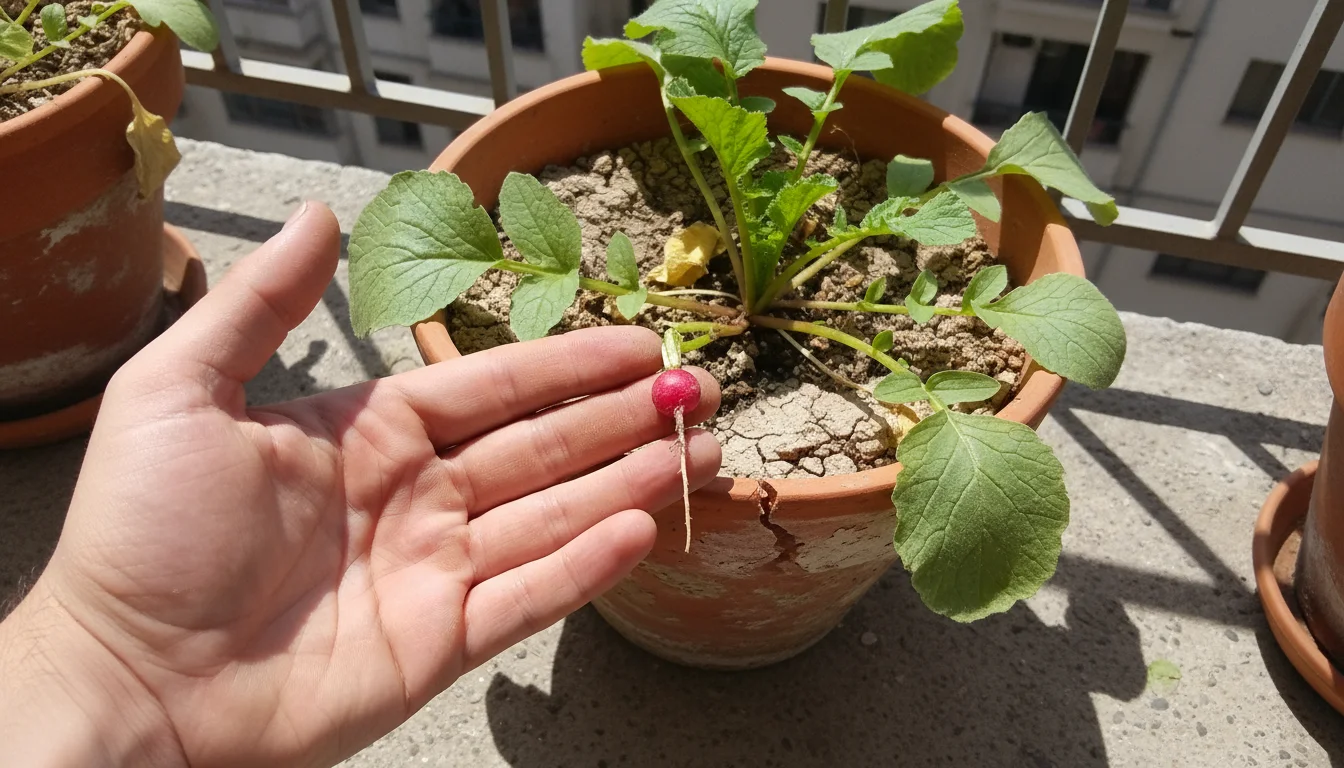
1. Radishes Grow All Leaves, No Roots (Bolting)
Problem: Your radish plants have lush, green foliage, but when you check beneath the soil, the root remains tiny or nonexistent.
Cause: This usually happens when radishes experience heat stress, inconsistent watering, or are planted too late in the season. High temperatures (above 75°F/24°C) signal the plant to “bolt” or go to seed, diverting energy from root development to flower and seed production.
Solution:
- Plant in Cooler Weather: Radishes are a cool-season crop. Sow seeds in early spring as soon as the soil is workable, or in late summer for a fall harvest. Avoid planting during the hottest months.
- Consistent Watering: Ensure uniform soil moisture. Drought stress followed by heavy watering can also induce bolting.
- Provide Partial Shade: If a sudden heatwave occurs, move your pots to a location that receives afternoon shade or use shade cloth.
- Choose Heat-Tolerant Varieties: Some radish varieties are more resistant to bolting. Check seed catalogs for these options if you live in a region with fluctuating spring temperatures.
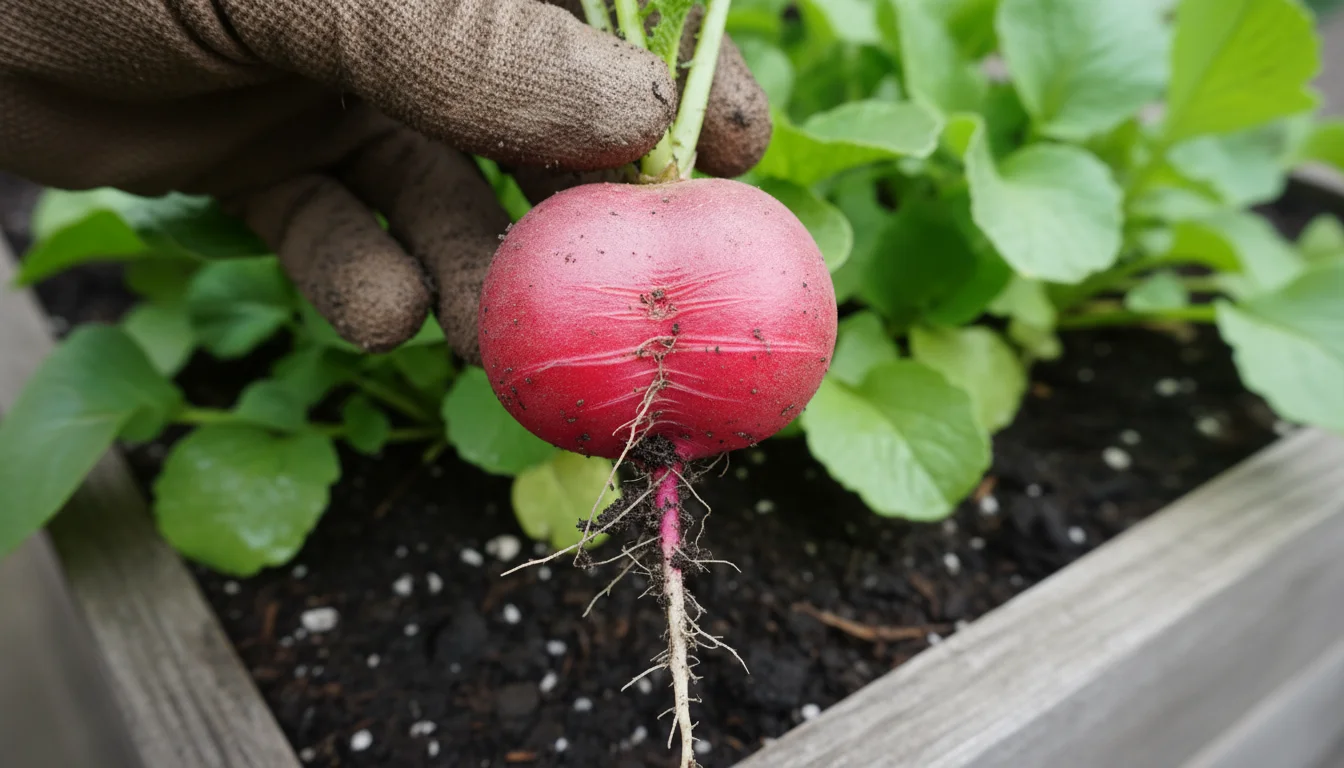
2. Radishes are Pithy, Woody, or Cracked
Problem: You harvest a radish, and it is spongy, tough, or has cracks running through it.
Cause: These issues often stem from leaving radishes in the ground for too long (over-maturity) or inconsistent watering.
Solution:
- Harvest Promptly: Radishes mature quickly. Check for readiness frequently (as described in the harvesting section) and pull them as soon as they reach the desired size.
- Consistent Moisture: Maintain even soil moisture. Letting the soil dry out excessively between waterings and then drenching it can cause cracking.
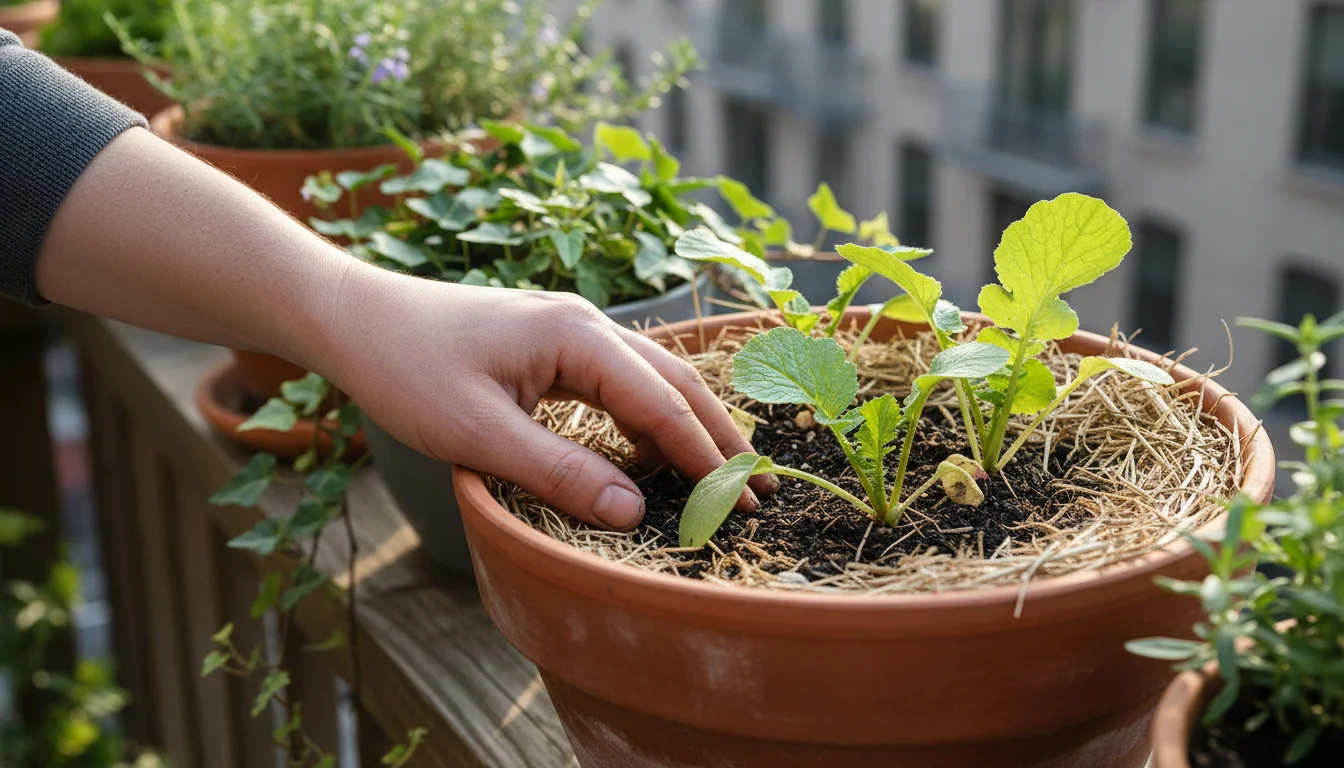
3. Radishes are Bitter or Too Spicy
Problem: Your homegrown radishes have an unpleasantly strong, bitter, or excessively spicy flavor.
Cause: This is often a sign of stress from high temperatures, insufficient water, or a lack of nutrients.
Solution:
- Cooler Conditions: Plant during cooler periods. Heat significantly intensifies radish flavor.
- Adequate Water: Ensure consistent moisture. Dehydration concentrates the pungent compounds.
- Fertilize Lightly: While radishes do not need heavy feeding, a balanced liquid fertilizer applied at half strength can support healthy growth if your potting mix lacks nutrients.
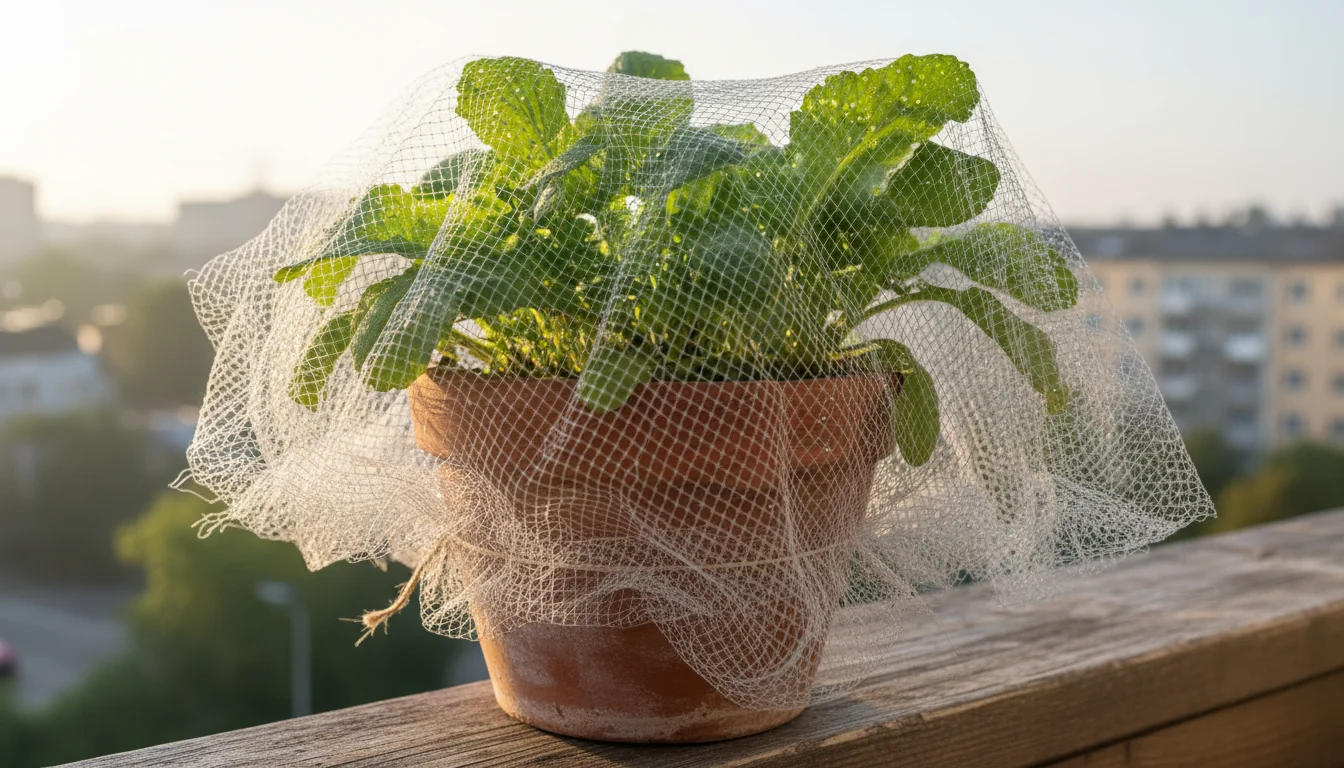
4. Pest Problems
Problem: Holes in leaves, chewed roots, or visible insects.
Common Pests: Flea beetles (tiny, shiny black beetles that chew small holes in leaves) and root maggots (larvae that tunnel into the radish roots) are the most common radish pests.
Solution:
- Flea Beetles:
- Use row covers (fine mesh netting) over your pots to physically block pests.
- Keep plants well-watered and healthy; strong plants are more resilient.
- Handpick beetles if numbers are low.
- Root Maggots:
- Rotate crops; do not plant radishes in the same soil repeatedly if you have had issues. (Easier in garden beds than pots, but still a good principle.)
- Use floating row covers from planting until harvest to prevent adult flies from laying eggs.
- Consider beneficial nematodes, microscopic organisms that prey on soil-dwelling pests.
- General Pest Management: Regularly inspect your plants. Early detection makes pest control easier. Encourage beneficial insects by planting flowering herbs nearby.
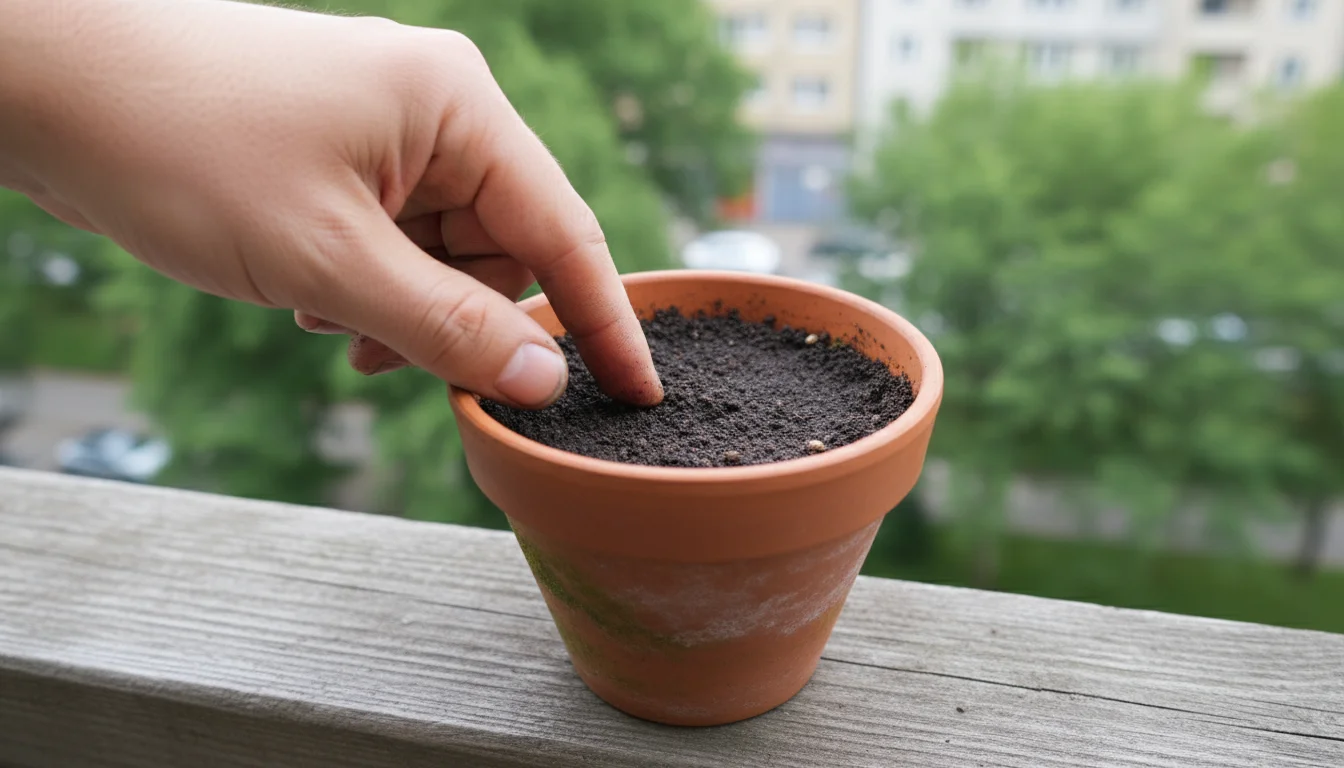
5. Radishes Not Germinating
Problem: Your seeds do not sprout, or only a few emerge.
Cause: Improper planting depth, old seeds, or inconsistent moisture.
Solution:
- Fresh Seeds: Always use fresh seeds from a reputable source. Radish seed viability decreases significantly with age.
- Correct Depth: Plant seeds at the recommended depth (typically ½ inch). Planting too deep depletes their energy before they can reach the surface.
- Consistent Moisture: Keep the soil consistently moist (but not waterlogged) during the germination phase. Let the surface dry out and your seeds will struggle.
- Temperature: Ensure soil temperatures are suitable for germination, usually between 45-75°F (7-24°C).
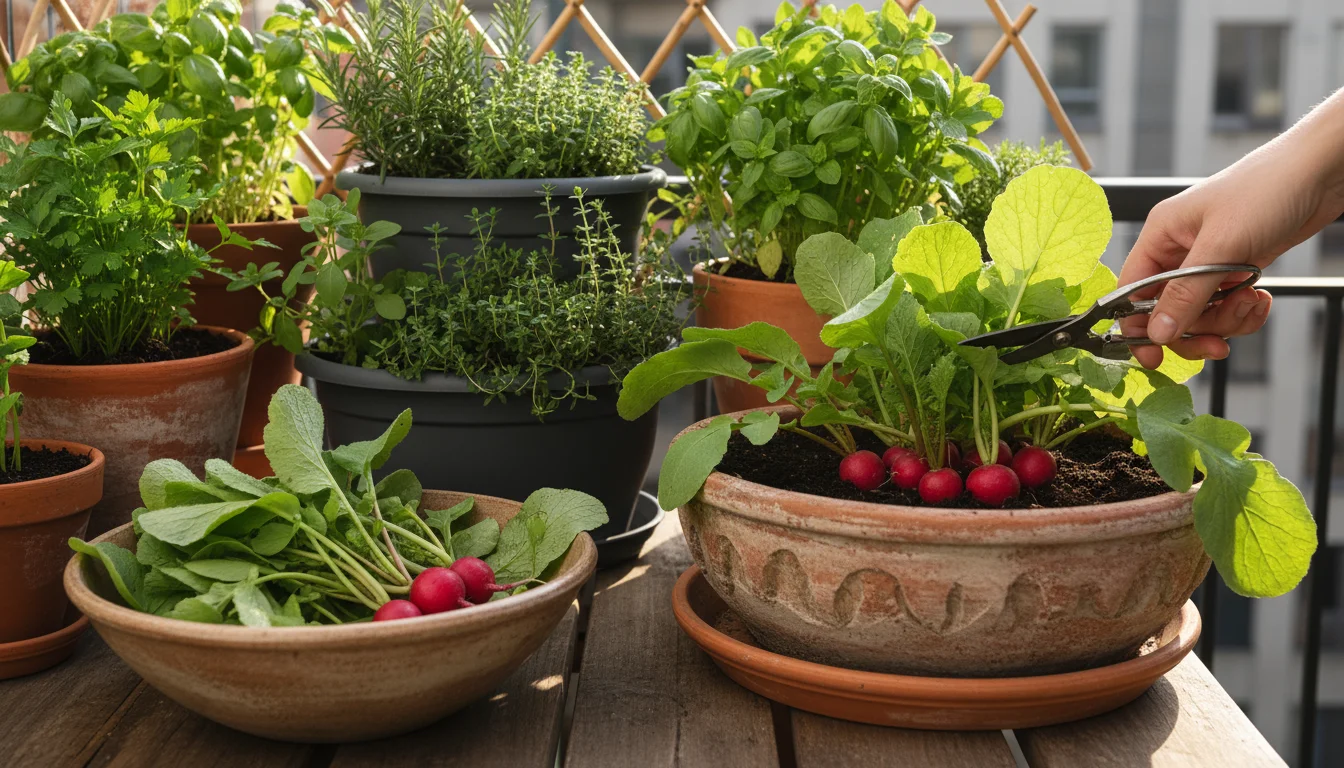
Beyond the Bulb: Maximizing Your Balcony Radish Yields and Enjoyment
Successfully growing radishes in pots offers more than just a quick harvest; it opens doors to broader gardening practices and culinary delights. This section helps you extend your enjoyment and apply sustainable principles to your small-space garden.
Once you have mastered these root vegetables, consider expanding your vertical space by growing sugar snap peas in one pot.
Succession Planting for Continuous Harvests
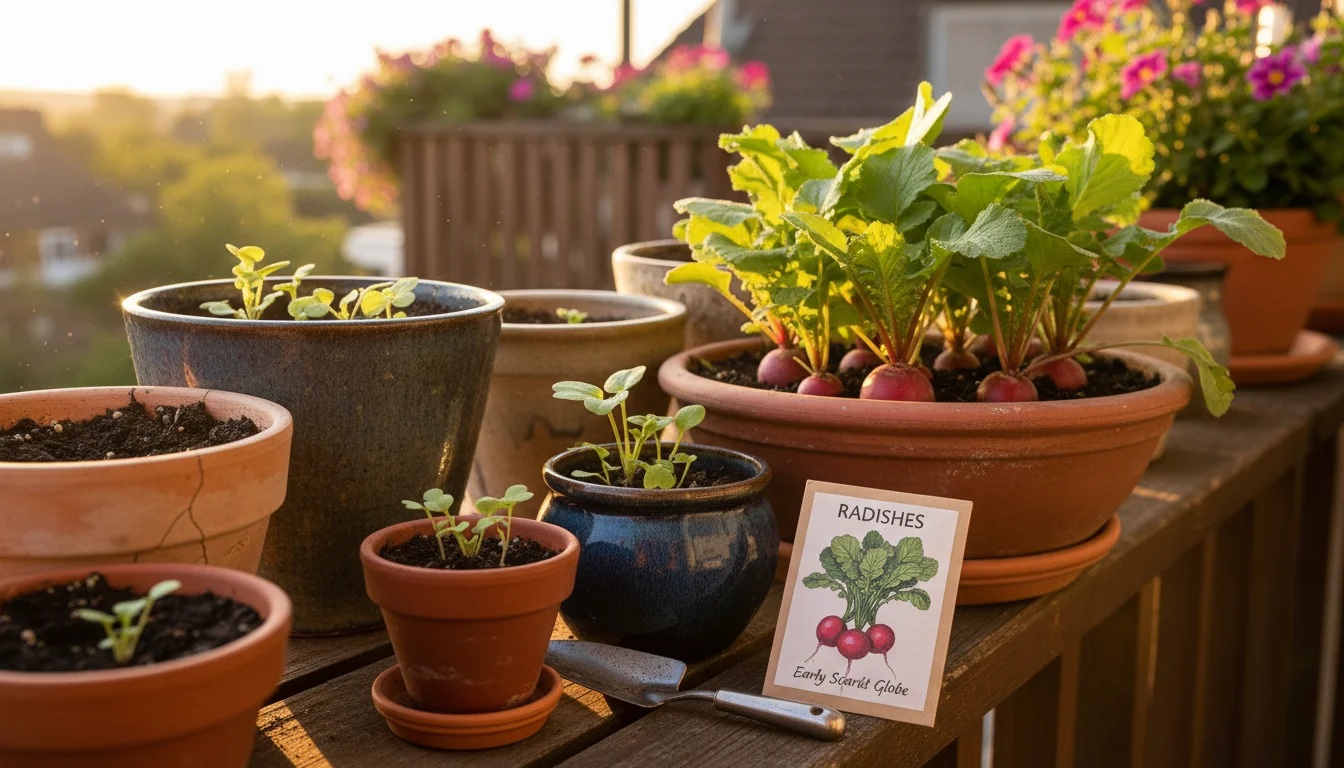
We touched upon this earlier, but it is worth reiterating and expanding. Succession planting is one of the most effective strategies for maximizing yield in a small space.
Instead of planting all your radish seeds at once, sow a small batch (e.g., 5-10 seeds in a small pot or a section of a wider container) every 1-2 weeks.
This ensures a staggered harvest, meaning you always have fresh radishes coming ready, avoiding a glut that might go to waste.
For example, if you plant on April 1st, April 15th, and May 1st, you will have harvests stretching from late April through early June, perfectly utilizing your spring container gardening window.
Utilizing Radish Greens
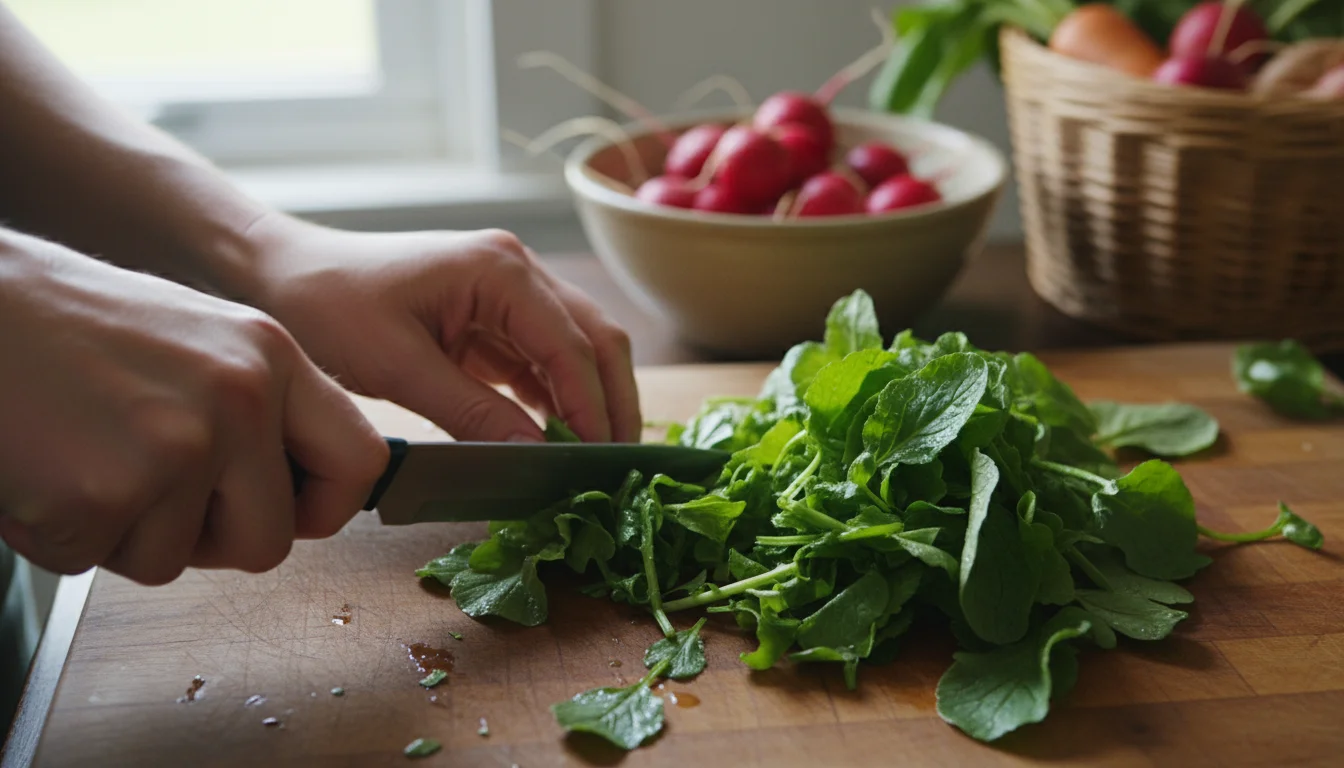
Do not discard those leafy tops! Radish greens are edible and surprisingly nutritious.
They have a slightly peppery, pungent flavor, similar to mustard greens. You can use them in a variety of ways:
- Salads: Chop and add young, tender greens to mixed green salads for a peppery kick.
- Sautéed: Lightly sauté them with garlic and olive oil, just as you would spinach or kale. They cook down quickly and make a delicious side dish.
- Pesto: Blend radish greens with nuts, garlic, Parmesan cheese, and olive oil to create a unique pesto.
- Soups/Stews: Add chopped greens to the last few minutes of cooking in soups or stews.
This “nose-to-tail” approach to gardening not only reduces waste but also provides additional vitamins and minerals, maximizing your quick harvest vegetables for pots.
Eco-Friendly Practices in Your Balcony Garden
Embracing sustainable habits enhances your gardening and benefits the environment:
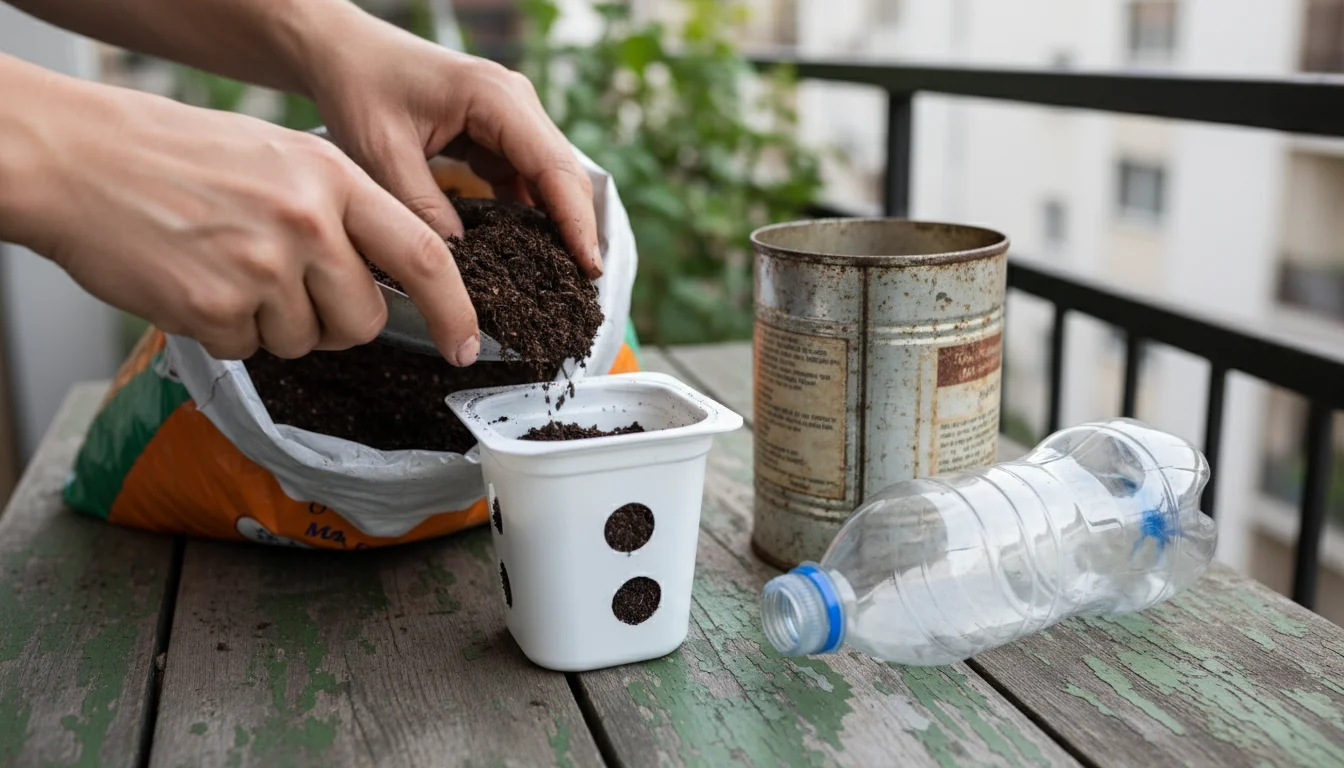
- Reusing Containers: Whenever possible, reuse old containers. Thoroughly clean them with a 10% bleach solution (1 part bleach to 9 parts water) to sterilize them and prevent disease transmission before reusing.
- Compost Tea: Instead of relying solely on synthetic fertilizers, consider making your own compost tea. Steep a small amount of finished compost in water for a day or two, then dilute it and use it to water your plants. This provides gentle nutrients and beneficial microbes.
- Water Conservation: Use saucers under your pots to catch excess water, which can then be reabsorbed by the plant. Mulch the top of your pots with a thin layer of shredded leaves or straw to reduce evaporation, keeping the soil consistently moist for your growing radishes in pots.
- Native Pollinators: If space allows, consider placing a small pot of native flowering plants or herbs near your radish containers. These attract beneficial insects, which can help control pests naturally and contribute to local biodiversity.
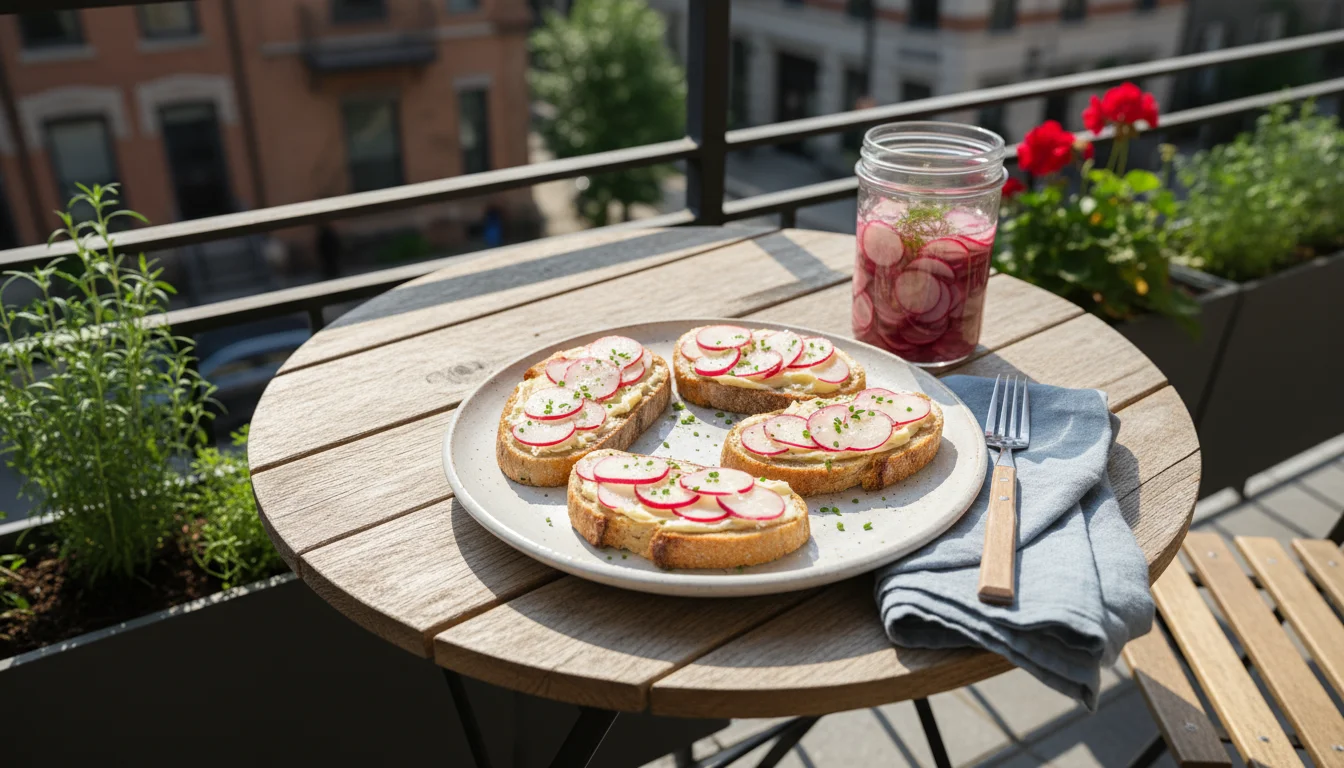
Enjoying Your Radishes: Simple Serving Ideas
Beyond slicing them for salads, here are a few simple ways to enjoy your homegrown radishes:
- Radish and Butter Toast: Slice radishes thinly, arrange them on buttered toast, and sprinkle with sea salt. A classic French snack.
- Roasted Radishes: Toss whole radishes with olive oil, salt, and pepper, then roast at 400°F (200°C) for 15-20 minutes until tender and slightly caramelized. Roasting mellows their peppery bite.
- Quick Pickled Radishes: Slice radishes thinly and pack them into a jar. Pour a hot mixture of vinegar, water, salt, and a pinch of sugar over them. Let them cool, then refrigerate. Enjoy them on tacos, sandwiches, or as a tangy snack.
Growing radishes provides not only a fast, rewarding harvest but also offers numerous opportunities to experiment with sustainable practices and delicious culinary creations. Your balcony garden can be a hub of productivity and enjoyment.
Frequently Asked Questions
Can I grow radishes indoors?
Yes, you can grow radishes indoors, but it presents a few challenges. They require at least 6 hours of bright, direct sunlight daily, so a south-facing window is essential, or you will need to supplement with grow lights.
Indoor conditions often lack the air circulation of an outdoor environment, increasing the risk of fungal issues if not managed correctly. While possible, outdoor growing on a balcony or patio typically yields better results due to superior light and air flow.
Why are my radishes small and woody?
Small, woody radishes are usually a sign of stress or over-maturity. The most common causes are inconsistent watering, prolonged exposure to high temperatures (which can cause them to bolt), or leaving them in the soil for too long past their maturity date.
Ensure you water consistently, plant in cool weather, and harvest promptly as soon as the bulbs reach their expected size, usually within 20-30 days for most varieties.
What can I plant with radishes in the same pot?
Radishes are good companions with many plants. You can interplant them with carrots or parsnips, as radishes mature and are harvested before the slower-growing root crops need the space.
They also grow well alongside lettuce, spinach, and other leafy greens, which have similar light and water requirements. Avoid planting them with hyssop or grapes, as these can inhibit radish growth.
How do I know if my radish seeds are still good?
To check if your radish seeds are viable, perform a simple germination test. Place 10 seeds on a damp paper towel, fold it over, and place it inside a plastic bag or covered container to keep it moist.
Keep it in a warm spot (room temperature). Most viable radish seeds should germinate within 3-7 days.
If 70% or more germinate, your seeds are still good for planting. If fewer sprout, consider purchasing fresh seeds to ensure a good harvest.
Can I plant radishes in hanging baskets?
You can definitely plant radishes in hanging baskets, provided the baskets are deep enough (at least 6-8 inches) to allow for proper root development. Ensure excellent drainage and consistent watering, as hanging baskets tend to dry out more quickly than standard pots.
Varieties like ‘Cherry Belle’ or ‘French Breakfast’ work well. Just be mindful of sun exposure and keep them watered, making them a unique option for growing radishes in pots.
Disclaimer: This article is for informational purposes only and is not a substitute for professional gardening advice. Always consult local extension services or horticulture experts for region-specific guidance.
1 Comment