
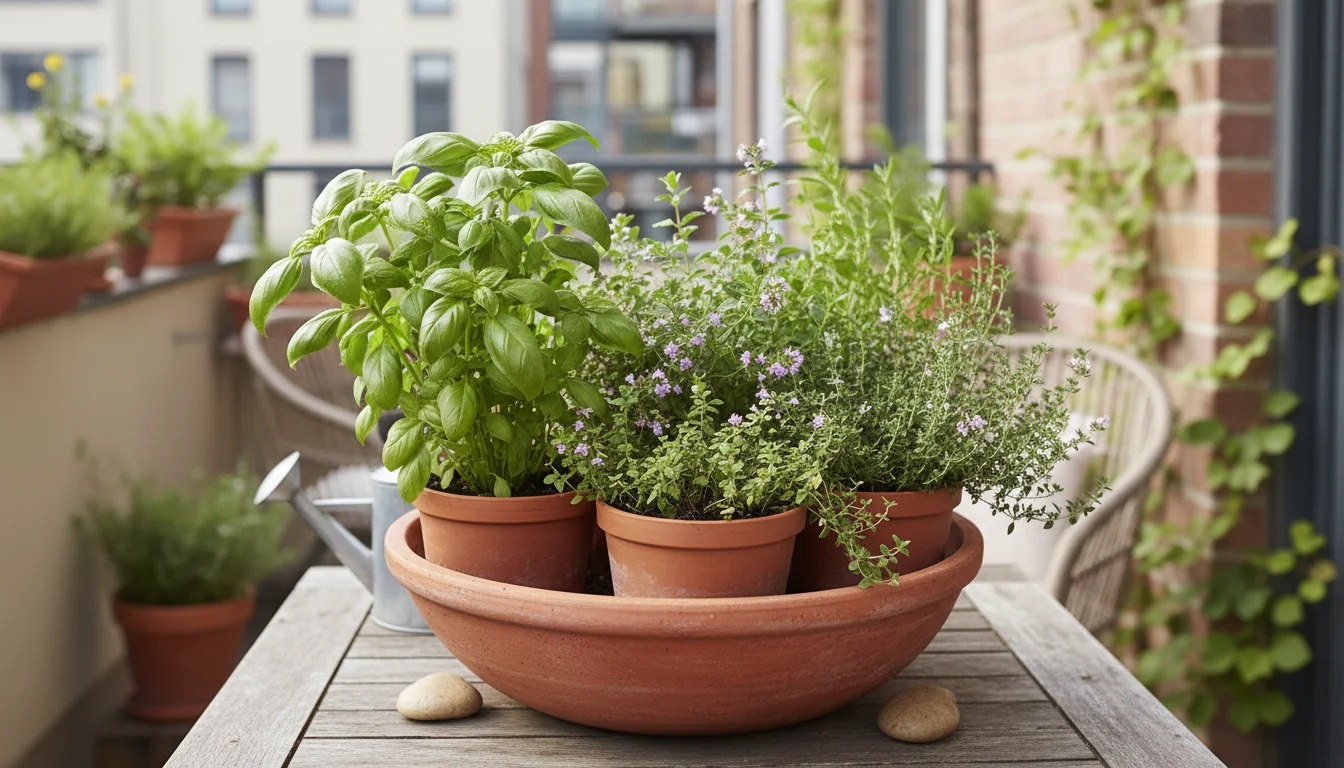
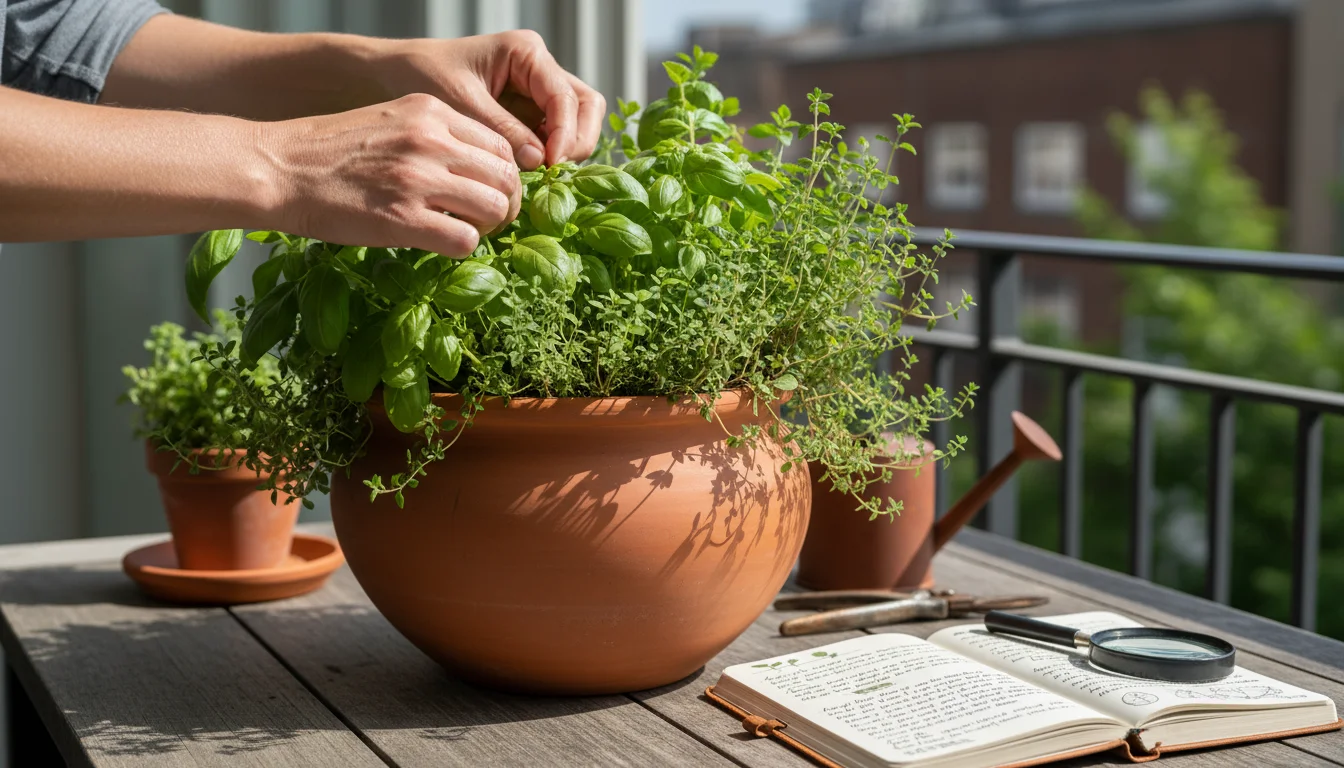
Imagine stepping onto your balcony or patio, plucking fresh basil, oregano, and thyme, and adding them directly to your homemade pizza or pasta sauce. This dream becomes a delicious reality with the ‘Pizza Pot’ project.
Growing these essential culinary herbs together in a single container offers a rewarding, space-saving solution for any gardener, regardless of your experience level. You create a thriving mini-ecosystem, ensuring a continuous supply of aromatic flavors right outside your door.
Once you master this pot, you might want to learn how companion herbs boost vegetable growth in your other containers.
To complete your homegrown pizza toppings, consider learning how to grow tomatoes in containers right alongside your herbs.
Contents10 sections
- Why Grow a Pizza Pot: The Benefits of a Themed Herb Planter
- Choosing Your Container and Soil: The Foundation for Flavor
- Meet Your Pizza Herbs: Basil, Oregano, and Thyme
- Companion Planting Wisdom for Your Pot: Why These Herbs Thrive Together
- Step-by-Step Planting Guide: How to Plant a Pizza Garden in a Pot
- Ongoing Care and Maintenance: Nurturing Your Flavorful Trio
- Harvesting Your Flavorful Bounty: Maximize Your Summer of Flavor
- Common Challenges and Troubleshooting: Keeping Your Pizza Pot Healthy
- Extending Your Pizza Pot’s Life: Enjoy Herbs Beyond Summer
- Frequently Asked Questions
Why Grow a Pizza Pot: The Benefits of a Themed Herb Planter
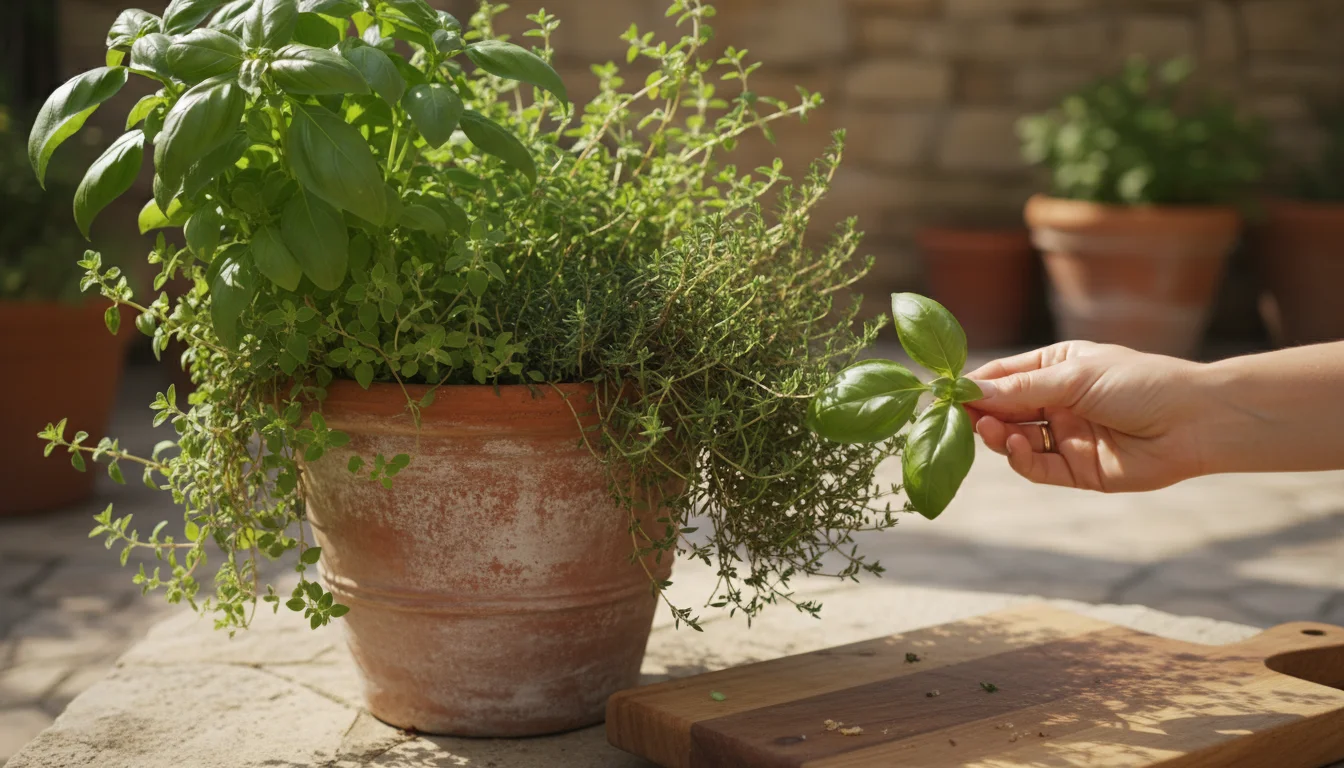
The ‘Pizza Pot’ is more than just a collection of plants. It is a functional, beautiful, and incredibly convenient way to cultivate the specific herbs you reach for most often in your kitchen.
This DIY themed herb planter simplifies your gardening efforts, bringing fresh ingredients closer than ever. Consider the many advantages this focused approach offers you:
If you’re looking to expand further, consider building a vertical planter for sugar snap peas to save even more patio space.
For those who prefer a more relaxing brew, you can also create an autumnal tea garden using similar container methods.
This project works so well because of the principles of companion planting for small spaces, which allow these species to thrive in close quarters.
If you want to fill your kitchen with even more variety, explore these fast-growing herbs that you can harvest almost every day.
- Unbeatable Freshness: Store-bought herbs often lack the vibrant aroma and flavor of homegrown varieties. Plucking basil leaves minutes before adding them to a Caprese salad elevates your meal in ways you cannot replicate. The difference is immediately noticeable, making every dish sing with garden-fresh goodness.
- Cost Savings: Those small plastic containers of fresh herbs add up quickly. A single pizza pot produces a continuous supply throughout the growing season, significantly reducing your grocery bill. You invest a small amount upfront for materials and plants, then enjoy weeks, even months, of free, delicious herbs.
- Space Efficiency: For gardeners with limited space, such as those with balconies, patios, or small yards, the pizza pot is a game changer. It concentrates multiple plants into one container, making the most of every square inch. This clever container herb garden allows you to enjoy a productive garden even in urban environments.
- Ease of Access: Having your most-used herbs right outside your kitchen door encourages more frequent use. You find yourself experimenting with new recipes and adding fresh garnishes to every meal when they are so readily available. Convenience transforms cooking from a chore into a joy.
- Beginner-Friendly Project: Growing herbs is one of the easiest ways to start gardening. Basil, oregano, and thyme are forgiving plants, making this an ideal how to plant a pizza garden in a pot project for novices. Success builds confidence, encouraging you to explore more gardening ventures.
- Beautiful & Aromatic: Beyond their culinary value, these herbs add visual appeal and delightful scents to your outdoor living space. The varied textures and shades of green, combined with their characteristic aromas, create a mini sensory garden. Your balcony vegetable garden becomes a fragrant oasis.
- Sustainable & Eco-Conscious: Growing your own herbs reduces your carbon footprint by minimizing transportation and packaging waste. You control what goes into your plants, avoiding pesticides and harmful chemicals often used in commercial agriculture. This aligns with an environmentally conscious gardening approach.
Embracing the ‘Pizza Pot’ project means investing in convenience, flavor, and a more sustainable lifestyle. You gain fresh ingredients, save money, and beautify your space, all with a single, manageable planting.
Choosing Your Container and Soil: The Foundation for Flavor
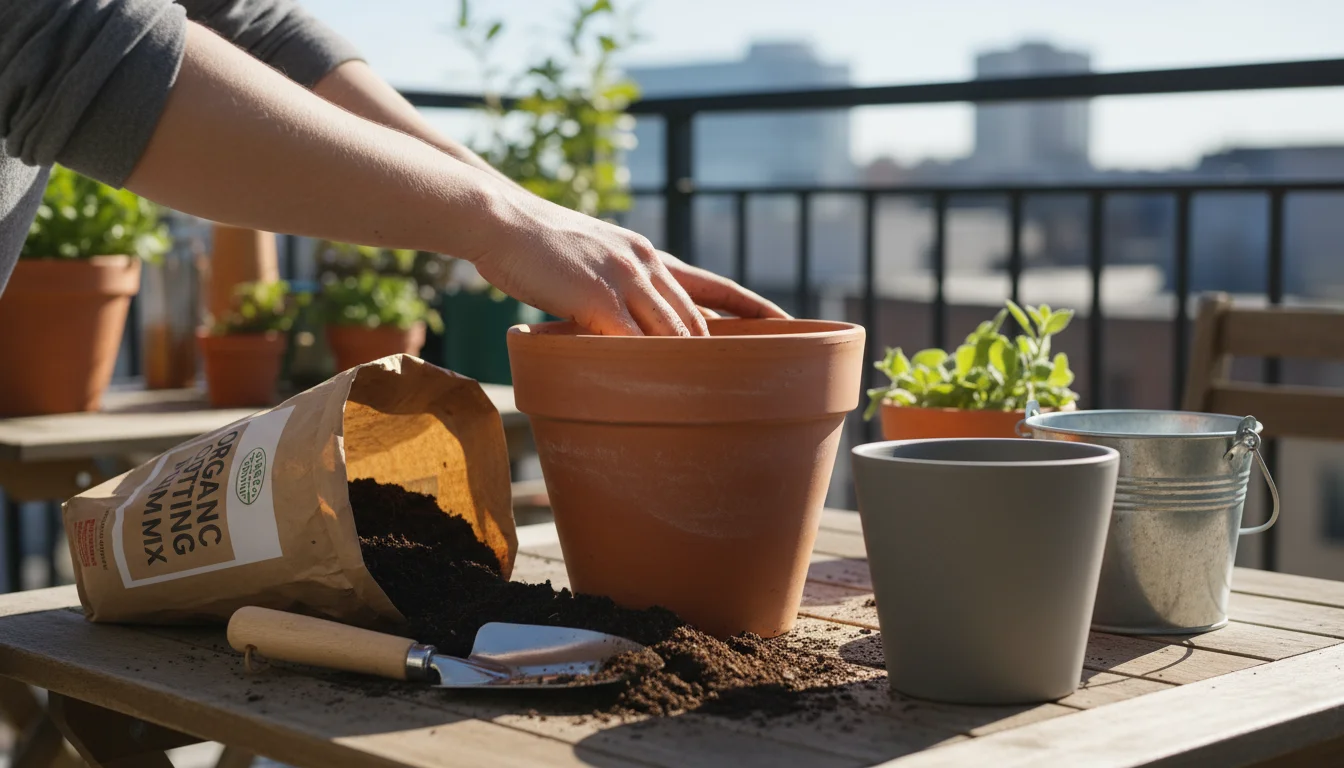
The success of your ‘Pizza Pot’ begins with selecting the right home for your herbs. Proper container and soil choices ensure your plants have the space and nutrients they need to thrive.
Do not underestimate these fundamental decisions, as they directly impact the health and productivity of your container herb garden.
Our spring planting guide for container gardeners provides even more tips on preparing your pots for a successful growing season.
Selecting the Right Container
Your container serves as the entire world for your herbs, so choose wisely. Here’s what to look for:
- Size Matters: A pot with a diameter of at least 12-16 inches (30-40 cm) and a depth of 8-10 inches (20-25 cm) works best for three herbs. This size provides enough room for root development and prevents competition for resources. Smaller pots dry out too quickly and restrict growth, leading to stressed plants and fewer flavorful leaves.
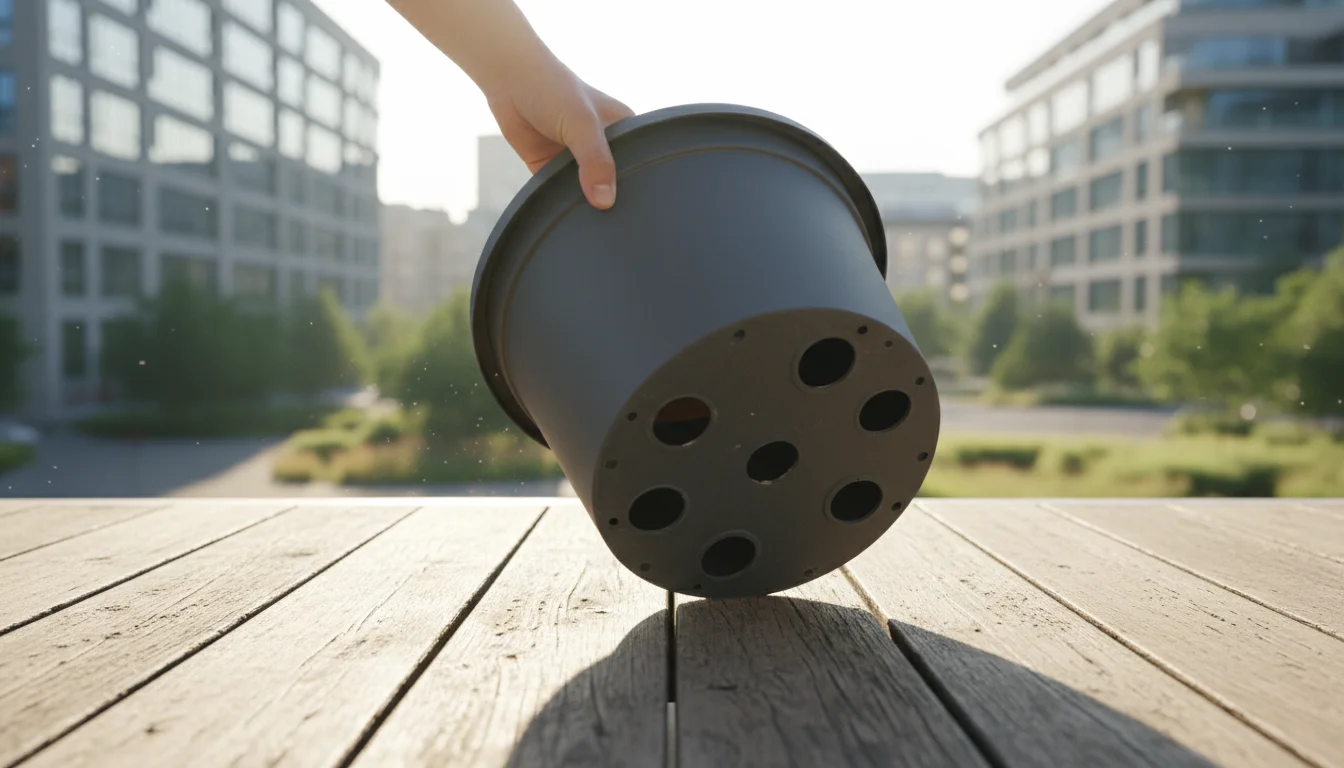
- Drainage is Non-Negotiable: Every container absolutely must have drainage holes at the bottom. Without them, water accumulates, suffocating roots and causing root rot, a common killer of container plants. If your chosen pot lacks holes, you must drill them yourself. Adequate drainage, how water moves through soil, is paramount for healthy roots.
- Material Choices:
- Terracotta (Clay): These pots are attractive and porous, allowing air and moisture to move through the sides. This helps prevent overwatering, a benefit for herbs that prefer slightly drier conditions. However, terracotta dries out faster, especially in hot climates, meaning you need to water more frequently.
- Plastic: Lightweight, inexpensive, and excellent at retaining moisture, plastic pots are a practical choice. They come in various colors and styles, allowing you to match your aesthetic. They hold moisture longer, which can be advantageous in sunny locations, but always check for drainage holes.
- Glazed Ceramic: These pots offer beauty and good moisture retention, similar to plastic. They are heavier and more expensive but provide a sophisticated look. Ensure they have ample drainage.
- Fabric Grow Bags: An increasingly popular option, grow bags offer excellent aeration, preventing root circling and promoting a healthier root system. They are lightweight, foldable for storage, and generally very affordable. Their breathability reduces the risk of overwatering.
Choose a material that fits your watering habits and local climate.
The Importance of Quality Potting Mix
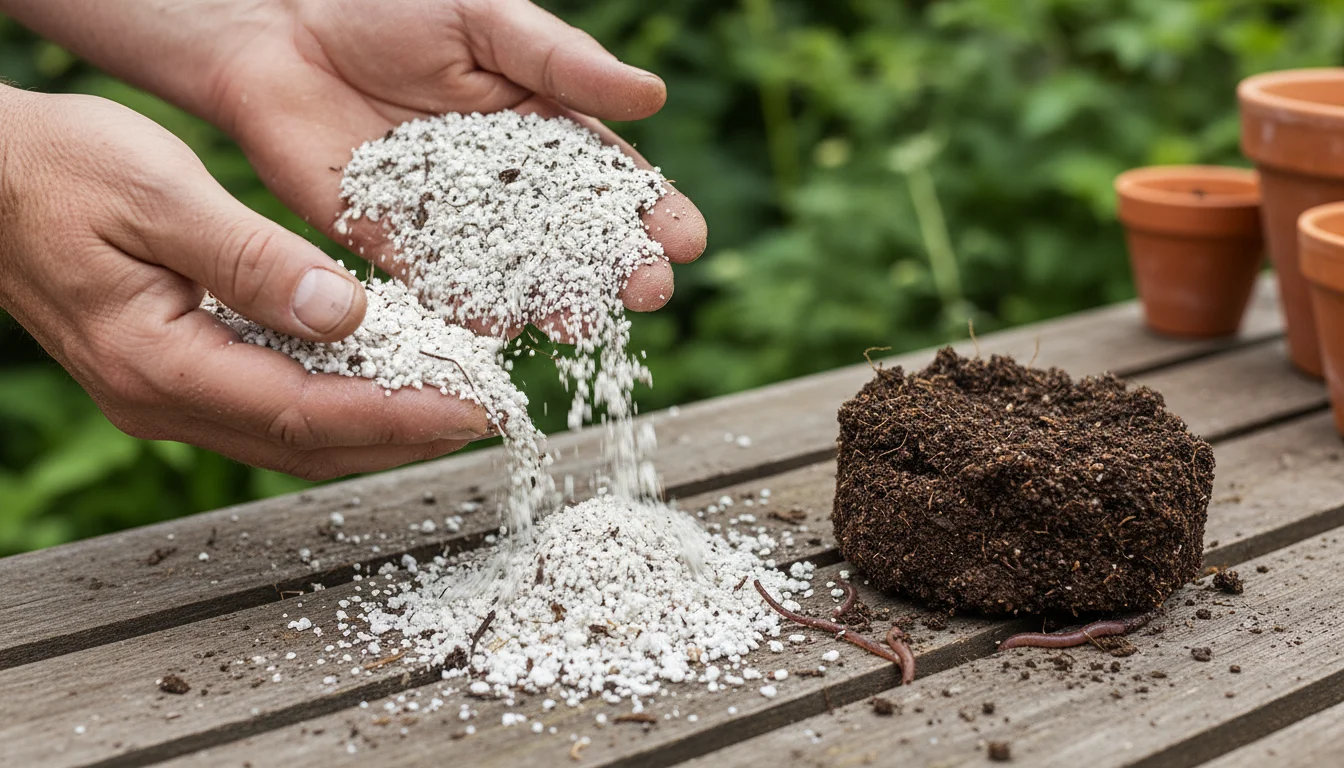
The soil in your pizza pot is not the same as garden soil. Container plants need a specialized blend that provides aeration, drainage, and nutrient retention without becoming compacted.
Never use soil from your garden beds in containers; it compacts too easily, hindering root growth and drainage.
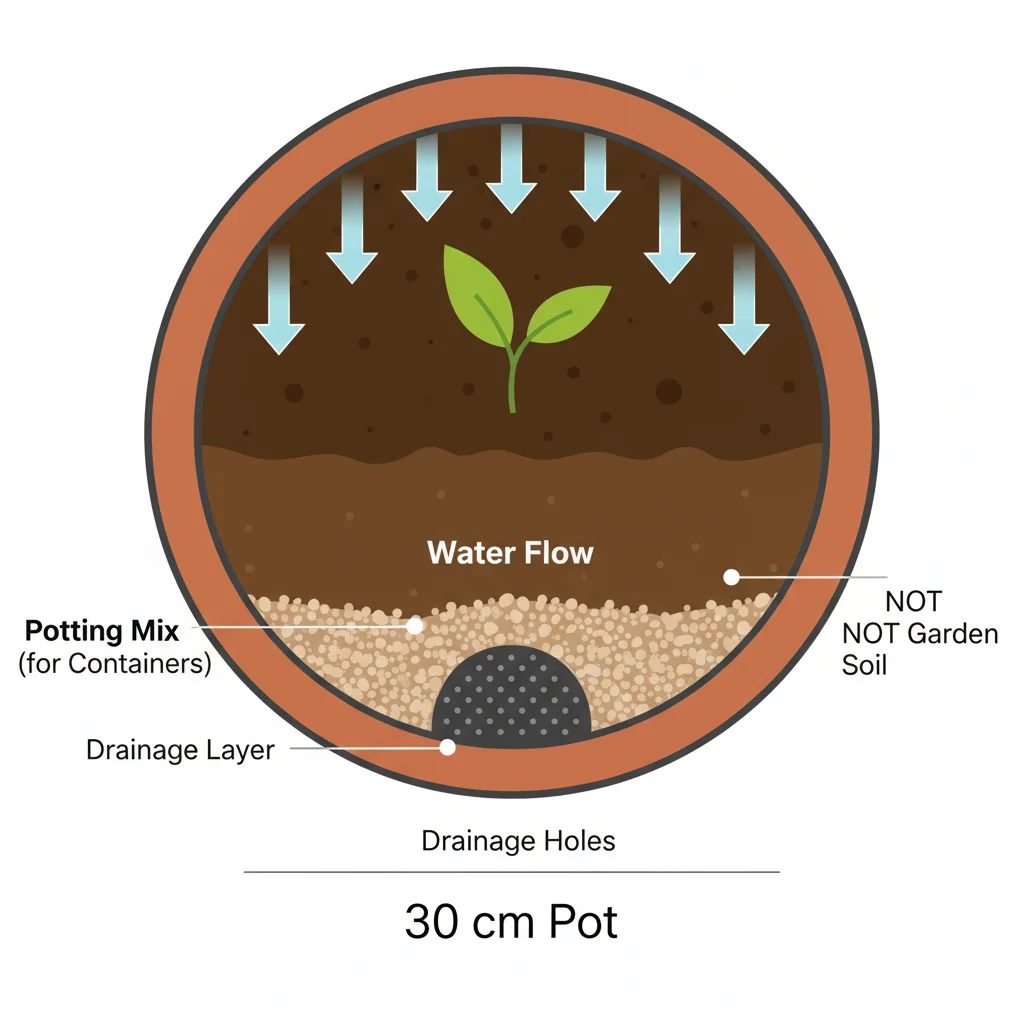
- Lightweight and Well-Draining: A good potting mix contains ingredients like peat moss or coco coir for moisture retention, perlite or vermiculite for aeration and drainage, and sometimes compost for nutrients. These components create a light, fluffy medium that allows roots to breathe and prevents waterlogging.
- Nutrient Content: Many potting mixes come “pre-fertilized” with a slow-release fertilizer that provides initial nutrients. This gives your young plants a head start. You will supplement these nutrients later with regular feeding. Look for mixes designed for containers or herbs.
- pH Level: Most herbs, including basil, oregano, and thyme, prefer a slightly acidic to neutral pH (around 6.0 to 7.0). Quality potting mixes typically fall within this range, providing an optimal environment for nutrient uptake.
By thoughtfully selecting a spacious container with excellent drainage and filling it with a premium potting mix, you create the ideal environment for your basil, oregano, and thyme to flourish. This crucial first step lays the groundwork for a robust and flavorful container herb garden.
Meet Your Pizza Herbs: Basil, Oregano, and Thyme
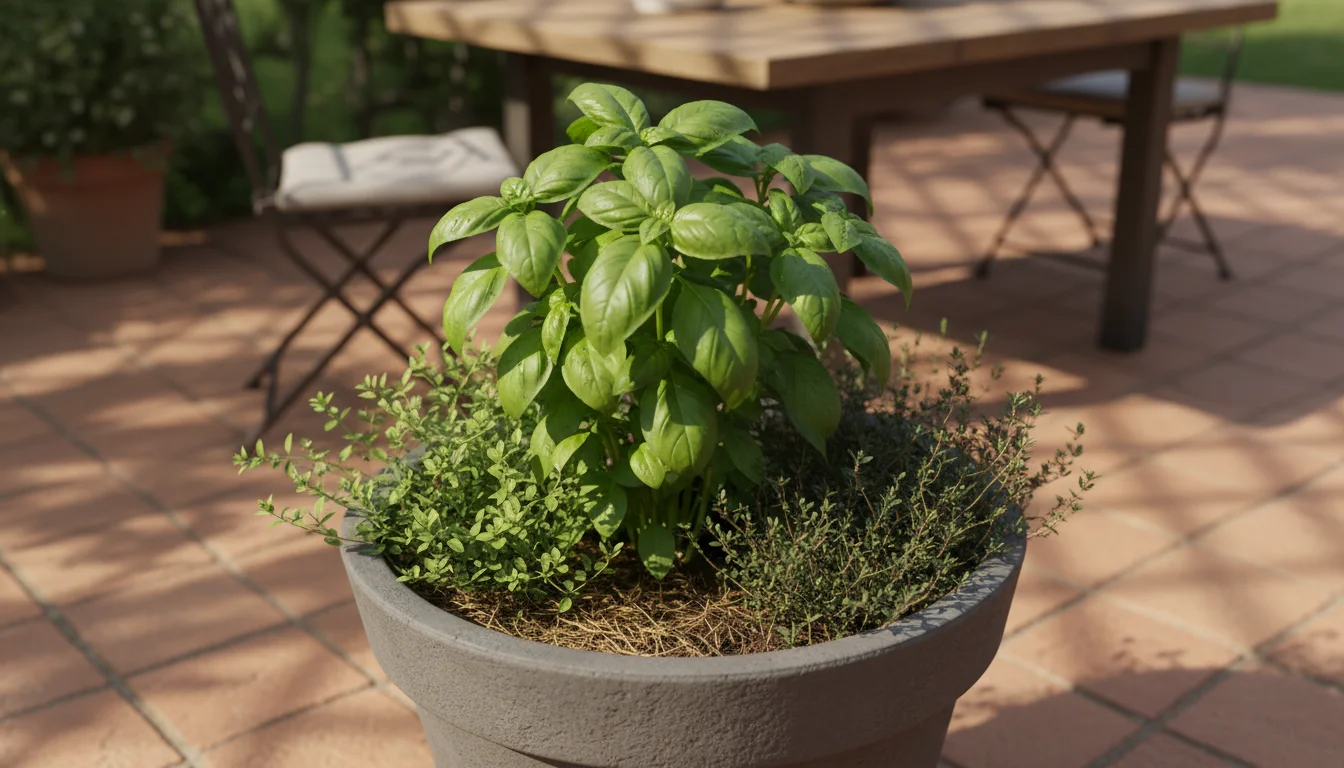
Your ‘Pizza Pot’ focuses on a trio of Mediterranean herbs celebrated for their complementary flavors and relatively similar growing requirements. Understanding each plant’s preferences helps you provide the best care, ensuring a bountiful harvest.
While they share many needs, subtle differences exist, which we will address in their placement and care.
If you want these tastes after the summer season ends, you can also grow herbs indoors for a year-round kitchen supply.
Starting with a plant from the grocery store? Follow this rescue plan to help it transition and thrive in your new container.
Basil (Ocimum basilicum)
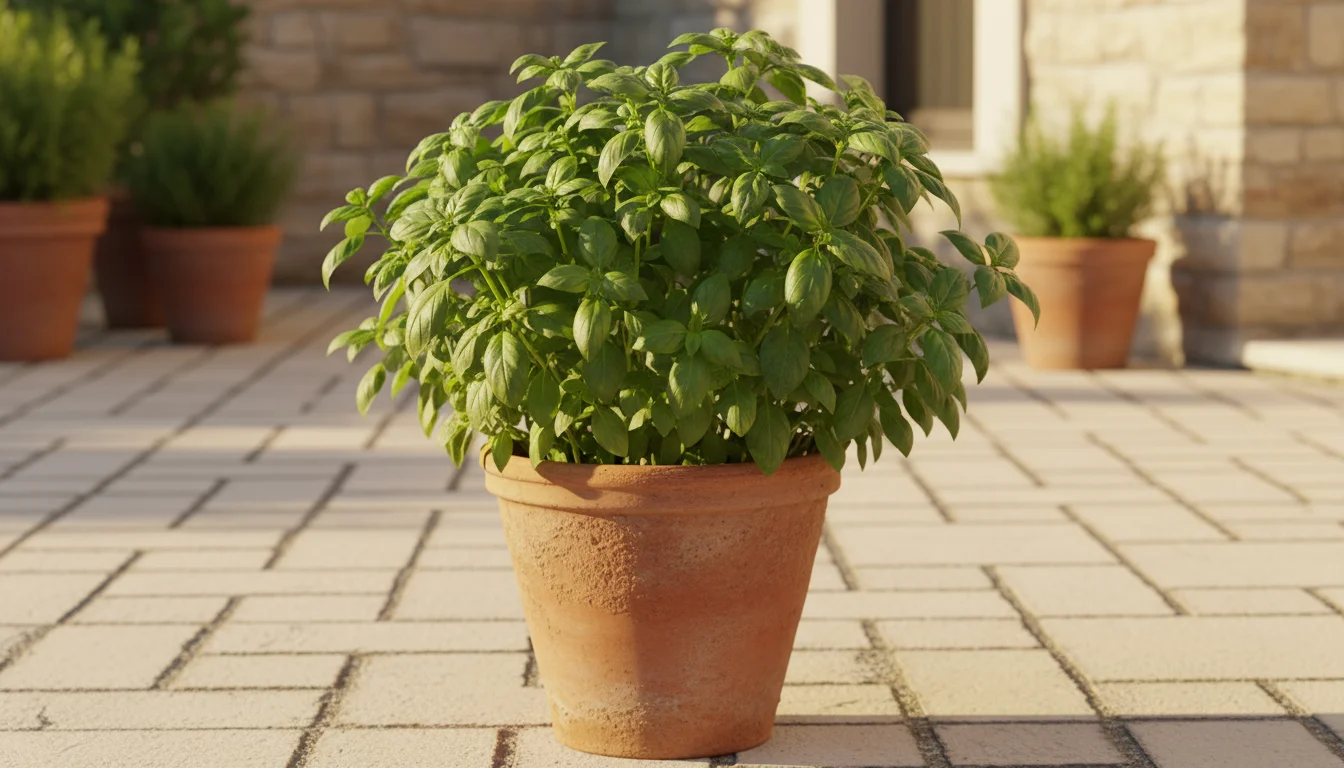
- Flavor Profile: Sweet, peppery, with hints of anise. Essential for Italian, Thai, and Mediterranean cuisines. Its vibrant flavor makes it indispensable for pestos, fresh sauces, and salads.
- Light Needs: Basil absolutely loves sunlight, requiring at least 6-8 hours of direct sun daily. Less sun leads to leggy growth and reduced flavor intensity.
- Water Needs: It prefers consistently moist soil, but not waterlogged. Water deeply when the top inch of soil feels dry, usually every day or two in warm weather. Avoid overhead watering, as wet leaves can encourage fungal diseases.
- Soil Preference: Rich, well-draining potting mix. Basil is a heavy feeder, benefiting from fertile soil.
- Growth Habit: Bushy annual plant, reaching 1-2 feet tall. It grows rapidly during warm weather.
- Key Care: Pinch off flower buds to encourage more leaf production. Harvesting regularly promotes bushier growth.
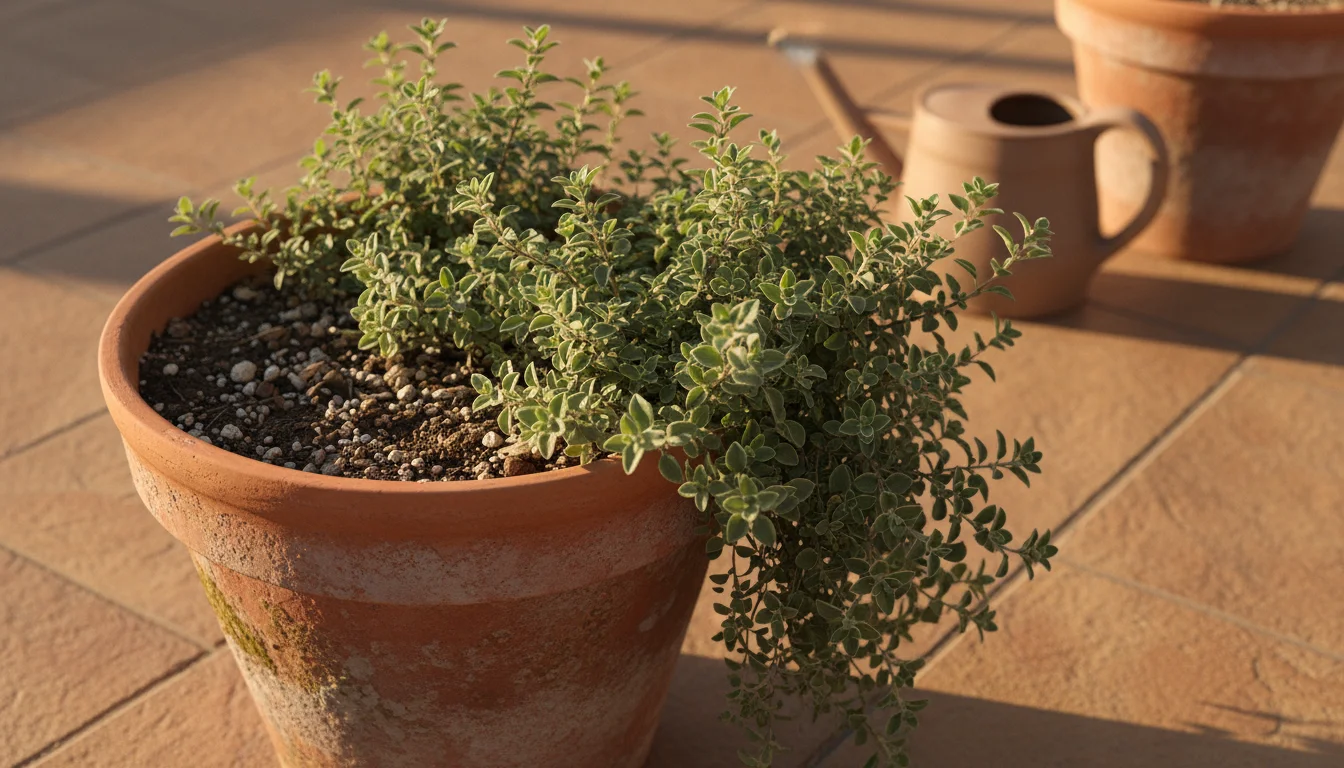
Oregano (Origanum vulgare)
- Flavor Profile: Pungent, earthy, slightly peppery. A cornerstone of Greek, Italian, and Mexican dishes. Its flavor intensifies when dried.
- Light Needs: Oregano thrives in full sun, needing 6-8 hours daily. It tolerates some afternoon shade in very hot climates.
- Water Needs: This herb prefers drier conditions than basil. Allow the soil to dry out between waterings. It tolerates drought better than overwatering.
- Soil Preference: Well-draining, somewhat lean soil. It does not require overly rich soil.
- Growth Habit: Perennial (in most zones), forming a low-growing, spreading mound. It can reach 1-2 feet tall and wide.
- Key Care: Trim back regularly to prevent it from becoming woody and to encourage fresh growth. It benefits from occasional division every few years if grown in a permanent spot, but in a pot, regular pruning suffices.
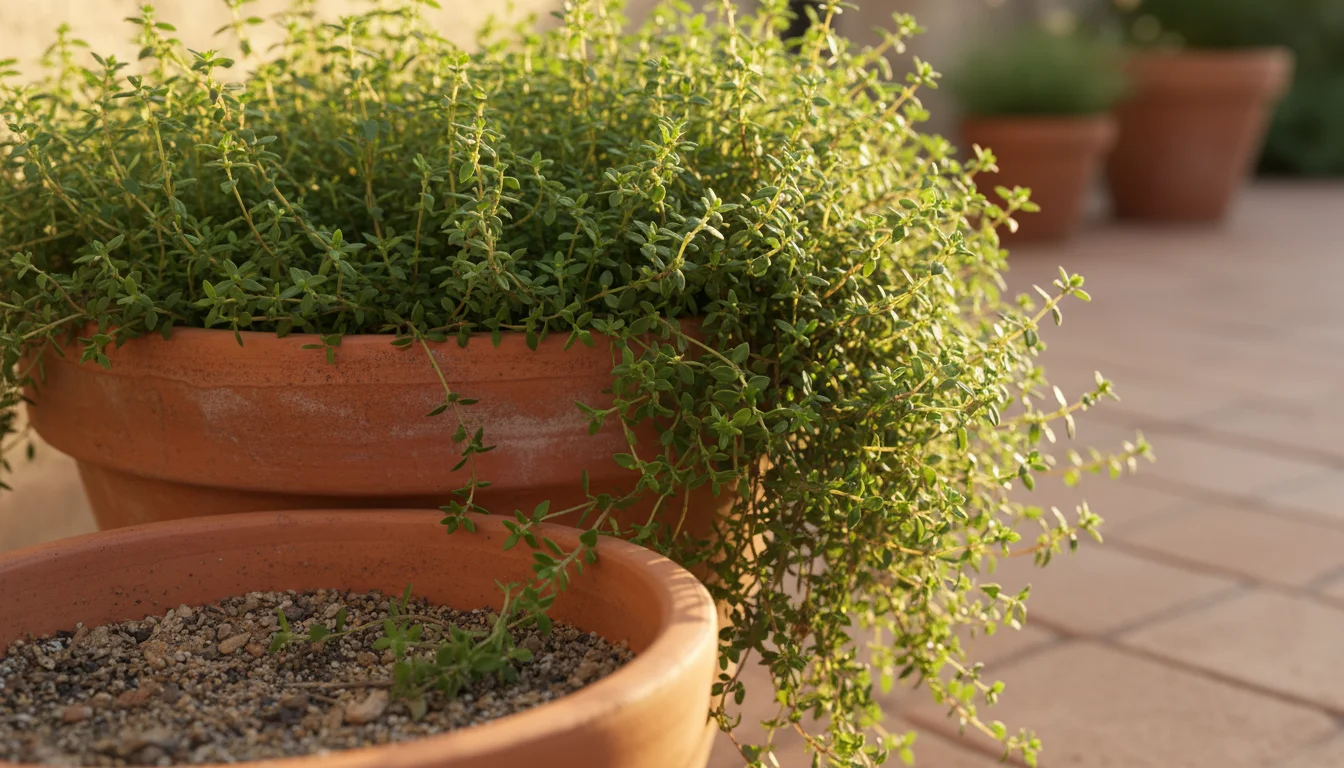
Thyme (Thymus vulgaris)
- Flavor Profile: Earthy, minty, subtly floral. A versatile herb used in French, Mediterranean, and Creole cooking, excellent with roasted meats and vegetables.
- Light Needs: Thyme demands full sun, at least 6-8 hours daily, to develop its best flavor and growth habit.
- Water Needs: Similar to oregano, thyme is drought-tolerant and absolutely despises wet feet. Allow the soil to dry out completely between waterings.
- Soil Preference: Very well-draining, even sandy or gritty soil. It prefers lean soil and does not need much fertility.
- Growth Habit: Perennial, forming a low, spreading mat or small shrub, typically 6-12 inches tall.
- Key Care: Lightly prune after flowering to maintain shape and encourage new growth. Avoid heavy pruning into old, woody stems.
Notice the common thread: all three love full sun and excellent drainage. Basil stands out as needing more consistent moisture and richer soil, while oregano and thyme lean towards drier, leaner conditions.
We address these subtle differences through strategic placement within the pot and careful watering practices, ensuring each plant gets what it needs to contribute to your flavorful pizza pot.
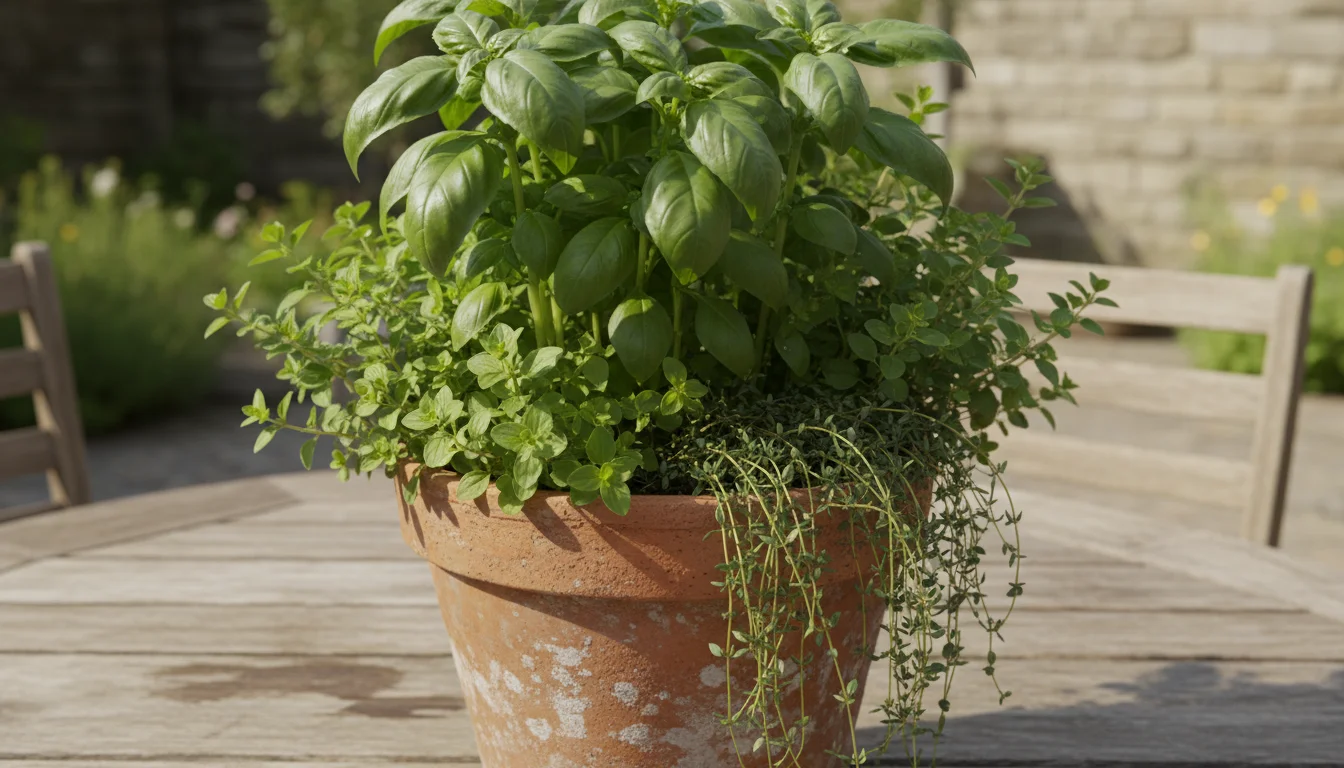
Companion Planting Wisdom for Your Pot: Why These Herbs Thrive Together
Companion planting involves growing different plants together for mutual benefit. In the ‘Pizza Pot’ project, we apply this wisdom to ensure basil, oregano, and thyme not only coexist but also thrive.
These three herbs are natural allies in a container, making them excellent choices for growing herbs together. Their compatibility stems from several shared preferences and complementary growth habits.
Understanding companion planting for small spaces helps you choose the right neighbors for your herbs to prevent competition for nutrients.
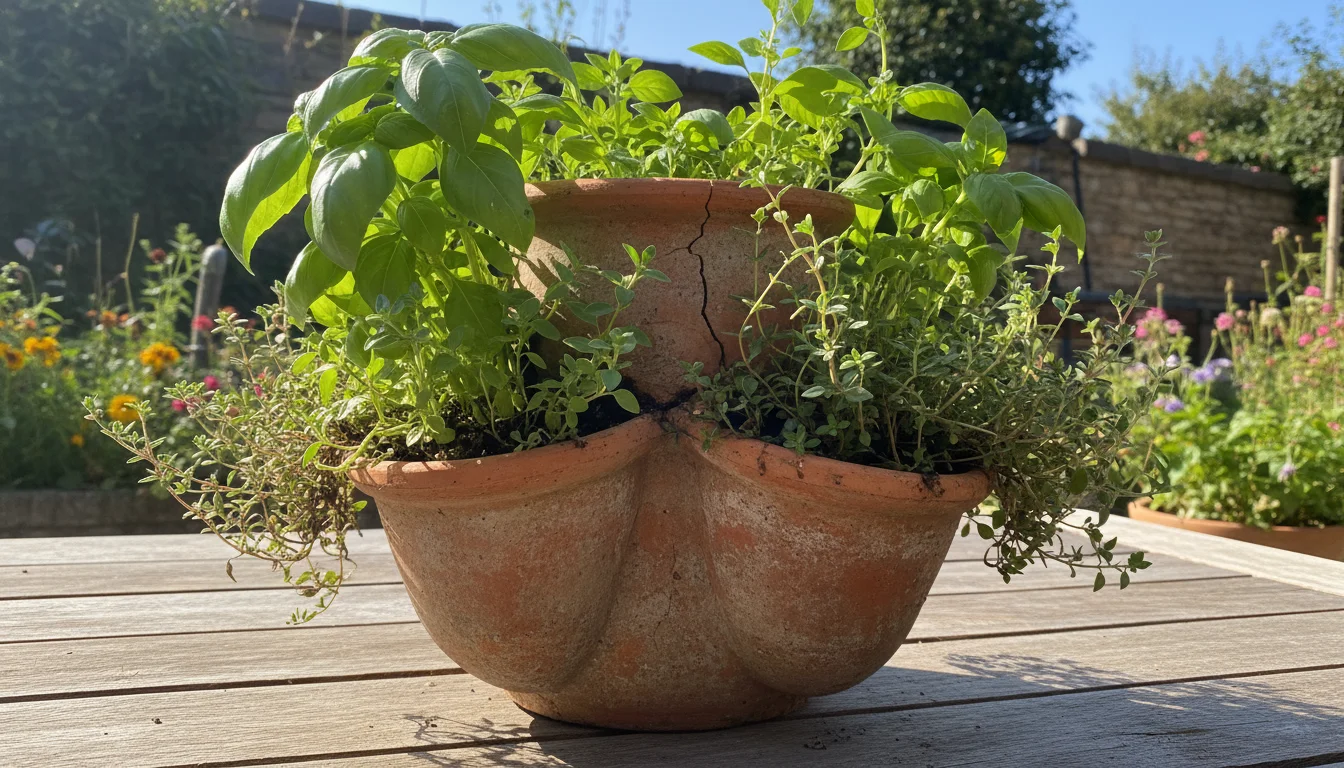
Shared Environmental Needs
The primary reason these three work well in a DIY themed herb planter is their overlapping environmental requirements:
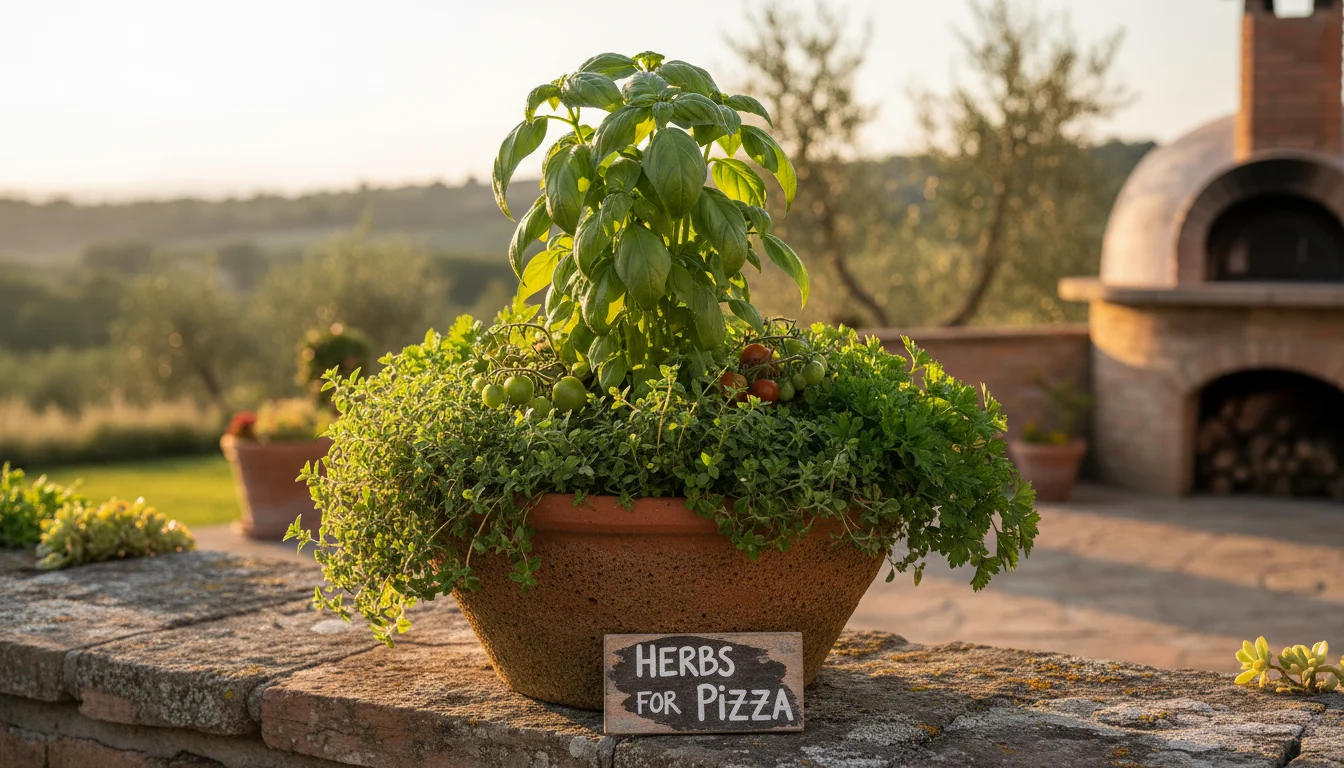
- Sunlight: All three demand abundant sunlight, ideally 6-8 hours of direct sun daily. This common need simplifies placement in your garden or balcony, as you do not need to worry about one plant shading out another or having drastically different light requirements.
- Drainage: Excellent drainage is critical for basil, oregano, and thyme. While basil tolerates more moisture, waterlogged conditions are detrimental to all three. A well-draining potting mix and a container with ample drainage holes meet this universal need.
- Temperature: These herbs all prefer warm temperatures. Basil, being more sensitive to cold, particularly appreciates sustained warmth. Oregano and thyme are more cold-tolerant perennials, but they perform best and produce the most flavor during the warm growing season, aligning perfectly with basil’s active growth period.
Growth Habits and Root Systems
Their varied growth habits also contribute to successful companion planting herbs in containers:
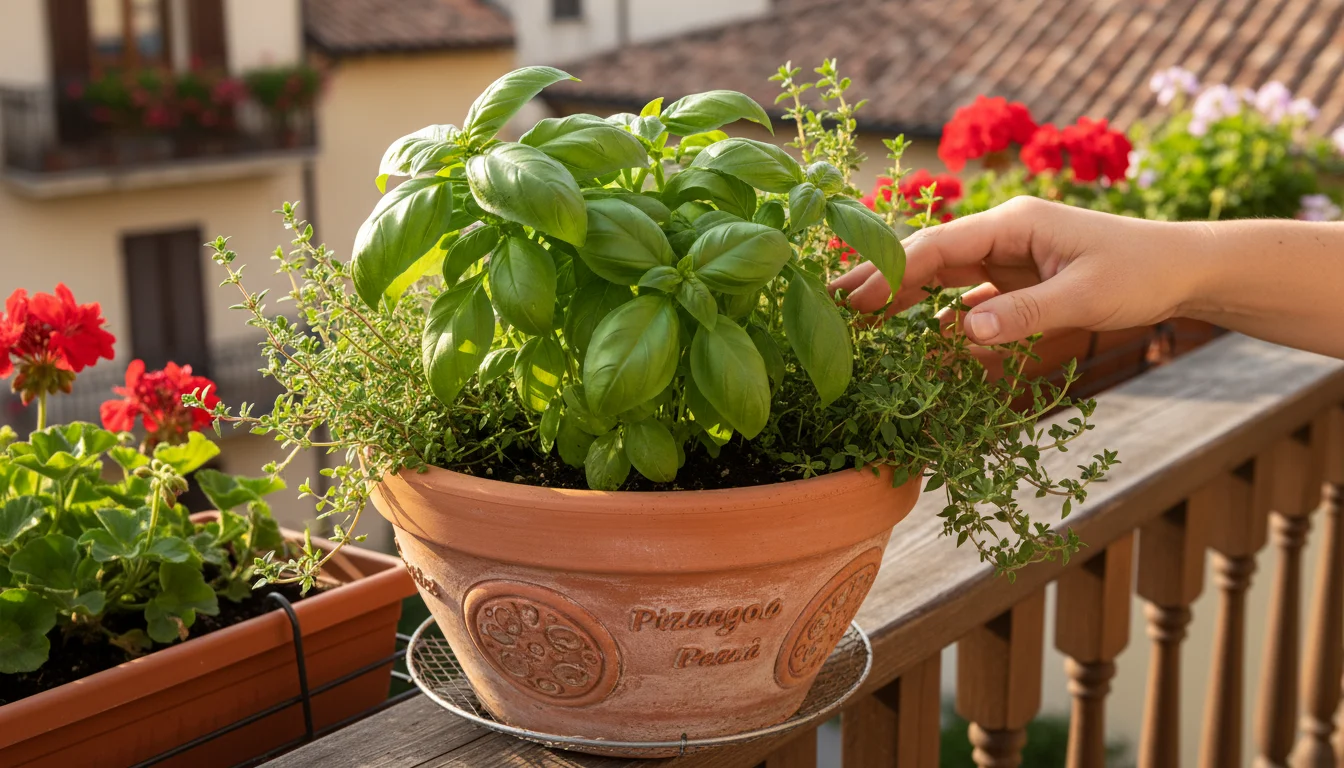
- Basil’s Upright Growth: Basil tends to grow more upright and bushy, acting as a central anchor or a vertical element in the pot. Its broad leaves can offer a touch of shade to the base of the pot, helping to keep the soil slightly cooler and reduce evaporation for its neighbors, although its density requires some airflow.
- Oregano’s Sprawling Nature: Oregano often forms a wider, somewhat sprawling mound. It can gently fill out the middle ground of the container, utilizing the horizontal space effectively without excessively competing with basil’s upward reach.
- Thyme’s Low Spread: Thyme grows as a low-lying, often cascading plant. Planting it near the edge of the pot allows it to spill over, creating a beautiful visual effect and utilizing the very edge of the container where other, taller plants might not fit comfortably. Its shallow root system does not heavily compete with the deeper roots of basil.
This stratification of growth habits means each plant occupies a slightly different niche within the pot, minimizing direct competition for light and root space. They are not fighting for the exact same spot, but rather complementing each other’s forms.
Pest Deterrence and Flavor Enhancement (Limited Impact in Containers)
While the effects are often more pronounced in large garden beds, some gardeners believe these herbs offer minor benefits to each other:
- Basil as a Beneficial Companion: Basil is reputed to repel certain garden pests, such as flies and mosquitoes, potentially offering some protection to its container companions. Its strong scent can also confuse pests.
- Overall Plant Health: Healthy, thriving plants are inherently more resistant to pests and diseases. By providing an optimal environment for growing herbs together, you reduce stress, leading to more resilient plants. The joy of a thriving balcony vegetable garden often comes from the overall health of its inhabitants.
The primary success of this specific companion planting arrangement comes from the shared environmental preferences and complementary growth patterns of basil, oregano, and thyme.
You create a harmonious microclimate where each plant can access sufficient sunlight, nutrients, and water, leading to a vibrant and productive how to plant a pizza garden in a pot.
Step-by-Step Planting Guide: How to Plant a Pizza Garden in a Pot
Now that you understand the “why” and “what,” let us get to the “how.” Planting your ‘Pizza Pot’ is a straightforward process, even for beginners.
Follow these steps for a successful container herb garden.
What You Will Need:
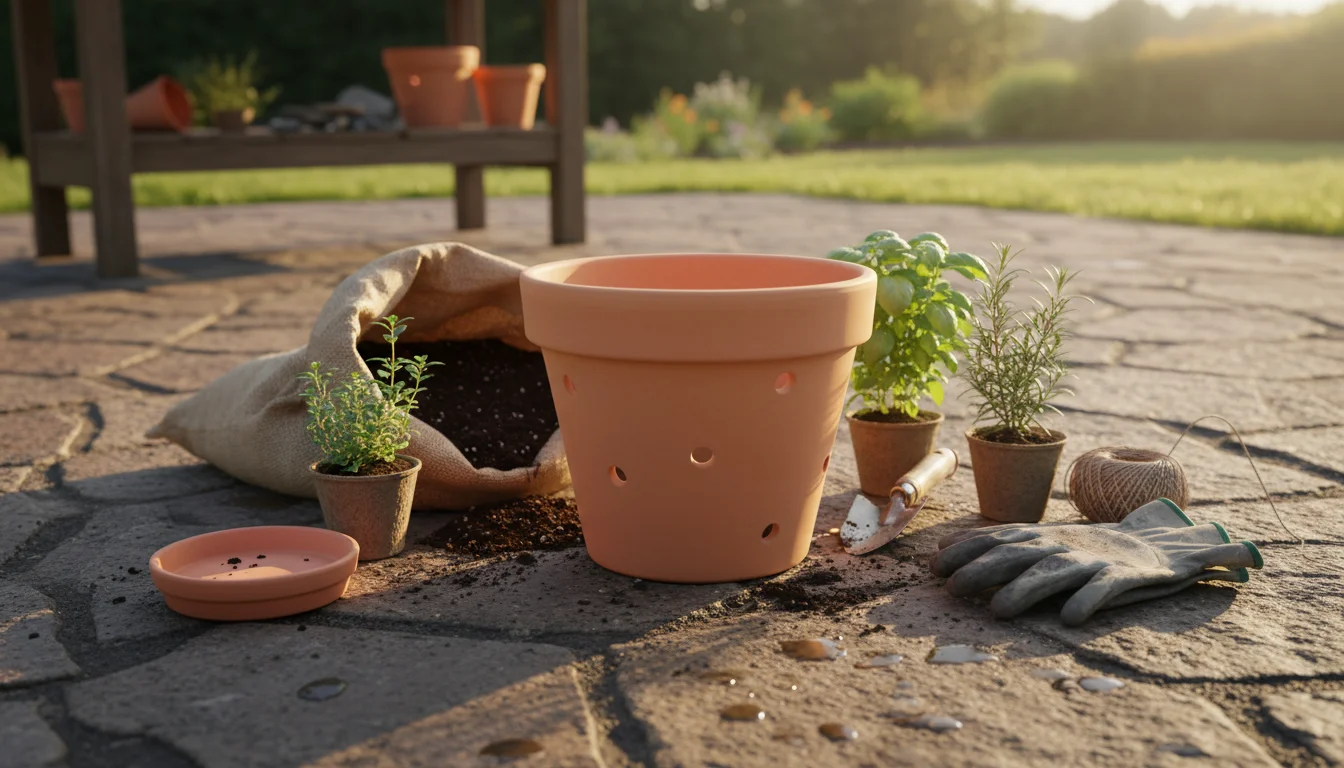
- Container: At least 12-16 inches in diameter with drainage holes.
- Potting Mix: High-quality, well-draining mix designed for containers.
- Herb Plants: One basil, one oregano, and one thyme plant. Opt for healthy, nursery-grown starts.
- Trowel or Small Shovel: For handling soil.
- Watering Can: For thorough watering.
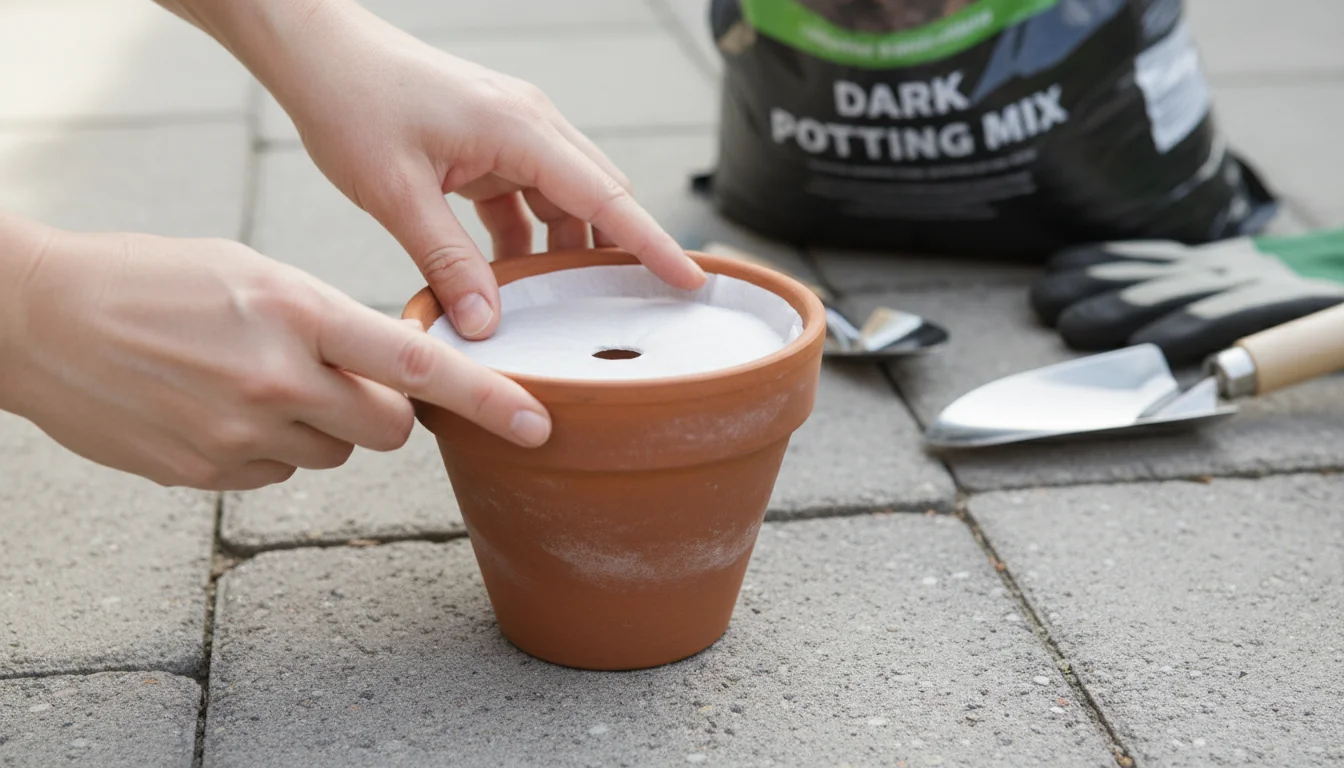
- Optional: Small piece of landscape fabric or coffee filter for covering drainage holes.
The Planting Process:
- Prepare Your Container:
- If using a new pot, give it a quick rinse. If reusing, wash it thoroughly with soap and water, then rinse well to remove any disease spores or old soil residues.
- Place a small piece of landscape fabric or a coffee filter over the drainage holes. This prevents soil from washing out while still allowing water to escape. Avoid using gravel or broken pottery, as it can actually hinder drainage by creating a “perched water table.”
- Add Potting Mix:
- Fill the bottom of your container with enough potting mix so that when you place your herb plants in, the top of their root balls sits about 1 inch (2.5 cm) below the rim of the pot. This space, known as the “headspace,” is crucial for watering, preventing overflow.
- Lightly tamp down the soil to remove large air pockets, but do not compact it too much.
- Arrange Your Herbs:
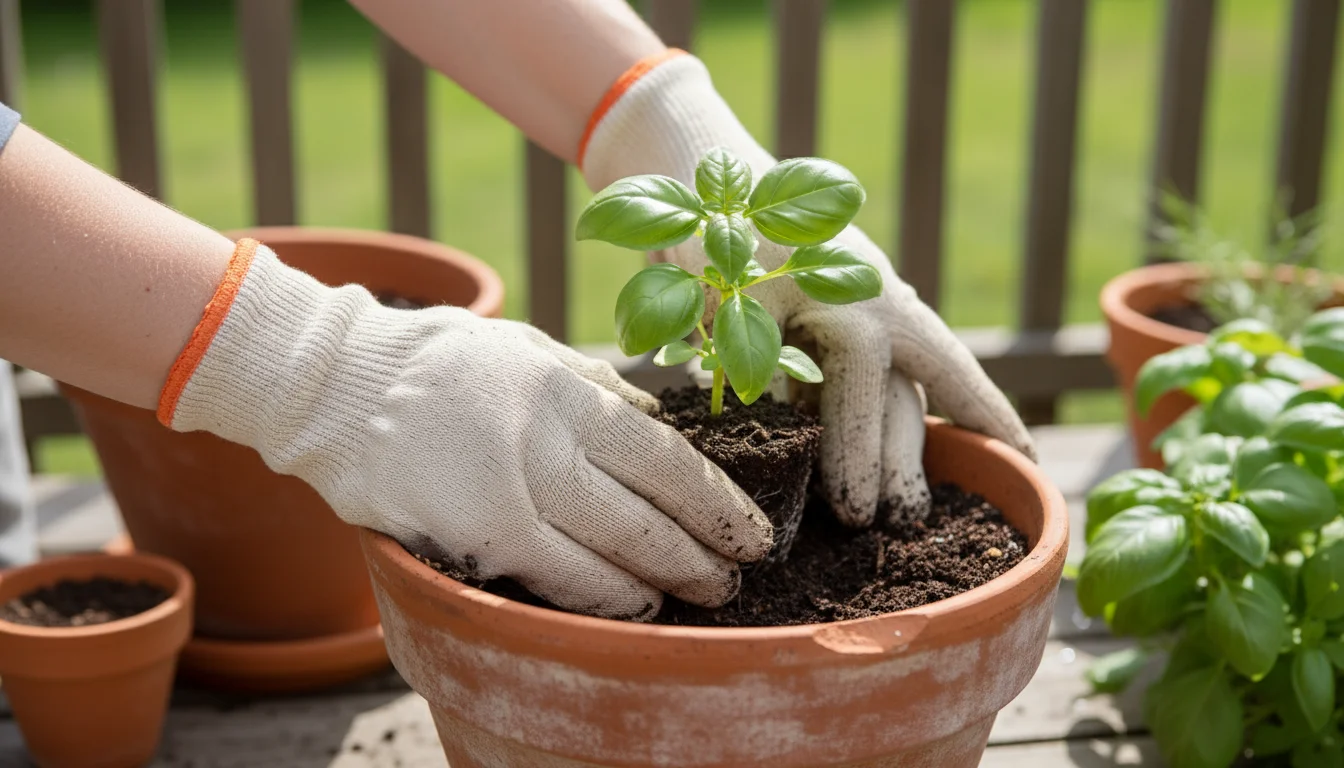
- Carefully remove each herb plant from its nursery pot. Gently loosen any circling roots at the bottom of the root ball. This encourages them to grow outwards into the new soil.
- Consider your plant arrangement for optimal light and airflow. A common, effective layout for a round pot places basil, the tallest and bushier plant, in the center or slightly off-center. Oregano, which tends to spread, can go on one side, and thyme, which is low-growing and often trails, can go on the opposite side, near the edge. This maximizes each plant’s access to light and allows room for growth.
- Position and Plant:
- Place your basil plant first, as it generally takes up the most space.
- Then, position the oregano and thyme around it according to your chosen layout. Ensure adequate spacing between plants, about 4-6 inches (10-15 cm), to allow for air circulation and prevent overcrowding.
- Once satisfied with the arrangement, backfill around the root balls with more potting mix, gently firming the soil around each plant. Ensure the soil level remains consistent with the top of the root ball; do not bury stems too deeply or leave roots exposed.
- Water Thoroughly:
- After planting, water your ‘Pizza Pot’ generously. Water until you see it draining from the bottom holes. This settles the soil around the roots and eliminates any remaining air pockets.
- The initial watering is critical for helping your plants adjust to their new home.
- Find the Perfect Spot:
- Place your newly planted container herb garden in its permanent, sunny location. Remember, 6-8 hours of direct sunlight is ideal. A balcony vegetable garden thrives in the brightest spot you can provide.
You have just created your own how to plant a pizza garden in a pot! This DIY themed herb planter is ready to produce fresh flavors all summer long.
Consistent care from this point forward ensures your herbs remain healthy and productive.
Ongoing Care and Maintenance: Nurturing Your Flavorful Trio
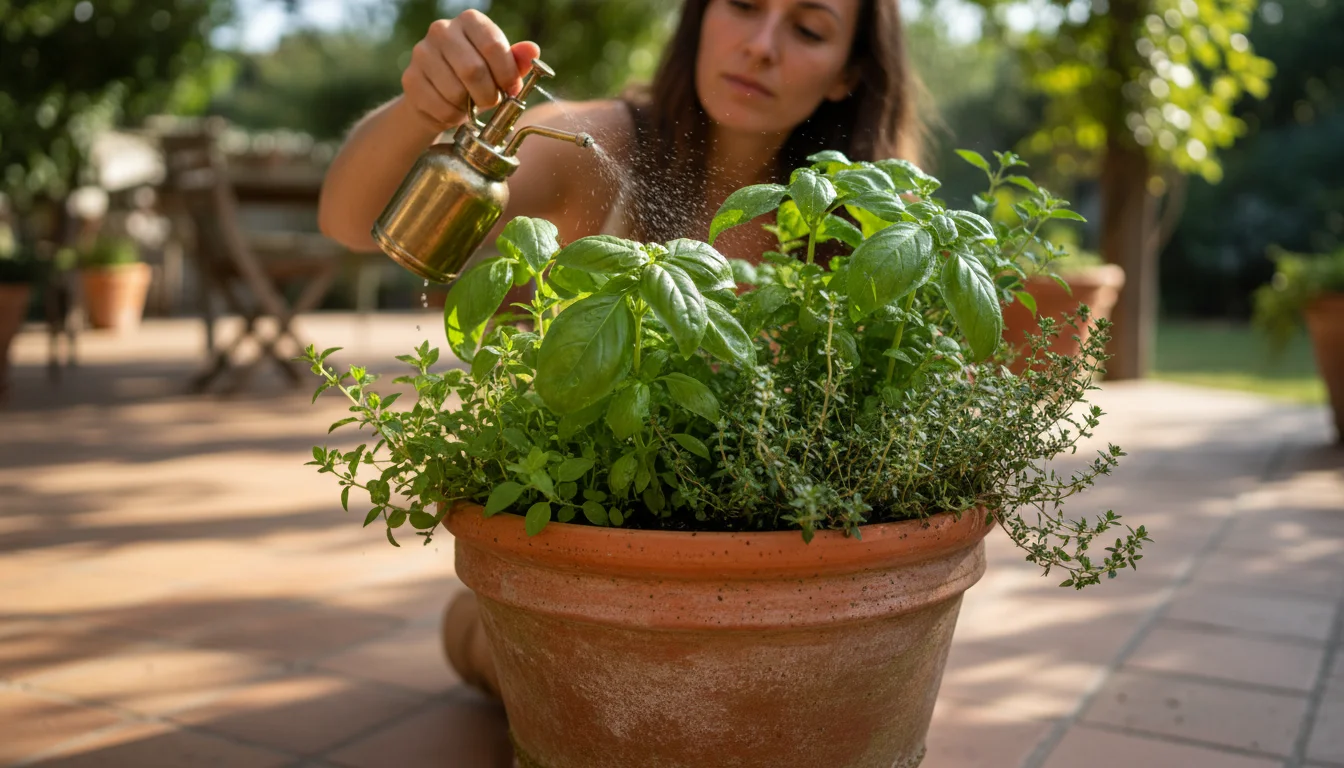
Once your ‘Pizza Pot’ is planted, consistent care ensures a bountiful harvest. While these herbs are generally low-maintenance, understanding their specific needs and responding to them keeps your container herb garden thriving.
Think of yourself as a diligent coach, providing what your plants need to perform their best.
Watering: The Art of Balance
Watering is perhaps the most critical aspect of container gardening. Too much or too little water harms plants.
Remember the different moisture preferences of your herbs:
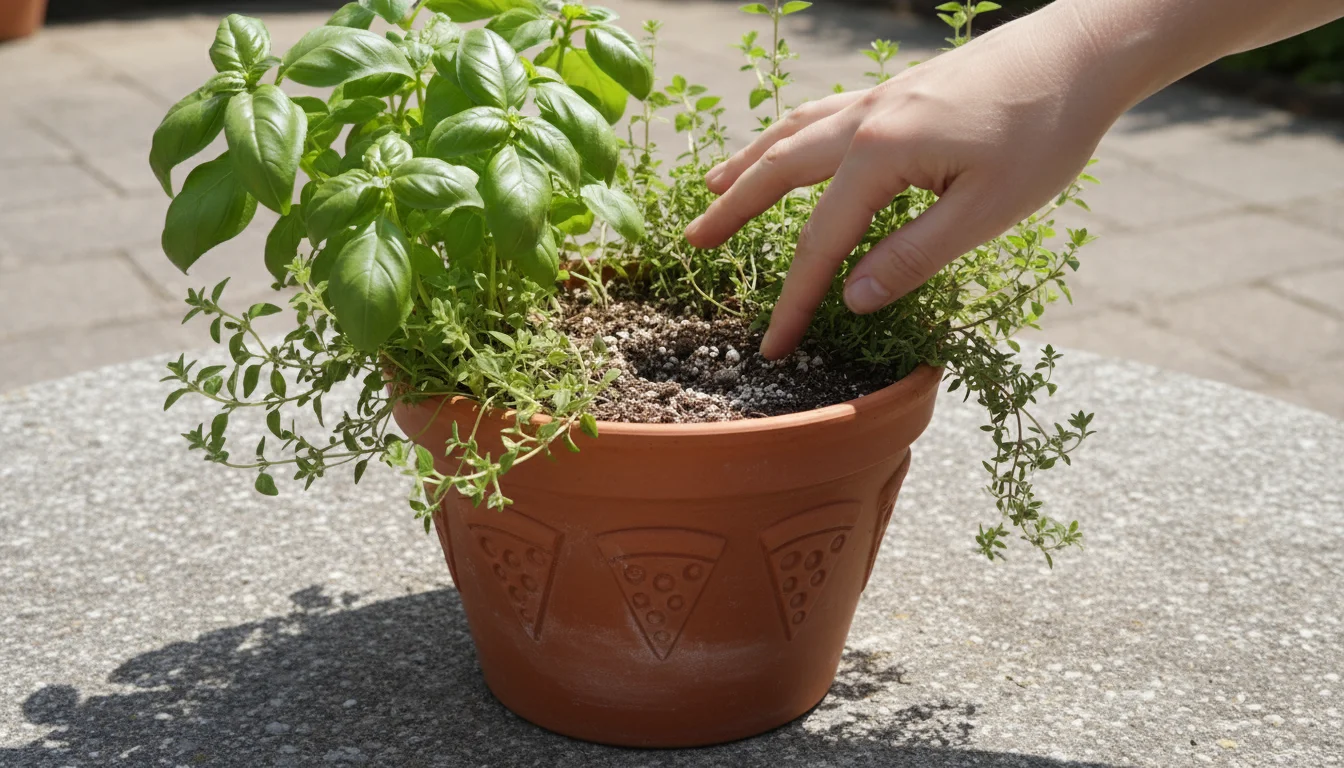
- Check Before You Water: Do not water on a strict schedule. Instead, feel the soil. Stick your finger about an inch or two into the potting mix. If it feels dry, it is time to water. If it still feels moist, wait.
- Water Deeply: When you water, do so thoroughly. Pour water slowly until it drains from the bottom of the pot. This ensures the entire root ball gets moistened, encouraging deep root growth. Shallow watering encourages shallow roots, making plants more vulnerable to drought.
- Basil’s Thirst: Basil prefers consistently moist soil. In hot, sunny weather, it might need watering daily. Keep an eye on its leaves; wilting indicates thirst.
- Oregano and Thyme’s Preference: These Mediterranean herbs tolerate drier conditions. Allow the soil around them to dry out almost completely between waterings. Overwatering is a common cause of their demise.
- Strategic Watering: When watering your pizza pot, you can direct water more towards the basil side if you have placed it distinctly. However, the overall pot should still drain well. The key is never to let the pot sit in standing water.
- Morning is Best: Water in the morning. This gives the plants time to absorb moisture before the heat of the day and allows any water on the leaves to evaporate, reducing the risk of fungal diseases.
Sunlight: Powering Up the Flavor
As discussed, all three herbs are sun worshipers. Your how to plant a pizza garden in a pot needs:
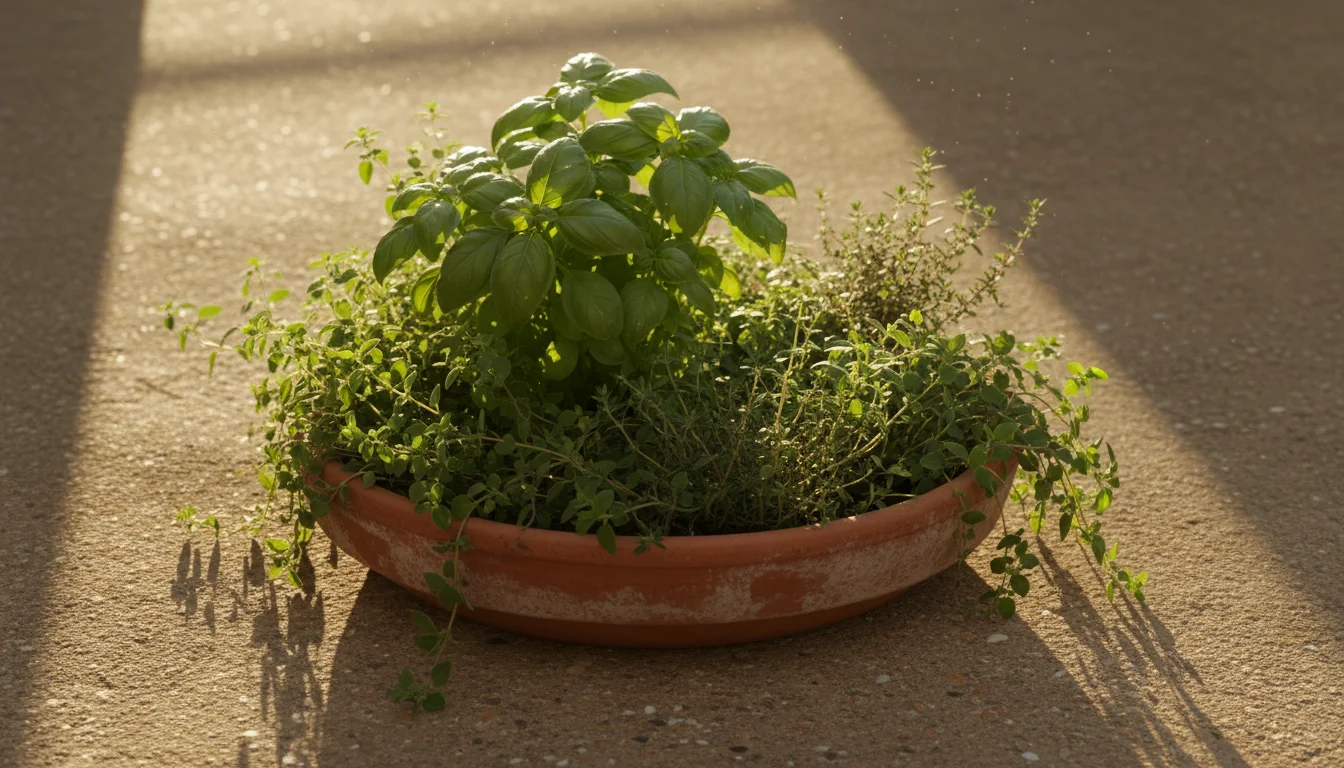
- Full Sun Exposure: Ensure your pot receives a minimum of 6-8 hours of direct sunlight per day. If your balcony or patio only gets partial sun, rotate the pot regularly to ensure all sides get some sun exposure.
- Monitor for Heat Stress: In extremely hot climates or during intense heatwaves, basil may temporarily wilt in the afternoon sun. If this happens consistently, and the soil is moist, consider moving the pot to a location that provides a little afternoon shade. This is typically only necessary in the most extreme conditions.
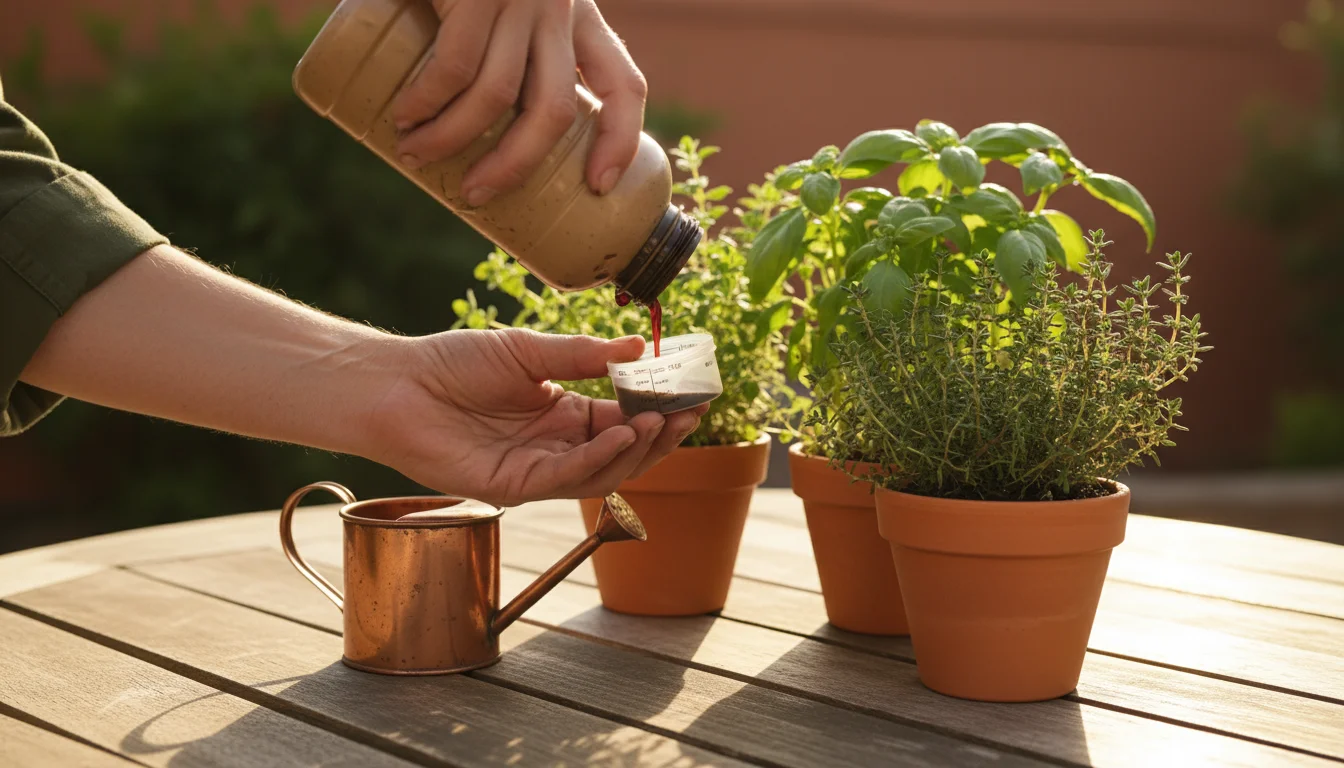
Fertilization: Feeding Your Flavor Factory
Container plants deplete nutrients faster than those in garden beds. Regular feeding keeps them productive:
- Start Small: If your potting mix contains a slow-release fertilizer, you will not need to fertilize for the first 4-6 weeks.
- Regular Feeding: After the initial period, feed your herbs every 2-4 weeks with a balanced liquid organic fertilizer, diluted to half strength. Look for a fertilizer formulated for herbs or vegetables. Over-fertilizing can lead to excessive leafy growth with less intense flavor.
- Focus on Organic: Organic fertilizers support soil health and provide nutrients gently. Always follow package directions.
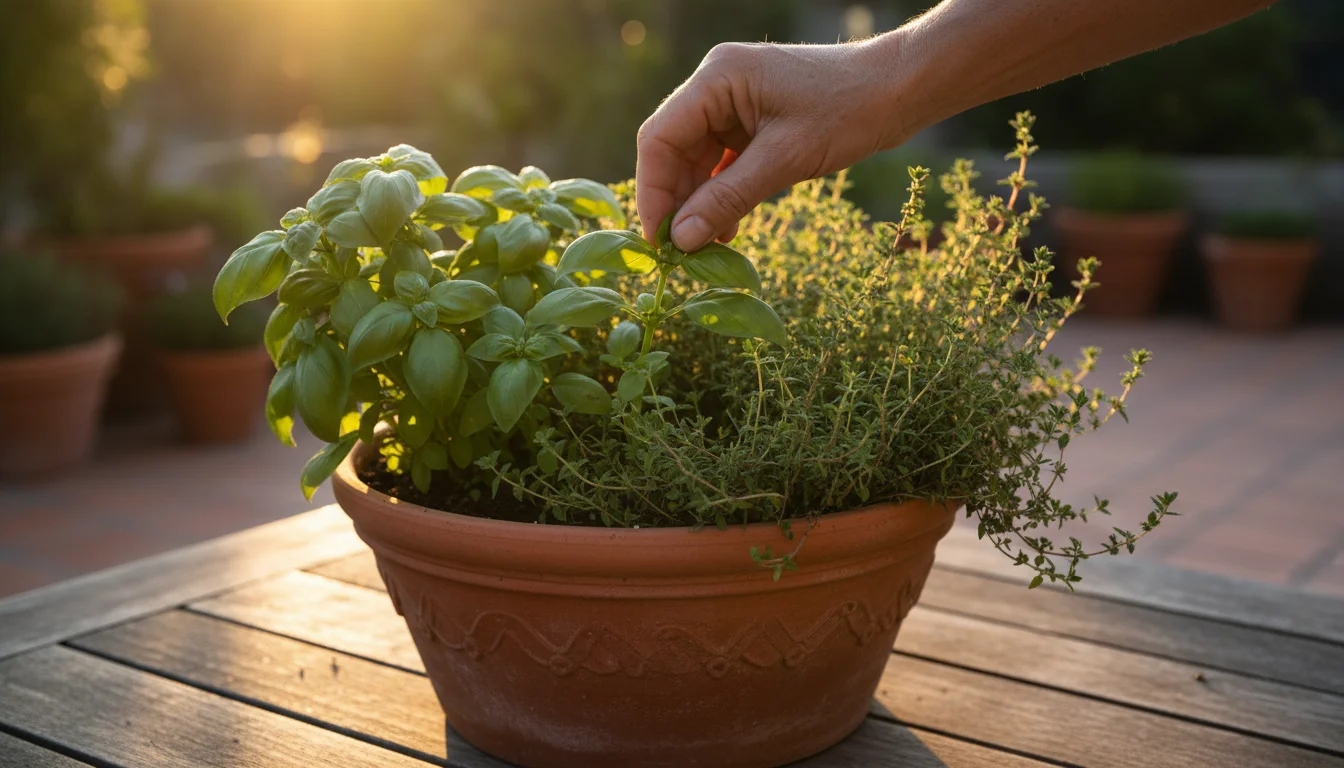
Pruning and Harvesting: Encouraging Bushiness and Flavor
Regular pruning is not just about harvesting; it is about encouraging your plants to produce more, bushier growth, leading to a larger and more flavorful yield. This is crucial for growing herbs together effectively.
- Basil:
- Pinch Back Regularly: Once your basil plant has grown 6-8 inches tall and developed two sets of true leaves (the second set after the initial seedling leaves), begin pinching.
- How to Pinch: Look for the main stem with smaller leaf sets forming in the “leaf axils” (where the leaf stem meets the main stem). Pinch off the top two sets of leaves, just above a node where new growth emerges. This forces the plant to branch out, creating a bushier plant instead of a tall, leggy one.
- Remove Flower Buds: As basil matures, it tries to produce flowers. As soon as you see flower buds forming, pinch them off. Flowering signals the plant to slow leaf production and can make the leaves bitter.
- Oregano:
- Trim for Bushiness: Trim oregano stems by about one-third every few weeks, or whenever you need to harvest. This encourages new, tender growth and prevents the plant from becoming woody.
- Remove Flowers (Optional): While oregano flowers are edible and attract pollinators, removing them directs the plant’s energy into leaf production for stronger flavor.
- Thyme:
- Light Pruning: Lightly prune thyme by snipping off the top few inches of growth, especially after it flowers. This maintains its shape and encourages fresh shoots. Avoid cutting into very woody stems, as these often do not regrow.
- Regular Harvesting: Frequent, light harvesting keeps thyme compact and productive.
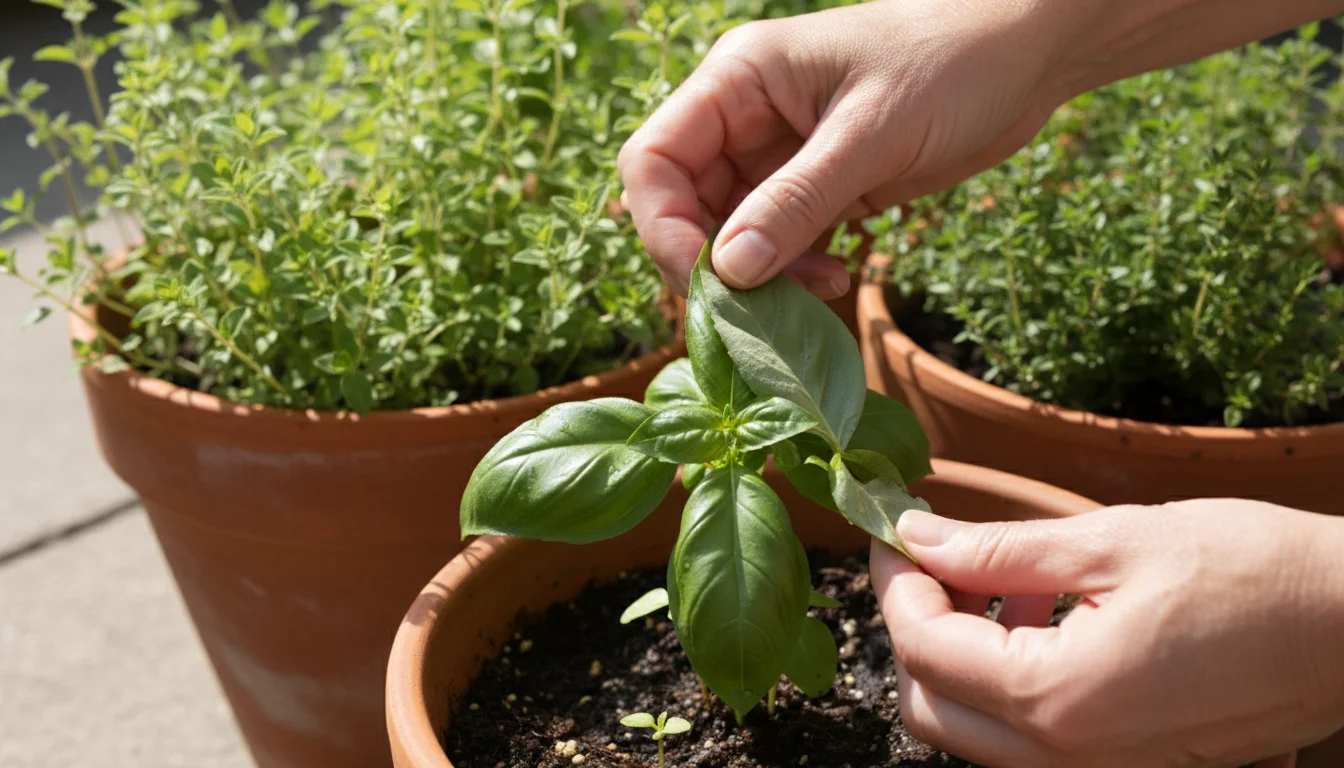
Pest and Disease Management: Vigilance is Key
A healthy plant is your best defense against pests and diseases. Regular inspection helps you catch problems early.
- Daily Check-ins: While watering or harvesting, take a moment to inspect your plants closely. Look under leaves and along stems for any signs of pests (small insects, webbing, chewed leaves) or diseases (discoloration, spots, mold).
- Common Pests: Aphids, spider mites, and whiteflies are common on herbs. For small infestations, a strong spray of water from a hose often dislodges them. For more persistent issues, use an insecticidal soap (check labels to ensure it is safe for edible plants).
- Fungal Issues: Overwatering, poor air circulation, and high humidity can lead to fungal problems like powdery mildew or rust. Ensure good airflow by proper spacing and pruning. Avoid overhead watering. If fungal spots appear, remove affected leaves.
- Healthy Practices: Providing adequate sunlight, proper watering, and good air circulation prevents most problems. An environmentally conscious balcony vegetable garden prioritizes preventative care over chemical treatments.
By consistently providing these essential care elements, you ensure your ‘Pizza Pot’ remains a vibrant, productive, and aromatic addition to your home, offering fresh flavors for all your culinary adventures.
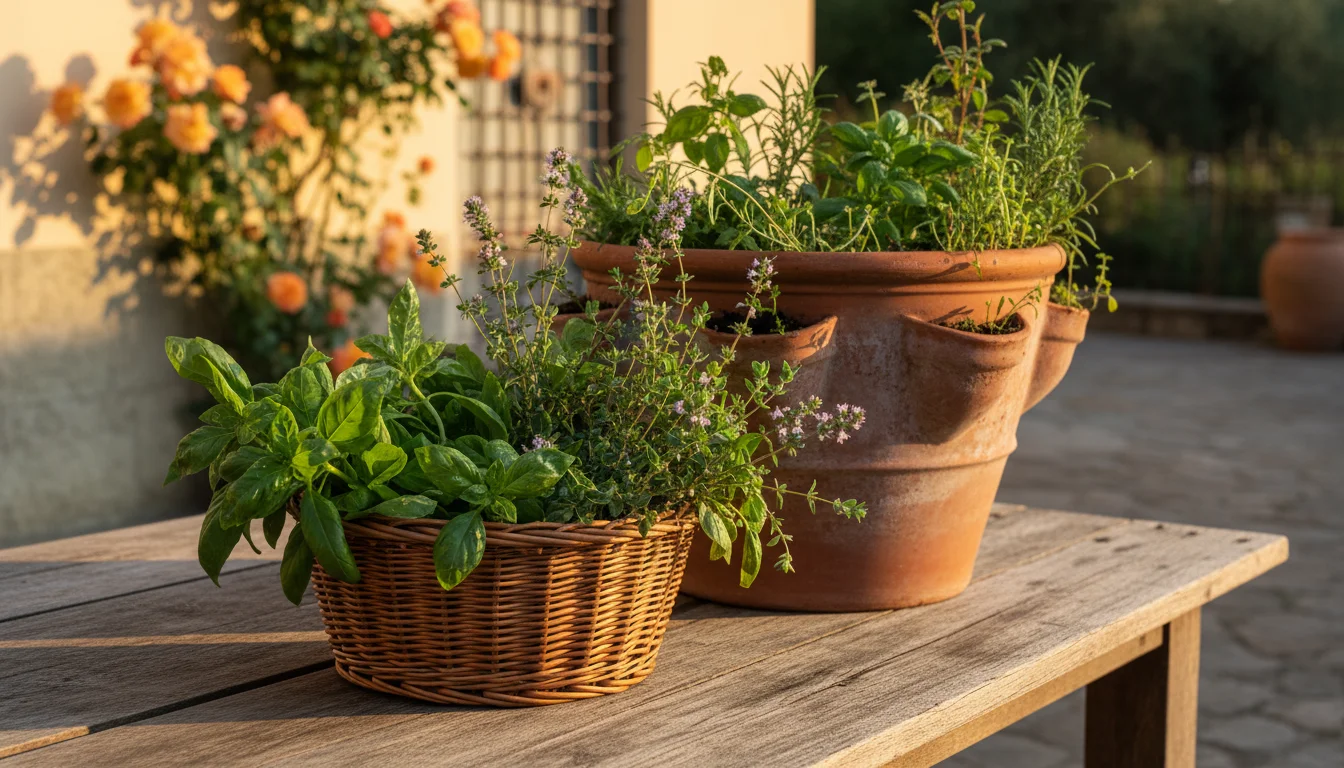
Harvesting Your Flavorful Bounty: Maximize Your Summer of Flavor
The true reward of your ‘Pizza Pot’ project comes with harvesting your fresh herbs. Proper harvesting techniques not only provide you with delicious ingredients but also encourage your plants to produce even more.
This ensures a continuous supply of basil, oregano, and thyme throughout the growing season.
General Harvesting Guidelines:
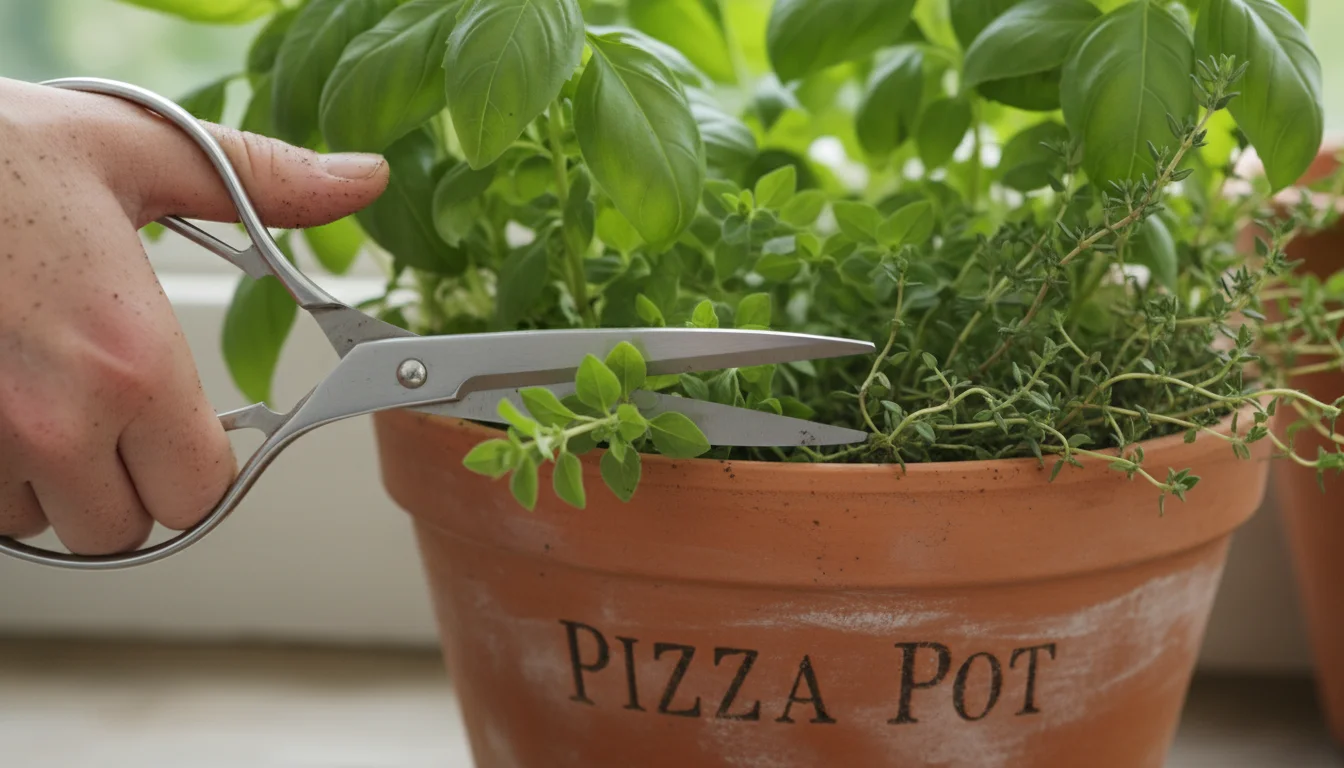
- Harvest in the Morning: The best time to harvest herbs is in the morning, after the dew has dried but before the sun becomes too intense. At this time, the plants are most hydrated, and their essential oils (which give them their flavor and aroma) are at their peak.
- Use Sharp Tools: Always use clean, sharp scissors or pruners. This makes clean cuts, minimizing damage to the plant and reducing the risk of disease. Avoid tearing or ripping the stems.
- Harvest Regularly: Frequent, light harvesting encourages bushier growth and prevents plants from becoming leggy or going to seed too quickly. Do not take more than one-third of the plant at any one time, allowing it to recover and produce new growth.
Specific Herb Harvesting Techniques:
- Basil:
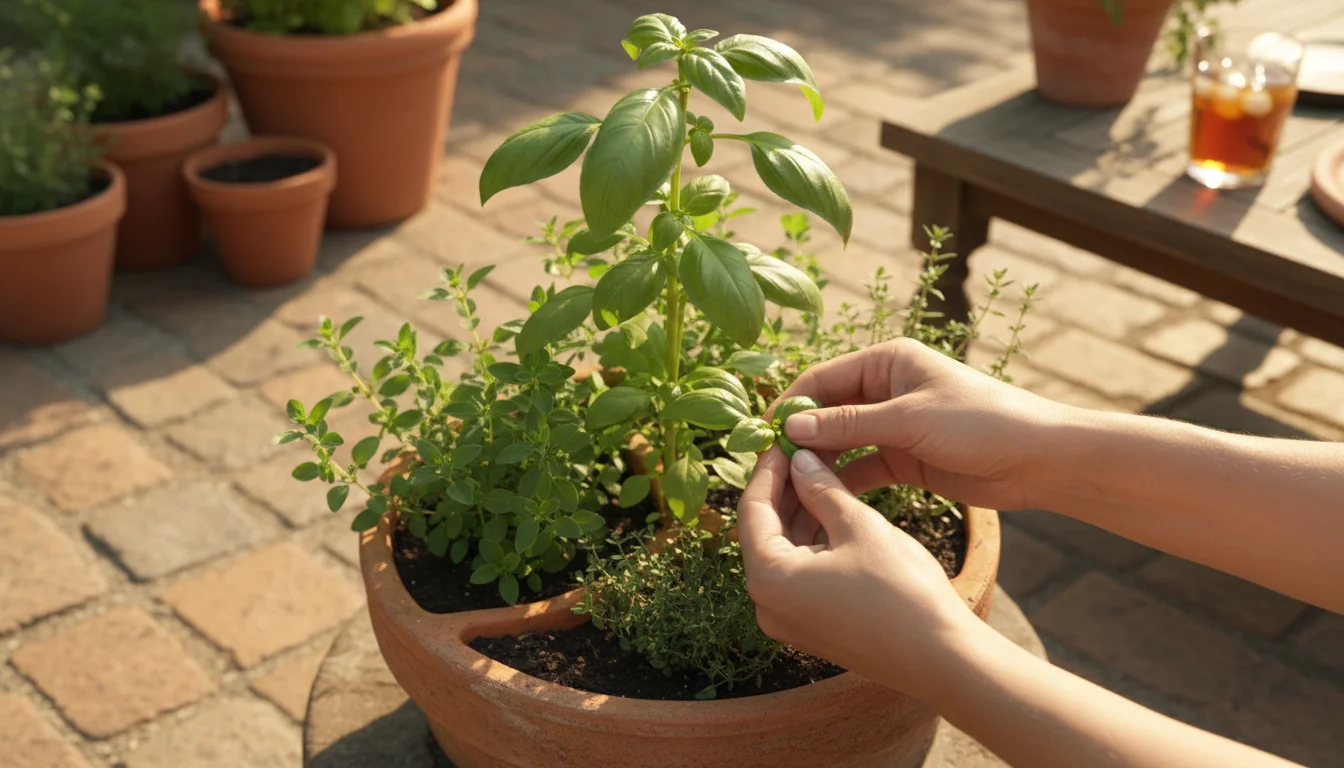
- Pinch from the Top: For young basil plants, pinch off the top two sets of leaves, just above a node (where new leaves emerge). This forces the plant to branch out, creating a bushier plant.
- Harvest Full Stems: As the plant matures, you can harvest entire stems. Cut just above a leaf node, ensuring there are at least two sets of leaves remaining on the main stem for regrowth.
- Remove Flowers Immediately: If you see any flower buds forming, pinch them off right away. Flowering signals the end of the plant’s life cycle for leaf production, and the leaves can become bitter.
- Never Strip All Leaves: Always leave enough foliage for the plant to photosynthesize and continue growing.
- Oregano:
- Snip Tender Stems: Harvest oregano by snipping off the top few inches of the tender, leafy stems. Cut just above a pair of leaves or a branching point.
- Encourage Bushiness: Regular harvesting keeps the plant from becoming too woody and encourages a fresh flush of growth.
- Year-Round Harvest (in warm climates): If you are in a mild climate, you might harvest oregano almost year-round. In colder climates, it will slow down in winter.
- Thyme:
- Harvest Sprigs: Snip off 4-6 inch sprigs of thyme from the tips of the branches. Cut just above a leaf node.
- Avoid Woody Stems: Try to harvest the softer, new growth rather than cutting into the older, woody parts of the plant, as these do not always regrow vigorously.
- Gentle Pruning: Regular, light harvesting doubles as pruning, helping to maintain the plant’s compact shape.
Preserving Your Abundance:
While fresh is best, you can preserve your excess harvest to enjoy the flavors of your container herb garden all year.
This is particularly useful for herbs like oregano and thyme, which dry beautifully, or for a large basil harvest you wish to turn into pesto.
- Drying:
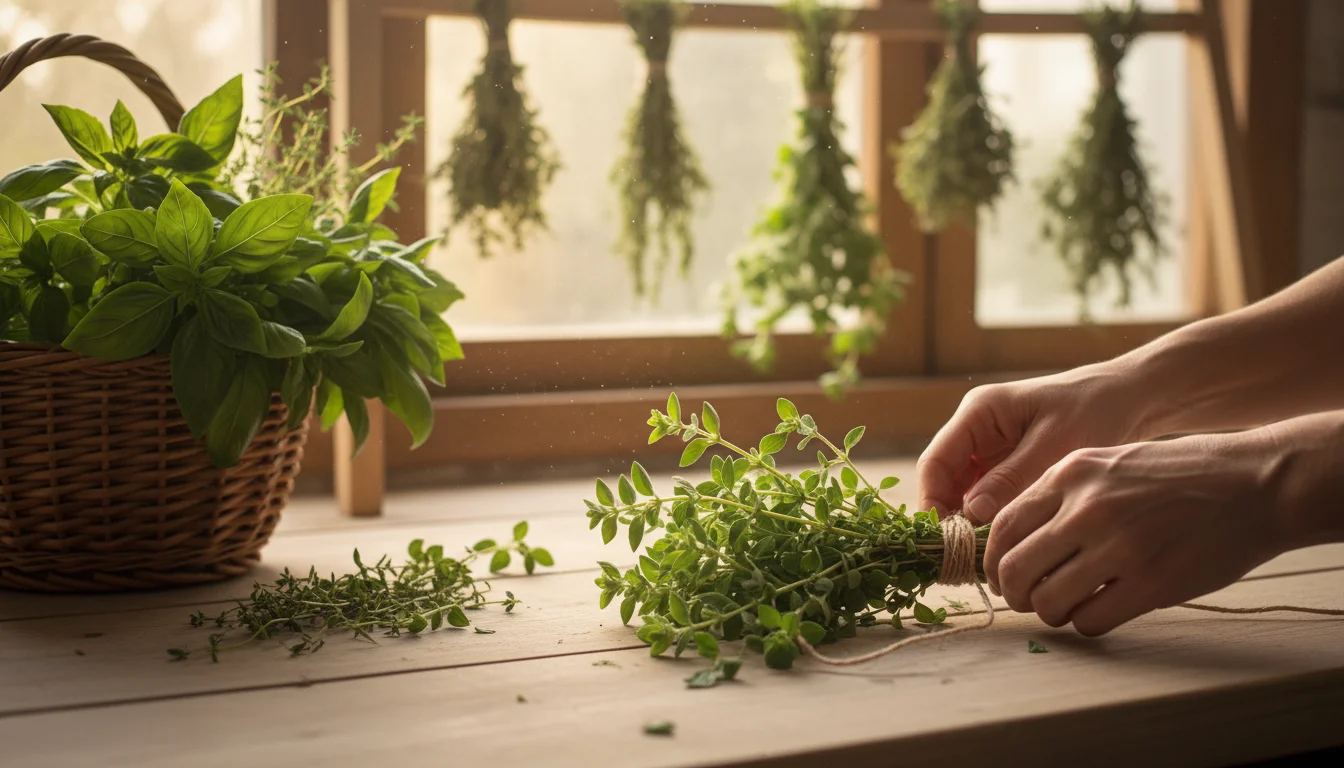
- Air Drying: Bundle small bunches of oregano and thyme stems together, tie them with twine, and hang them upside down in a warm, dry, well-ventilated area away from direct sunlight. They are dry when the leaves crumble easily.
- Dehydrator: A food dehydrator offers a faster, more controlled drying method. Follow your dehydrator’s instructions for herbs.
- Oven Drying: You can dry herbs in a low oven (around 100-120°F or 40-50°C) with the door ajar, but watch them carefully to prevent burning.
- Storage: Once thoroughly dry, crumble the leaves and store them in airtight containers in a cool, dark place.
- Freezing:
- Basil Pesto: Basil freezes beautifully when made into pesto. Blend basil with olive oil, garlic, pine nuts (optional), and Parmesan cheese (optional), then freeze in ice cube trays or small containers.
- Olive Oil Cubes: Chop herbs finely, mix with olive oil, and freeze in ice cube trays. Once solid, transfer the cubes to freezer bags. These are excellent for adding to soups, stews, or sauces.
By mastering these harvesting and preservation techniques, you ensure your ‘Pizza Pot’ provides a continuous supply of fresh, aromatic herbs, maximizing the flavor potential of your small-space garden and extending your enjoyment throughout the year.
Common Challenges and Troubleshooting: Keeping Your Pizza Pot Healthy
Even with the best intentions, gardeners occasionally encounter issues. Understanding common problems for basil, oregano, and thyme in a container helps you quickly diagnose and address them, ensuring your ‘Pizza Pot’ remains robust and productive.
Your role as a gardening coach involves proactive observation and informed action.
| Problem | Symptoms | Likely Cause | Solution / Actionable Insight |
|---|---|---|---|
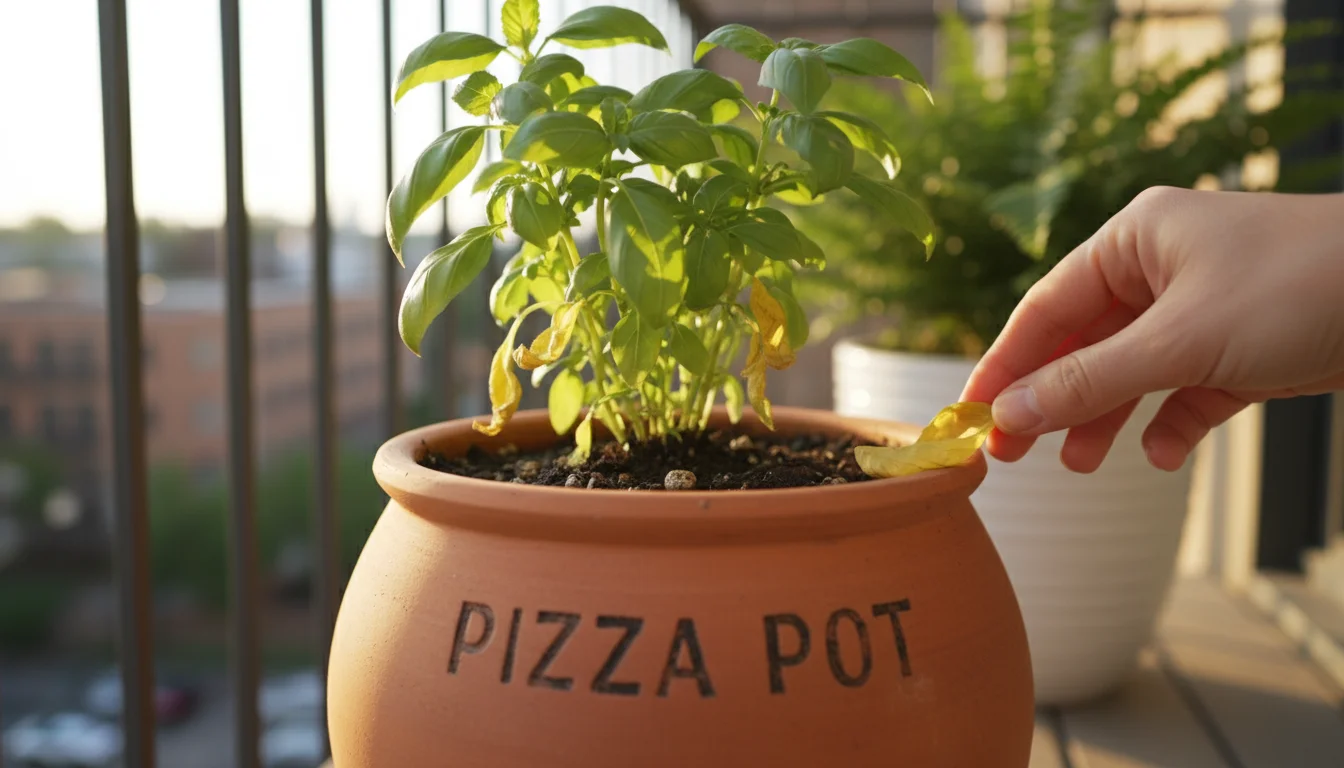
| Yellowing Leaves | Leaves turn yellow, sometimes starting from the bottom. | Overwatering: Roots drown, cannot take up nutrients. Nutrient Deficiency: Lack of nitrogen or other essential elements. |
Overwatering: Allow soil to dry out between waterings. Ensure drainage holes are clear. Nutrient Deficiency: Apply a balanced liquid organic fertilizer, diluted to half strength. Check potting mix for nutrient content. |
| Wilting Plants | Leaves droop, plant looks limp. | Underwatering: Soil is bone dry. Overwatering (less common for wilting): Root rot can cause wilting as roots are damaged. Heat Stress: Basil may wilt in extreme afternoon sun even if watered. |
Underwatering: Water thoroughly until drainage occurs. Overwatering: Check for mushy roots. Improve drainage. Heat Stress: Provide afternoon shade if temperatures are consistently very high (90°F+). |
| Leggy Growth (Tall & Sparse) | Stems are long and stretched, with few leaves. Basil often shows this. | Insufficient Light: Plant stretches to reach sunlight. Lack of Pruning: Not pinching back encourages vertical growth. |
Insufficient Light: Move your pot to a location with 6-8 hours of direct sun. Lack of Pruning: Pinch back regularly to encourage bushiness (see “Harvesting” section). |
| Leaves with Holes or Chewed Edges | Visible damage to foliage. | Pests: Caterpillars, slugs, snails. | Inspection: Carefully inspect leaves, especially undersides. Manual Removal: Pick off visible pests. Organic Sprays: Use insecticidal soap for aphids, spider mites. For slugs/snails, use organic baits or create barriers. |
| White/Powdery Residue on Leaves | White, flour-like spots or coating on leaves. | Powdery Mildew: Fungal disease, common in humid conditions with poor air circulation. | Improve Air Circulation: Space plants adequately (if possible), prune for airflow. Water Smart: Water at the base of the plant, avoid overhead watering. Treatment: Spray with a baking soda solution (1 tsp baking soda, 1 tsp horticultural oil, 1 quart water) or an organic fungicide. Remove severely affected leaves. |
| Basil Leaves Turning Black | Dark spots or entire leaves blacken. | Cold Damage: Basil is very sensitive to cold. Bacterial/Fungal Leaf Spot: Caused by excessive moisture on leaves. |
Cold Damage: Move pot indoors or cover if temperatures drop below 50°F (10°C). Leaf Spot: Avoid overhead watering. Ensure good air circulation. Remove affected leaves. |
| Thyme/Oregano Becoming Woody | Stems become tough, woody, with fewer tender leaves. | Age/Lack of Pruning: Plants naturally age and woody stems accumulate if not harvested/pruned. | Regular Pruning/Harvesting: Snip off tender growth regularly. Avoid cutting into very old, woody stems if you want regrowth from that point. Consider starting new plants from cuttings after a few years. |
A little vigilance goes a long way. Regularly observing your plants, especially while watering or harvesting, helps you identify problems early.
Acting quickly prevents minor issues from becoming major setbacks for your DIY themed herb planter. Your success with growing herbs together depends on this attentive care.
Extending Your Pizza Pot’s Life: Enjoy Herbs Beyond Summer
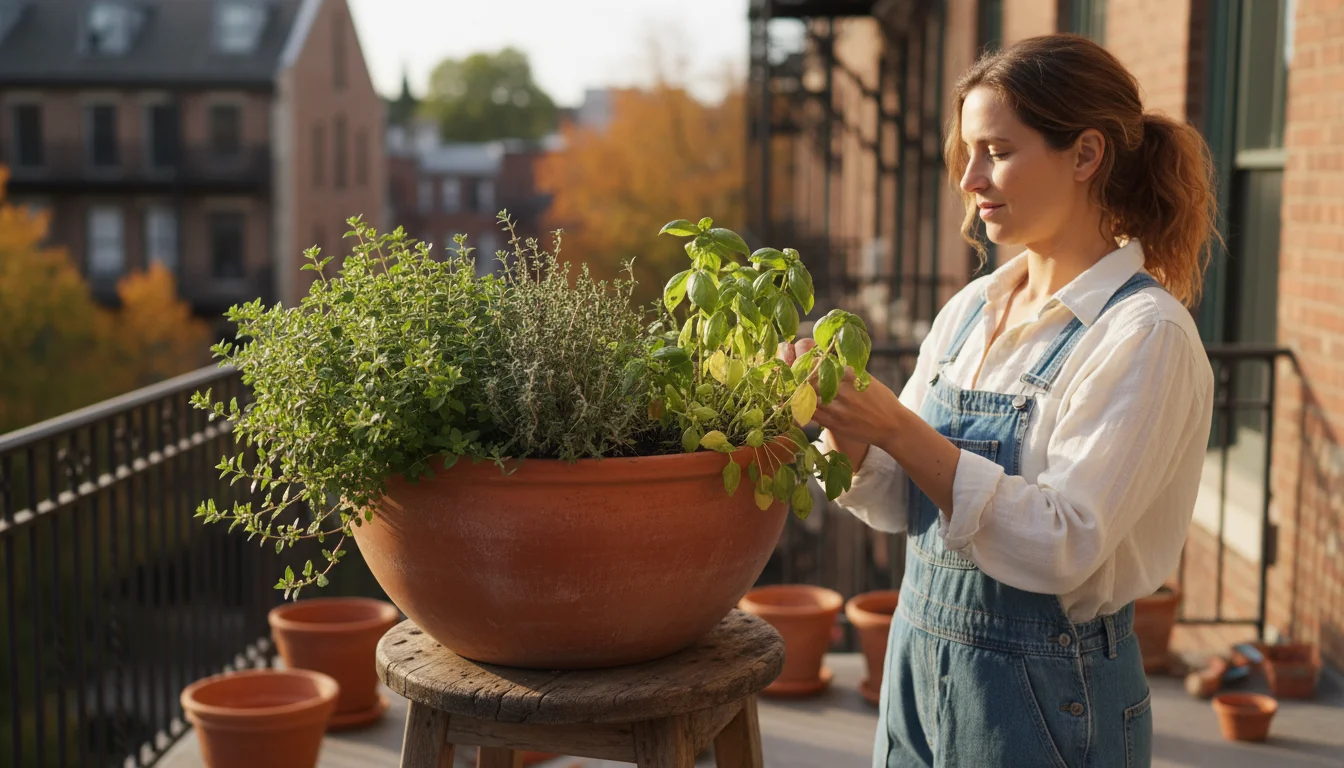
While basil is an annual and completes its life cycle in one season, oregano and thyme are perennials in many climates.
With a little strategic planning and care, you can extend the joy and productivity of your ‘Pizza Pot’ well beyond the summer months, maximizing your investment in this balcony vegetable garden.
Addressing Basil’s Annual Nature:
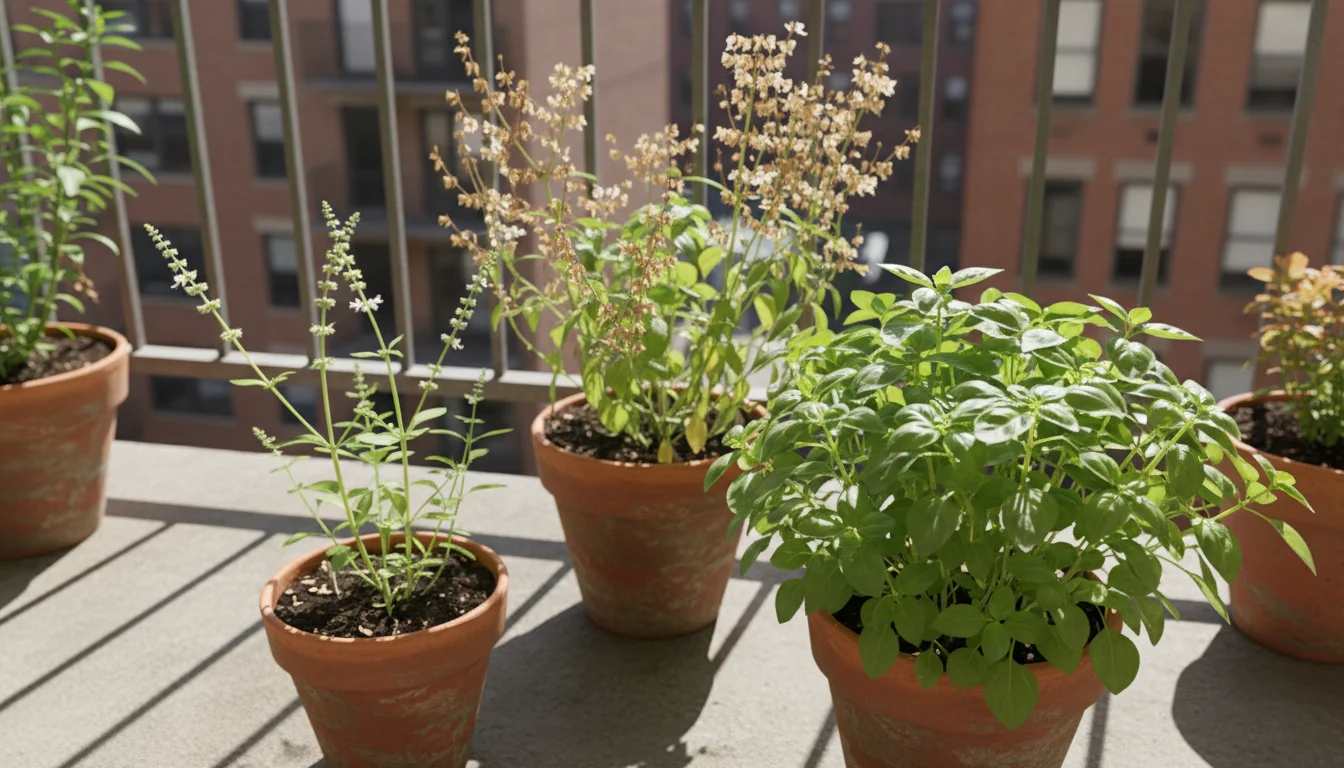
Basil naturally completes its life cycle by flowering and setting seed, after which its energy wanes, and leaves become less flavorful. Do not despair!
- Succession Planting: For a continuous supply of basil, plant new basil seeds or starts every 3-4 weeks during the growing season. This ensures you always have young, vigorous plants producing fresh leaves. You can either replace the old basil plant in your pizza pot or have a smaller, separate pot for staggered basil plantings.
- Saving Seeds: Allow some basil plants to flower and go to seed at the end of the season. Collect the tiny black seeds once they are dry and store them in a cool, dark place for planting next spring. This is a wonderfully sustainable practice.
Overwintering Oregano and Thyme:
As perennials, oregano and thyme can often survive colder temperatures, especially when grown in containers that can be moved. Your ability to overwinter them depends on your local climate zone and the specific variety, but these tips help:
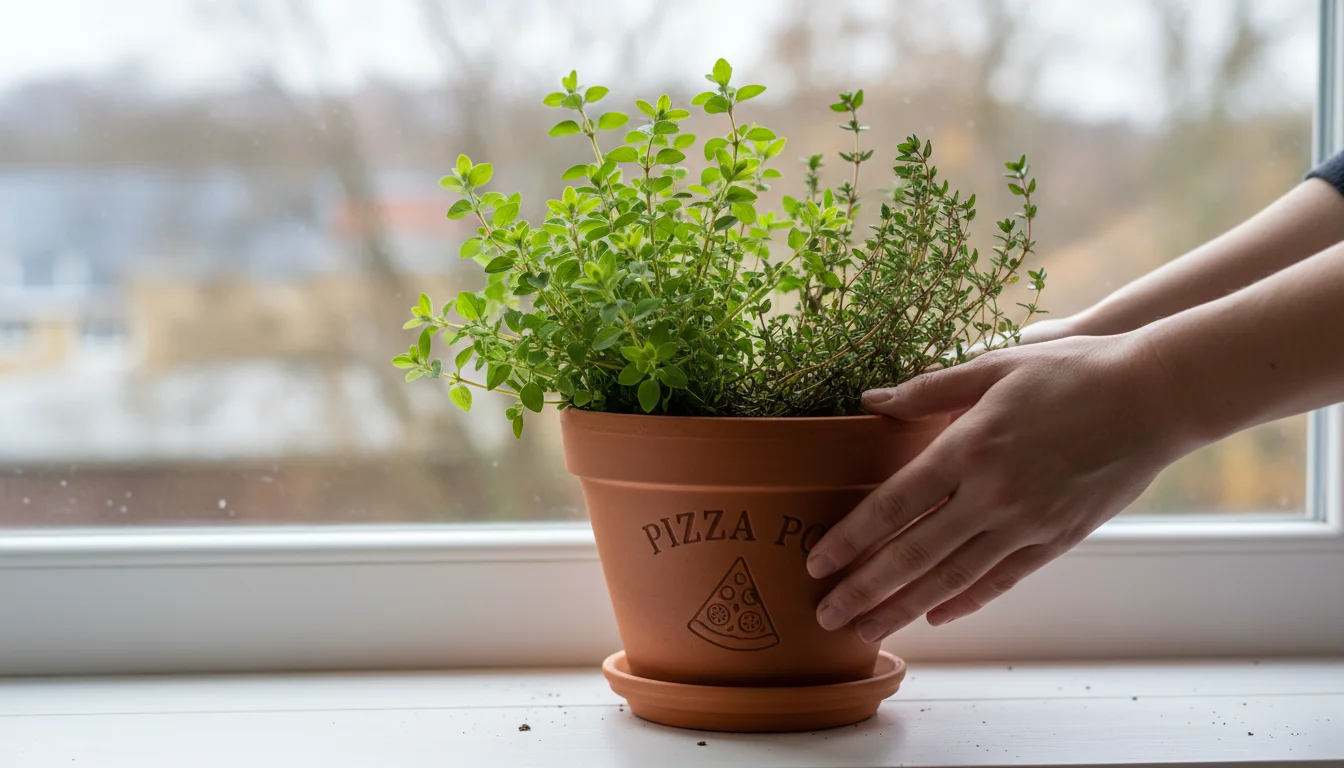
- Move Indoors: Before the first hard frost, move your entire ‘Pizza Pot’ indoors to a sunny windowsill or a bright, unheated room. This protects oregano and thyme from freezing temperatures.
- Reduced Watering: When indoors, plants enter a semi-dormant state. Significantly reduce watering. The soil should be allowed to dry out much more thoroughly between waterings than it would outdoors. Overwatering is the biggest killer of overwintered plants.
- Provide Light: While light needs are reduced, they still benefit from the brightest spot you can offer. If natural light is insufficient, consider a grow light for a few hours a day.
- Minimal Pruning: Do not prune heavily during winter. Only remove dead or yellowing foliage.
- Reintroduce Gradually: In spring, once all danger of frost has passed, gradually reintroduce your pot to outdoor conditions. Start by placing it in a sheltered spot for a few hours a day, slowly increasing exposure over a week or two. This “hardening off” prevents shock.
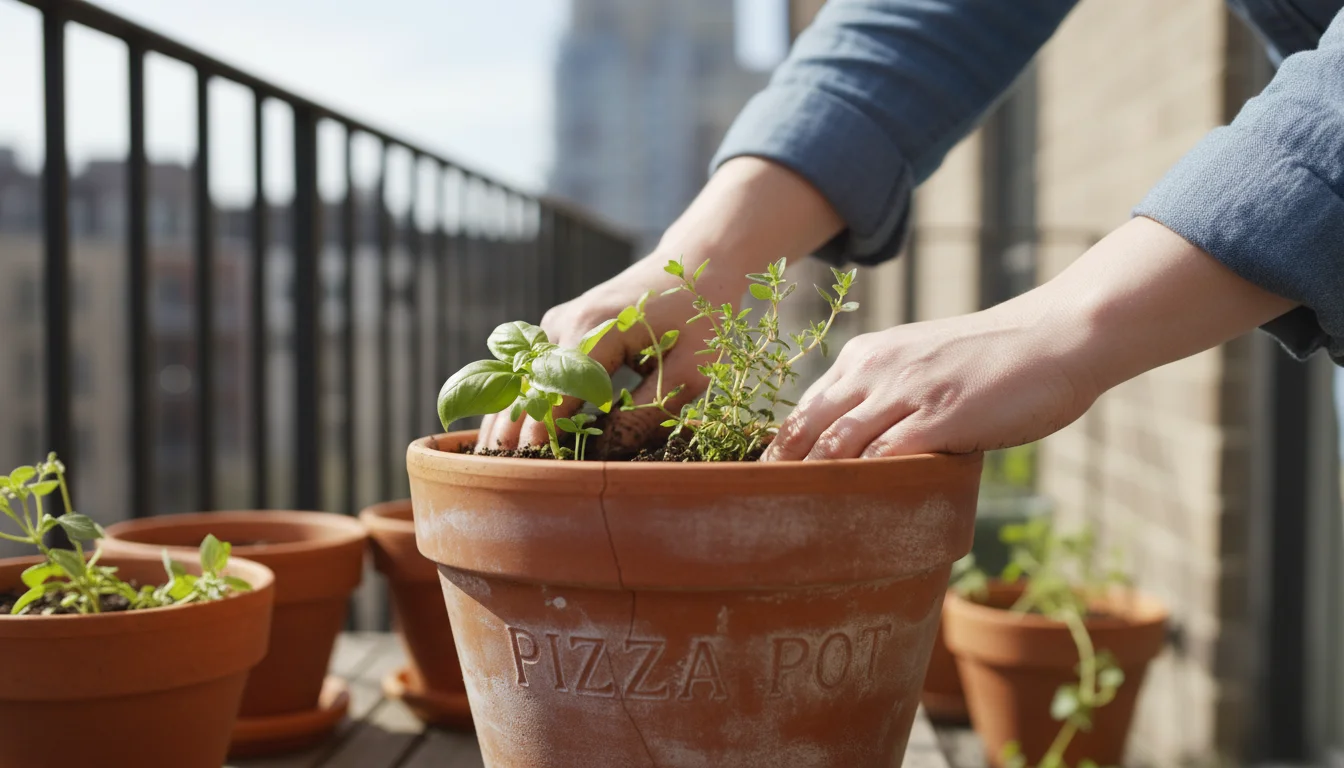
- Repotting/Refreshing: After a winter indoors, your oregano and thyme will benefit from a refresh. In spring, consider repotting them into fresh potting mix or at least top-dressing with new soil and compost to replenish nutrients. You can also divide larger oregano plants if they have become too dense.
The Long-Term Perspective:
Even if you cannot overwinter, remember the low investment and high reward of a DIY themed herb planter. Each spring brings a fresh opportunity to start anew, experimenting with different basil varieties or simply enjoying the reliable flavors of your favorite trio.
The cycle of planting, nurturing, and harvesting connects you deeply to the rhythm of nature, providing fresh flavor and gardening joy season after season.
By understanding the life cycles of your herbs and taking proactive steps, you extend the utility and enjoyment of your ‘Pizza Pot’, making it a truly sustainable and rewarding part of your gardening journey.
Frequently Asked Questions
Can I add other herbs to my ‘Pizza Pot’?
While the classic ‘Pizza Pot’ focuses on basil, oregano, and thyme due to their shared preferences and culinary synergy, you can experiment. Rosemary also thrives in full sun and well-draining soil, similar to oregano and thyme, but it grows larger and woodier.
Sage is another option. However, avoid mint, which is extremely vigorous and will quickly take over the entire pot, suffocating its companions.
Always consider each plant’s specific needs for light, water, and growth habit before adding it to a mixed container.
My basil is flowering; what should I do?
Flowering indicates that your basil plant is shifting its energy from producing leaves to producing seeds. The leaves often become less flavorful, sometimes even bitter, after flowering.
As soon as you see flower buds forming, pinch them off immediately. This redirects the plant’s energy back into leaf production, prolonging your harvest of tender, aromatic basil leaves.
Regular pinching ensures a bushier, more productive plant.
Why are my oregano and thyme leaves turning brown and crispy?
Brown, crispy leaves on oregano and thyme most commonly indicate underwatering or excessive heat/sun exposure without adequate moisture. These herbs prefer drier conditions but still need consistent moisture during hot, dry spells.
Check the soil moisture deeply; if it is bone dry, water thoroughly. Ensure your pot is not drying out too quickly, especially if it is terracotta.
If the plants are exposed to intense, prolonged heat, a little afternoon shade can sometimes help prevent crisping, but generally, full sun is preferred.
Do I need to repot my ‘Pizza Pot’ every year?
For basil, as an annual, you will typically replant it each season. For the perennial oregano and thyme, repotting every 1-2 years is beneficial.
Over time, potting mix breaks down, compacts, and depletes nutrients. Repotting into fresh potting mix provides new nutrients, improves drainage, and gives roots more room to grow.
You can either move them to a slightly larger pot or trim the roots and replant them into the same pot with fresh soil.
How can I make my ‘Pizza Pot’ more eco-friendly?
You can enhance the eco-friendliness of your ‘Pizza Pot’ in several ways. Use recycled or repurposed containers, ensuring they have drainage.
Choose organic potting mixes and fertilizers to avoid synthetic chemicals. Collect rainwater for watering your herbs.
Consider propagating new plants from cuttings of your existing oregano and thyme, reducing the need to buy new plants. Composting any spent plant material or kitchen scraps also contributes to a sustainable gardening cycle.
For trustworthy gardening information, visit:
University of Georgia Extension — Gardening, Louisiana State University AgCenter — Lawn & Garden and Mississippi State University Extension — Lawn & Garden. These organizations provide expert, research-based advice for gardeners at all levels.
Disclaimer: This article is for informational purposes only and is not a substitute for professional gardening advice. Always consult local extension services or horticulture experts for region-specific guidance.