
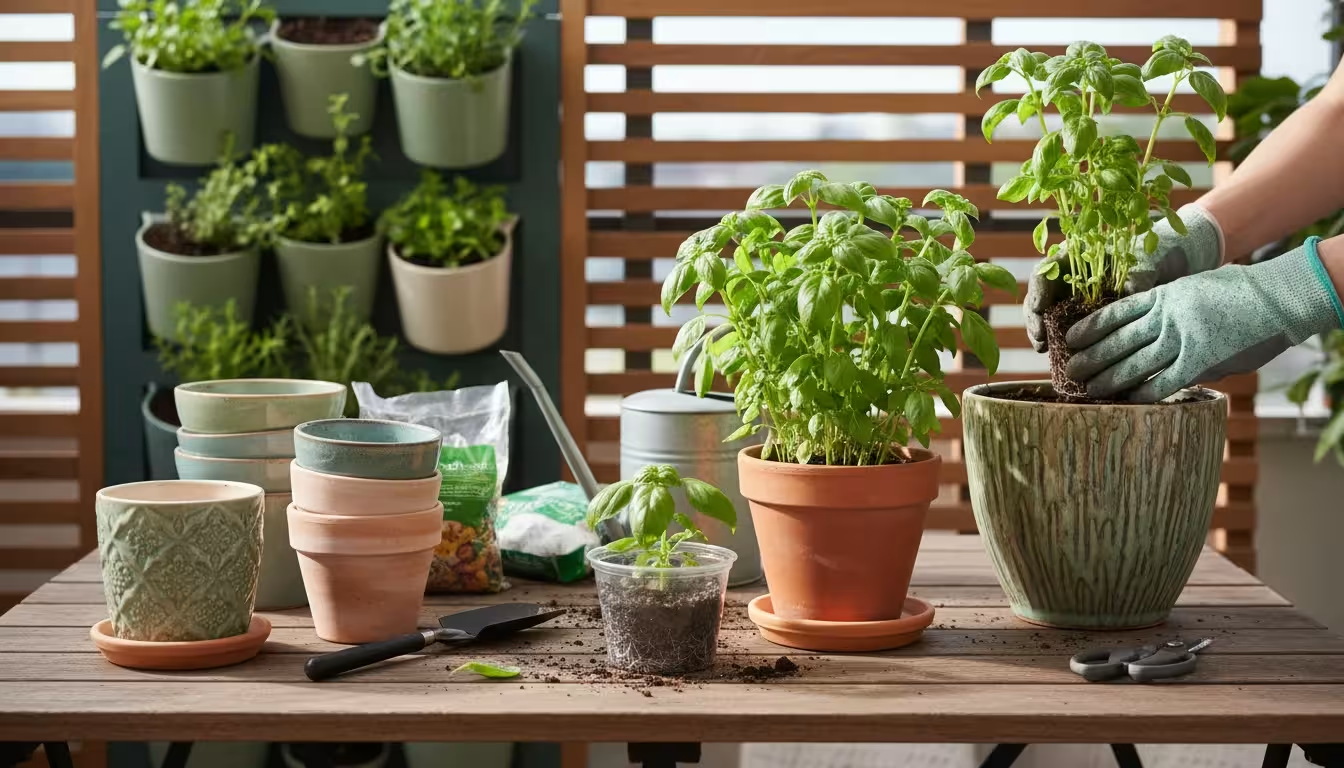
You have bought that vibrant basil, mint, or cilantro plant from the grocery store, hoping for fresh flavors, only to watch it wilt within days. Do not give up on your green ambitions.
You possess the ability to transform that struggling supermarket herb into a flourishing, productive part of your home garden. This guide delivers a practical, step-by-step rescue plan, turning those struggling grocery store plants into long-term contributors to your kitchen, offering you a summer-long harvest.
Grocery store plants, especially herbs, typically endure stress before they reach your home. They often grow in overcrowded conditions, small pots, and nutrient-depleted soil, optimized for quick sale, not sustained growth.
This comprehensive article shows you how to give them a new lease on life. You will ensure they flourish whether you keep them indoors or eventually plant them outside, even in small spaces like balconies or patios.
Learn the secrets to successfully repotting supermarket herbs into bigger pots, transforming them from temporary purchases into abundant sources of fresh ingredients.
Contents10 sections
- Why Grocery Store Herbs Struggle
- Essential Rescue Gear: Pots, Soil, and Tools
- Prepping Your Plant and Pot
- The Gentle Art of Repotting: A Step-by-Step Guide
- Post-Repotting Care: Nurturing Your Herb’s Recovery
- Harvesting for Longevity: Keeping Herbs Productive
- Common Mistakes to Avoid for Thriving Herbs
- Taking Herbs Outdoors: When and How to Transition
- Beyond Basil: Applying the Rescue Plan to Other Herbs
- Frequently Asked Questions
Why Grocery Store Herbs Struggle
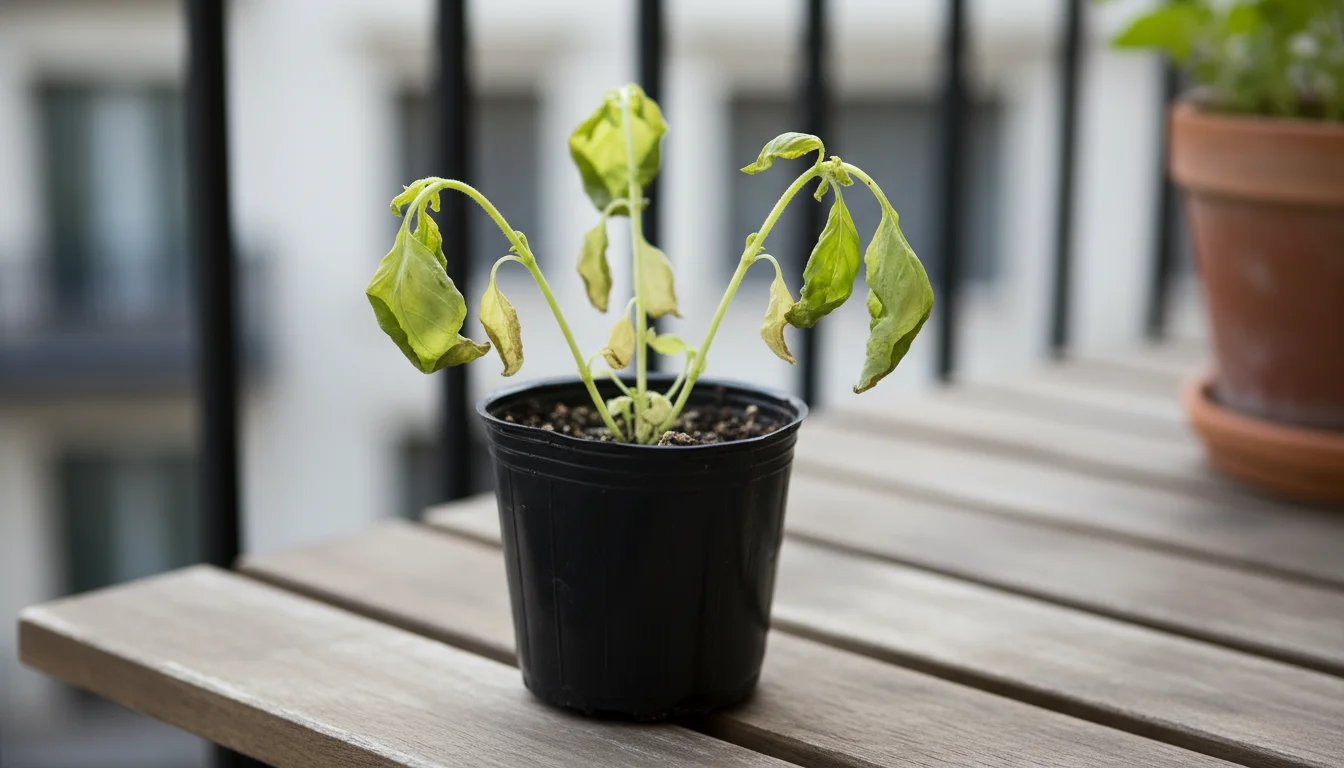
You bought a vibrant basil plant, but it quickly droops. This common experience is not your fault.
Grocery store plants face specific challenges, making them prone to struggle once they leave the store environment.
If you find yourself frequently bringing home unplanned greenery, our impulse buy emergency guide can help you manage your balcony space.
Overcrowding: A Root Cause
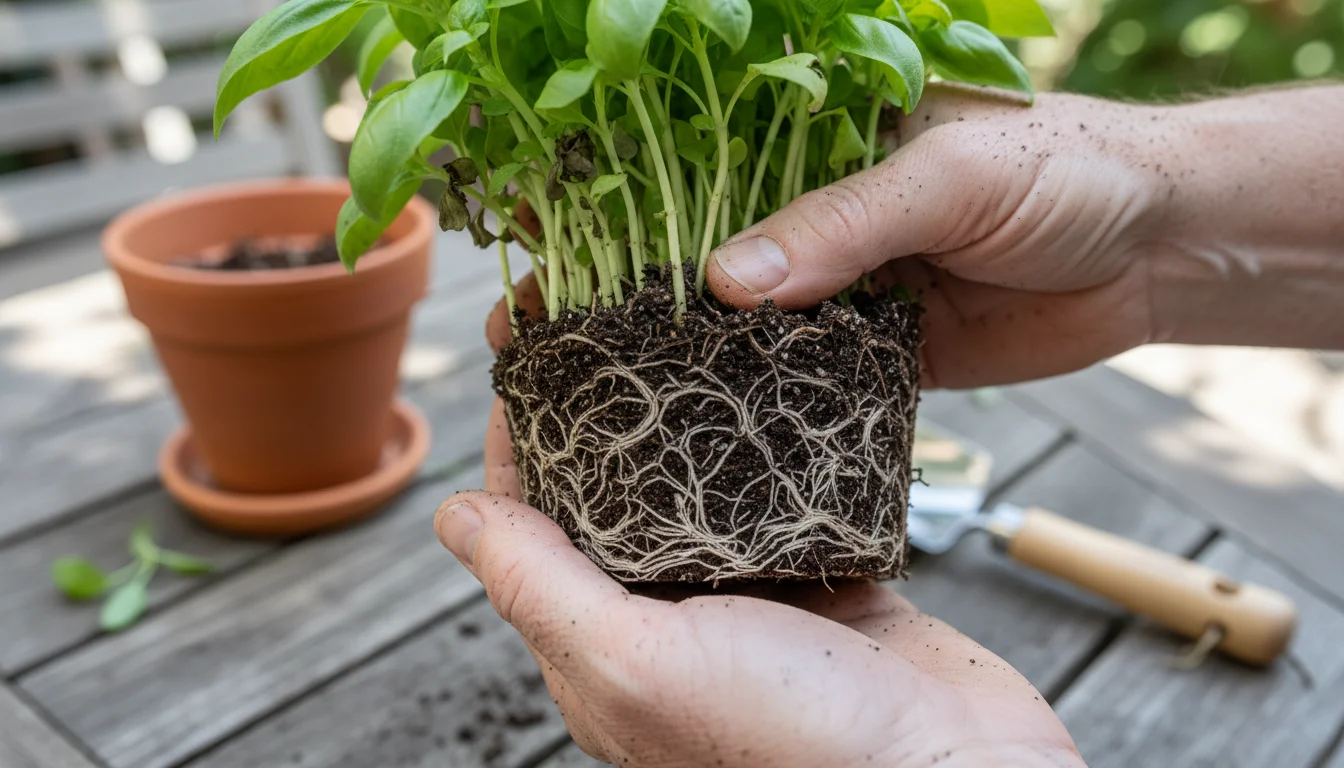
Commercial growers cultivate herbs for immediate sale, often planting dozens of seedlings into one small pot. This creates a lush appearance on the shelf, but leads to severe overcrowding.
The roots compete fiercely for limited water and nutrients. Imagine many people sharing a single glass of water.
This intense competition means individual plants do not get enough resources to thrive long-term. Addressing this root congestion is your first step in saving them.
Inadequate Soil and Potting Conditions
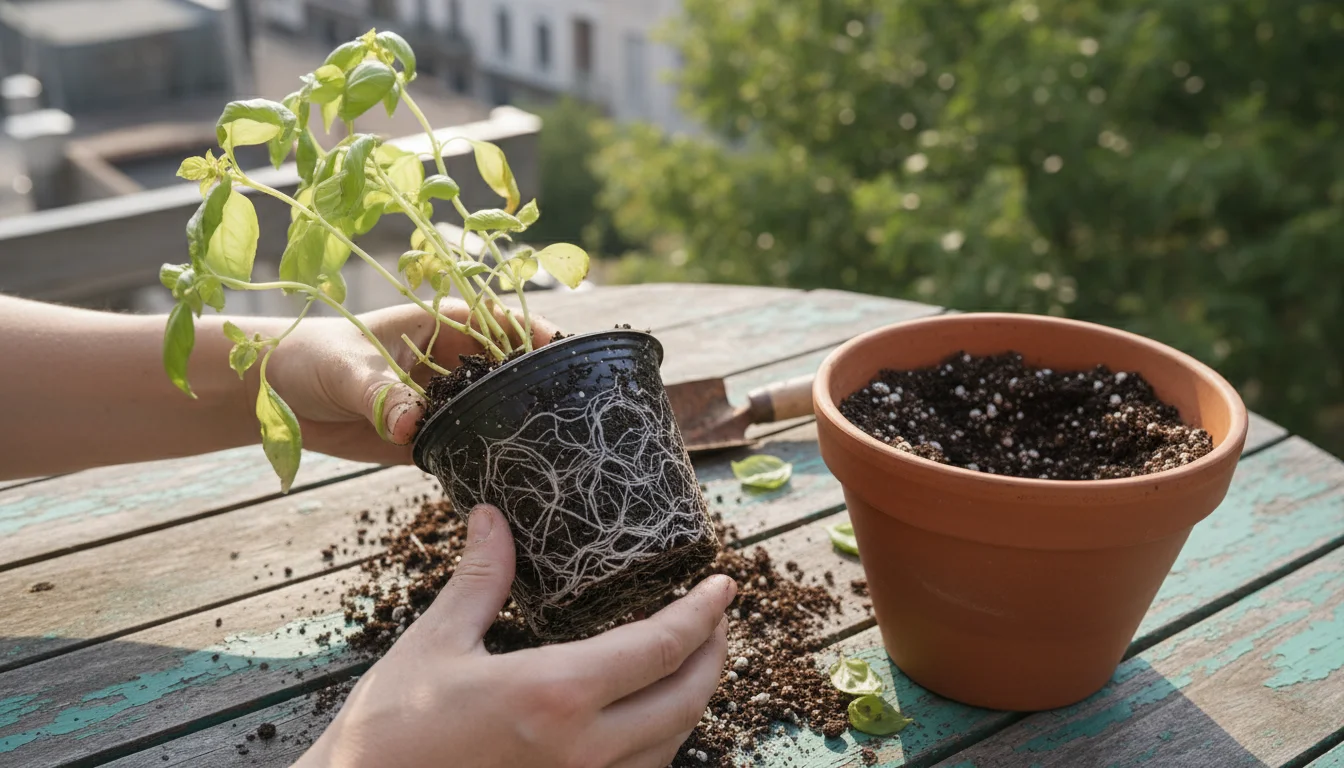
The soil mix in grocery store pots is typically lightweight, designed for short-term growth and transport. It lacks the robust nutrient profile and structure needed to support a plant for weeks or months.
Additionally, the small plastic pots offer minimal space for root expansion and dry out quickly. This combination of poor soil and restrictive containers puts the plant under constant stress, causing wilting and disease.
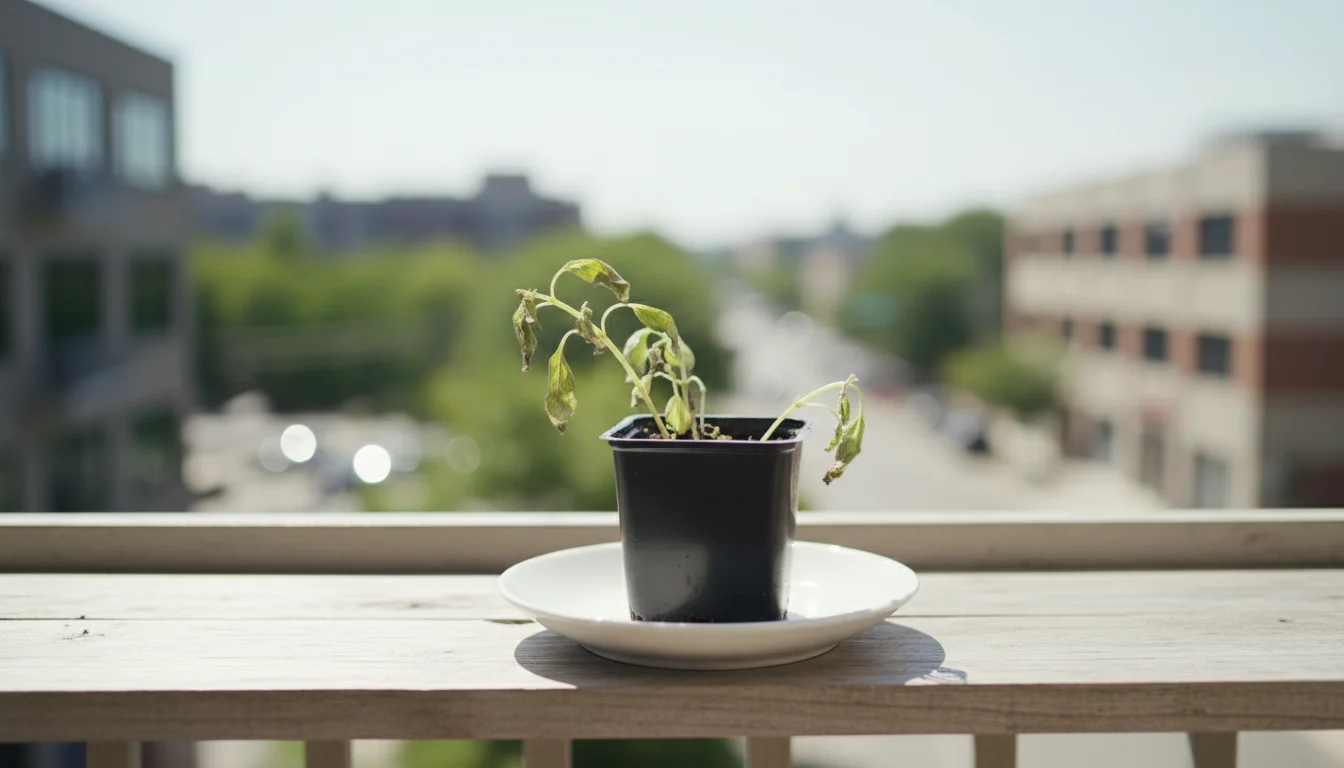
Environmental Shock
Plants are sensitive to environmental changes. Moving from a controlled grocery store environment to your home, with different light, temperatures, and humidity, causes significant stress.
This environmental shock, combined with existing overcrowding and poor soil, often results in the plant shutting down. Understanding these challenges equips you for a successful intervention, providing a fundamental reset that allows your grocery store plants to thrive.
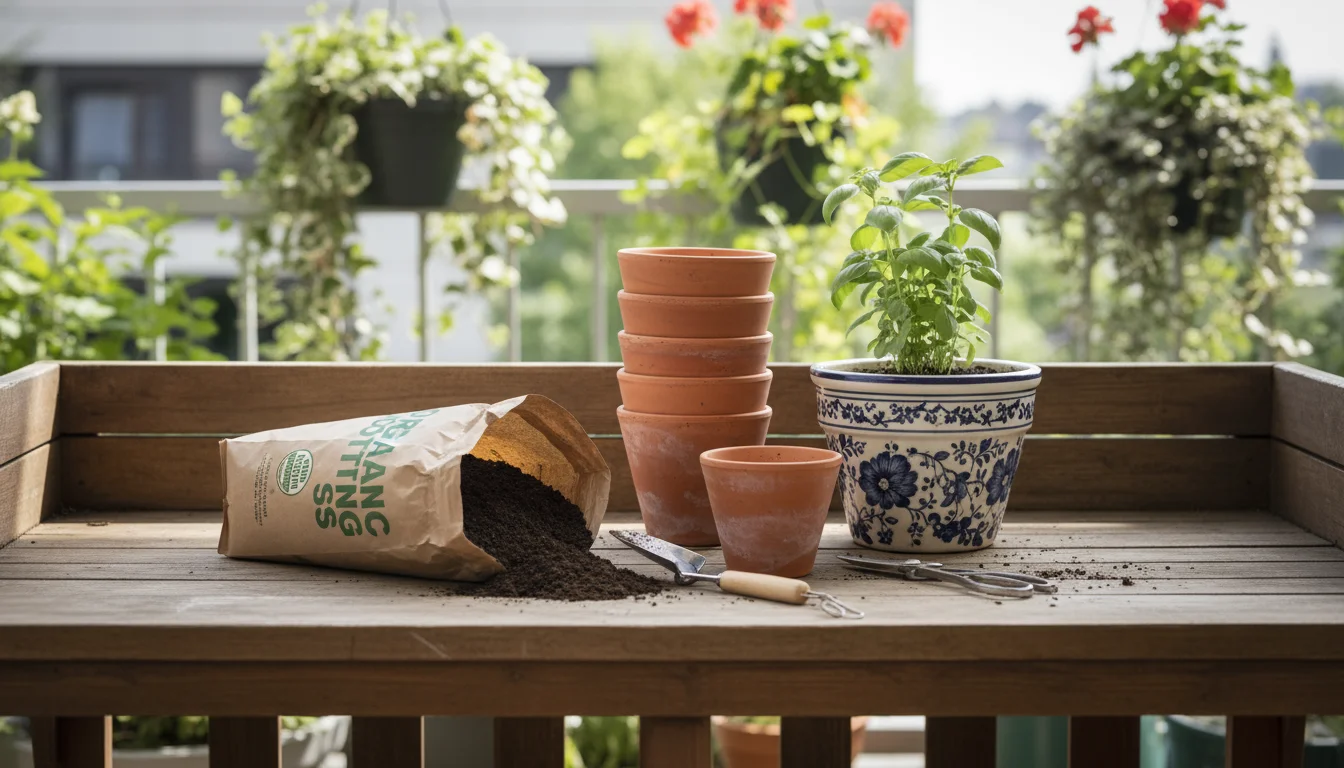
Essential Rescue Gear: Pots, Soil, and Tools
Gather the right materials before you begin repotting. Having everything ready simplifies the task and reduces stress on your plant.
You do not need many gardening tools, but a few key items significantly improve growing herbs in pots.
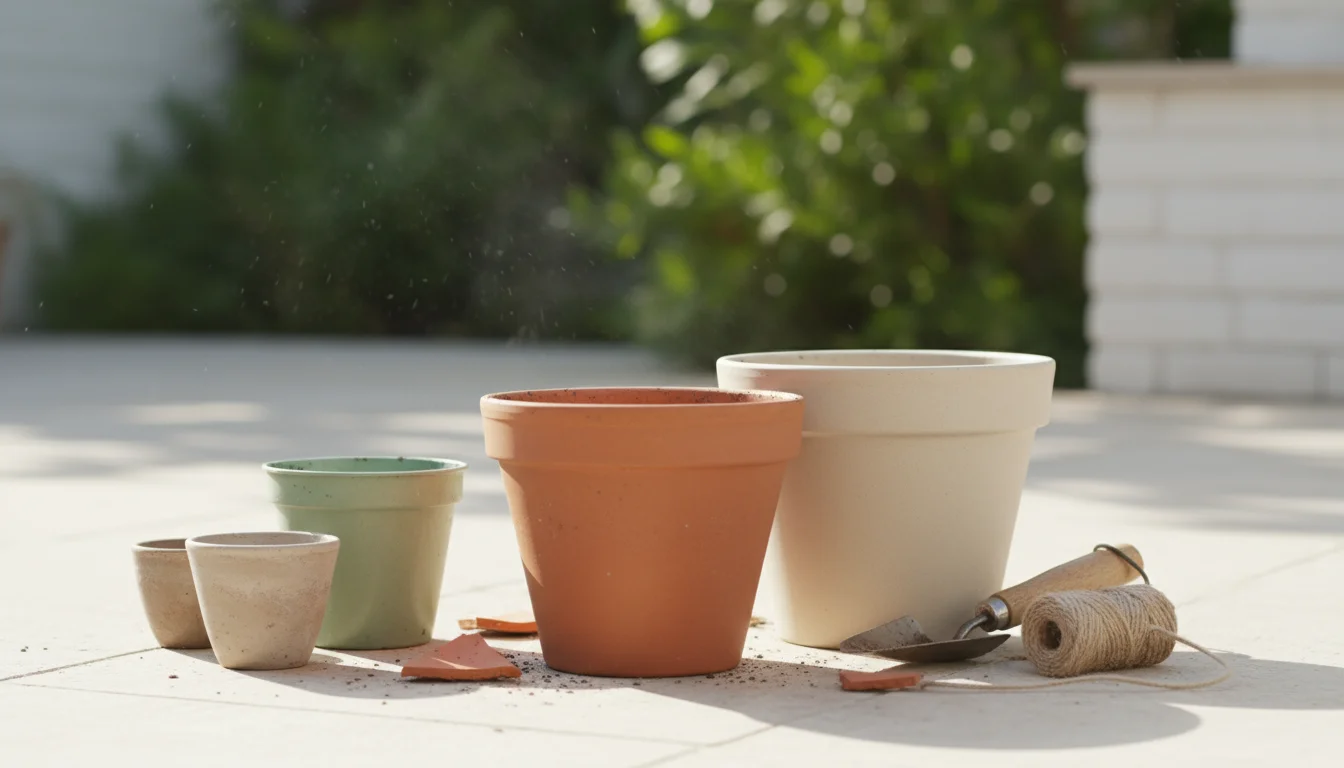
Selecting the Right Pot
- Size Matters: Choose a pot significantly larger than the original. For a typical 4-inch grocery store herb pot, upgrade to an 8-10 inch pot. If you divide the plant into several smaller plants, use individual 4-6 inch pots for each section. A larger pot provides ample space for roots to spread, access more nutrients, and hold moisture longer. This is crucial for successfully repotting supermarket herbs into bigger pots.
- Drainage Holes are Crucial: Proper drainage prevents waterlogged soil, which causes root rot. If your chosen pot lacks drainage holes, drill them or select another container. No plant tolerates sitting in standing water.
- Material Options: Terracotta pots look appealing and allow soil to breathe, but they dry out faster, requiring more frequent watering. Plastic pots retain moisture longer and weigh less, ideal for small-space gardening where you might move plants often. Consider your watering habits and climate.
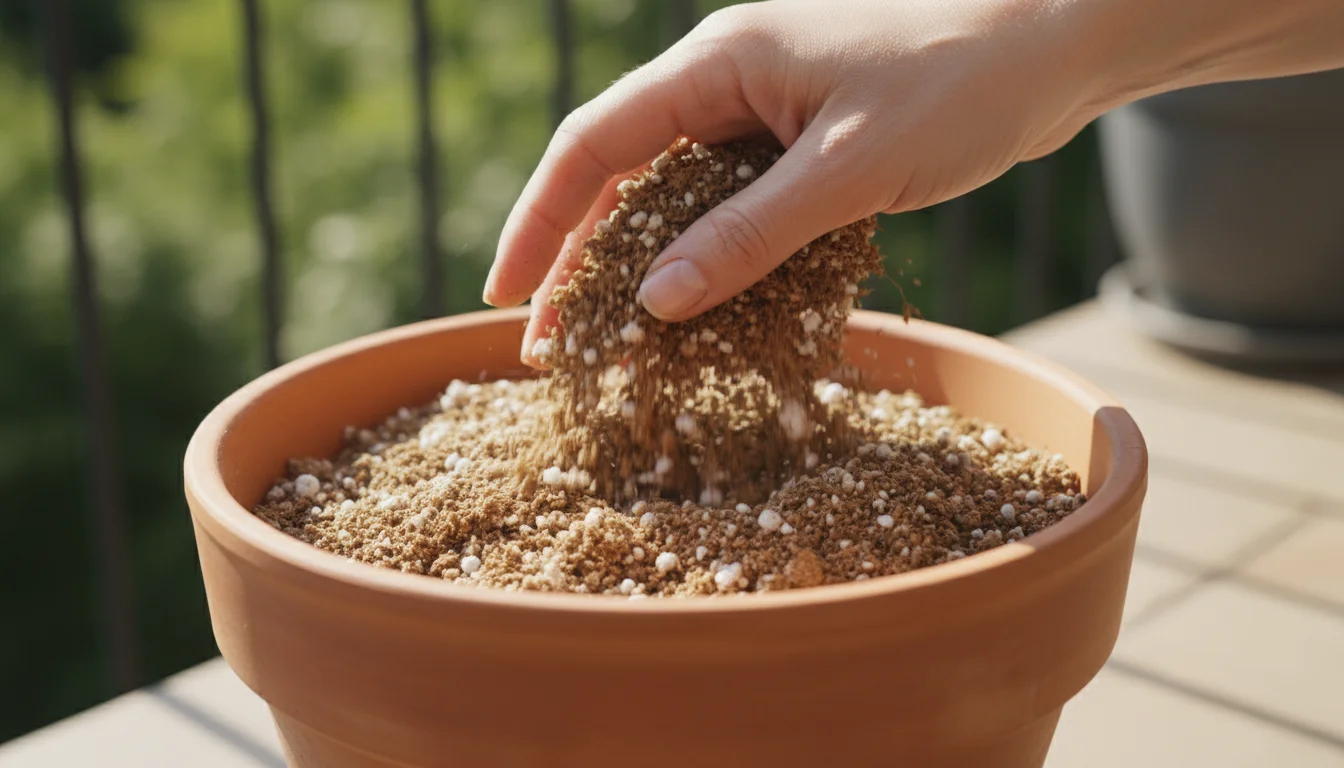
Choosing the Best Potting Mix
Do not use garden soil for container plants; it compacts too much, restricting root growth and preventing proper drainage. Instead, invest in a high-quality potting mix formulated for containers.
This specialized soil offers the ideal balance of aeration, moisture retention, and nutrients.
- Well-Draining: Select mixes explicitly stating “well-draining” or including perlite or vermiculite. These amendments create air pockets in the soil, preventing compaction and ensuring proper water movement. “Drainage” refers to how easily water moves through the soil, preventing roots from sitting in soggy conditions.
- Lightweight: A good potting mix is light and fluffy, providing an ideal environment for delicate herb roots to expand.
- Nutrient-Rich (Optional): Some potting mixes include slow-release fertilizers. While not strictly necessary at repotting, these can boost your herbs. Alternatively, mix in a small amount of compost for added organic matter.
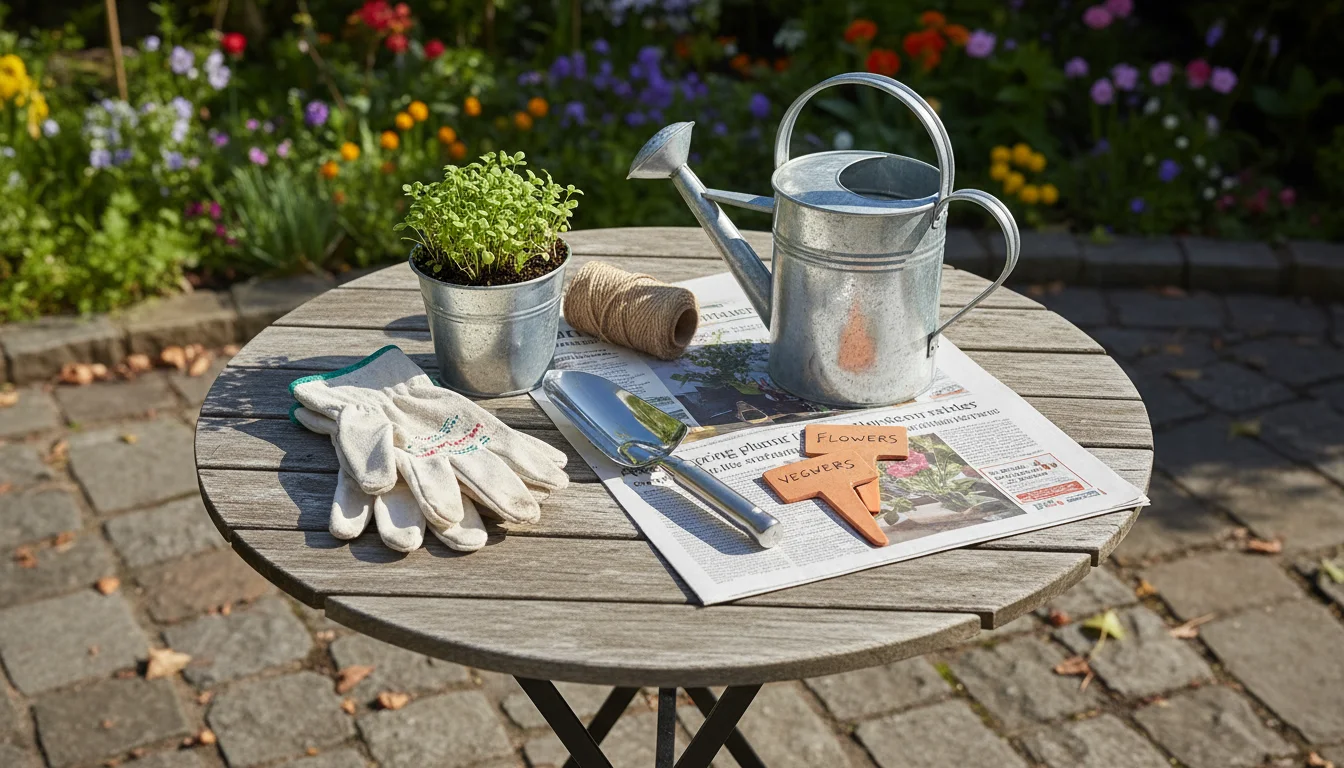
Basic Tools You Will Need
- Small Trowel or Scoop: Essential for handling soil and gently loosening the plant.
- Watering Can: A watering can with a fine rose (sprinkler head) allows for gentle, even watering, important for newly repotted plants.
- Gloves: Protect your hands.
- Pruning Shears or Scissors: Useful for trimming damaged leaves or stems.
- Newspaper or Tarp: Lay this down to keep your workspace tidy.
Gathering these items streamlines the repotting process, allowing you to focus on giving your herbs the best possible start. You invest in their future health, which means more fresh herbs for your kitchen.
Prepping Your Plant and Pot
Proper preparation ensures a successful repotting. This stage eases the transition for your plant and readies its new home.
Do not rush these steps, as they significantly impact your herb’s recovery and long-term vitality.
Preparing the New Pot
First, ensure your new pot is clean. If it is used, scrub it thoroughly with warm, soapy water and rinse well to remove pathogens or salt buildup.
A clean pot reduces disease risk for your newly transplanted herb. If using a terracotta pot, soak it in water for 15-30 minutes.
Terracotta is porous and absorbs moisture, so pre-soaking prevents the pot from wicking essential water away from your herb’s roots immediately after repotting.
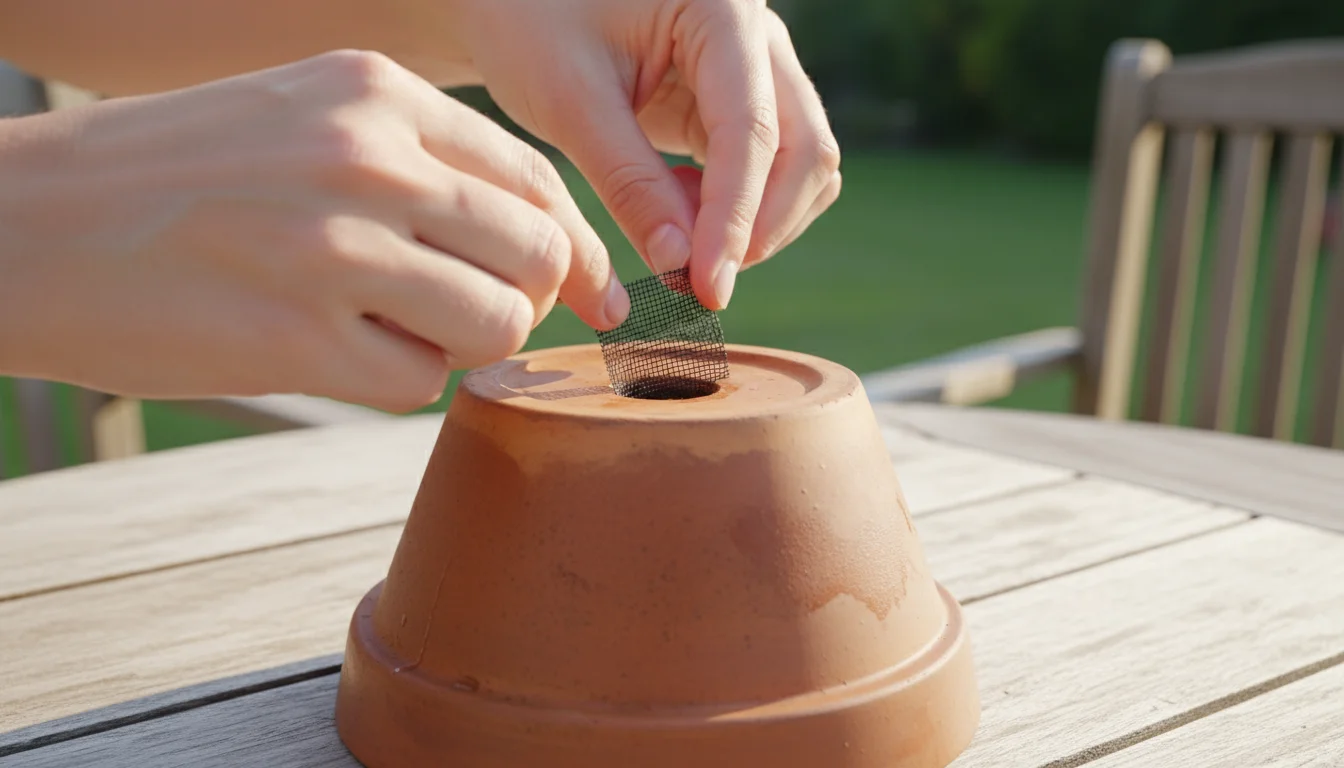
Next, cover the drainage holes. Prevent soil from washing out, but do not block the holes completely.
A piece of old screening, a coffee filter, or even a few curved shards of a broken pot work perfectly. Avoid using large rocks or gravel at the bottom.
A layer of rocks does not improve drainage; it creates a “perched water table” where water collects, potentially causing root rot. The best drainage comes from a consistently well-draining soil mix throughout the pot.
Fill the bottom of your new pot with a few inches of your chosen potting mix.
You need enough soil so that when you place your herb plant on top, the base of its stems sits about an inch or two below the pot’s rim. This “headroom” allows for watering without overflow and prevents soil washout.
Gently firm the soil, but do not compact it tightly. Keep it loose enough for roots to penetrate easily.
Preparing Your Herb Plant
Before removing the herb from its current container, water it well. A well-hydrated plant handles repotting stress better.
Wait about 30 minutes for excess water to drain, ensuring the soil is moist but not soggy. This helps the root ball stay intact during removal.
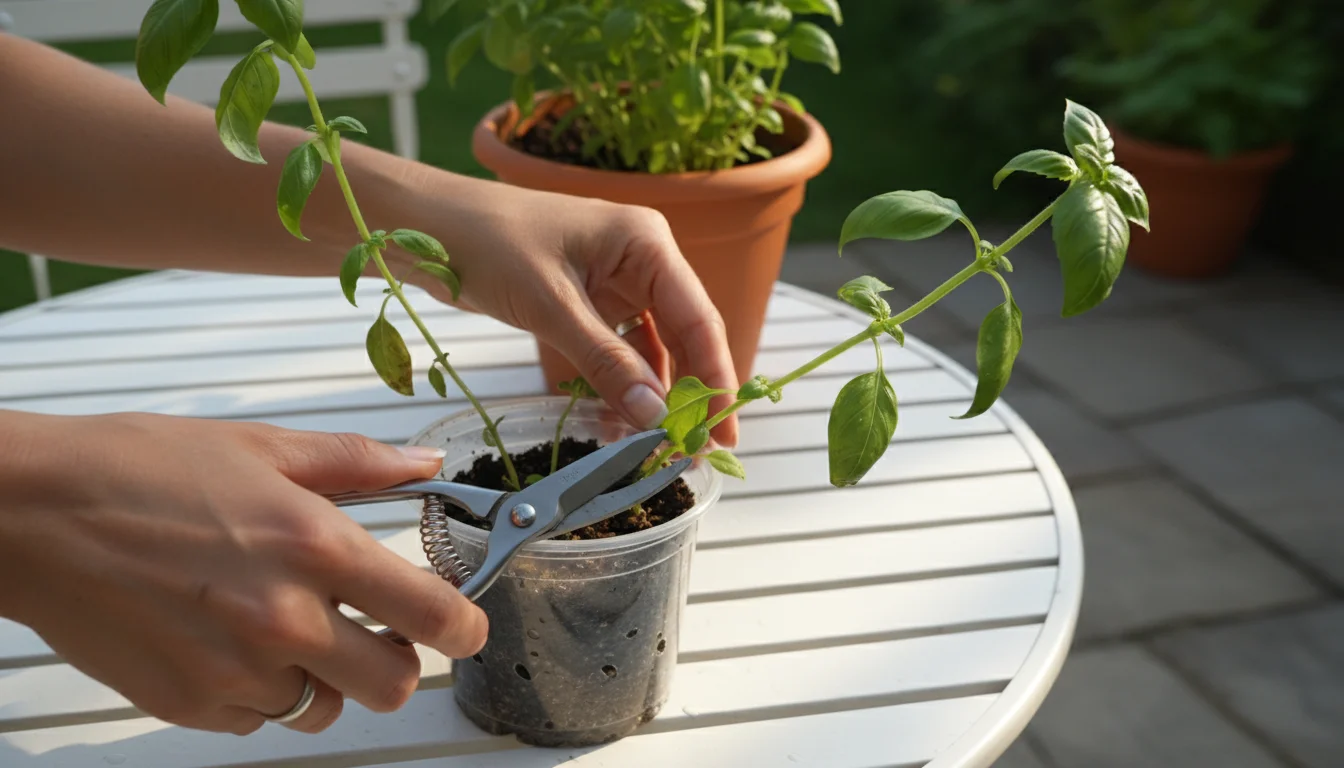
Inspect your plant for yellowing, damaged, or diseased leaves. Use clean pruning shears or scissors to snip these away.
Removing unhealthy foliage directs the plant’s energy toward new growth. Also, consider trimming back any leggy (stretched out) growth.
For basil, pinch off flower buds, if present, to encourage bushier growth and a longer harvesting period.
This careful preparation ensures both your plant and its new environment are optimized for a smooth transition, giving your grocery store herbs the best chance to recover and flourish.
The Gentle Art of Repotting: A Step-by-Step Guide
Repotting grocery store plants, especially stressed ones, requires a gentle touch. Minimize shock while providing space and nutrients for the plant to thrive.
Follow these steps for successful repotting of herbs.
While basil is soft-stemmed, woodier varieties require a different approach; see our rosemary rescue mission for specific winter care tips.
-
Carefully Remove the Plant from its Old Pot:
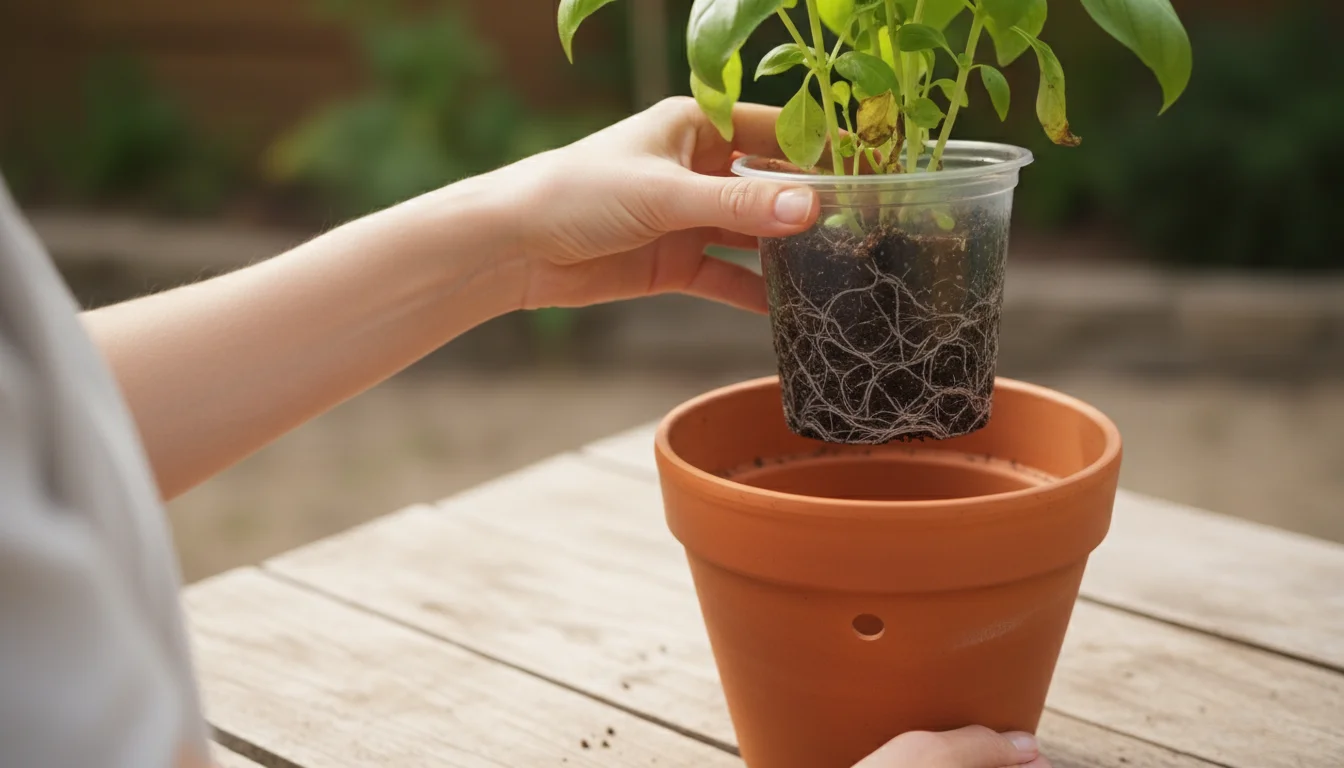
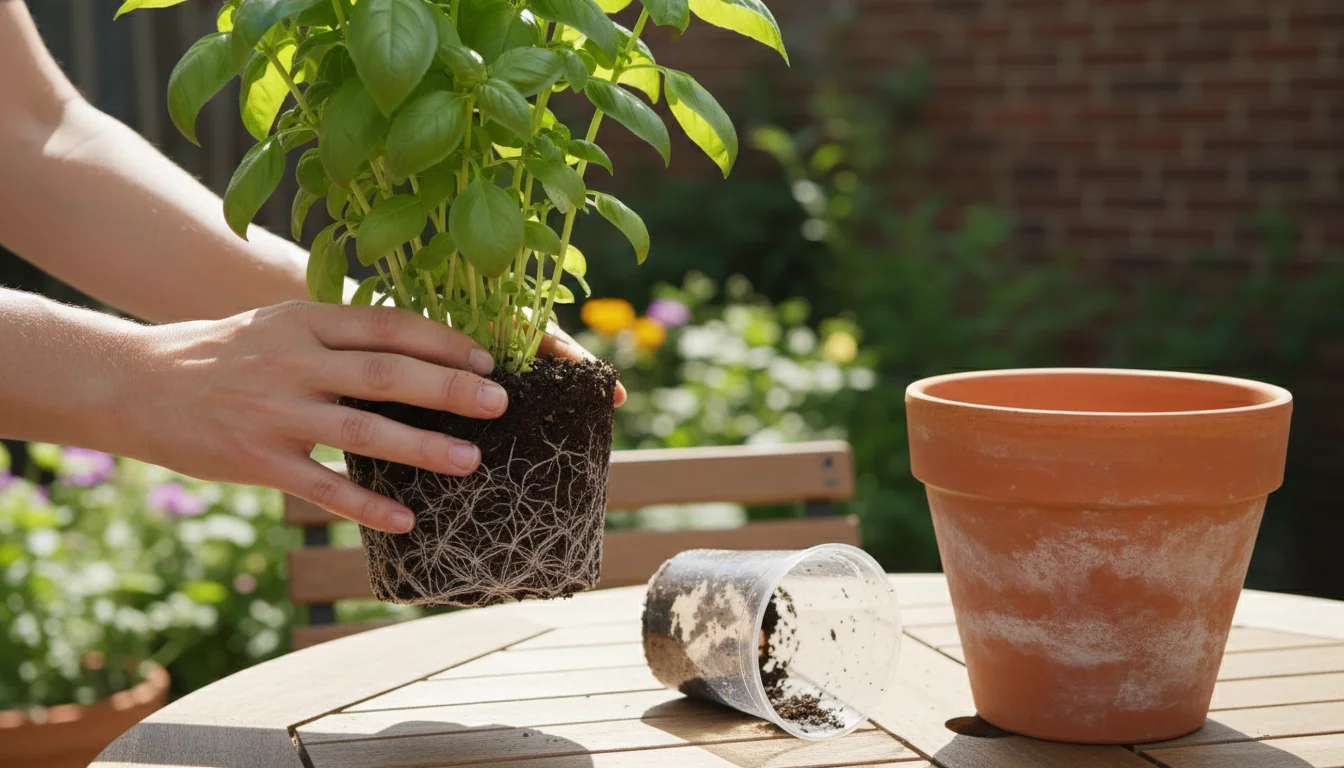
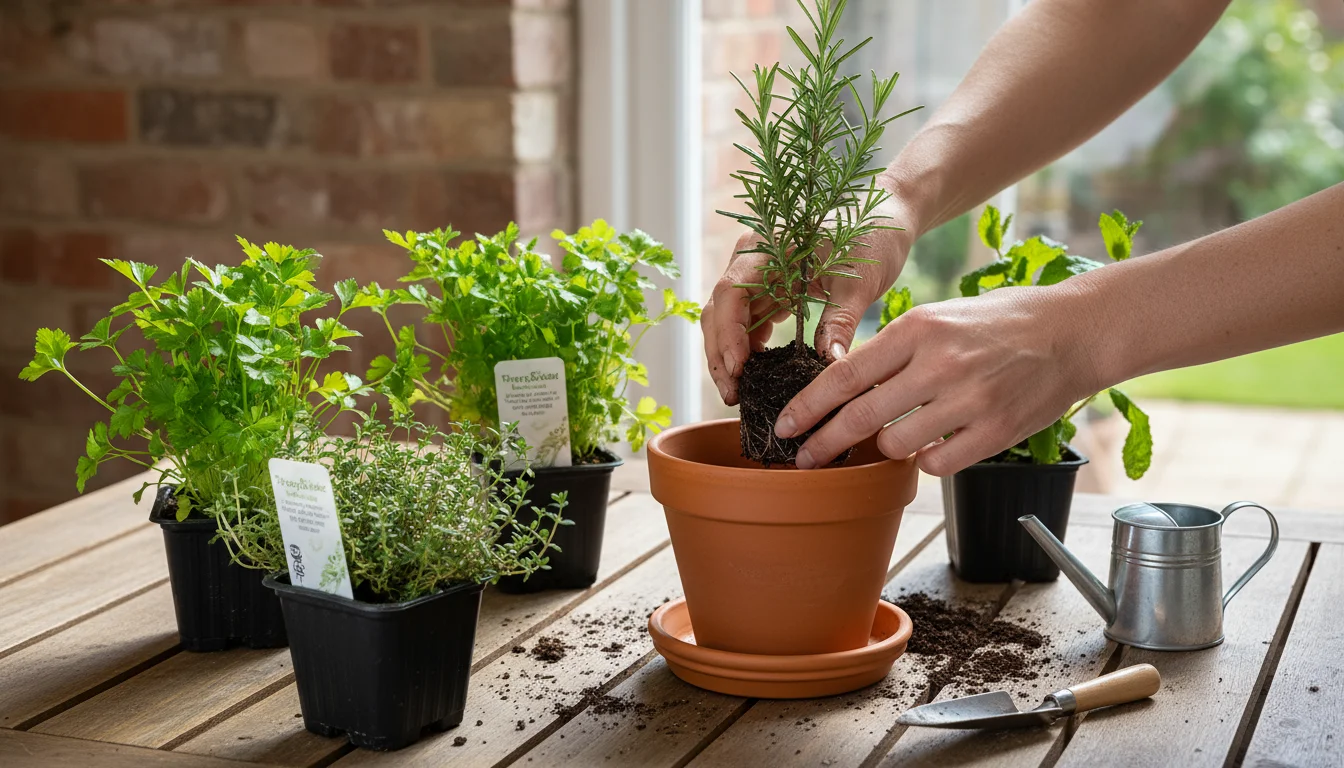
Turn the old pot on its side or upside down, supporting the plant’s base with one hand. Gently tap the bottom and sides to loosen the soil. If it does not slide out easily, use a clean knife to carefully run around the inside edge. Avoid pulling the plant by its stems; always support the root ball. Once out, you will likely see a dense mass of roots, indicating it was “root-bound,” a condition where roots completely fill the pot, limiting nutrient and water uptake. -
Inspect and Loosen the Root Ball:
This is critical for how to keep grocery store basil alive. Carefully examine the roots. If they tightly circle the bottom and sides, gently loosen them with your fingers or a small tool. This encourages them to grow outwards into the new soil. Do not fear breaking a few small roots; it stimulates new root growth. For basil, often having many individual plants in one pot, gently separate some. This creates multiple healthy plants from one purchase, significantly improving their survival and growth. -
Place the Plant in the New Pot:
Center the herb plant in its new pot. Ensure the top of the root ball sits at the same level as it was in the old pot, or slightly lower, leaving 1-2 inches of headroom below the rim. If separating basil plants, place each separated cluster into its own appropriately sized pot. This gives each individual plant the necessary breathing room. -
Fill with Fresh Potting Mix:
Once positioned, fill the pot around the root ball with fresh potting mix. Gently work the soil around the roots, ensuring no large air pockets. Lightly tap the pot on your work surface to help the soil settle. Continue adding soil until it reaches an inch or two below the pot’s rim. Do not compact the soil heavily; keep it light and airy for good aeration and drainage. -
Water Thoroughly:
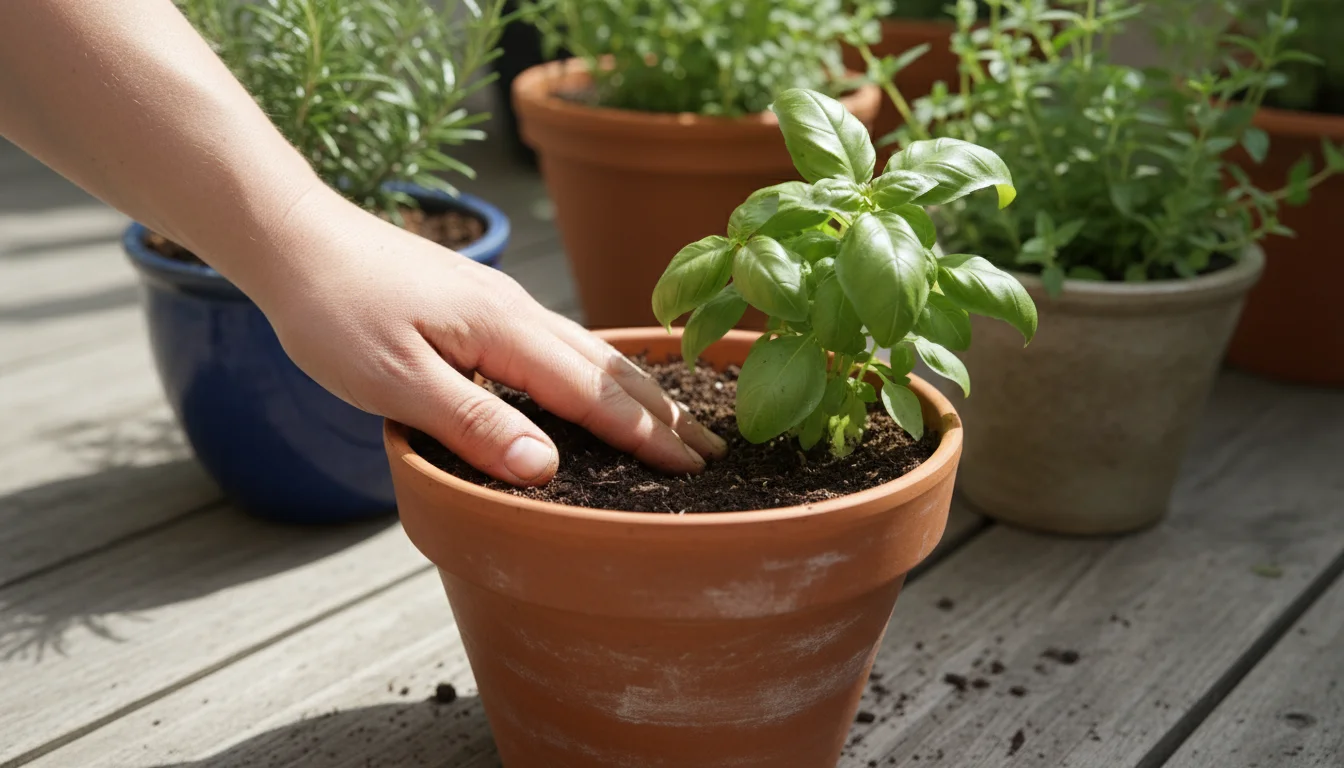
Immediately after repotting, water your herb deeply until water drains from the bottom of the pot. This settles the soil around the roots and eliminates air pockets, providing essential moisture for recovery from transplant shock. You might see the soil level drop slightly; if so, add a little more potting mix, but avoid burying the stem base too deeply.
This careful process transforms a struggling plant into a potential powerhouse. By providing ample space, fresh nutrients, and careful handling, you give your grocery store plants a solid foundation for flourishing.
Remember, patience and observation are key. Your herbs are resilient, and with your help, they will soon reward you with abundant harvests.
Post-Repotting Care: Nurturing Your Herb’s Recovery
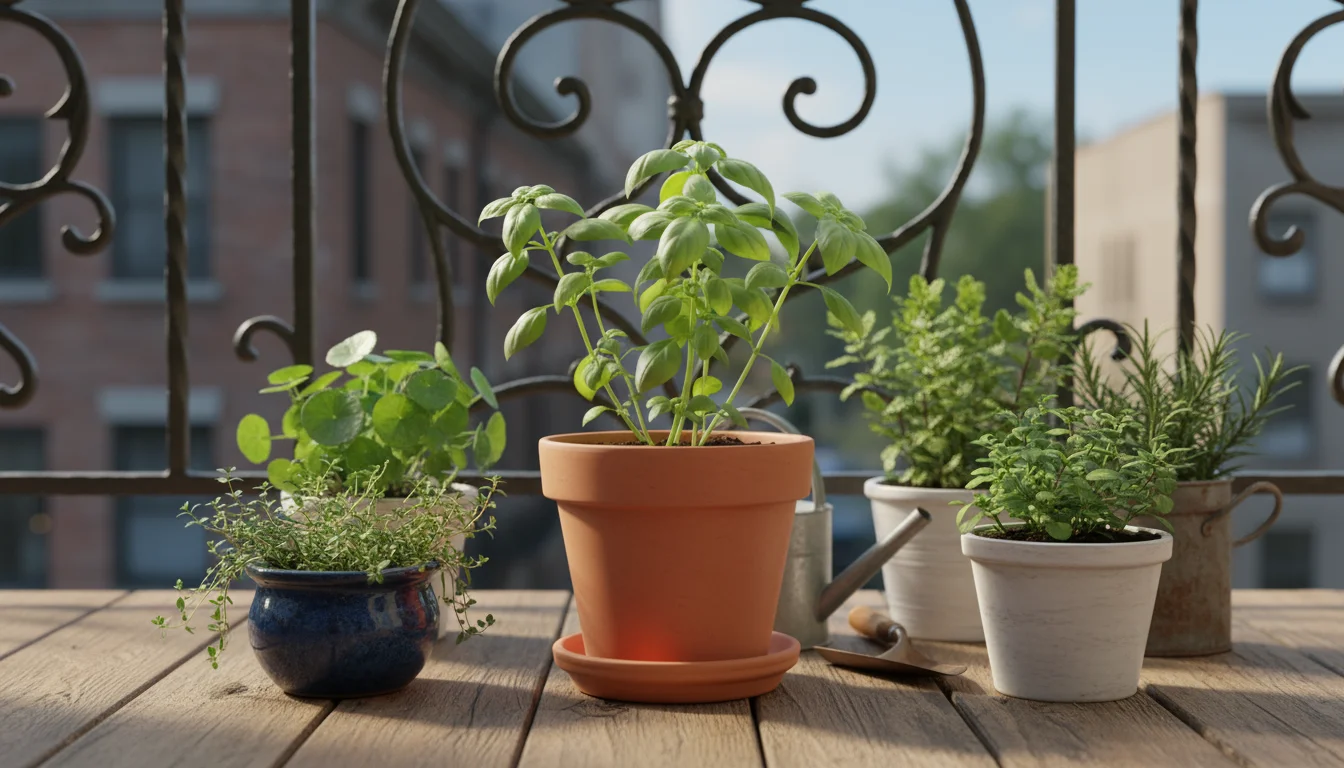
The first few days and weeks after repotting are crucial for your herb’s recovery. Proper care minimizes transplant shock and encourages robust new growth.
View this as a recovery phase, where your plant needs stability and gentle attention.
Light Requirements: Finding the Sweet Spot
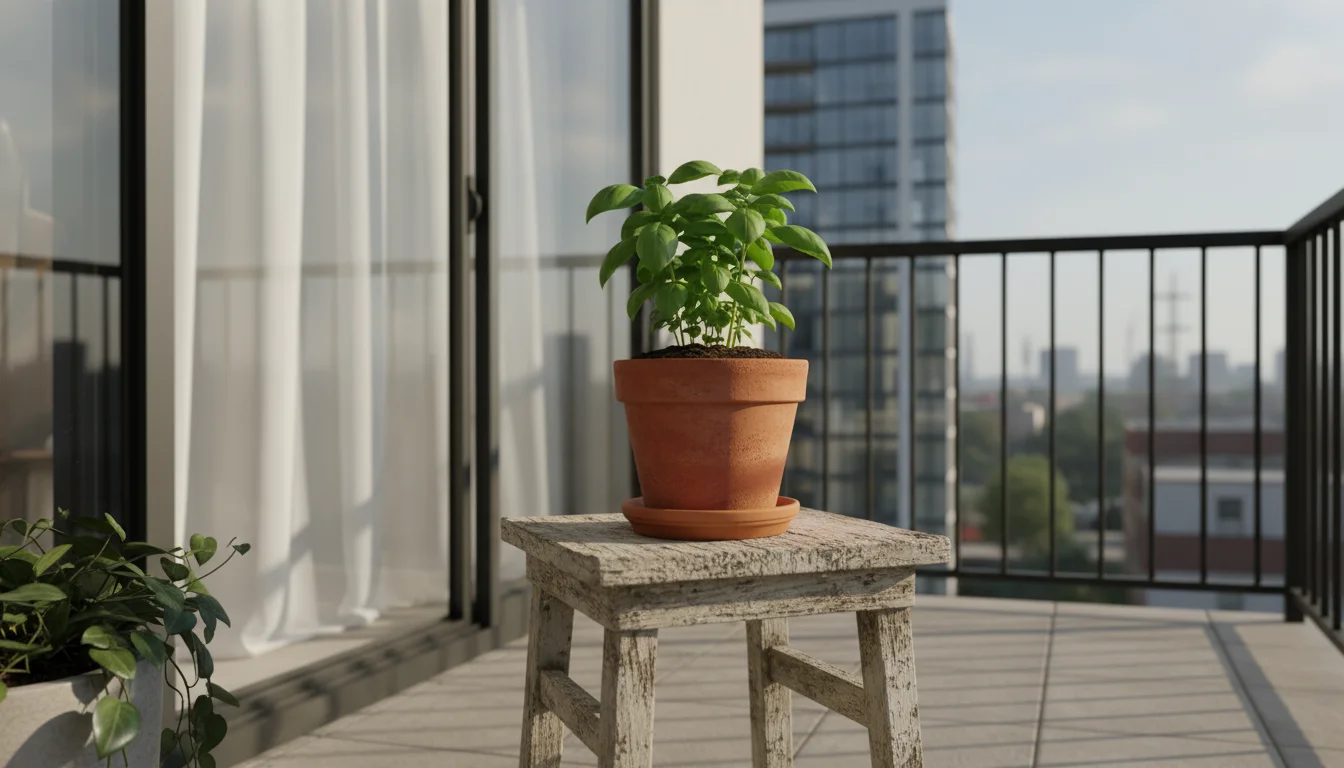
Immediately after repotting, place your herb in a location with bright, indirect light. Avoid direct, intense sunlight for the first few days; direct sun can exacerbate transplant shock, causing wilting or leaf scorch.
After a few days, gradually introduce it to its preferred light conditions. Most herbs, like basil, thrive in at least 6-8 hours of direct sunlight daily.
For growing herbs in pots indoors, a south-facing window is ideal. If not available, use a grow light.
Rotate your pots every few days for even growth.
Watering Wisdom: Consistency is Key
Proper watering is perhaps the most important aspect of post-repotting care. Keep the soil consistently moist but never soggy.
Overwatering is a common killer of container herbs, leading to root rot. Check soil moisture daily by sticking your finger an inch or two into the soil.
If it feels dry, water. If damp, wait.
Water thoroughly until you see drainage from the bottom, then empty any saucers to prevent roots from sitting in standing water. Your new, larger pot retains moisture better, so you might water less frequently.
“Drainage” means water’s ability to flow through soil and out the pot’s base. Good drainage prevents roots from drowning.
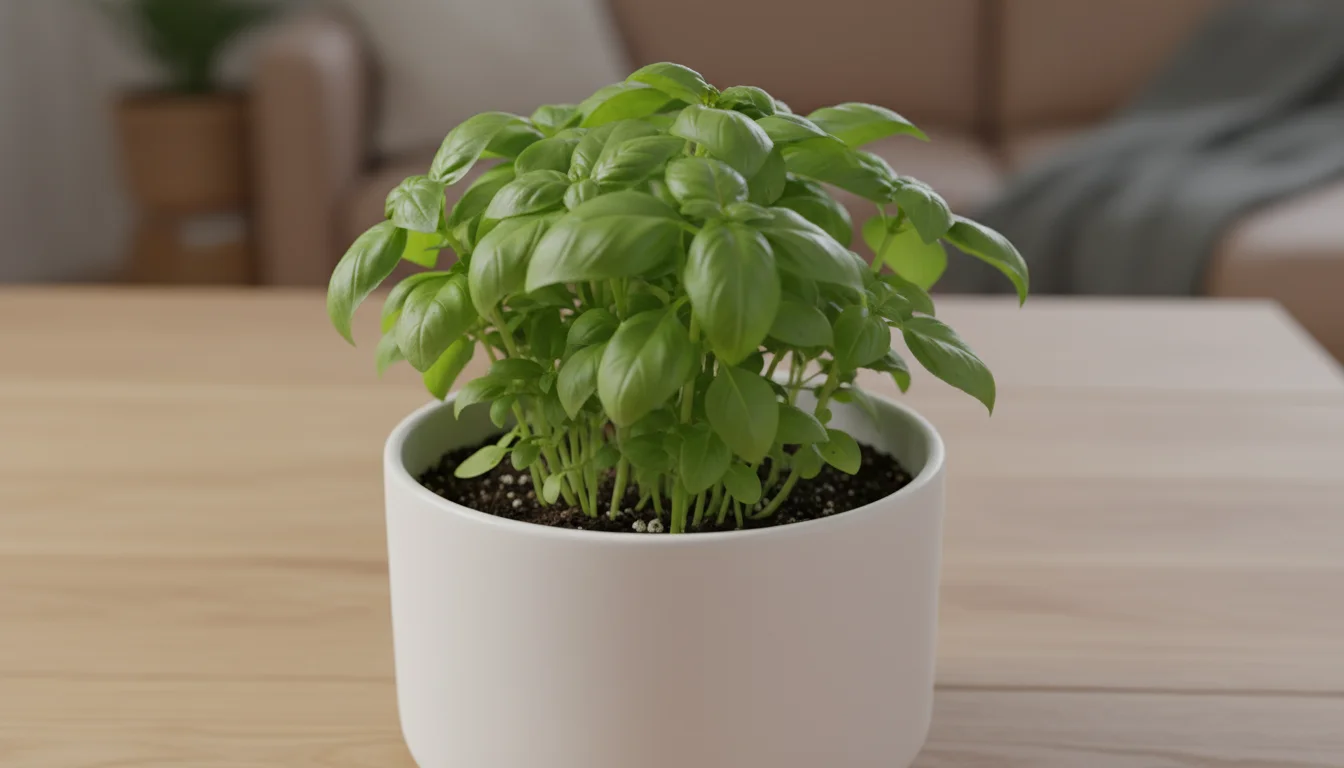
Temperature and Humidity Considerations
Most culinary herbs prefer moderate temperatures, generally 65-75°F (18-24°C). Avoid exposing newly repotted herbs to extreme temperature fluctuations or cold drafts.
Basil is particularly sensitive to cold. If your home is very dry, consider misting occasionally or placing them near a humidifier.
Ensure good air circulation to prevent fungal issues.
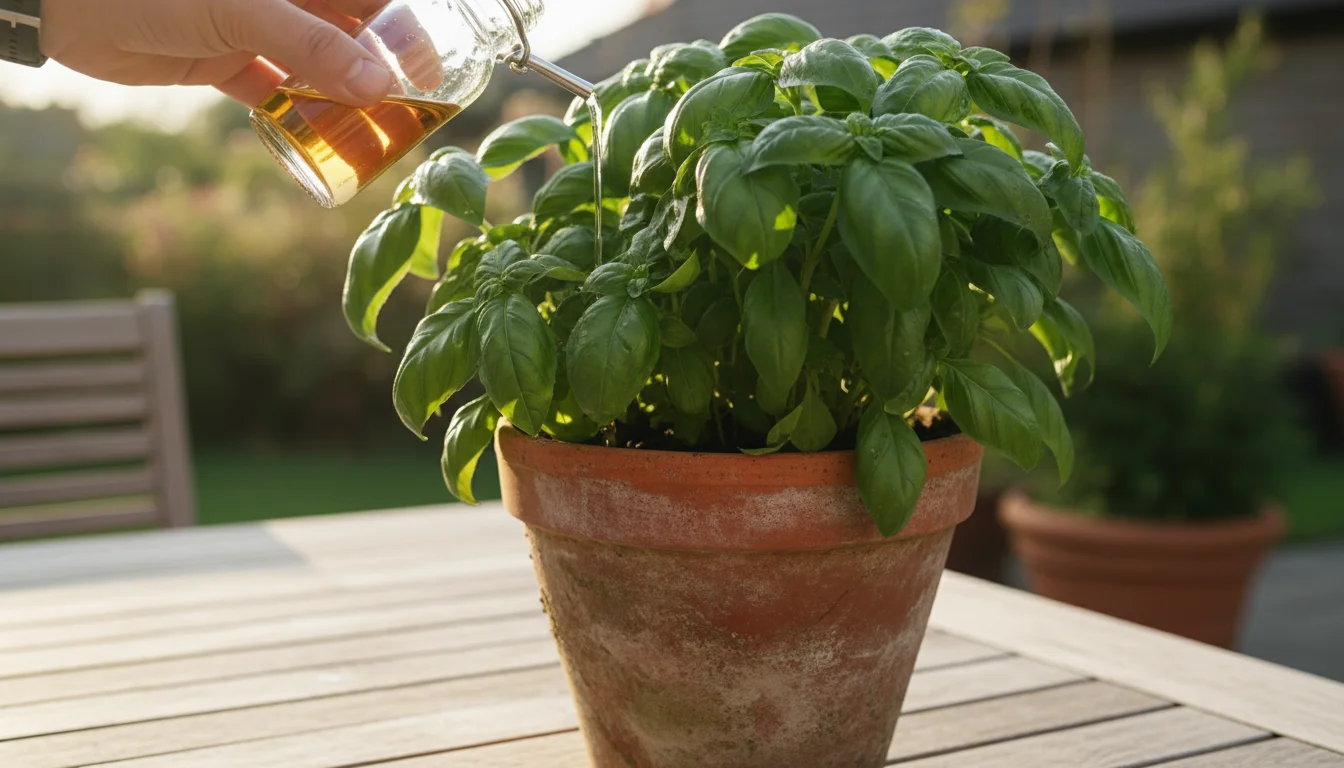
Feeding Your Herbs (Later On)
Your repotted herb accesses sufficient nutrients from the fresh potting mix for the first few weeks, possibly a month or two. Avoid fertilizing immediately after repotting, which can cause further shock.
Once you see vigorous new growth, usually after 4-6 weeks, begin a light feeding regimen. Use a balanced liquid fertilizer diluted to half strength every 2-4 weeks during the growing season.
For environmentally conscious gardening, consider organic fertilizers or compost tea. Herbs generally prefer less fertilizer than heavy-feeding vegetables; too much can reduce flavor intensity.
By providing consistent, appropriate care, you empower your grocery store herb to recover and flourish. This attentive post-repotting phase transforms a sad plant into a vibrant, productive addition to your small-space garden.
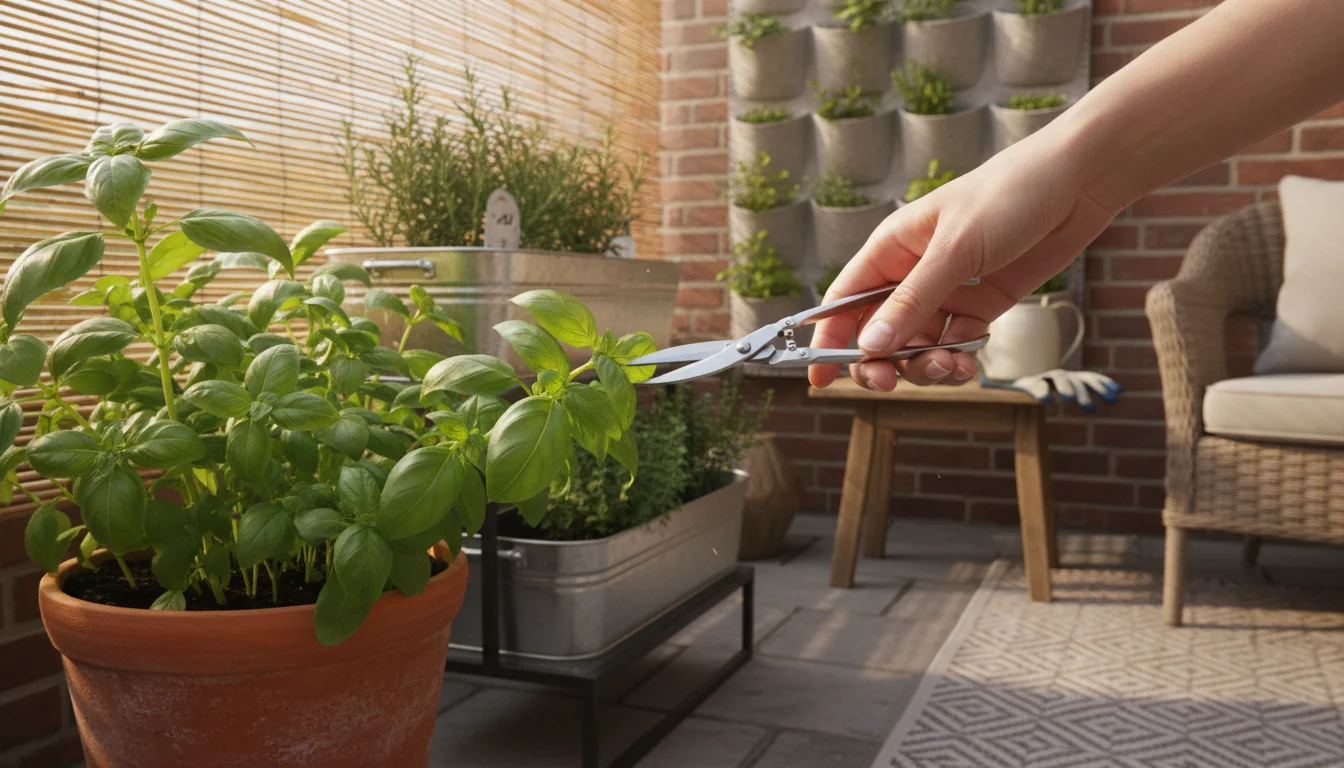
Harvesting for Longevity: Keeping Herbs Productive All Season
Once your rescued herb shows new growth and appears established, begin harvesting. Strategic harvesting encourages bushier growth, prevents flowering (which diminishes flavor), and ensures a continuous supply of fresh leaves throughout the season.
This is how you achieve that summer-long harvest you desire.
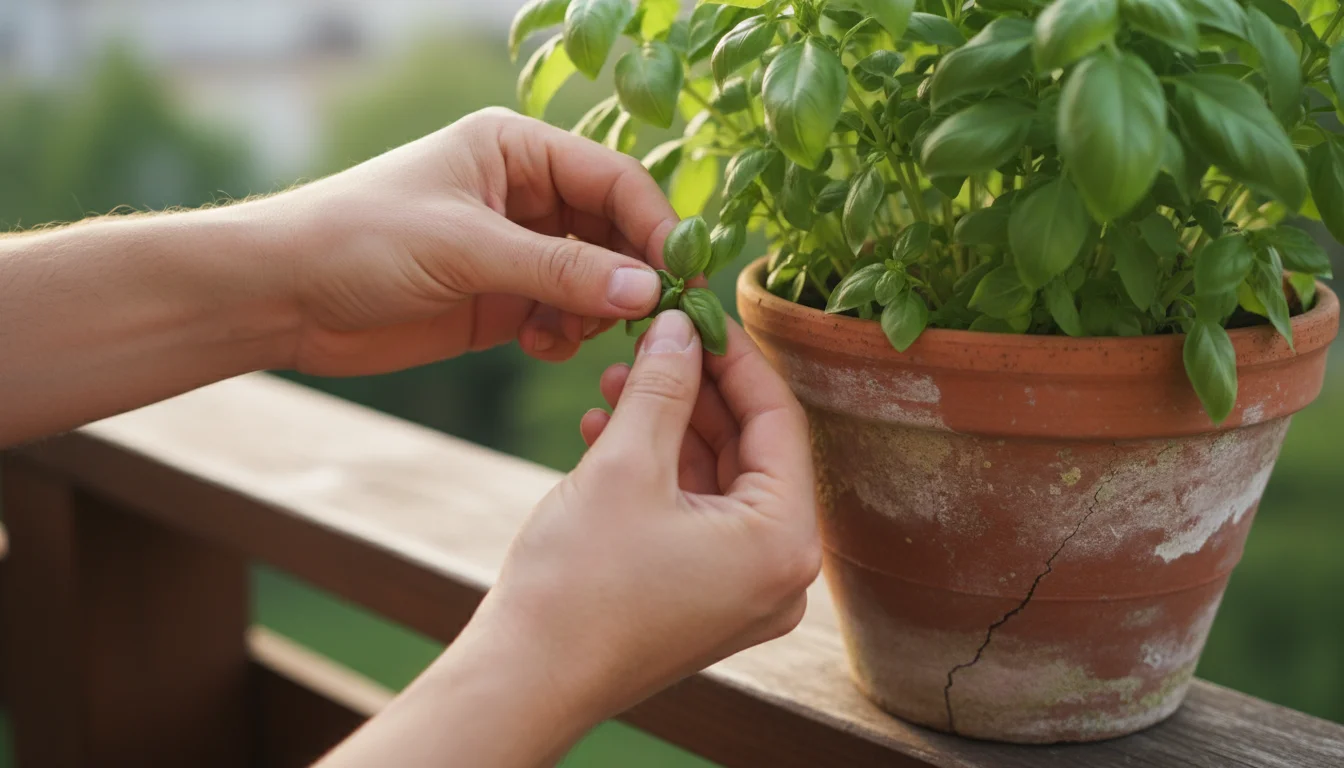
The 30% Rule: Never Over-Harvest
As a general rule for harvesting any herb, remove no more than 30% of the foliage at any one time. Taking too much stresses the plant and inhibits its ability to photosynthesize and recover.
This holds particularly true for young or newly established plants. Allow your herb to grow back before its next major harvest.
Frequent, light harvesting consistently outperforms infrequent, heavy harvests.
Pinch Back for Bushiness (Especially Basil)
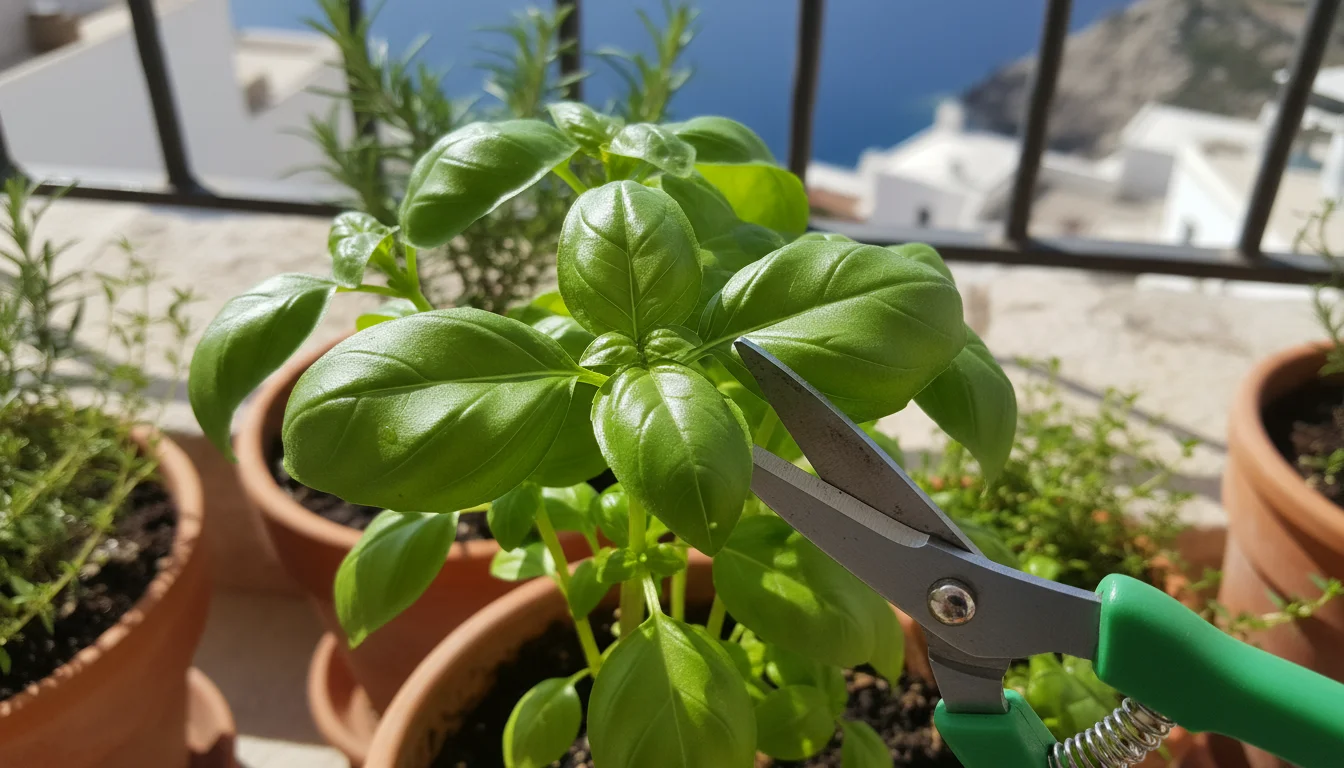
For basil and many other herbs, pinching back is the secret to a dense, productive plant. Instead of just plucking individual leaves, locate a stem with two sets of leaves (nodes).
Use your fingers or clean scissors to snip or pinch off the stem just above these nodes. You will notice tiny growth points in the “armpits” (axils) of the remaining leaves.
Pinching above them stimulates these dormant buds to grow, resulting in two new stems where there was once one. This technique encourages your basil plant to grow outwards and upwards, preventing it from becoming leggy and sparse.
Preventing Flowers: Extending the Harvest
Many annual herbs, like basil and cilantro, are “bolting” or “going to seed” when they produce flowers. While beautiful, flowering often signals the end of the plant’s life cycle for foliage production.
The plant shifts its energy from producing flavorful leaves to making seeds. This often makes leaves bitter and less abundant.
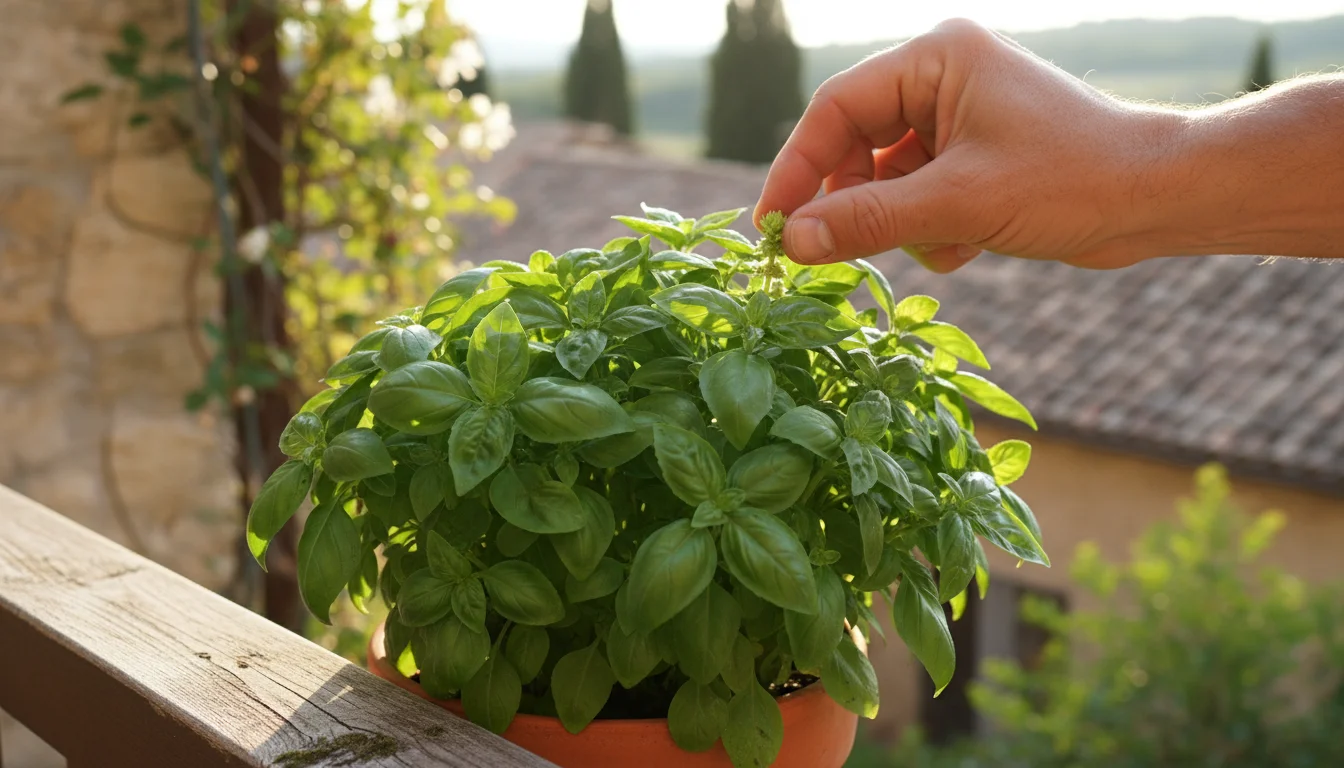
To extend your harvest, regularly inspect your plants for flower buds, especially on your basil plant. Pinch them off as soon as you see them forming.
This tricks the plant into continuing to produce foliage, delaying the bolting process and providing you with fresh herbs for a longer period.
Harvesting Different Herbs: Specific Techniques
- Basil: Pinch off individual leaves or snip entire stems above a set of leaves for bushier growth. Focus on outer leaves and stems.
- Mint: Harvest stems by pinching or cutting above a leaf node. Mint grows vigorously, so you can harvest more frequently, but still adhere to the 30% rule for individual stems.
- Cilantro/Parsley: Harvest outer leaves and stems from the plant’s base. Allow inner, younger leaves to continue growing. Avoid taking the central growth point for a continuous supply.
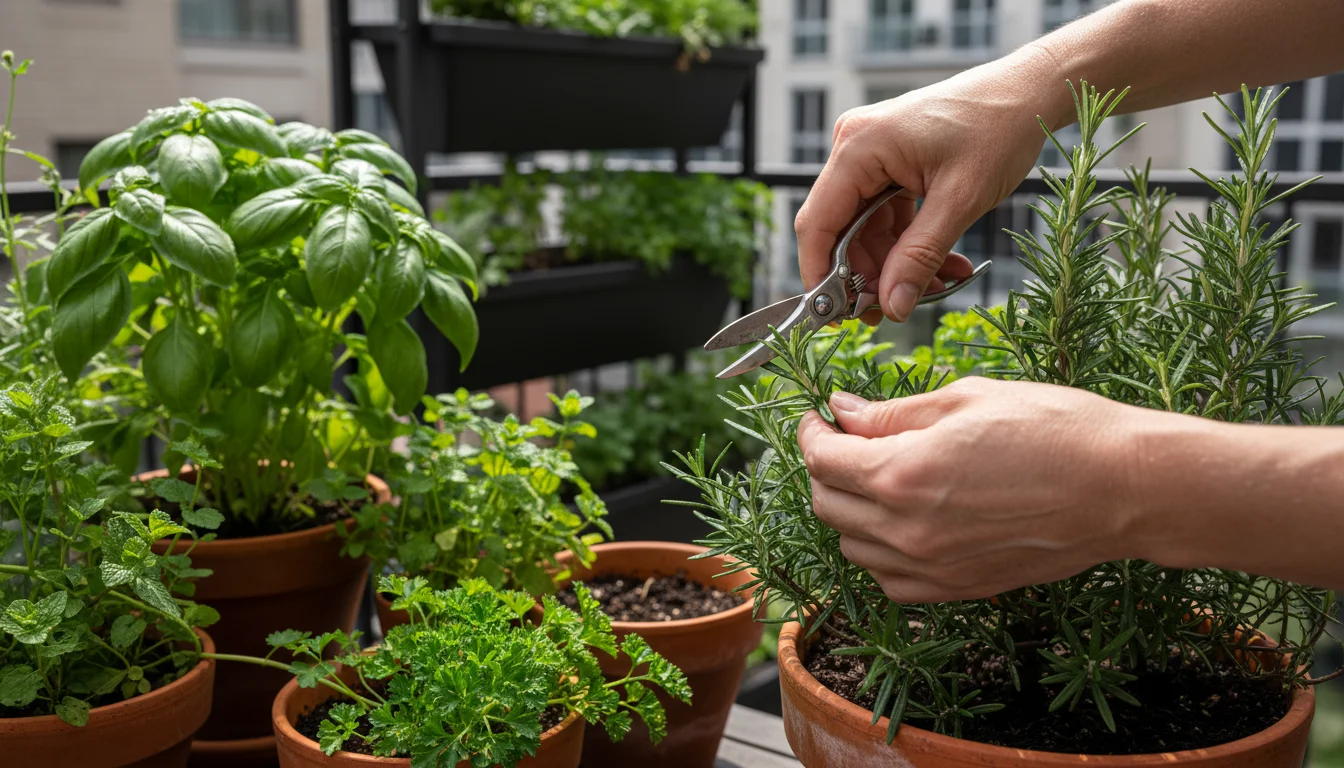
- Rosemary/Thyme/Oregano: These woody herbs benefit from light pruning. Snip off the tender, new growth from the tips of the stems. This encourages branching and keeps the plant from becoming woody and leggy.
By consistently applying these harvesting techniques, you manage your herb’s growth, ensuring a steady supply of flavorful leaves. This active participation transforms your plant from a temporary grocery store item into a reliable, long-term source of fresh ingredients right at your fingertips.
Common Mistakes to Avoid for Thriving Container Herbs
Even with good intentions, gardeners sometimes make mistakes that hinder herb growth. Recognizing and avoiding these common pitfalls significantly increases your chances of a successful, thriving container herb garden.
This section addresses crucial troubleshooting for growing herbs in pots.
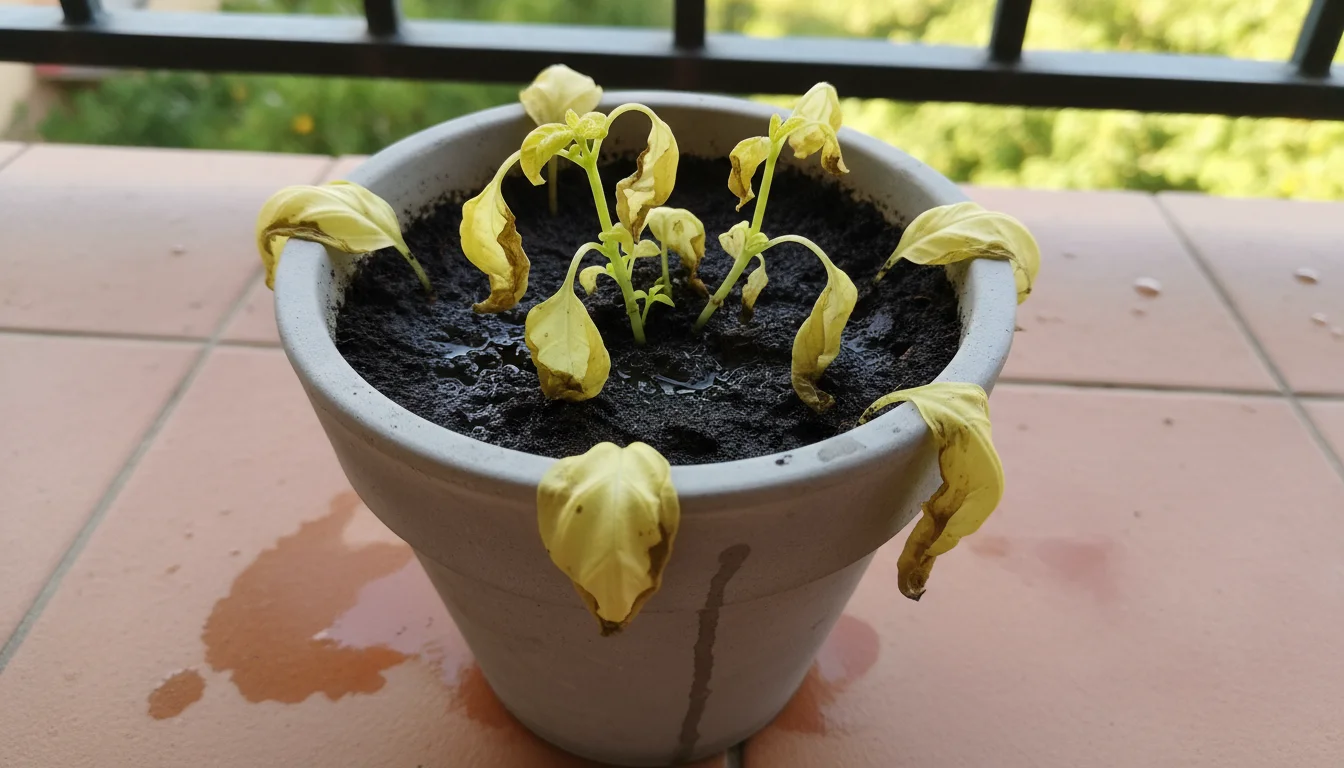
Overwatering: The Silent Killer
This is arguably the most frequent mistake. Too much water suffocates roots, leading to root rot, which is often fatal.
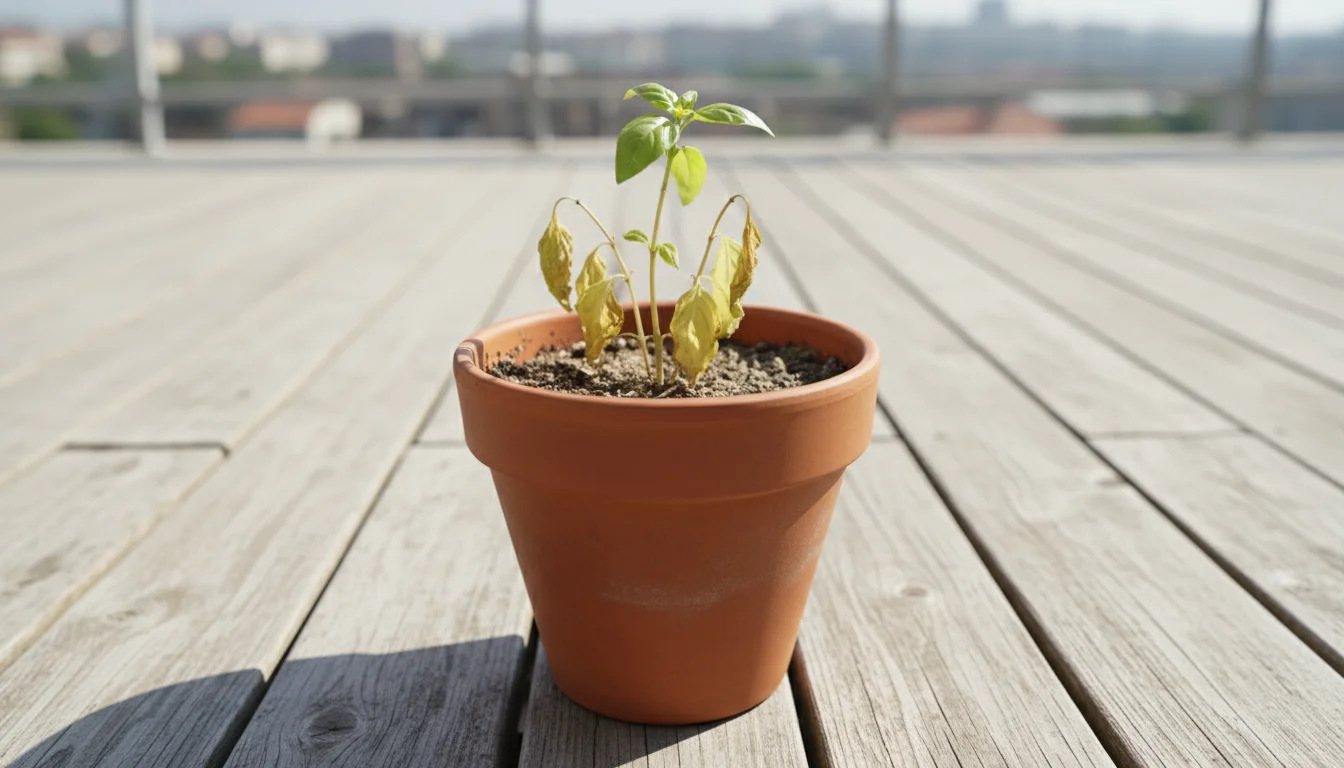
Symptoms of overwatering include yellowing leaves, stunted growth, and general droopiness. This is confusing because underwatered plants also droop.
The key difference is the soil: overwatered soil stays perpetually wet, while underwatered soil is dry and crumbly. Always check soil moisture before watering.
Let the top inch or two of soil dry out between waterings. Use pots with proper drainage holes to prevent water accumulation.
A simple moisture meter can also help.
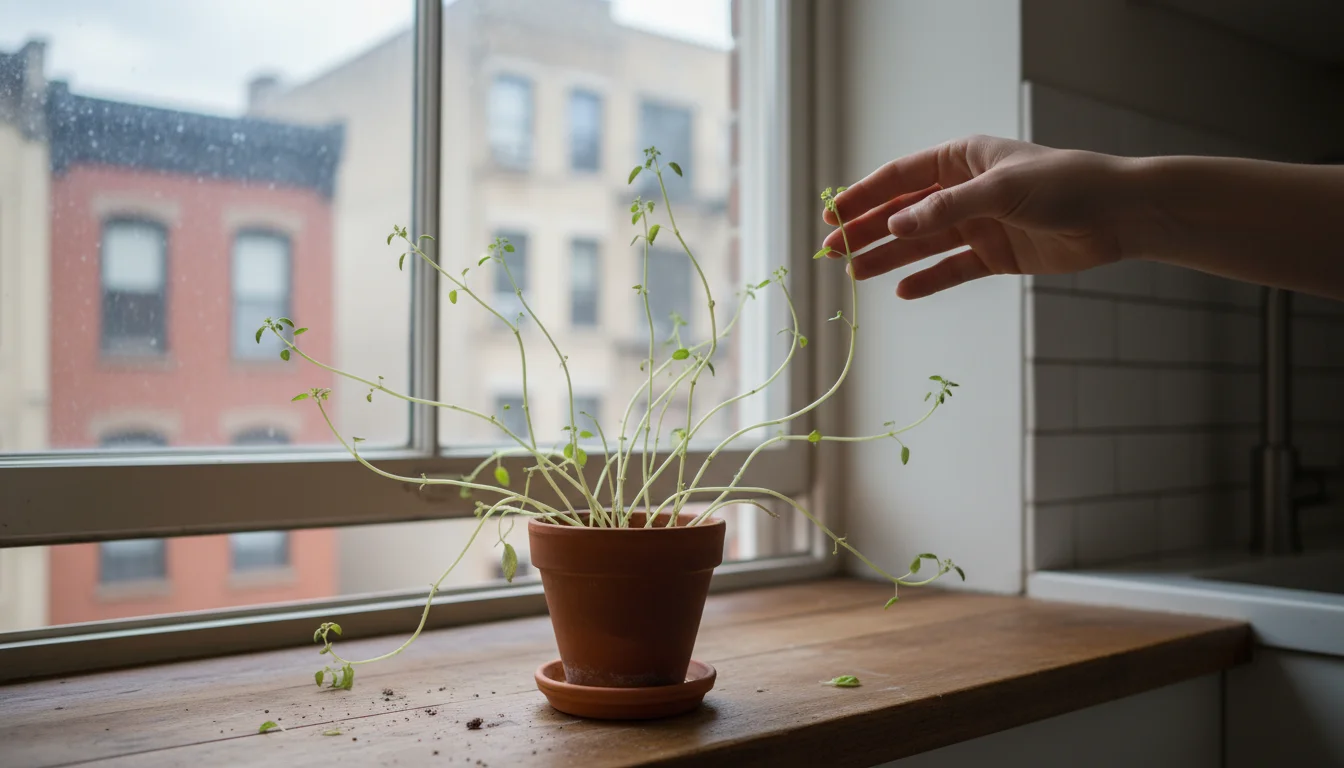
Insufficient Light: Weak Growth
Most culinary herbs require substantial sunlight, often 6-8 hours of direct sun daily. If your herbs do not get enough light, they become “leggy,” stretching out with long, weak stems and sparse leaves.
This phenomenon, called etiolation, reduces plant vigor and flavor. Ensure your herbs are placed in the brightest available spot.
If natural light is limited, particularly indoors or during winter, invest in a grow light. Even a simple LED grow light makes a huge difference in preventing weak, stretched growth.
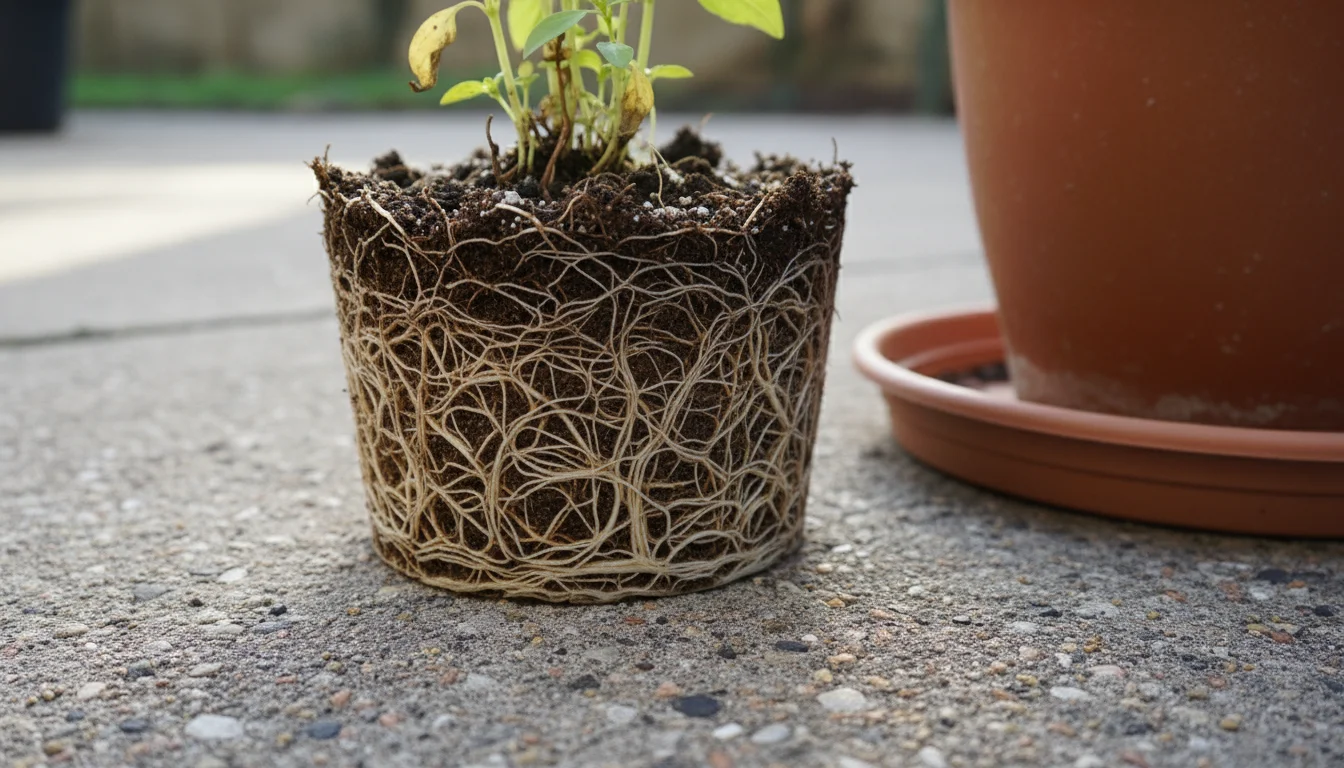
Neglecting to Repot or Divide
Remember why grocery store plants struggle: overcrowding. If you buy a grocery store herb and do not repot it, or if you simply move the entire overcrowded clump into a slightly larger pot without separating, you perpetuate the problem.
The roots quickly become root-bound again, leading to competition and stunted growth. Take the time to separate individual plants, especially basil, during repotting.
This gives each plant necessary space and resources to thrive, effectively addressing how to keep grocery store basil alive long-term.
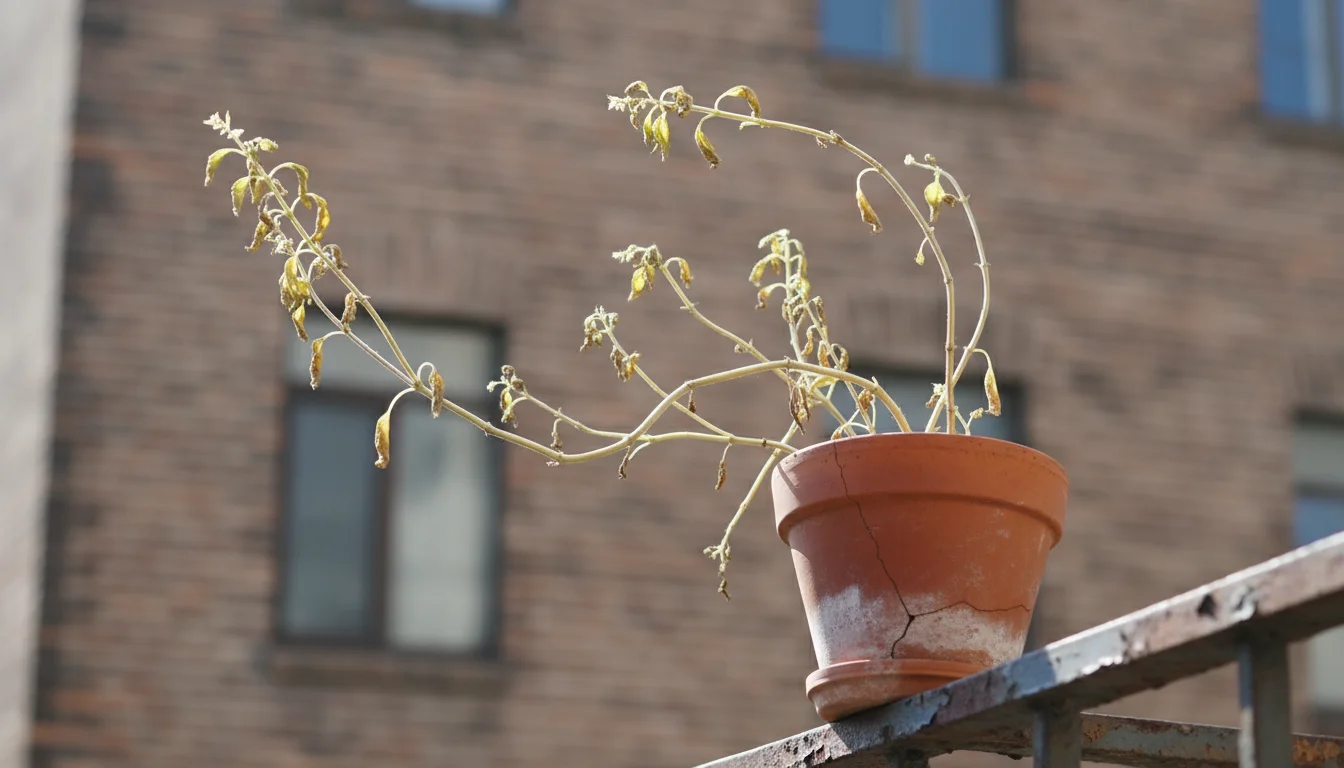
Improper Harvesting Techniques
While harvesting benefits your herbs, doing it incorrectly is detrimental. Simply stripping leaves from the bottom or not pinching back stems encourages leggy growth and reduces overall yield.
Refer to the “Harvesting for Longevity” section for detailed guidance. Always pinch above a node (where leaves emerge) to promote bushiness, and consistently remove flower buds to prolong the vegetative growth phase.
Avoid taking more than 30% of the plant’s foliage at once.
Fertilizer Overload
More is not always better with fertilizer. Over-fertilizing can burn roots, leading to yellowed leaves, stunted growth, and even plant death.
Herbs generally do not require heavy feeding. Fresh potting mix provides initial nutrients.
Once established, use a balanced liquid fertilizer at half strength, only every 2-4 weeks during the active growing season. Listen to your plant; if it looks healthy and green, it likely does not need more food.
By being mindful of these common mistakes, you empower yourself to provide optimal conditions for your grocery store herbs, allowing them to overcome initial challenges and reward you with an abundance of fresh, aromatic leaves.
Taking Herbs Outdoors: When and How to Transition
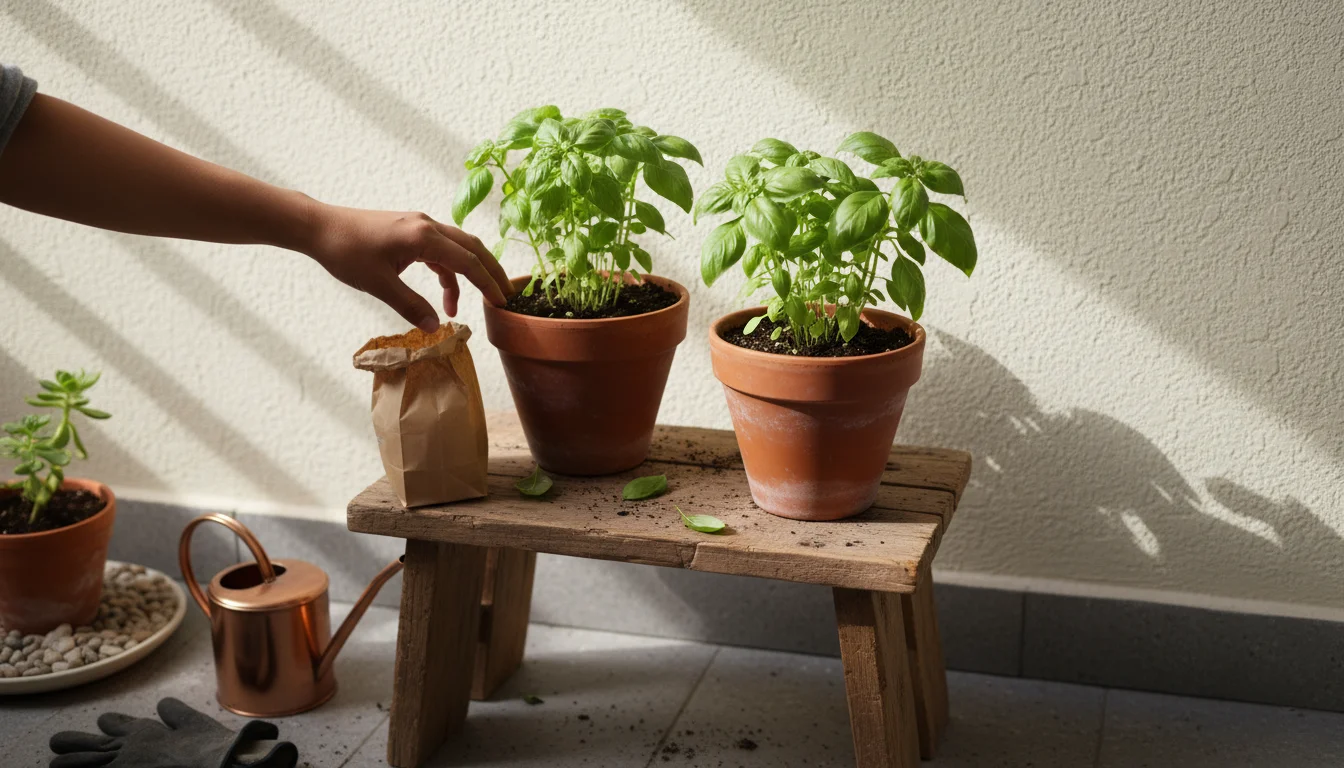
Many grocery store herbs, especially basil, mint, and cilantro, are excellent candidates for outdoor container gardening once the weather warms. Transitioning them from indoors to outdoors requires a process called “hardening off” to prevent shock.
This directly answers the question, “Can you plant herbs from the grocery store outside?”
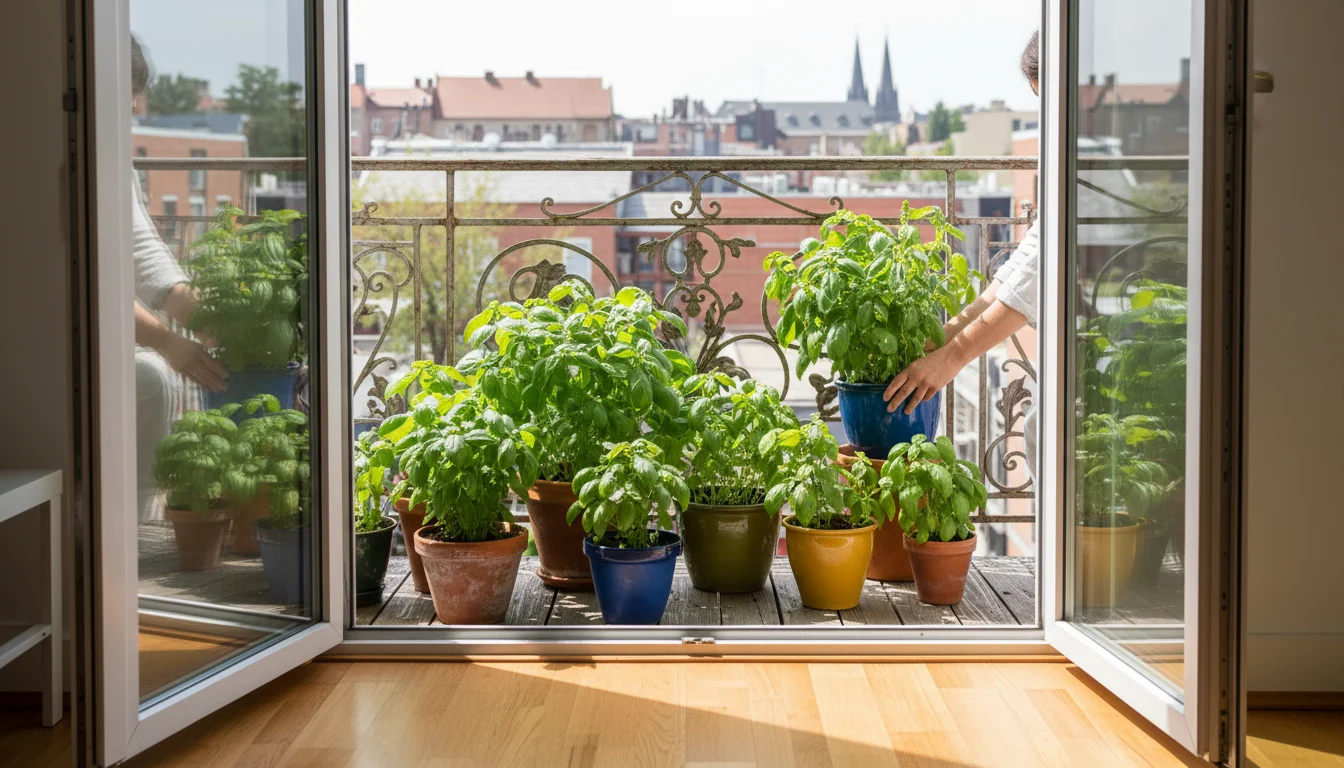
When your pots are finally outside, remember to monitor them closely and provide extra care during summer heat waves to prevent the small pots from drying out too quickly.
When is the Right Time to Move Herbs Outdoors?
- Warm Weather: Wait until all danger of frost passes in your area. Check your local last frost date. For heat-loving herbs like basil, aim for nighttime temperatures to consistently stay above 50-55°F (10-13°C). Cool-season herbs like cilantro and parsley tolerate slightly cooler temperatures but still prefer above freezing.
- Daytime Temperatures: Ensure daytime temperatures are consistently warm and mild, typically above 60°F (15°C). Extreme heat waves immediately after transition also stress plants.
- After Repotting: Ensure your herb has had at least 2-3 weeks to recover from repotting before attempting to move it outdoors. It needs to establish new roots and show vigorous growth indoors first.
Hardening Off: A Crucial Acclimatization Process
Hardening off gradually introduces your indoor-grown plants to harsher outdoor conditions, including direct sunlight, wind, temperature fluctuations, and lower humidity. Skipping this step severely shocks your plants, causing scorched leaves, wilting, or even death.
This process typically takes 7-14 days.
- Day 1-3: Shade and Shelter: Place your herbs in a sheltered, shady spot outdoors for 2-3 hours on the first day. This could be under a tree, on a porch, or on the north side of your house. Gradually increase the time outdoors each day.
- Day 4-6: Partial Sun: Move your herbs to a location receiving a few hours of morning sun, but remaining shaded during intense afternoon heat. Continue to increase their time outdoors, bringing them in at night if temperatures remain cool.
- Day 7-10: Increased Sun Exposure: Gradually expose your herbs to longer periods of direct sunlight. By the end of this period, they should spend most of the day outdoors, including some time in direct sun. Continue to bring them indoors if nighttime temperatures are below their preferred range.
- Day 11-14: Full Day and Night: If nighttime temperatures are consistently warm enough, leave your herbs outdoors overnight. By the end of the two weeks, they should be fully acclimated and ready for their permanent outdoor spot.
During hardening off, consistently check soil moisture, as plants dry out faster outdoors. Water as needed.
Also, monitor weather forecasts for sudden temperature drops or strong winds, and bring your plants indoors if necessary.
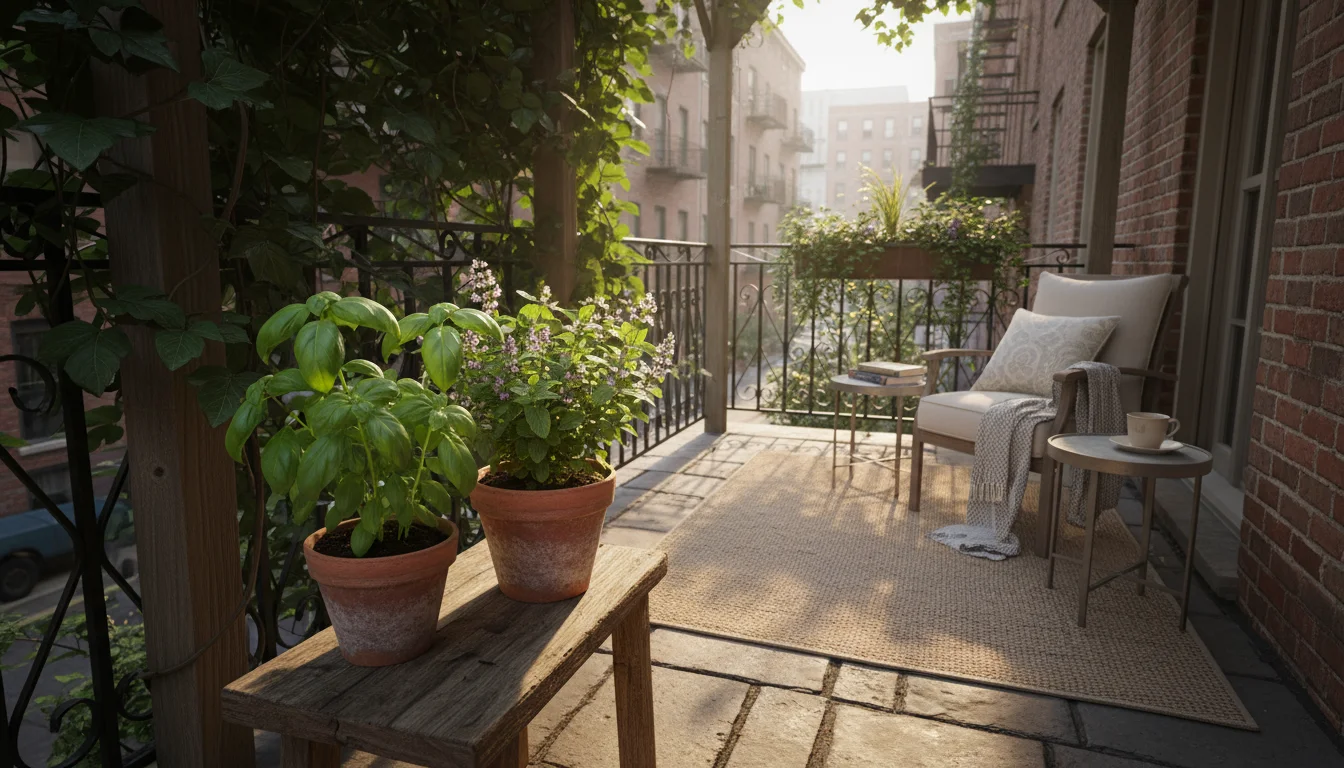
Once hardened off, place your herbs in a location meeting their specific needs. Most culinary herbs thrive in full sun (6-8 hours daily).
Ensure they are in well-draining pots, especially since rain contributes to overwatering if drainage is poor. For small-space gardeners, consider vertical planters or hanging baskets to maximize your growing area.
This setup creates ideal conditions for growing herbs in pots outdoors.
By following these steps, you successfully transition your grocery store herbs from indoor survivors to flourishing outdoor garden stars, providing fresh flavor all summer long and beyond.
Beyond Basil: Applying the Rescue Plan to Other Supermarket Herbs
While basil often stars in the grocery store herb rescue, the principles of repotting and reviving apply to many other common supermarket herbs. Understanding their specific needs ensures you extend the life of your entire herb collection.
While basil is a soft-stemmed annual, woodier varieties like rosemary have different needs; check out our specific rosemary rescue guide to keep those plants thriving through the winter.
For a fun and functional balcony display, you can even combine several rescued varieties into a single herb pizza pot project to enjoy multiple flavors in one container.
Mint: The Sprawling Survivor
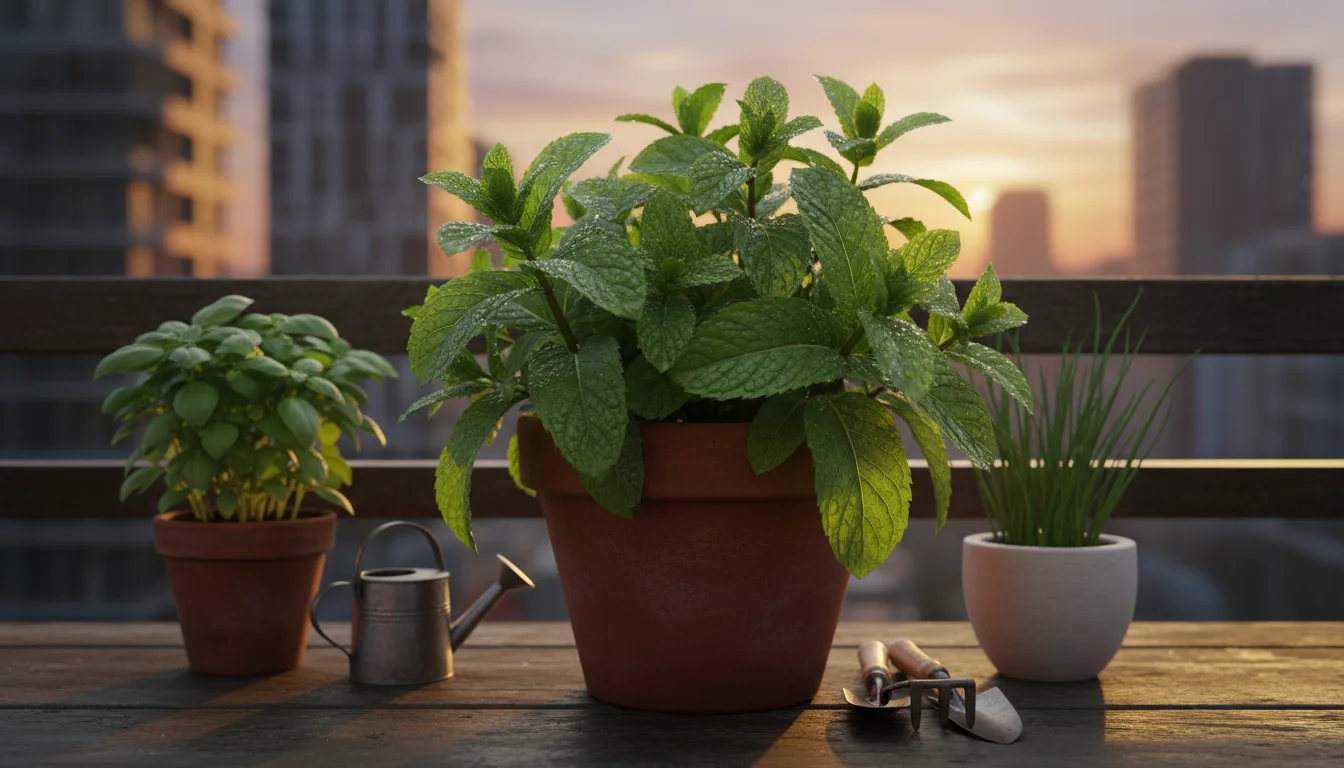
Grocery store mint plants are also often severely root-bound. Mint grows aggressively; if left in its original pot, it quickly exhausts resources.
When repotting mint, treat it similarly to basil: separate clumps, repot into larger containers with fresh, well-draining soil. Because mint spreads vigorously, consider planting it in its own container or a designated area where its roots cannot escape.
It thrives in full sun to partial shade and prefers consistently moist soil, potentially needing more frequent watering than basil, especially in hot weather.
Cilantro and Parsley: Delicate Annuals
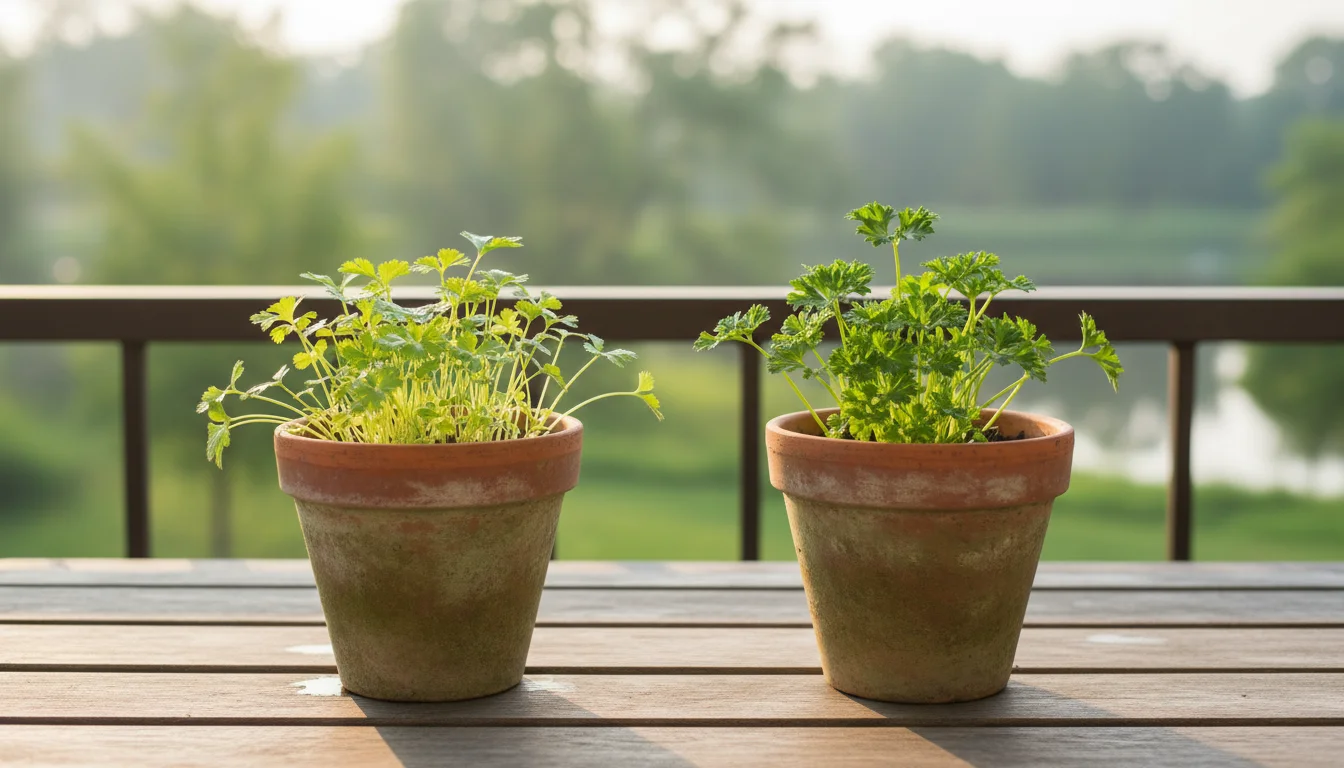
These annual herbs complete their life cycle in one season. Repotting supermarket herbs like cilantro and parsley gives them a head start and extends their edible life.
Gently separate any overcrowded plants during repotting, placing them in slightly larger individual pots or a shared container with ample space. They prefer cooler temperatures and can bolt (go to seed) quickly in hot weather.
Provide morning sun and afternoon shade if temperatures soar. Consistent moisture and regular harvesting of outer leaves prolong their harvest, but expect a shorter lifespan than perennial herbs.
Rosemary, Thyme, and Oregano: Woody Perennials
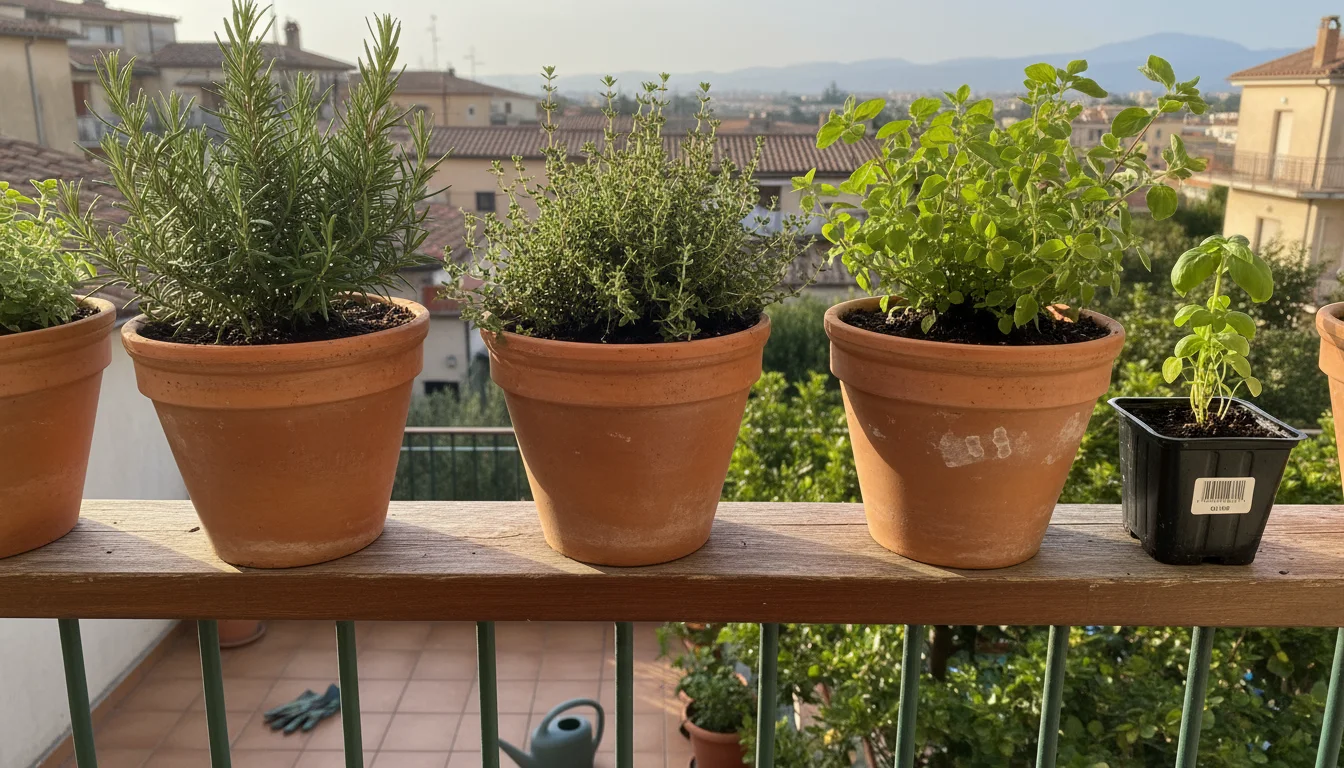
These Mediterranean herbs are perennials, living for several years. Grocery store versions are usually young and benefit greatly from repotting.
They prefer well-draining soil and plenty of sun. Unlike basil, they tolerate less constant moisture and prefer to dry out slightly between waterings.
When repotting, choose a terracotta pot for better breathability if you tend to overwater. Light pruning after establishment encourages bushiness.
They are excellent candidates for outdoor planting once hardened off, with many varieties hardy in cooler climates.
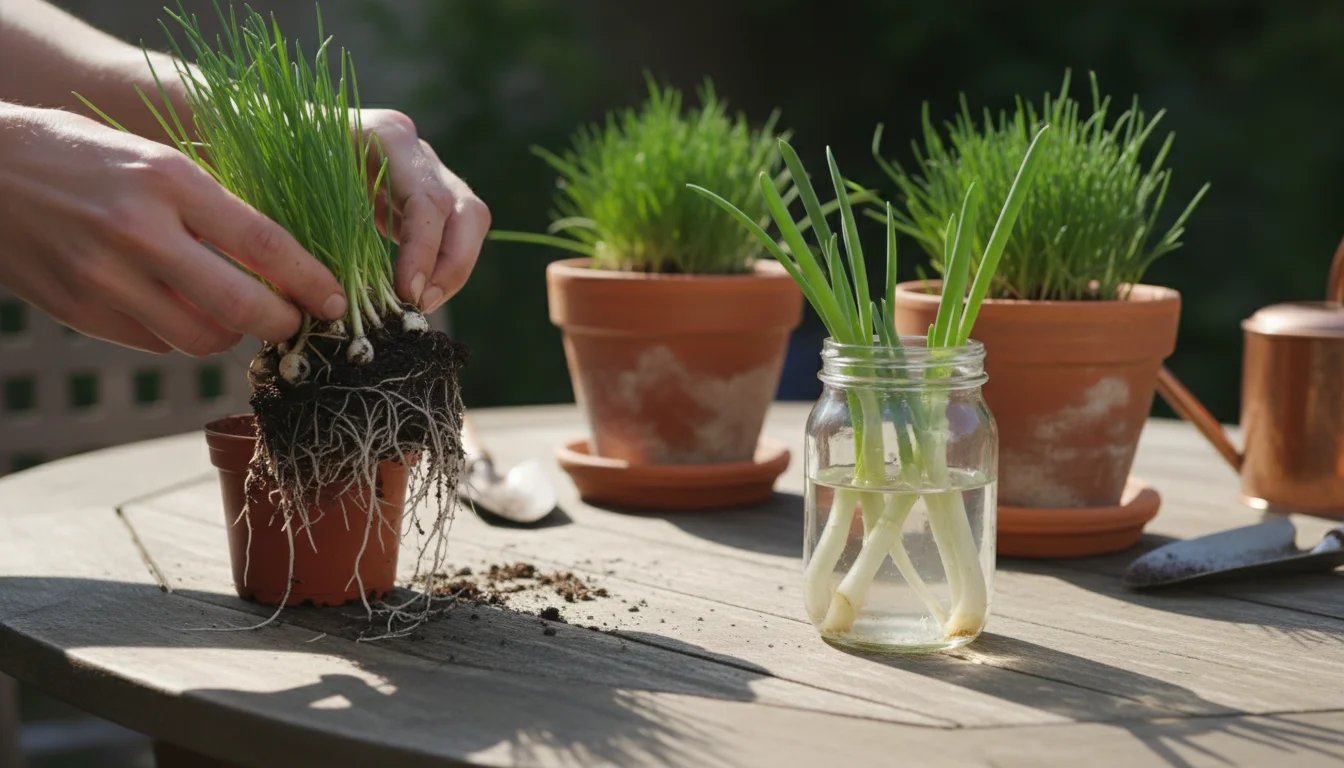
Chives and Green Onions: Clumping Favorites
These often come in small pots and are incredibly easy to revive. They grow in clumps and benefit from division and repotting into larger containers.
Chives are perennial and return year after year. Both appreciate full sun and consistent moisture.
When harvesting, snip outer green blades close to the base, allowing inner ones to grow. You can even plant store-bought green onion bottoms in water for a few days, then transfer them to soil for continuous regrowth.
By applying the core principles of repotting—providing space, fresh soil, and attentive post-transplant care—you successfully rescue a wide array of grocery store plants.
Each herb has unique preferences, but the foundational rescue plan remains consistent: alleviate overcrowding, refresh the growing medium, and provide a stable environment.
Your efforts translate into a continuous supply of fresh, homegrown herbs for all your culinary needs, demonstrating that growing herbs in pots can be a truly rewarding experience for any small-space gardener.
Frequently Asked Questions
How many basil plants should I put in one pot?
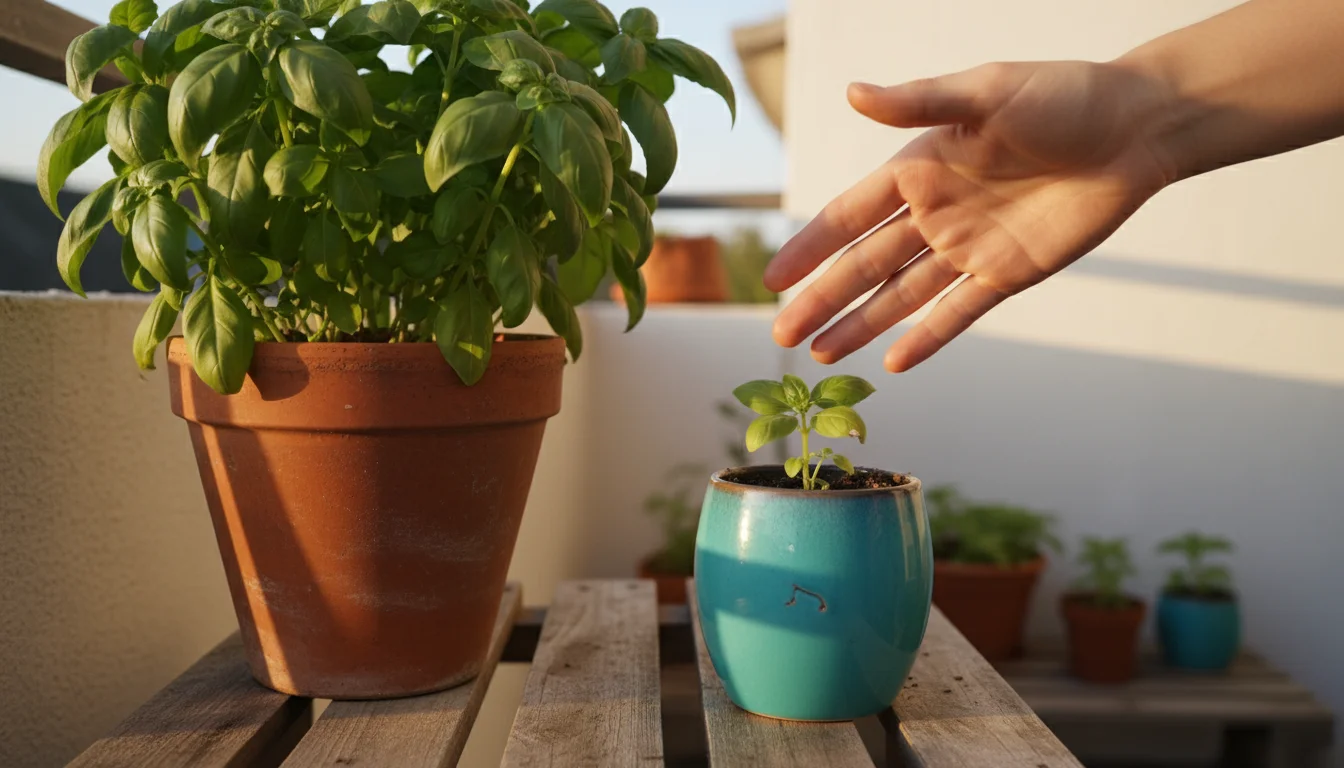
When repotting a grocery store basil plant, which often contains dozens of seedlings, you should ideally separate them. For a 6-inch pot, plant 1-2 individual basil plants.
For an 8-10 inch pot, you can safely plant 2-3 individual basil plants. Giving each plant ample space prevents overcrowding, reduces competition for resources, and promotes healthier, bushier growth.
Overcrowding is a primary reason why supermarket basil often fails shortly after purchase.
What is the best time of year to repot grocery store herbs?
The best time to repot grocery store herbs is as soon as you bring them home, regardless of the season. They are typically sold in suboptimal conditions, so giving them a fresh start immediately is crucial.
If you plan to move them outdoors, repot them indoors first, allowing 2-3 weeks for recovery before beginning the hardening off process, which should coincide with appropriate outdoor temperatures (after the last frost for most herbs).
My repotted herb is wilting. What should I do?
Wilting can be a symptom of transplant shock, overwatering, or underwatering. First, check the soil moisture.
If it is bone dry, water thoroughly. If it is soggy, you may have overwatered; ensure good drainage and allow it to dry out.
If soil moisture is adequate, and the plant is in bright, indirect light, give it a few days. Plants sometimes wilt temporarily as they adjust to a new environment and establish new roots.
Continue to monitor moisture and light, and avoid excessive heat or cold drafts. Remove any severely damaged leaves to help the plant conserve energy.
Can I keep my repotted grocery store herbs indoors permanently?
Yes, many herbs can thrive indoors permanently if they receive adequate light. Basil, mint, parsley, and chives are good candidates.
Provide at least 6-8 hours of bright, direct sunlight, ideally from a south-facing window. Supplement with a grow light if natural light is insufficient.
Ensure good air circulation and consistent watering, and protect them from cold drafts. Rotate the pots regularly to encourage even growth.
How often should I harvest my herbs to keep them growing?
Harvest frequently but lightly. For most herbs, you can start harvesting once the plant has established new growth after repotting and has at least 6-8 sets of leaves.
A good rule is to remove no more than 30% of the plant’s foliage at any one time. For basil, pinch back stems just above a set of leaves to encourage bushiness.
For other herbs like mint or cilantro, snip outer stems or leaves. Regular harvesting prevents bolting (flowering) and keeps the plant producing fresh, flavorful leaves for a longer duration.
For trustworthy gardening information, visit: National Garden Bureau, National Wildlife Federation — Garden for Wildlife, Lady Bird Johnson Wildflower Center, Botanic Gardens Conservation International and American Public Gardens Association. These organizations provide expert, research-based advice for gardeners at all levels.
Disclaimer: This article is for informational purposes only and is not a substitute for professional gardening advice. Always consult local extension services or horticulture experts for region-specific guidance.